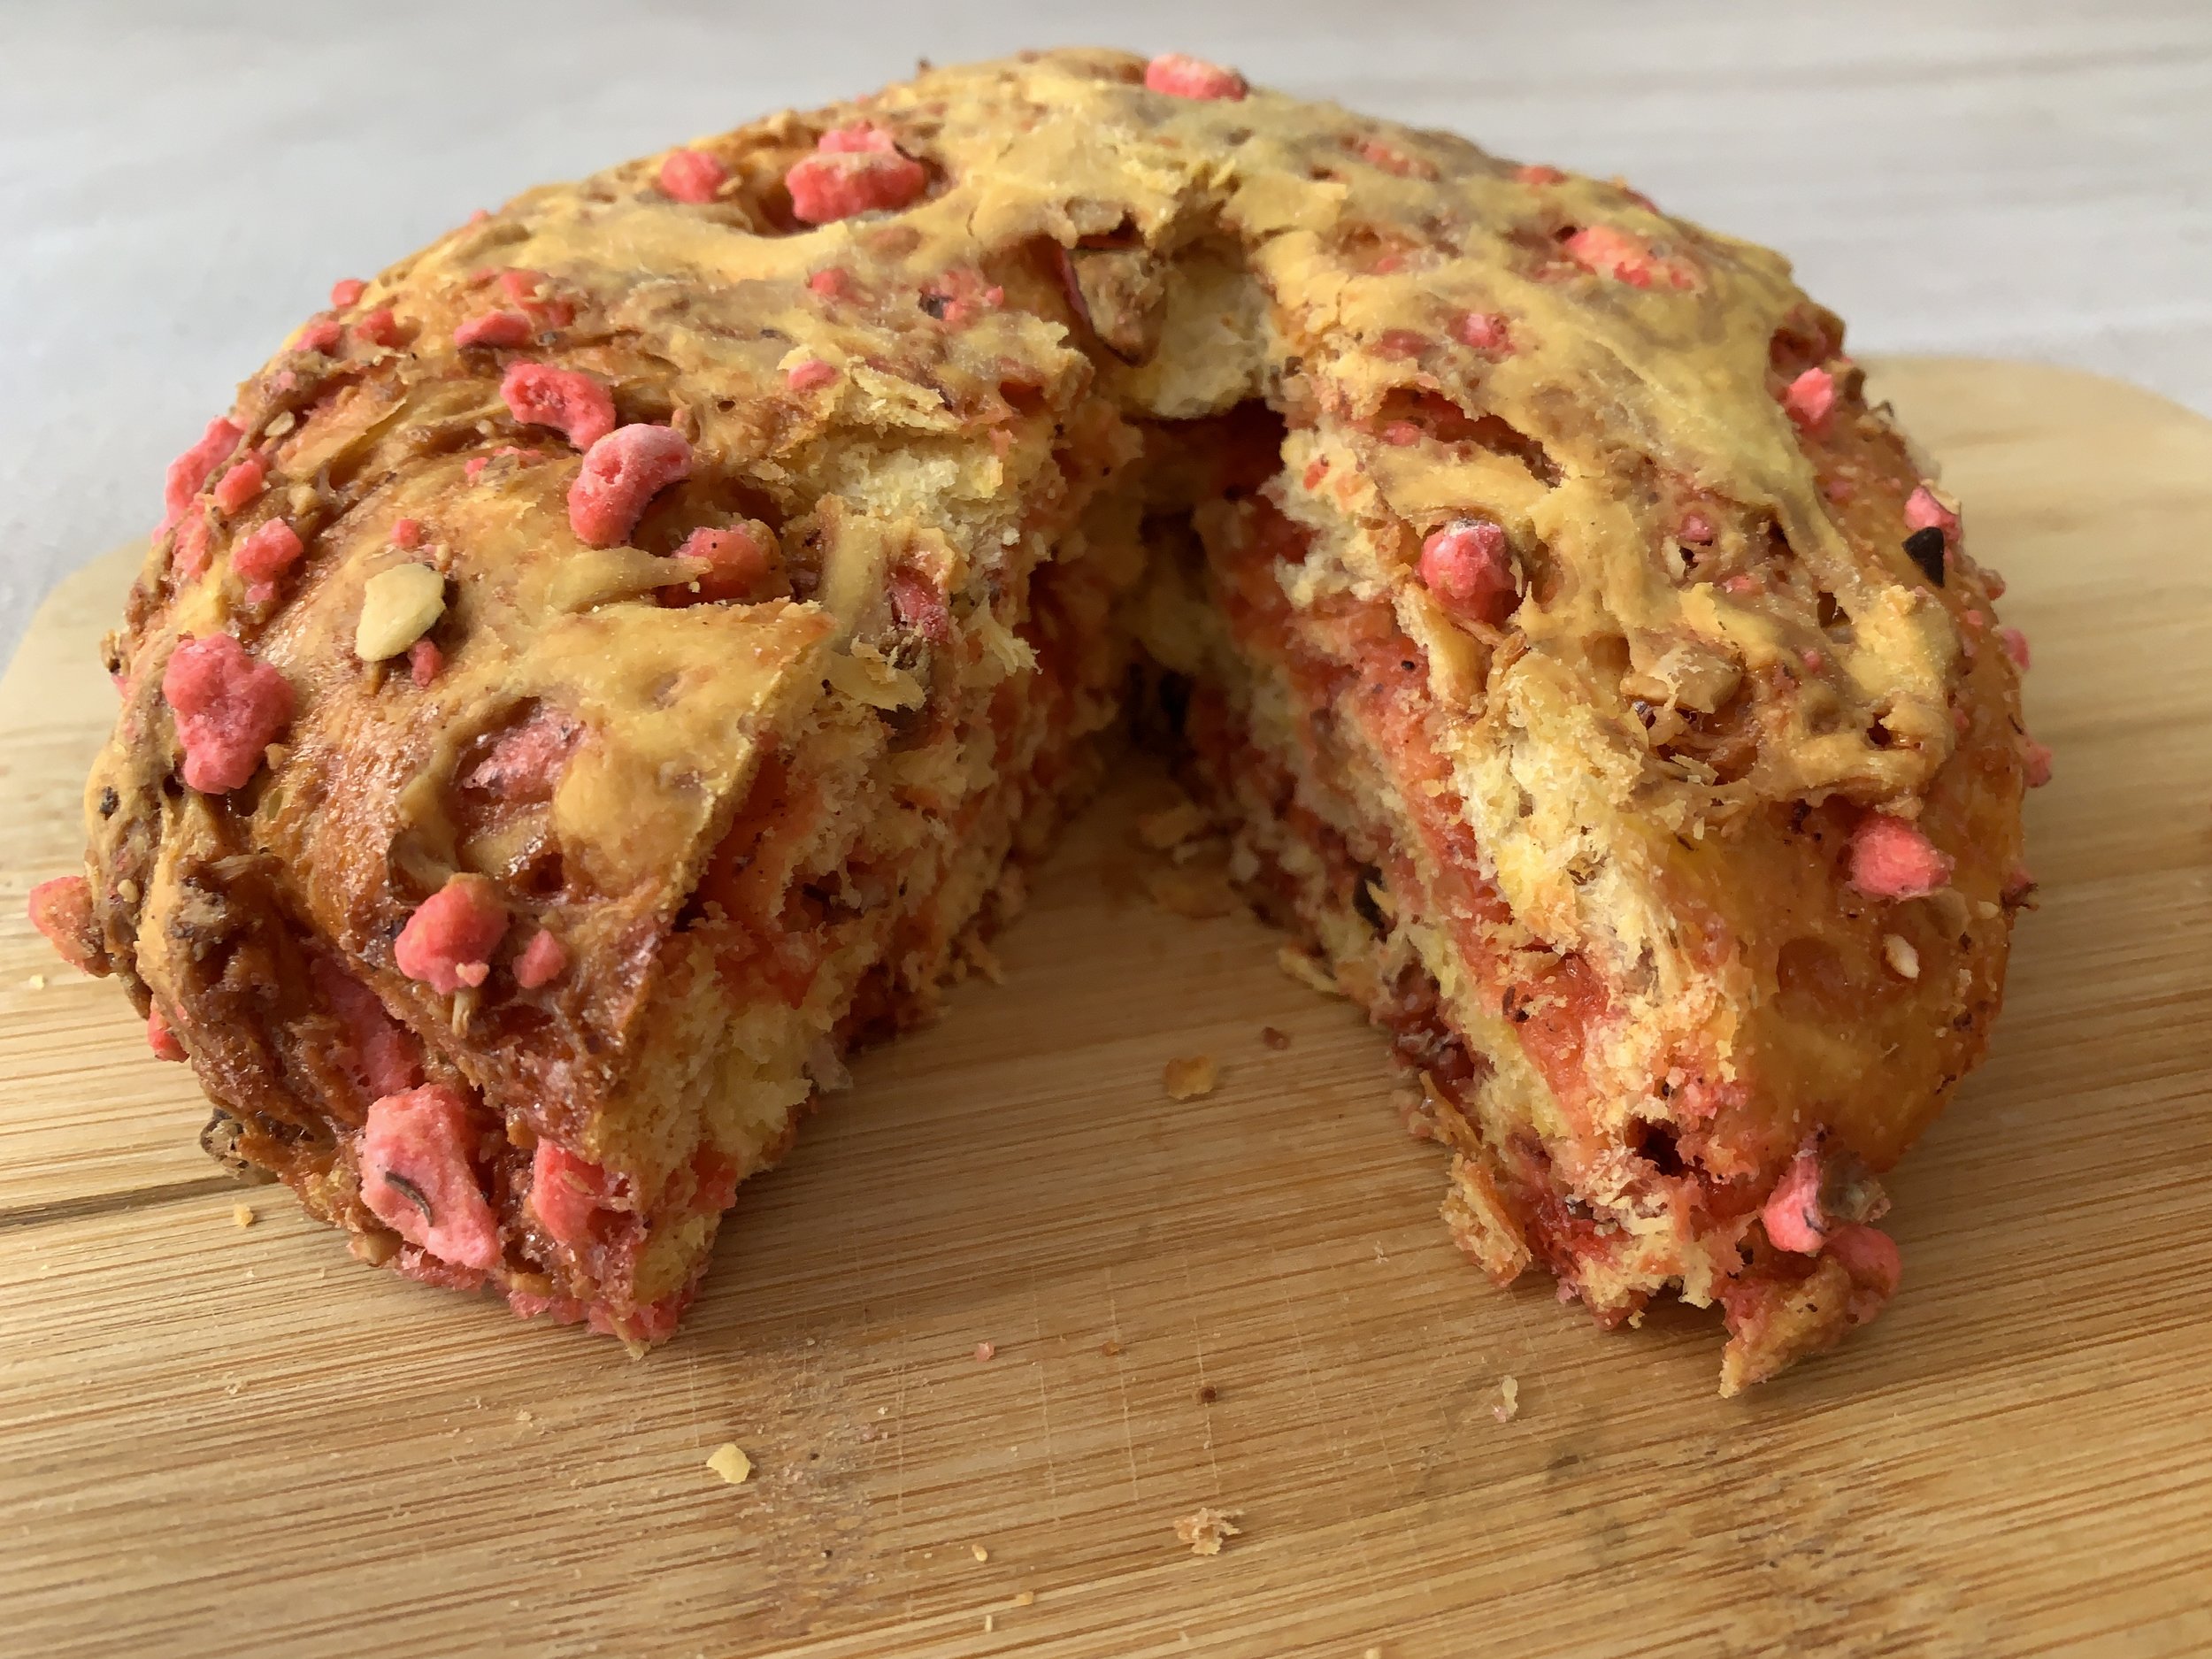
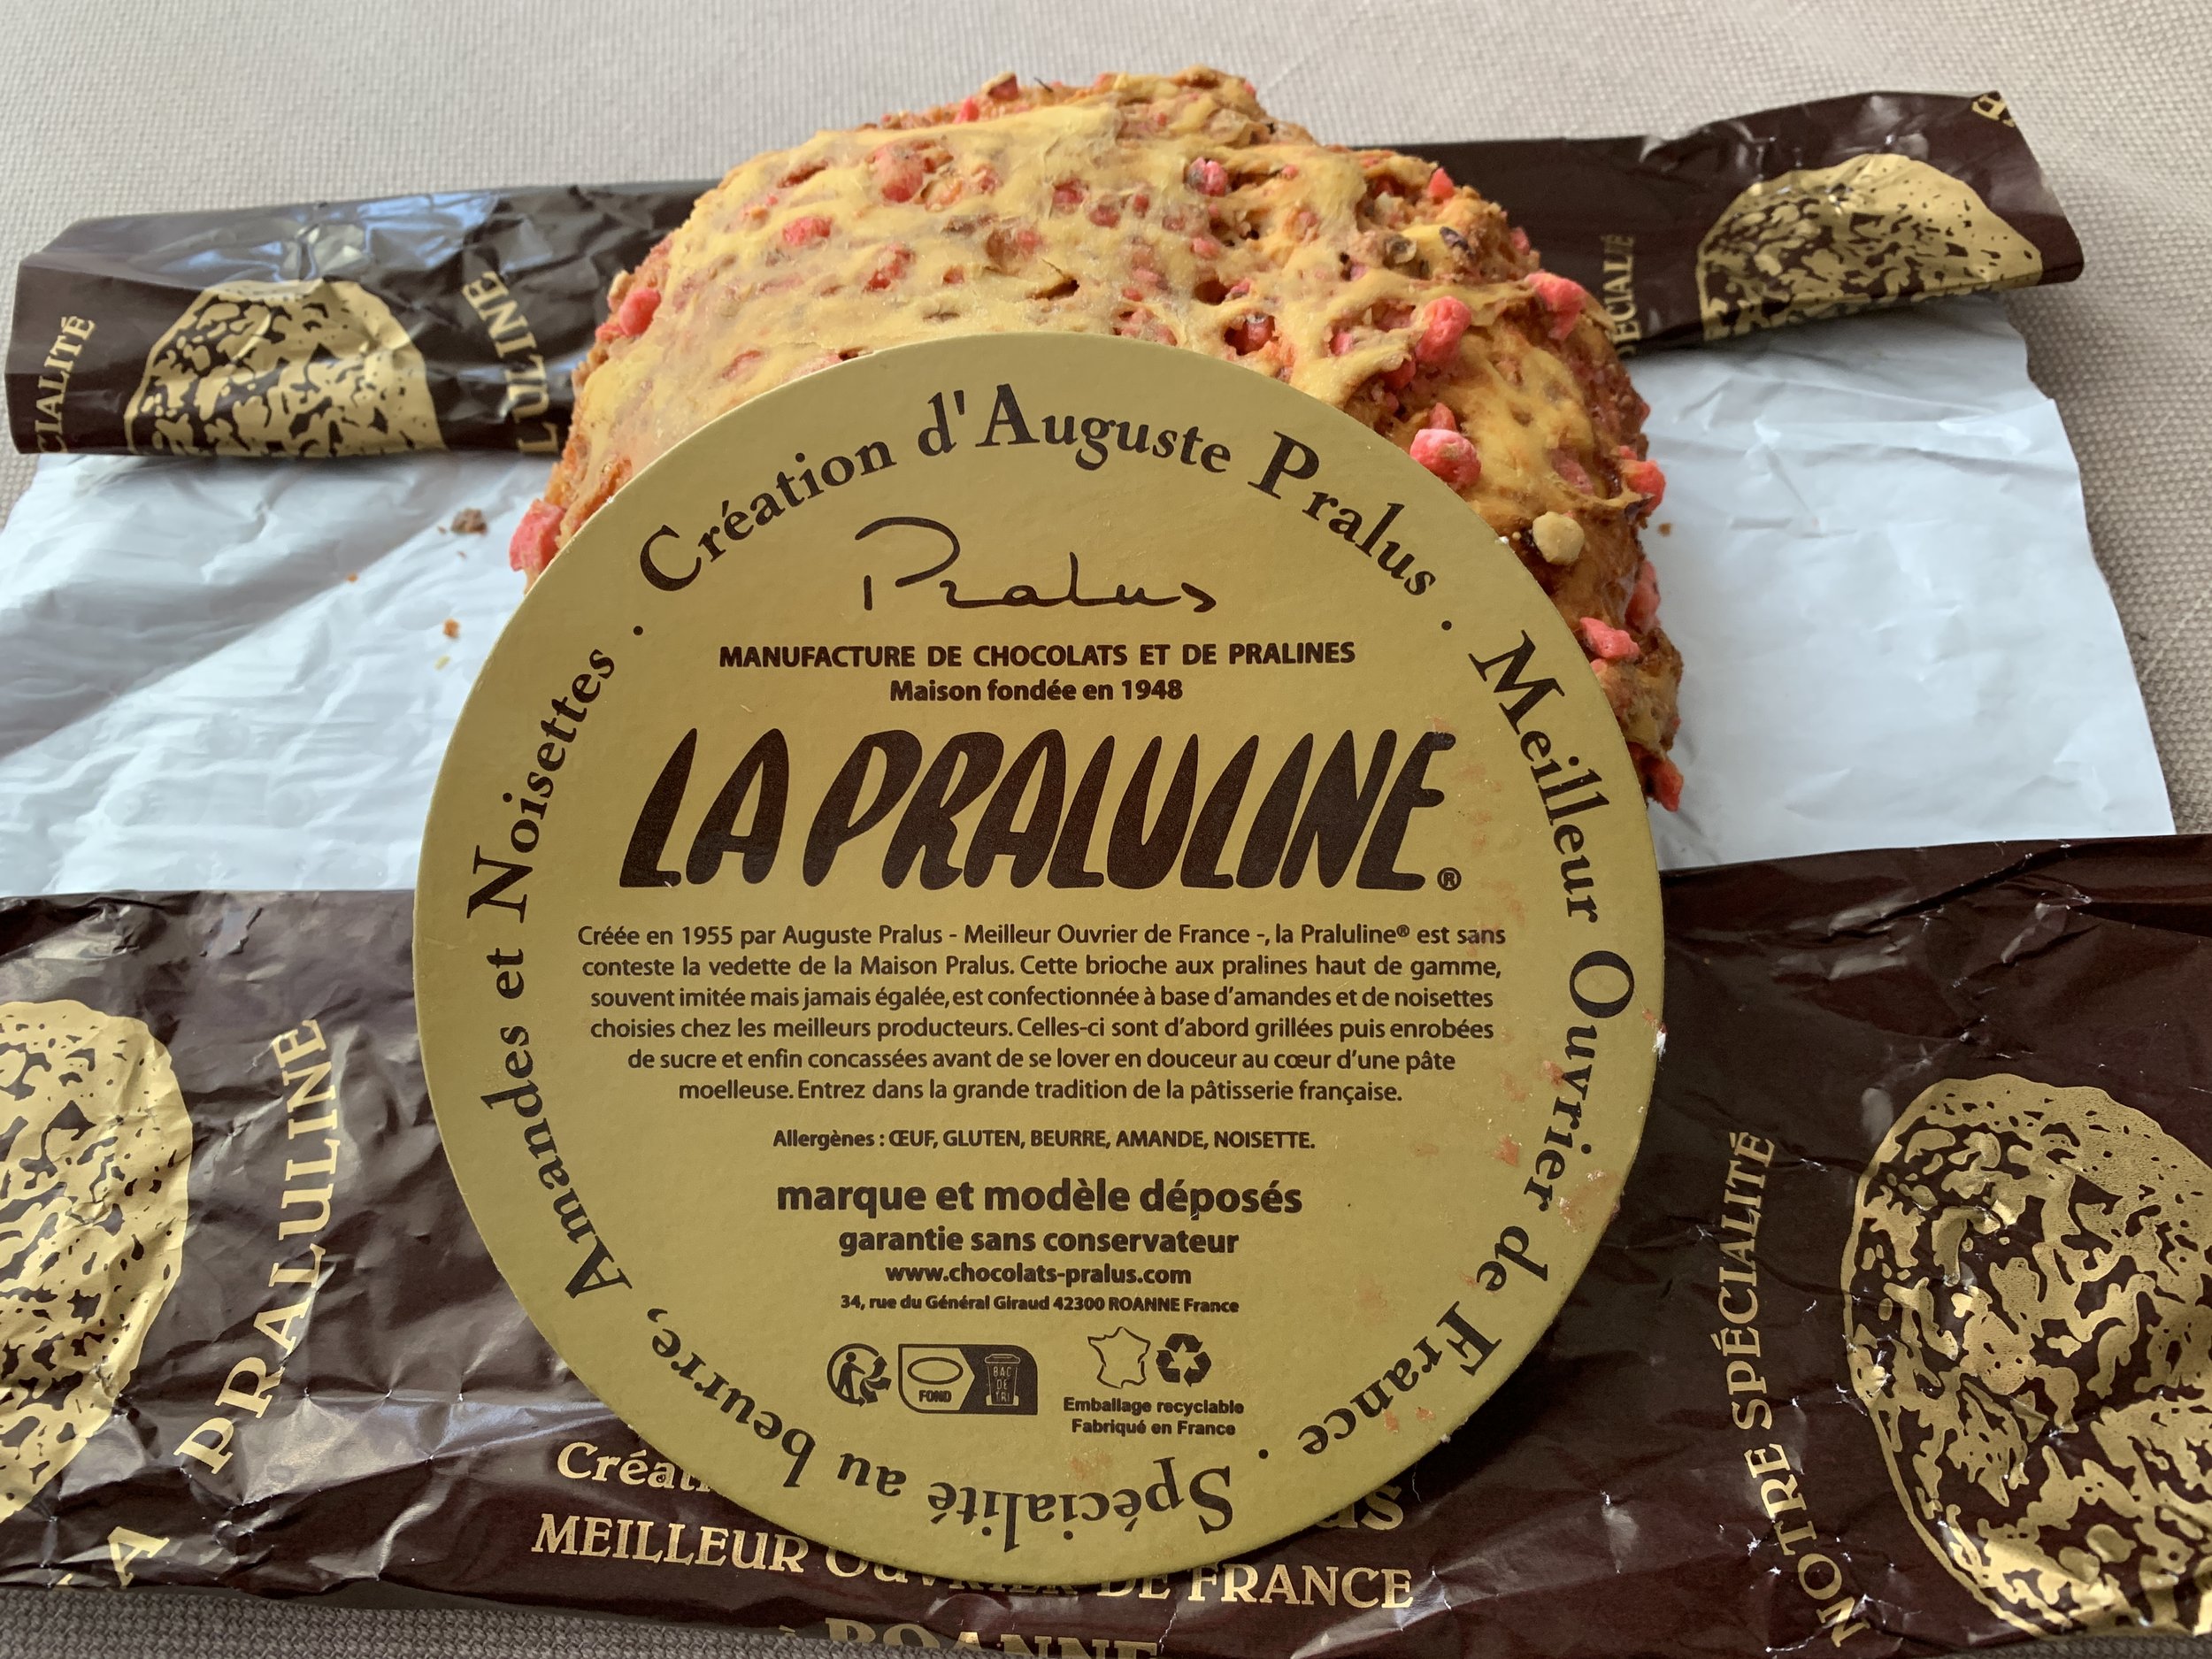
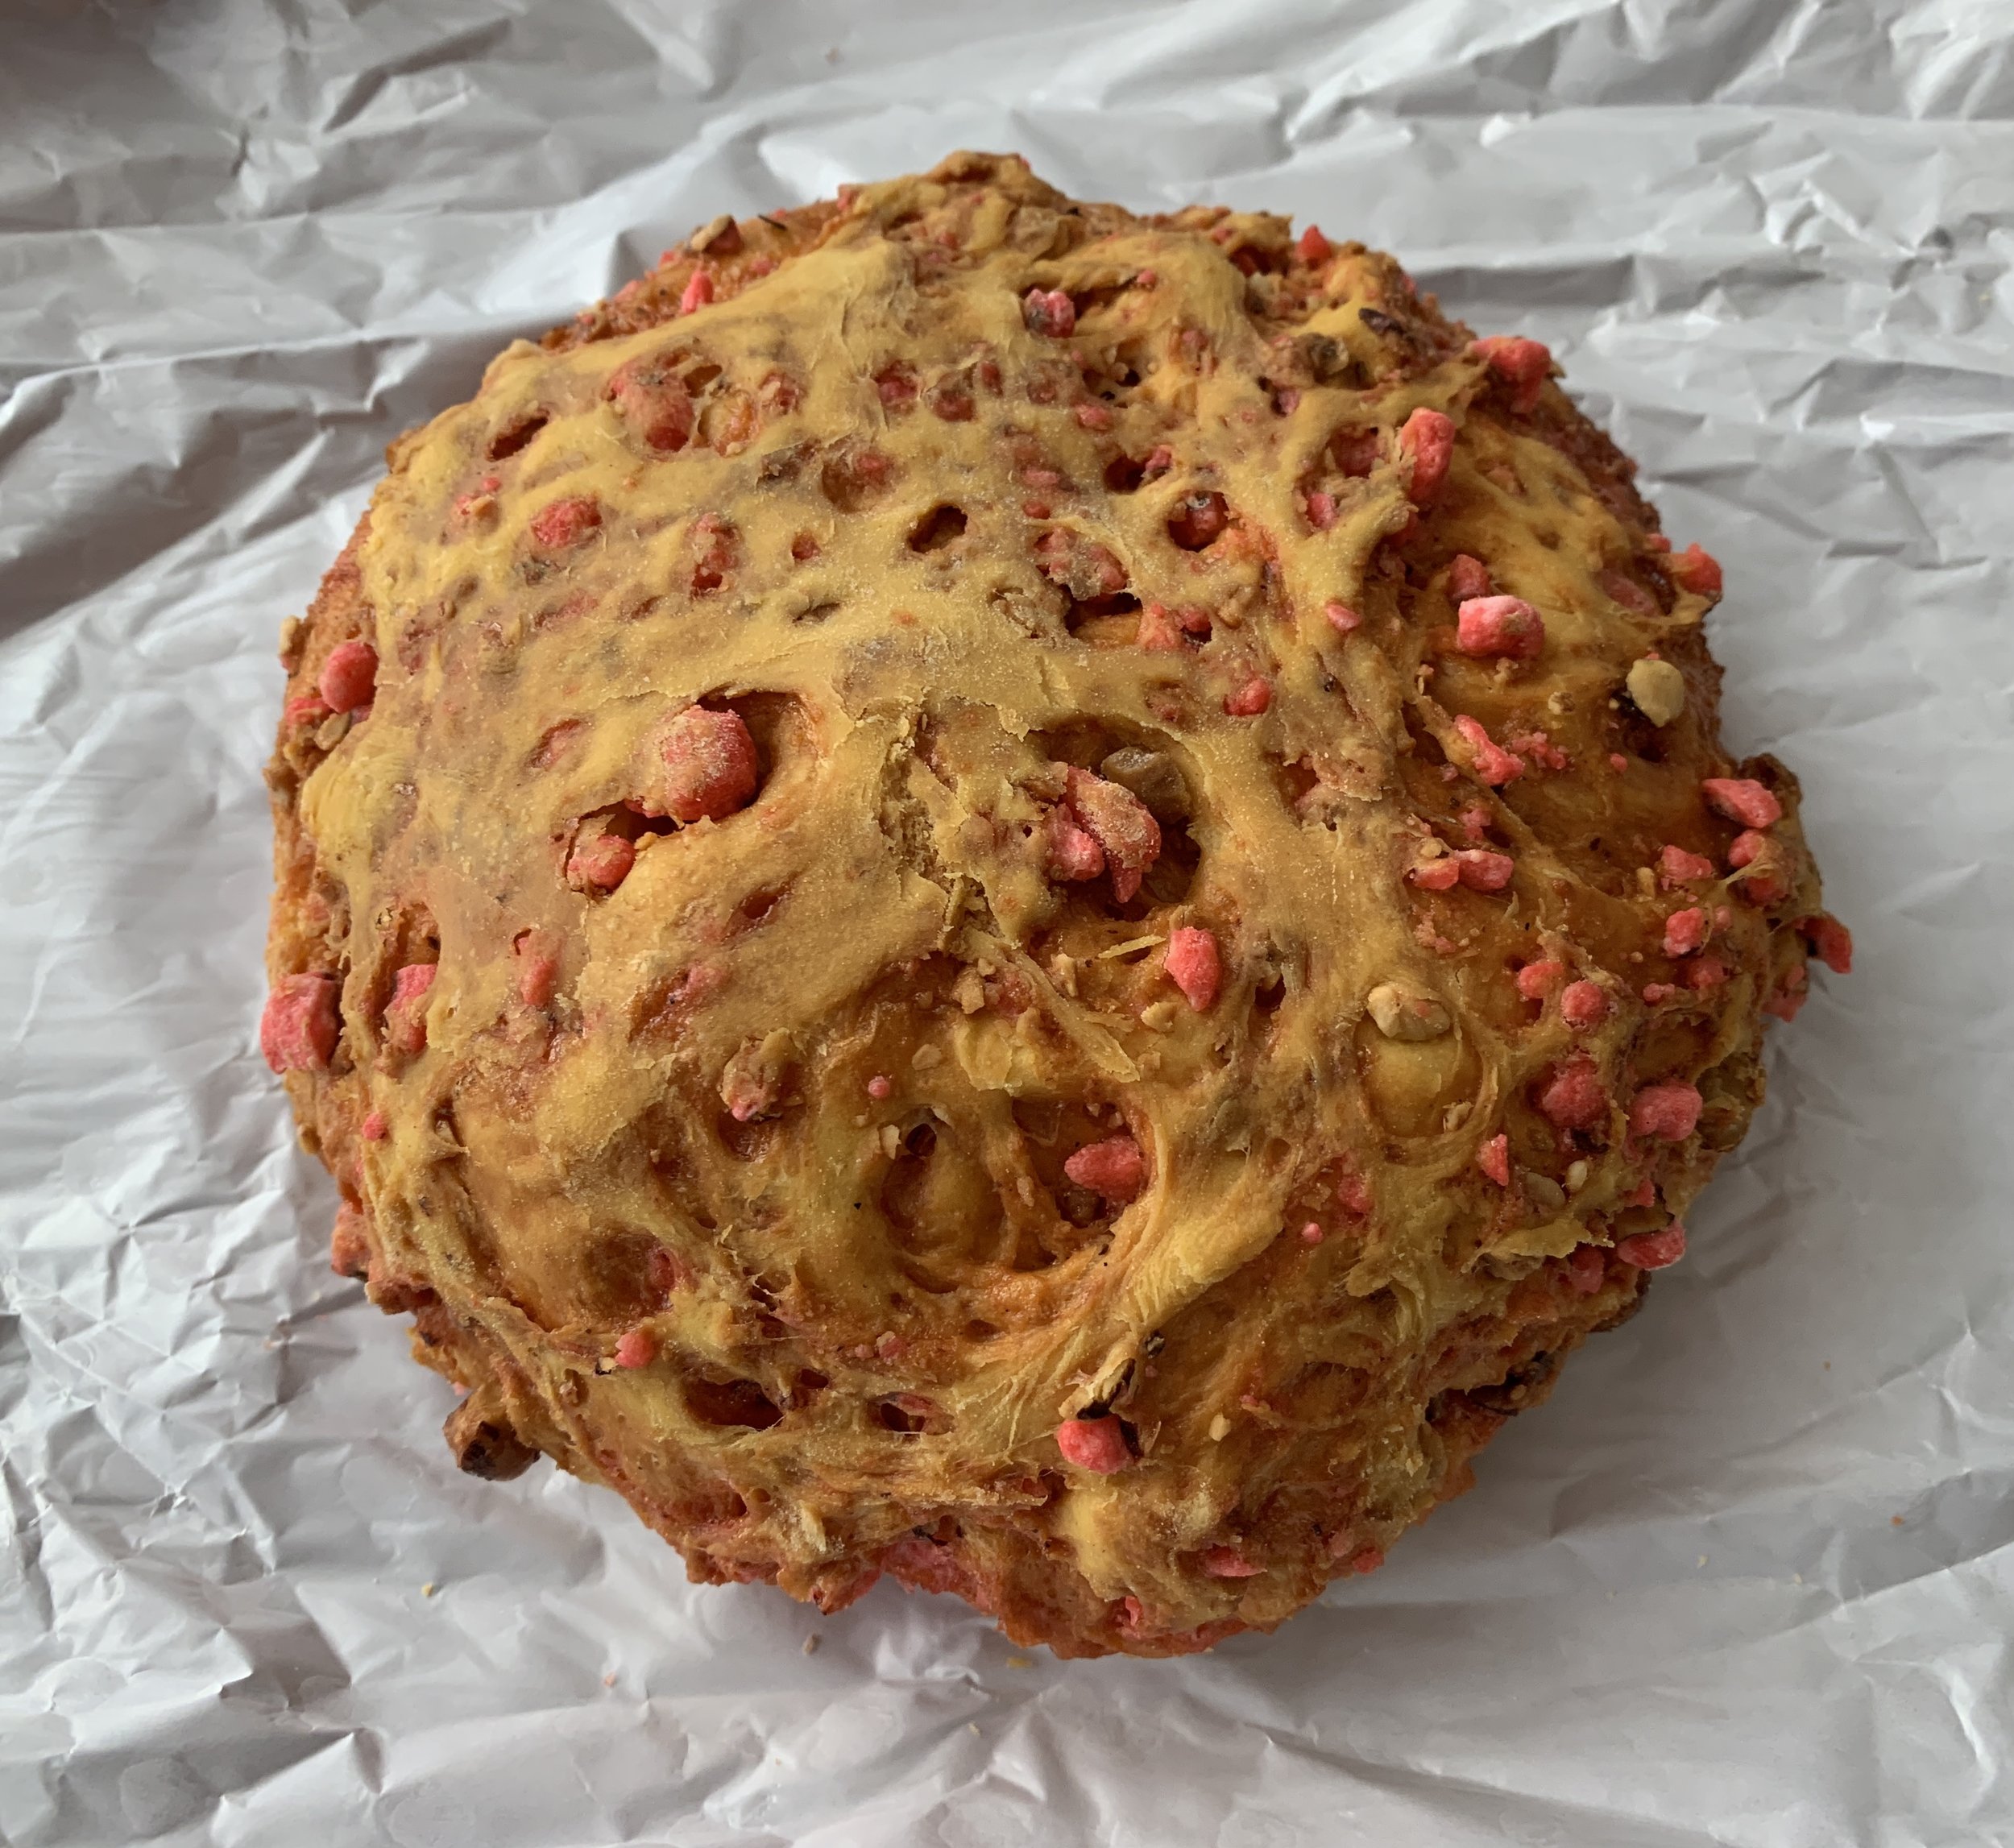
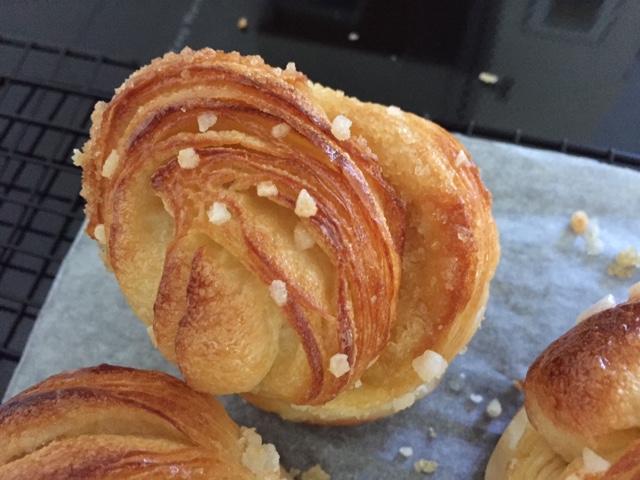
Brioche craquelin encore

A16C22CD-914E-4EB8-B6C4-7ABA09A66B09.jpg

I first wrote about Thomas Keller’s version of this pastry back in February of 2015 - many moons ago - and a lot has happened since, that’s for sure. I’ve been churning this through my mind for awhile and decided that autumn is a good time to write about it.

Some time back, earlier in the pandemic days, I received an email from a gentleman in NYC who was searching for tips on how to create a version of craquelin that he used to enjoy at one of François Payard’s pâtisseries (closed for several years now). He described it as having the perfect crunchy almond top that gave the orange scented brioche just the right je ne sais quoi.

Hurray! I had a project to research. Challenge accepted. I’ve puttered with it on and off and am finally getting around to setting pen to paper as it were.

1A19482D-29FC-4CAB-9436-C50E7DB45ED2.jpeg

I made two different versions in my quest to replicate his memory of this treat. The first made three full sized rounds in well buttered cake pans (I had two 9-inch and one 8-inch).

The process: using my freshly prepared base brioche dough, I mixed 100 g / 1/2 cup of brown sugar with a bunch of orange zest (probably 3 or 4 oranges - I eyeball it) . . . .

sprinkled half of it over the flattened dough . . . .

folded it in three as I attempted to work the filling into the dough, turned it 90 degrees, stretched it back out a bit, sprinkled the second half over it and folded it in thirds one more time.

Then into the fridge covered for an overnight rise.

Before the rise

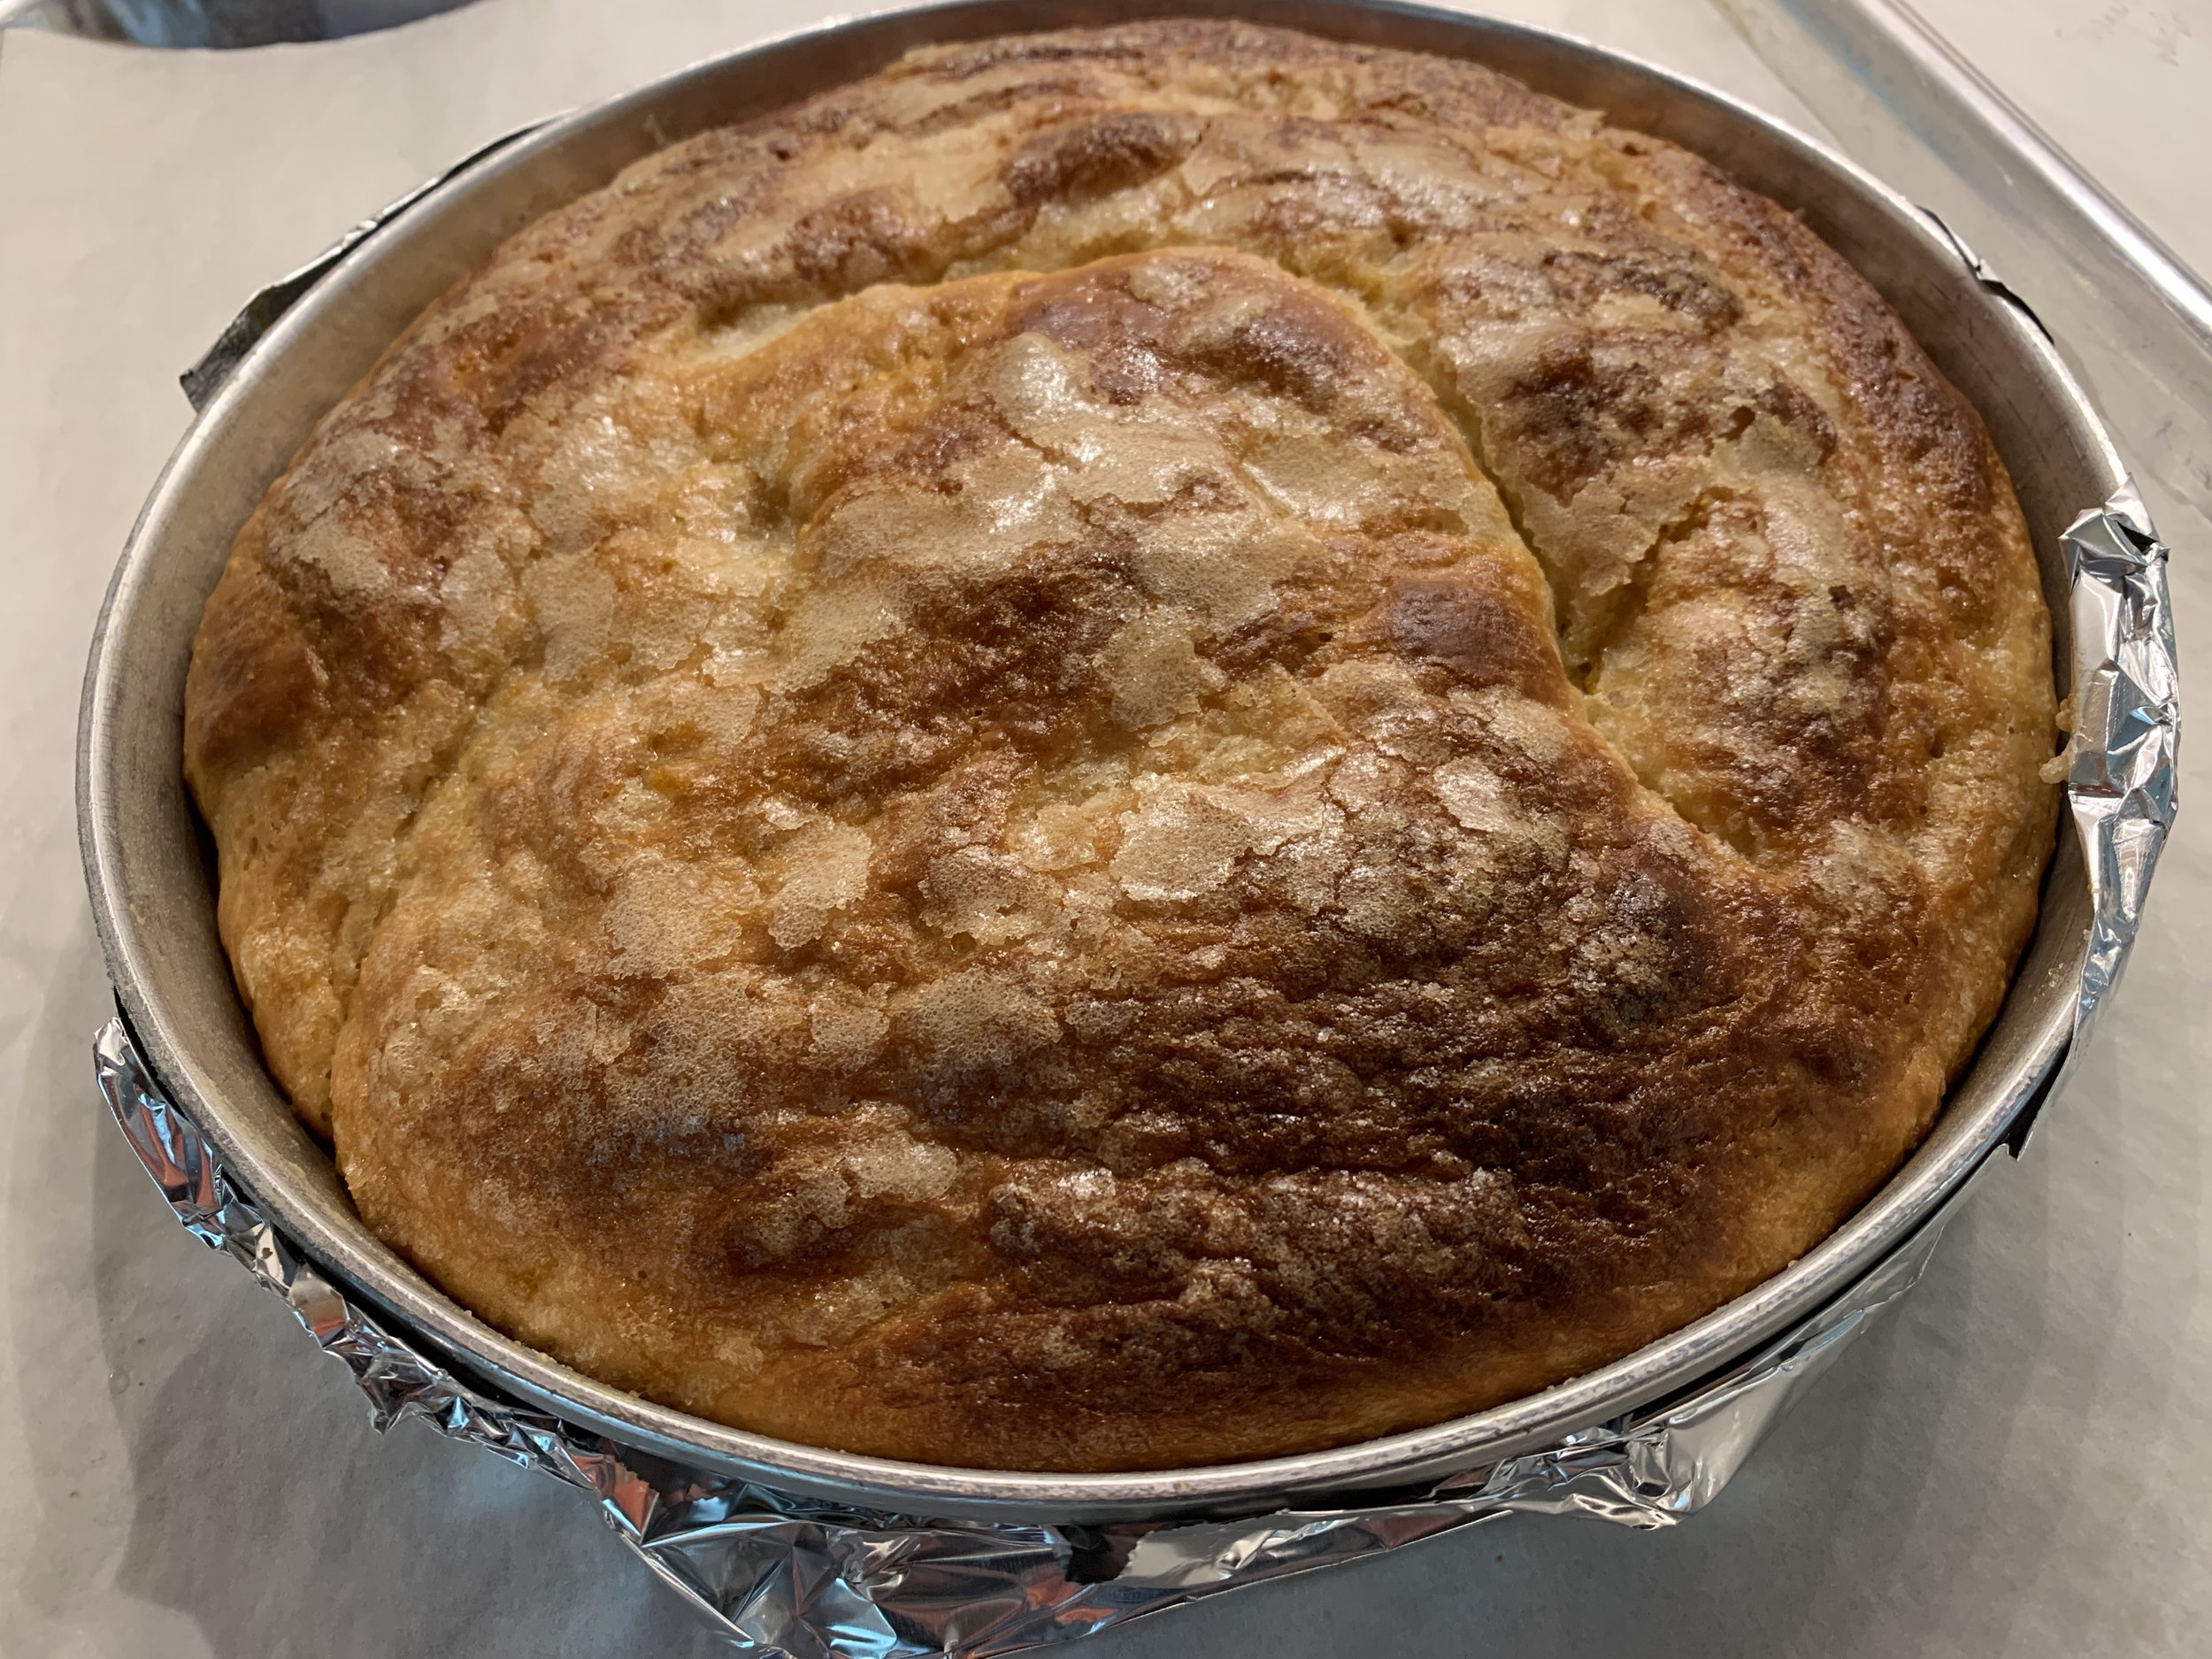
Here it is the next morning.

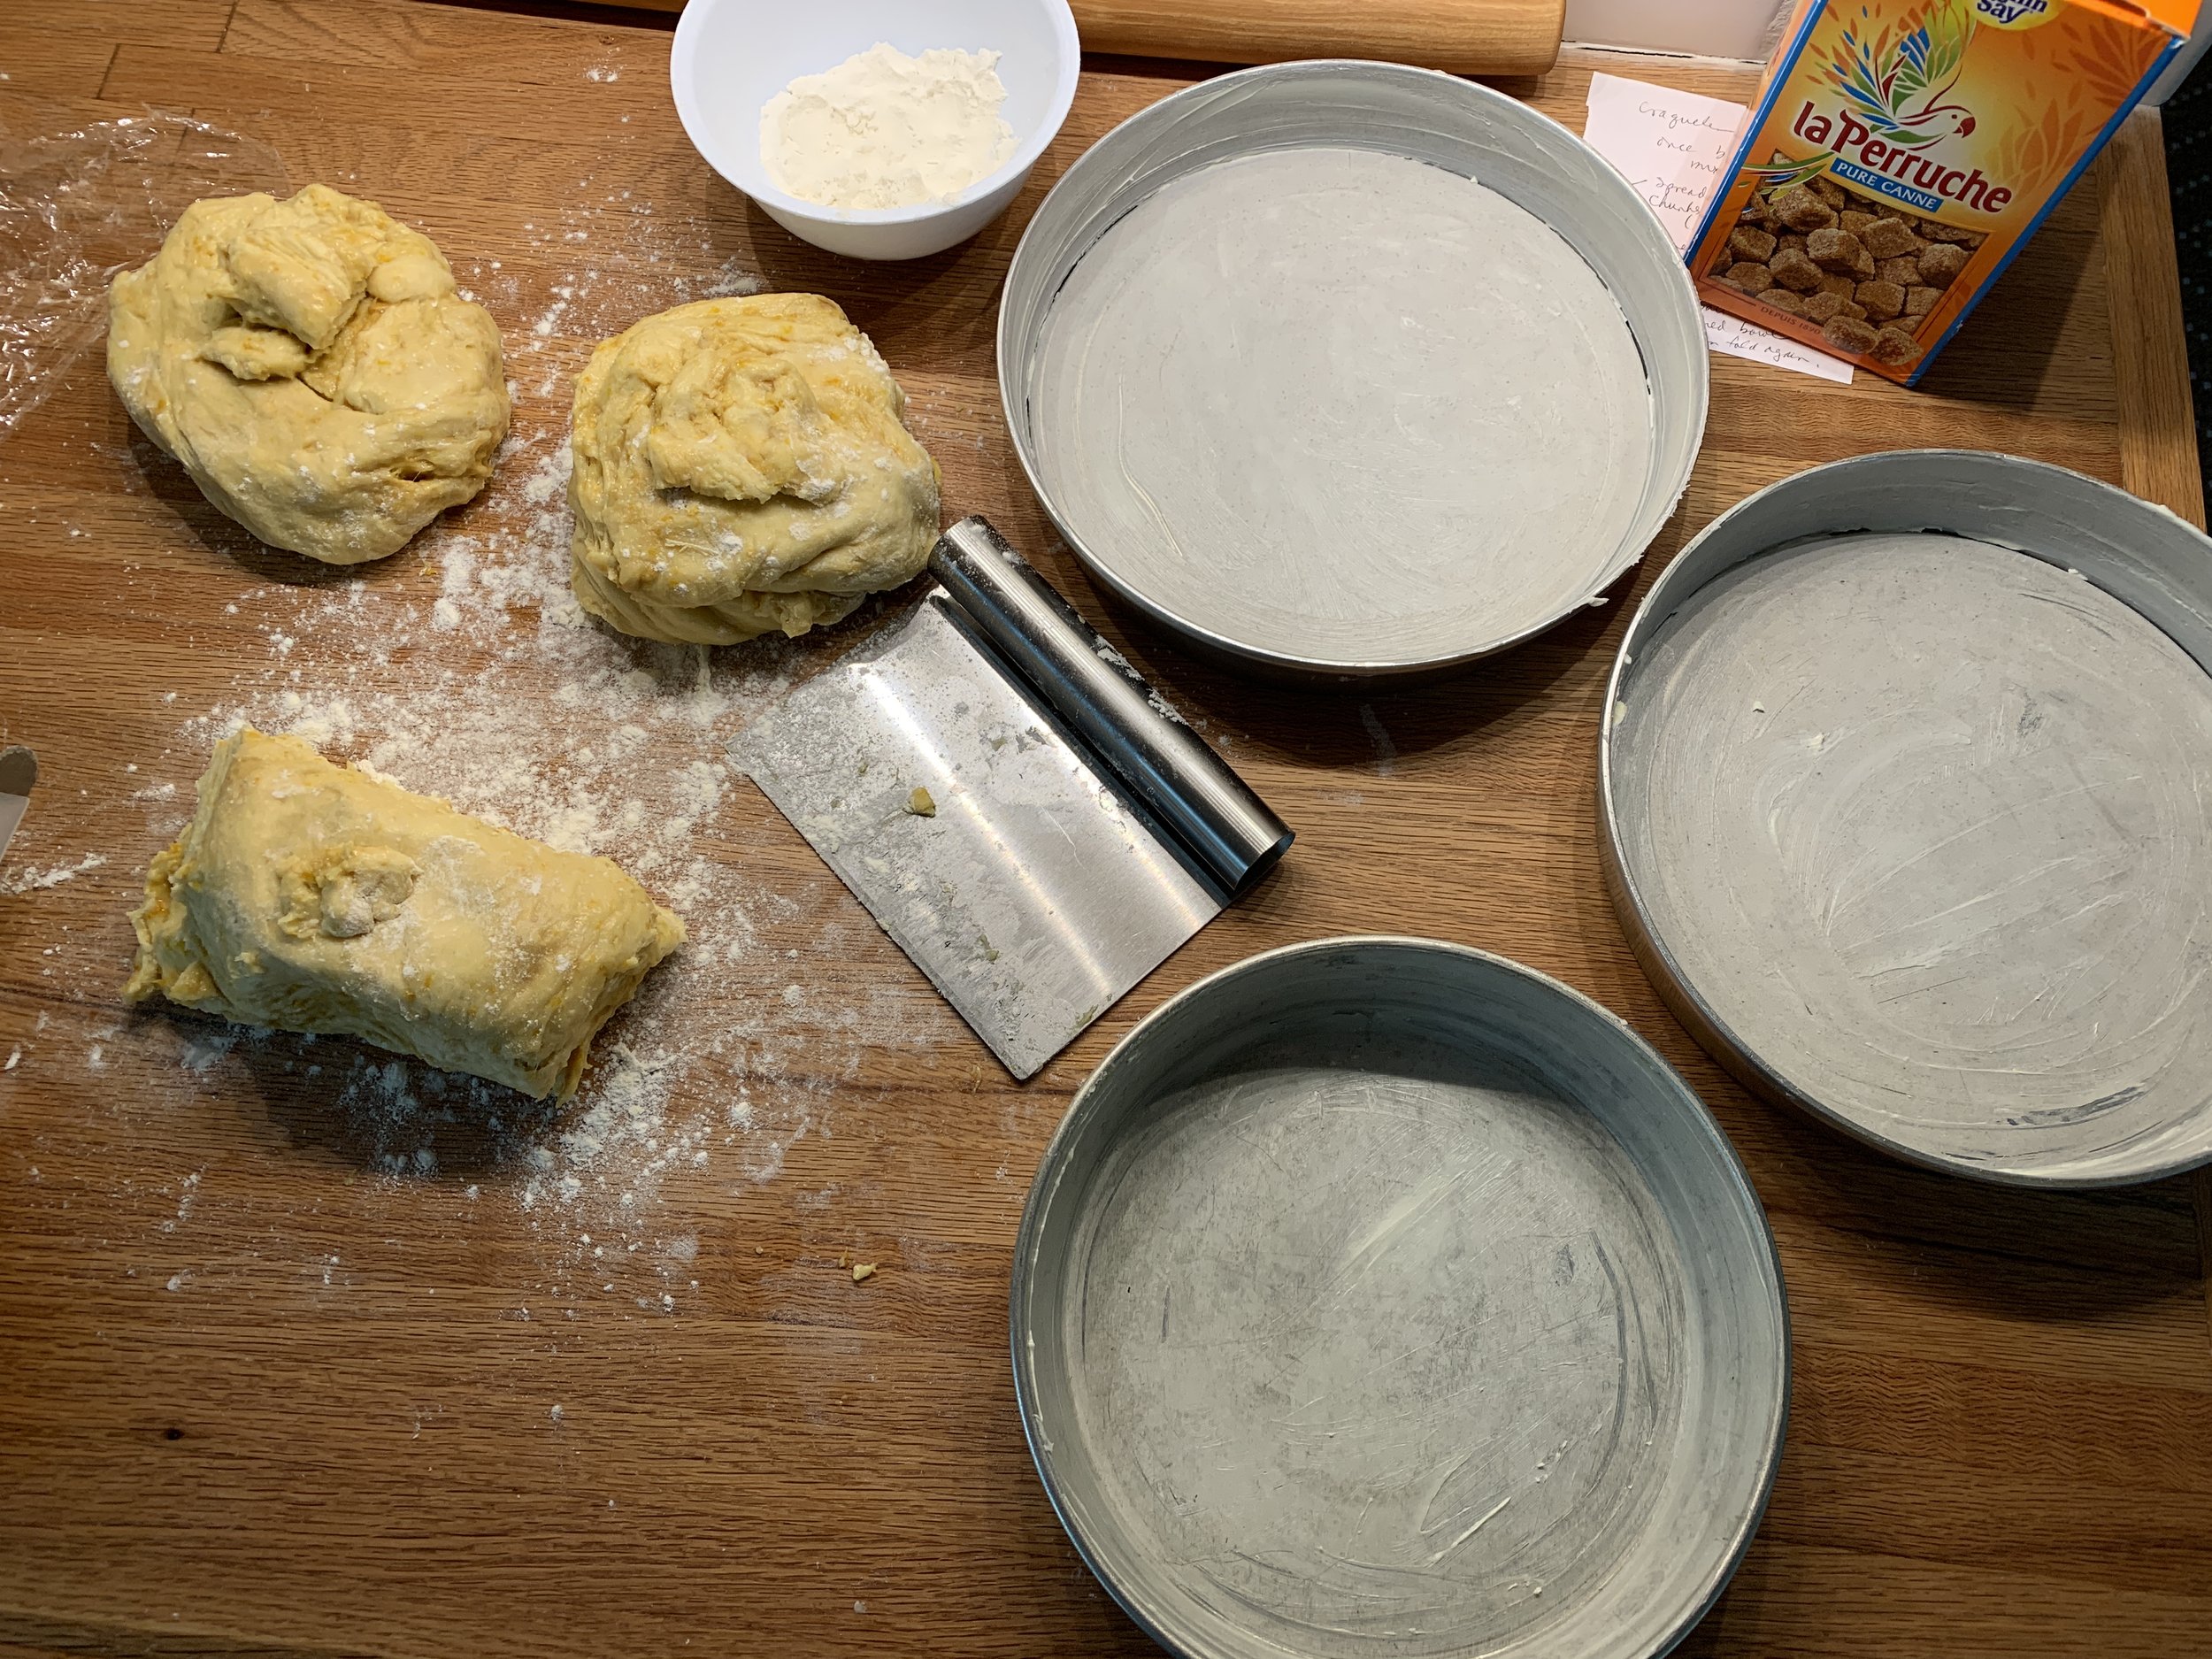
I divided the dough into three pieces, about 400 g each ( a tad more for the two 9-inch and a tad less for the 8-inch), formed rounds and placed them in the prepped pans. Note the aluminum foil wrapped around the 9-inch pans. They have removable bottoms so I wanted to avoid any butter leakage during baking.

Cover with lightly buttered plastic wrap and let rise for 1.5 to 2 hours. Remember brioche is very enriched and requires a good rise for the hoped for fluffy and light end result.

Toward the end of the rise heat the oven to 350ºF.

After the rise

I used three topping variations just for comparison’s sake. Have some toasted sliced almonds at the ready. Make the crunchy sugar topping by blending 6 tablespoons granulated sugar with 1.5 teaspoons vanilla and 1 tablespoon water (this is enough for the three pans).

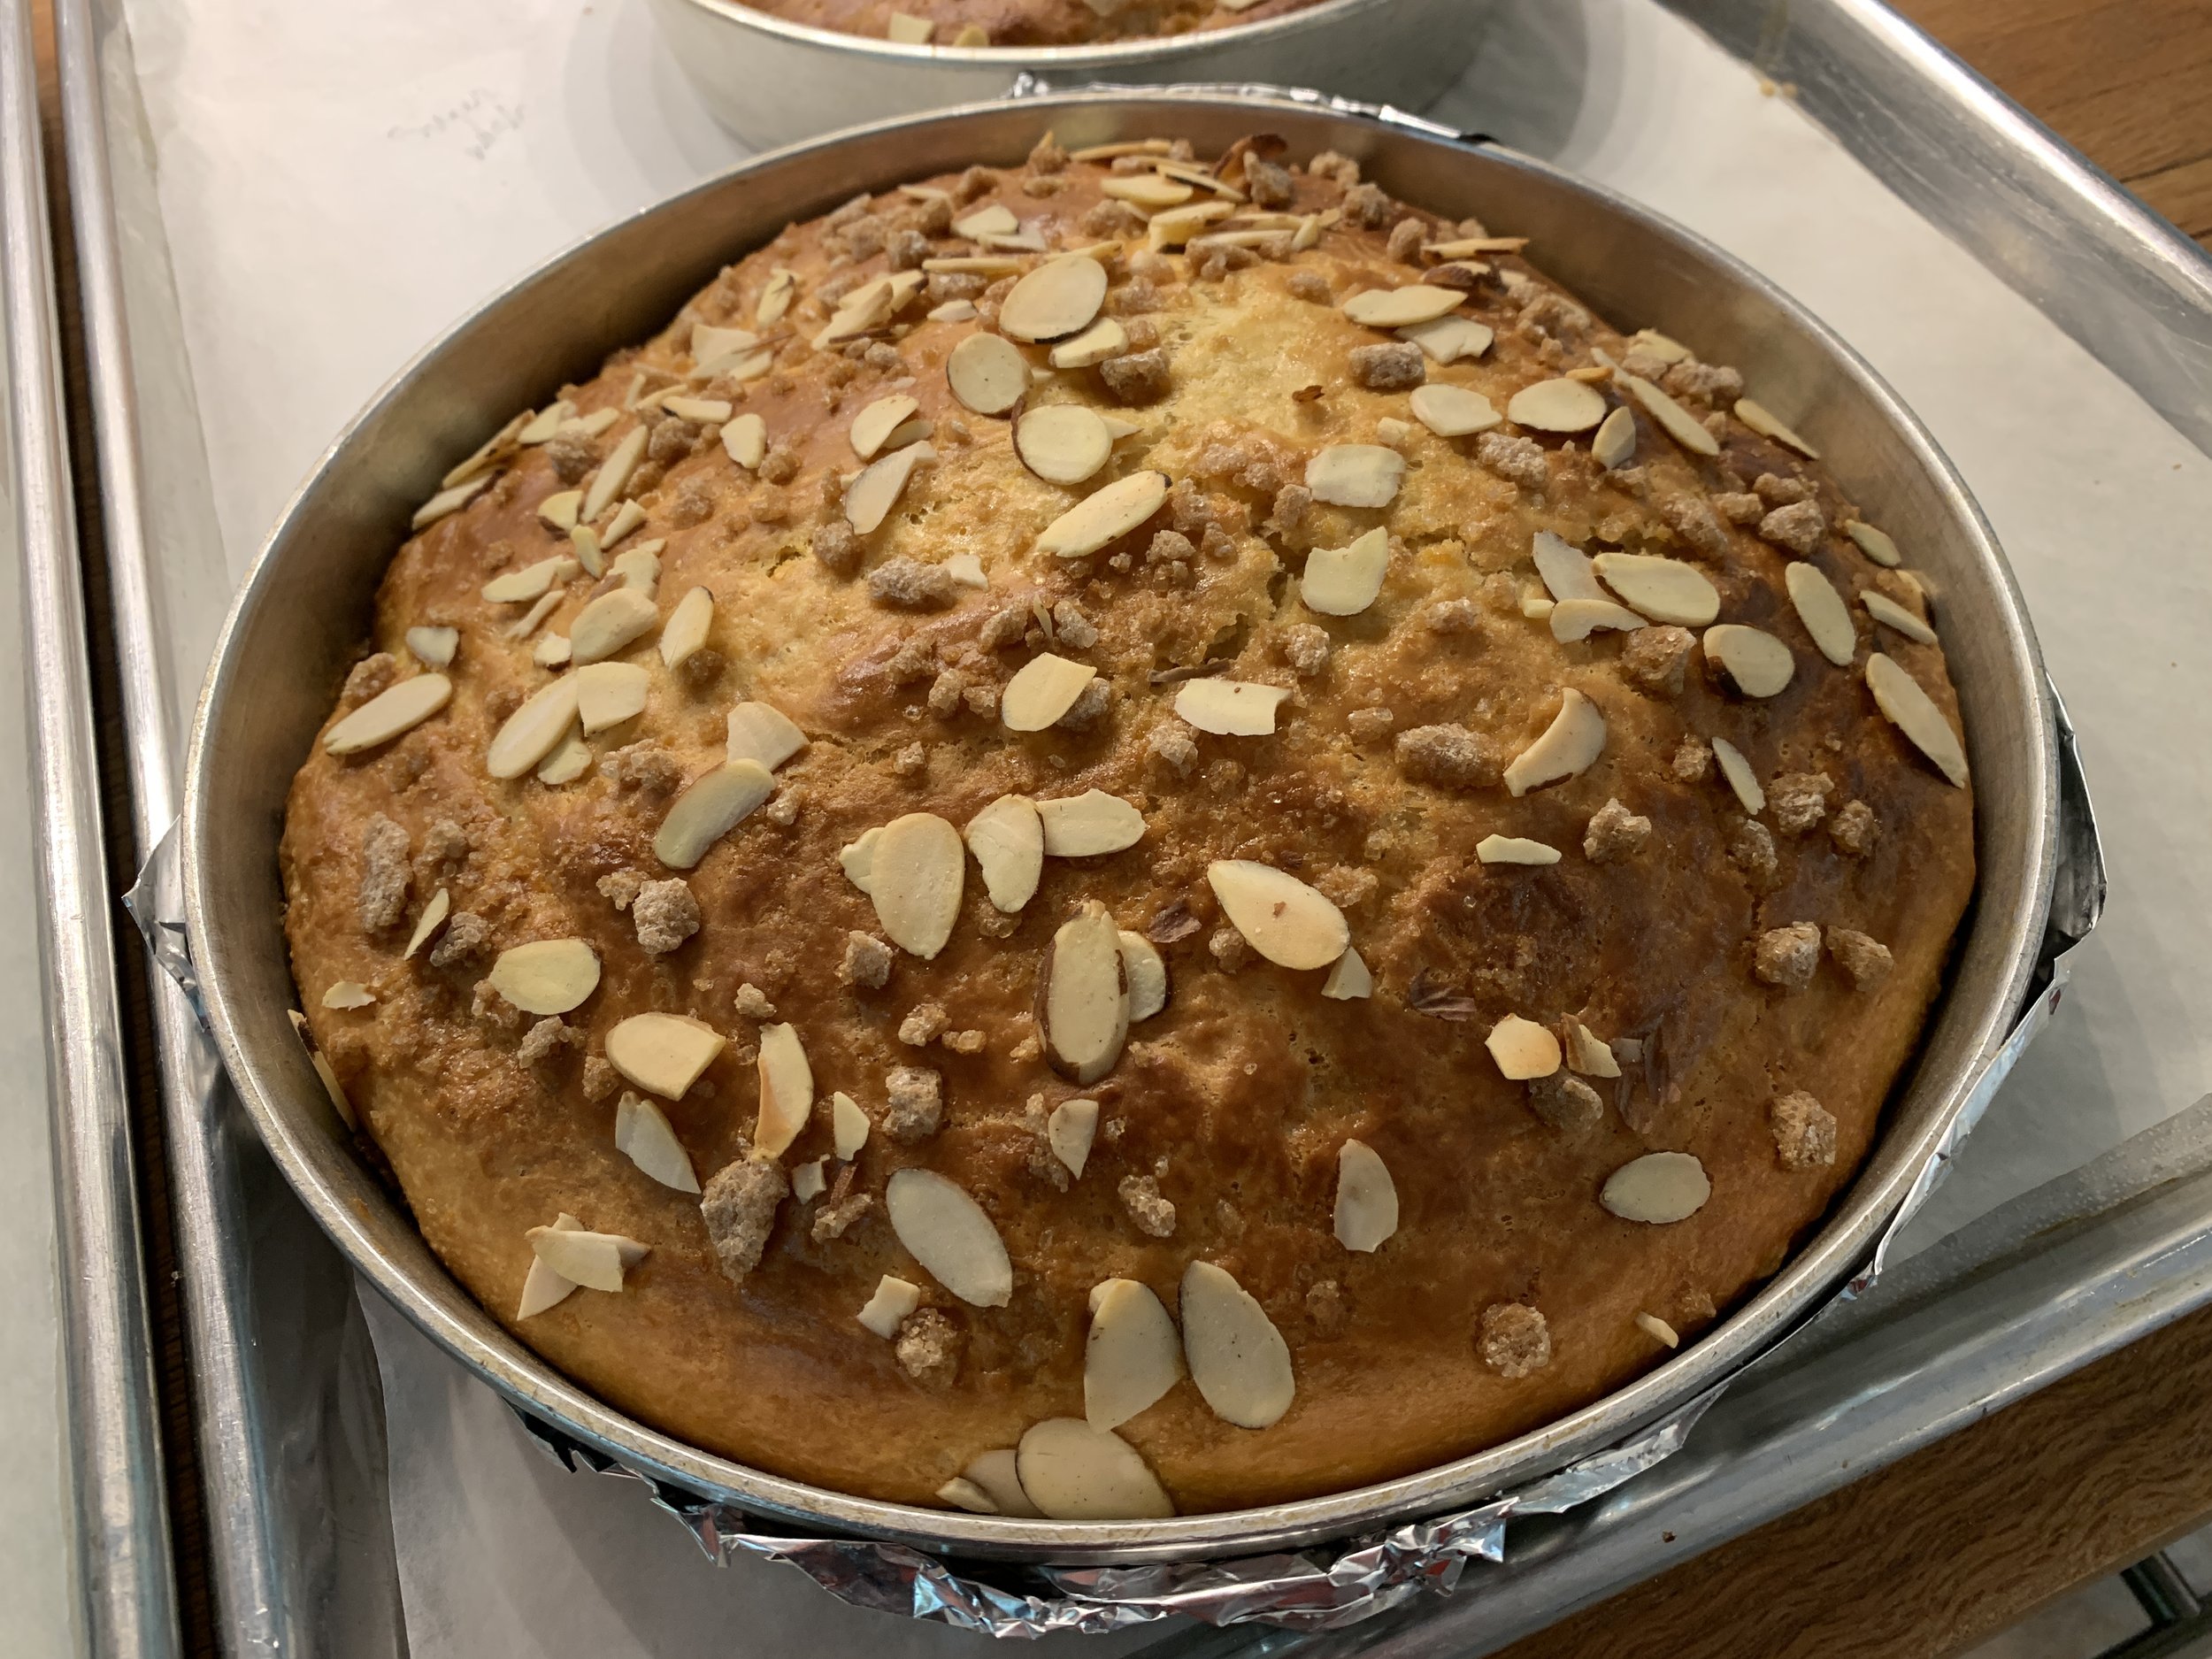
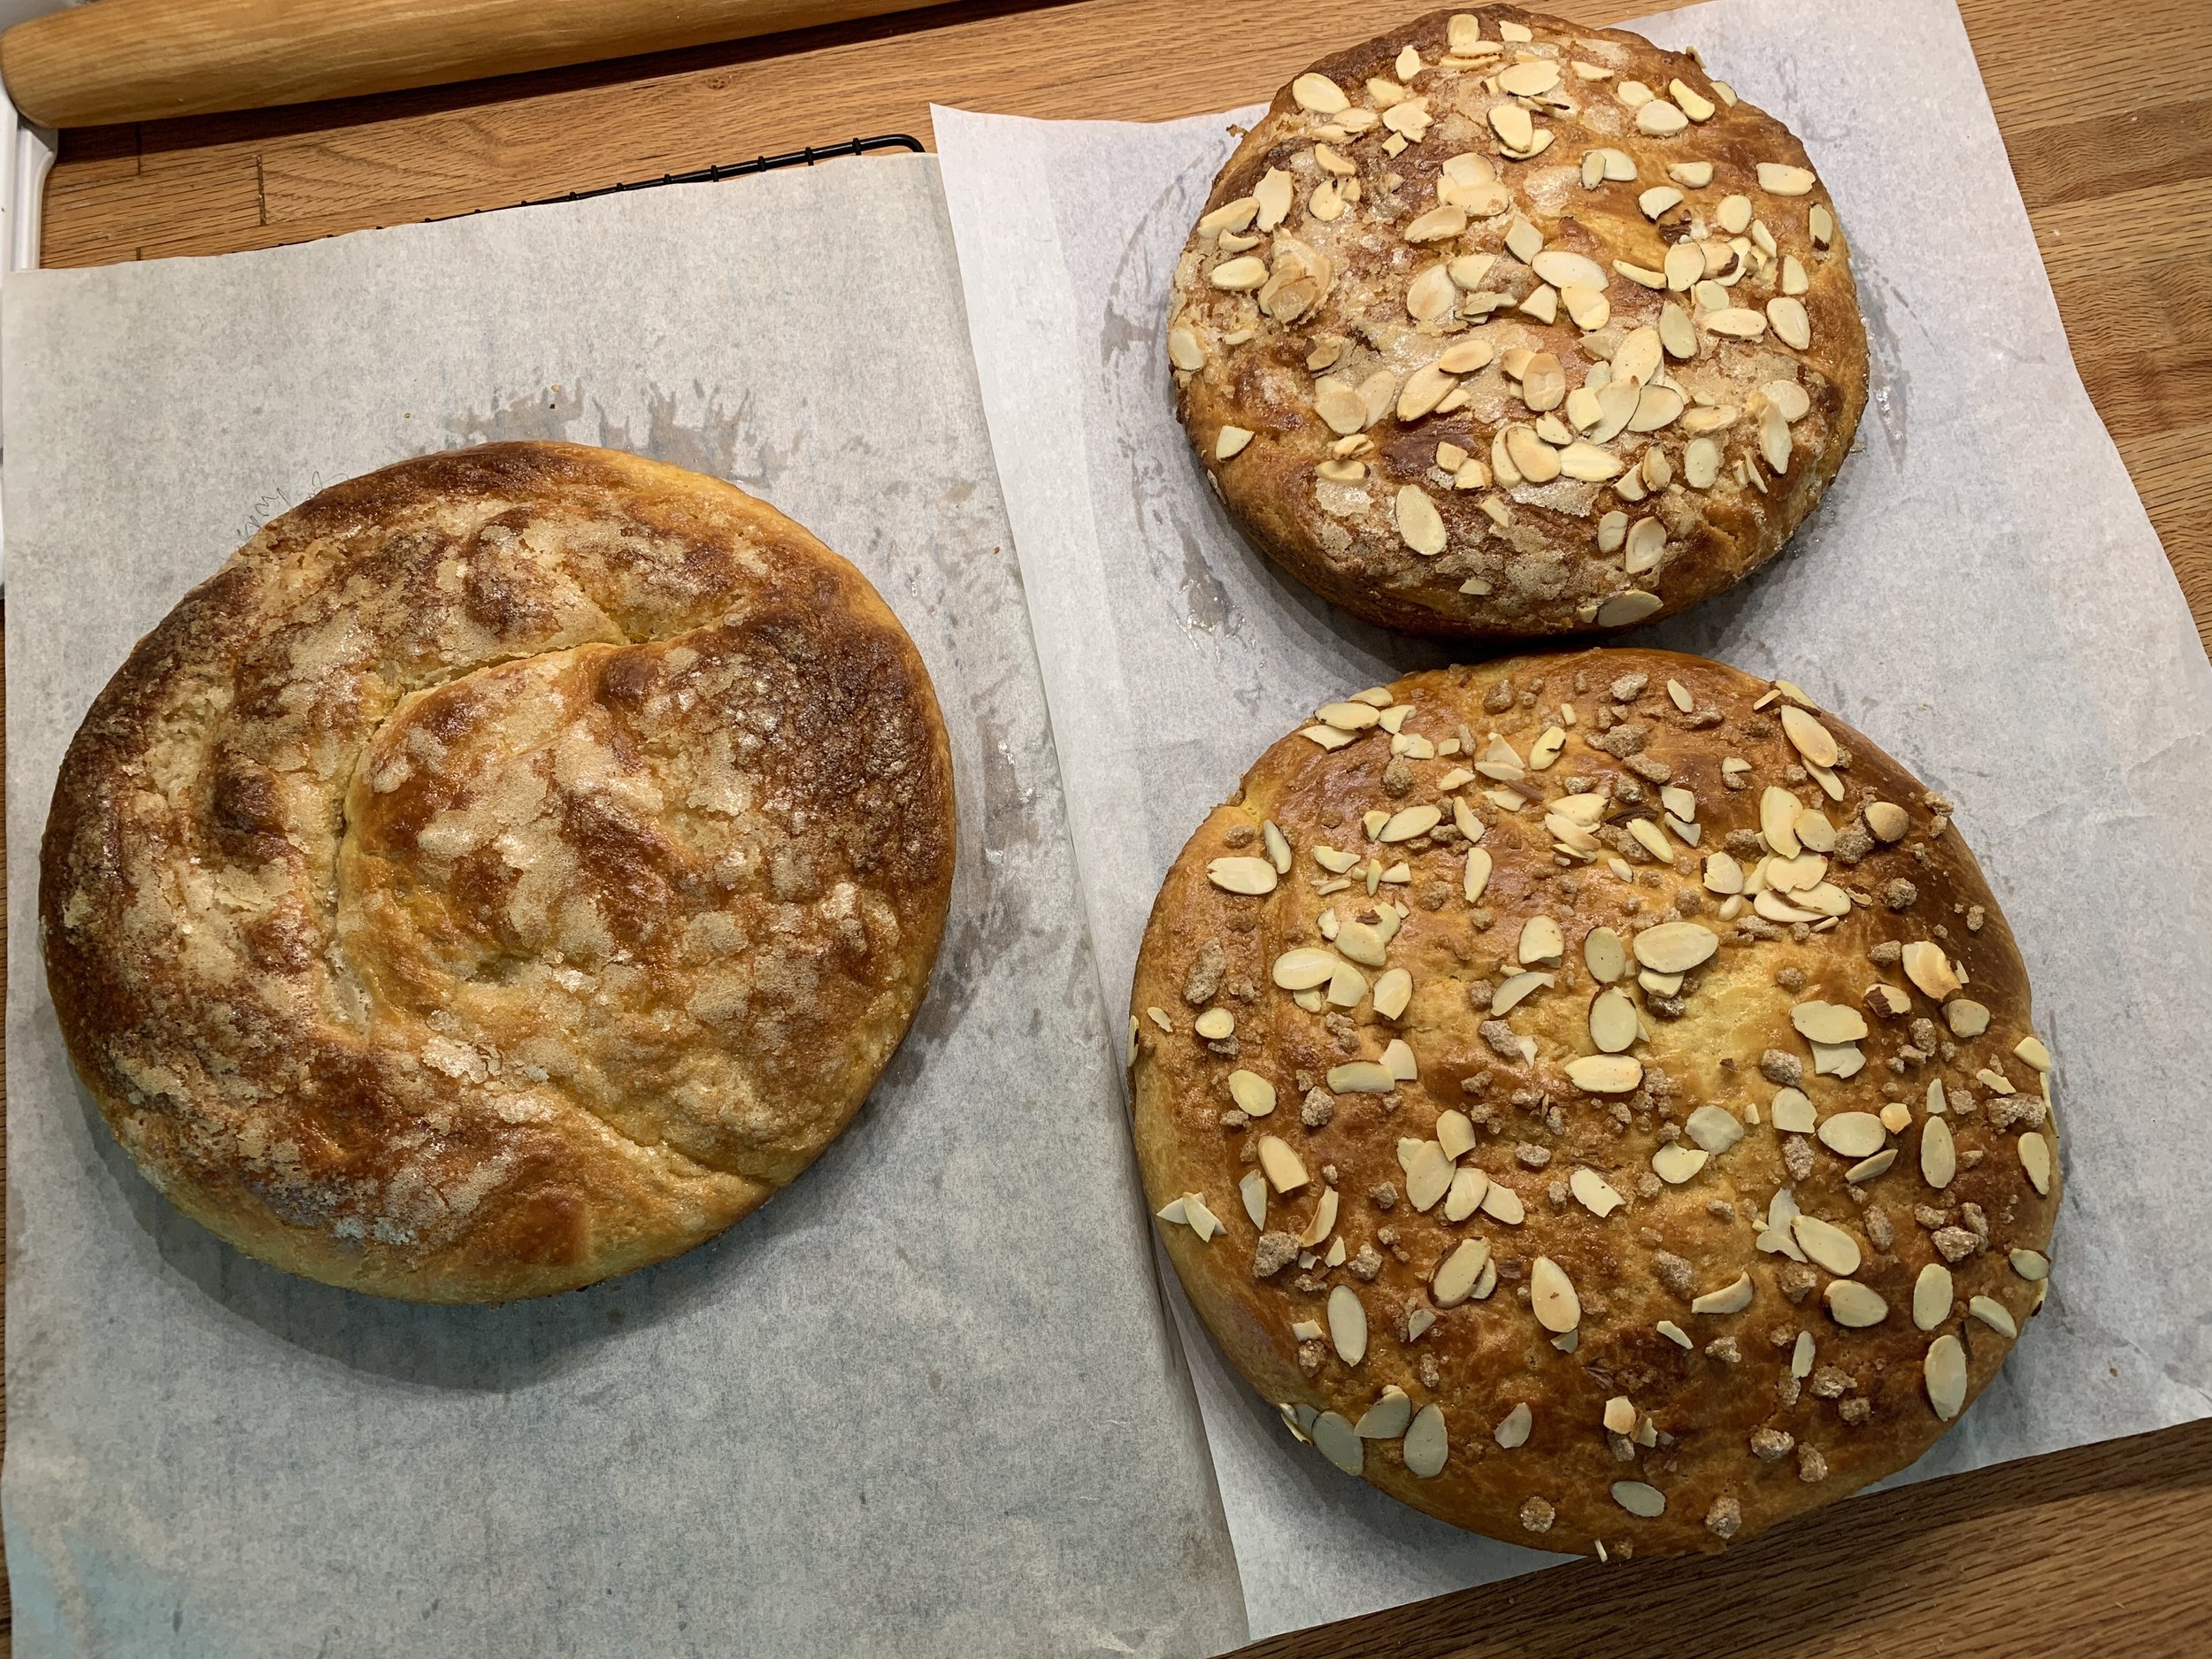
Drizzle about a third of the sugar mixture over each brioche. I left one without further adornment, topped one with sliced almonds and the third with both sliced almonds and some crushed raw sugar cubes.

Bake 35-40 minutes, rotating pans half way through, until nicely golden brown.

Sugar drizzled

Sugar drizzled with almonds

With added crushed raw sugar

Let sit about 10 minutes before un-molding and placing on racks to finish cooling.

I must say all were pretty tasty, but, being a sucker for crunchiness, I really enjoyed the sugar drizzle/almond/crushed sugar cube version.

The crumb was light and nicely flavored with the orange zest.

OK good! Now on to the second version for which I followed Joanne Chang’s approach from her book “Flour: Spectacular Recipes from Boston’s Flour Bakery + Cafe”.

I knew that Joanne had worked at Payard’s in NYC back in the beginning of her baking career, so what did I do? I sent her an email asking about the process they had used! She kindly directed me to her book (link above) which I found at our local library and delved into the steps.

A few differences: individual brioche, adding candied orange rind (like Keller does) with crushed raw sugar and a slightly different topping. I can do this.

Thin slice two oranges and poach the slices in simple syrup until softened and more translucent. Let them cool and drain on a wire rack then chop into small pieces. You can do this ahead and hold in the fridge for several days if need be.

I had about a cup of rind in the end. Crush raw sugar cubes to yield about 1/2 cup of rough pieces.

For a yield of nine ~ 80 g portions: using 720 g of cold brioche dough after its overnight fridge rise, roll the dough into an approximately 10” (25 cm) by 18” (45 cm) rectangle.

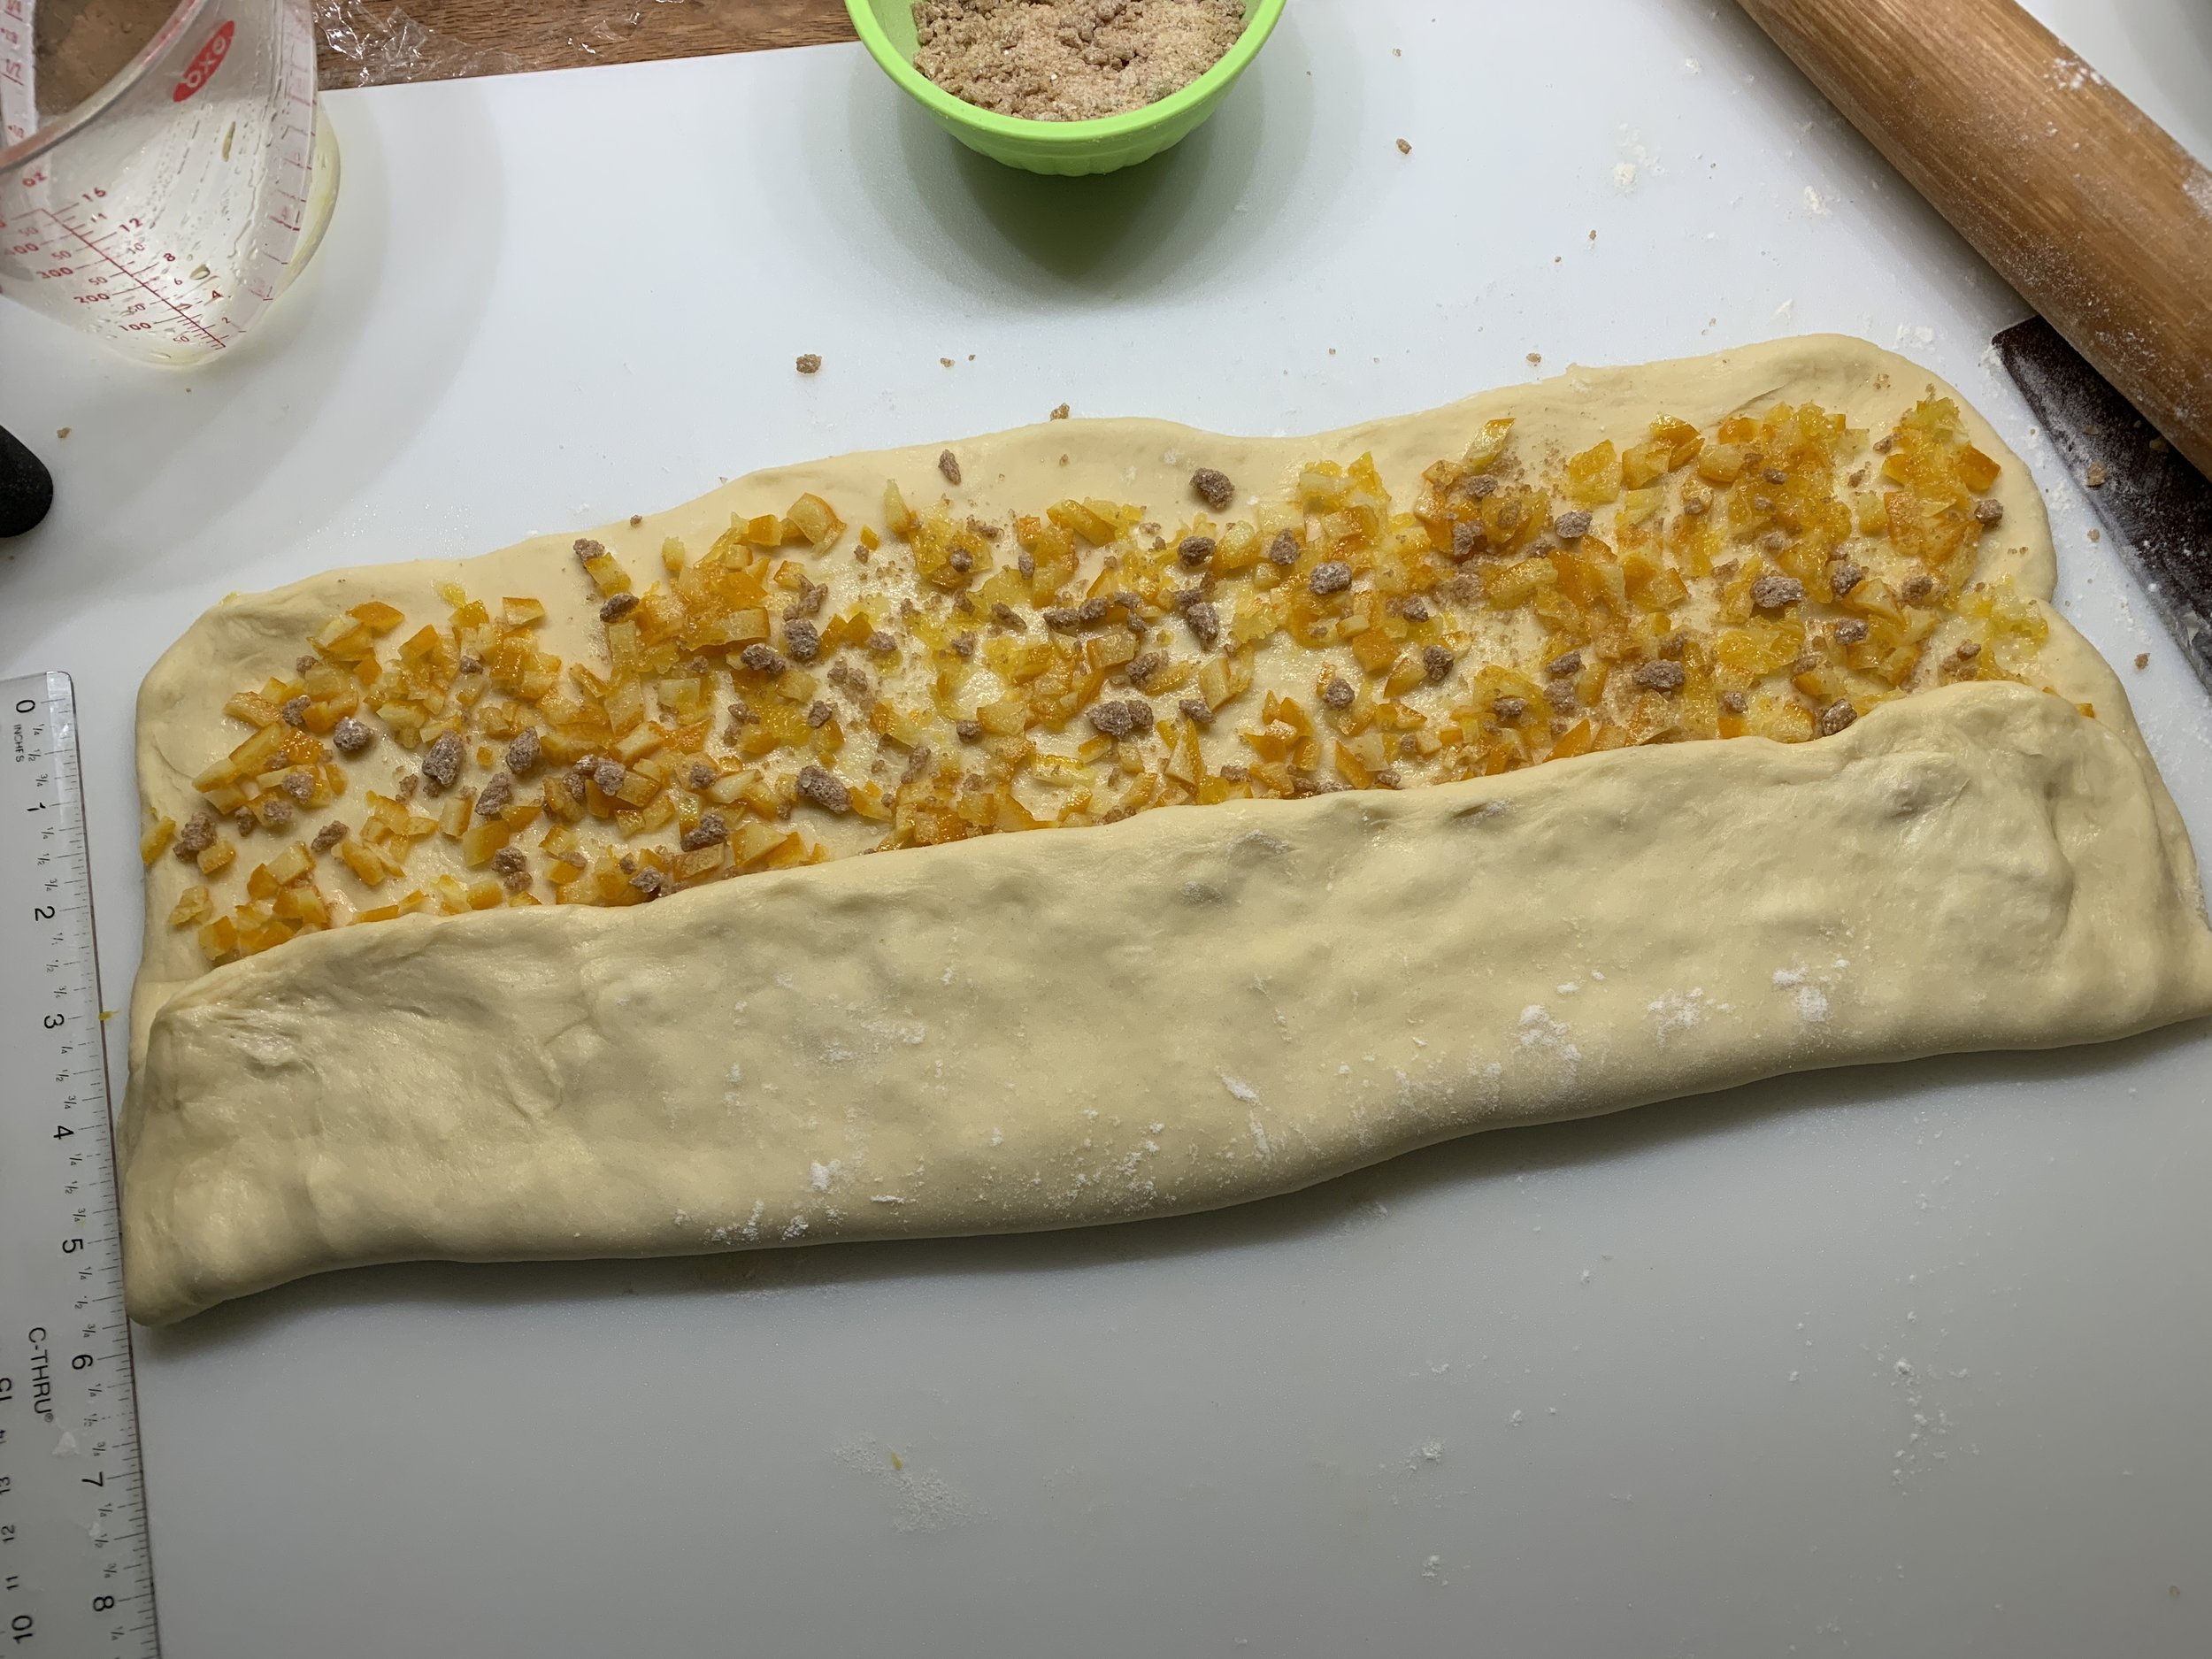
Distribute the chopped orange rind and crushed sugar over the top 2/3 of the dough.

Fold the bottom third up over the middle third.

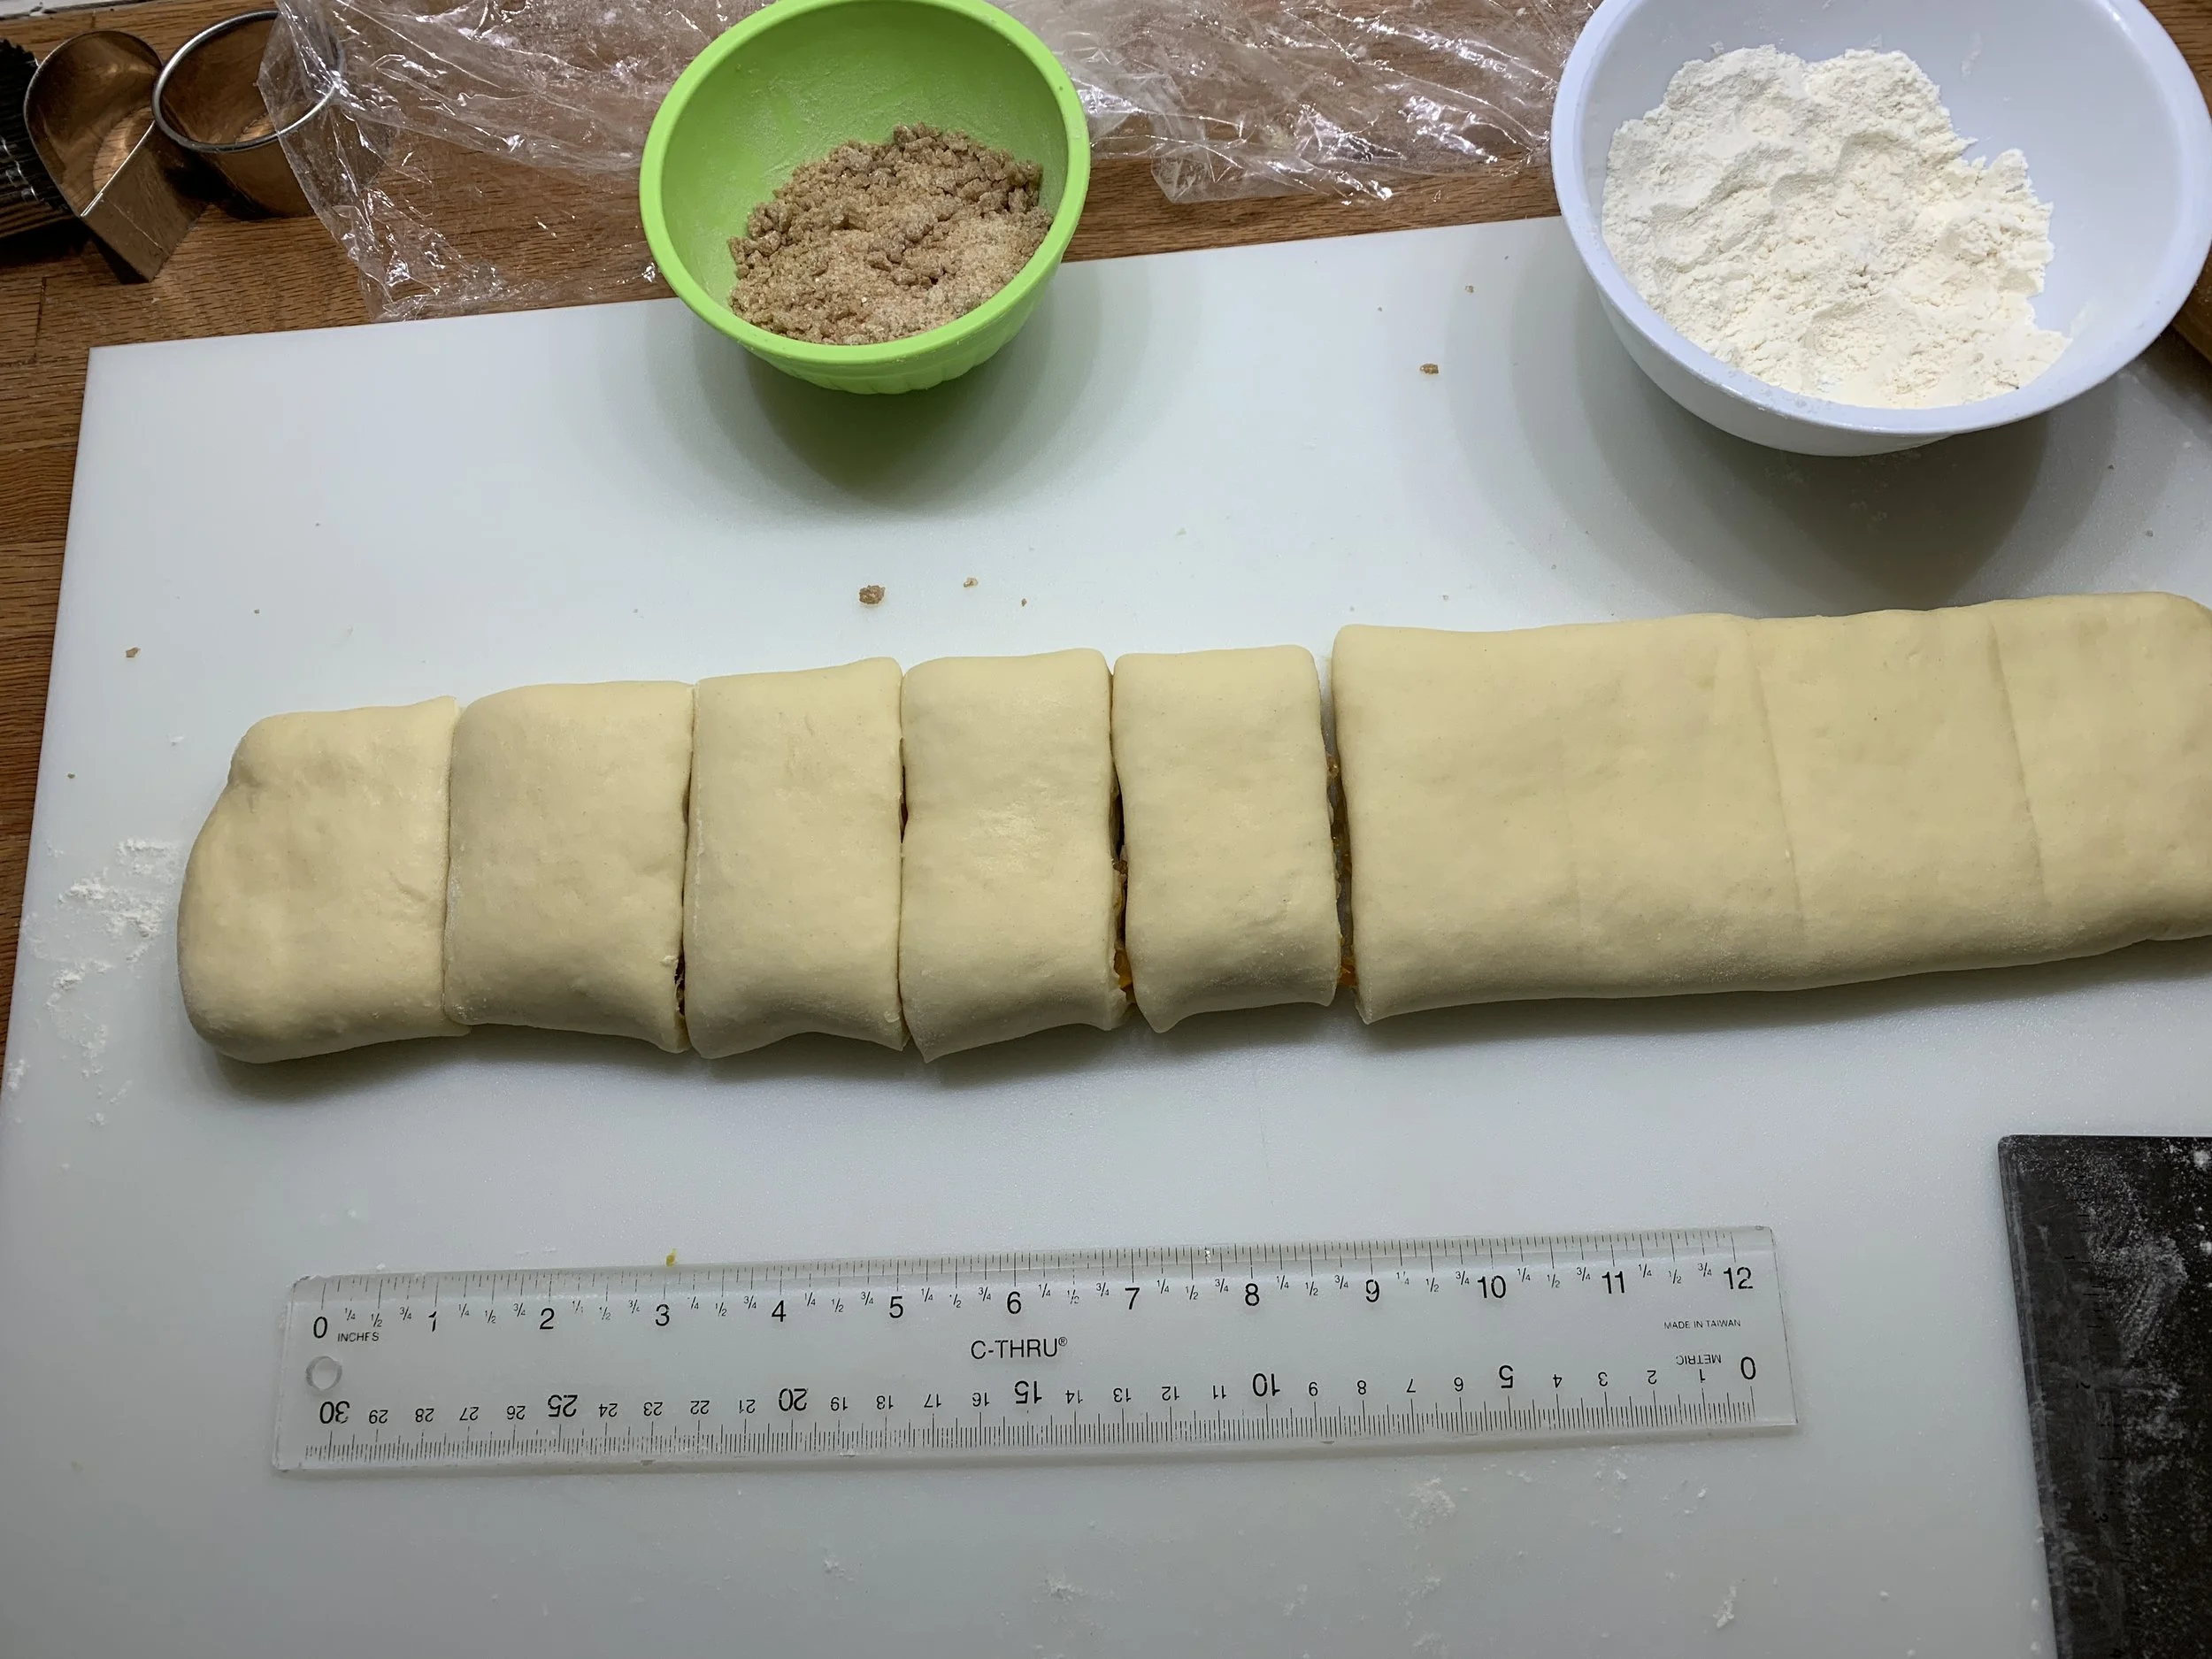
Fold up again to cover the top third.

Cut nine slices, each about 1 3/4 inches (4.5 cm) wide. You can trim up the ends first if you like - I left mine au naturel.

Place spaced apart on a parchment lined cookie sheet, cover with lightly buttered plastic wrap and let rise about 1 1/2 to 2 hours.

Before the rise

Toward the end of that time frame heat the oven to 350ºF.

After the rise

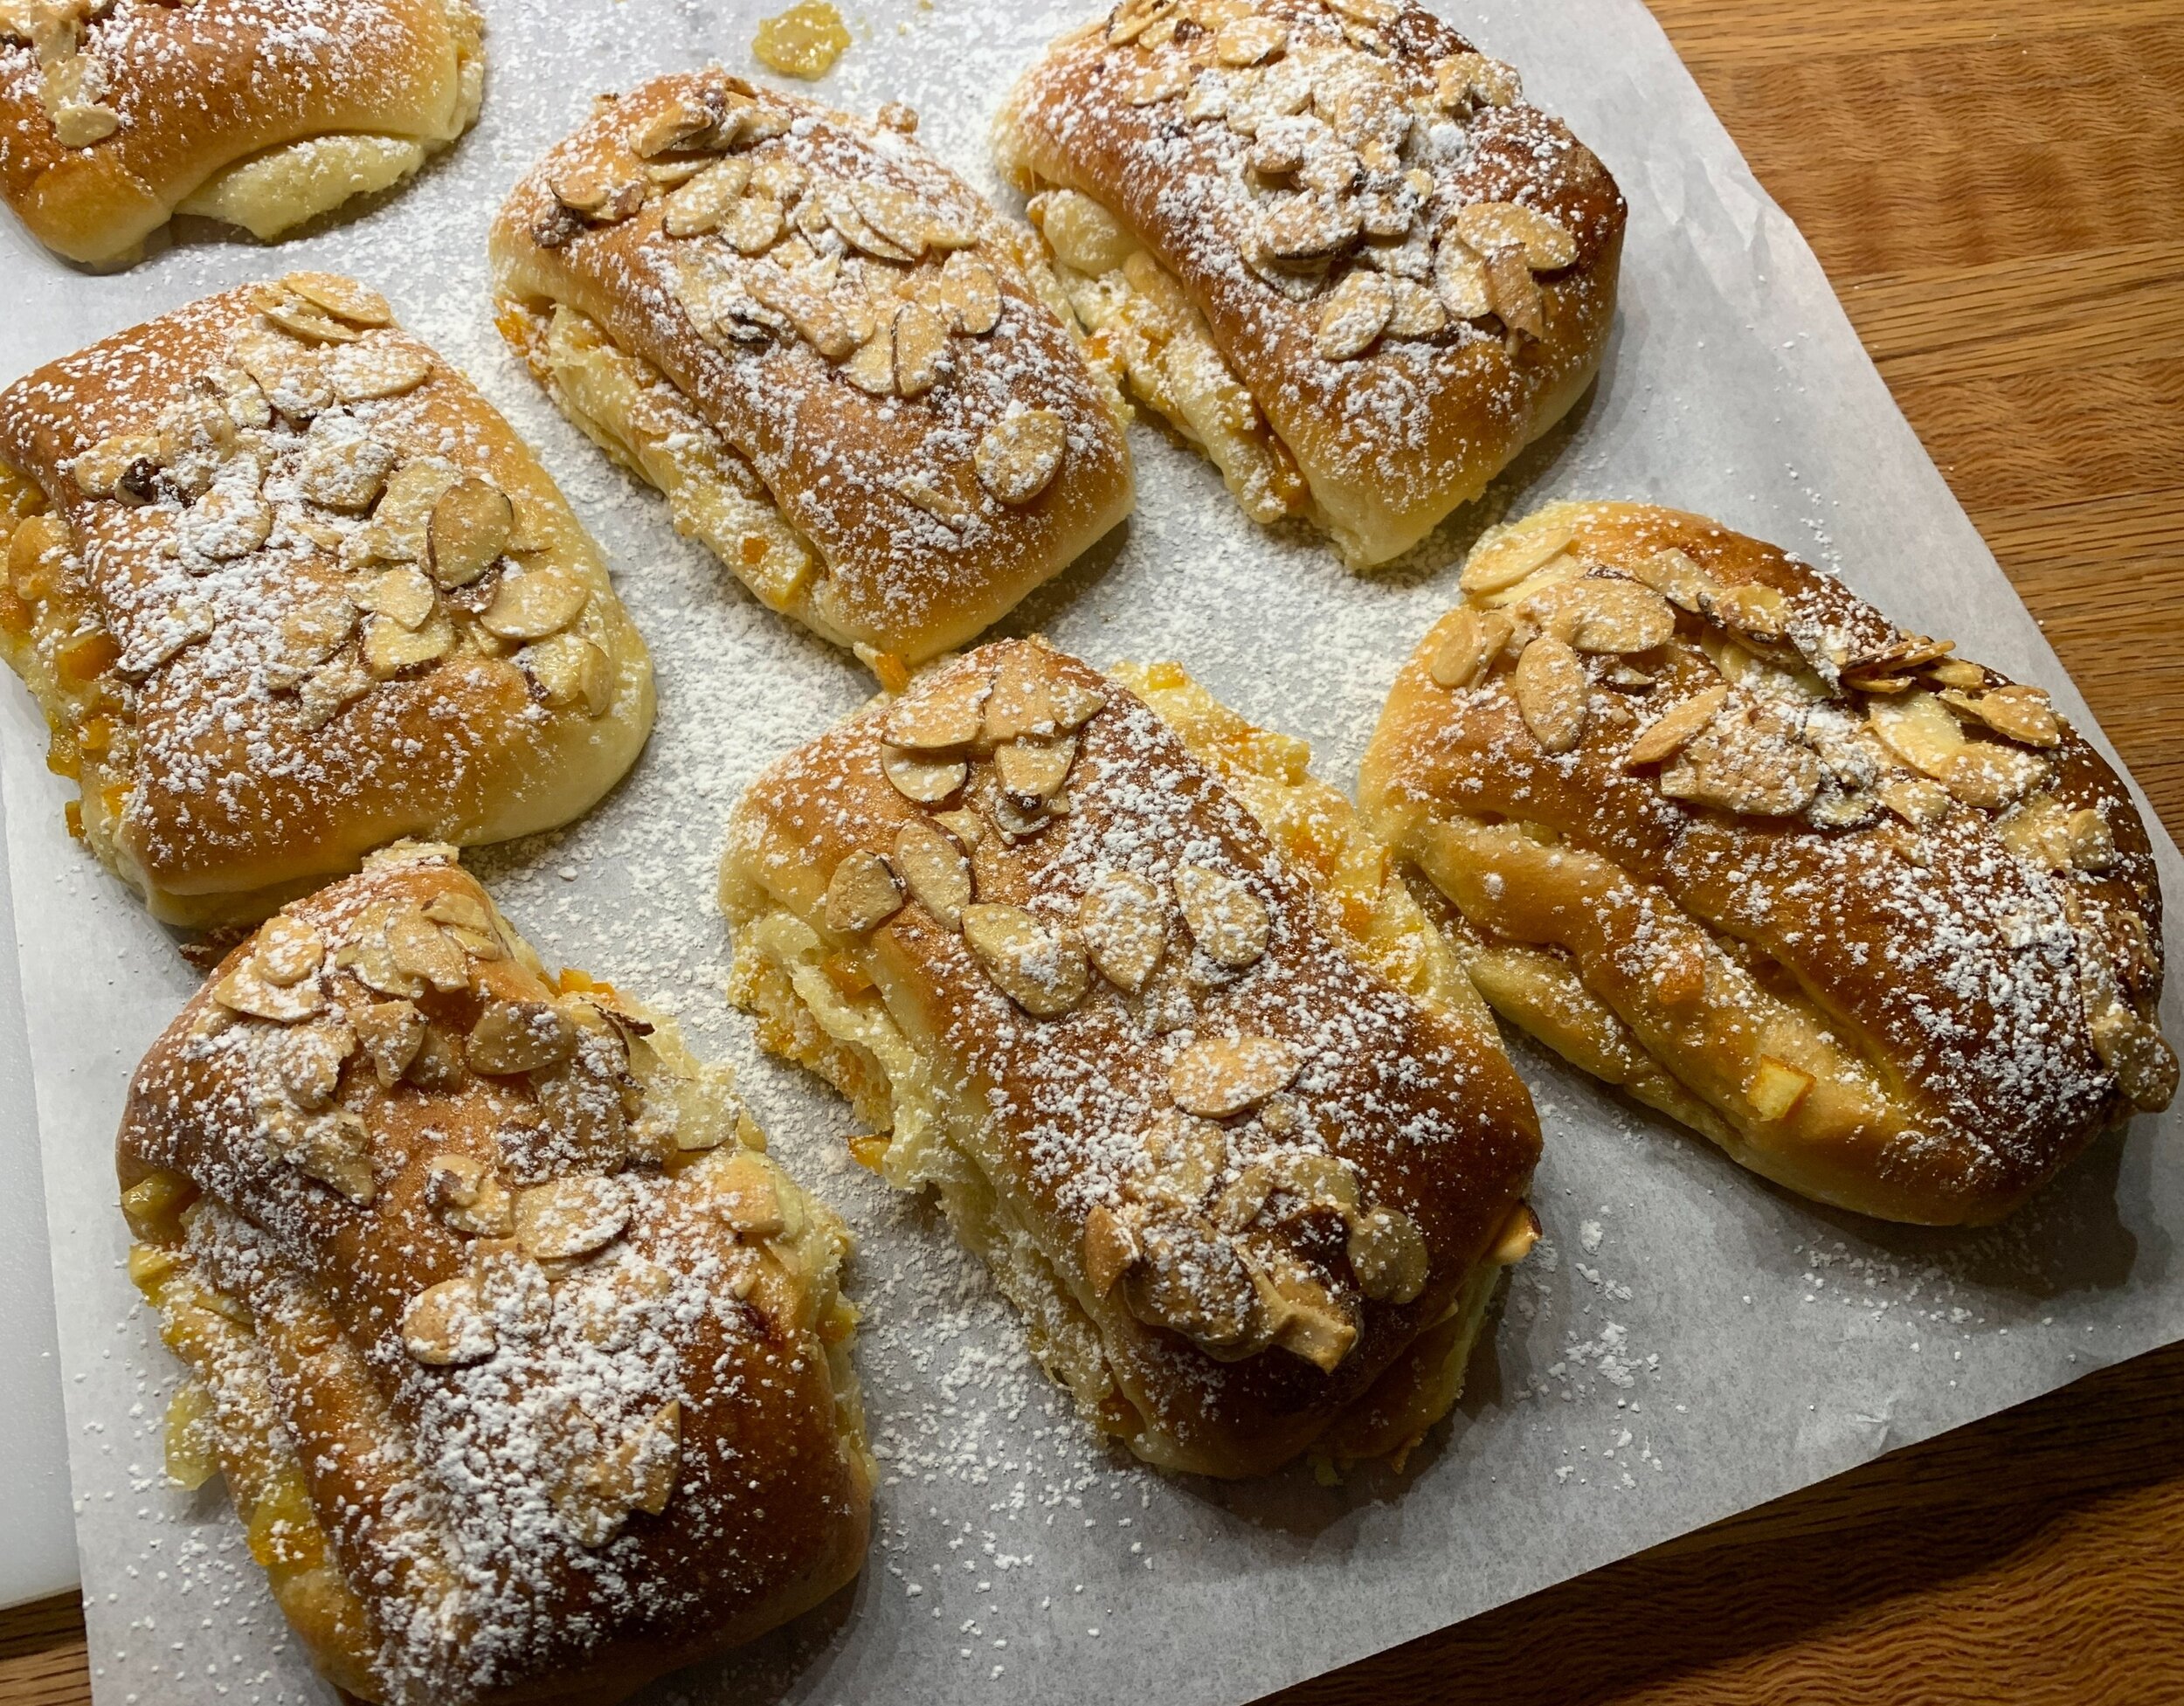
Make a slurry by mixing one large egg, 50 g granulated sugar and 50 g sliced almonds in a medium bowl. Spoon the mixture over each brioche.


Bake about 30-35 minutes until golden brown. You know my mantra - always check sooner than later!!

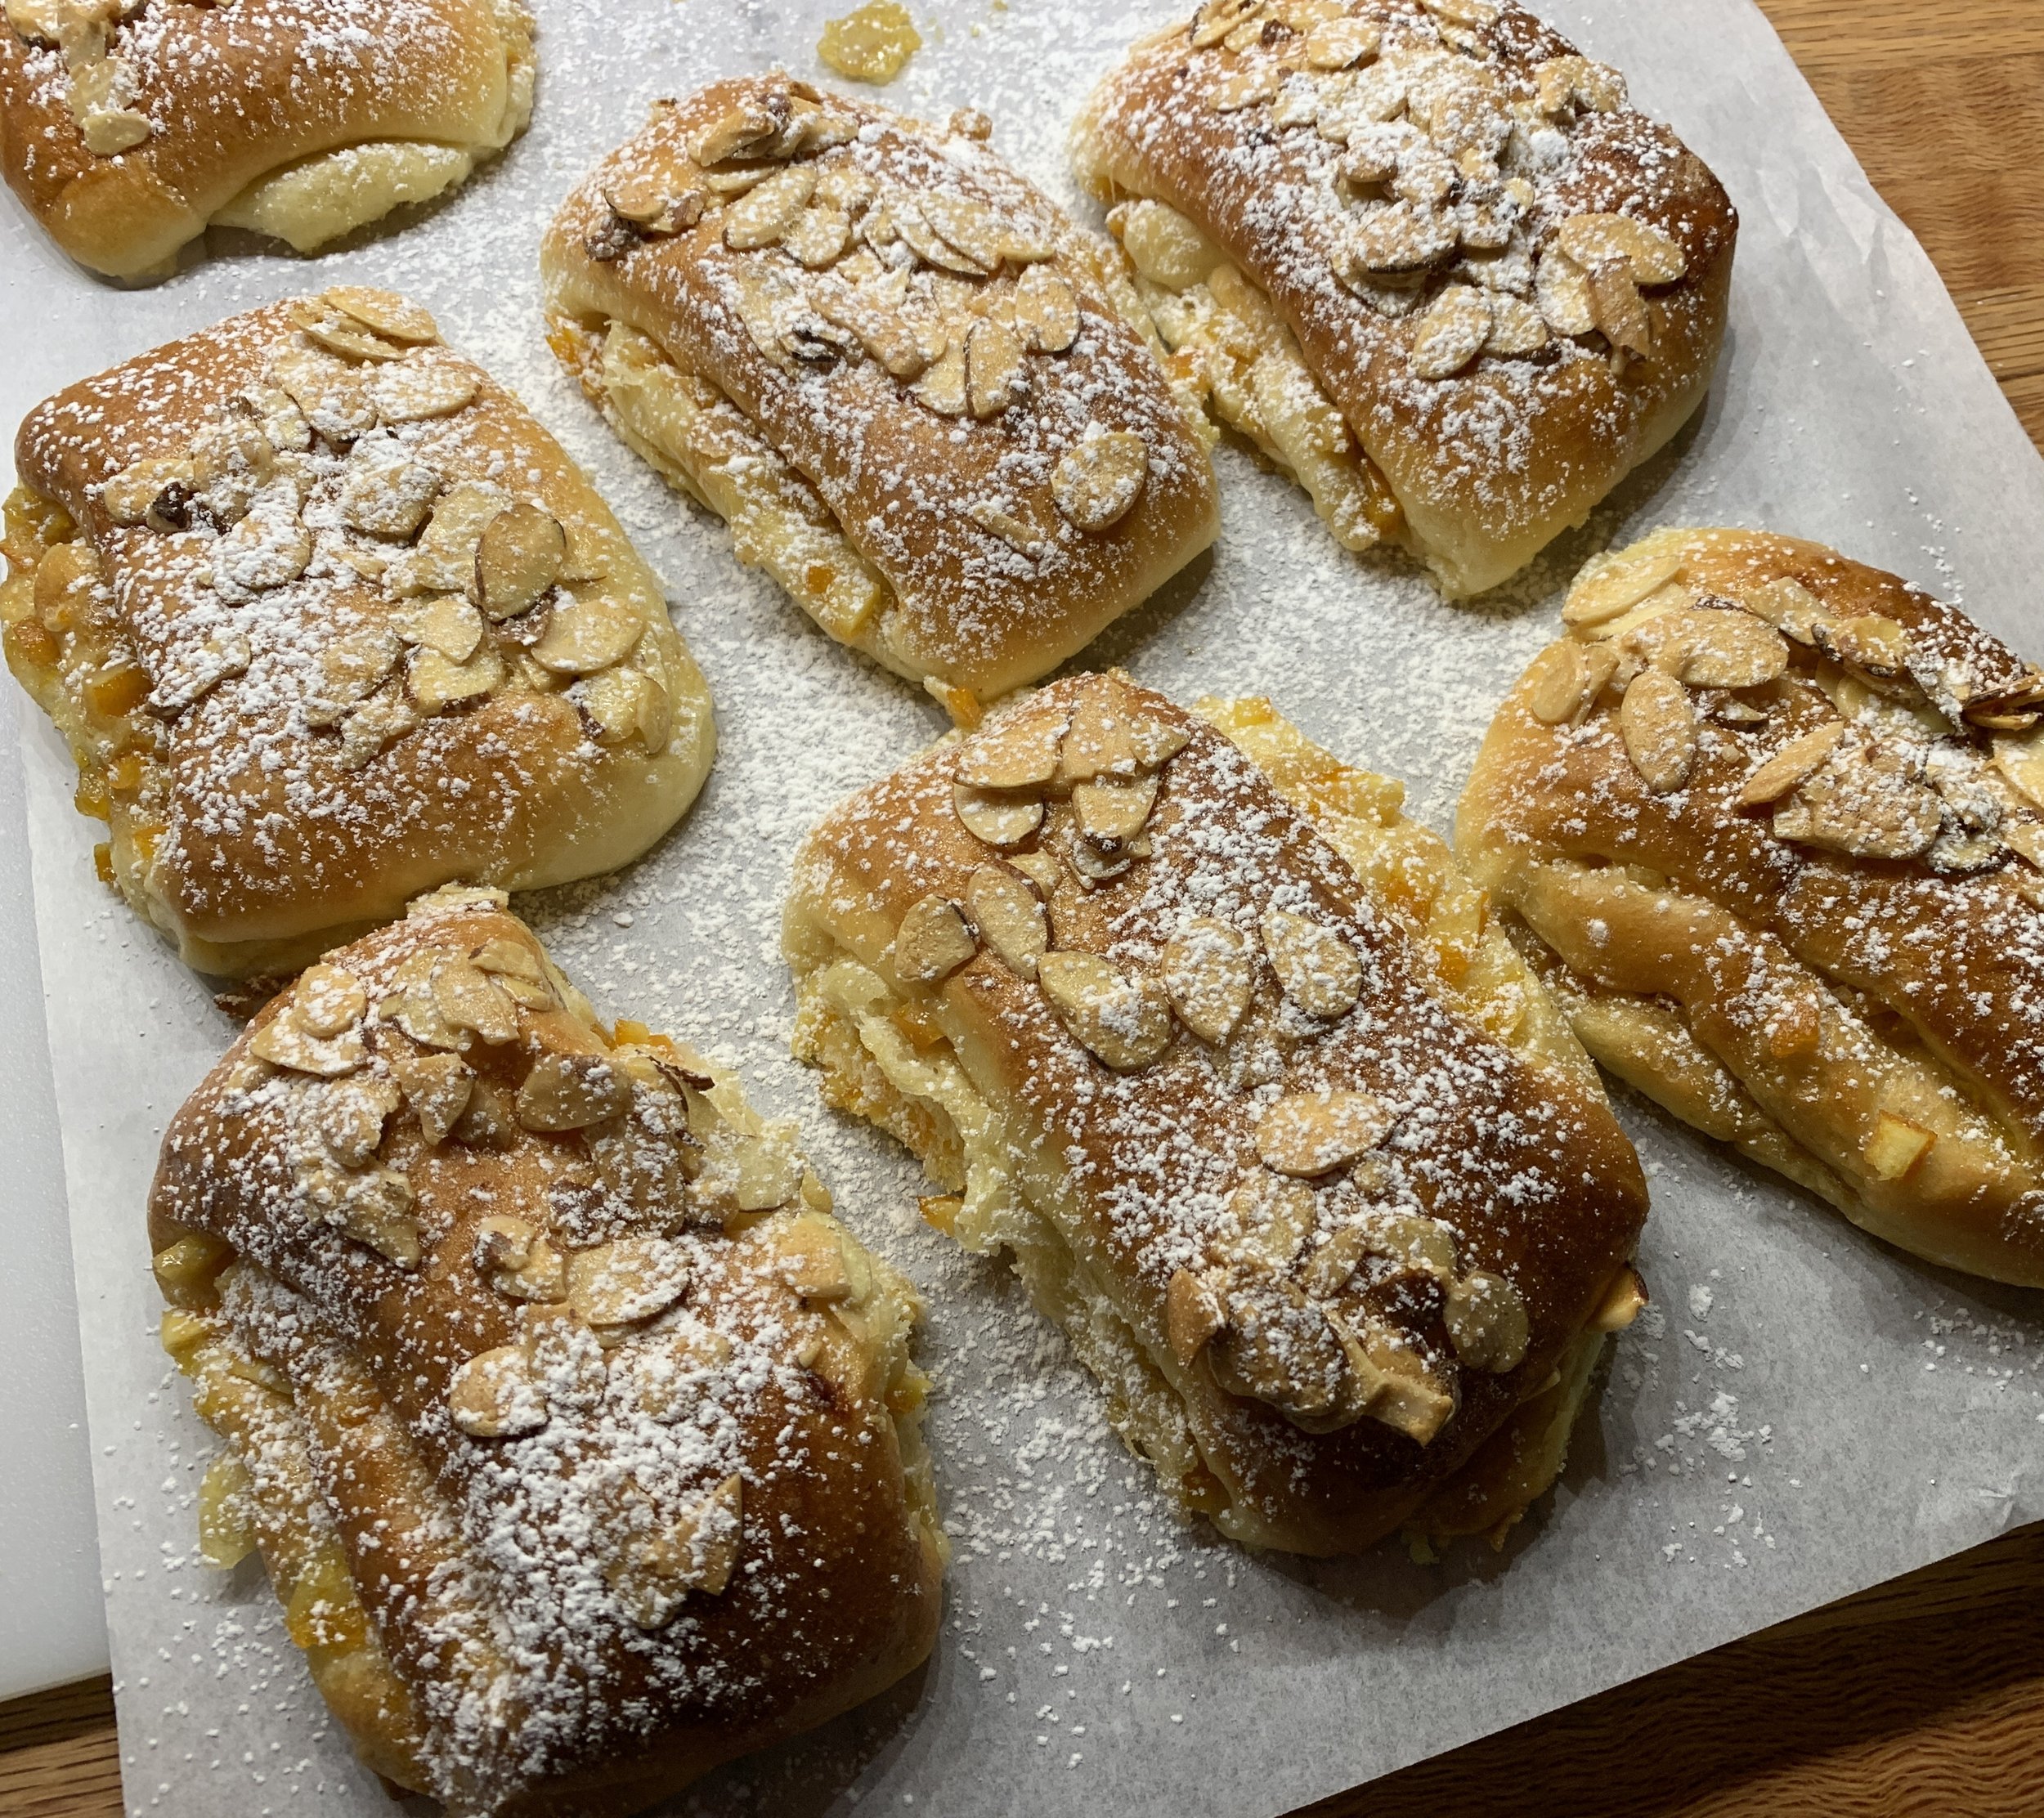
Cool, dust with powdered sugar and enjoy!

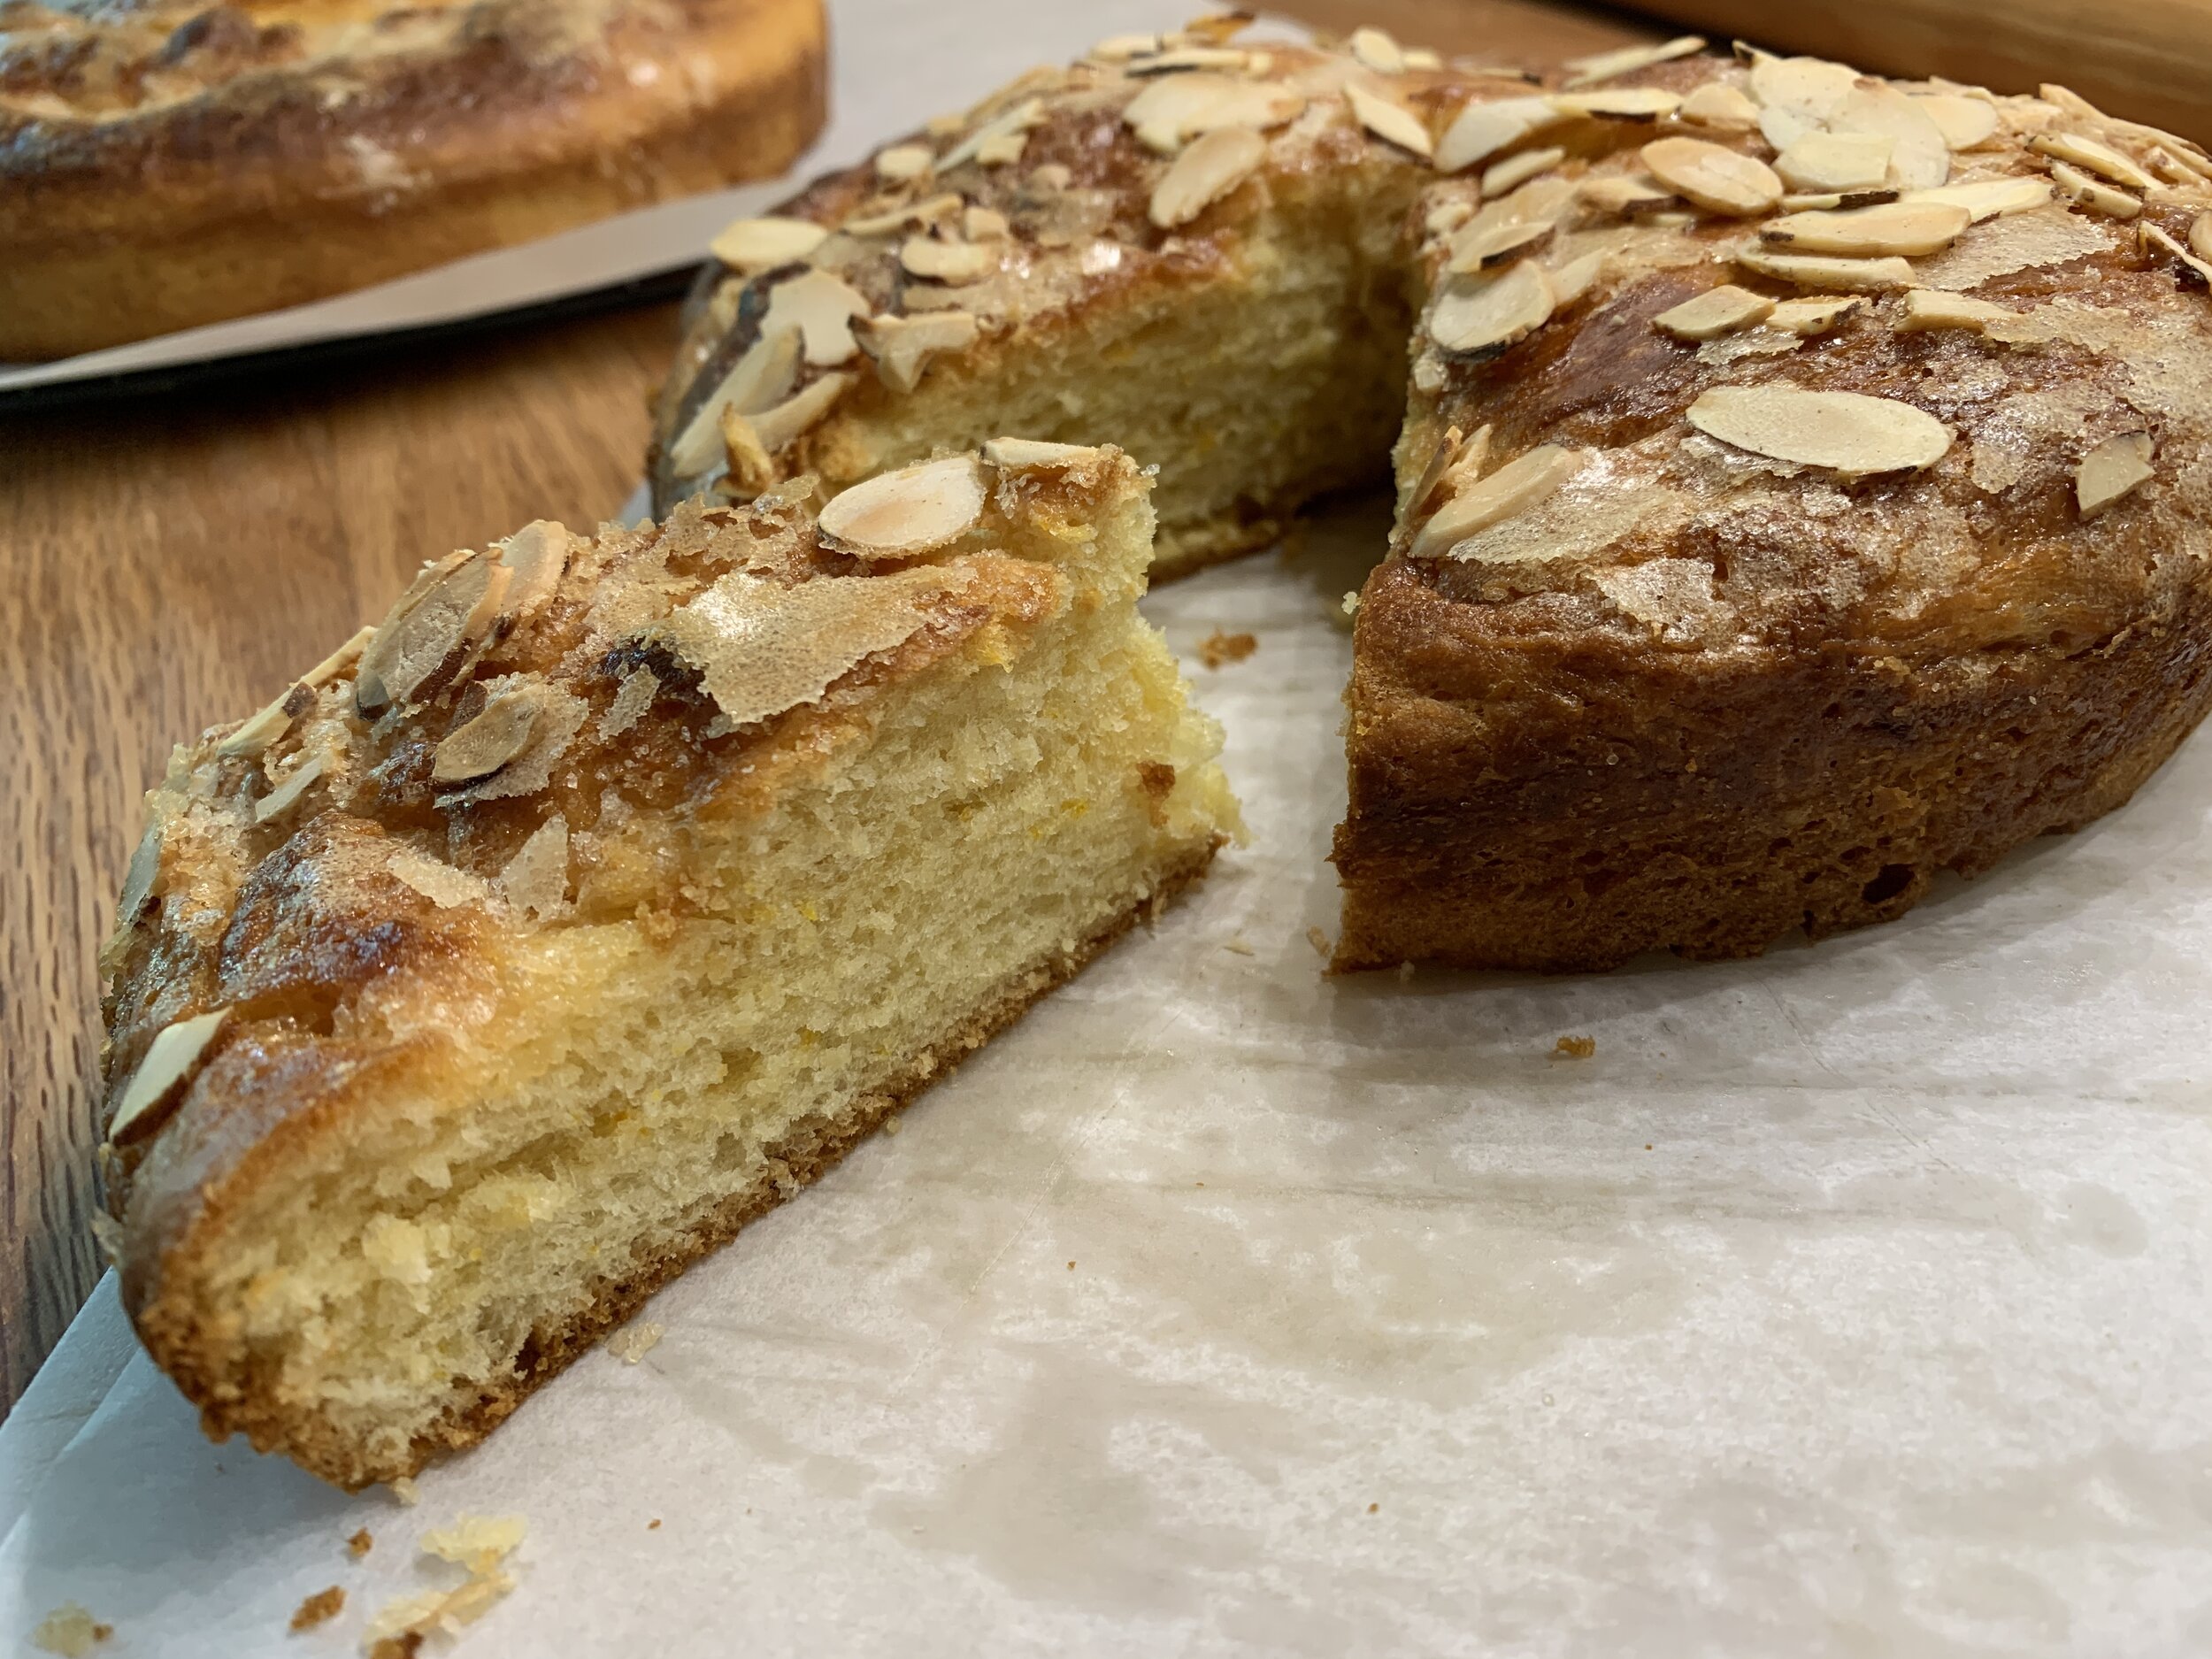
Here’s a cross section - lovely pockets of orange flavor, nice crumb and pretty darn good crunchy top too!

Just goes to show you how you can create variations with your own favorite brioche or sweet bun dough. Have fun with it!

Beautiful colors are popping and fall is definitely in the air! Enjoy!!


Place Monge, 5th arr. and a bit about brioche

Friday market at Place Monge

We made a visit to our old stomping grounds on rue Monge on a beautiful Friday morning. It just so happens that Pâtisserie Pascal Pinaud, where I did my two stages after pastry school, is located just a few steps from the market. Back then it was often the task given to me (the gofer) on market day to buy whatever produce might be needed for the shop.

Market culture in Paris is very interesting. Parisians have their favorite vendors and will patiently stand in line awaiting their turn. Once they’re up, they take as much time as they need as the vendor picks out (with the customer’s guidance of course) their strawberries, tomatoes, melons, haricots verts, mushrooms or whatever is on their list for the day. It’s all so very orderly.

Back in the day at Pascal’s I was told in no uncertain terms which vendor stand I should visit (seen in the photo below) so I would patiently wait my turn to buy the pommes (Golden Delicious was the go-to) for tartes or chaussons, the berries and currants for garnishing the gateaux/entremets or to tuck into a layer for millefeuille aux citron et framboises and even the occasional lettuce for the daily baguette sandwiches. The stall is still in the same place and it looked like some of the same people were manning it. Fifteen years later!

Waiting in line

We snapped up some beautiful looking haricots verts and luscious fresh fraises for the weekend and strolled around admiring the fresh flowers, cheeses, seafood, saucisses, specialty honeys and so much more.

Fresh from the market

We popped into Pascal’s shop to say hi, Steve hoping to score some pâtes des fruits (they had none - awwwwww.) Chef Pascal wasn’t in, but his wife, who basically runs the front of the shop, remembered me and, in addition to the few pastries we bought, she gave us a small kougelhopf as un cadeau! How thoughtful.

Kougelhopf

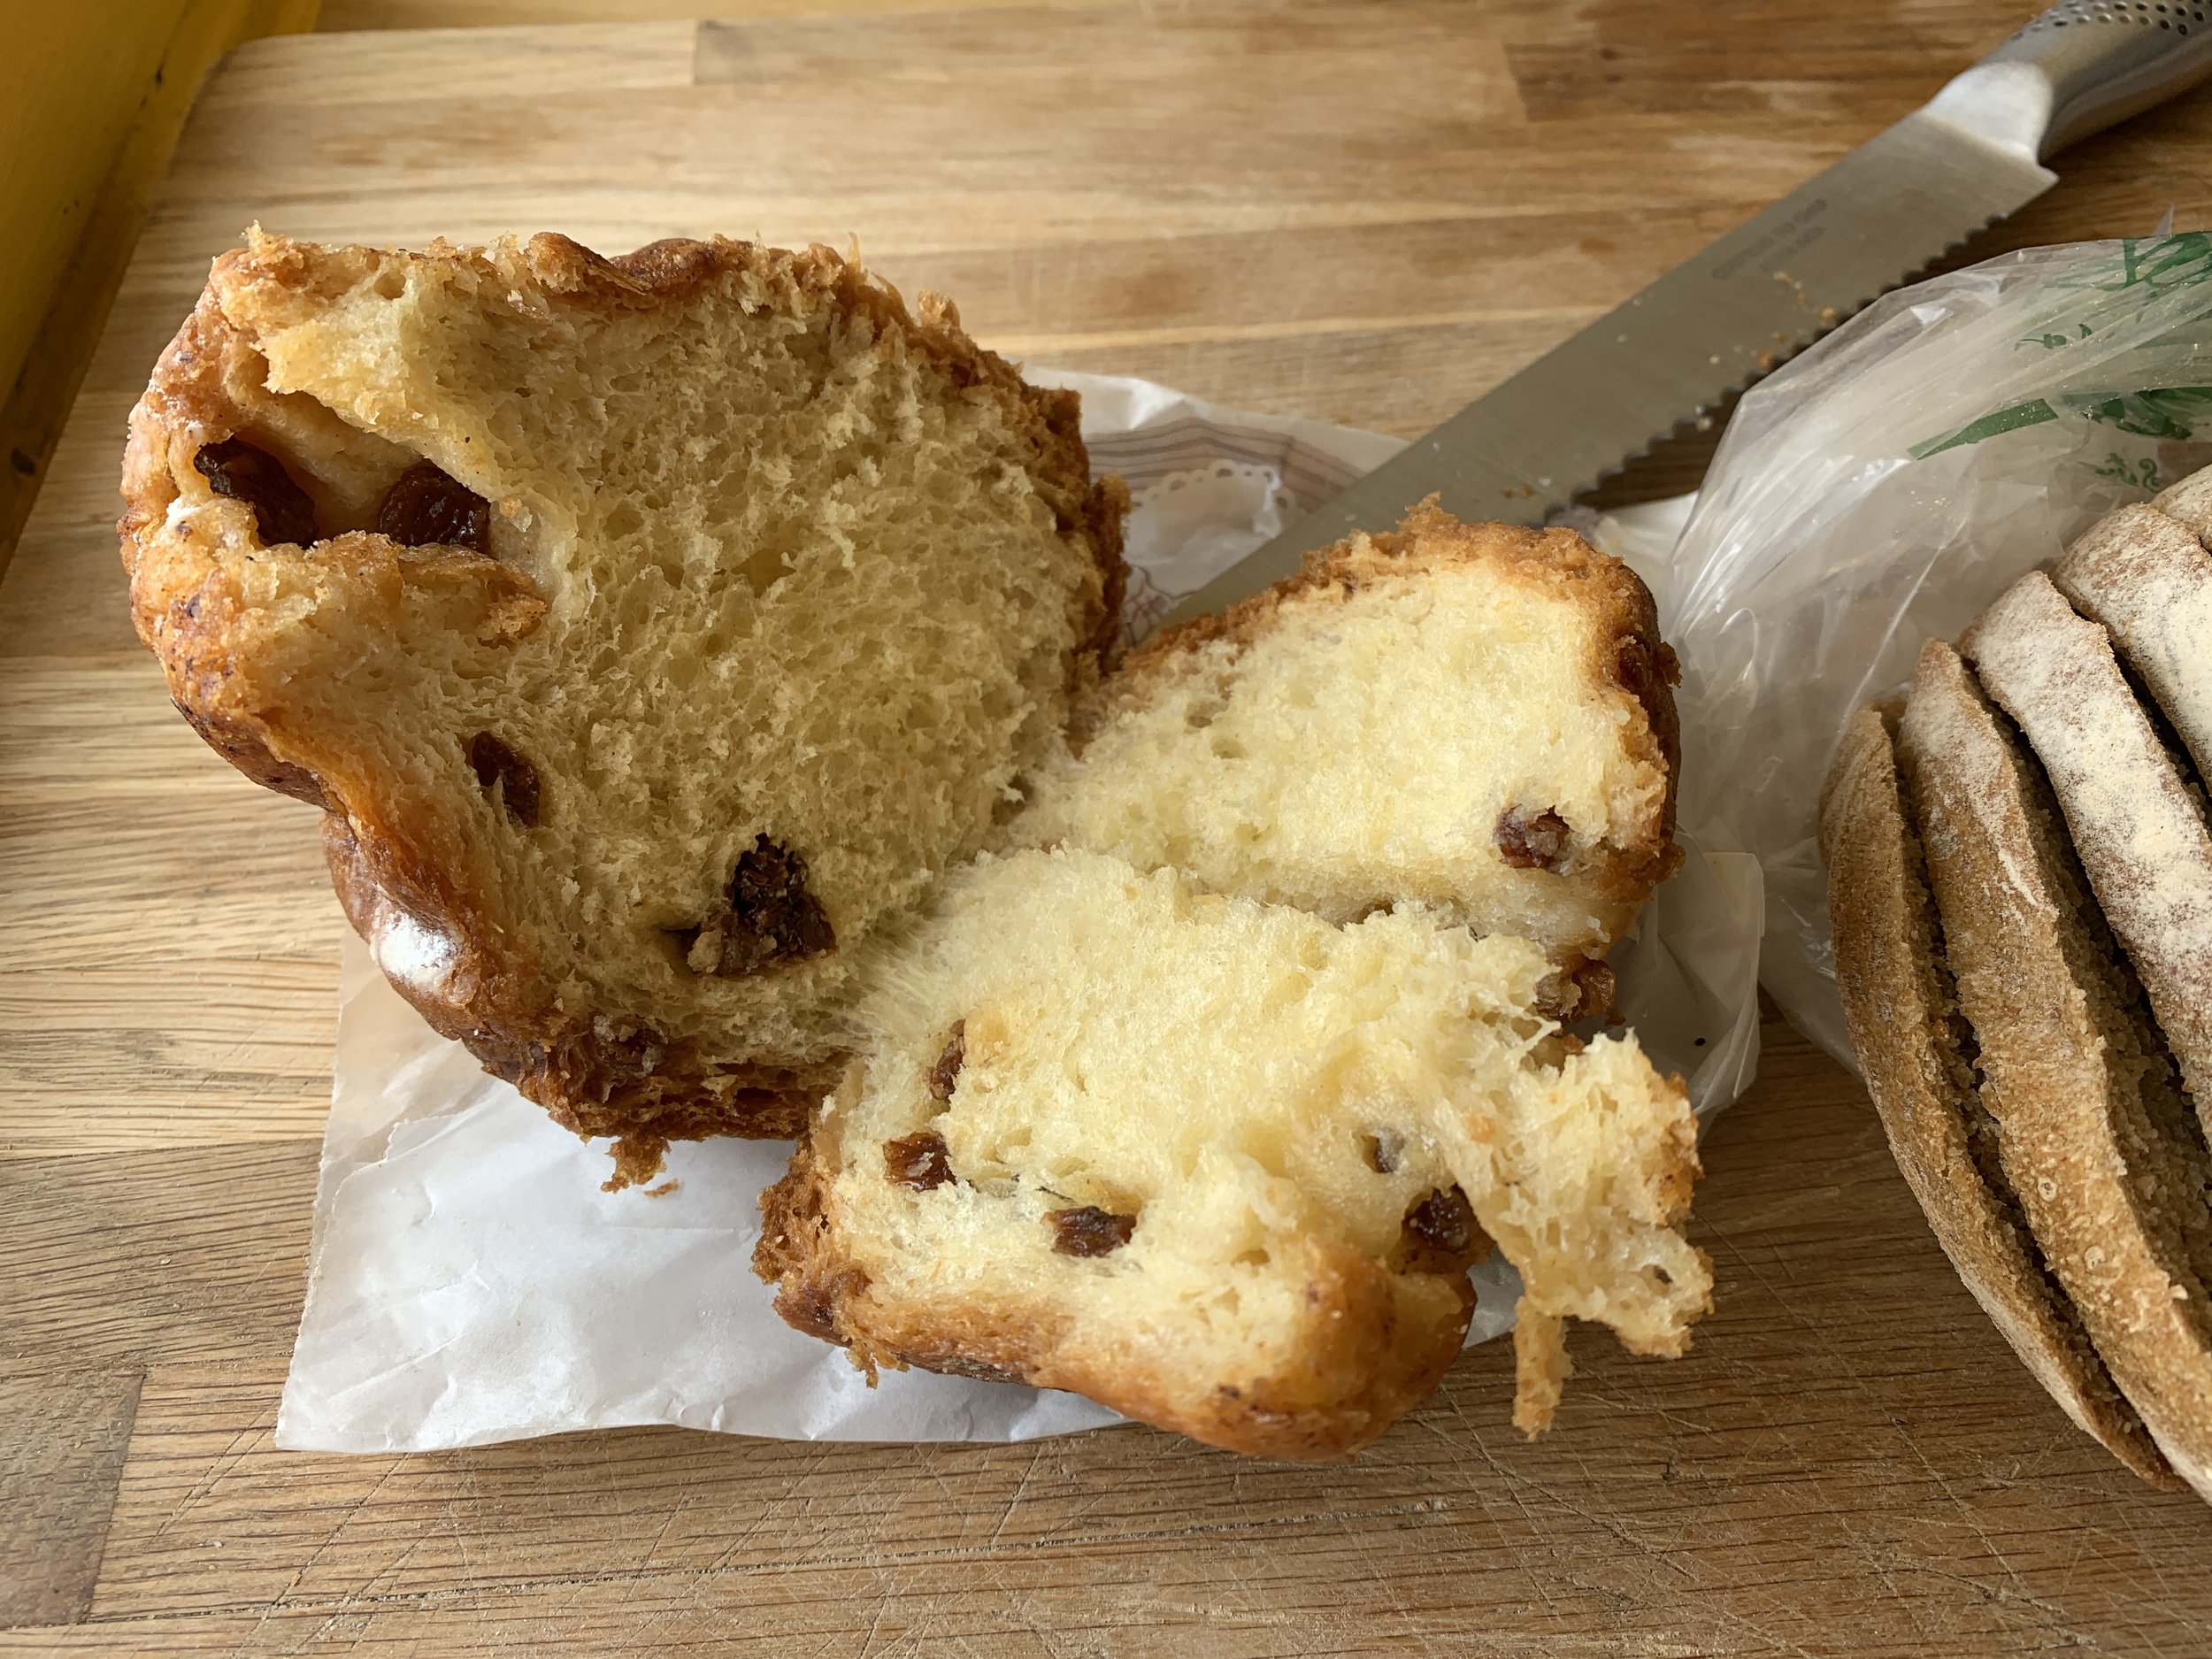
Our haul included une tarte aux abricots, un èclair au café, un boule de campagne (country bread) and the gifted kougelhopf which I didn’t hesitate to slice into for a sample. There was un pain au chocolat in the mix but guess what - Steve scarfed that baby down tout de suite! BTW - we thought mine are better - just sayin’.

Treats from Pascal’s

A word about kougelhopf. It’s a traditionally Alsatian speciality with some Austrian ties as well. You can read more about it here. A rich brioche dough baked in a fluted mold, imbibed with a rum syrup and holding rum soaked raisins inside, it’s a treat enjoyed by many.

Working at Pascal’s was my chance to get a real handle on making brioche dough and for years I used the recipe from Pascal’s. He used to chide me if I added the butter pieces too quickly - they needed time to be blended into the dough. Over the years as I did more of my own comparisons and research, I now use a recipe that I find very satisfying. Because the dough is enriched with butter and eggs, the mixing and rising times are important to achieve the light crumb at the end. Nothing worse than a heavy brioche. Ouch!

Pascal’s brioche is indeed a fine example of a well made dough but, truth be told, I’m not a big fan of rum/raisins, and the imbibing syrup made for a soggy mouth feel. Don’t get me wrong - it’s a very well made kougelhopf, but I prefer a nicely baked, un-soaked brioche (a bit of lemon zest anyone?) with a schmear of jam and maybe some fresh fruit on the side. Yes.

Kougelhopf

Steve enjoyed the èclair as his after dinner treat. I loved the tarte aux abricots with my coffee the following morning, and we both thought the whole wheat boule de campagne made for great toast with a bit of butter and good cheese (or jam or PB or . . . . .)

A big thanks to the vendors at Place Monge and to Pâtisserie Pascal Pinaud. Those were the days my friends.

YUM!

Market flowers at Place Monge

Sesame brioche rolls

Hmmmm . . . more sesame you say? This time let’s talk tahini brioche. While I don’t always have tahini on hand, once purchased and used for its intended project, it sits in the cupboard waiting. I think Steve and I bought a jar some weeks back to make a dressing or marinade for something. Fortunately the shelf life is good, but I don’t like to let it linger too long before figuring out ways to use it up.

Always up for trying a new brioche recipe, I thought I’d give this one a try. As was true of the sesame cumin crackers of which I wrote recently, the recipe comes from Sofra, the popular middle Eastern bakery/cafe in Cambridge MA. It was presented in the holiday 2018 issue of King Arthur Flour’s erstwhile magazine “SIFT”, a beautiful, glossy presentation of all things baking and pastry. Please note - all credit goes to Sofra and King Arthur - I’m simply here to share my experience as I went through the steps.

i love a buttery brioche and have tried and tweaked many a recipe. My current go to recipe involves the usual long mixing time for this enriched dough, followed by an overnight rest in the fridge before dividing, shaping and baking the intended rolls or buns or whatever. The primary difference with Sofra’s is the first step of making a sponge before mixing the final dough. A sponge belongs to the family of pre-ferments like poolish, biga, pâte fermentée and levain and is intended to give the dough a chance to develop more flavor as well as give it a longer shelf life.

After a quick review of pre-ferments in Rose Levy Beranbaum’s “The Bread Bible”, as well as a few recipes that utilize the sponge approach, I realized that the sponge in this brioche sits for a short 30 minutes. It seems that 1-4 hours at room temperature or even overnight refrigeration are more typical, buuuuuut . . . . . I opted to follow the recipe - you gotta try, right!

The image below shows my mise with the sponge not quite at the 30 minute stage (as you see above).

OK - let’s go through the steps. For the sponge blend together 60 ml / 1/4 cup tepid whole milk, 7 g / 2.25 teaspoons instant yeast, 1/2 teaspoon sugar in the bowl of a stand mixer; once the yeast has dissolved, whisk in 2 large eggs and stir in 130 g / 1 cup all purpose flour.

Sprinkle another 65 g / 1/2 cup all purpose flour over the top of the mixture.

Cover and set aside for 30 minutes until the top flour layer is cracked, a sign that the yeast has started its work.

Now add to the sponge: 227 g / 1.75 cups all purpose flour, 50 g / 1/4 cup sugar, 10 g / 2 teaspoons salt, 3 large eggs, 1 large yolk and 110 g /~1/3 cup well stirred tahini. Mix on low speed with the dough hook to bring everything together. Then increase to medium for 8-10 minutes until the dough starts forming around the hook.

Scrape down the sides and give it a high speed mix for a minute more.

On medium speed add half (100 g) of the cold, cubed butter; mix until incorporated; add the remaining 100 g butter and mix about 10-15 minutes more until silky smooth. Give it one more minute on medium high - you want the dough pulling away from the sides of the bowl.

Oooooooh - love that sheen!

Lightly butter a 3 or 4 quart bowl or container, place the dough in and press into a rectangle. Fold the edges in, turn the dough over and press again into a rectangle. Cover or tightly wrap and refrigerate 6 hours or overnight. Being such an enriched dough, it doesn’t tend to rise too aggressively.

Here it is the next morning. Rise and shine!!

In general when shaping brioche dough it’s best to keep it cold, so leave it in the fridge until you’re ready to go. I envisioned a smallish roll so I figured about 60 g / 2 ounces for each piece (Sofra’s yield is a dozen rolls, making each a generous 90-ish g each). My total dough came to 1100 g; divide that by 60 g which yields 18 rolls. Sounds good to me.

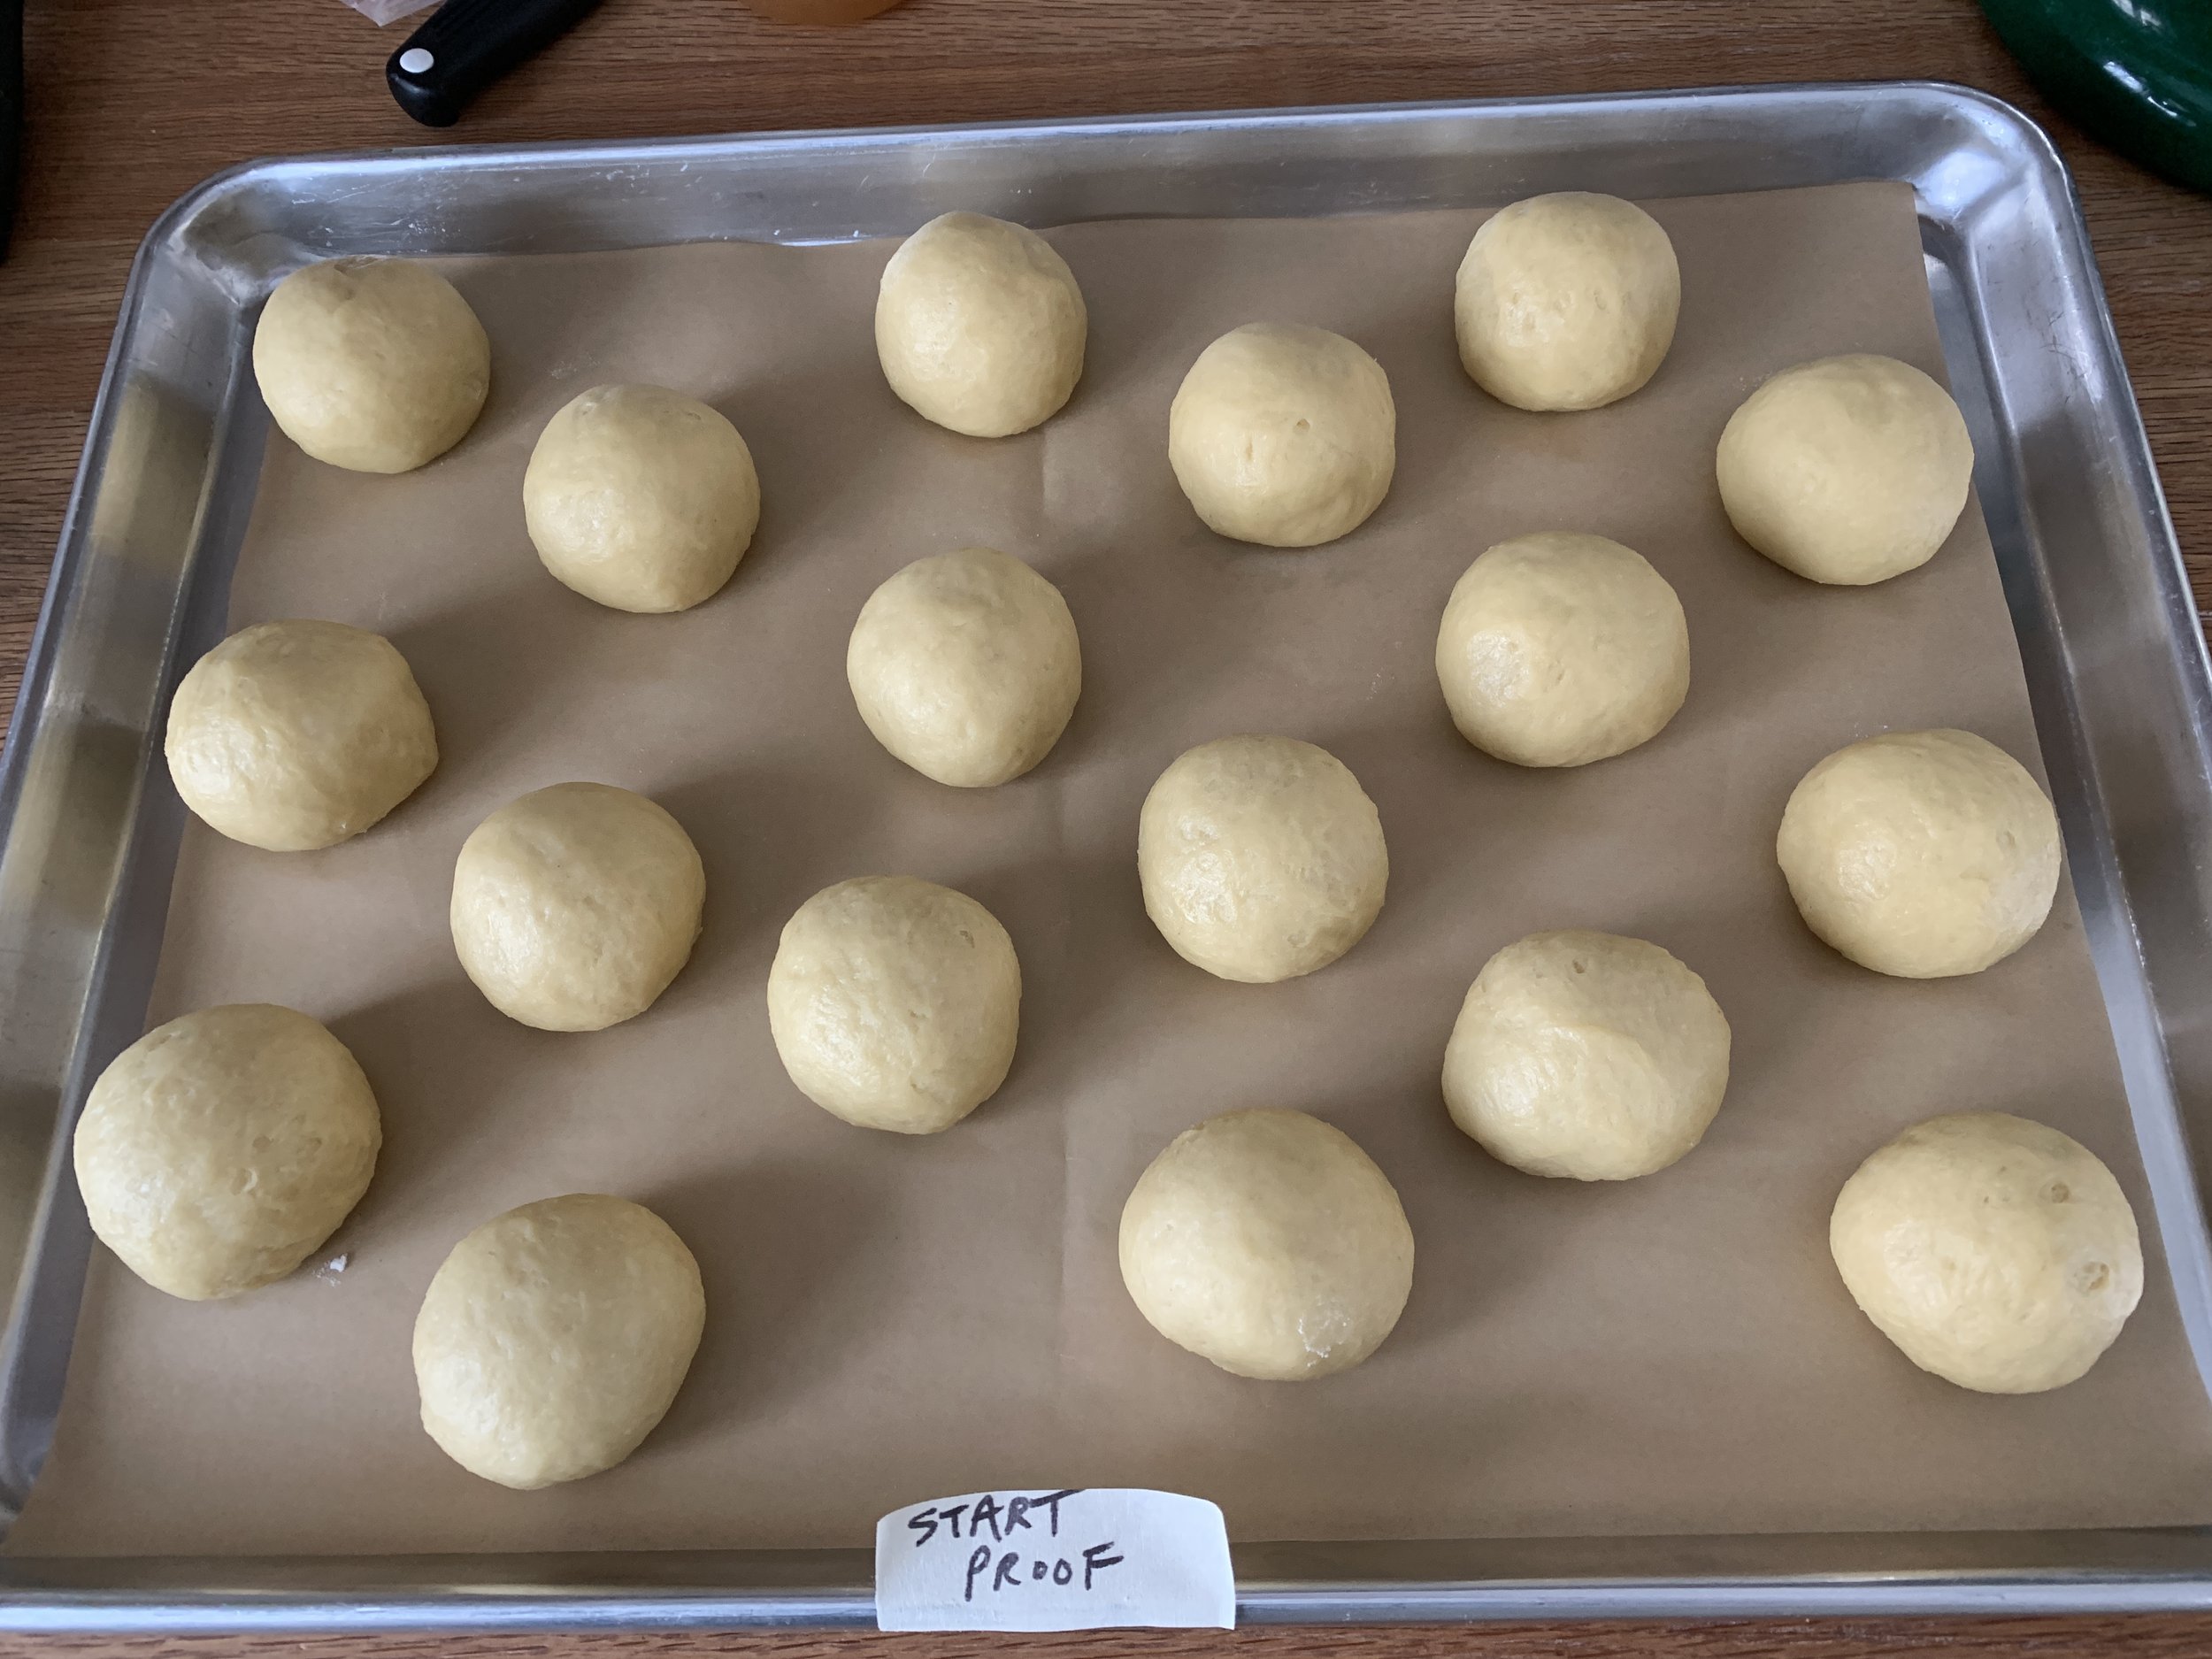
Divide the dough and shape each piece into snug balls.

Place rolls on a parchment lined sheet pan. NOTE: Sofra’s recipe directs use of a buttered 9 or 10” springform pan, tucking the rolls in and ending up with pull-apart rolls.

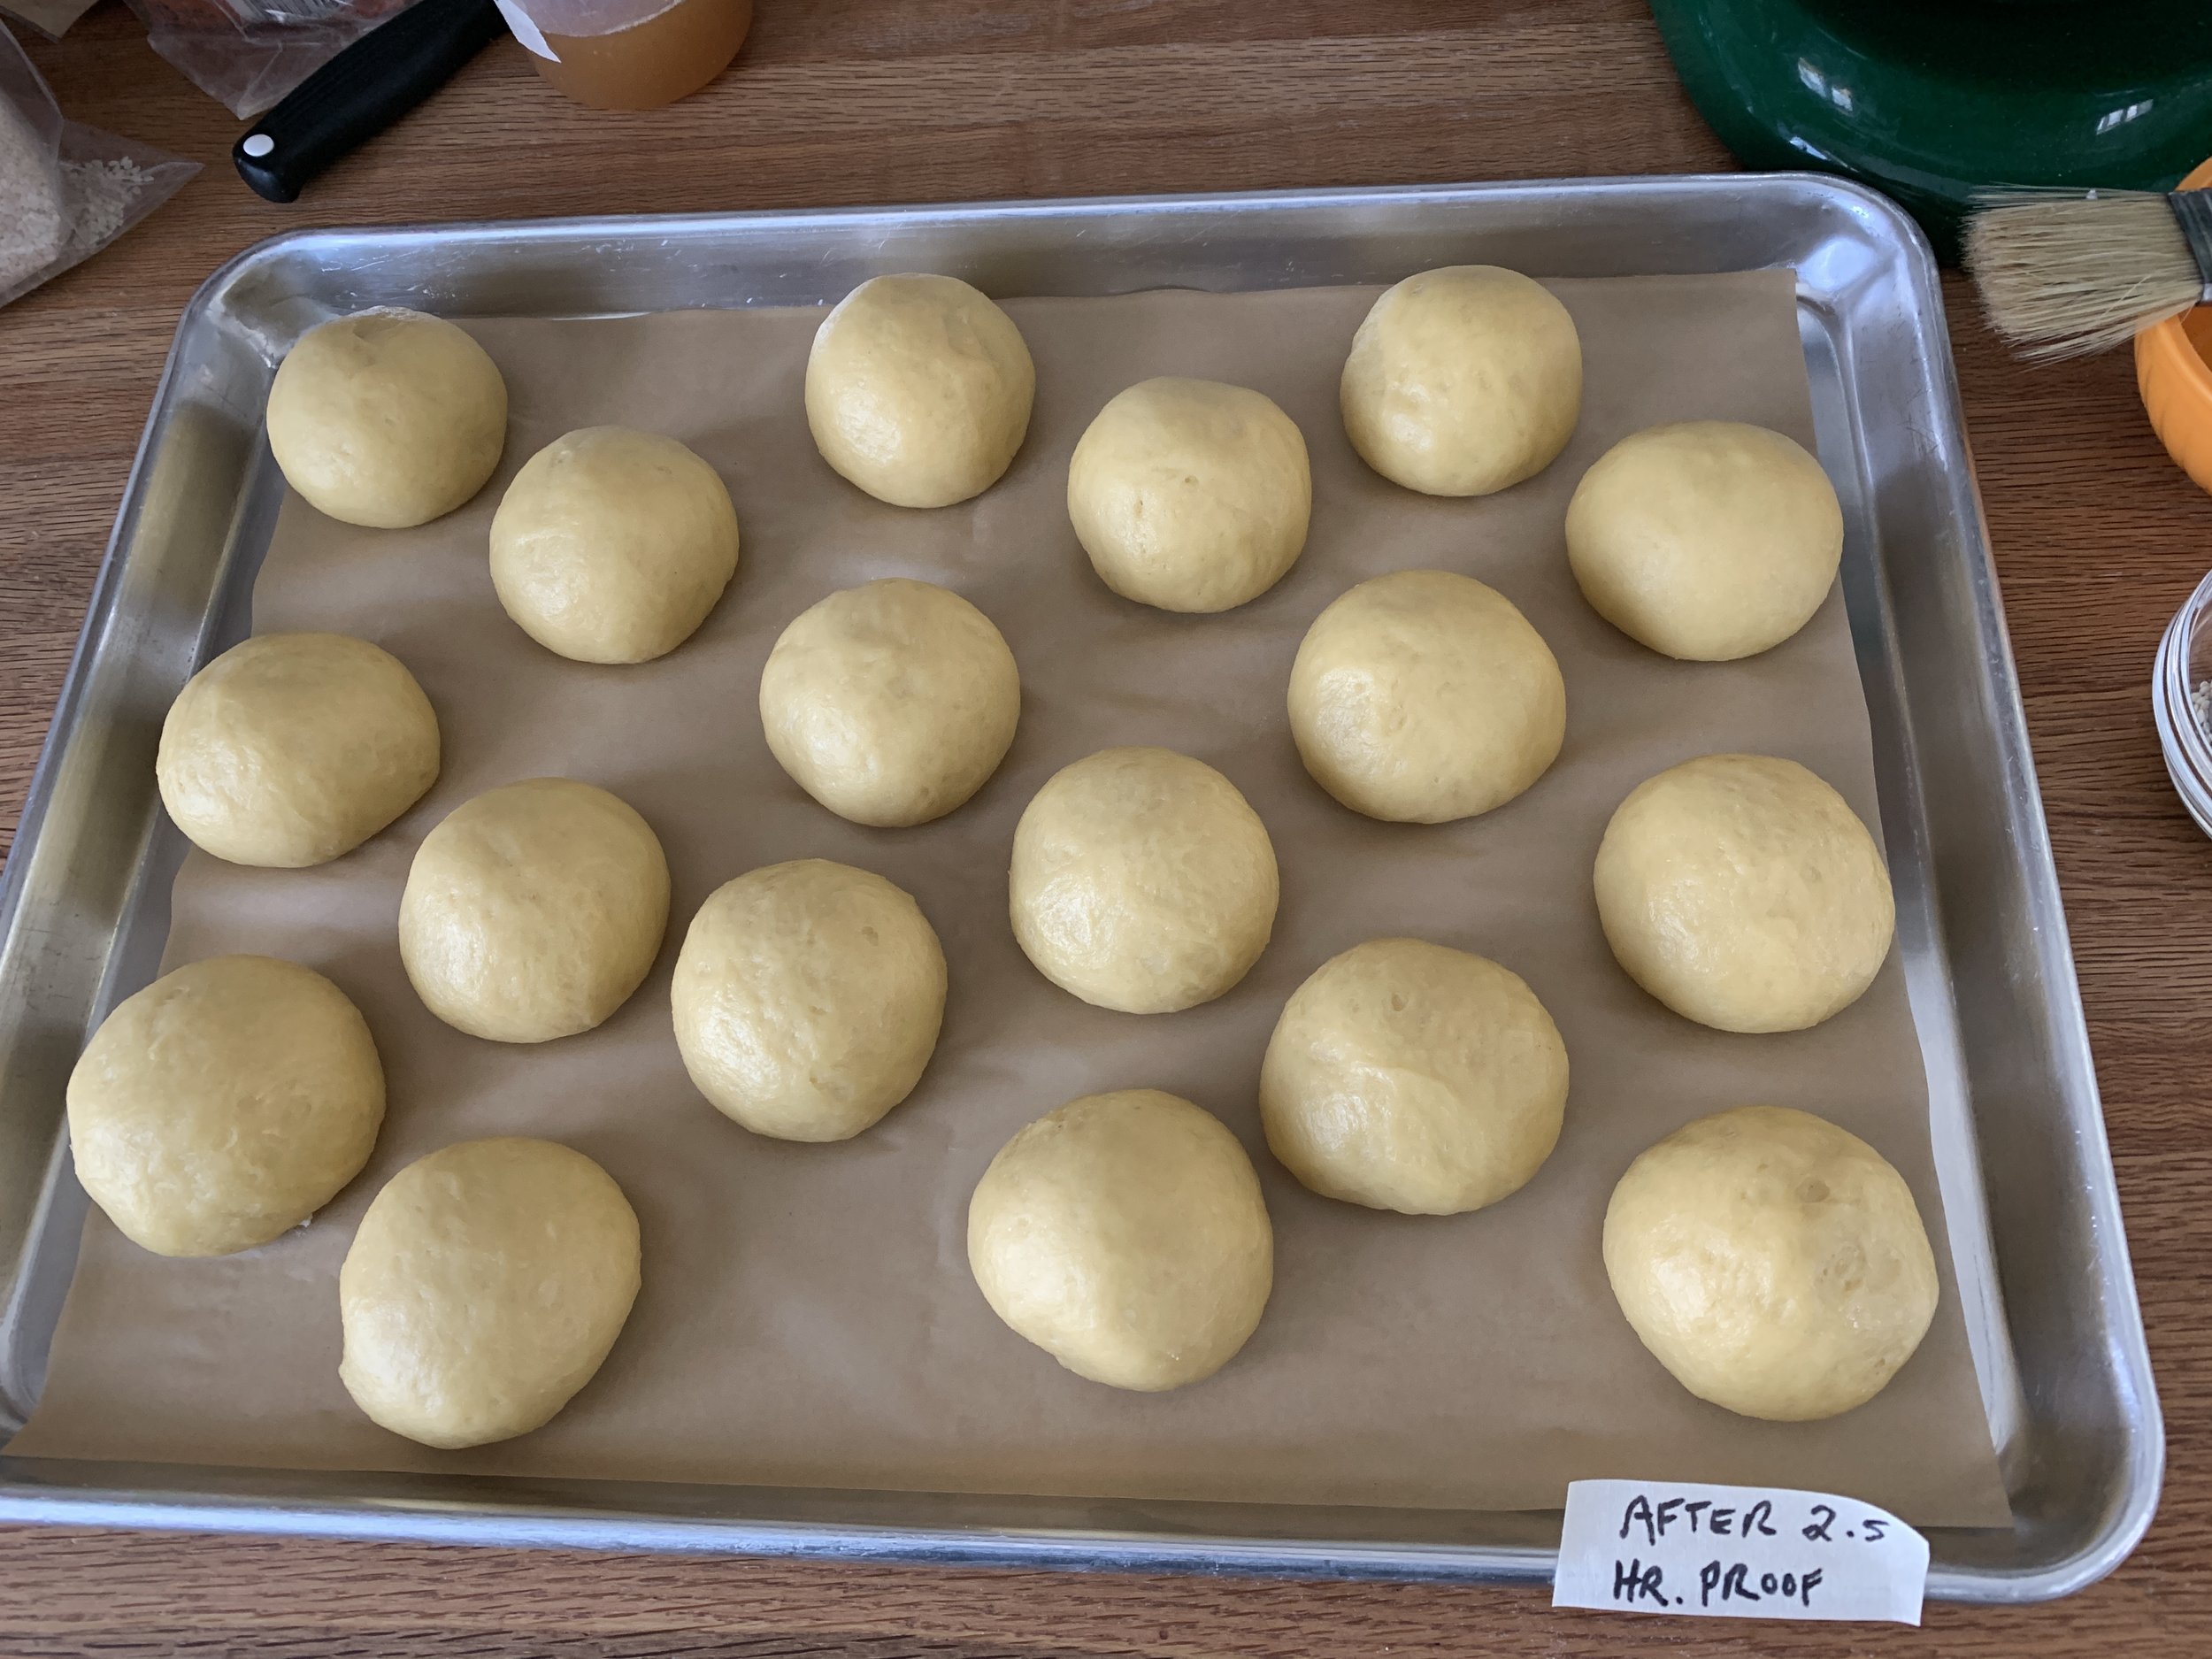
Cover with lightly buttered plastic wrap and let rise 2 to 2.5 hours. On a cold winter day and in my kitchen at 69ºF, I give them the longer rise. Since brioche is so enriched, it needs plenty of time and won’t appear to rise as robustly as lean yeasted doughs. Toward the end of the rise, heat your oven to 350ºF.

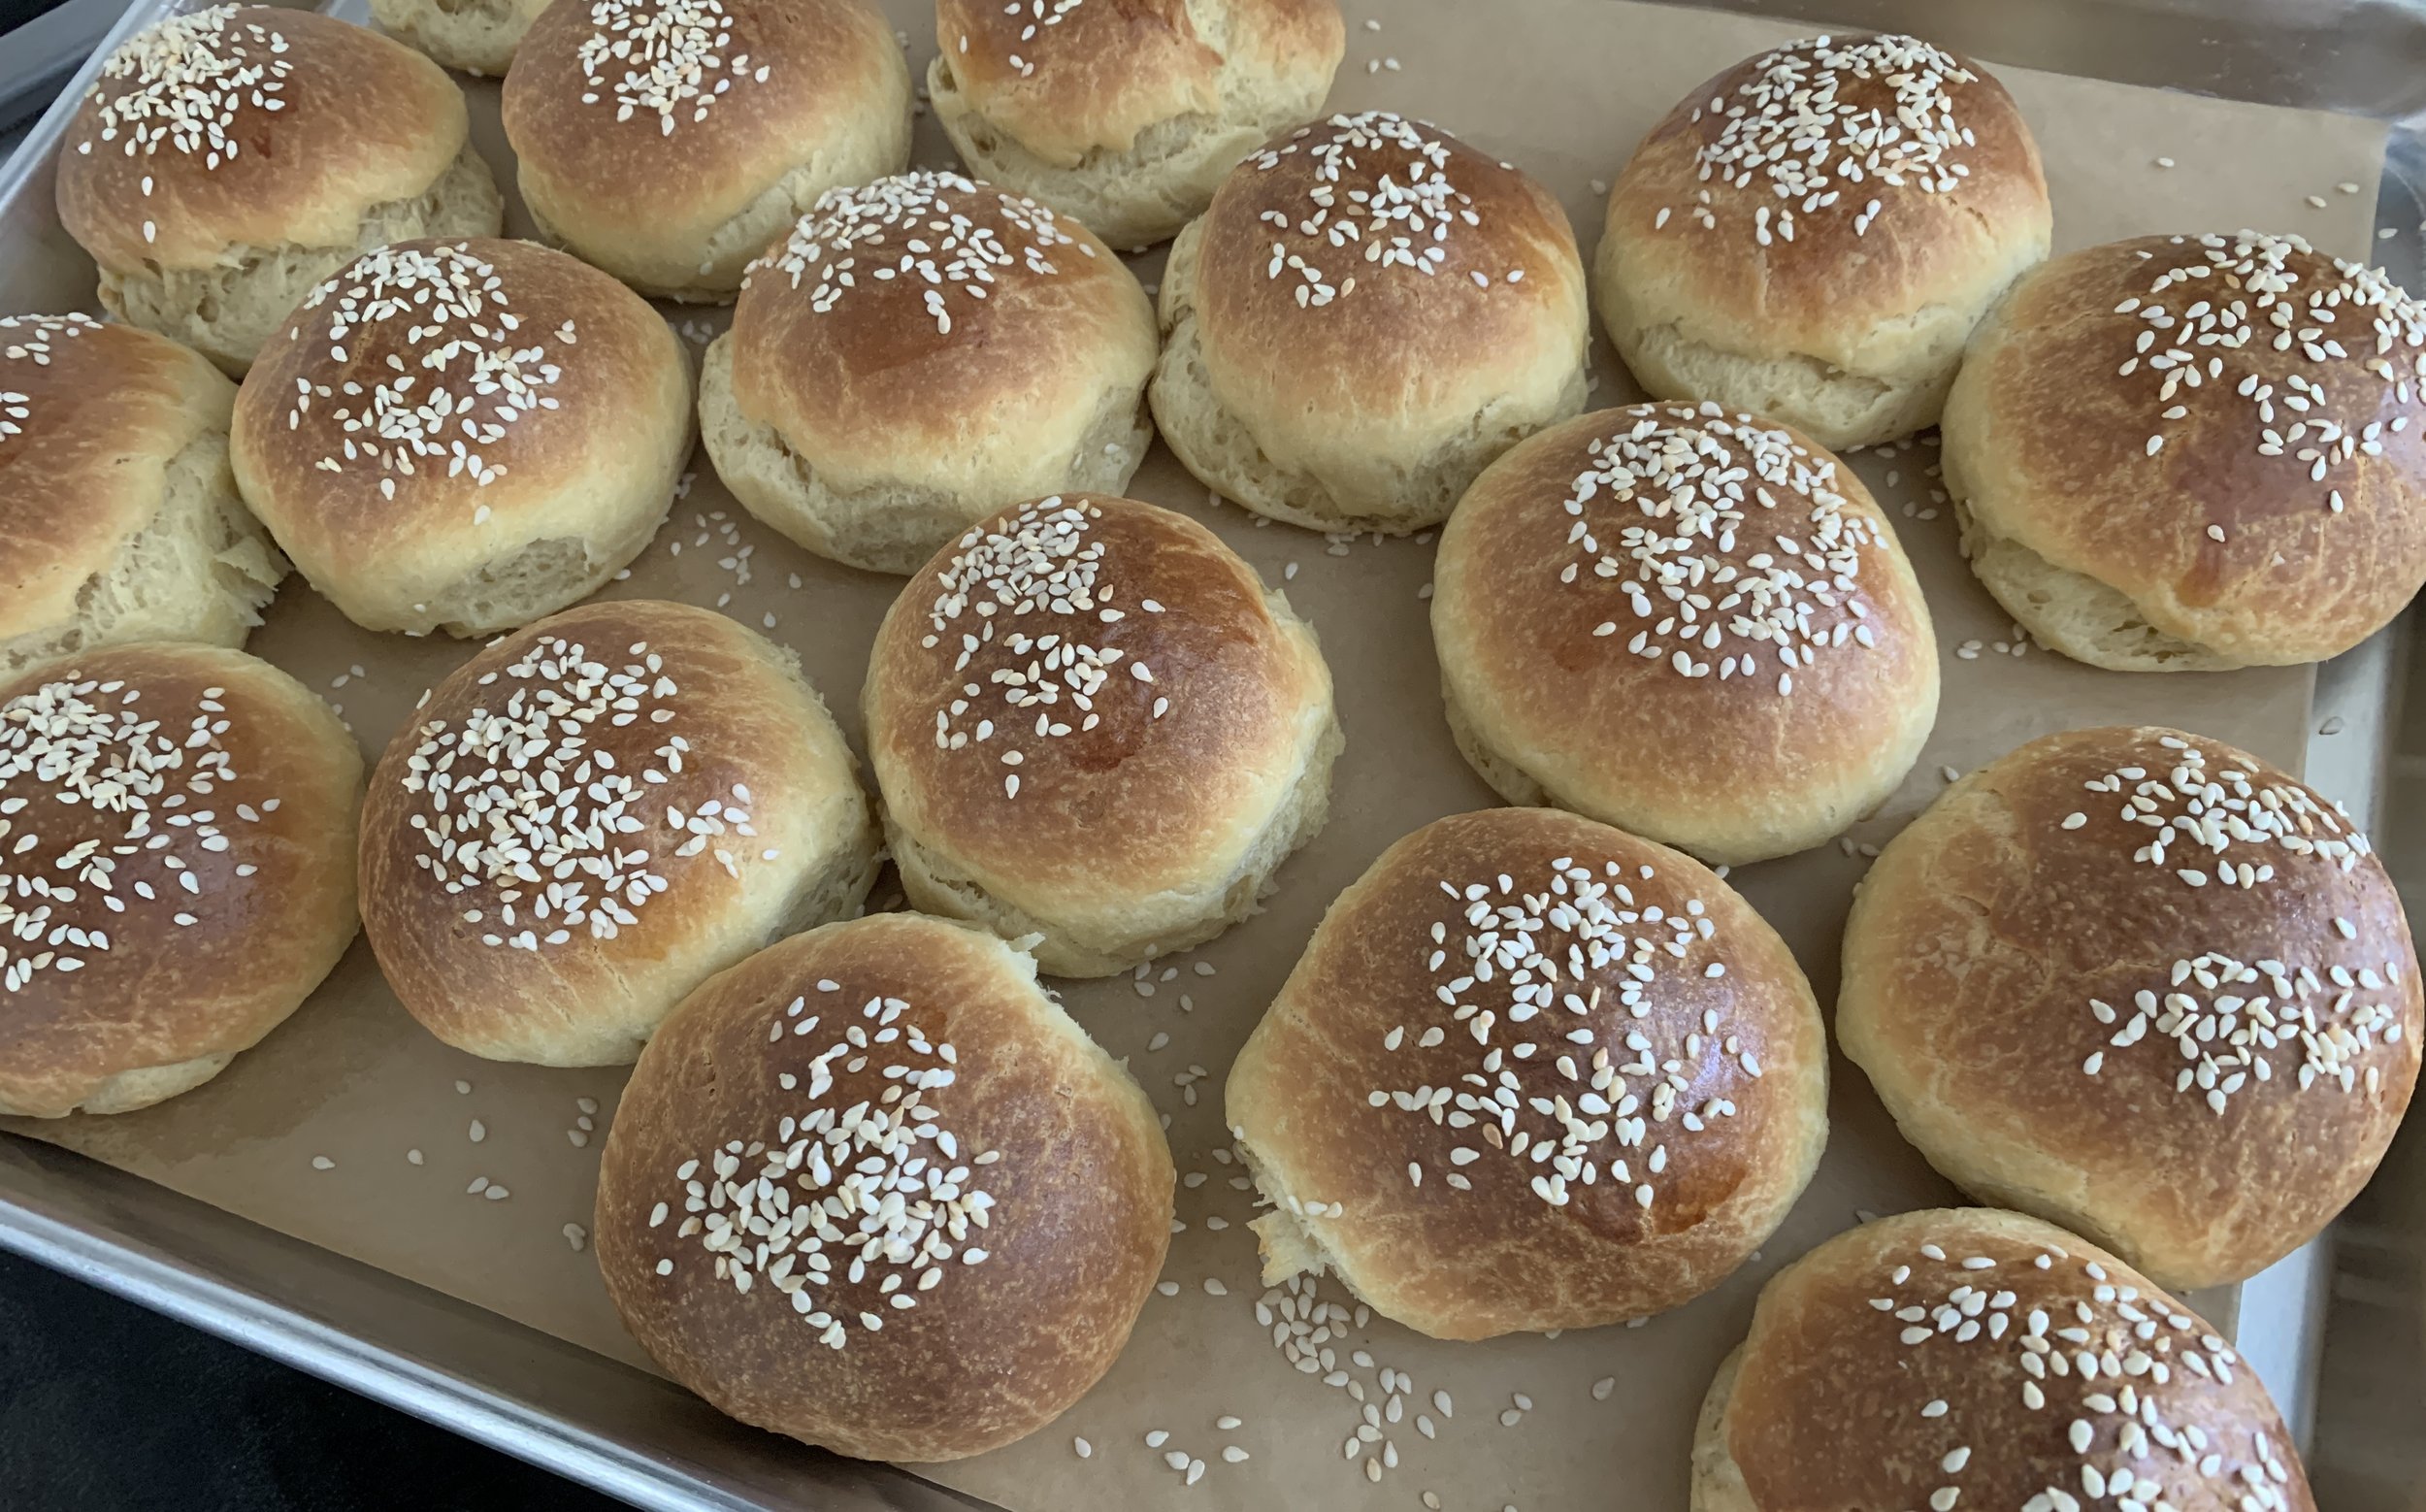
Brush the tops with a bit of egg white (or water or milk) and sprinkle with sesame seeds.

Bake about 30-35 minutes until nicely browned (internal temp 190ºF). Cool and enjoy!

Of course Steve and I had to taste test a warm roll with a drizzle of honey (good!) and followed that the next day with sliced/lighted toasted versions served along side (or sandwiched with!) Sunday morning scrambled eggs. Yummy.

These will keep for several days well wrapped but I chose to freeze the majority of my batch (dinner rolls coming up?). I’m imagining a tasty chicken salad sandwich or sliced/cheesed up and broiled to go along with some of the great soups Steve has been making lately. Yes indeed.

Meanwhile , in spite of winter’s attempts to hold on, we’re getting little whiffs of spring - red wing blackbirds, the sandhill cranes who hung around all last summer have returned, pussy willows are starting to open and there’s a different feel in the air. You just know it.

Take care until next time!

Fougasse au sucre

A663E321-940C-44CE-B3D4-4584D295CE9A.jpg

Time for something a little different - a sweet version of fougasse, that classic Provençal flat bread that many of us recognize as a savory treat. Often referred to as the French version of Italian focaccia, it’s usually baked with olives and herbs but you can certainly play around with it - leave the olives out and top it with thinly sliced potatoes, grated cheese and a nice sprinkling of sea salt.

On the sweet side, a bit of quick research finds this brioche like bread is traditionally associated with the Camargue region (known for its fleur de sel ) at the mouth of the Rhone, in between Montpellier to the west and Marseilles to the east. The recipes I perused use butter, milk and eggs in the mix (hence its brioche-ness) and the top is sprinkled with orange flower water and sugar before baking to create a crunchy top.

However . . . . . This recipe comes from “The French Baker” by Jean Michel Raynaud, a native born Frenchman who lives and works in Australia. He has fond childhood memories of staying with his sister at their grandparents home in a small village in Provence and enjoying “two slices of crunchy, buttery fougasse . . . . with a bowl of chocolat chaud” on Sunday mornings. Ahhh youth!

His dough base is more along the lines of focaccia, using all purpose flour, water, olive oil, salt and yeast with some added sugar and butter but no milk or eggs,

E39362F3-D85B-4732-A65C-9B09ABC661B8.jpeg

It’s a straight forward direct dough (no poolish or preferment) that yields two loaves.

You’ll need 100 g each unsalted butter, granulated sugar and heavy cream for the topping so be sure you have those on hand. The butter/sugar will be spread over the shaped dough before the second proof, and the cream will be poured over the dough after it goes in the oven. Imagine that!

For the dough you’ll need 40 g unsalted butter at room temp so have that set aside - it’s added last. In the bowl of a stand mixer fitted with the dough hook combine 340 g all purpose flour, 190 g cold water, 70 g granulated sugar, 30 ml (2 TBSP) extra virgin olive oil, 6 g fine salt and 3 g instant yeast. Knead on low for 2-3 minutes until the dough comes together. Increase to medium and knead for 8-10 minutes. You want the dough to come away from the sides of the bowl as it becomes smooth, soft and elastic.

Now add the 40 g of butter and knead another 2-3 minutes to incorporate it. I found that at first it smeared quite messily and buttery around the sides of the bowl but it all blended together just fine in the end.

CE676ABA-5C83-4186-8A2C-55AEA44F3E37.jpg

Cover the bowl with a towel and let proof about an hour until increased by about two-thirds.

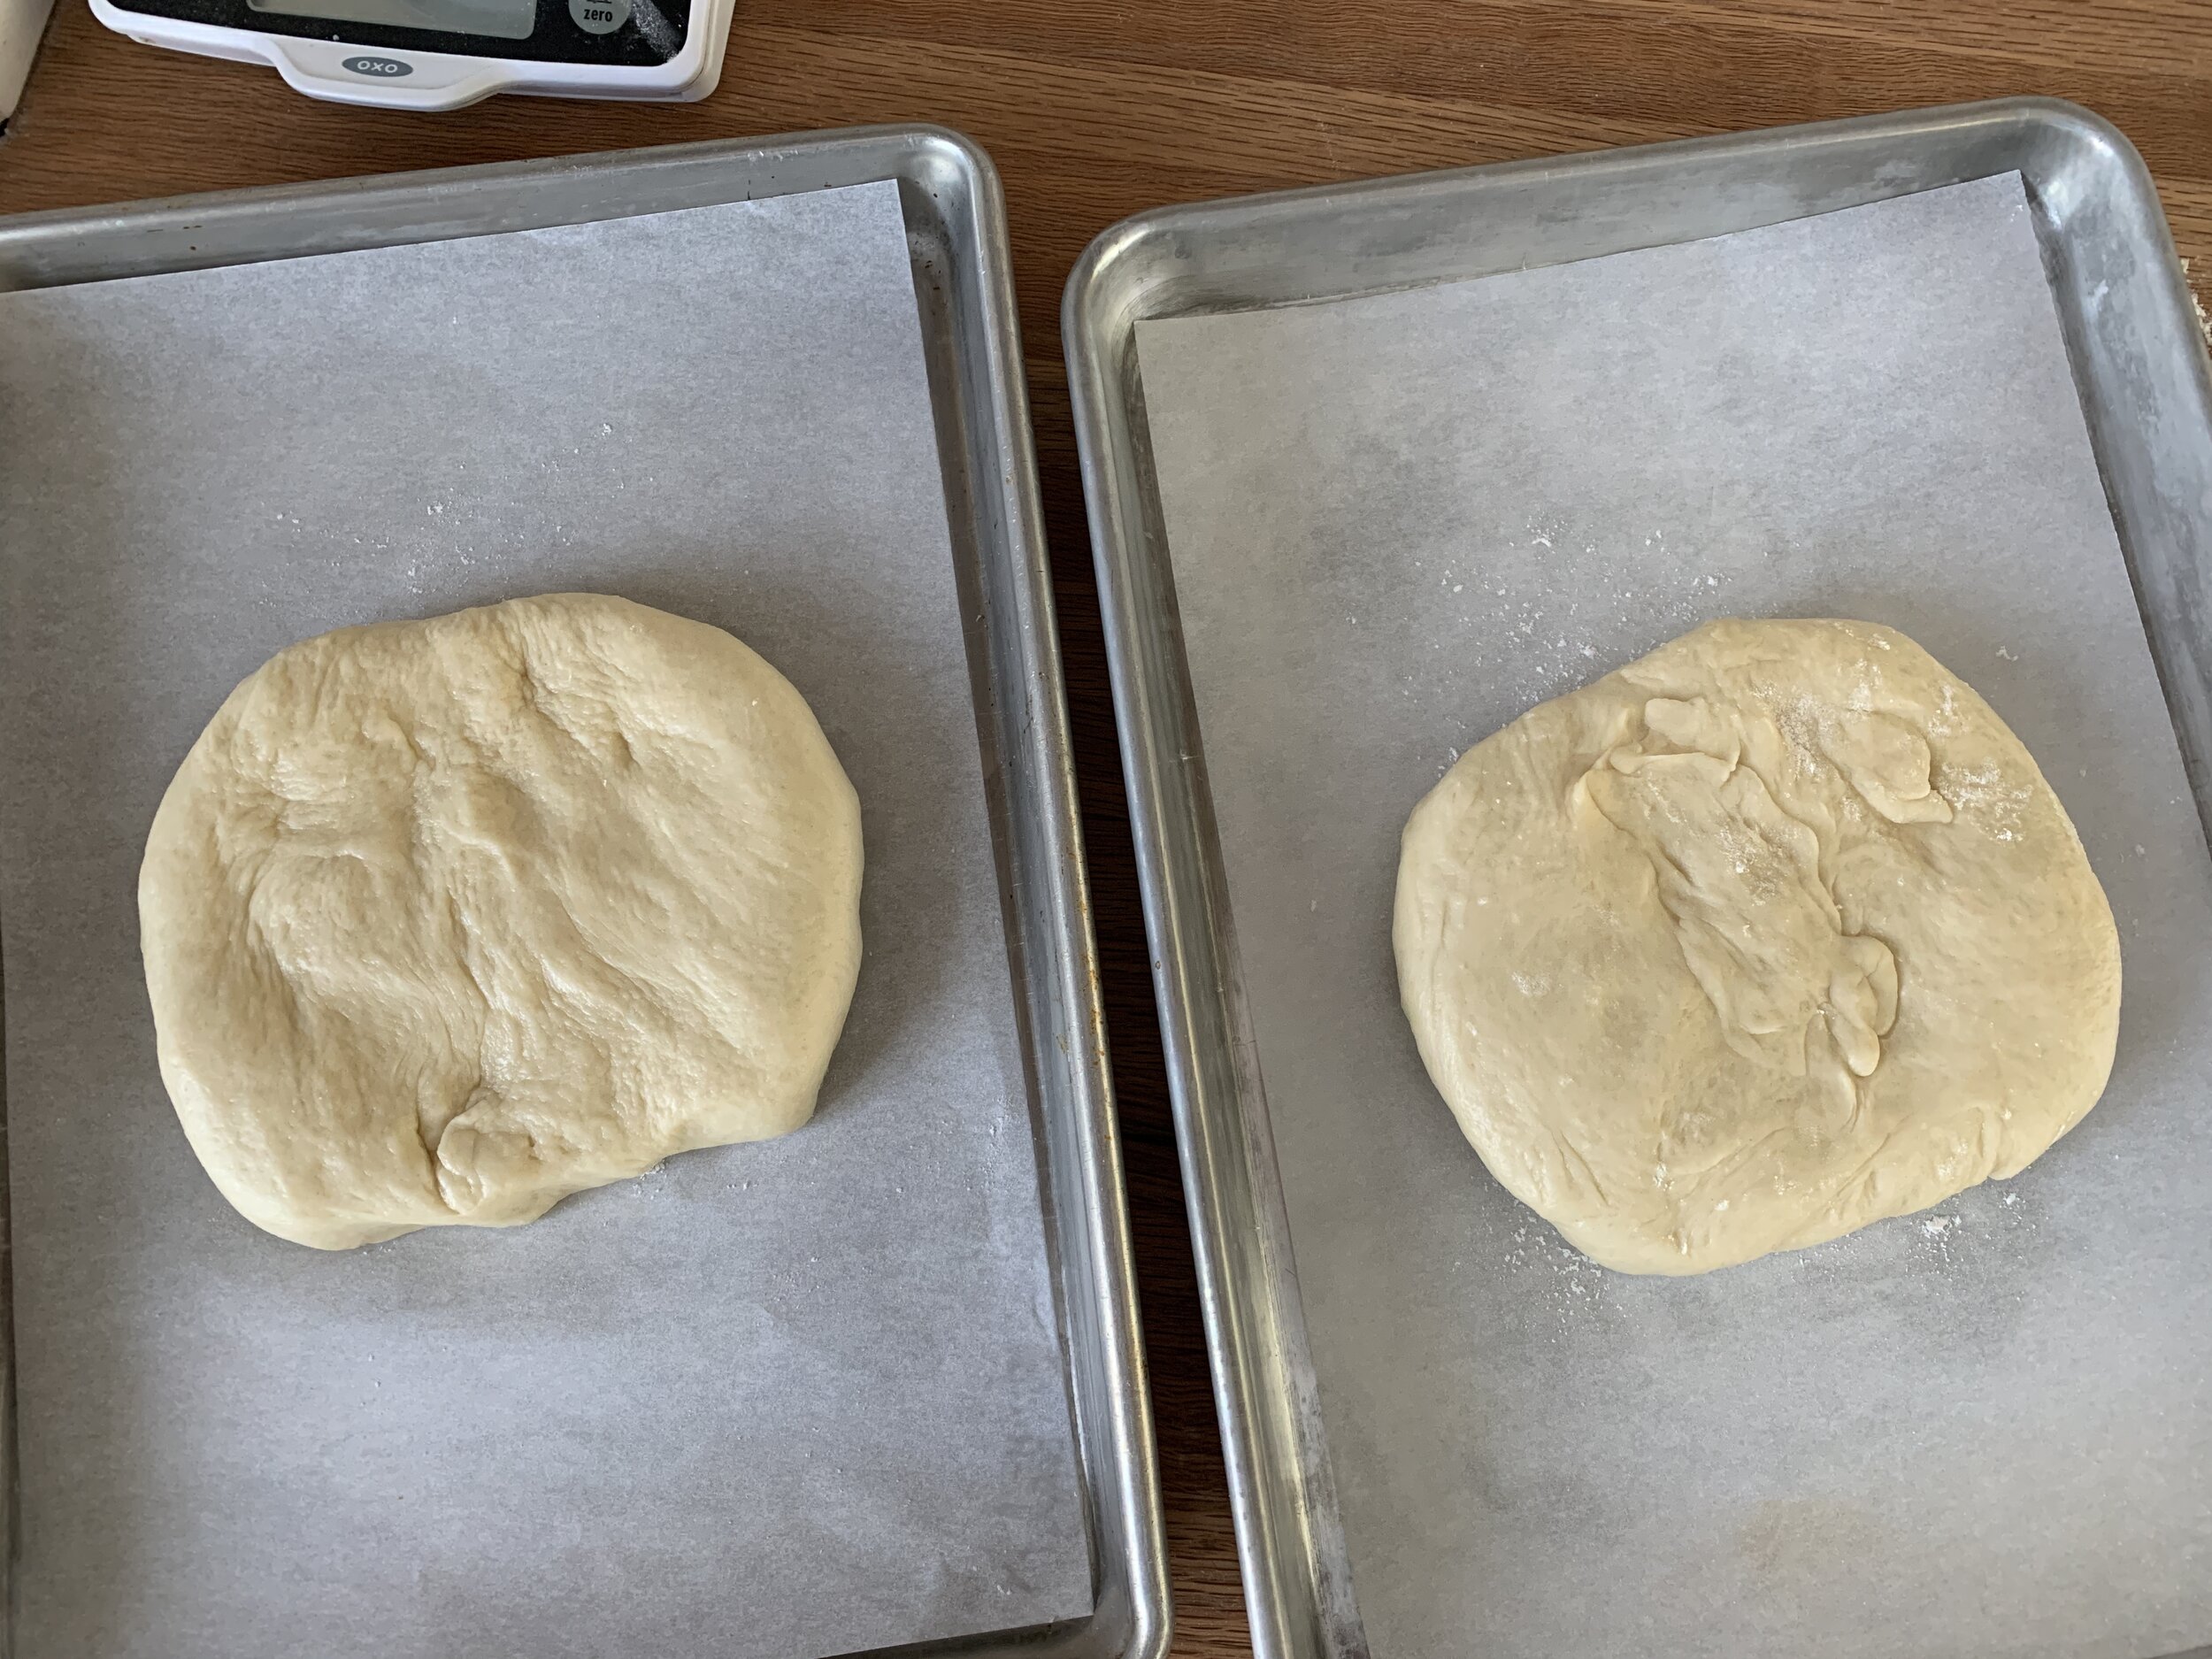
After first proof

After first proof

Now it’s time to divide the dough in half - each should weigh about 345 g, give or take. Place a portion on a lightly floured surface and flatten the dough to a round about 2 cm thick (about 3/4 inch). Do the same with the second portion. Don’t be too fussy with it. Put each on a parchment lined 1/4 sheet pan (or you can put them both on a 1/2 sheet pan with space in between if you’d like) and place in the freezer for about 20 minutes.

92D77340-5808-4DBC-8845-000708E514EC.jpeg

Meanwhile place 100 unsalted butter and 100 granulated sugar in a small saucepan over low heat to melt the butter and blend it. You don’t want it to boil ‘cuz you want to preserve the sugar crystals which give the finished bread it’s crunchy top. Remove from the heat and let cool to touch. (Note to self: next time melt the butter, cool a bit, stir in raw sugar and finish cooling - more crunch in the end methinks.)

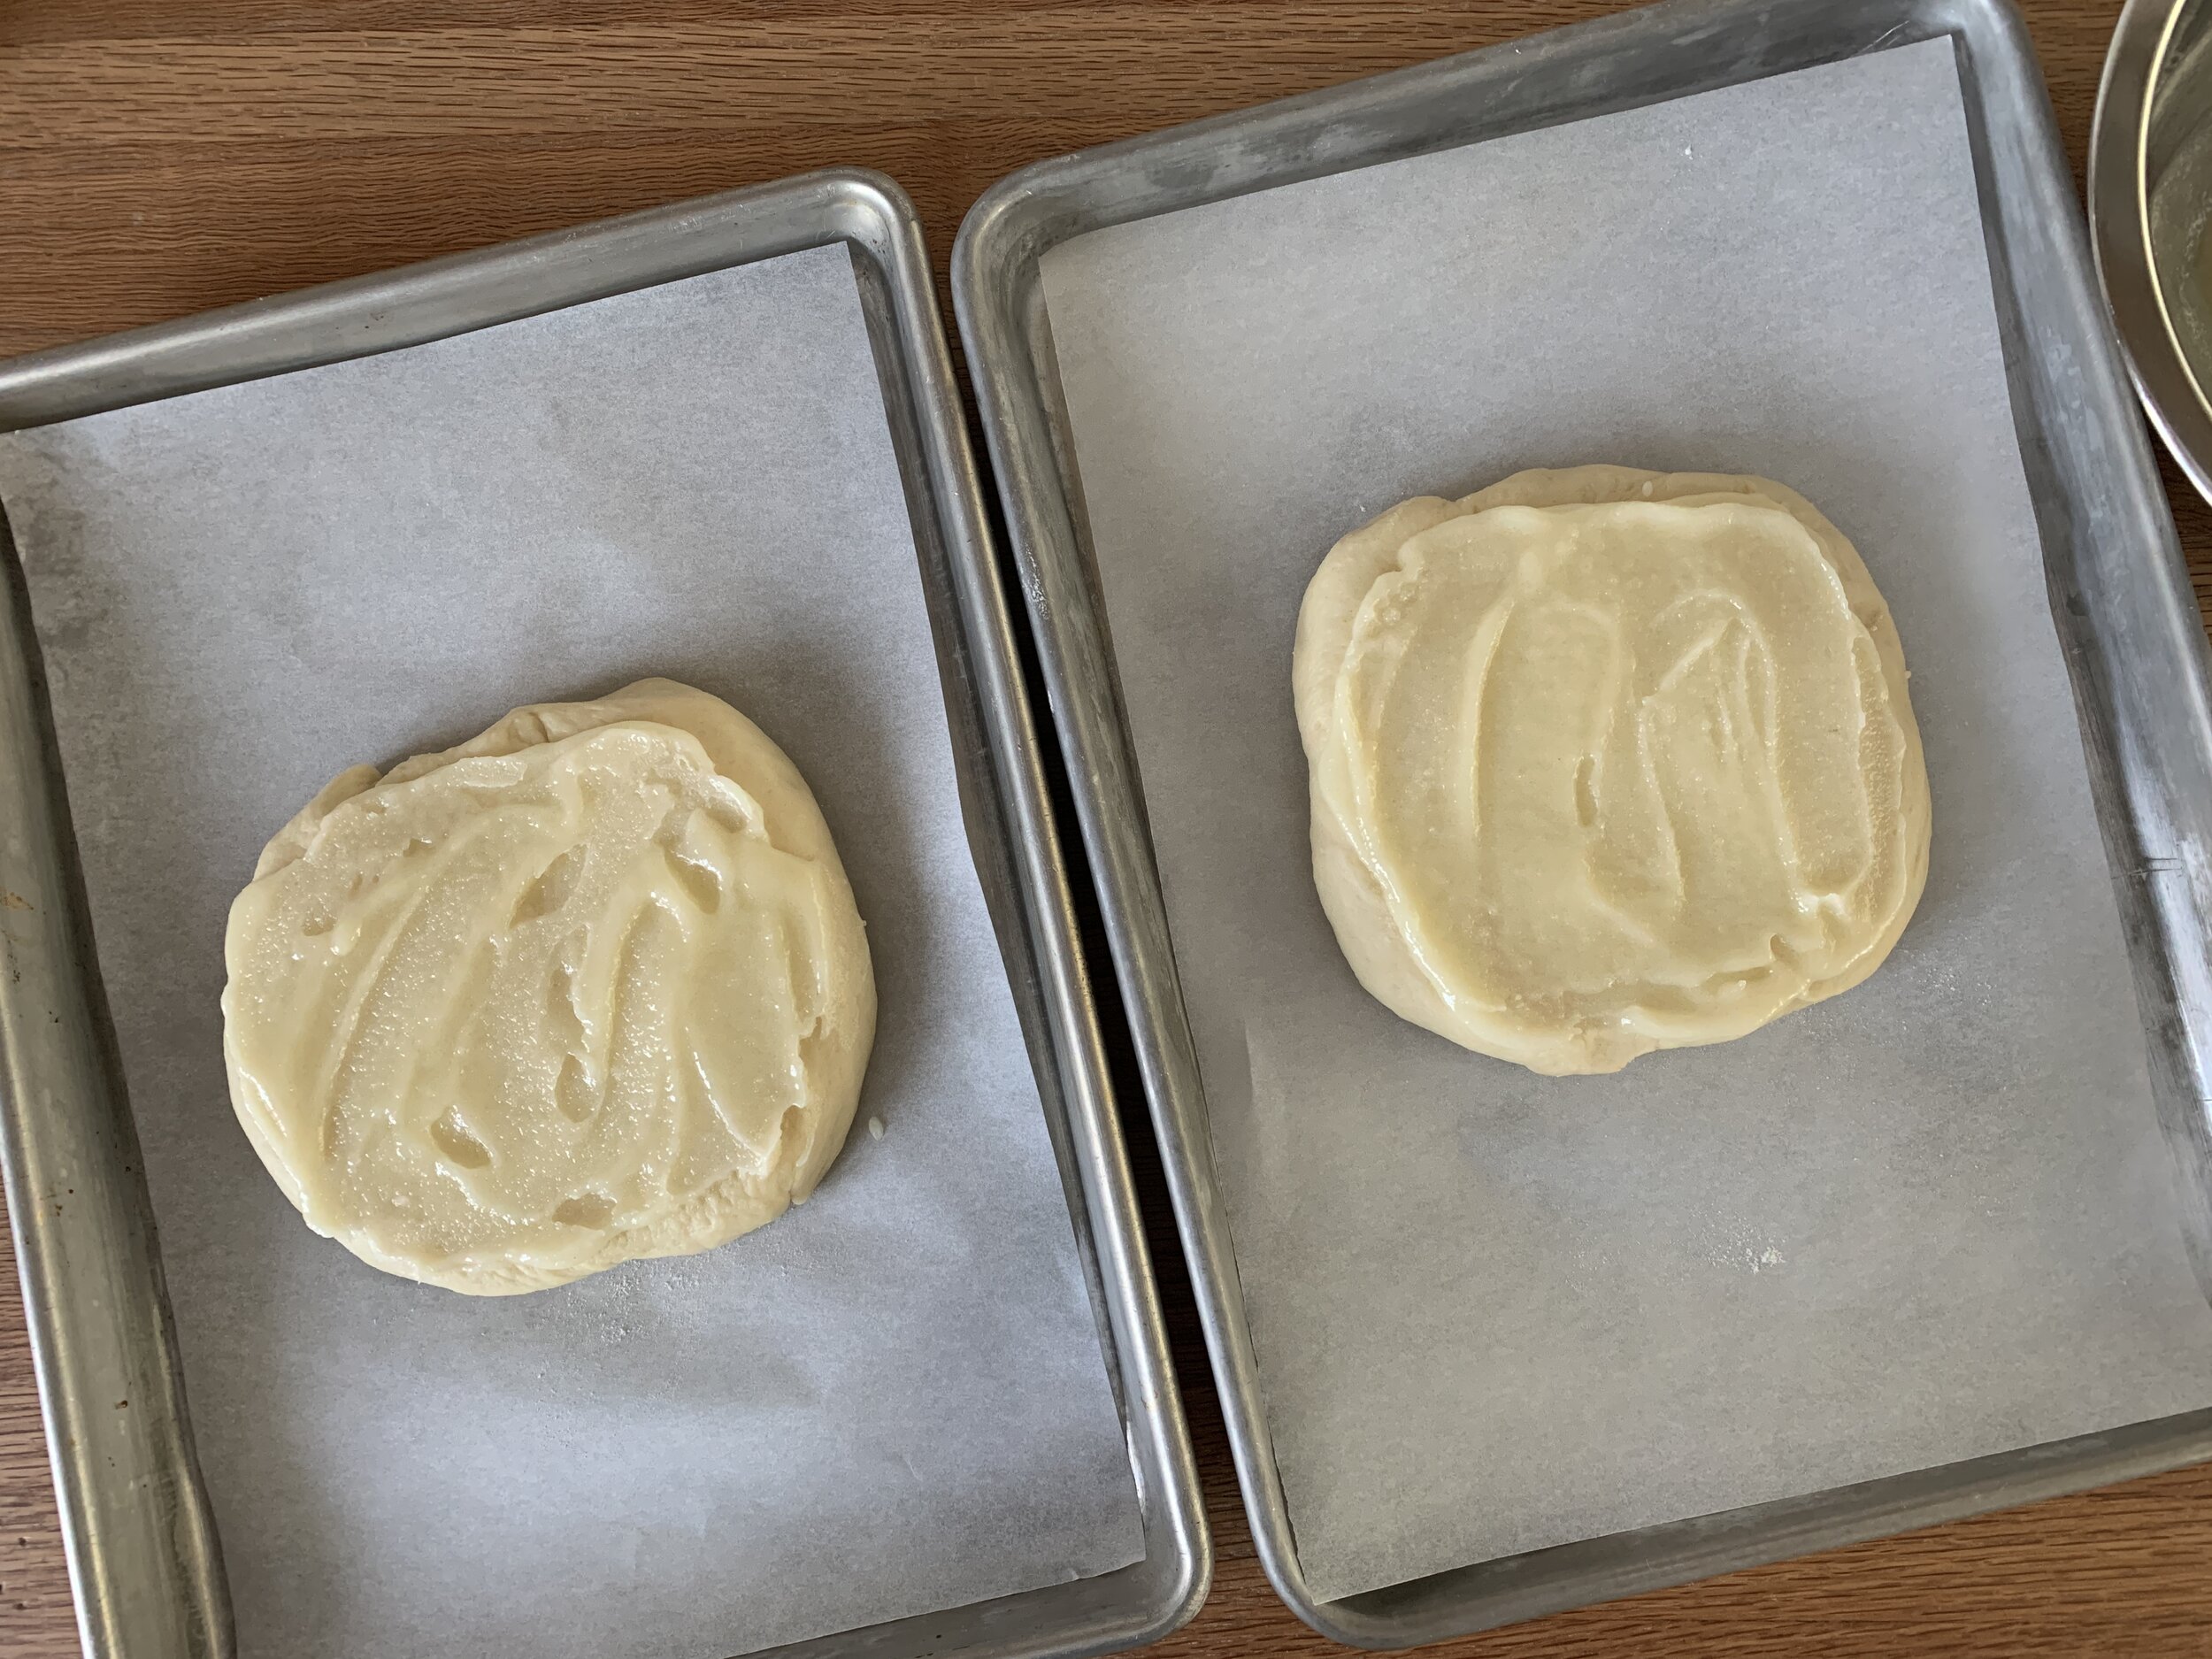
Take the dough out of the freezer and spread half of the cooled butter/sugar mixture over each round. Hmmmm . . . . this is becoming interesting.

5292BB2C-57E9-46D1-A631-7FAEE7754187.jpeg

Here’s where I had to do a bit of quick thinking when realizing I was supposed to cover these with a cloth for the second proof. To avoid top smearing, I over turned a wire grid cooling rack across each sheet pan . . . .

624D6463-BAA5-4849-BD90-5F2B7E698F4E.jpg

and now I could easily lay a cloth towel over them. Yay!

Give them an hour or so to double, heating the oven to 400ºF during the second half hour. It was a bit difficult to assess the amount of the rise although I could appreciate more poofy-ness and fullness to the dough. I even gave them an extra 15-20 minutes.

61825726-41A1-44A5-A2B8-15BAFD6DAAD6.jpeg

Just before putting these in the oven, dimple the tops all over with your fingertips. Fun!

7413EDBF-367C-4F30-8F0D-E6E8B87548E7.jpeg

Bake for 10 minutes then open the door and pour the cream over the top of each. The dimples are meant to hold the cream so it won’t run over the sides. I actually had to re-dimple after the first ten minutes since my first dimplings puffed up.

Re-dimpled

Re-dimpled

Cream poured over with a bit of spillage

Cream poured over with a bit of spillage

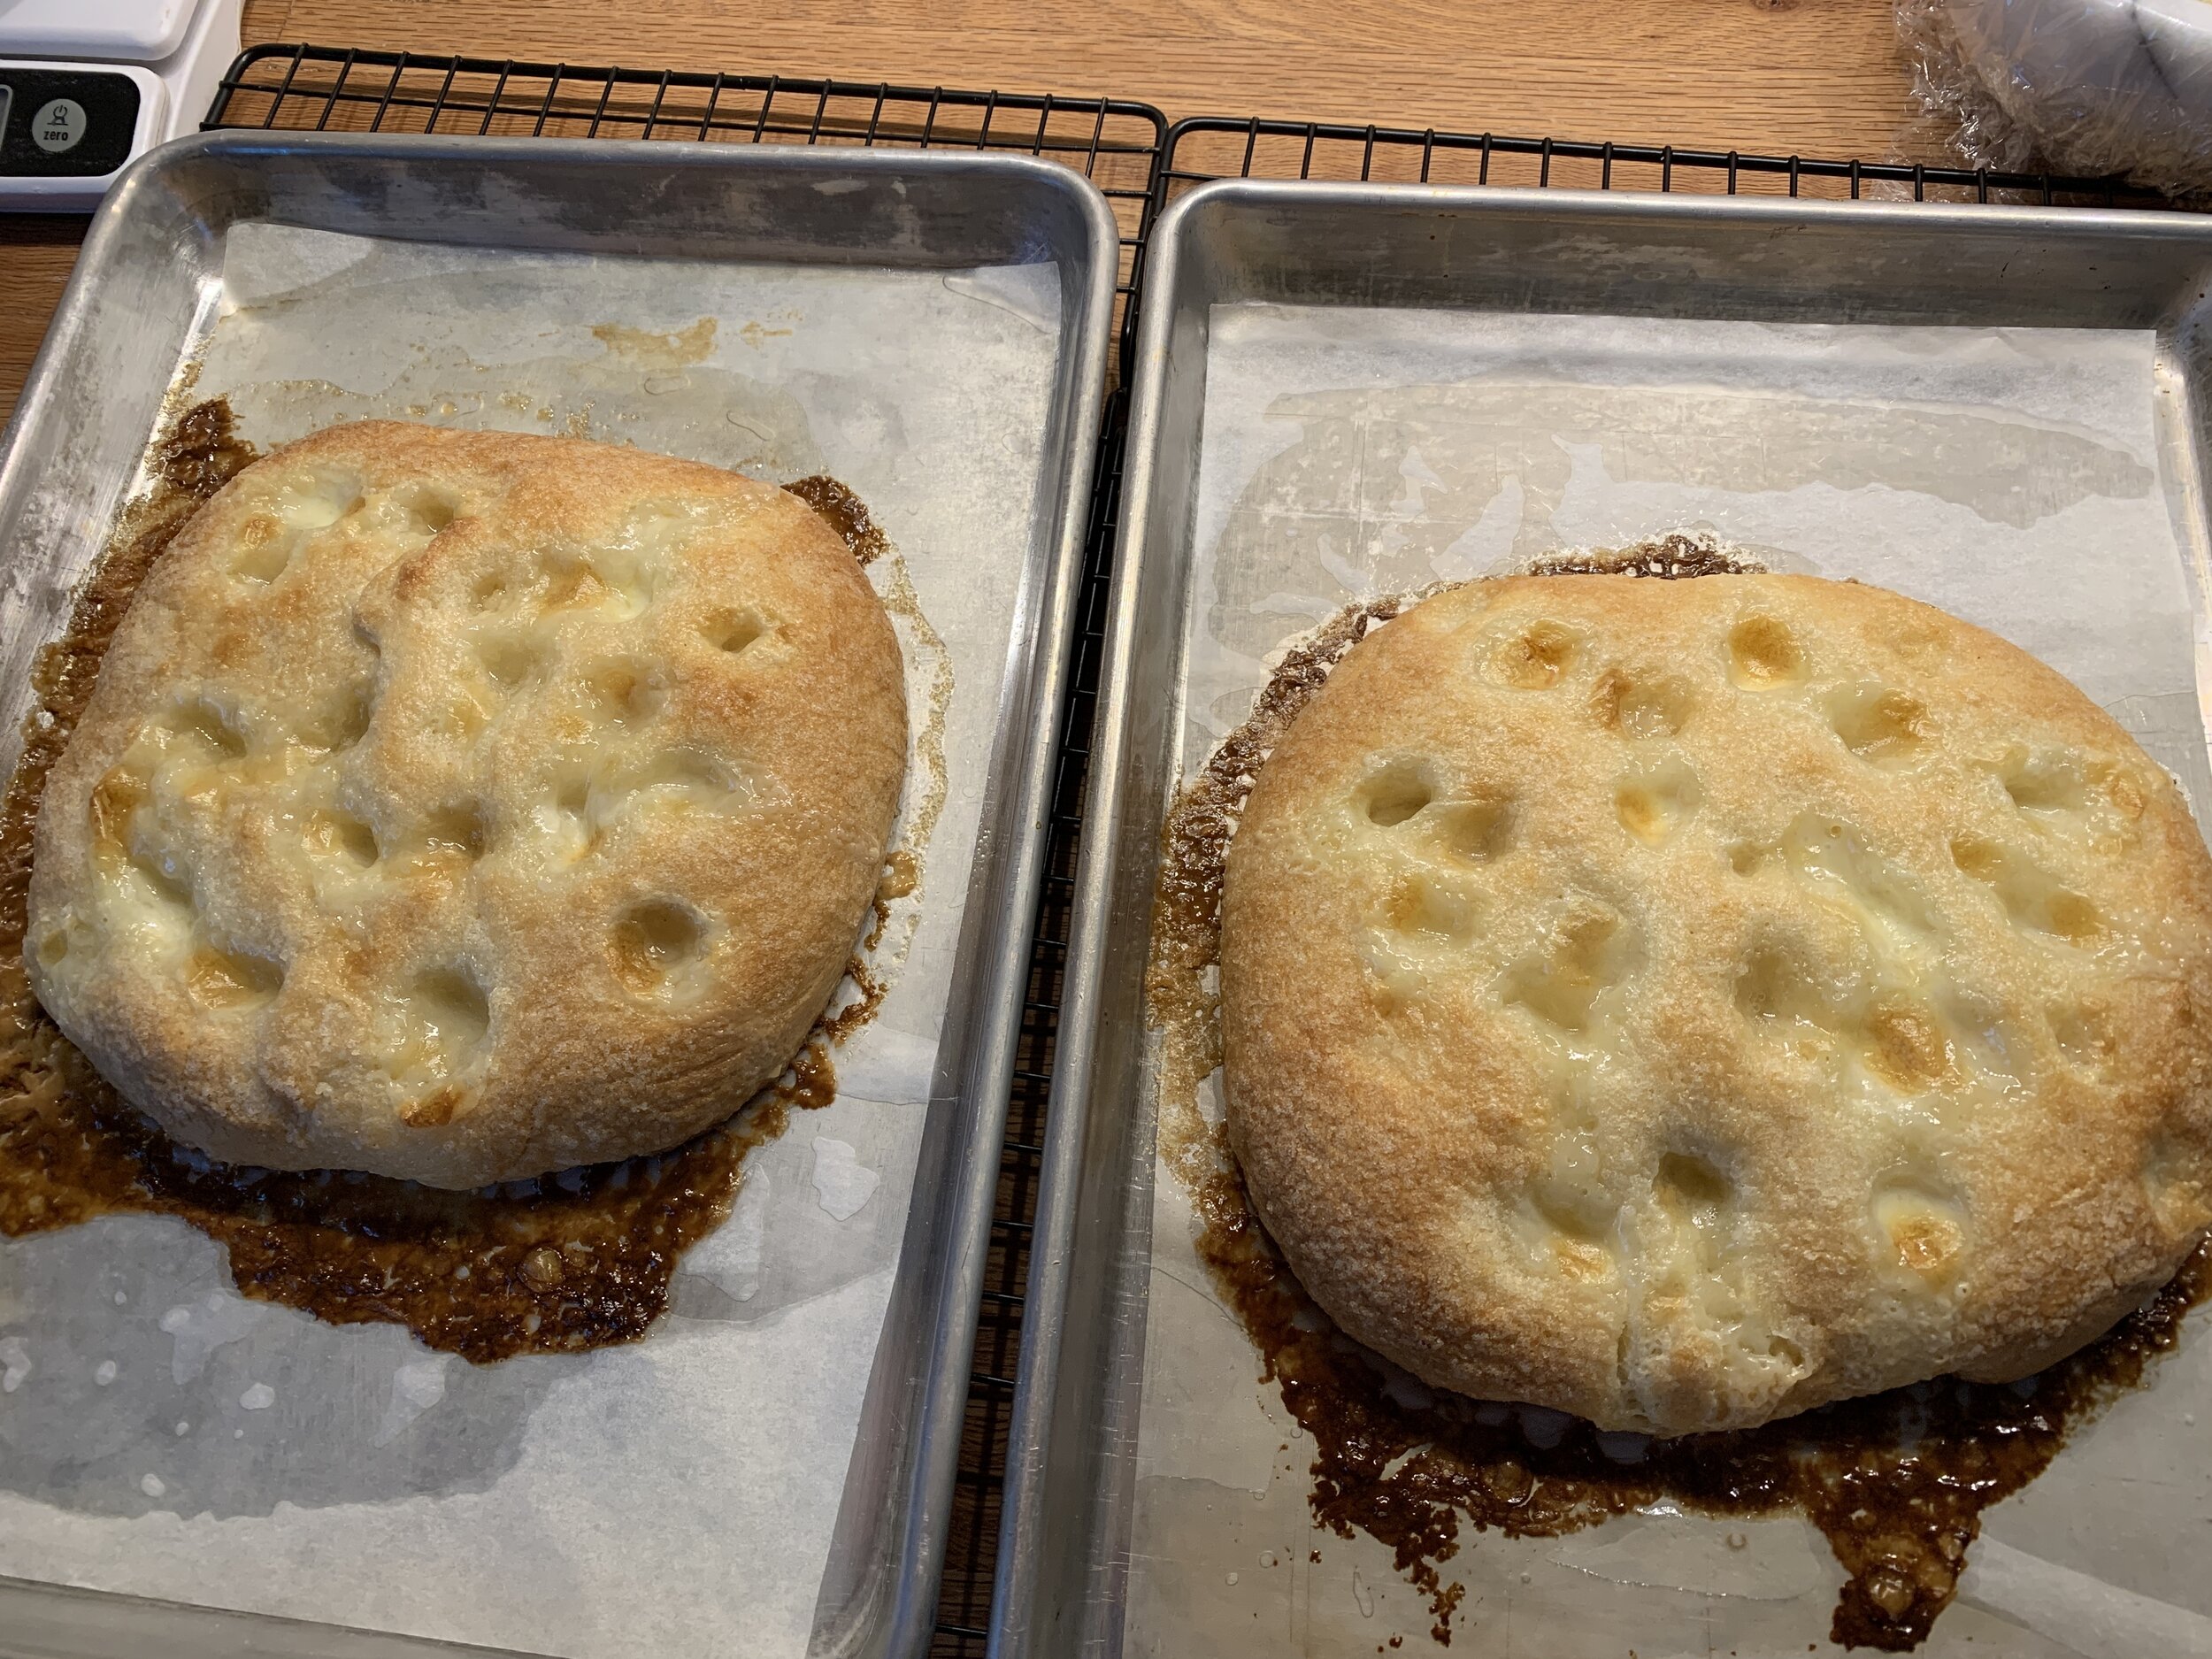
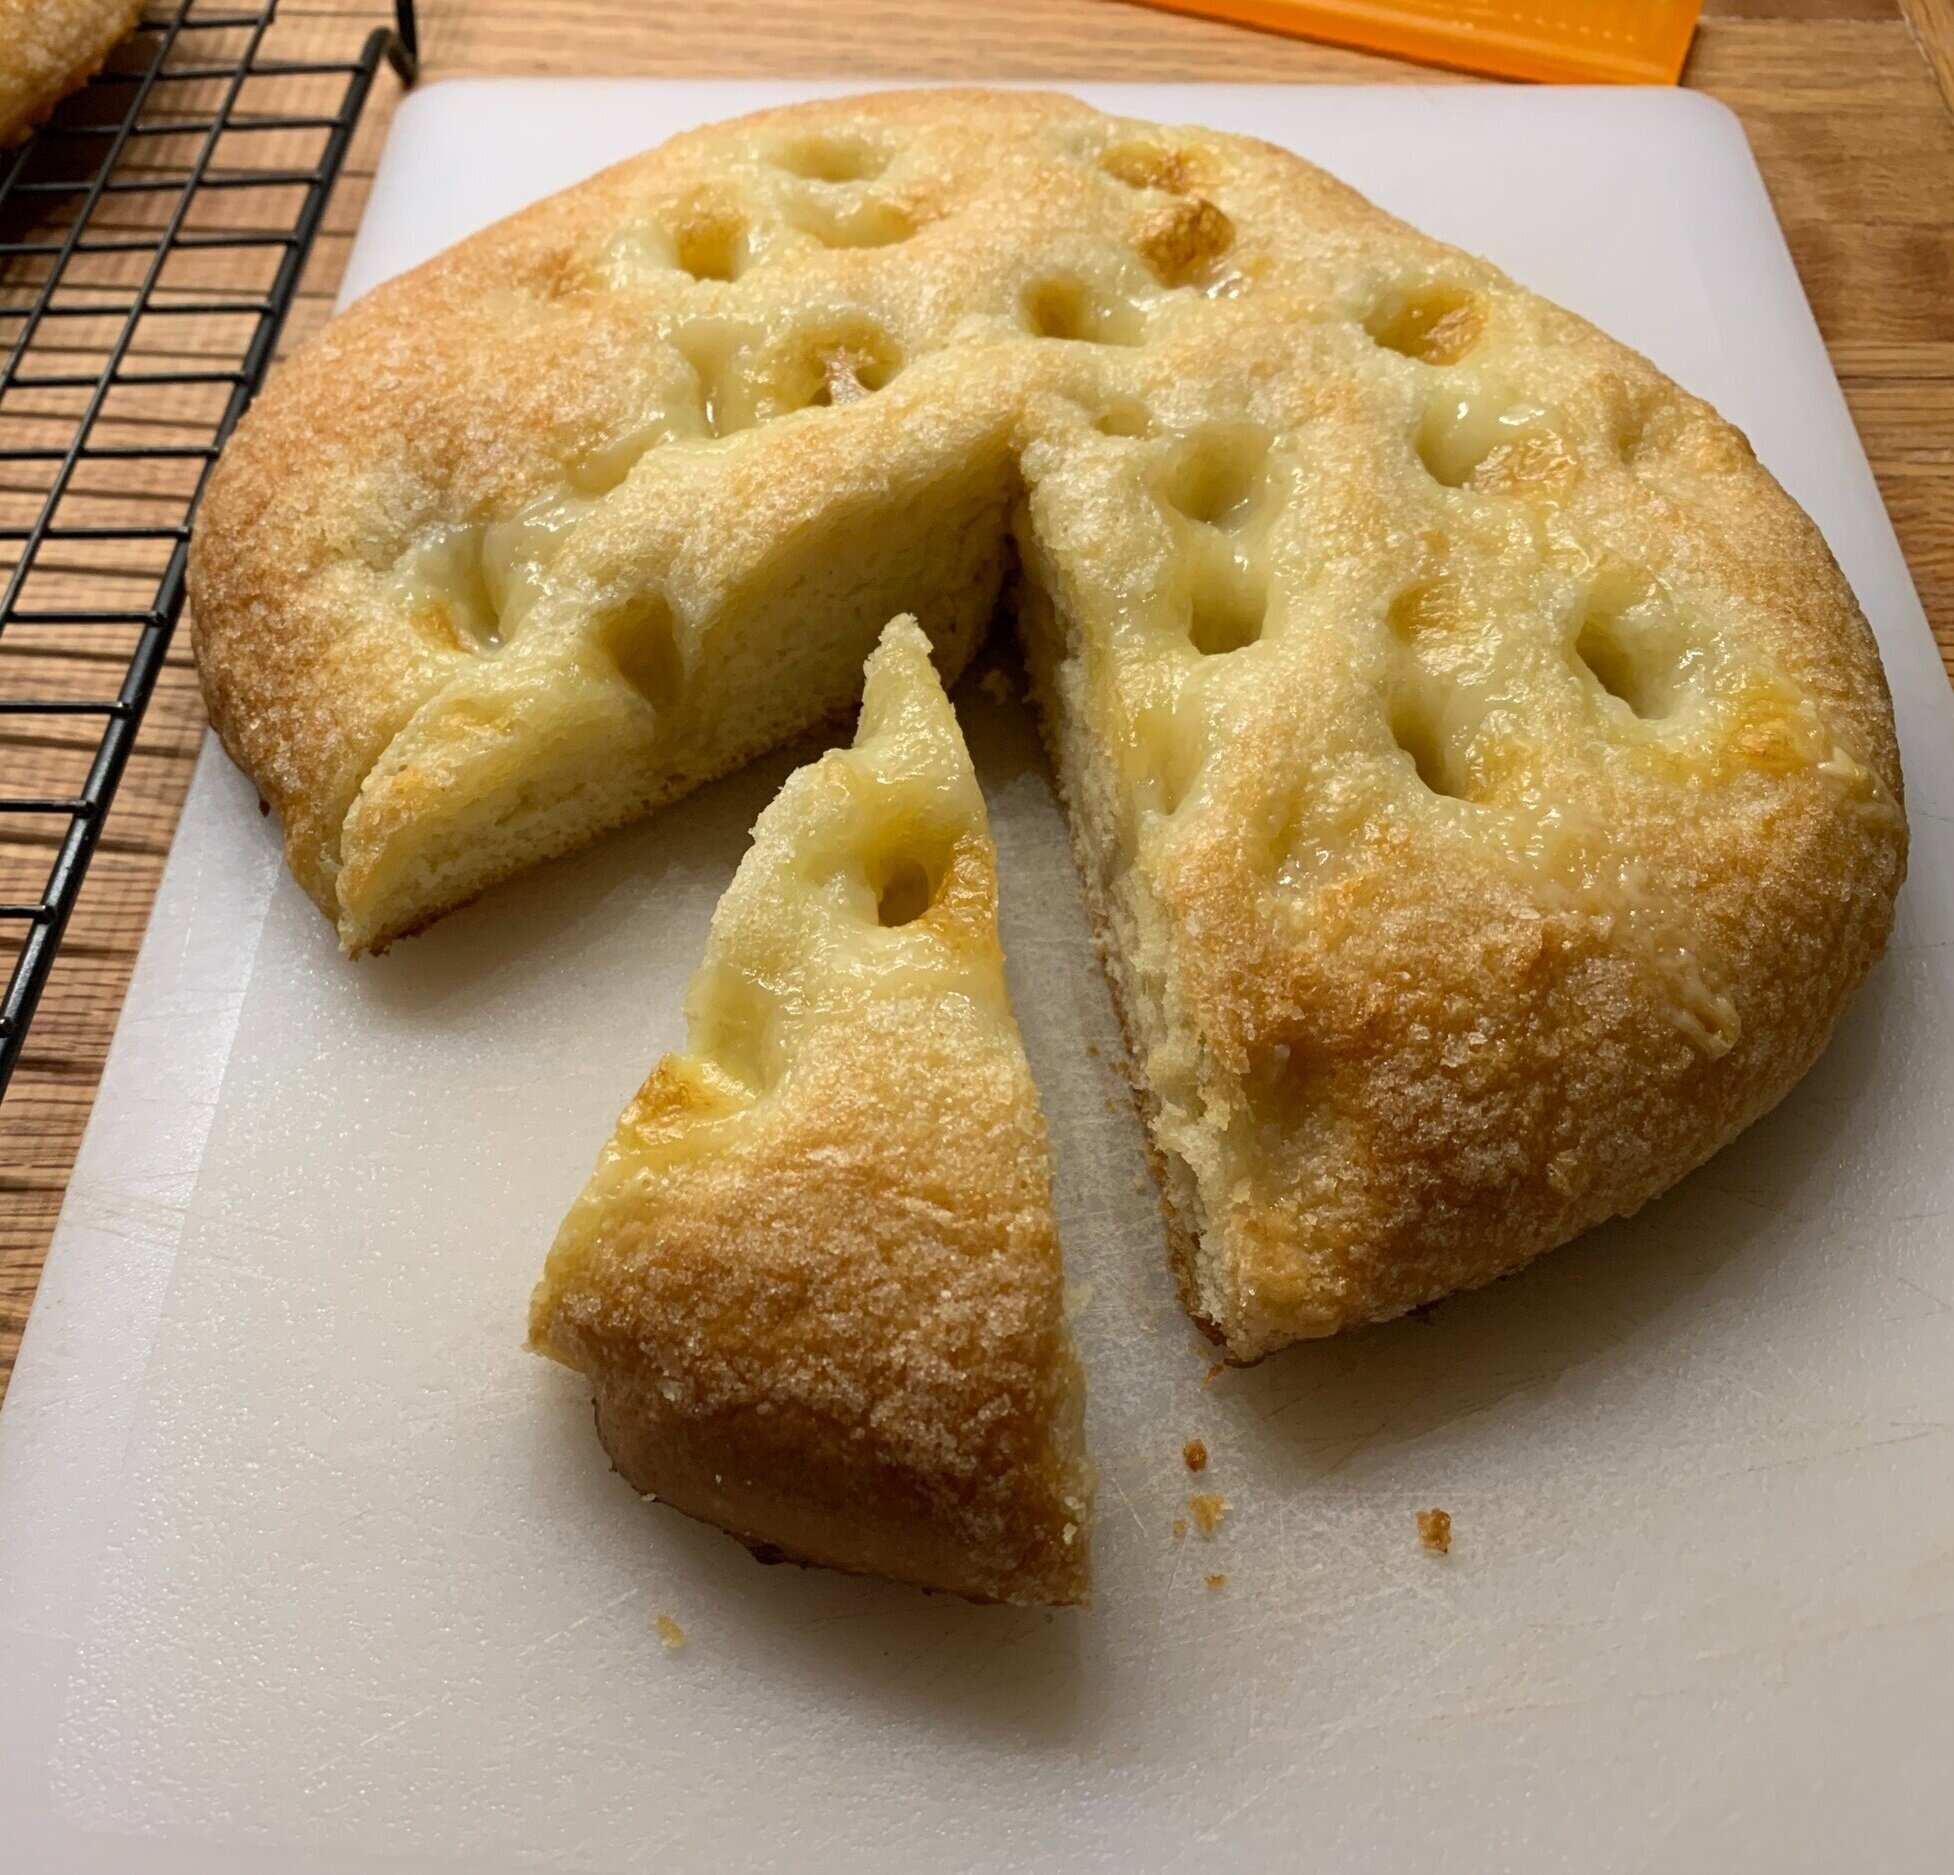
Bake for 10 more minutes or until golden brown. Voilà!

D7D66B34-AF45-4948-85C1-51067E018D0E.jpeg
 
08C606EA-9CC9-46FB-ABFA-8FE0F3A1AB39.jpg

I can certainly appreciate how one might enjoy a slice of this dipped in chocolat chaud. With a pleasant flavor, light/sweet bread-y crumb, not too heavy and a hint of crunch on top - not bad at all.

0CDC7286-87E0-4584-AA65-A632D50D79D6.jpg
A663E321-940C-44CE-B3D4-4584D295CE9A.jpeg

Til next time, keep your chin up and think positive! I’m certainly trying to do just that.

And spring marches on!

3CF7F3AD-473E-4676-9197-8208C0A223D9.jpeg

Mid-July update

IMG_1149.jpg

Seeing Queen Anne’s lace in bloom is a sure sign of summer’s march into August and beyond. Still plenty of time for outdoor enjoyment, fresh air and sunny skies.

As we come to grips with the fact that (whoa!) it’s already mid-July, would any of us have foreseen all that’s happened in the past four months?! No sir.

Lately we’ve had quite a string of hot days, punctuated over this past weekend with pleasant days, cool nights and clear, low humidity skies. Baking is happening in waves, and now seems as good a time as any to share a few of the things I’ve been making in recent months.

Cinnamon oat crunch scones

Cinnamon oat crunch scones

A number of projects were done with an eye toward becoming blog posts and are currently in their draft phases. I’m working on them bit by bit, often side tracked by various other at-home activities that seem to take precedence. Time has taken on a much different sense, don’t you think?

Some of these goodies go into the freezer for future enjoyment, some are shared with neighbors and family and some go into the occasional pastry order that pops up every now and then.

Chocolate hazelnut swirl brioche loaf

Chocolate hazelnut swirl brioche loaf

Gateau renversé aux cerises (cherry upside down cake)

Gateau renversé aux cerises (cherry upside down cake)

Mixed berry mascarpone trifle

Mixed berry mascarpone trifle

Swedish cardamom buns

Swedish cardamom buns

Baguette

Baguette

Croissant

Croissant

Stay tuned! Baguette! Brioche! Swedish buns! Yippee!!

Meanwhile enjoy summer, be kind and helpful. It works.

A merry season to all

Caramel almond moelleux chocolat

Caramel almond moelleux chocolat

Blogging has taken a back seat due to December’s whirlwind of activities from teaching and baking to selling my 92 year old mom’s condo and moving her into a new apartment. Whew!

As was true during my days working in emergency medicine, baking continues to serve as a respite for my heart and soul. The feel of the dough, the lovely aromas wafting from the kitchen and the taste of that oh-so special treat - you can’t beat it!

To help say adieu to 2019, I’d like to share a few of the goodies I’ve been baking of late.

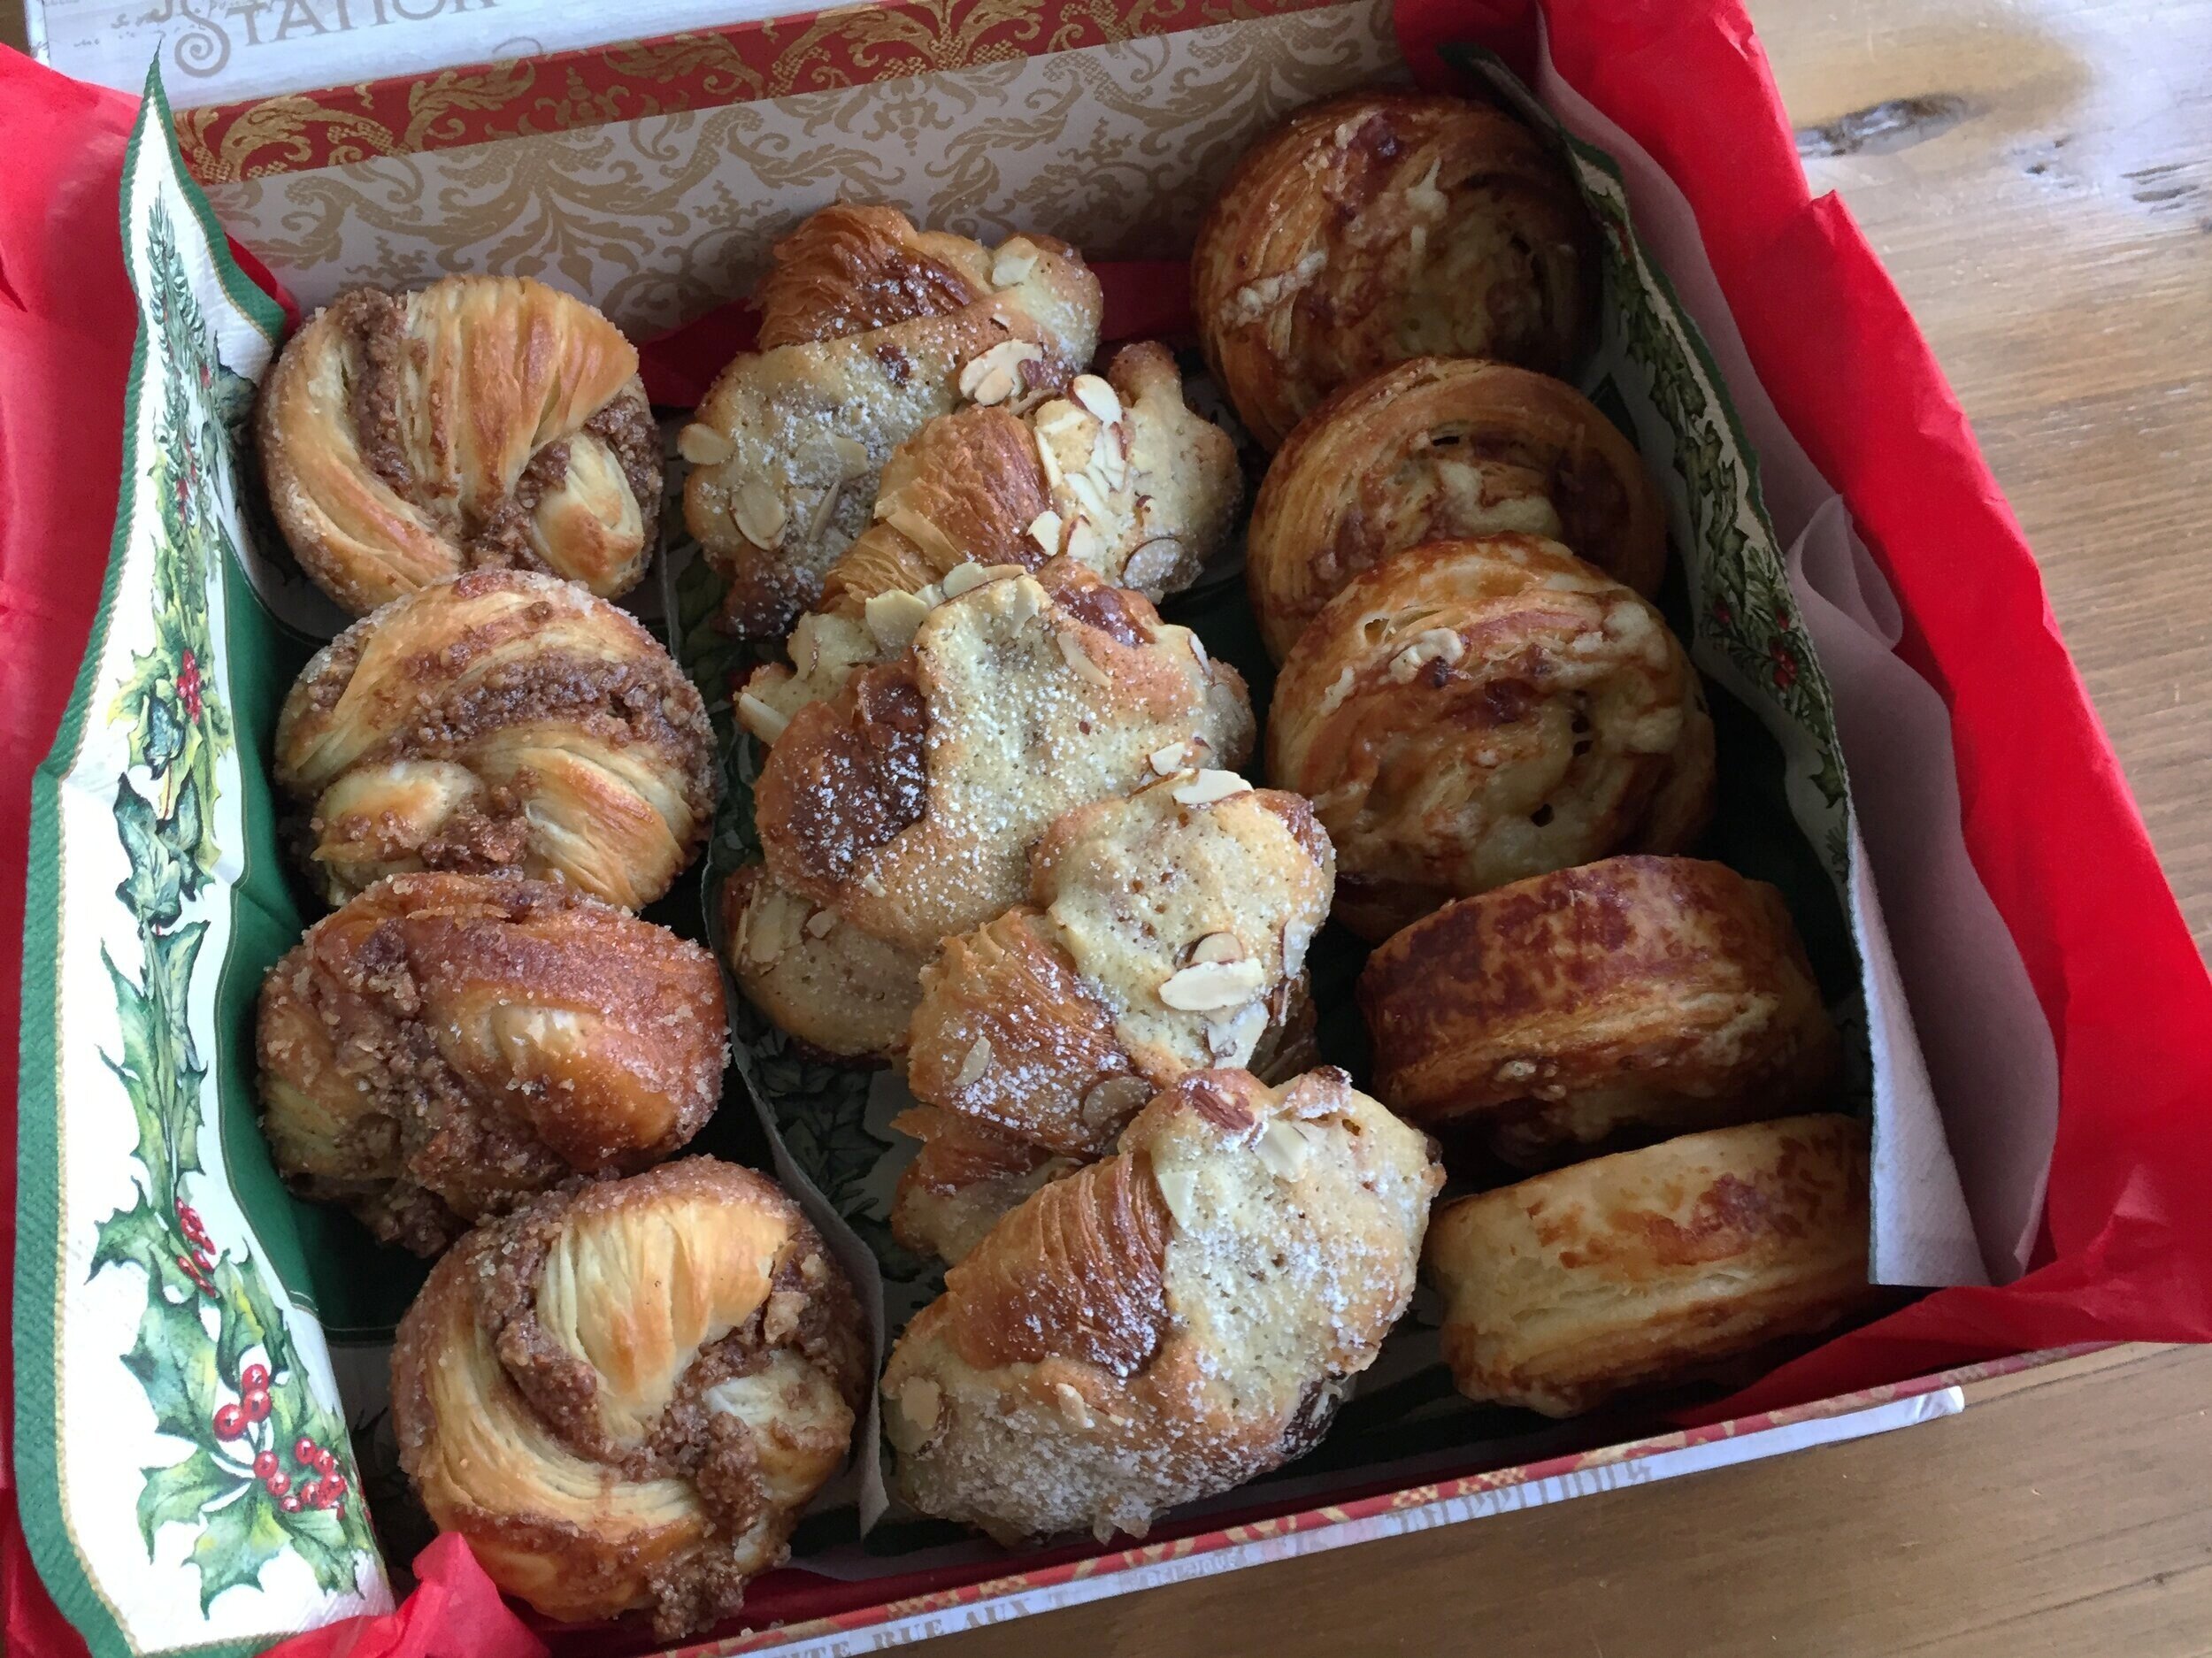
Pecan twirls, almond croissant, ham and cheese spirals

Pecan twirls, almond croissant, ham and cheese spirals

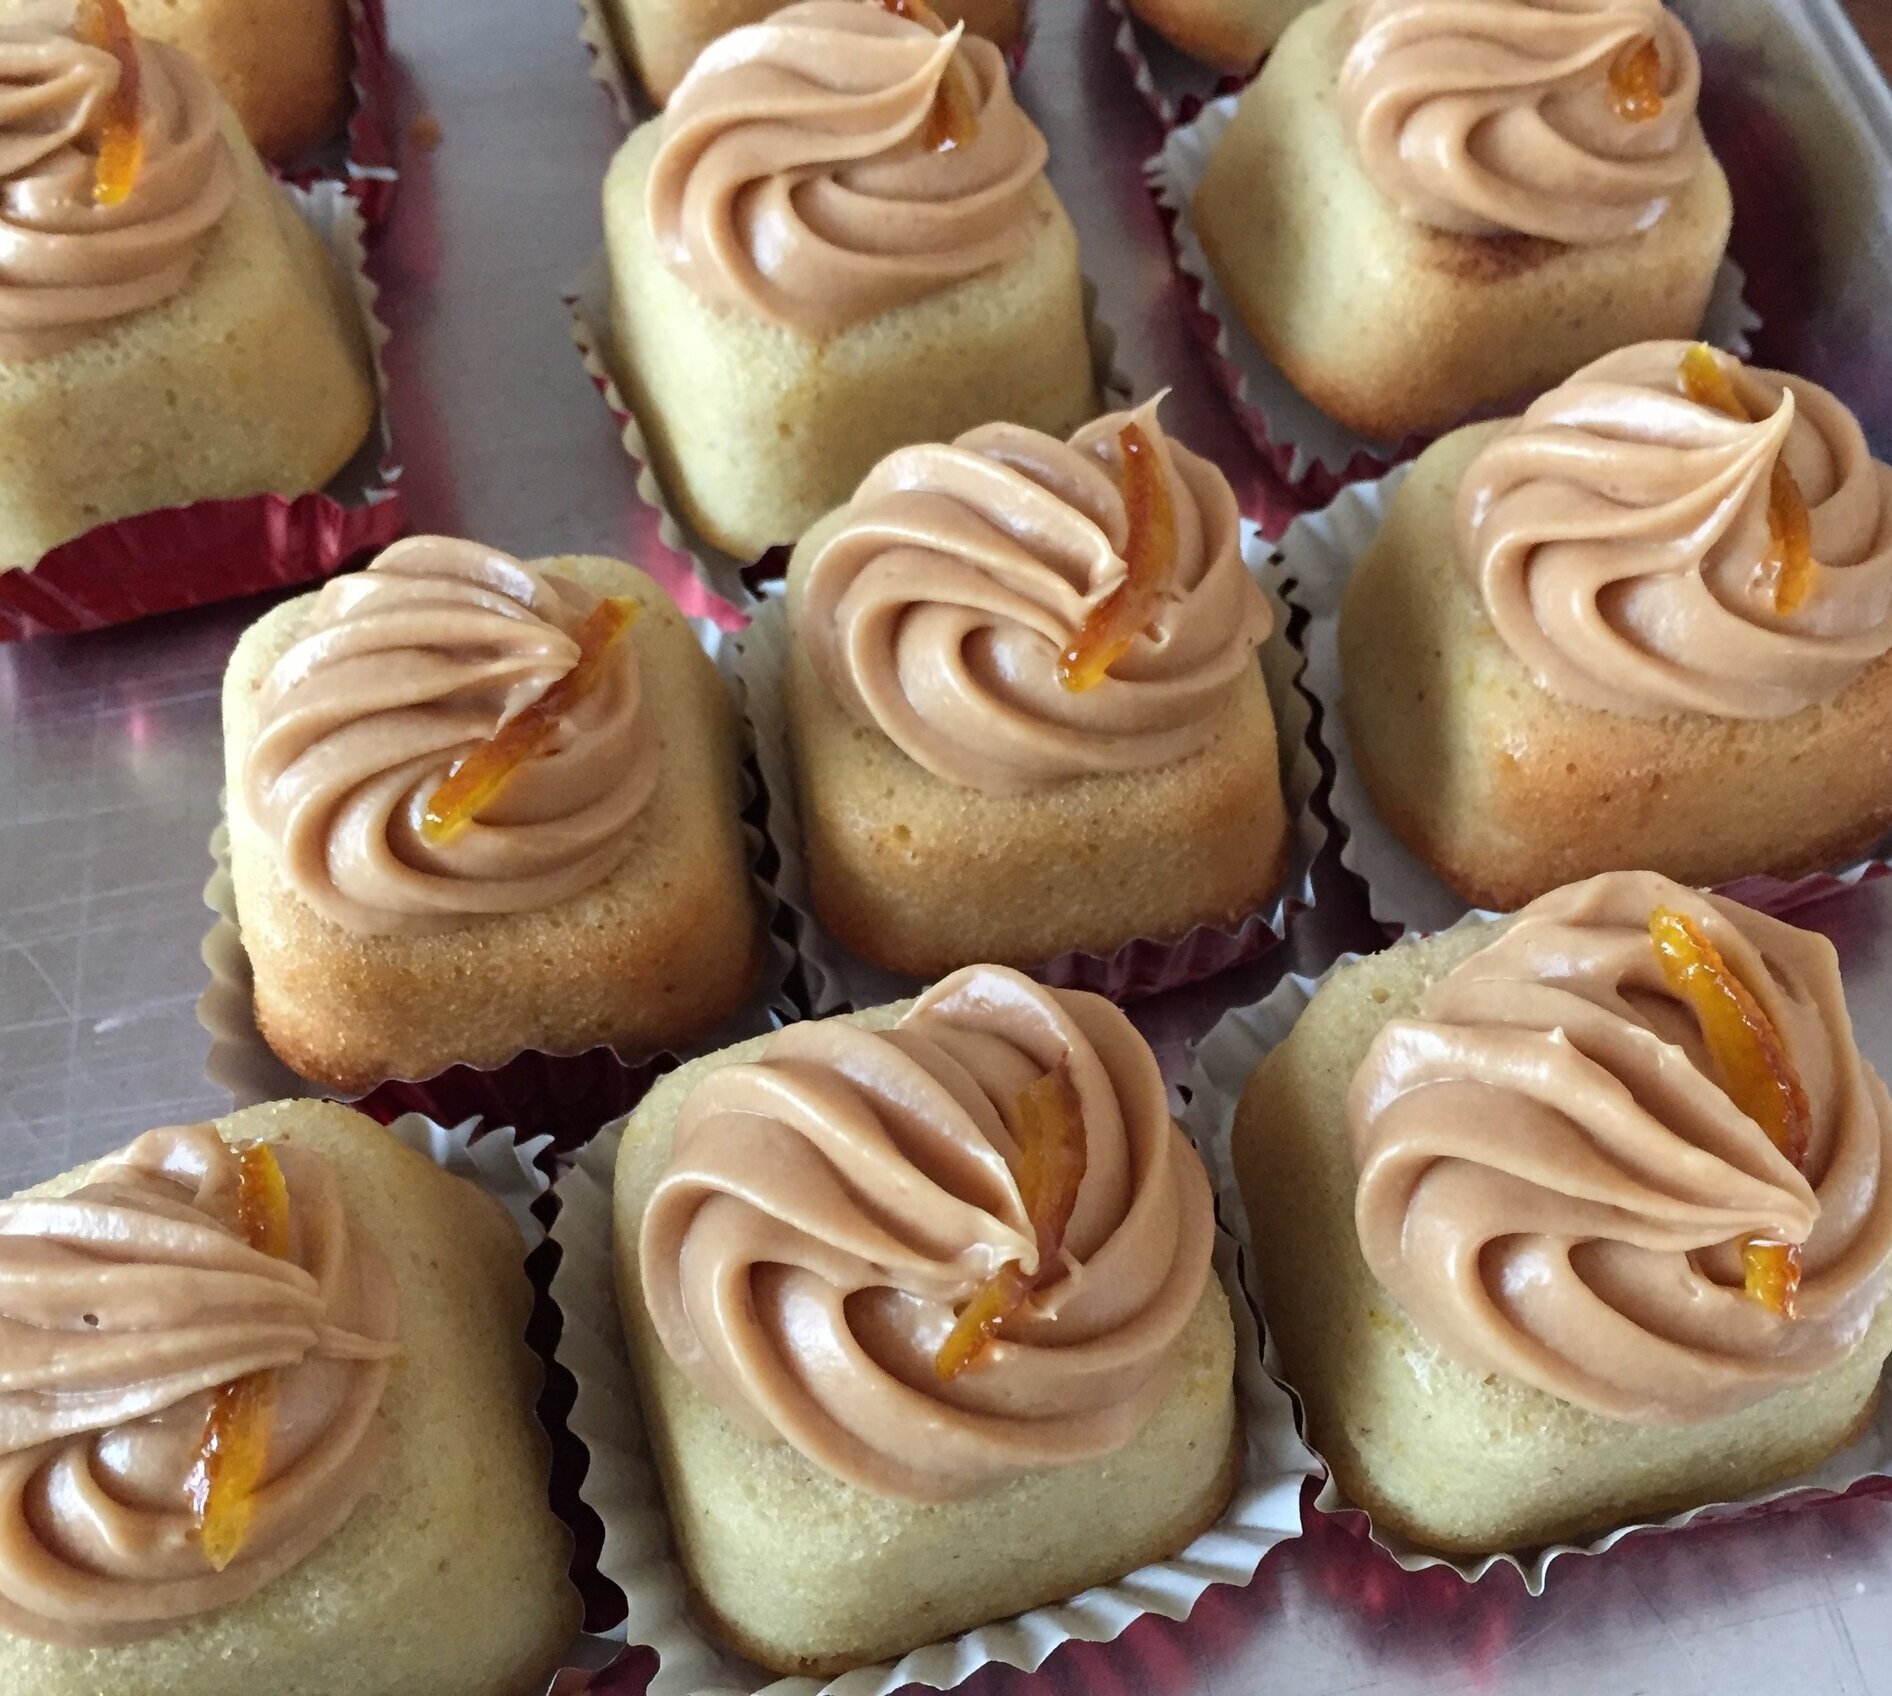
Orange financier with salted caramel buttercream

Orange financier with salted caramel buttercream

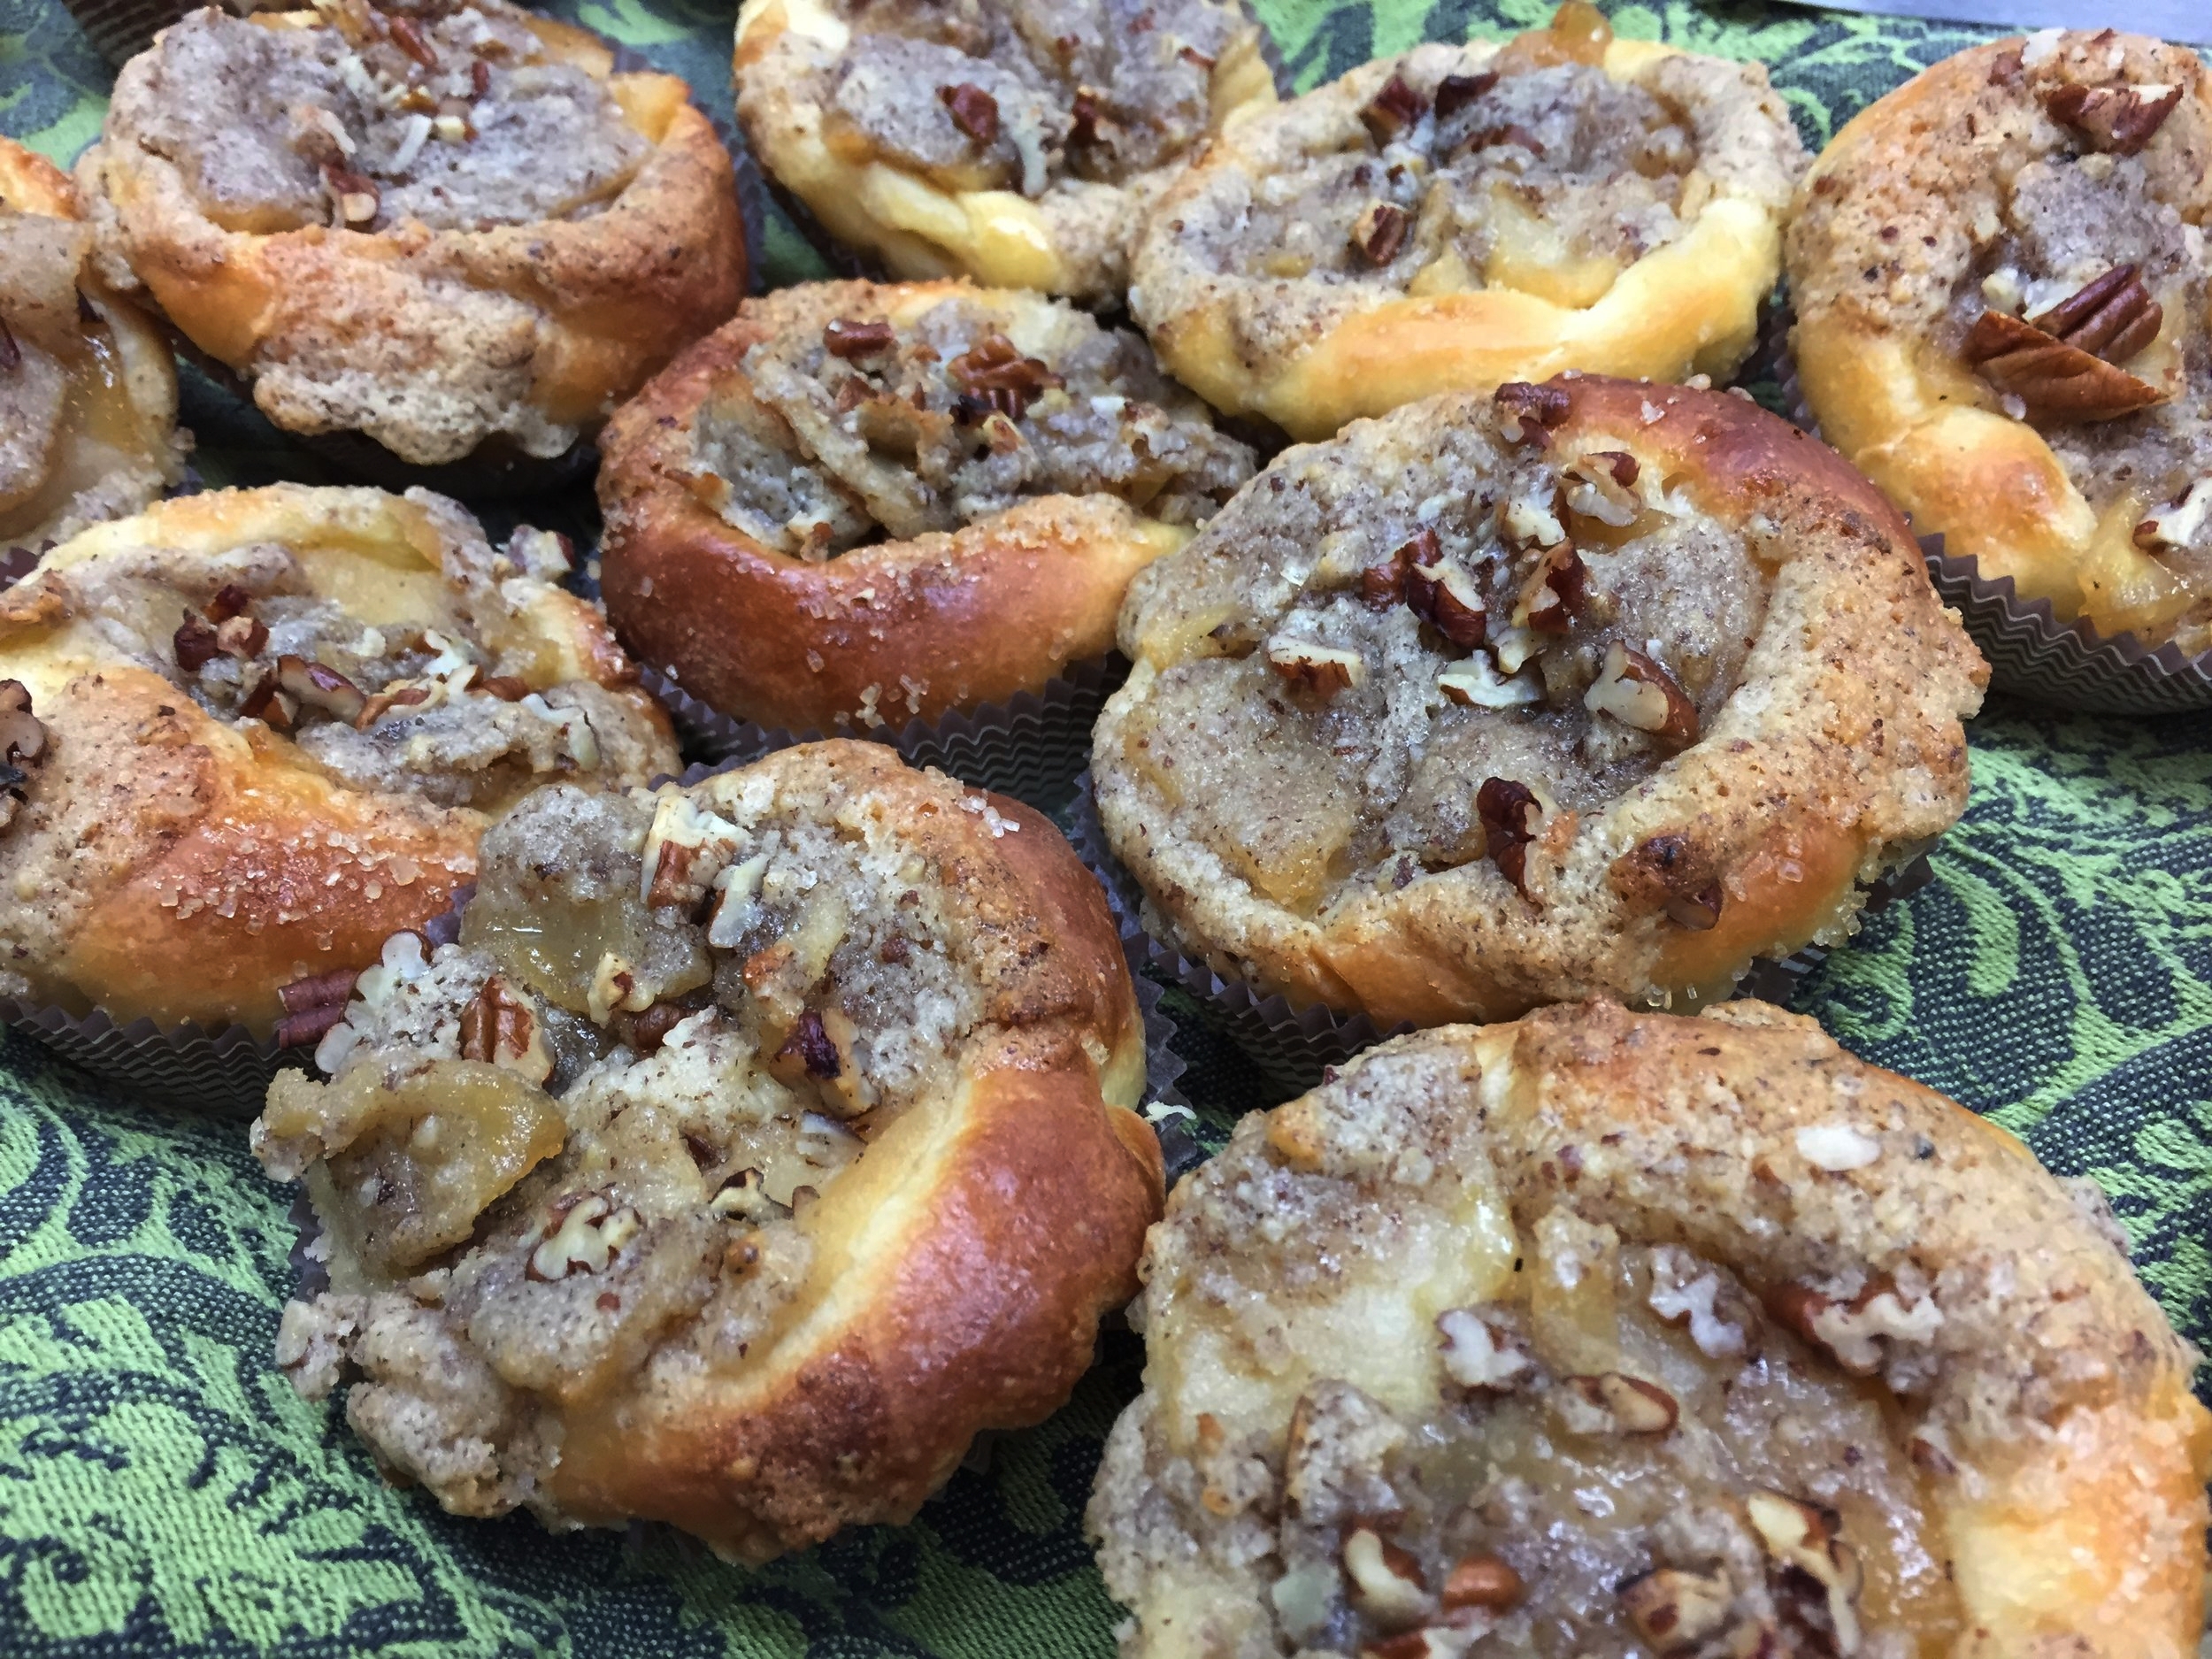
Pumpkin pecan crunch brioche

Pumpkin pecan crunch brioche

White chocolate raspberry crispy rice almond bark (now that’s a mouthful!)

White chocolate raspberry crispy rice almond bark (now that’s a mouthful!)

Sending warm holiday greetings to all and may the upcoming year bring you many good things.

World egg day!

Maple pot de crème

Maple pot de crème

How many of you knew that October 12 was World Egg Day? I wouldn’t have known if it hadn’t been for Kim, the activities director at Heron Manor/Woods just down the street from our home.

It all started in 1996 when the International Egg Commission set the second Friday in October as World Egg Day to increase awareness of the benefits of eggs and how important they are in human nutrition. Who knew?

Needless to say, eggs are utilized in many different ways in the baking and pastry world. For a morning event this past Friday, October 12, I decided to really go for it in the egg department.

Never one to turn down pot de crème, I thought others would enjoy a maple version of this unctuous delight, topped with maple mascarpone cream, a sprinkle of walnut praline crumbs and a petite maple walnut shortbread cookie on the side. So lovely and so delicious.

The base is essentially a crème brulée type custard made with cream, yolks and sugar (maple syrup here). I used 3 ounce ramekins which I find to be a perfect portion for a just right taste.

To yield 14 portions, whisk together 9 yolks, 3/4 cup REAL maple syrup (don’t you even dare use “pancake syrup“!), 3/4 teaspoon salt and 3/4 teaspoon vanilla extract; heat 3 cups heavy cream to barely simmering and temper it into the egg/maple syrup mixture. Strain through a fine mesh sieve into a pouring measuring cup then fill the ramekins to 1/4” below the rim.

Bake in a water bath at 325ºF. I use a clear pyrex glass baking dish, set the ramekins in, pour hot water into the corner of the dish and fill to about half-way up the sides of the ramekins. Cover loosely with foil and bake about 30-35 minutes, checking it periodically - you want the custard just set with a hint of a jiggle in the center. Once out of the oven, lift them out of the water bath and cool to room temperature on a wire rack.

IMG_3255.JPG

Then refrigerate until chilled. Garnish with whatever you’d like! If not being consumed the same day, I cover them with plastic wrap to enjoy over the next few days.

IMG_3266.JPG

Now for a tart!

IMG_3253.JPG

As always, having some version of a tart in the mix is right up my alley and thus a ricotta custard raspberry tartlette was born - buttery blind baked short crust filled with a few raspberry pieces and an easy to make ricotta filling.

For the filling whisk together 2 cups ricotta/3 eggs/one tablespoon cornstarch/3/4 cup sugar/zest of a lemon/ 1 teaspoon vanilla. Et voilà, très simple!

IMG_3244.JPG

Bake at 350ºF until the filling is set and a bit puffy, about 20-25 minutes.

IMG_3247.JPG

To give these babies some panache I made a lightly gelled raspberry coulis and pooled it on the top.

IMG_3249.JPG

Then a nice string-of-pearls crème Chantilly rim and a fresh raspberry to top it off. Smooth and berry delicious !

IMG_3251.JPG

The World Egg Day table also held browned-butter pistachio crumb cakes (egg whites) . . . .

IMG_3263.JPG

. . . . and apple pecan brioche (we all know that has eggs!).

Note: more on revisiting brioche recipes later - it’s an ongoing task.

IMG_3264.JPG

An enjoyable egg day it was!! Can’t wait until next year.

Brioche feuilletée


I've been wanting to make this delectable version of brioche for some time now, and so it was that a recent online reference to Guy Savoy's new venture in Paris, Gout de Brioche, finally got me going. The shop offers individual as well as "grand" brioche feuilletée in a variety of flavors both savory and sweet. 

This particular dough is another in the family of laminated dough - puff pastry, croissant and Danish being the standards.  Here we have an egg enriched brioche dough which is put through similar laminating steps to create buttery, flaky layers of goodness.


It seems that every time I make brioche I look back at various recipes and compare ingredient amounts and ratios.  This time I reviewed the recipe from the Le Nôtre class that I attended in Paris during our recent September trip. Using it, as well as an online recipe attributed to Philippe Conticini of Pâtisserie des Rêves fame, I came up with my own version to launch my attempt at brioche feuilletée.


Brioche dough can be lean to rich and may contain amounts of butter that are anywhere from 20-80% of the quantity of flour in the recipe.  With the laminated approach one reduces the amount of butter in the basic dough but then uses a larger amount of butter for the butter block that becomes incorporated into the dough.

Here's the dough: 500 g flour (450 g all purpose and 50 g bread); 10 g salt; 50 g sugar; 8 g instant yeast; 90 ml whole milk; 250 g egg (about 5 large); 50 g unsalted butter, cut into small cubes.  

Place the flour, salt, sugar, yeast and milk in the bowl of a stand mixer fitted with the dough hook and mix on low for a couple of minutes.  Add the eggs 1-2 at a time until each addition is incorporated.

Increase speed to medium and mix for 12-15 minutes until the dough is coming away from the sides of the bowl.  

Add the butter piece by piece until incorporated. The dough should be shiny, smooth and silky.

Turn the dough out into a lightly greased bowl, cover and let it rise for an hour.


Deflate the dough gently then cover snugly and put into the fridge for 4-5 hours or overnight.

Form a butter block with 340 g unsalted butter and hold it in the fridge overnight as well.

The following morning take the butter out to take the firm chill off and allow it to become more malleable for the beurrage et tourage.

At this point the process is the same as for croissant - envelope the butter and then put it through three single, or business letter, folds with 30 minute rests in between. Here's the first fold.


After the three folds give it a good hour rest in the fridge before rolling it out for its final use.

Take a look at my finished dough below - it felt great even though the butter isn't uniformly distributed in the dough. I pushed on nonetheless!  


Roll the dough out into an approximately 16"x13' rectangle.  At this point you can do any filling your little heart desires.  I opted for a simple mix of crushed raw sugar cubes with lemon zest which I sprinkled over the dough, leaving the upper edge clear.


Brush the upper edge with a little water, milk or egg wash to help seal the seam once you've rolled it up.


Now slice into twelve 1 1/4" slices.


You can tuck these, cut side up, into buttered standard muffin tins, but I decided to use lightly buttered panettone papers.


Let these rise in a warm place for 1-2 hours, depending on your ambient temperature.  They should look poufy with increased prominence of the laminations.


Heat the oven to 400ºF.  

Brush the tops with a bit of egg wash or milk and sprinkle with pearl sugar.


Bake for 10 minutes then decrease the temp to 350 for another 10-15 minutes until nicely browned.


Once cooled a bit I pulled them out of the baking papers and brushed the surface with lemon syrup.  I find that brioche often look a bit dry coming out of the oven and the syrup gives them a nice sheen.

They look a bit like a conch shell!  Or some kind of snail.  Some of them tried to rise up and escape from their houses, looking like a slinky going down the stairs.


Once a bit cooled it was definitely time for a taste test. In the photo below the smaller pieces in the background are a couple of end scraps that I baked separately, and the sliced brioche in the front is one that slink-ied out of its paper.


The thing that always strikes me about a good brioche is how LIGHT it is!  The eggs and the butter don't seem to weigh it down at all.  Although remember that an important part is making sure you give these babies a decent rise - if they don't rise long enough they'll end up heavy and dense.


The flavor and texture were just right and the lemon syrup gave these a nice little zing.  But next time I'd punch the lemon zest up even more.

I can't wait to try some other versions!  Yessiree!!

It's all about the journey.

A pastry year in review and looking ahead

Wow!  It's already January 4 (one of Steve's favorite lines after the new year is "this year is flying by!), and I'm excited about a couple of recently purchased pastry books, compliments of a Schuler's gift certificate from my book lover husband.

Here's a little new-book-preview before I look back at some of the favorite things that I baked in 2015.

Dominique Ansel's The Secret Recipes caught my eye, not because of his cronut fame, but because he shares the history of his pastry profession as well as some of his innovative recipes.  I've just started working my way through the book, and I'm already inspired.

Samantha Seneviratne's the new sugar & spice spoke to me since I'm always trying to think a bit outside the box when it comes to spices and flavor combos.  And her stories of family life in Sri Lanka only serve to enhance the collection of recipes that focus on specific spices such as cardamom, nutmeg, cinnamon, vanilla, pepper and more.


And so I look forward to plunging into some new baking adventures.

The cover recipe of Samantha's book is first on my list - pistachio and chocolate butter cake.  Of course I must get some cardamom in the house!


Dominique's "magic soufflé" looks really interesting (and challenging) - brioche dough wrapped around a chocolate ganache filling - man oh man, that should be fun.  I love doing new things with brioche dough, so stay tuned folks!


Now here's a brief pictorial of some of the favorites from this past year.

Galette des rois . . . .


served with chantilly, toasted almonds, fresh citrus and caramel drizzle.


My first English muffins . . . .


served toasted with butter and jam.


Brioche craquelins . . . .


oh so citrusy and crunchy with a crumb to die for.


 Chocolate génoise entremet . . . .


Golden raisin toast apple tart . . . .


Millefeuille chocolat . . . .


 Tarte aux fruits rouge pistache. . . . 


Cannelés bordelais . . . .


Crunchy topped choux  . . . .


Rustic summer crostata . . . .


Gateau Breton . . . .

au naturale
and . . . .

avec crème d'amandes et confiture
Tea flavored shortbread . . . .


Thanksgiving citrus cream tart . . . .


And last but not least a Christmas coconut cream tart . . . .


But I simply can't sign off without a reminder of the perennial favorites . . . .

croissant et pain au chocolat


chausson aux pommes

croissant aux amandes

kouign-amann

Here's to a fantastic year of baking and pastry for 2016!!

Craquelins - a Belgian brioche treat from Thomas Keller

I've been salivating over Thomas Keller's Bouchon Bakery book that's been sitting on my pastry library bookshelf for several months now.  Thus far I've made a few of the shortbread recipes and have read through a good deal of the book, soaking in the advice and tips from Sebastien Rouxel, the head patissier.  His way of presenting things is right up my alley and is so in line with how I've come to view my own approach to pastry and the French way of doing things.

His energy, passion and attention to detail come through loud and clear, especially on the heels of my ever growing disillusionment with Philippe Conticini's La Pâtisserie des Rêves book, it's imprecision and sloppy editing.

The craquelins recipe was calling my name, and, as usual, I did some research on this enriched dough treat.  It is classically a Belgian specialty made by mixing citrus zest and sugar cubes into brioche dough.  Lemon is most commonly used, but some versions use orange and add some orange liqueur as well.


The method that is described in a number or recipes involves mixing sugar cubes into brioche dough and then covering and enclosing the shaped dough balls with a smaller disc of brioche dough.  This apparently acts as a seal to keep the sugar cubes from popping through during baking.

Bouchon's version calls for candied orange rind, orange zest and orange liqueur, and I figured I'd follow their lead on this one.

First I made my candied orange rind, which can be done ahead and kept in the fridge for several weeks.  It's a straightforward process with the fussiest part being the separating of the rind from as much of the white pith as possible.

I typically slice the rind off the orange, then remove any remaining pith before cutting the rind into narrow strips.


Make a simple syrup and set it aside.  Place the rind in cold water in a separate sauce pan, bring it to a boil, then strain it.  Do that two more times (this helps reduce the bitterness of the rind),


boiling the rind

then place the rind into the simple syrup and simmer until translucent (that might take 20-30 minutes).


the candied rind

Let the rind cool to room temp before refrigerating it in its syrup until you're ready to use it.

Time to make the brioche!  Every time I make this enriched dough I am amazed at the transformation that occurs.  What begins as a somewhat dry, firm dough develops into a satiny, shiny, buttery mass of goodness.  Whoa baby!

This recipe has a starter made with 60 gm whole milk, 8 gm instant yeast and 90 gm all purpose flour.  It's dry and not terribly attractive.


Mix it, cover with plastic wrap and let it sit for an hour.

starter

Meanwhile, get the orange rind mixture ready:  finely chop the candied orange rind, mix with orange zest and liqueur.  The recipe calls for 150 gm candied rind, 15 gm orange zest and 1.5 tsp orange liqueur.  I used 80 gm rind, 10 gm zest and 1.5 tsp hazelnut liqueur, since that's what I had on hand.


Proceed with the mise en place for the remaining dough.


all the ingredients

Place 390 gm all purpose flour, 52 gm granulated sugar and 12 gm kosher salt (see side note below) in the mixer bowl.  Give it a quick whisk, then mix in the starter dough and blend for 30 seconds or so.

Side note:  in the book 12 gm of kosher salt is equated to 4 teaspoons; however my 12 gm was closer to 2-2.5 tsp; remember - not all kosher salts are created equal!!  And that, folks, is just one example of why weighing trumps measuring!

Add 225 gm eggs in three additions,


starting to add the egg

. . .  then mix on low speed for 15 minutes to develop the gluten.


The dough at this point feels kind of tough and not at all satiny smooth.

Start adding the butter, several pieces at a time, incorporating each addition before adding more.


Once all the butter is added, mix for a couple more minutes . . .


and voila!  What a beautiful piece of dough!!

At this point it's time to turn the dough out onto a lightly floured surface and shape a rough rectangle, onto which you place the orange rind/zest mixture.


Knead the orange mixture into the dough and then pat into a rectangle again.


Do a fold-over of the dough, side to side . . .


then top to bottom . . .


then flip it over, form a ball and place in an oiled bowl.


Cover the bowl with plastic wrap and let the dough sit at room temp for an hour.

Turn it out onto a lightly floured surface, pat it into a rectangle and repeat the side-to-side/top-to-bottom stretching and folding process.  Place the dough, seam side down, in the bowl, cover and refrigerate over night.

Here's the dough after its overnight chill . . .

ready for shaping

Turn the chilled dough onto a lightly floured work surface, shape it into a rough log . . .


getting ready to divide

and divide it into 12 approximately 100 gm portions.  Have 12 sugar cubes at the ready.


all weighed out

Now form each portion into a ball . . .


then push one sugar cube into the bottom of each.


Turn them back over and re-roll to push the sugar cube more centrally into the dough.


Now place them in lightly oiled paper baking molds on a sheet pan and brush with egg wash.


Cover loosely with plastic wrap and let proof for 1.5 to 2 hours.  I turn the proofing setting in my oven on at 85º for just a few minutes and then turn it off.  It makes for a nice proofing environment (I think about 75º is ideal).  Of course, if it's summer and your kitchen is nice and warm, just proof at room temp!

With brioche it can be difficult to appreciate a dramatic rise due to the quantity of butter which tends to weigh the dough down.  However I think you can see in the photo below that the dough has indeed filled out in the baking cups compared to the photo above.

After proofing brush again with egg wash and sprinkle each with pearl sugar.


ready for the oven

Bake at 325º convection for about 20-25 minutes - and don't forget to watch what's happening in that oven!

c'est fini!

 These rose beautifully and baked to a lovely golden color - and the aroma - oh la la!


like little moonlit nuggets

Once they had cooled I simply had to try one.  I didn't feel too guilty since I'd already had my morning oatmeal and berries - and it was lunch time, after all.


The crumb is moist and soft, the crunchy sugar a treat like none other and the orange rind and zest adds the perfect note.  I can't wait to try these with lemon.

And, of course, Steve liked them too.

Yes indeed!  Thanks Bouchon Bakery!!

Artisan bread class at King Arthur Flour, Day 1

On Sunday, October 26, 2014 I wended my way north from Providence amidst beautiful autumn colors, arriving at the Hampton Inn in White River Junction, VT several hours later. My purpose - to attend a 4 day artisan bread class at King Arthur Flour in Norwich, VT, just a few miles north of my lodgings.

When Steve and I lived in Vermont some years ago, I visited the King Arthur baking store on a few occasions, but little did I know what awaited me this time around. The new Baking Center is a stunning piece of VT architecture, right down to its quintessential metal roof.

Inside one finds a cozy café, the bakers retail store and a couple of large production kitchens where you can watch what's going on - so cool!  I especially got a kick out of seeing the large blocks of butter being formed for croissants and danish, followed by the butter being enveloped in the dough in preparation for sheeting - bordering on massive compared to my small, hands-on batches of croissants!

Then there is the baking center where many have honed their skills and enhanced their knowledge as they pursue their passion for baking.

I and 10 fellow students were warmly greeted by Robyn, our instructor for the first day. Free coffee cards were handed out as we each settled in at what would be our "bench" spot for the remainder of the class.

The teaching kitchen is open, airy, extremely well equipped with impressive tiered deck ovens, proofing cabinets, roll in refrigerators, cheery red KitchenAid stand mixers and more. What a great place to learn!

The plan for the week:

We began with a couple of "straight" doughs (also known as direct doughs) which are made and baked the same day. We made pissaladiere (a classic southern French pizza-like dish typically topped with caramelized onion, olives and anchovies) and grissini (bread sticks).

Both of these doughs were very user-friendly, came together smoothly with a silky feel.  Then after kneading, some resting/rising time and shaping, they were baked in the hot deck ovens. Since I'm not an olive lover, I chose to top my pissaladiere with only the caramelized onions (seasoned with herbes de provence and pepper), although my classmates all happily embraced the olive-onion combo.

The grissini were a bit chubby, some twisty and crooked since everyone put their own spin on the shaping process:

We had the option of keeping our results or leaving them on the wire racks to be donated to a local food cause. Since there wasn't any chance I would (or could) eat all of these, I chose the second option, both for the pissaladiere and the grissini.

Day 1 also included making brioche dough which would be refrigerated overnight for use on Day 2. I found the recipe and process less time consuming than the recipe I normally use (from my stage days at Pâtisserie Pascal Pinaud), and the end result was as silky and smooth as could be.  I'll show you what we did with this dough in Day 2's post.

We then focused on the group of doughs called "pre-ferments". These are portions of dough that are typically made a day ahead and then incorporated into the final dough the following day. They are important for flavor, structure and extended shelf life, and many feel that doughs made in this manner are superior to "straight" doughs for those very reasons.

There are many types of "pre-ferments" and many more references available to explain the difference and variables among these, including King Arthur's web site. Or you could sign up for a class yourself!!

The three we made today were pâte fermentée (for roasted potato bread), biga (for ciabatta) and poolish (for baguette). 

They mix together in the nick of time, are covered, held overnight at room temperature, and then incorporated into the final dough the following day. You can see below that they have different structure and moisture content, the poolish being the wettest.

We were off to a great start! Next up - Day 2!
Brioche mousseline

The fourth recipe in Philippe Conticini's La Pâtisserie des Rêves is Brioche mousseline.

I typically associate mousseline with brioche that is baked in a tall cylinder mold with a parchment collar so that it rises above the mold.  It’s then sliced and used for canapés, and the leftovers can be used to make Bostock, that delicious syrup-imbibed, almond cream covered, twice baked delight.

Brioche Nanterre is another version in which dough balls are lined up in a loaf pan, proofed and baked so the balls essentially fuse together, creating a "pull-apart" look.

Since Philippe's recipe instructs the Nanterre type of line up, I was intrigued by his use of the word mousseline. My research revealed that the word has several meanings, depending on its context. In the culinary world it’s a sauce, such as a hollandaise, to which butter is added, whereas in the pastry world it’s crème pâtissière to which butter is added.

In this brioche recipe it has to do with the flour to butter ratio.  A classic "medium" brioche has a 2:1 flour to butter ratio, whereas a brioche mousseline has closer to a 5:4 flour to butter ratio.  So that's what makes Philippe's recipe a mousseline.  In a word - butter!!  Some call this "Rich man's brioche" due to the high butter content.
Now on to the process!

When making brioche dough, use a heavy duty stand mixer.  I generally plan on anywhere from 20-30 minutes of mixing time, so it's helpful to have a number of minor tasks you can perform while waiting for the process to finish.  Just be sure you keep on eye on your mixer, because it can start "walking" around your counter during the butter addition.

This recipe is straight forward.  Have 190 g cool, unsalted butter diced and ready to go. Mix 250 g all purpose flour, 40 g sugar, 6 g salt and 4 g instant yeast in the bowl of your stand mixer.  Starting out with the paddle (NOT the dough hook), add 4 large cold eggs and mix on low speed until the dough comes together.  Then continue mixing on medium speed for up to 10-15 minutes until the dough becomes very elastic and starts to clean the sides of the bowl.

Above: diced butter ready to be added

Now switch to the dough hook and start adding the butter, 1/3 at a time until each addition is incorporated.  

Above: the dough can really creep up the hook!

Above: after the butter addition, ready for a rest

The dough should be shiny, elastic and smooth.  This is one of the things I love about brioche dough at the end of the mixing - so silky and wonderful!

Cover it with plastic film and let it rest 1.5 hours at room temp.

Above: dough after room temp rest

Then place the dough on a lightly floured surface, form a rough ball, wrap in plastic and refrigerate for 3 hours or overnight. I typically make brioche dough in the evening, let it rest in the fridge overnight then shape, proof and bake the next morning. Works for me!

Above: rough ball ready to be wrapped and chilled

After the chill time (in which the dough becomes quite firm), remove the dough from the fridge and get ready to shape!

It’s important to work with the dough cool so, if you have a big batch of dough, it’s helpful to work with half of it at a time and keep the other portion wrapped in the fridge until you’re ready. This recipe makes approximately 680 g (1.5 pounds) of dough which is good for one loaf pan.

I divided the dough evenly into four 170 g pieces.

Then shaped each piece into a boule.

Have a well buttered loaf pan ready and place the boules snugly into the pan.

Cover the pan with a lightly buttered piece of plastic wrap and let rise 2 hours at room temp.

Above: after the rise

Have your oven heated to 350ºF and bake about 35 minutes.  Remember!  I'll harp on this again and again - pay attention to what's happening in your oven!!

Nice and golden brown, just waiting to be tasted.

This is one delicious brioche!  I must admit that over the years as I've tried various brioche recipes, I've been put off by the ones that have a higher ratio of butter.  But this one has changed my mind.  It has a tight, yet light, delicate crumb, and a rich buttery flavor.  Who could ask for more?!