Mid-ish summer check in
/
Hi all. Hope you’re staying cool and beating the heat the best way you can. I long for those perfect Michigan summer days that bring fresh breezes, crystal clear blue skies and low humidity. They seem few and far between this season.
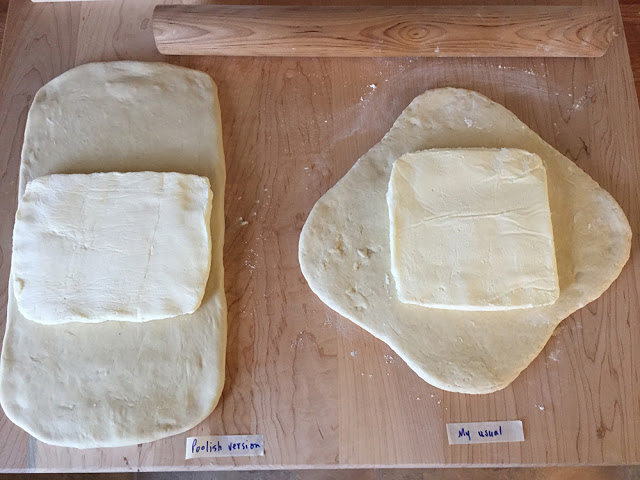
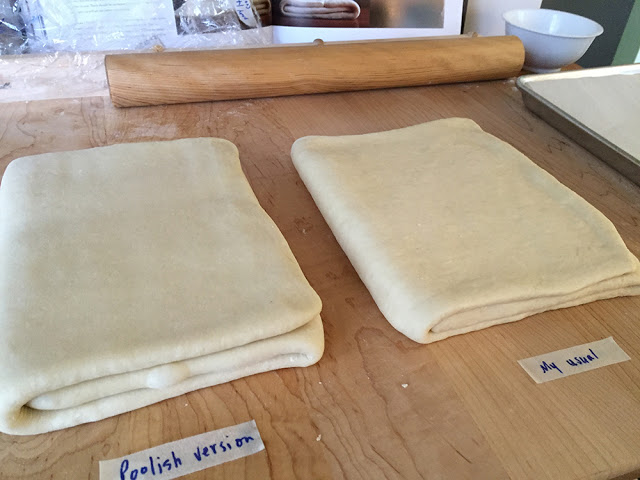
I’m working on a couple of posts featuring goodies that incorporate tahini, honey and chocolate and hope to share them with you soon. I’m taking it slowly but surely - steady wins the race, right? But wait! I have a few summer treats that I’ll share with you now.
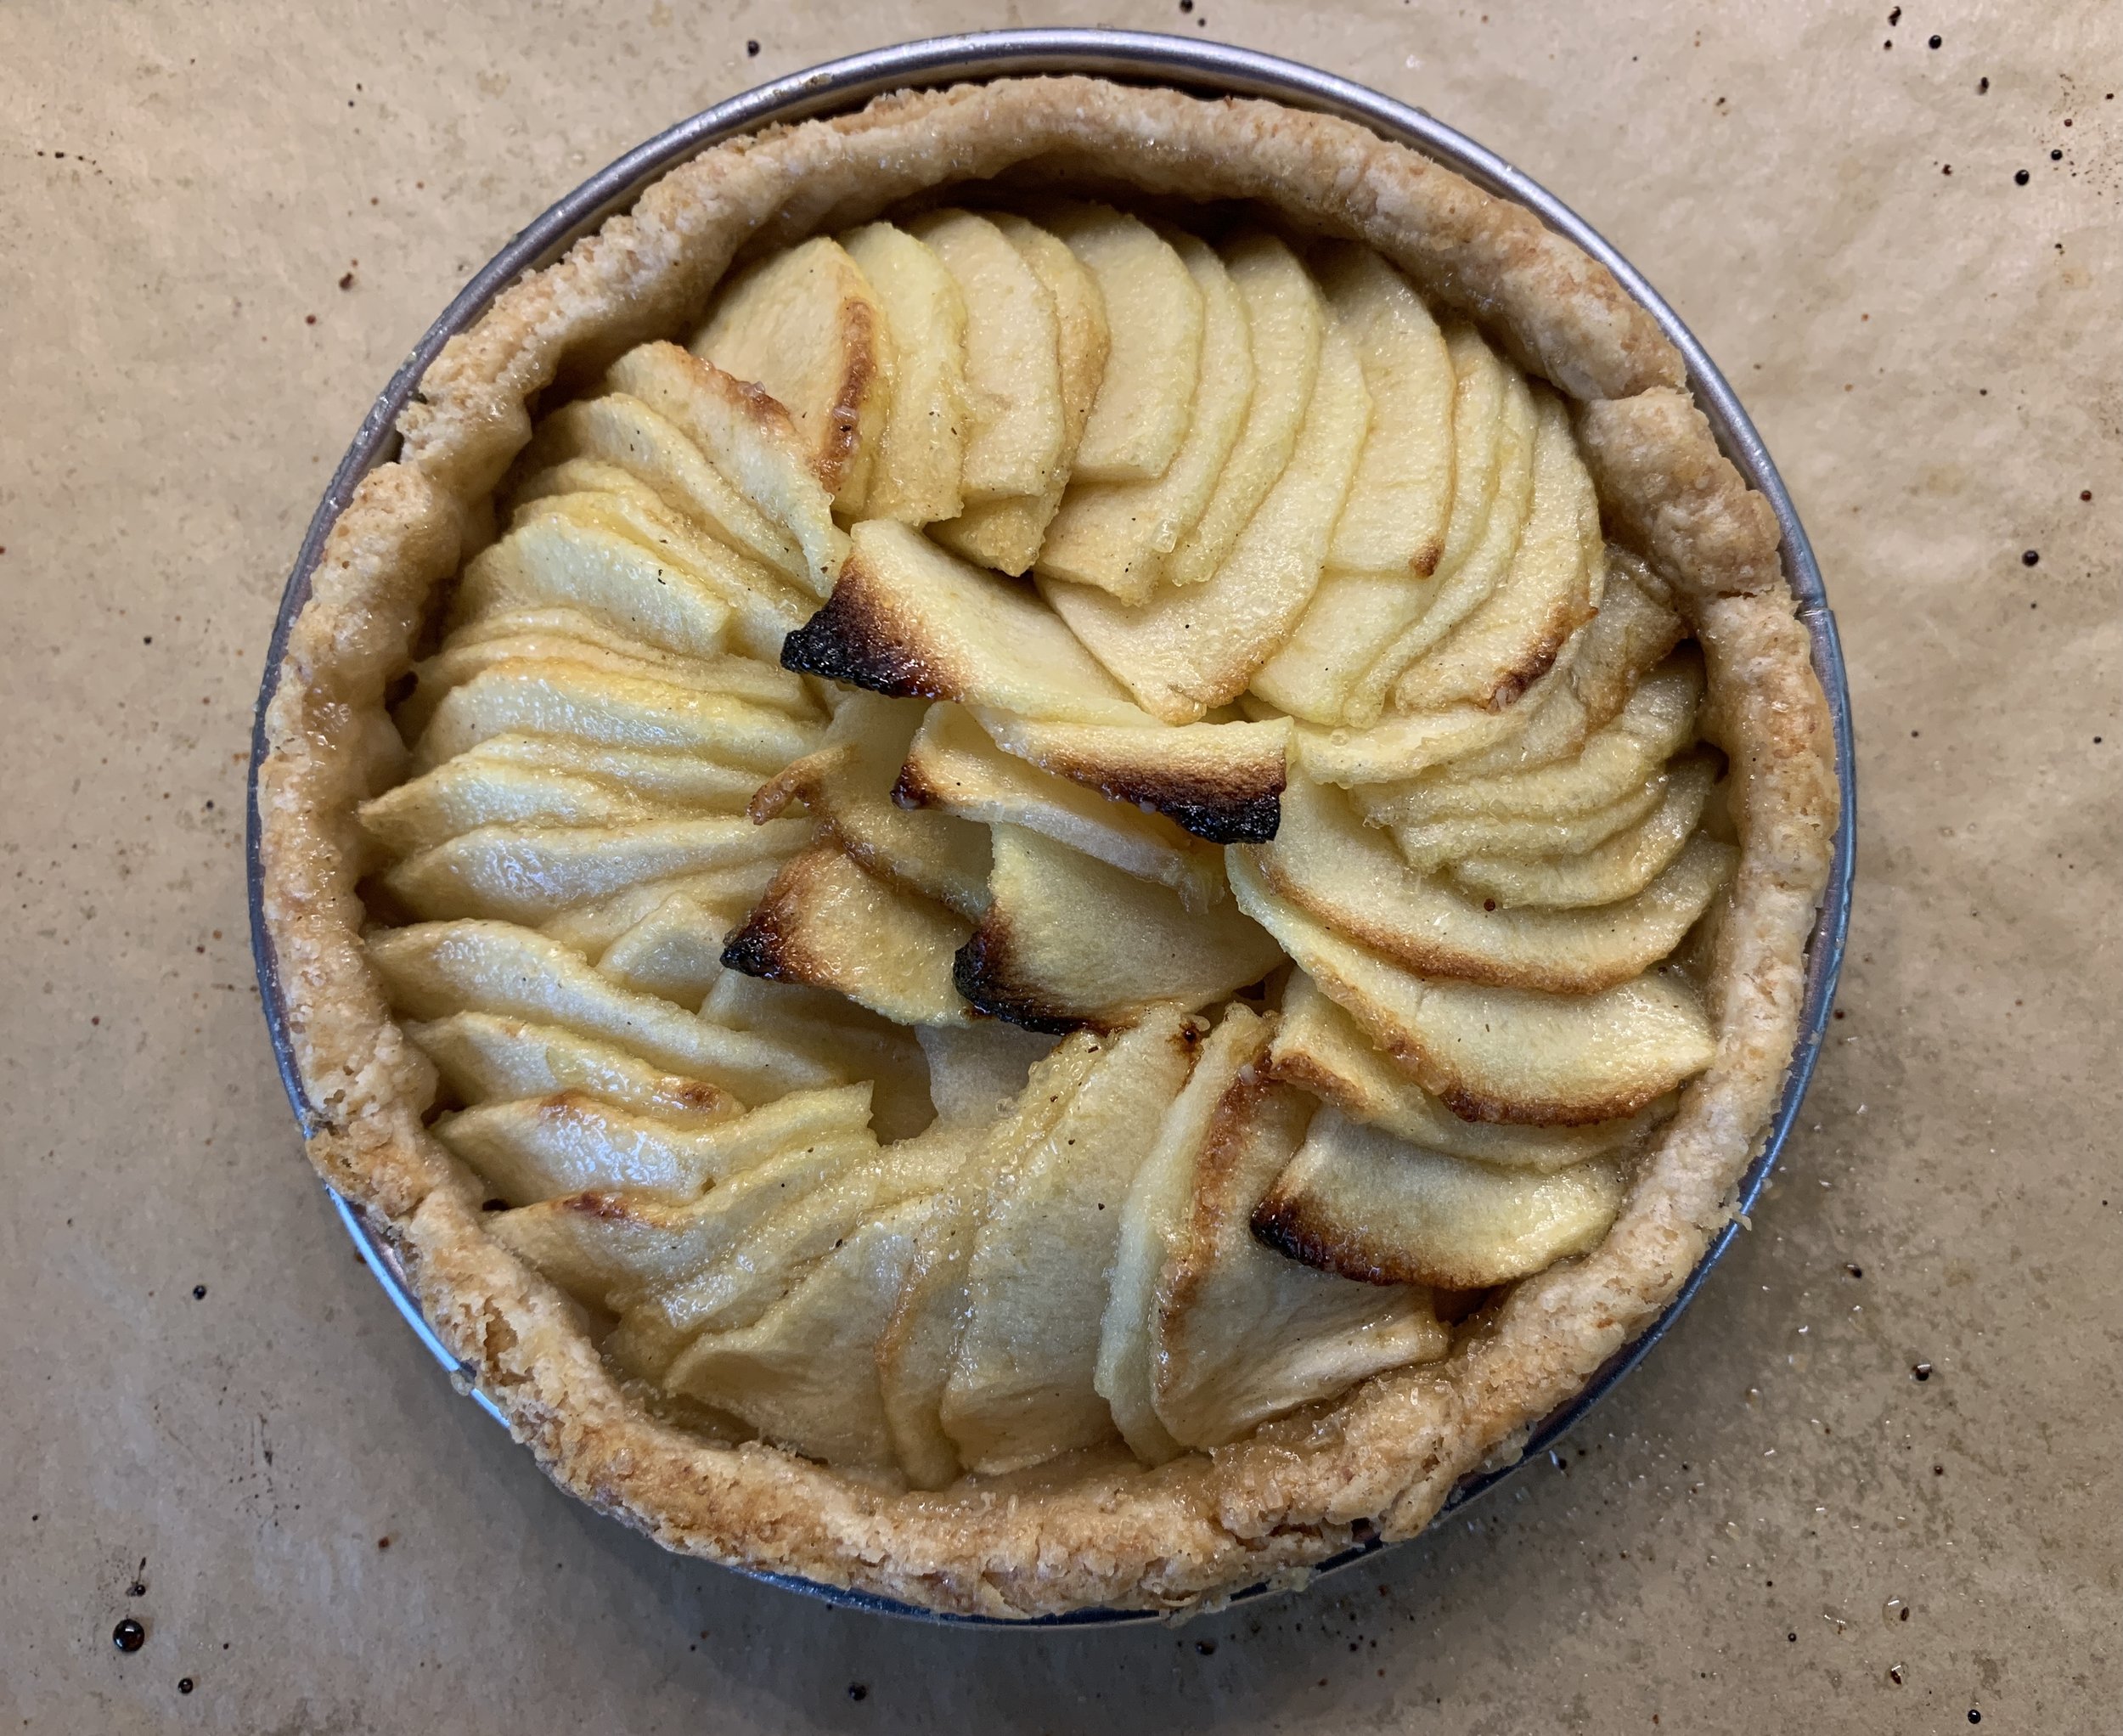
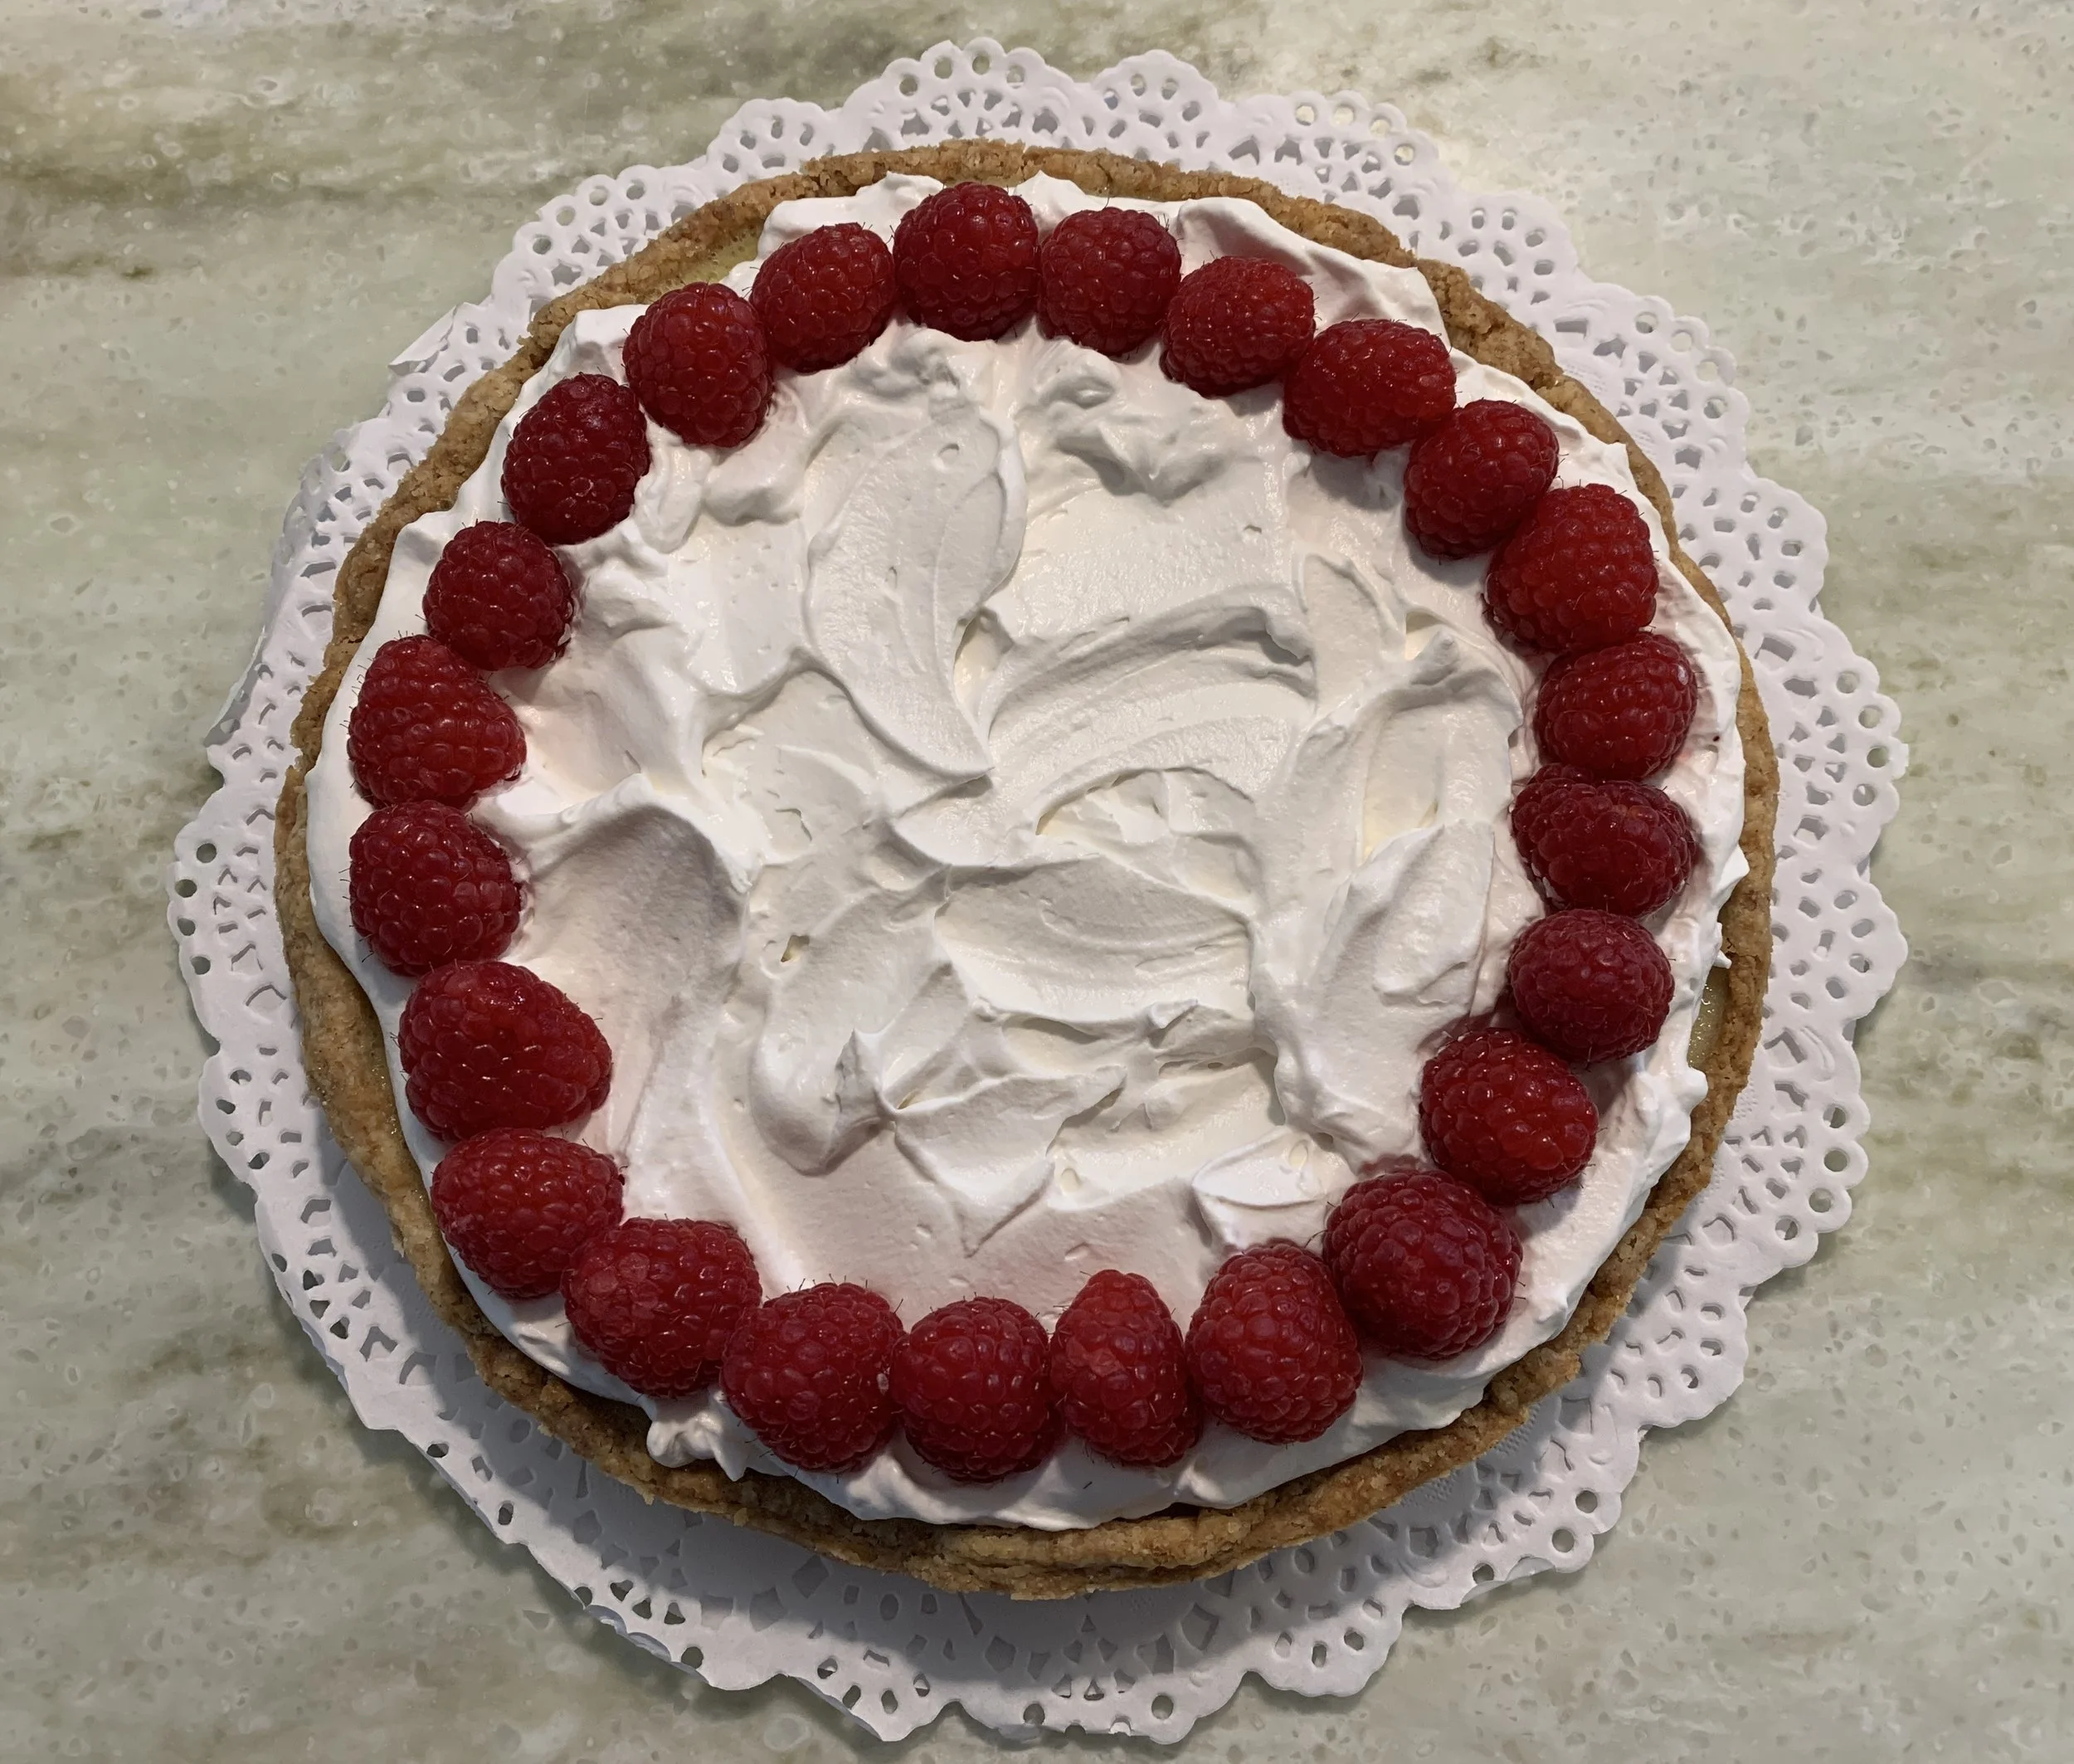
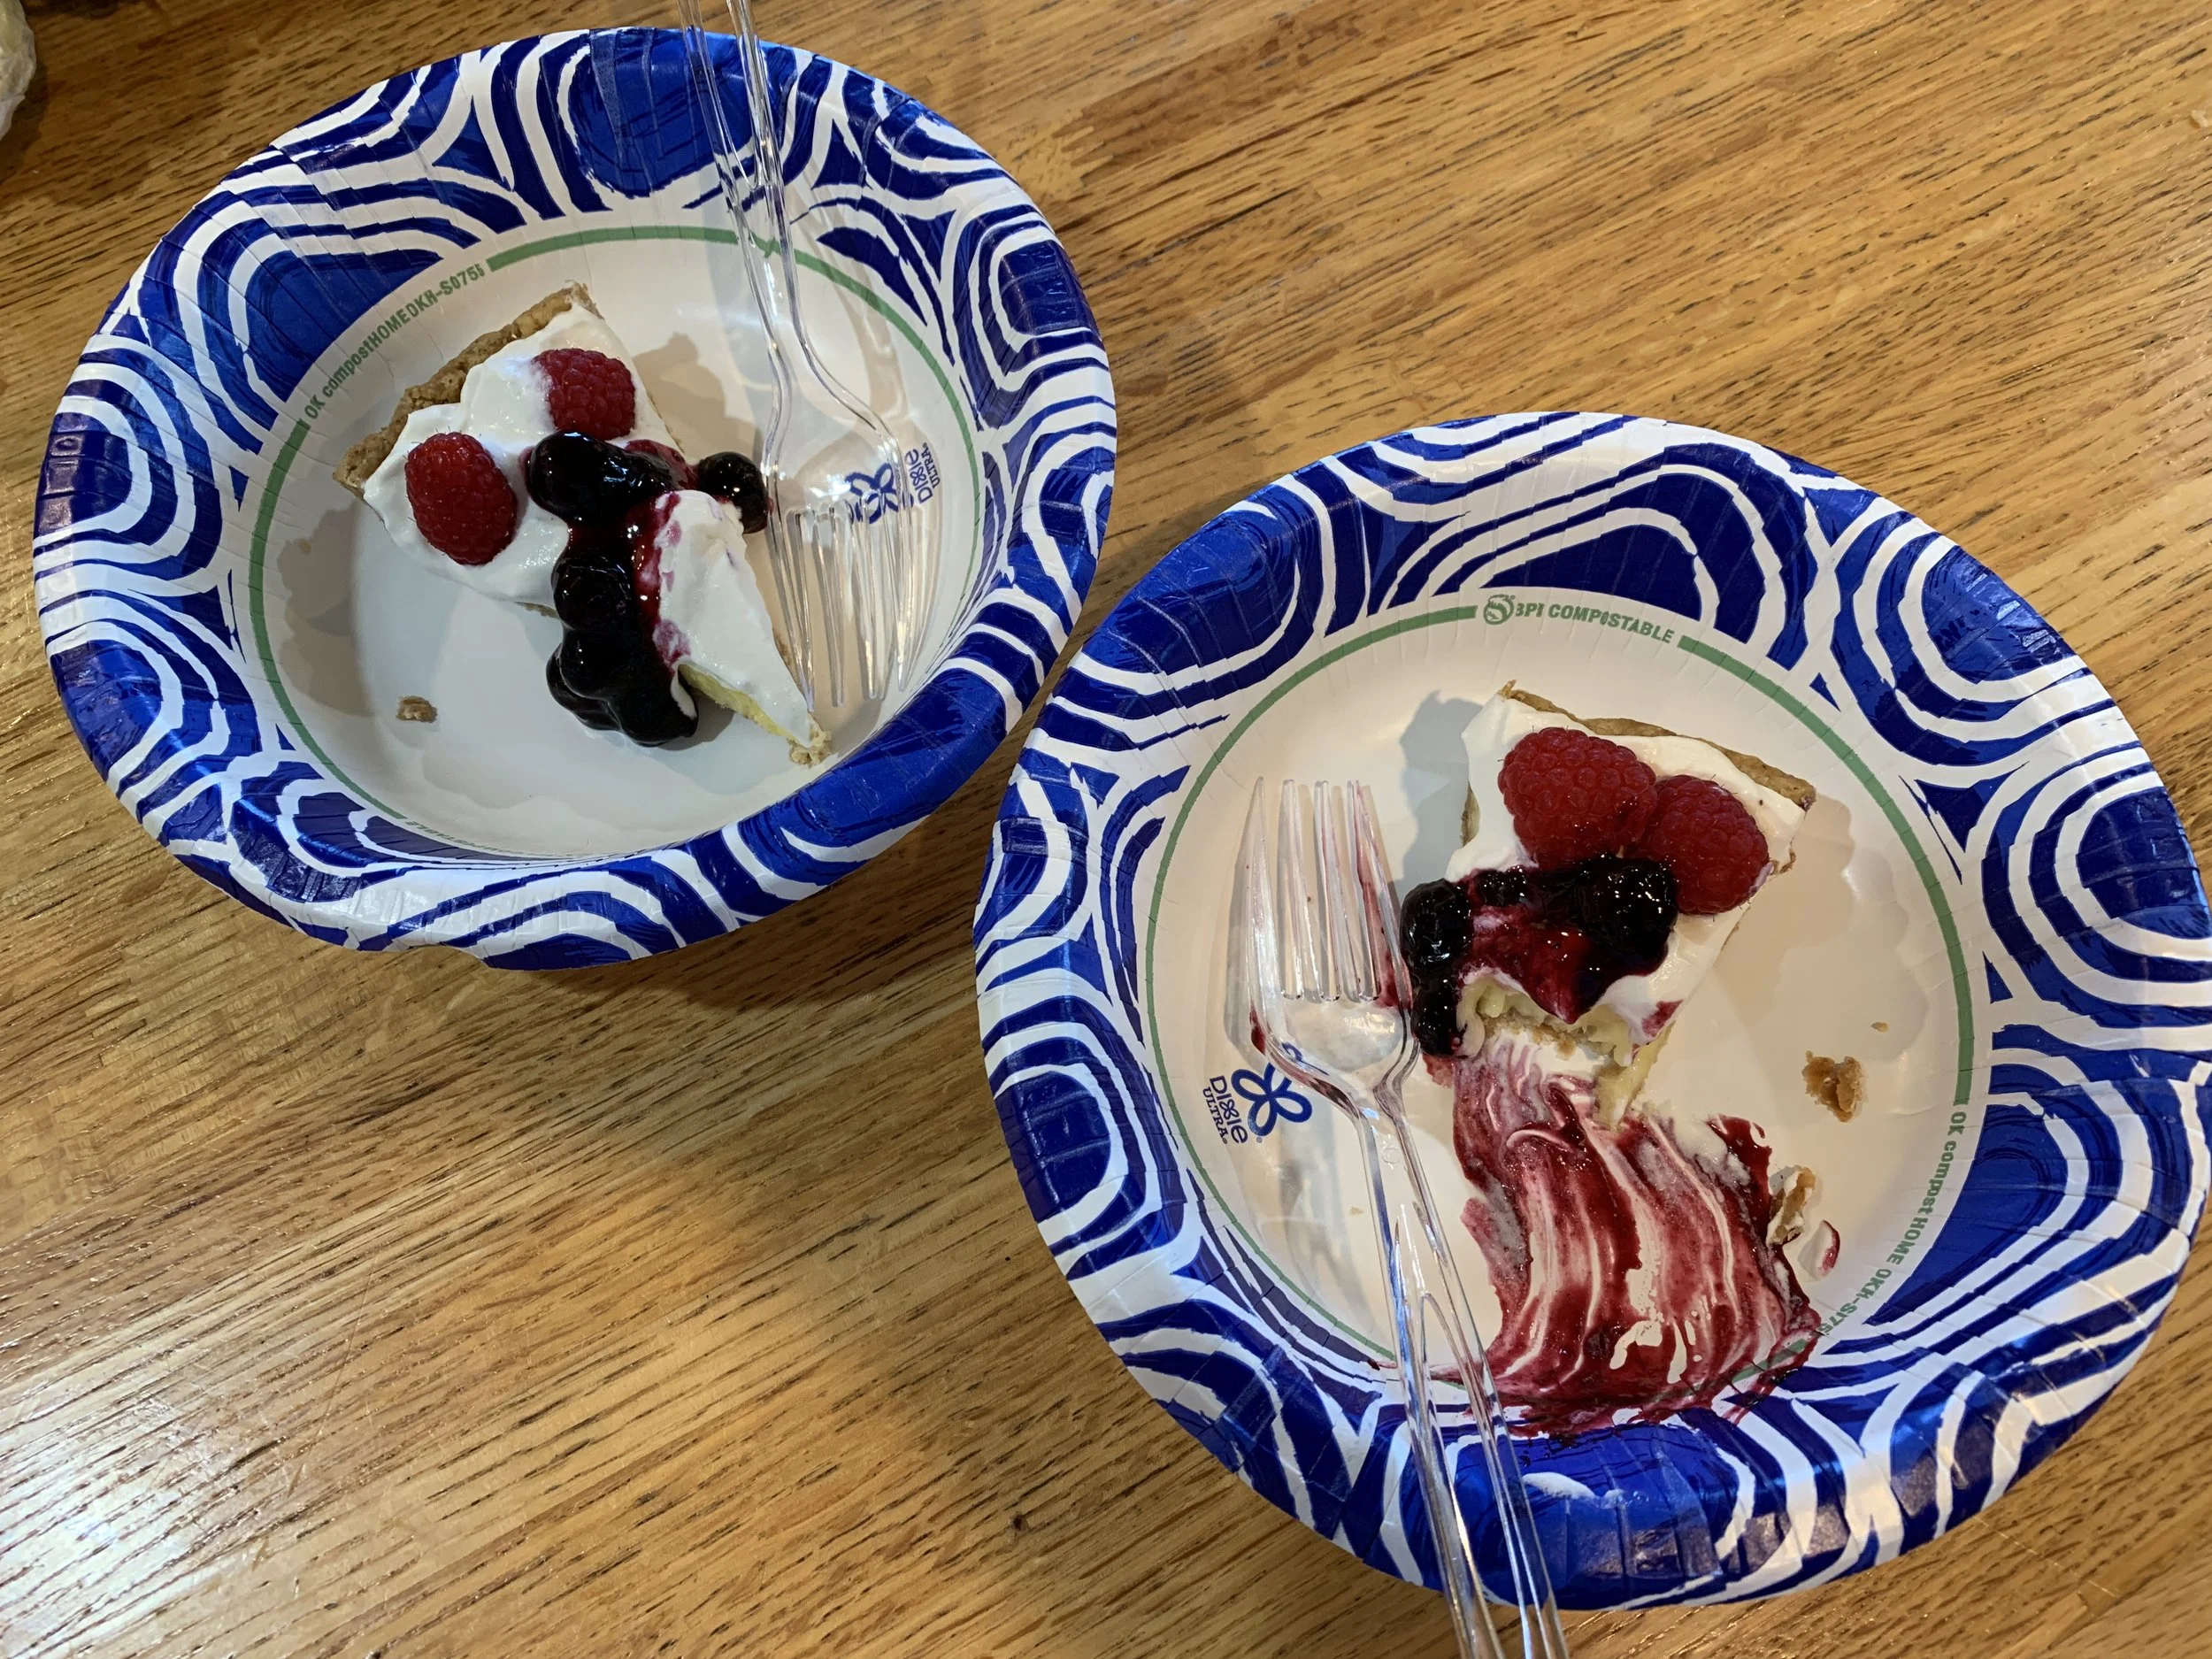
For July 4th I made my favorite tarte au citron and topped it with whipped cream and raspberries.
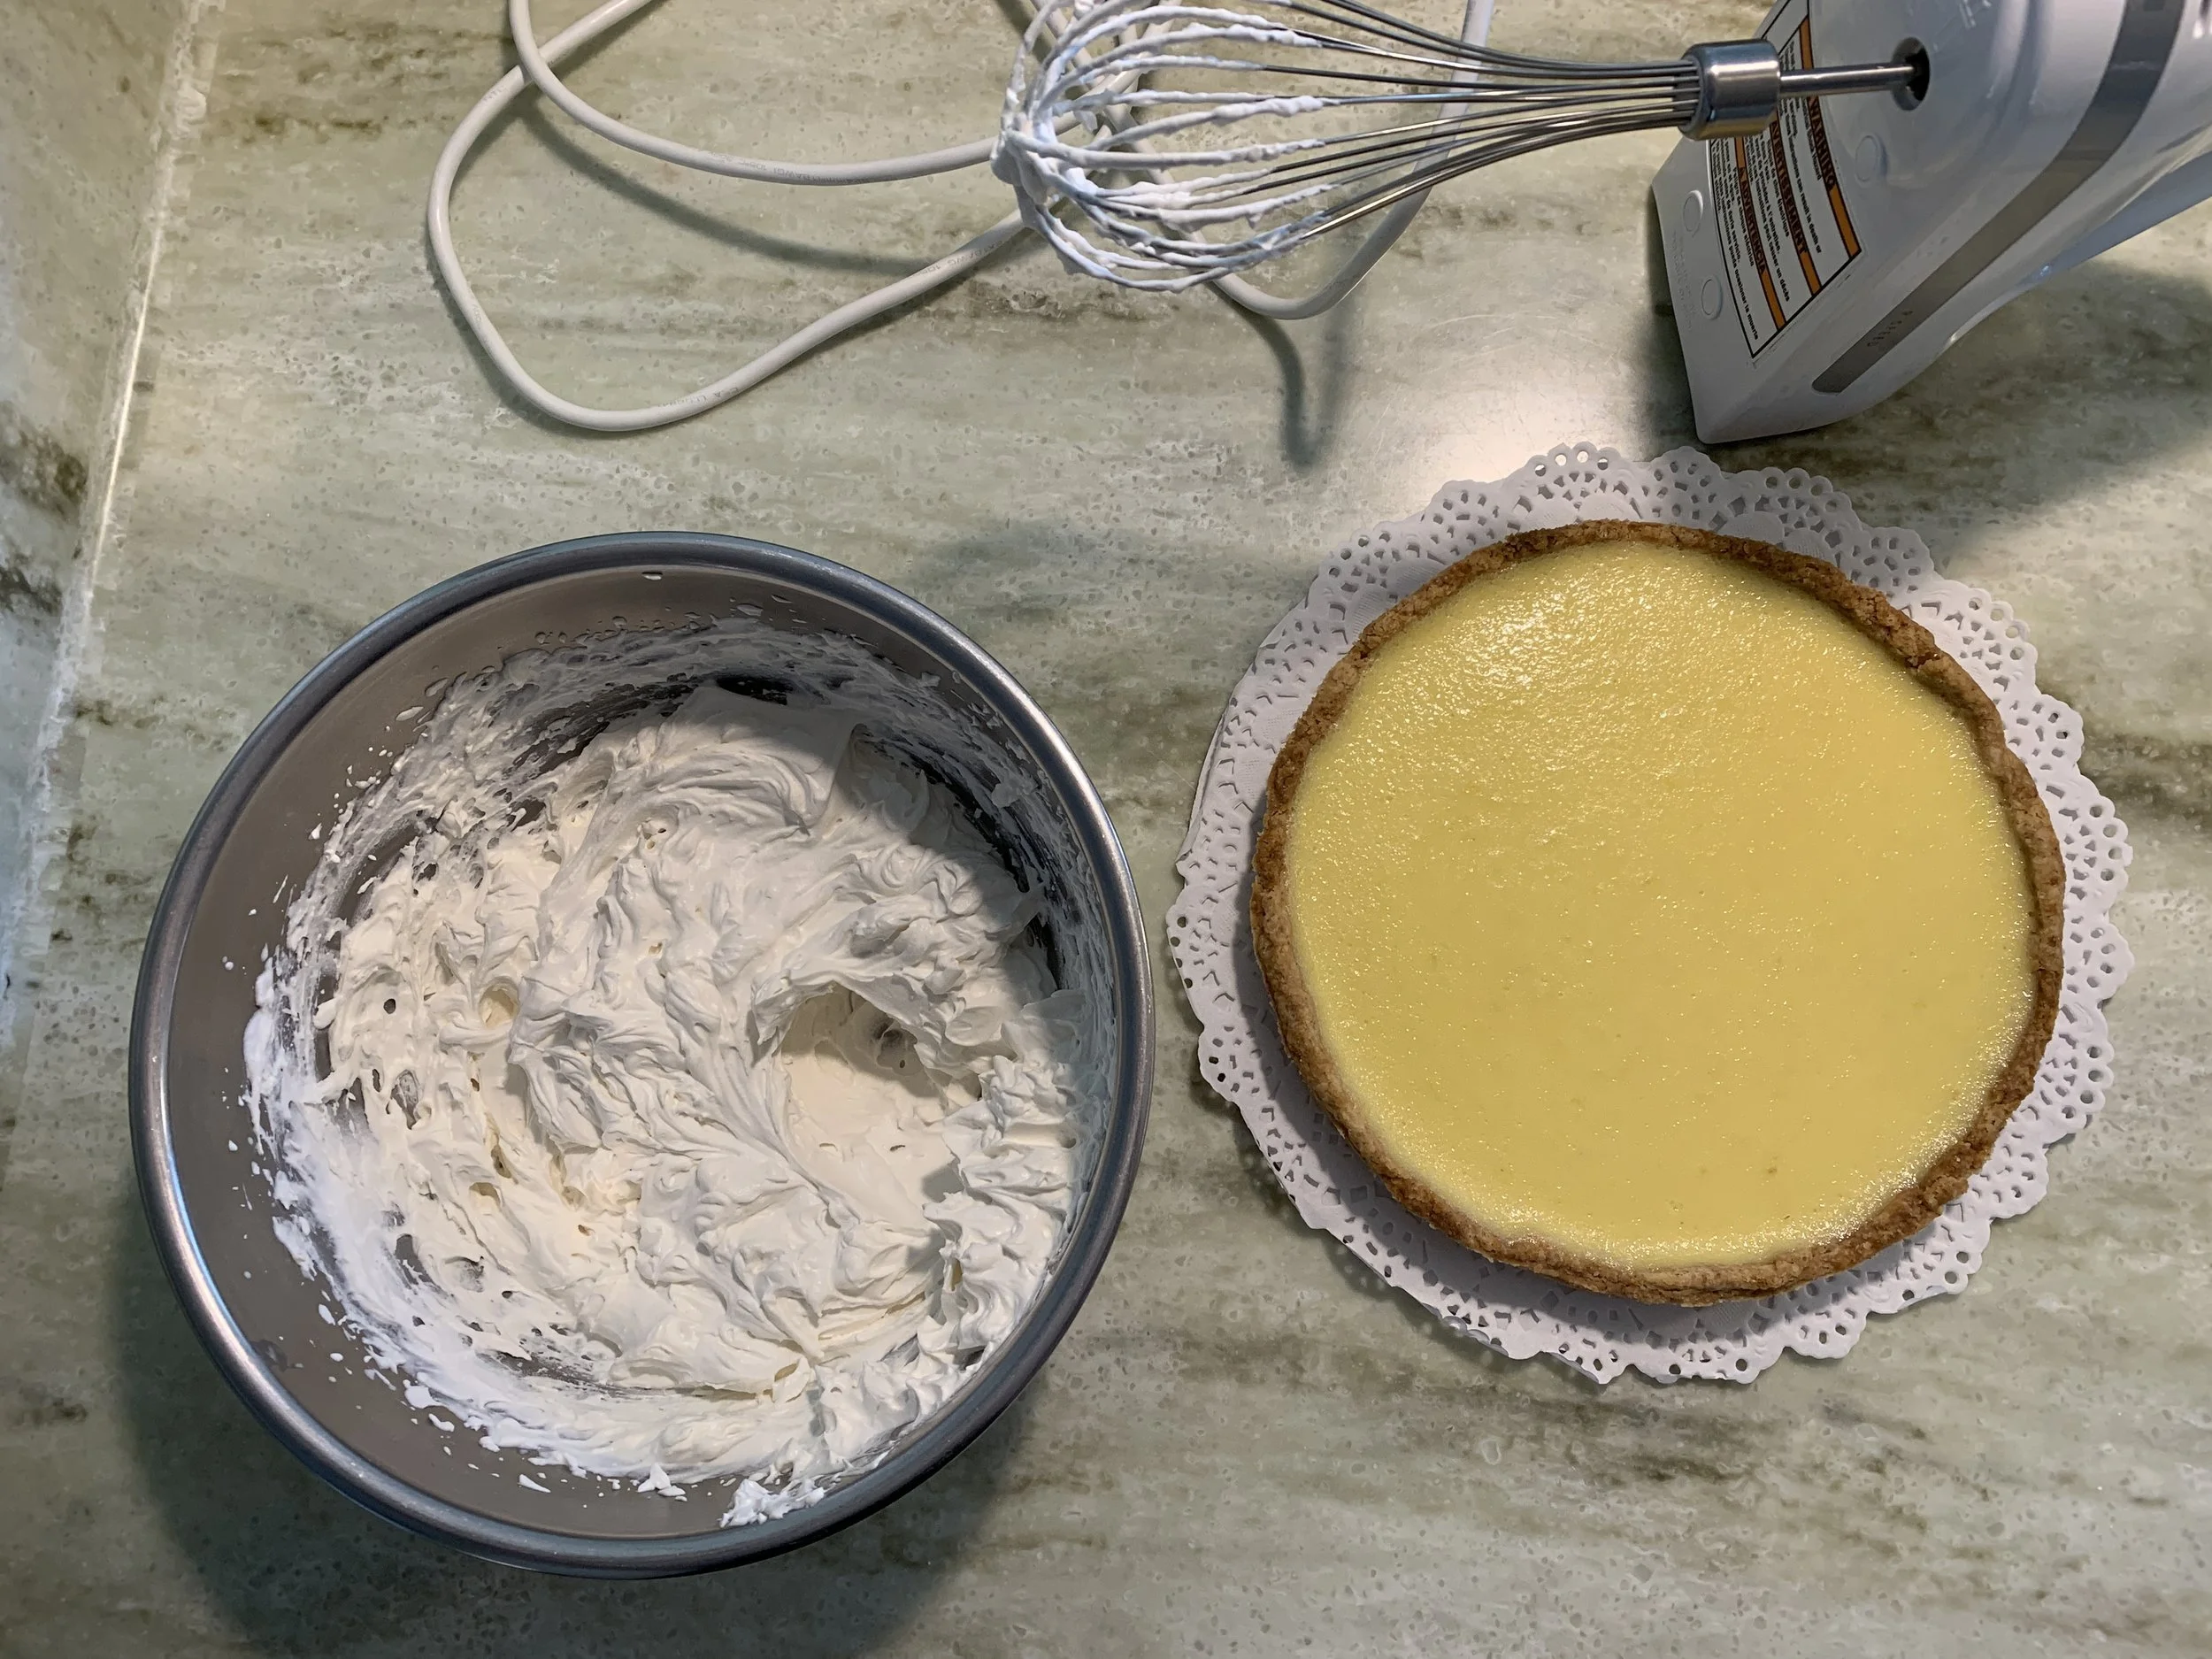
For serving I made a simple blueberry topping to dollop on each slice. Cool, creamy and delicious!
Picnic style!
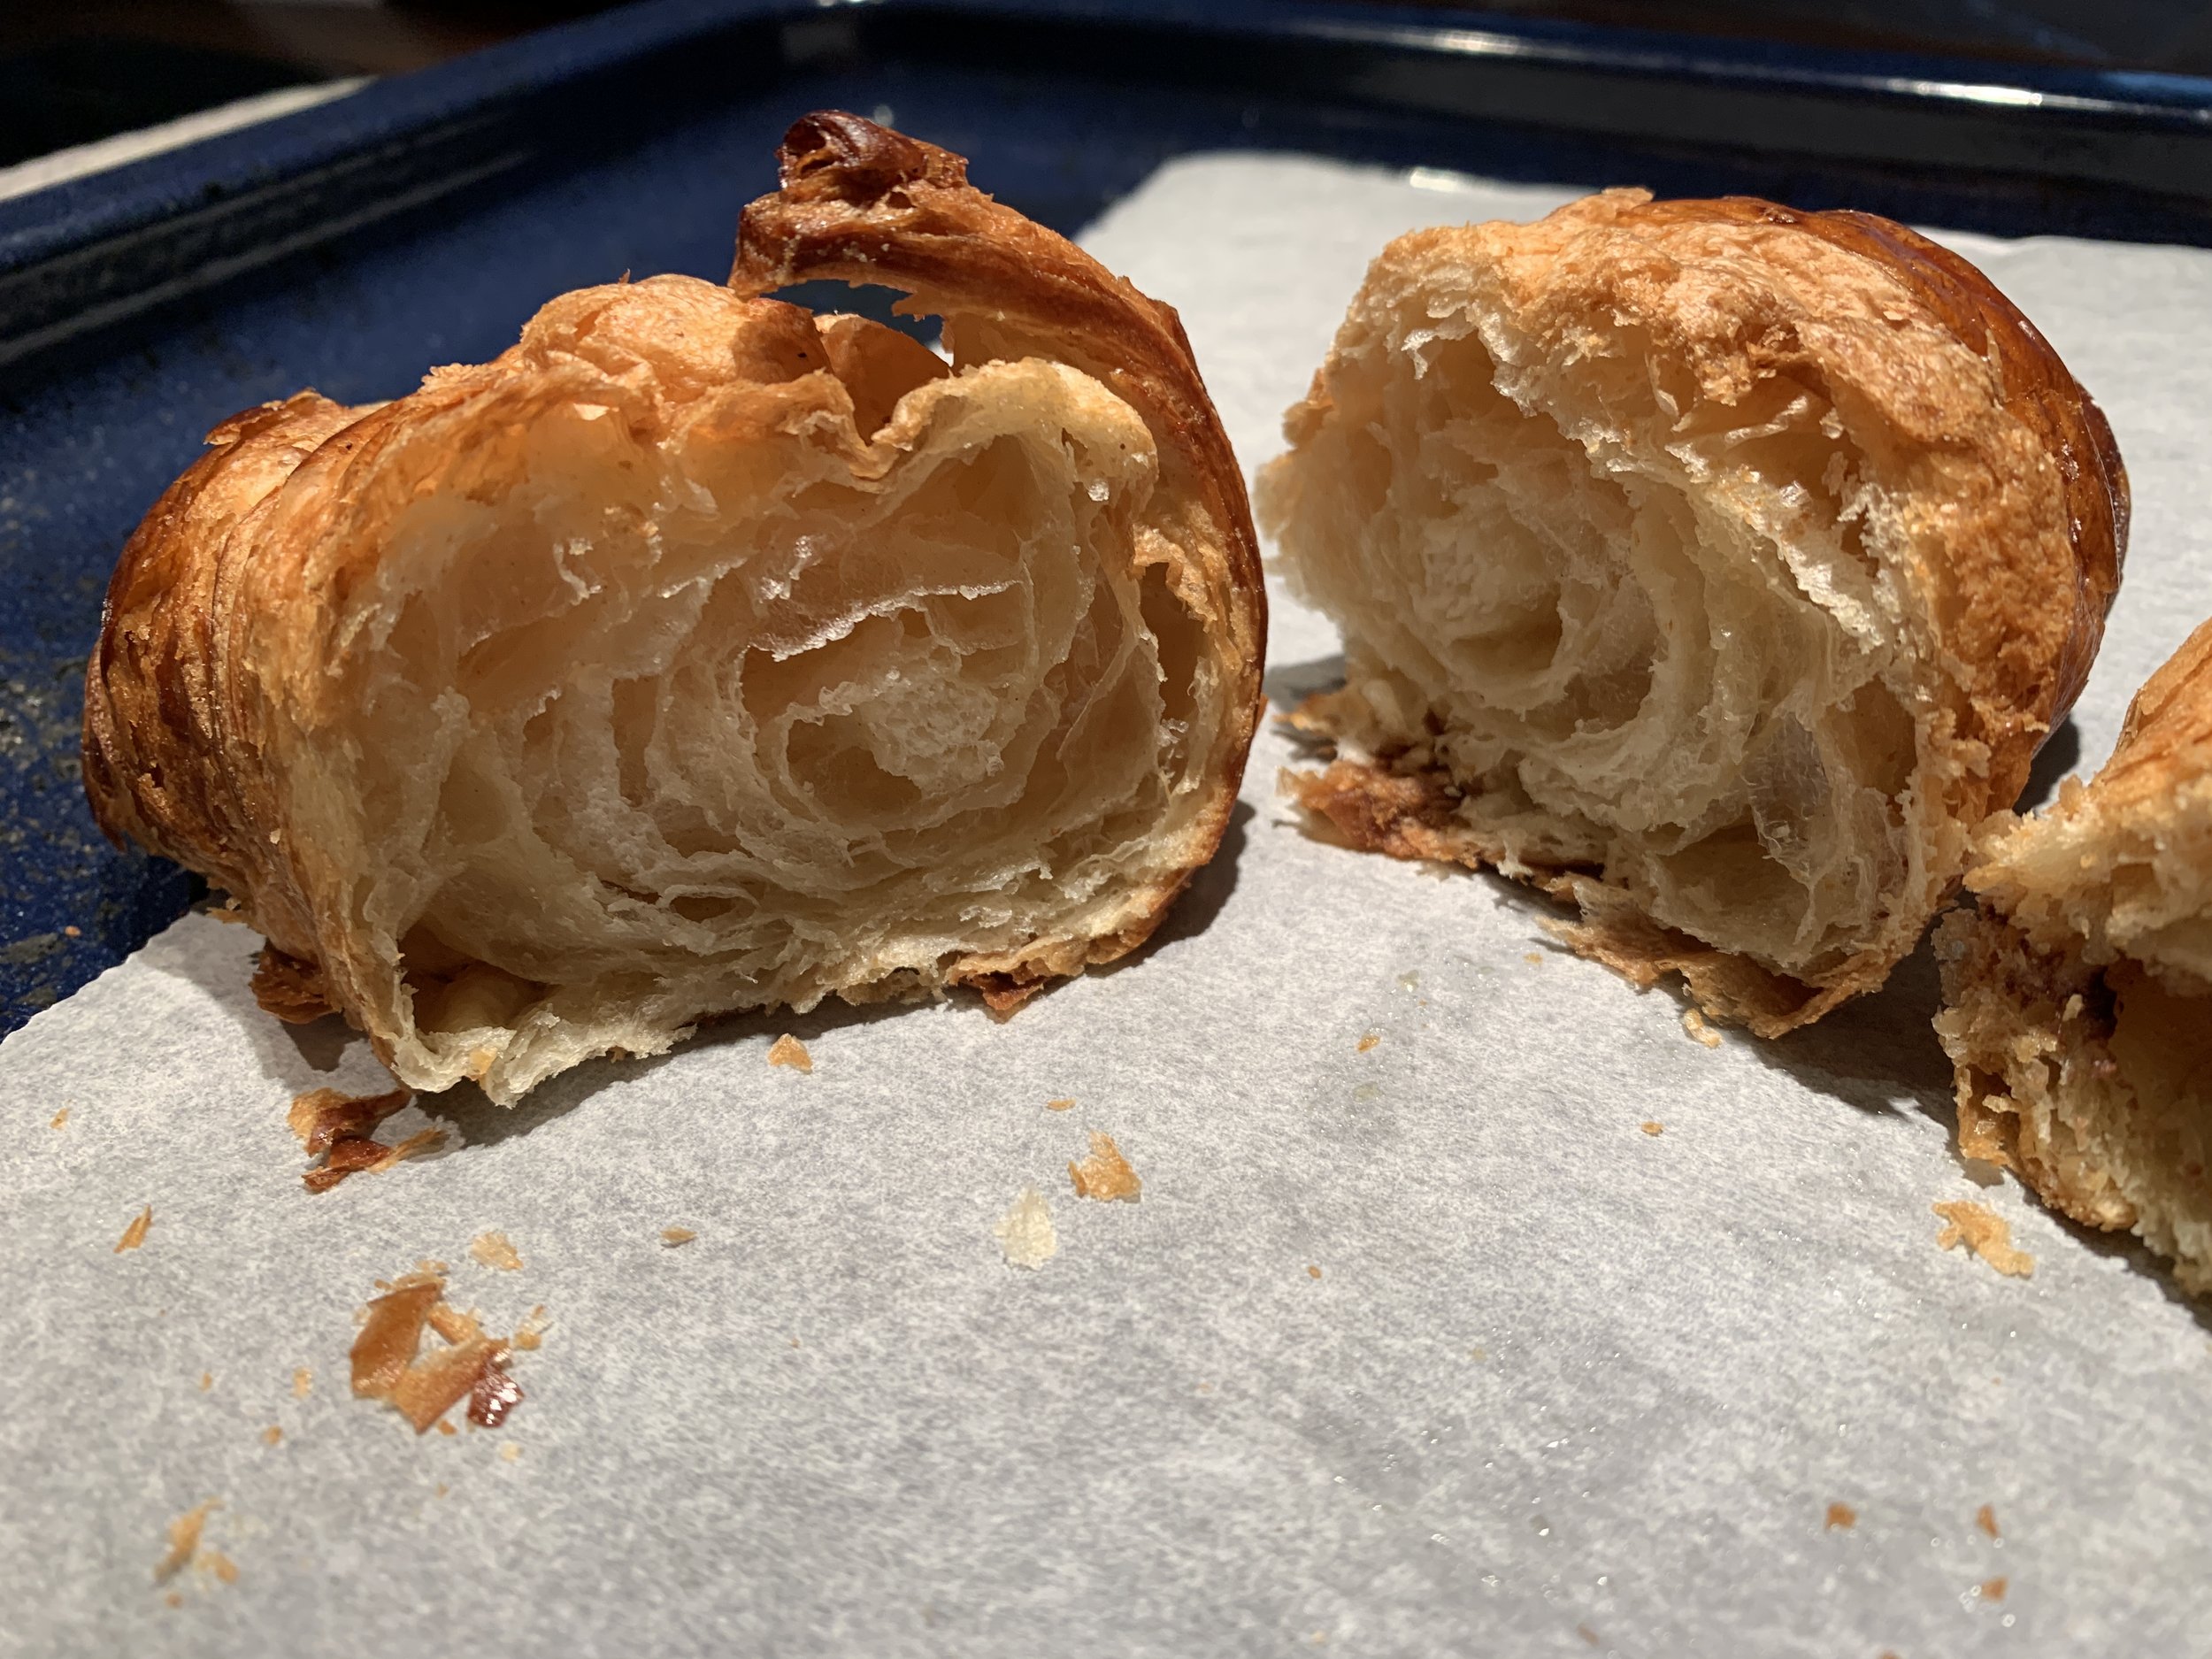
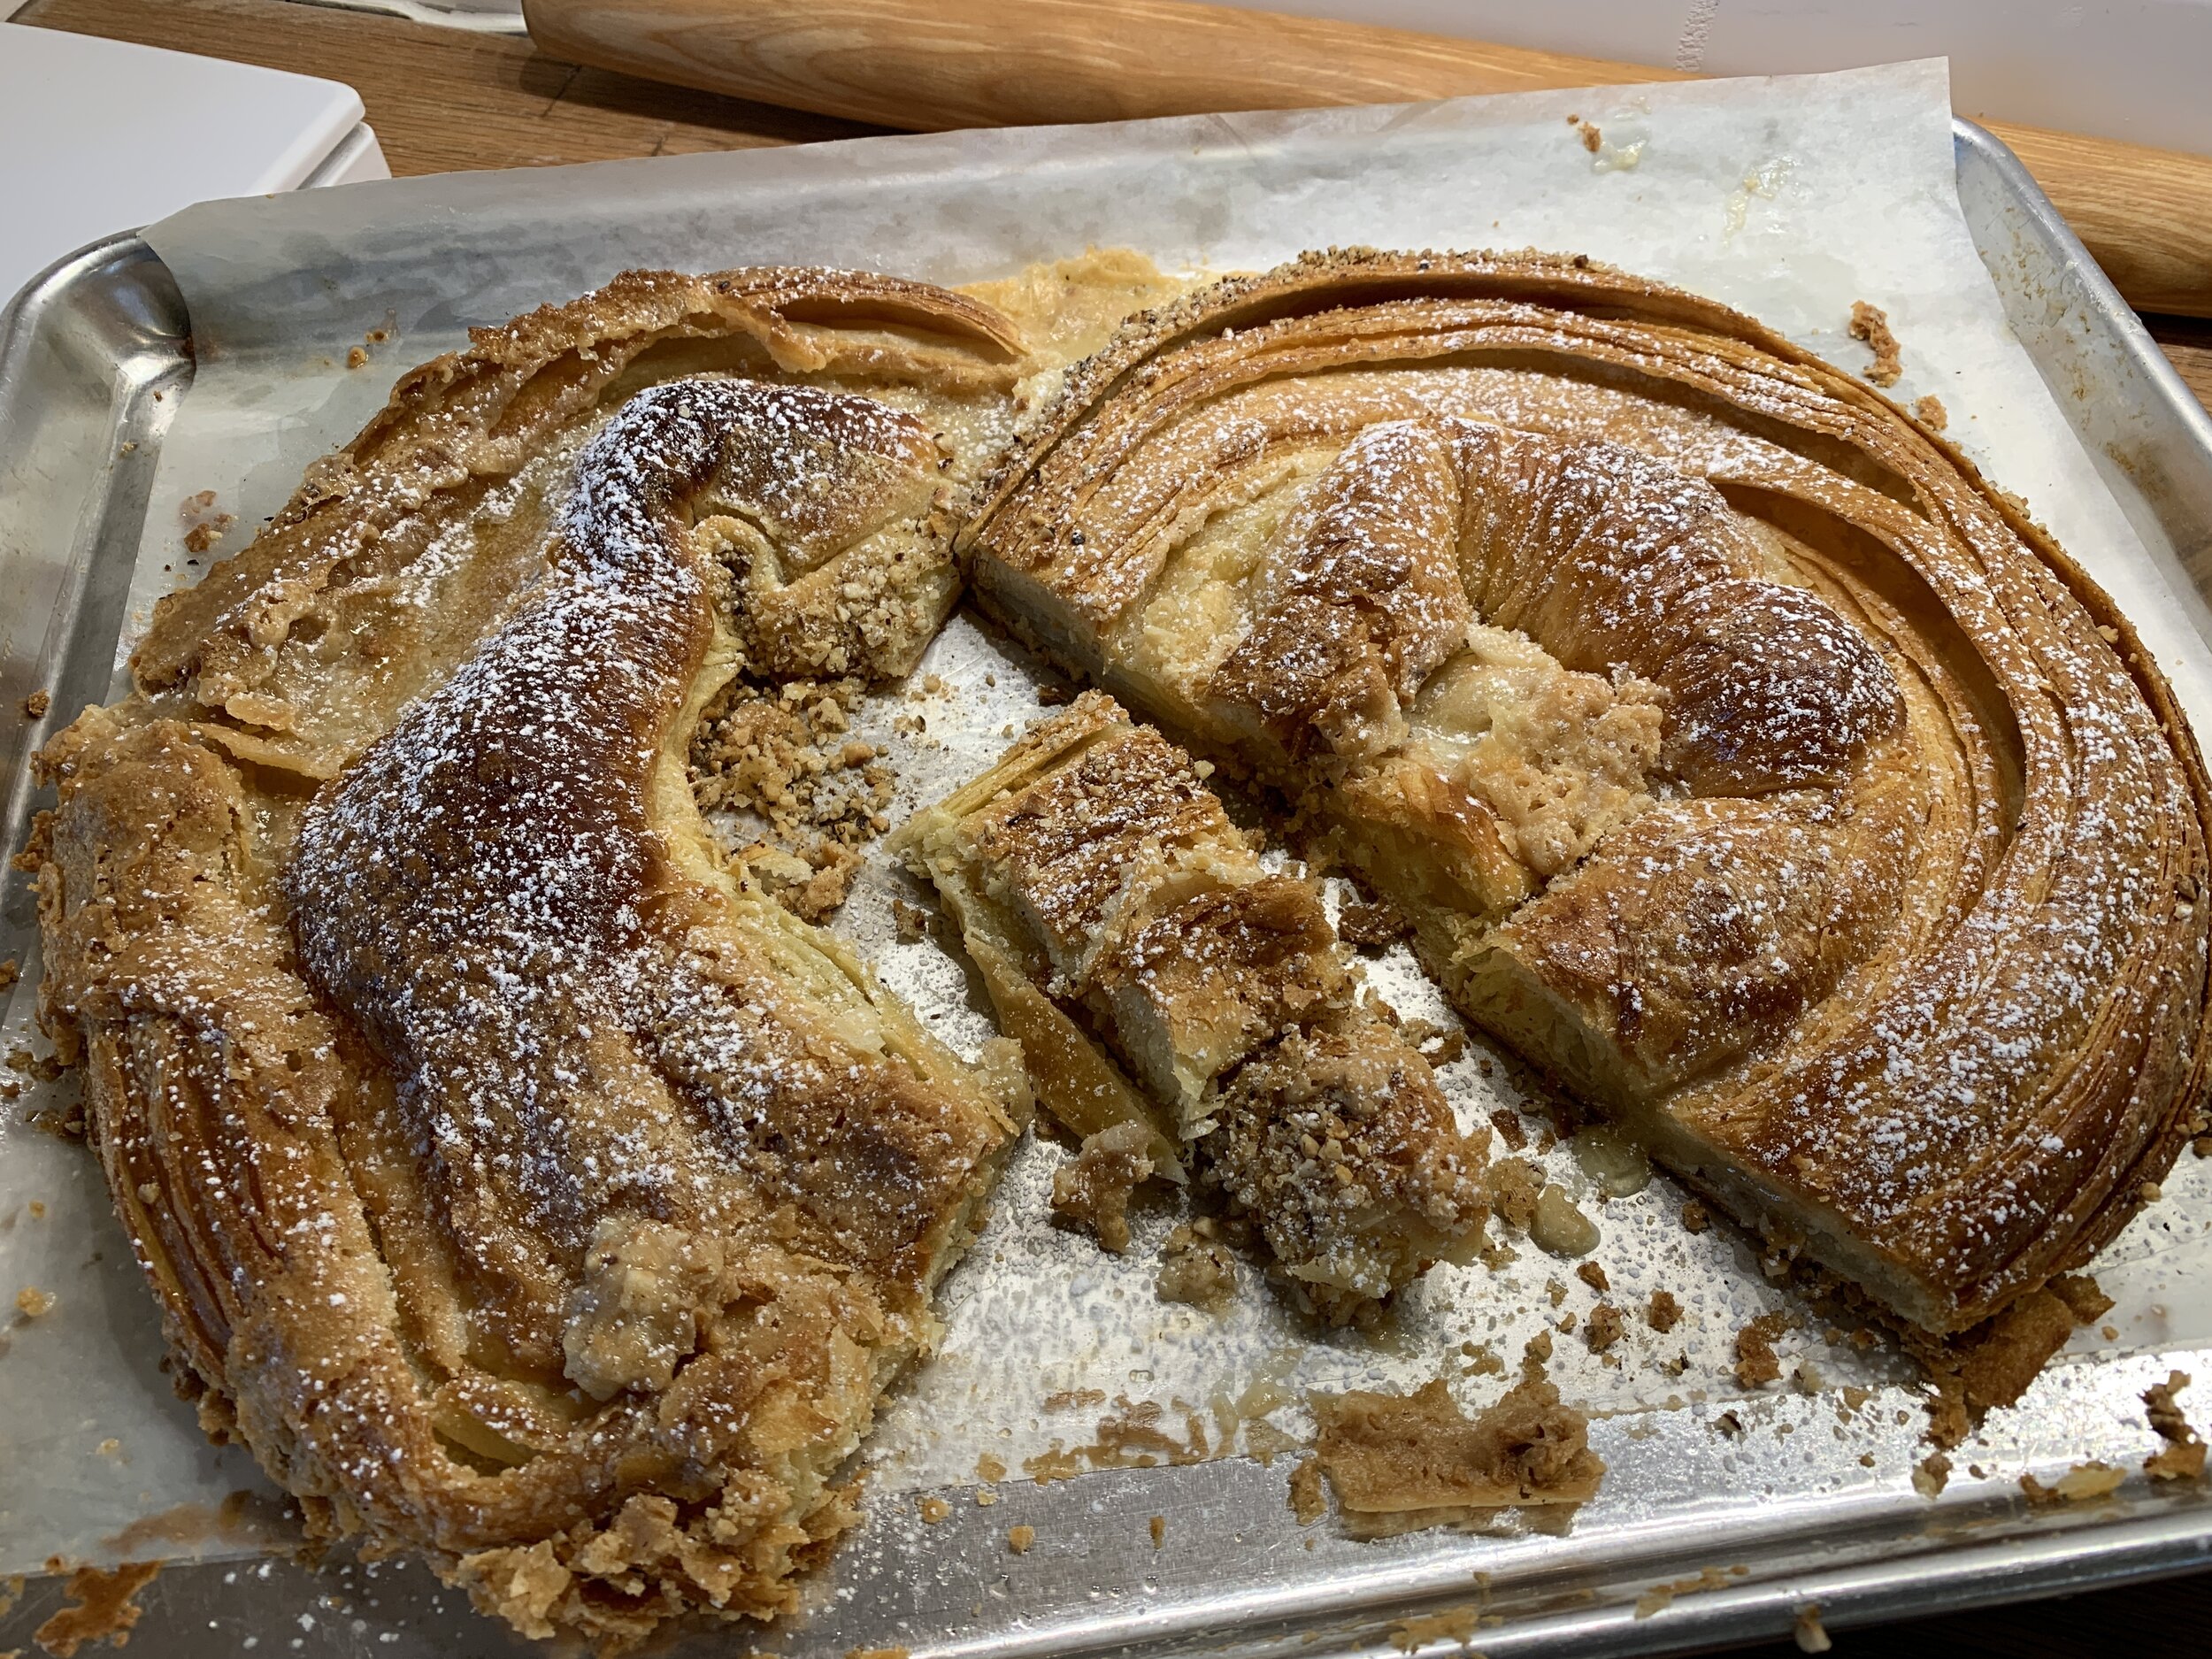
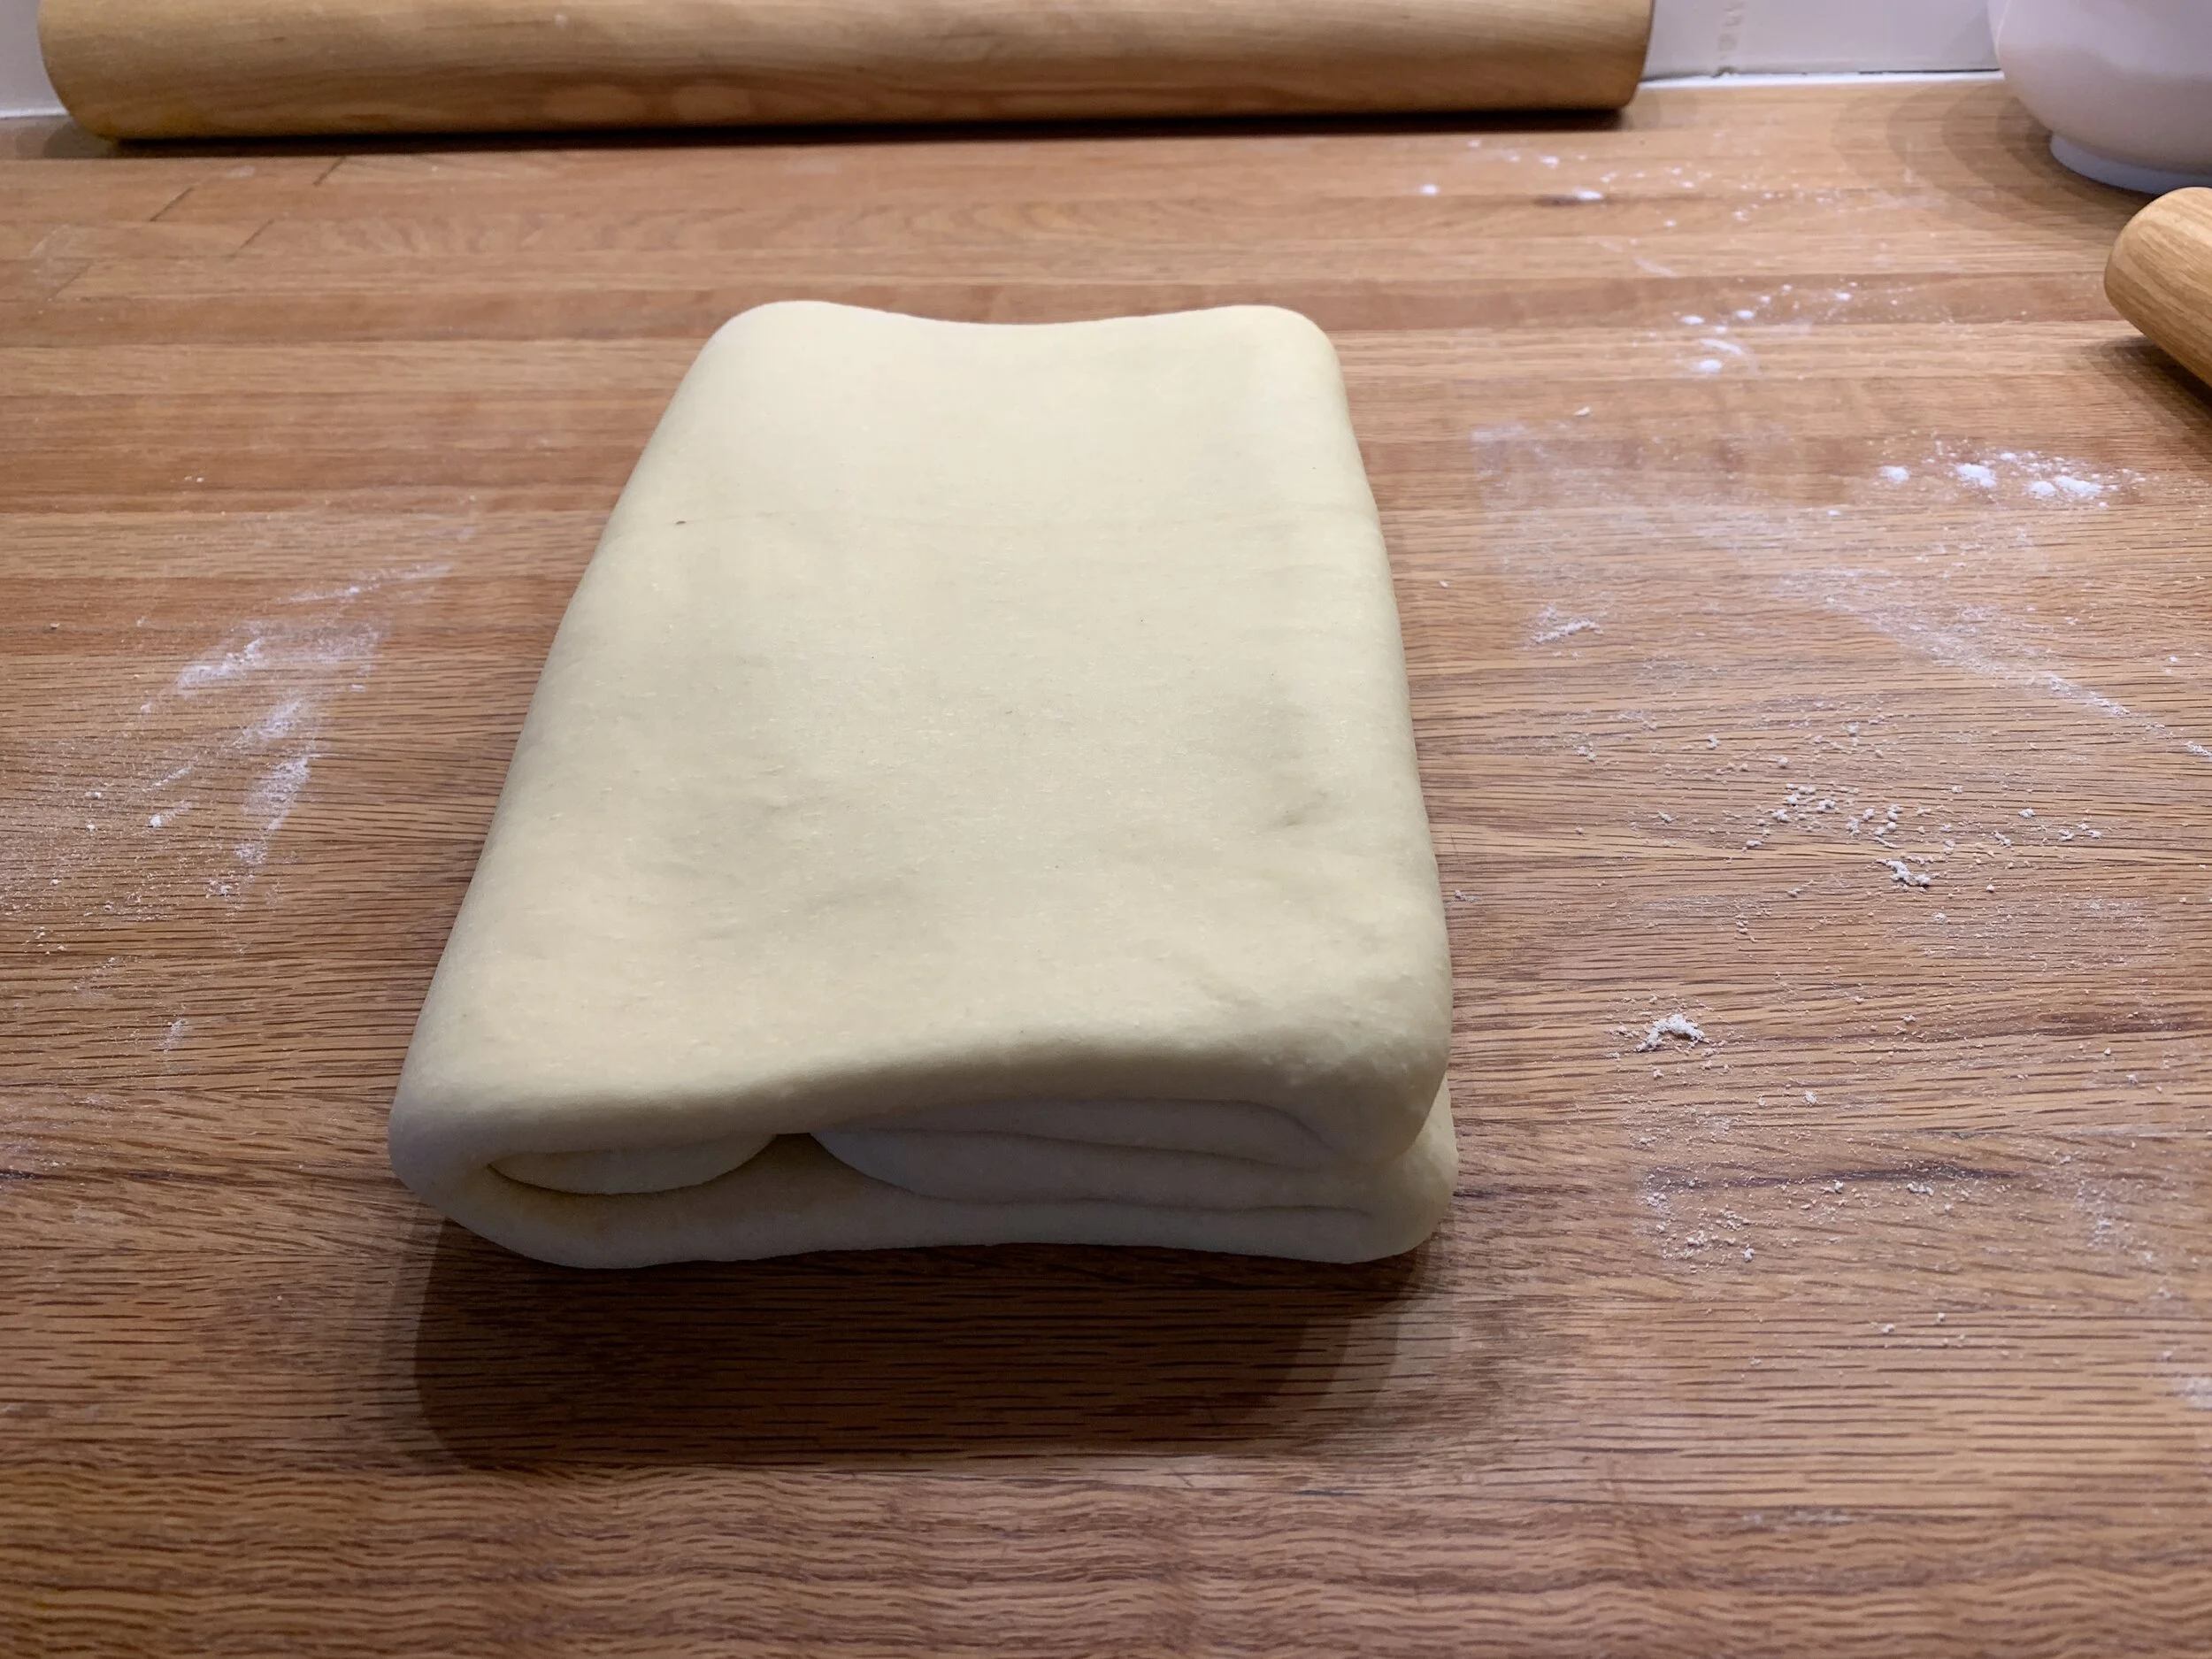
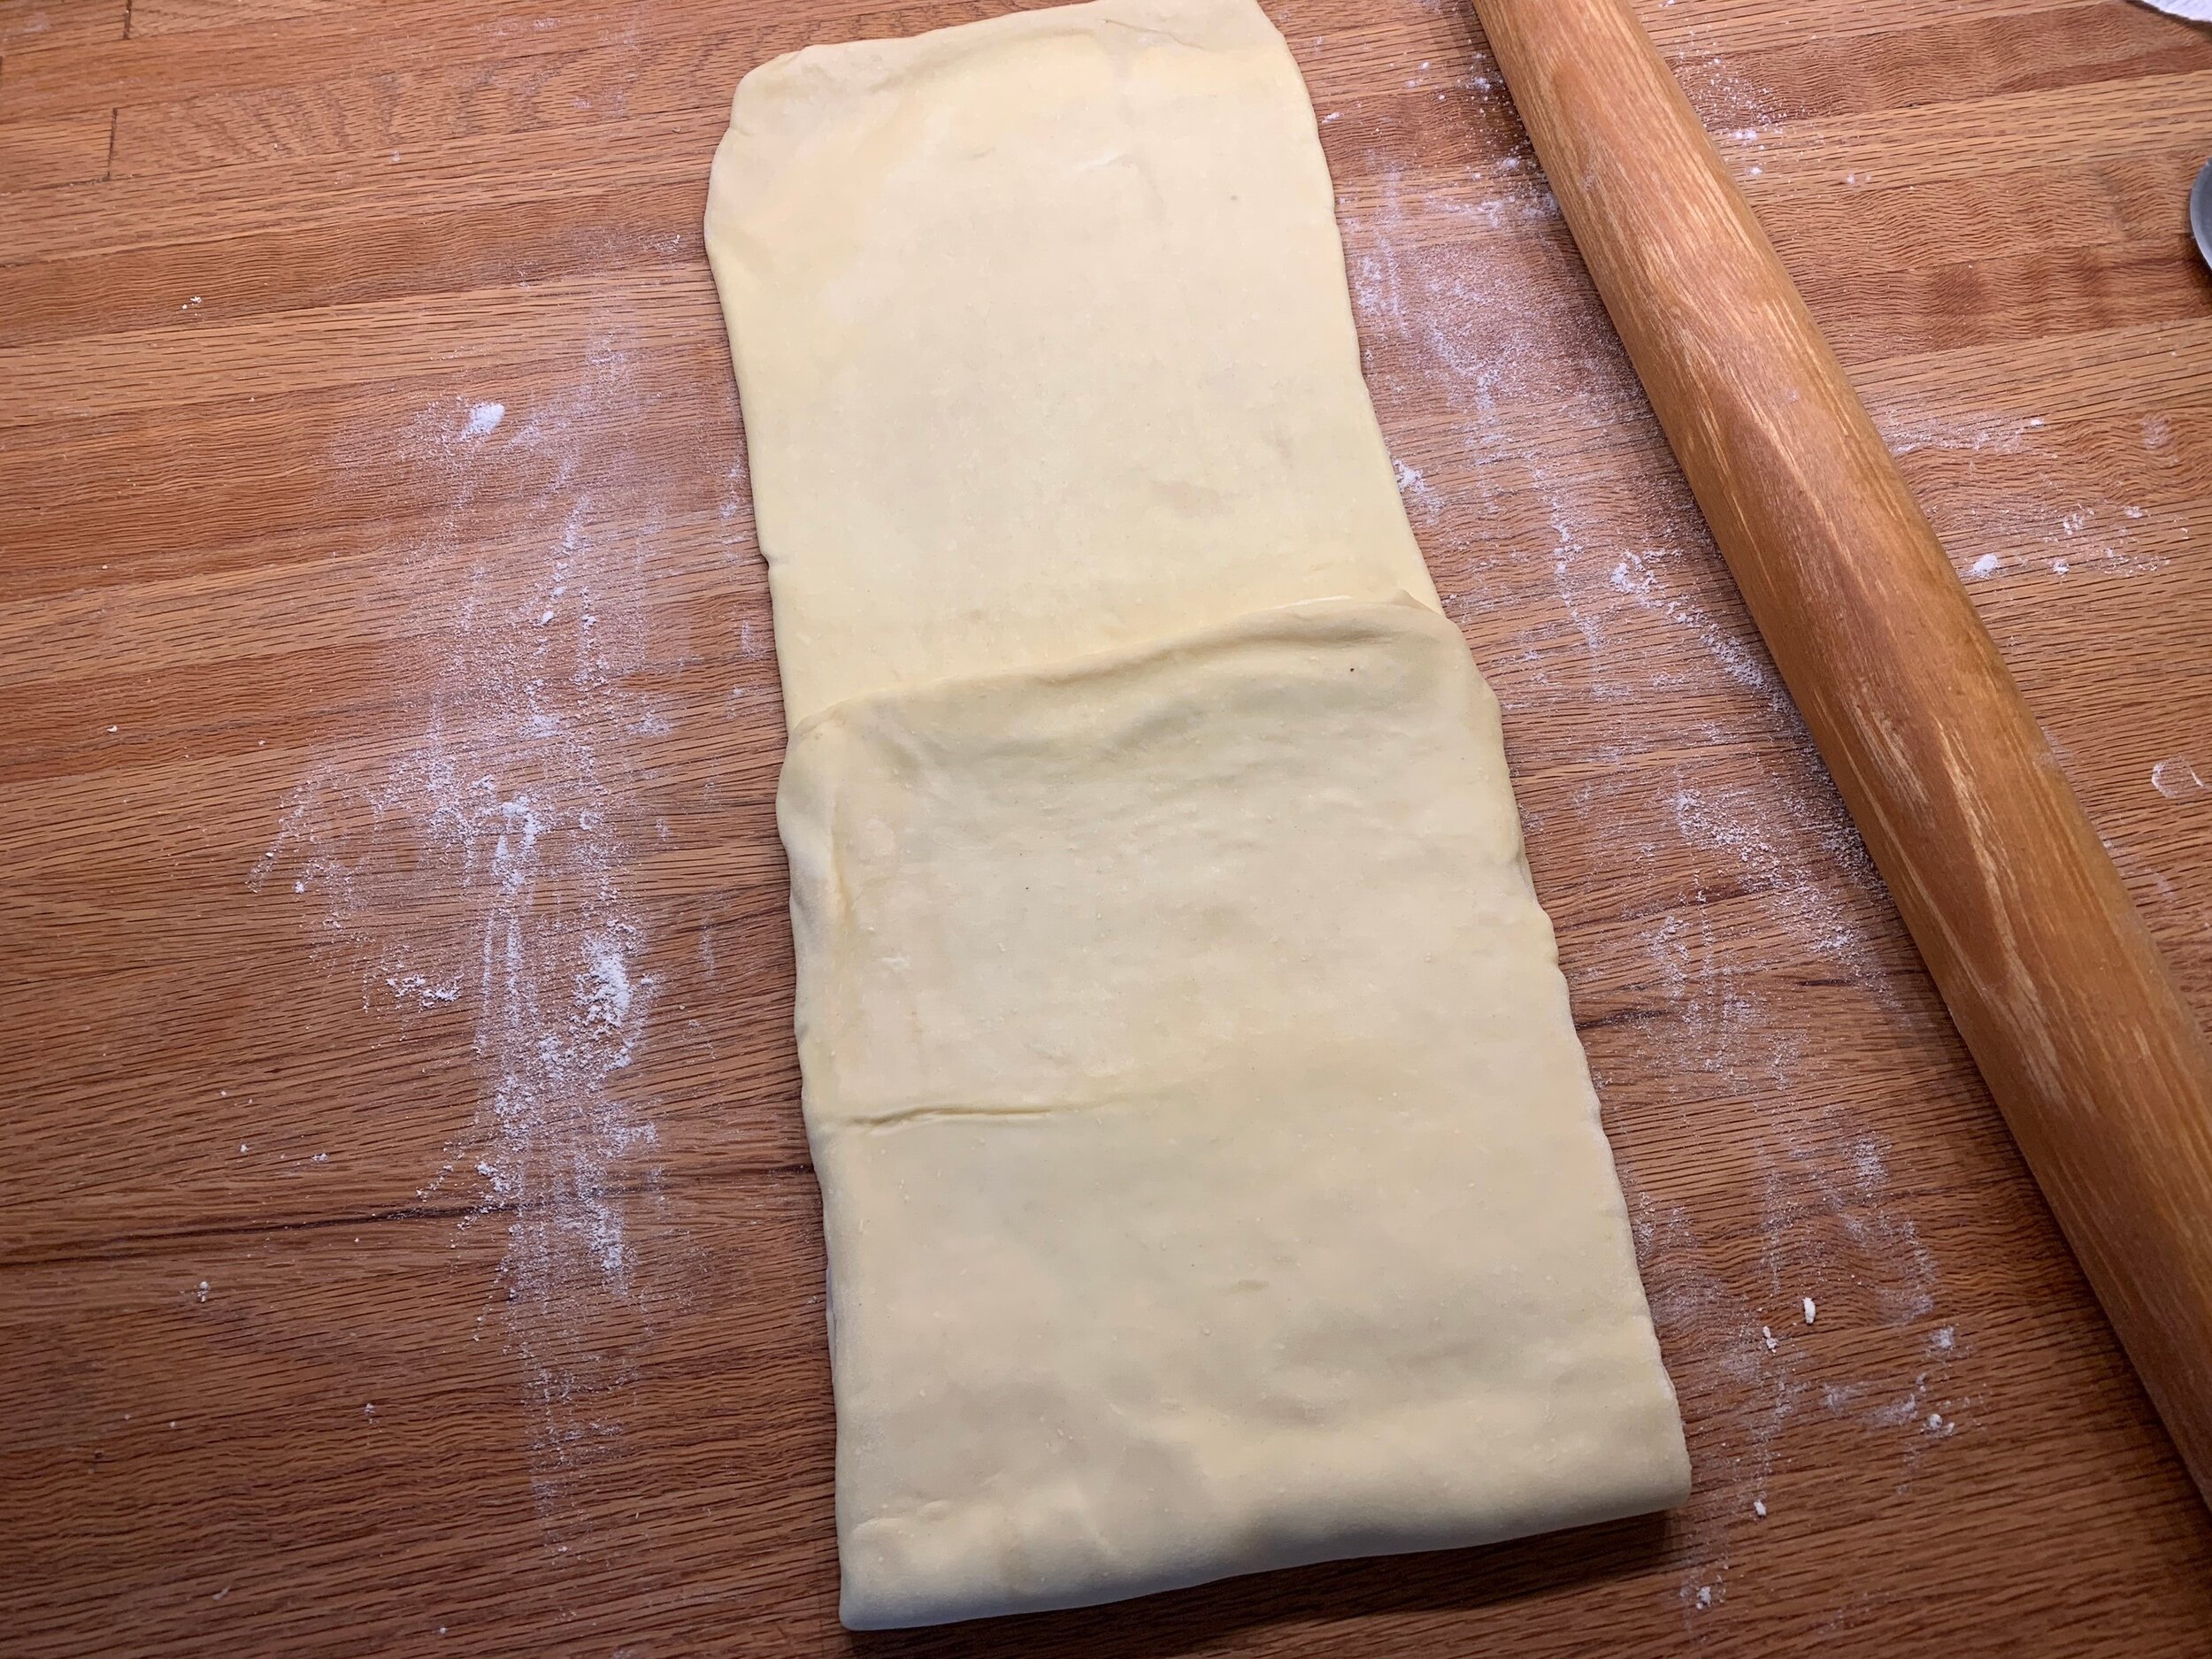
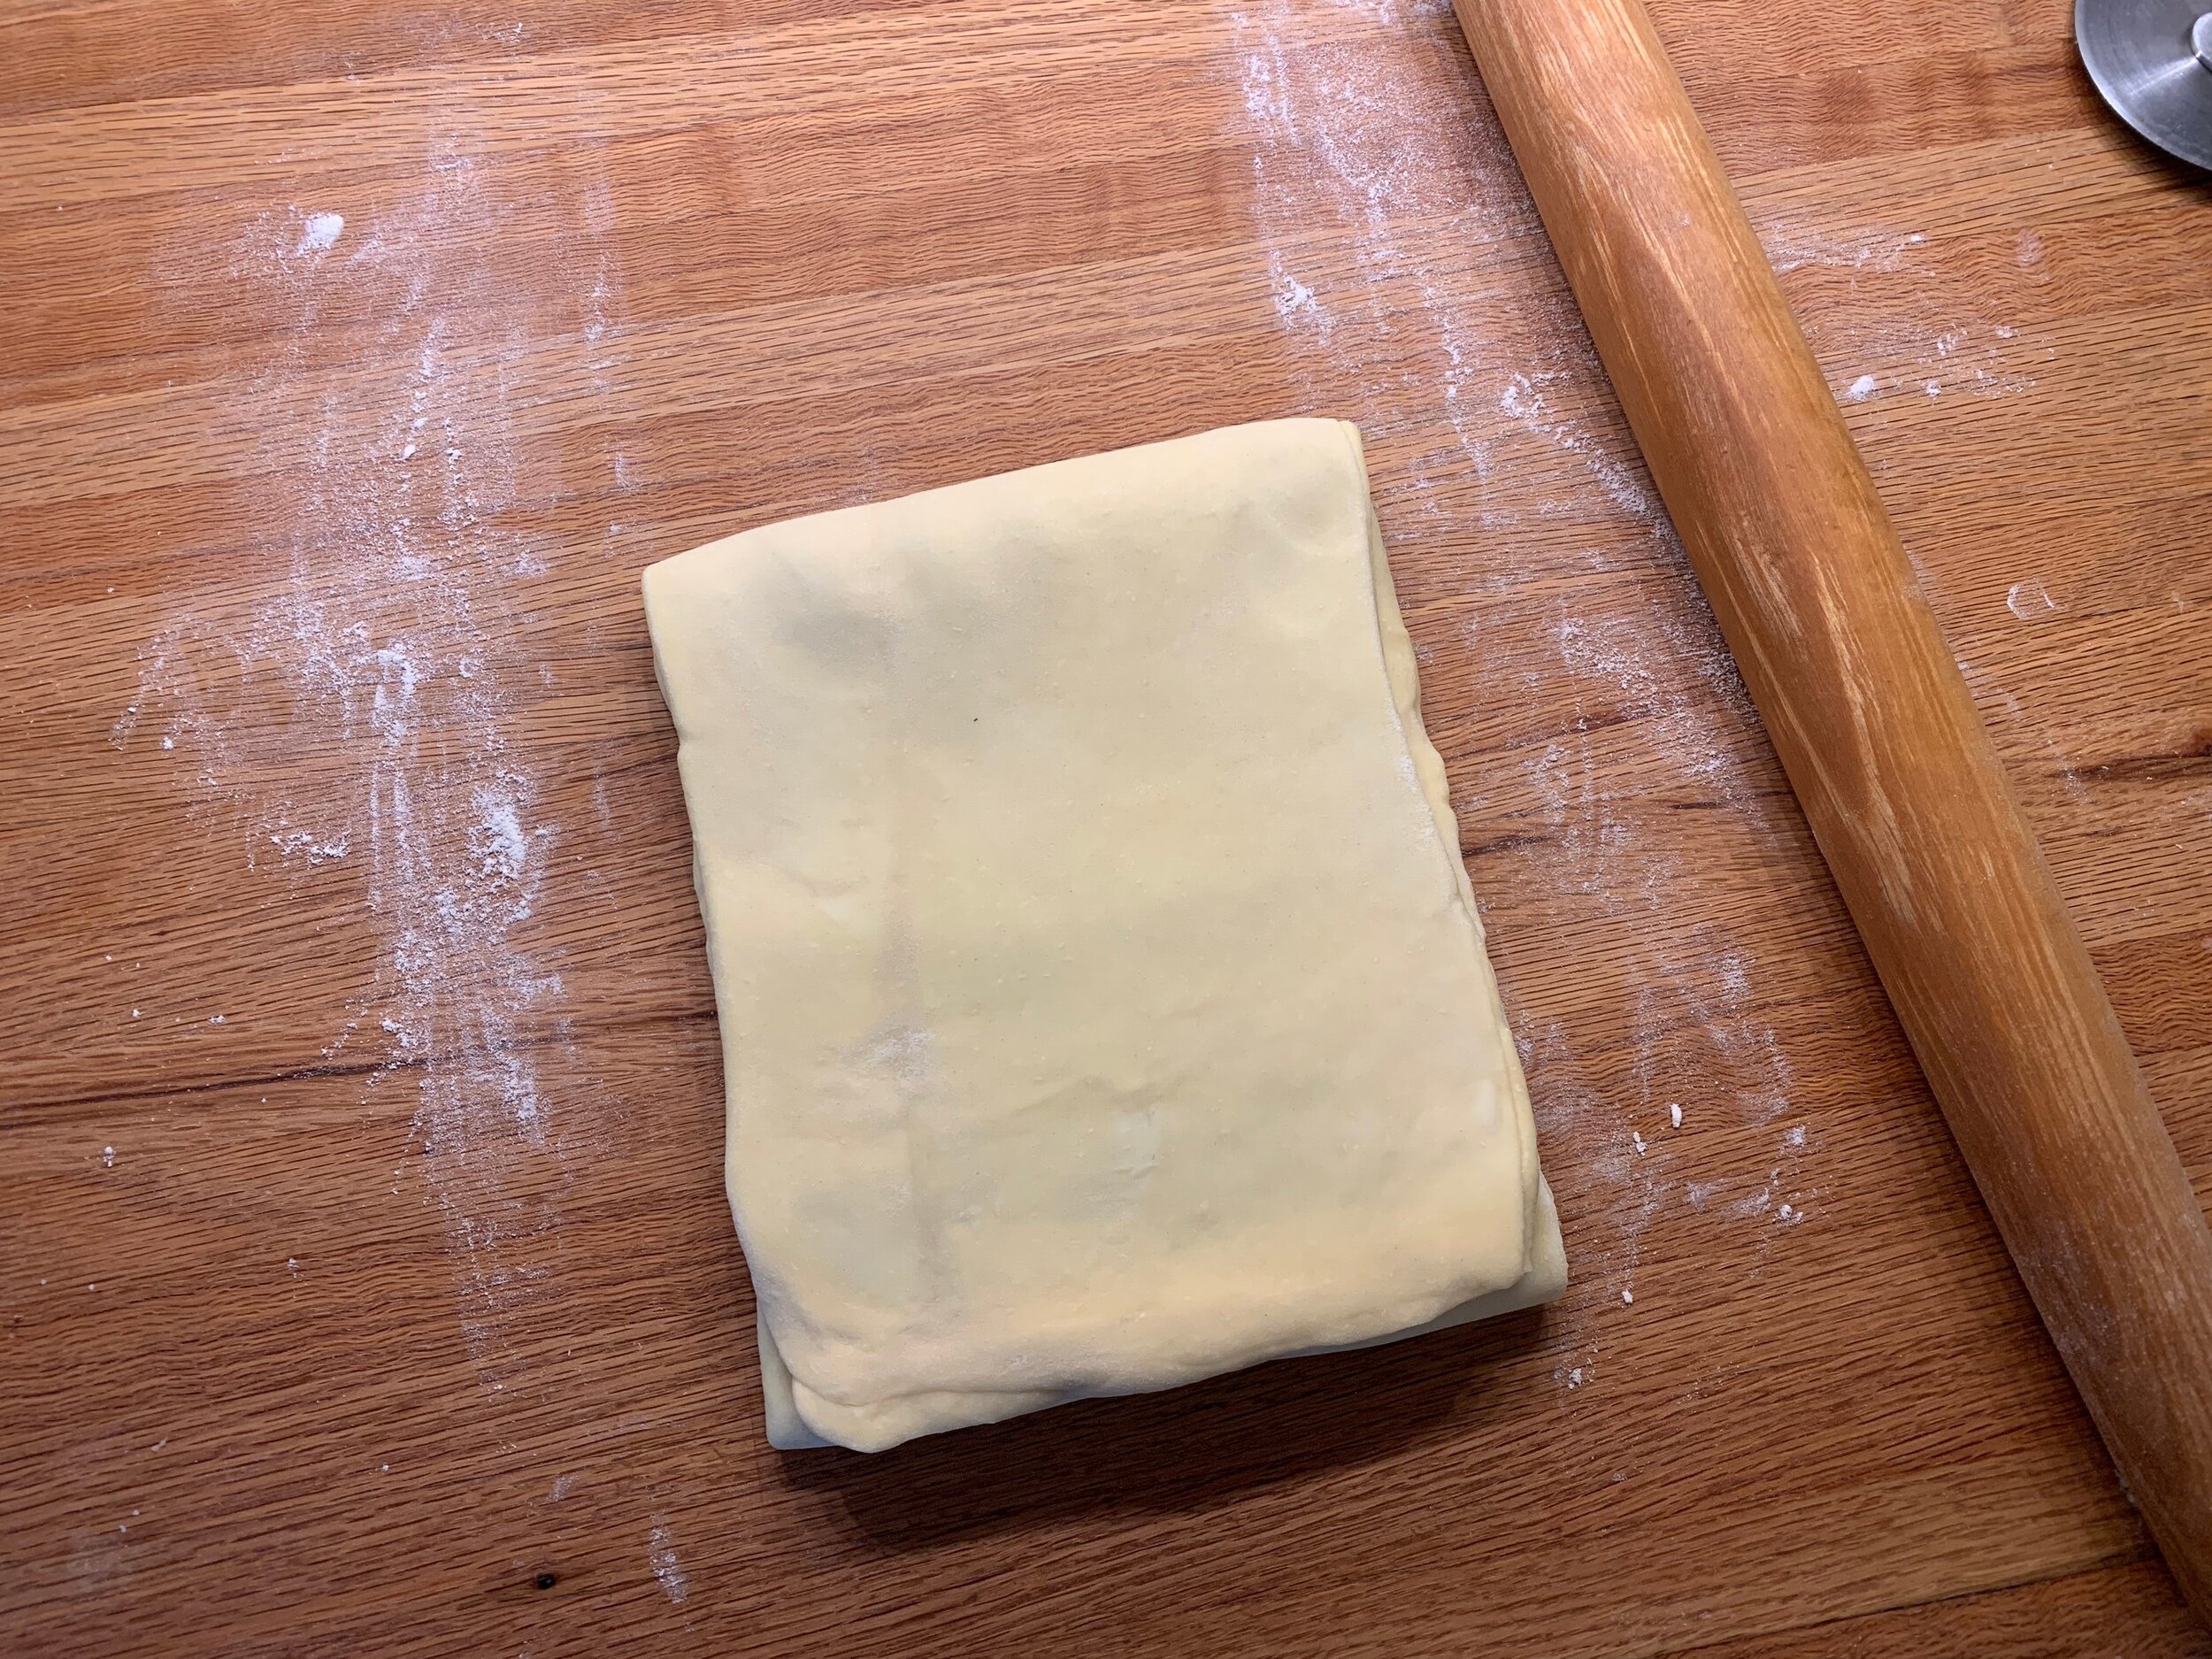
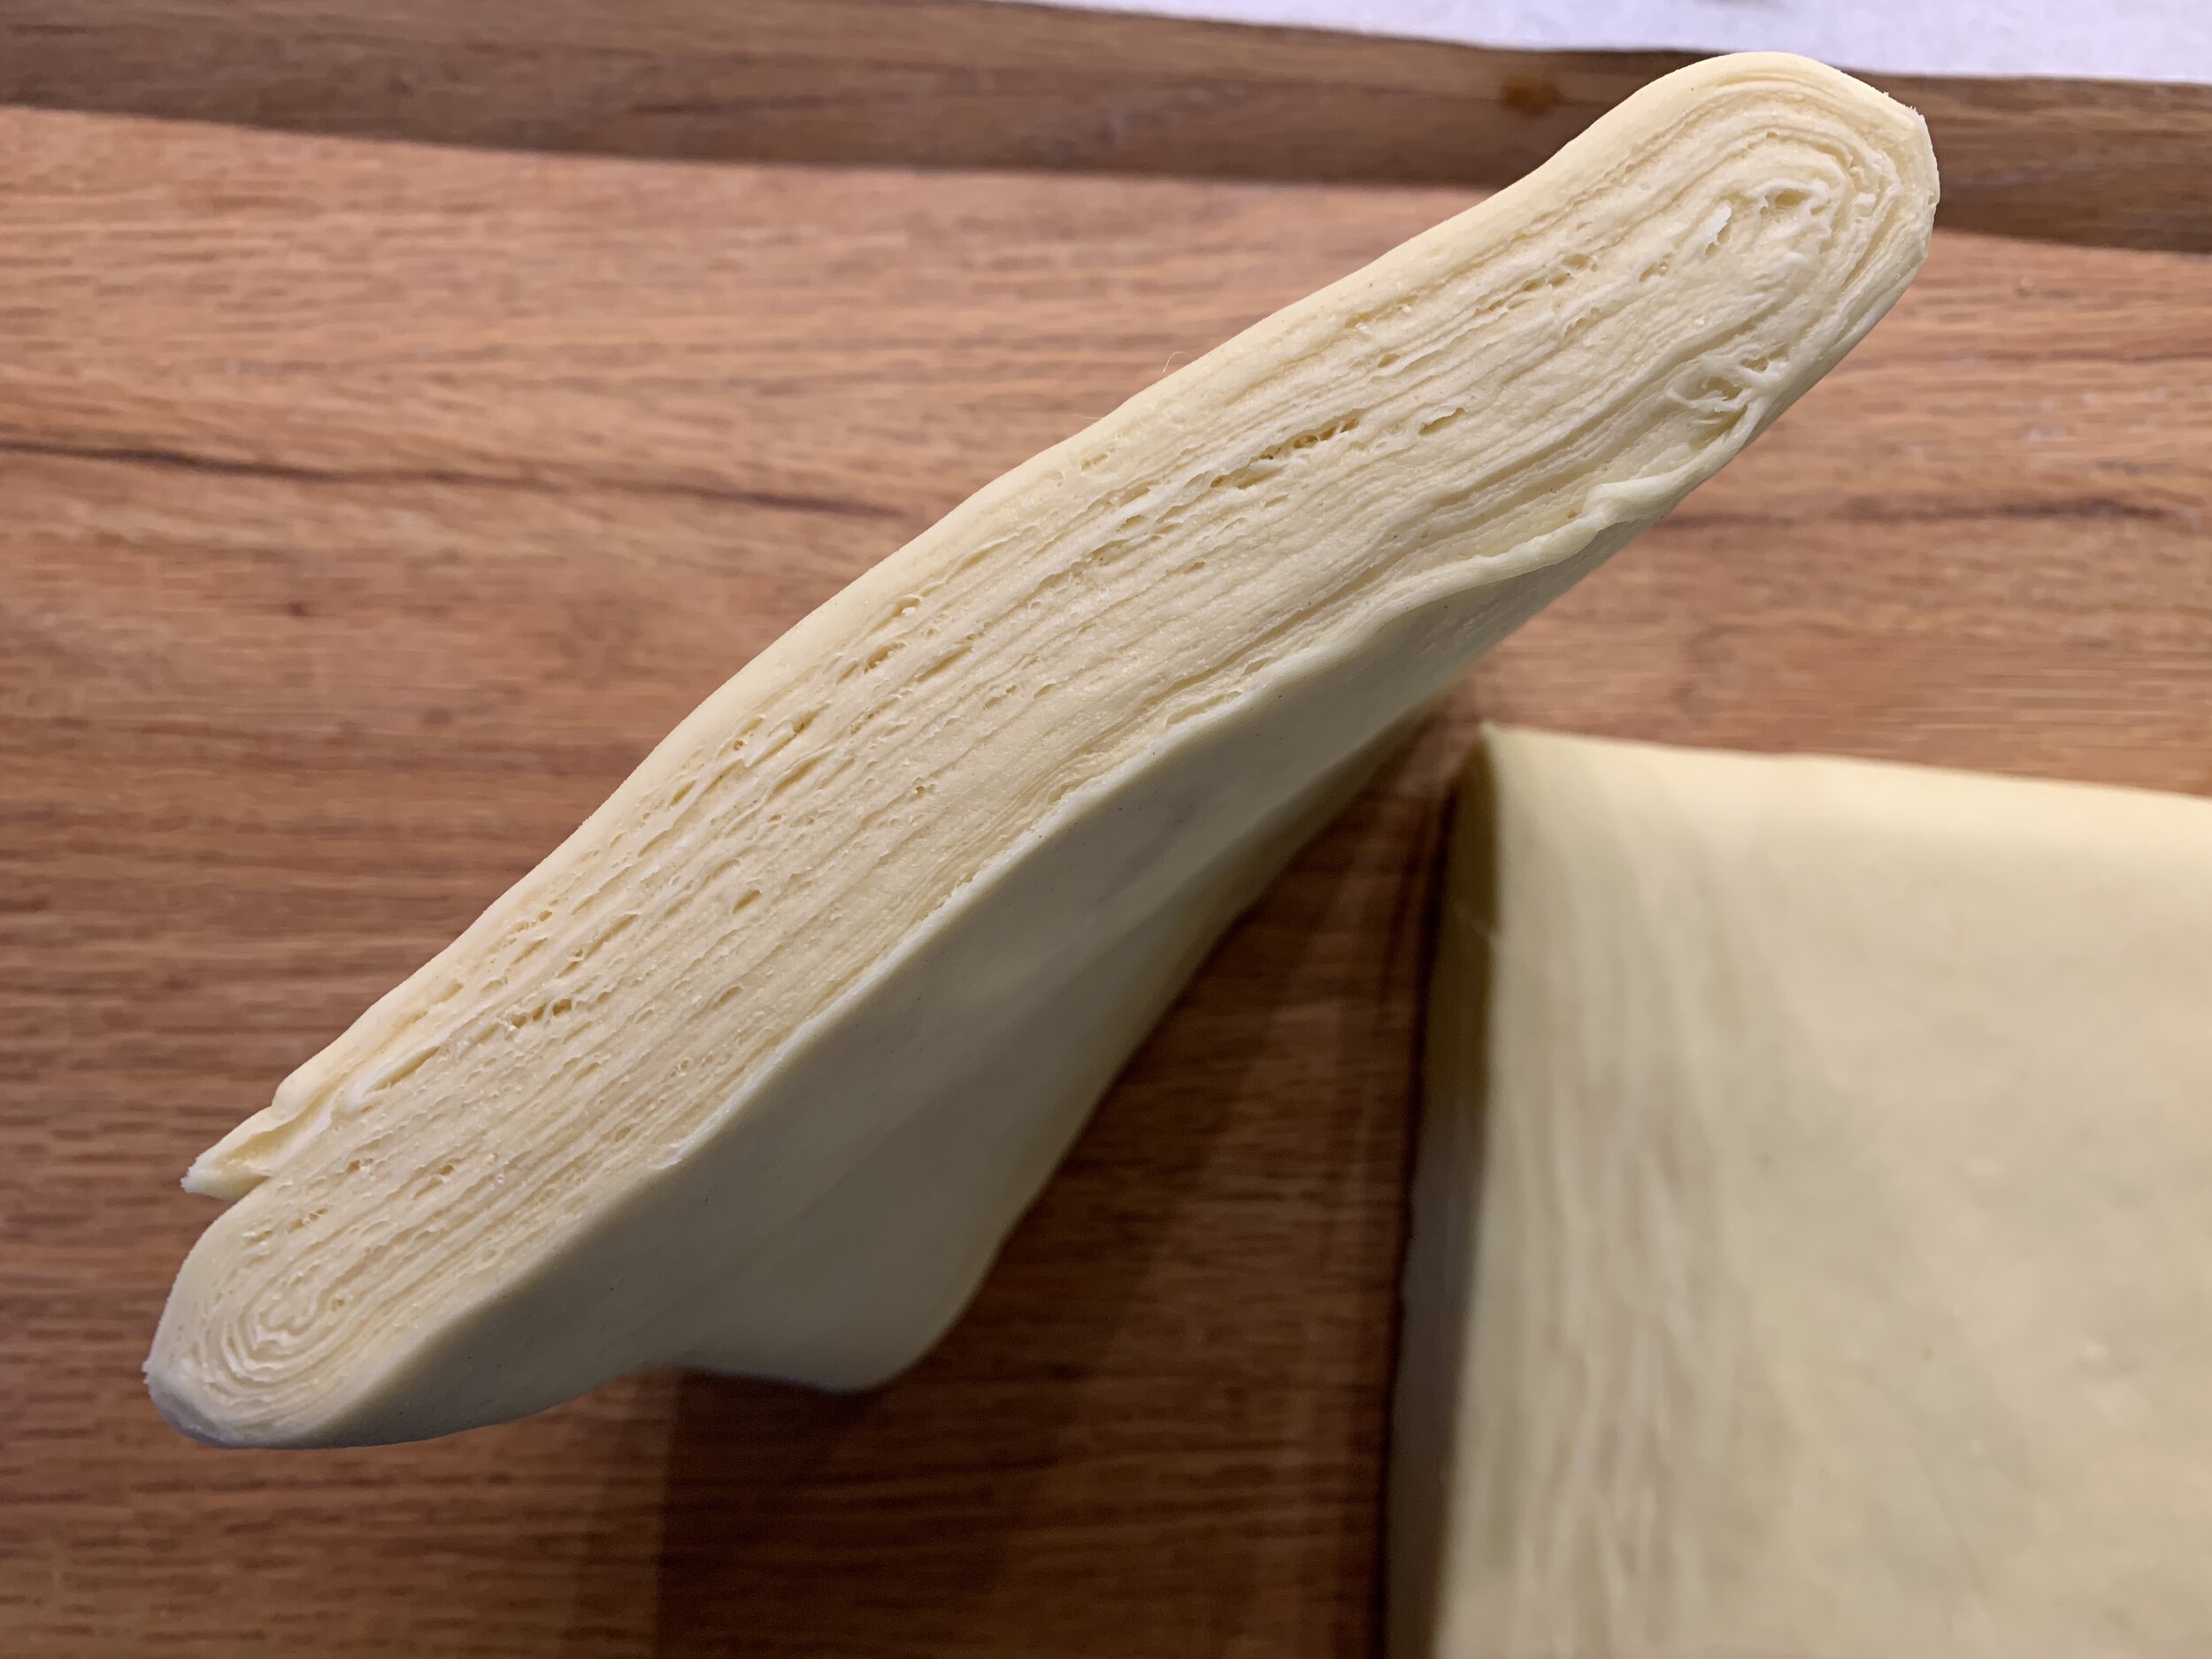
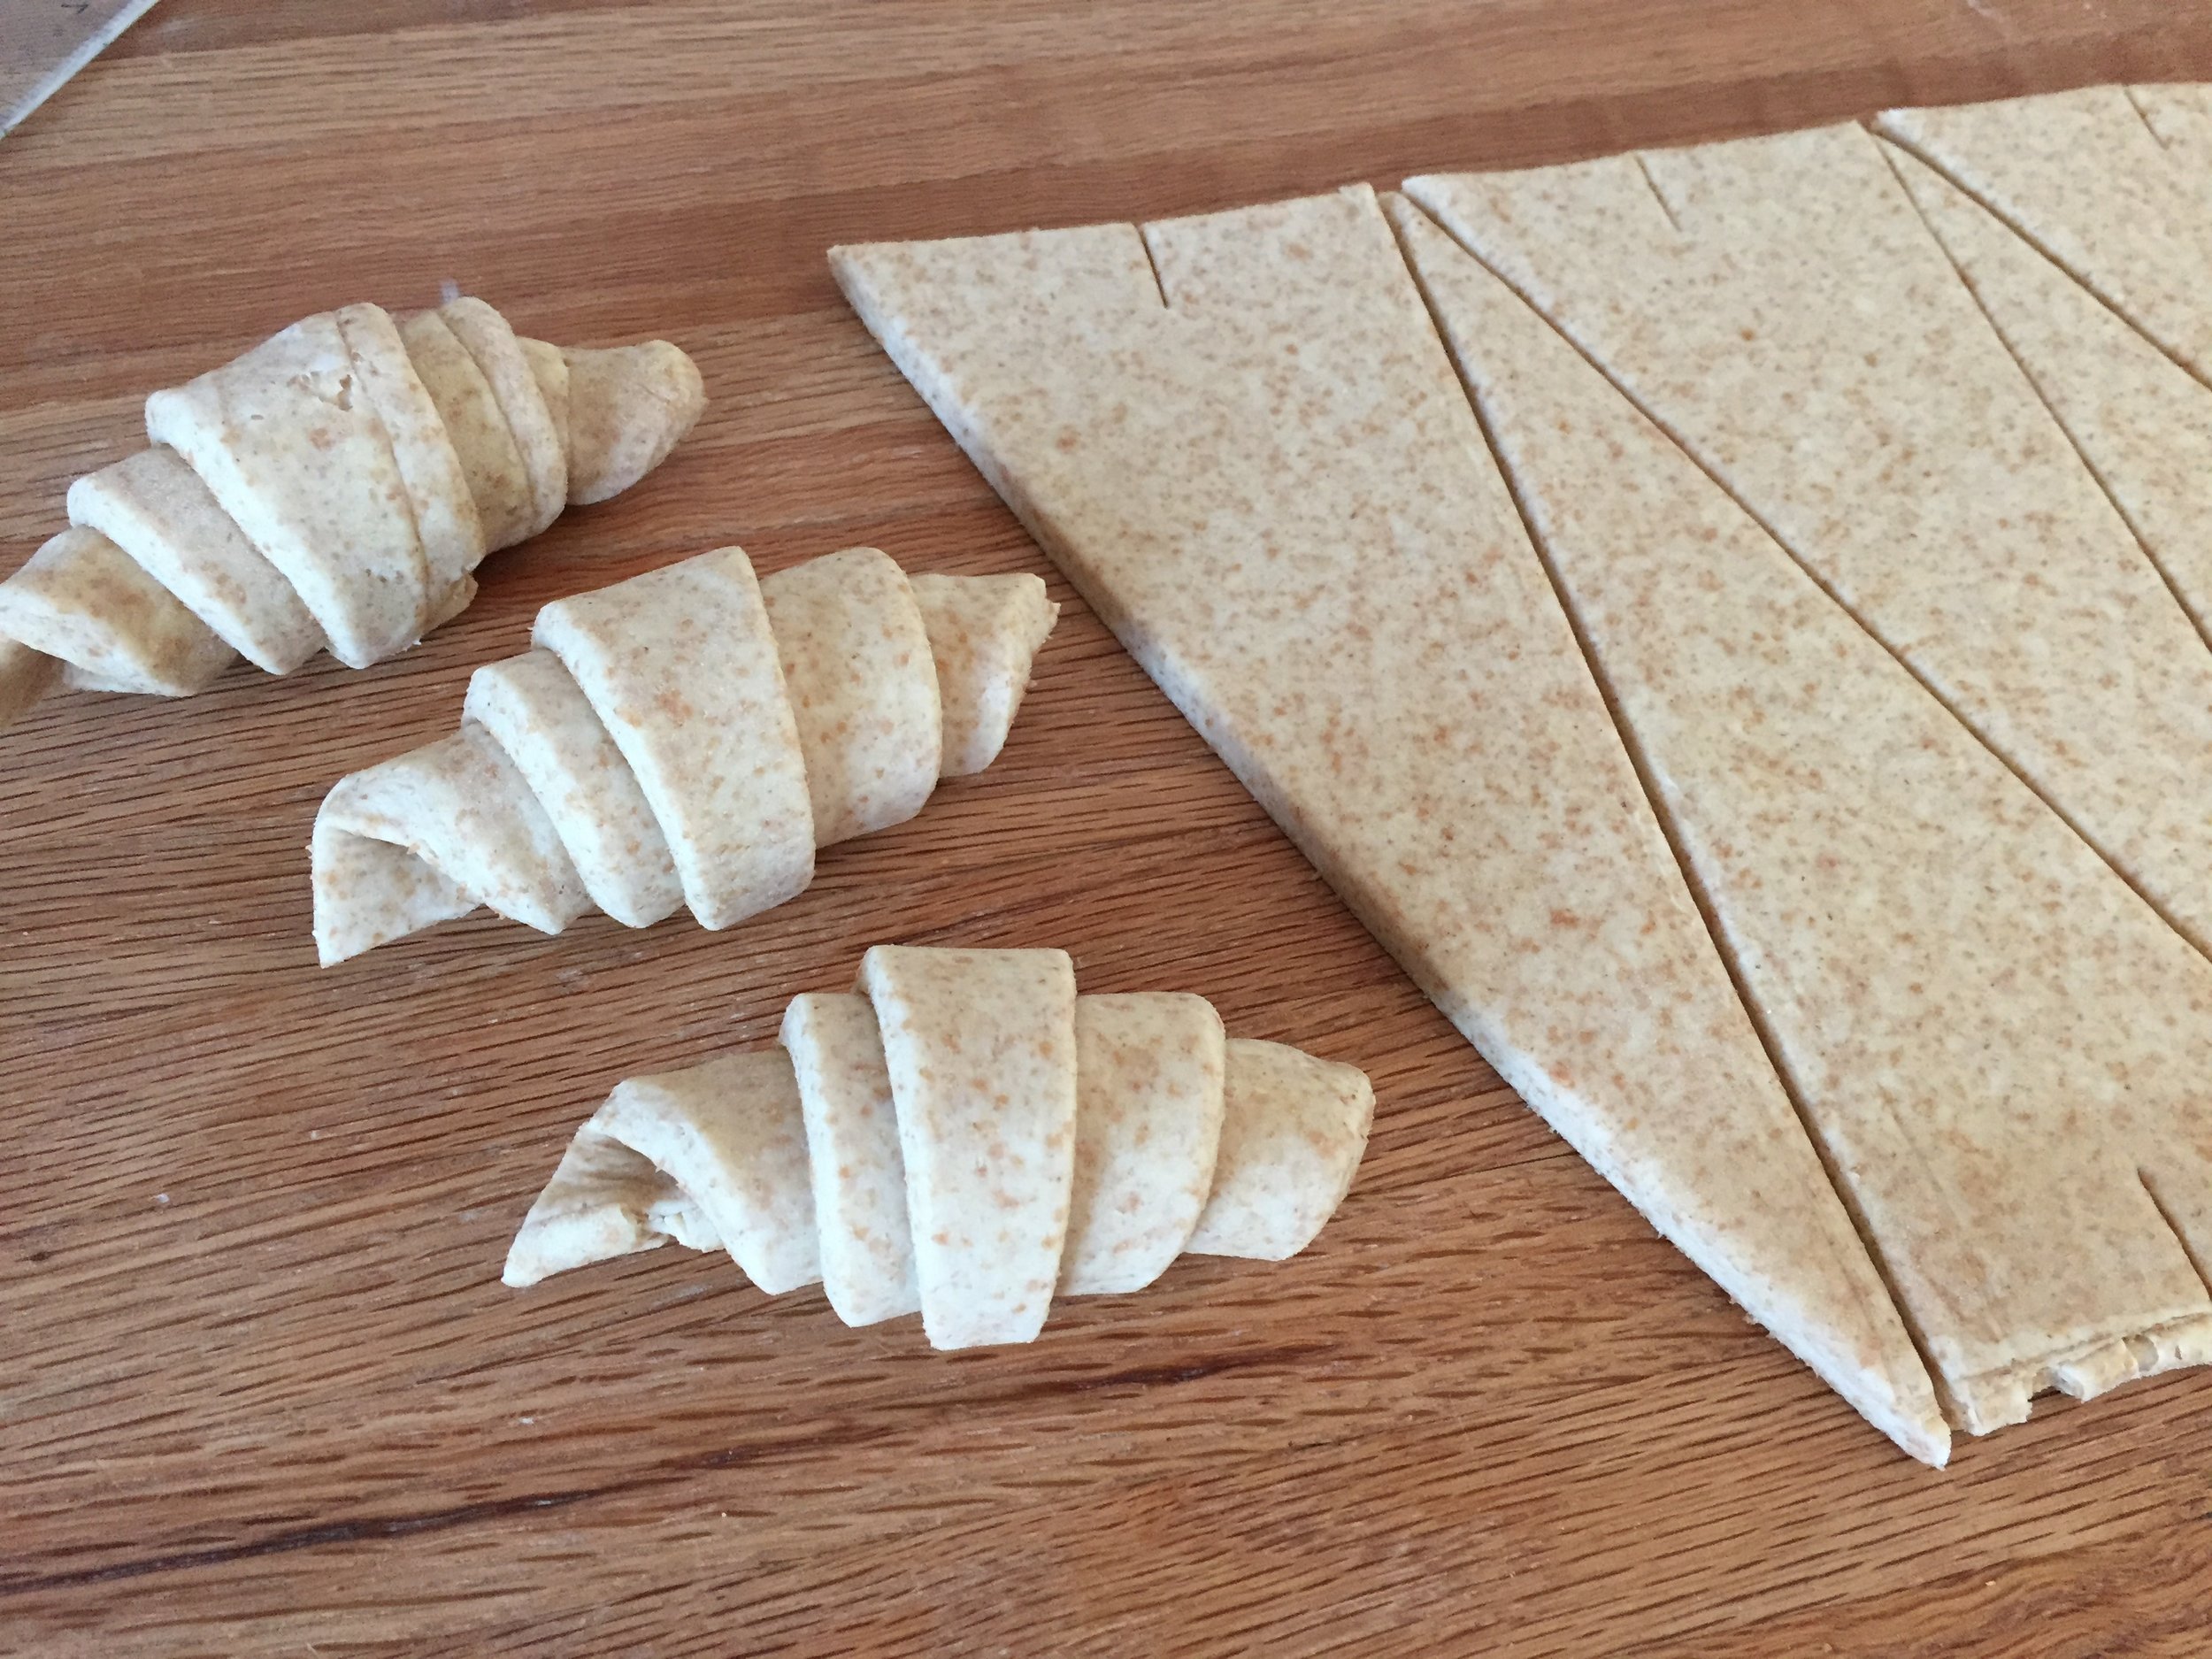
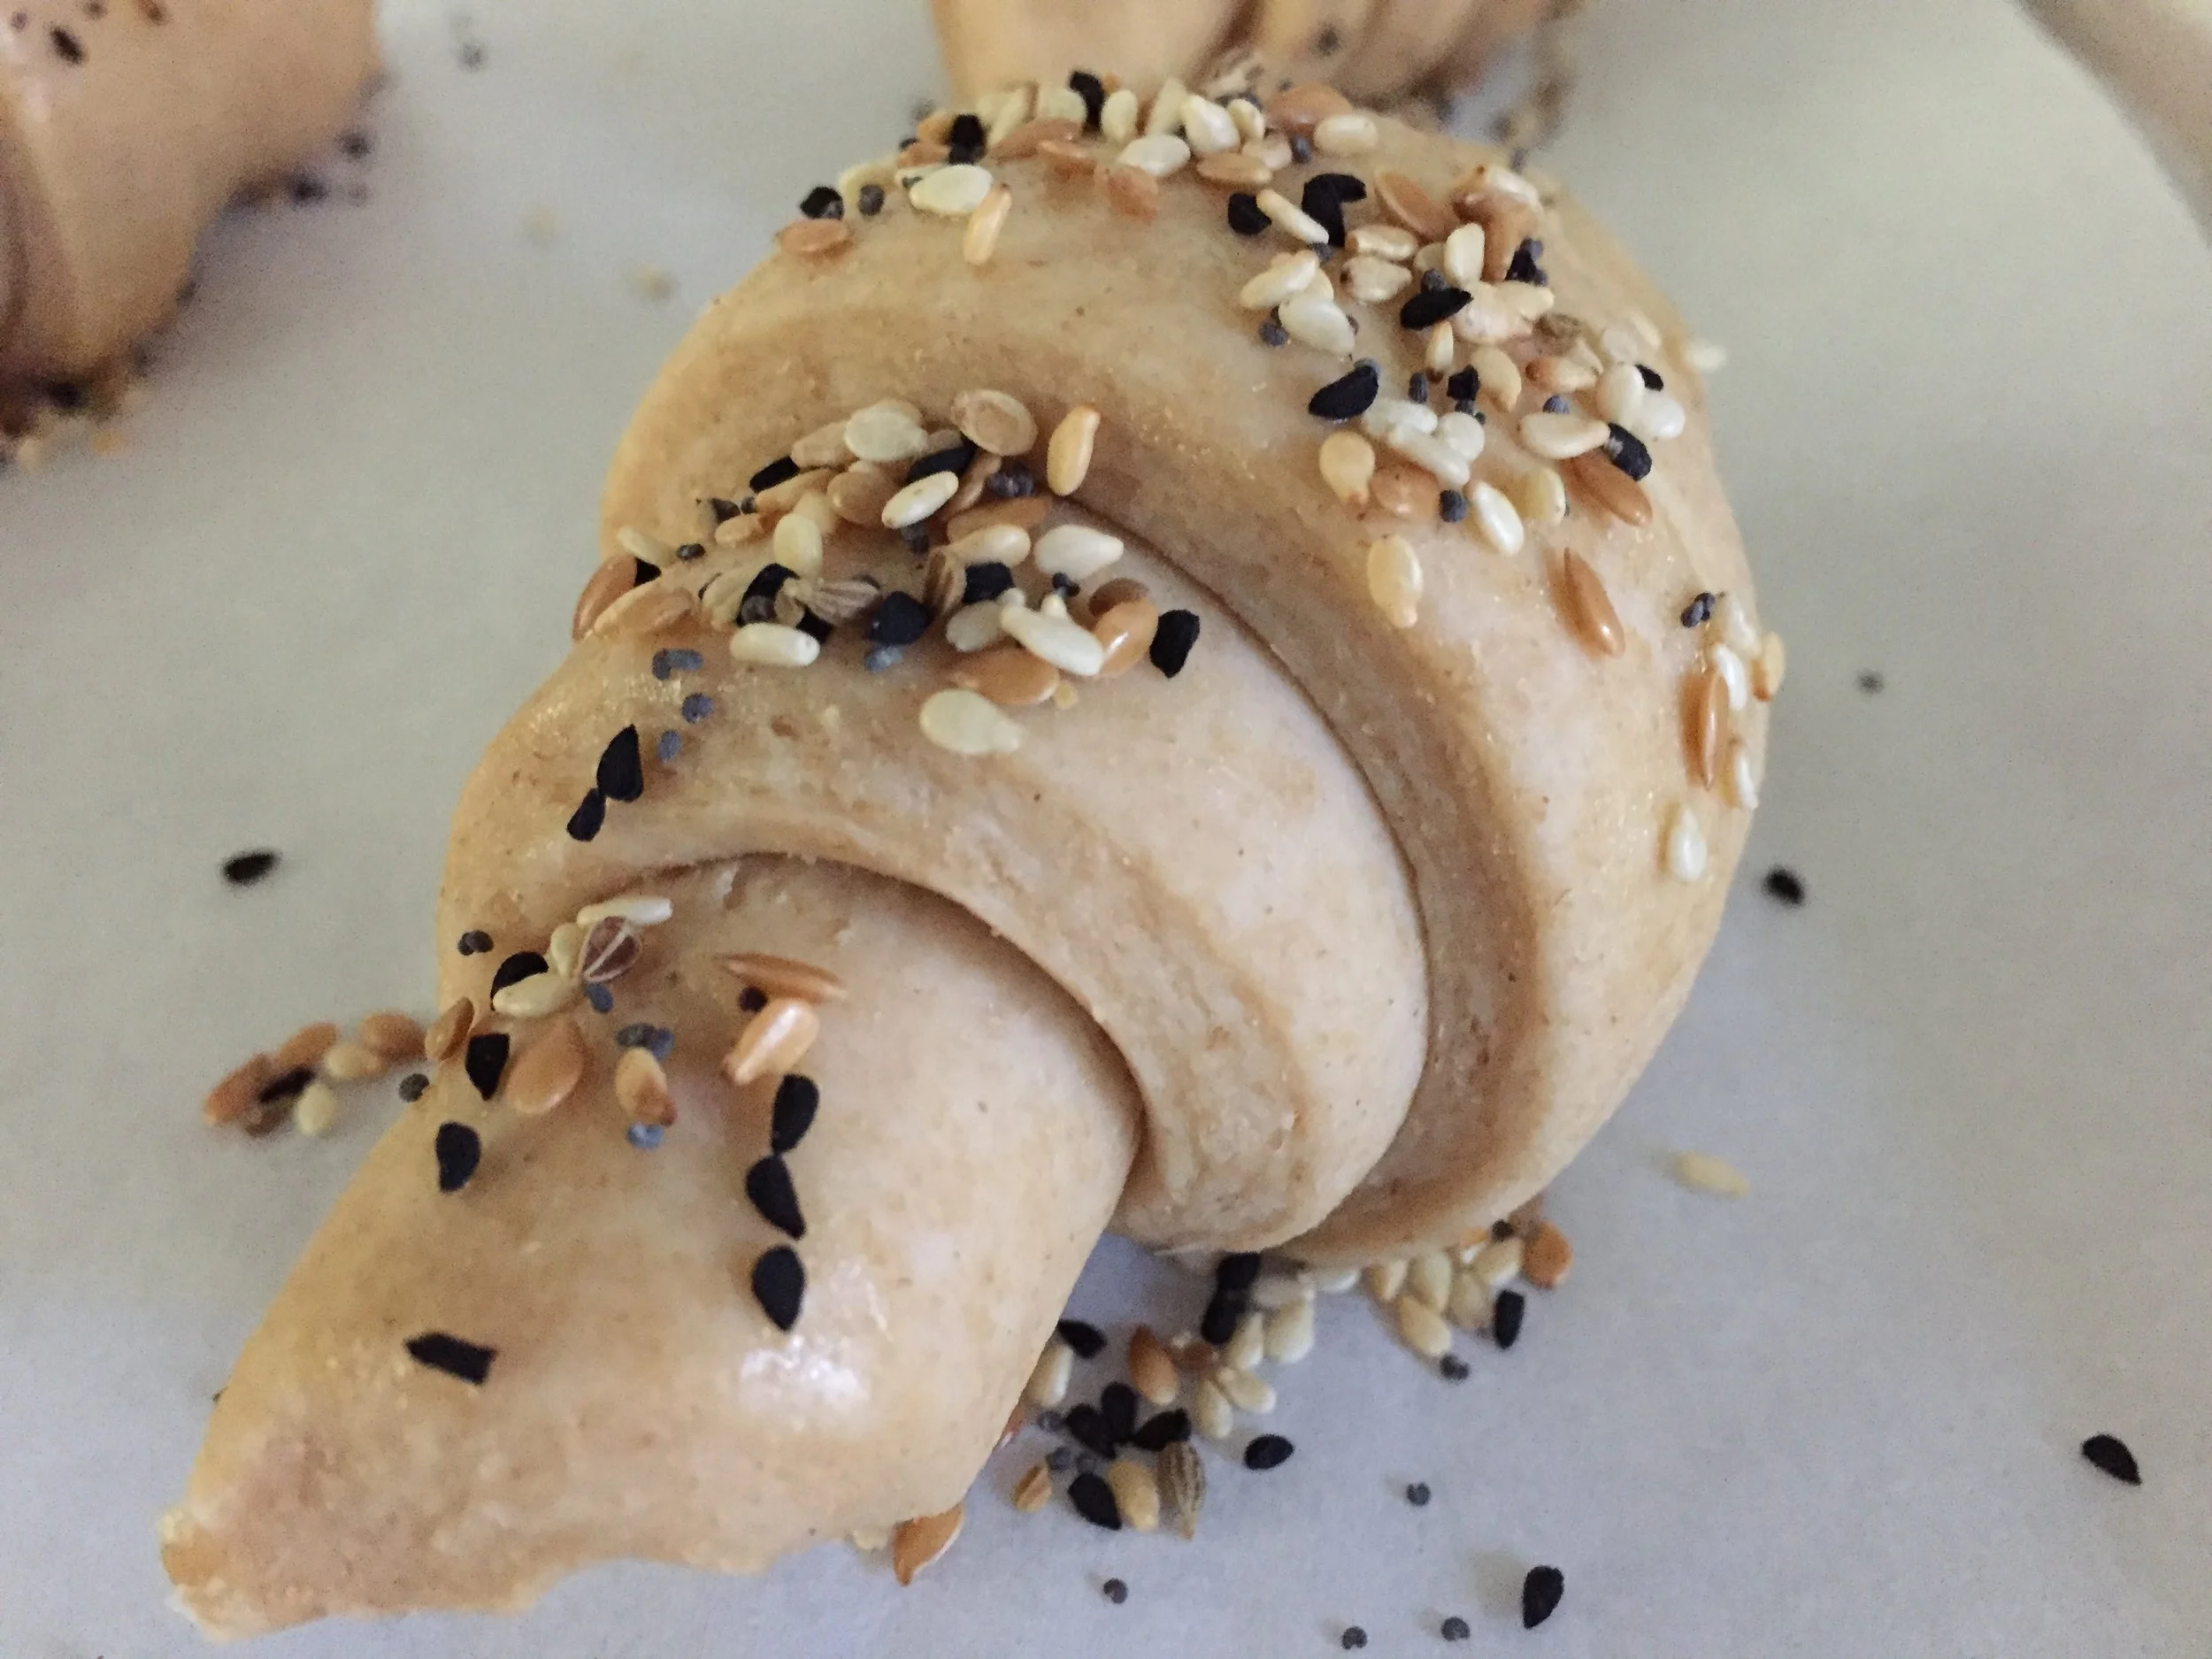
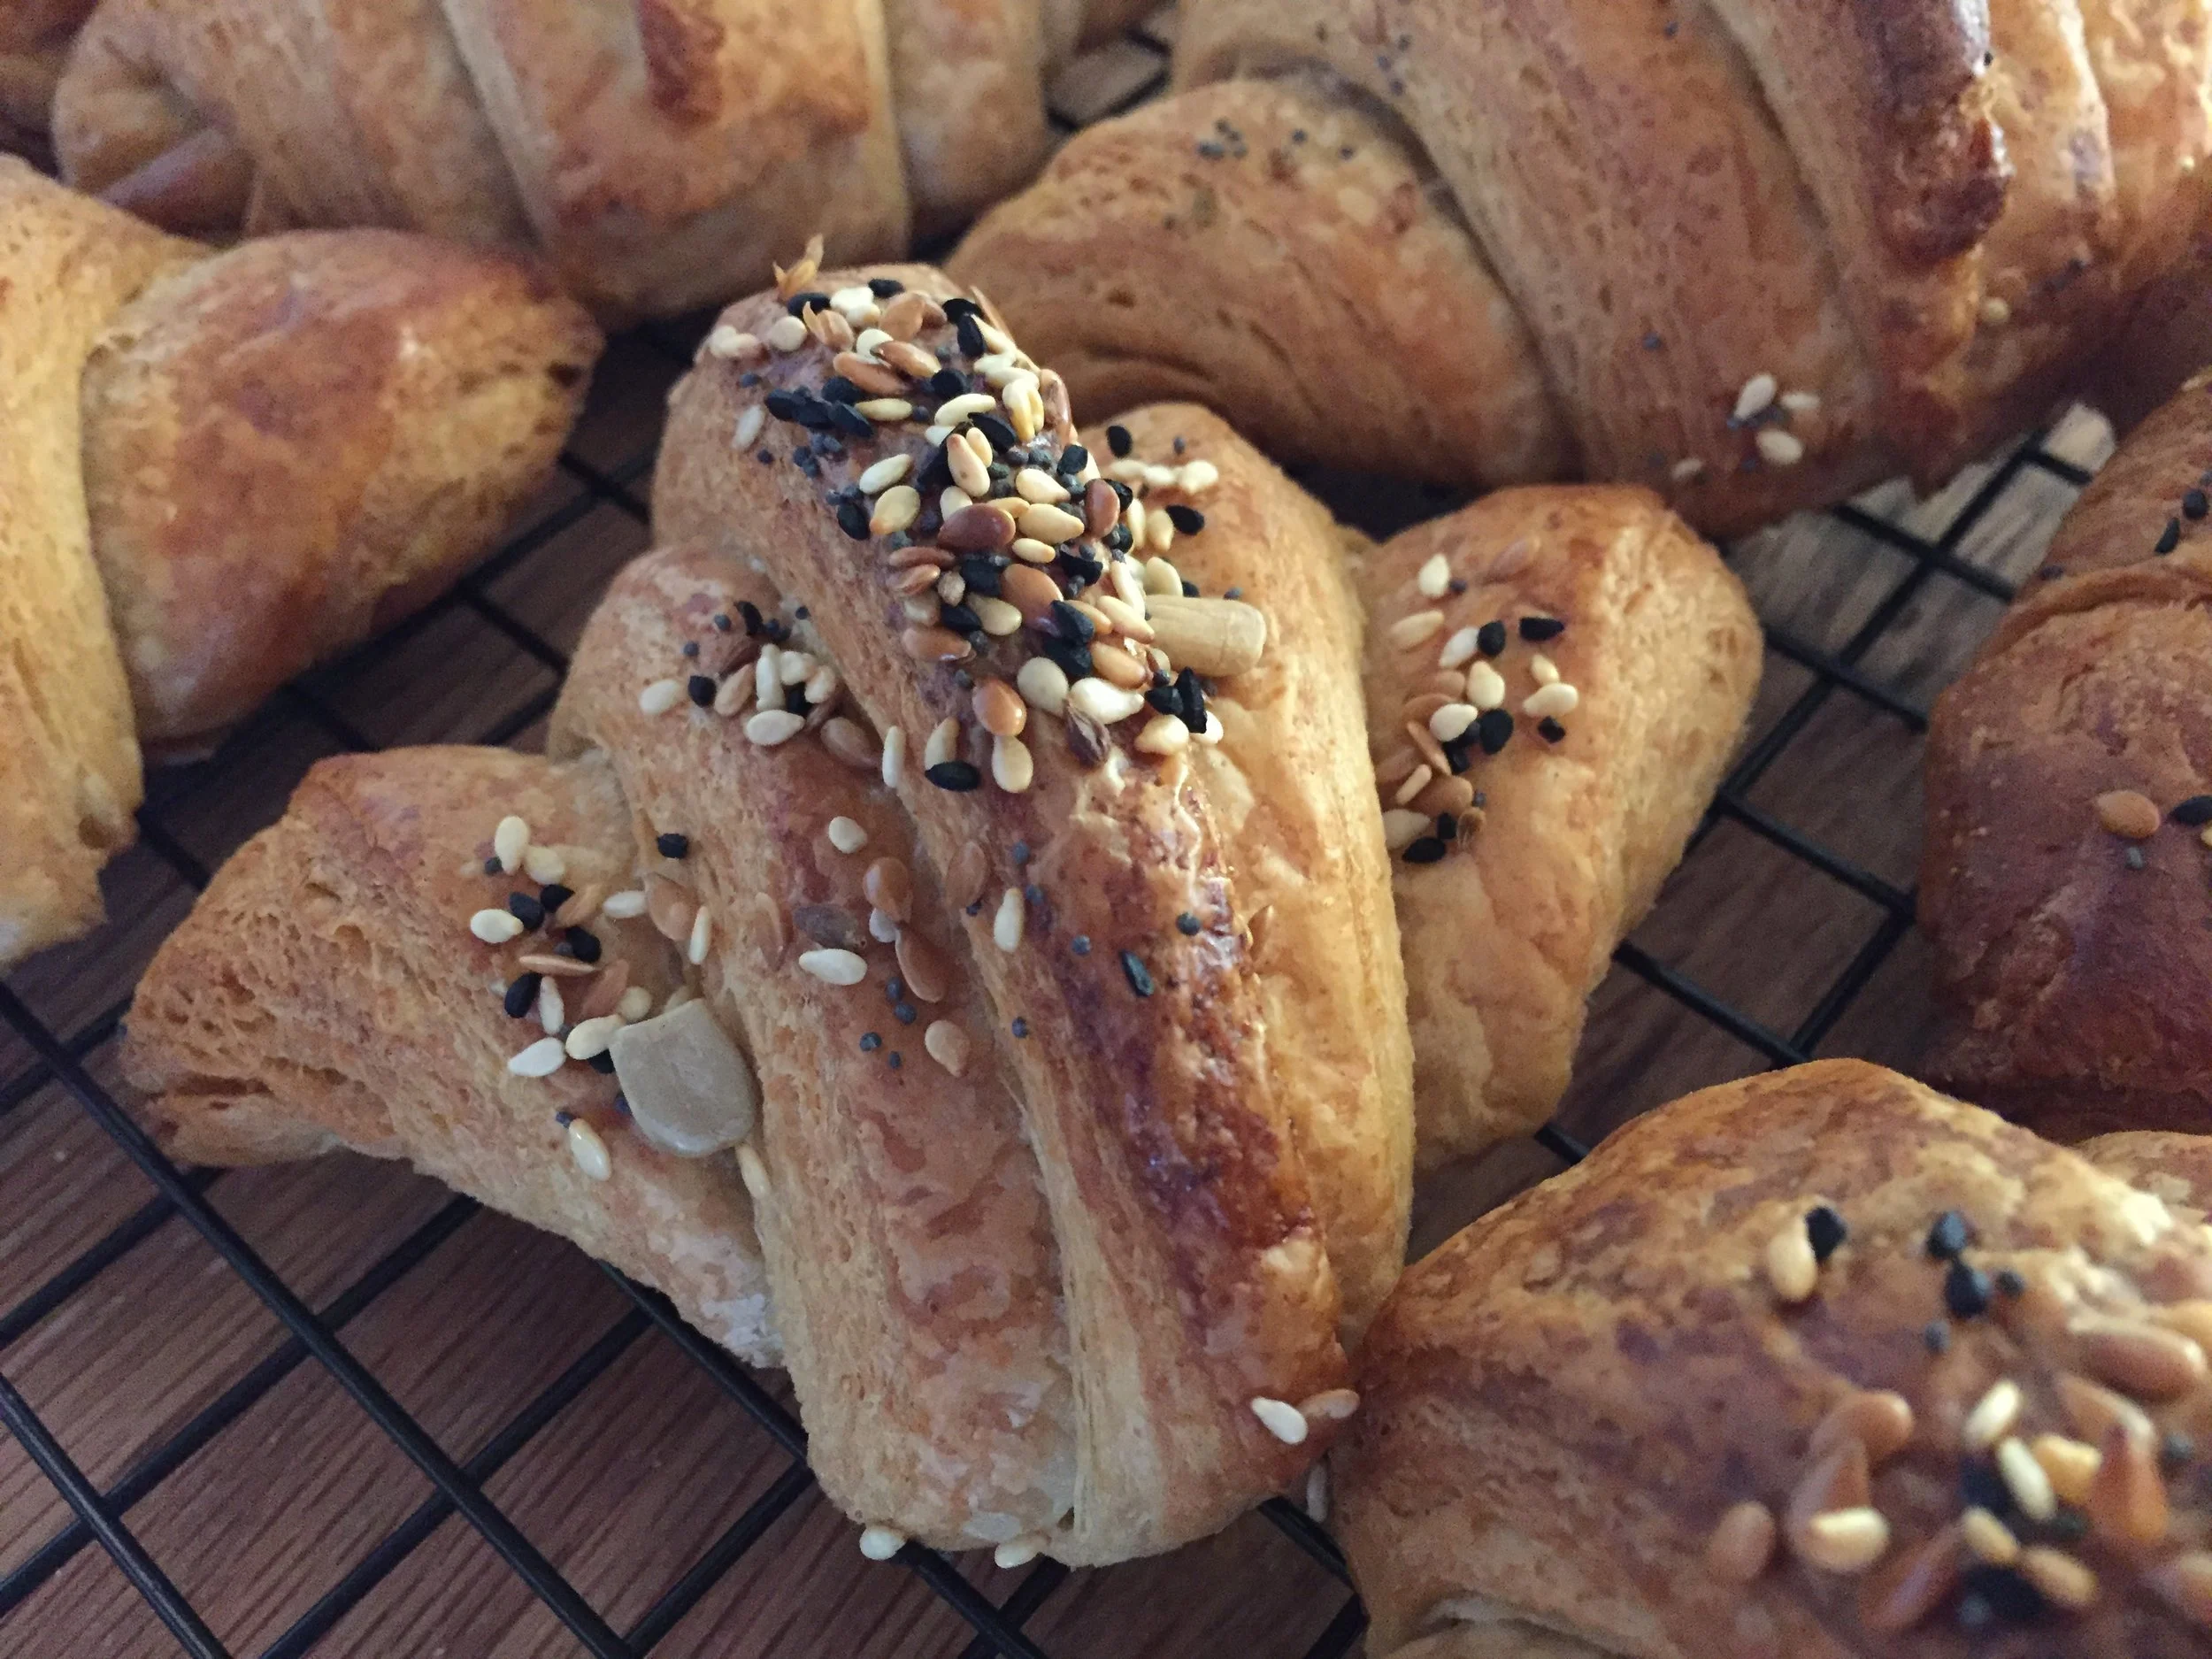
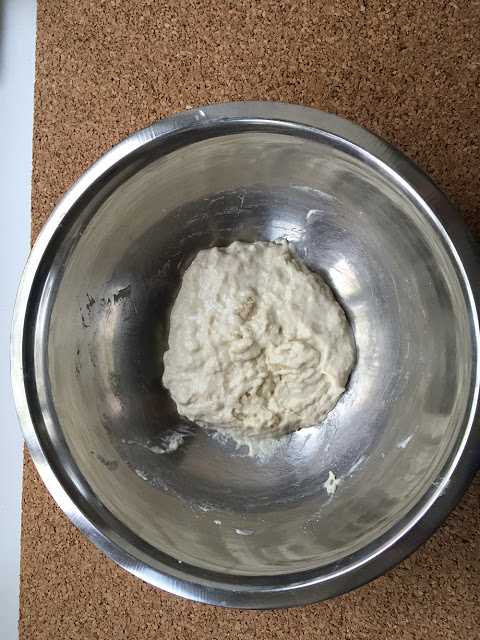
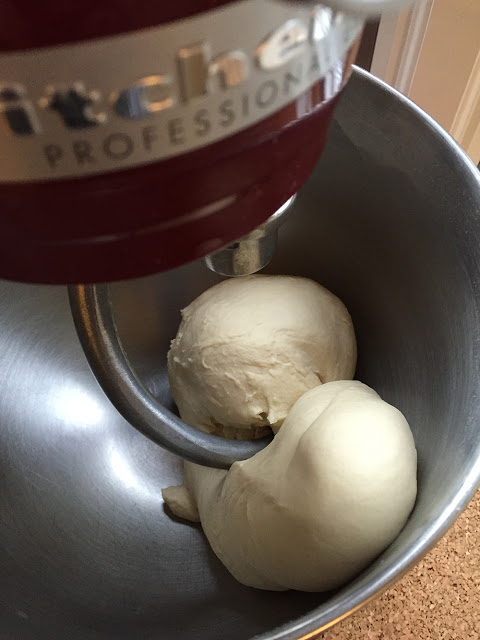
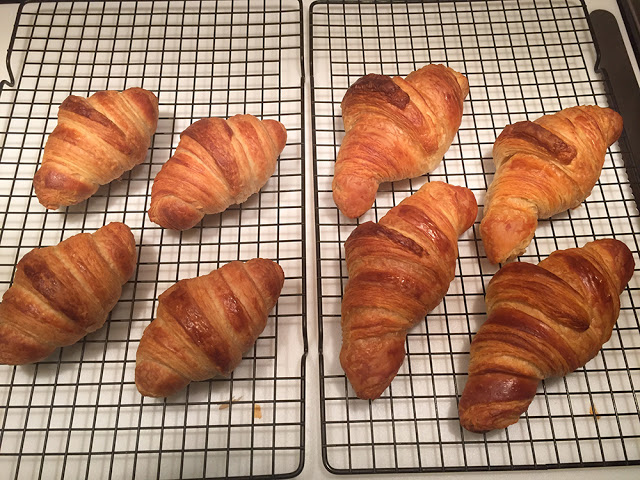
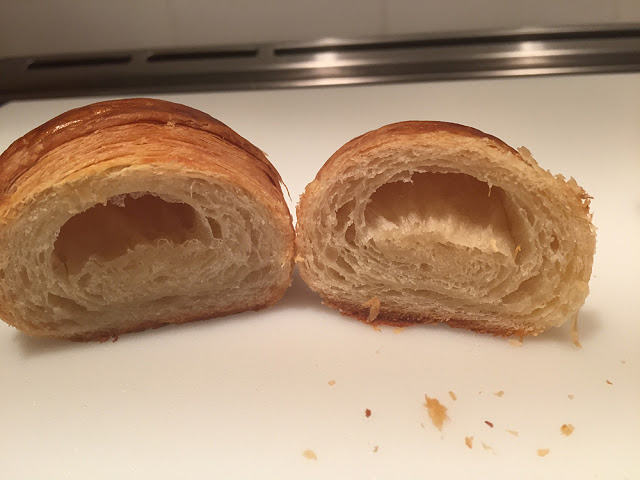
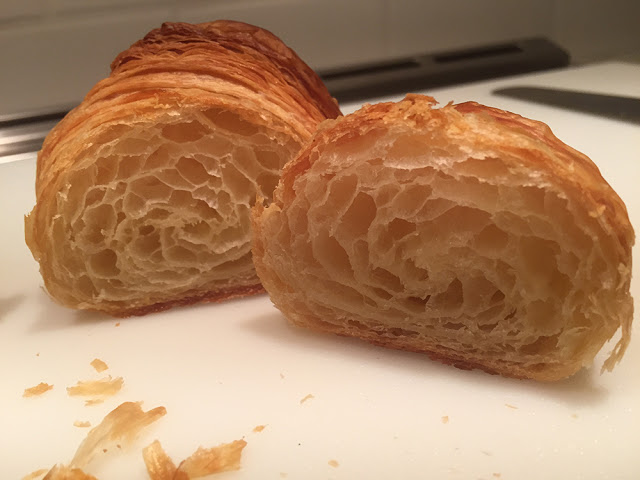
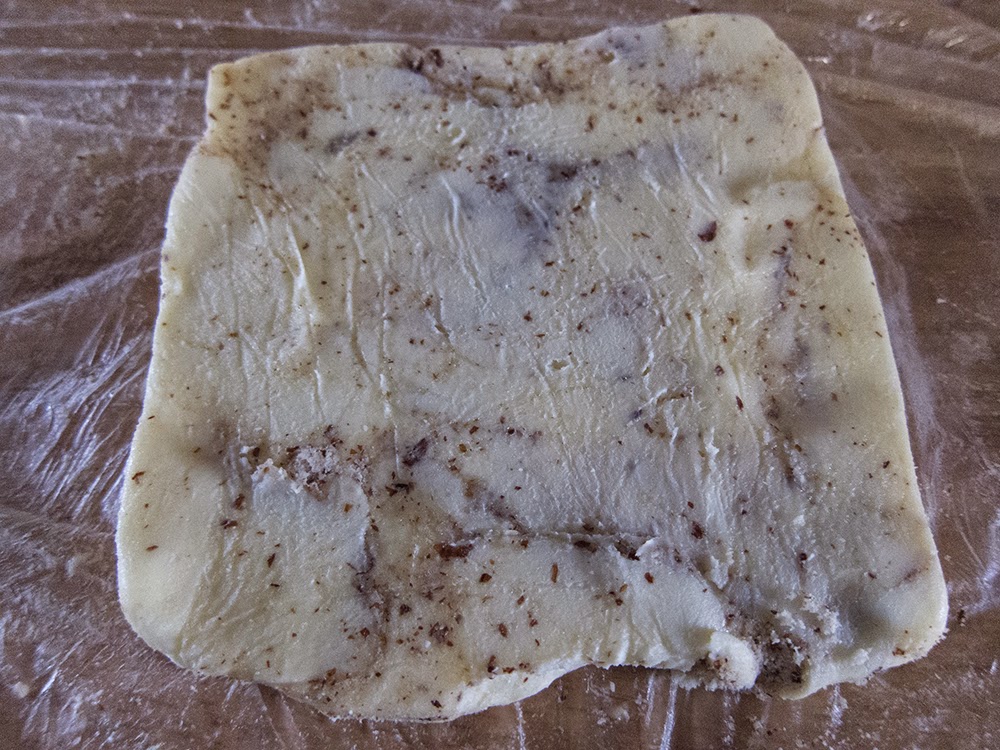
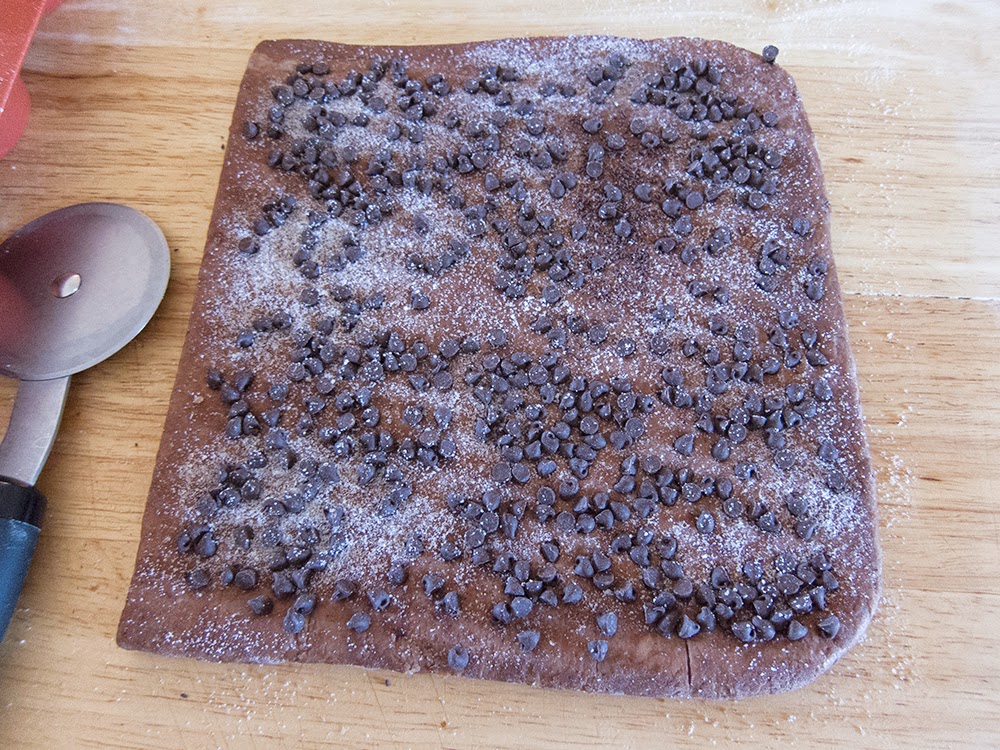
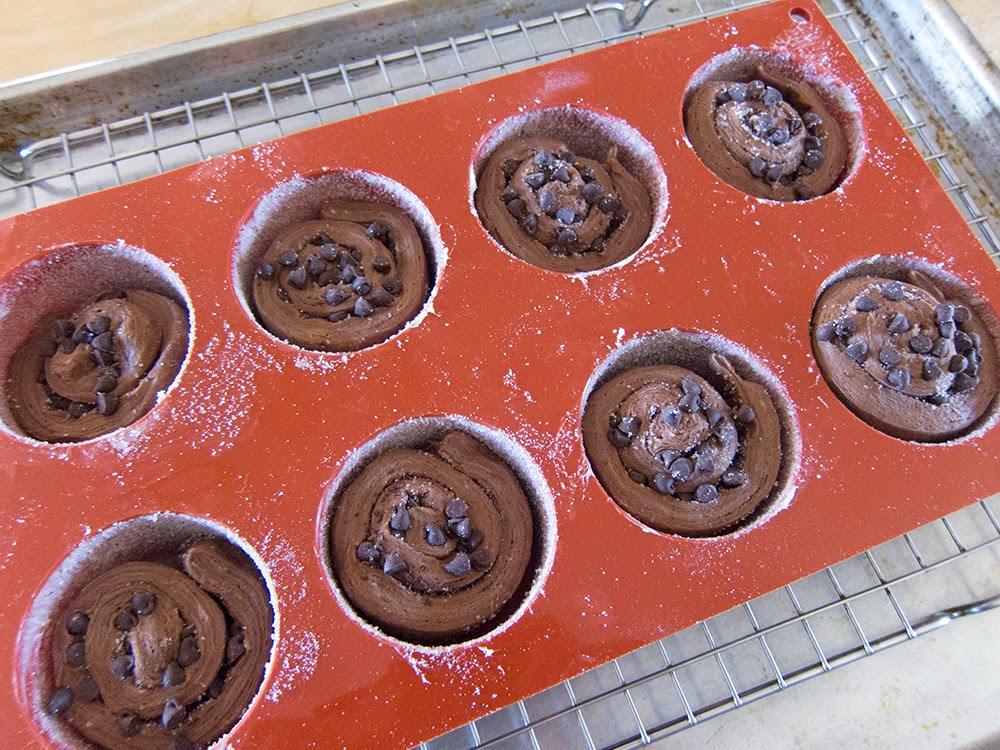
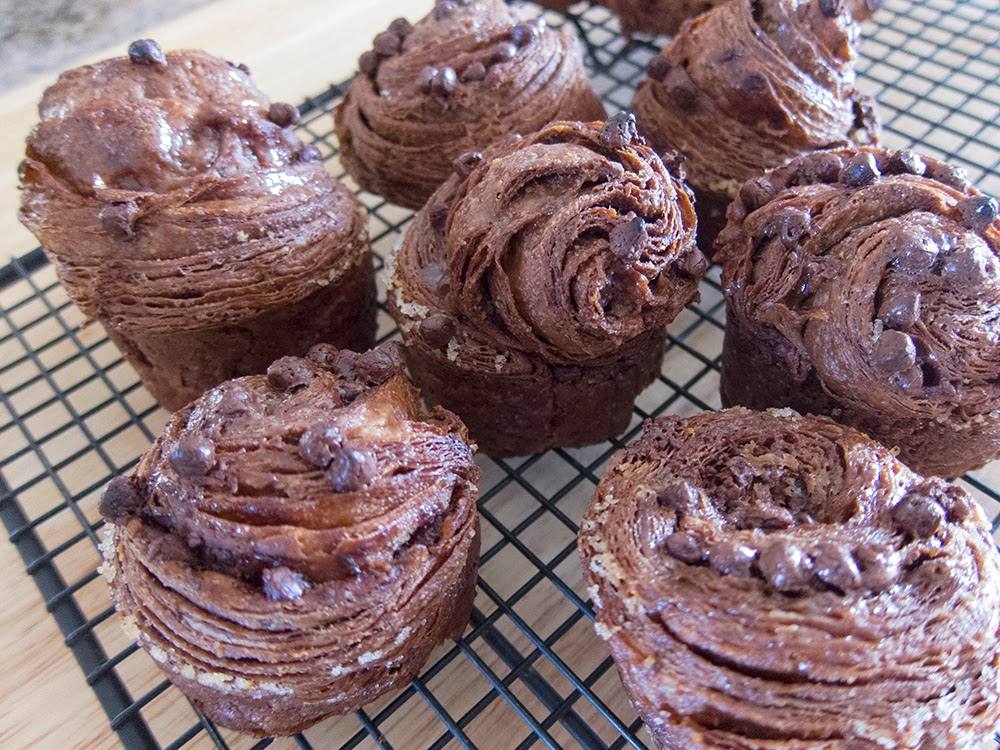
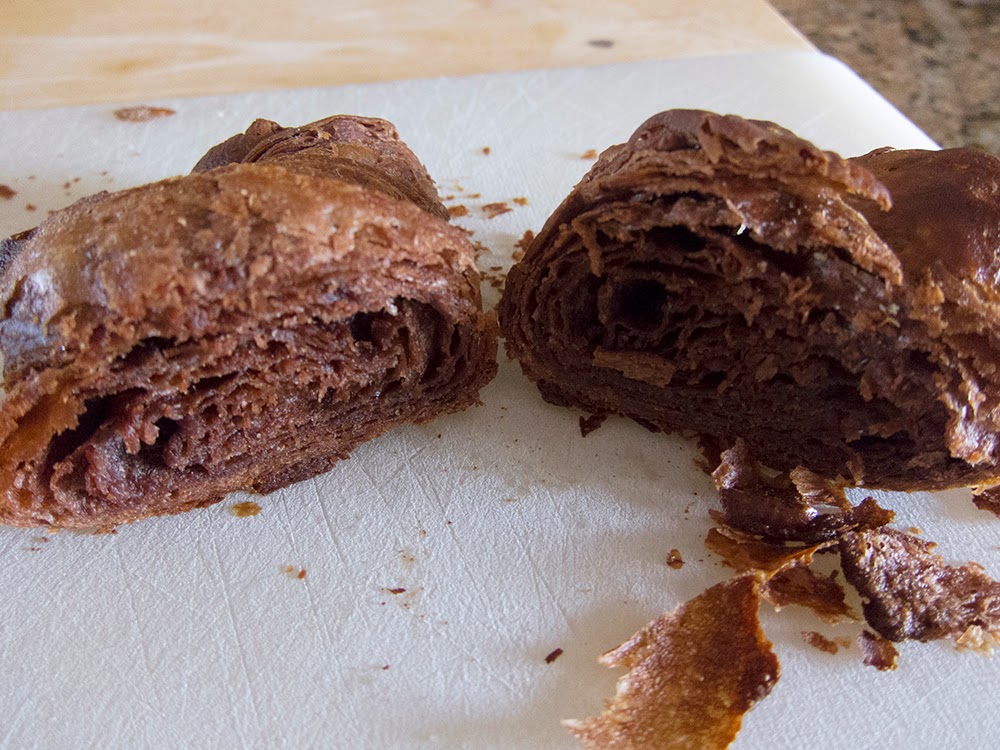
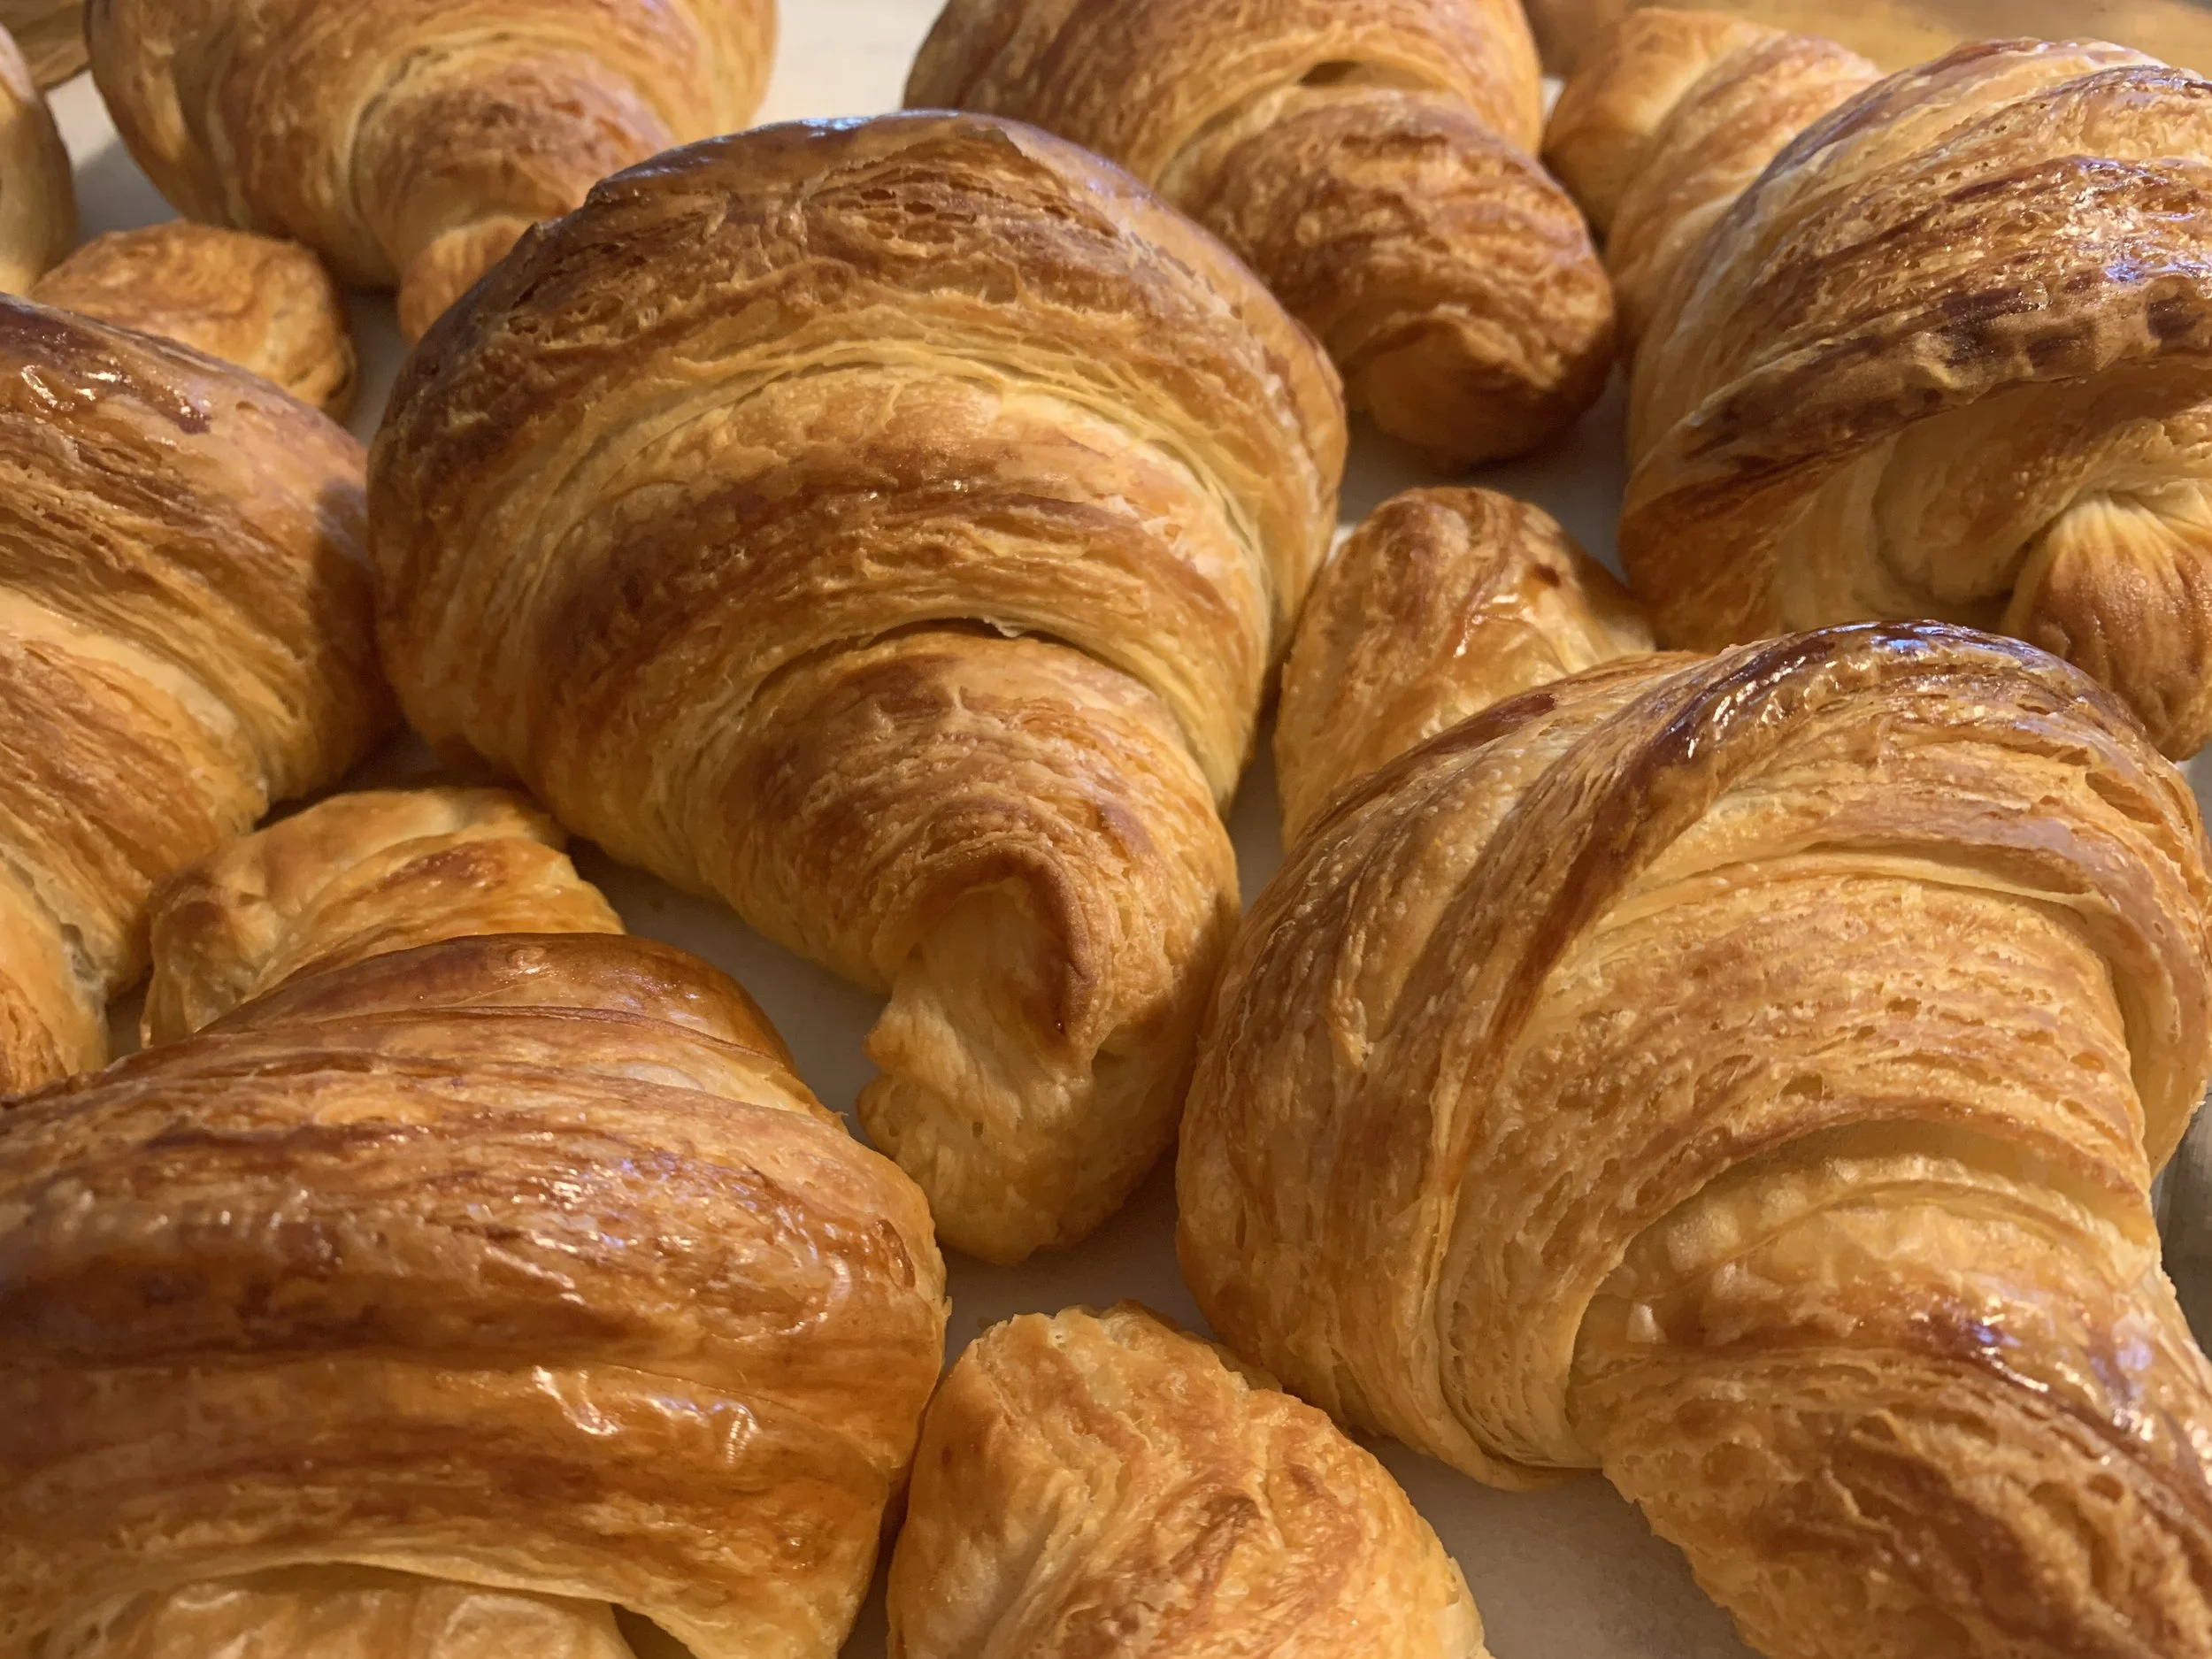
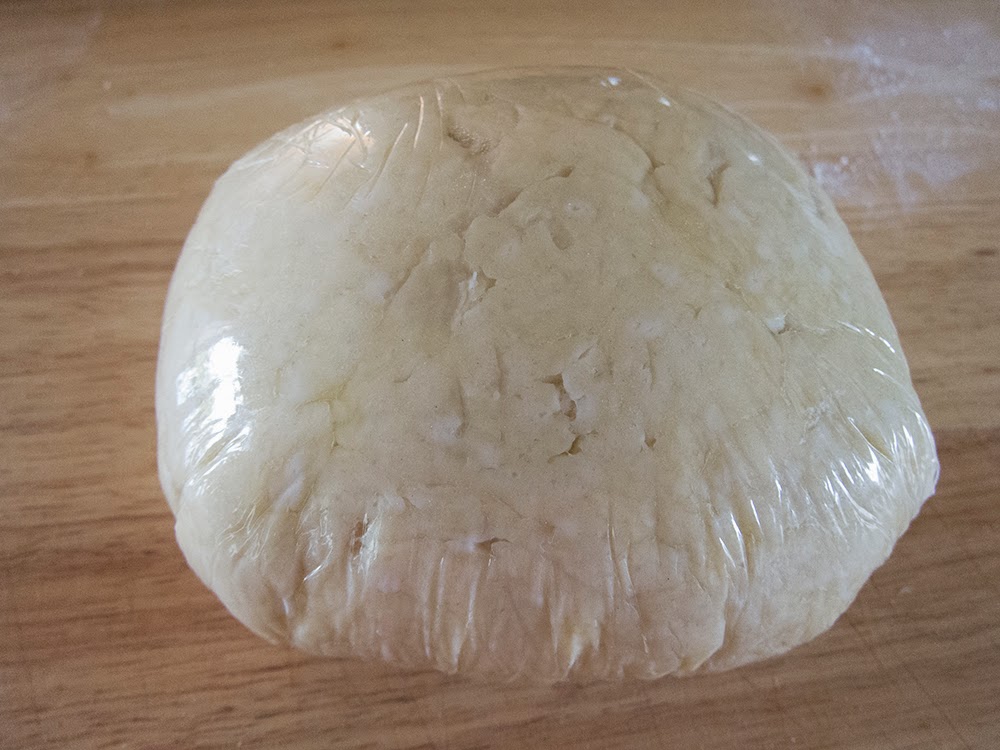
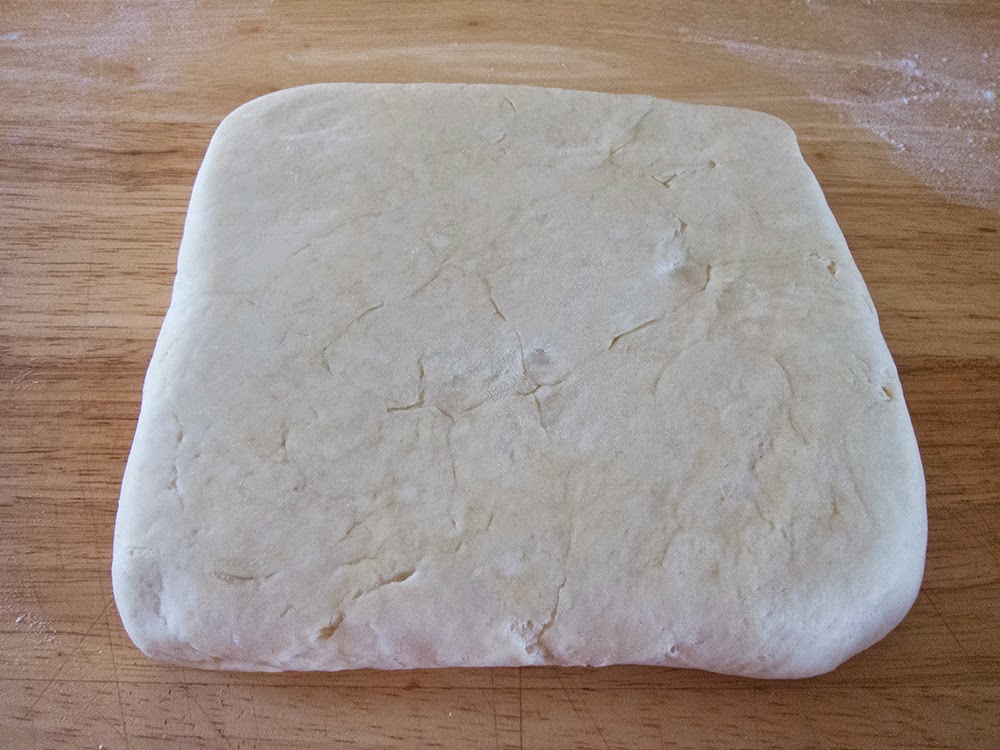
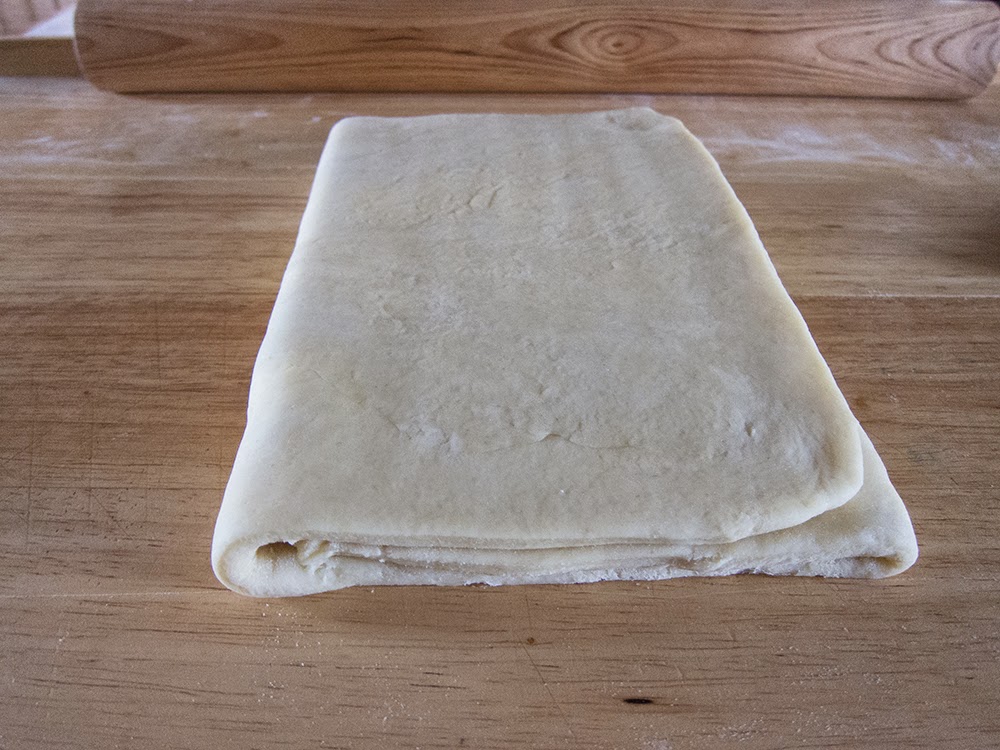
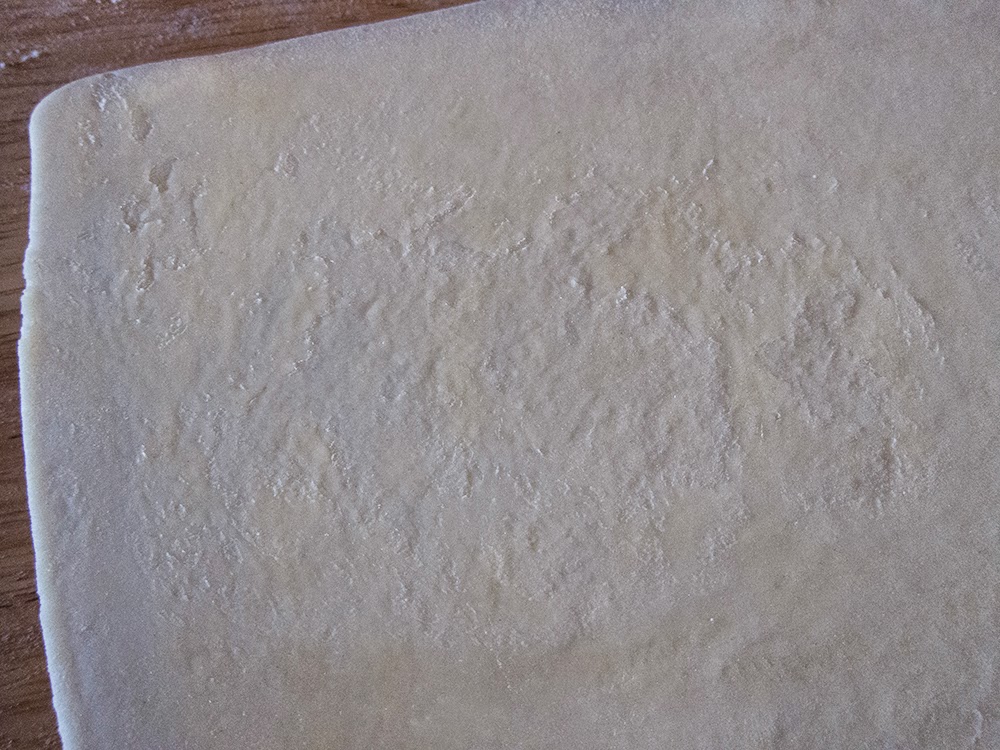
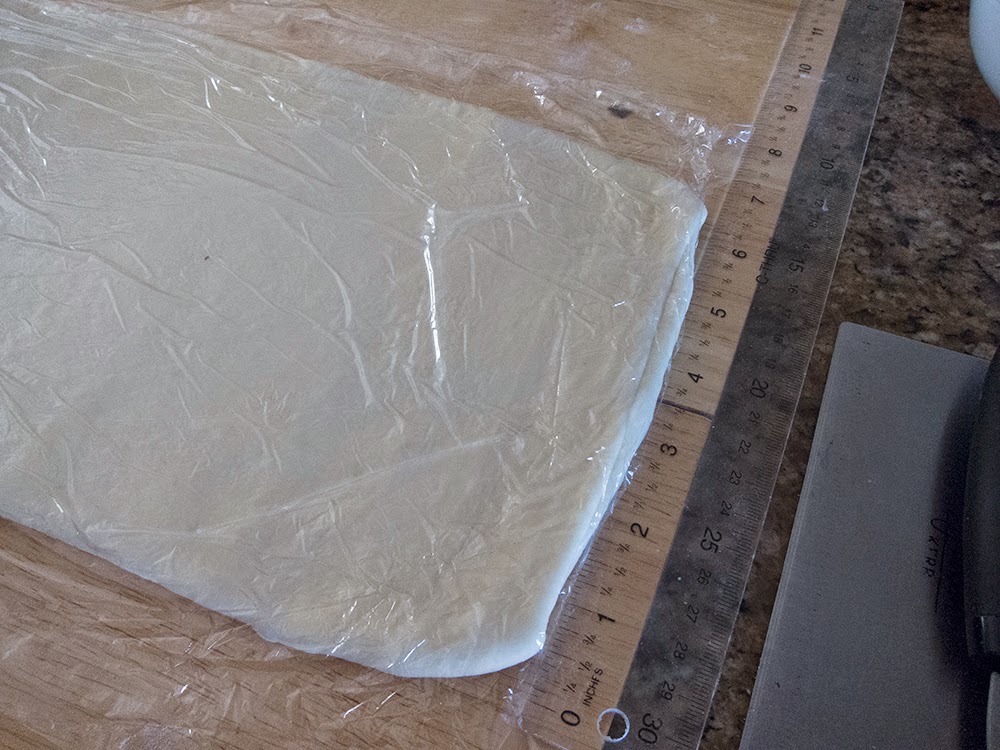
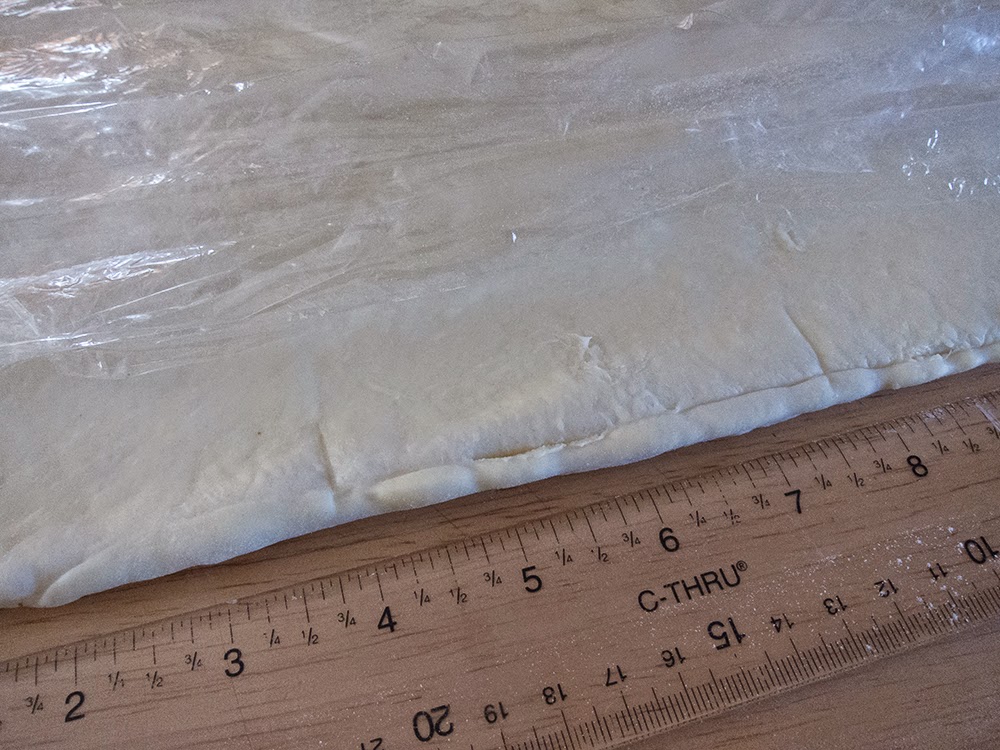
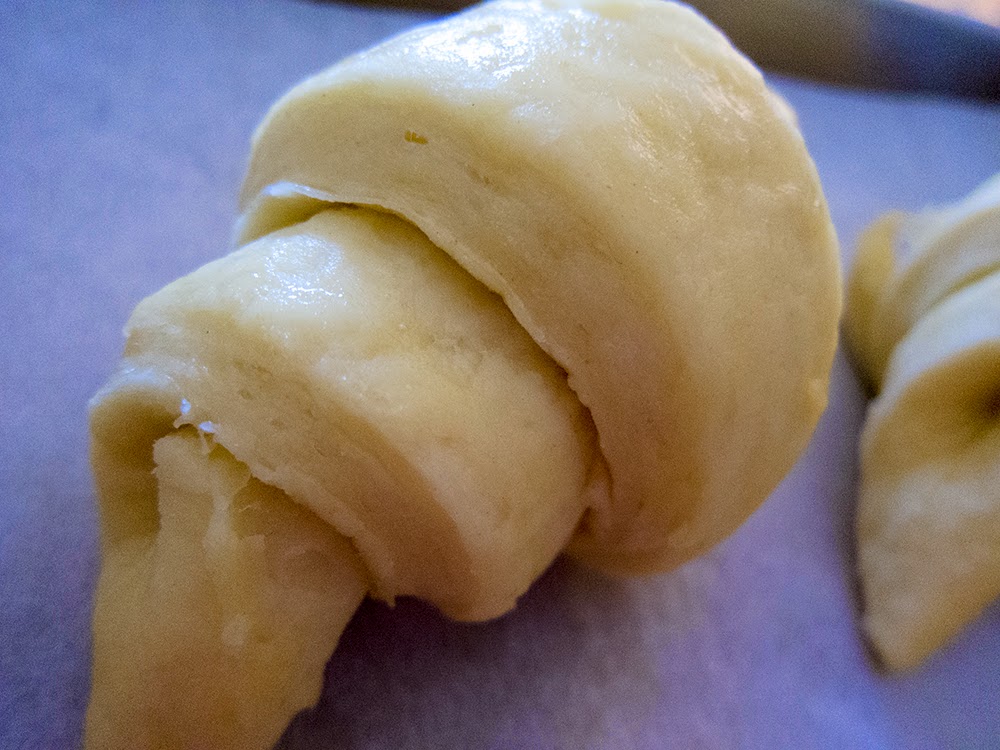
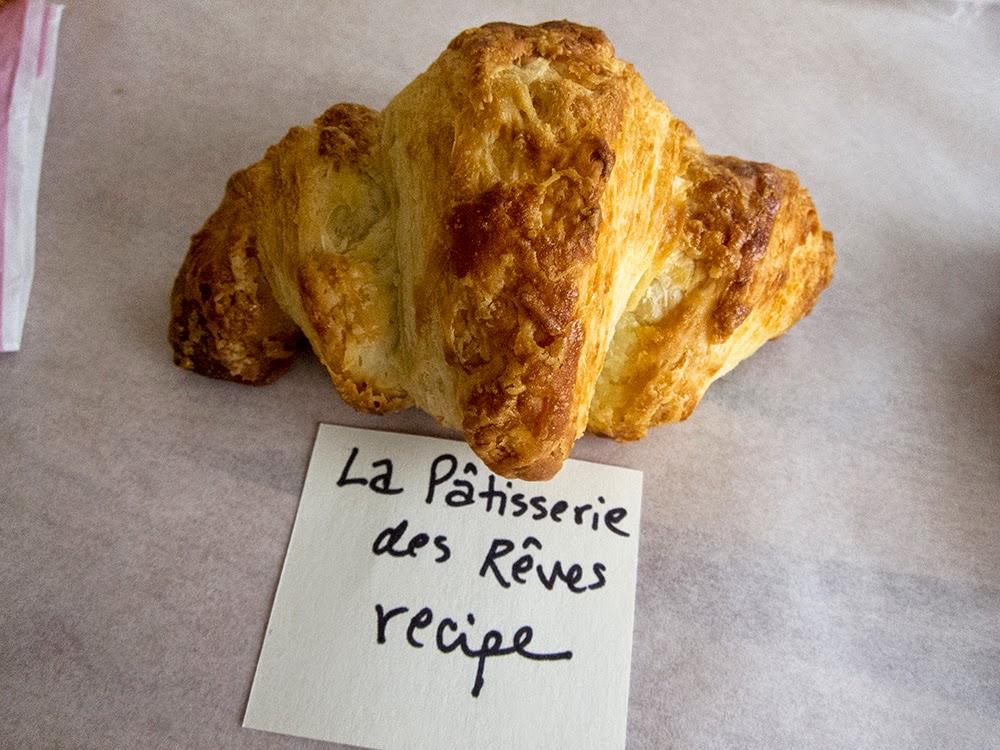
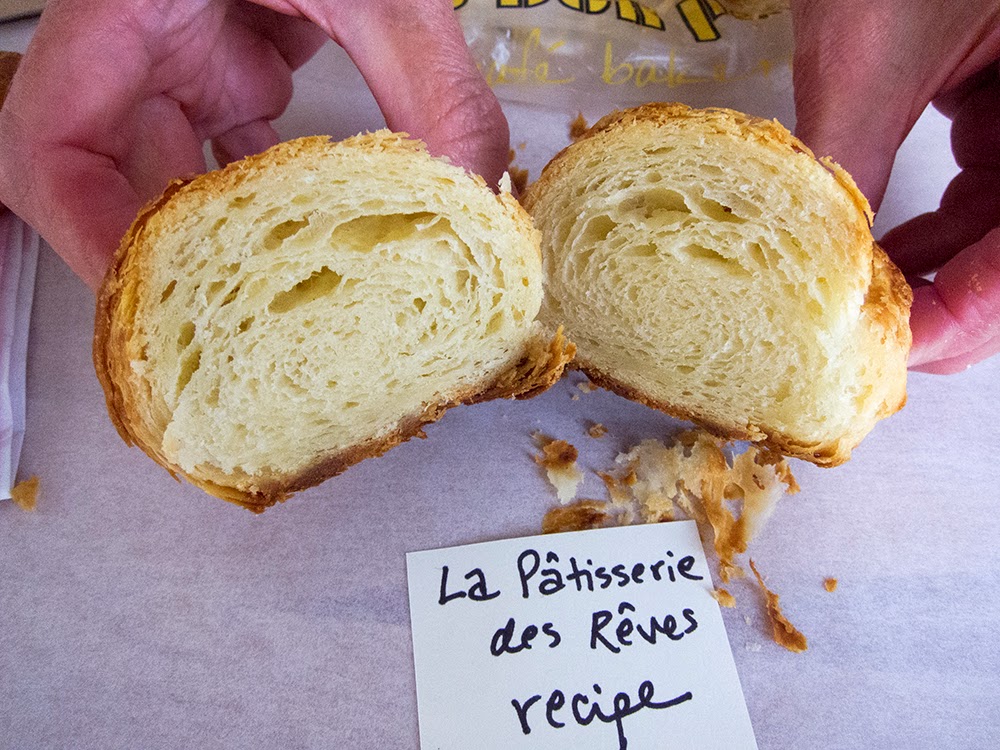
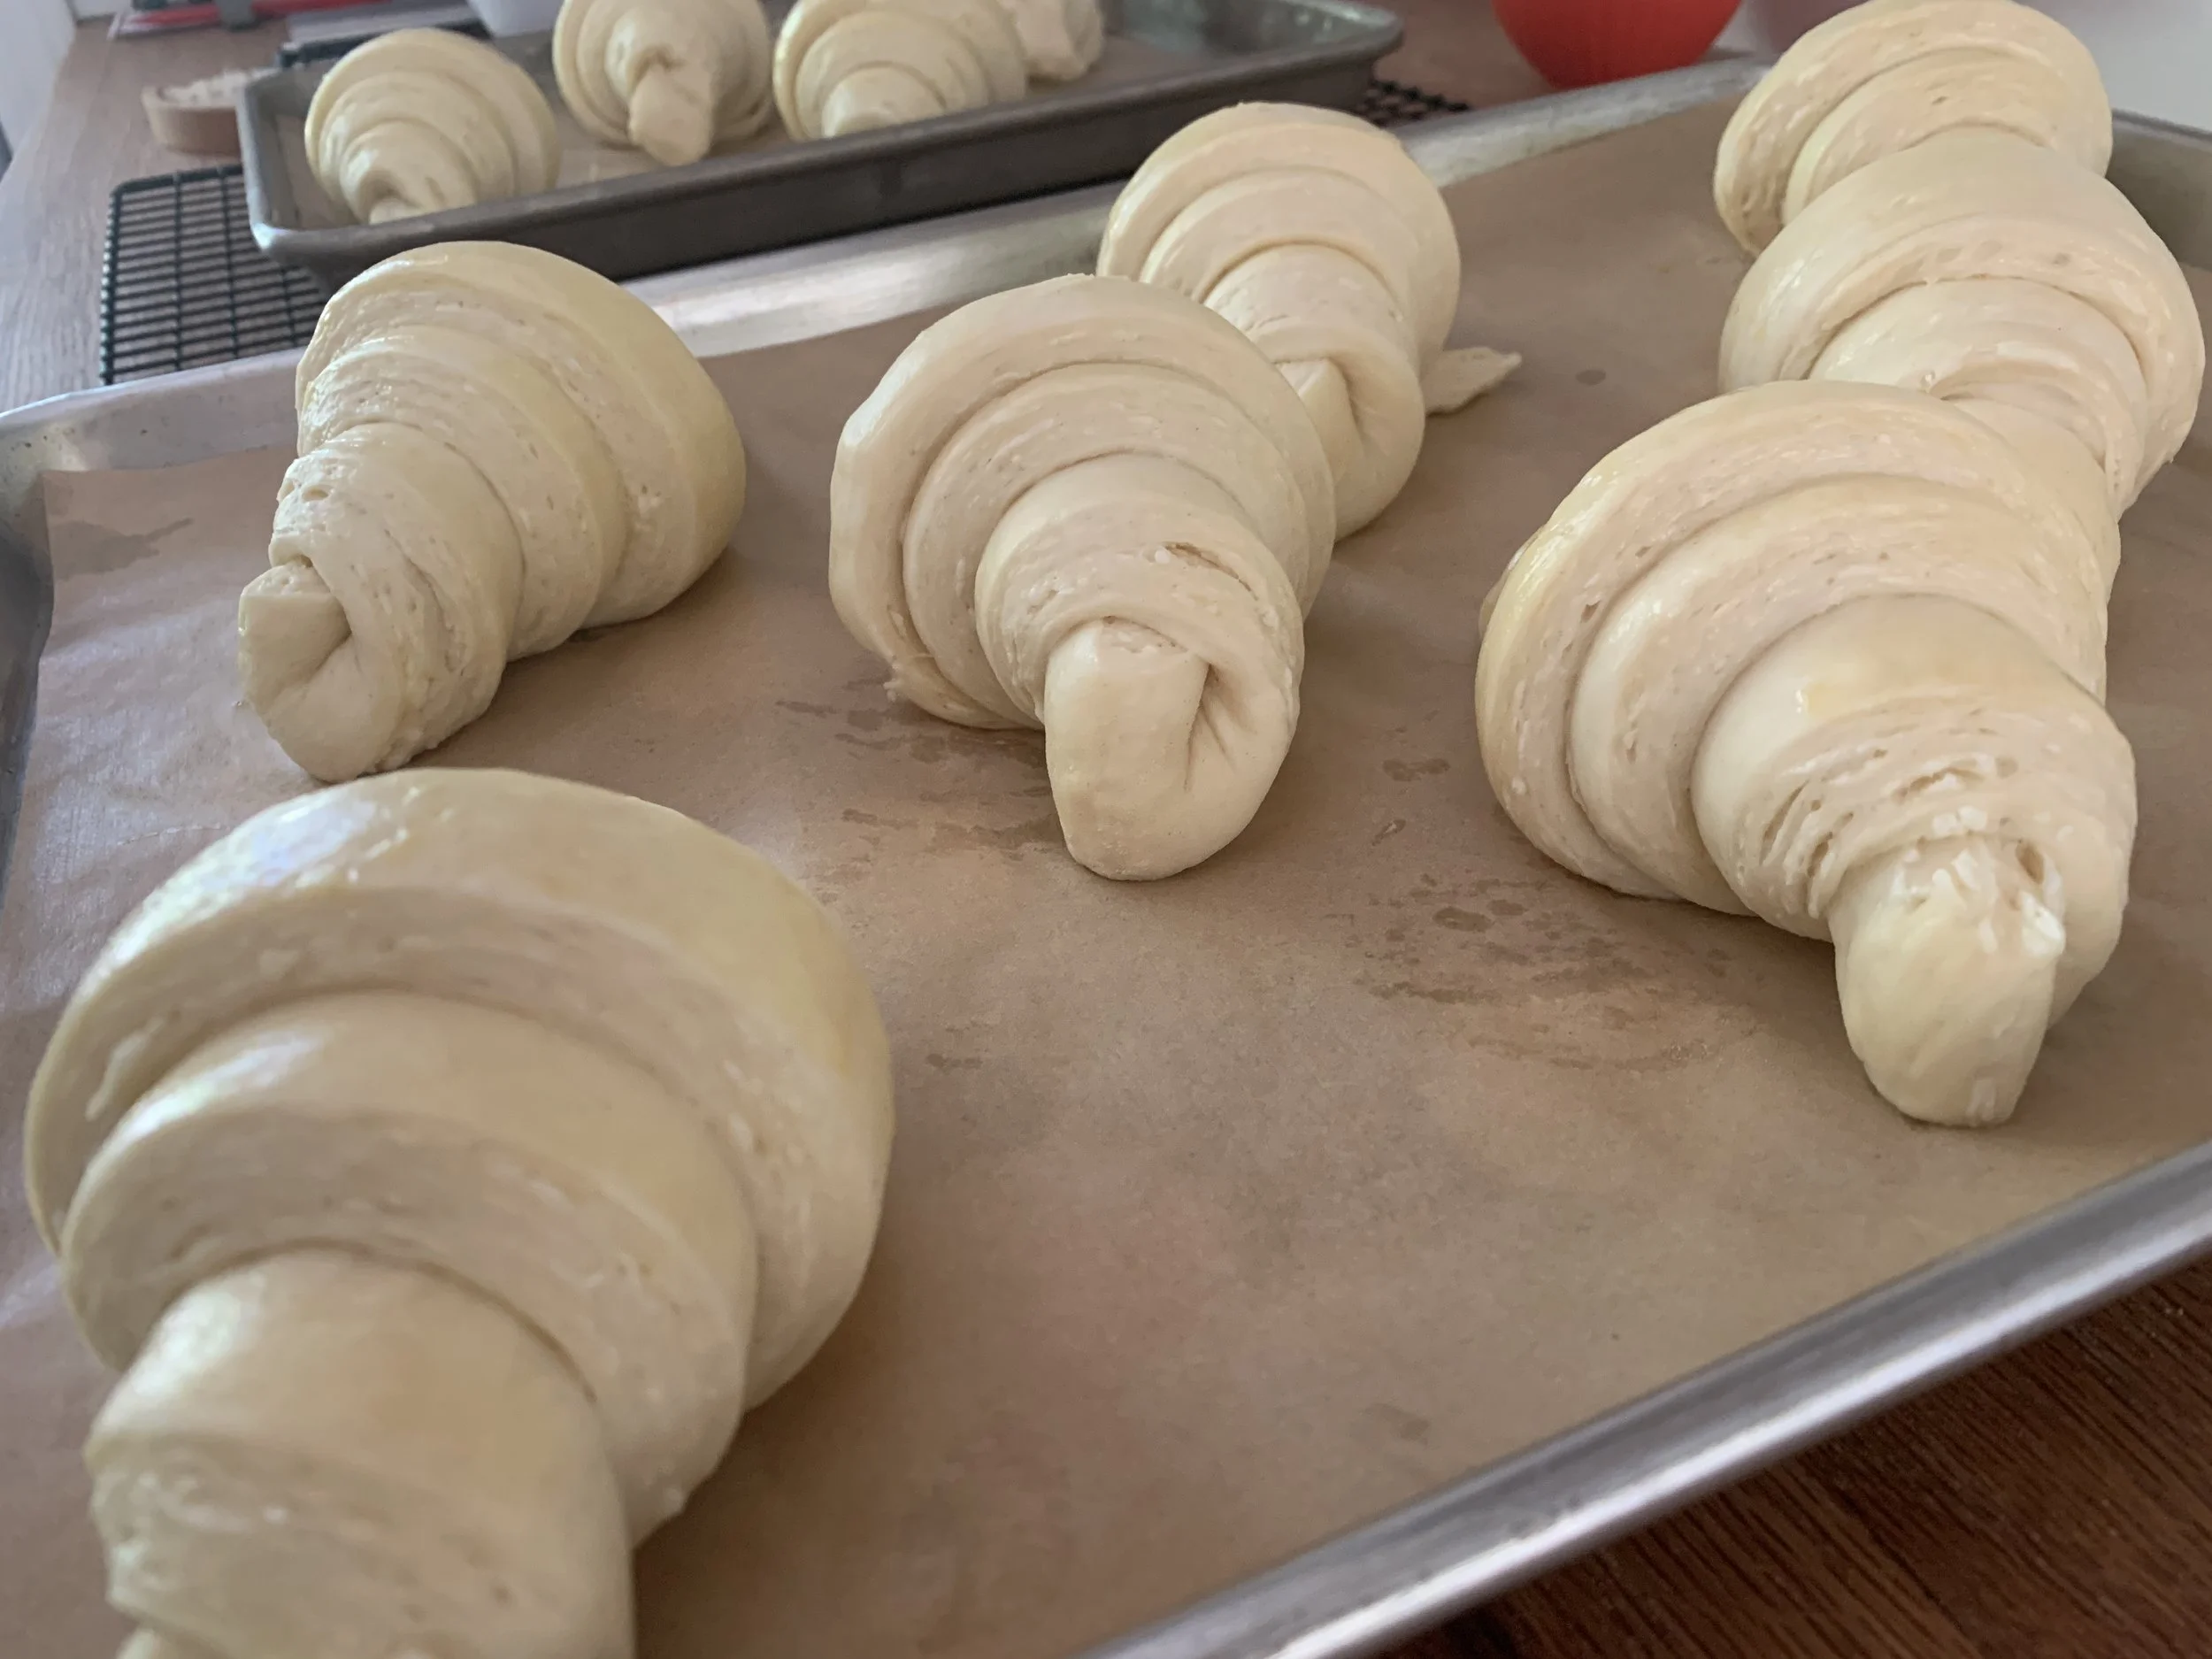
In spite of the heat, we did have a day (or two) that actually lent itself to croissant making. I was prepping for a private croissant class with a soon-to-be junior in high school who has her sights set (possibly!) on pastry school. I hadn’t baked croissants for some months and it felt good to get the feel once more for the process of the beurrage and laminations. Here they are all proofed - check out those layers!

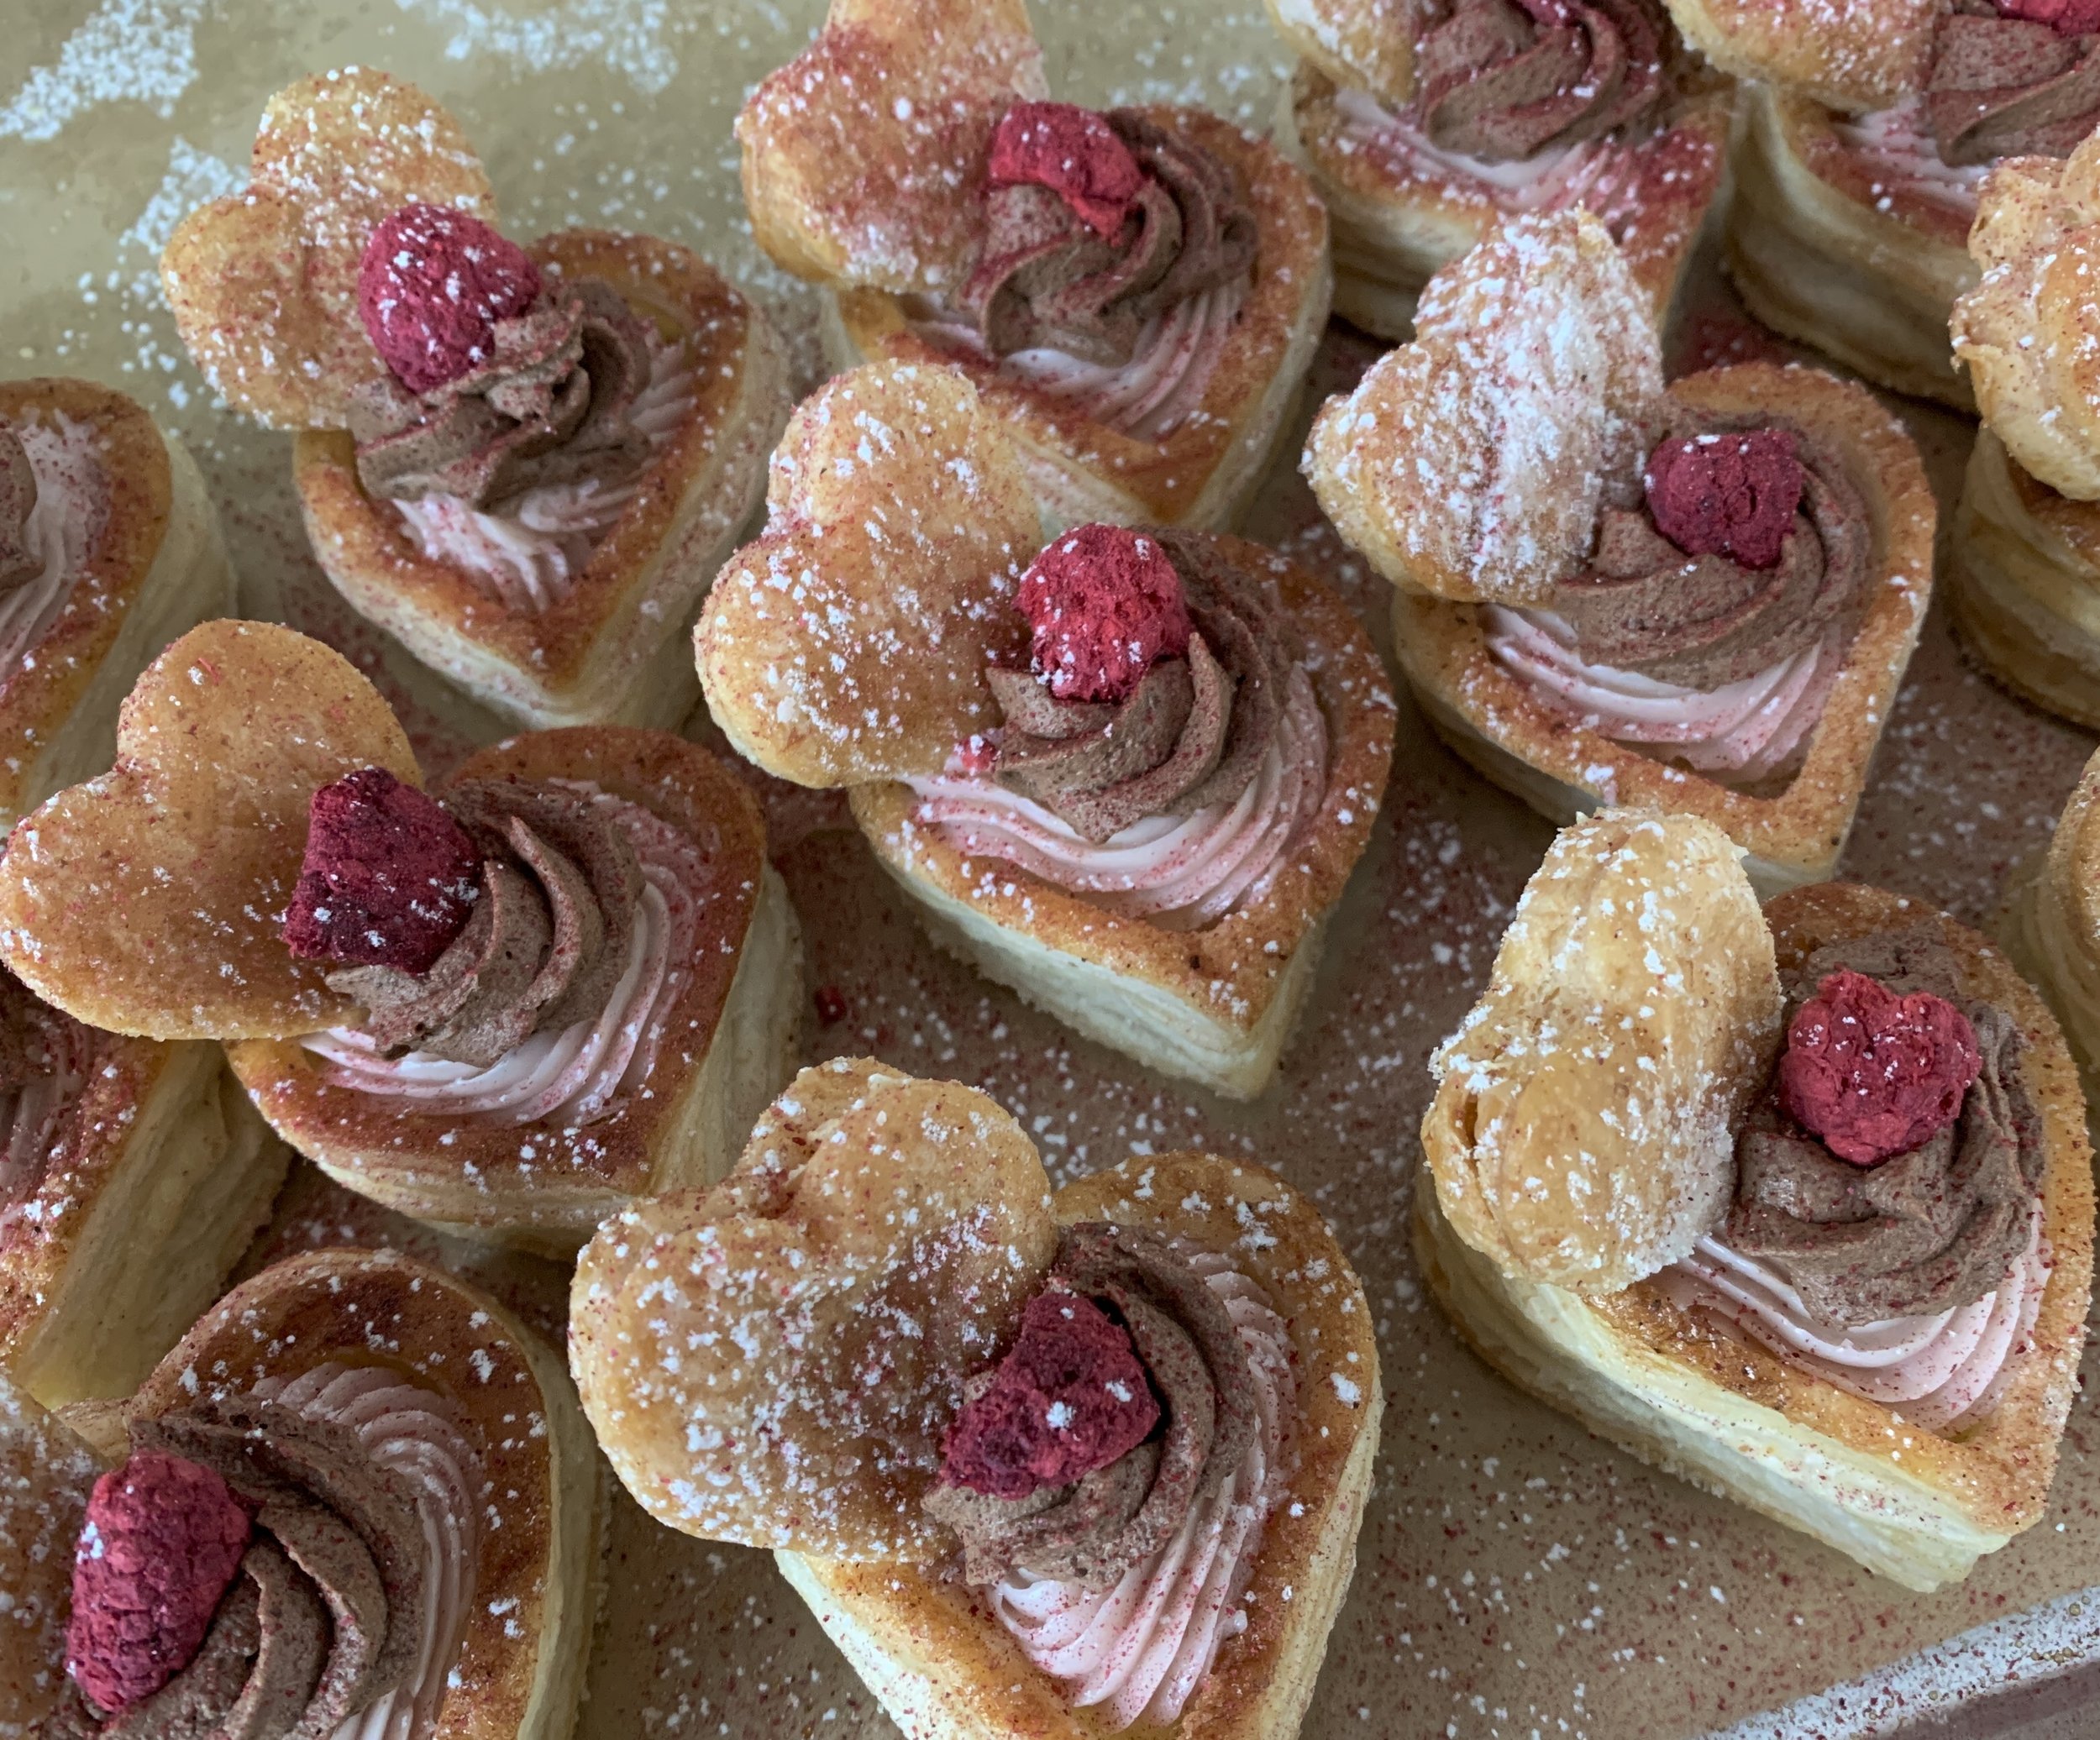
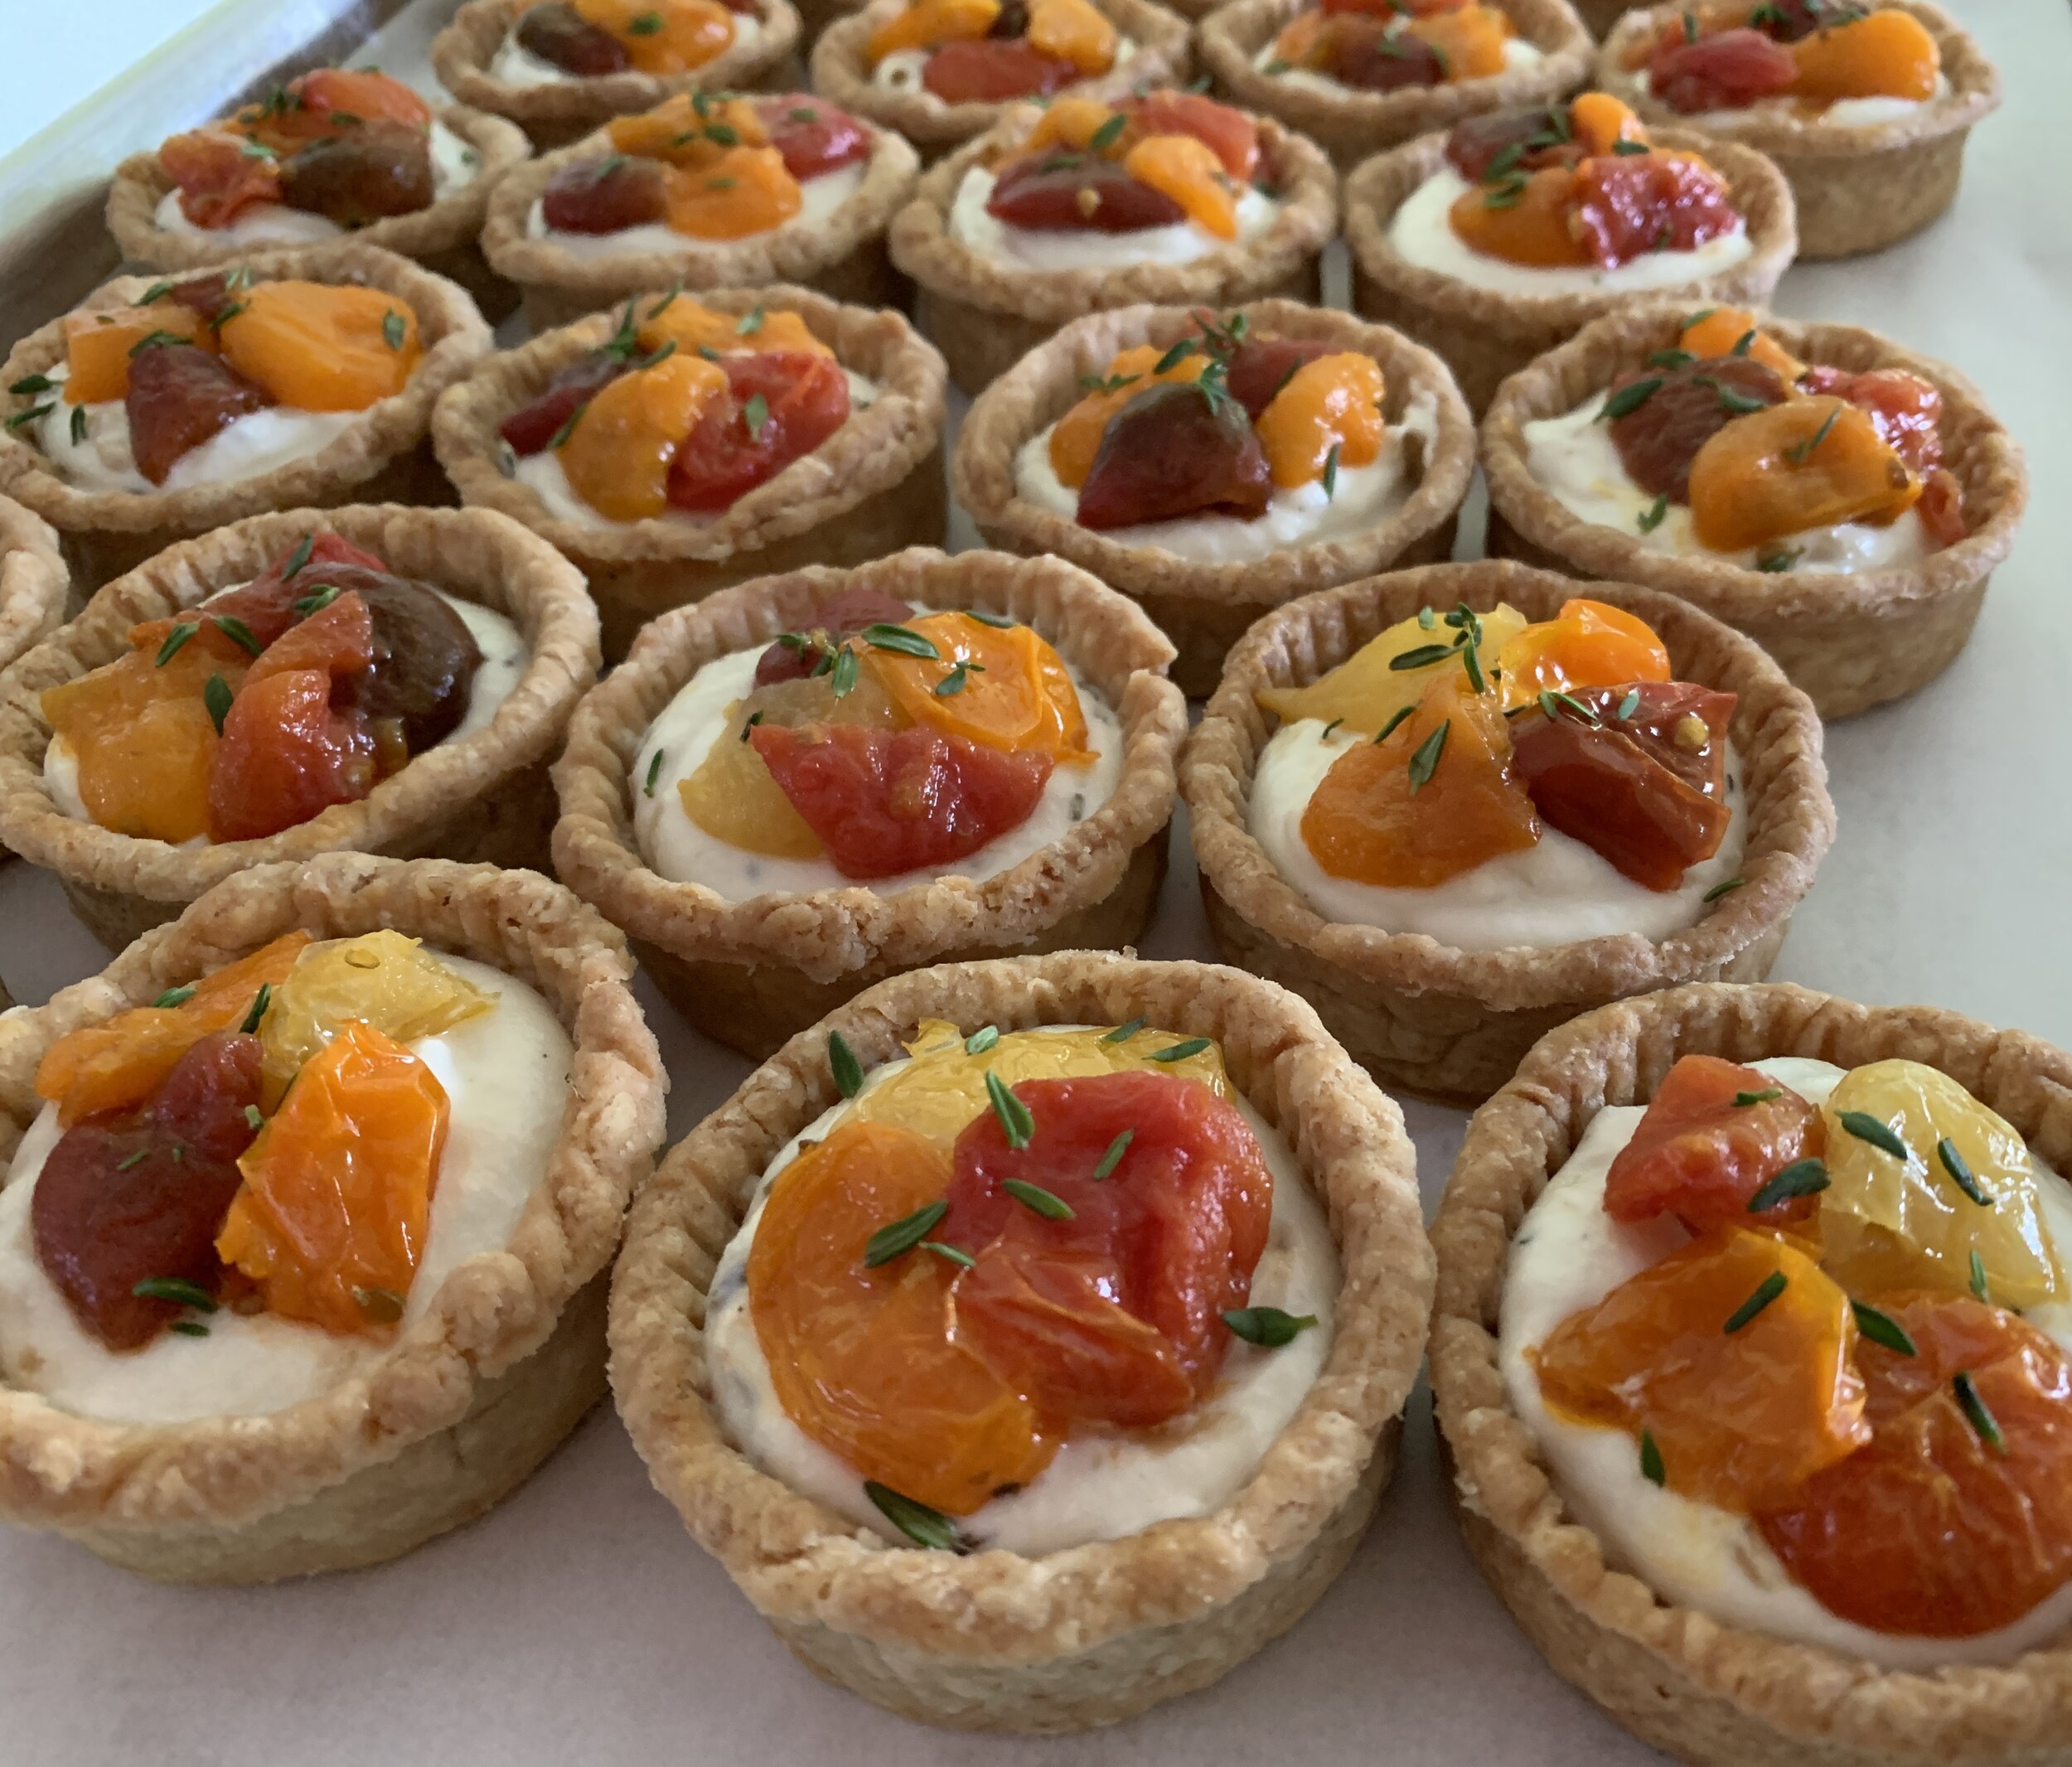
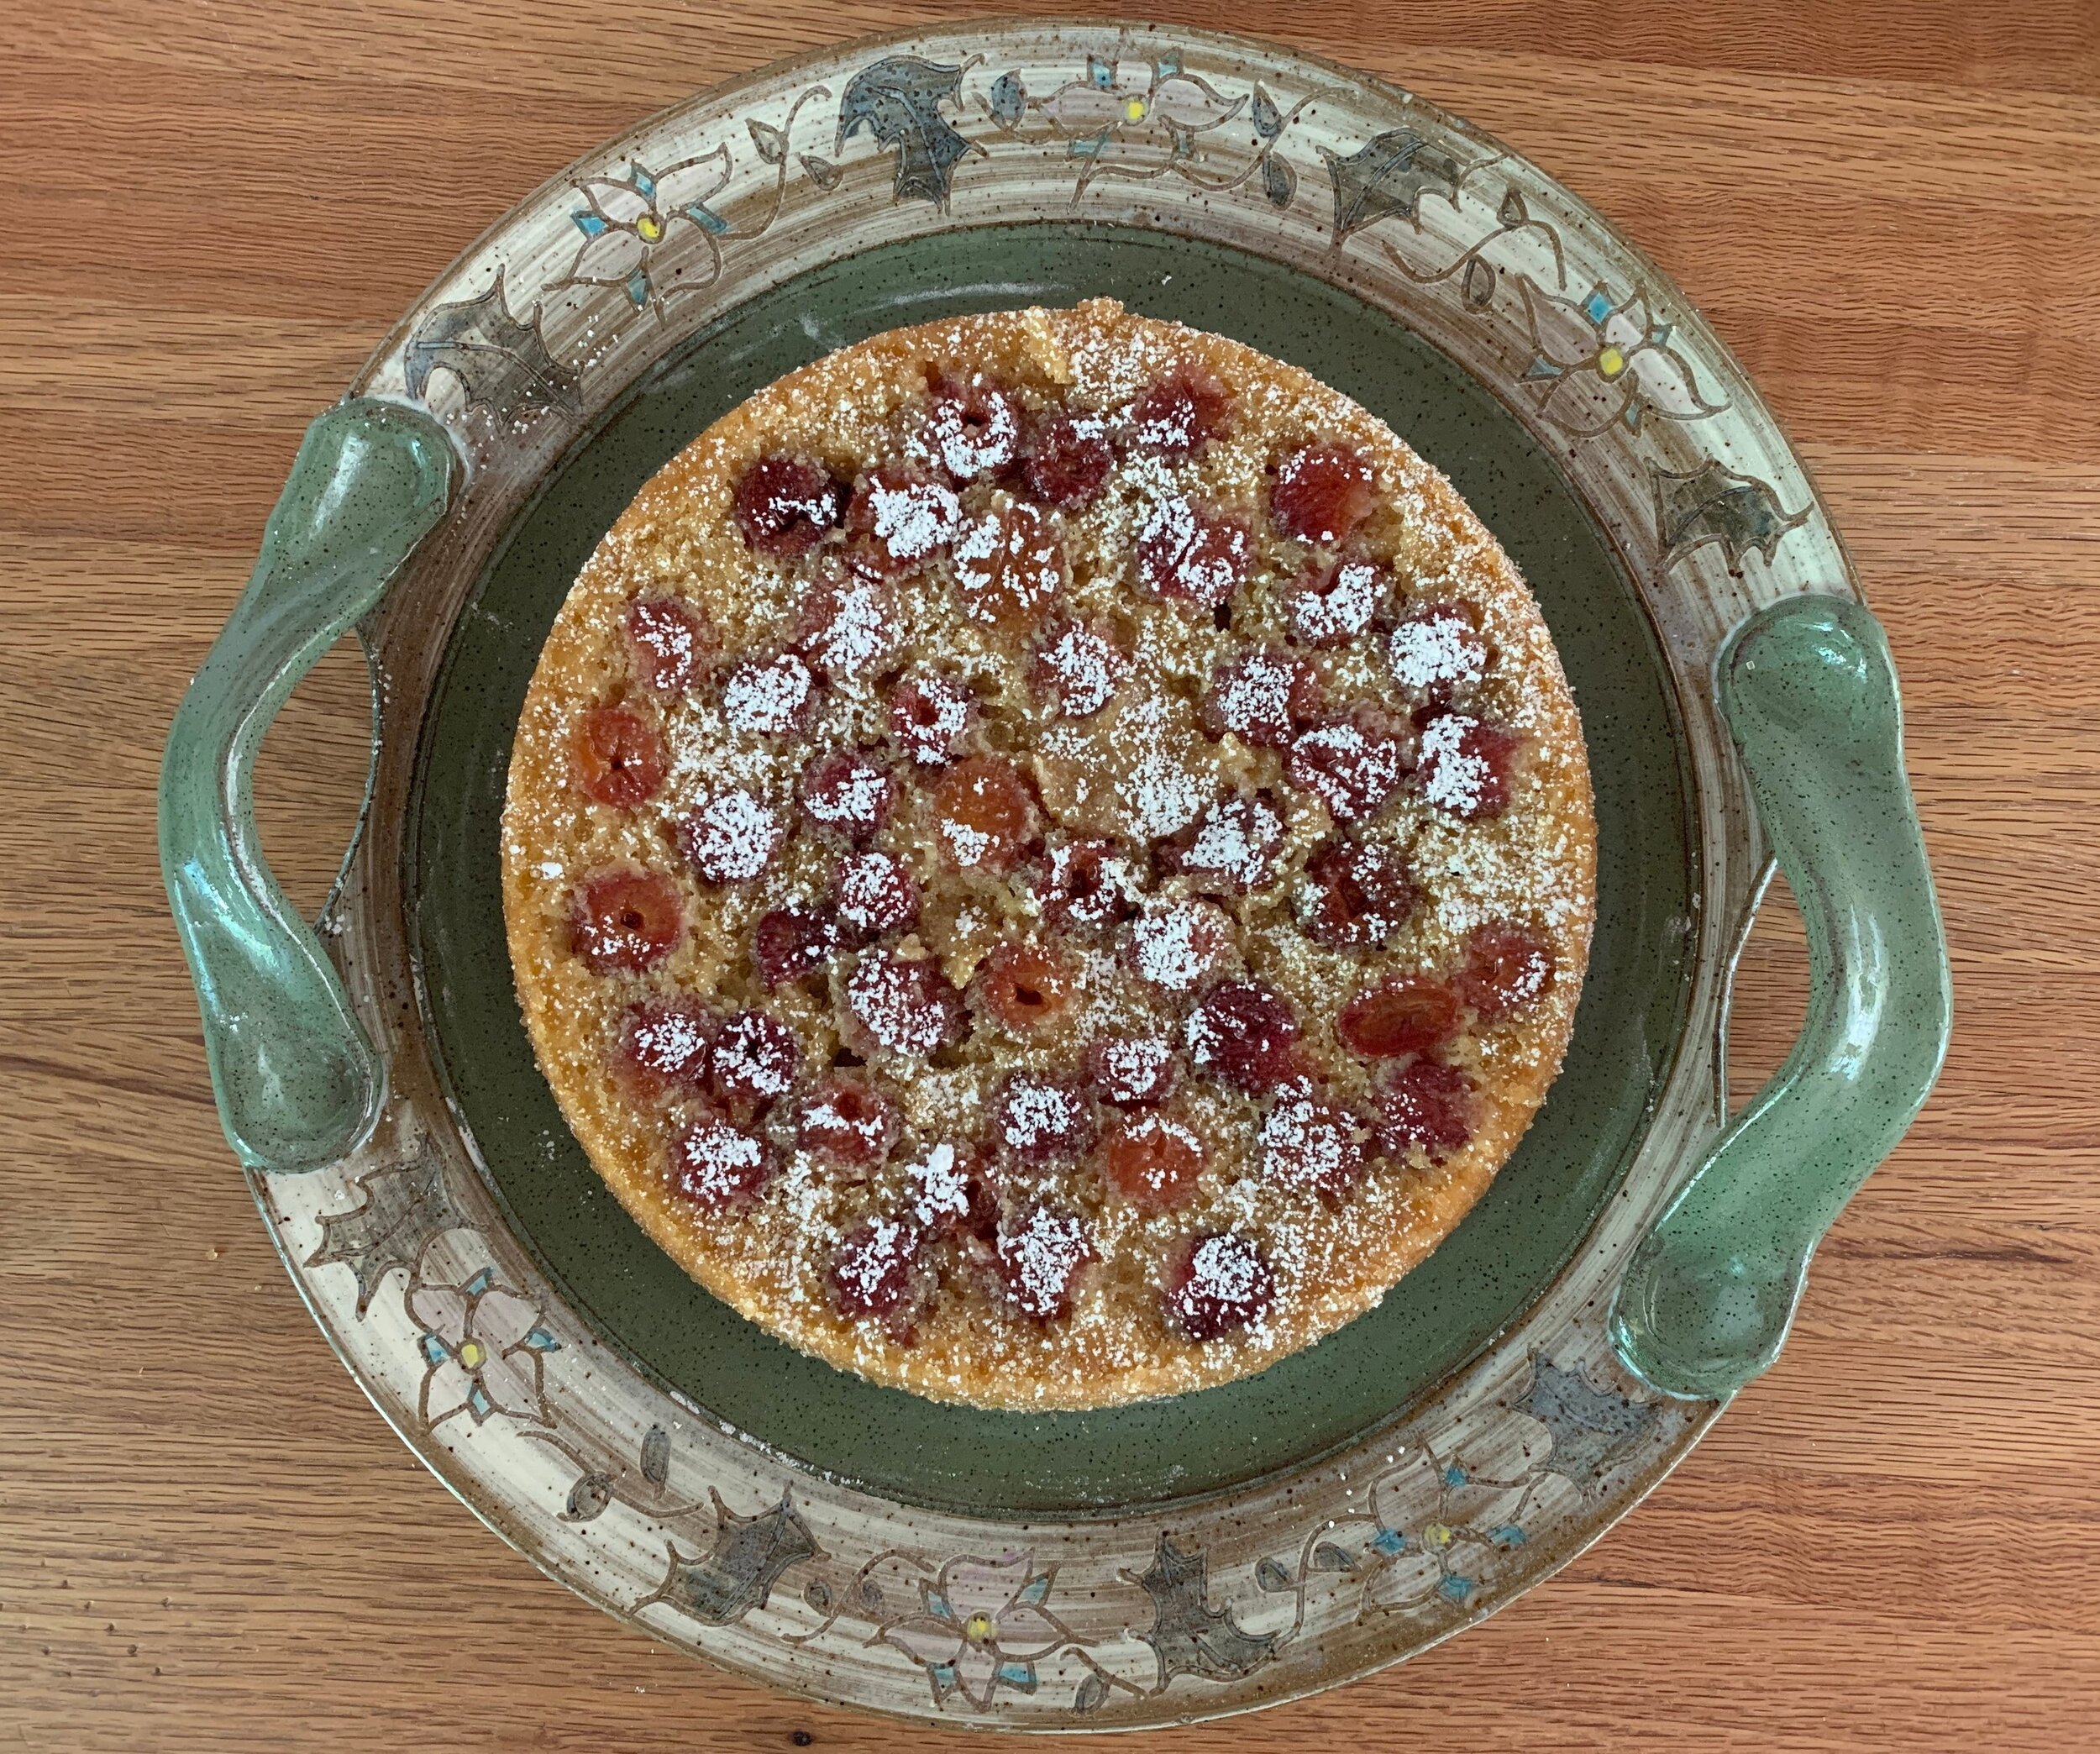
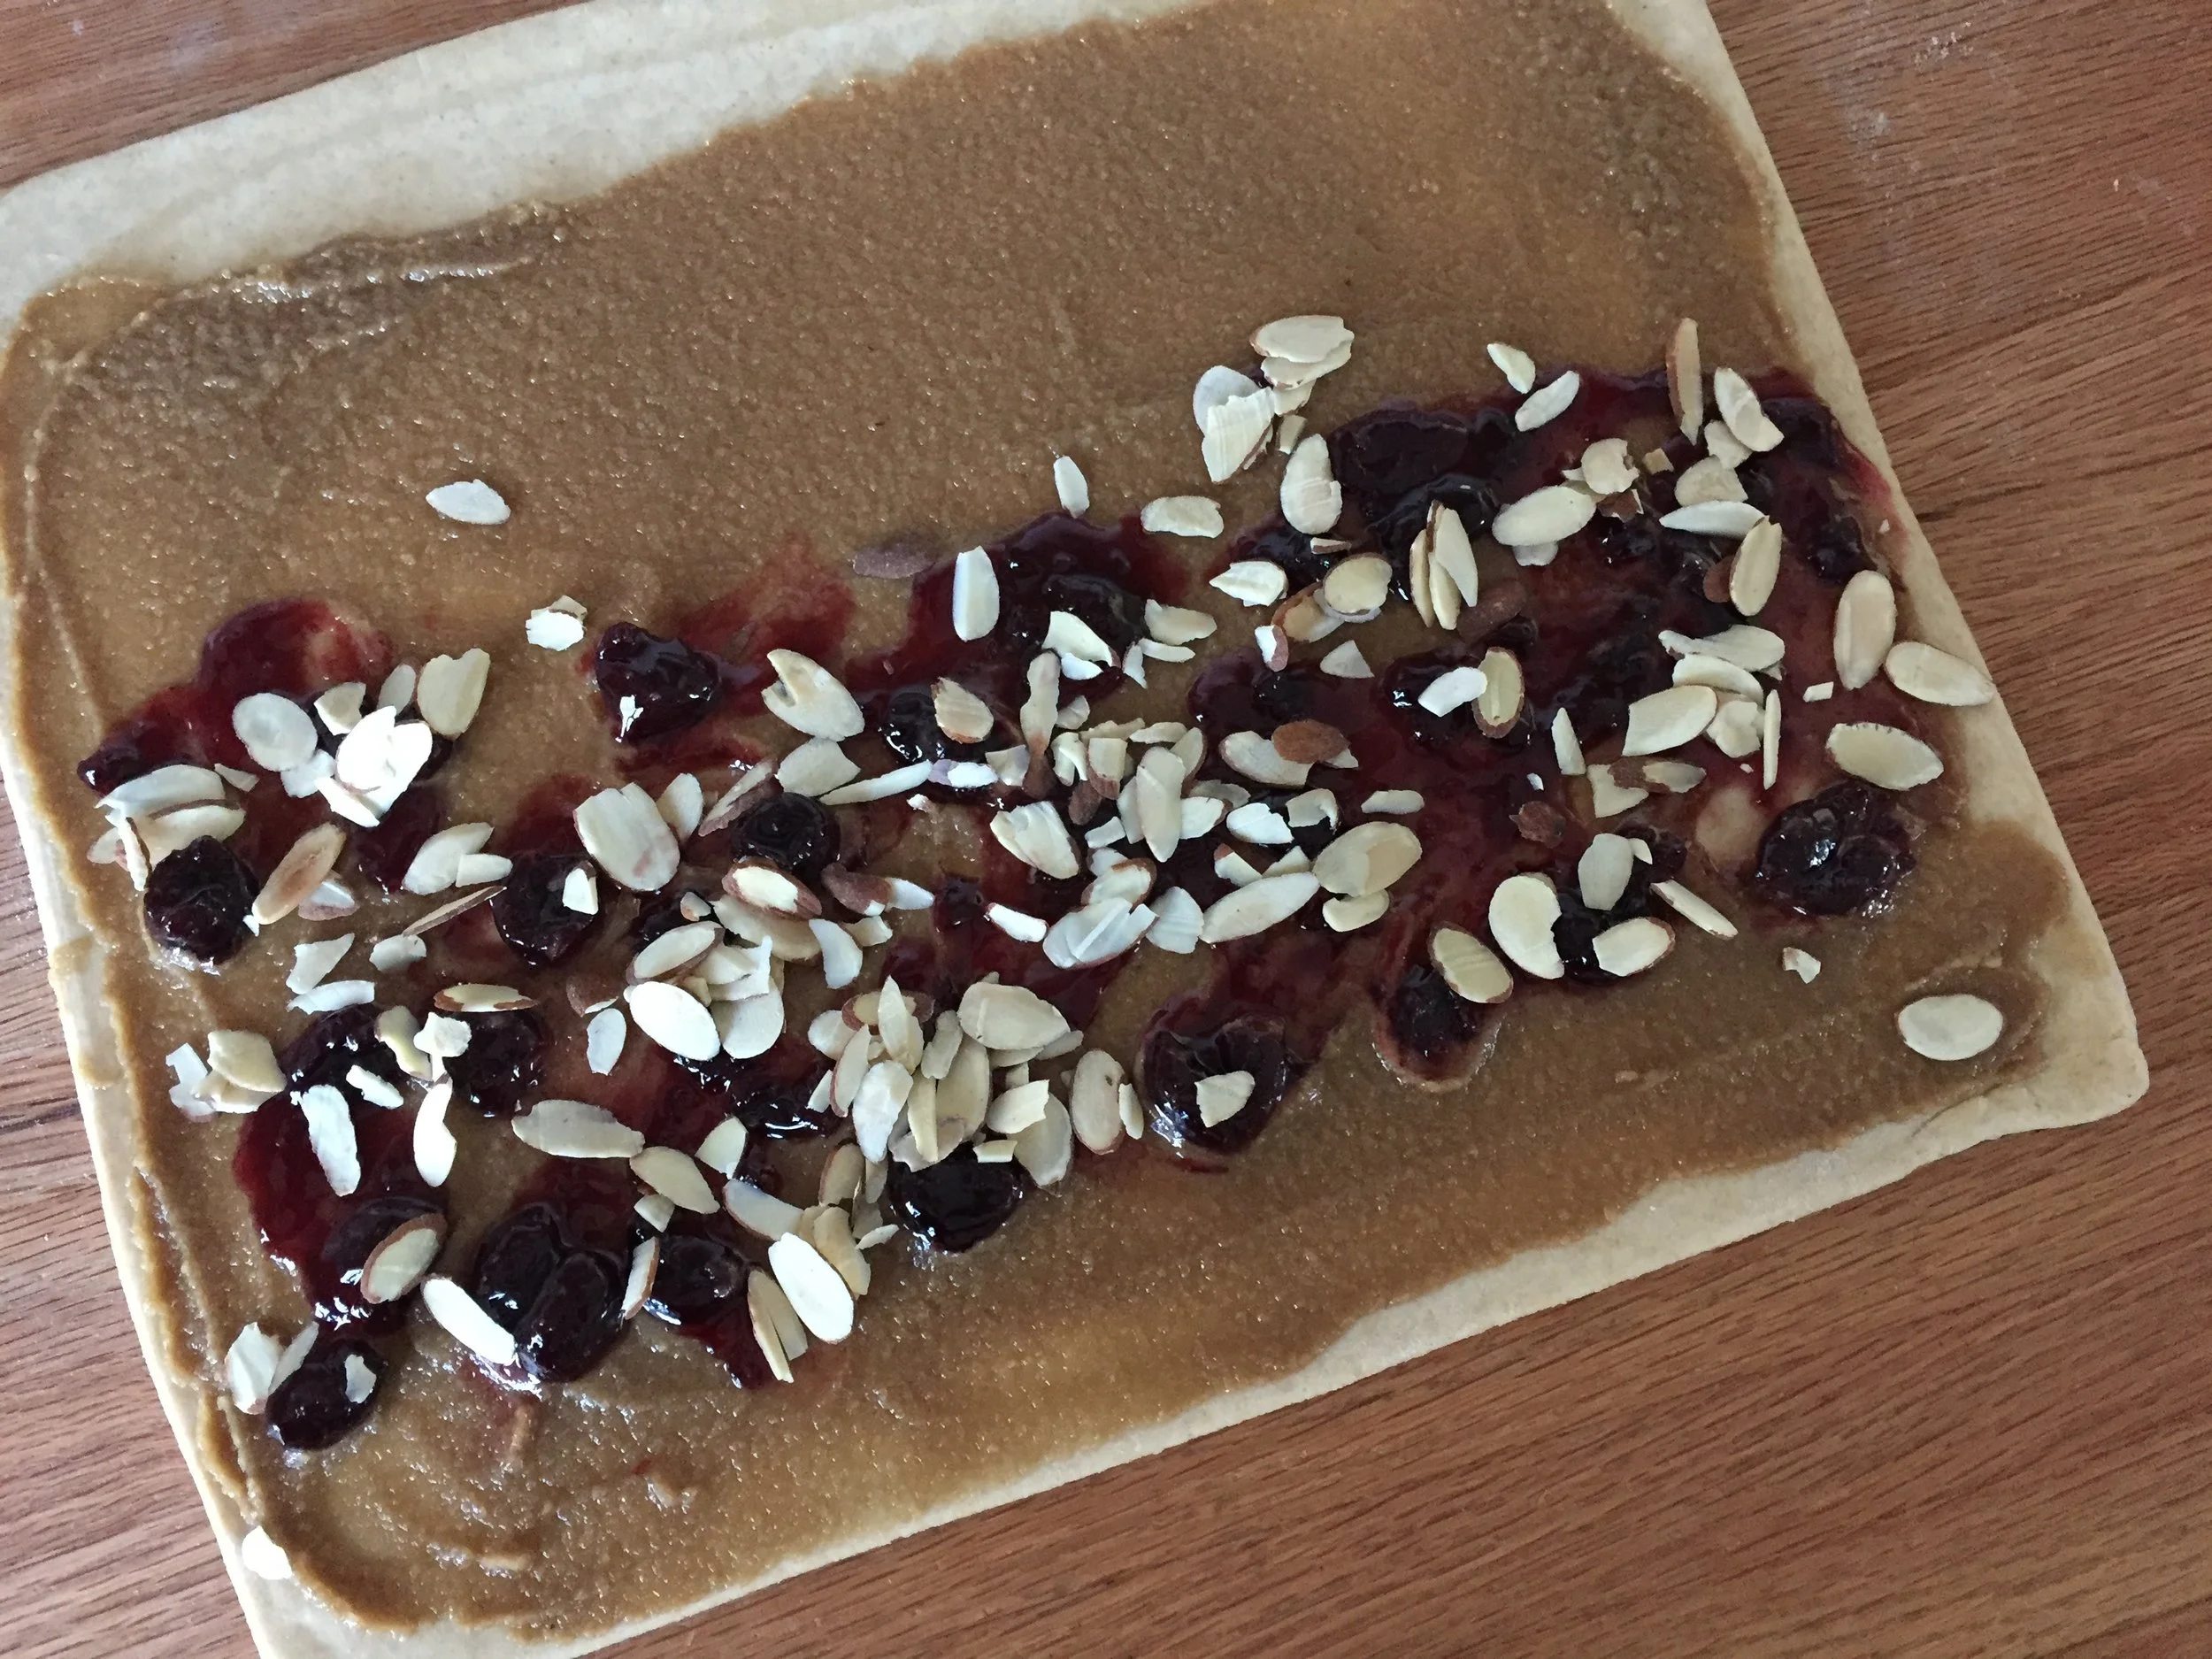
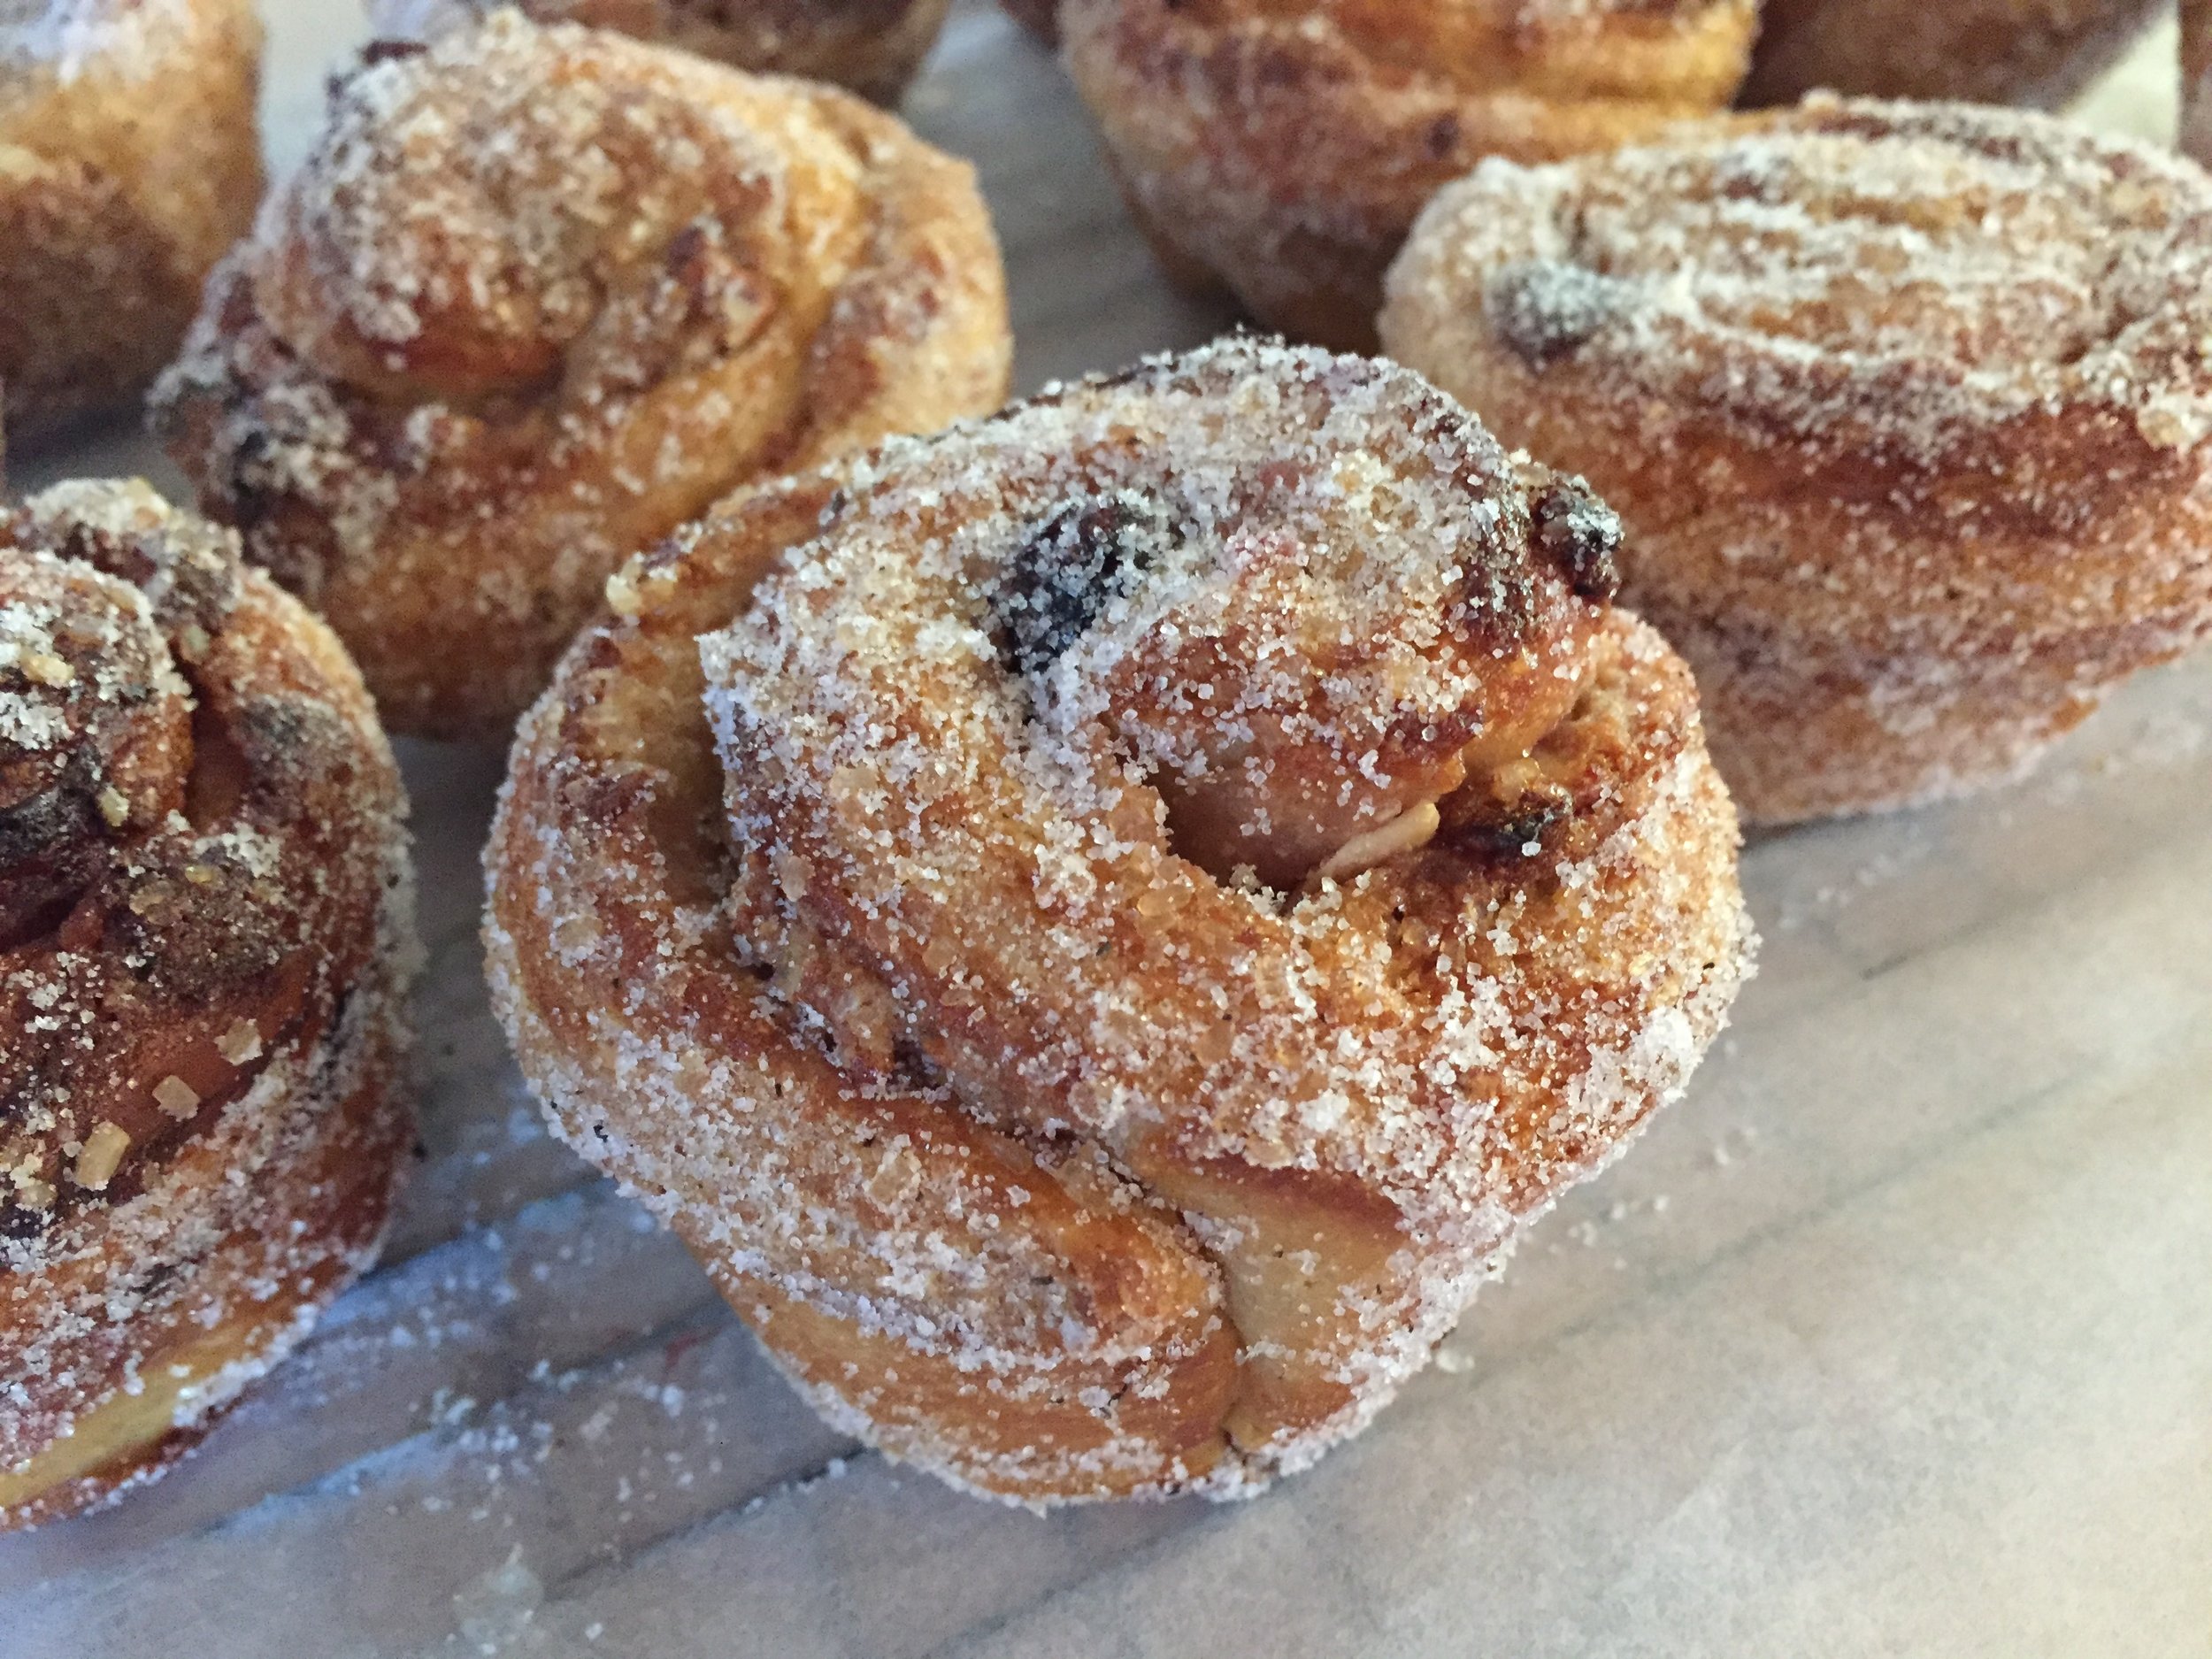
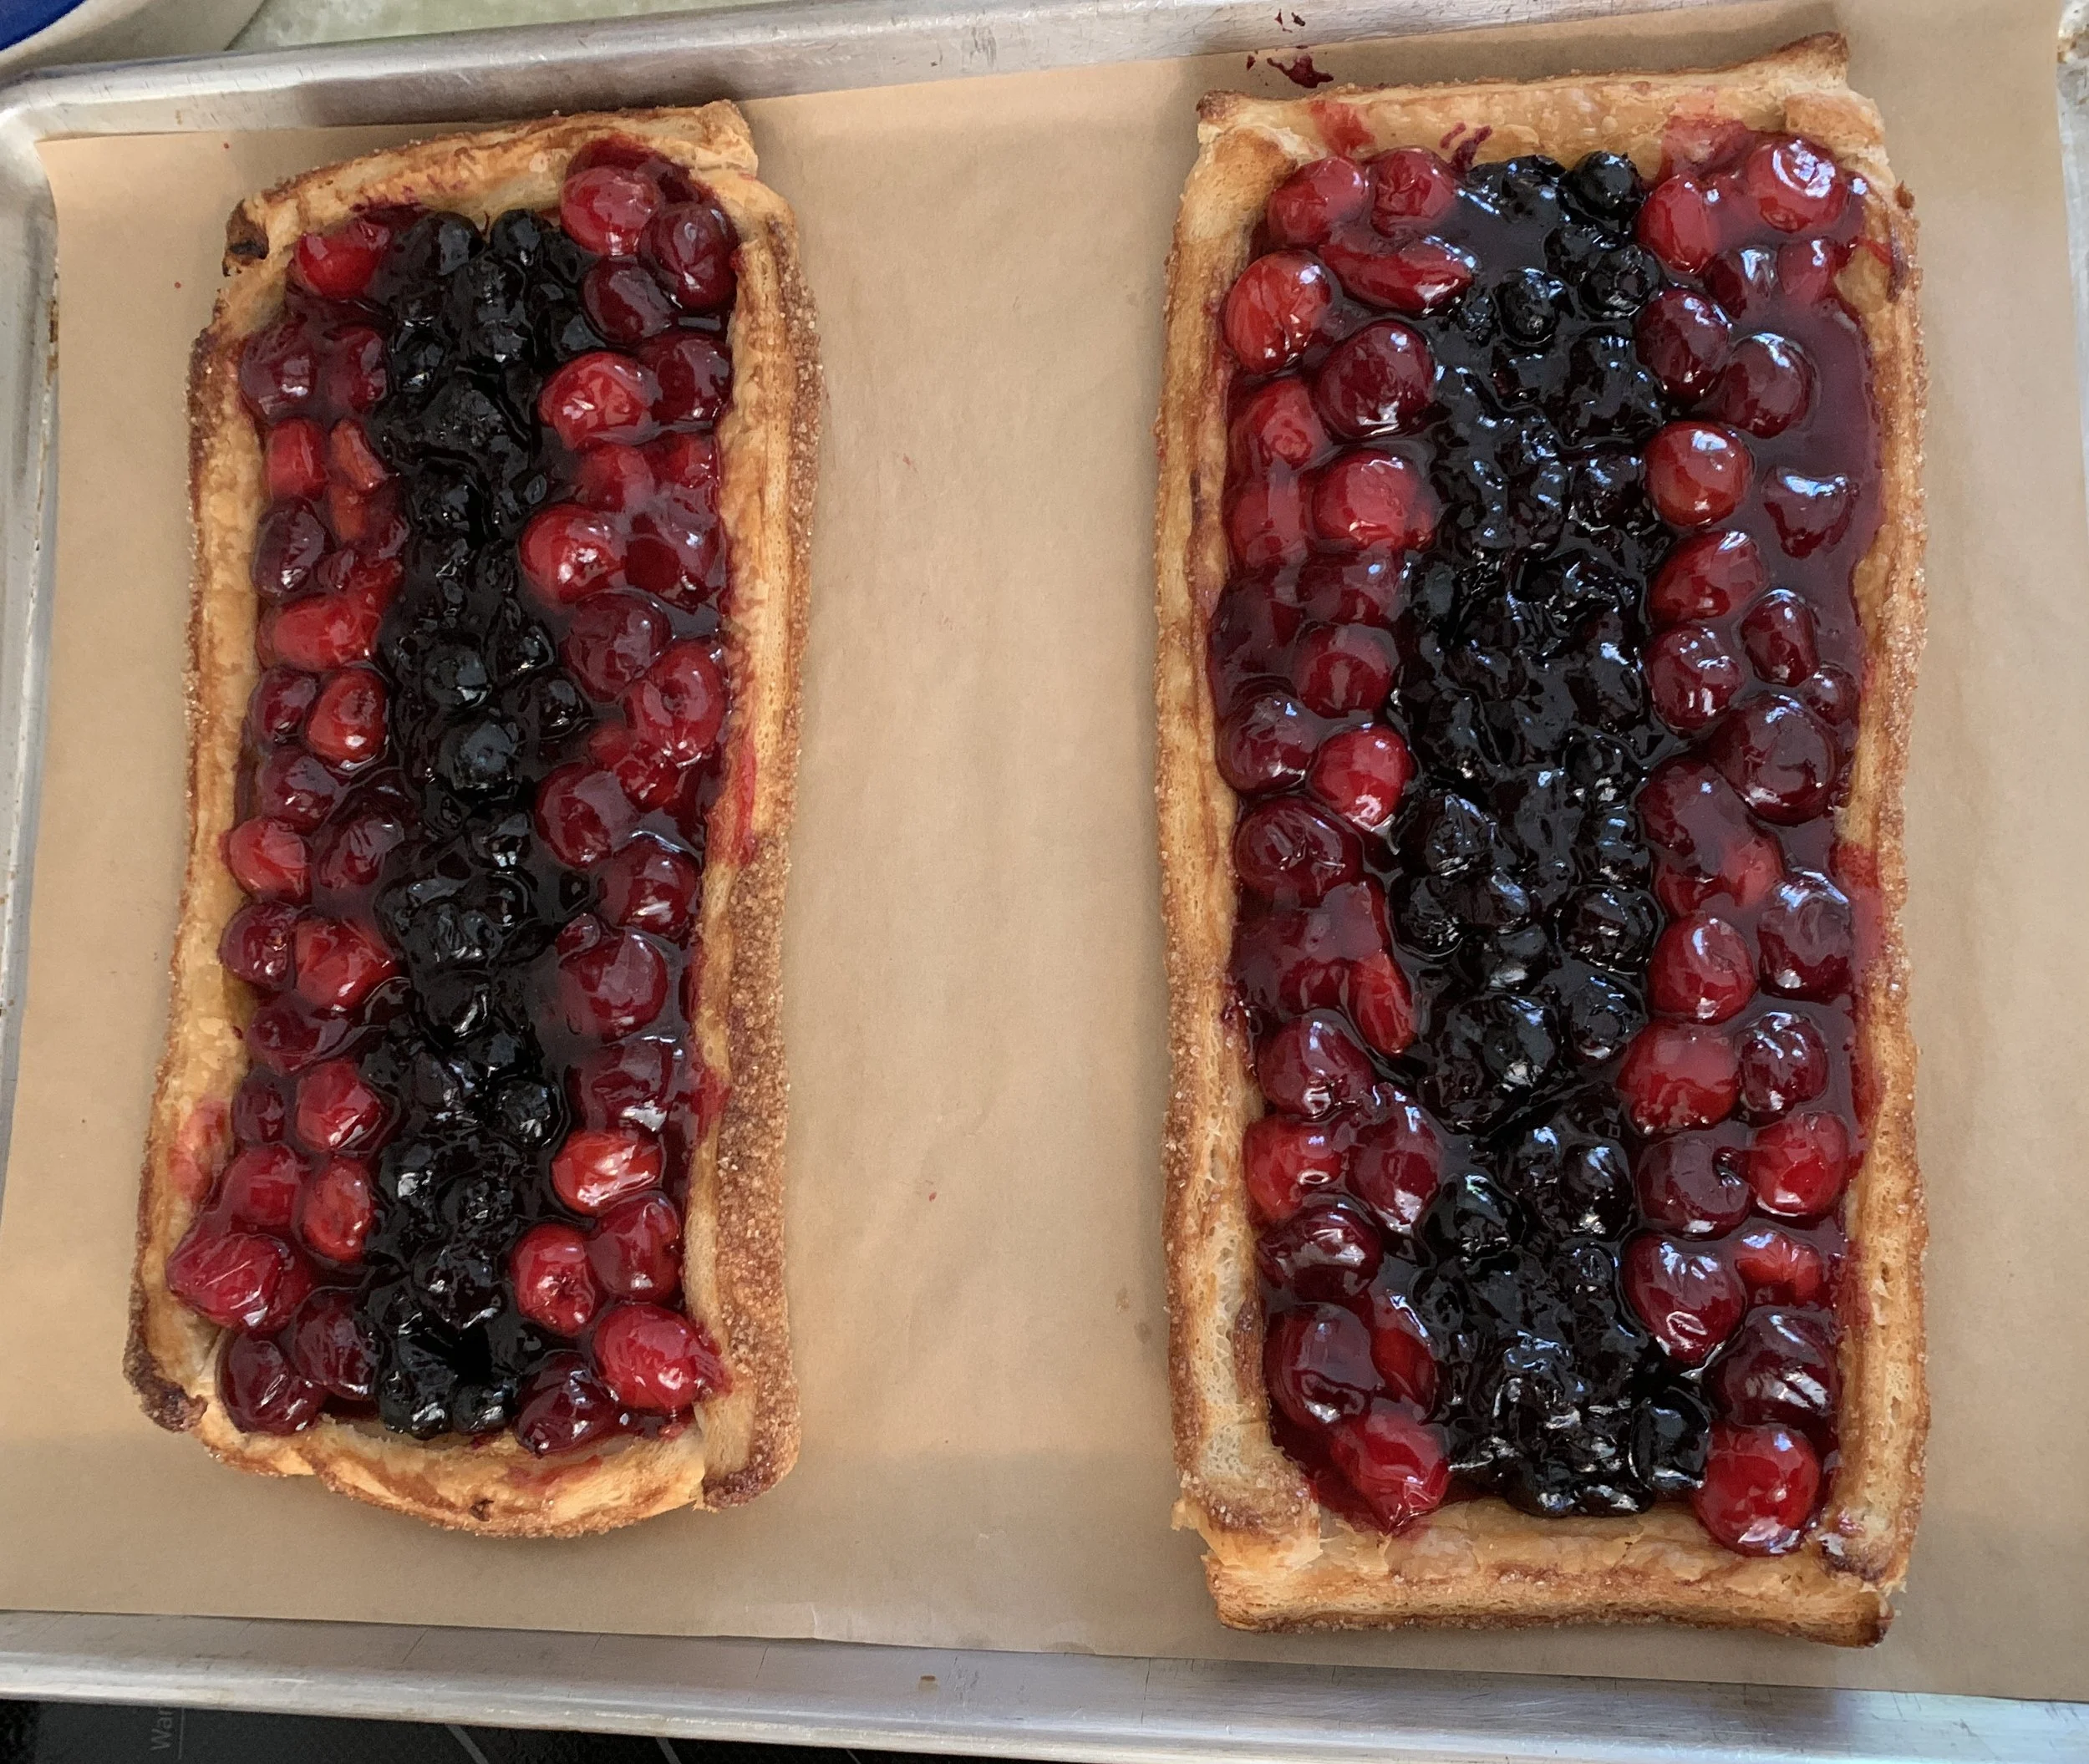
For a recent group dinner with some of our exercise buddies, Steve made a load of delicious panko crusted chicken tenders with roasted little potatoes. Host Shirley provided appetizers and made a lovely fresh green bean salad. I went with freeform cherry/berry puff tartes. Michigan tart cherries are available and blueberries are coming fast and furious. I love using the fruits when fresh but have also been getting freezer stock ready for autumn and winter projects.
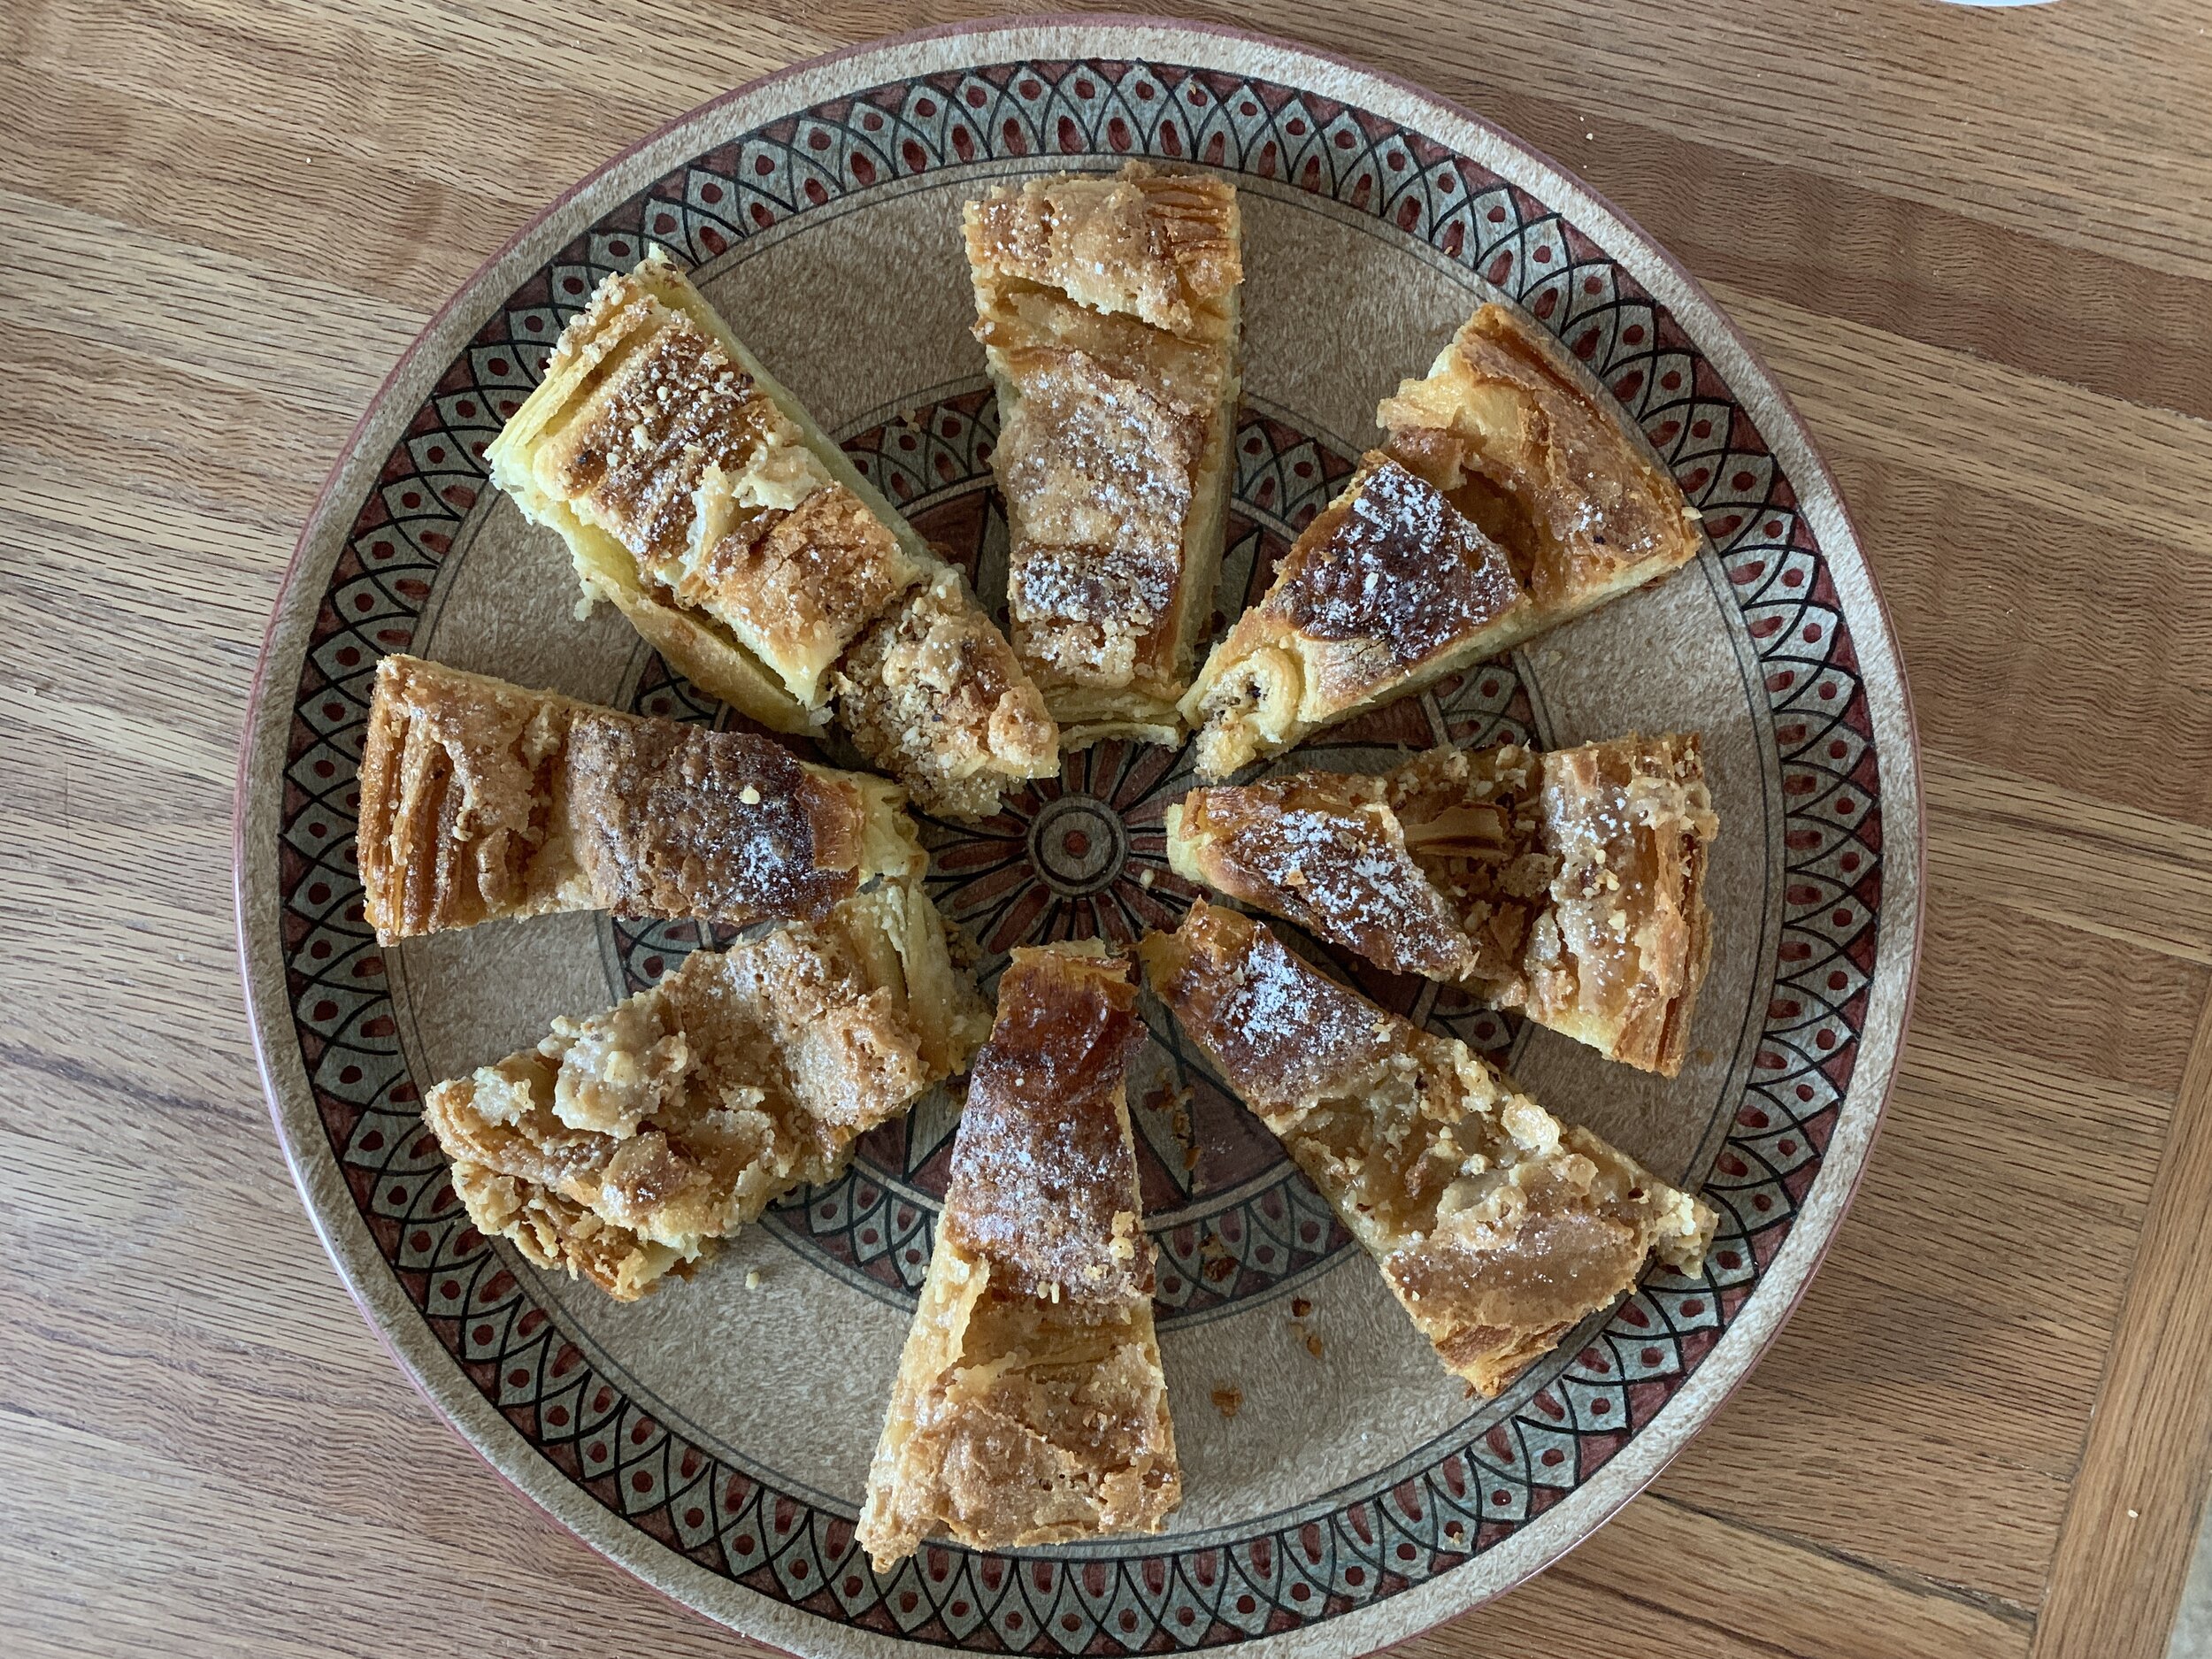
I rolled out two 1/4 batches of puff (~300 g), using my 4”x11” tart form as a guide. I trimmed the edges away leaving a border outside the form to build up the edges. I saved the scraps to bake separately for my top decor. A slit at each corner allowed me to turn the edges over to create a thicker border.
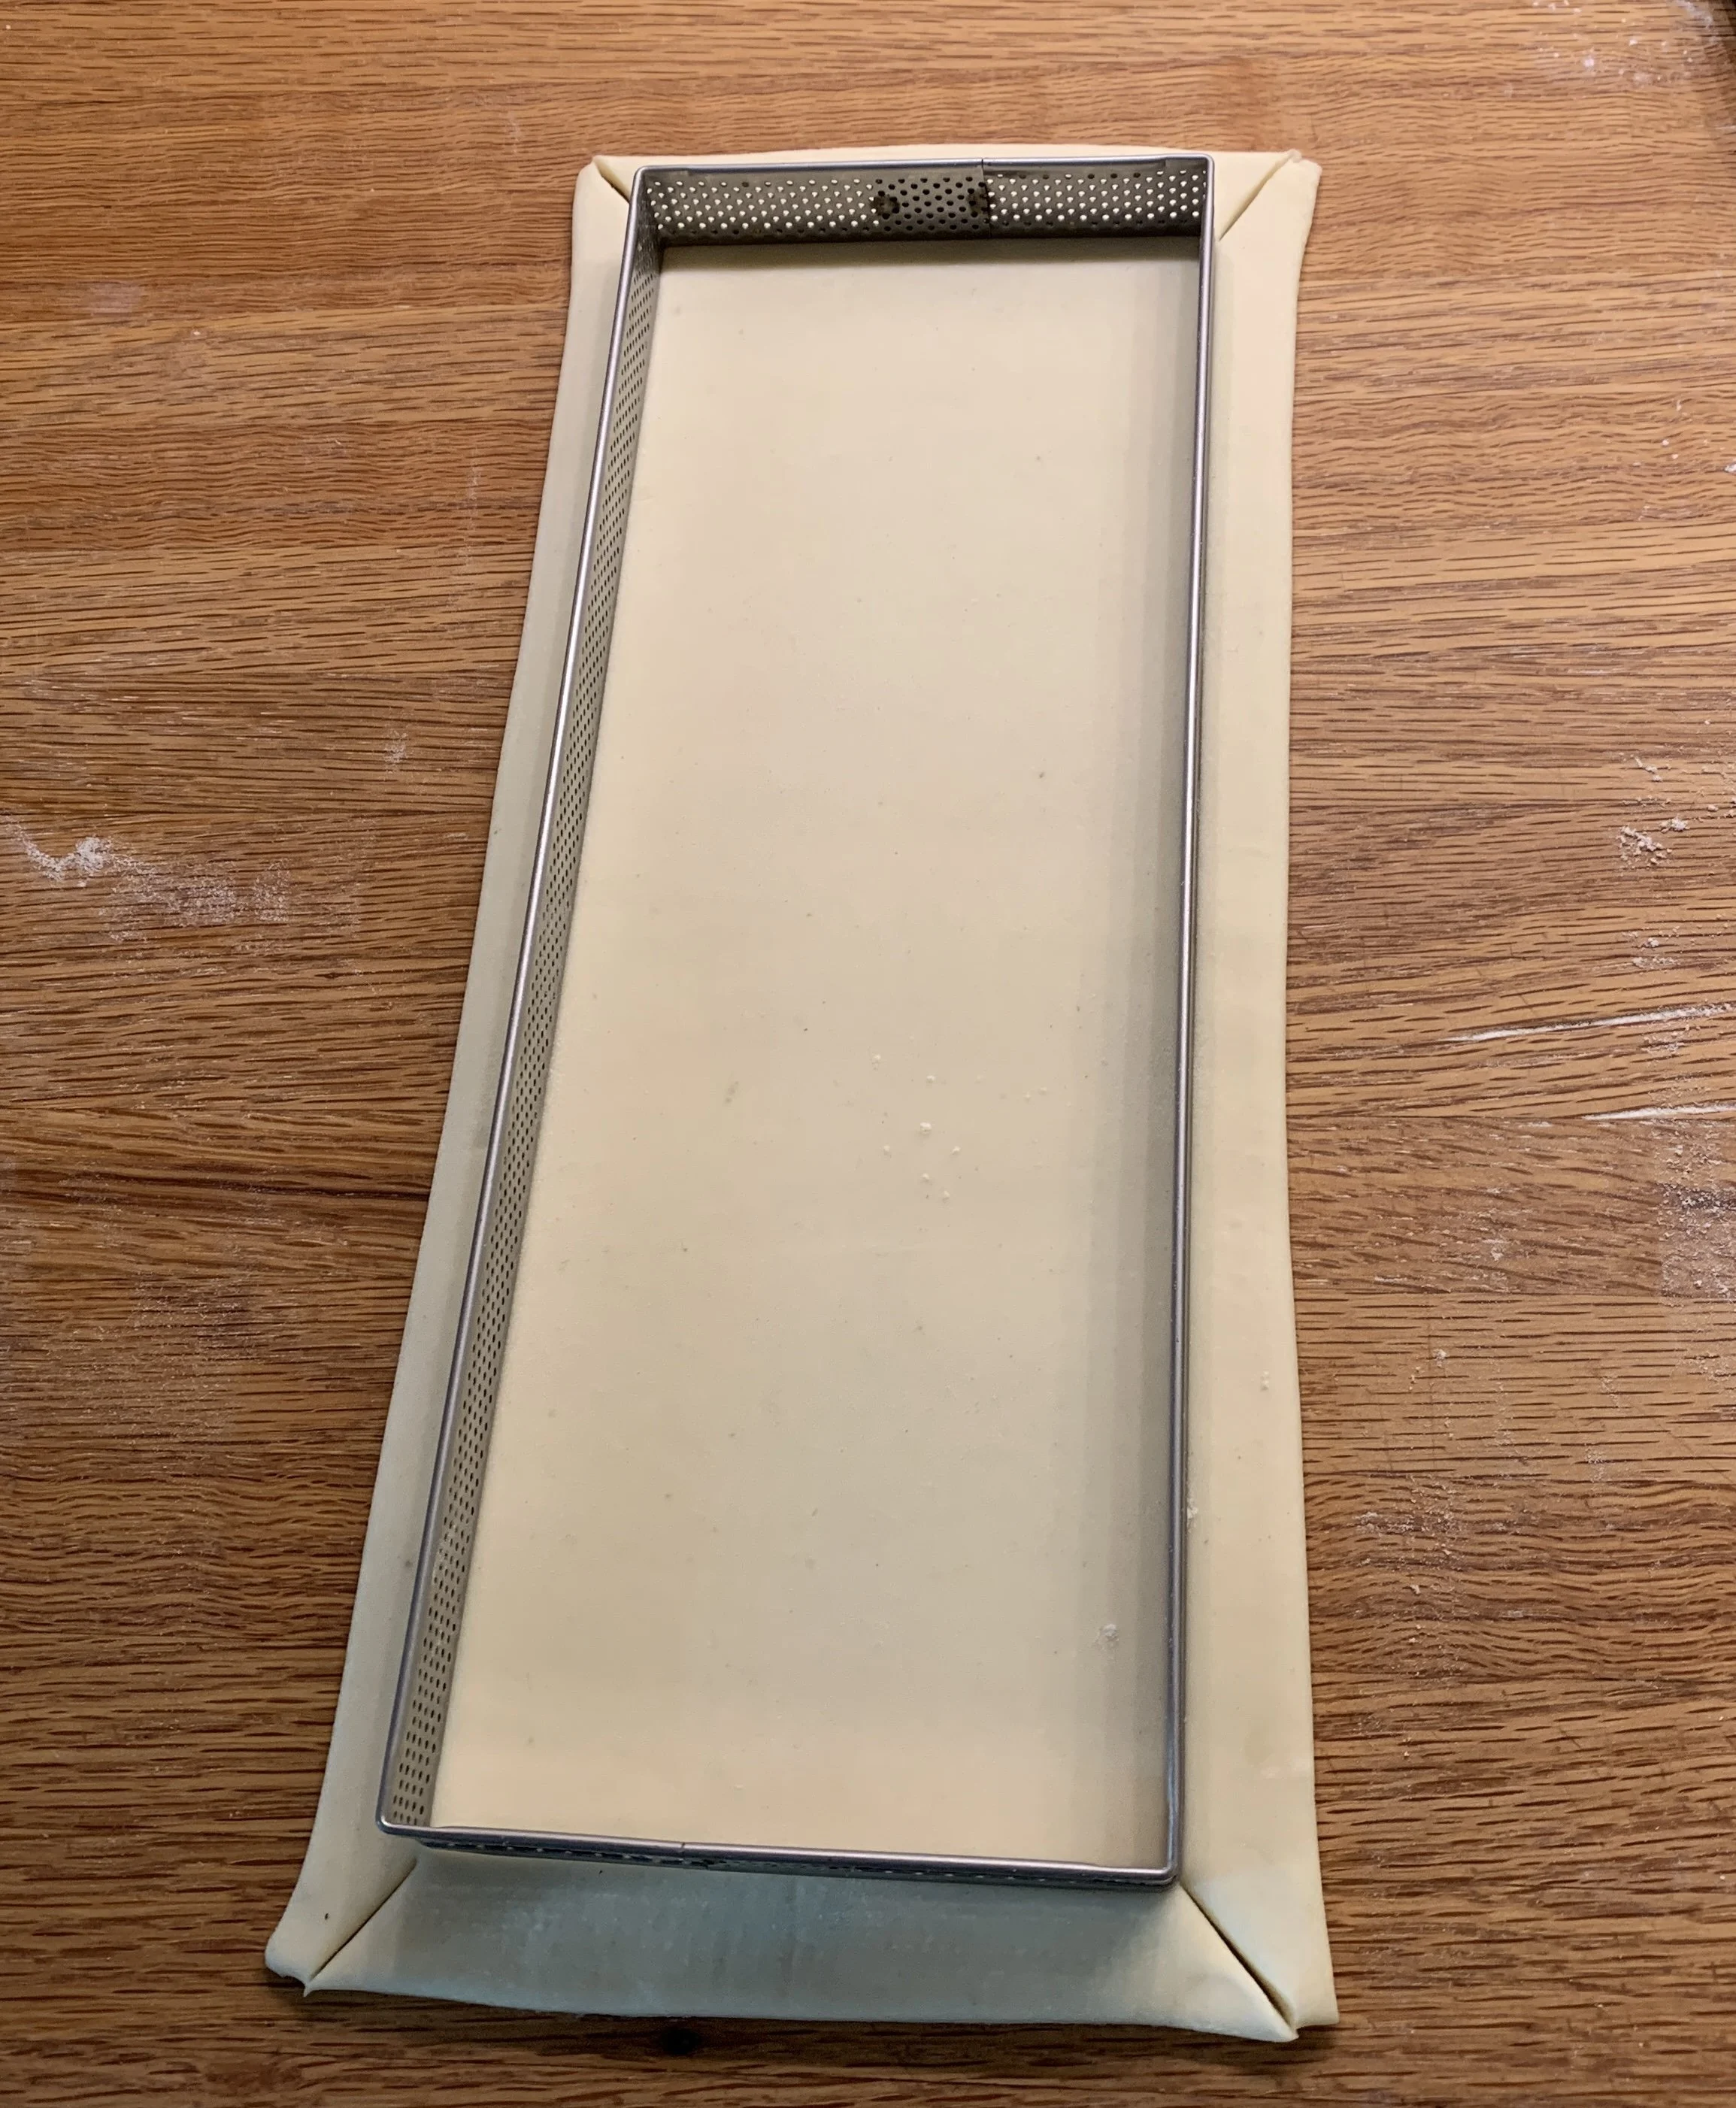
After lifting the form out of the way, press down the turned in edges to create the rim. Then score lightly with a paring knife just inside the inner edges. This gives you some demarcation when baking and subsequently filling. Prick all over with a fork. I lightly brushed the puff with milk and sprinkled raw/golden cane sugar mix all over. I hold the puff in the freezer as my oven heats to 400º (remember - cold dough into hot oven - better puffing!)

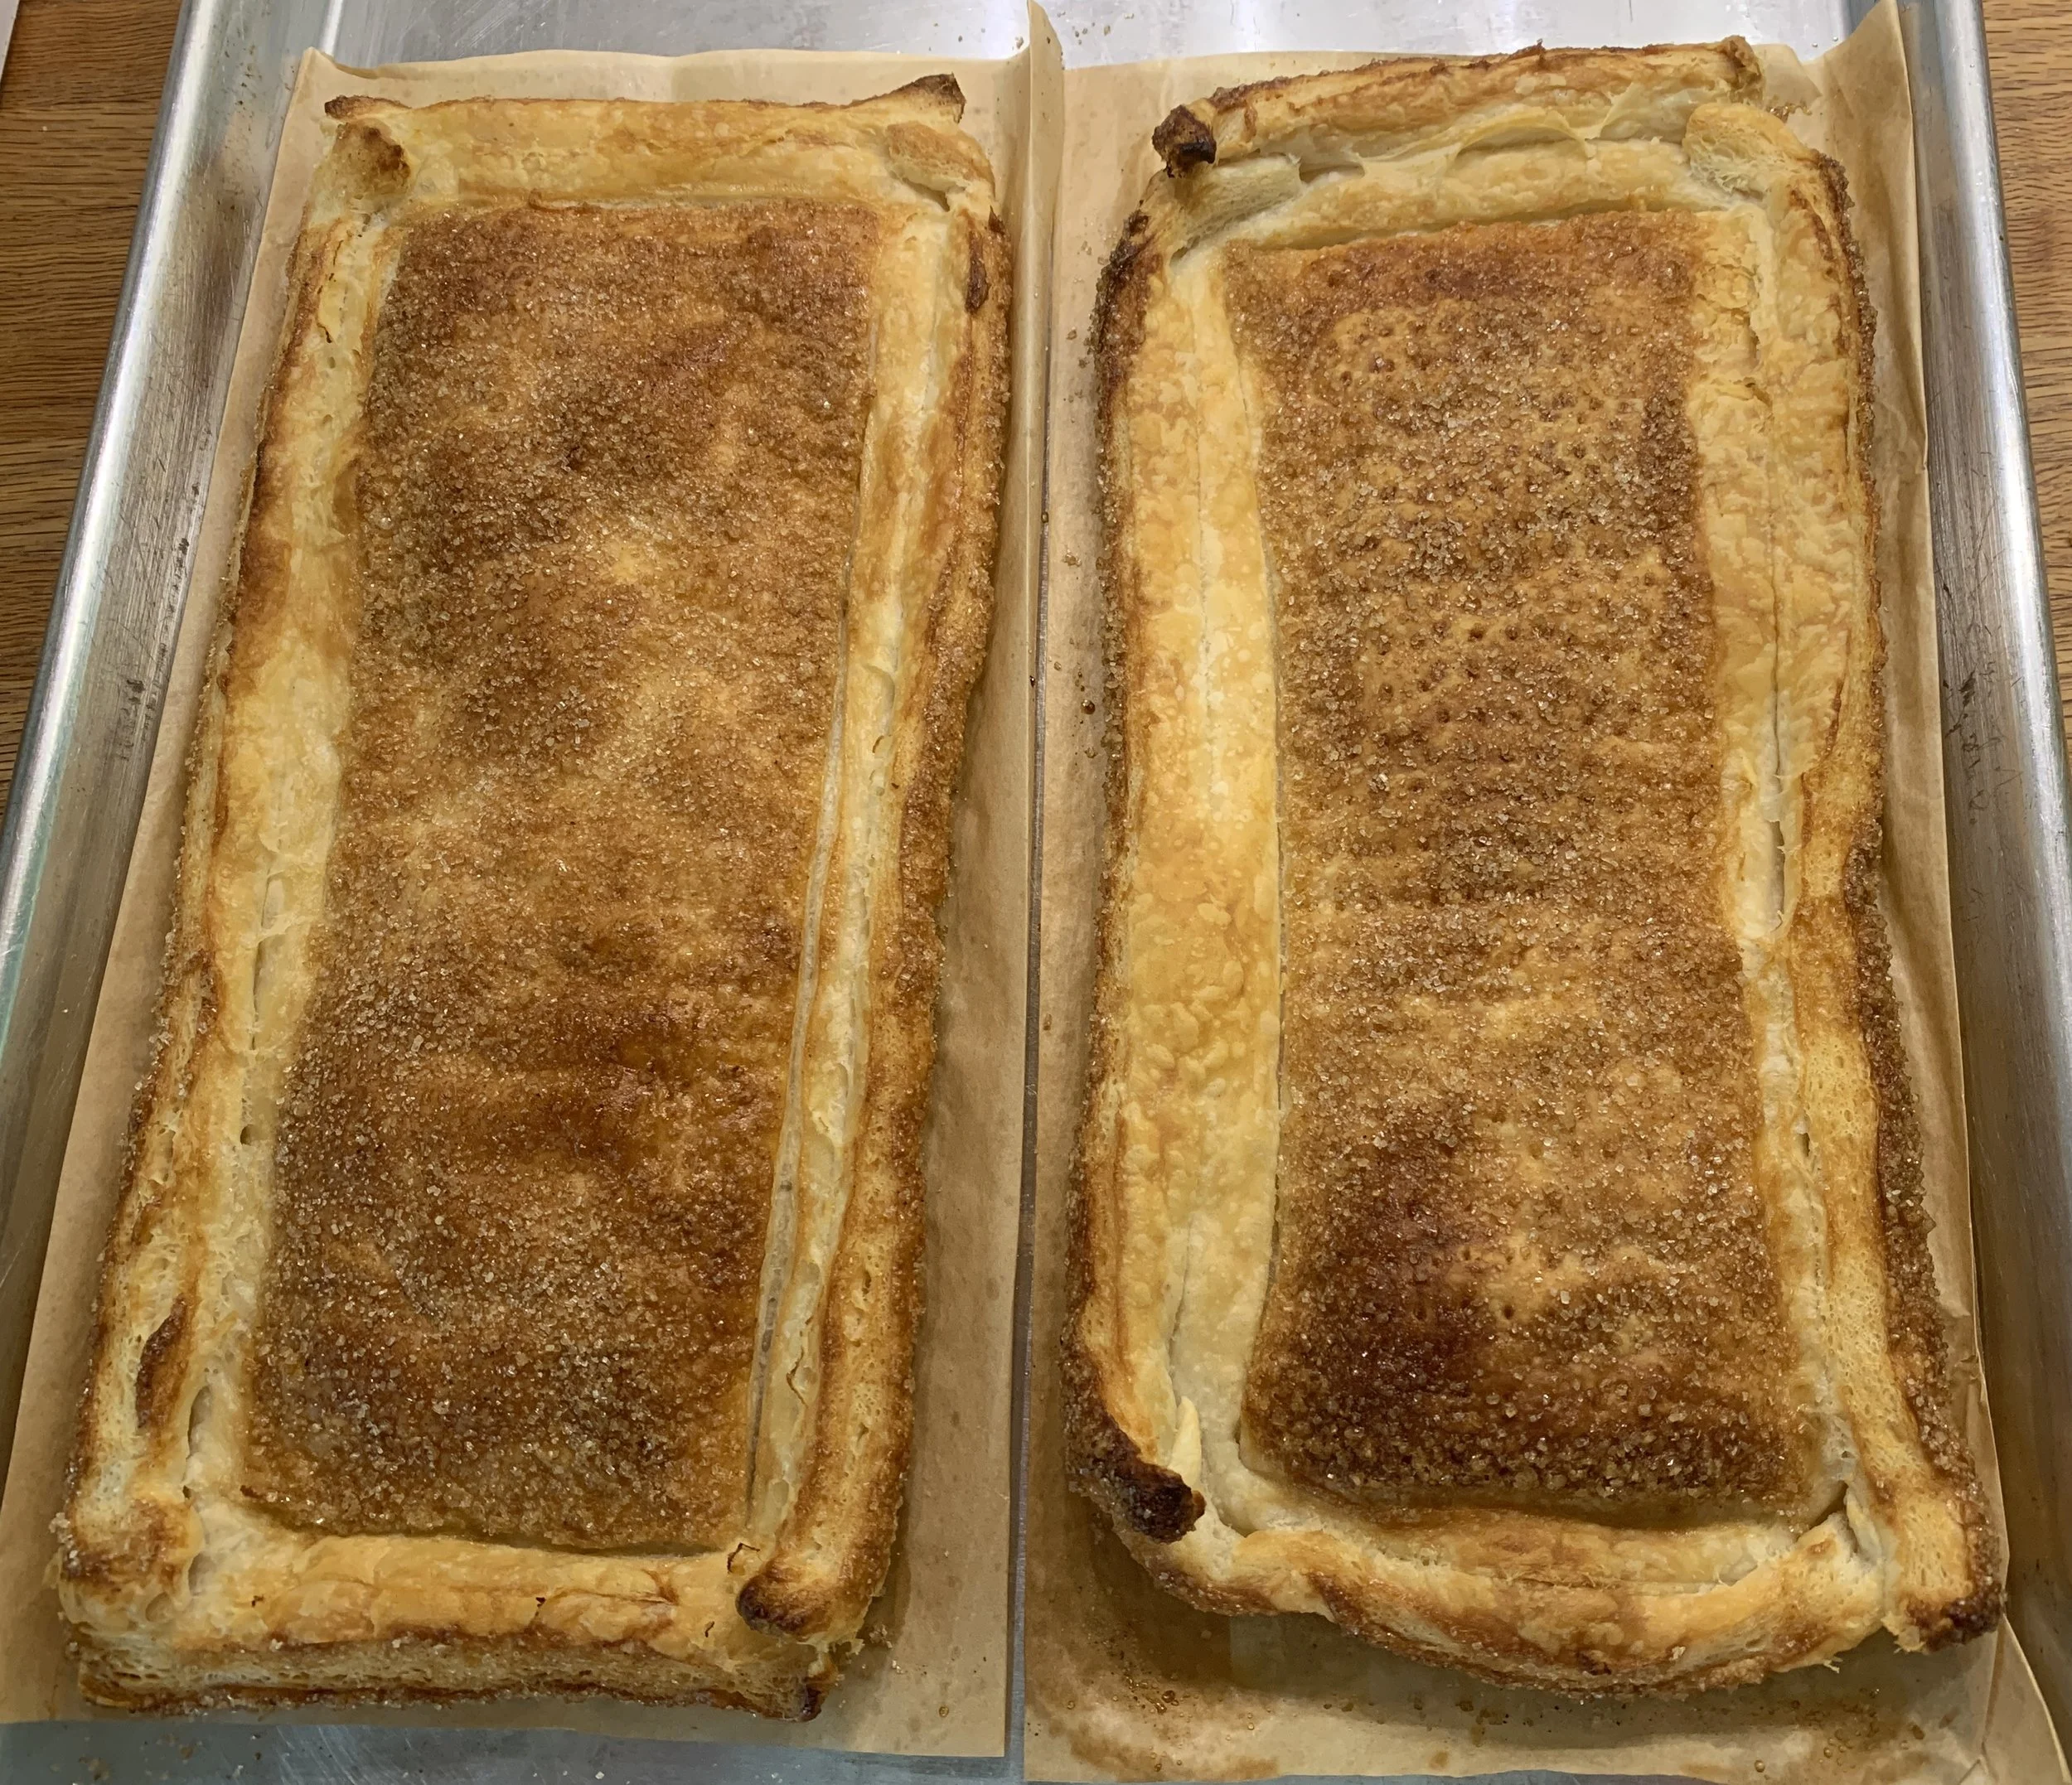
Bake the unfilled puff at 400º about 20-25 minutes until nicely browned. If you’re a plan ahead-er, you can do this a day or two before and hold the baked puff in the freezer. Remove it when ready to add the fruit and pop into the oven.
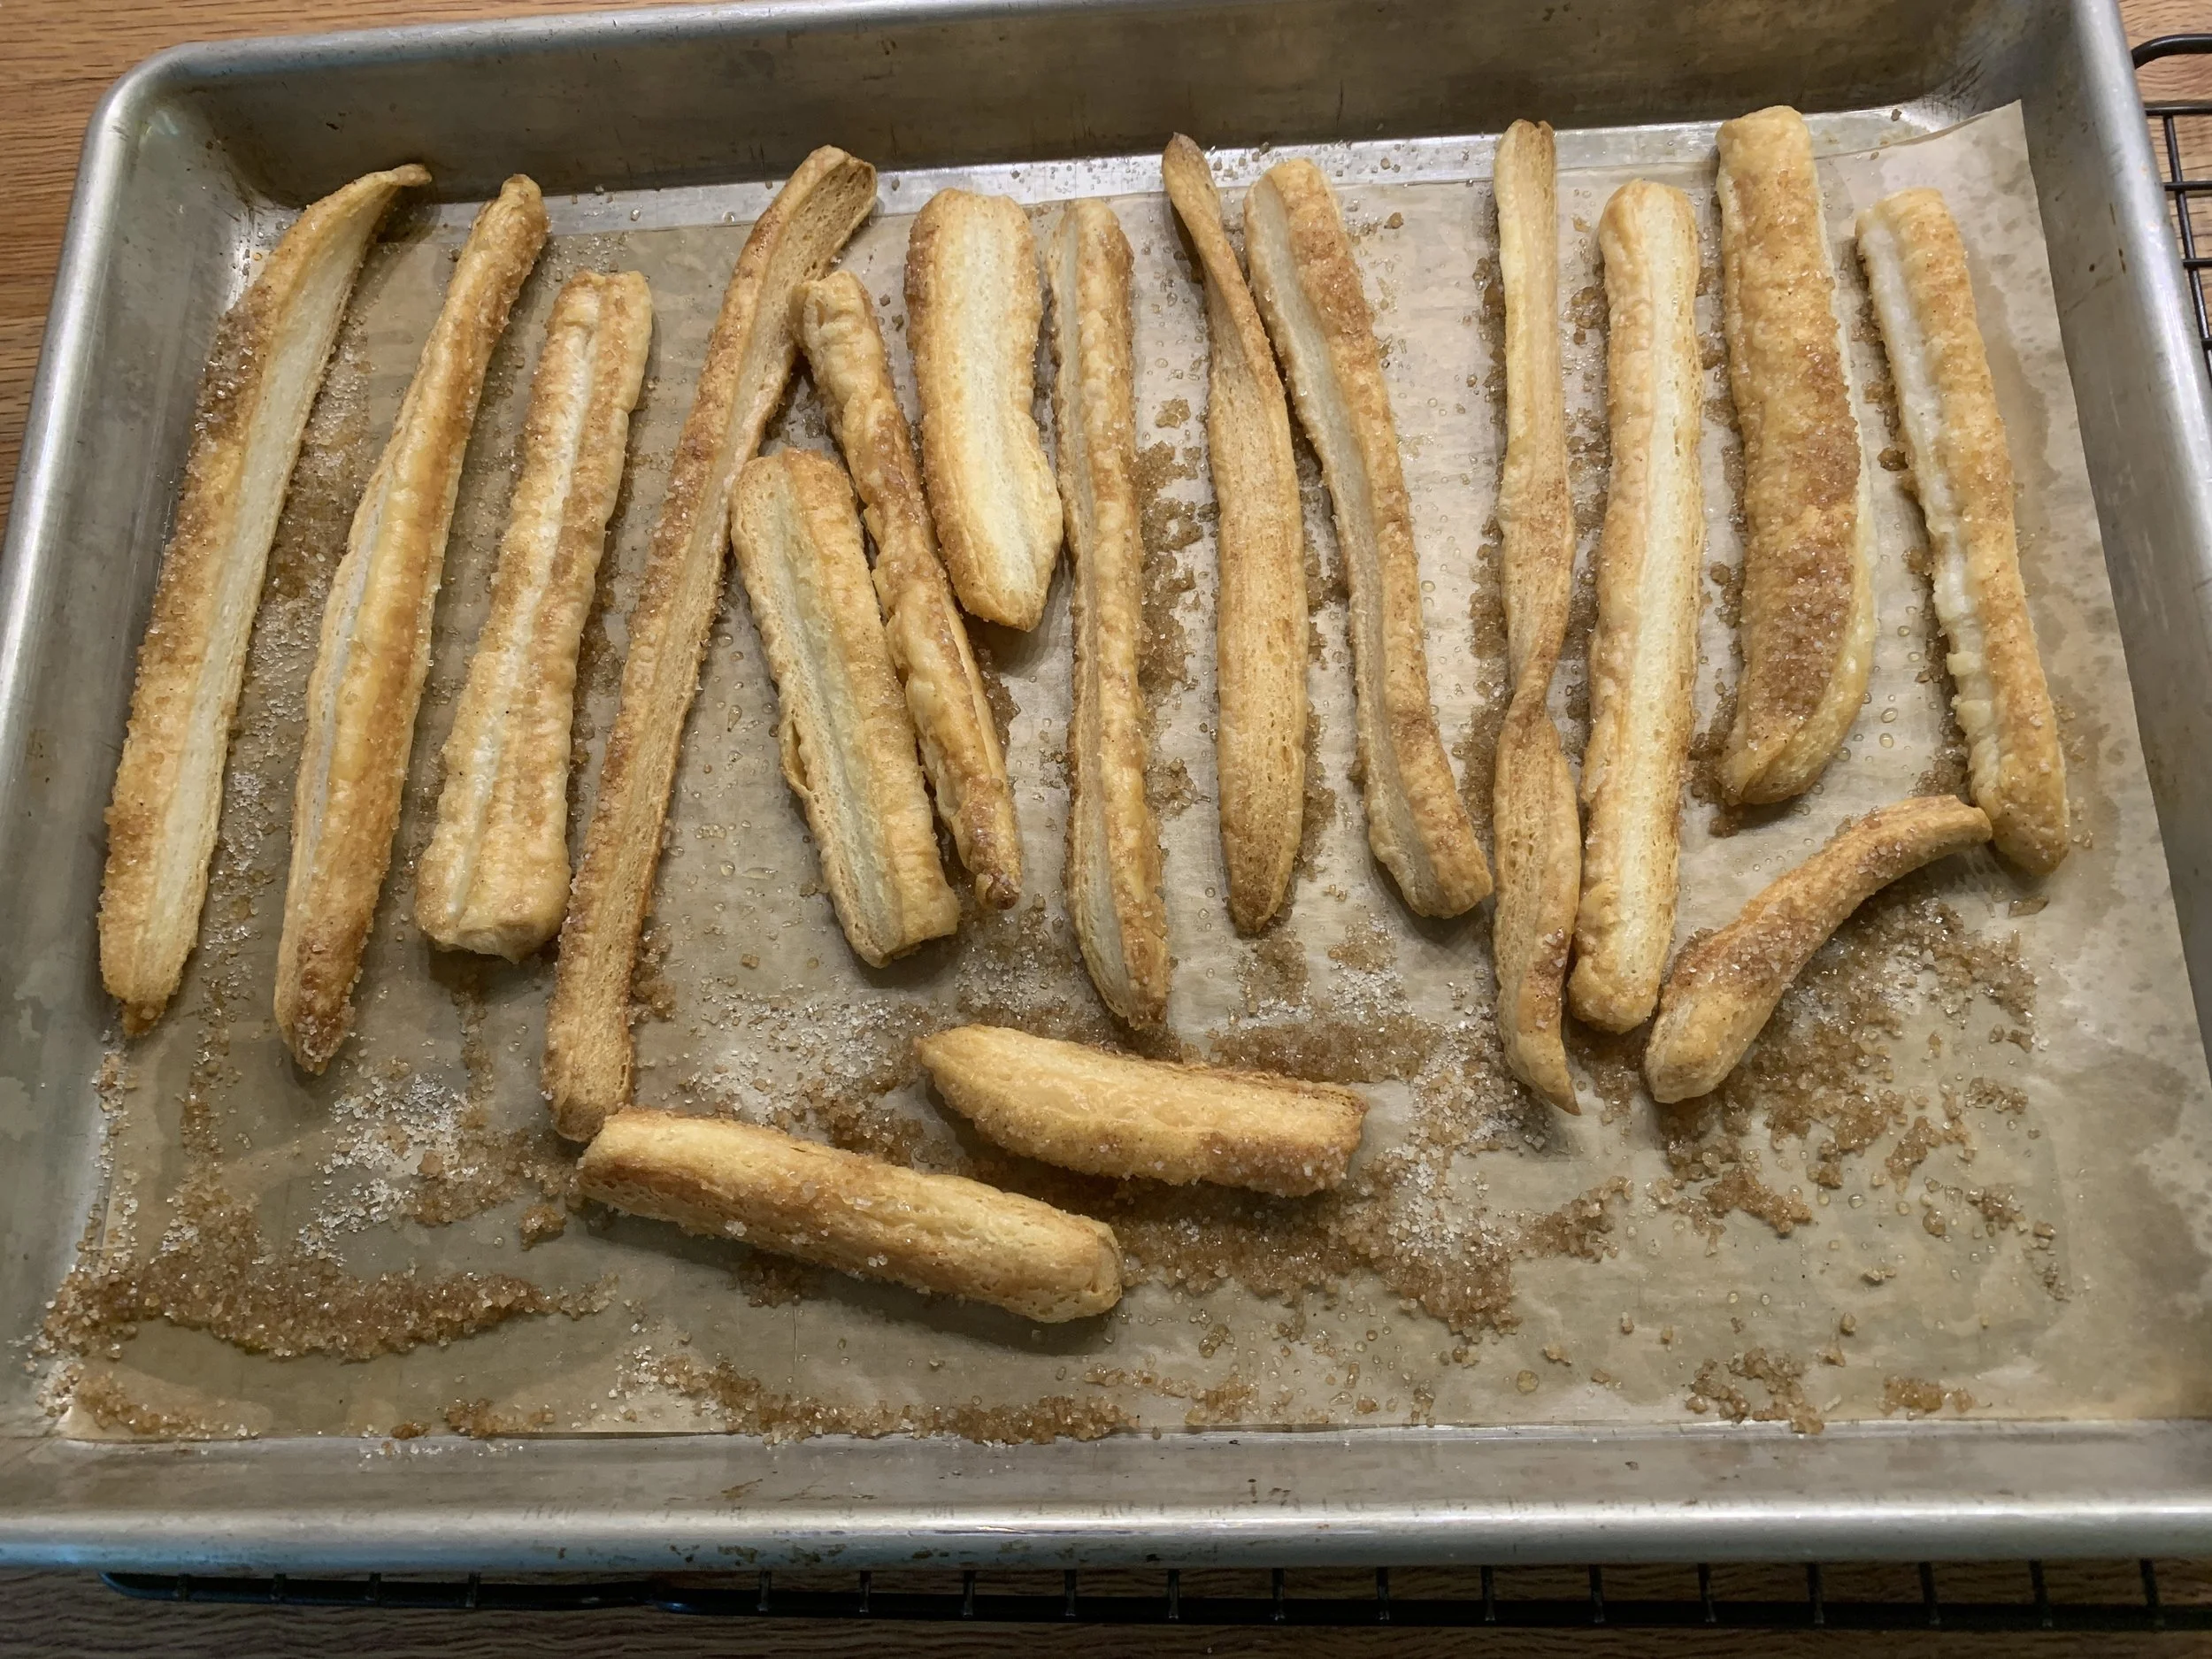
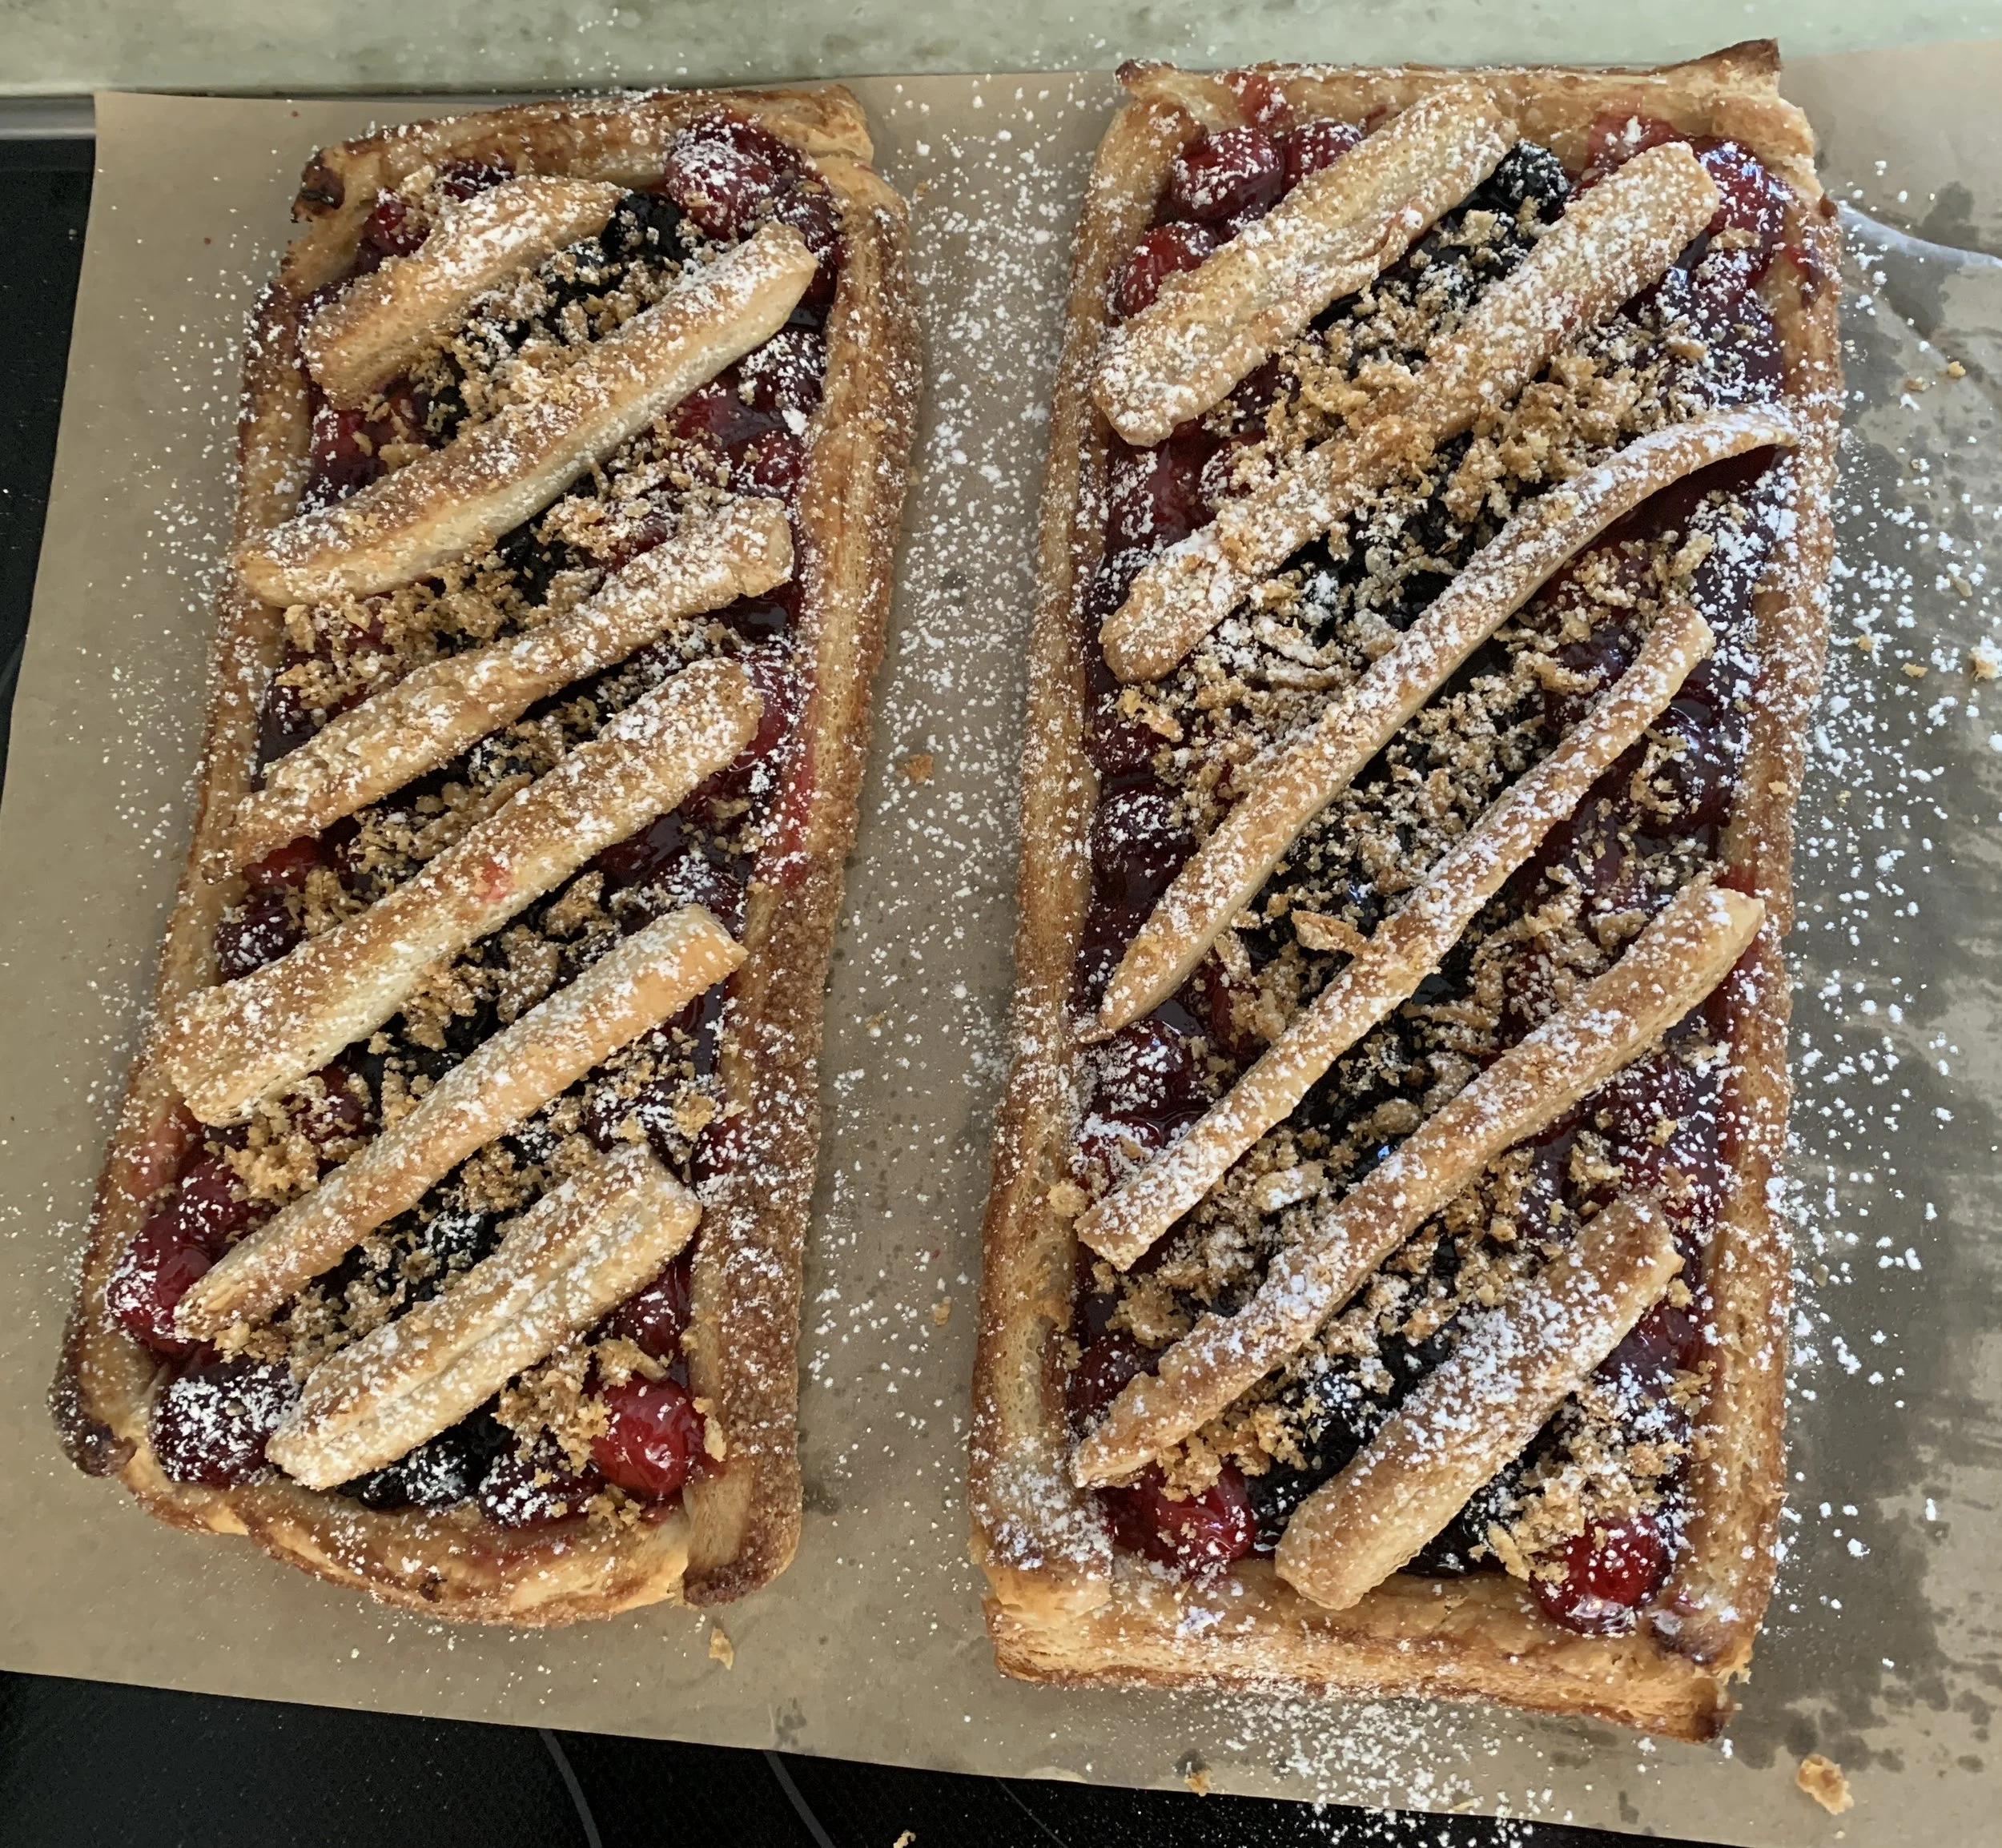
Bake the edge scraps too - use for top decor if you wish.
I placed blueberry filling down the center then the cherry filling along the sides. Place into a 325º oven for 10 minutes or so to refresh the puff and set the filling.
Once cooled I placed the “scrap” strips diagonally across, crushed some of the extra baked scraps to sprinkle over all, then a nice dust of powdered sugar just because.
When baking free form puff shapes, I love the longer narrower versions like these - when slicing across, each serving has the benefit of TWO edges of puff (and the end portions get THREE!). So delicious with the fruit. Love that!
Serve slices with a dollop of whipped cream or vanilla ice cream and a few fresh blueberries sprinkled on top.
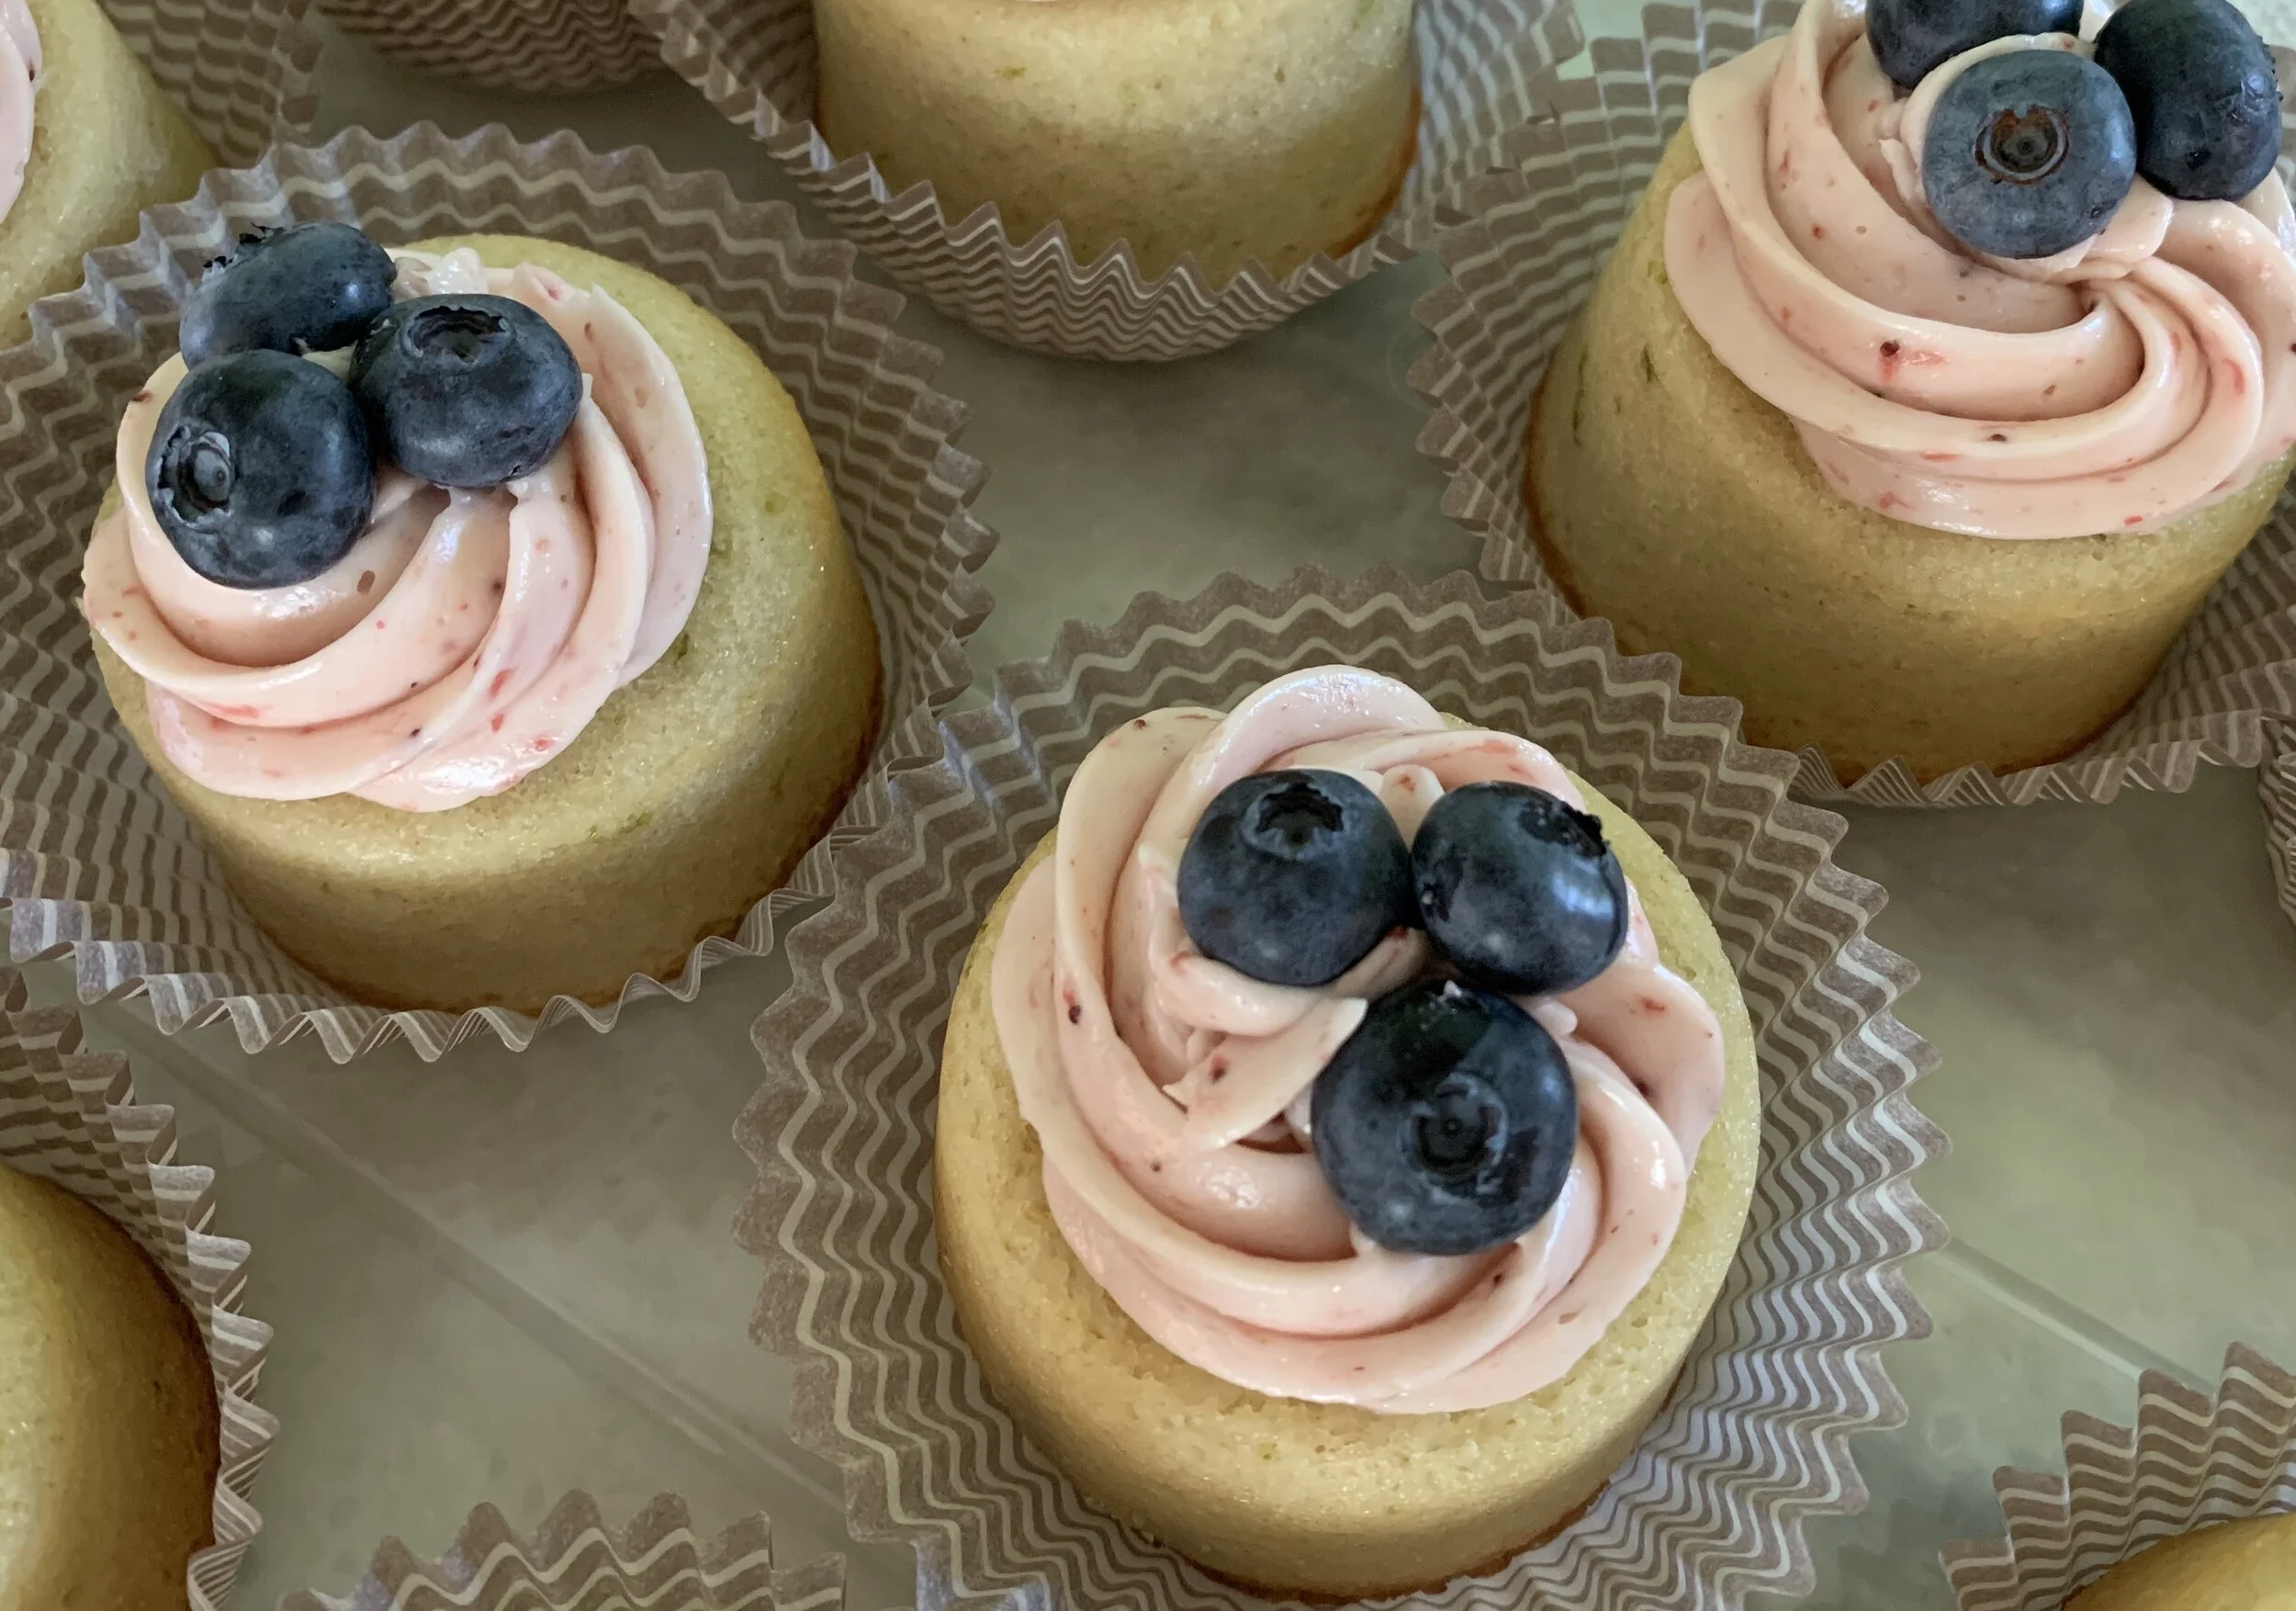
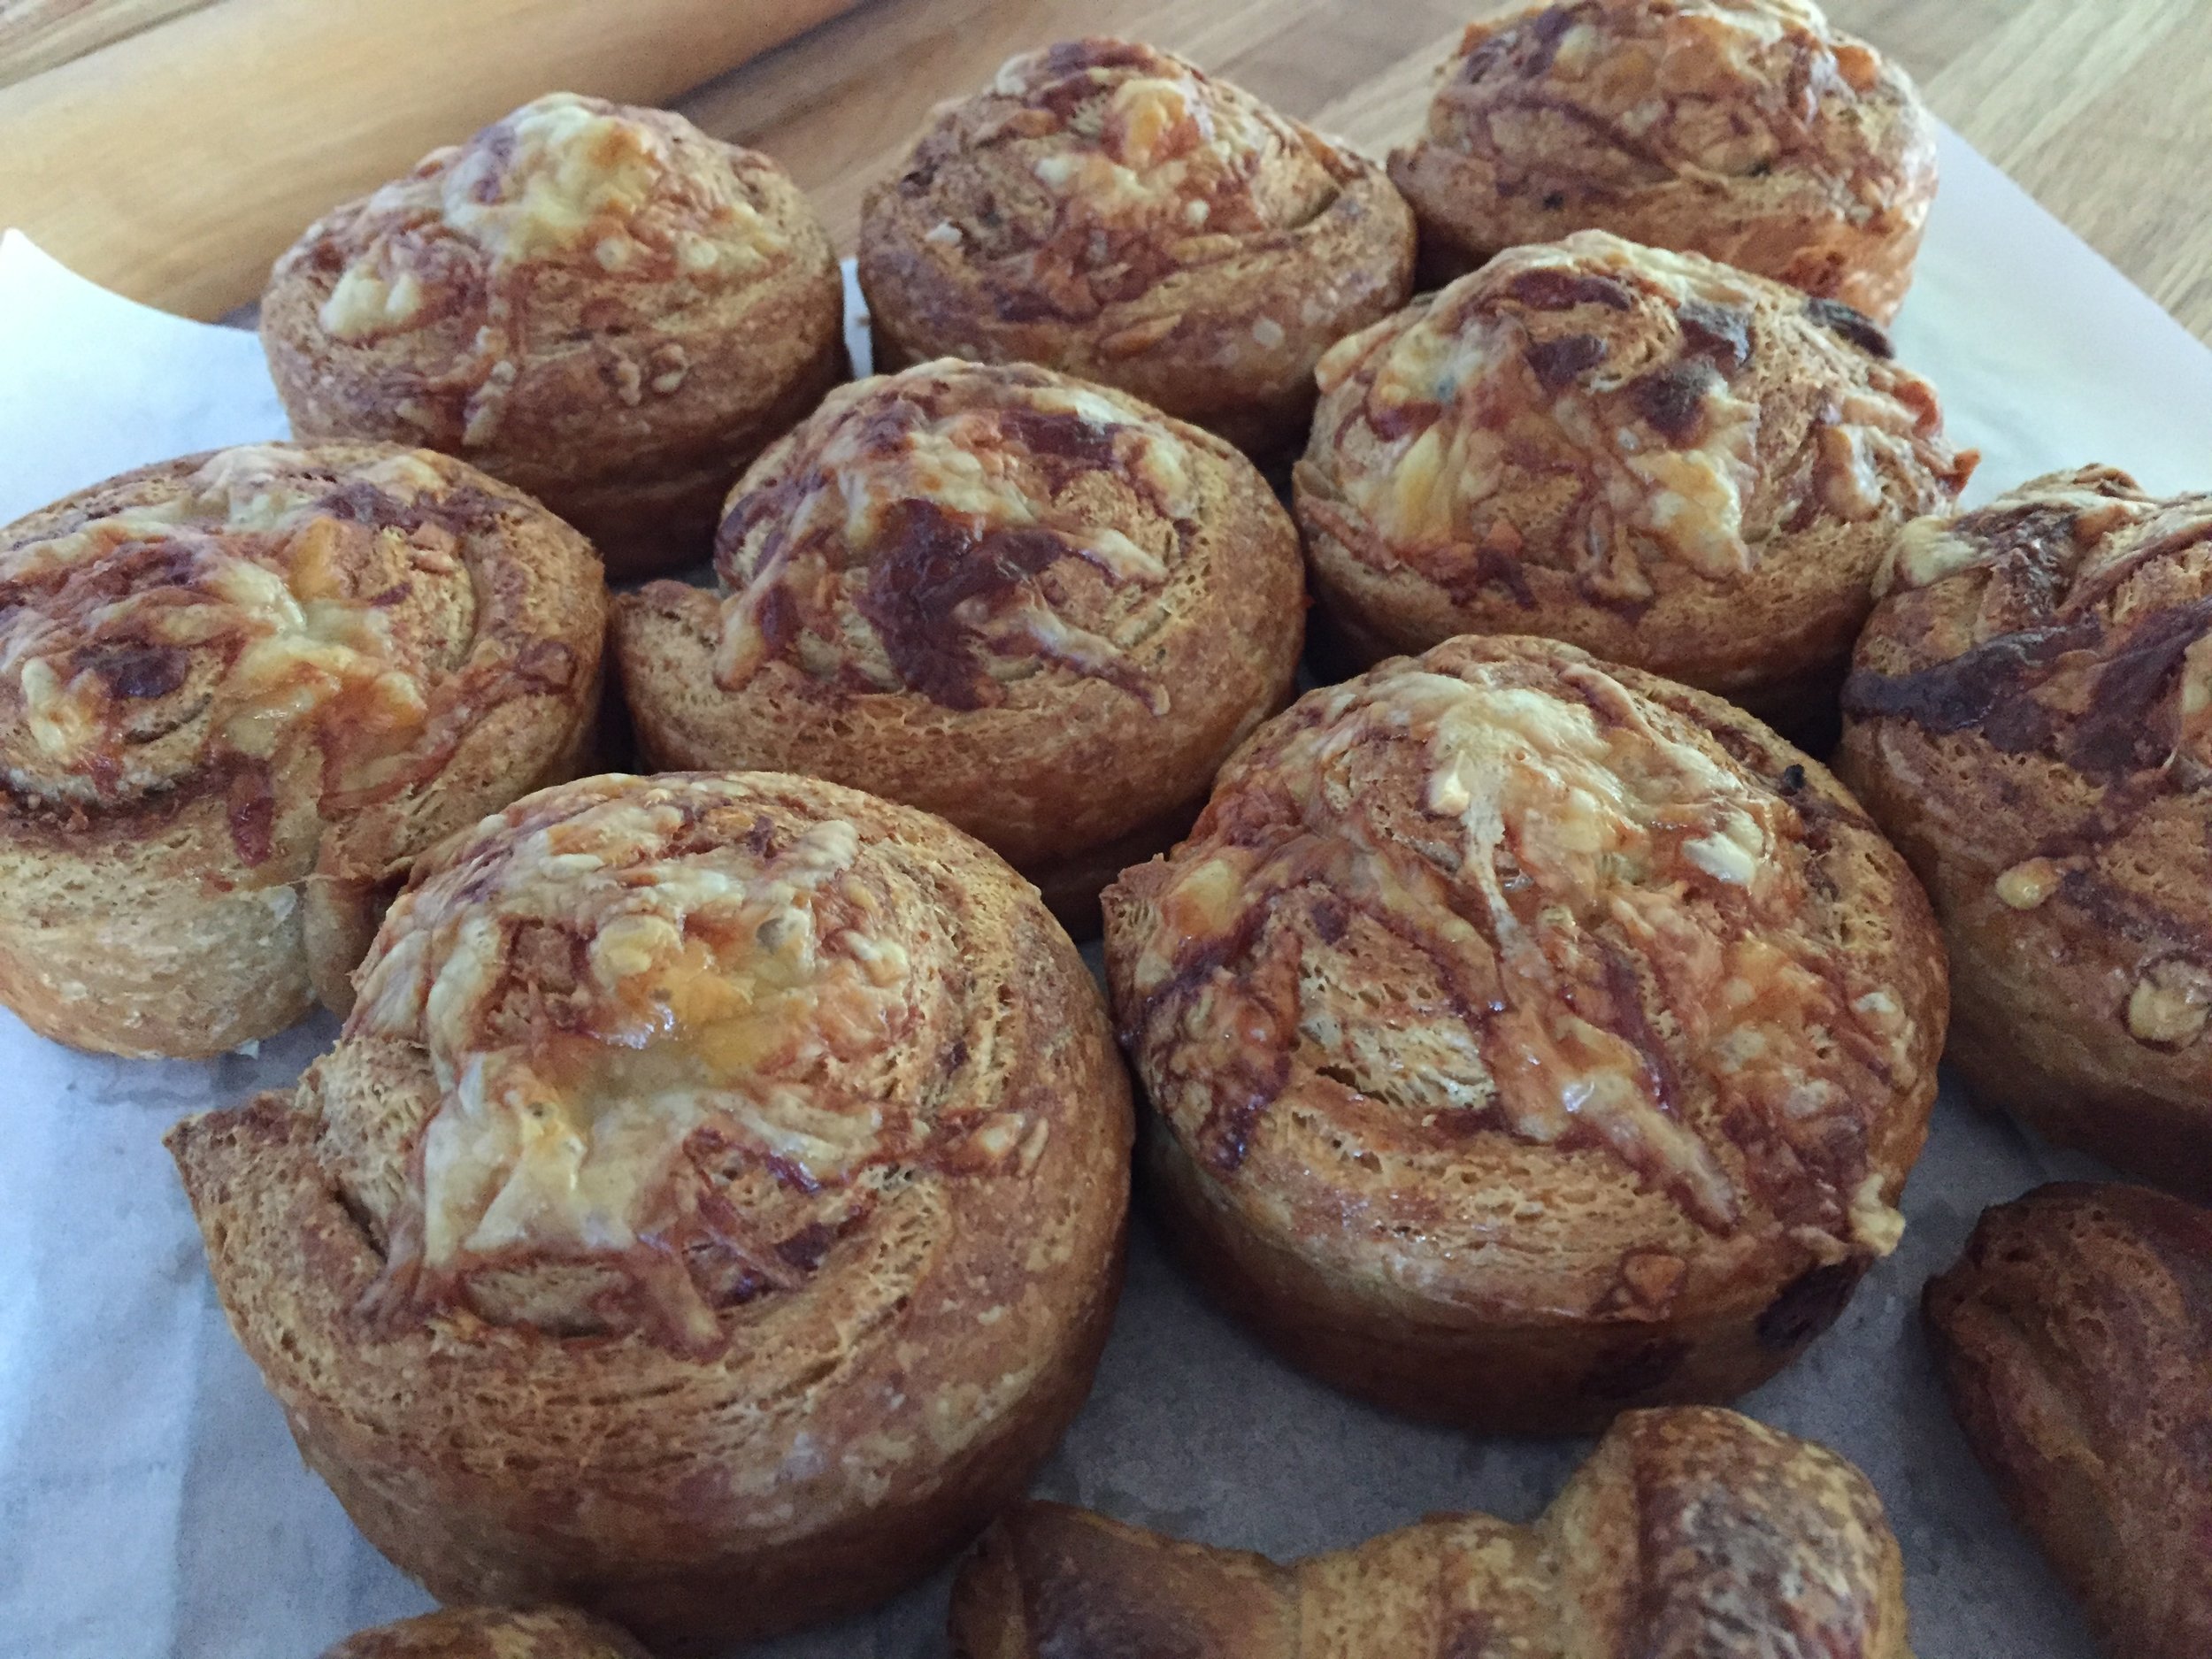
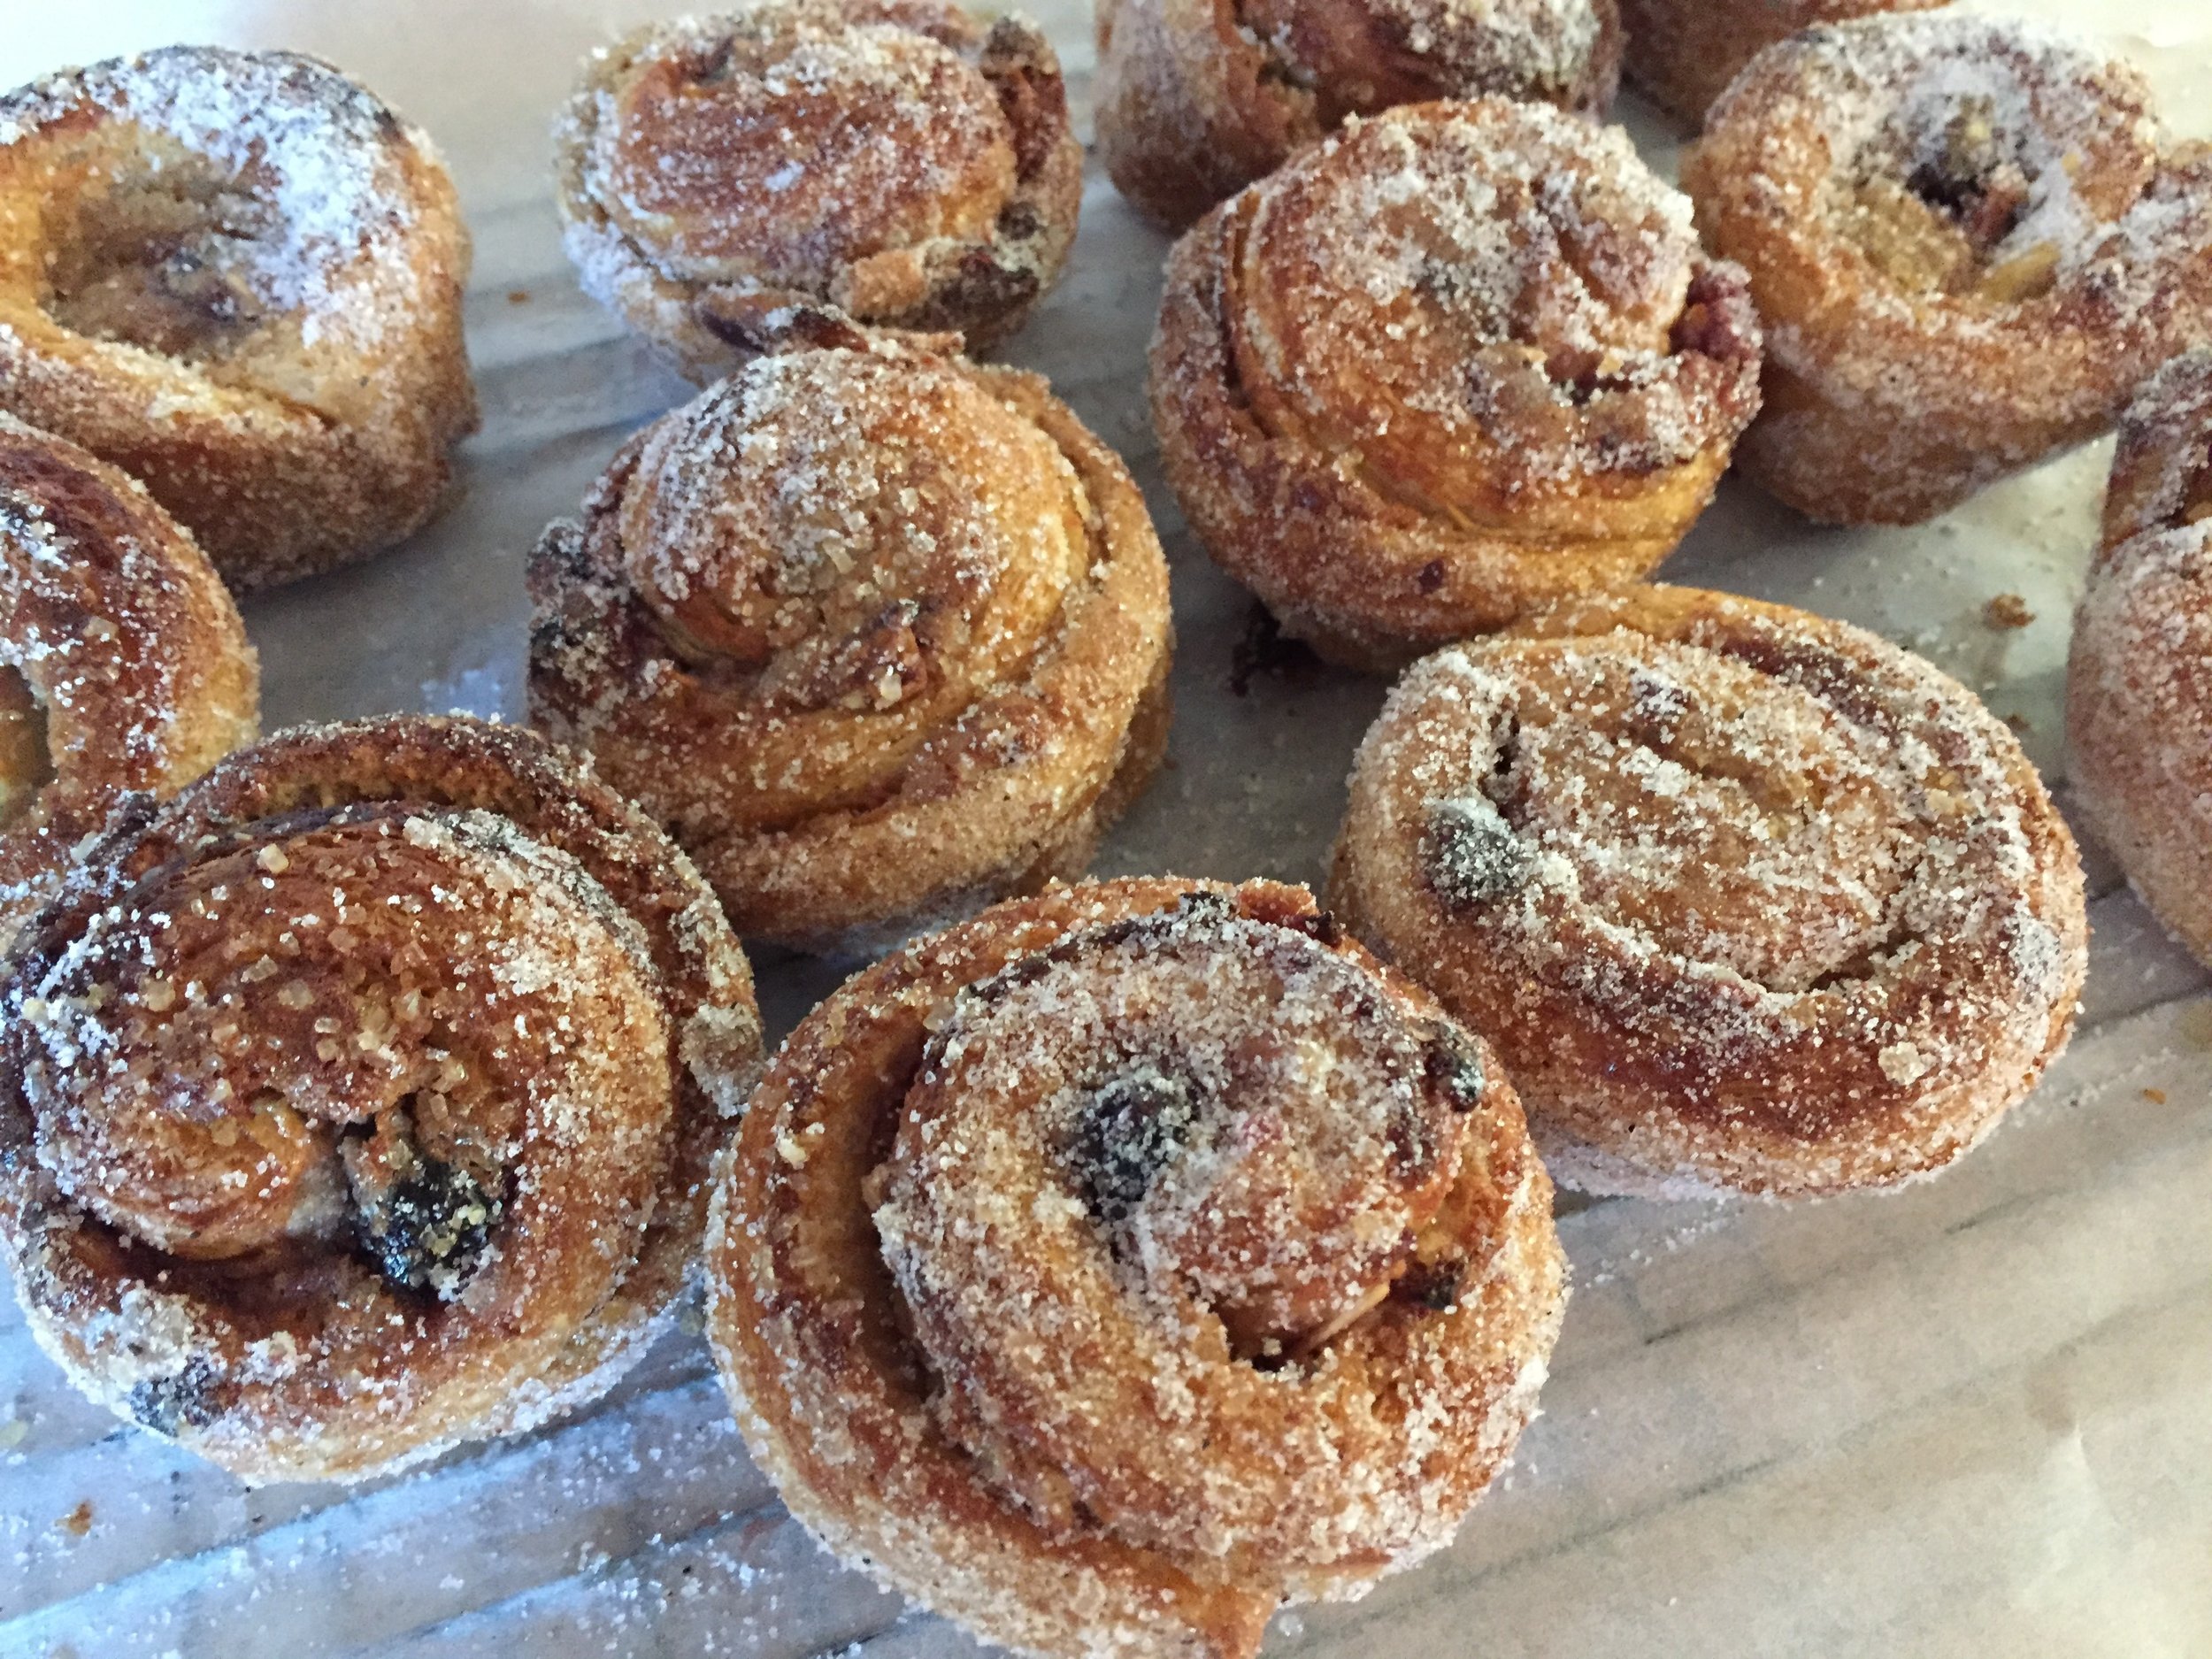
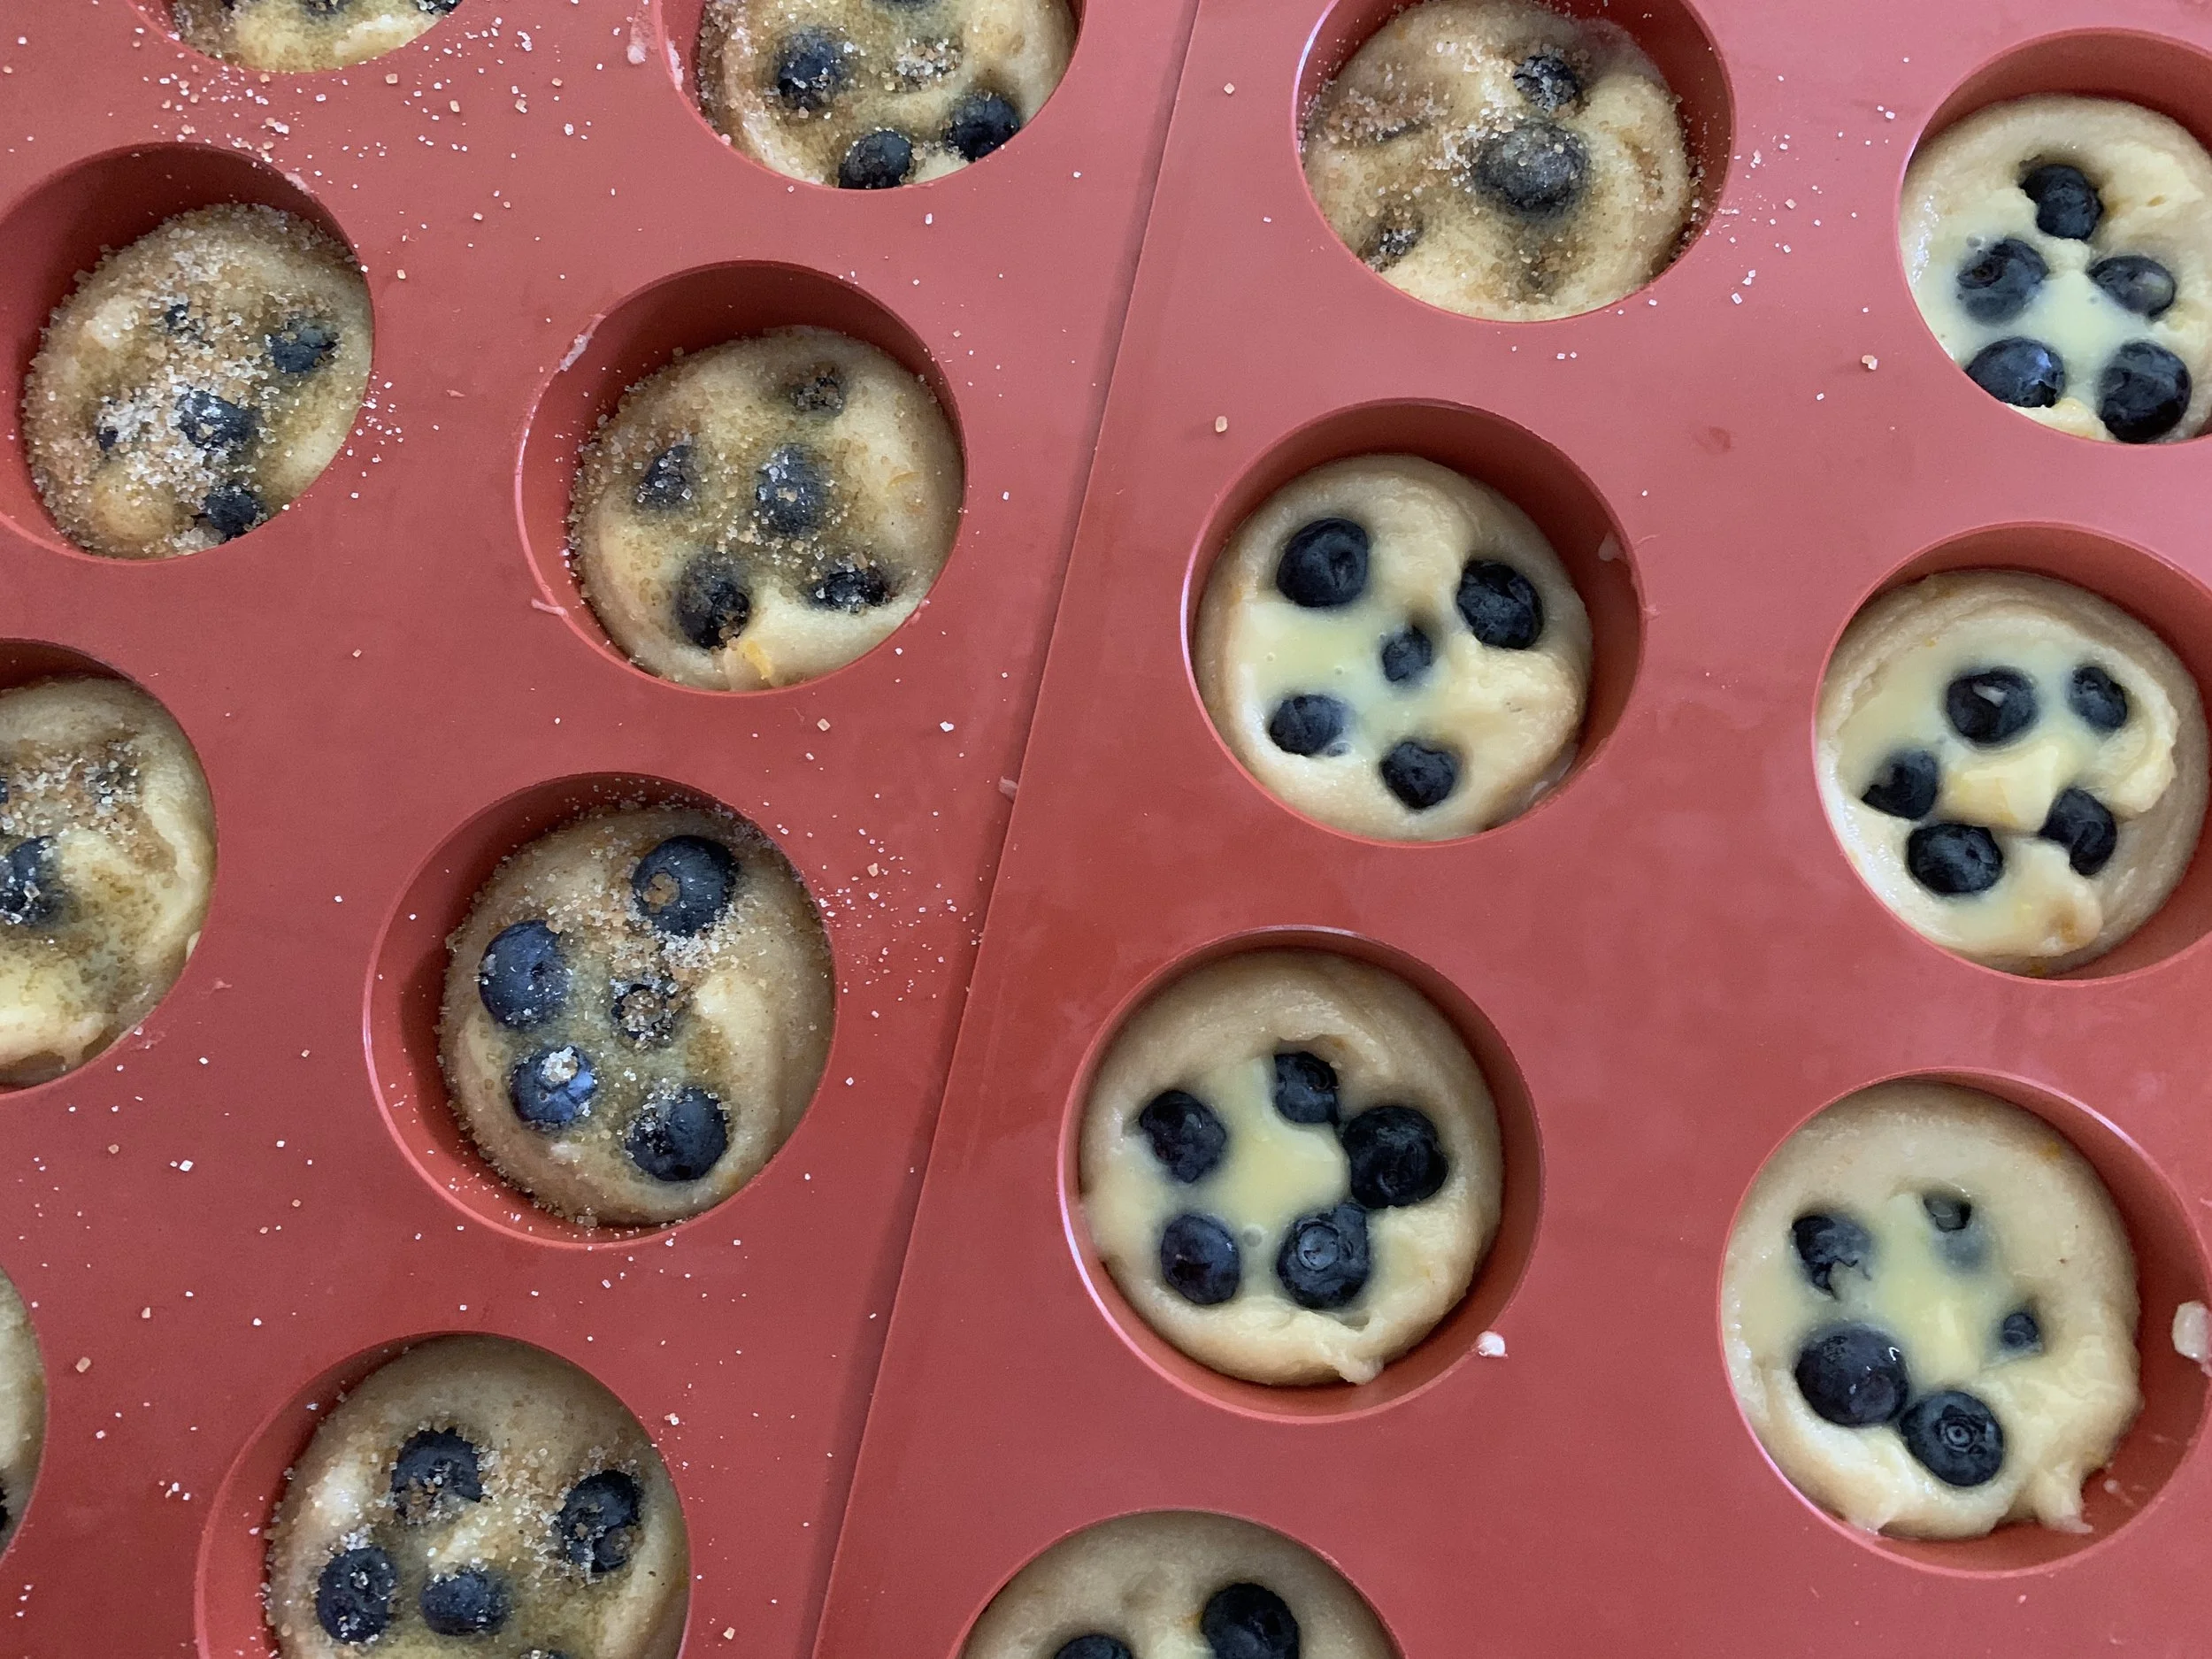
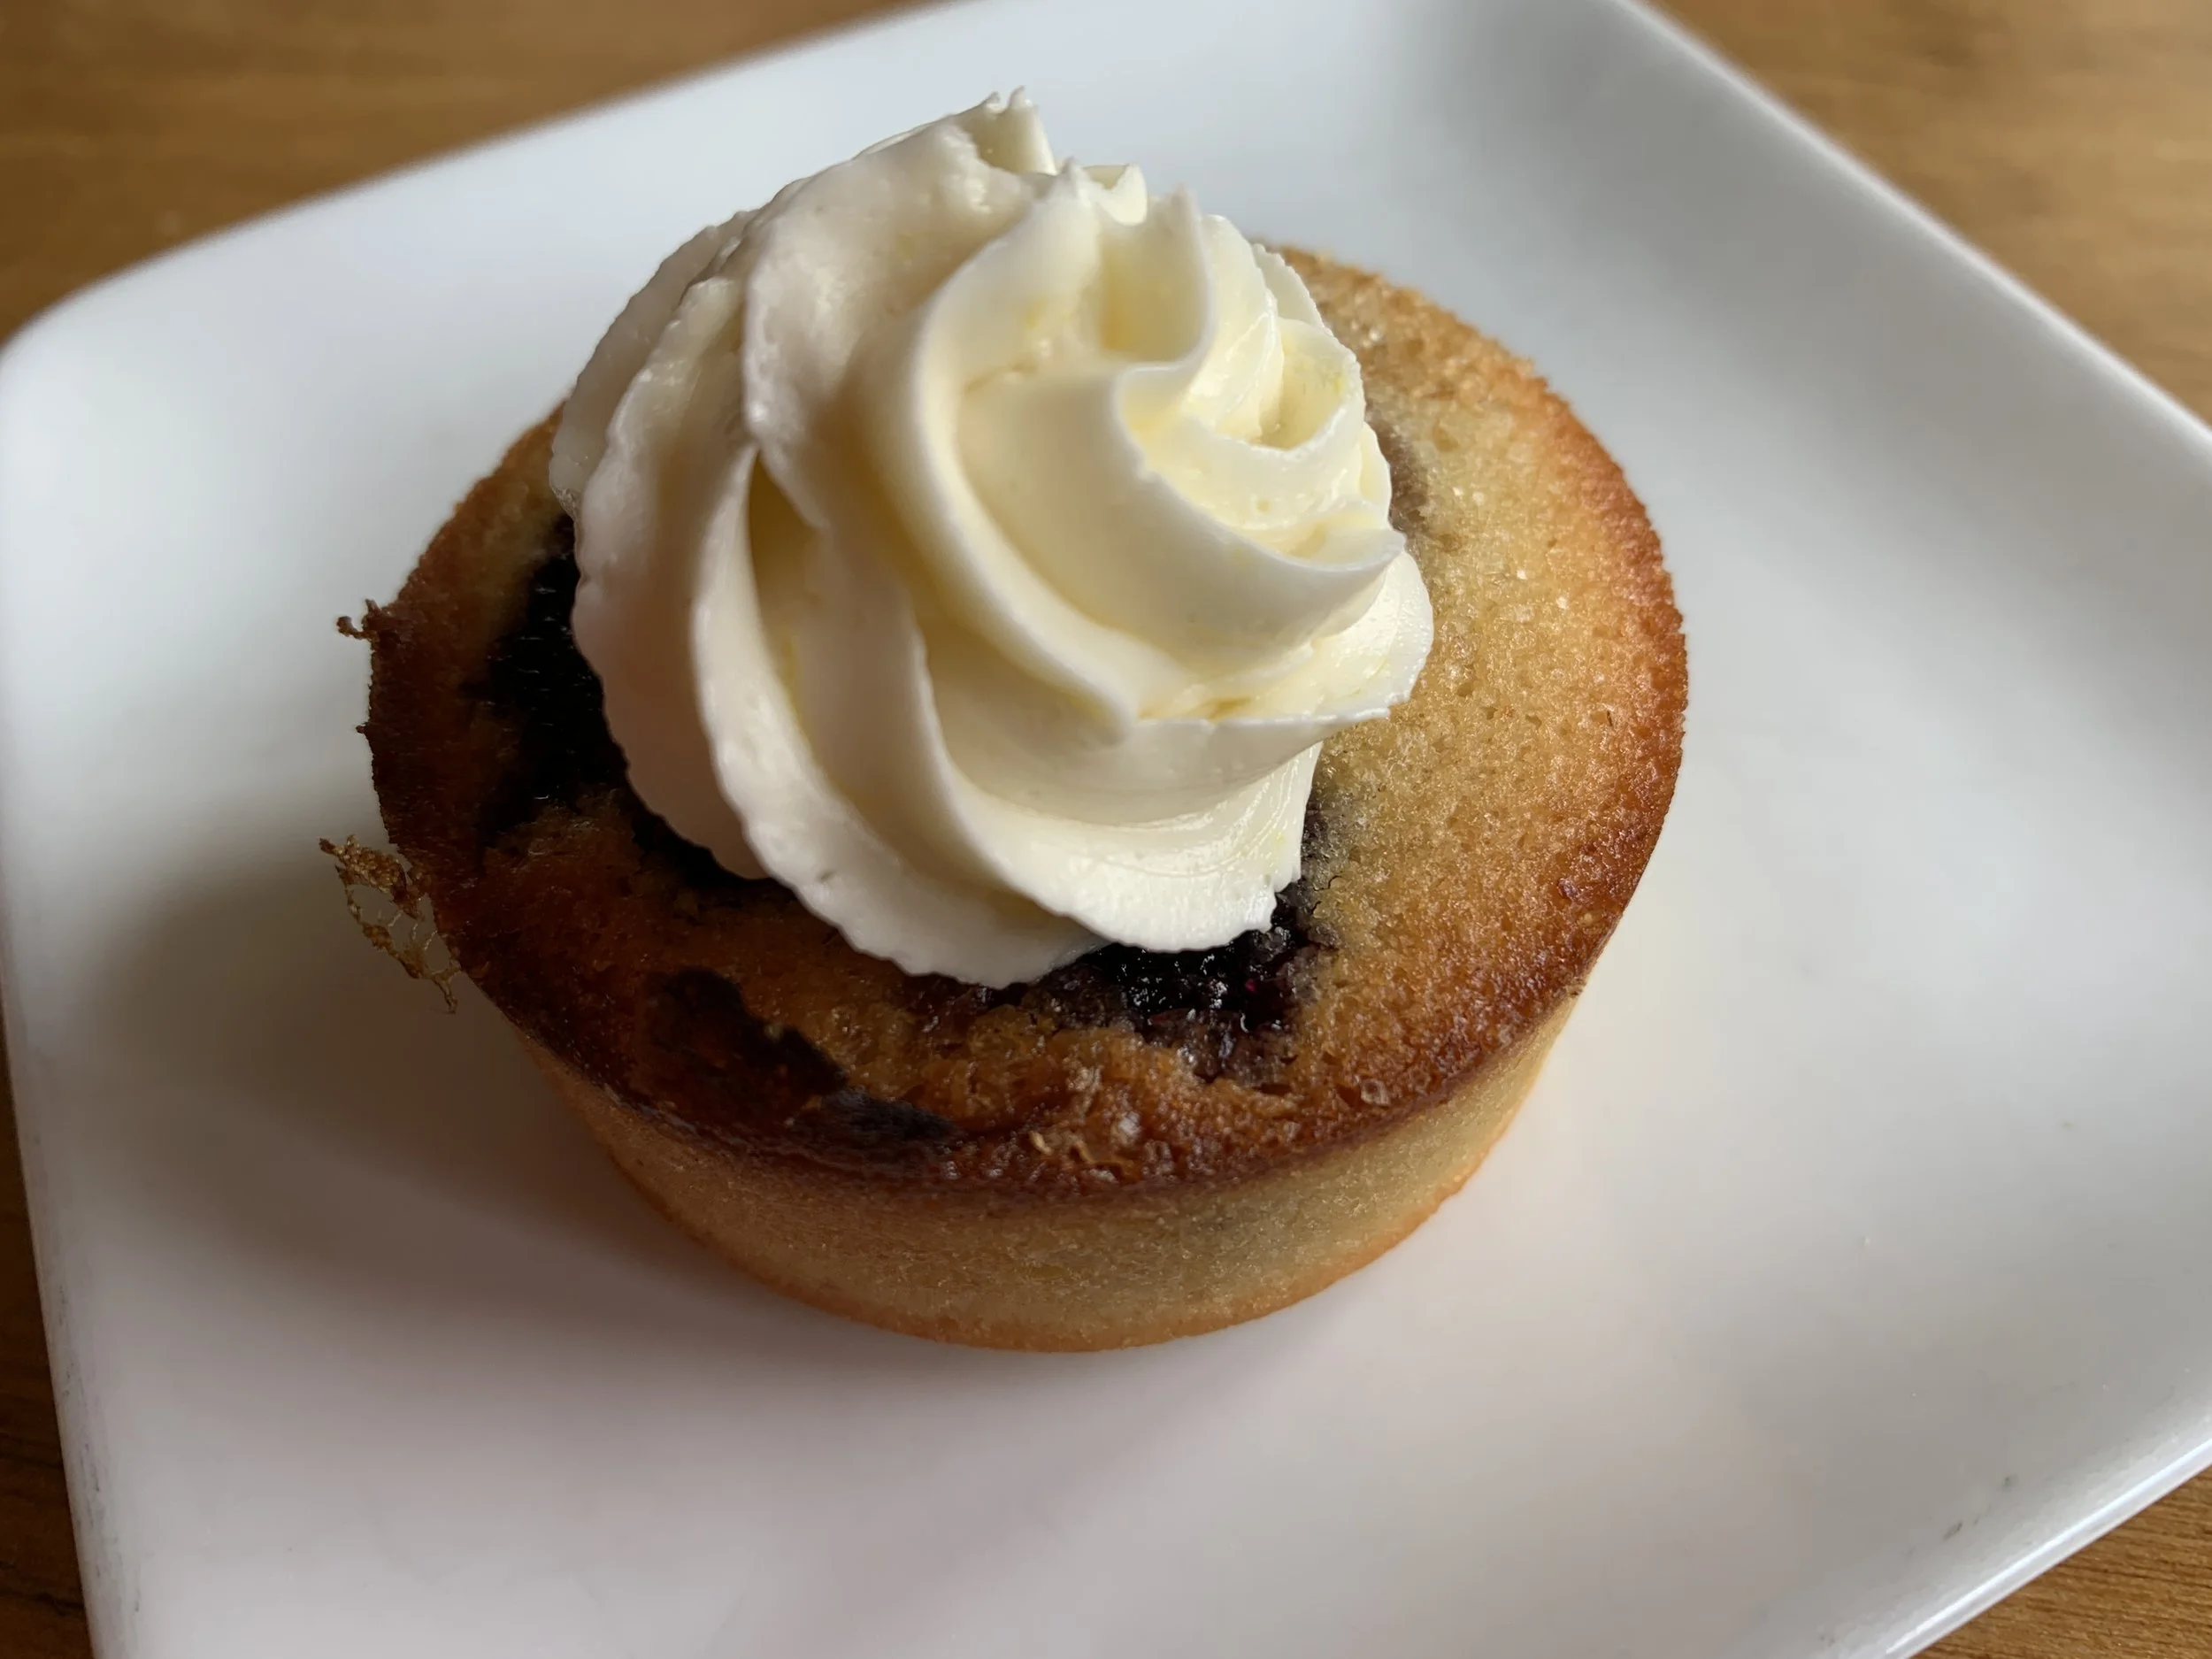
Finally, as often happens, I had egg whites in the fridge that needed to be used. Guess what - my favorite financiers were the choice once again. I had prepared a smallish batch of lemon curd for a lemon Swiss meringue buttercream (another good use for egg whites!). There was some left so I added about 3 tablespoons of that into my citrus zested financier batter after it had chilled overnight.
After piping the batter into muffin sized silicone molds, I topped each with an additional dollop of the curd and a few fresh blueberries. A top sprinkle of a mix of golden cane, coarse raw sugar with coriander finished ‘em off.
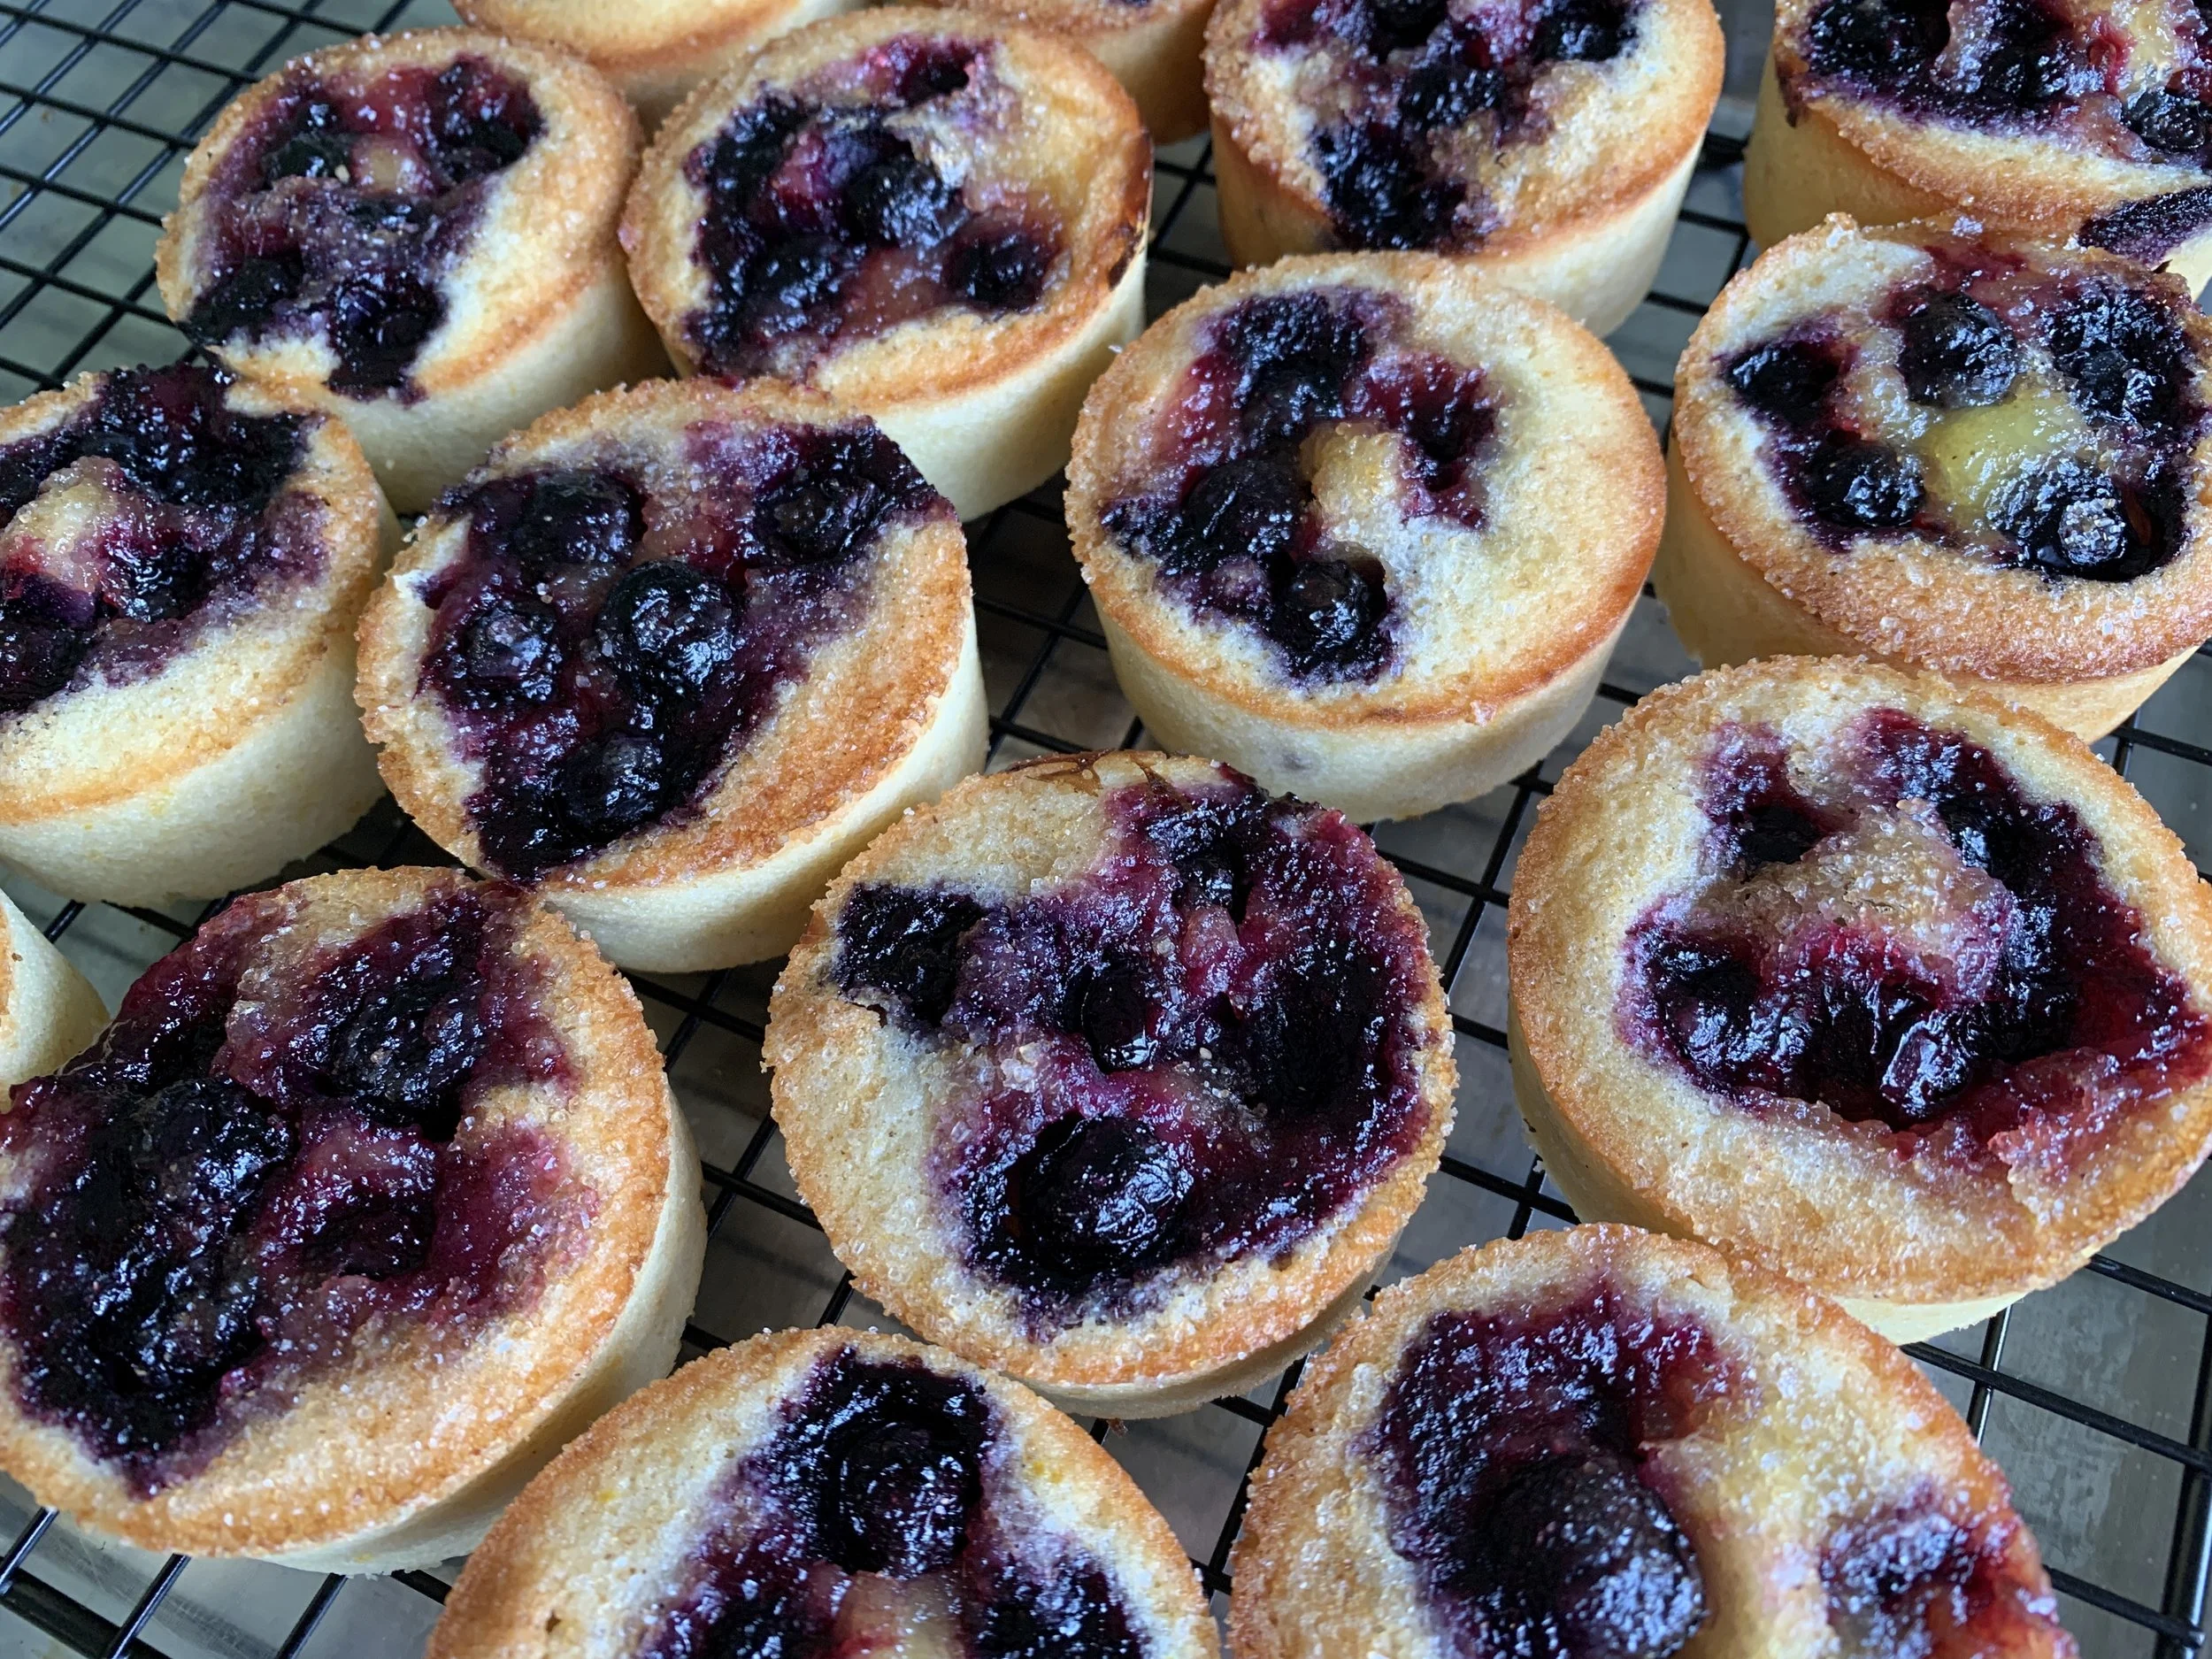
Bake at 375º about 25 minutes until golden brown. Let ‘em cool about 10 minutes then release from the molds and finish cooling on a wire grid.
Remember that lemon buttercream I just mentioned? I piped a swirl on one freshly baked cake so Steve and I could trial it. Yum. The rest went into the freezer ungarnished for more fun later.
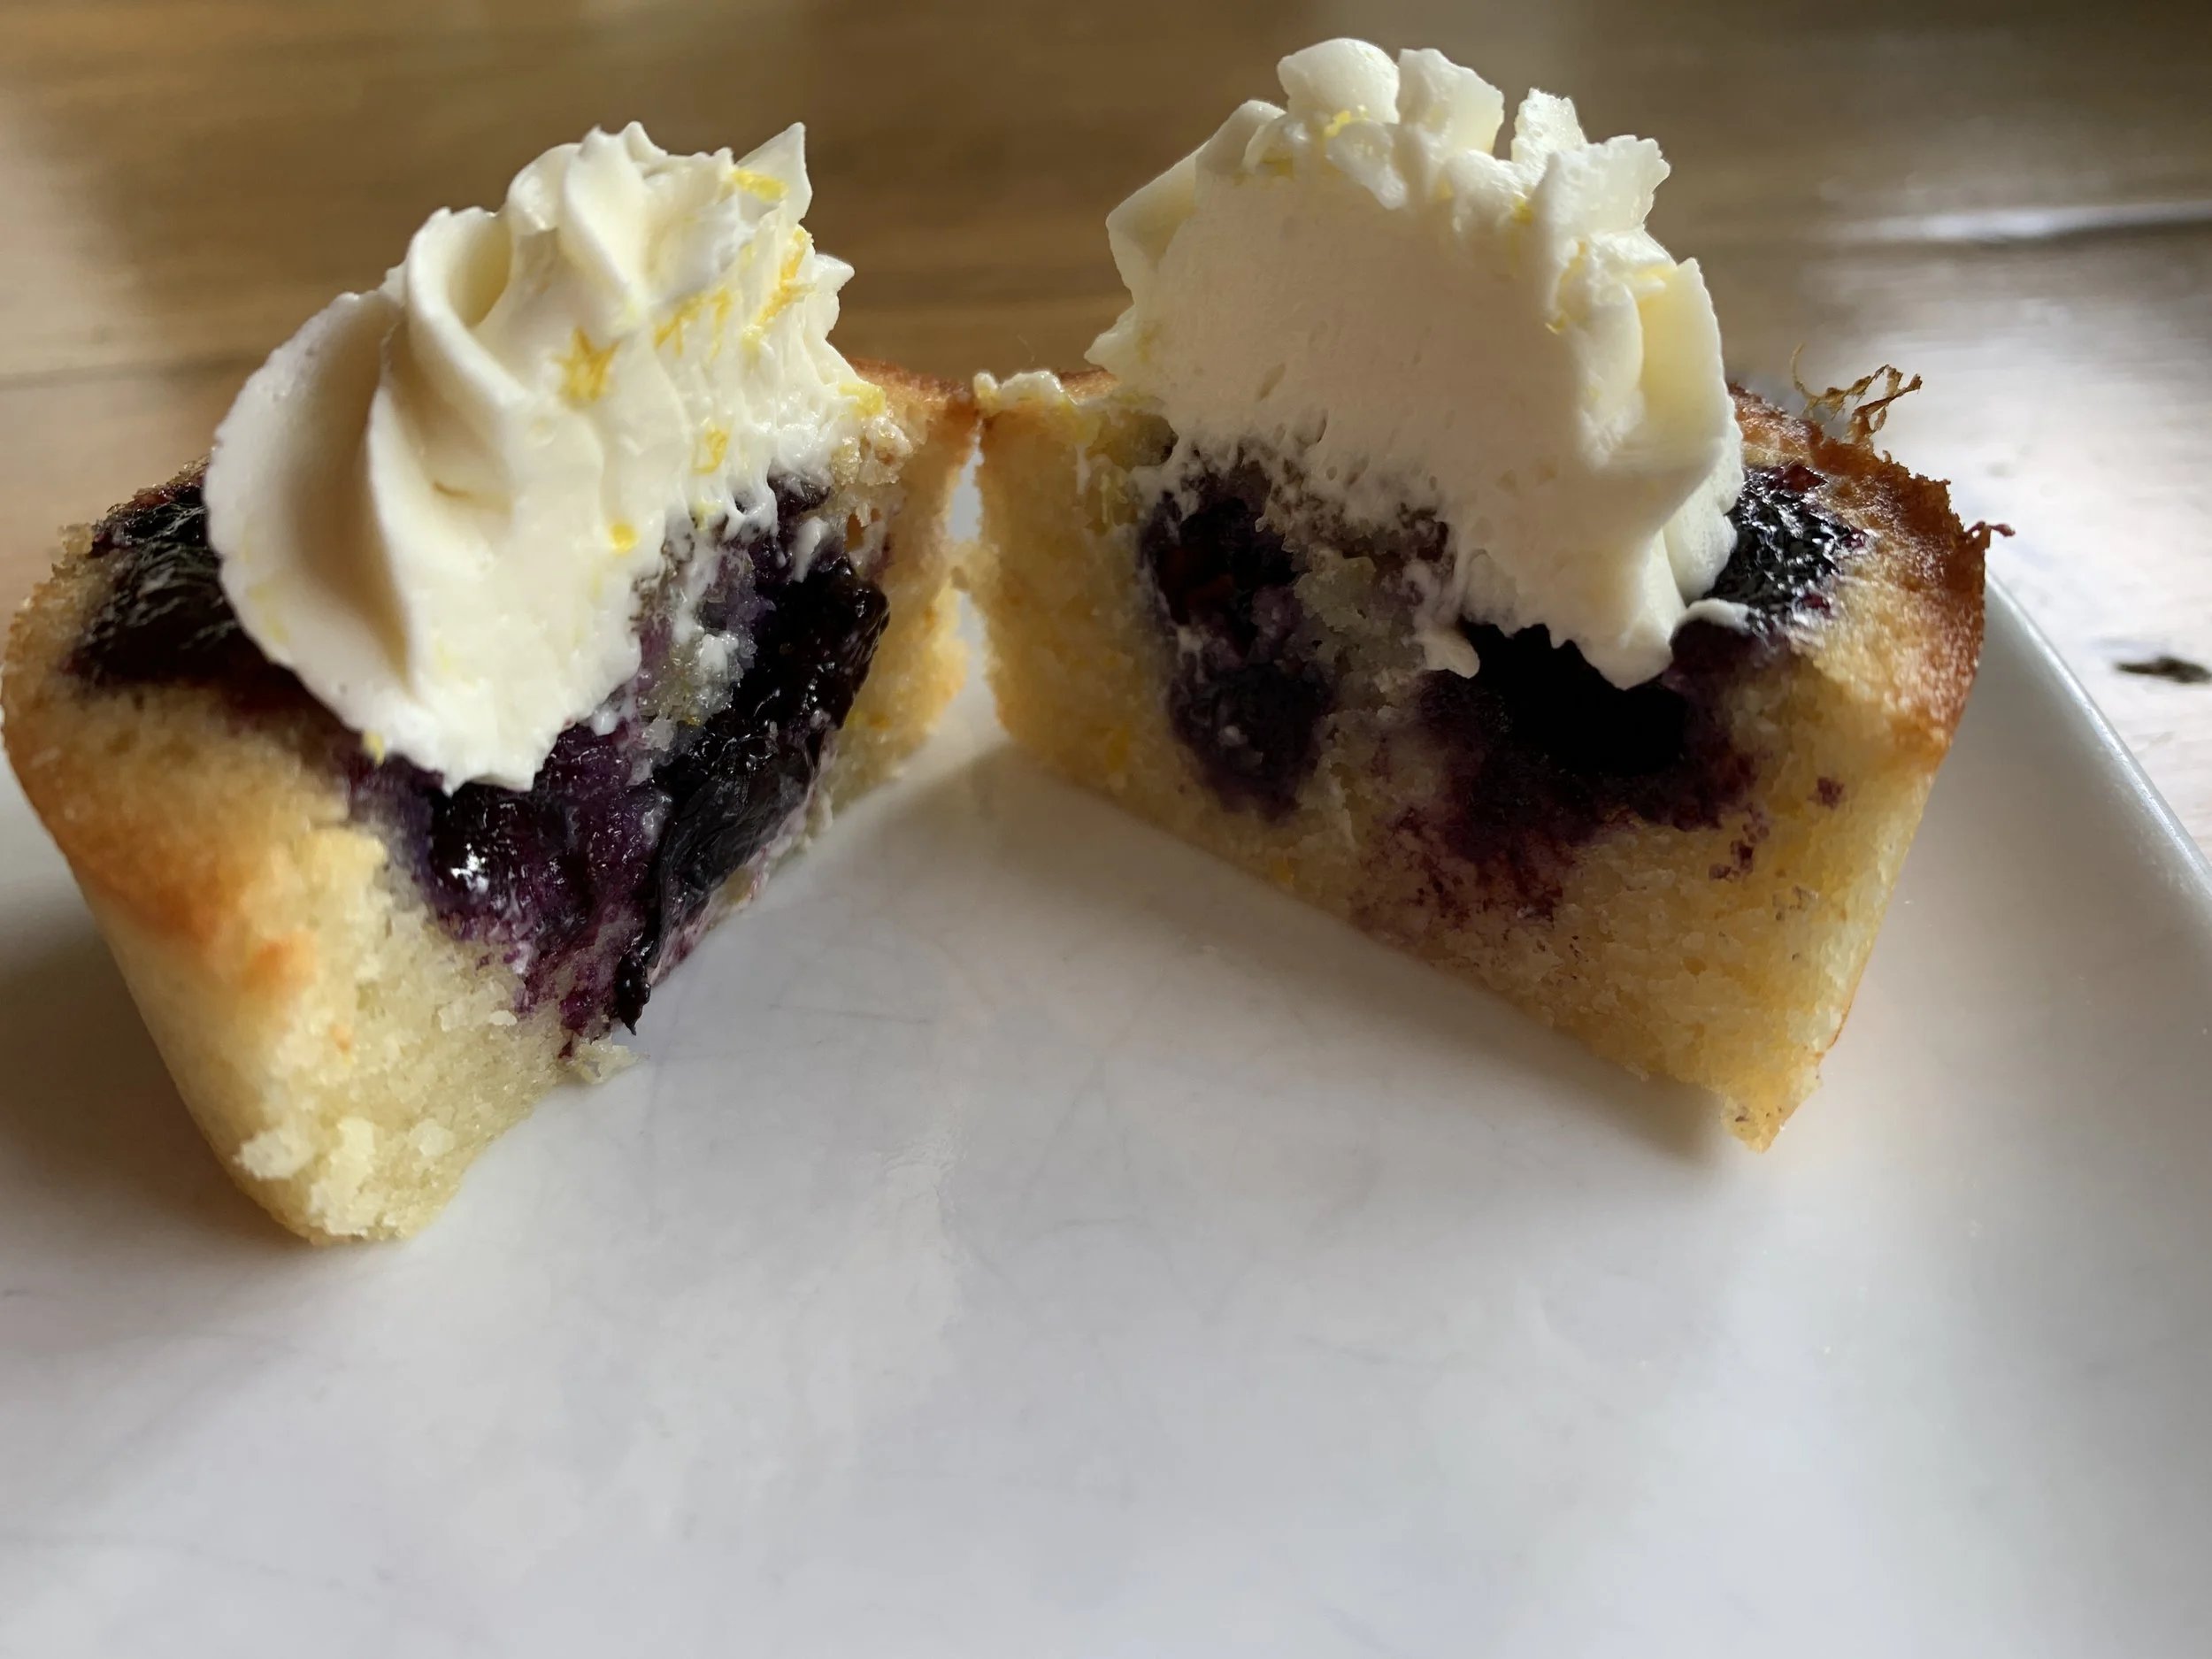
Delicious!
Stay cool everyone! Until next time.
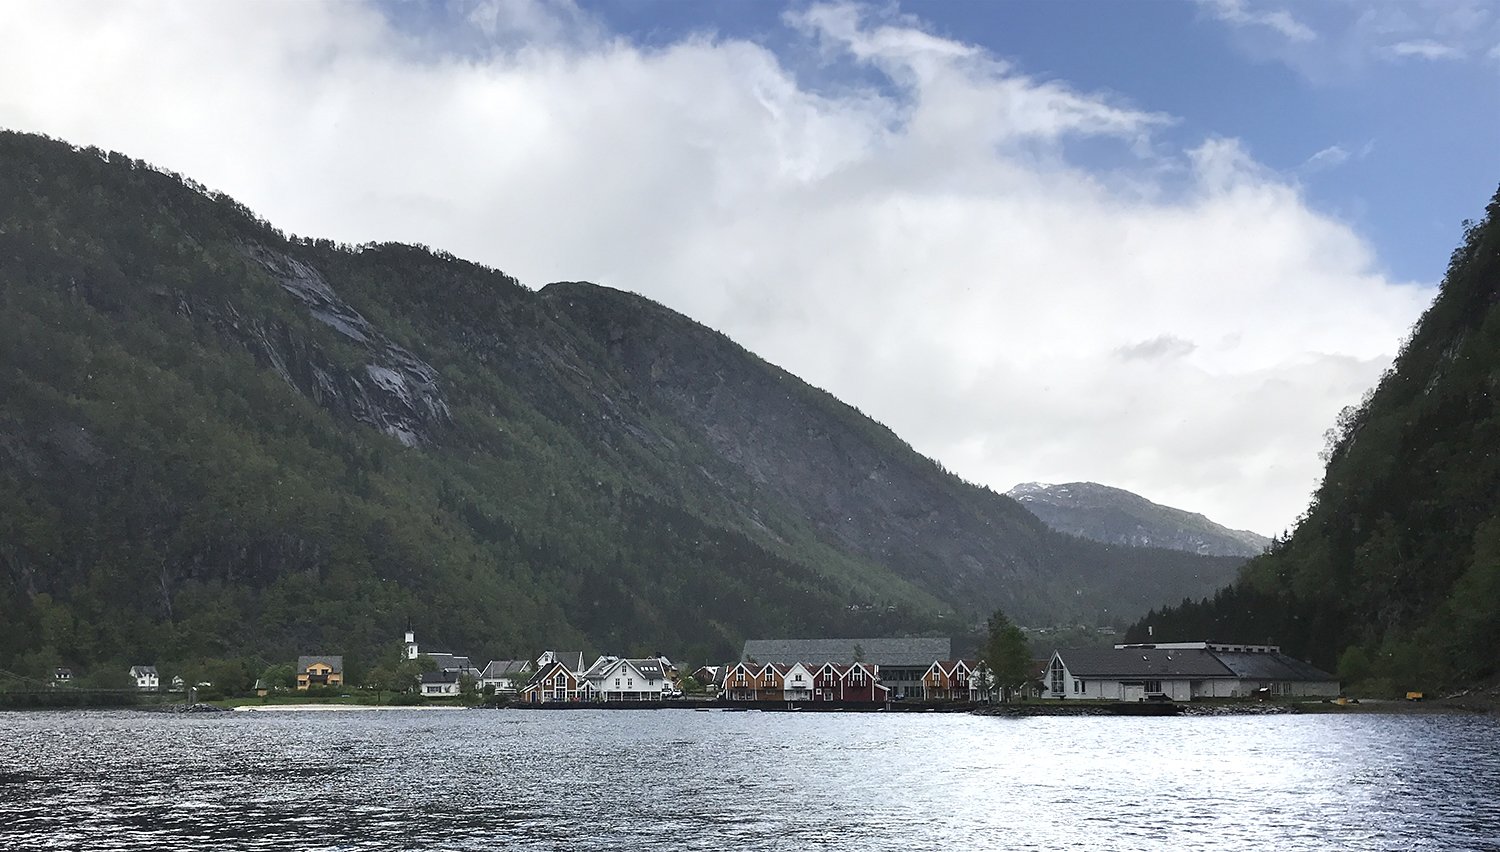
Here are a couple of images from our recent trip to visit family in New England.
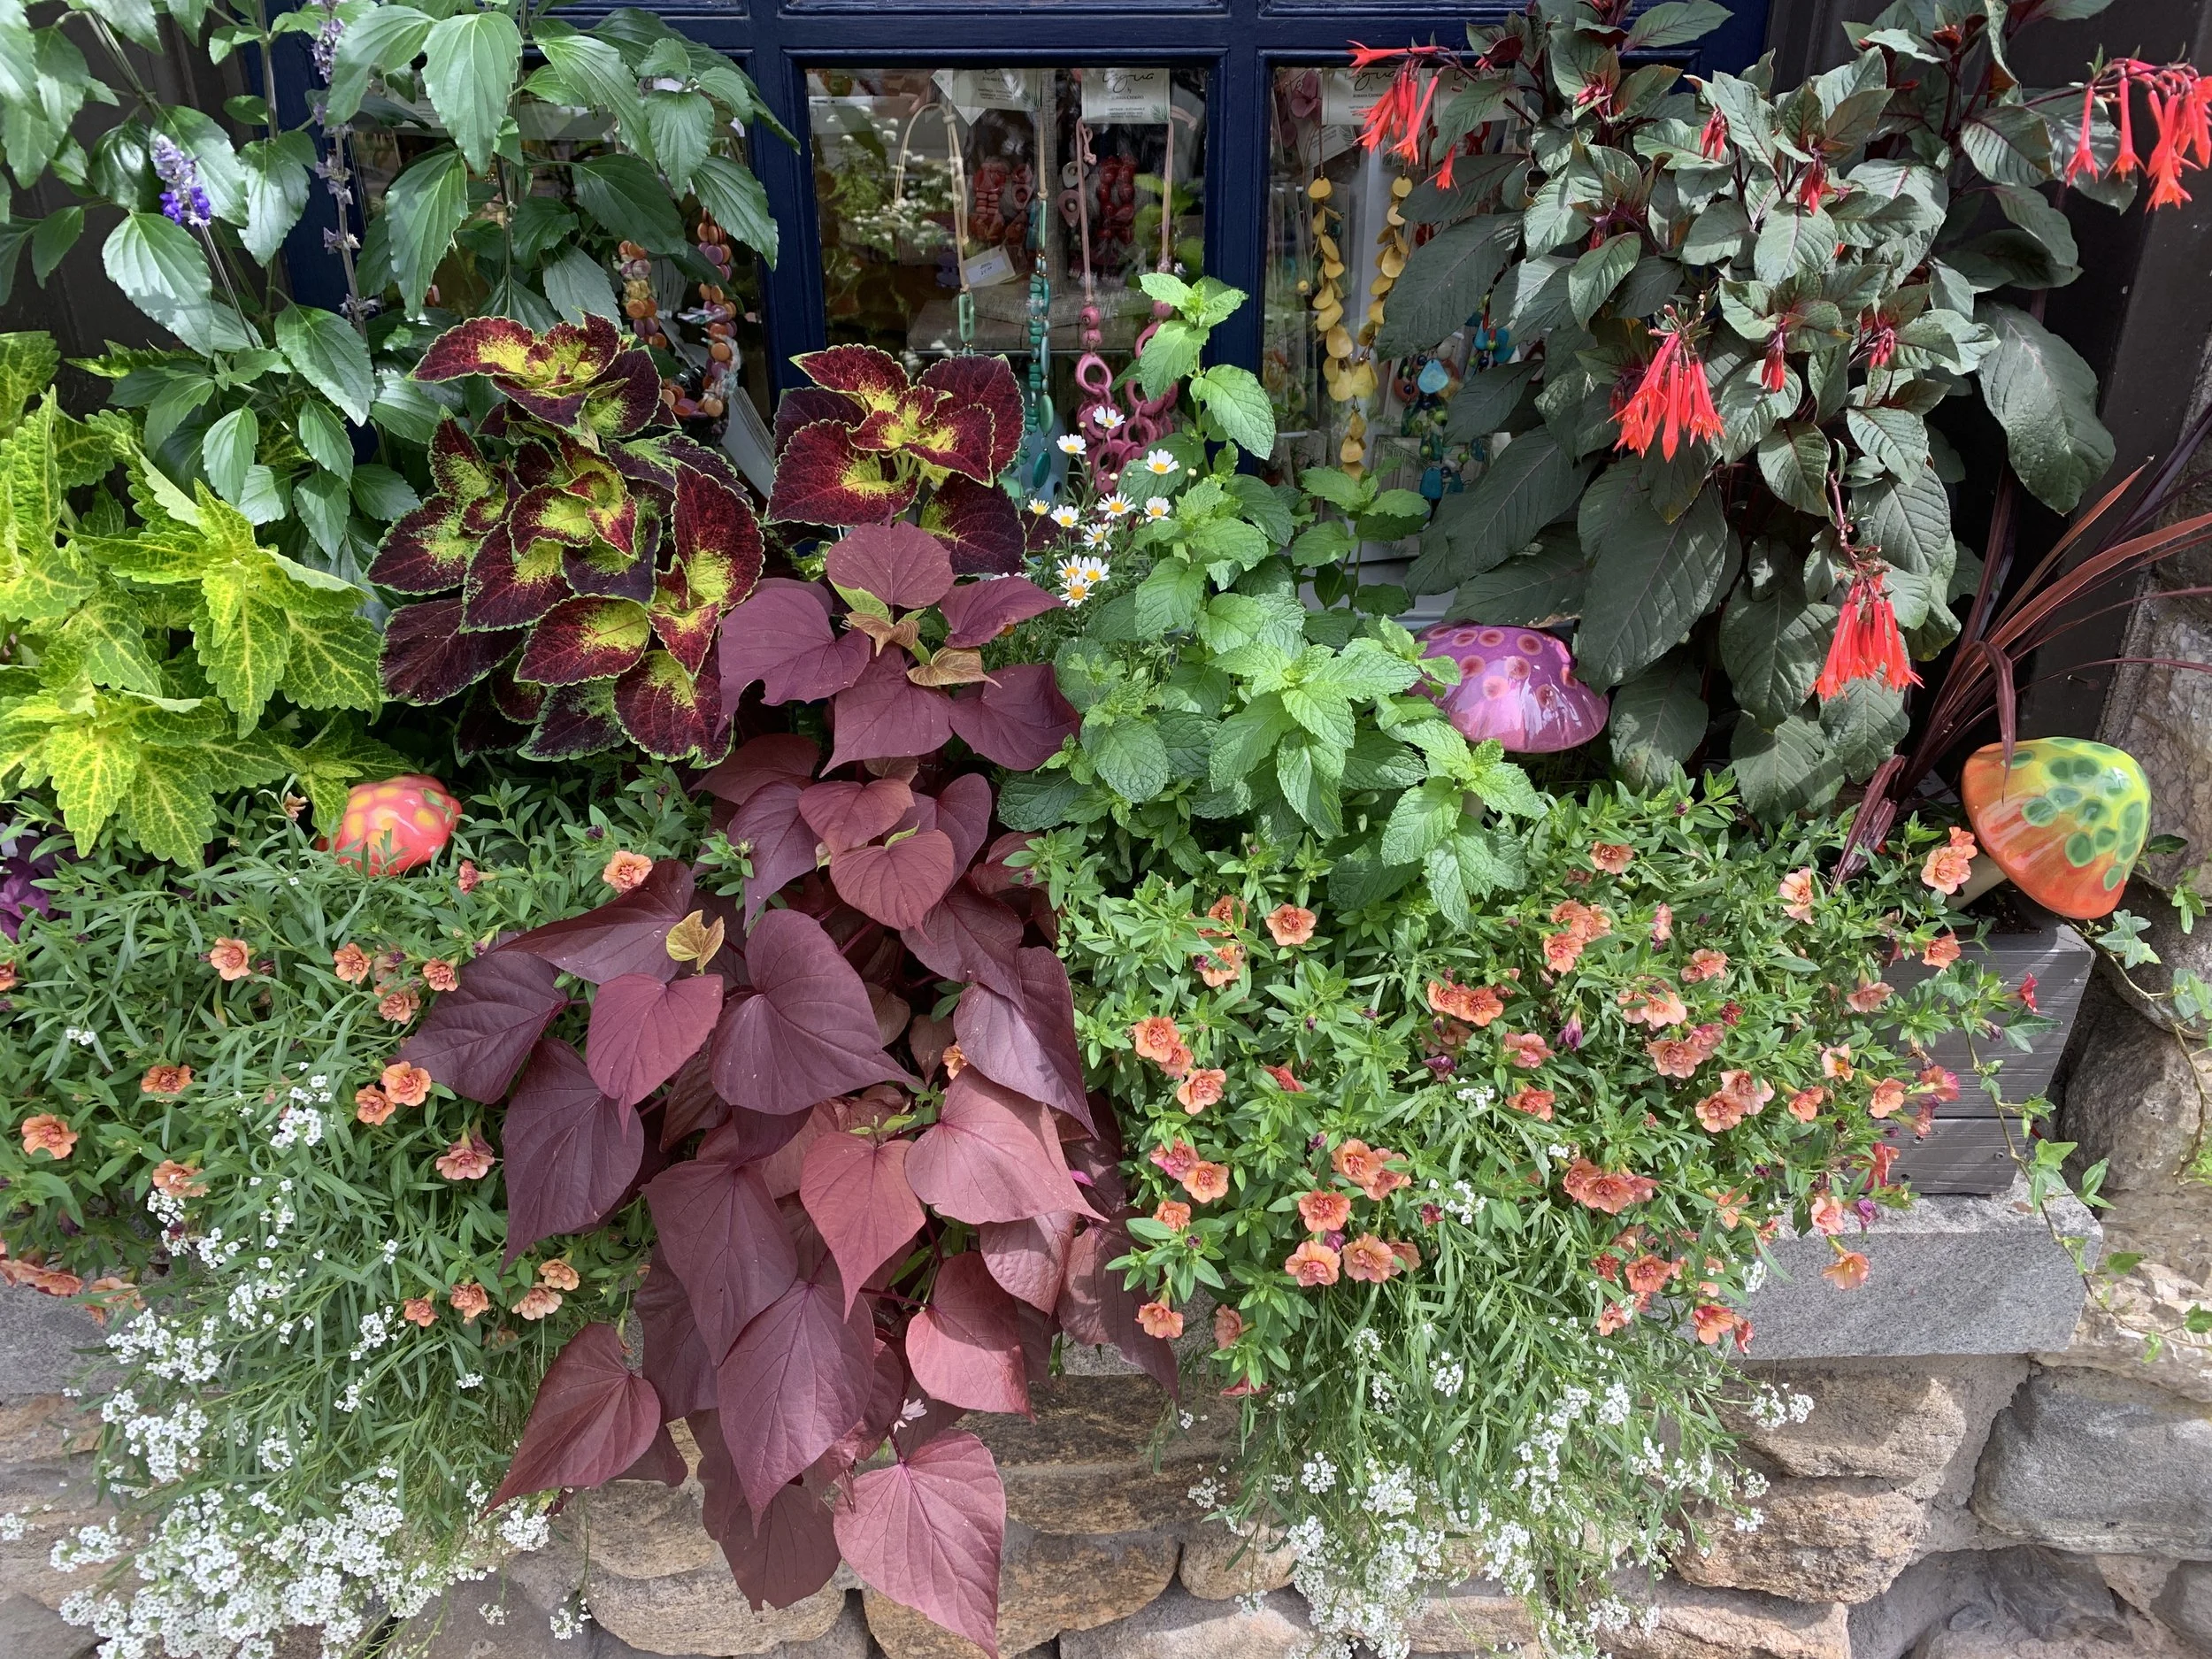
Lovely window box in Chester Connecticut

Sunset near BAngor Maine
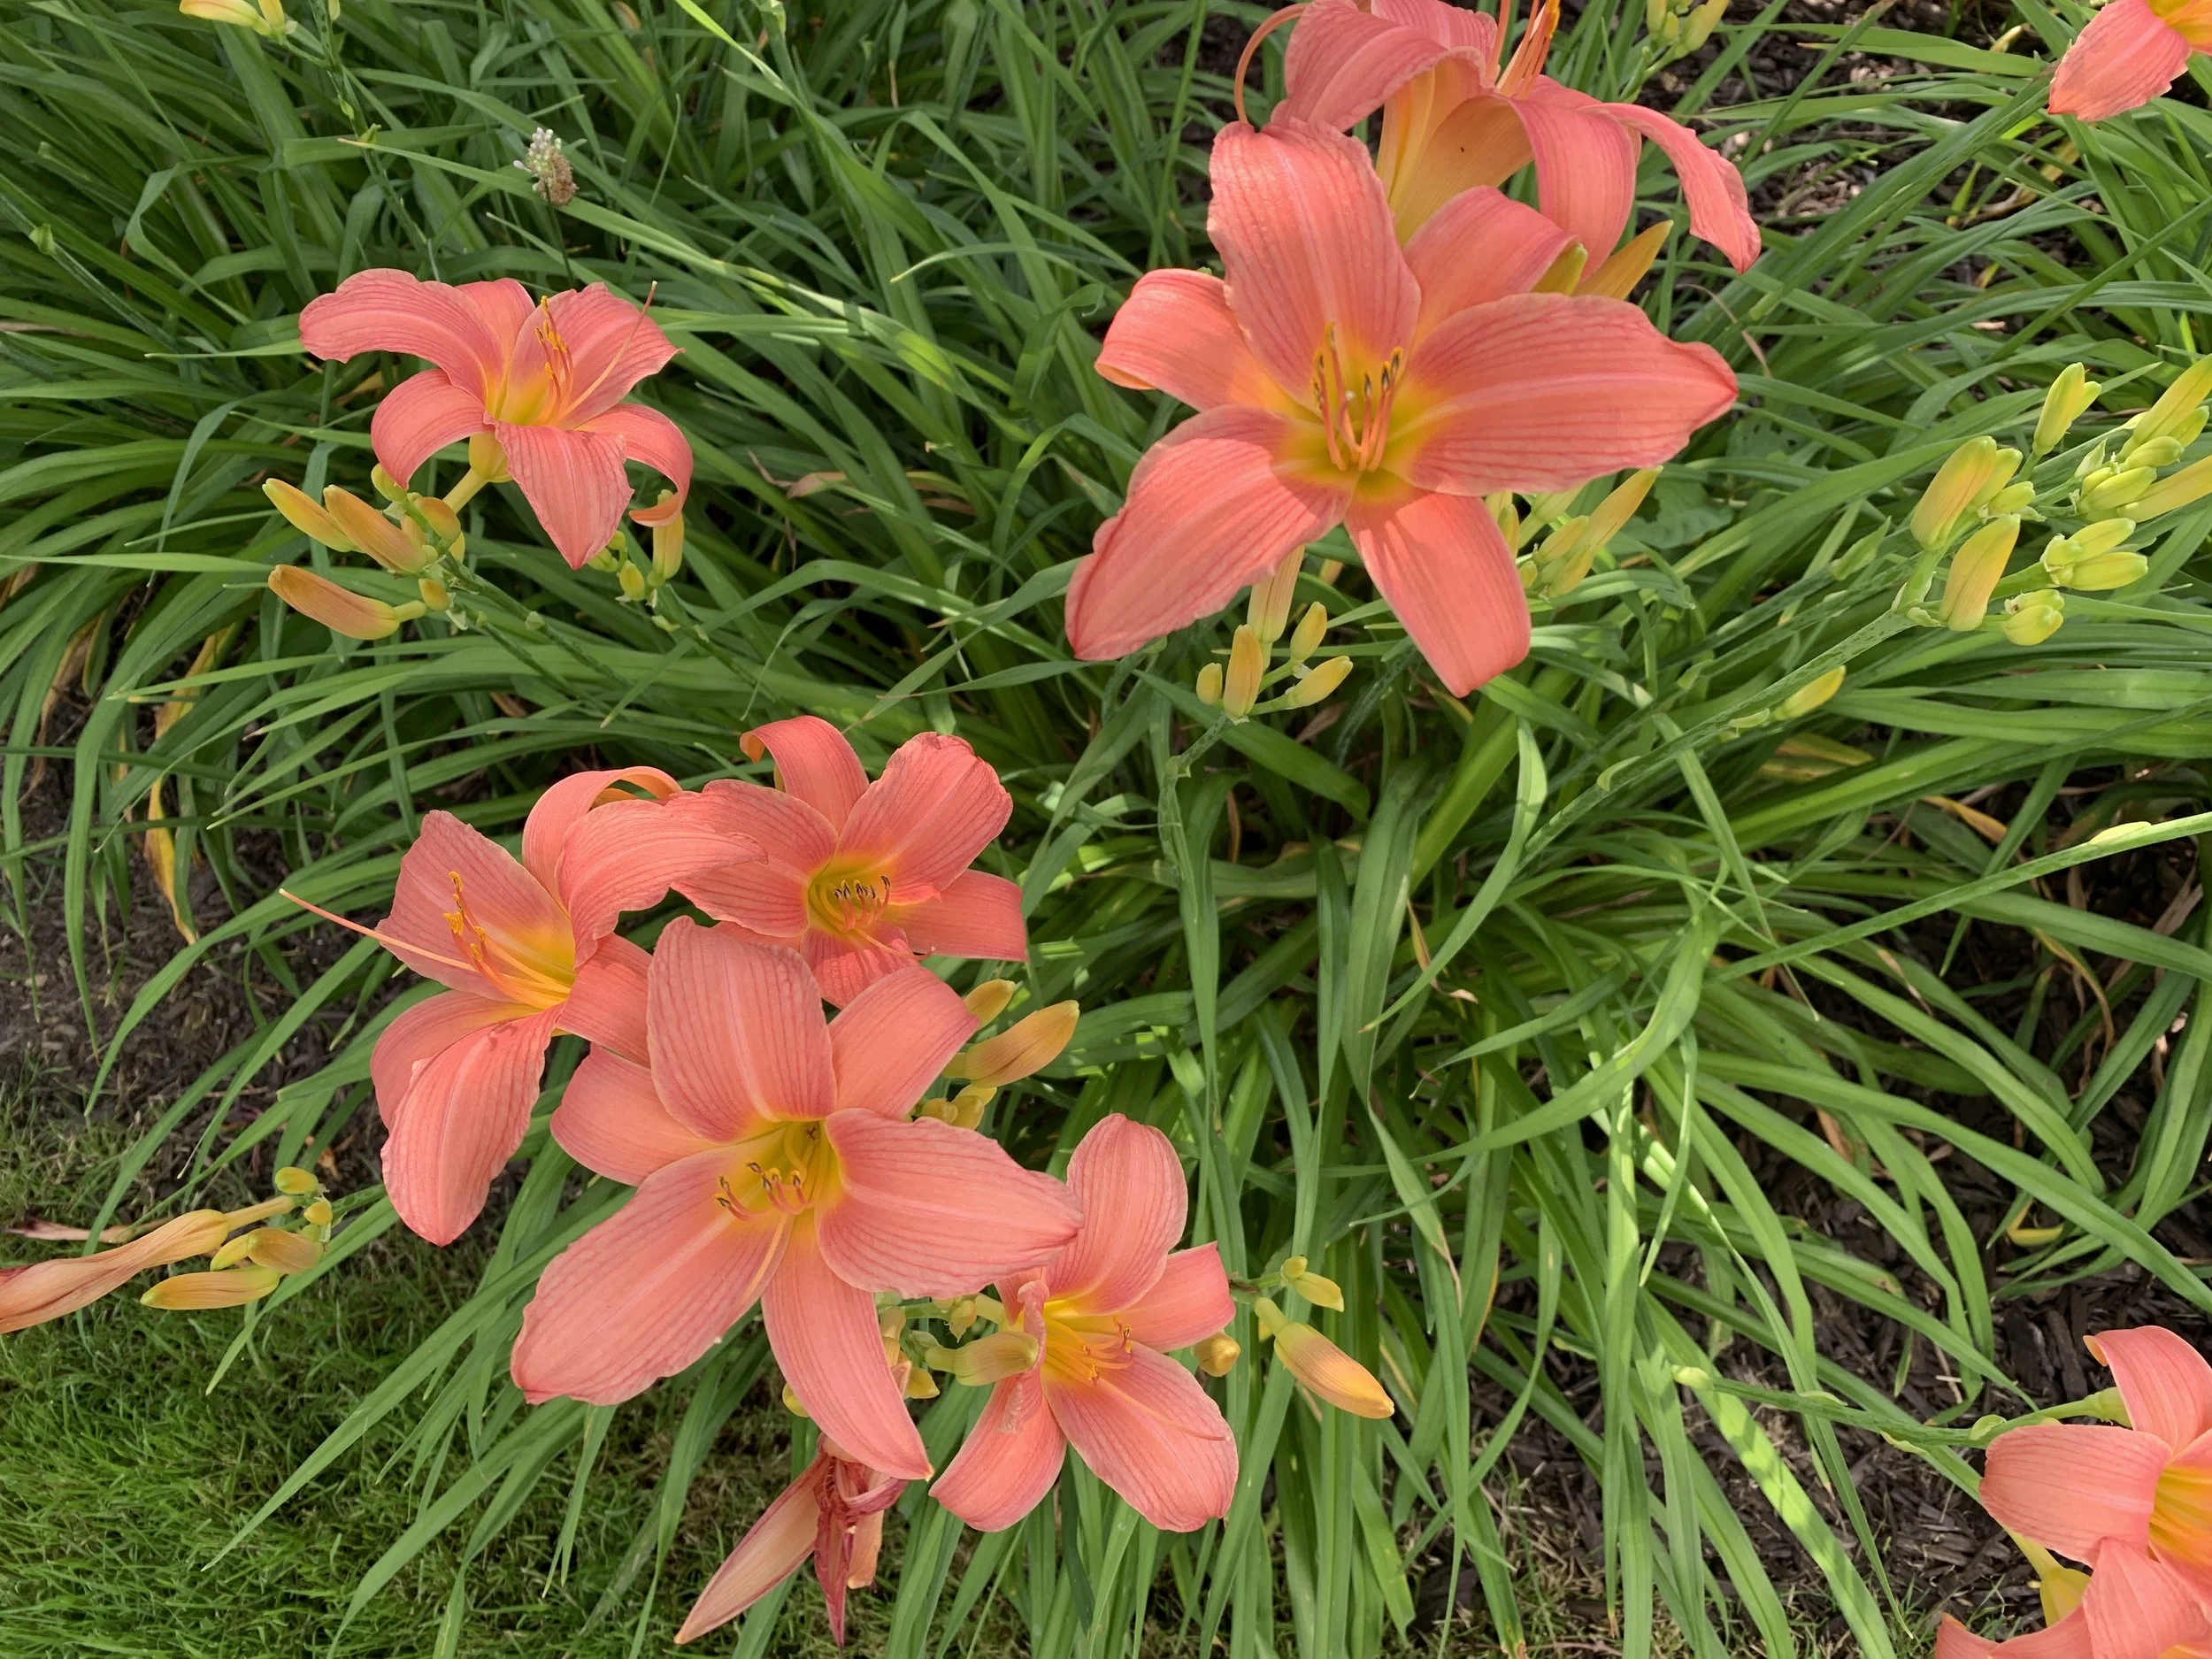
And finally - a recent daylily sighting. Cheers!