
Danish Kringle
/
More fun with laminated dough - an interesting project indeed!
As I was researching and reviewing the pastry known as Danish Kringle I learned that kringle is the word for pretzel and that Danish bakeries typically have a sign outside their shops shaped like a pretzel topped with a crown. A sure sign of good things inside.
Scandinavia is on Steve’s and my travel hit list, although it’s strange to contemplate when we might be able to travel again given our current times. We can only hope. In the meantime I’m reading and learning more about the types of baked goods that come from that corner of the planet. Cool stuff.
Made with the Danish version of laminated dough (wienerbrød in Scandi talk), this is a traditional almond filled pastry, popularly served in Denmark for occasions like birthdays, anniversaries and other festivities. Much like croissant dough in its preparation, the primary difference is the addition of egg to the dough. As is true when comparing a number of recipes for a particular pastry, the range of ingredient quantities can certainly vary, particularly the amount of butter used for the laminations.
Inspired by Brontë Aurell’s version in her book “Brontë at Home”, I compared her Danish dough base recipe with several others, most notably the one in my 2004 first edition of CIA’s book “Baking and Pastry - Mastering the Art and Craft” (there have since been two further editions in 2009 and 2015).
It was the first pastry tome I purchased upon our return to the USA after completing my stage at Pâtisserie Pascal Pinaud in Paris’ 5th arrondisement in March of 2007. I used it as my primary reference source (and still refer to it all these years later) during my first summer job that year at JM Gerrish Provisions in Winter Harbor Maine. My how time flies.

I ended up creating my dough recipe based on an amalgamation of Aurell’s and CIA’s - pretty similar actually, save for the lesser butter block quantity in CIA’s version. I tend to take a “less is more” approach in my croissant dough too.
The dough: remember if you’re going to mise out your ingredients ahead of time, keep the yeast separate from the salt until ready to actually start mixing since the salt can inhibit the yeast.
Using a stand mixer fitted with the dough hook, mix 375 g / scant 3 cups bread flour, 43 g / 3 tablespoons granulated sugar, 6 g / 2 1/8 teaspoons instant yeast, 6 g / 1 teaspoon salt, 40 g / 3 tablespoons soft unsalted butter, 1 large egg, 1 large egg yolk and 175 g / 3/4 cup room temperature whole milk. Blend on low speed for 2 minutes then increase to medium speed for 4 minutes.
Place the dough in a lightly greased bowl, cover and let rise for about 2 hours. Gently turn the dough out onto a lightly floured work surface, fold it over and form a rectangle on a parchment lined sheet pan. Wrap tightly and refrigerate overnight.
Form 243 g / 2 sticks + 1 tablespoon unsalted butter into a ~8”x8” square by tapping/rolling it between plastic wrap. Keep it wrapped and refrigerated until you’re ready to perform the butter incorporation and the laminations.
Let’s review the steps of creating a laminated dough. Take the butter out of the fridge about 20 minutes before you’re ready to go, then tap it with your rolling pin to make it more malleable - you want it cool and bendable.
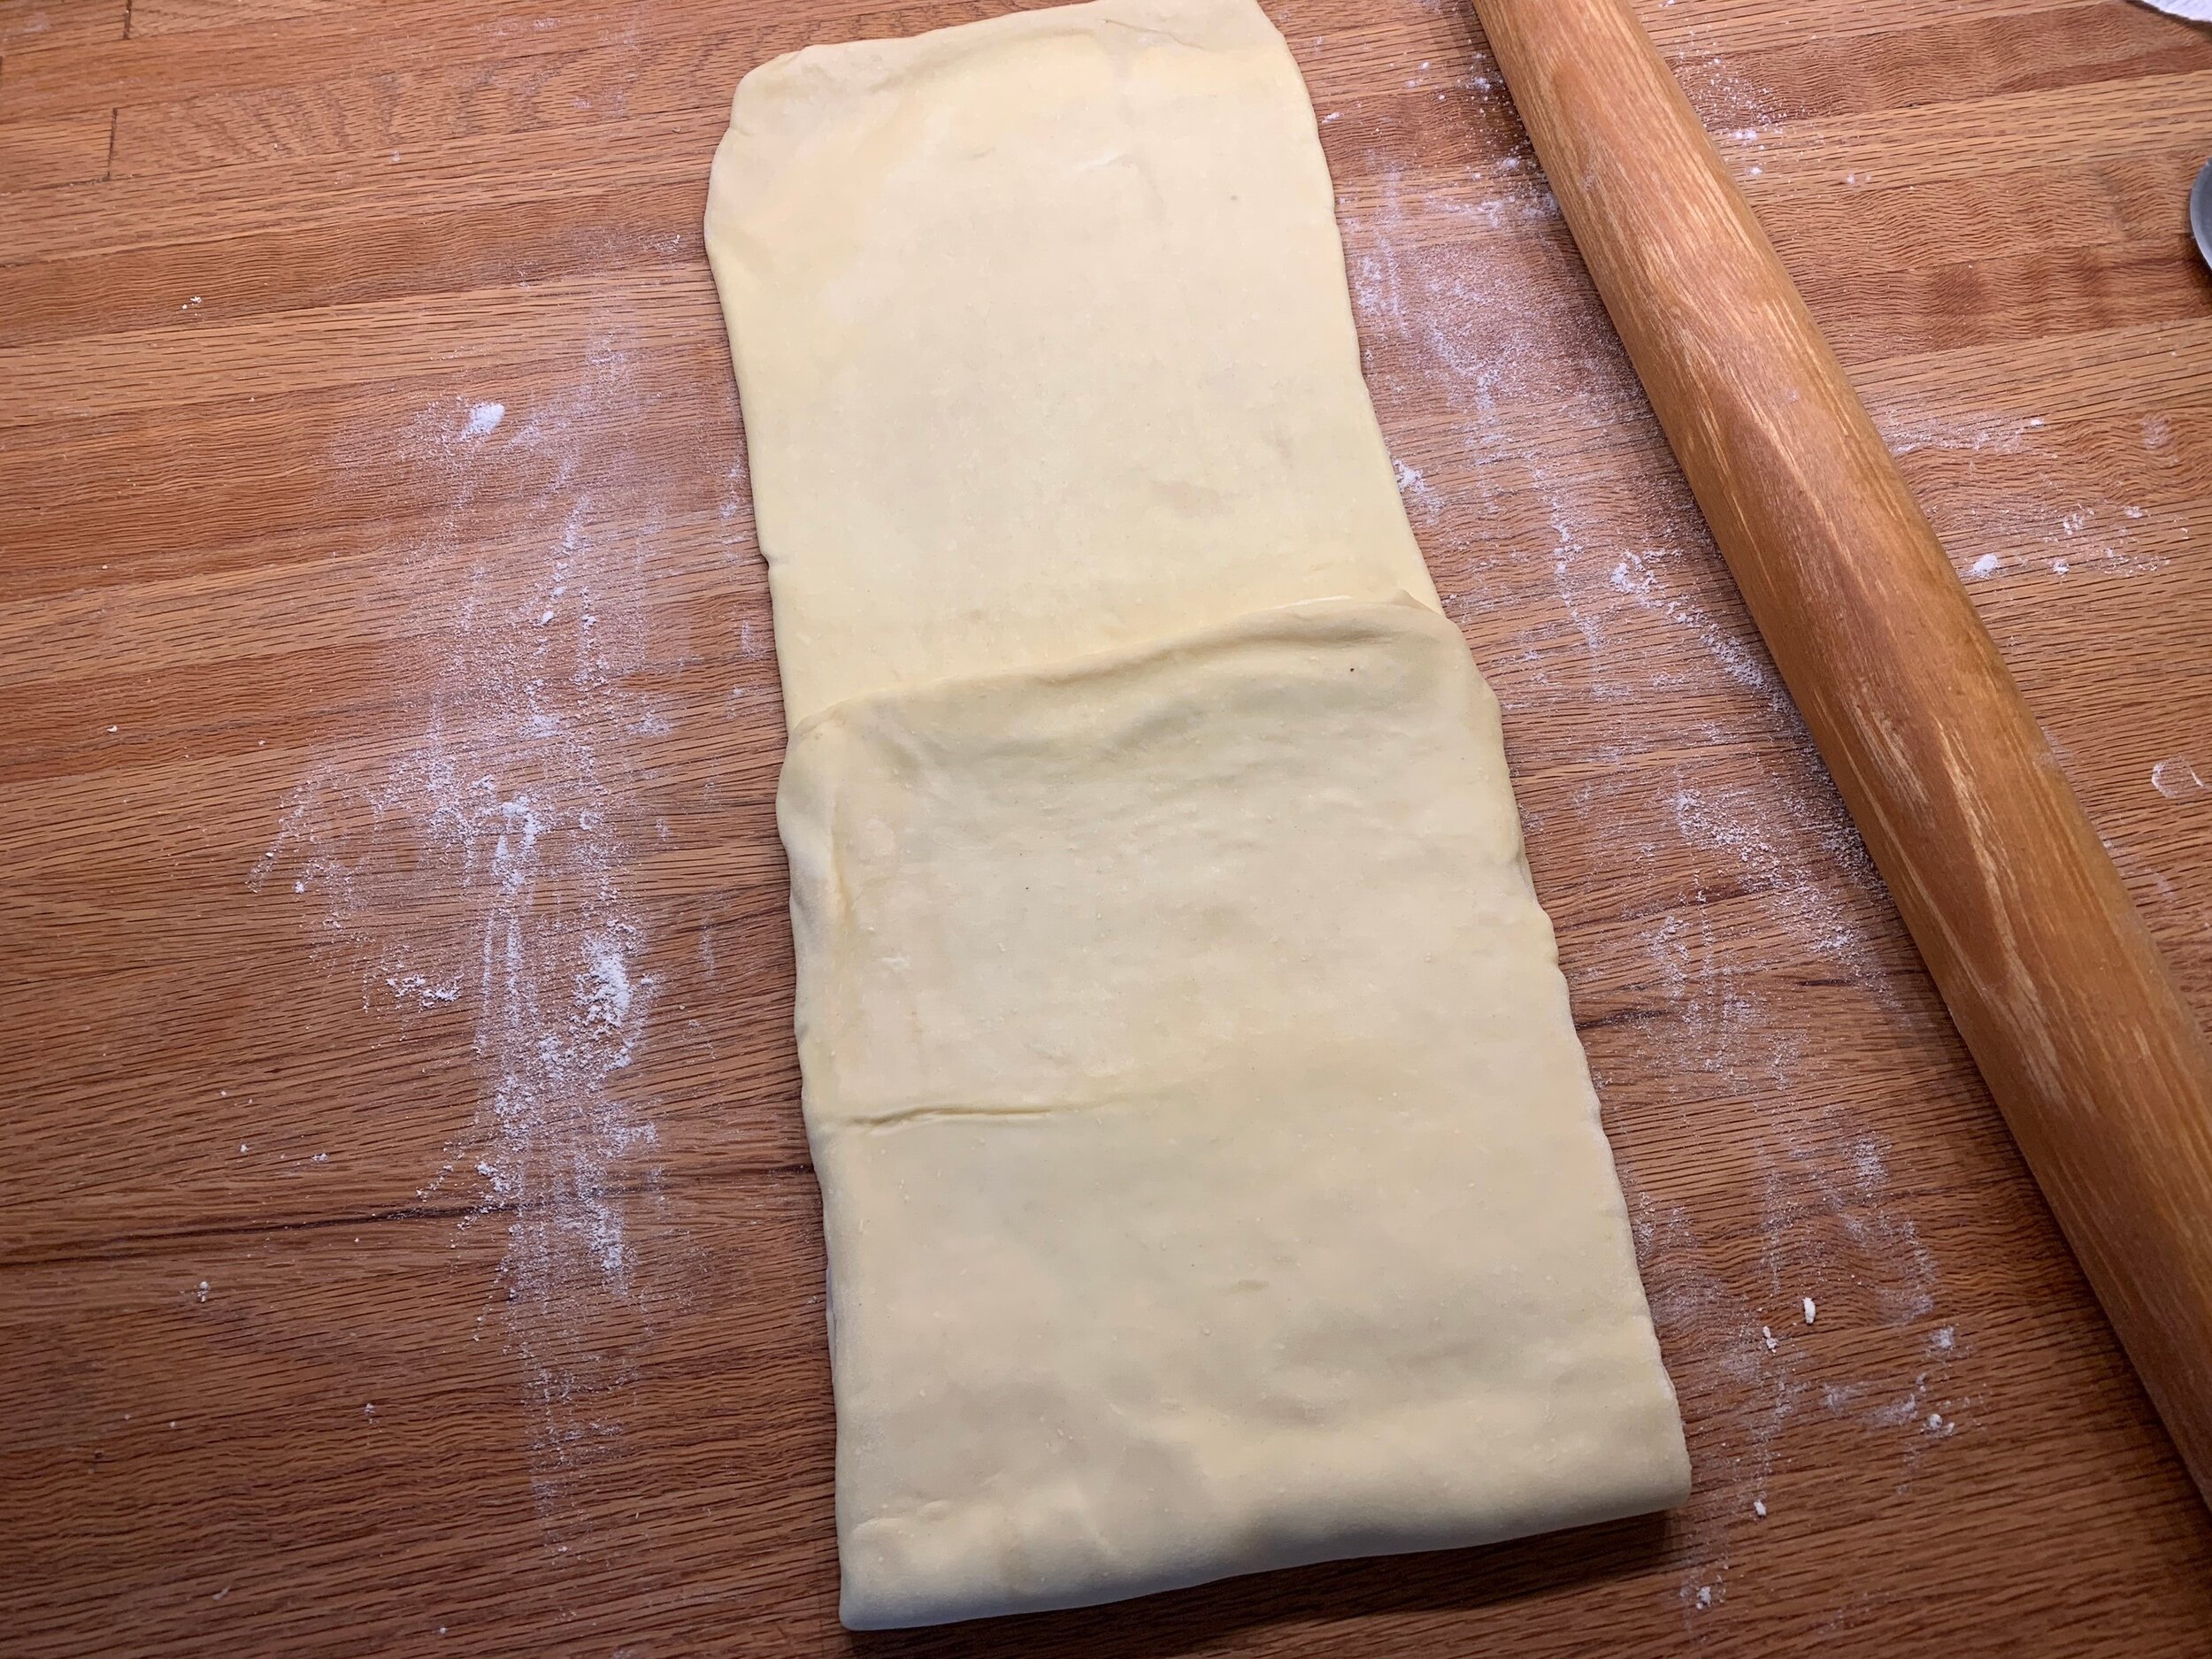
Remove the dough from the fridge and roll out to ~8”x 16” rectangle. Place the butter in the middle of the dough and fold one end over it to cover half of the butter as seen below. Do your best to keep the corners square.

Fold the other portion of dough over the remaining butter. You can stretch the dough a bit to square off the corners and pinch the edges and center seam together so as to completely envelope the dough. This is called the “lock-in” or le beurrage en Français.

Next you’ll roll the dough out to an ~8”x 24” rectangle, paying attention to the edges and center seam to keep things together and prevent any butter from sneaking out. I like to roll the dough with the sealed edges positioned at top and bottom and the center seam vertical to me. Feel free to flip the dough seam side down as you roll.
If your dough ever becomes too warm and butter starts breaking through, wrap and chill it for 15-20 minutes to firm things up again.

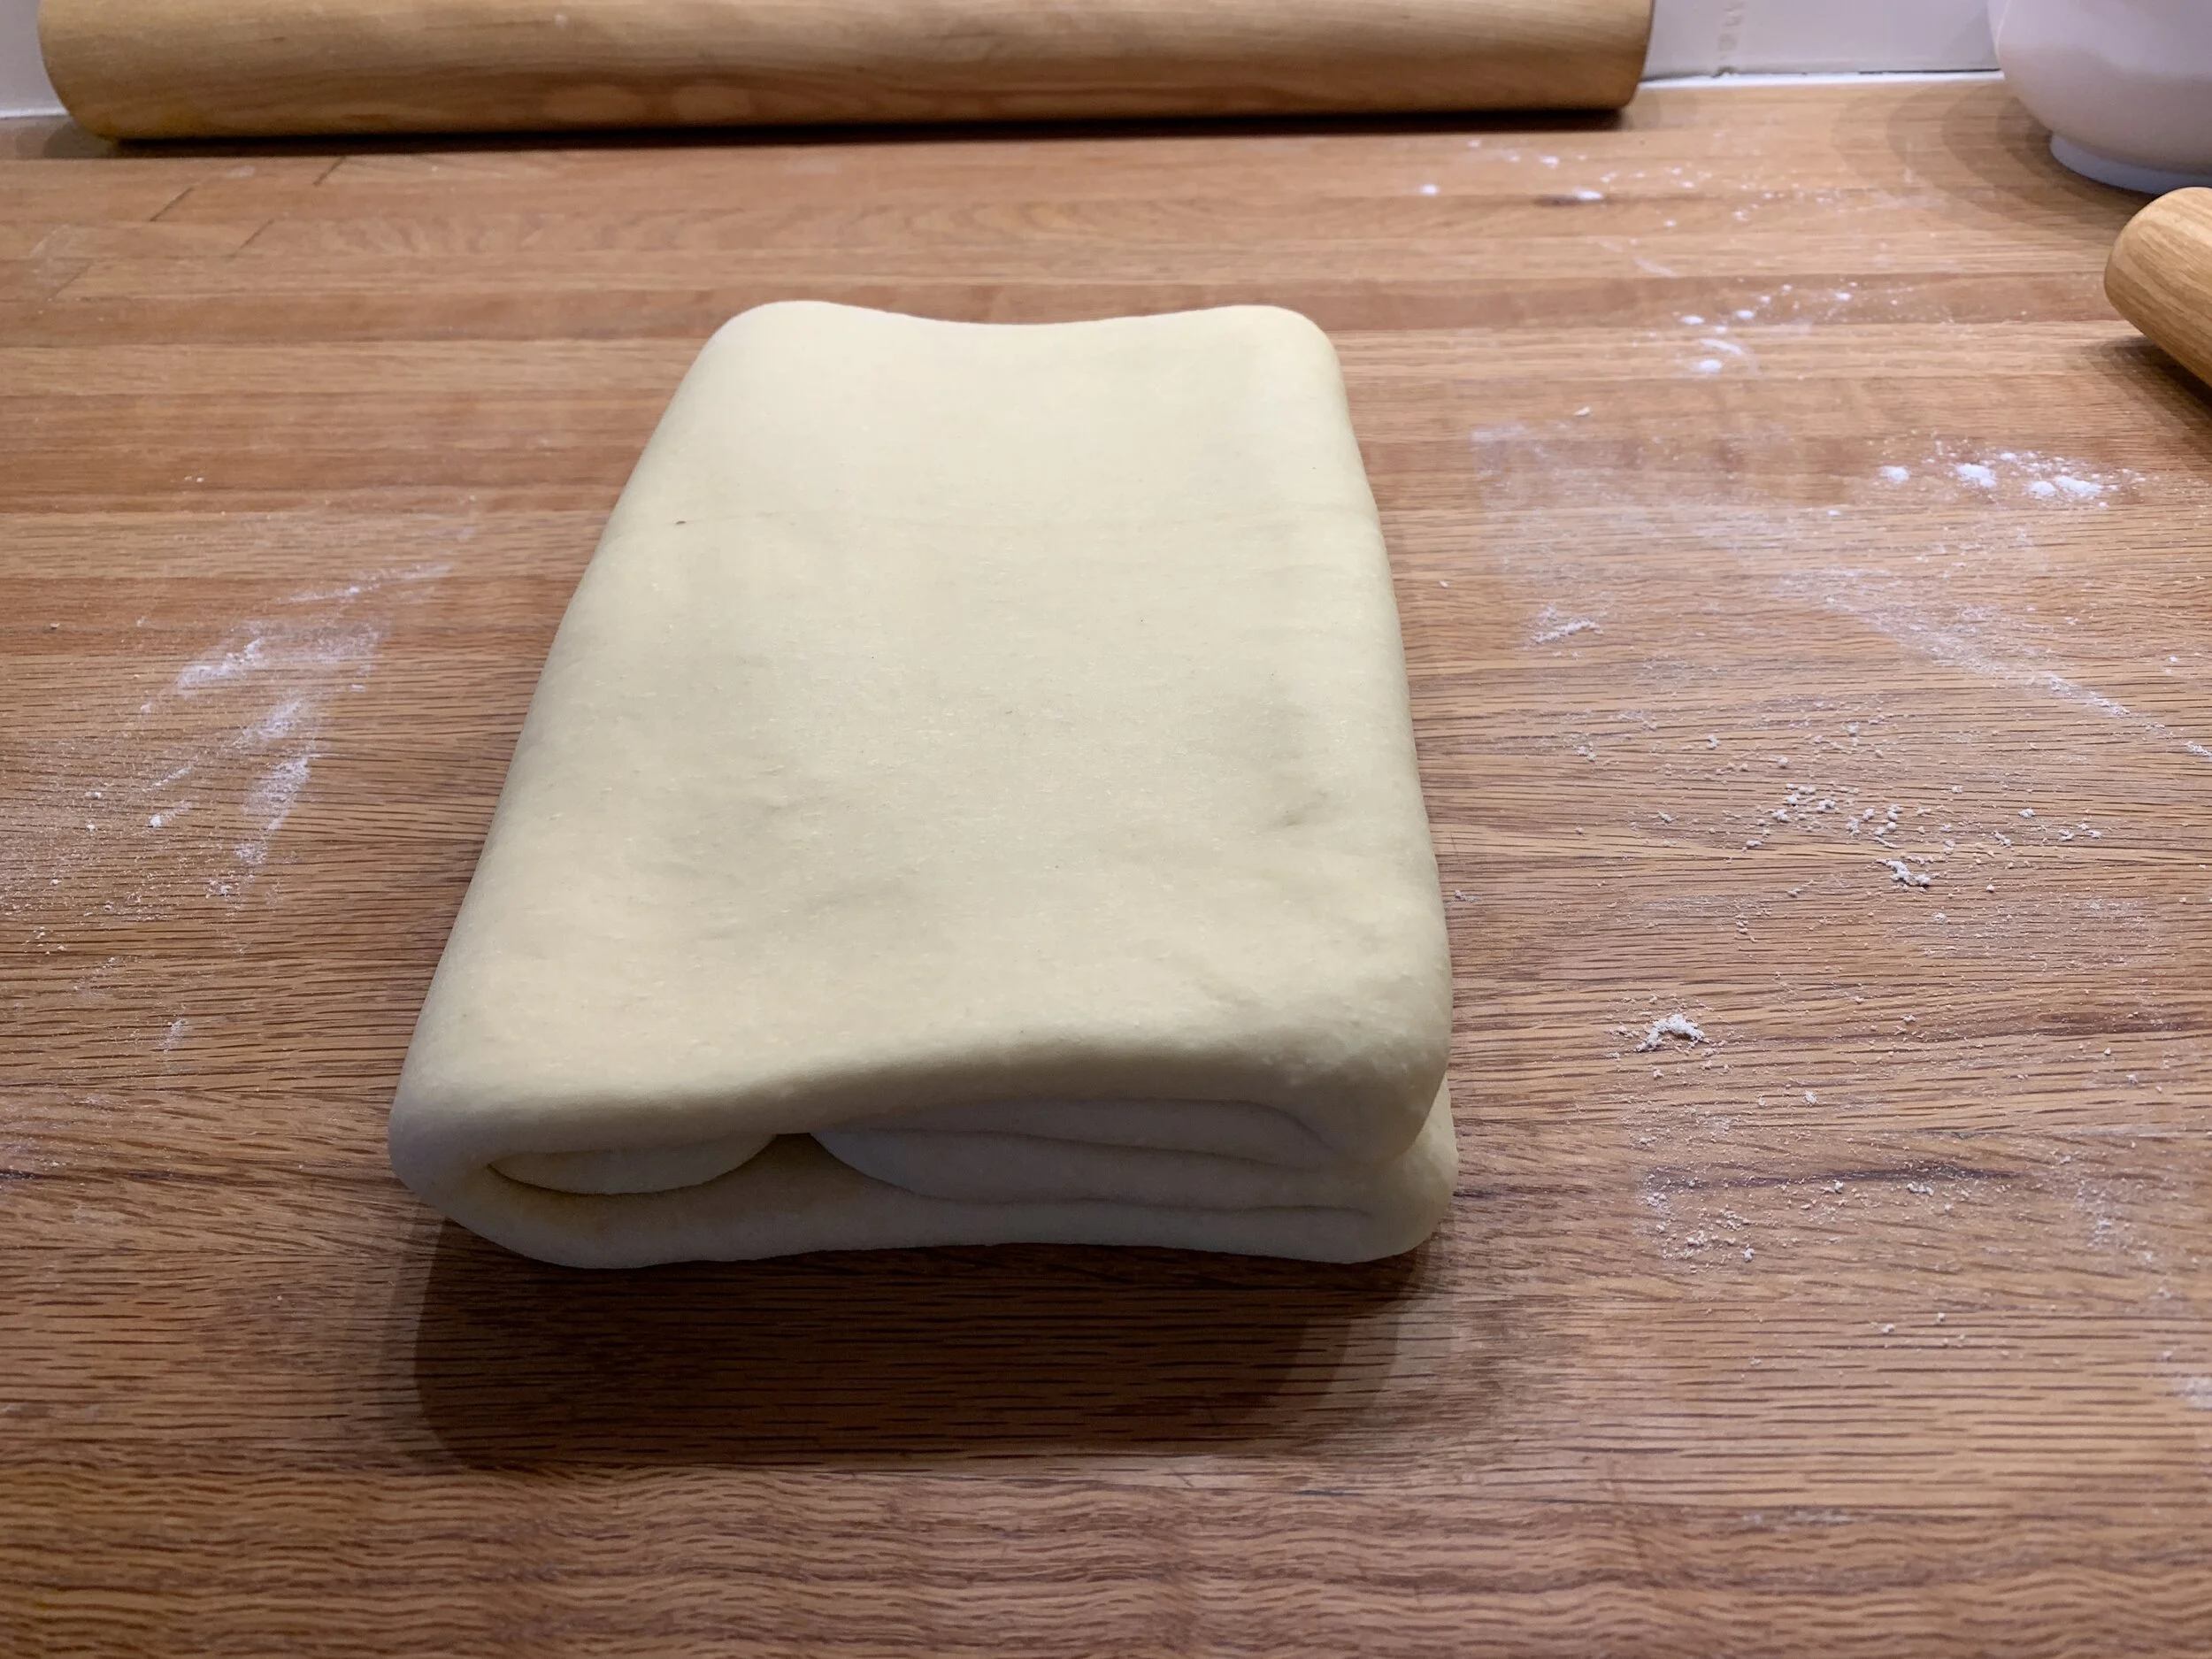
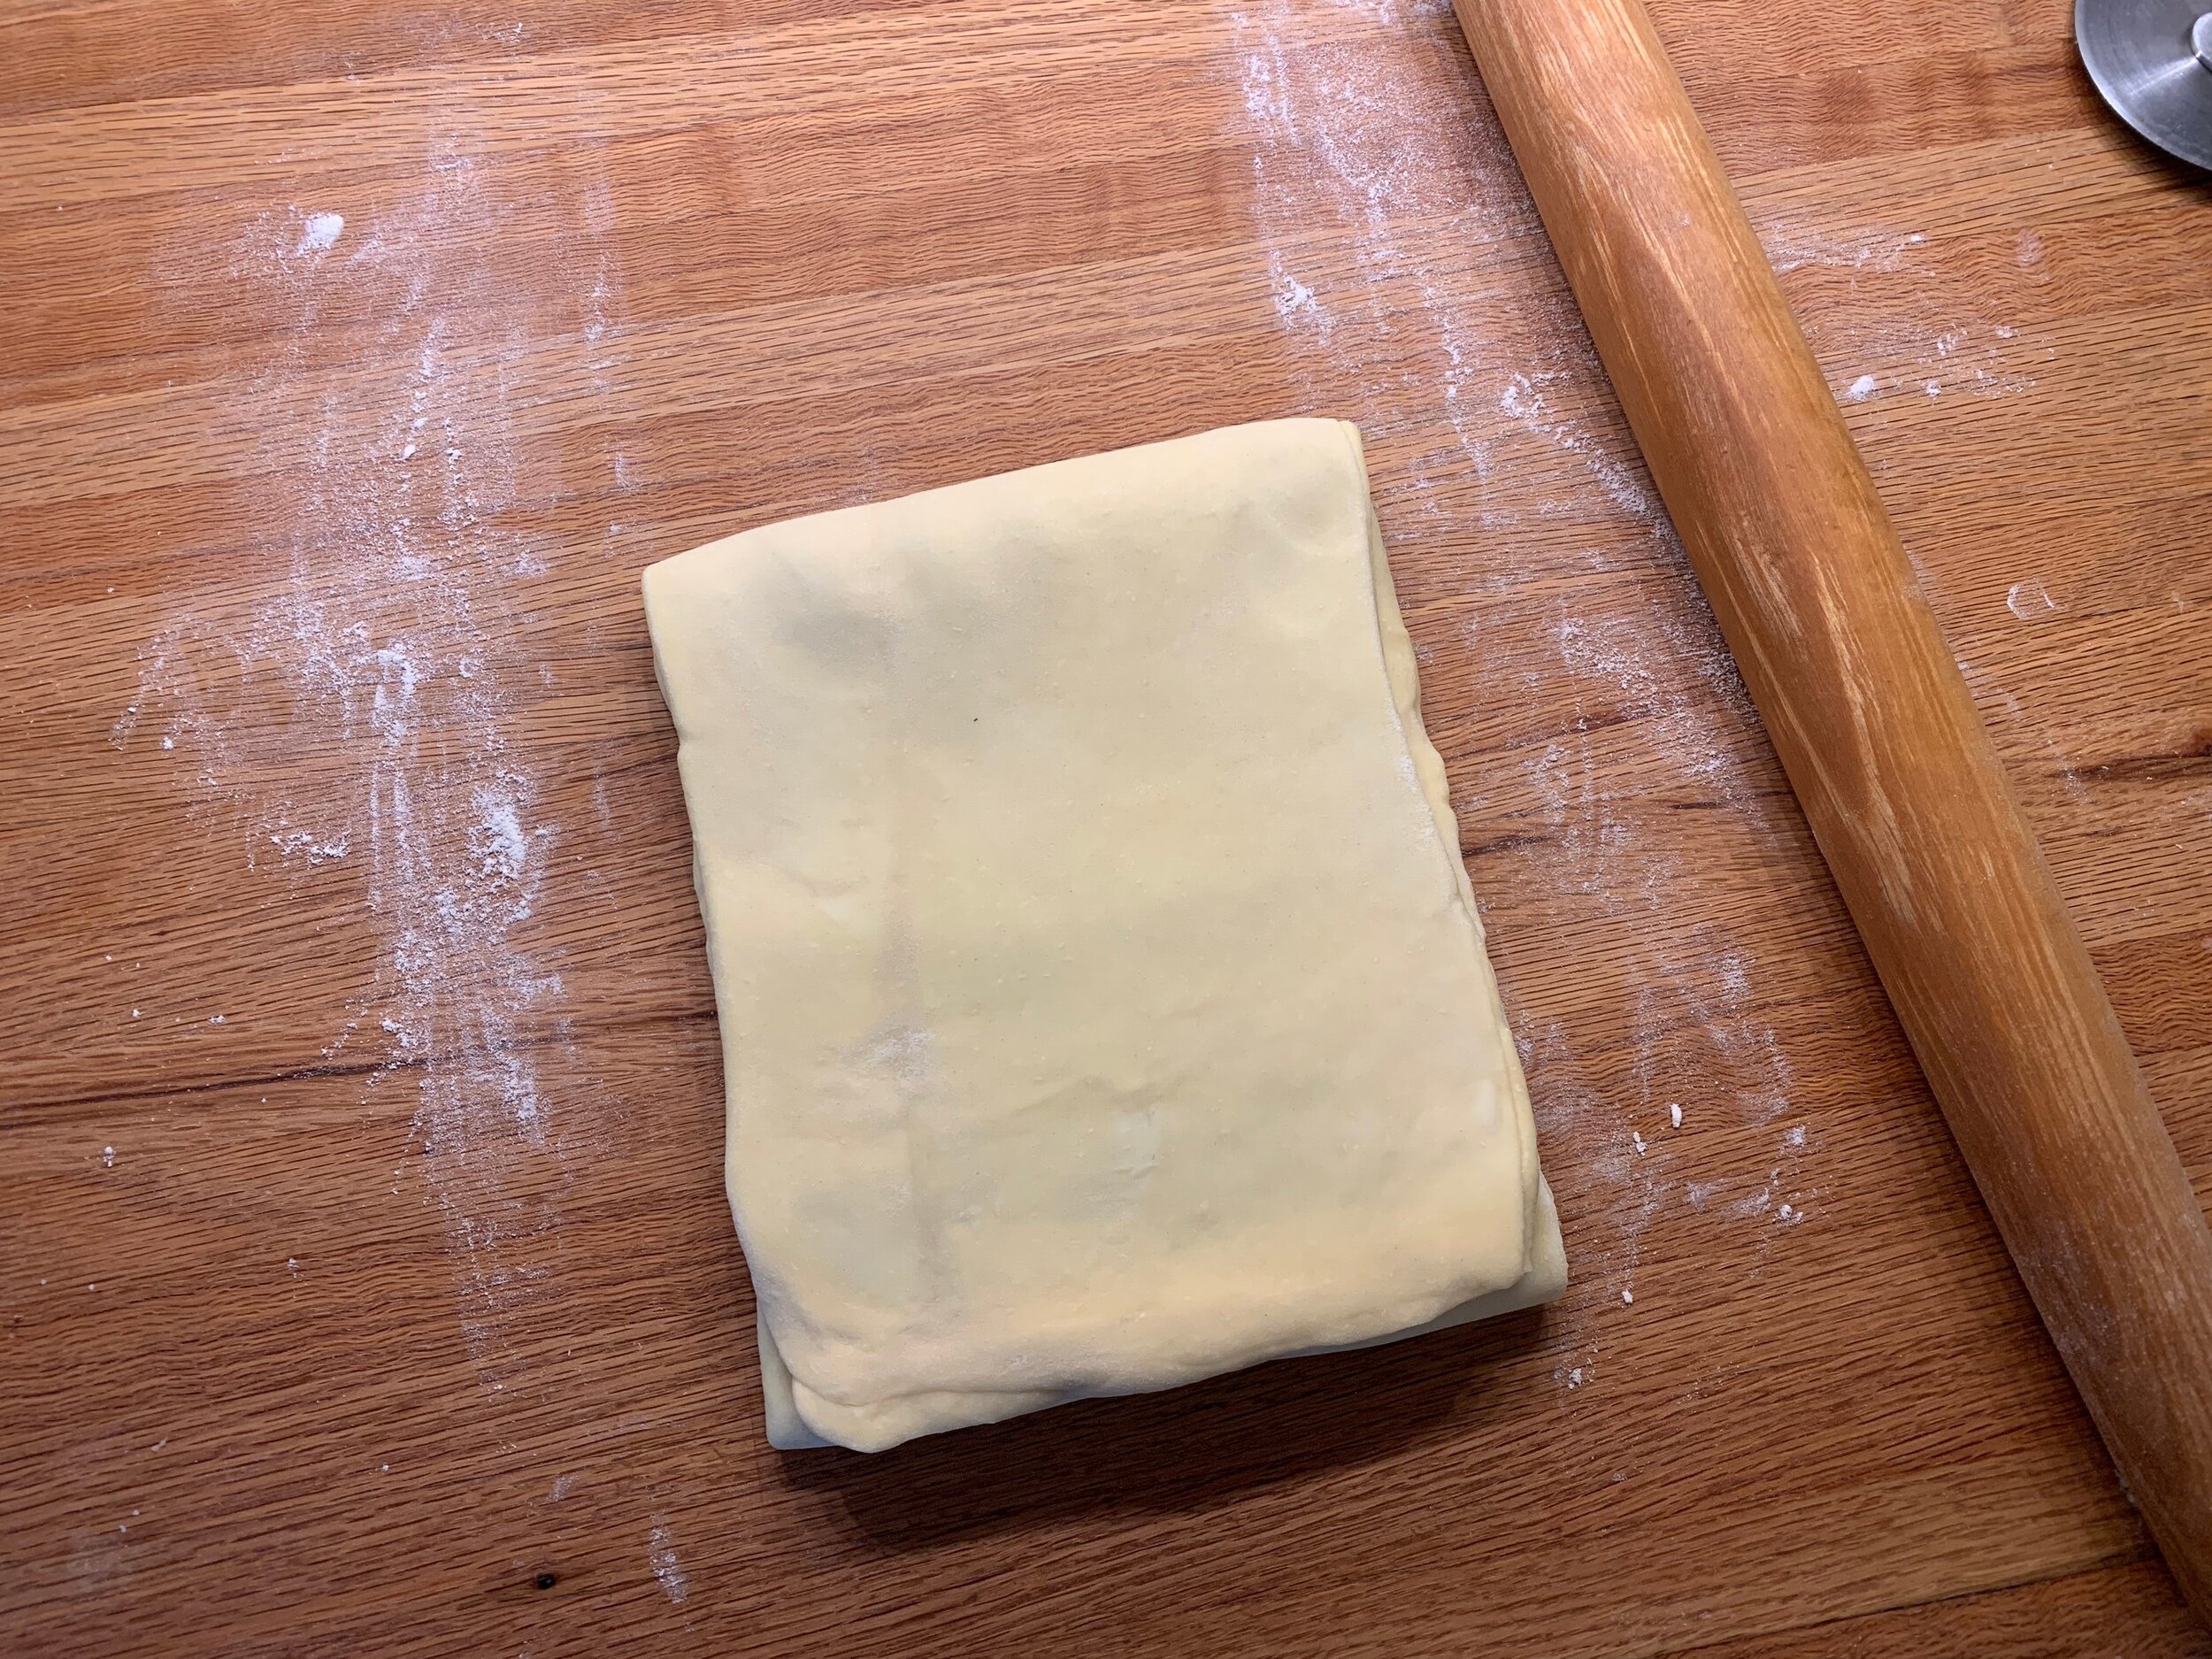
Typically croissant and Danish dough are put through three 3-folds (also called letter folds), but for this project I started with a 4-fold or book fold. Visualize the center of the dough, fold each end into the center to snuggle up to each other (leave a skosh of a space to allow for folding it) . . . . .

then fold it on itself like a book.

An important thing to remember when making laminated dough is that after each fold you turn your dough 90 degrees before you roll it out for the next fold. Think of it as the spine of a book on your left.
Now wrap the dough in plastic wrap and refrigerate it for 30 minutes before doing the next fold. That keeps the dough/butter cool and stable and allows the dough to relax as well.
Roll it out again into a rectangle but this time visualize the dough in thirds and fold it like a business letter. One end up . . . .
the other end down.
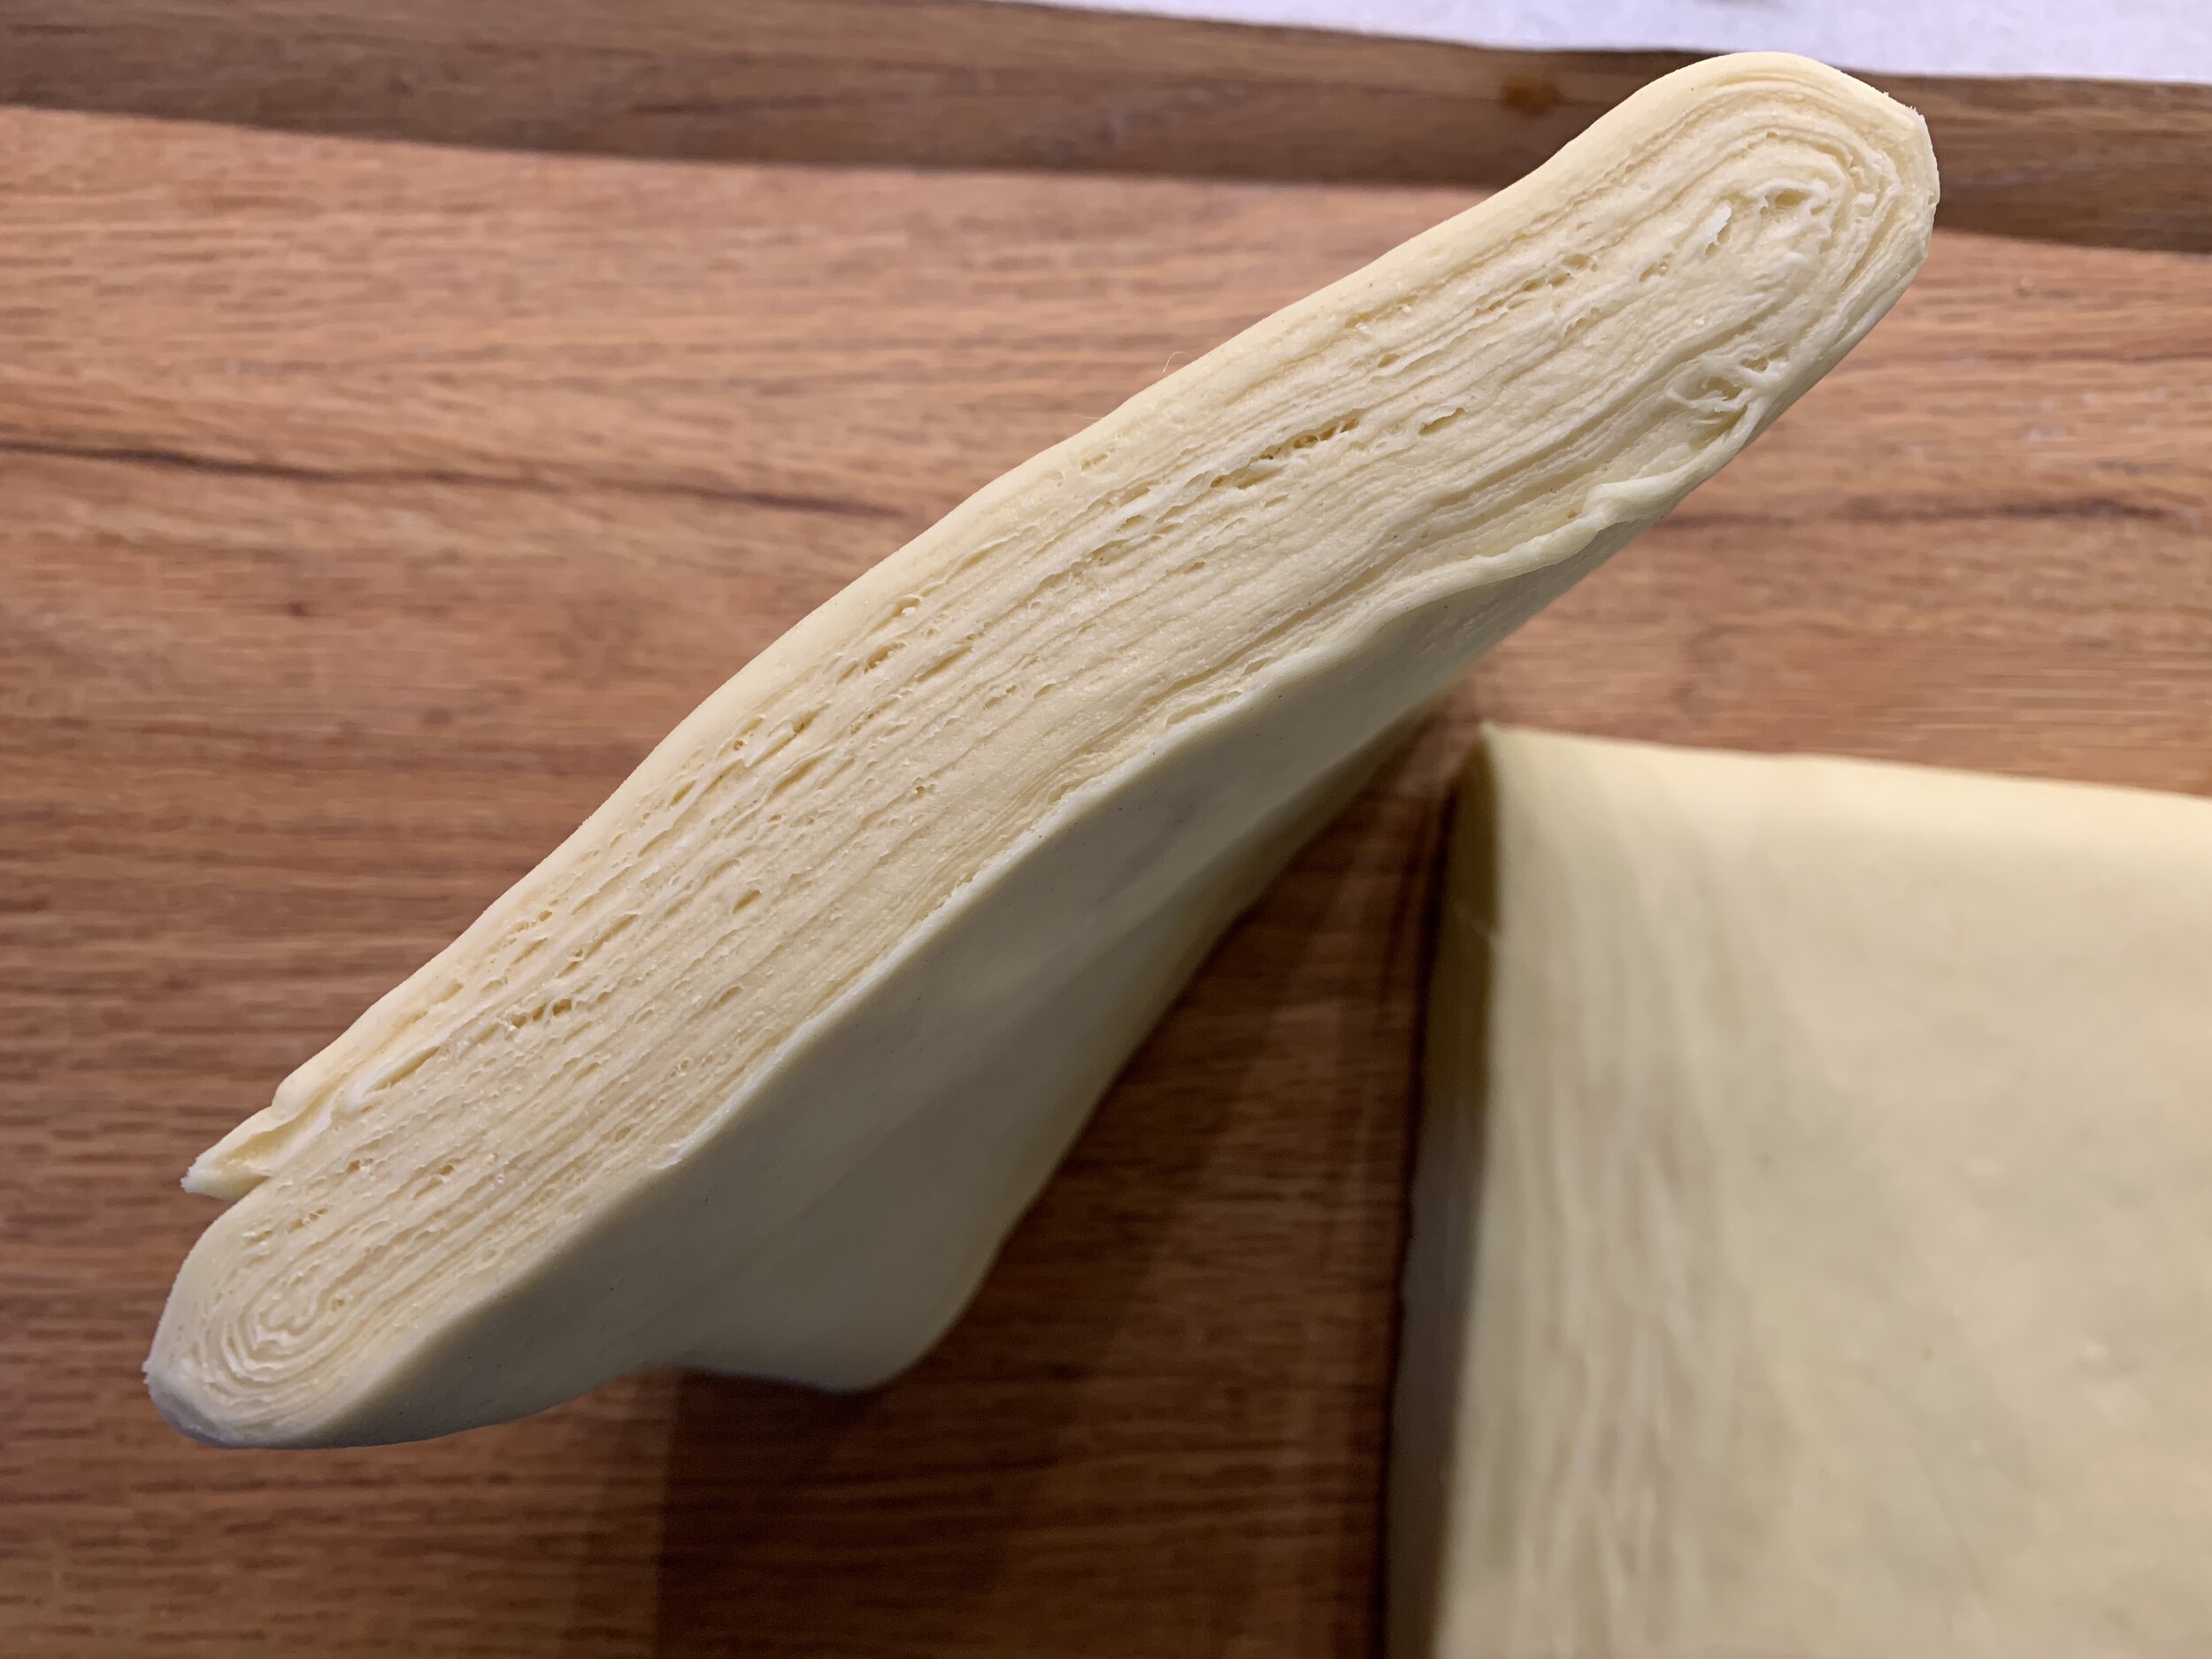
Wrap and chill another 30 minutes. Making sure the “spine” is on your left, roll it out and repeat another 3-fold. Now the dough is complete. Wrap and chill for at least 30 minutes or up to overnight before rolling it out for its intended use. It can also be frozen up to a month.
Check out these layers!
Before rolling the finished dough out for the Kringle, make the almond filling (remonce) by blending together 100 g EACH of almond paste (Mandelin brand is great!), softened unsalted butter and confectioner’s sugar. This is enough filling for one full Danish Kringle. Many Kringle recipes also include raisins but I opted out on that one.
Side note: New word alert for me! Remonce is said to be a Danish word and creation and refers to a commonly used filling in many Nordic cakes and pastries. Almond is a common flavor but it can be made with other nut pastes like pistachio or hazelnut or flavored with cinnamon, cardamom and/or vanilla, depending on what you’re making. For cinnamon rolls the confectioner’s sugar is often replaced with dark brown sugar. Life is full of variations, eh?

For this my first Kringle attempt I followed Aurell’s instructions for rolling, filling and shaping the dough. Because her description of the process wasn’t terribly clear (there are no images in the book to help), I checked out a couple of YouTube videos and also went somewhat by instinct.
On a lightly floured surface roll the dough lengthwise to a rectangle about 7”x20” then split it right down the middle length wise. A pizza cutter is a great tool for this.
Then roll each piece again length wise to achieve a width of 4” and a length about 24”.

Working with one piece at a time, place half the remonce in a line down the center. Fold the top edge over the filling . . . . .

Then bring the bottom edge up and over to make a log.

Repeat with the second piece then place both pieces on a parchment lined sheet pan in horseshoe shapes with their ends touching each other.
Turns out there’s actually supposed to be a narrow gap down the centers exposing the filling (that’s what I get for not paying attention) but, once the dough had risen, a gap developed during baking so it all worked out okey-dokey.

Now grab one end of each horseshoe and bring them toward the other side, crossing each other to form a pretzel. This is one monster of a pastry! Reminds me of some kind of sea snake or something.

Egg wash and let proof in a closed space (I often use an overturned clear tote bin for my cover) for about an hour. About 20-25 minutes before the end of the rise heat the oven to 375ºF.
Repeat the egg wash then sprinkle with toasted, coarsely chopped hazelnuts or sliced almonds (or a combo!) and some raw or pearl sugar.

Bake for 10 minutes, turn the oven down to 350º and bake an additional 15-20 minutes. Since the thickness at the crossover point is essentially double the rest of the pastry, I tried to be sure that it had baked through. Not necessarily an easy task. I reduced my oven temp by 25º and continued checking every 5 minutes or so, but it’s not really until you cut into something that you know for sure.
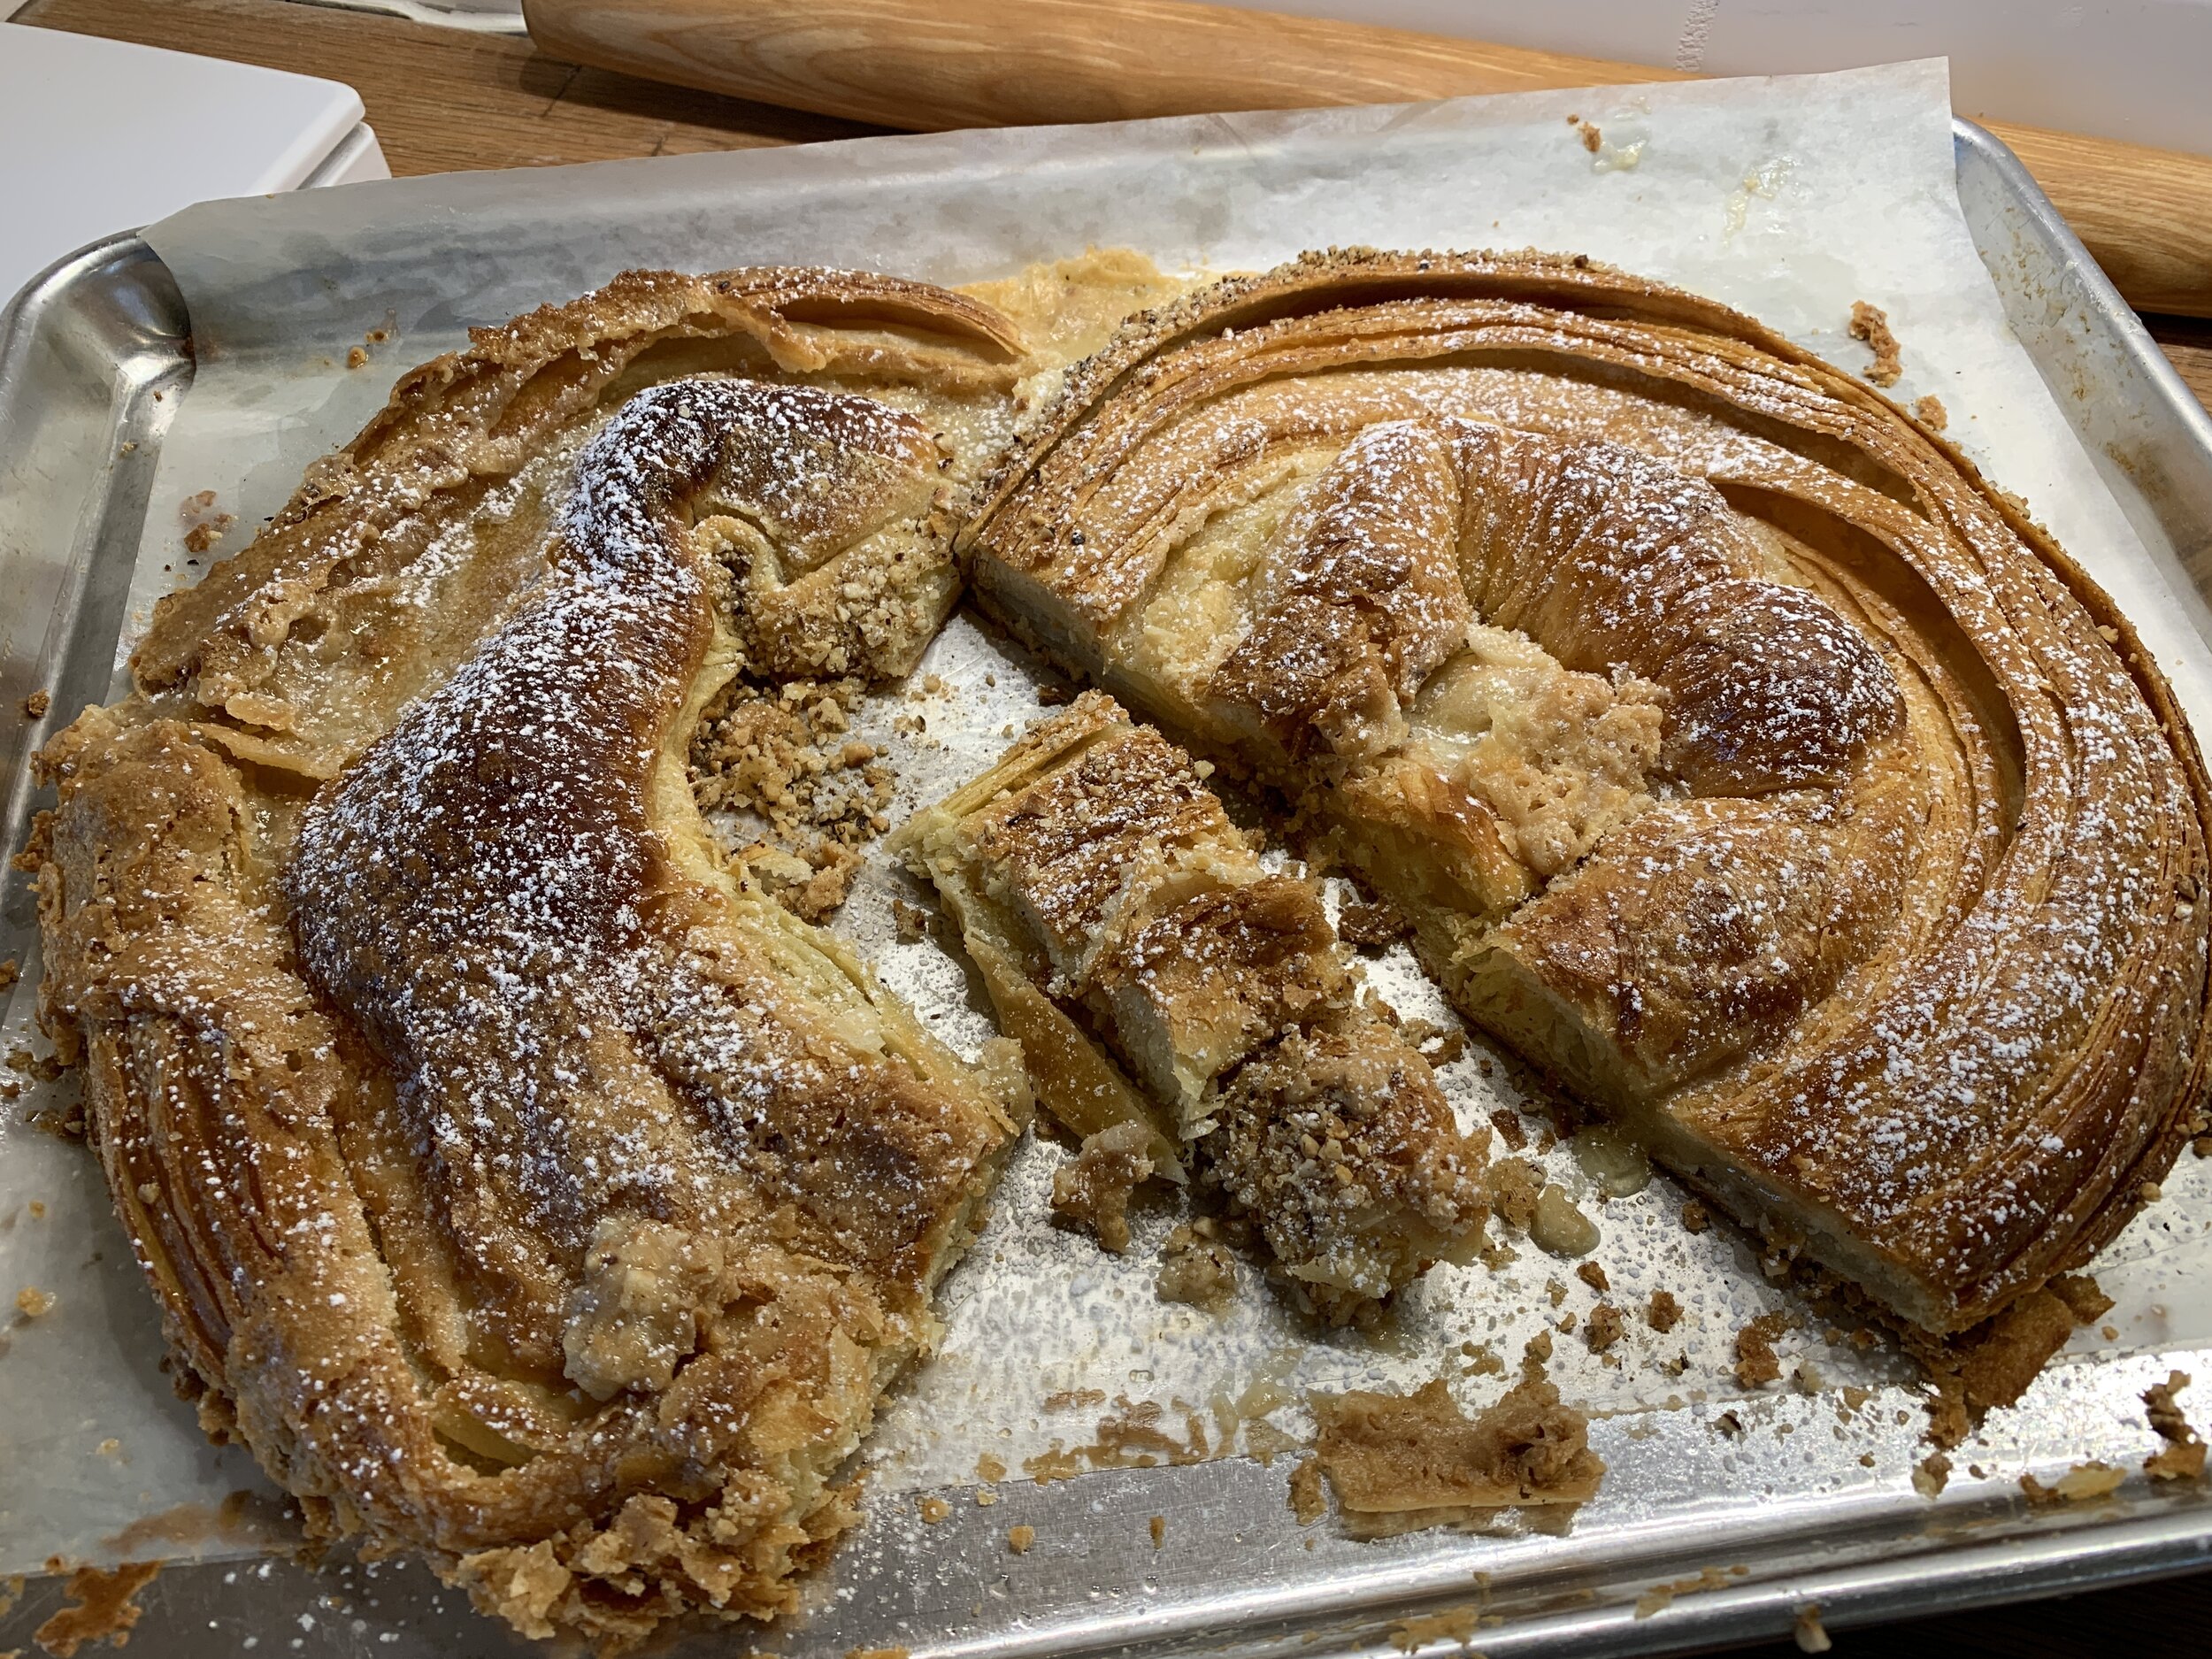
Wow - check this out!! Nice and golden, plus you can appreciate the layers and how the top opened up to reveal the filling. Actually quite a messy looking end result, eh? But after all, it’s about sharing the experience and learning from it!

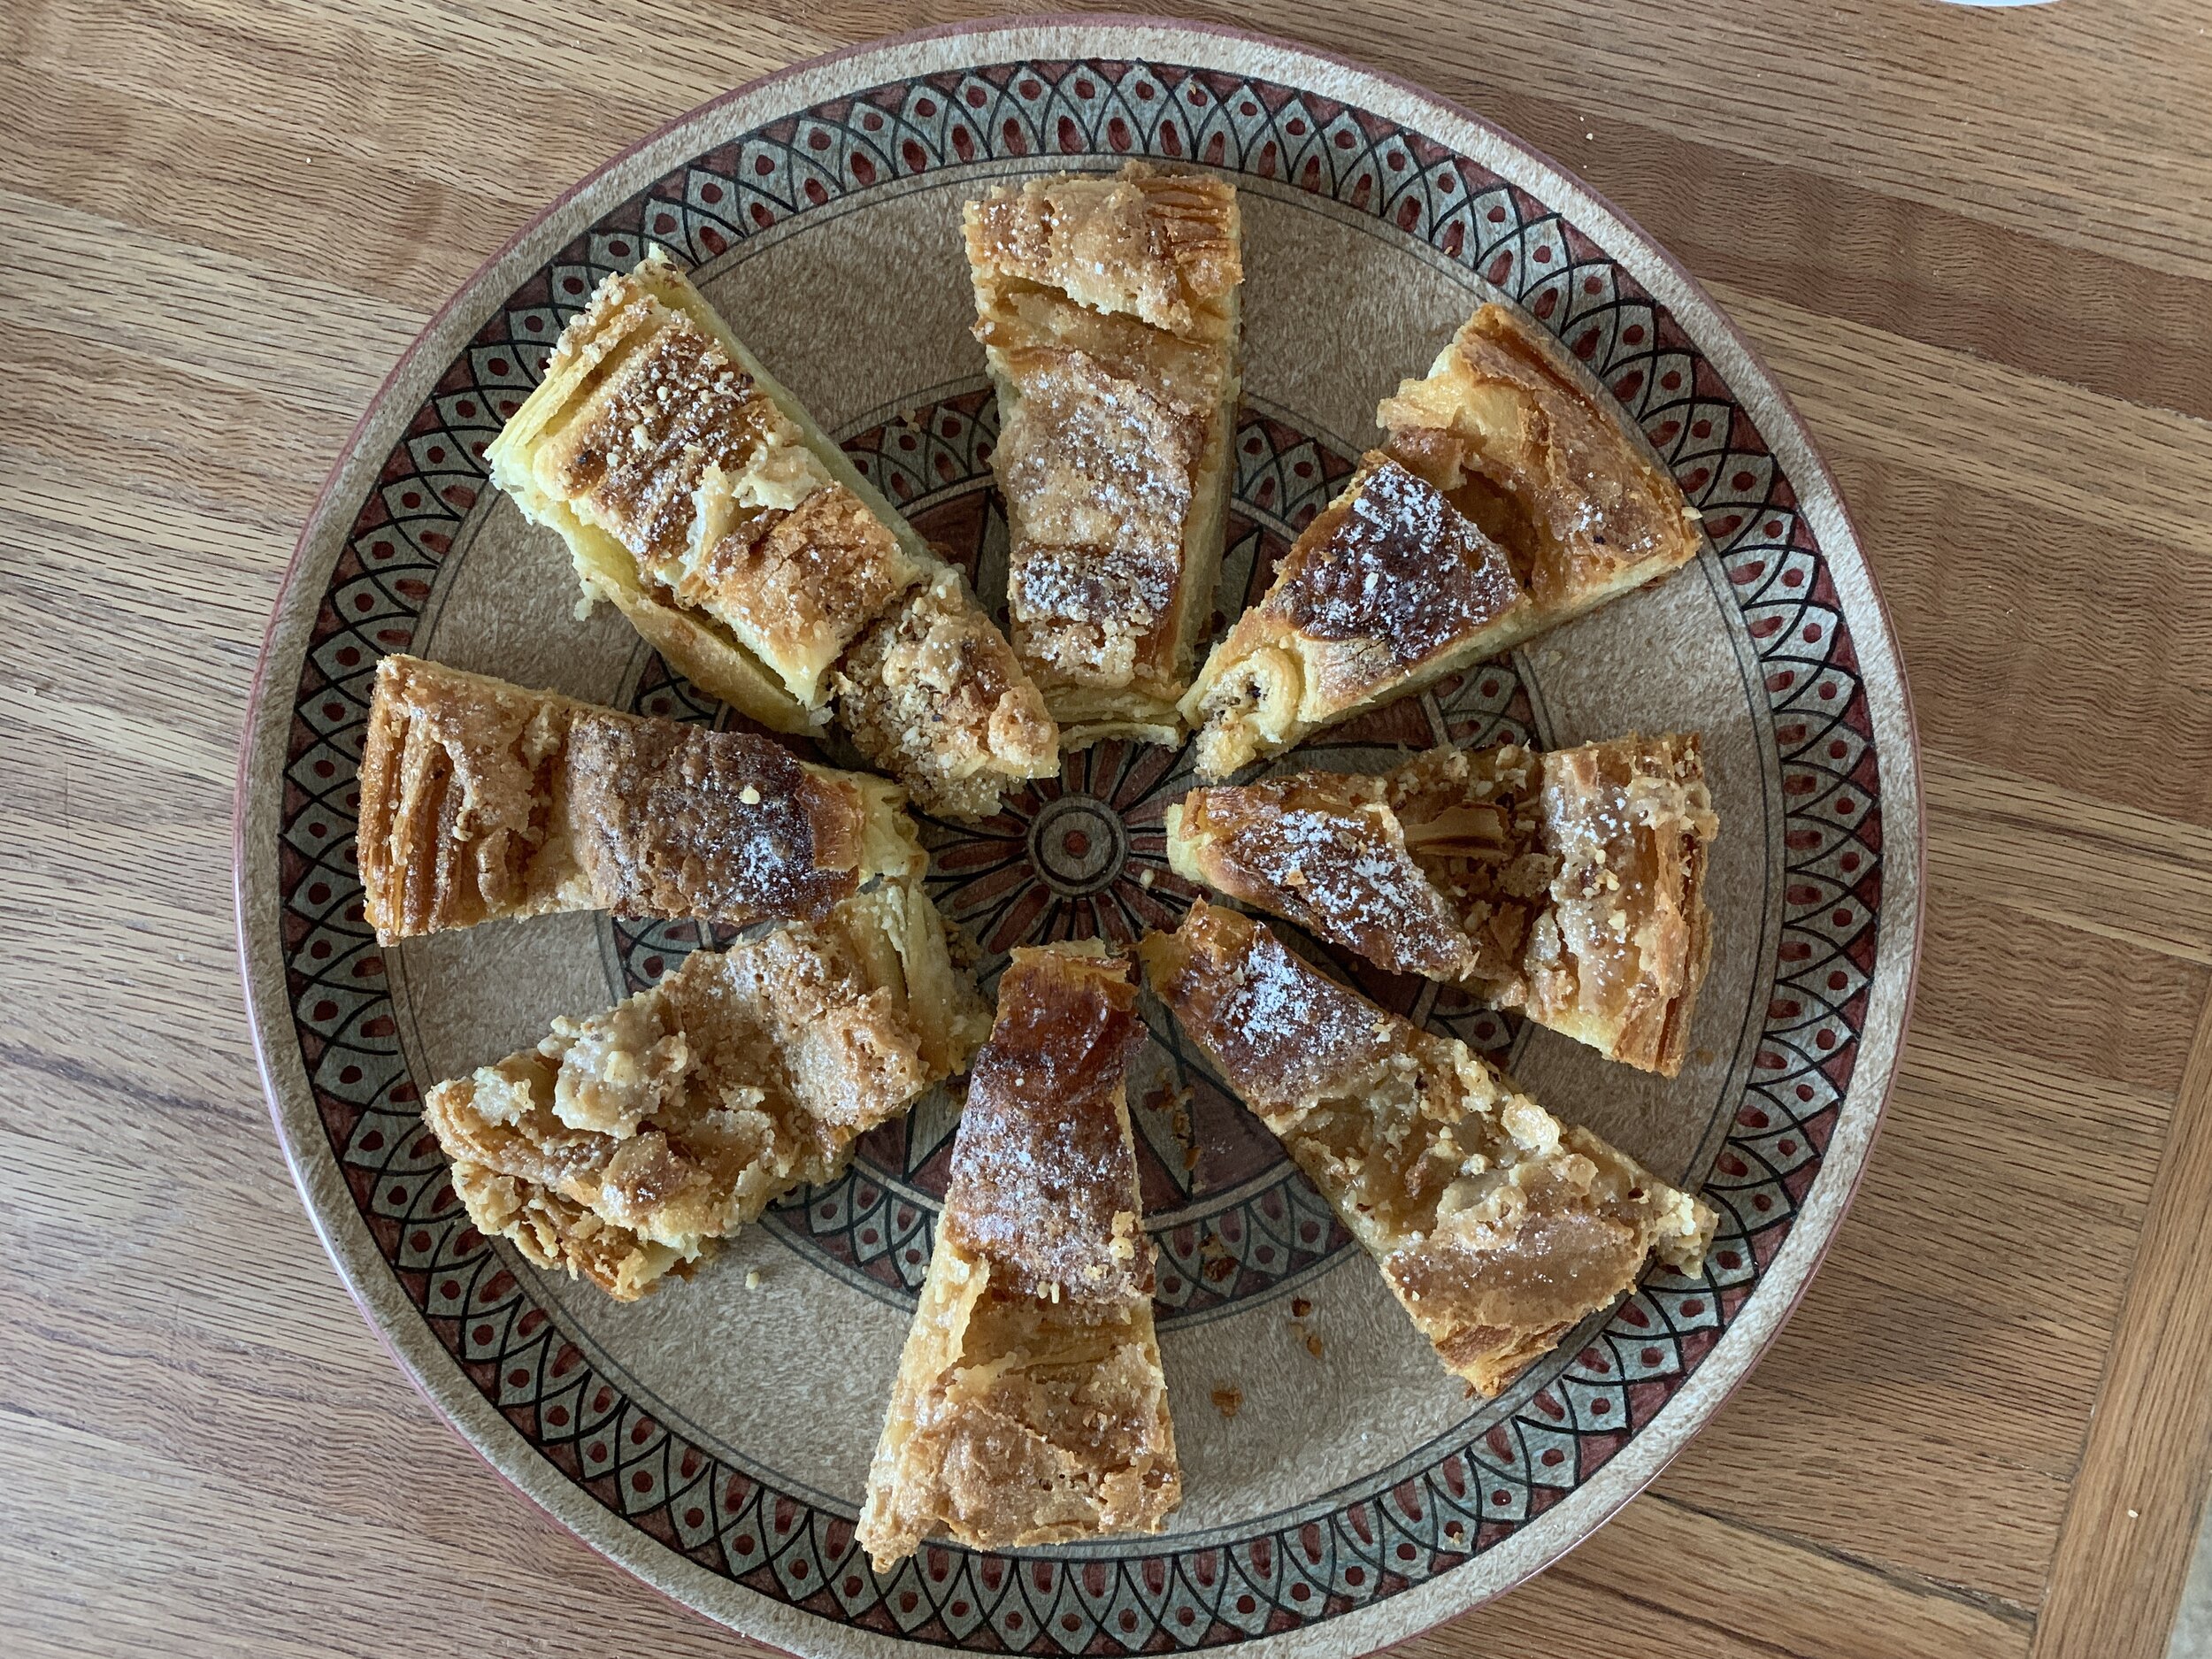
Once it had cooled I started carving. While a bit gooey at some points the flavor and flakiness are definitely there, and our taste testing ended with a thumbs up.

Slice it up, dust it with some confectioners sugar and share it with all your friends (safely distancing of course). They’ll thank you for it.

Wait - I’m not finished yet! As if you haven’t had enough already, I made one more Kringle with a half batch of dough, hoping to make a more petite pretzel without the overlap.
The dough was a bit wider than I would have liked, but I proceeded with the filling and the folding over, leaving the gap in the center.


It was too thick and bulky to form the pretzel I was envisioning, so ultimately it became a circle. Hmmm . . . those ends don’t really want to stay together. Oh dear.

Once risen I topped it with sliced almonds and pearl sugar and baked ‘er up.

Even though the risen Kringle looked pretty good, my ends did not stay together in the oven. This baby baked into a shape not unlike those leather horse harness collar thingies that you might see on a team of Clydesdales.

Not to worry however. This one baked up beautifully with nice flaky layers, delicious flavor and came with the confirmation that I am now an official fan of remonce filling.

Quite a project all-in-all. I’m not giving up on this one folks. It’s so important to share the processes, especially the first time around. Remember, if at first you don’t succeed . . . . you know the rest.
More Kringle? You bet! Stay tuned.
Happy baking, stay safe and think of the good days yet to come.
