Artisan bread class at King Arthur Flour, Day 4

On to the finale of the 4 day artisan bread class at King Arthur Flour!

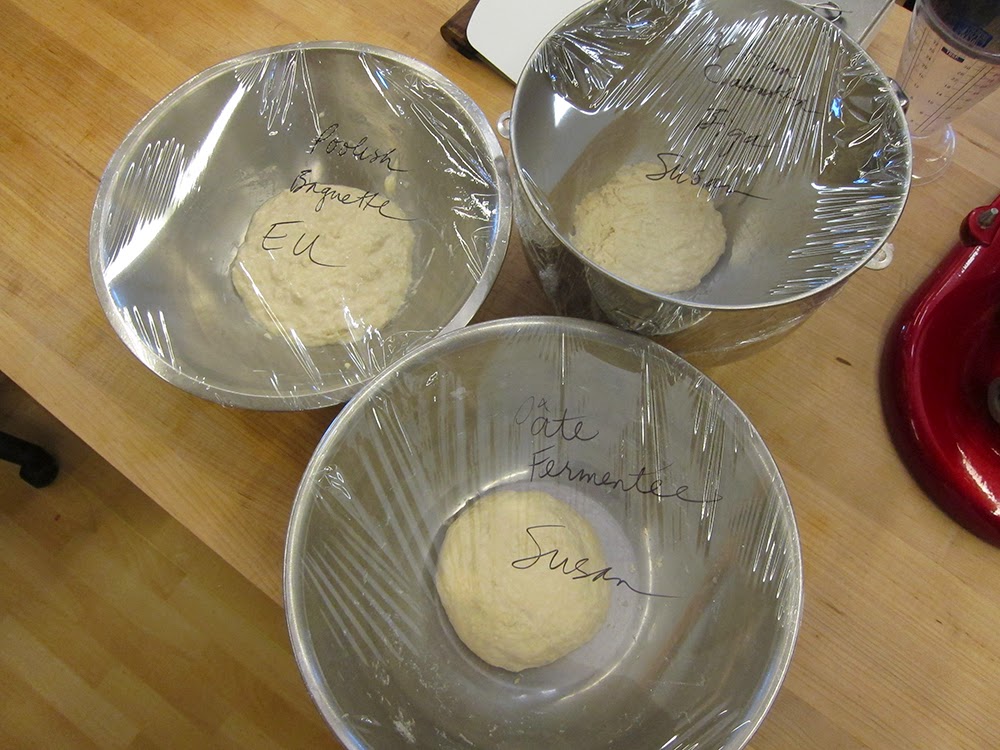
We began the morning by mixing our semolina dough which we had planned the day before as a straight dough, no pre-ferment required.

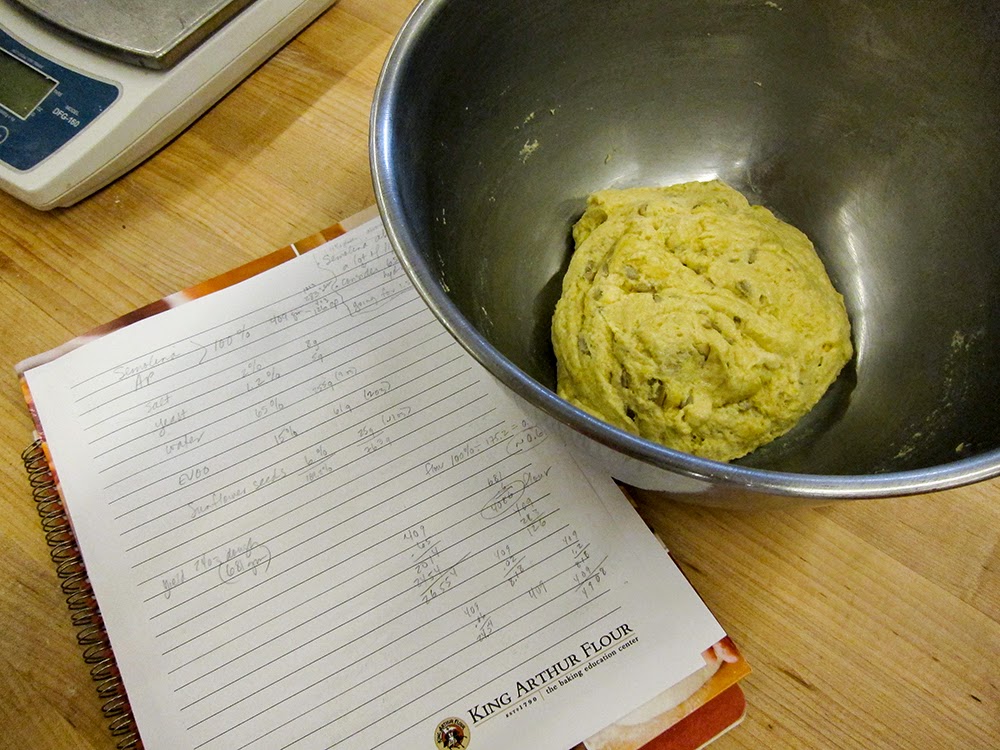
The dough came to together very nicely and felt great!  A good sign.

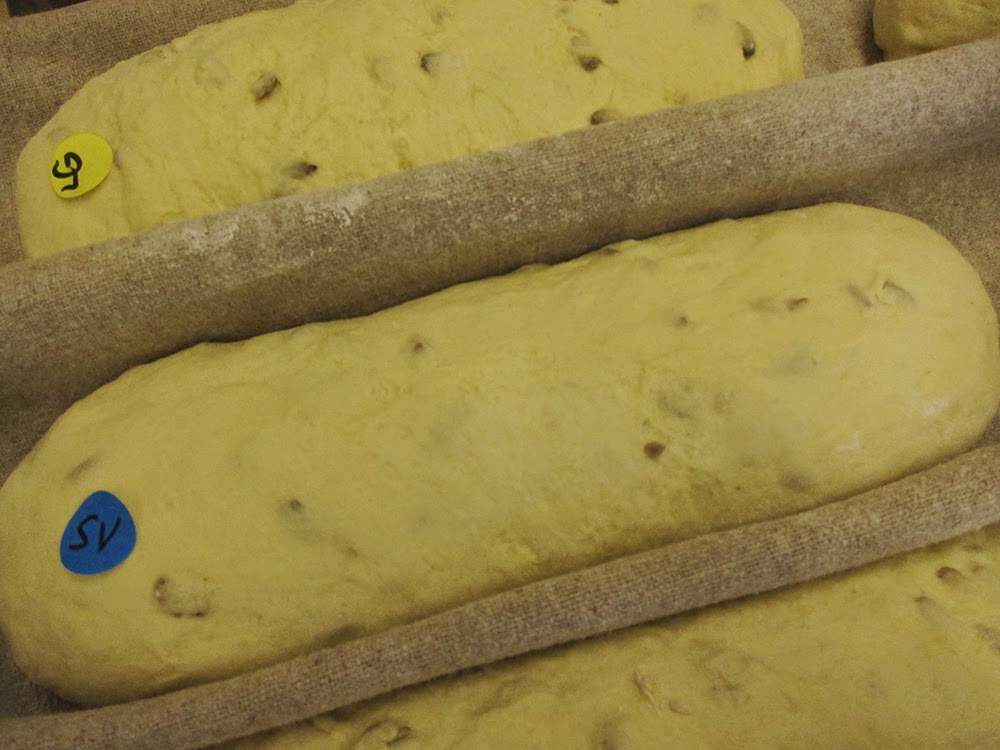
After folding and a rest - ready to shape:

We shaped a basic batard . . .

and, after a rise, scored it before baking:

And now I must insert a Charley Brown "RATS", for I fear I do not have a photo of the baked semolina!!  How sad.

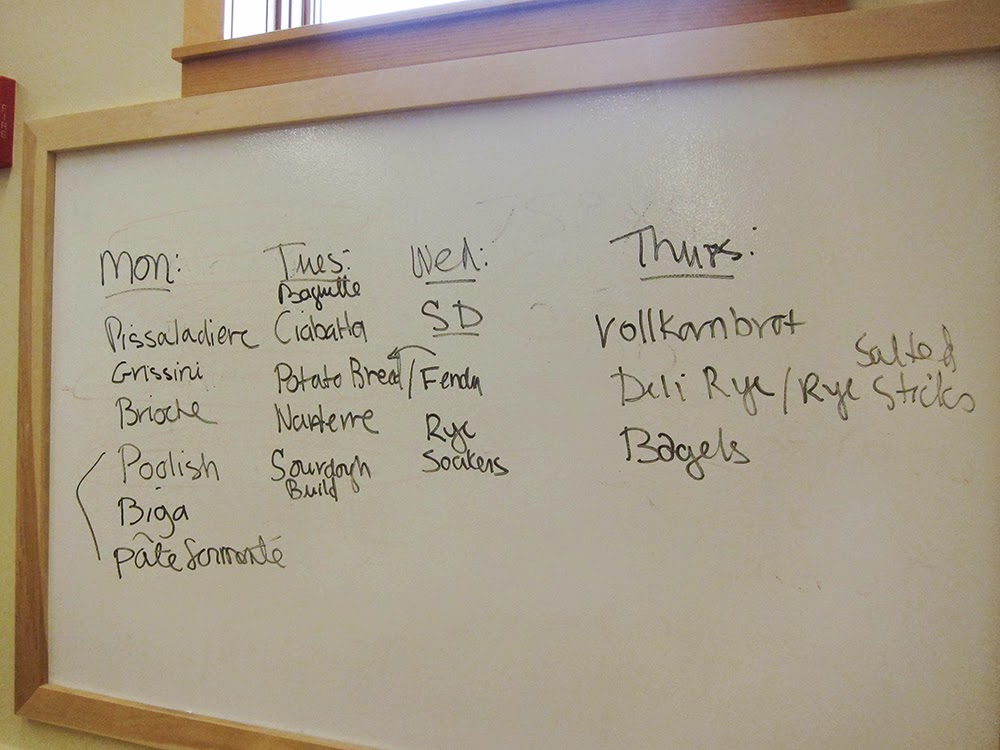
We had some lecture time today as well, specifically focusing on rye and its variables. The approach changes depending on the percentage of rye flour (vs all purpose or whole wheat e.g.) in the dough or whether you use medium or whole rye. Factors such as hydration as well as the proteins, sugars and enzymes in rye play major roles in how the dough is mixed and proofed.

I won't go into all the technical jargon, but suffice it to say, there's a lot to learn about rye! Hey, here's an idea! Take a class at King Arthur!  

Taking our rye starters that had been sitting overnight at room temperature . . . .

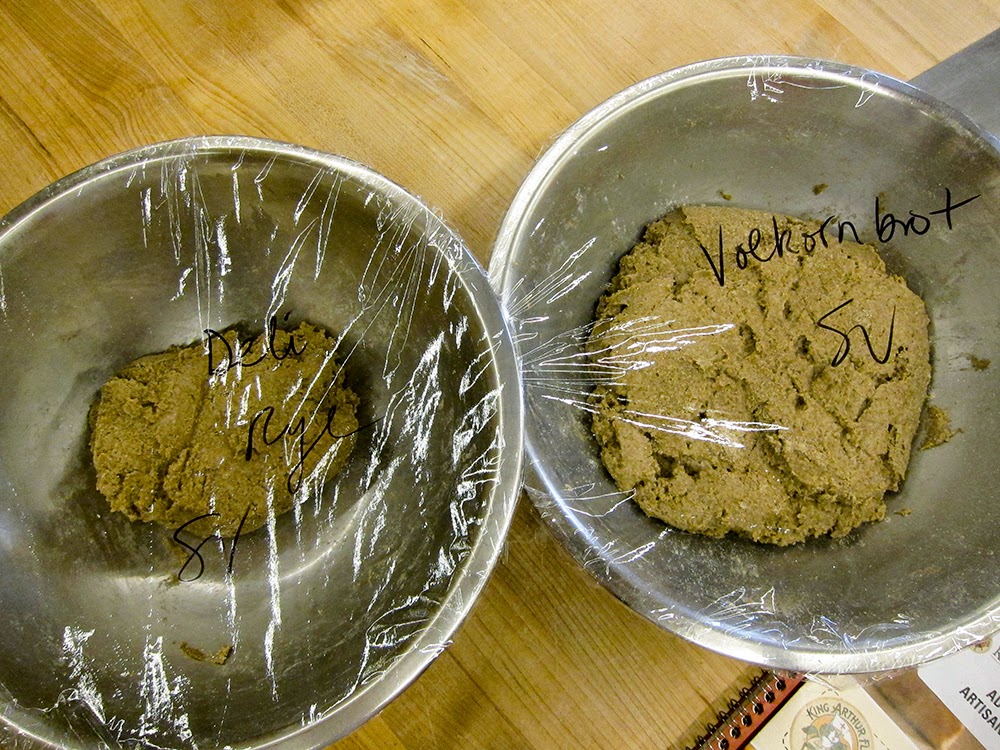
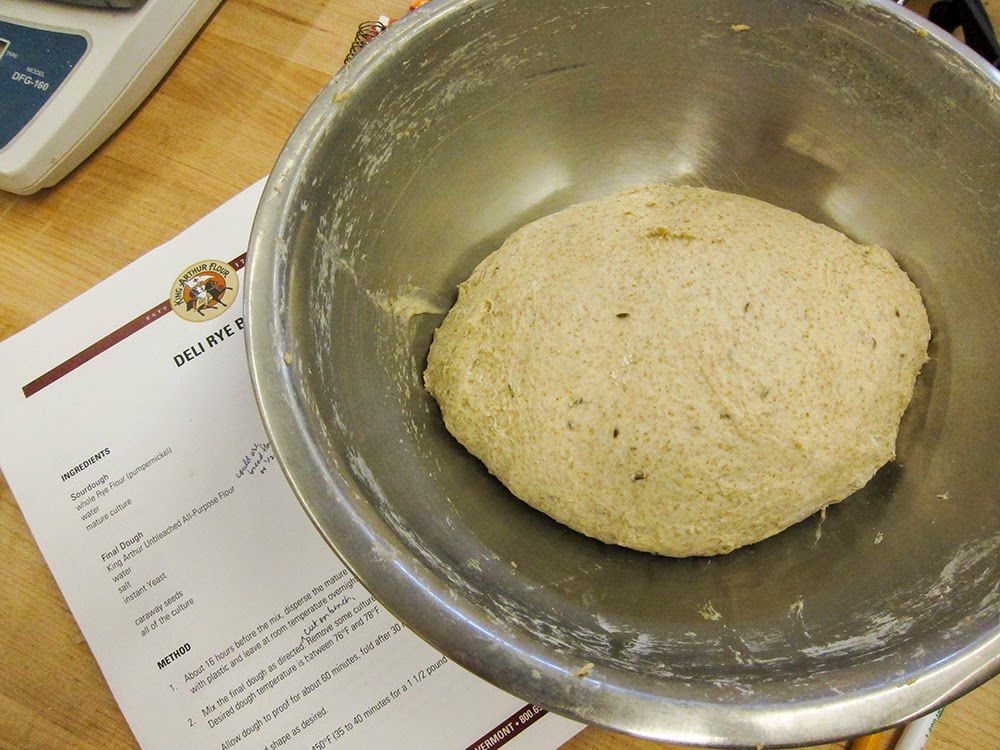
we mixed the deli rye dough, the lighter rye of the two . . . .

and the volkornbrot, a classic German whole rye dough:

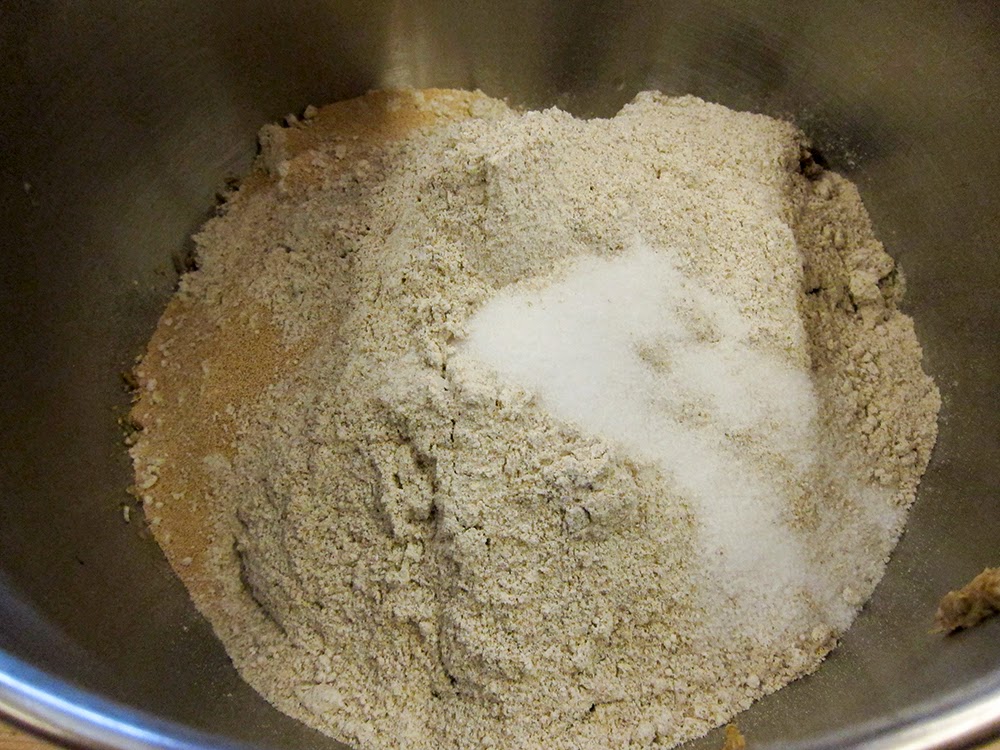
Above: all the mixin's for volkornbrot

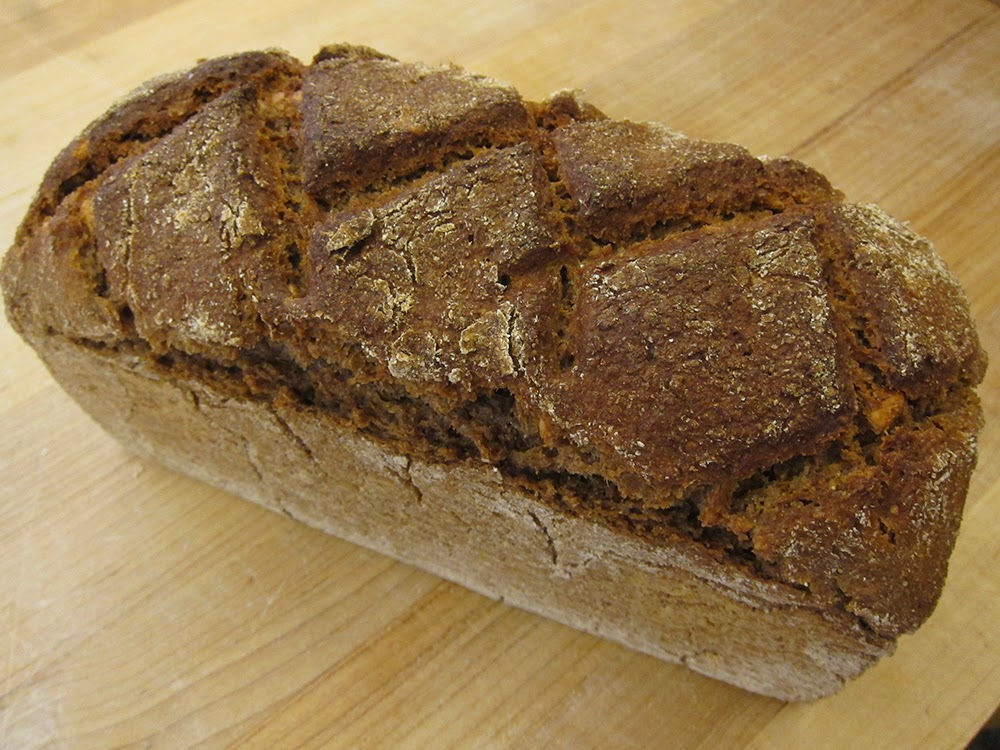
For the volkornbrot, once all of us had weighed the ingredients into our mixing bowls, our KitchenAids were started in sync so the slow speed, 8-10 minute mixing time would be the same for all.  We stopped the mixers a couple of times to scrape down the bowl, then shaped a rectangular loaf, scored it and placed it in a standard loaf pan for baking.

The finished product:

We had the option of shaping loaves or rolls with the deli rye dough.  A number of us opted for loaves, and the majority of these were scored with traditional crosswise slashes.  We could try other patterns if we wished.

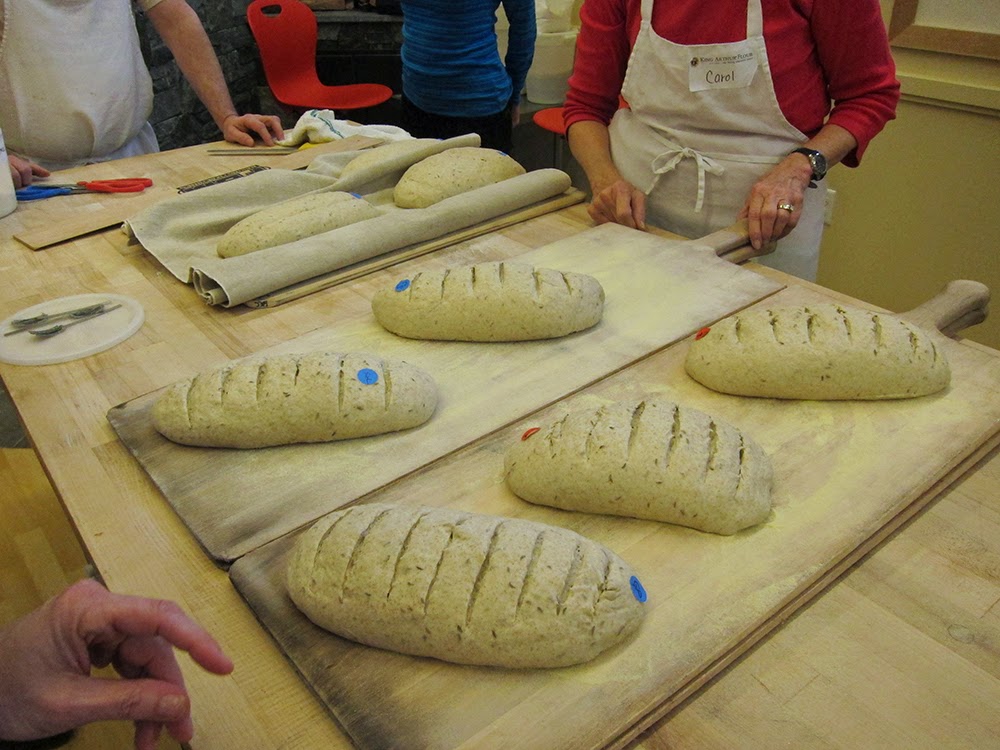
The finished loaves had a lovely browned exterior and a wonderful rye aroma.  Notice the scissors snipped pattern on one of my loaves.

Some of the sourdough bread and bagels that had been refrigerated overnight were also baked today, so there were loaves galore sitting around the kitchen.

And then it was time for a tasting!

The semolina is along the left side of the table above. It had a lovely crumb and very nice flavor - a keeper for sure! We were proud of this bread we had created, although many of us felt a bit of sweetening with honey or maple syrup would add just the right balance to this loaf.

Wanda voted for adding cranberries, and Jeff suggested a nice schmear of orange marmalade to garnish a slice.

To top off our terrific 4 day experience we ended with a low-key graduation ceremony. We all received a certificate of completion and a "lovely parting gift" of a bakers couche.  Hip hip hooray for bread baking!!

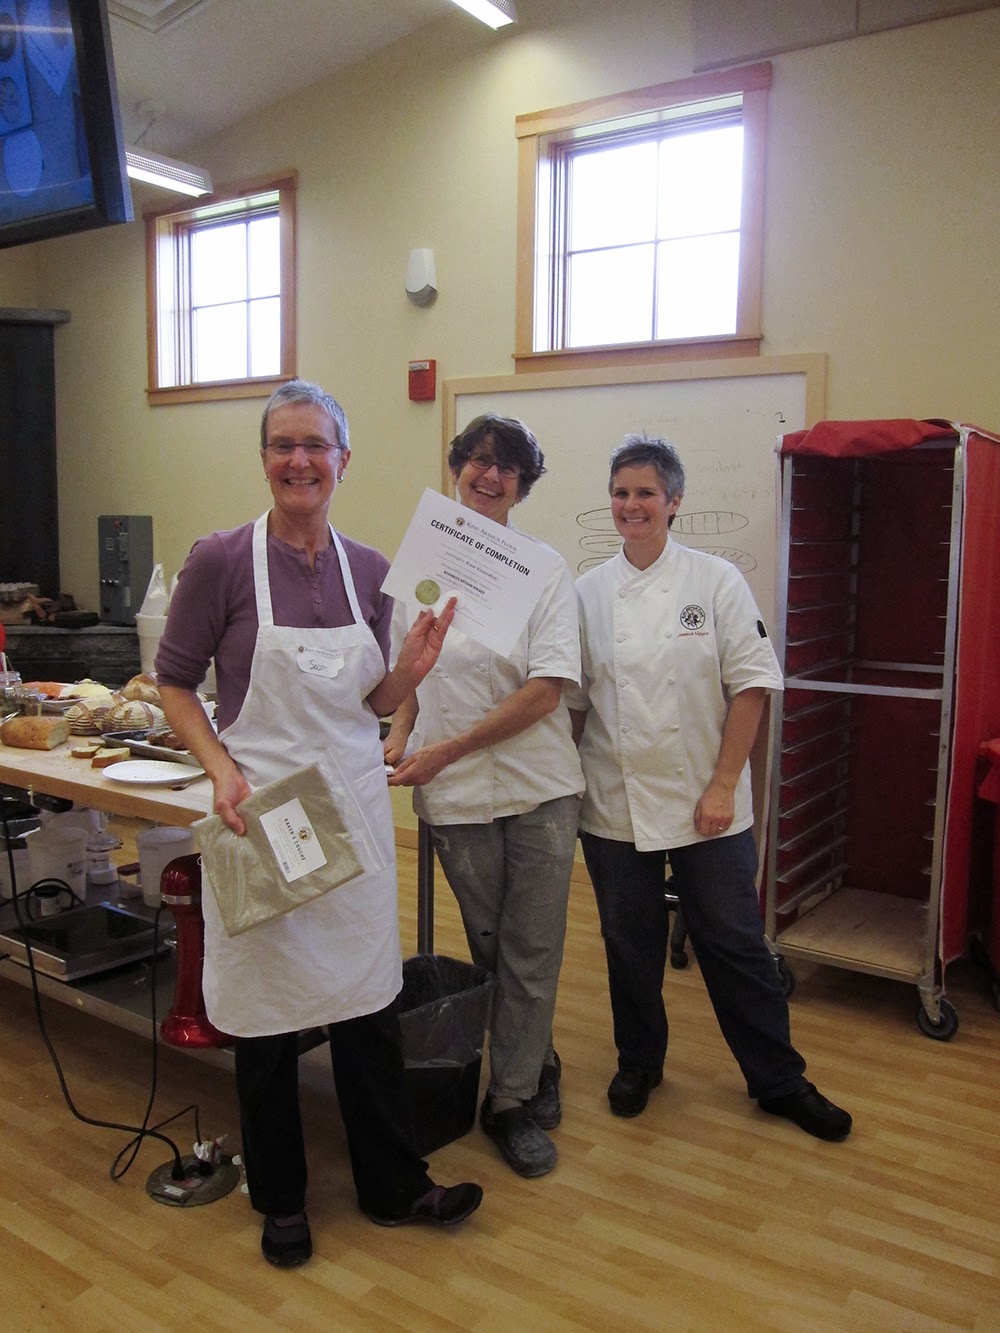
Above: instructors Sharon and Jessica doing the honors

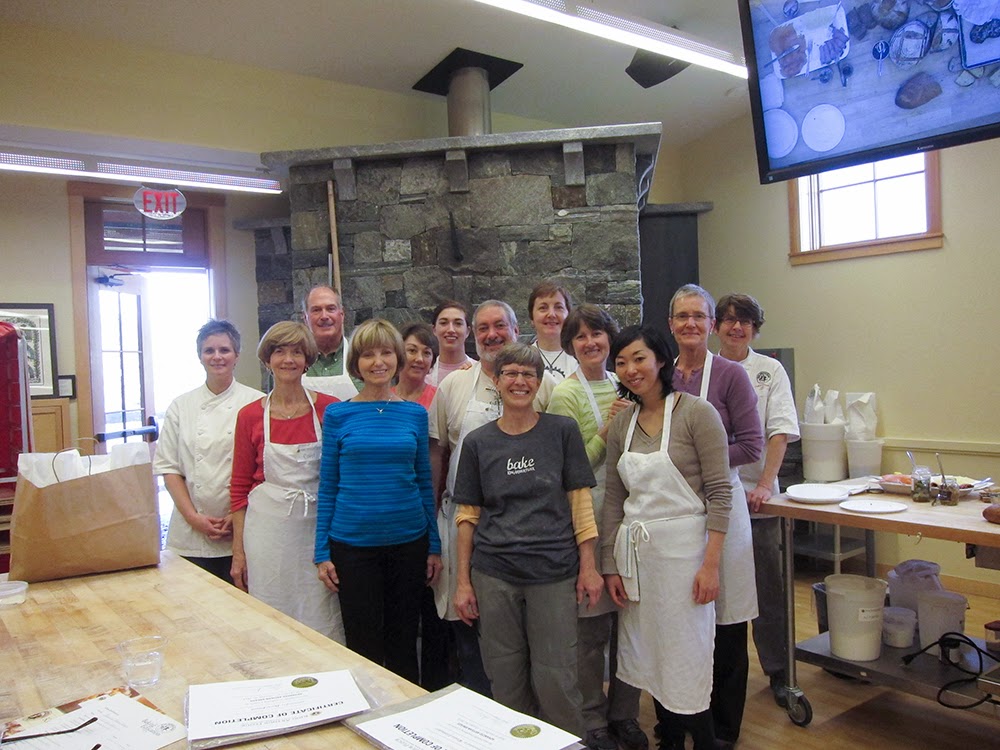
We gathered for a final group shot . . . .

then packed up our goods and said au revoir.

Perfect.

Artisan bread class at King Arthur Flour, Day 1

On Sunday, October 26, 2014 I wended my way north from Providence amidst beautiful autumn colors, arriving at the Hampton Inn in White River Junction, VT several hours later. My purpose - to attend a 4 day artisan bread class at King Arthur Flour in Norwich, VT, just a few miles north of my lodgings.

When Steve and I lived in Vermont some years ago, I visited the King Arthur baking store on a few occasions, but little did I know what awaited me this time around. The new Baking Center is a stunning piece of VT architecture, right down to its quintessential metal roof.

Inside one finds a cozy café, the bakers retail store and a couple of large production kitchens where you can watch what's going on - so cool!  I especially got a kick out of seeing the large blocks of butter being formed for croissants and danish, followed by the butter being enveloped in the dough in preparation for sheeting - bordering on massive compared to my small, hands-on batches of croissants!

Then there is the baking center where many have honed their skills and enhanced their knowledge as they pursue their passion for baking.

I and 10 fellow students were warmly greeted by Robyn, our instructor for the first day. Free coffee cards were handed out as we each settled in at what would be our "bench" spot for the remainder of the class.

The teaching kitchen is open, airy, extremely well equipped with impressive tiered deck ovens, proofing cabinets, roll in refrigerators, cheery red KitchenAid stand mixers and more. What a great place to learn!

The plan for the week:

We began with a couple of "straight" doughs (also known as direct doughs) which are made and baked the same day. We made pissaladiere (a classic southern French pizza-like dish typically topped with caramelized onion, olives and anchovies) and grissini (bread sticks).

Both of these doughs were very user-friendly, came together smoothly with a silky feel.  Then after kneading, some resting/rising time and shaping, they were baked in the hot deck ovens. Since I'm not an olive lover, I chose to top my pissaladiere with only the caramelized onions (seasoned with herbes de provence and pepper), although my classmates all happily embraced the olive-onion combo.

The grissini were a bit chubby, some twisty and crooked since everyone put their own spin on the shaping process:

We had the option of keeping our results or leaving them on the wire racks to be donated to a local food cause. Since there wasn't any chance I would (or could) eat all of these, I chose the second option, both for the pissaladiere and the grissini.

Day 1 also included making brioche dough which would be refrigerated overnight for use on Day 2. I found the recipe and process less time consuming than the recipe I normally use (from my stage days at Pâtisserie Pascal Pinaud), and the end result was as silky and smooth as could be.  I'll show you what we did with this dough in Day 2's post.

We then focused on the group of doughs called "pre-ferments". These are portions of dough that are typically made a day ahead and then incorporated into the final dough the following day. They are important for flavor, structure and extended shelf life, and many feel that doughs made in this manner are superior to "straight" doughs for those very reasons.

There are many types of "pre-ferments" and many more references available to explain the difference and variables among these, including King Arthur's web site. Or you could sign up for a class yourself!!

The three we made today were pâte fermentée (for roasted potato bread), biga (for ciabatta) and poolish (for baguette). 

They mix together in the nick of time, are covered, held overnight at room temperature, and then incorporated into the final dough the following day. You can see below that they have different structure and moisture content, the poolish being the wettest.

We were off to a great start! Next up - Day 2!