French Tarte Faves (FTF) No. 5: New and improved lemon ricotta cake
/
When I started planning this one, I wasn’t thinking FAVE. But after all the work I did on it (and the delicious end result), I think it deserves to be one - BIG TIME! I’ll give you fair warning - lots of stuff coming up. Oh boy!!
I’ve never written a post specifically about this cake, but I have included images of it on and off in some of my update posts over the years. At my Pawtucket RI shop I would regularly make petite versions as part of various treat assortments. It certainly takes me back.

Of a different time
Recently while going through some old files, I discovered my spring 2014 issue of “Edible Rhody” in which the recipe was published. Whoa!

As a quick aside - Edible publications are focused on all things food-related from different locations around the USA. I always enjoyed the Rhody version when we lived there, and the whole Edible series is still alive with seasonal print editions, podcasts, online missives and various events here and there. Check out the Edible Community here.

The recipe from another time
I cannot tell you where/when I first conjured this one up (probably reading through an Italian baking book), but I CAN tell you that I thought it was delicious from the first bite. Aside from its lemony-ness, it offers a tender, almost creamy texture with a light airy-ness that’s hard to describe.

Back in the day
Fast forward to now! Recently I received a catalog from King Arthur Baking Company with a recipe for - you guessed it - lemon ricotta cake. The link takes you directly to their website for the base recipe for an 8” cake (it includes a 1.5 times recipe enough for three small bundt cakes (and of course they also have a set of three six inch mini Bundt pans for purchase if you’re of a mind.)
What struck me about the KA recipe is that, first of all, the ingredients are essentially the same as the recipe I’ve used over the years save for a few variations in portions - more flour and sugar and less butter - but otherwise identical in terms of what you need to have on hand to make it.
Second is the use of “00” flour, a popular Italian flour traditionally used for pizza and pasta dough. It’s more finely milled, ostensibly giving the cake a more tender texture. Third is the baking temperature - 400ºF (unlike the usual 350ish for many cakes).
I decided to do a side by side test comparing my recipe of old with the KABC one. I admit that there are times when I still prefer to write things out by hand - you’ll see below a quick comparison of ingredients for the two versions.

I won’t bore you with all the details (warning - more of that coming up), but I made a full recipe of each, dividing each batter between a 6” round cake pan and petite silicone flexi-molds.
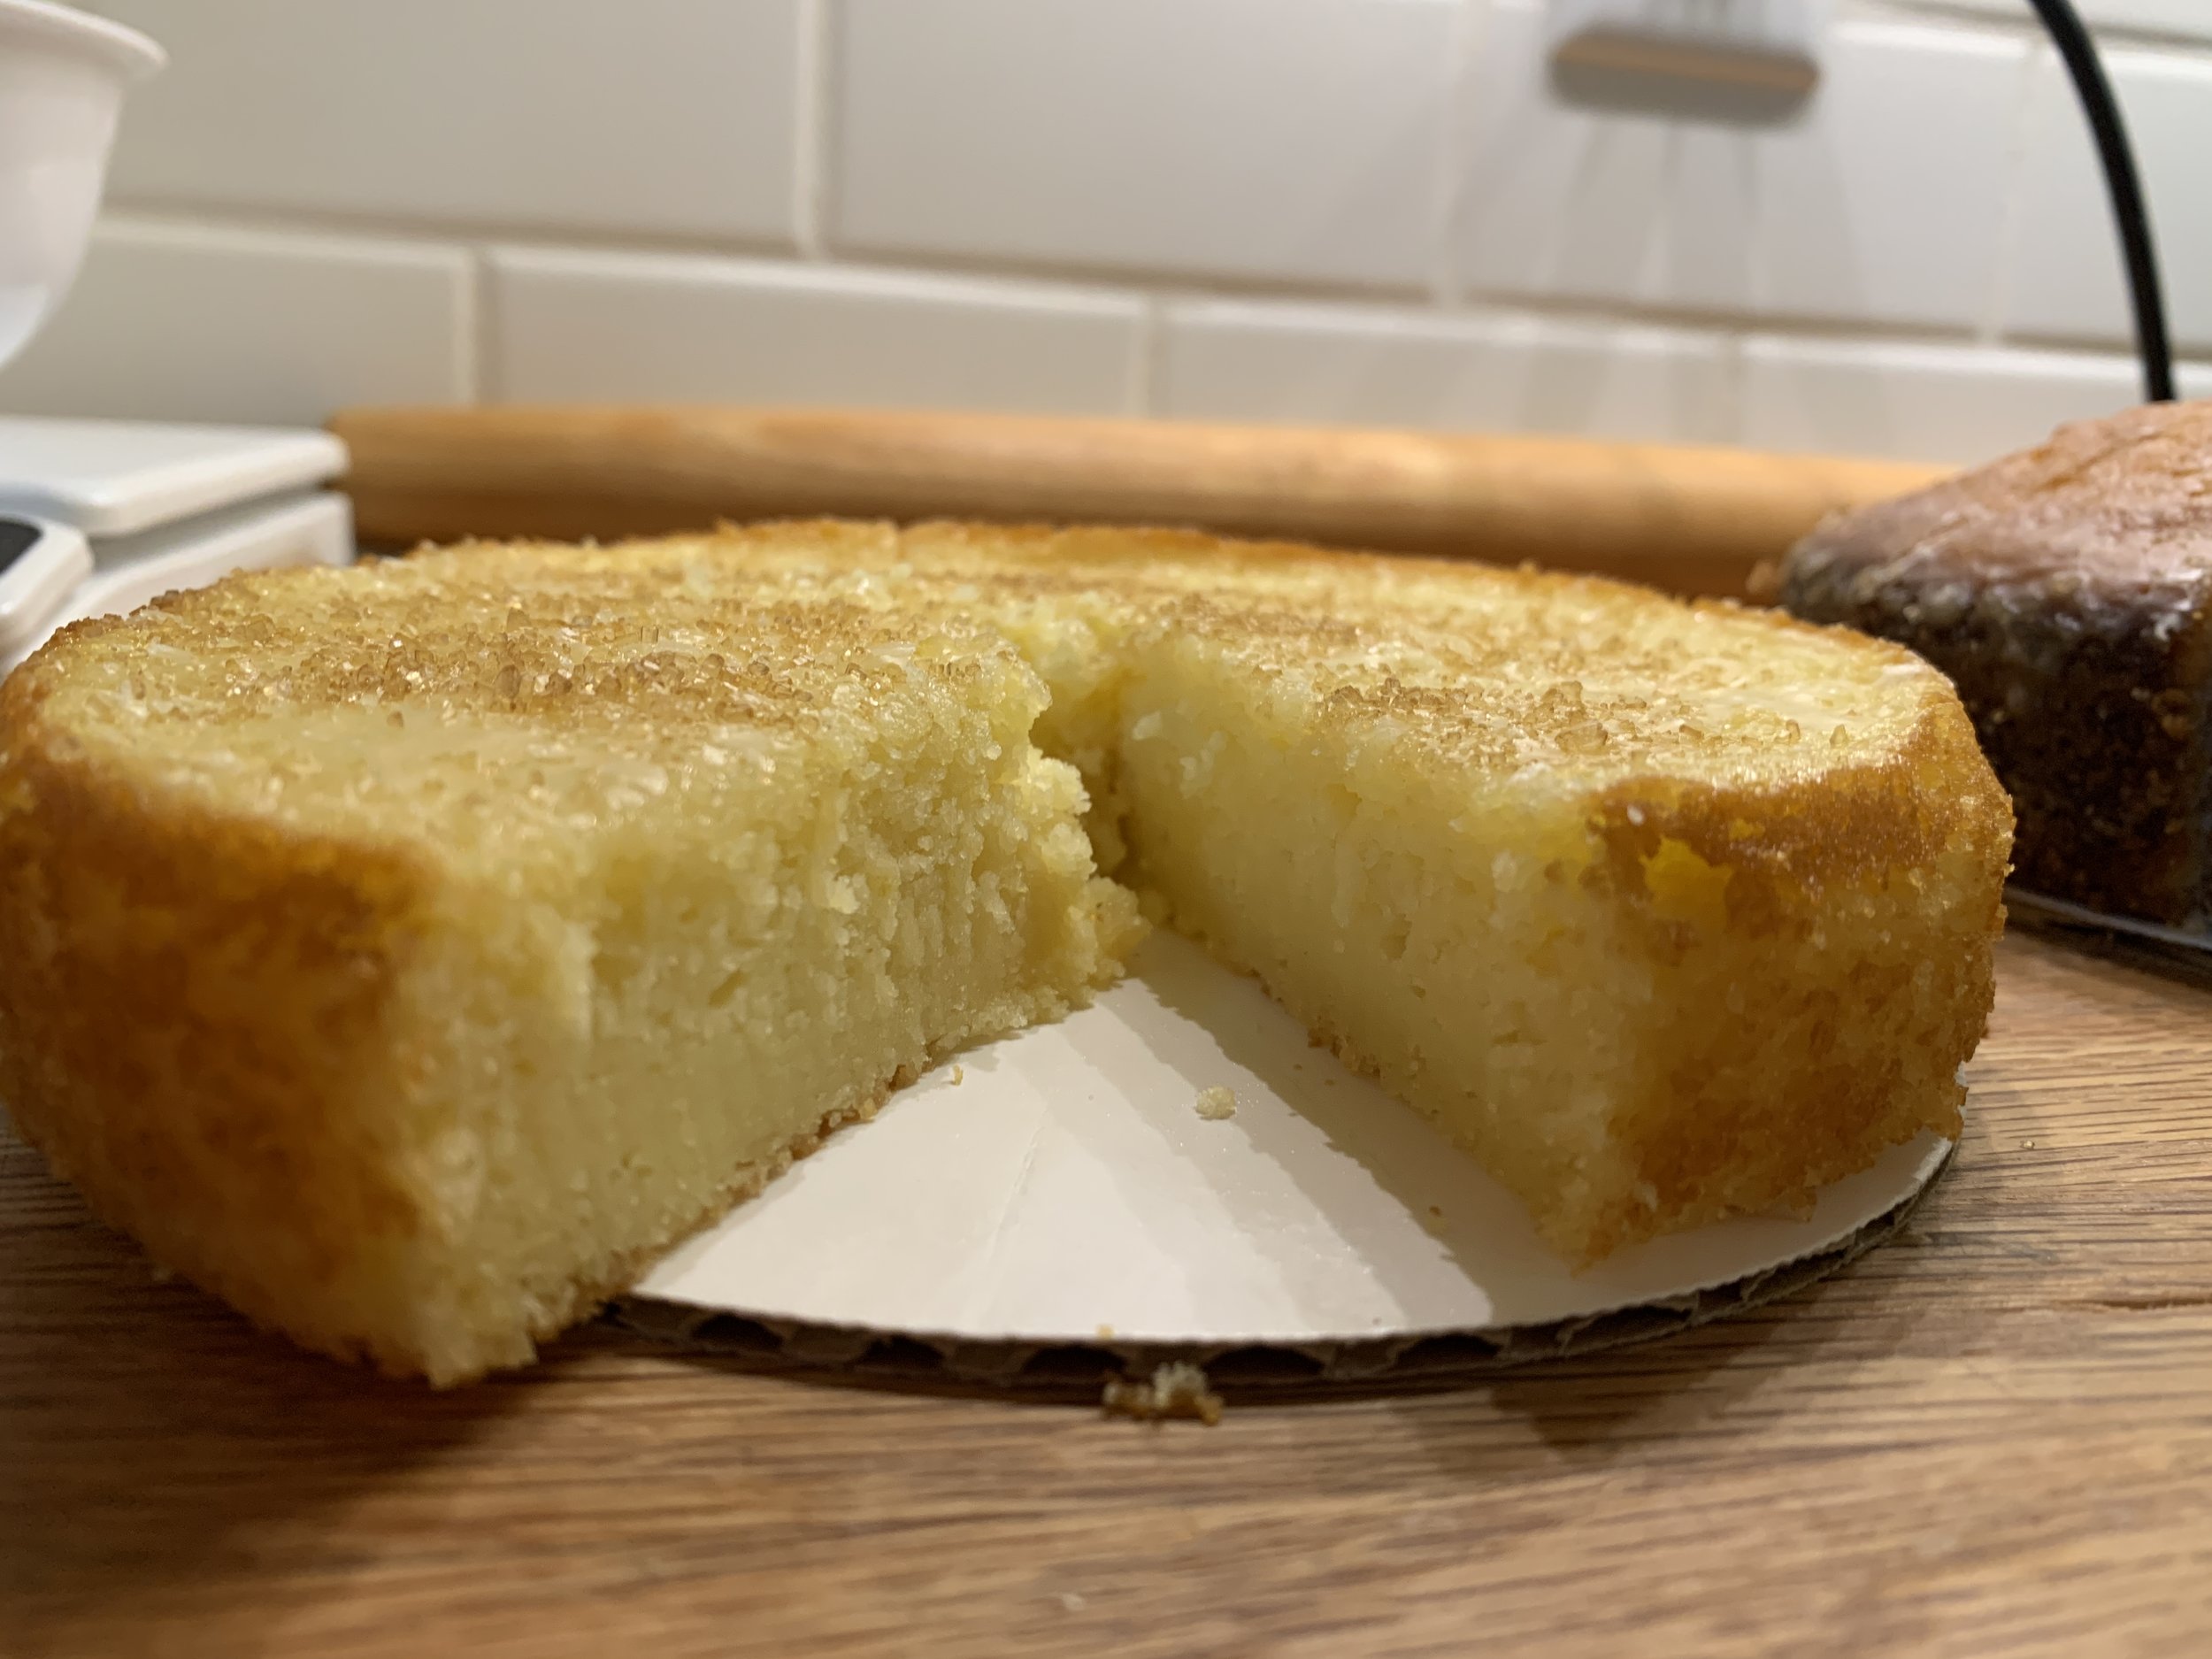
My recipe baked with less rise (less flour, less rise) and a lovely browned edge, whereas the KABC recipe reached quite a height and depth of color.

The texture of mine came out dense, tender, moist and almost custardy with a nice lemon flavor.
The KABC version has what I would consider a more typical cake texture - larger crumb, a bit drier at first, but the moisture actually improved over a couple of days. Delicious lemon flavor too.

Both cakes benefit from the lovely lemon glaze that is brushed on after the bake.
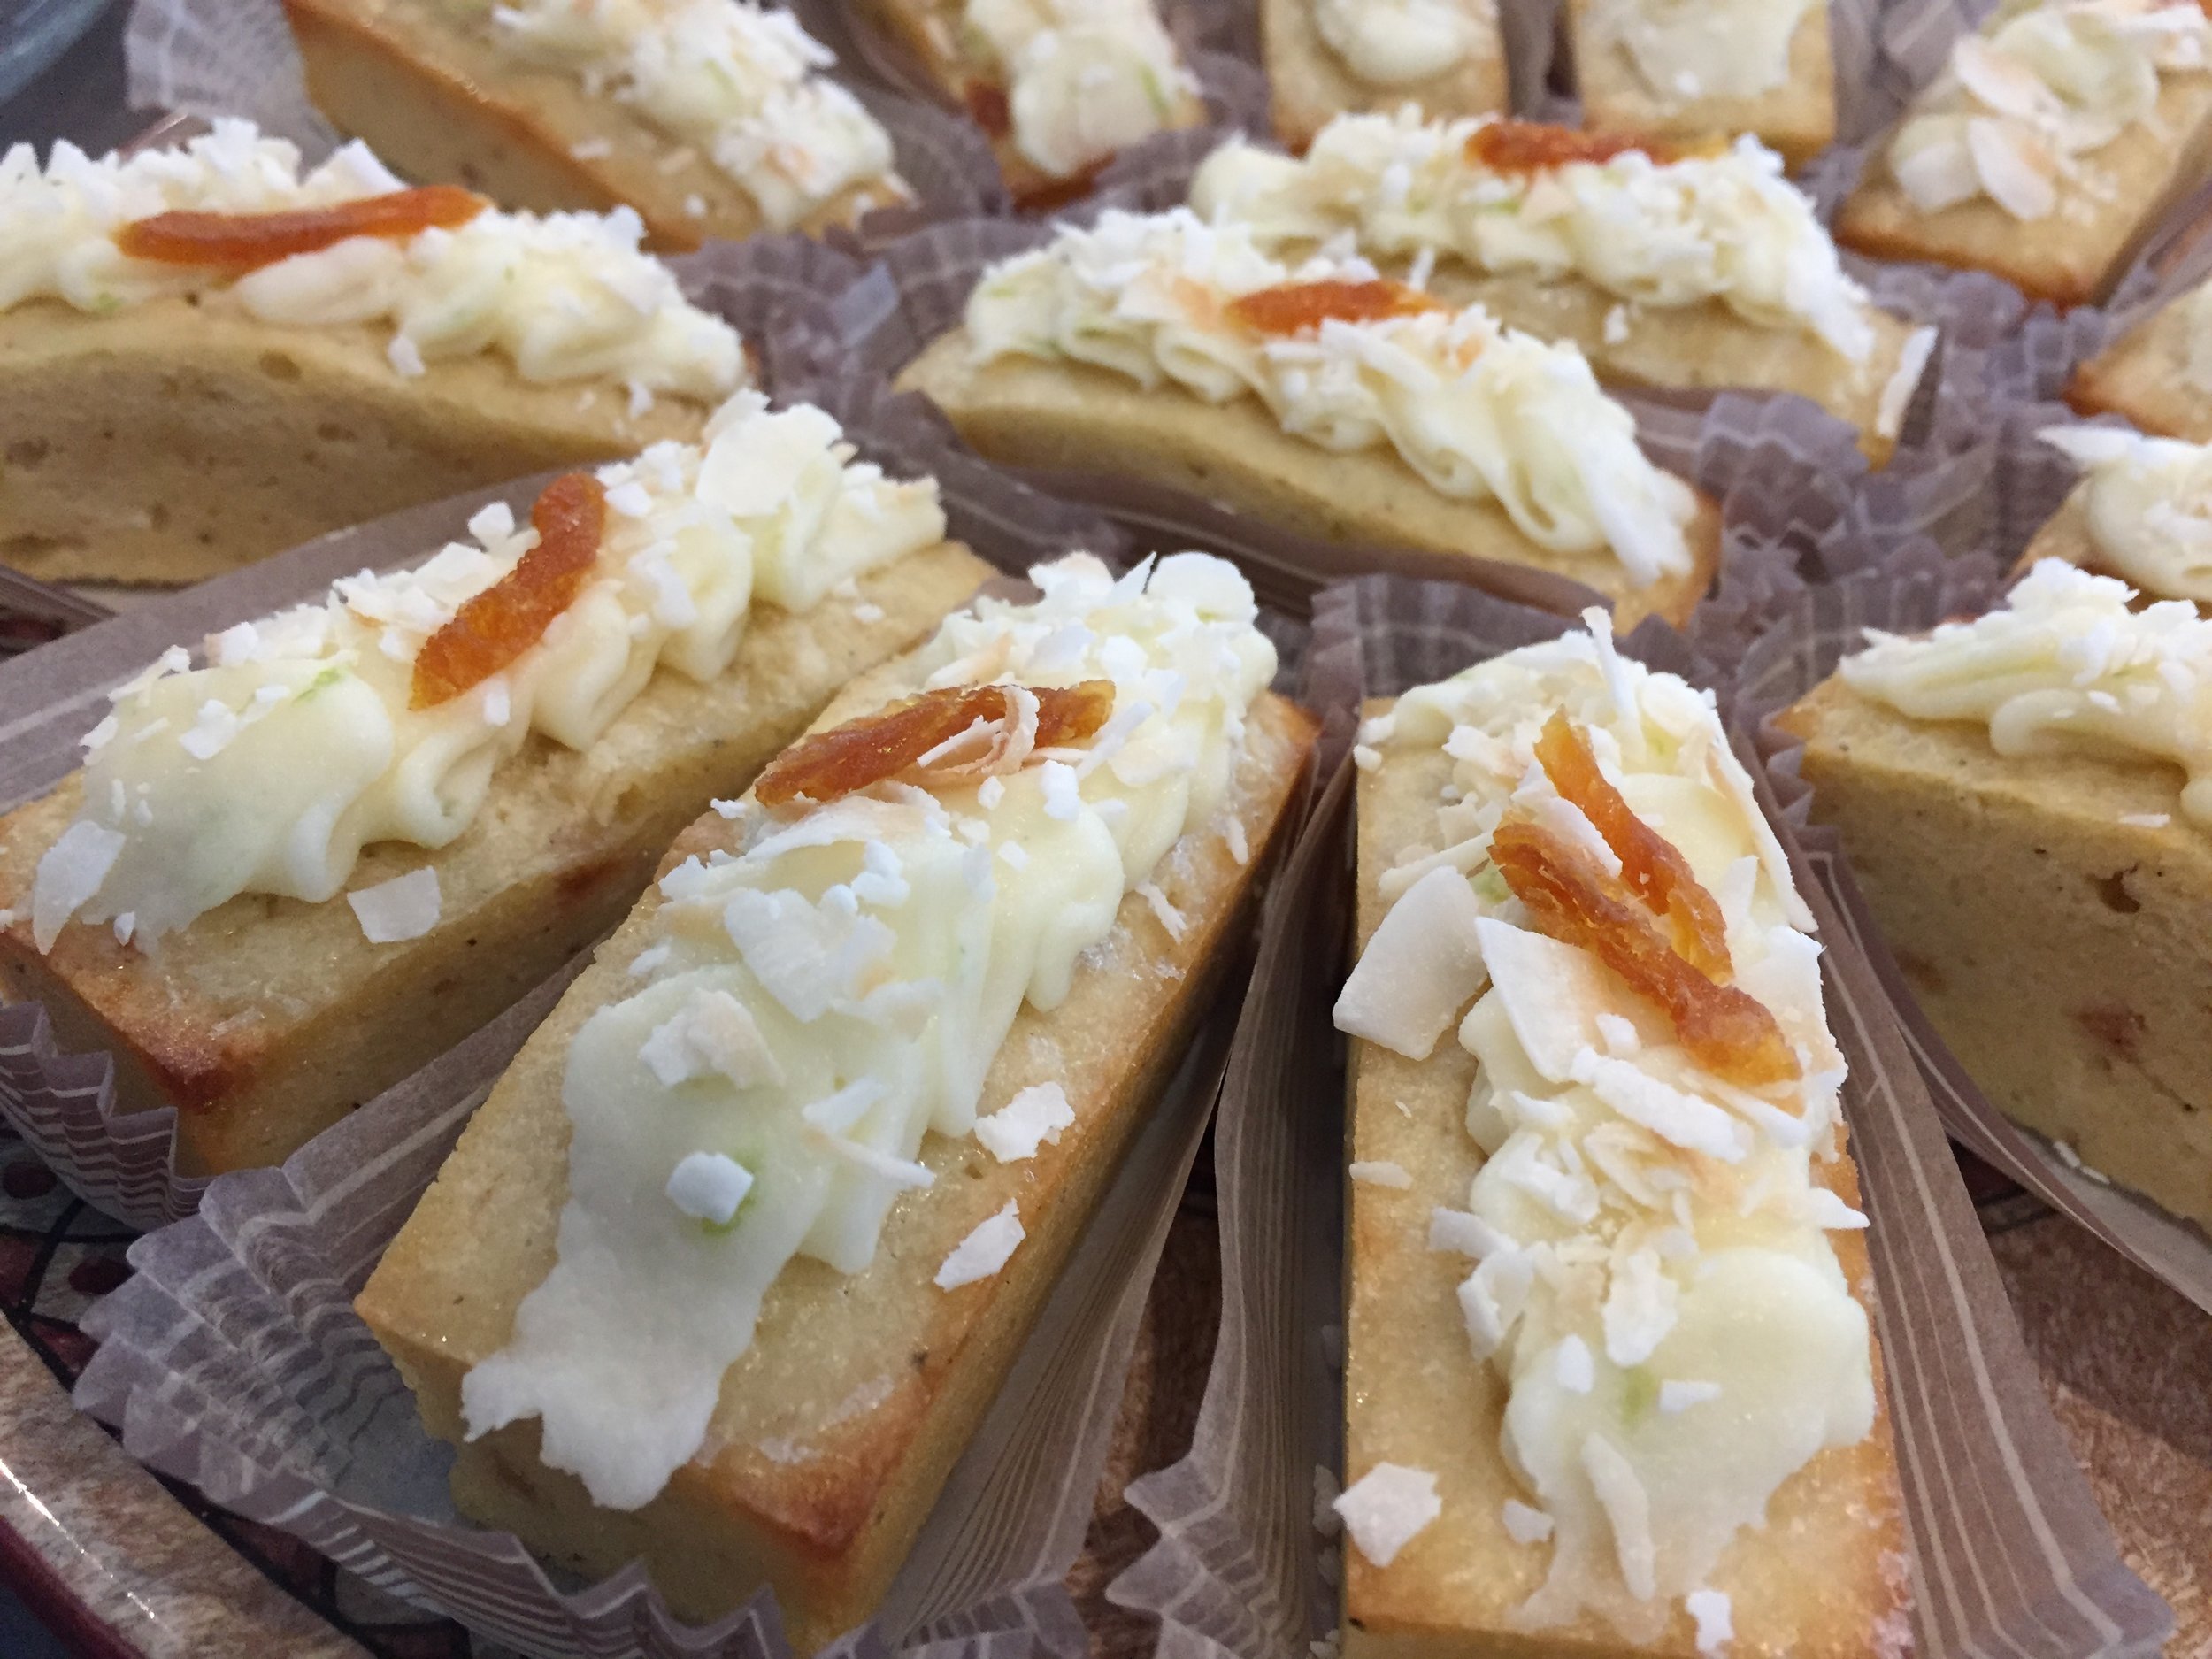
Since Steve and I felt it best not to indulge in ALL of the end results, I sliced some of each version and added some berry mascarpone to one of them. Those goodies went to cousin Jen and her husband Scott.

Of course (me being me), I decided to create a new version starting with my “old” one as the base. I nearly doubled the flour, combining mostly “00” plus some almond flour, decreased the butter by just a tablespoon and the salt to 1/4 teaspoon, added vanilla and kept the other ingredients the same. The goal? Perhaps to come up with the best of both worlds. Here’s the PDF of the new version.
Feel free to gloss over the text below. I know I get carried away sometimes:-)). Remember, not only is this for all of you, it’s a great way for me to chronicle my adventures.

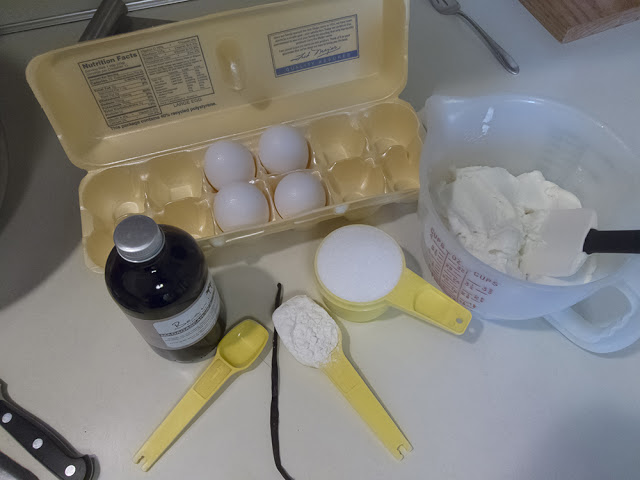
The mise
Planning ahead: (isn’t it wonderful to be organized?)
8” springform pan, butter bottom and line with parchment. Butter sides and sprinkle with coarse raw sugar for a nice hint of crunch to the edges (yum!). Remember - here’s the full recipe.
155 g / 11 tablespoons unsalted butter at room temp (cube up while still cold - it’s easier).
One cup whole milk ricotta: I put a strainer nested on paper towel over a bowl then put the ricotta in the strainer to drain off some of the liquid. It can sit out while you’re getting everything else ready.
In a medium bowl whisk together 130 g / 1 cup “00” (or all purpose) flour, 35 g / 1/3 cup blanched almond flour, 8 g / 2 teaspoons baking powder, 1/4 teaspoon salt and set aside.
Three eggs have to be separated. Like the butter, it’s easier to do that when they’re cold. Since yolks shouldn’t sit out too long (they start to dry and shrivel), I usually do the separating soon before I start my batter process. Whites can sit out for awhile and actually whip up better when not so cold.
Put 150 g / 3/4 cup granulated sugar in a medium bowl and zest the lemons into the sugar - rub the zest into the sugar to release the oils, enhancing the flavor.
Have a tablespoon lemon juice and a teaspoon vanilla extract available.
For glaze (after the bake): 2 tablespoons lemon juice and 3/4 cup confectioner’s sugar; some raw sugar for sprinkling on top if desired.
The steps:
Heat oven to 375ºF.
With the paddle beat butter, sugar/zest at medium-high for 3-5 minutes until light and fluffy. Scrape down sides of bowl.
Add egg yolks one at a time, scraping down after each.
Blend in ricotta, lemon juice and vanilla.
Add dry ingredients and mix on low until blended.
In a clean bowl whisk the three egg whites to soft peaks, abut 2-3 minutes. Then blend into batter in three additions until incorporated.
Place batter into prepared pan and smooth top.
Bake 55-65 minutes, rotating pan 180º half way through. A tester inserted should come out clean. Look for a golden, nicely browned surface and a firm feeling when you lightly press on the cake in the center. If browning too quickly, tent with foil - remember every oven is different!

Pan prep

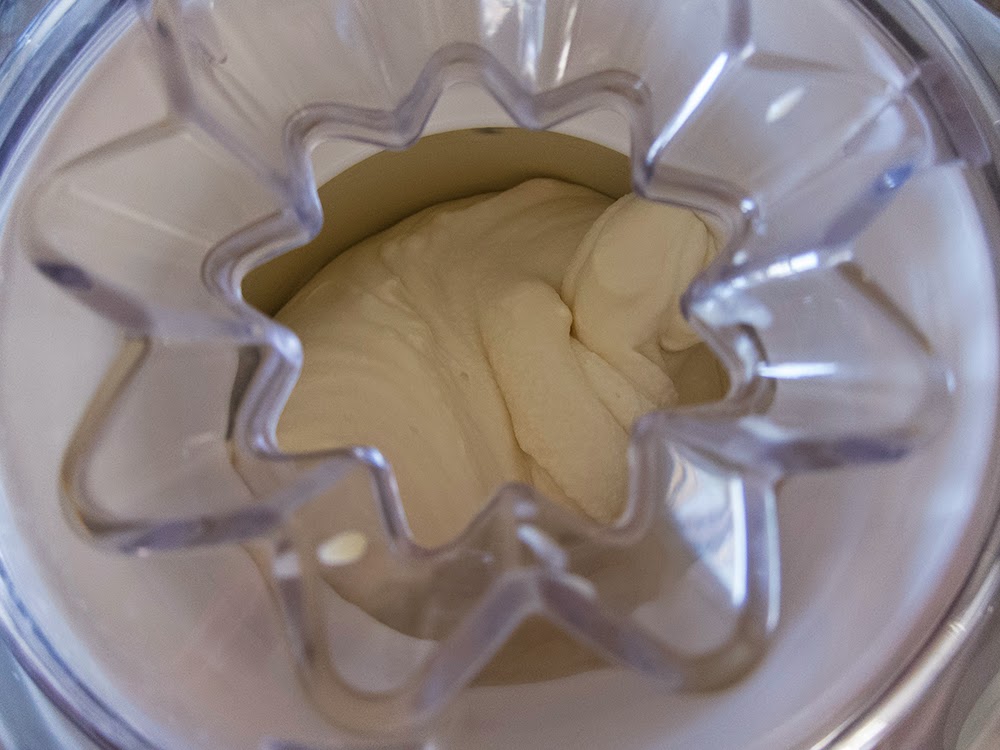
Ready to blend in whites

Final batter

Ready for the oven

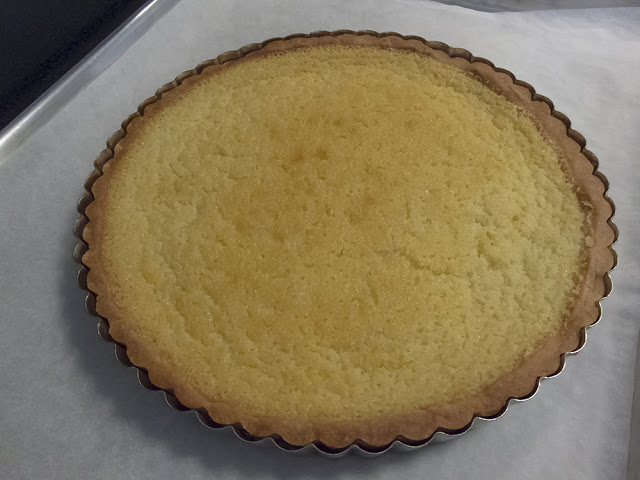
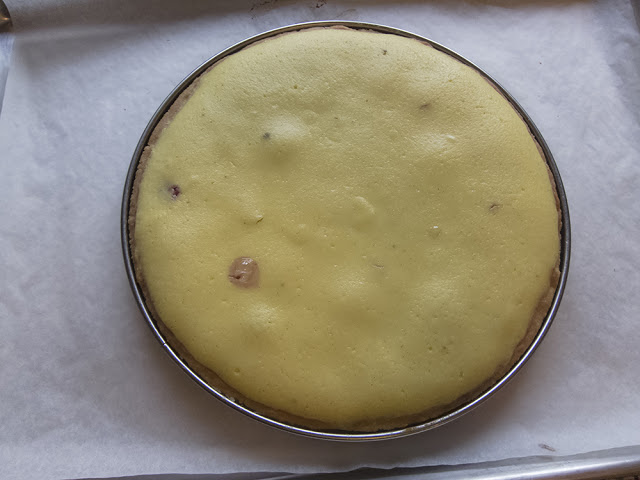
All baked up
Place pan on a wire rack set into a half sheet pan and let cool about 15 minutes. Remove the outer ring, place another rack on top of the cake and flip it over onto the second rack. Remove the bottom pan and parchment then flip back over.
Make glaze by adding 2 tablespoons lemon juice to 3/4 cup confectioner’s sugar. Pour/brush gently over the top and let dribble down sides. Sprinkle raw sugar over surface. Place in the oven 4-5 minutes to set the glaze.

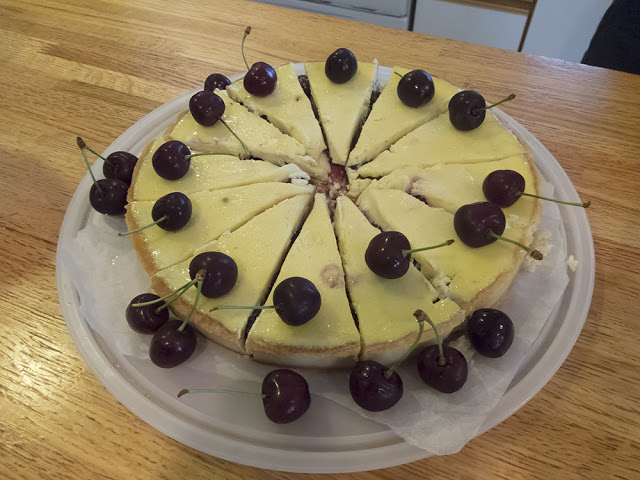
Oh so good!
Once cooled I topped with a light layer of whipped caramel mascarpone cream and a smattering of blueberries.
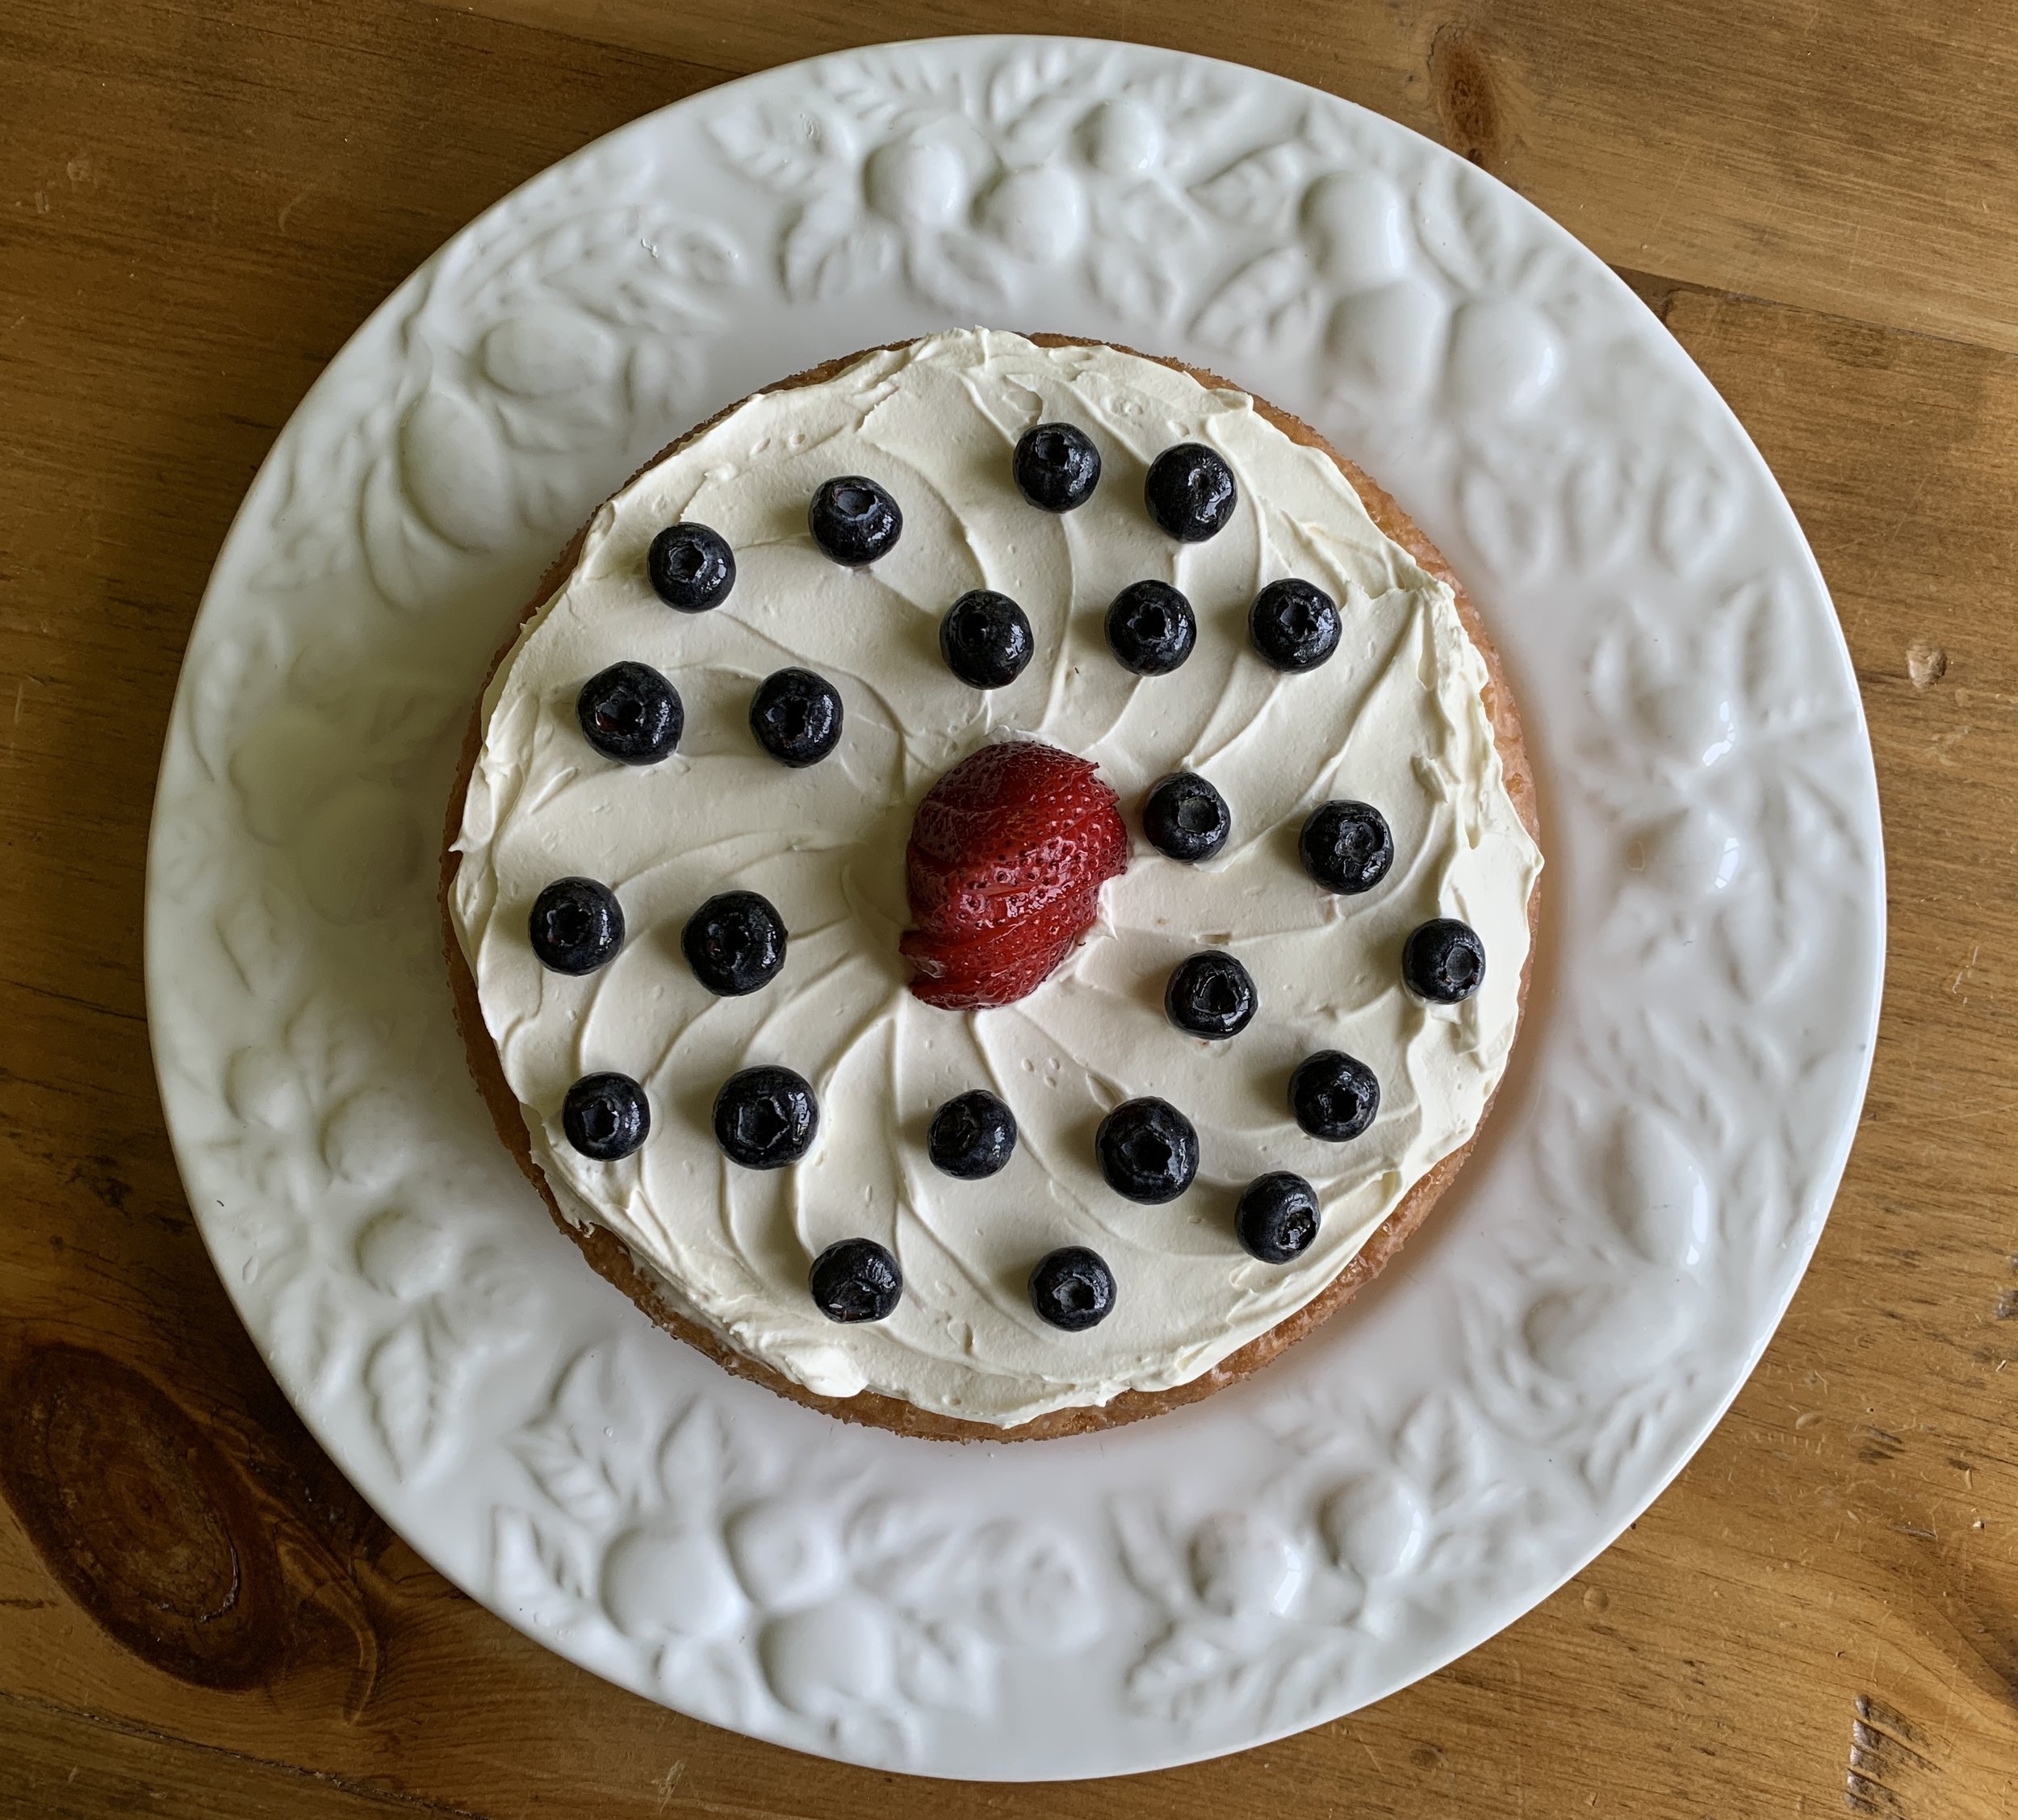
This. Cake. Is. Delicious. Wonderful texture, dense yet light in the crumb, lemony with a wonderful crunch from the raw sugar.

I gave half of it to our neighbor whose husband recently came home after a long hospitalization/rehab stint. Steve and I had no trouble enjoying what was left over the course of several days (it keeps very well in the fridge.)
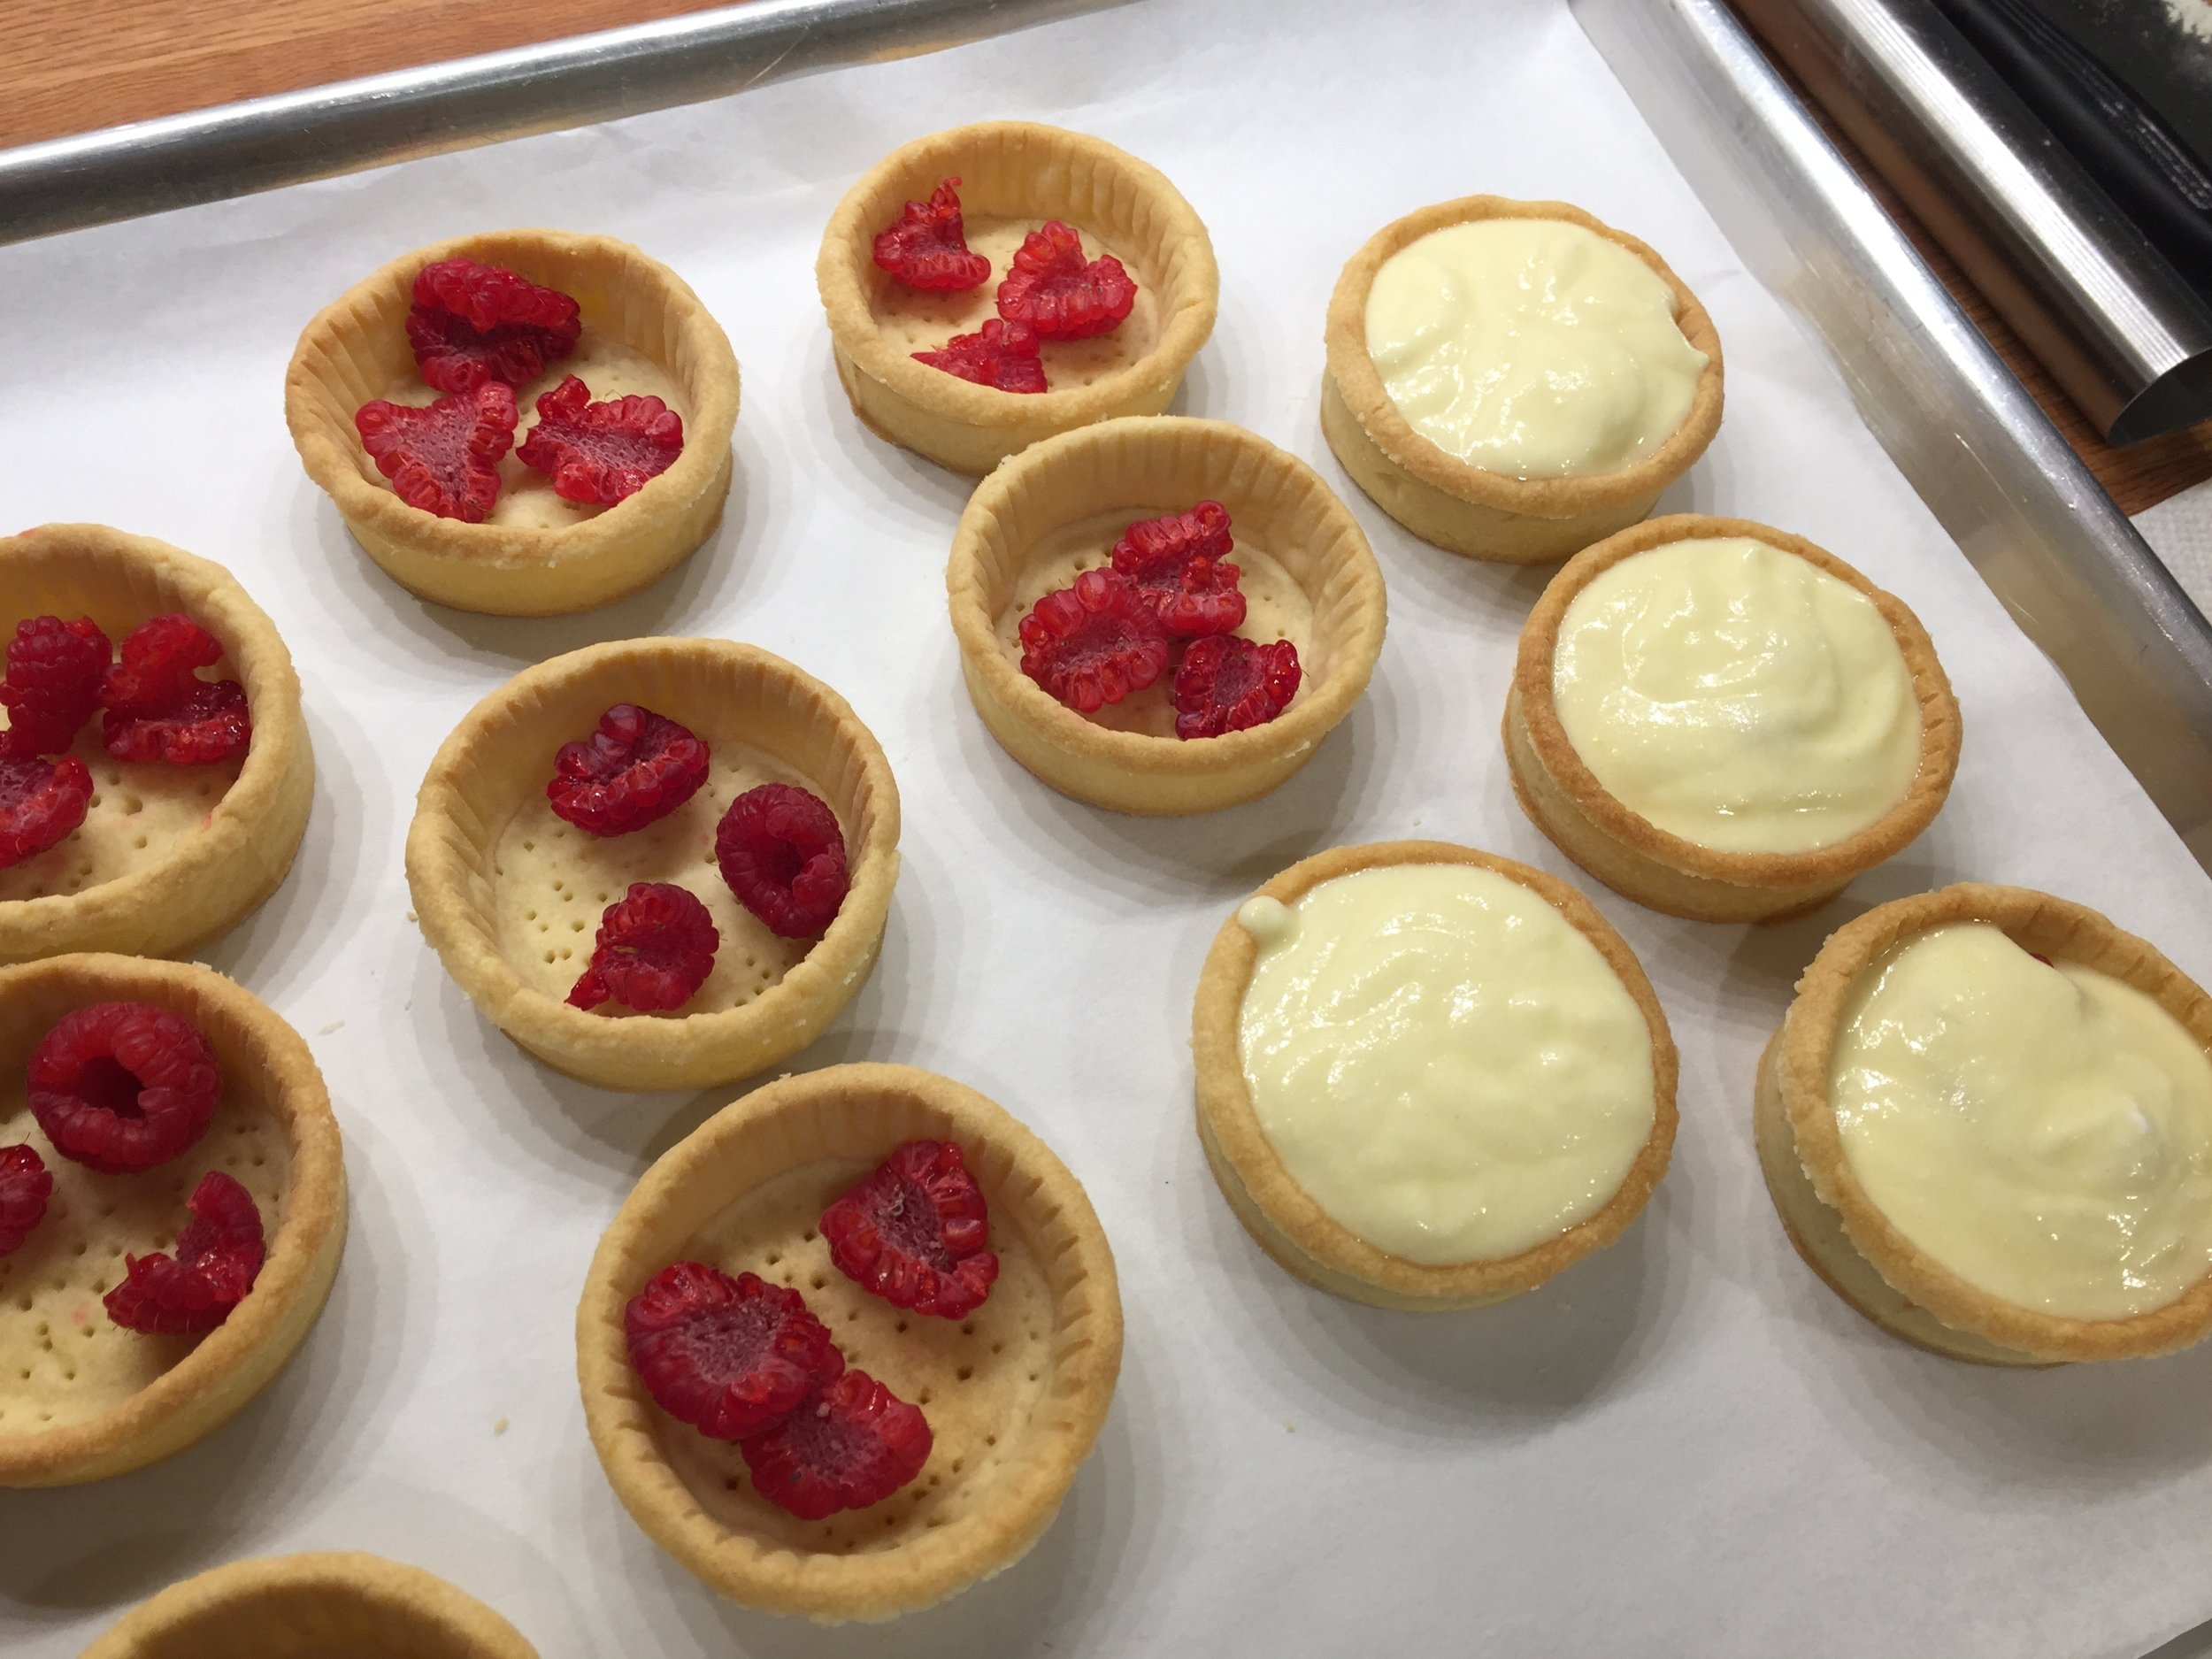
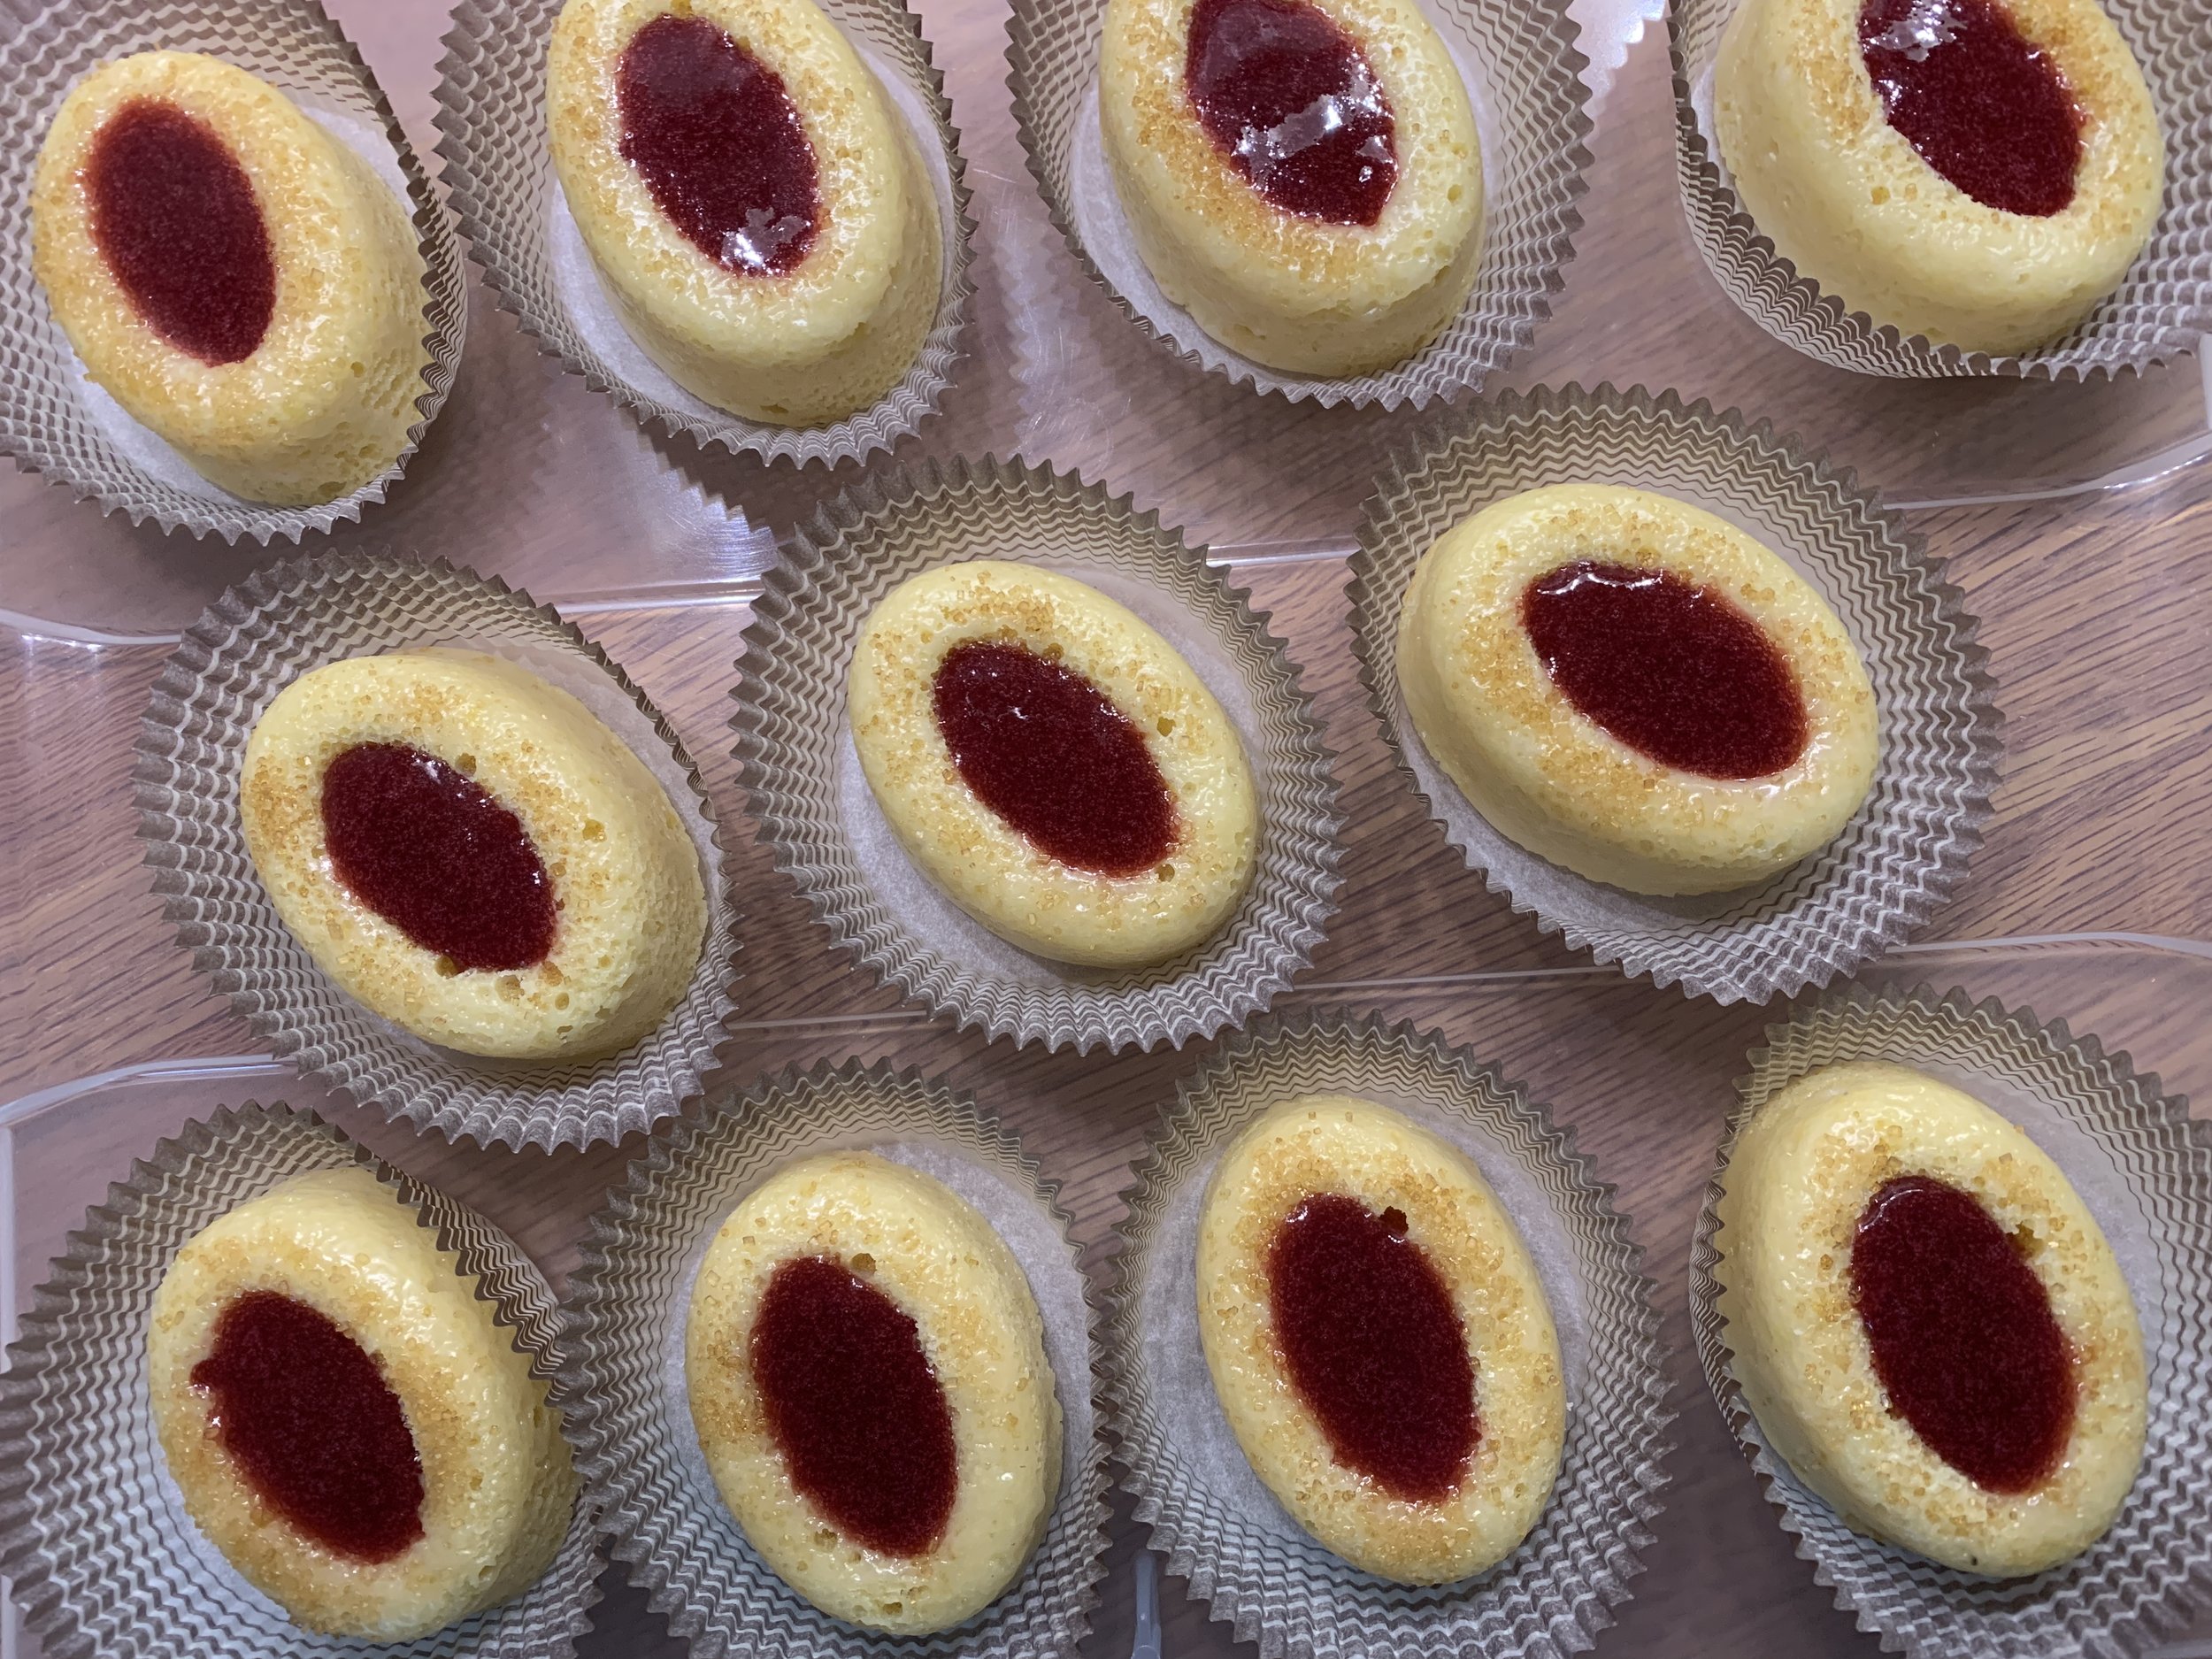
Wait! I’m not finished yet! I had a request to bake some treats for cousin Mary’s book club gathering so, for the second round with the “new” recipe, I baked another batch as individual cakes (my fave). Baked in silicone molds, they don’t get quite as browned as batter baked in a metal pan but that’s OK. Baking time is less for the smaller cakes so keep an eye on things. The yield is around 30 cakes for the welled oval molds that I love.
Once cooled, I applied the glaze and sprinkle of raw sugar.

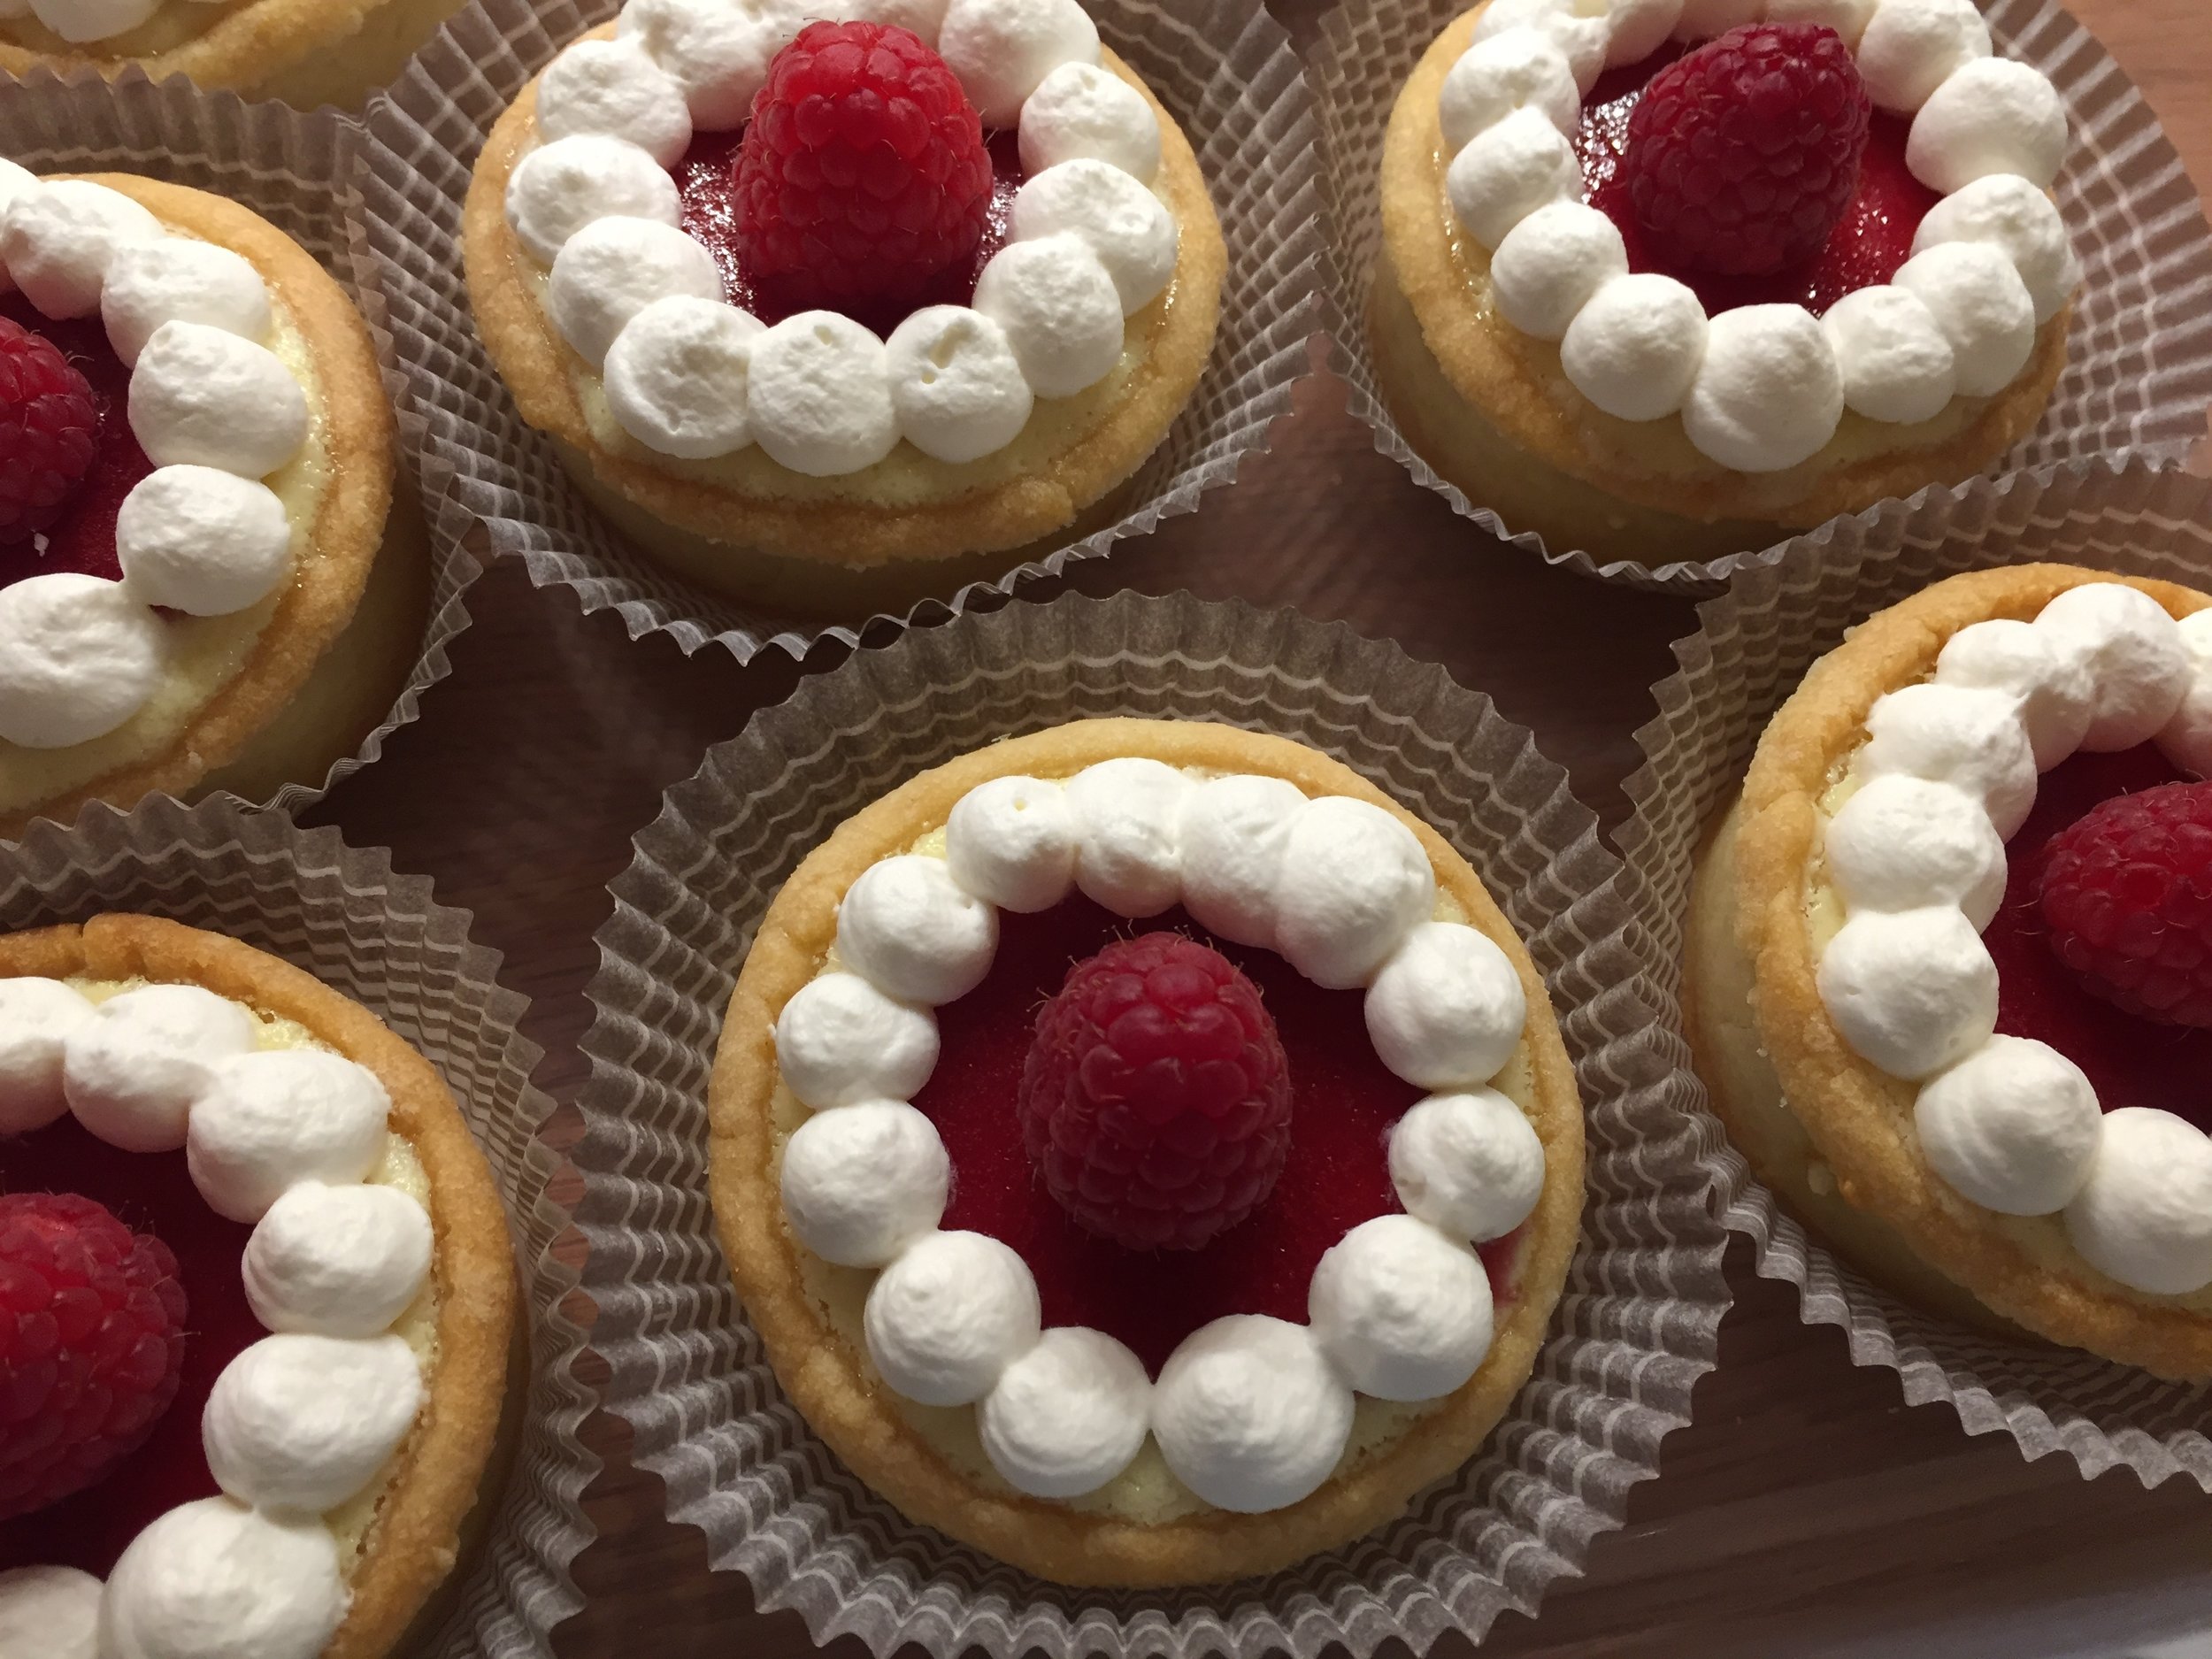
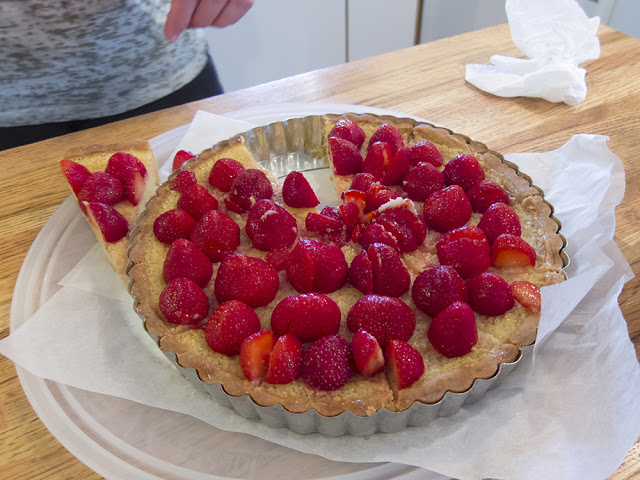
I made a lightly gelled berry coulis and filled the center wells with that. I had to set aside a couple for taste testing by - guess who?!

Then a nice swirl of mascarpone cream . . . . .

and a bit of color with fresh berries.

The timing of this project happened to be perfect for Memorial Day weekend too - I had plenty to share with visiting niece Rachel and her husband Steve as well as with the more extended family at Clear Lake.
THE END.
Summer is moving in so enjoy it!

Weigela varietal