English cheddar scones
/Let's be clear. I love cheese. So why not use some delicious cheeses in my baking projects, eh? It's a win-win - I expand my knowledge about different cheeses AND I get to create some tasty goodies to boot!
We're fortunate to have The Cheese Lady here in Grand Rapids. It's just one of six Cheese Lady shops located in lower Michigan (read more about it here), and boy-oh-boy do they have a fantastic selection. It's a wonderful spot where the staff is knowledgeable, friendly and helpful, plus one can sample and purchase all manner of cheeses from around the world. In addition there are well thought out displays of cheese accoutrements and assorted cool serving bowls, cheese boards, platters and utensils. You should check it out!
Below is a shot of the cheese board to get you in the mood to go buy cheese! Yeah!!
This post launches a series I plan to do over the next several months, primarily on baking with cheese but also the occasional post on pairing cheeses with baked goods. First up - cheddar scones.
I chose an English cheddar, Barber vintage reserve, for this project. Did you know there's actually a town in England called Cheddar? If I did, it was certainly buried somewhere in my feeble brain. Just google "history of cheddar cheese" and you'll learn all about it. Bottom line - it's a cow's milk cheese and the good cheddars are REALLY good.
I tweaked my scone recipe to give it a savory note - subbed in some whole wheat pastry flour for some of the all purpose, reduced the sugar, added a little dry mustard, freshly ground black pepper and a hint of cayenne to set off the just-right bite of the cheddar.
The key to scone making is to keep everything cold and work efficiently without overdoing it. Dry ingredients in the bowl, diced cold butter tossed in . . . . .
Sand the butter into the dry ingredients to achieve coarse crumbs with flattened pieces of butter still visible. Distribute the cheddar cheese around the edges of the bowl then pour in the cream/egg . . . .
Toss it up with a fork to moisten everything. At this point I use my trusty bowl scraper and quickly blend everything together, then turn out onto the work surface for a quick knead into a rough and tumble rectangle. Don't worry if there are still a few dry crumbs. It will all work out in the end - trust me.
The next step helps to achieve a bit of layering to the dough, kind of like making puff pastry. Visually divide the dough in three and fold one end of the dough to the middle . . .
then fold the other third over onto the dough like a business letter.
Et voilà! You've done a three-fold!
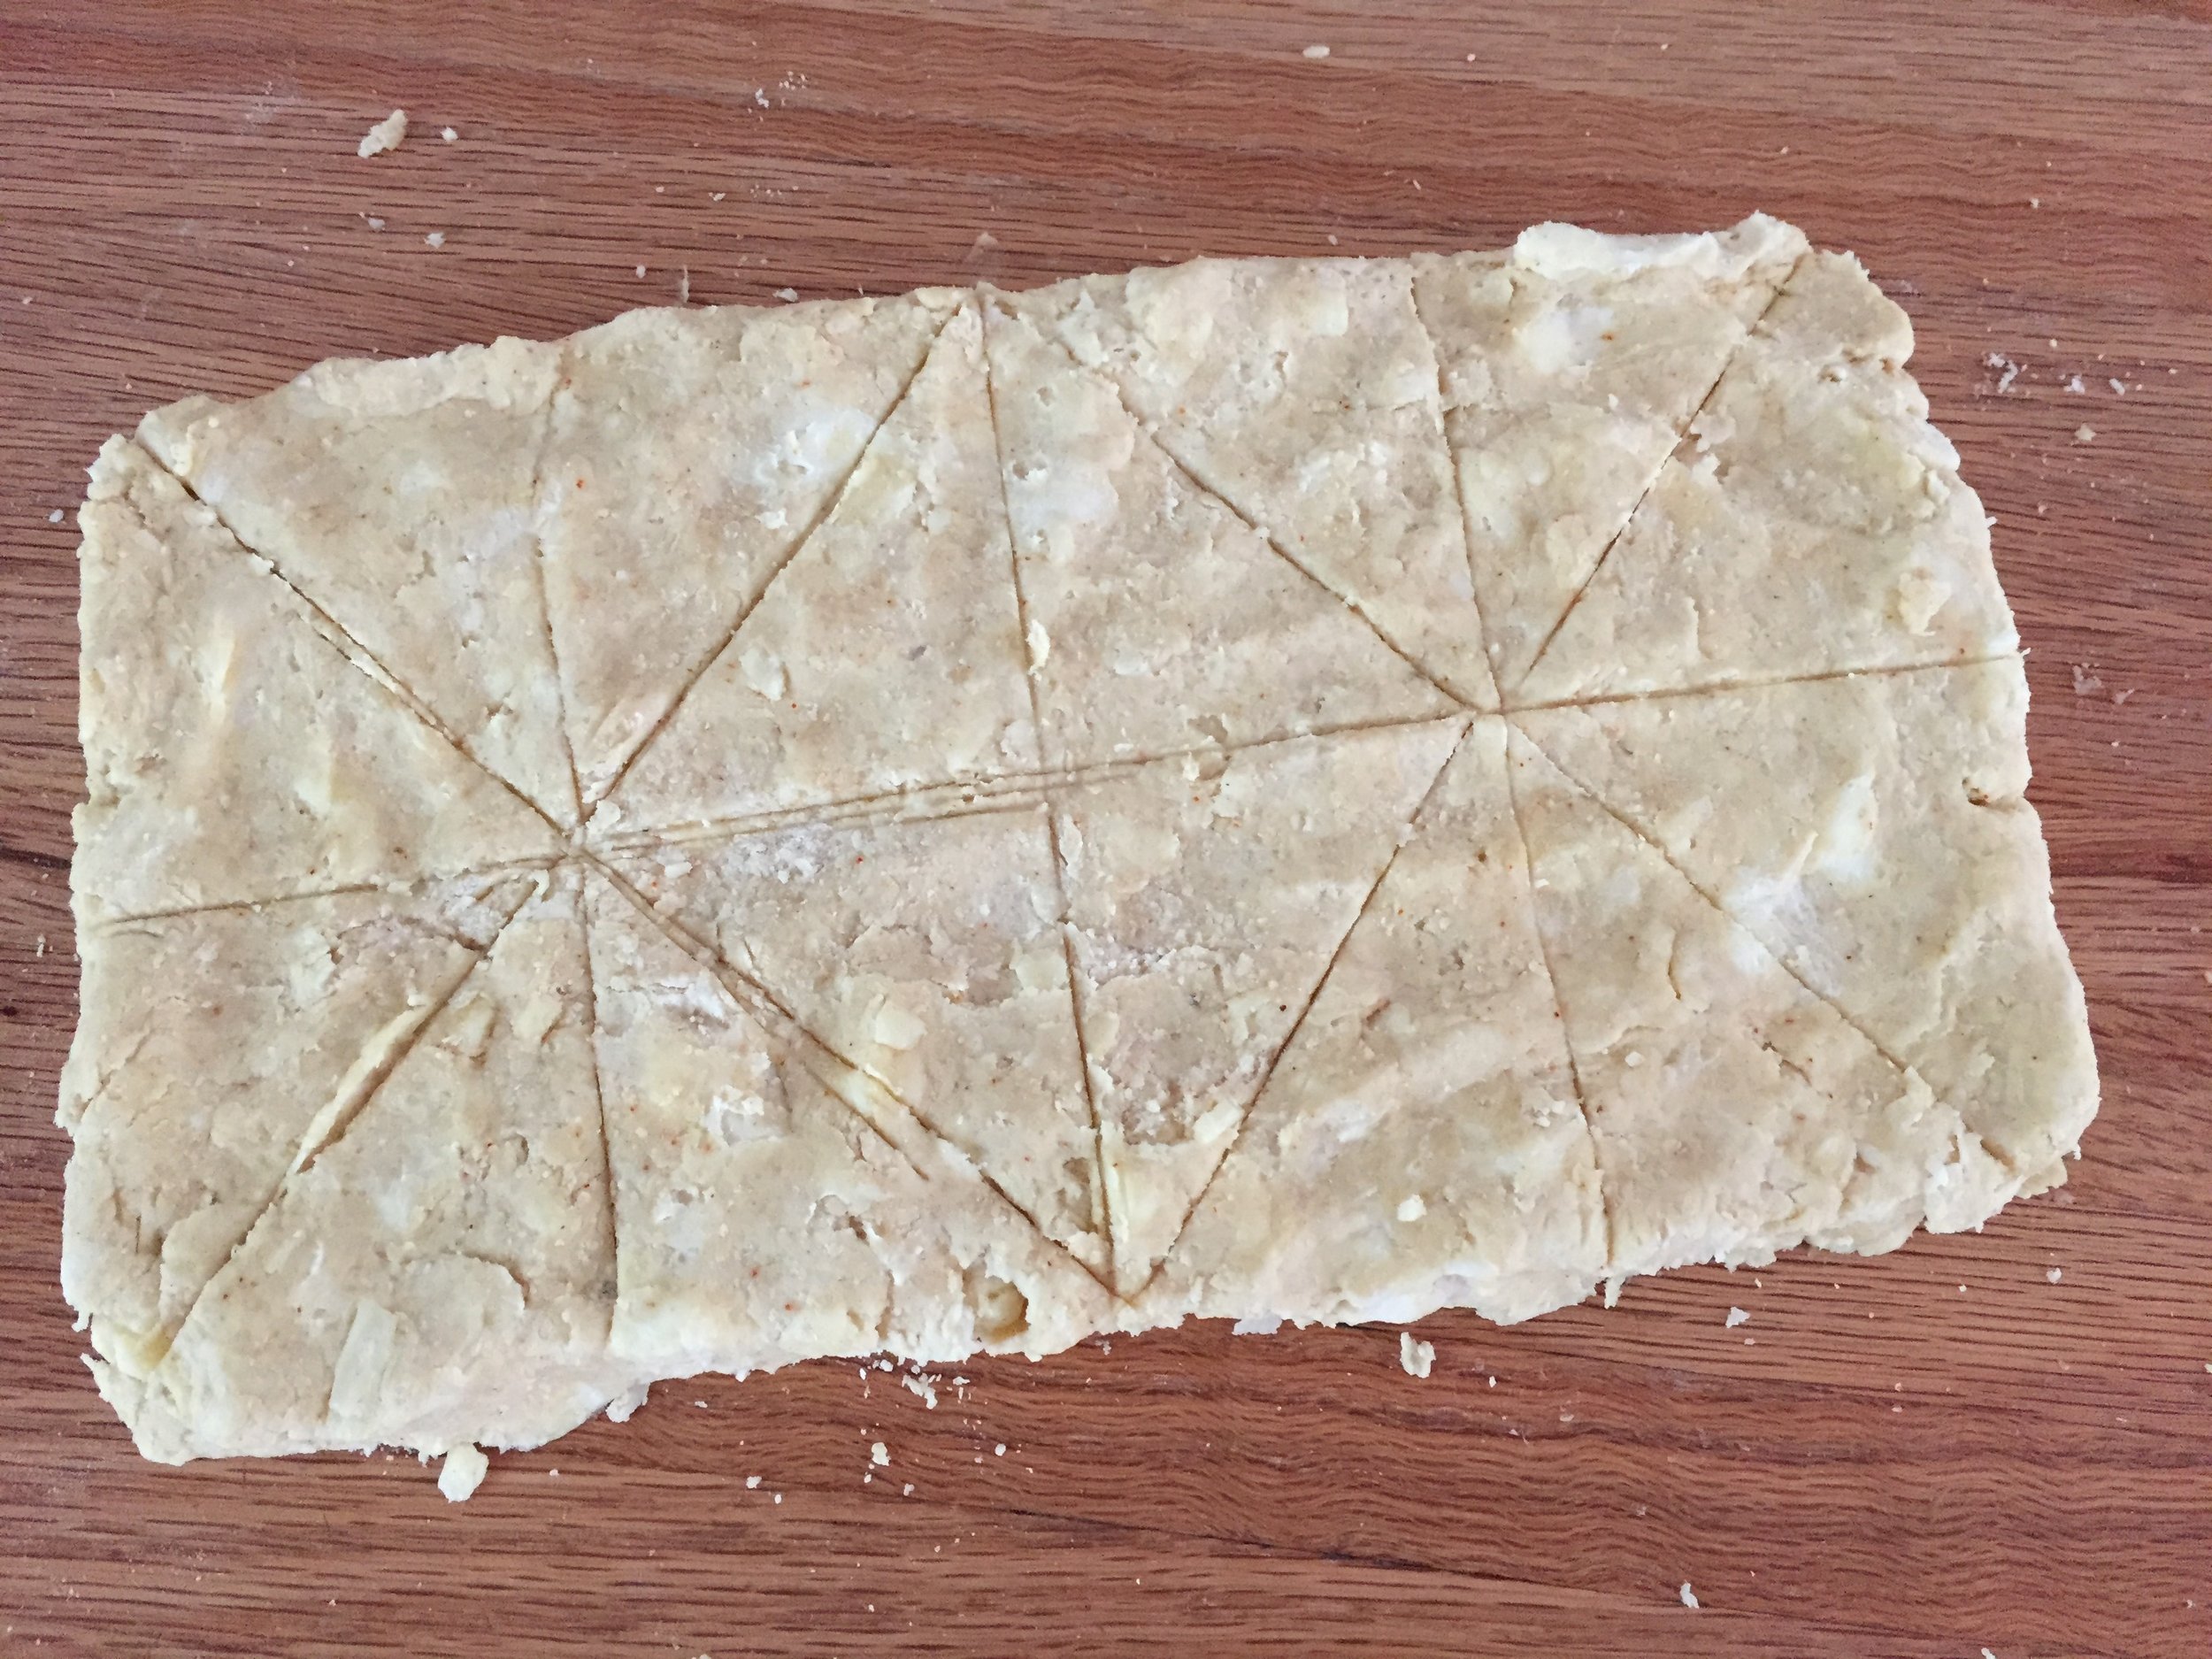
Now either pat by hand or quickly but gently roll the dough into a rectangle again. I like the dough to be about an inch thick so I eyeball the size of the rectangle based on my desired thickness. These are closer to 1/2", a bit too thin - next time I'll pay more attention.
While this recipe makes 8 "standard" (whoever decided what that is?) sized scones, I prefer mine on the smaller size, particularly for trial and tasting purposes. First I score lightly, then cut with my bench scraper into 16 triangles. (NOTE: Going forward I'll do 12, working toward the one inch thickness - that gives you a not-too-big-but-still-nice-sized-scone).
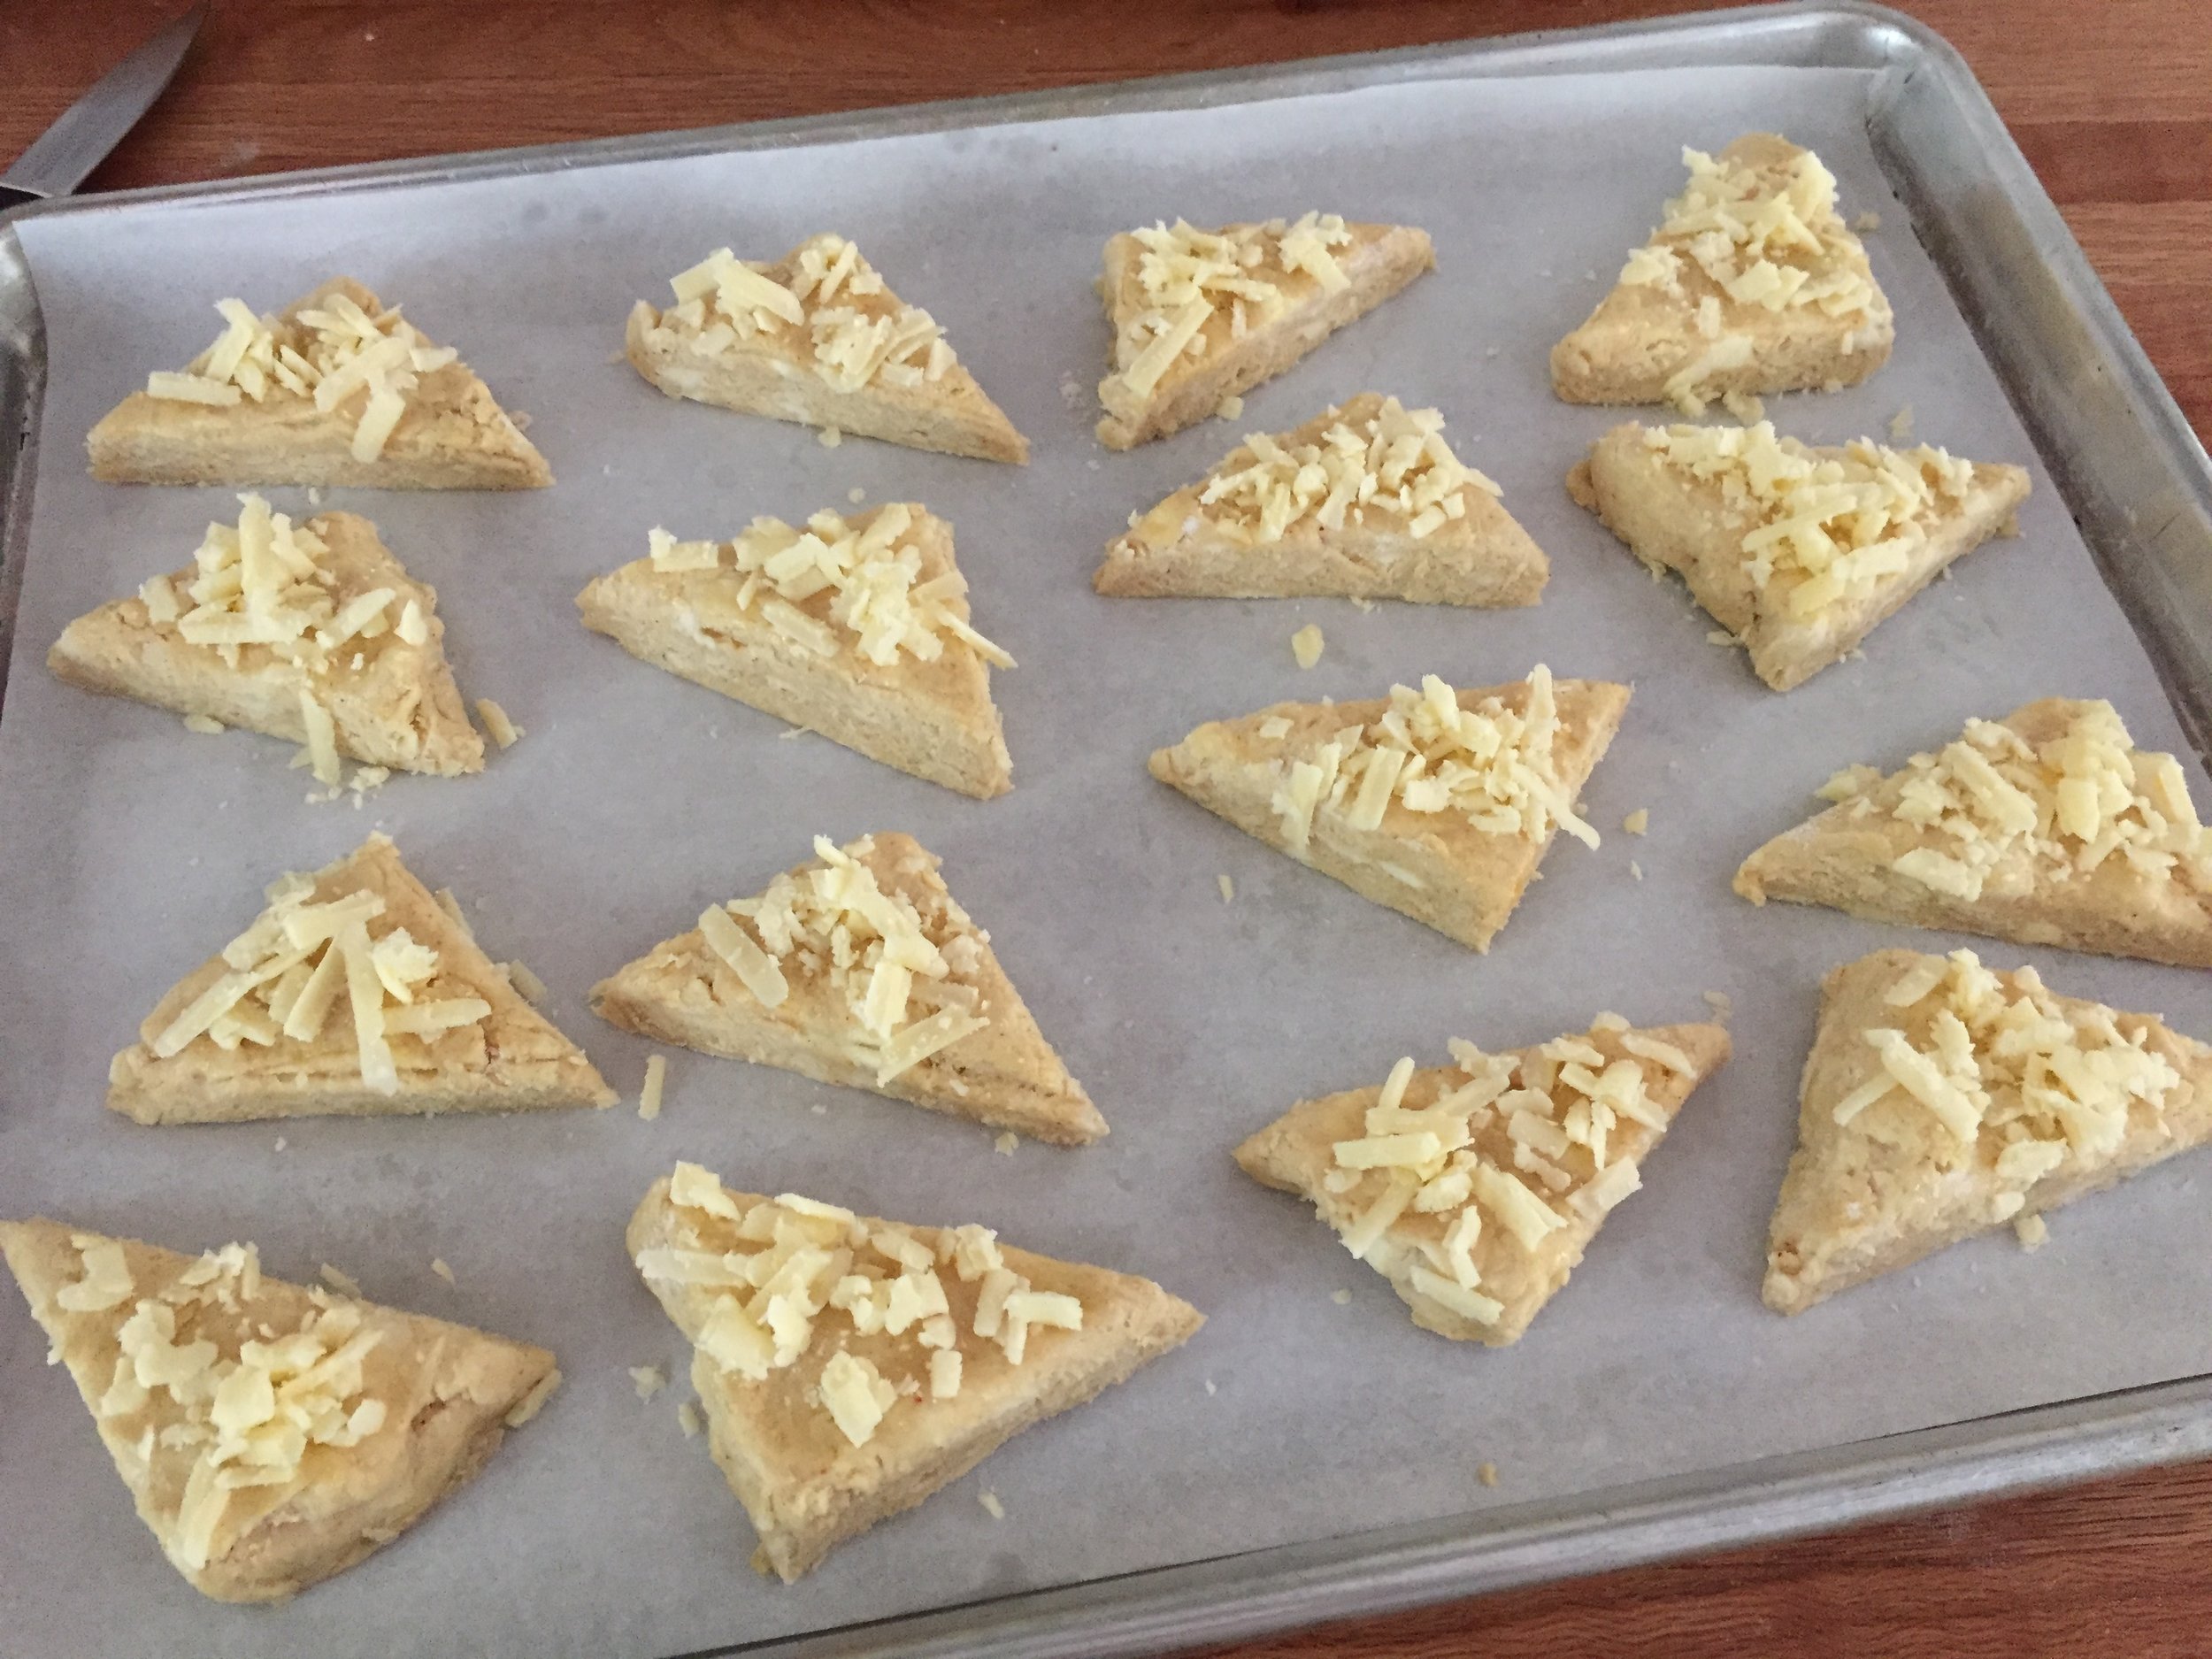
Place 'em on a parchment lined sheet pan, brush with egg wash or milk then sprinkle additional grated cheese on top.
Place the tray of scones in the freezer while you heat the oven to 425ºF. Bake for 5 minutes then decrease the temp to 400ºF and continue baking for another 10-15 minutes until nicely browned. I rotate my tray half way through and will ratchet the oven down to 375ºF if I feel they're browning too quickly. Remember - it's up to YOU to watch what's going on in there.
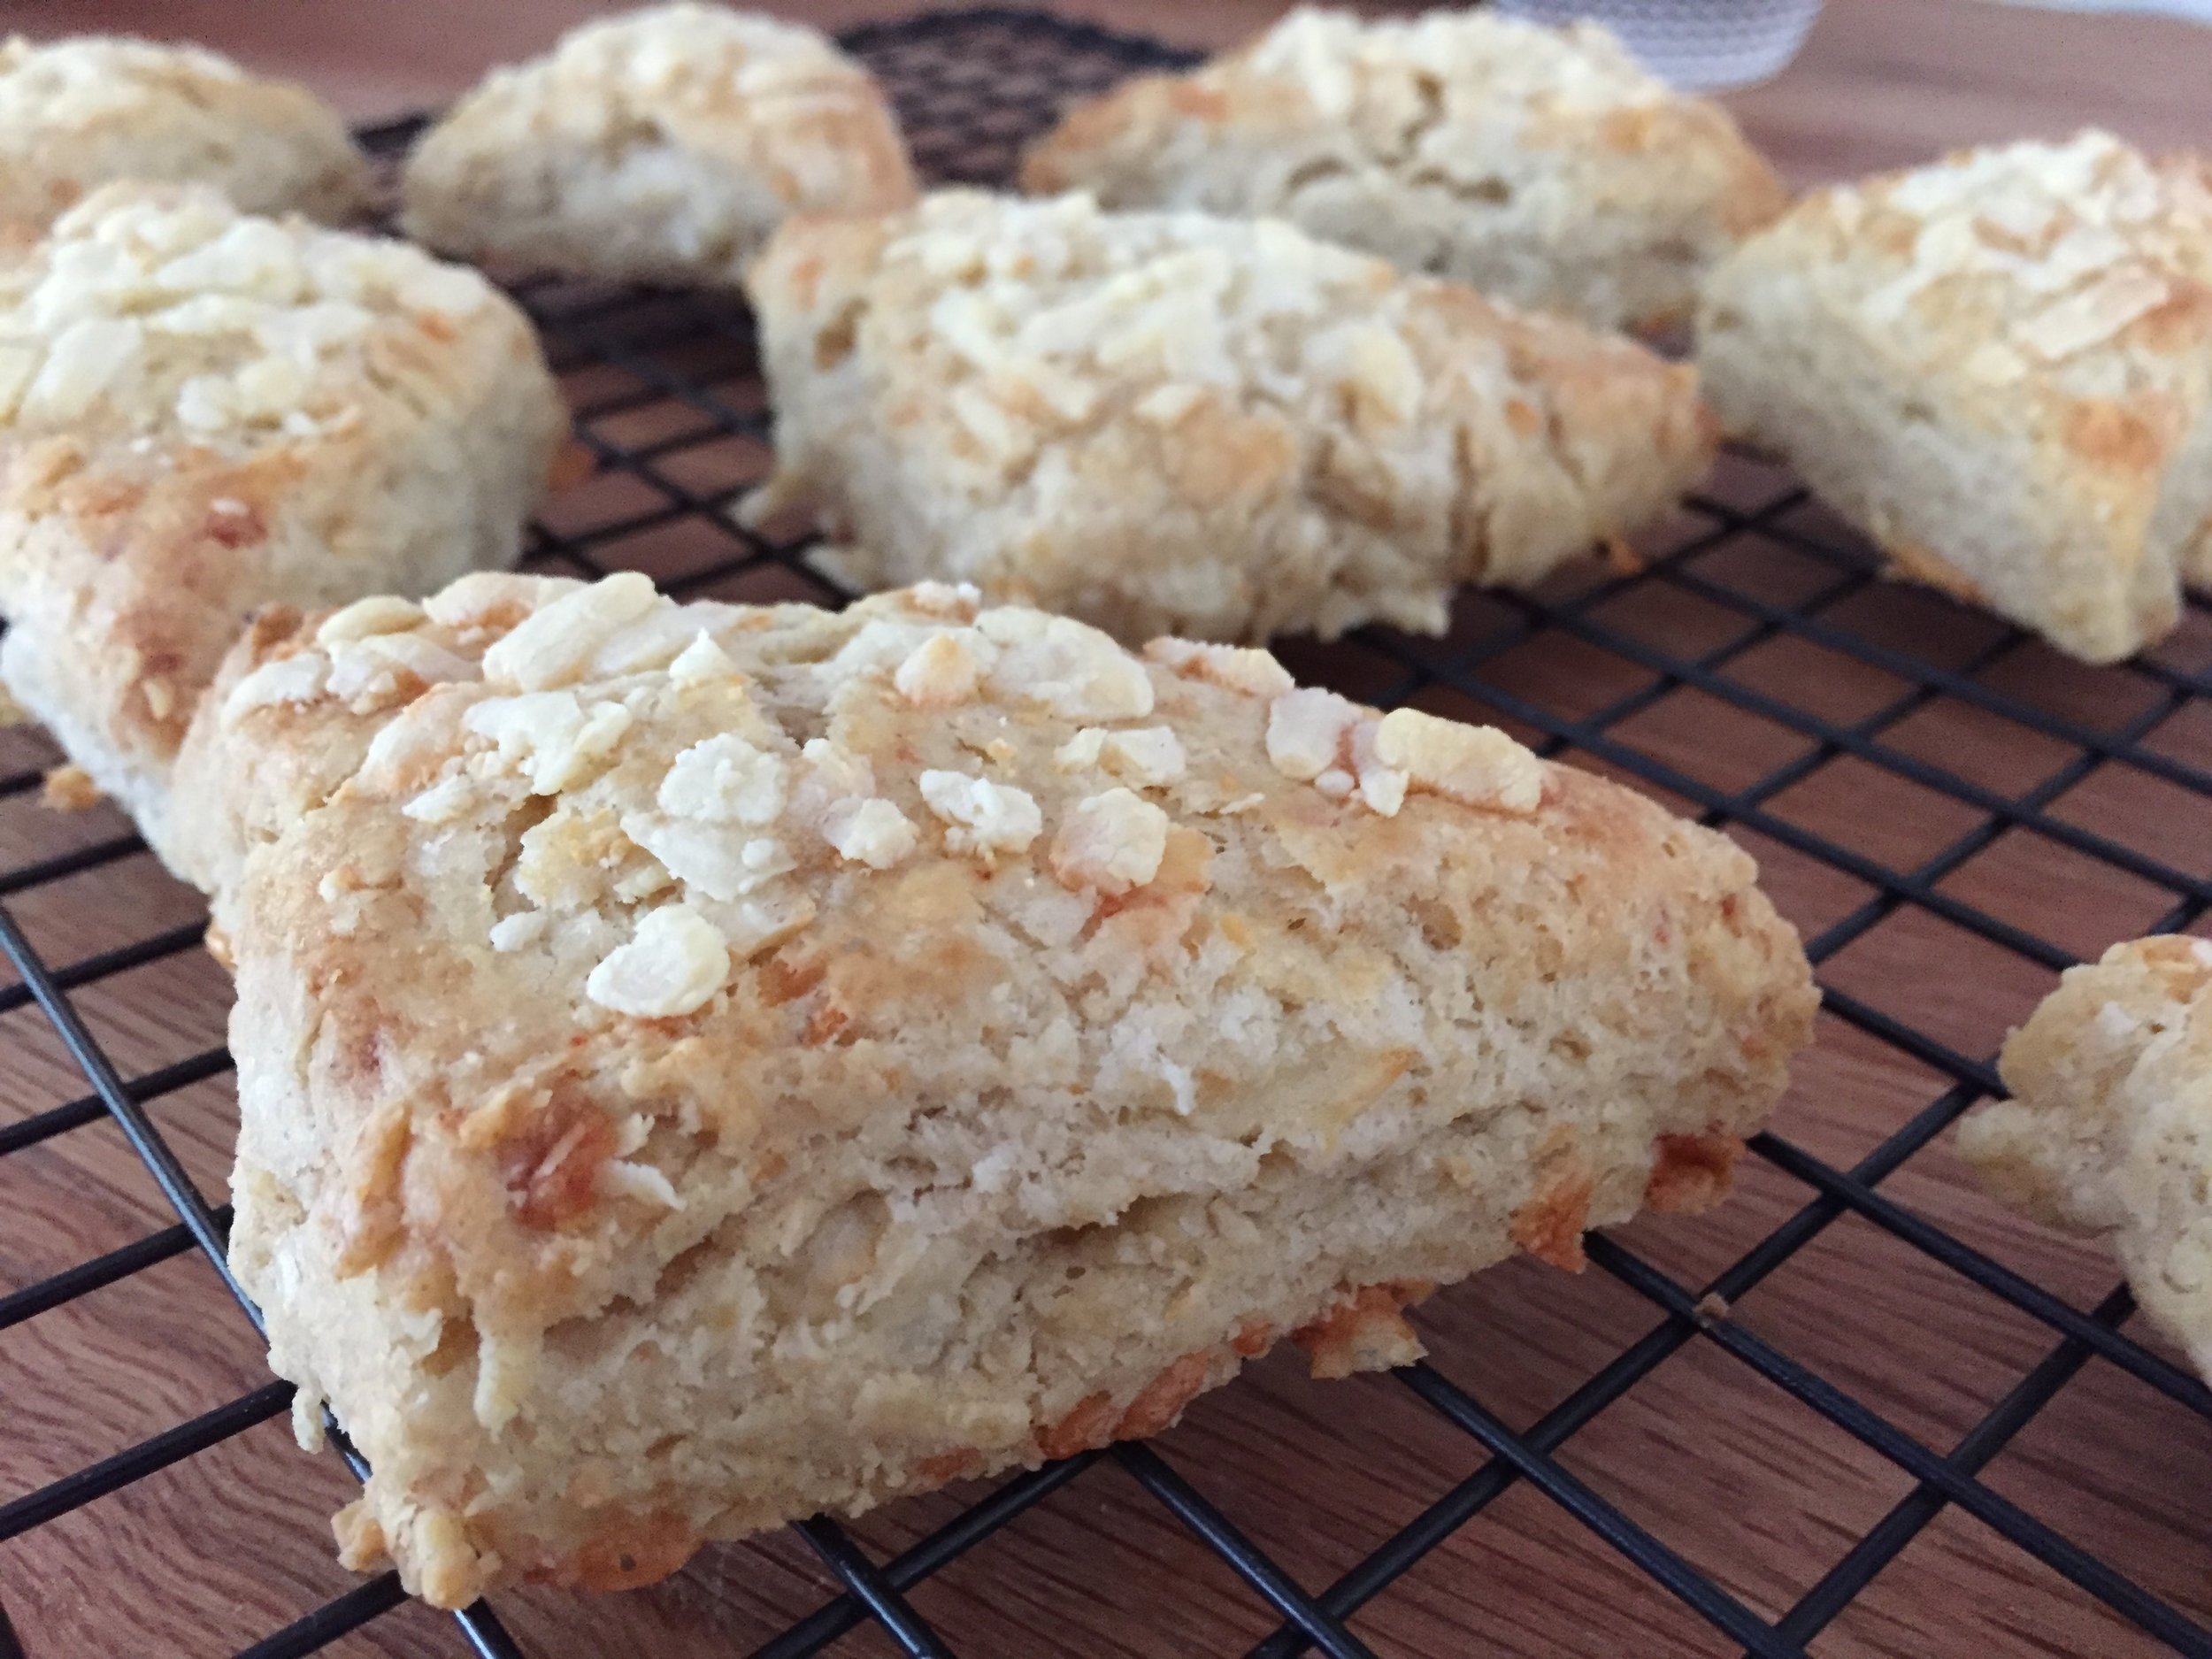
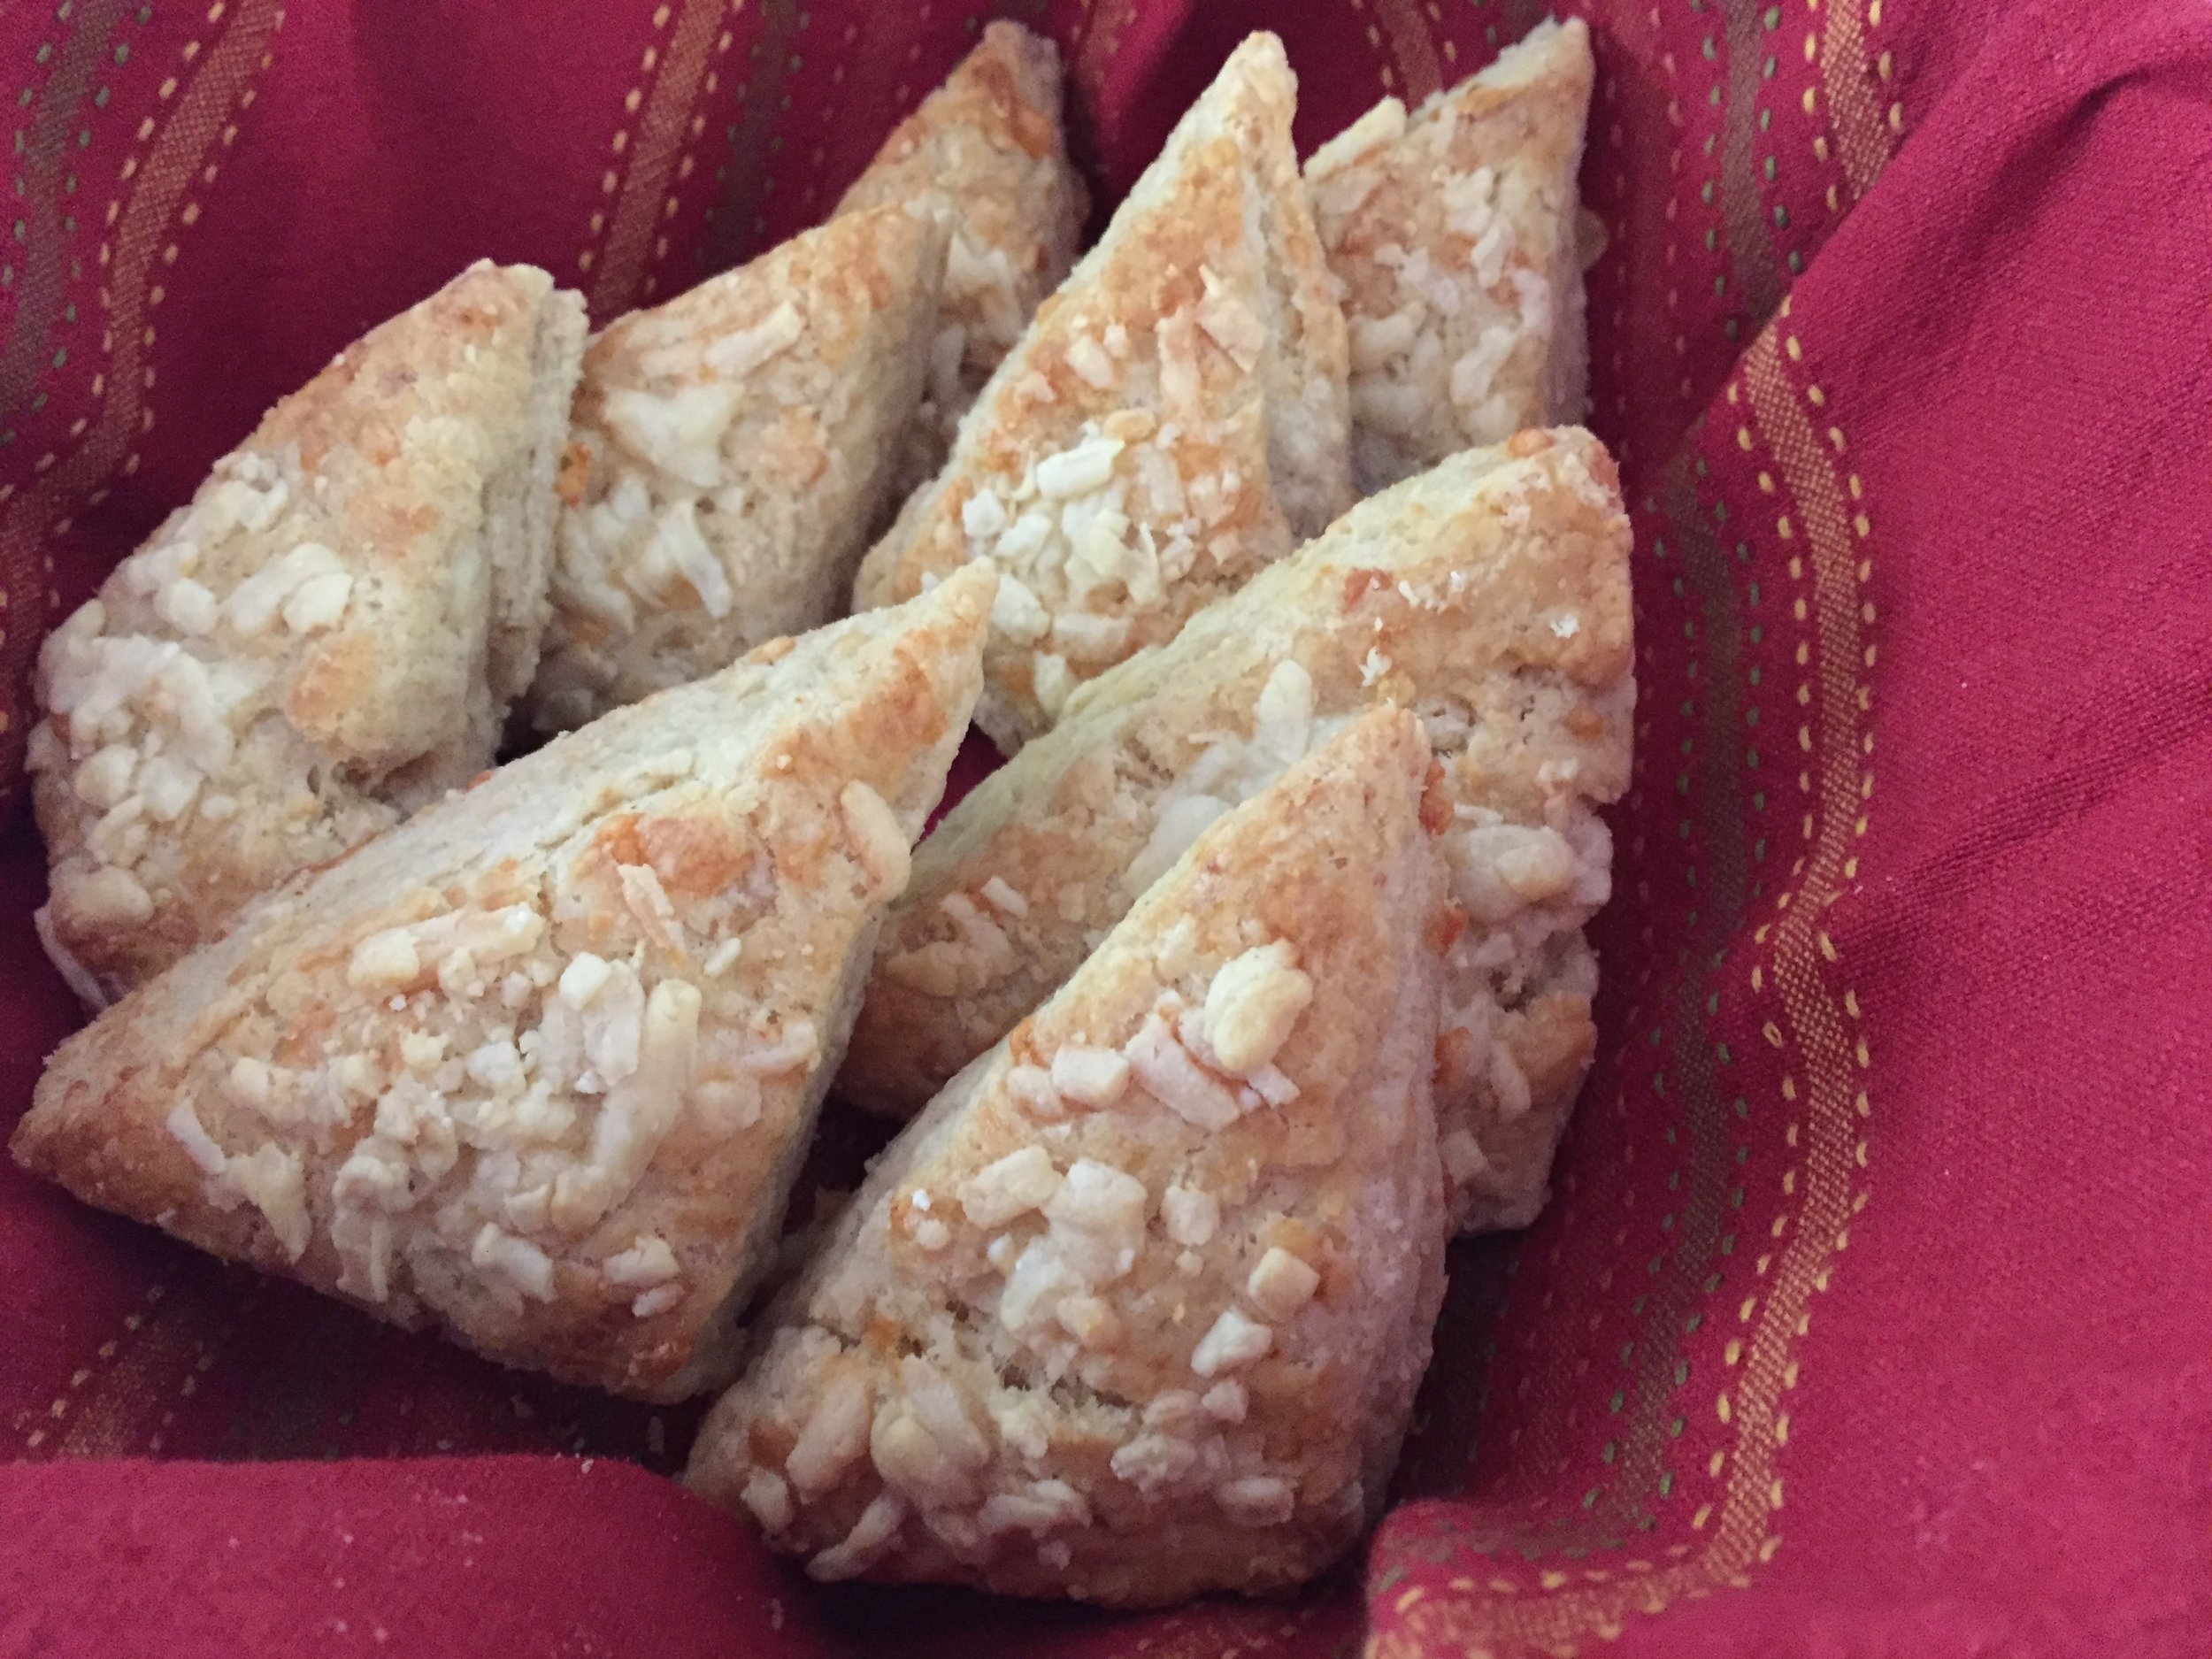
The end result was outside crispy, inside buttery-melty, light texture-y, cheddar cheese-y with a subtle hint of heat on the finish. Those who tasted them thought they were deelish with one taster's plea for more heat. Good to know. Yes, I will definitely make these again.


