Craquelins - a Belgian brioche treat from Thomas Keller
/
I've been salivating over Thomas Keller's Bouchon Bakery book that's been sitting on my pastry library bookshelf for several months now. Thus far I've made a few of the shortbread recipes and have read through a good deal of the book, soaking in the advice and tips from Sebastien Rouxel, the head patissier. His way of presenting things is right up my alley and is so in line with how I've come to view my own approach to pastry and the French way of doing things.
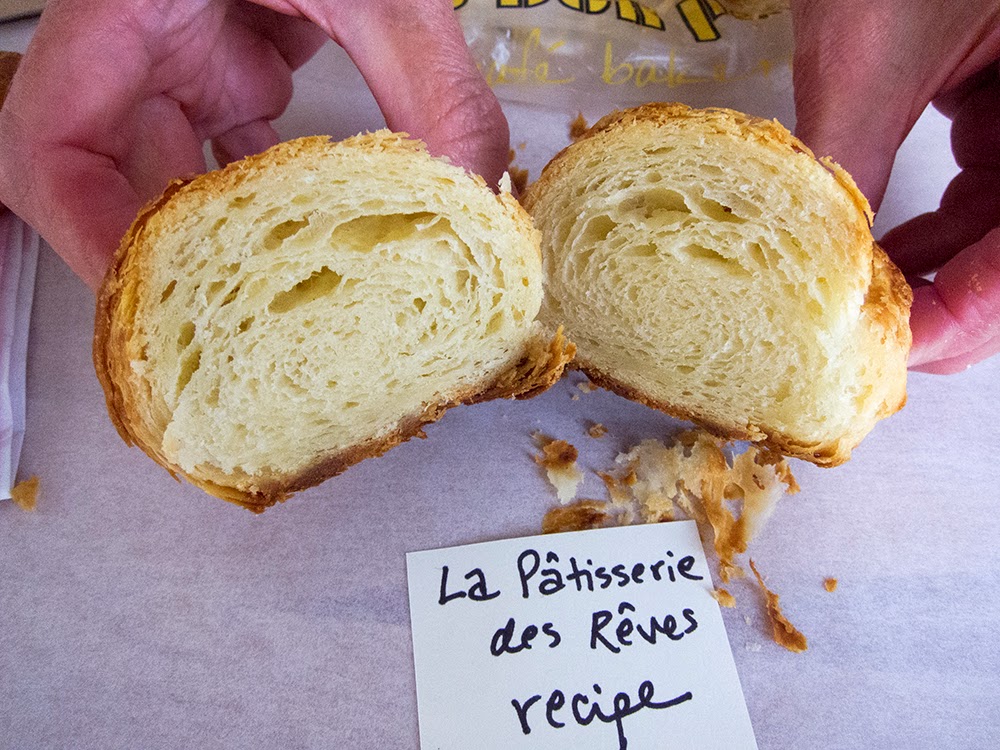
His energy, passion and attention to detail come through loud and clear, especially on the heels of my ever growing disillusionment with Philippe Conticini's La Pâtisserie des Rêves book, it's imprecision and sloppy editing.
The craquelins recipe was calling my name, and, as usual, I did some research on this enriched dough treat. It is classically a Belgian specialty made by mixing citrus zest and sugar cubes into brioche dough. Lemon is most commonly used, but some versions use orange and add some orange liqueur as well.

The method that is described in a number or recipes involves mixing sugar cubes into brioche dough and then covering and enclosing the shaped dough balls with a smaller disc of brioche dough. This apparently acts as a seal to keep the sugar cubes from popping through during baking.
Bouchon's version calls for candied orange rind, orange zest and orange liqueur, and I figured I'd follow their lead on this one.
First I made my candied orange rind, which can be done ahead and kept in the fridge for several weeks. It's a straightforward process with the fussiest part being the separating of the rind from as much of the white pith as possible.
I typically slice the rind off the orange, then remove any remaining pith before cutting the rind into narrow strips.

Make a simple syrup and set it aside. Place the rind in cold water in a separate sauce pan, bring it to a boil, then strain it. Do that two more times (this helps reduce the bitterness of the rind),
then place the rind into the simple syrup and simmer until translucent (that might take 20-30 minutes).
Let the rind cool to room temp before refrigerating it in its syrup until you're ready to use it.
Time to make the brioche! Every time I make this enriched dough I am amazed at the transformation that occurs. What begins as a somewhat dry, firm dough develops into a satiny, shiny, buttery mass of goodness. Whoa baby!
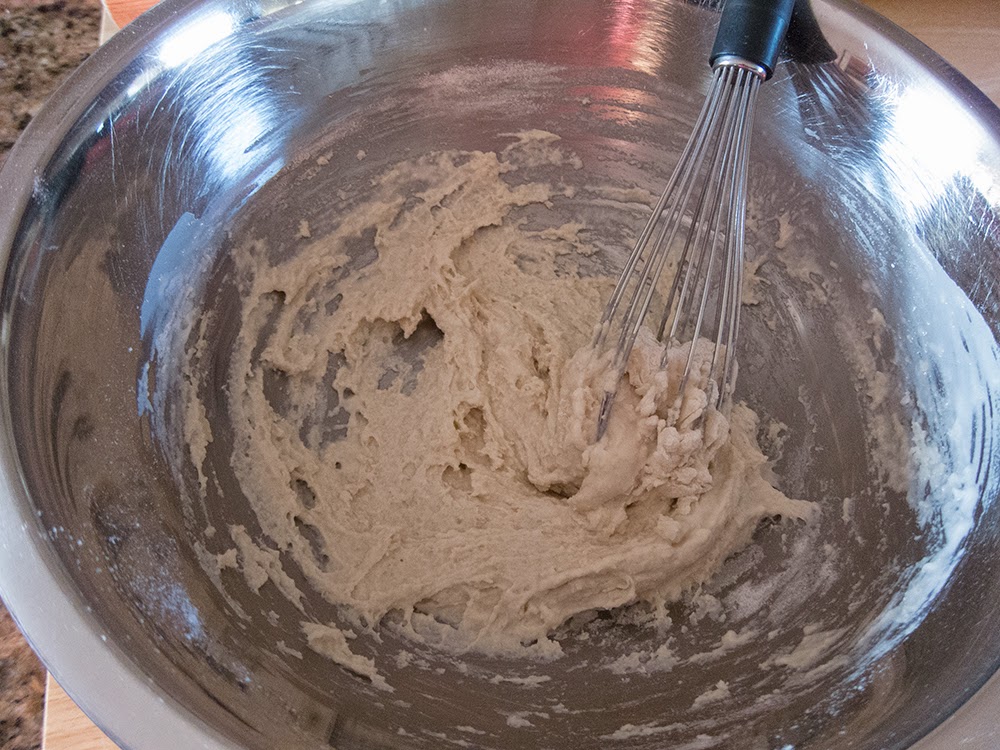
This recipe has a starter made with 60 gm whole milk, 8 gm instant yeast and 90 gm all purpose flour. It's dry and not terribly attractive.

Mix it, cover with plastic wrap and let it sit for an hour.
Meanwhile, get the orange rind mixture ready: finely chop the candied orange rind, mix with orange zest and liqueur. The recipe calls for 150 gm candied rind, 15 gm orange zest and 1.5 tsp orange liqueur. I used 80 gm rind, 10 gm zest and 1.5 tsp hazelnut liqueur, since that's what I had on hand.

Proceed with the mise en place for the remaining dough.
Place 390 gm all purpose flour, 52 gm granulated sugar and 12 gm kosher salt (see side note below) in the mixer bowl. Give it a quick whisk, then mix in the starter dough and blend for 30 seconds or so.
Side note: in the book 12 gm of kosher salt is equated to 4 teaspoons; however my 12 gm was closer to 2-2.5 tsp; remember - not all kosher salts are created equal!! And that, folks, is just one example of why weighing trumps measuring!
Add 225 gm eggs in three additions,
. . . then mix on low speed for 15 minutes to develop the gluten.
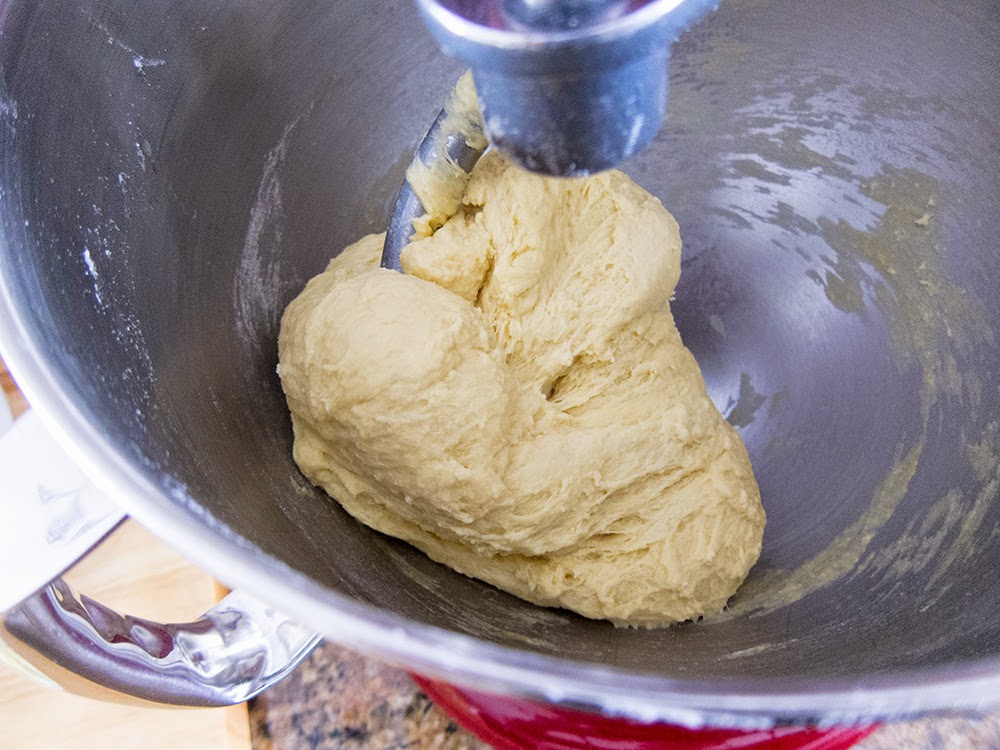
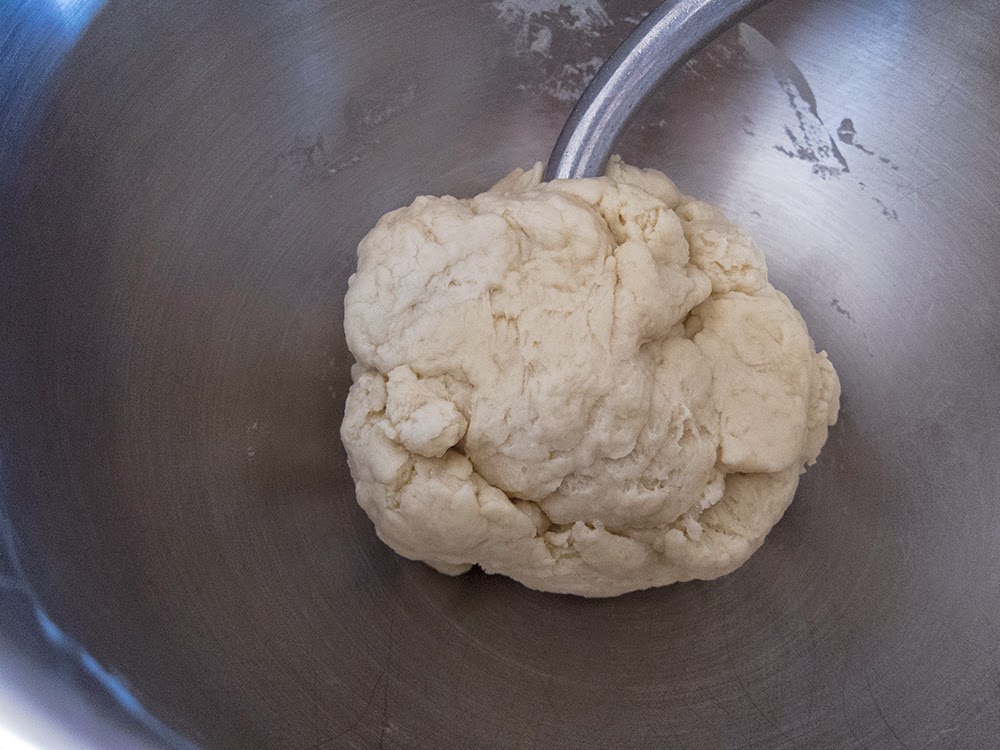
The dough at this point feels kind of tough and not at all satiny smooth.
Start adding the butter, several pieces at a time, incorporating each addition before adding more.

Once all the butter is added, mix for a couple more minutes . . .
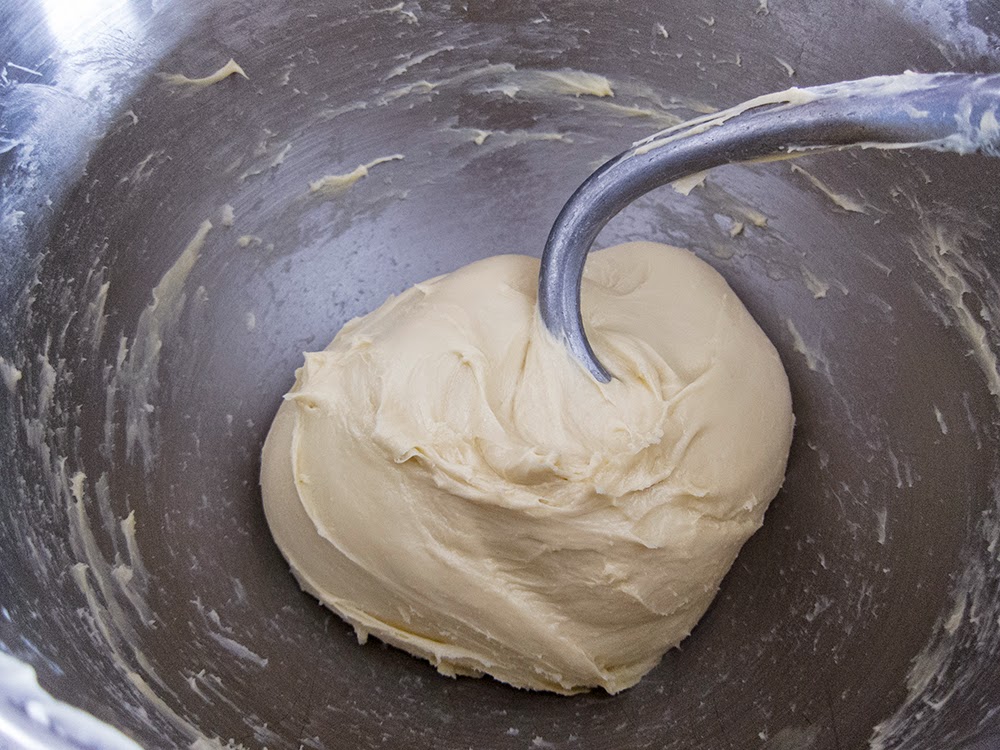
and voila! What a beautiful piece of dough!!
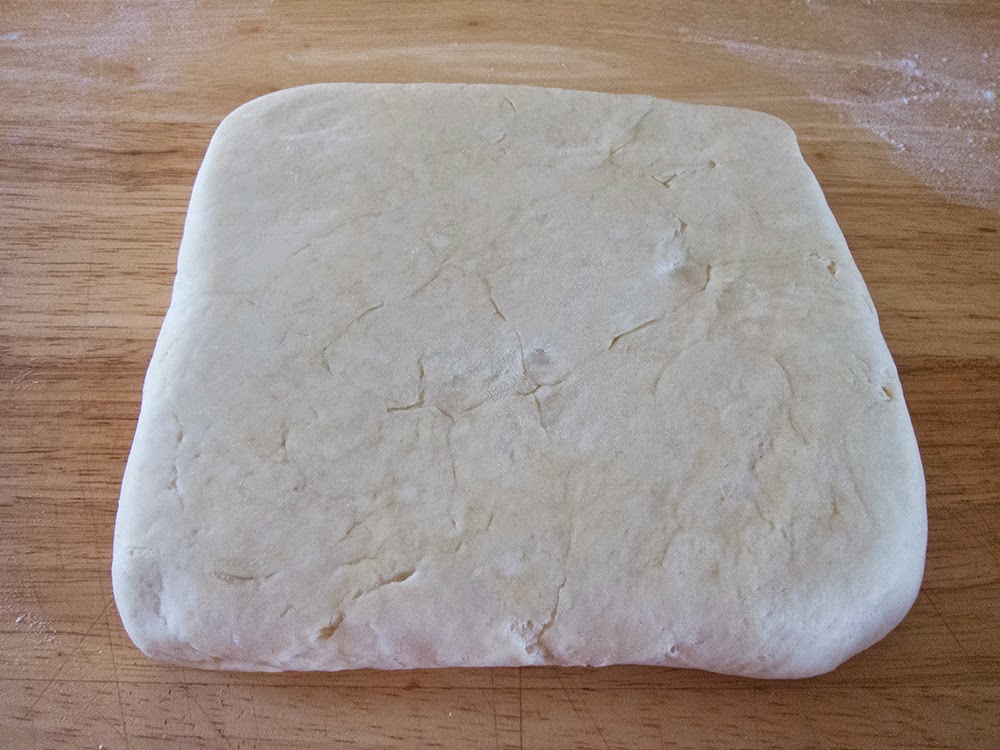
At this point it's time to turn the dough out onto a lightly floured surface and shape a rough rectangle, onto which you place the orange rind/zest mixture.
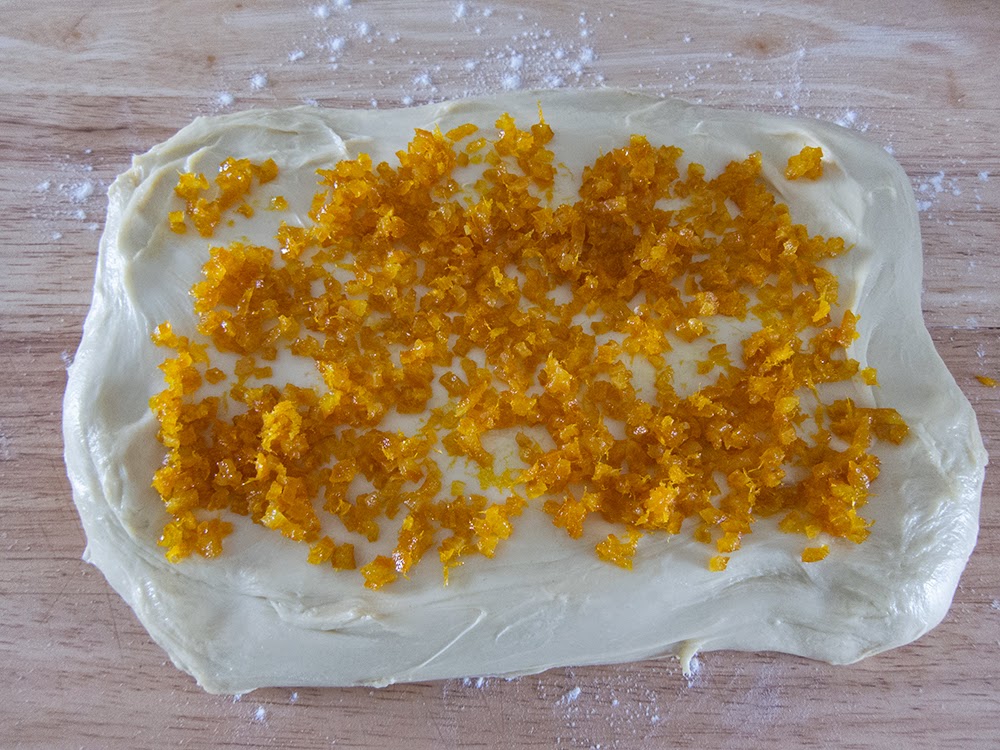
Knead the orange mixture into the dough and then pat into a rectangle again.

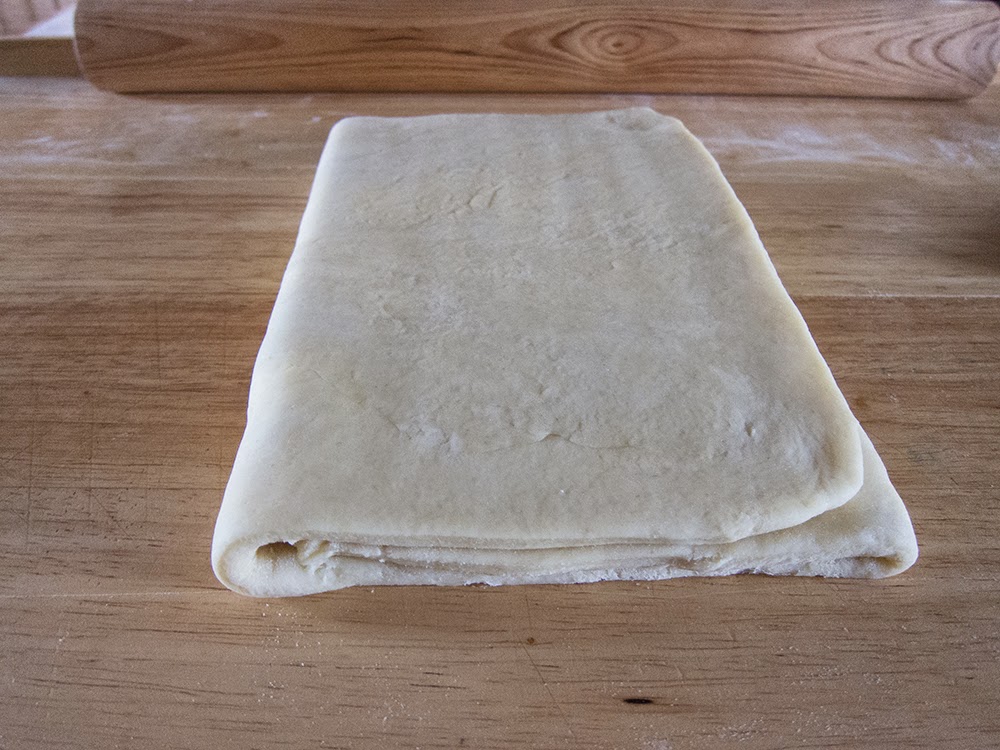
Do a fold-over of the dough, side to side . . .

then top to bottom . . .

then flip it over, form a ball and place in an oiled bowl.

Cover the bowl with plastic wrap and let the dough sit at room temp for an hour.
Turn it out onto a lightly floured surface, pat it into a rectangle and repeat the side-to-side/top-to-bottom stretching and folding process. Place the dough, seam side down, in the bowl, cover and refrigerate over night.
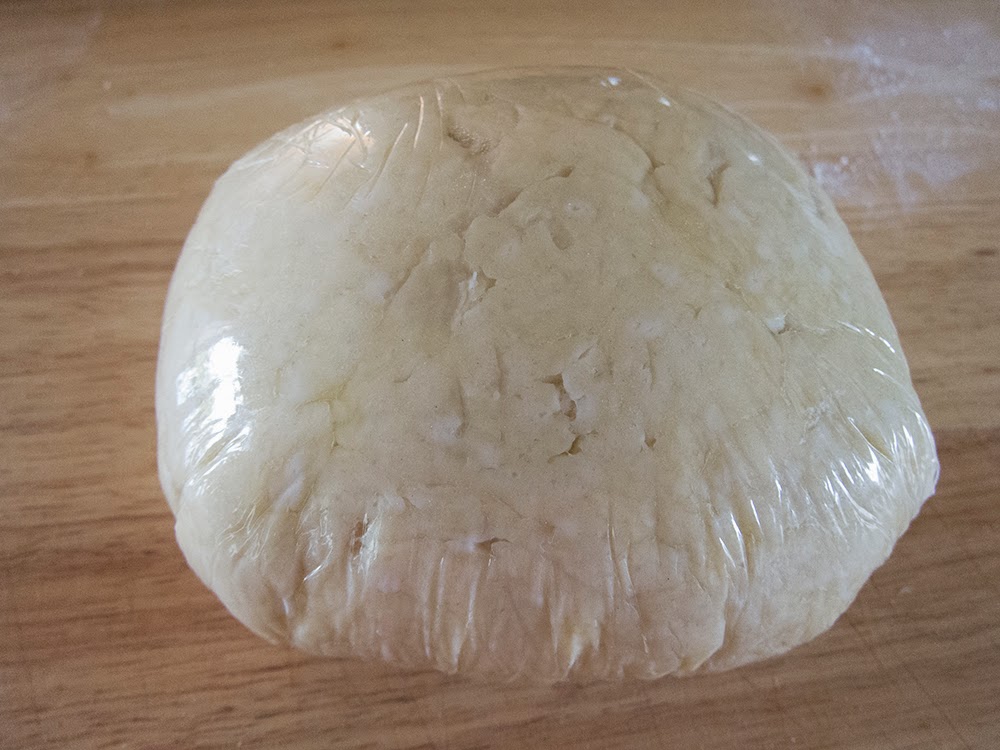
Here's the dough after its overnight chill . . .
Turn the chilled dough onto a lightly floured work surface, shape it into a rough log . . .
and divide it into 12 approximately 100 gm portions. Have 12 sugar cubes at the ready.
Now form each portion into a ball . . .

then push one sugar cube into the bottom of each.

Turn them back over and re-roll to push the sugar cube more centrally into the dough.
Now place them in lightly oiled paper baking molds on a sheet pan and brush with egg wash.

Cover loosely with plastic wrap and let proof for 1.5 to 2 hours. I turn the proofing setting in my oven on at 85º for just a few minutes and then turn it off. It makes for a nice proofing environment (I think about 75º is ideal). Of course, if it's summer and your kitchen is nice and warm, just proof at room temp!
With brioche it can be difficult to appreciate a dramatic rise due to the quantity of butter which tends to weigh the dough down. However I think you can see in the photo below that the dough has indeed filled out in the baking cups compared to the photo above.
After proofing brush again with egg wash and sprinkle each with pearl sugar.
Bake at 325º convection for about 20-25 minutes - and don't forget to watch what's happening in that oven!
These rose beautifully and baked to a lovely golden color - and the aroma - oh la la!
Once they had cooled I simply had to try one. I didn't feel too guilty since I'd already had my morning oatmeal and berries - and it was lunch time, after all.

The crumb is moist and soft, the crunchy sugar a treat like none other and the orange rind and zest adds the perfect note. I can't wait to try these with lemon.
And, of course, Steve liked them too.
Yes indeed! Thanks Bouchon Bakery!!
His energy, passion and attention to detail come through loud and clear, especially on the heels of my ever growing disillusionment with Philippe Conticini's La Pâtisserie des Rêves book, it's imprecision and sloppy editing.
The craquelins recipe was calling my name, and, as usual, I did some research on this enriched dough treat. It is classically a Belgian specialty made by mixing citrus zest and sugar cubes into brioche dough. Lemon is most commonly used, but some versions use orange and add some orange liqueur as well.
The method that is described in a number or recipes involves mixing sugar cubes into brioche dough and then covering and enclosing the shaped dough balls with a smaller disc of brioche dough. This apparently acts as a seal to keep the sugar cubes from popping through during baking.
Bouchon's version calls for candied orange rind, orange zest and orange liqueur, and I figured I'd follow their lead on this one.
First I made my candied orange rind, which can be done ahead and kept in the fridge for several weeks. It's a straightforward process with the fussiest part being the separating of the rind from as much of the white pith as possible.
I typically slice the rind off the orange, then remove any remaining pith before cutting the rind into narrow strips.
Make a simple syrup and set it aside. Place the rind in cold water in a separate sauce pan, bring it to a boil, then strain it. Do that two more times (this helps reduce the bitterness of the rind),
 |
| boiling the rind |
then place the rind into the simple syrup and simmer until translucent (that might take 20-30 minutes).
 |
| the candied rind |
Let the rind cool to room temp before refrigerating it in its syrup until you're ready to use it.
Time to make the brioche! Every time I make this enriched dough I am amazed at the transformation that occurs. What begins as a somewhat dry, firm dough develops into a satiny, shiny, buttery mass of goodness. Whoa baby!
This recipe has a starter made with 60 gm whole milk, 8 gm instant yeast and 90 gm all purpose flour. It's dry and not terribly attractive.
Mix it, cover with plastic wrap and let it sit for an hour.
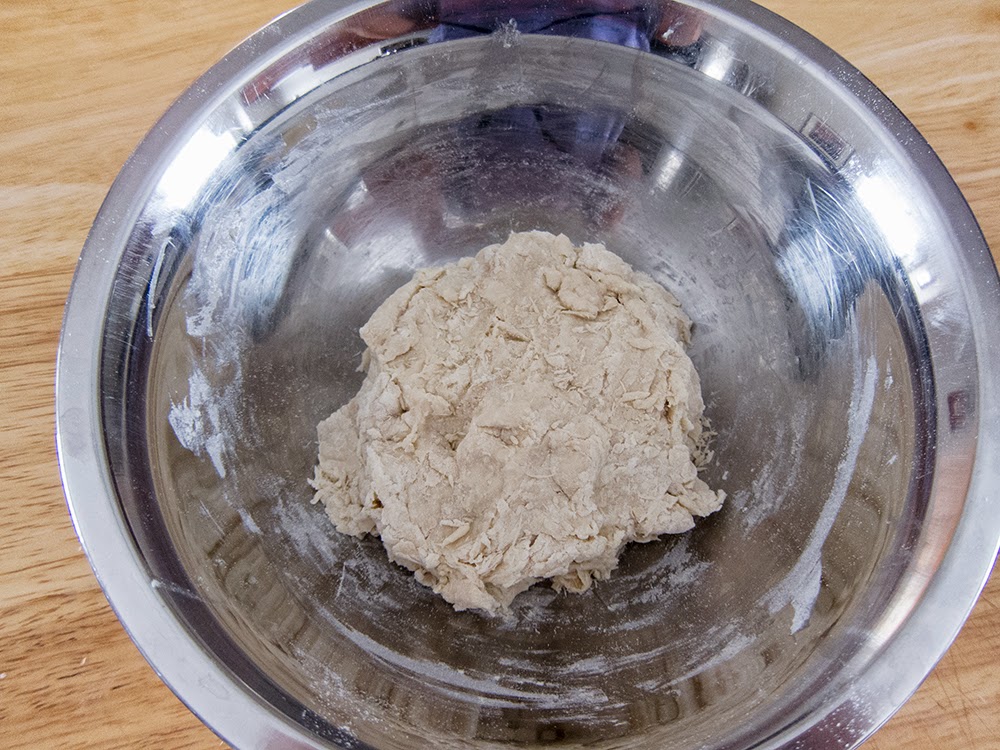 |
| starter |
Meanwhile, get the orange rind mixture ready: finely chop the candied orange rind, mix with orange zest and liqueur. The recipe calls for 150 gm candied rind, 15 gm orange zest and 1.5 tsp orange liqueur. I used 80 gm rind, 10 gm zest and 1.5 tsp hazelnut liqueur, since that's what I had on hand.
Proceed with the mise en place for the remaining dough.
 |
| all the ingredients |
Place 390 gm all purpose flour, 52 gm granulated sugar and 12 gm kosher salt (see side note below) in the mixer bowl. Give it a quick whisk, then mix in the starter dough and blend for 30 seconds or so.
Side note: in the book 12 gm of kosher salt is equated to 4 teaspoons; however my 12 gm was closer to 2-2.5 tsp; remember - not all kosher salts are created equal!! And that, folks, is just one example of why weighing trumps measuring!
Add 225 gm eggs in three additions,
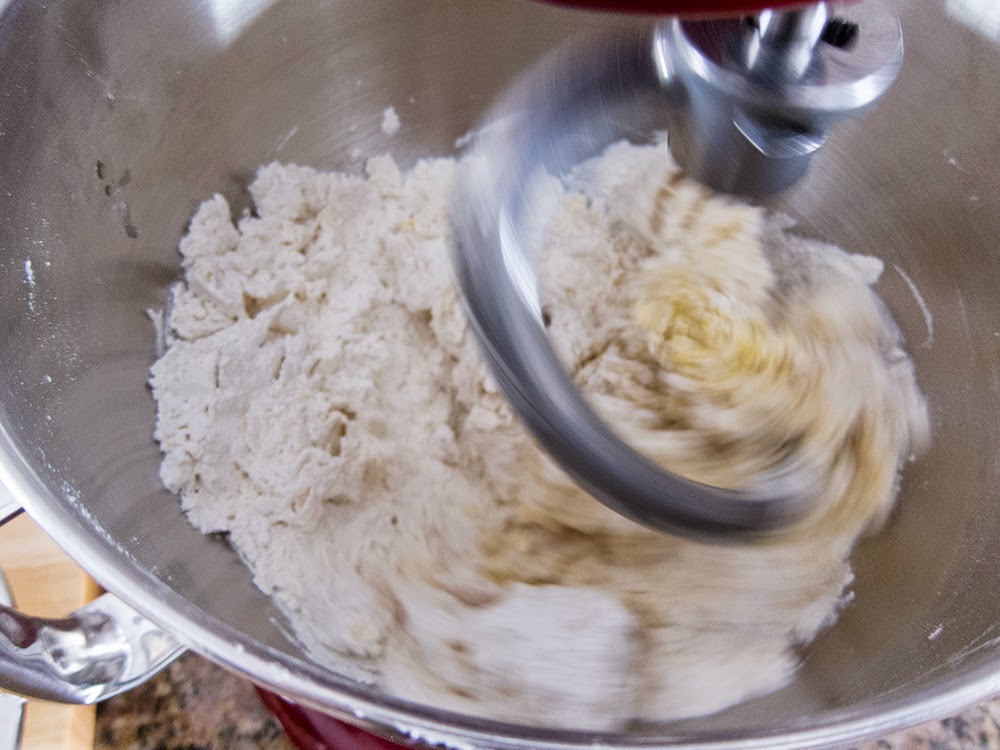 |
| starting to add the egg |
. . . then mix on low speed for 15 minutes to develop the gluten.
The dough at this point feels kind of tough and not at all satiny smooth.
Start adding the butter, several pieces at a time, incorporating each addition before adding more.
Once all the butter is added, mix for a couple more minutes . . .
and voila! What a beautiful piece of dough!!
At this point it's time to turn the dough out onto a lightly floured surface and shape a rough rectangle, onto which you place the orange rind/zest mixture.
Knead the orange mixture into the dough and then pat into a rectangle again.
Do a fold-over of the dough, side to side . . .
then top to bottom . . .
then flip it over, form a ball and place in an oiled bowl.
Cover the bowl with plastic wrap and let the dough sit at room temp for an hour.
Turn it out onto a lightly floured surface, pat it into a rectangle and repeat the side-to-side/top-to-bottom stretching and folding process. Place the dough, seam side down, in the bowl, cover and refrigerate over night.
Here's the dough after its overnight chill . . .
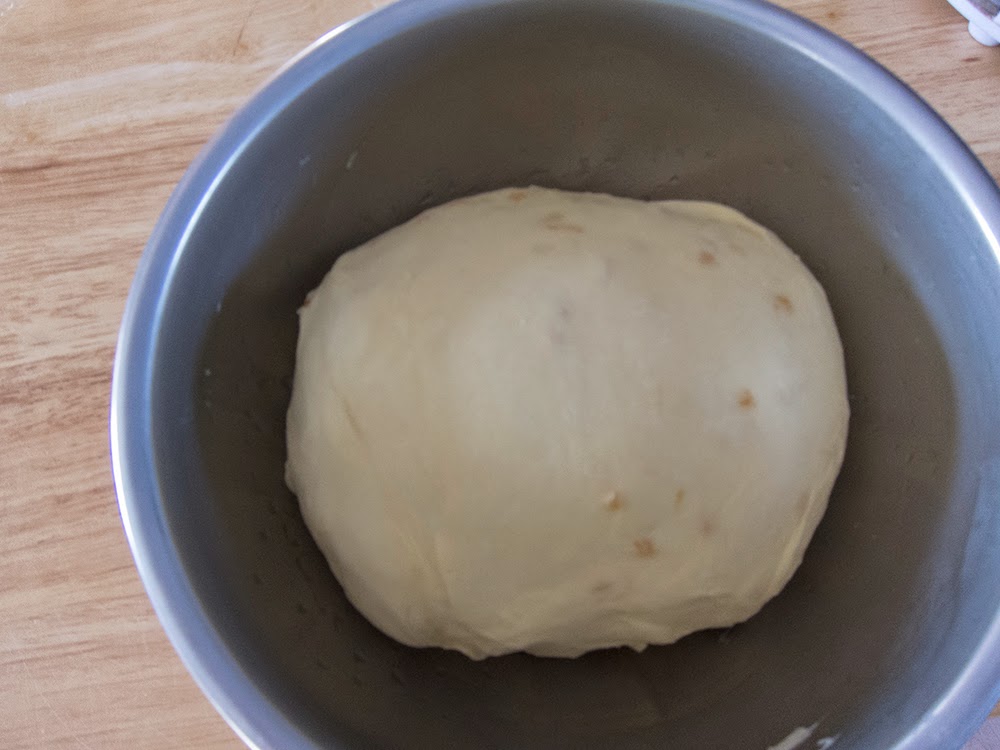 |
| ready for shaping |
Turn the chilled dough onto a lightly floured work surface, shape it into a rough log . . .
 |
| getting ready to divide |
and divide it into 12 approximately 100 gm portions. Have 12 sugar cubes at the ready.
 |
| all weighed out |
Now form each portion into a ball . . .
then push one sugar cube into the bottom of each.
Turn them back over and re-roll to push the sugar cube more centrally into the dough.
Now place them in lightly oiled paper baking molds on a sheet pan and brush with egg wash.
Cover loosely with plastic wrap and let proof for 1.5 to 2 hours. I turn the proofing setting in my oven on at 85º for just a few minutes and then turn it off. It makes for a nice proofing environment (I think about 75º is ideal). Of course, if it's summer and your kitchen is nice and warm, just proof at room temp!
With brioche it can be difficult to appreciate a dramatic rise due to the quantity of butter which tends to weigh the dough down. However I think you can see in the photo below that the dough has indeed filled out in the baking cups compared to the photo above.
After proofing brush again with egg wash and sprinkle each with pearl sugar.
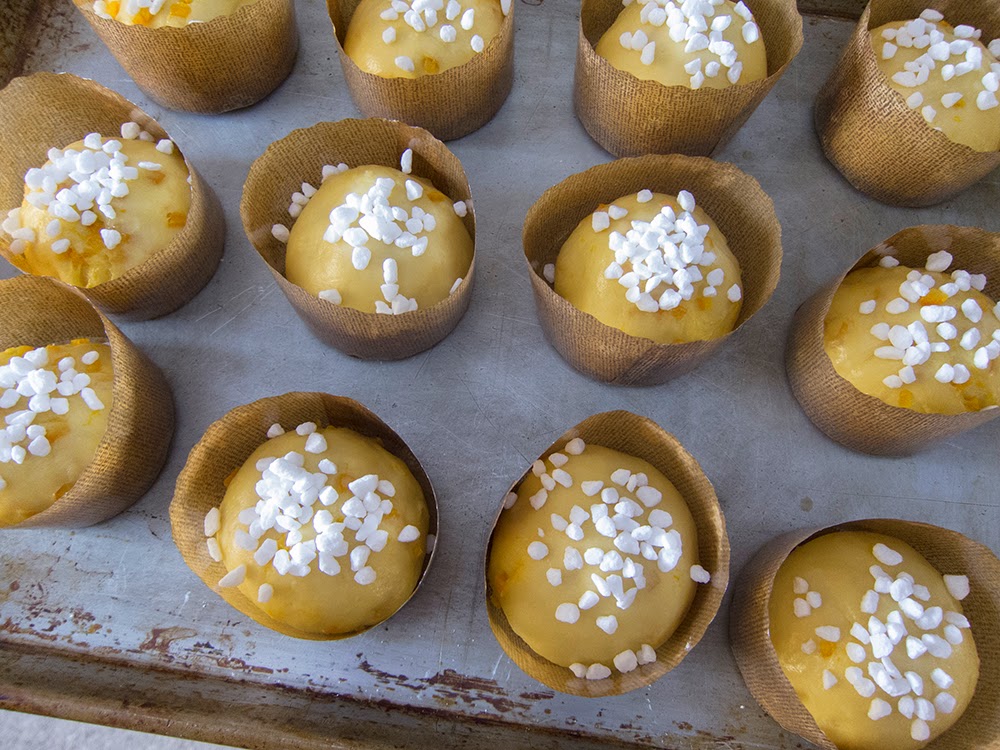 |
| ready for the oven |
 |
| c'est fini! |
These rose beautifully and baked to a lovely golden color - and the aroma - oh la la!
 |
| like little moonlit nuggets |
Once they had cooled I simply had to try one. I didn't feel too guilty since I'd already had my morning oatmeal and berries - and it was lunch time, after all.
And, of course, Steve liked them too.
Yes indeed! Thanks Bouchon Bakery!!