Fika in Stockholm

I believe I’m probably the gazillionth person to mention the Swedish tradition of fika which is essentially a coffee (or tea) break during the day when folks get together to set their cares aside, chit chat and enjoy a piece of cake or pastry. Much like the French le gouter or British afternoon tea, it’s a lovely tradition enjoyed by so many.

For our Stockholm visit we met up with British friends Richard and Pauline and enjoyed getting to know the city and see some of its many sights. One beautiful day we visited Skansen, a large park/zoo/open air museum on the island of Djurgården, just one of the many in the archipelago.

In one of the historic buildings in the town quarter we discovered a small cafe serving coffee and baked goods and decided to go for it. With a rustic cozy flair and a lovely outdoor space it offered us a chance to rest ourselves for a bit.

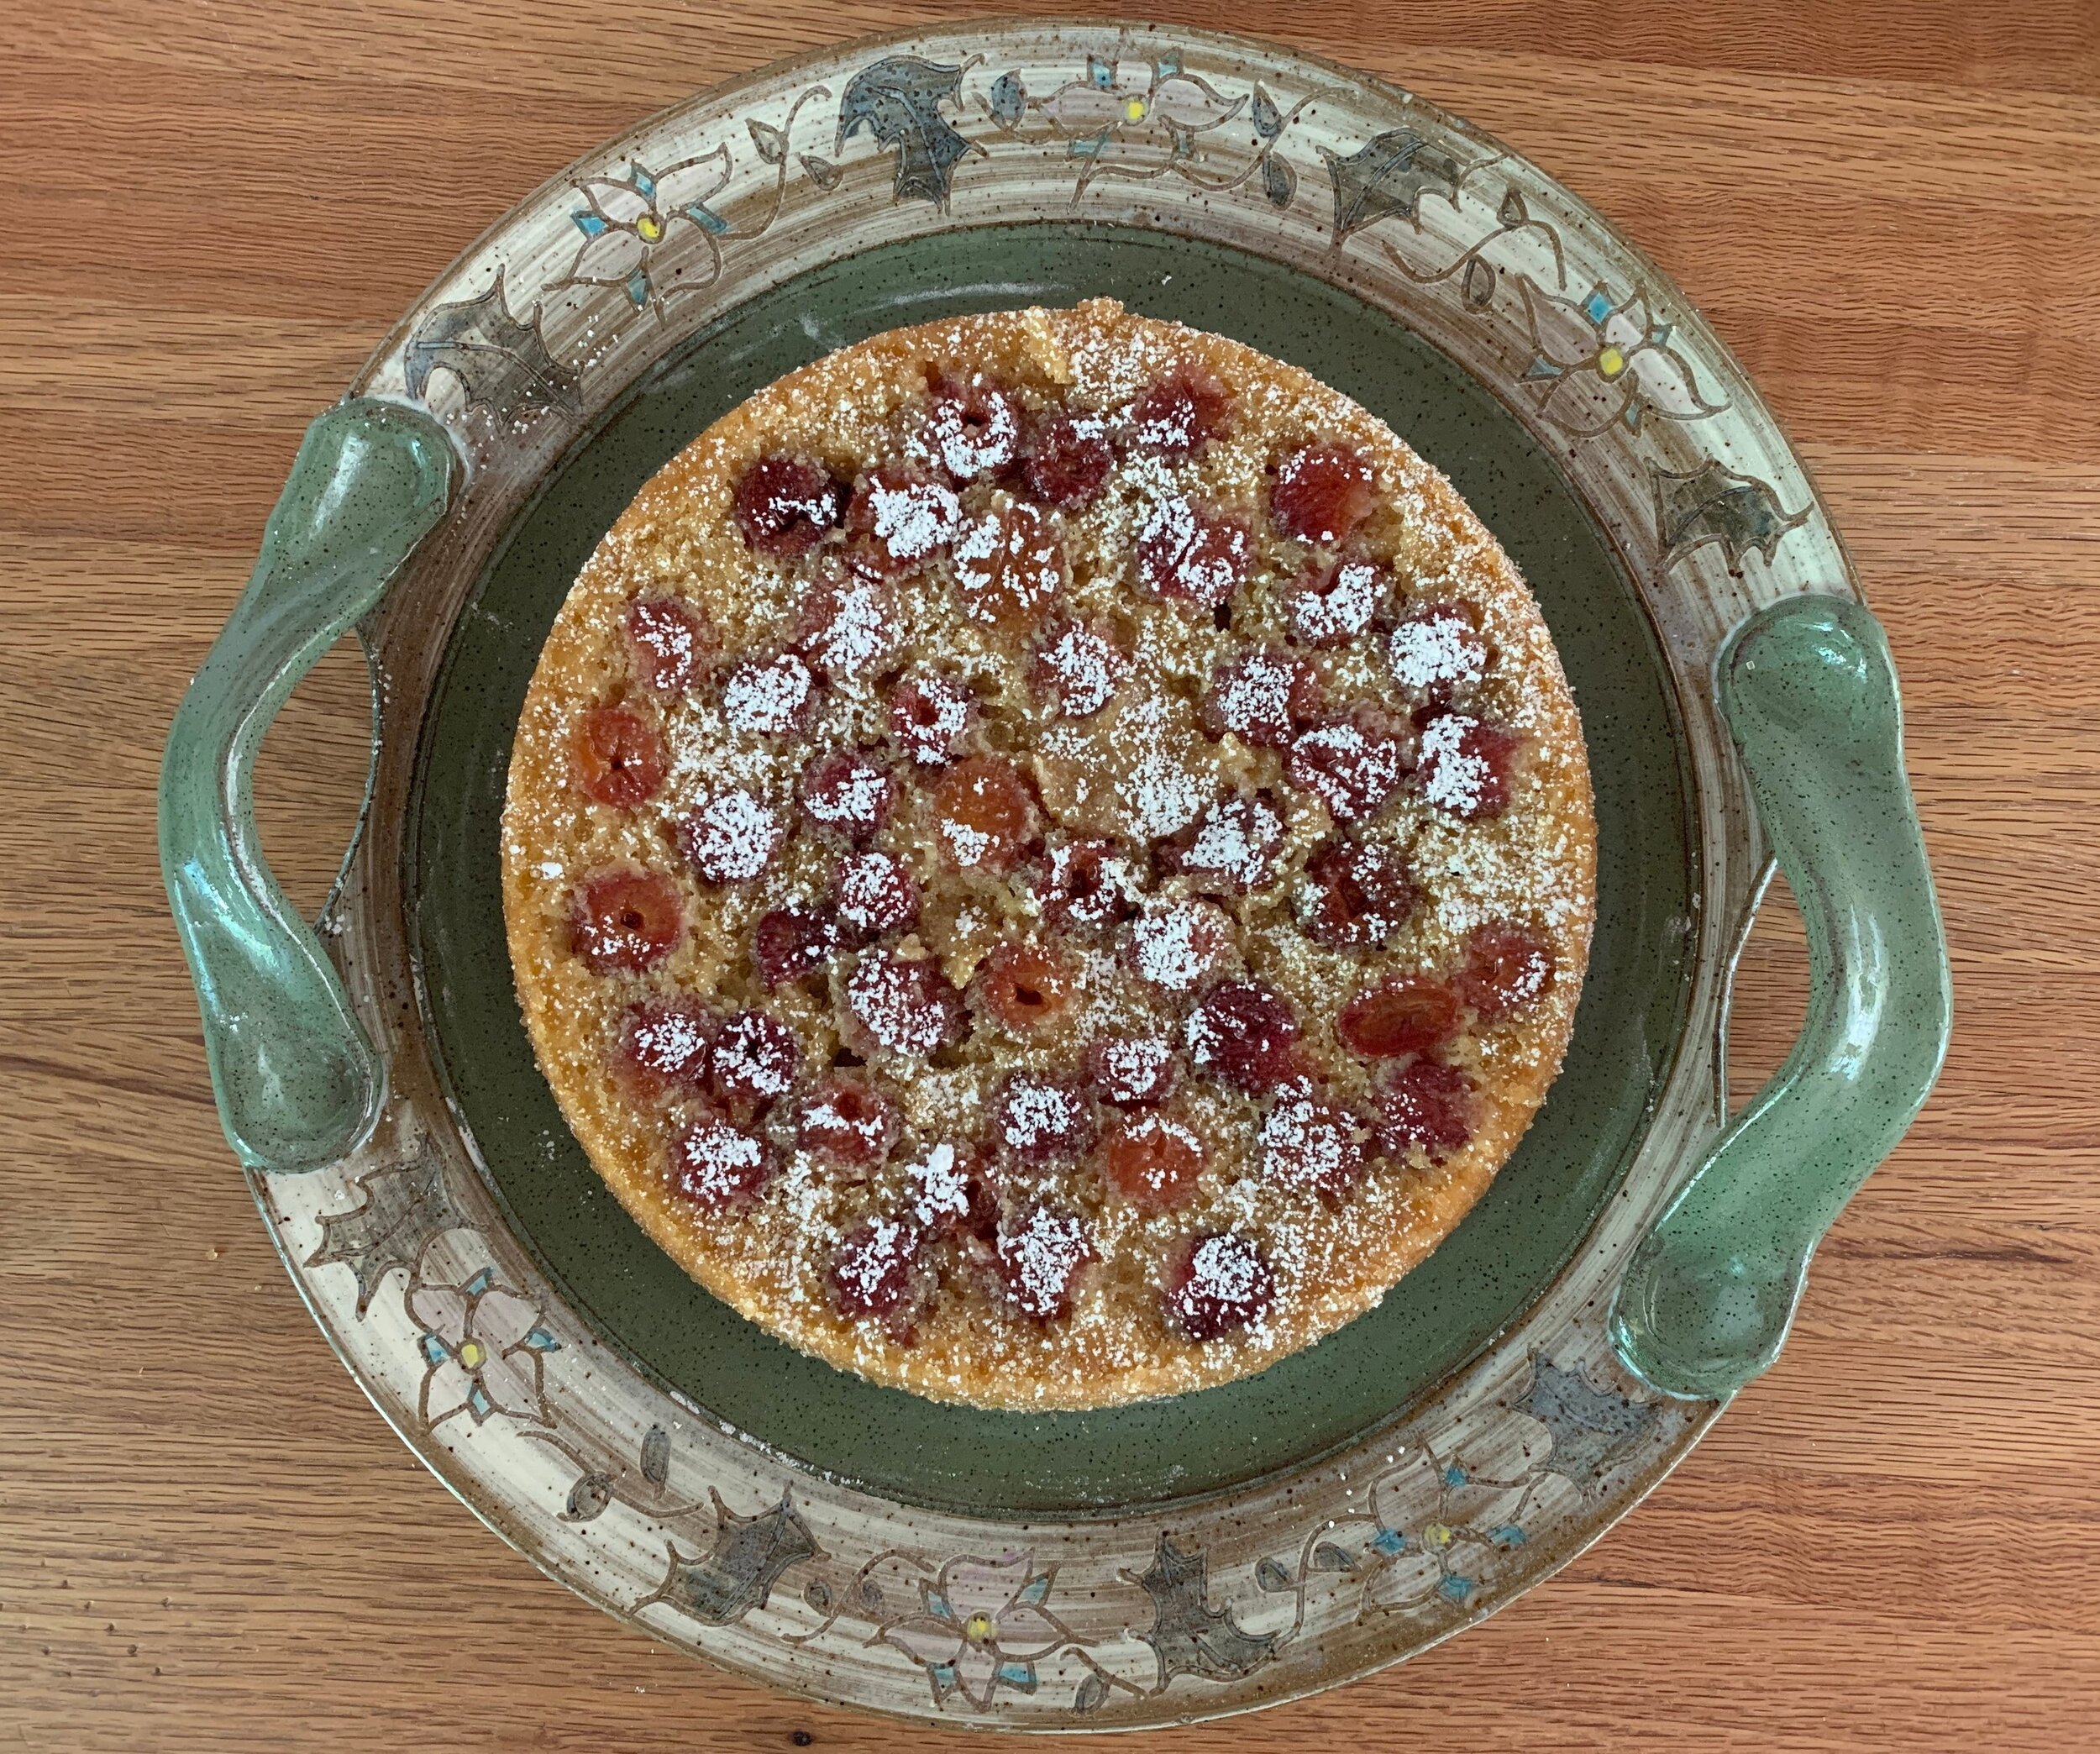
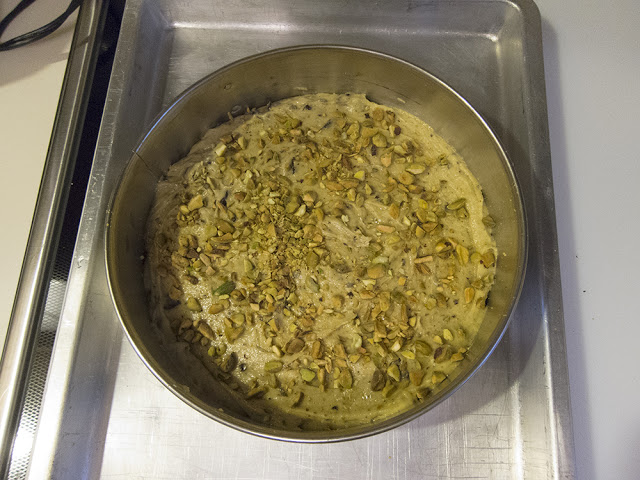
All four of us snagged a cup of coffee, Richard had a slice of rhubarb cake with crème anglaise and Pauline and I chose the almond cake option with a side dollop of whipped cream. Aside from the coffee, Steve abstained.

I wanted to see how the almond cake stacked up to the one(s) I had made and written about in this post a couple of years ago. Although somewhat disappointed (feeling my efforts had yielded a much more tasty result!), the topping had some crunch and the almond cake base was okay save for the rather dry edges. It was still a worthwhile comparison though. You never know unless you try!

Our treats were served on different patterned plates, and we enjoyed them out in the sunny courtyard garden before continuing our exploration of the Skansen grounds.

On another day of strolling from island to island in central Stockholm, we stopped at Thelins Grand Cafe on the Kungstradgarden, an outdoor gathering space with gardens at one end, cafes flanking and lots of people about. It was obviously a popular spot with a line out the door and outdoor tables at a premium.

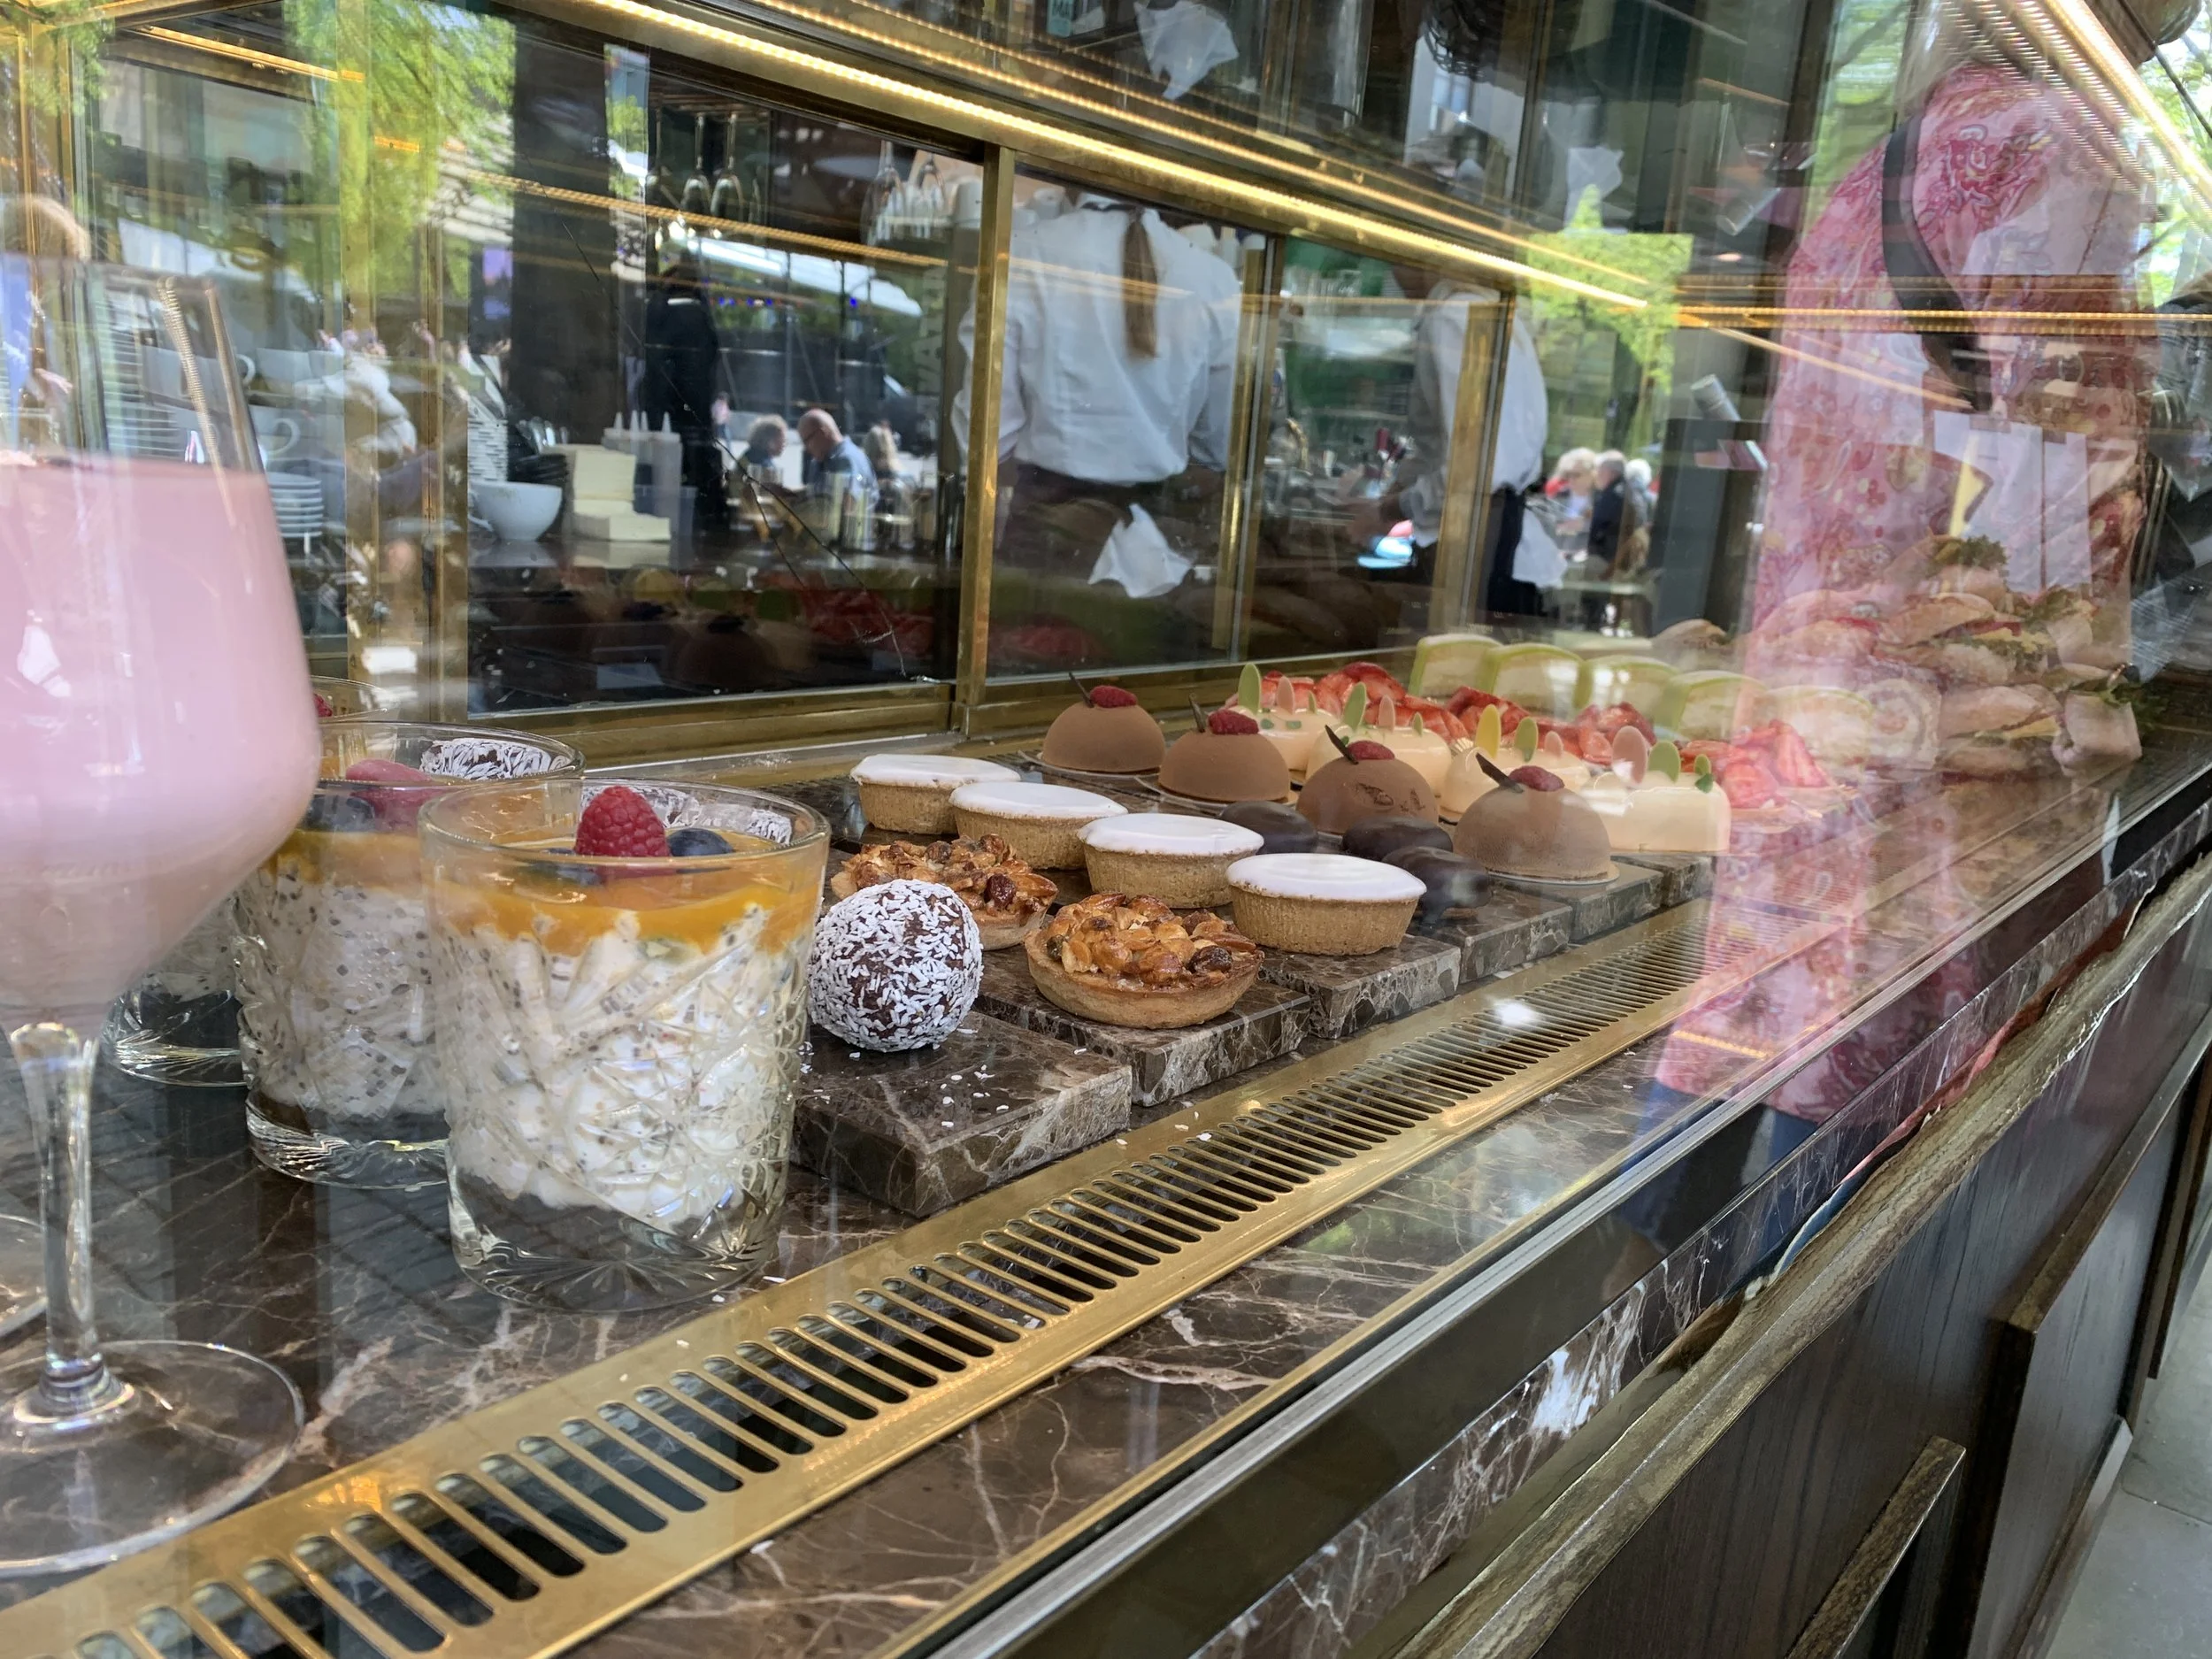
Just A glimpse of the pastry case

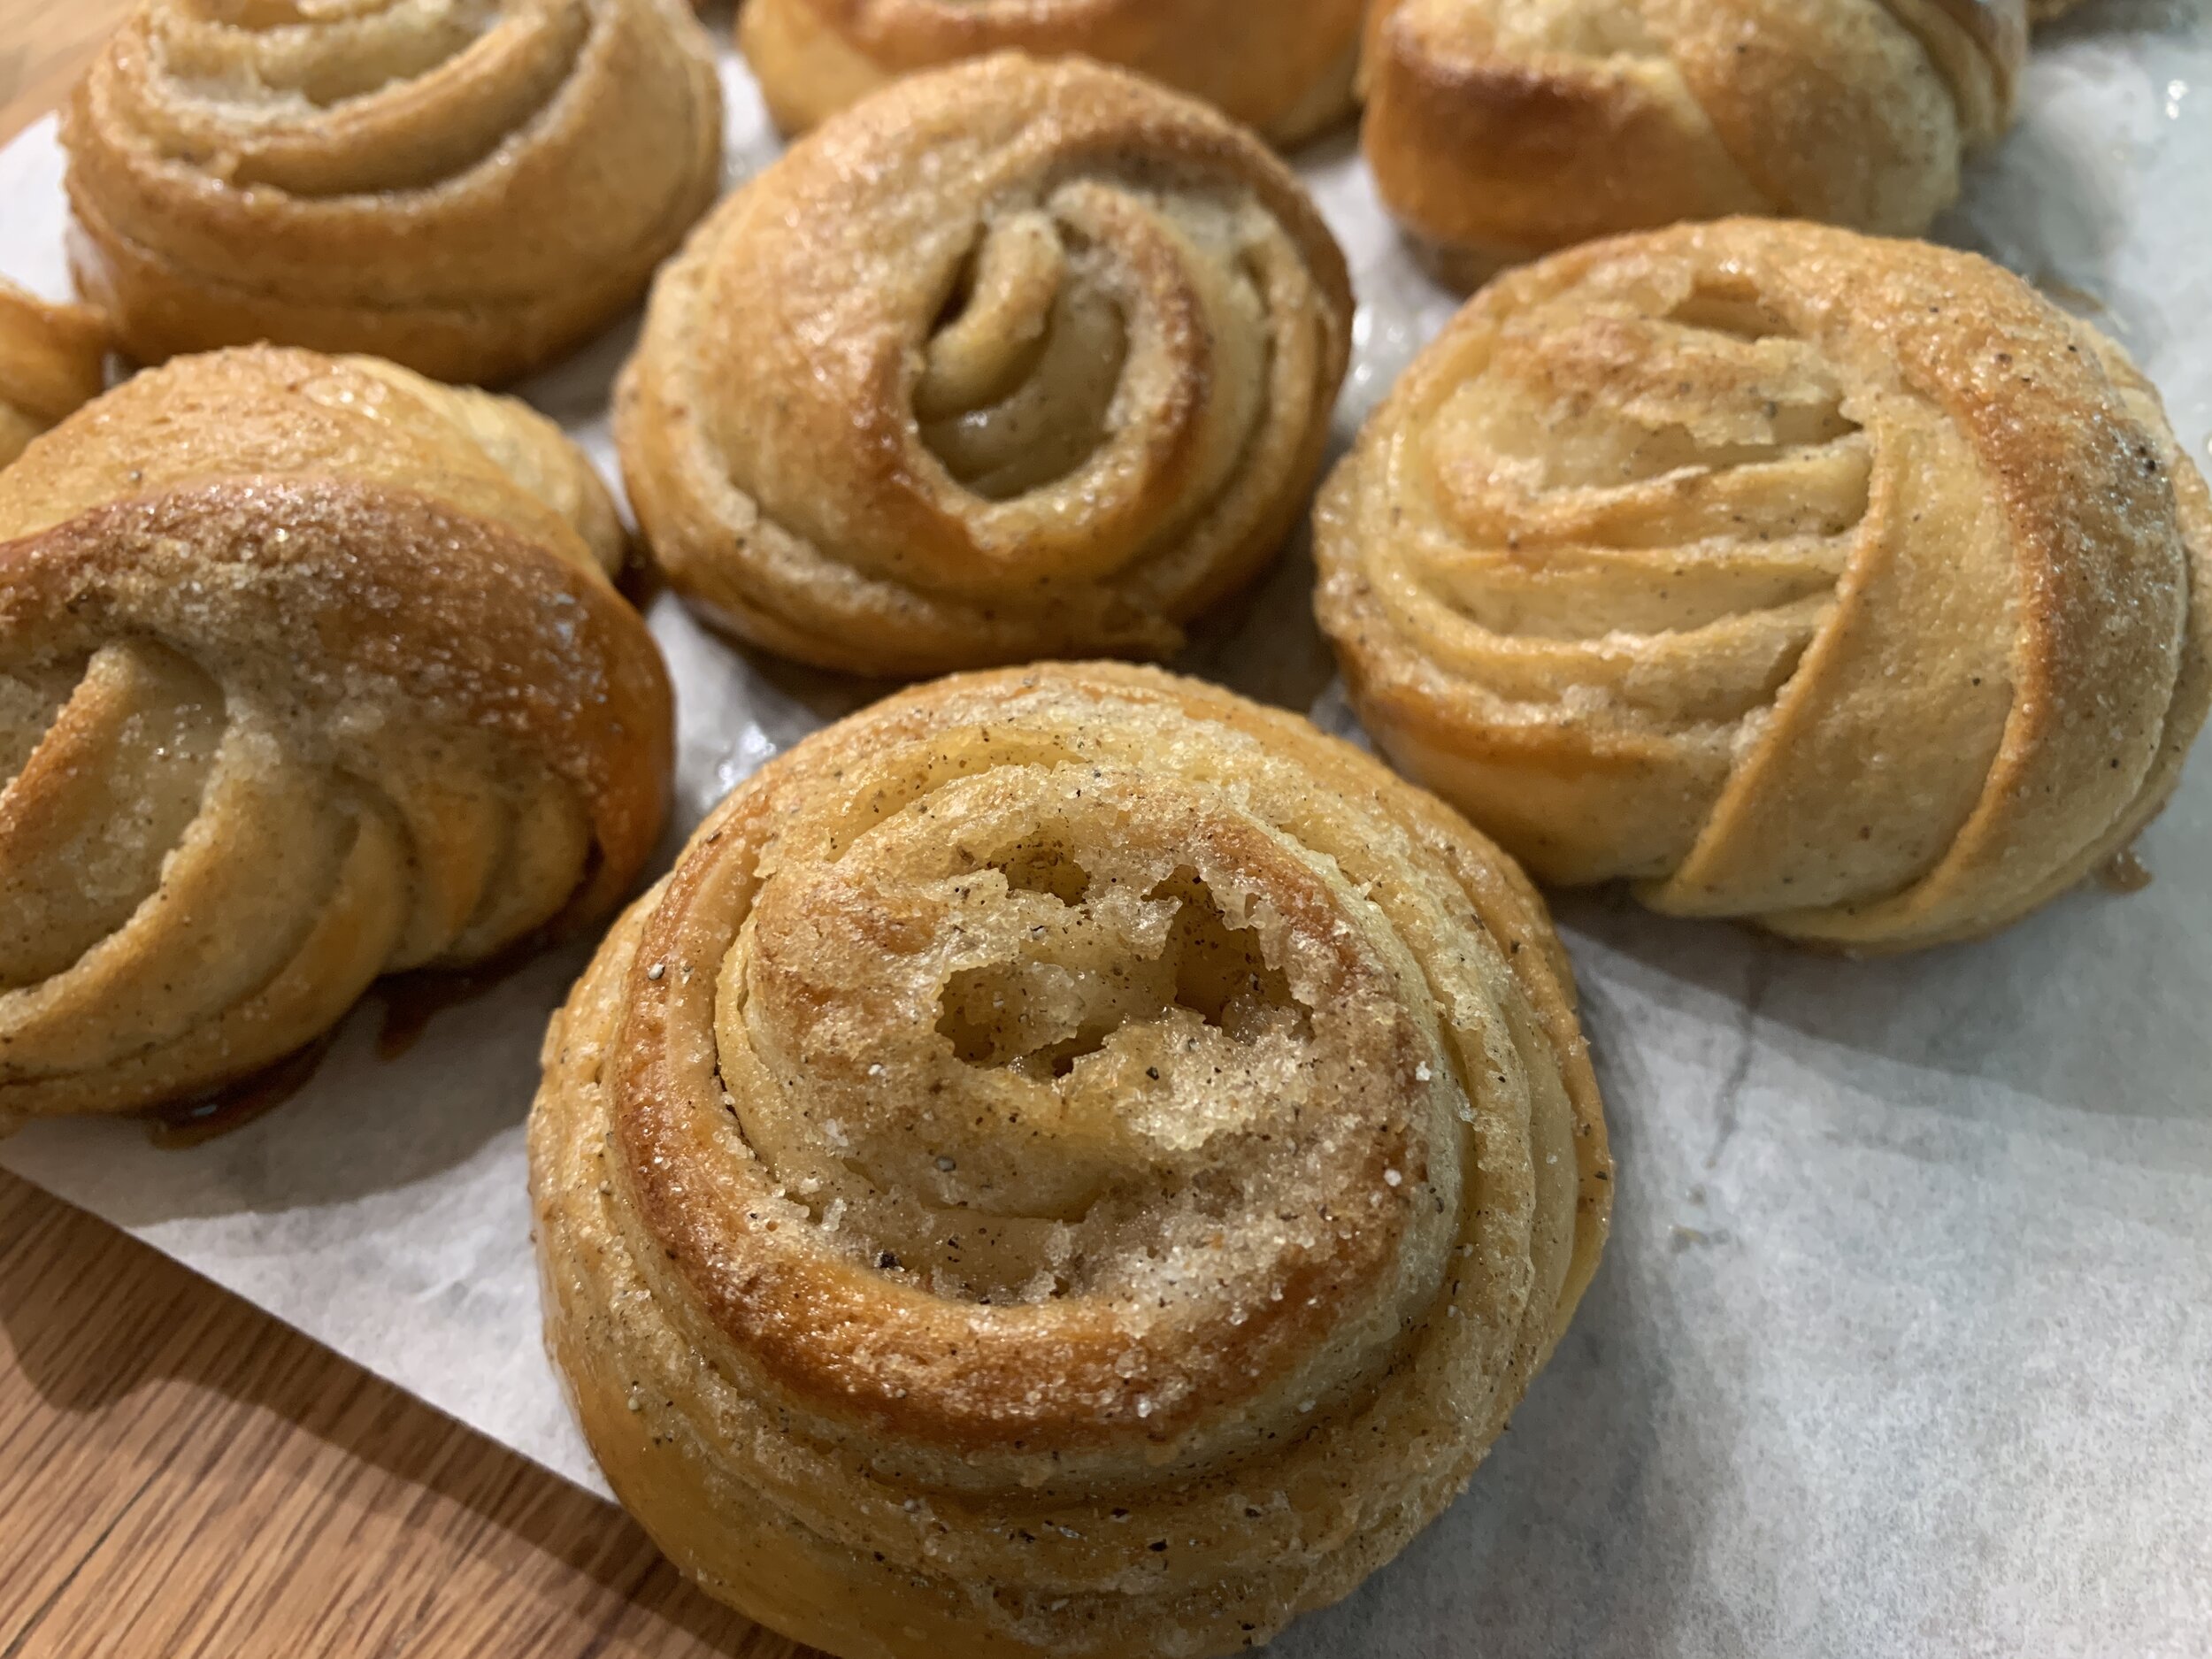
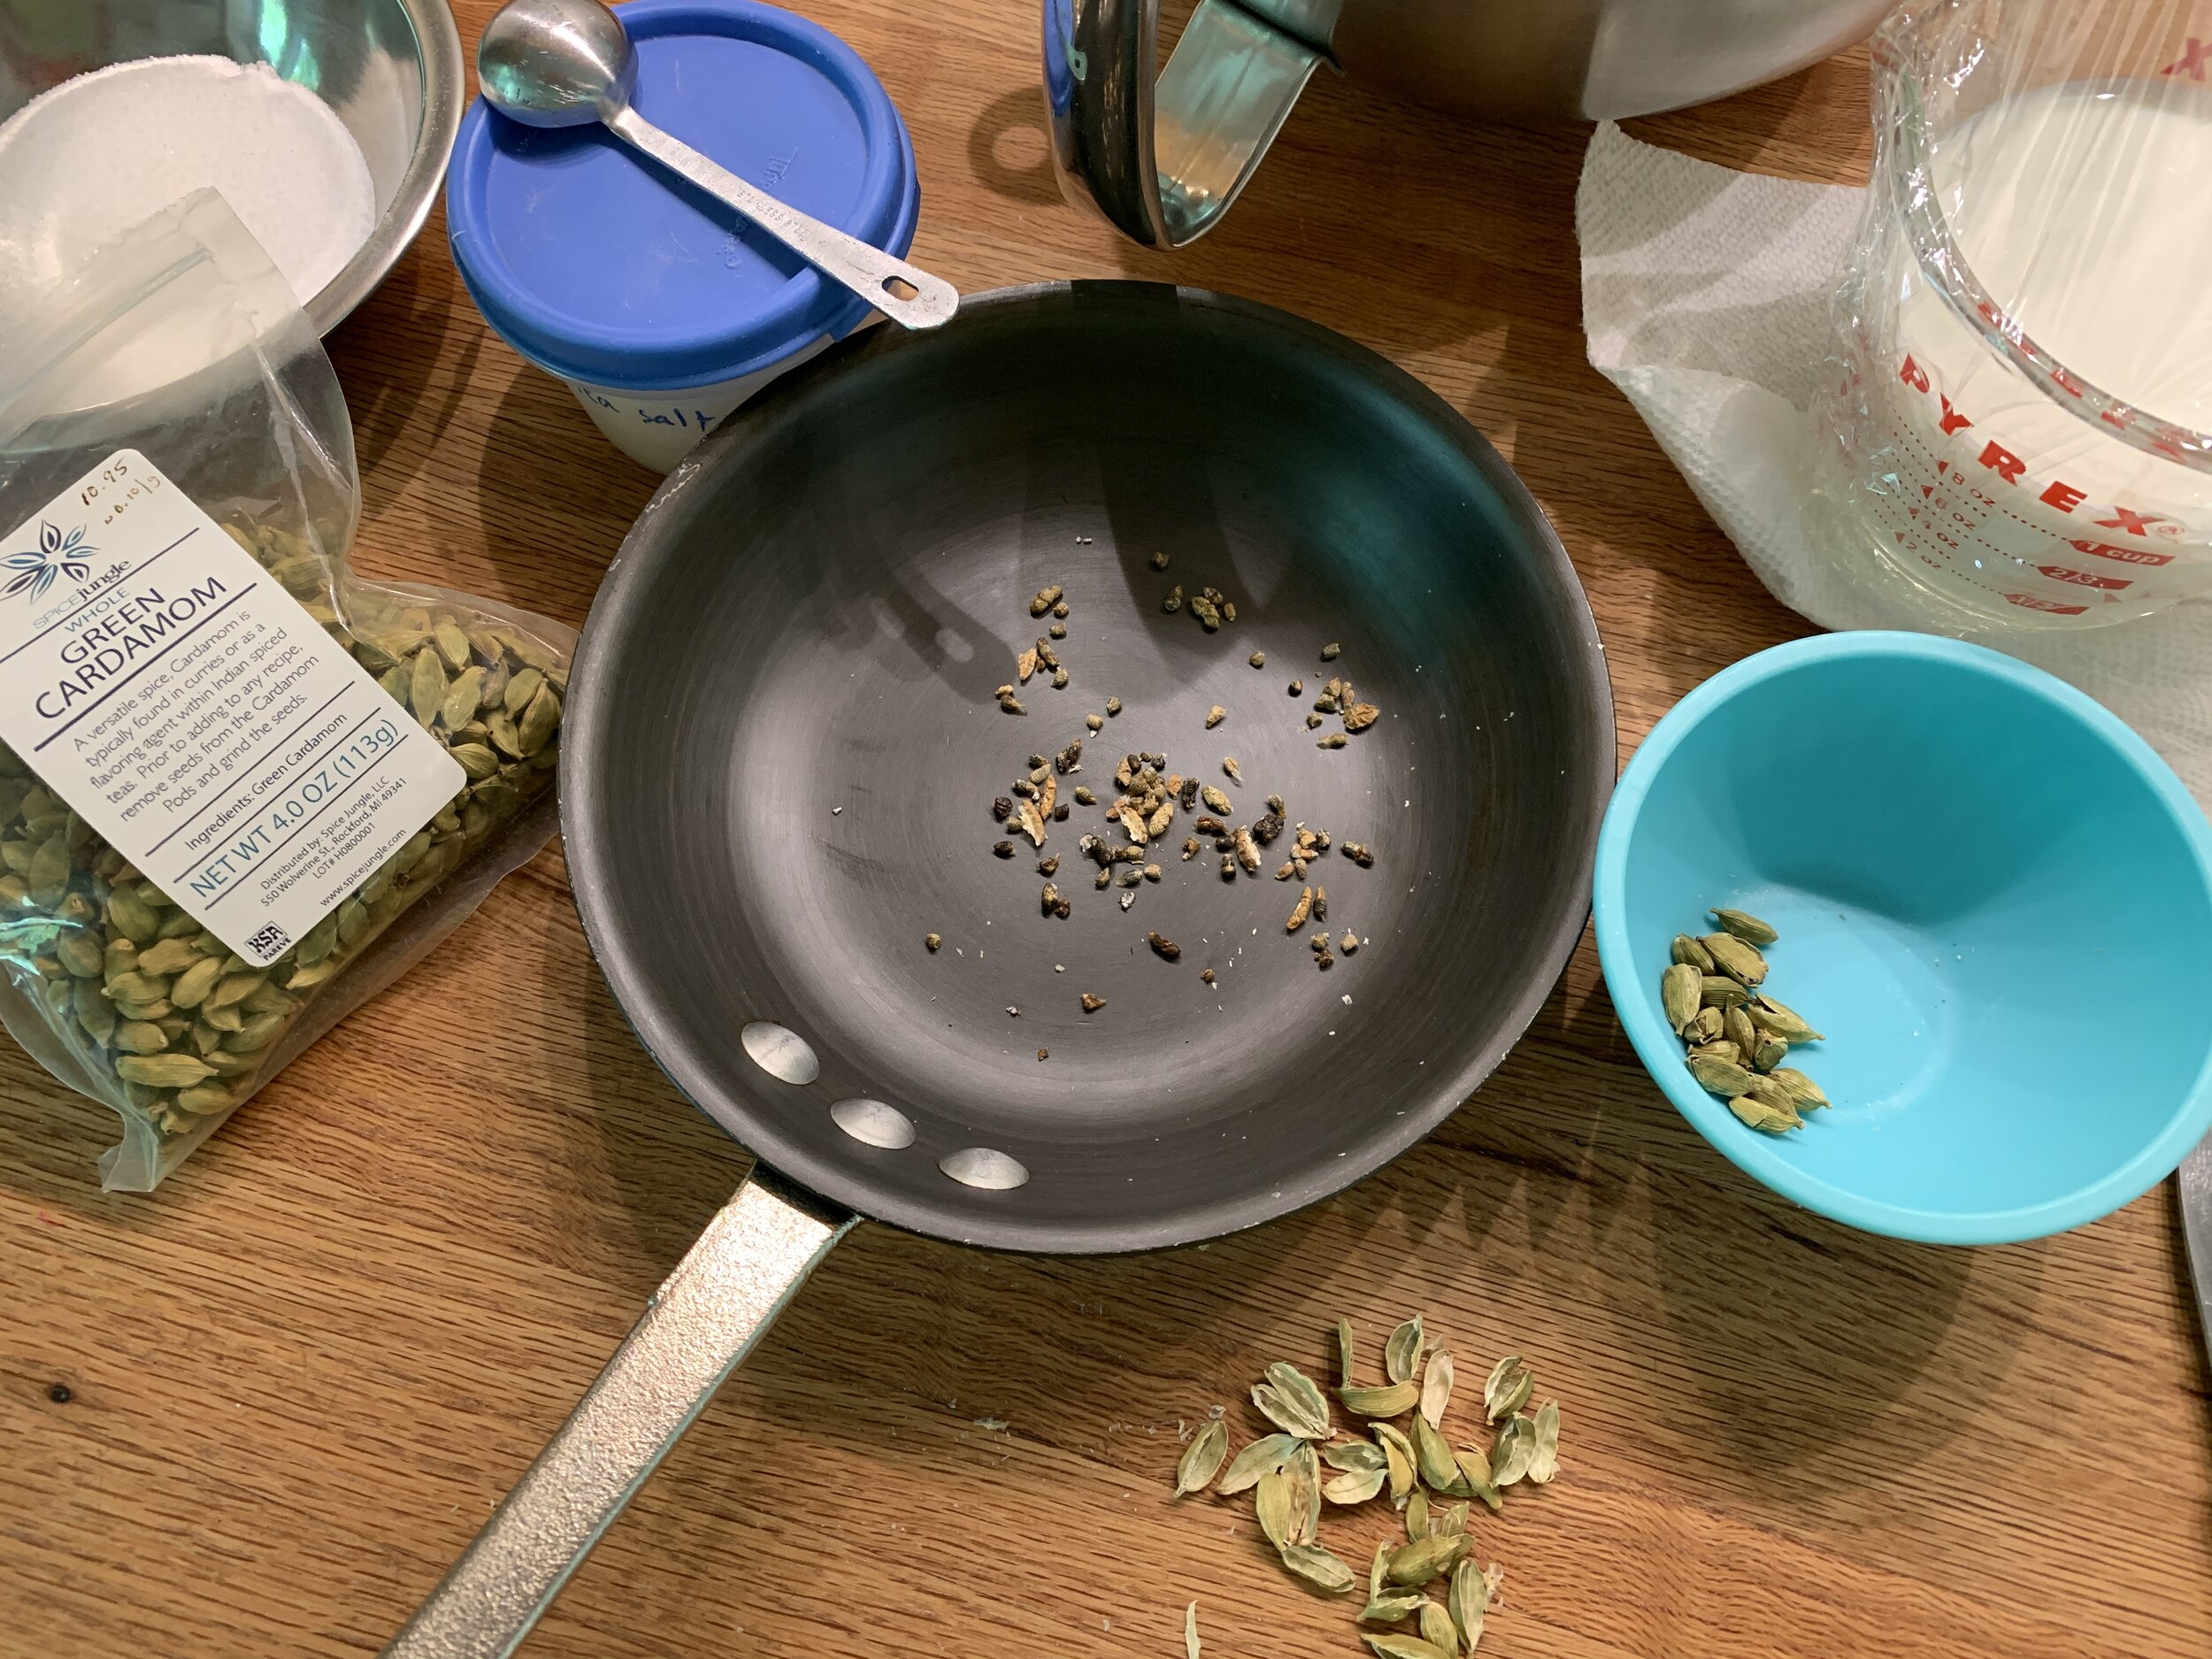
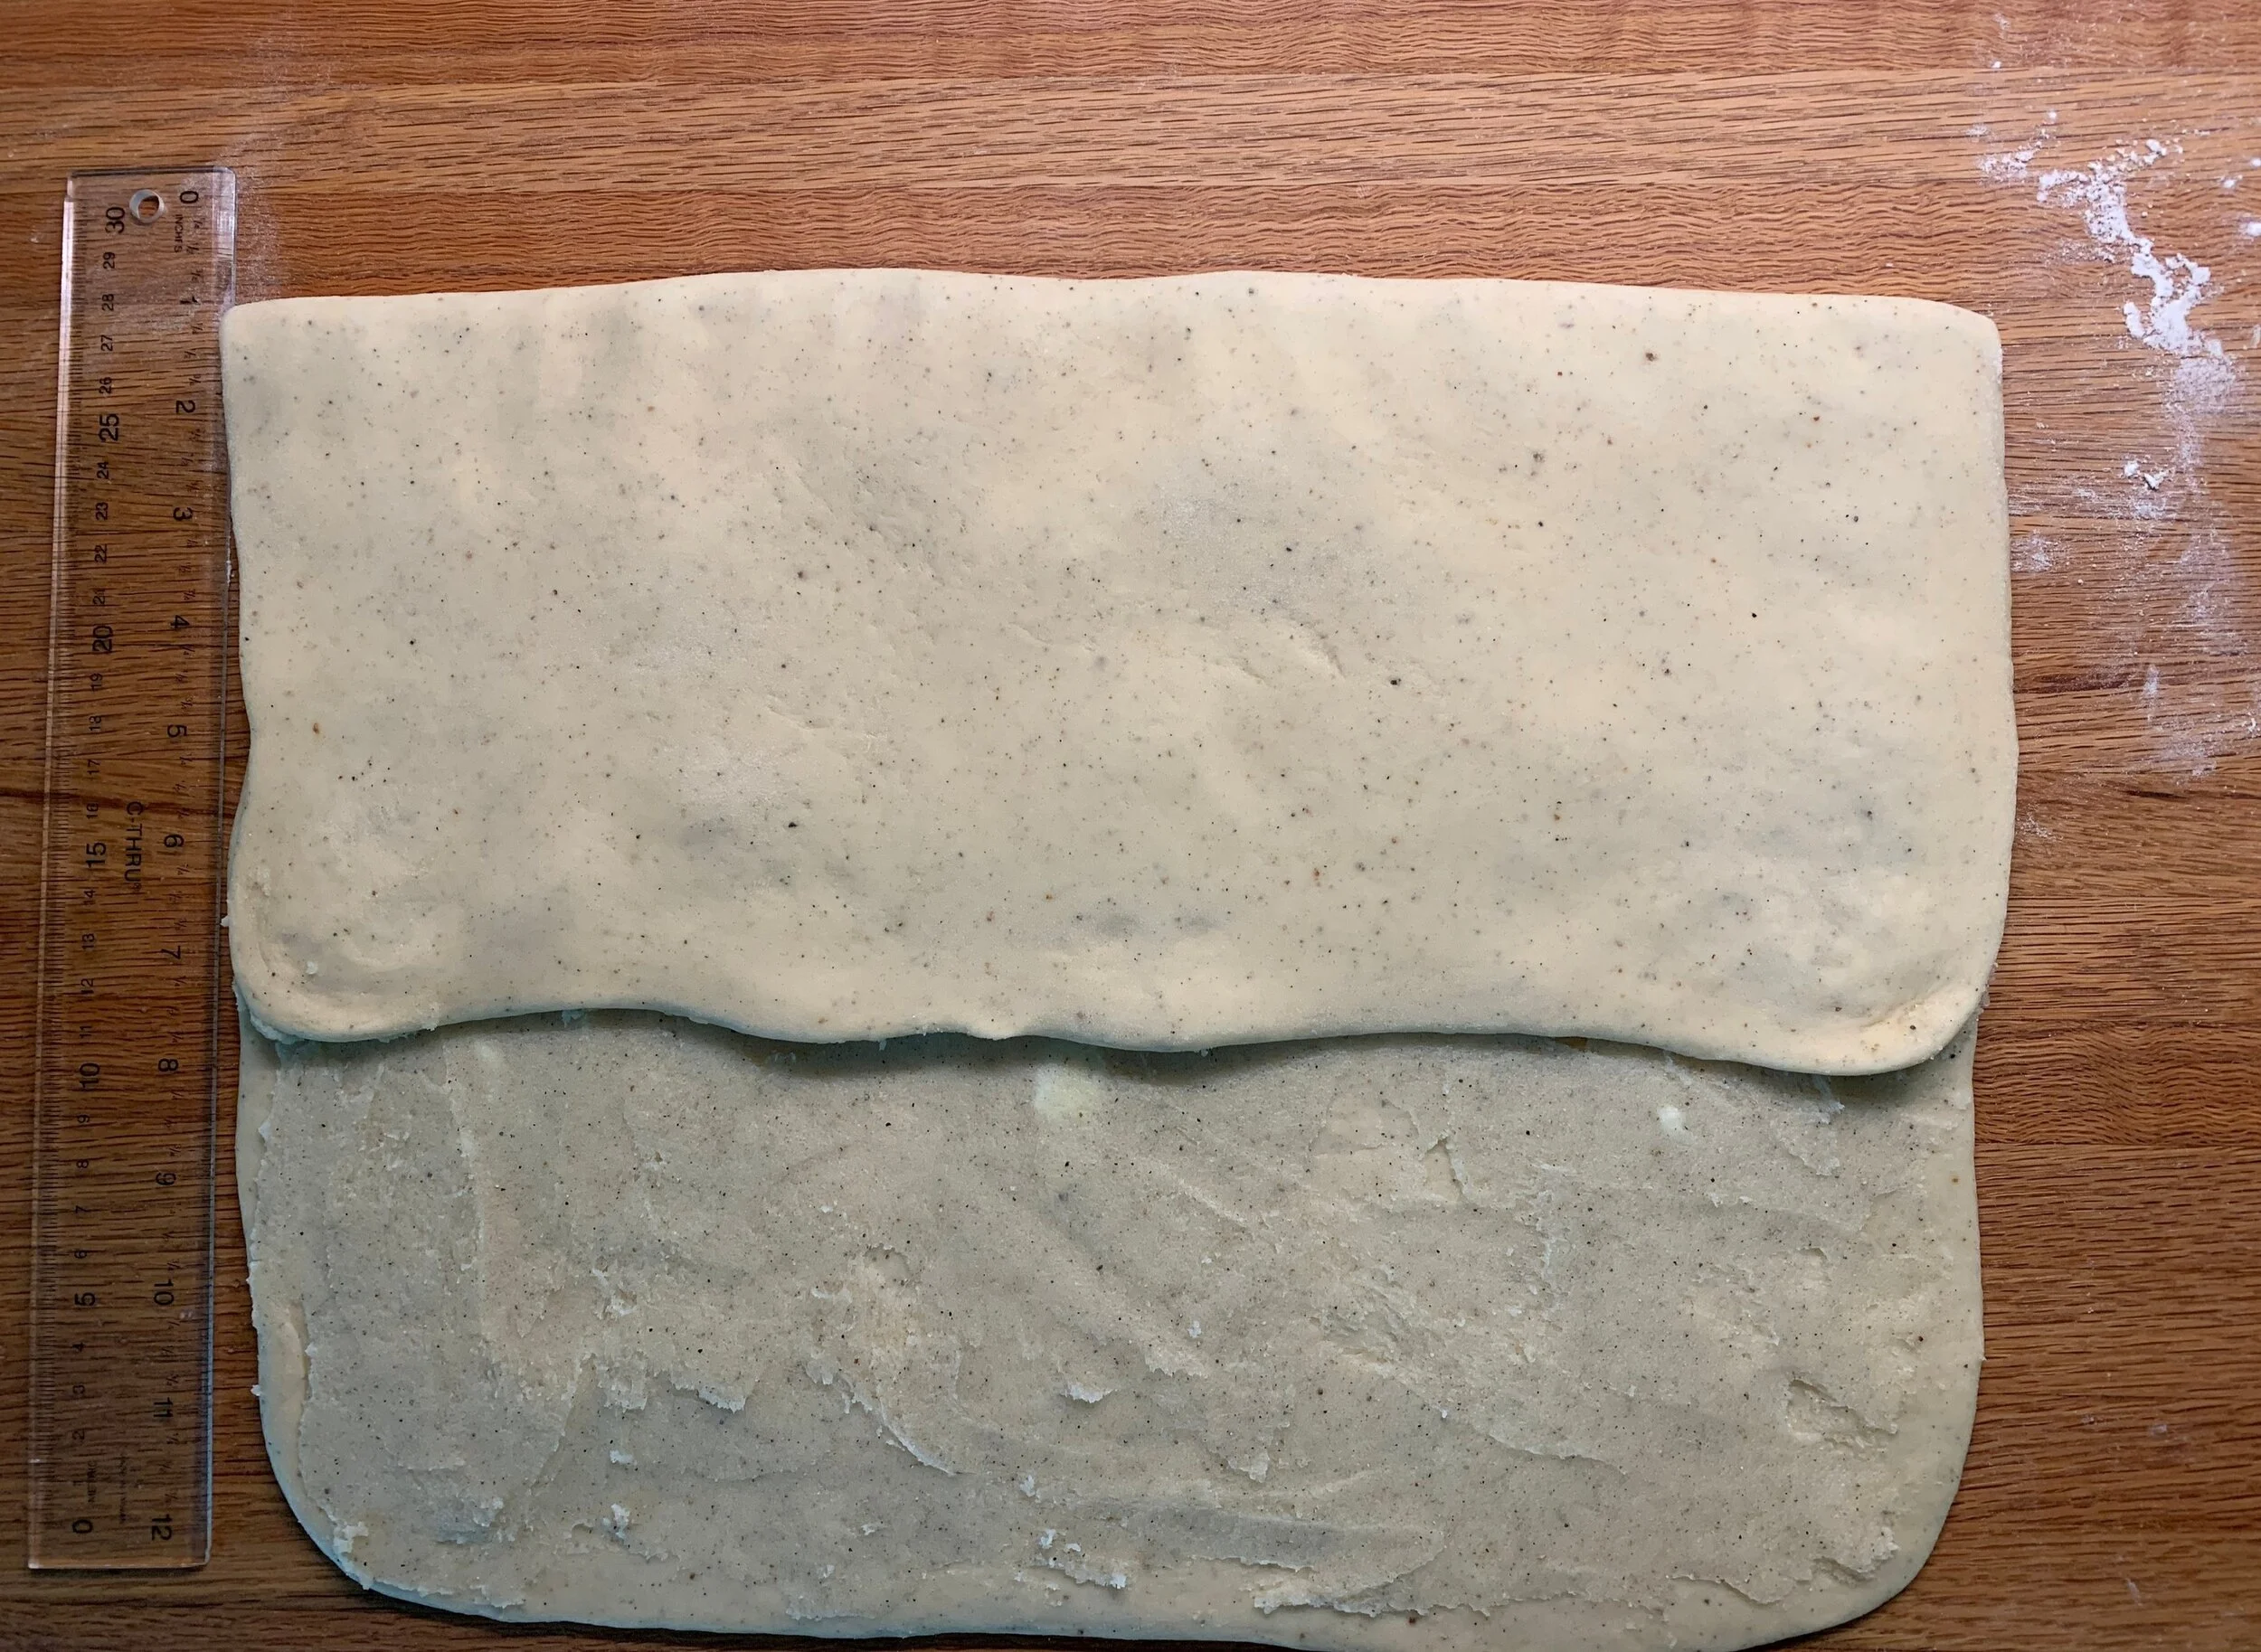
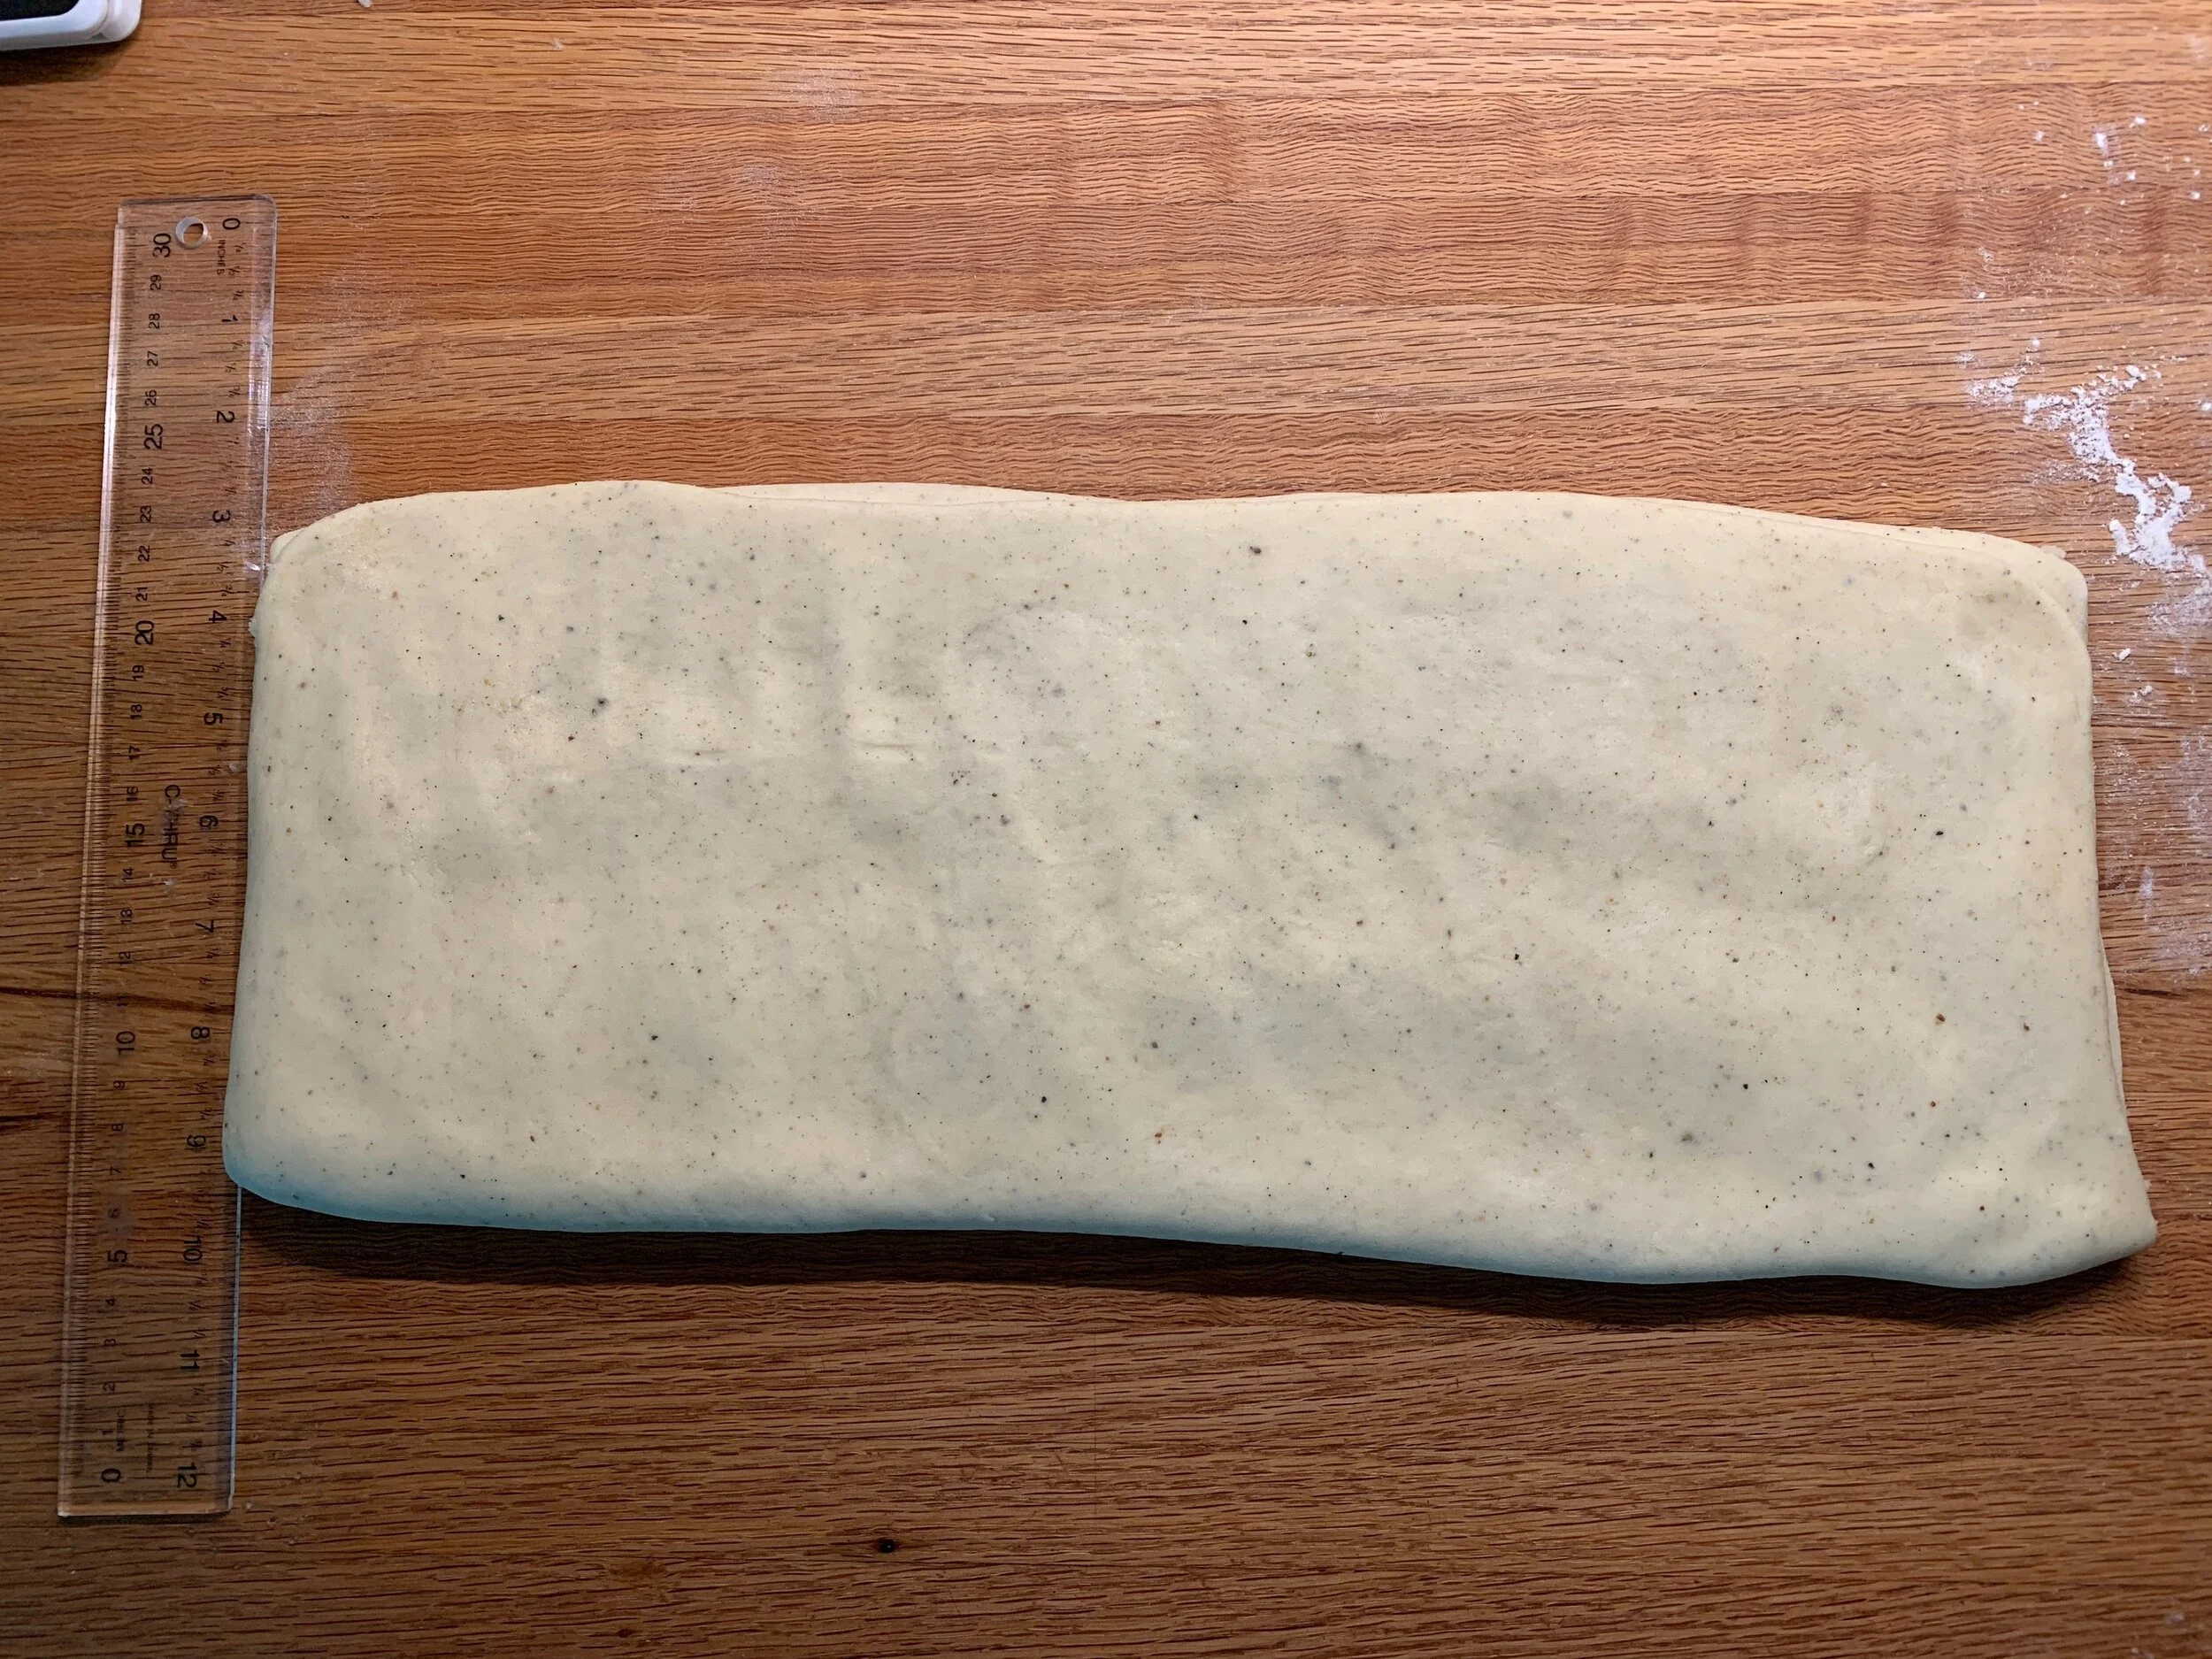
In addition to the intriguing items in the case, my eye spied the variations of bullar, classic intricately twisted buns such as cinnamon and cardamom. Once again I was eager to sample a true Scandi version of bulle (the singular of bullar) after my own attempts at cardamom buns a while back. There was a lighter version that appeared to be sprinkled with a bit of sugar (top rear below) - I chose that.

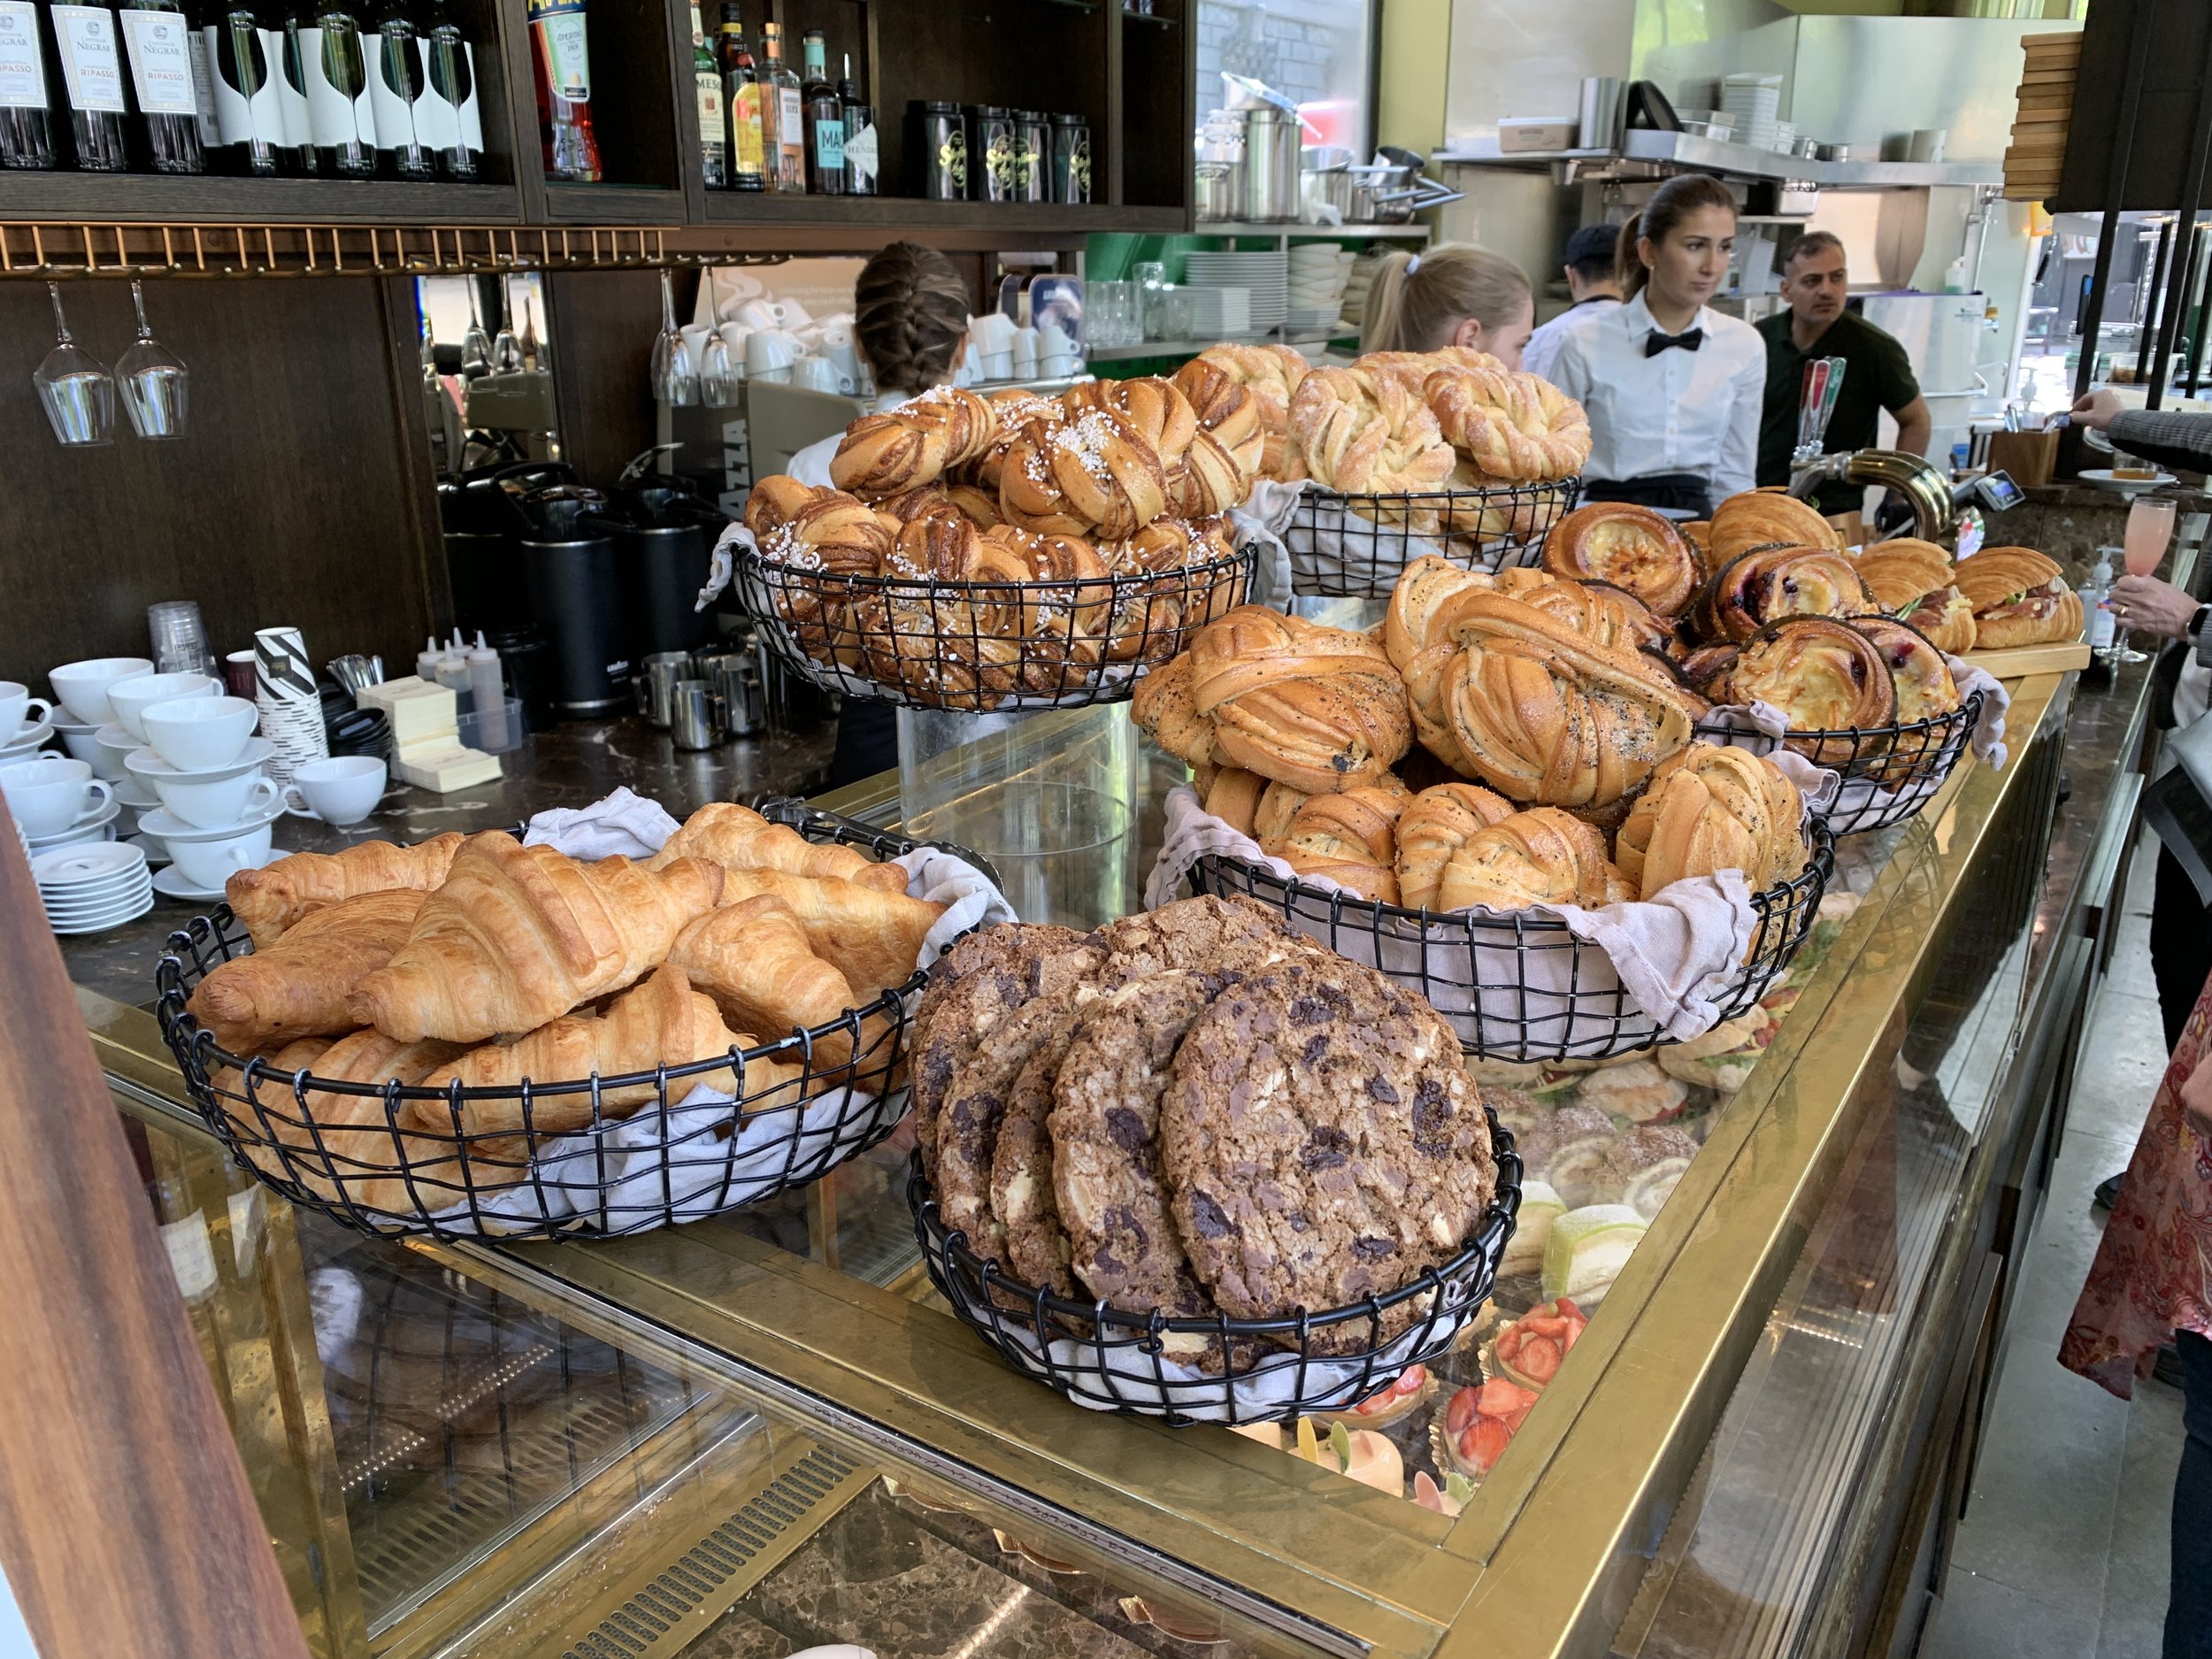
Some of the cafe’s treats

We were happy to grab a table inside since it was pretty breezy and cool that day.

Richard and Pauline chose savory sandwiches and Steve continued to exert great will power and abstained except for a sparkling drink.

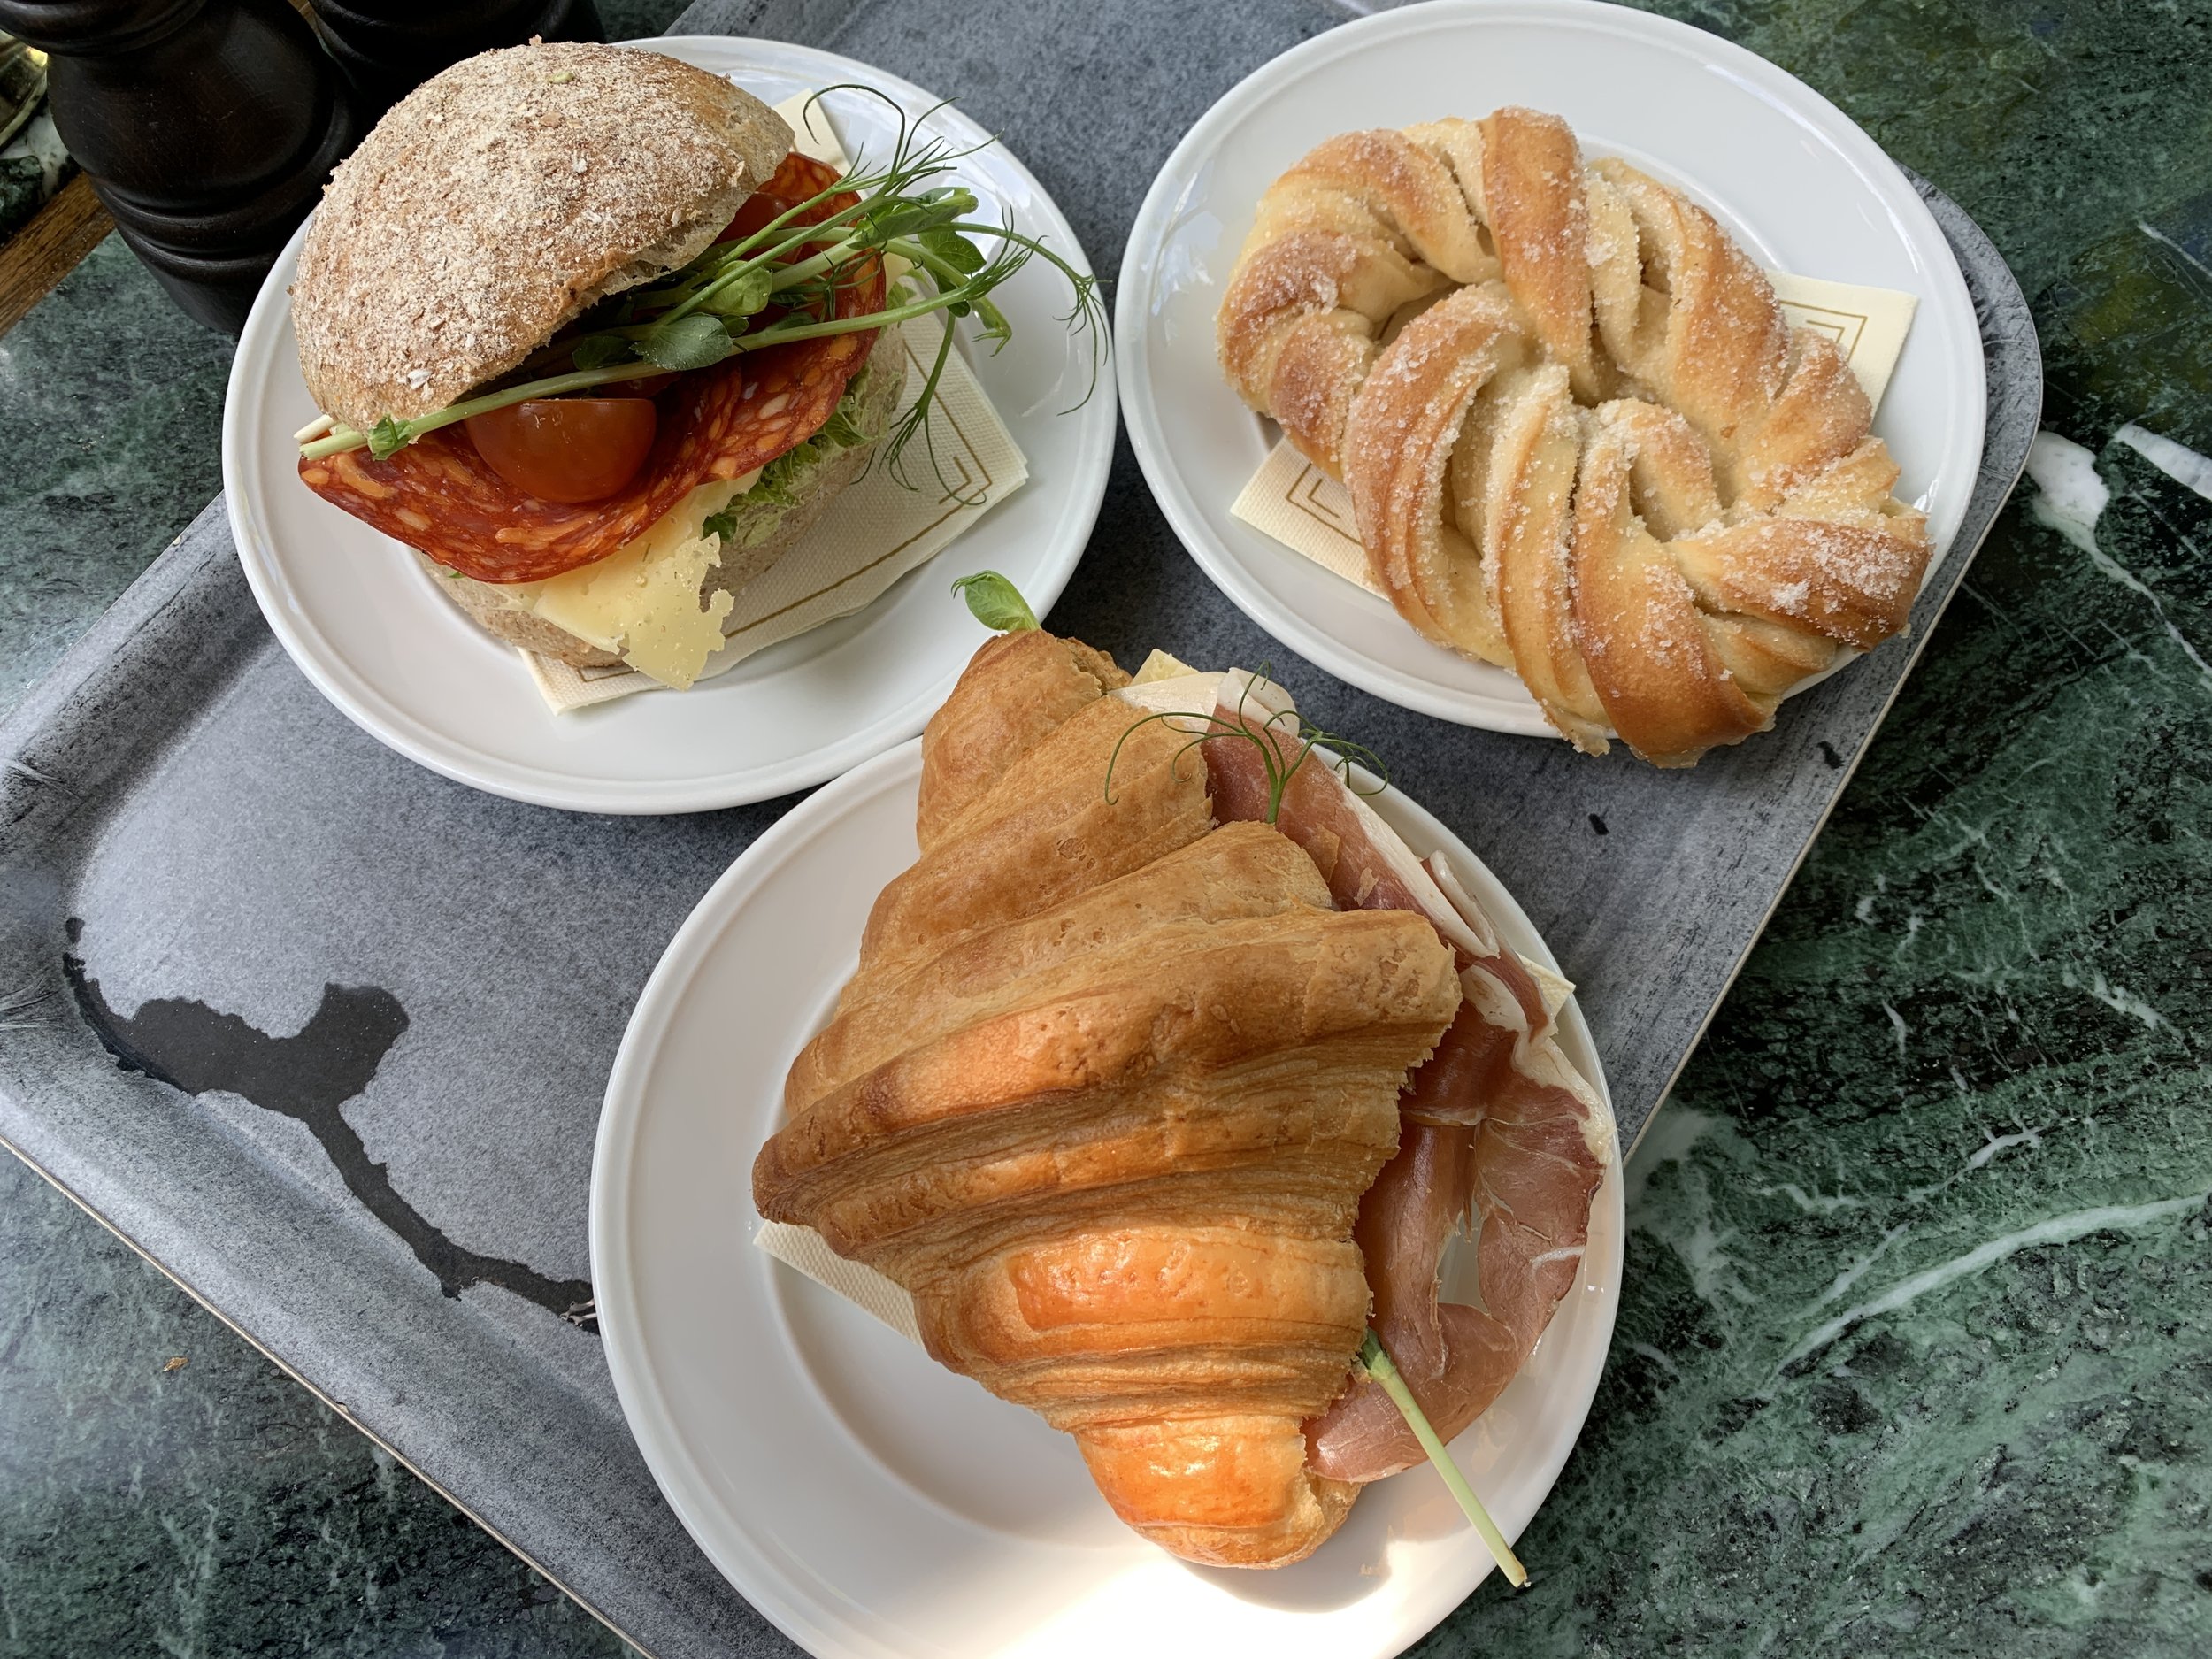
I anticipated that perhaps my bulle had a thin schmear of almond filling since it’s so commonly used in many Danish pastries, but, alas, I couldn’t really confirm that as I ate. It was tasty nonetheless with a light sweetness, simple lovely bun texture and delicious with my large cup of hot chocolate.

Here’s to the fika traditiion and all it stands for. Thanks Sweden!!

Swedish (cardamom) buns

IMG_0927.jpg

Time for more Swedish fun! Once again inspired by Brontë Aurell’s “Brontë at Home” as well as Beatrice Ojakangas’ “The Great Scandinavian Baking Book” (a recent acquisition as a result of a birthday gift card!) and a NYT article on cardamom buns, I’ve plunged into the depths of bun recipes and options. Whoa - so much out there!

As I’ve come to learn, the Swedes (and let’s be honest, Scandinavians in general) are HUGE bun lovers - cardamom, cinnamon, blueberry just to name a few. The dough is a pretty basic enriched dough made with milk, usually (but not always) some egg, butter, sugar, salt, yeast, cardamom and flour of course. Once the dough is made and rested/risen, you roll it out and spread it with a filling of butter and sugar (white or brown, either way), fold it in thirds, roll out again, cut it into strips, twist, wind and tuck and voilà, there’s your classic Swedish cardamom bun.

The process as just mentioned is the less buttery bare beginnings of a fully laminated dough, and you can take it in other directions with different shapes and fillings. Think jam, chocolate hazelnut spread, citrus zest, chopped toasted nuts, fresh or dried fruit, almond paste . . . the list goes on.

My first attempt sprang from the NYT article on classic Swedish cardamom buns, and, being intrigued by the shaping technique, I was ready to give them a try. One sees a hint of the shaping in the article images although the shaping instructions in the recipe didn’t give my brain a good image to work with. I played around with it, finally resorting to an online video or two which helped a lot. Just remember - there’s more than one way to shape a bun!

If you’re interested in checking out the NYT article, a quick note on the filling - I found it to be too much butter. There was a LOT of butter leaching out during baking so I’ve reduced the filling amount for this post and for my future bun projects.

As you see below I ended up with a number of different looks to my buns as I twisted, coiled and tucked. Interesting indeed. The one on the bottom left looks like a conch shell, don’t you think?

IMG_0920.jpg
IMG_0926.JPG

After reviewing WAY more recipes than I should have, the more I compared them, the more I realized that I can simply take my base croissant détrempe, the dough BEFORE any added butter block/laminations occur, sub in some egg for part of the milk, bump the butter and sugar up a touch, throw in some vanilla extract and add cardamom or cinnamon or a spice mix of choice and you have your basic bun dough. Here’s the recipe I came up with.

In addition to being able to create a variety of buns from that base dough, you can also take that dough even further by adding a butter block and fully laminating it too! It then becomes Danish pastry dough (wienerbrød) like that in the Danish Kringle I wrote about here. Lots more buttery layers to be had.

Let’s take a look at the steps for the Swedish cardamom buns (let’s call it my first trial and error go at it).

I’ve had some green cardamom pods on hand for a while now - time to use these babies. Open the cardamom pods, remove the seeds, toast them over medium heat then crush and grind them with a mortar and pestle. Generally around 6-7 pods will yield seeds to give you about a teaspoon of ground cardamom. You’ll need 1-2 teaspoons for the dough (to your taste), another teaspoon (optional) for the filling and an additional teaspoon to make cardamom sugar for sprinkling. Remember - feel free to sub in other spices!

IMG_0894.JPG
IMG_0914.JPG

Make the dough as directed in the recipe. It will be a bit sticky. Lightly ball it up, place in a greased bowl, cover with plastic wrap and let rest/rise about an hour at room temperature. Give it a good stretch and fold then ball it up nicely. Wrap tightly with plastic wrap and refrigerate at least 4 hours or up to overnight. I usually make my dough in the late afternoon/early evening for use the following morning. It’s all about planning ahead.

IMG_0896.jpg

On baking day prepare the filling by blending 80 g soft unsalted butter with 80 g sugar (white or brown as you wish), one tablespoon flour, a teaspoon vanilla plus a teaspoon ground cardamom if desired.

Note: You can ramp the filling up by grating 80 g good quality almond paste then blending it into the butter/sugar mixture.

Remove the dough from the fridge about 20 minutes before rolling, filling and shaping. On a lightly floured surface roll it out to a ~ 13”x18” rectangle, the short edge parallel to the work surface.

IMG_0902.jpg

Spread the filling in an even layer then fold the dough in thirds, the top down toward you . . . . .

IMG_0903.jpg

and the bottom up over that.

IMG_0904.jpg

Roll the dough out a bit more to ~9”x14” and trim any uneven edges. By the way - don’t get hung up on precise measurements, just go with the flow.

IMG_0905.jpg

Cut 2 cm strips. I also created a couple of scrap buns by braiding some of the edge pieces and coiling them up. Why not?!

IMG_0906.jpg

Pick up and gently stretch each strip, wrap it around three fingers a couple of times then bring it across and tuck it under. NOTE: in the future I’ll twist the strip as I wrap it for an even greater twisty look.

This is where I was a bit confused and my first attempts were clunky. but once I figured out the moves it worked out OK. Even so - variety is the spice of life so do whatever makes you happy.

Hmmmm . . . . going from the top down? Probably not.

Hmmmm . . . . going from the top down? Probably not.

Hmmmm . . . . not really it, but I do like a basic coil

Hmmmm . . . . not really it, but I do like a basic coil

Still a mish mash but, once I watched a video I finally got the cross-over-the-top thing to happen!

Still a mish mash but, once I watched a video I finally got the cross-over-the-top thing to happen!

At any rate, once you’ve shaped your little heart out, place the buns on parchment lined pans, cover lightly with plastic wrap and let rise 30-45 minutes.

Meanwhile heat the oven to 350ºF. Once risen, brush the buns lightly with egg wash and sprinkle cardamom sugar (1/2 cup mixed with a teaspoon ground cardamom) on top.

You can also wait on the cardamom sugar until after baking in which case, once out of the oven, brush your buns with simple syrup and sprinkle with the sugar.

IMG_0917.JPG

Bake around 10-15 minutes or until nicely golden brown. Remember all ovens are different so watch what’s going on in there!

IMG_0926.JPG
IMG_0927.JPG

I haven’t fully decided how I feel about the flavor of cardamom on its own. It can be a bit overwhelming but mixed in with other spices like cinnamon, coriander, ginger and nutmeg, I find it’s a very pleasing combo. Steve and I gave the overall bun texture and crumb a thumbs up. Even a couple of our neighbors who weren’t familiar with cardamom thought they were pretty darn good. Yay!

I did one more batch (doubled) along the cinnamon lines, this time with some variants on the twisty coils. Of course I’ll keep playing around with it.

IMG_1172.JPG

Now get into your kitchen and create your own shapes and fillings - and just have fun!

On a final nature note, here are a few images from my August walks. Summer marches on.

Keep a steady course, stay safe and find comfort in the trees, skies, flowers and plants. It helps.

Hydrangea

Hydrangea

Black-eyed Susan

Black-eyed Susan

Summer annuals going strong

Summer annuals going strong

Mid-July update

IMG_1149.jpg

Seeing Queen Anne’s lace in bloom is a sure sign of summer’s march into August and beyond. Still plenty of time for outdoor enjoyment, fresh air and sunny skies.

As we come to grips with the fact that (whoa!) it’s already mid-July, would any of us have foreseen all that’s happened in the past four months?! No sir.

Lately we’ve had quite a string of hot days, punctuated over this past weekend with pleasant days, cool nights and clear, low humidity skies. Baking is happening in waves, and now seems as good a time as any to share a few of the things I’ve been making in recent months.

Cinnamon oat crunch scones

Cinnamon oat crunch scones

A number of projects were done with an eye toward becoming blog posts and are currently in their draft phases. I’m working on them bit by bit, often side tracked by various other at-home activities that seem to take precedence. Time has taken on a much different sense, don’t you think?

Some of these goodies go into the freezer for future enjoyment, some are shared with neighbors and family and some go into the occasional pastry order that pops up every now and then.

Chocolate hazelnut swirl brioche loaf

Chocolate hazelnut swirl brioche loaf

Gateau renversé aux cerises (cherry upside down cake)

Gateau renversé aux cerises (cherry upside down cake)

Mixed berry mascarpone trifle

Mixed berry mascarpone trifle

Swedish cardamom buns

Swedish cardamom buns

Baguette

Baguette

Croissant

Croissant

Stay tuned! Baguette! Brioche! Swedish buns! Yippee!!

Meanwhile enjoy summer, be kind and helpful. It works.

Pistachio and chocolate butter cake from Samantha Seneviratne

A post holiday gift to myself was the book the new sugar and spice - A RECIPE FOR BOLDER BAKING by Samantha Seneviratne.

Many of the recipes have caught my eye.  My first trial from the book, coffee cardamom shortbread, was a definite success.

Next up is the cover recipe for pistachio and chocolate butter cake, highlighting the use of pistachio paste, cardamom and chocolate chunks (and butter, of course).


The butter, eggs and milk should be at room temperature.

Butter a 9" springform pan and heat the oven to 350º.

Do your ingredient mise en place . . . .

les ingredients
and let's go!

Whisk 223 grams flour, 7 grams baking powder, one teaspoon freshly ground cardamom (hard to see, but it's there on the left side in with the flour) and 1/2 teaspoon salt in a medium bowl.

Cream 113 grams/1 stick room temperature, unsalted butter with 75 grams granulated sugar with an electric mixer on medium speed until light and fluffy.

Add two eggs, one at a time, then blend in 198 grams pistachio paste.

Add the flour mixture alternately with 120 ml milk in three additions, beginning and ending with the flour.

Fold in 85 grams chopped dark chocolate (I used a mixture of 56% and 72%).

Put the batter into the springform pan and smooth.  Sprinkle 35 grams coarsely chopped pistachos over the top.

A very straight forward cake batter preparation.

ready for the oven

Bake for about 30-40 minutes.

just out of the oven

How did this work out?  Well, this is one case where it's important to pay attention to what's going on in your oven.

I baked this for a good 50-55 minutes since the center was still loose after the first 30-40 minutes.

At that point all the signs of doneness were there - a tester inserted in the center came out with moist crumbs, the top was nicely browned, there was no central jiggling when I lightly shook the pan, and it felt firm in the center.  Plus the aroma was enticing!

BUT!  Once this cake cooled it sank significantly in the middle and was still not thoroughly baked through in the center.  Disappointing.  You pay attention, you think it's done, but then . . . .

Perhaps the fact that my springform pan was sitting on an insulated cookie sheet kept the oven heat from getting properly into the center - who knows!

However, all was not lost.  I simply cut out the center goo, sliced the cake and served it with Samantha's roasted banana ice cream (see my next post!).  Pretty tasty indeed.

The cake is dense and buttery with a lovely cardamom-pistachio-chocolate thing going on.

If I were to do this recipe again, I would bake the cake in small flexi-molds or individual cake pans.  The baking time would be less, and the smaller portions would bake through more evenly.

Live and learn.  That's what it's all about.