
Pâte feuilletée inversée and galette des rois
/Happy New Year everyone!
Epiphany is upon us, and it's time to make a galette des rois or king's cake, that very popular, scrumptious, almond-and-pastry-cream-filled puff pastry treat. During the month of January in France most pâtisserie windows are laden with these "cakes" in various sizes, from the individual to the more traditional 9-10" size. And they even sell them with a lovely golden paper crown!
Some years ago I began my stage in Paris two days before Epiphany, and the crew at Pascal Pinaud's had already assembled and frozen many unbaked galettes (ahhhhh the beauty of the freezer). I don't recall how many were baked every day, but, suffice it to say, those babies were flying out the door - and it didn't stop for weeks to come.
Traditionally the galette is baked with a fève (literal translation: broad bean) inside, and the person who gets the slice which holds this "treat" is crowned king for the day. Over the years the whole fève thing has evolved into a mini industry of small porcelain or ceramic figures that have become collector's items.
A few years back on a Parisian sojourn to Mora (a wonderful pastry supply shop with plenty of cool stuff to get your baking juices flowing) I purchased a set of 12 or so of these ceramic figures - mine were little marionettes. I still had a couple of them left (along with a miniature olive oil bottle that I had saved from my own galette eating experience) and was looking forward to choosing one for my current project. Imagine my disappointment when I found them in their storage spot (which I thought was safe!) all broken. What a bummer. But, thankfully, I had an intact sphinx that would just have to do.

Since my freezer stash of puff pastry was gone, I was inspired to make a batch of pâte feuilletée inversée or what I call reverse puff pastry. When I was first introduced to this version in pastry school, I found it non user friendly and wondered why anyone would make it. Buuuutttt. . . . now I have a completely different view.
A few years ago I tried the recipe from Dorie Greenspan's book "Paris Sweets" and, while I found the process a bit frustrating, I loved the result! It puffs beautifully and has a lovely texture to boot. I've fined tuned my process to make it easier and have become a true convert to this method for pâte feuilletée.
So here we go . . .
As is true for classic puff pastry there are two components in this method - the butter part and the dough part - but here the butter portion is on the outside, rather than being enveloped by the dough portion.
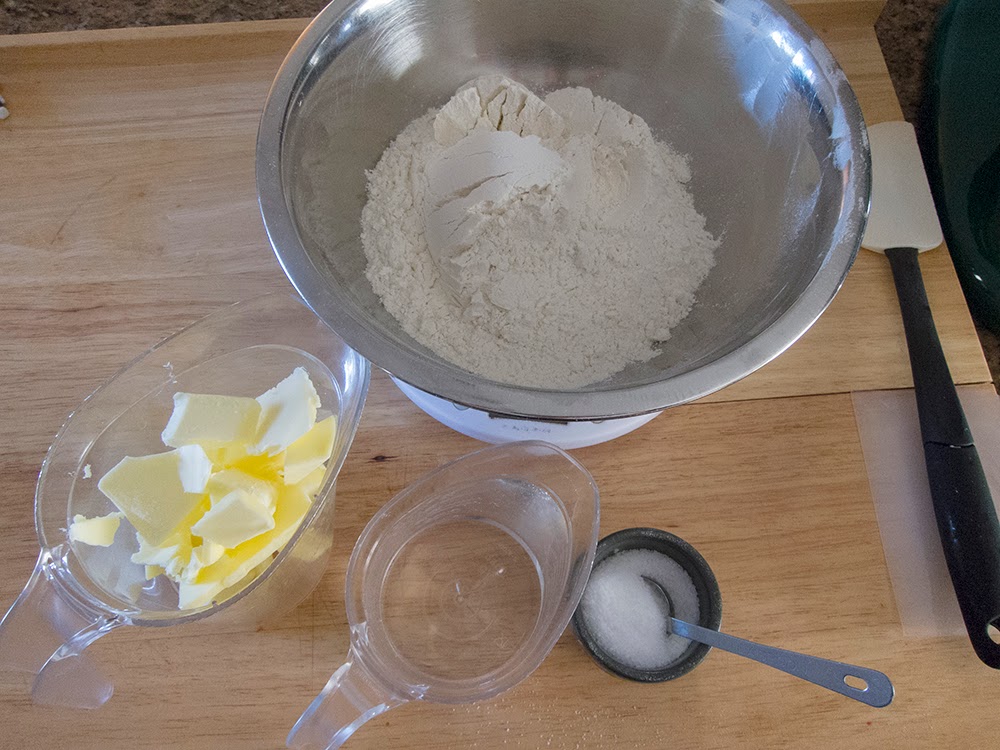
The ingredients are simple. What I'll call dough #1 is 400 gm of butter blended with 175 gm of flour.

The butter should be room temp - beat it with the paddle and then add the flour . . . .

Mix it until clumps form . . . .

Turn it out onto plastic film wrap . . . .
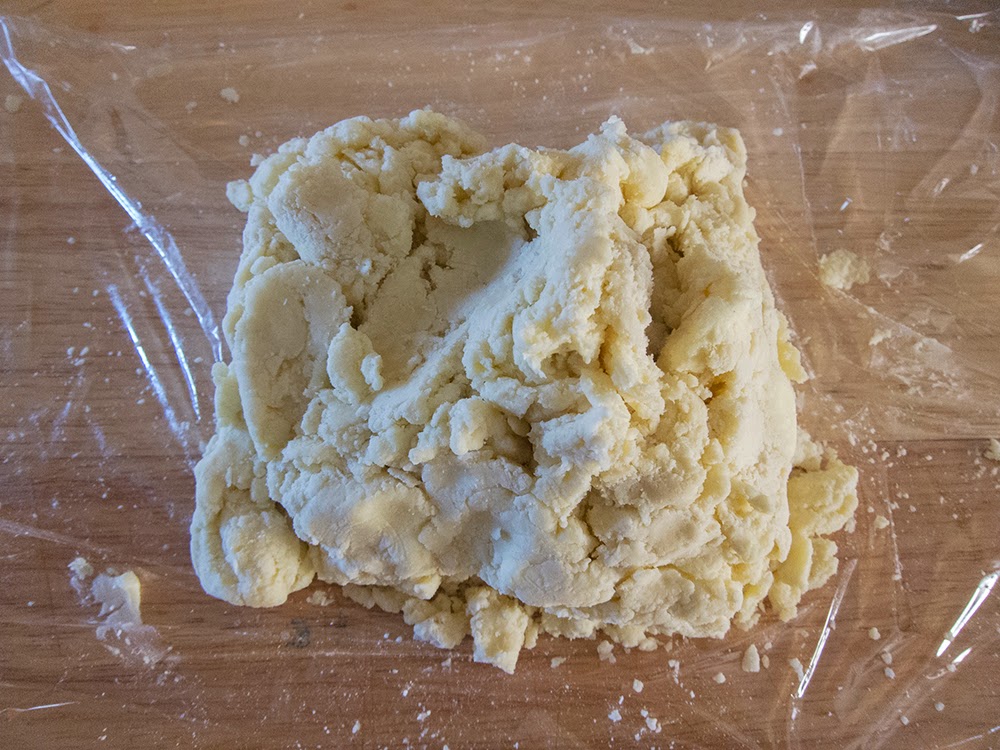
and form a block about 6" in diameter. I use the plastic to help me form the dough into a square.

What I'll call dough #2 consists of 113 gm butter (melted first, then cooled slightly), 180 ml water, 2 teaspoons salt, 1/4 teaspoon vinegar and 390 gm flour.
Just a side note about the vinegar - I've seen puff recipes with and without it, so I did a little online review and found that it helps to tenderize the dough and also keeps it from oxidizing or turning gray. It is said to strengthen the gluten, making the dough stretchier and less likely to tear during rolling.
Mix the water, salt and vinegar and set aside. Blend the melted, cooled butter with the flour to moisten it . . . .
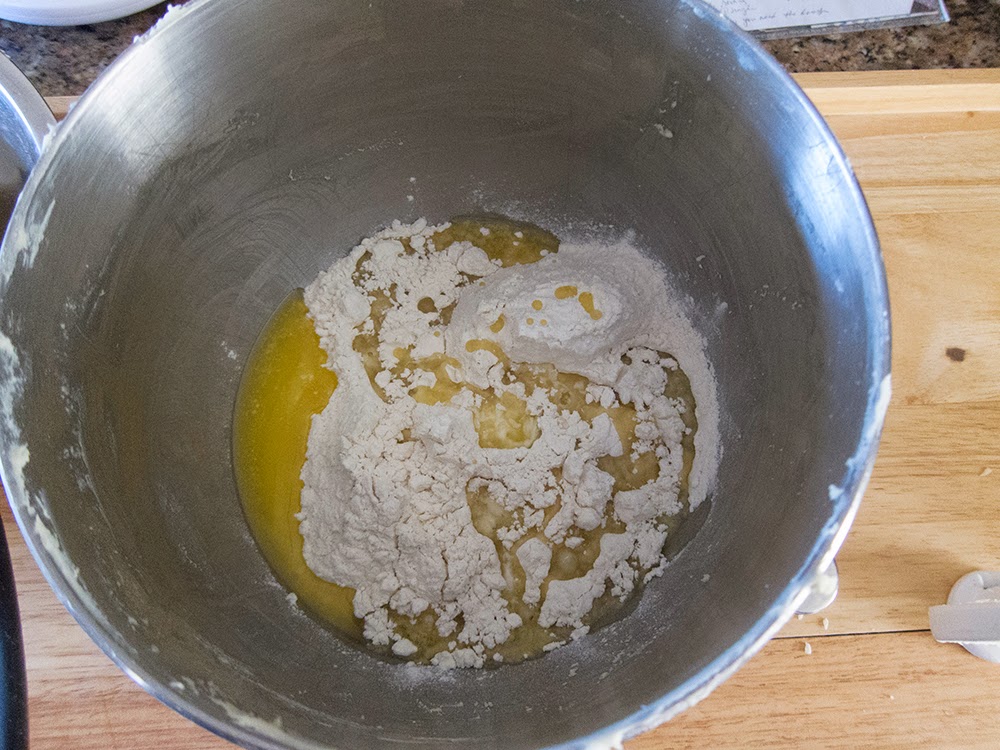
Slowly pour in the water mixture, blending with the paddle on low . . . .

until the dough comes together and cleans the sides of the bowl.

Turn it out onto plastic wrap . . .

and form a square about 4-5" in diameter.

Both doughs should be chilled for a couple of hours or even over night if you need that time in your schedule.
Now the two doughs have to be formed into a package, and this is where the process gets a bit sticky (and I mean literally!).

I pull the doughs out of the fridge a good 20-30 minutes ahead so they will be somewhat malleable and easier to roll. Since dough #1 is primarily butter it's important to work efficiently and with enough flour on your surface to avoid sticking. I really struggled with this step for awhile, but I finally figured out that if I kept the dough between 2 sheets of film wrap, periodically lifting the film and flouring the dough surface a bit, I could roll to my heart's content.
Once I've rolled dough #1 into a rectangle I place dough #2 on one end to check for sizing.

Then I simply lift the still-plastic-wrapped #1 and fold it over to see if I have enough length to properly encase dough #2. No butter sticking to the rolling board!

If needed I'll roll #1 a little longer and then unwrap #2, rolling it so it will fit nicely on one half of the outside dough.

The outer dough is folded over the inner, edges pinched together, and the whole thing is wrapped and chilled for an hour or so before beginning the folds.

The dough is rough around the edges and not at all pretty at this stage, but just wait for the transformation!
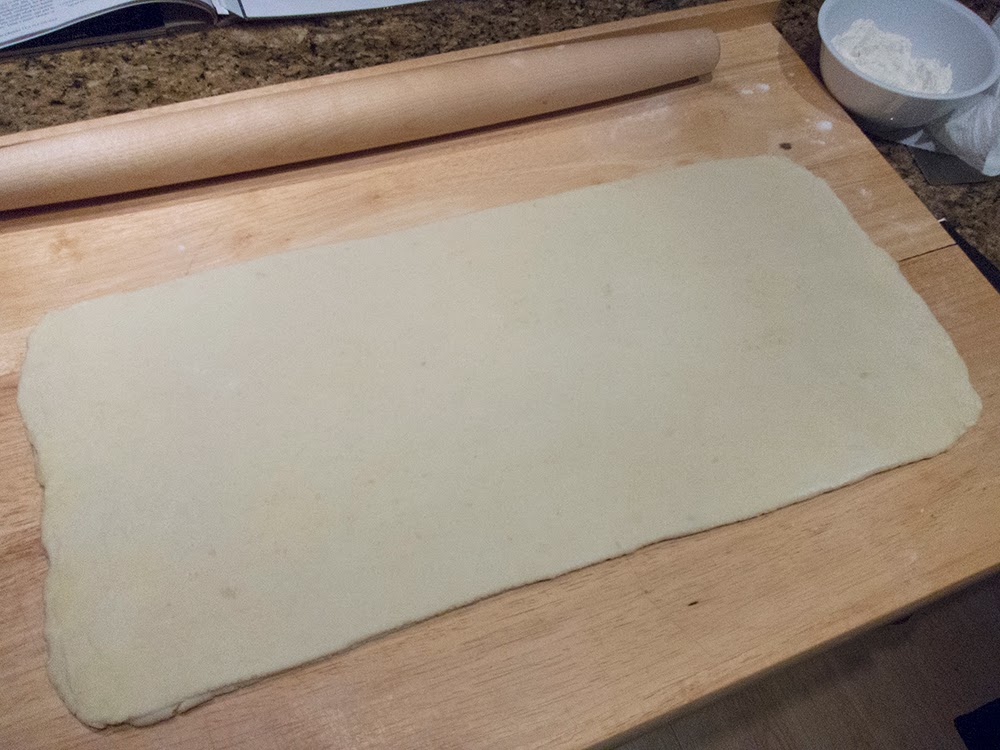
After a 30-60 minute chill I roll the dough, still between plastic wrap since the outer butter is still a bit sticky, to a rectangle that is about 3 times long as it is wide. No precise measurements are necessary - just eyeball it. Remove the top plastic . . . .

and do a "double turn", which I prefer to call a "four fold", since I'm folding the dough ends into the center and then onto themselves, thus creating four layers.

The completed fold . . .

Now chill the dough for another 30-60 minutes. At this stage I see the beginning transformation from a somewhat marbled, rough, irregularly edged slab into a more uniform, smooth, supple dough. I ditch the plastic wrap for the next step, since the buttery stickiness has decreased considerably.
Now do another four fold just like the one above . . . .
and wrap and chill the dough for another 30-60 minutes.
Roll the dough into a rectangle. . . .
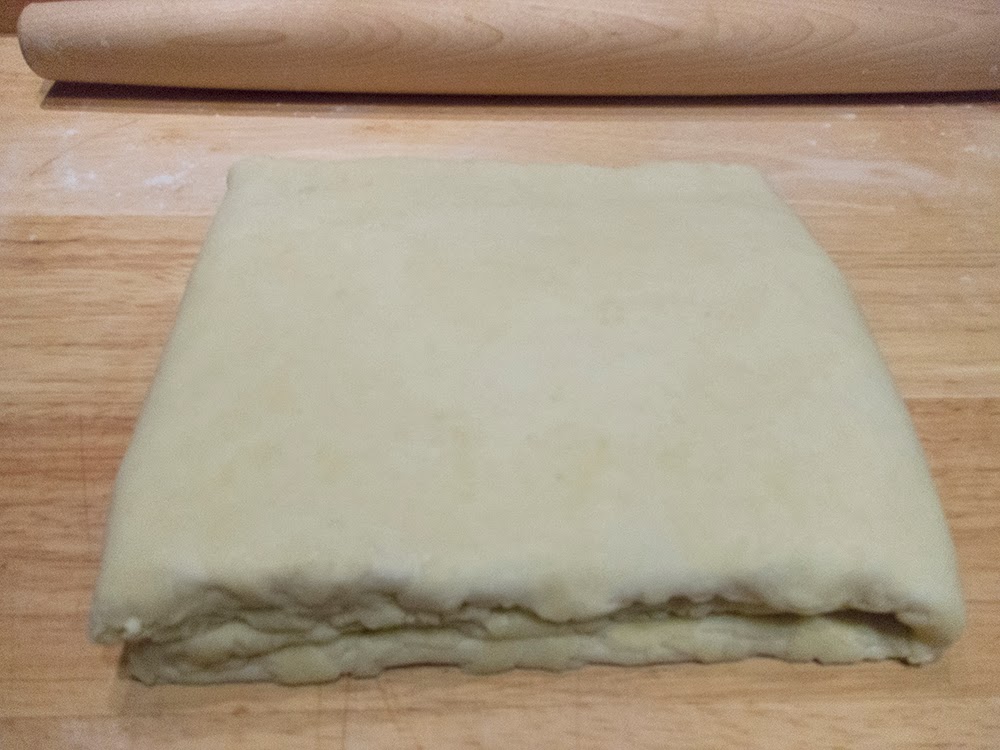
and now do a "single turn" or what I refer to as a "three fold" since I'm folding the dough into thirds.


By this point the dough has achieved a beautiful light color, an oh-so-smooth feel, is easy to work and is simply lovely! Oh how I love the feel of cool, smooth dough.
The dough should be chilled again before rolling it out for its final use, or it can be frozen at this point as well. Many sources suggest that, if you plan to freeze your dough, you complete the two "double turns" or "four folds" but do the final "single turn" or "three fold" once you've thawed the dough and are ready to use it. I tend to do all the steps and then freeze - works for me!
Whew - now that the dough is finished, let's make a galette des rois!
The rest is pretty simple: two rounds of puff pastry (I use about 175 gm of puff for the bottom and about 250 gm for the top) filled with an almond cream (and a fève of course) and baked to golden perfection.
The filling for a 9"galette is a combination of about 250 gm of crème d'amandes (63 gm soft butter; blend in 63 gm sugar; blend in 63 gm almond flour; blend in 1 egg and a splash of vanilla; blend in 10 gm flour) and about 50 gm of pastry cream (just choose a basic recipe and go for it!). An option is to add a tablespoon or so of rum or orange liqueur, although I prefer an almond or hazelnut liqueur if I'm going to add one.
You can make your filling a day or so ahead if you wish, then you'll be at the ready when you want to assemble and bake.

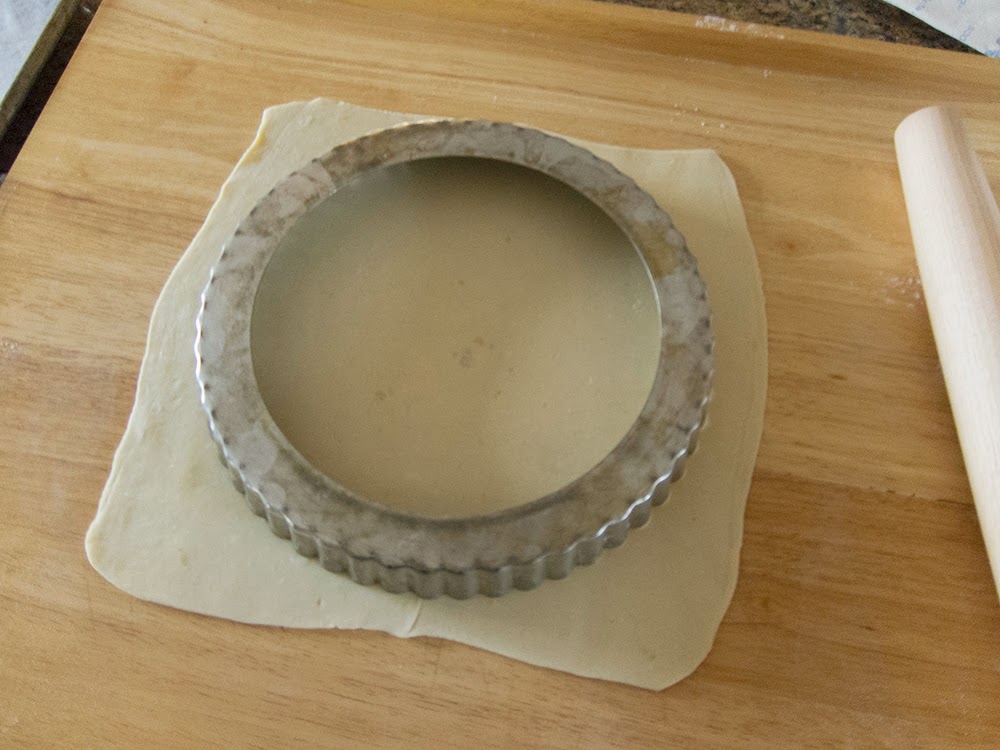
I roll out both top and bottom puff using a 9" fluted tart form to gauge the size. I hold the top layer covered in the fridge until I'm ready for it. Don't cut the dough round yet - that happens AFTER its assembled.
Still using my fluted tart pan as a guide I pipe my almond cream in a nice coil, mounding it in the center and leaving an inch or so around the periphery.

Remove the tart pan, position the fève . . .

and now egg wash the periphery. Gently place the top layer of puff over the cream and press firmly around the edges to seal. Then I use my tart pan to cut the scalloped round - push down firmly and gently pull away the edges. All right - scraps!

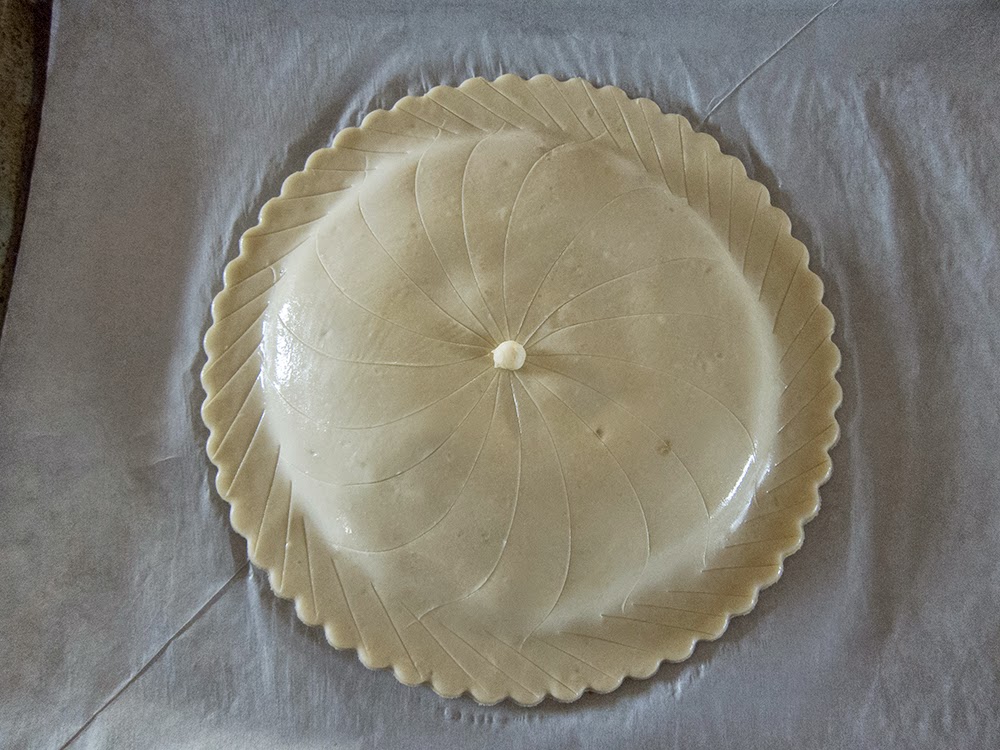
Lift off the tart pan, make a nice flat edge around the dome of cream and poke a little steam hole in the center.

Brush some egg wash over the surface and score decorative lines, kind of like a pinwheel, on the domed part. Then do some linear slashes in the opposite direction along the flat edge. I also add a little button of puff on the steam vent.
Whenever I bake anything with puff pastry, I pop the assembled goods in the freezer for 10 minutes or so before baking to stabilize the butter/dough layers. The contrast between the cold galette and the hot oven increases the steam produced by the moisture in the butter, thereby causing the puff to puff. Yeah!
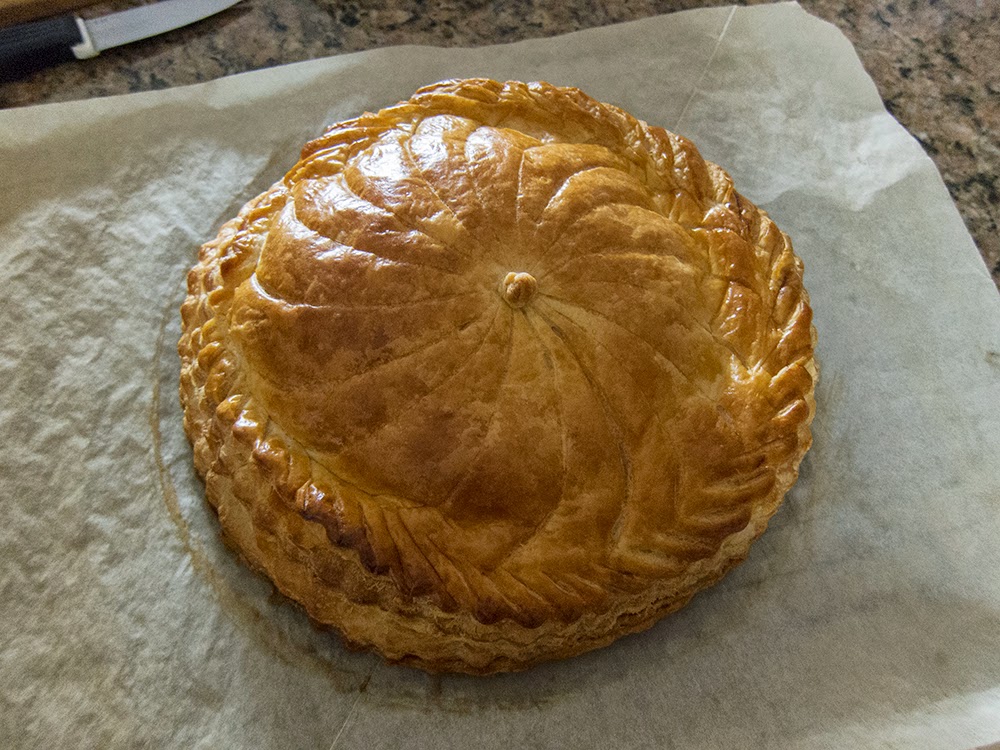
I heat my convection oven to 450º, give the galette 5 minutes at that temp and then reduce to 425º. After another 10-15 minutes, as I observe the baking process, I often slowly ratchet down the oven temp toward 350º over the total 30-40 minute baking time to achieve a nicely browned and fully baked end result.

We were heading to brother Dick and sister-in-law Dorothy's for supper, also joined by brother-in-law Carl. The galette was destined for dessert so to cap off the flaky, buttery, almond-creamy goodness, I added some lightly sweetened whipped cream, Cara-cara orange segments (love that pinkish-orange color), a drizzle of caramel and some toasted, sliced almonds. Yes indeed!

None of the five of us had the honor of being king for the day since the fève was still hidden, but the leftovers were destined for breakfast the next morning. Who was the lucky one - Dick, Dor or Carl??
Until next year!
