
Artisan bread class at King Arthur Flour, Day 2
/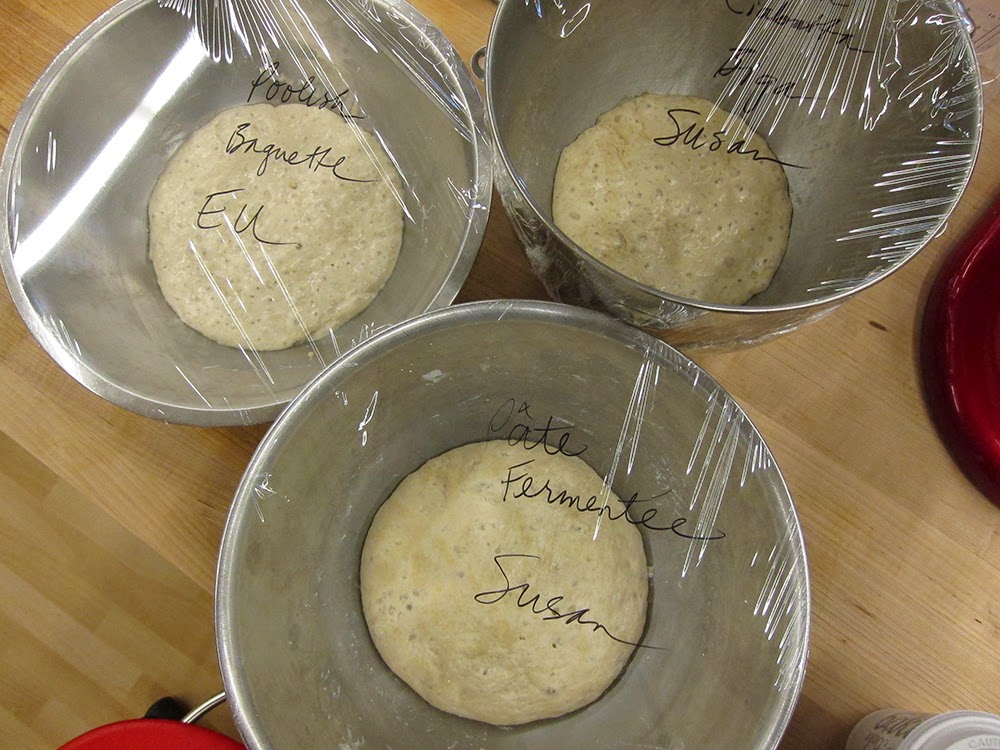
On the second day of class we dove right in, working with the preferments from the day before - all bubbly and ready to go!
The potato bread dough was made using the pâte fermentée and contains chunks of roasted Yukon Golds and russets which had been prepared on Day 1. This dough was mixed in the KitchenAid . . . .
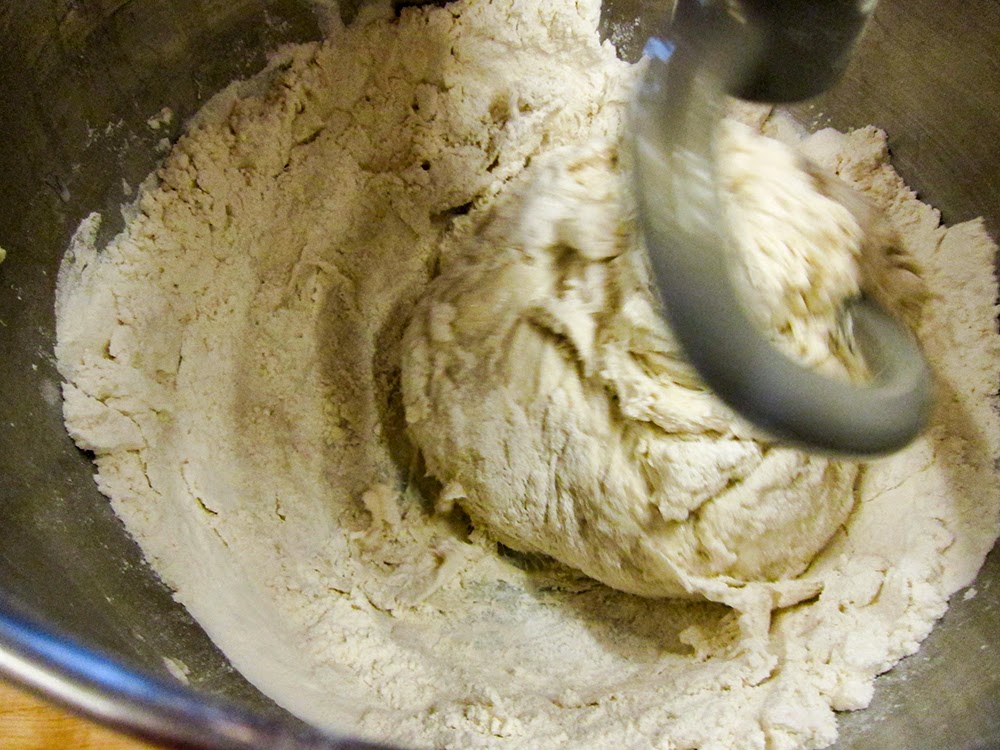
and subsequently kneaded by hand with what I refer to as the "slap and pull" method of kneading. You have to see it and feel it to really know what it's all about: the dough is lifted with two hands, given a quarter turn then slapped down on the table, pulled and folded on itself. The process is continued until the dough starts to firm up and hold its shape. I find the transformation from a sticky, messy blob to a tighter, smoother ball so amazing.
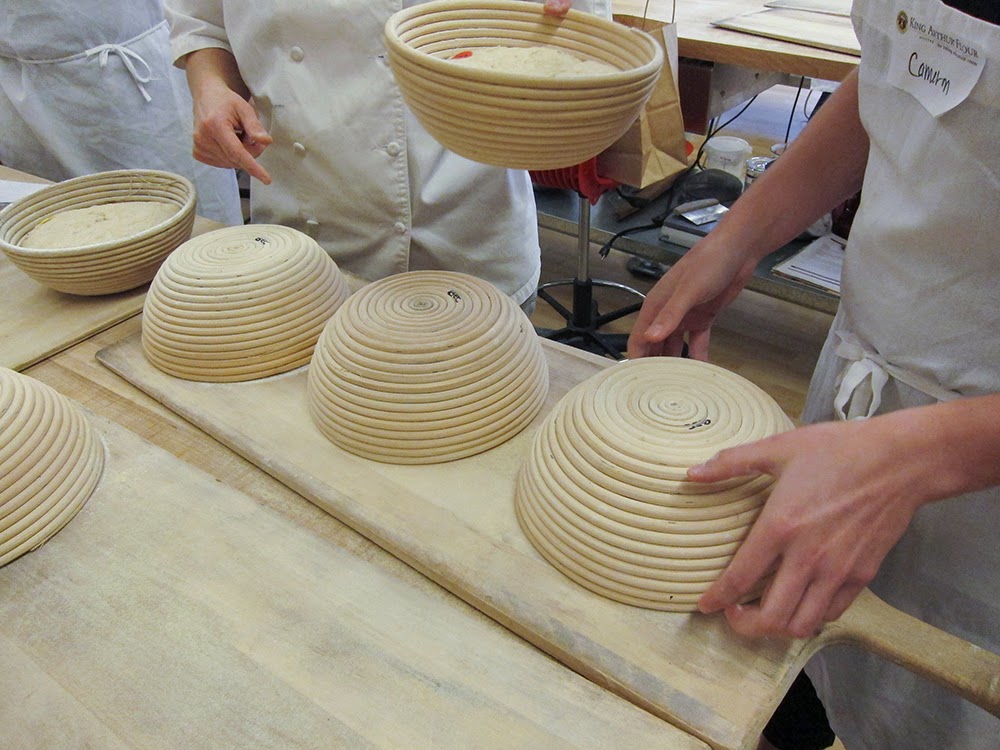
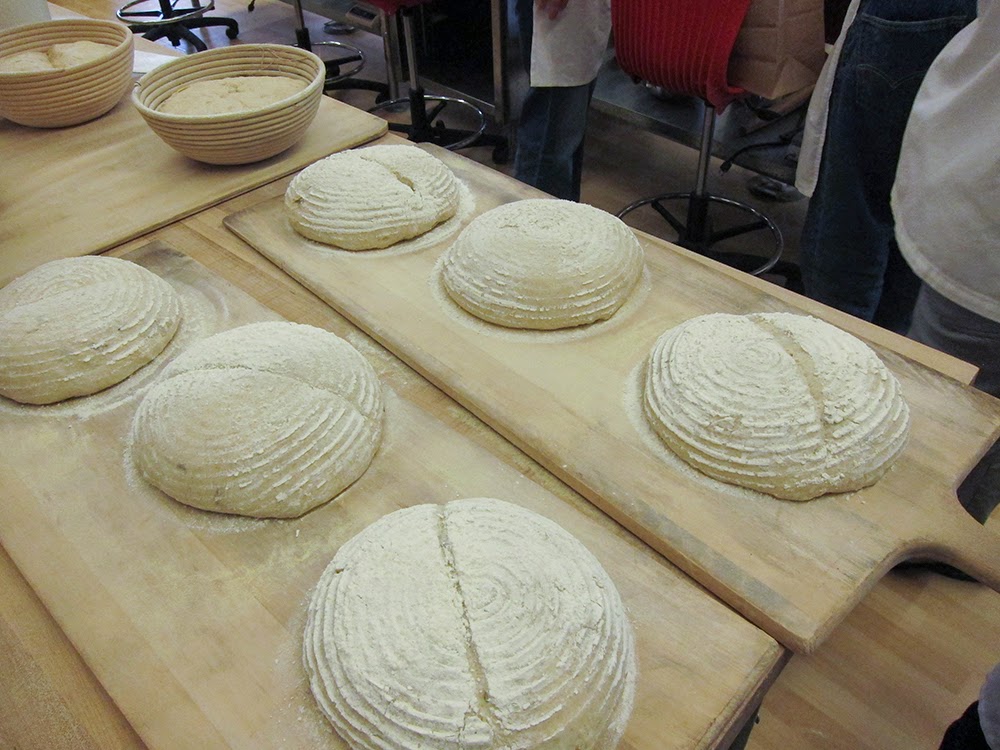
We made a fendu (from the verb fendre, to crack) loaf in which a rolling pin is pushed firmly down across the center of the dough ball, then the ball is turned over into a floured brotform.
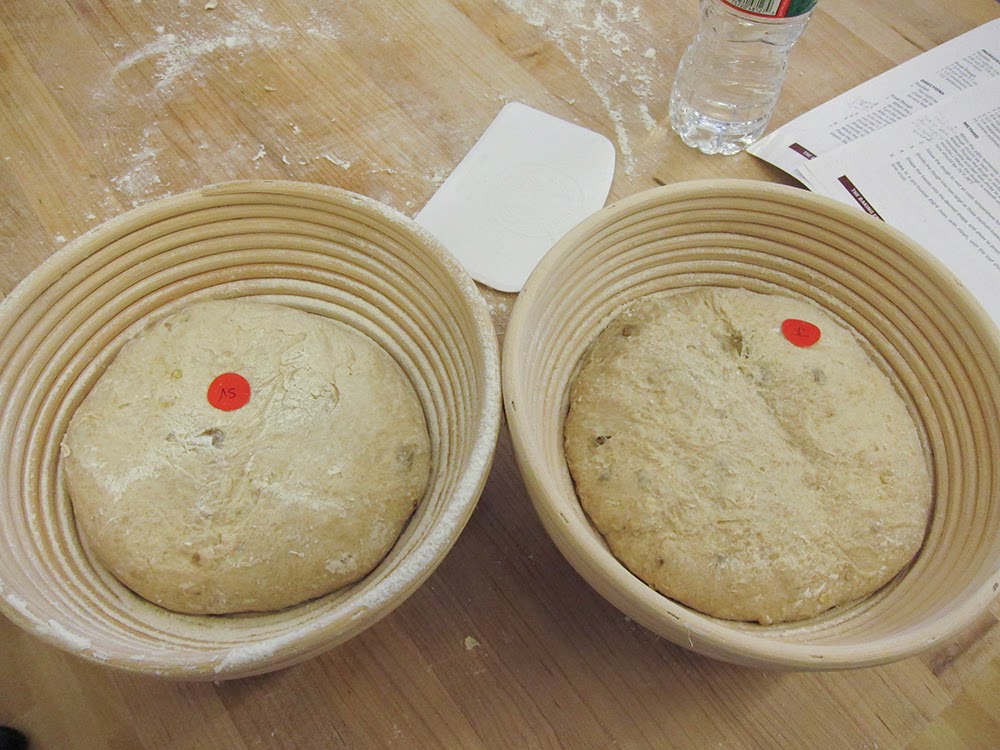
After rising, the dough is turned out of the form onto a peel and slid into the hot deck oven.
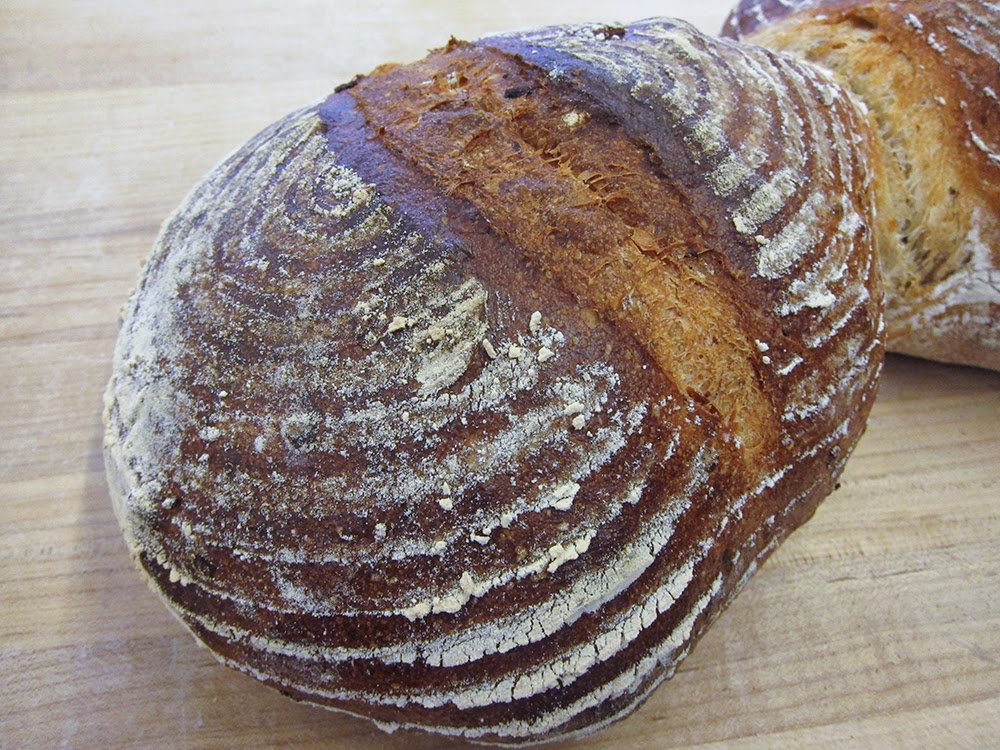
Et voila! Ready to slide into the oven.
Out of the oven - oh so brown and lovely!
The ciabatta (made with biga) and baguette (made with poolish) doughs were mixed by hand and subsequently kneaded with the same "slap and pull" technique. Once again, an amazing transformation occurred!
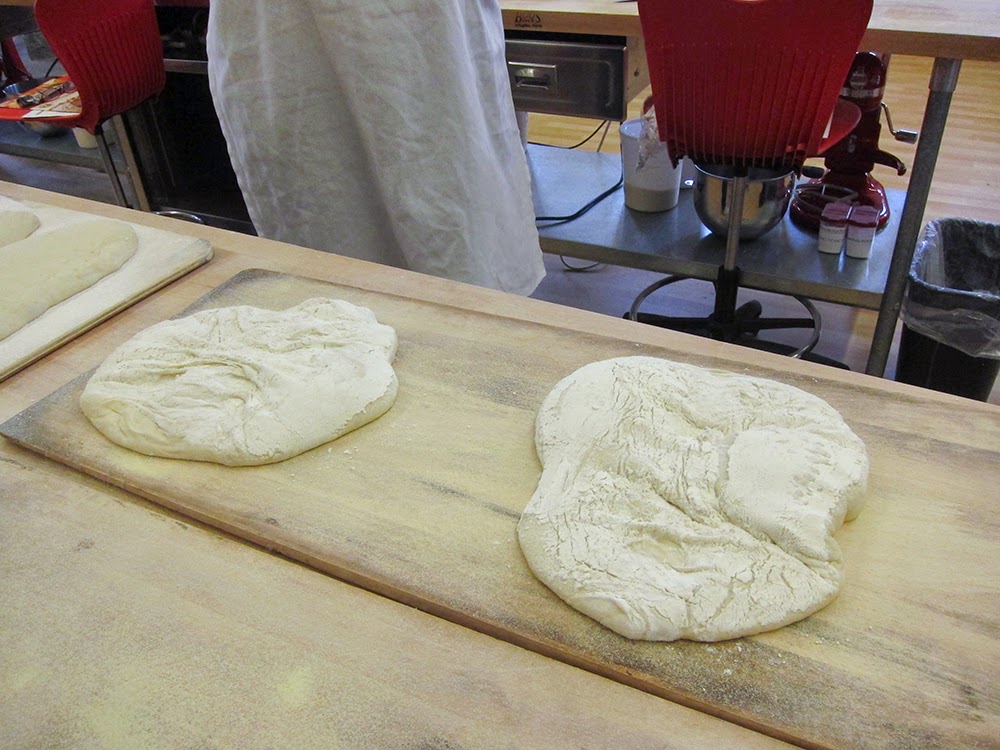
The ciabatta was rather gently formed into very rough roundish rectangle (or what-have-you) sort of shapes and placed on well floured boards for proofing.

After rising, they're transferred onto the peel, flipping them over so the flour side is up.

In the oven:
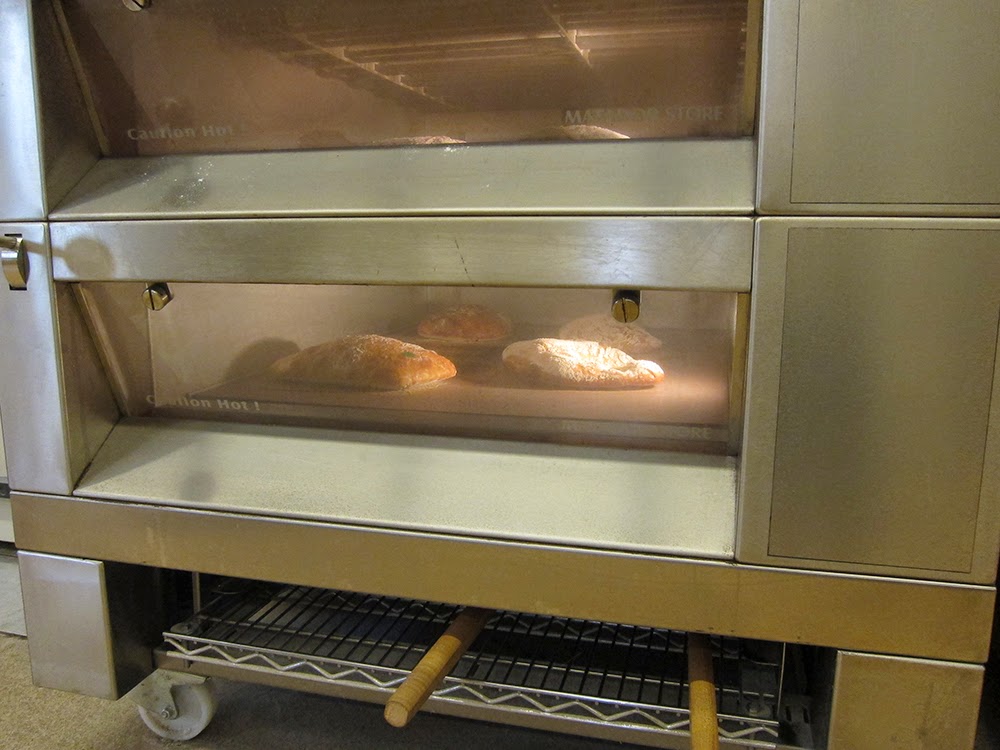
And out:
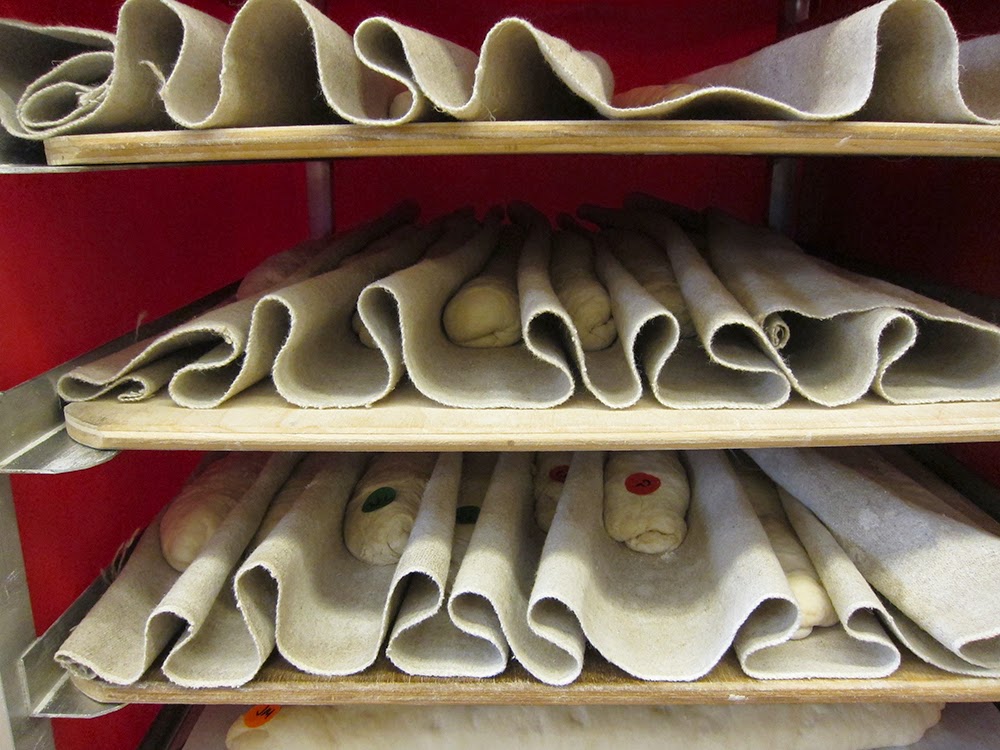
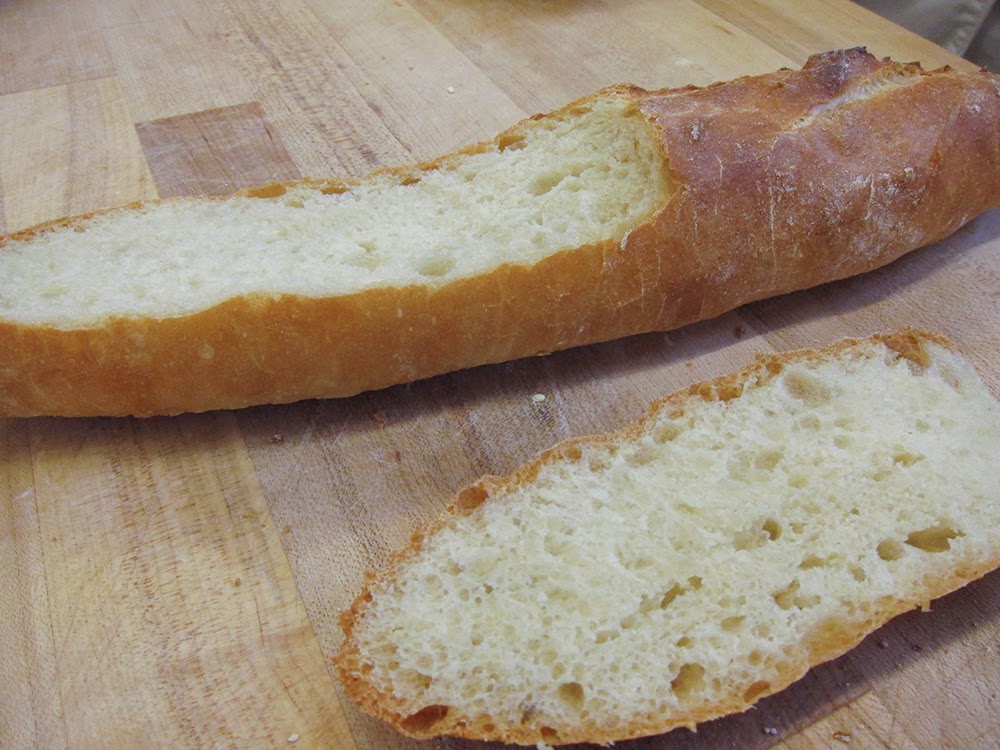
Baguette time! Once the baguette dough was mixed, slapped-pulled and rested, Jessica demonstrated the shaping technique. We lined up our baguettes on linen couches which allows them to proof without touching and sticking together.
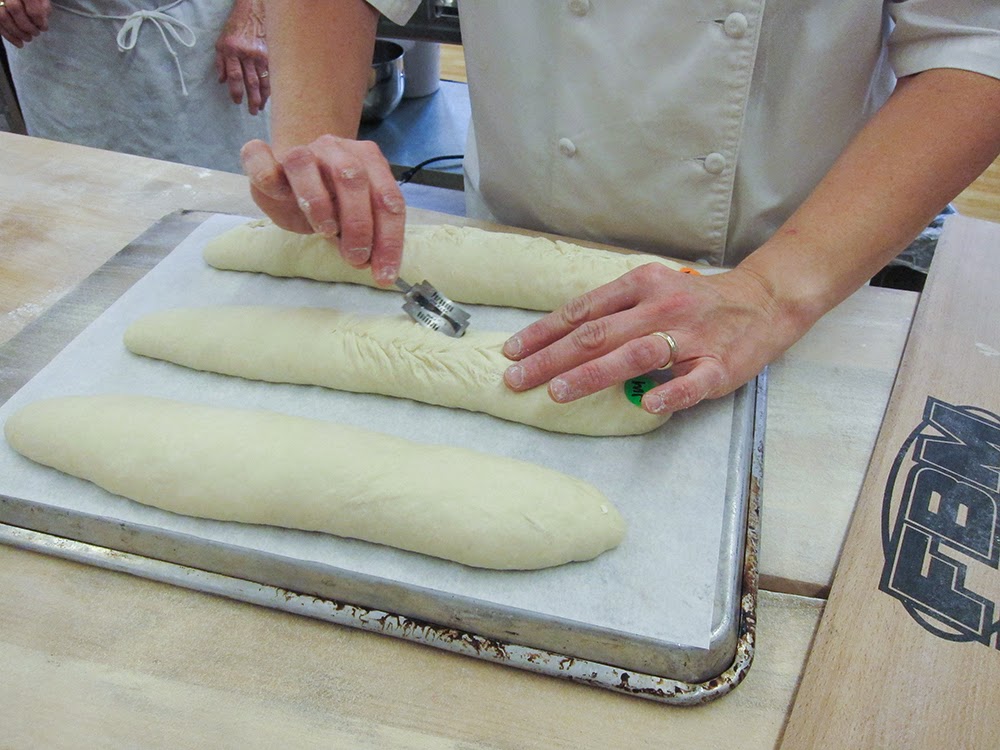
Once risen, the loaves were transferred onto a peel (or in Jessica's case onto the back of a sheet pan) and scored before baking.


Not bad for a novice!
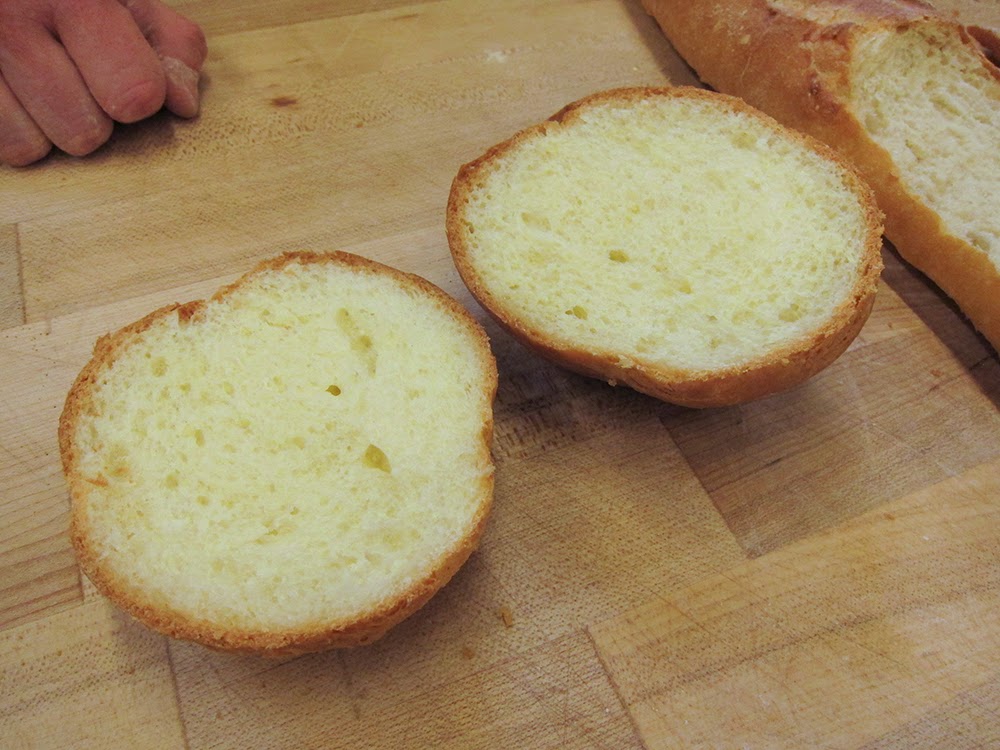
We aren't finished yet - whew, what a day!! We also shaped the brioche dough we had prepared on day one, creating the classic Nanterre (which, as some of you may recall, I mentioned in my brioche mousseline post). Here individual boules are lined up in a buttered loaf pan, allowed to rise, egg washed and then baked to golden brown perfection. We even had enough dough to shape a few burger buns.
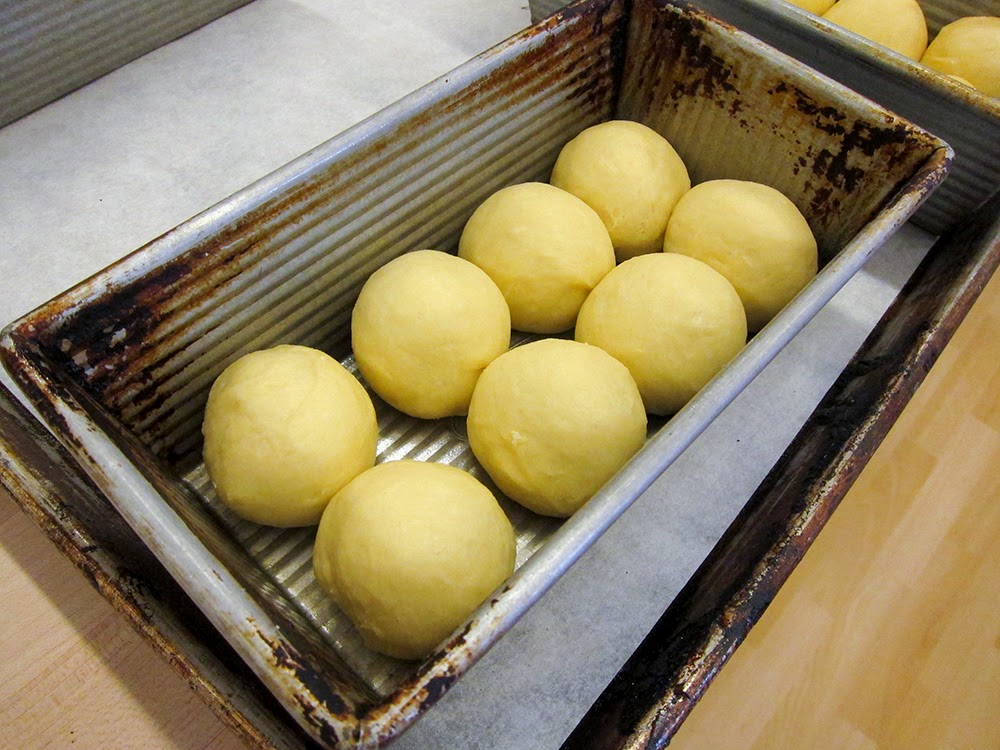
Above: before the rise . . . . and below, after.

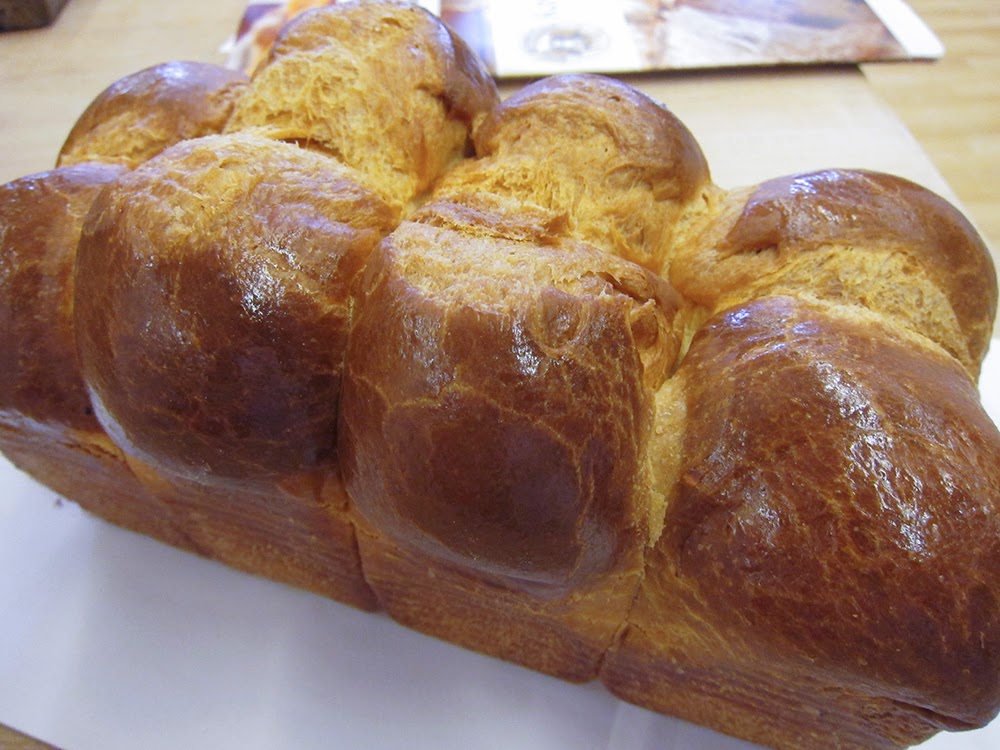
Brioche is great for savory canapes, french toast, bread pudding or bostock, that delightful imbibed, almond-cream-covered, twice-baked treat (just to name a few).
We're getting there - hang on!
Before we mixed our final baguette dough in the morning, Jessica had divided us up into three groups. One used all purpose flour, one French flour, and one European flour. What you see in the picture below are the a-p flour version in the foreground, followed by French then European. You can see that the a-p version achieved the most browning.
My memory is fuzzy, but I think most of us preferred the flavor and texture of the French flour version. However, there was a lot going on, so I could be strolling down the wrong memory lane.

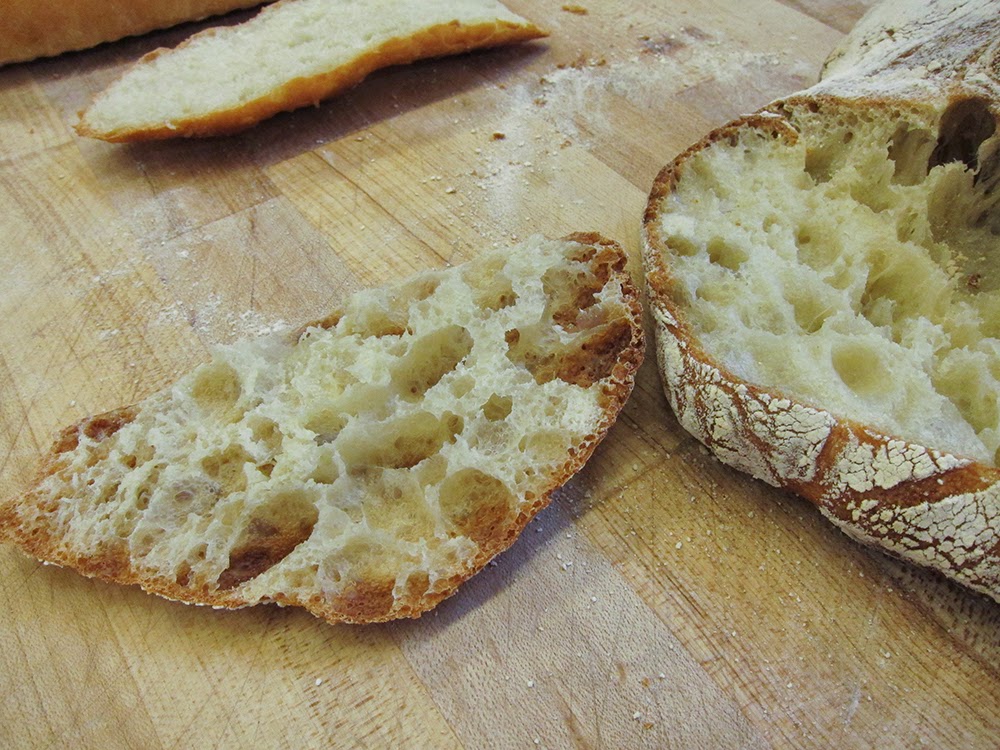
Jessica sliced into everything so we could appreciate the different textures. We have ciabatta . . . .
then baguette . . . .
then brioche . . . . .
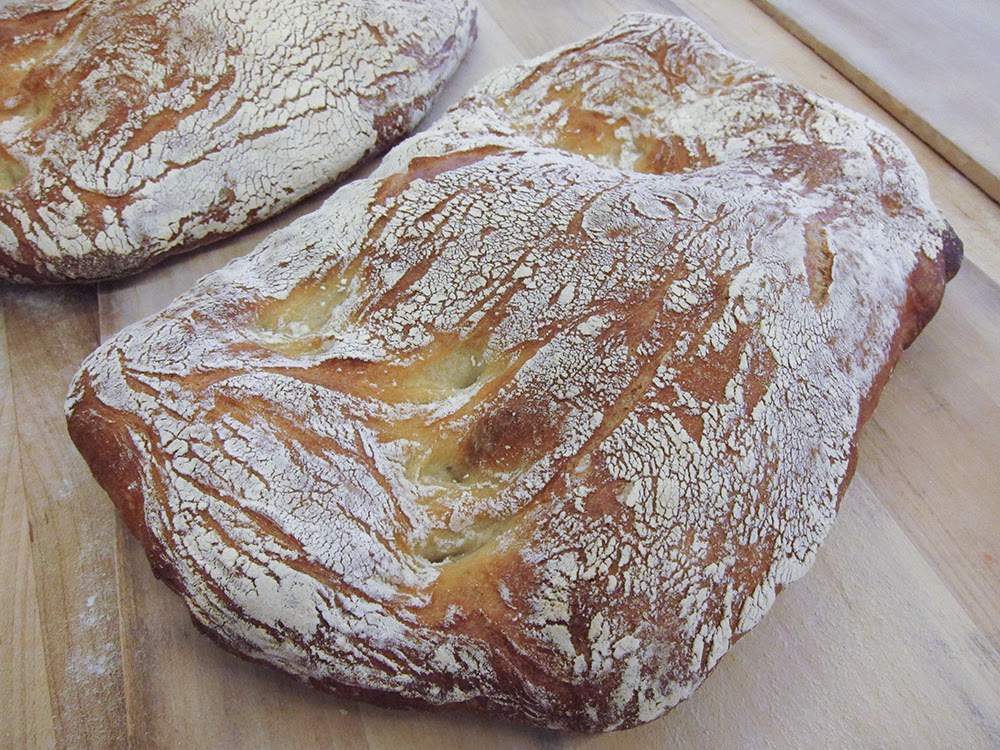
and lastly roasted potato fendu
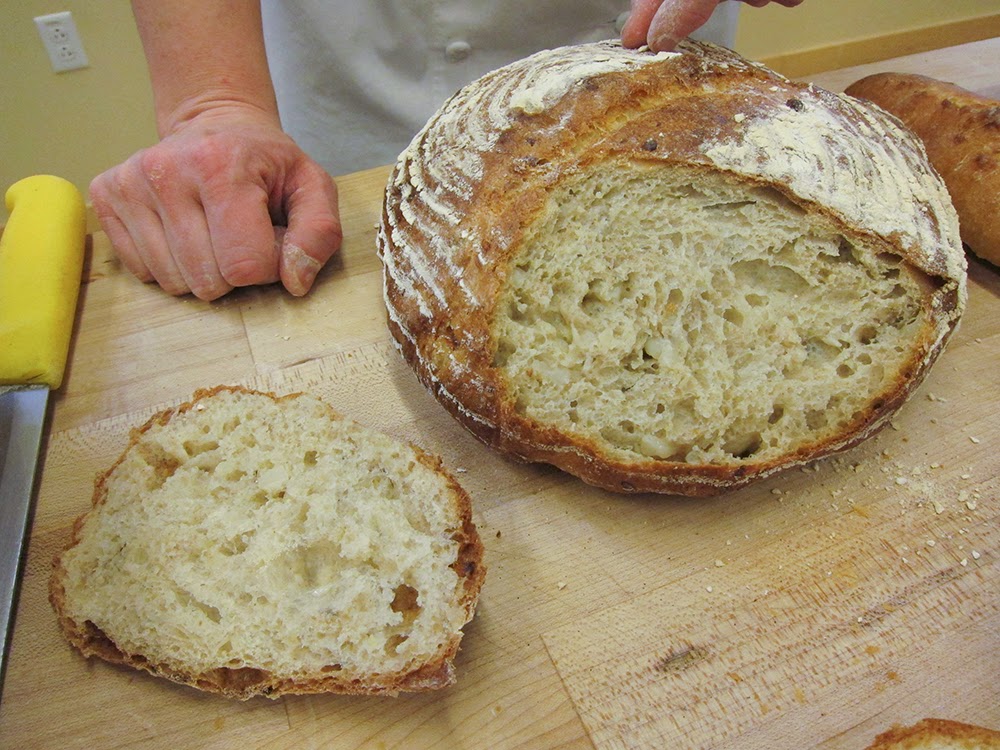
The differences in crumb and texture are easy to appreciate. We sampled and remarked favorably on all of the tasty options before us - what a treat!
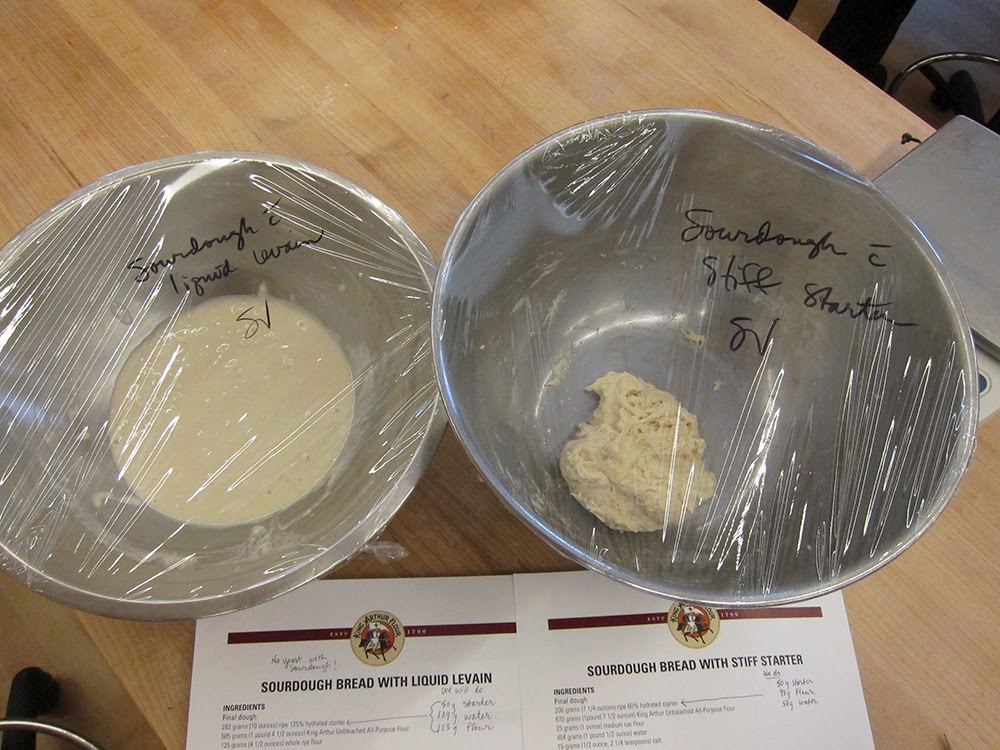
Before we packed it up for the day, we quickly mixed our sourdough starters for the morrow - one liquid levain and one stiff starter - with which we would be creating two different sourdough breads.
So as we finished up a jam-packed day of bread making and baking, we realized we still had TWO days to go!! Stay tuned for Day 3.
