Caramel biscuit slices
/
Hi all! Christmas week is upon us, the winter solstice has passed by and now we can look forward to lengthening daylight in the coming weeks. I love it when the end of January creeps up on us and we realize “Wow it’s not getting dark at 5 pm any more!”
I’m easing back into life and want to share these delicious cookies with you. This Scandinavian recipe is compliments of Brontë Aurell’s book “Brontë at Home - baking from the Scandi Kitchen”. The word biscuit is used in Great Britain and Northern Europe for what we Americans think of as cookies. Tea and biscuits anyone?
One of this recipe’s ingredients is golden syrup which is made from cane sugar. Buuuut . . . . for my trial run I used honey since I didn’t have any of said golden syrup in my larder. That first batch of biscuit slices was a big hit, much enjoyed by those who were around to accept the role of samplers.
I ultimately got my hands on a couple of bottles of Lyle’s Golden Syrup, a brand that’s been around a long time and an ingredient that I often see in baking recipes from the Brits and “Scandis”. Made by the British company Tate and Lyle, the story began in 1881 when businessman Abram Lyle built a sugar refinery on the Thames in East London. The golden syrup was a by product of refining sugar cane to create sugar. He started selling it from wooden casks and was soon supplying large quantities to London businesses weekly.
It’s an inverted sugar syrup, the golden end result adding caramel (almost on the verge of being burnt, in a good way) and honey notes to baked goods. It can also withstand higher baking temperatures and helps prevent crystallization.

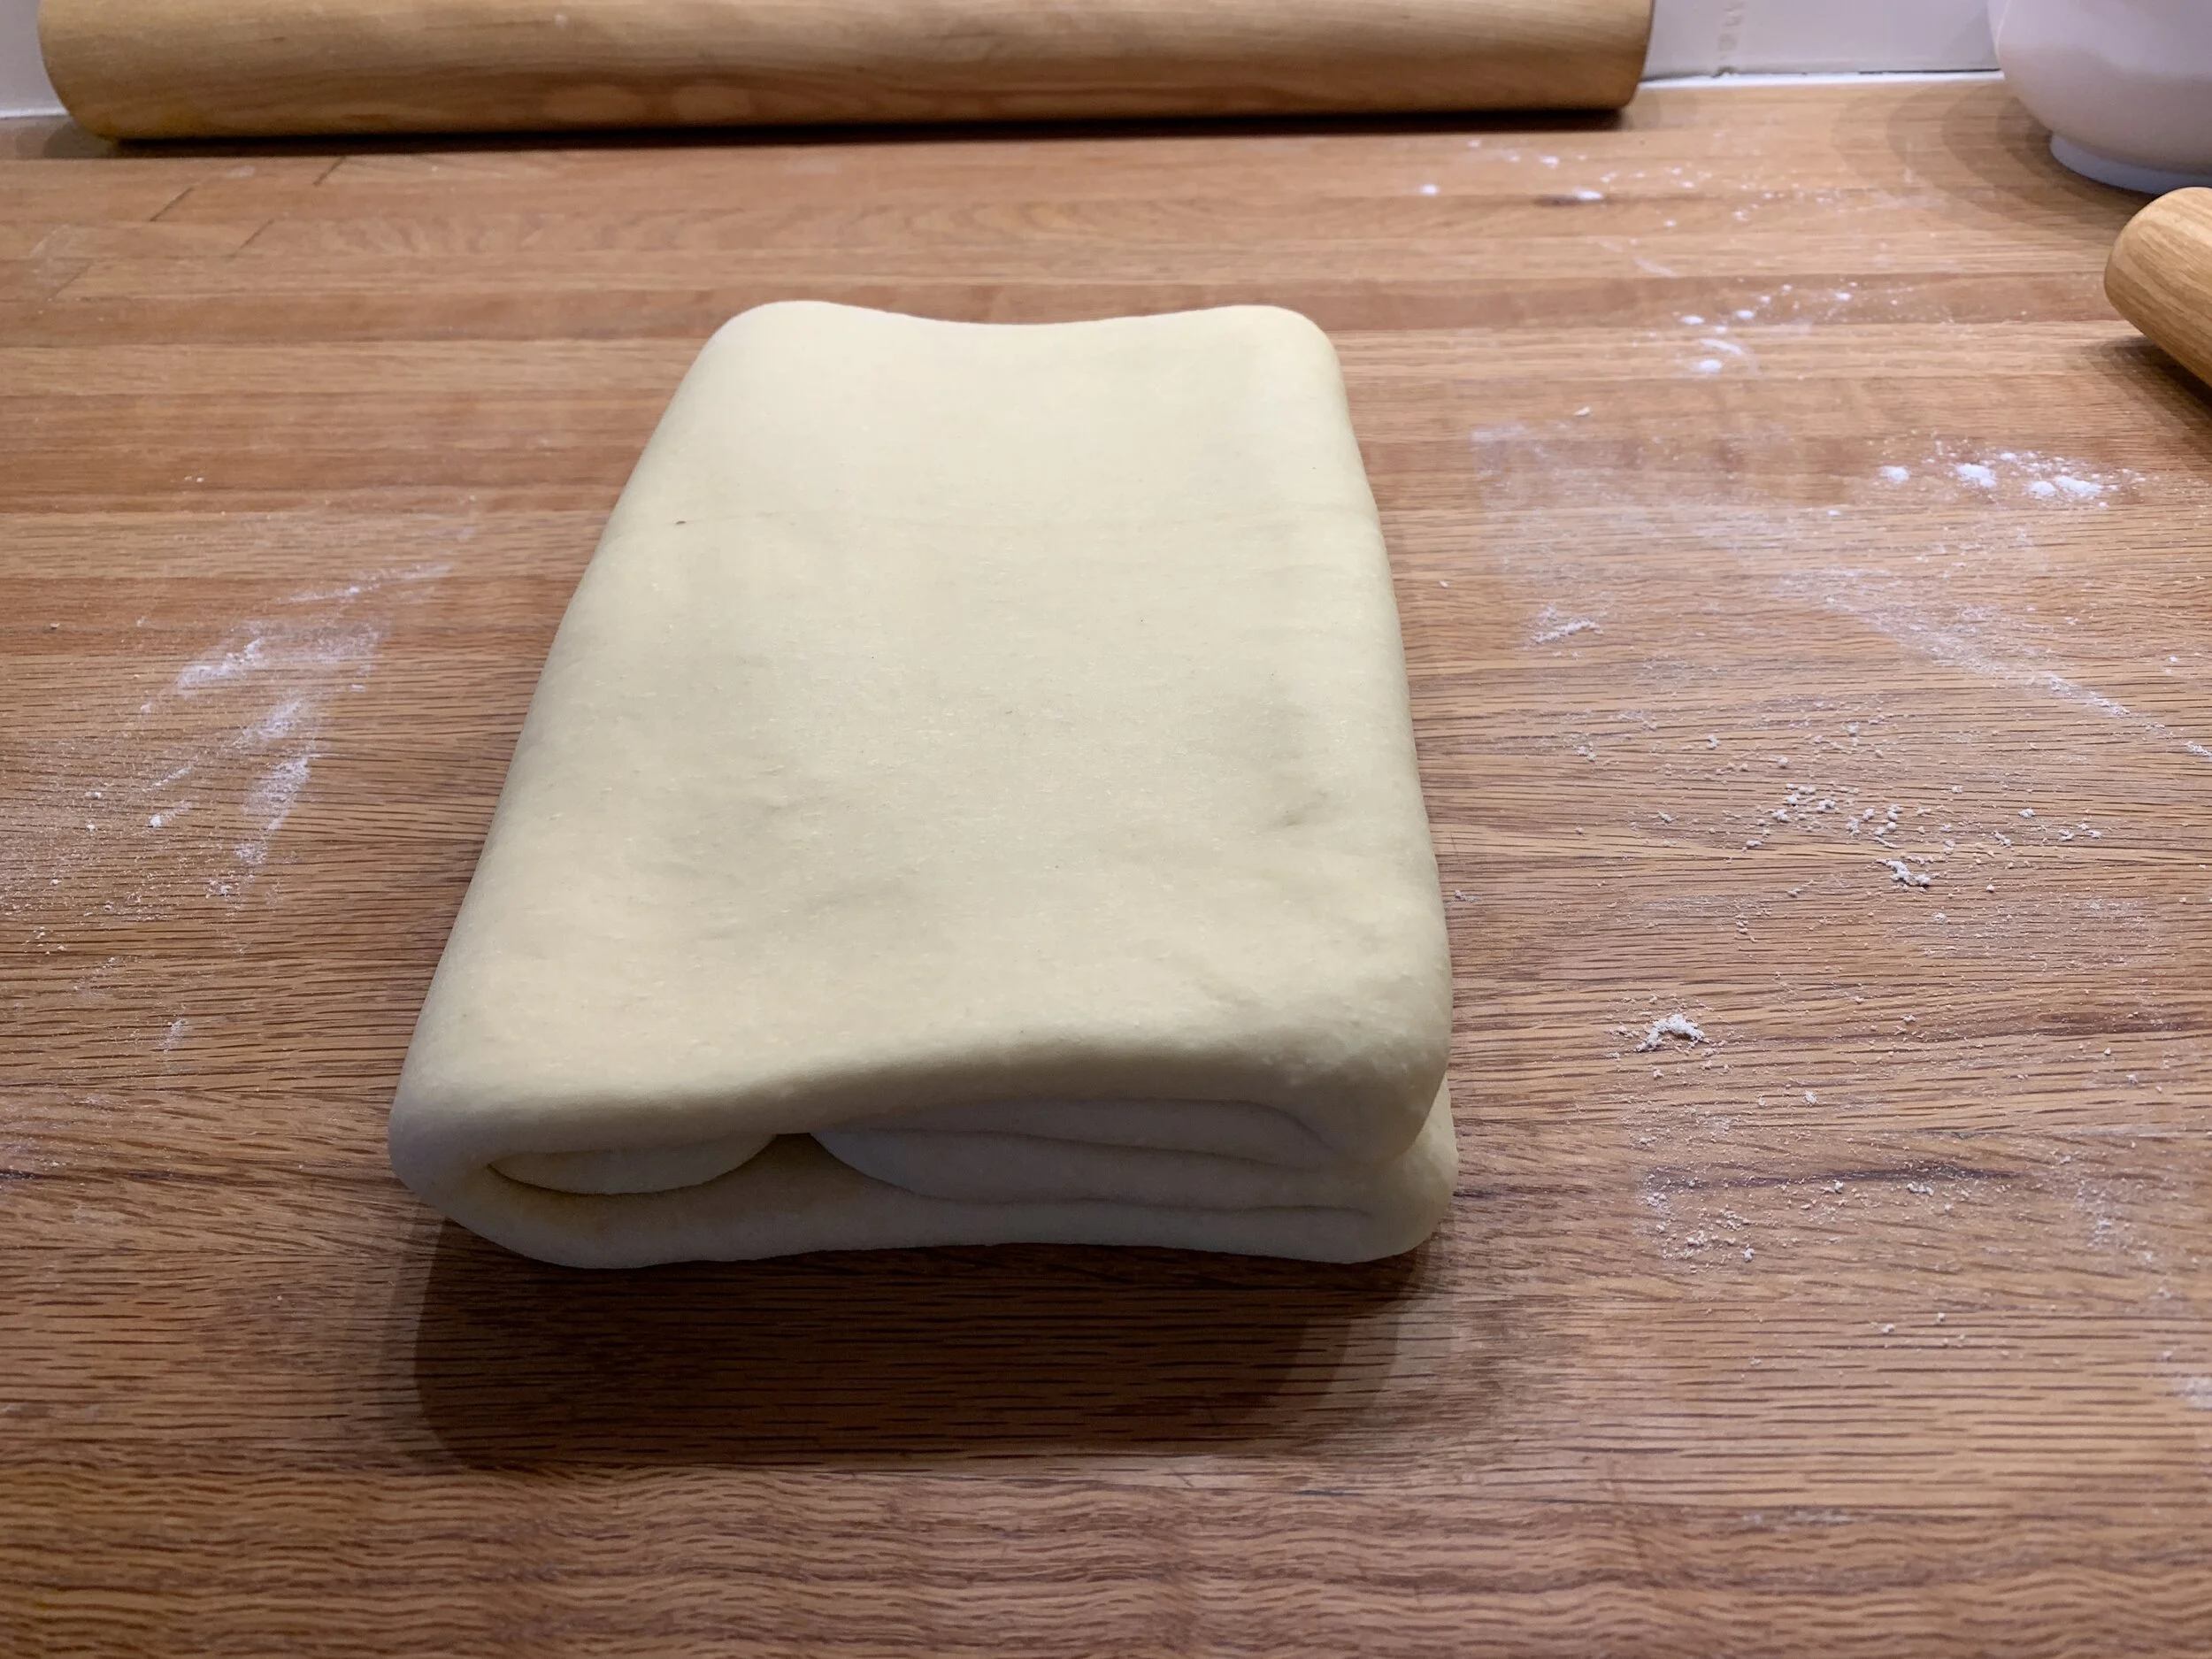
On to the task at hand! Making the dough is a straight forward process, As a plan ahead step, I like getting it shaped into planks then wrap and fridge (or freeze) them until I’m ready to bake.
Here’s the recipe. For general baking I use unsalted butter such as Challenge or Land O’Lakes, but for cookies I’ve been experimenting with European style butters which contain a higher amount of butter fat. There are a number that I can find locally - Land O’Lakes Extra Creamy (salted or unsalted, black box), Vermont Creamery (salted or unsalted), Danish Creamery (salted - made by Challenge), Kerry Gold (salted and unsalted). So far I’m enjoying the flavors in the cookies I’ve baked with the salted versions, finding that the salt adds a certain je ne sais quoi. If you opt to use salted butter in a recipe that includes salt as an ingredient, simply reduce the recipe amount by half.

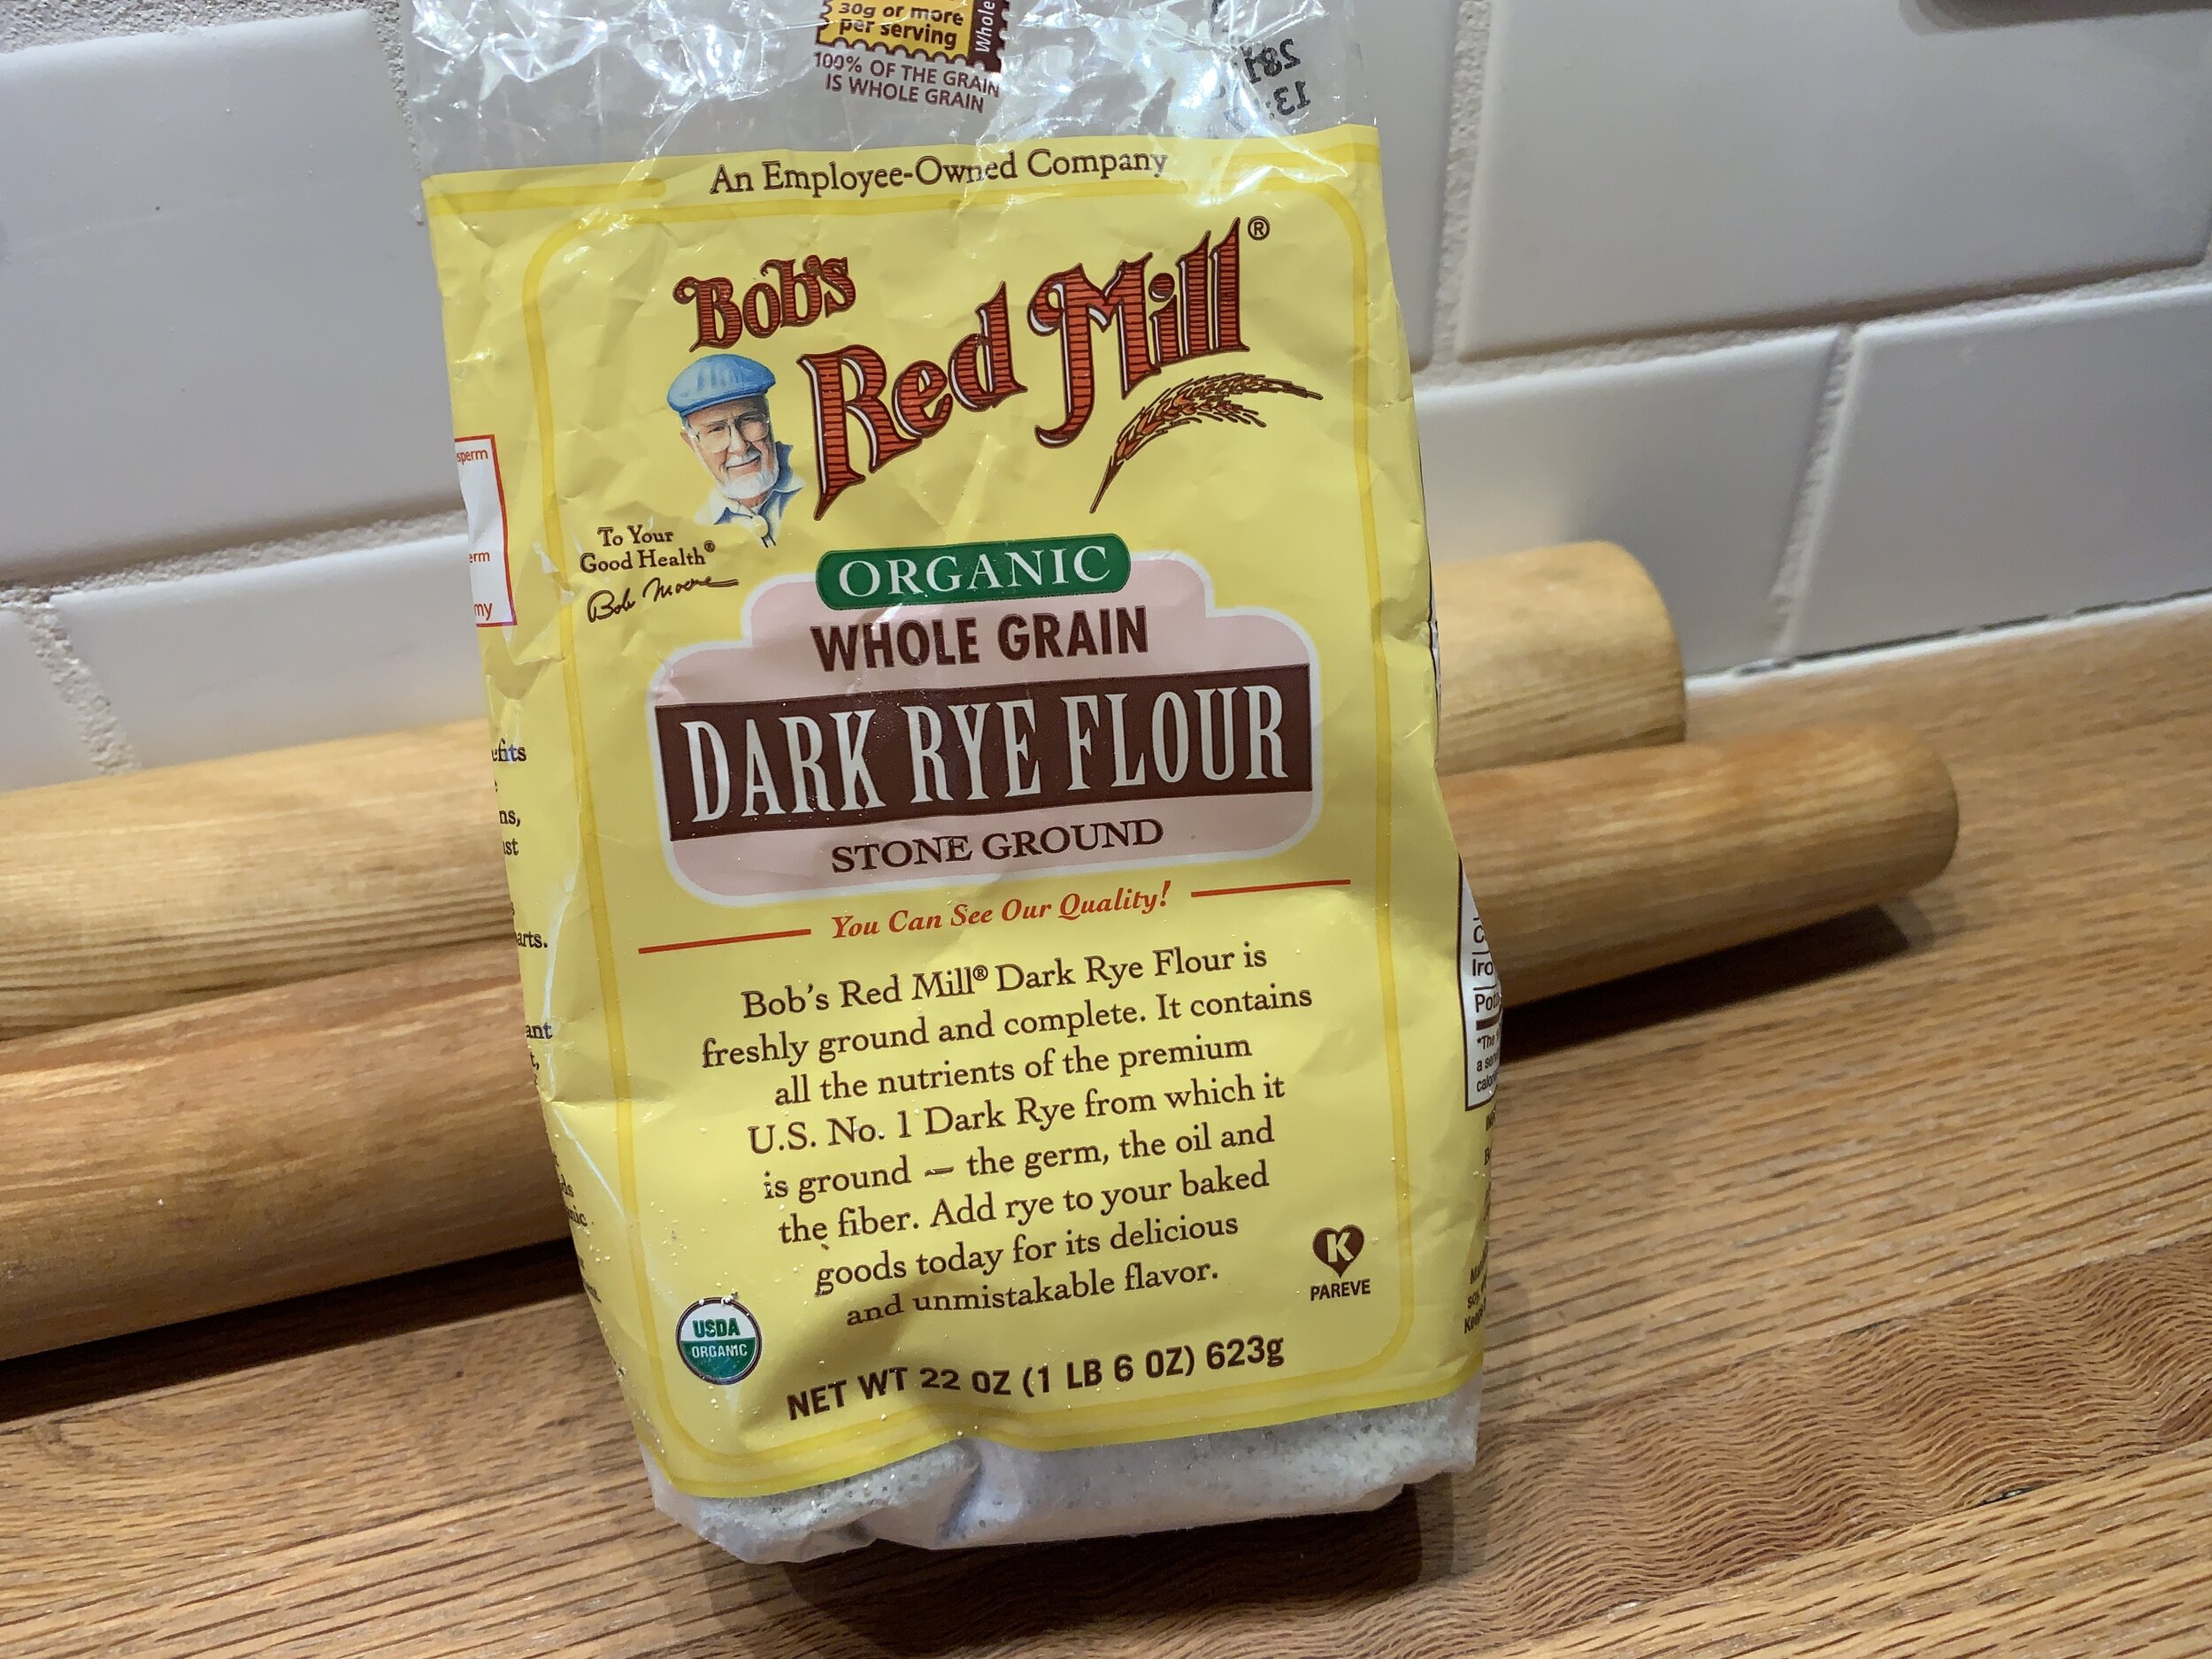
I often replace a quarter to a third of a recipe’s all purpose flour with whole wheat pastry flour, (WWPF) particularly in my shortbread cookies and pâte brisée. Pastry flour is softer with less gluten than all purpose, giving a more tender end result. Plus I like the flavor the whole wheat imparts.
Buuuuuuuut! This year I had a hard time finding Bob’s Red Mill WWPF which is the one I’ve been using for some years now. Luckily I found some at a local specialty market here in Grand Rapids, but sadly I’ve just learned that all of Bob’s pastry flours have been discontinued. Oh man!

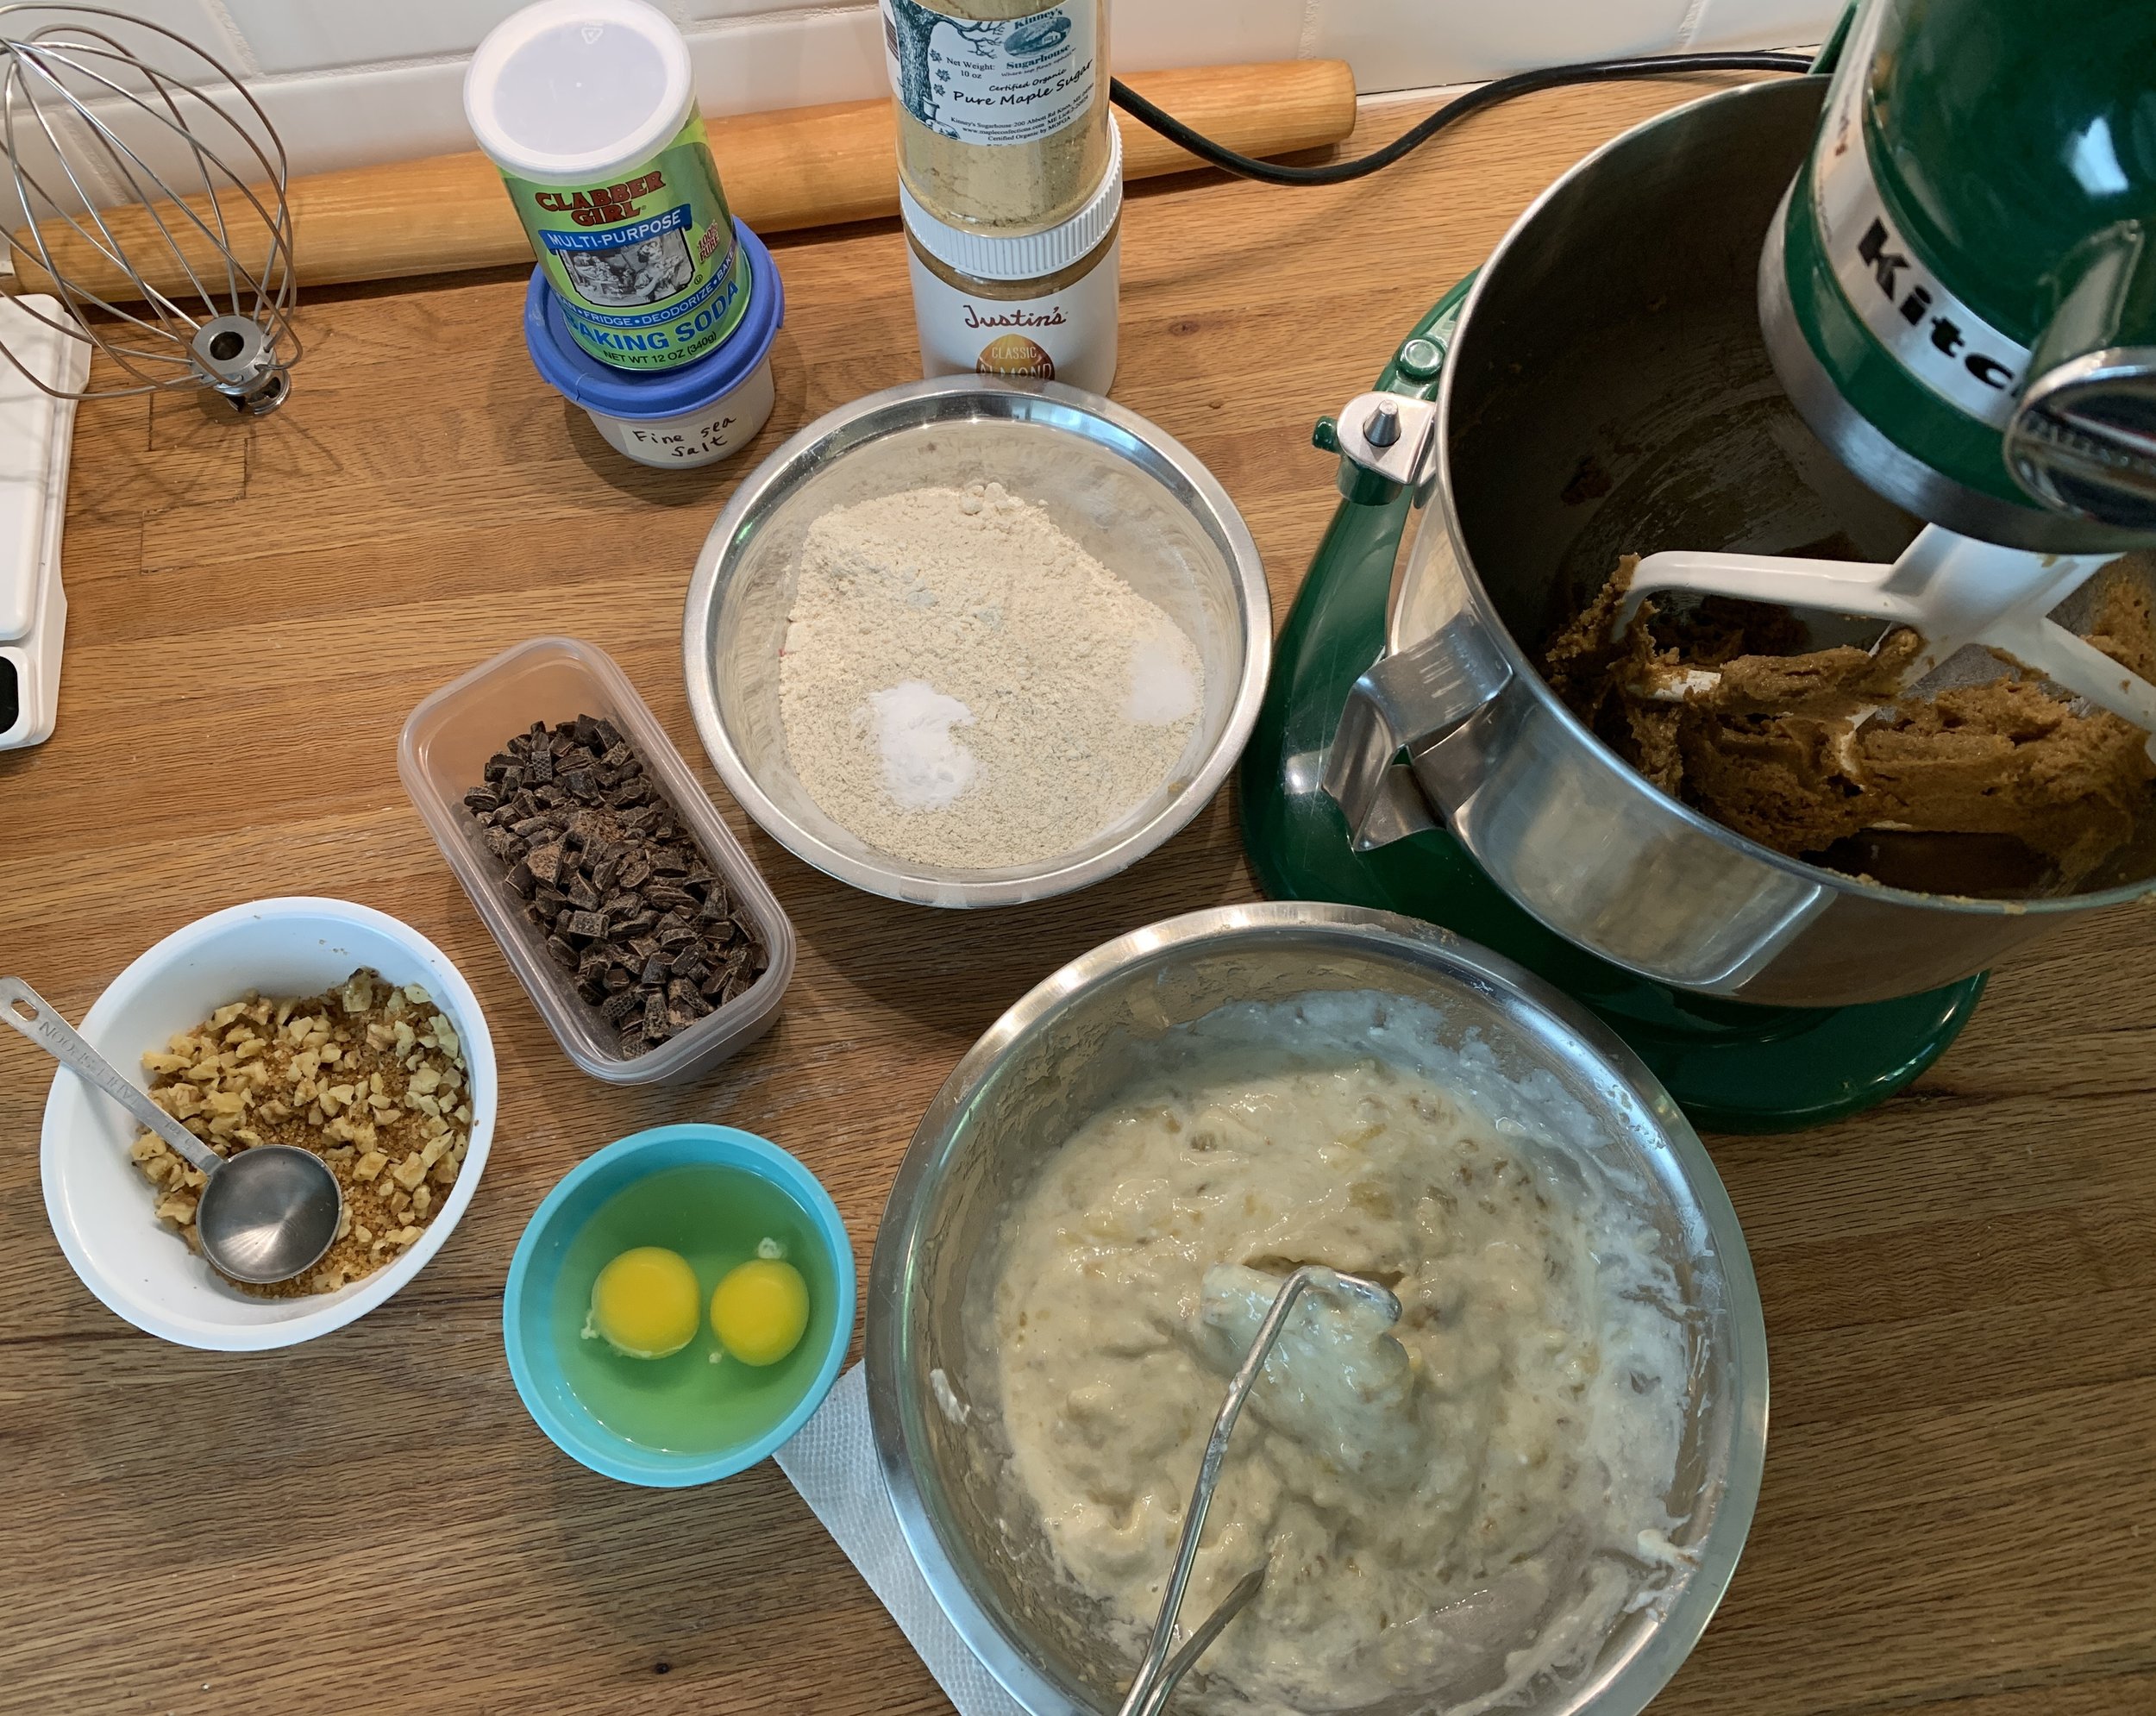
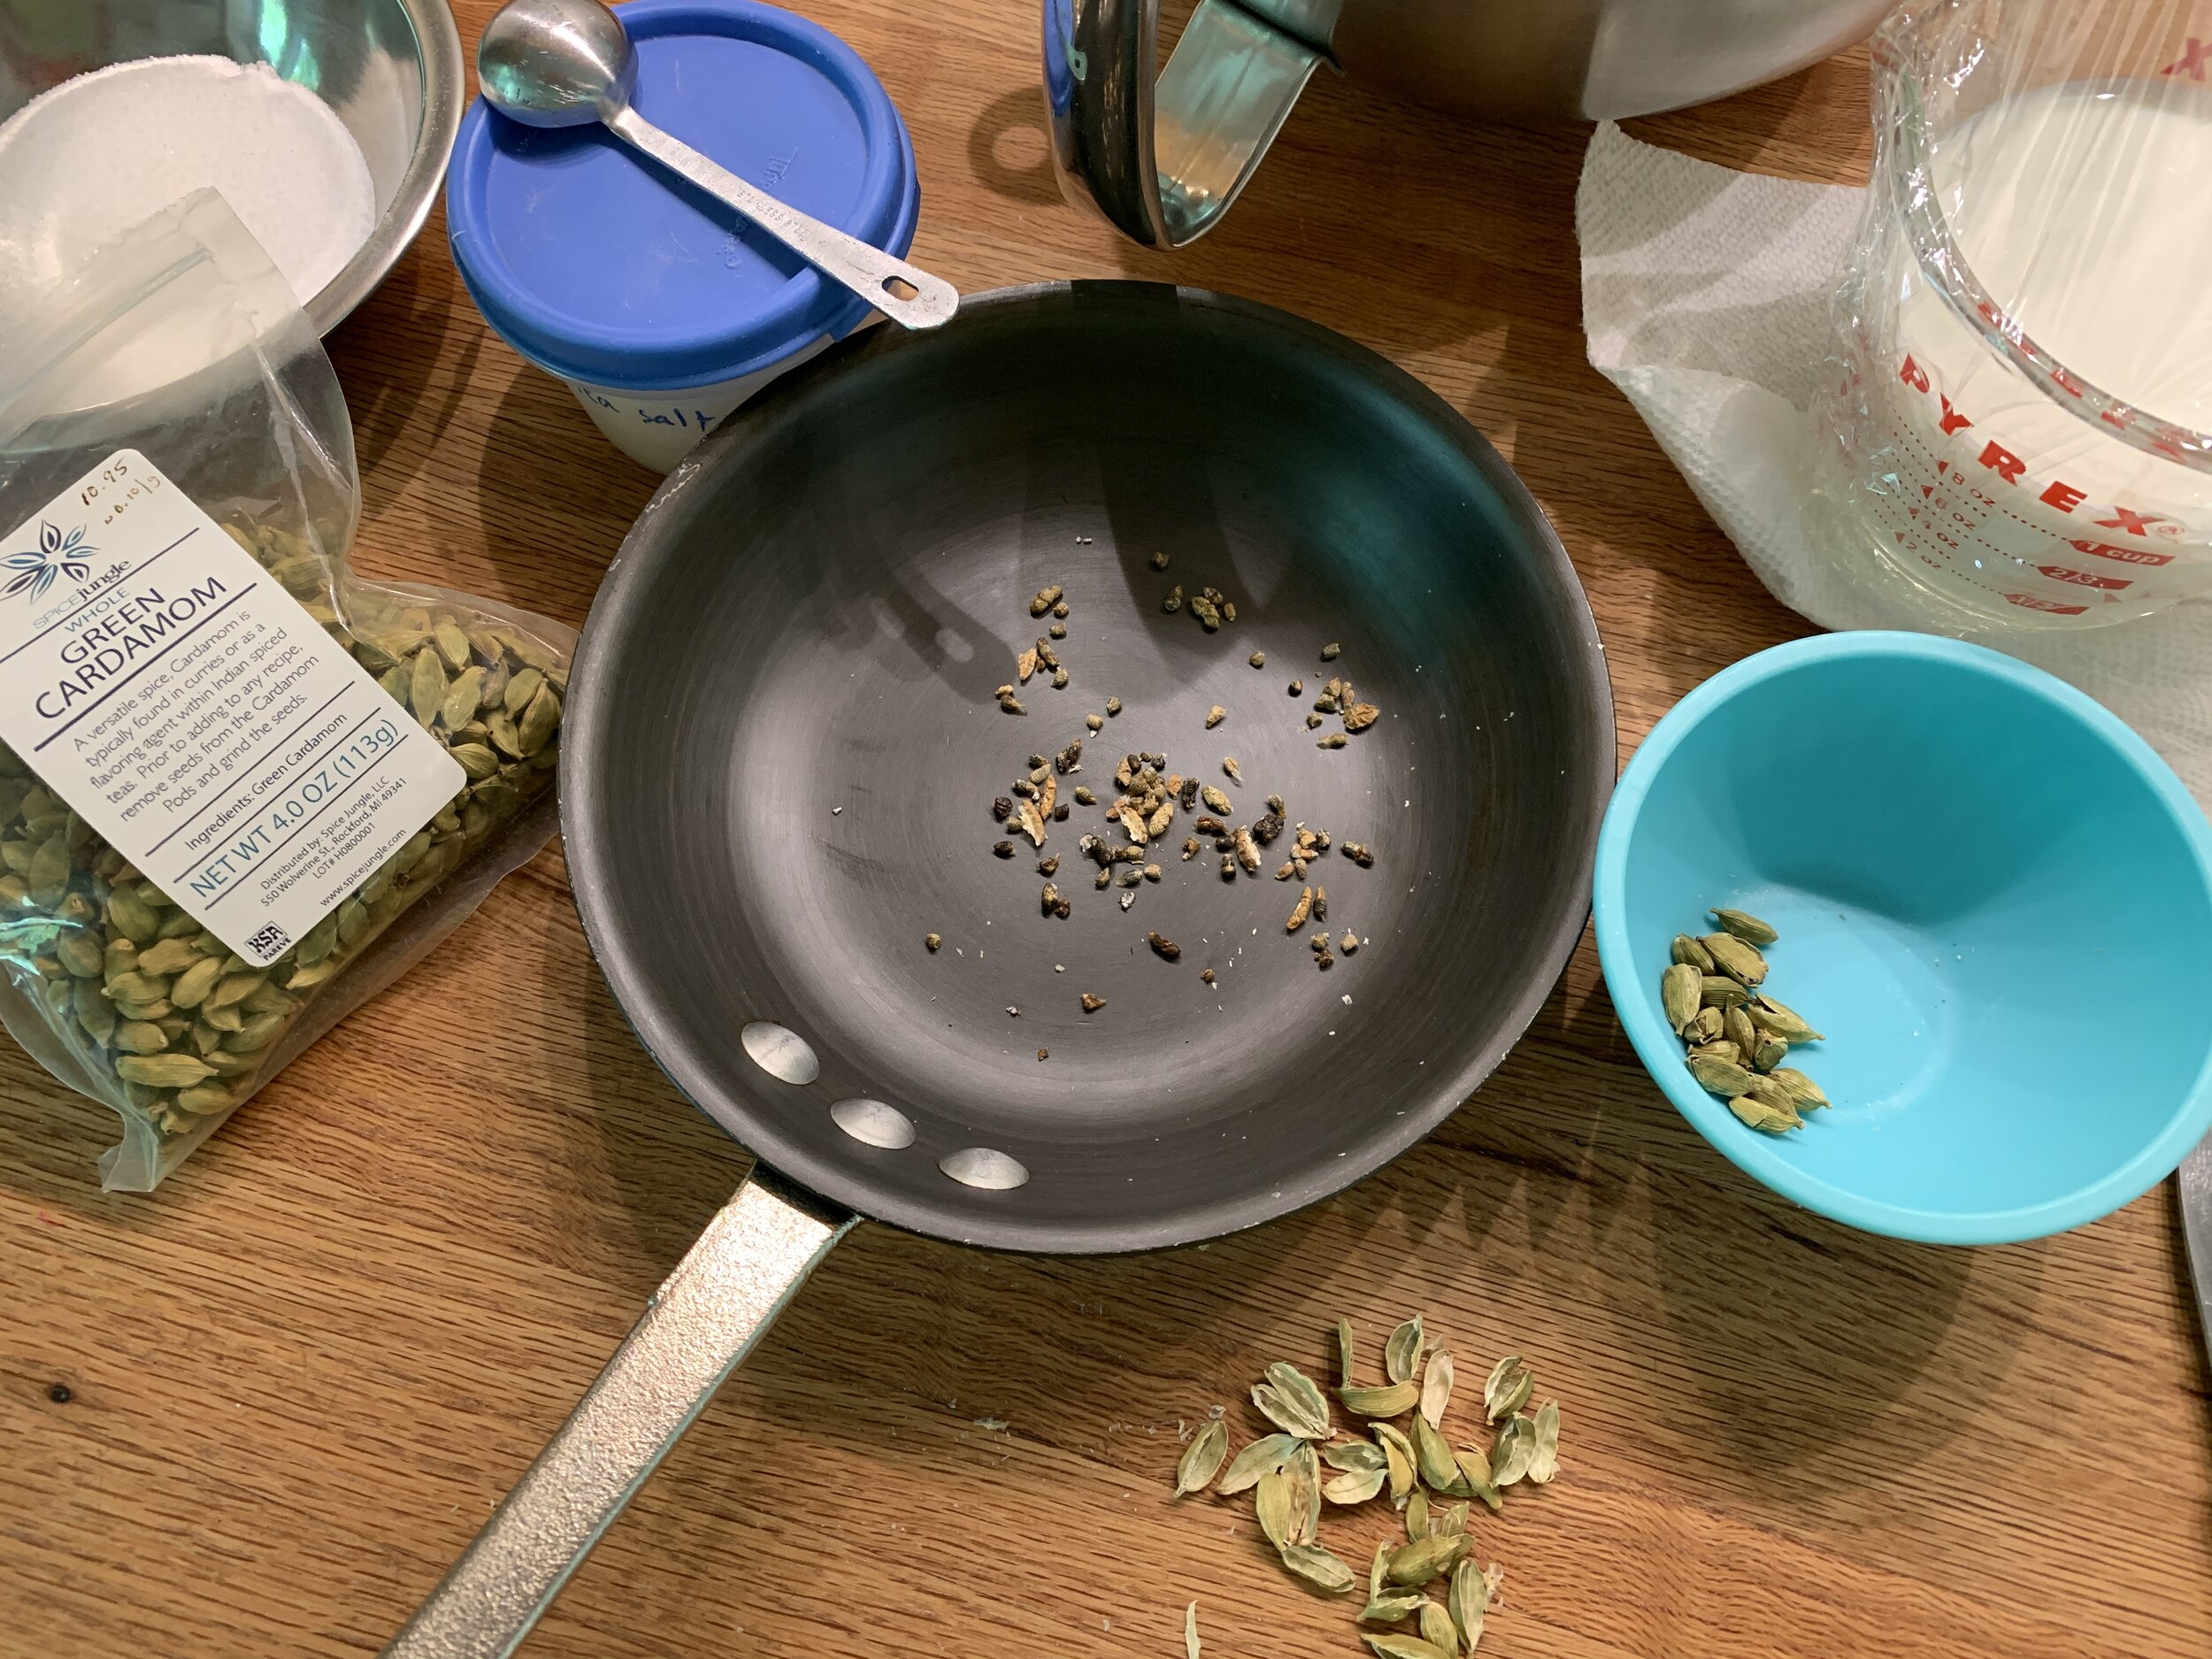
Mise en place (FYI - my mise here is for a larger batch of dough than the base recipe)
The dough process is a familiar one - cream butter and sugar (lately I’ve been using golden granulated cane sugar from Costco); add in golden syrup (or honey) and vanilla and blend; mix in flour and baking powder until it all comes together. Here’s the recipe again.
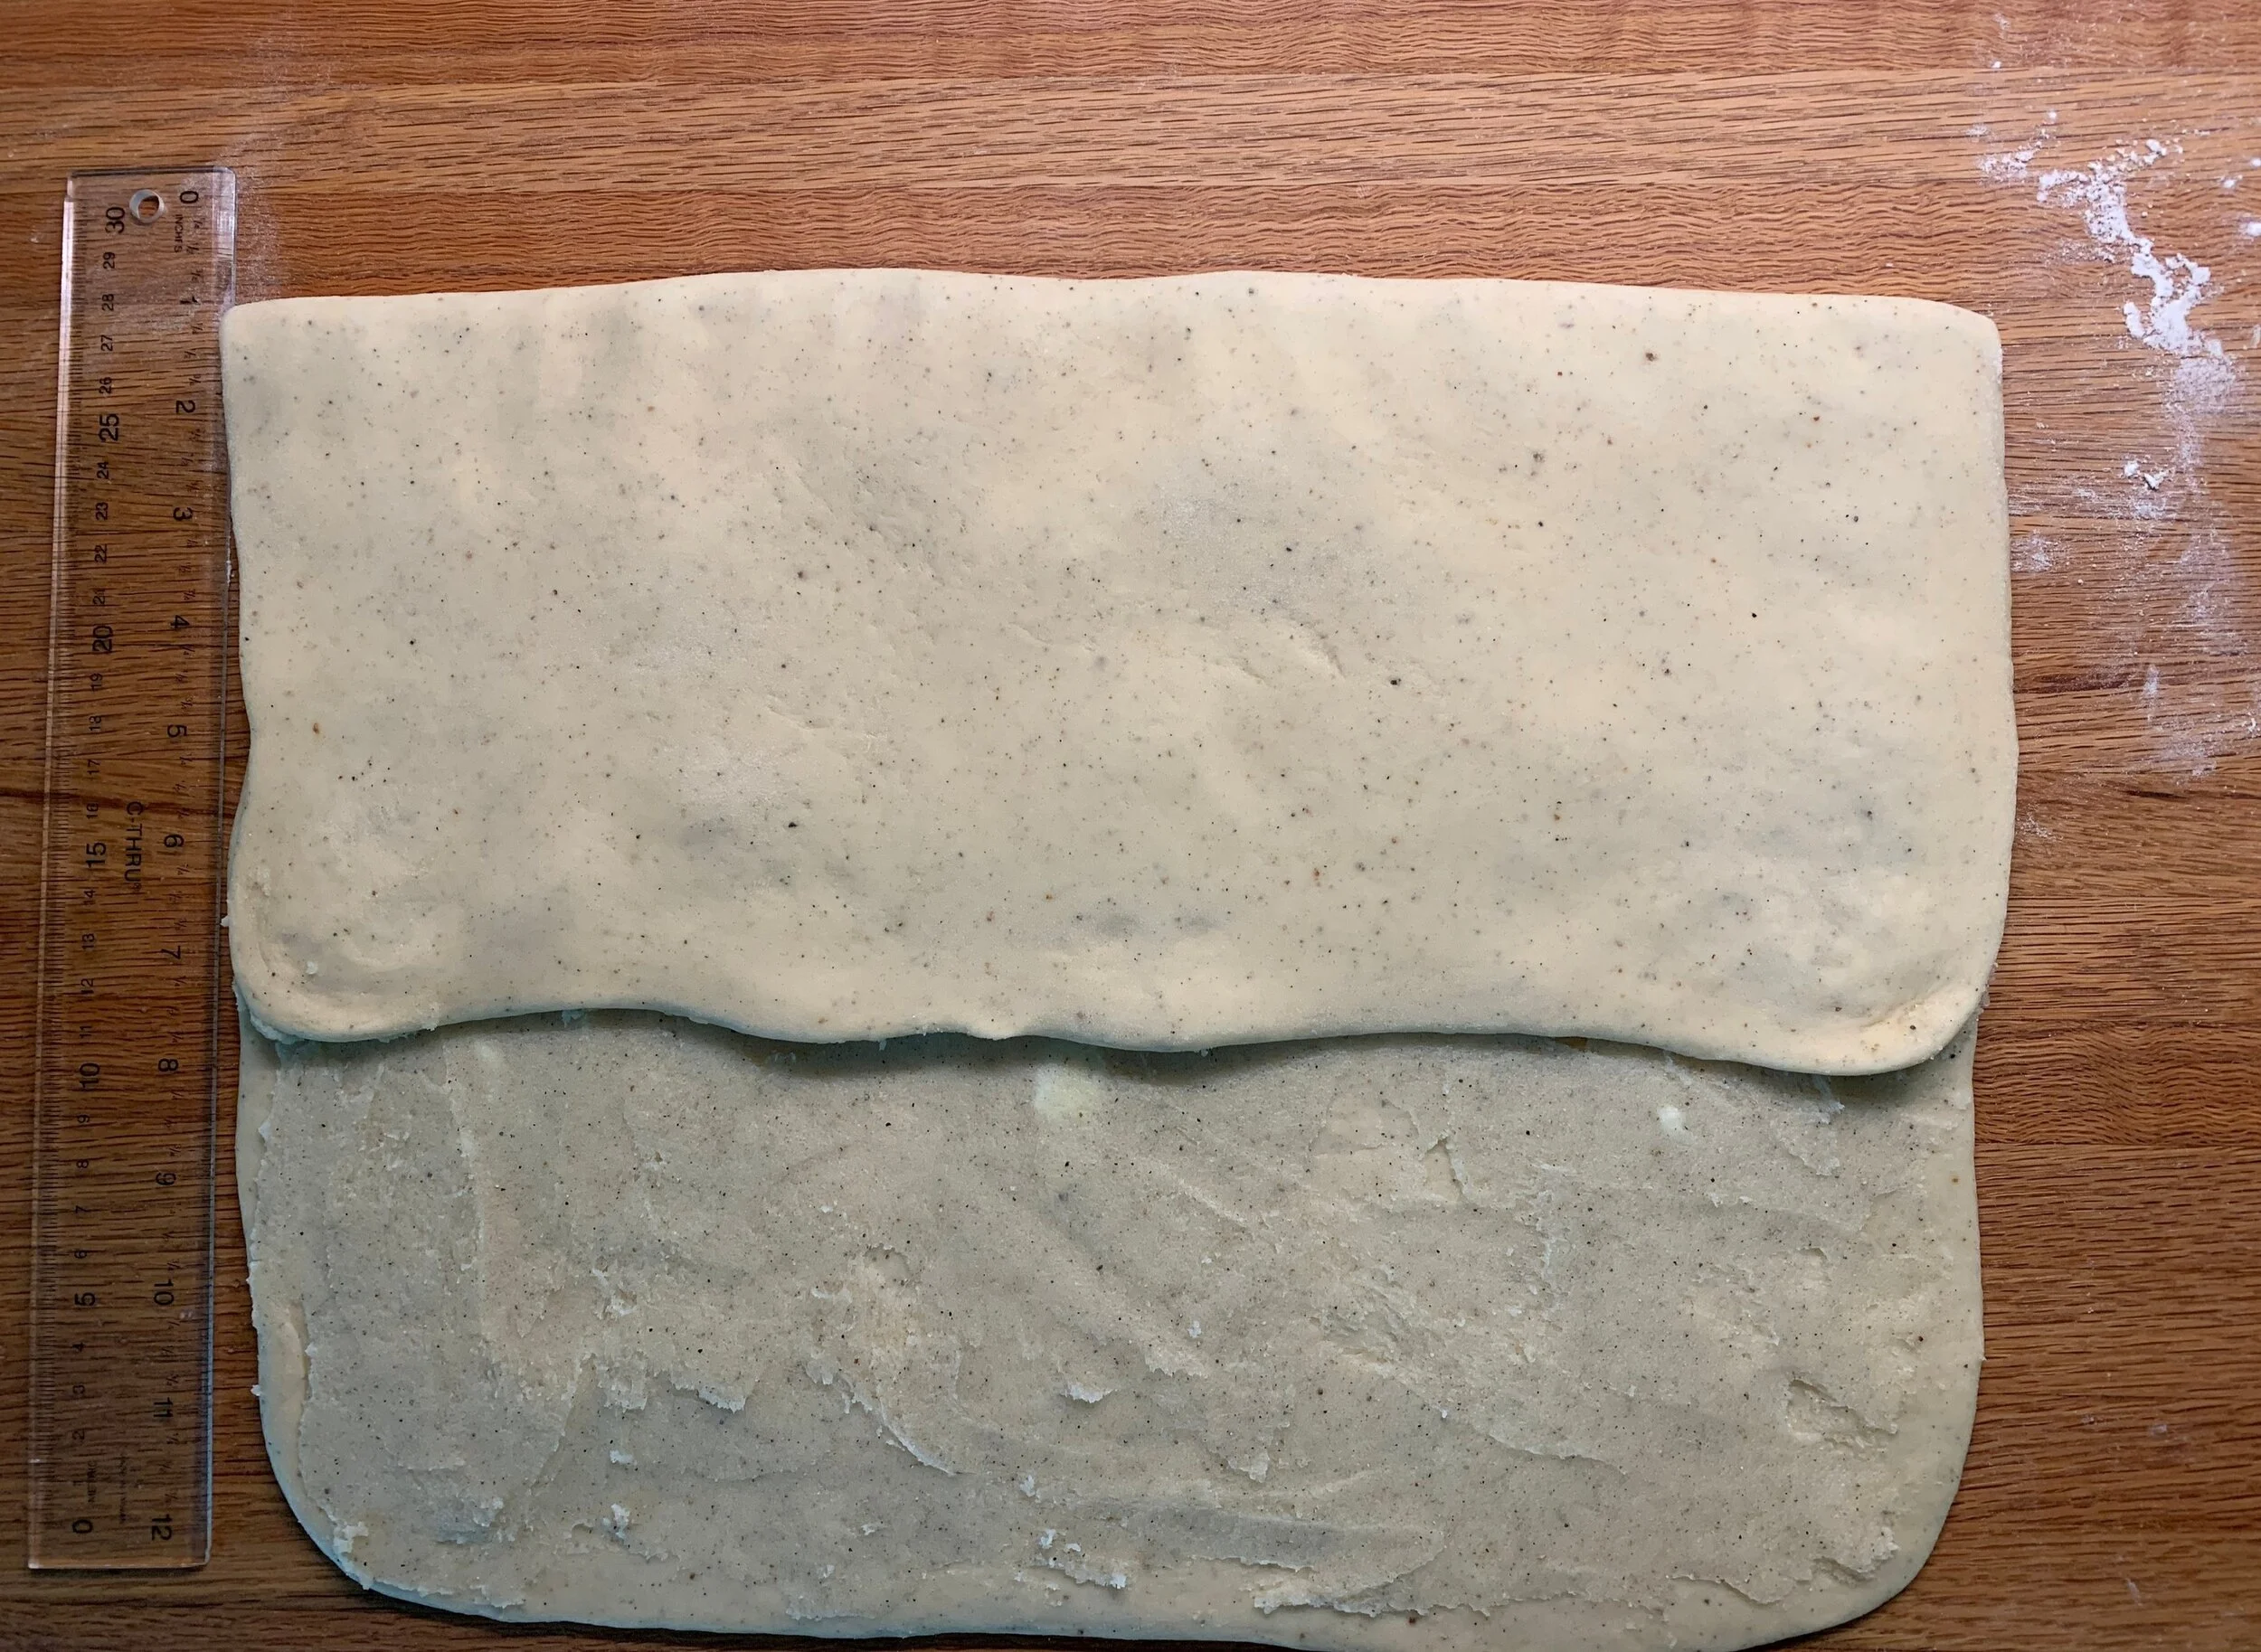
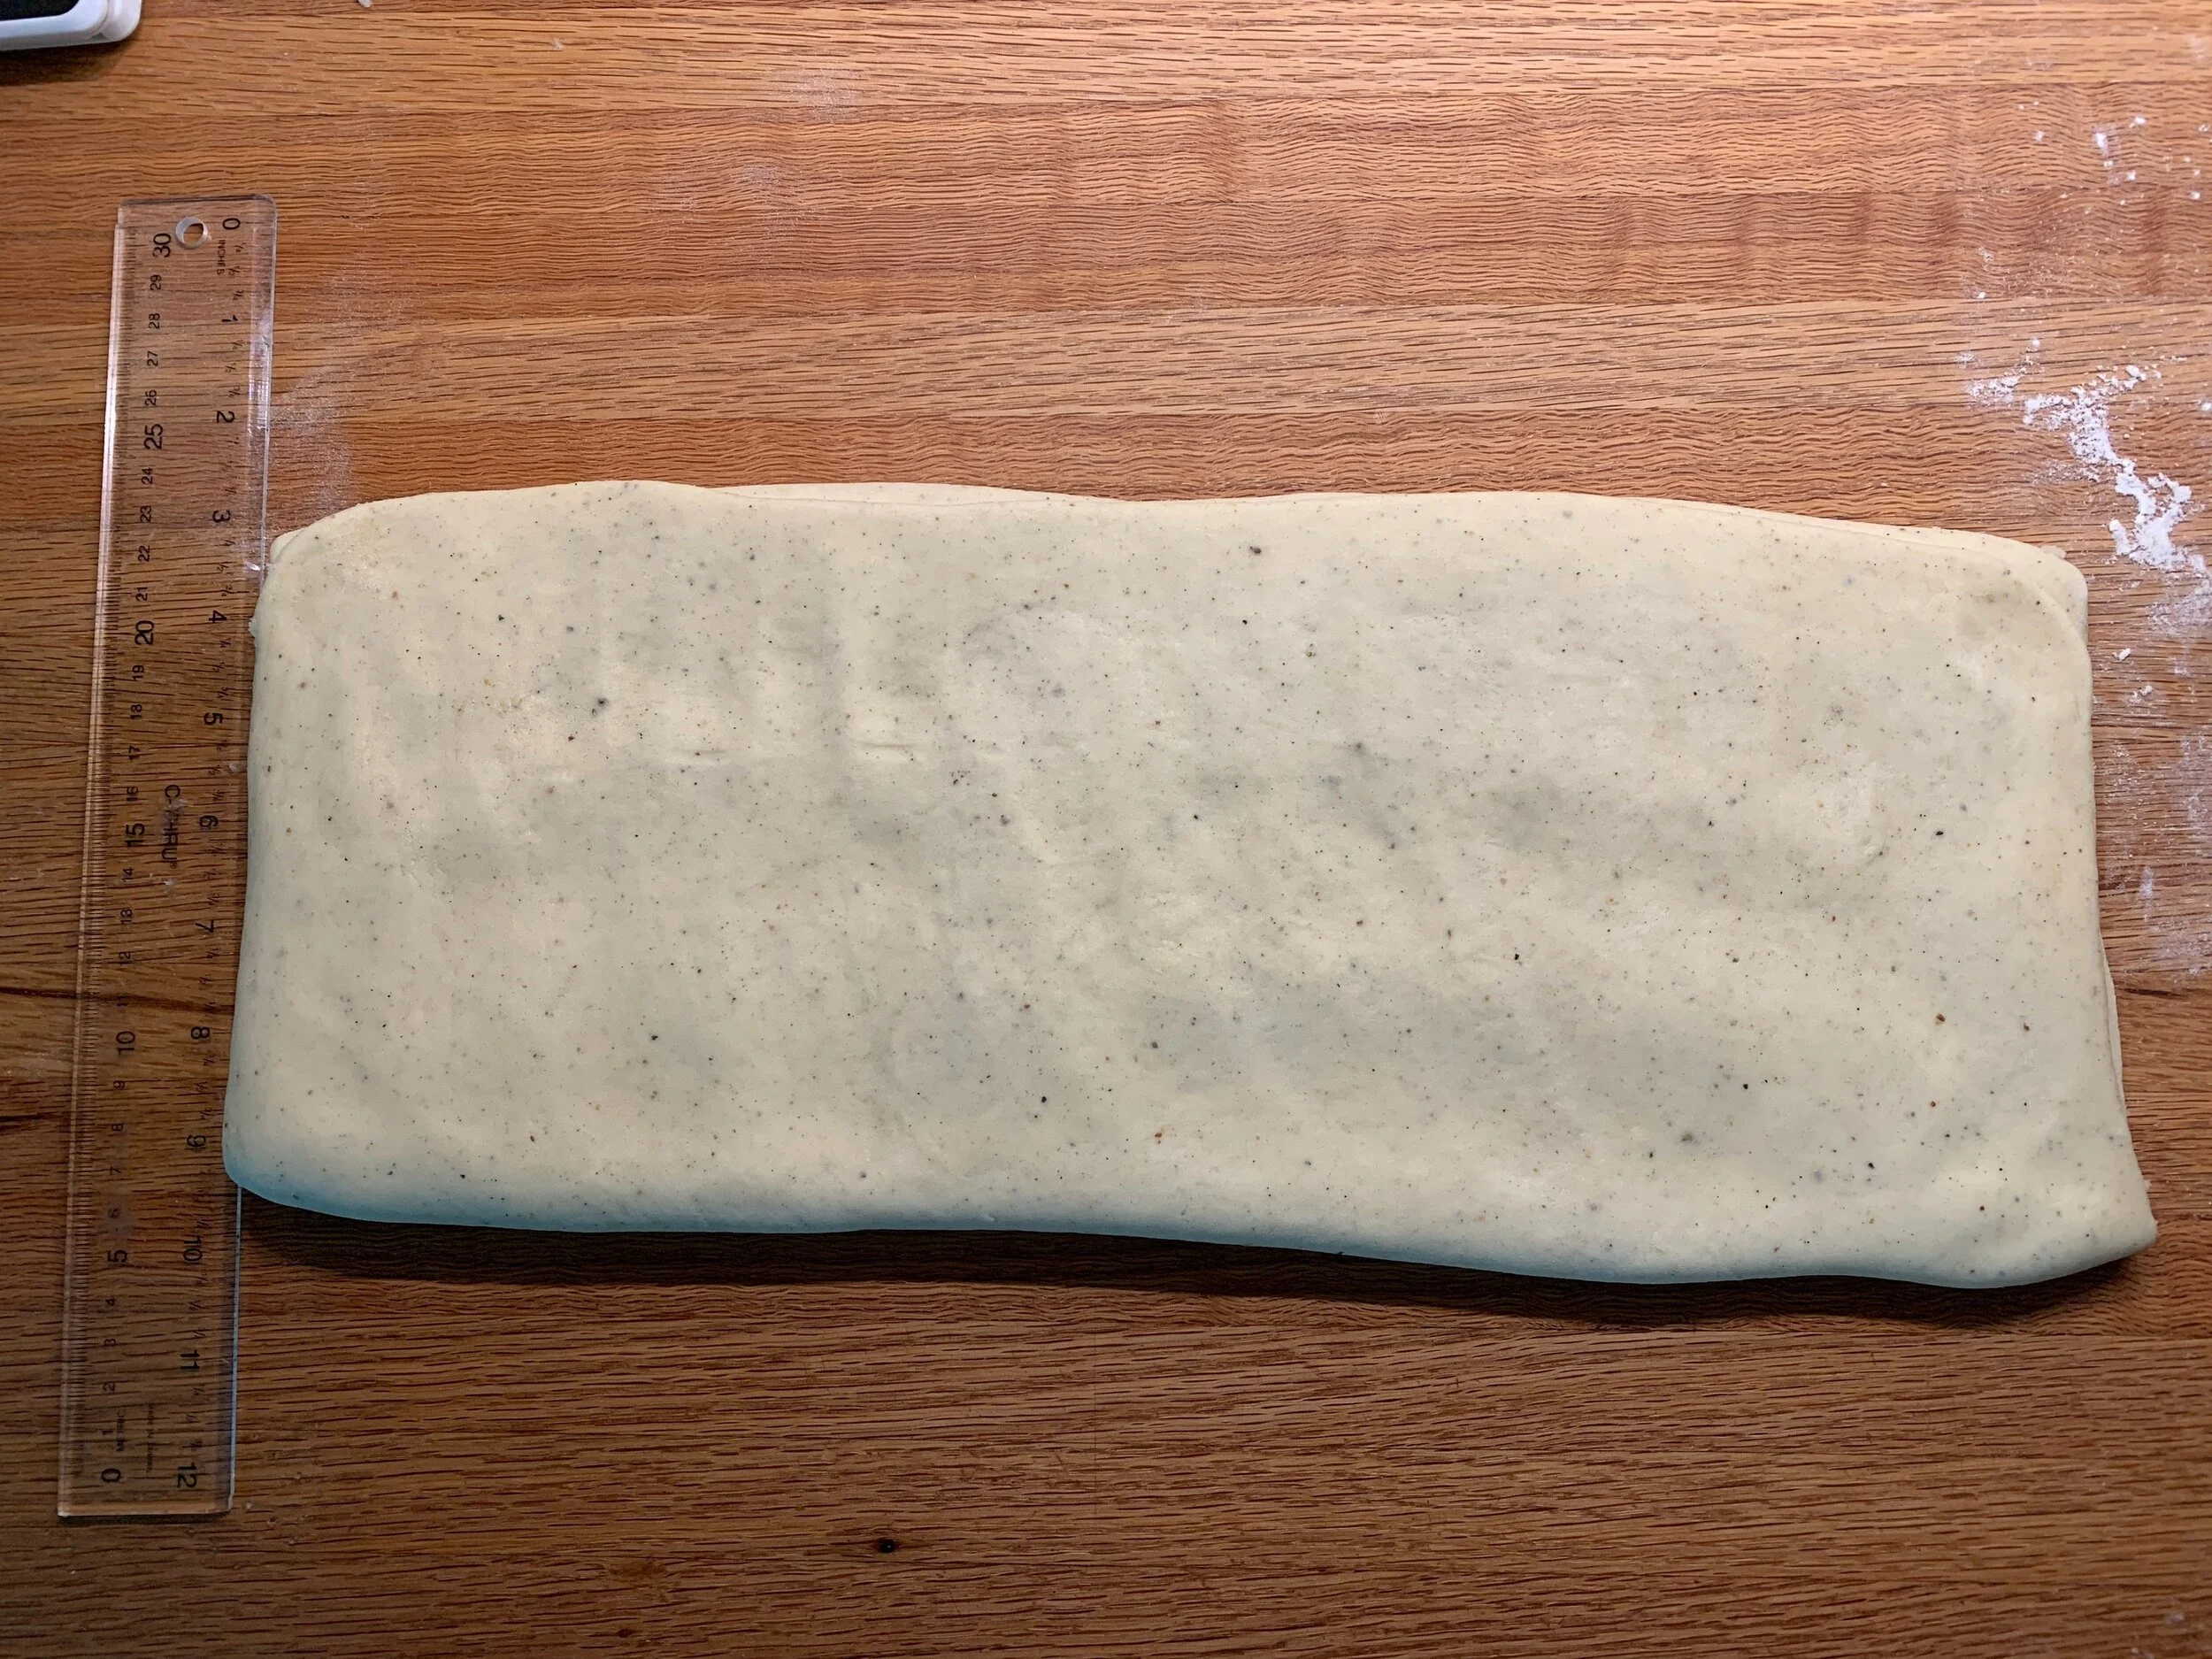
Once the dough comes together, divide it in three portions about 215 g each. To create the dough strips I place them on plastic wrap and get a rough shape going. You’re looking for a final sized strip of approximately 2” wide by 14” long for each portion of dough. Of course you can play around with size variations - I’ve done some where I cut the strips in half lengthwise for nice mini bites. Yummy.

Fold the plastic wrap up around the pre-shaped dough, leaving a bit of room for rolling it to it’s final dimensions. At this point you can proceed with baking or stash your strips in the fridge or freezer for later.

When ready to bake, heat the oven to 350º and place two strips on a half sheet pan. Sprinkle flaky sea salt on top.

Bake about 8-10 minutes - you might need a few minutes more. You’re looking for the dough to appear set and golden in color. Remember every oven is different.
Pull the sheet pan and drizzle caramel in squiggles across the surface. Pop the sheet pan back in the oven for 3-4 minutes to set the caramel. Top with finely chopped blanched almonds and pearl sugar if you’d like. I’ve been keeping most of my batches pristine with caramel and sea salt. So good!
Let the strips cool on the sheet pan for 5-10 minutes, then cut into slanted strips with a sharp knife or pizza cutter. I gently push them apart with a small offset spatula and let them cool fully before enjoying.
They store well in a covered container for several days at room temp or in the freezer for several weeks. Simply take them out and place at room temperature for 20-30 minutes before enjoying.

Chopped almond/pearl sugar version
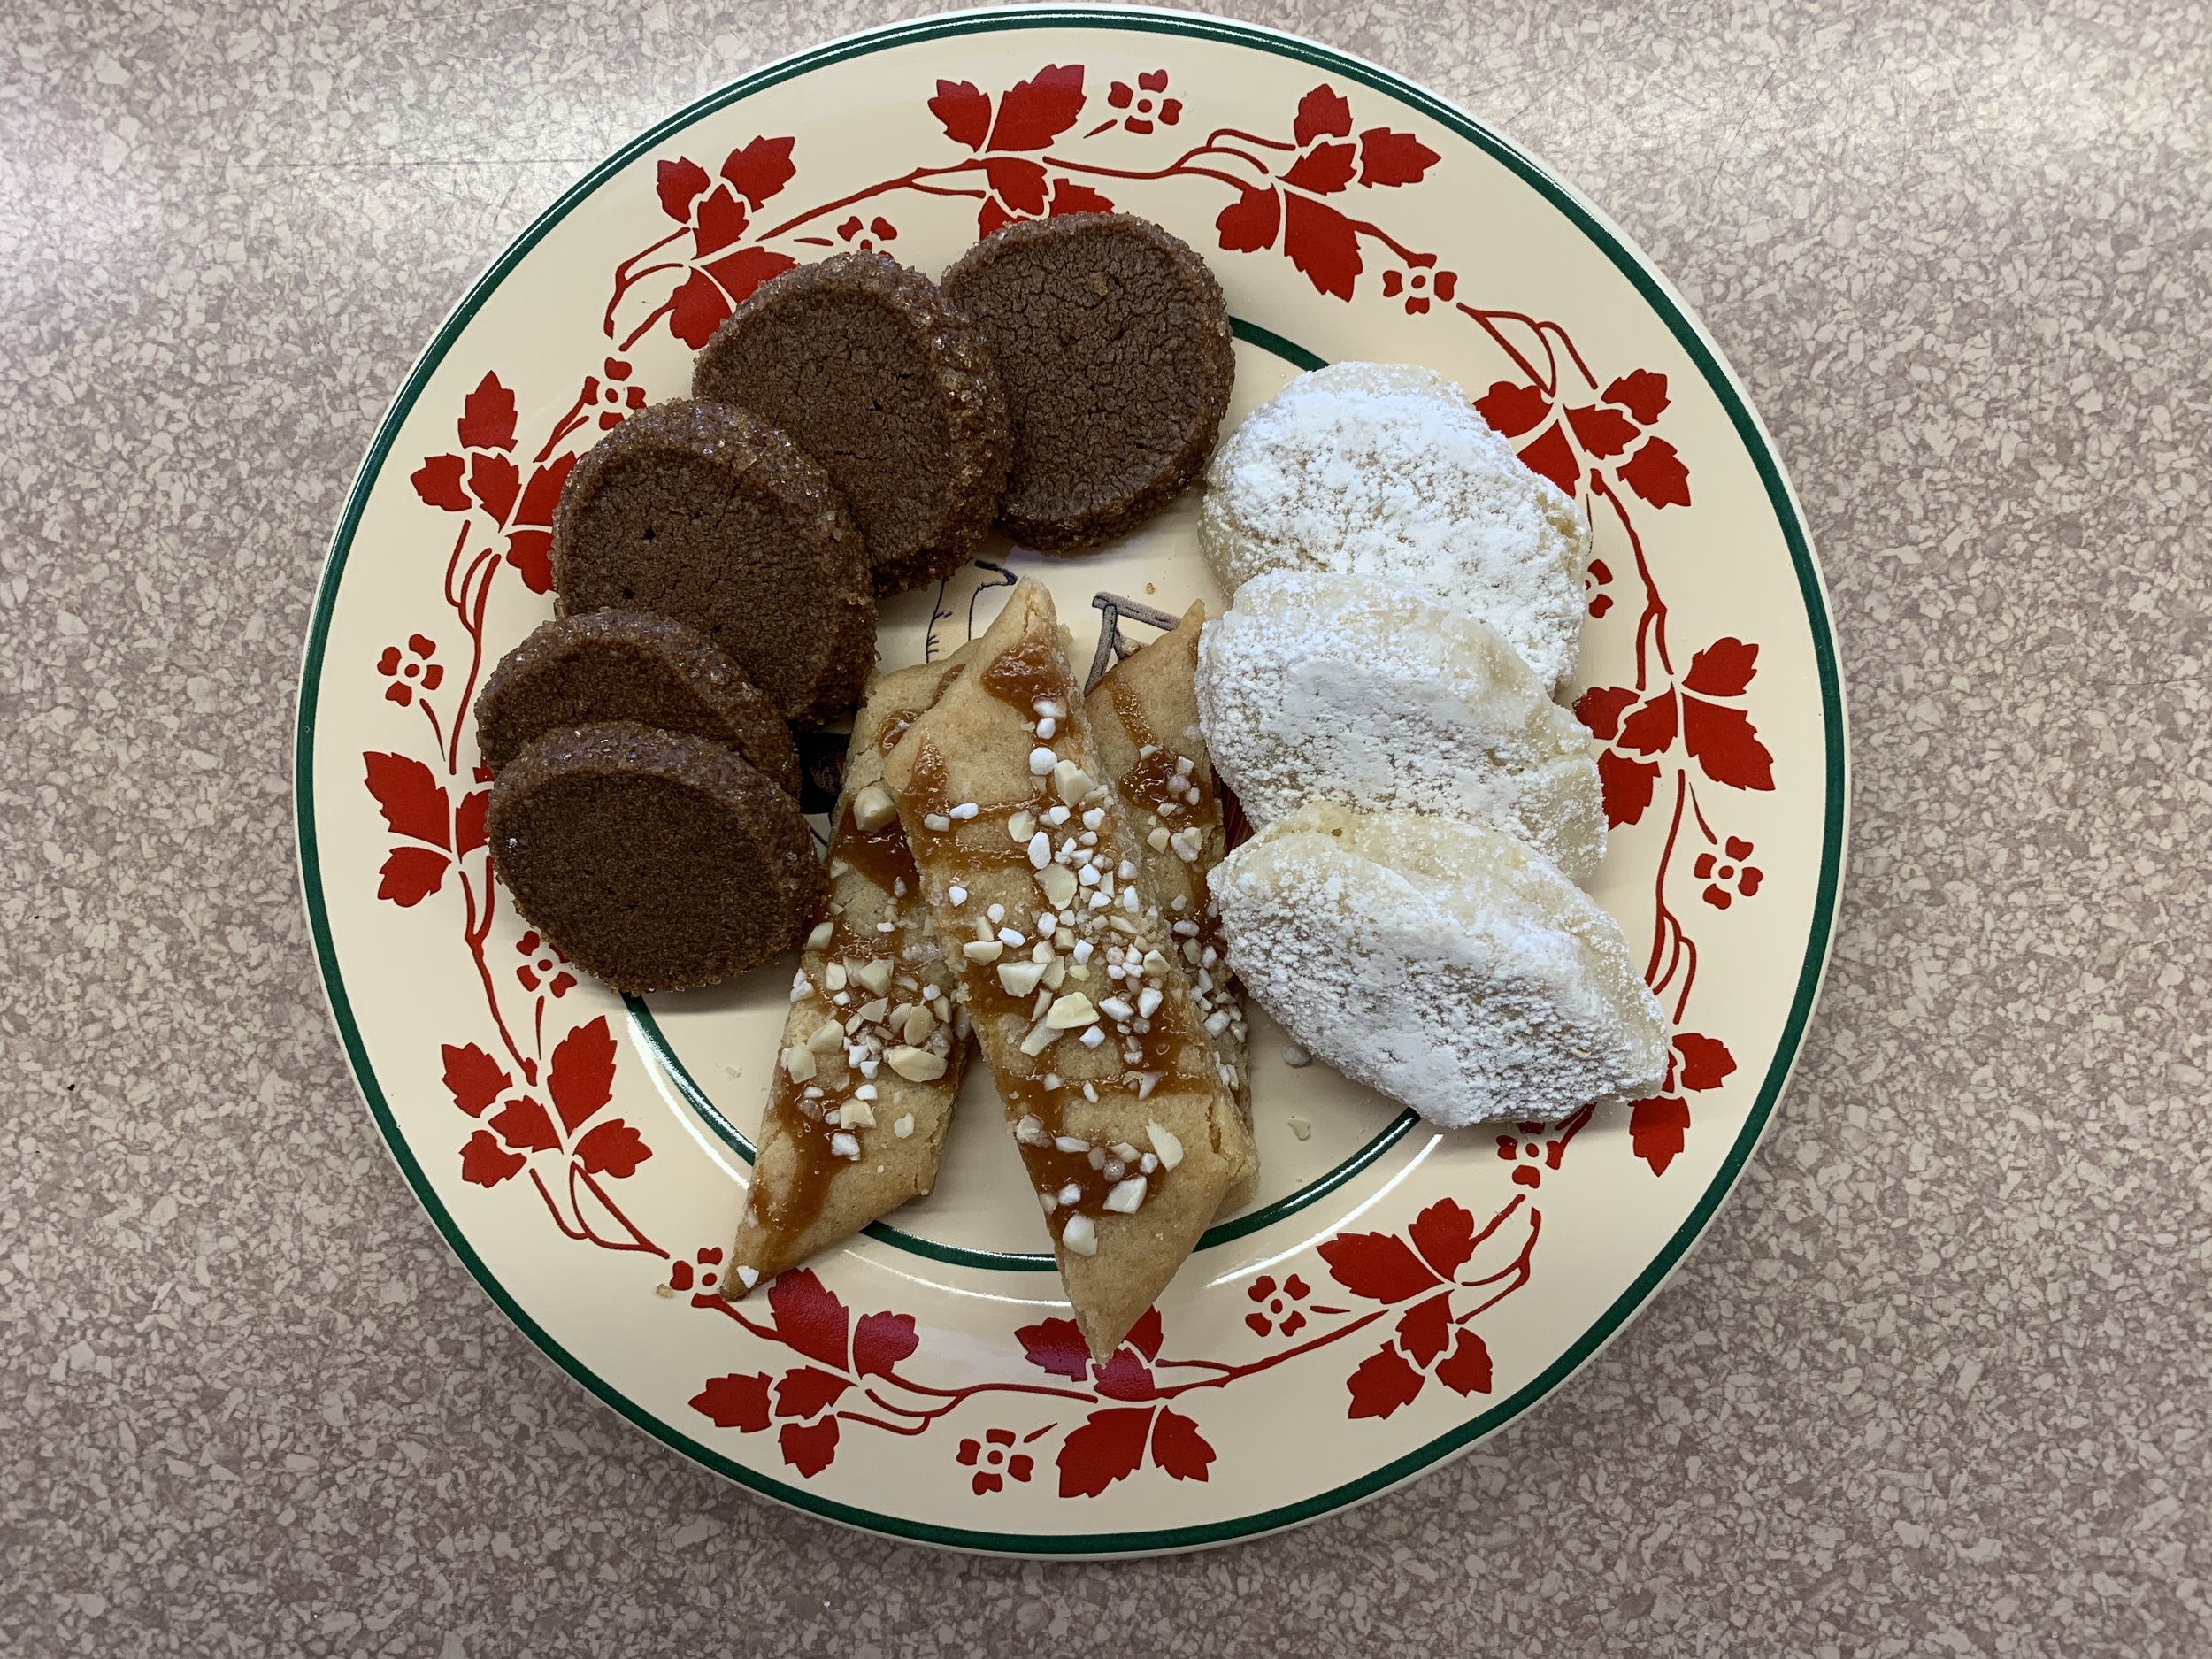
I made these for several demo sessions I did for a local seniors group and they were a big hit. Below is a holiday cookie trio of these slices along with ricciarelli (delicious Italian almond meringues) and diamant au chocolat (classic French sablés).
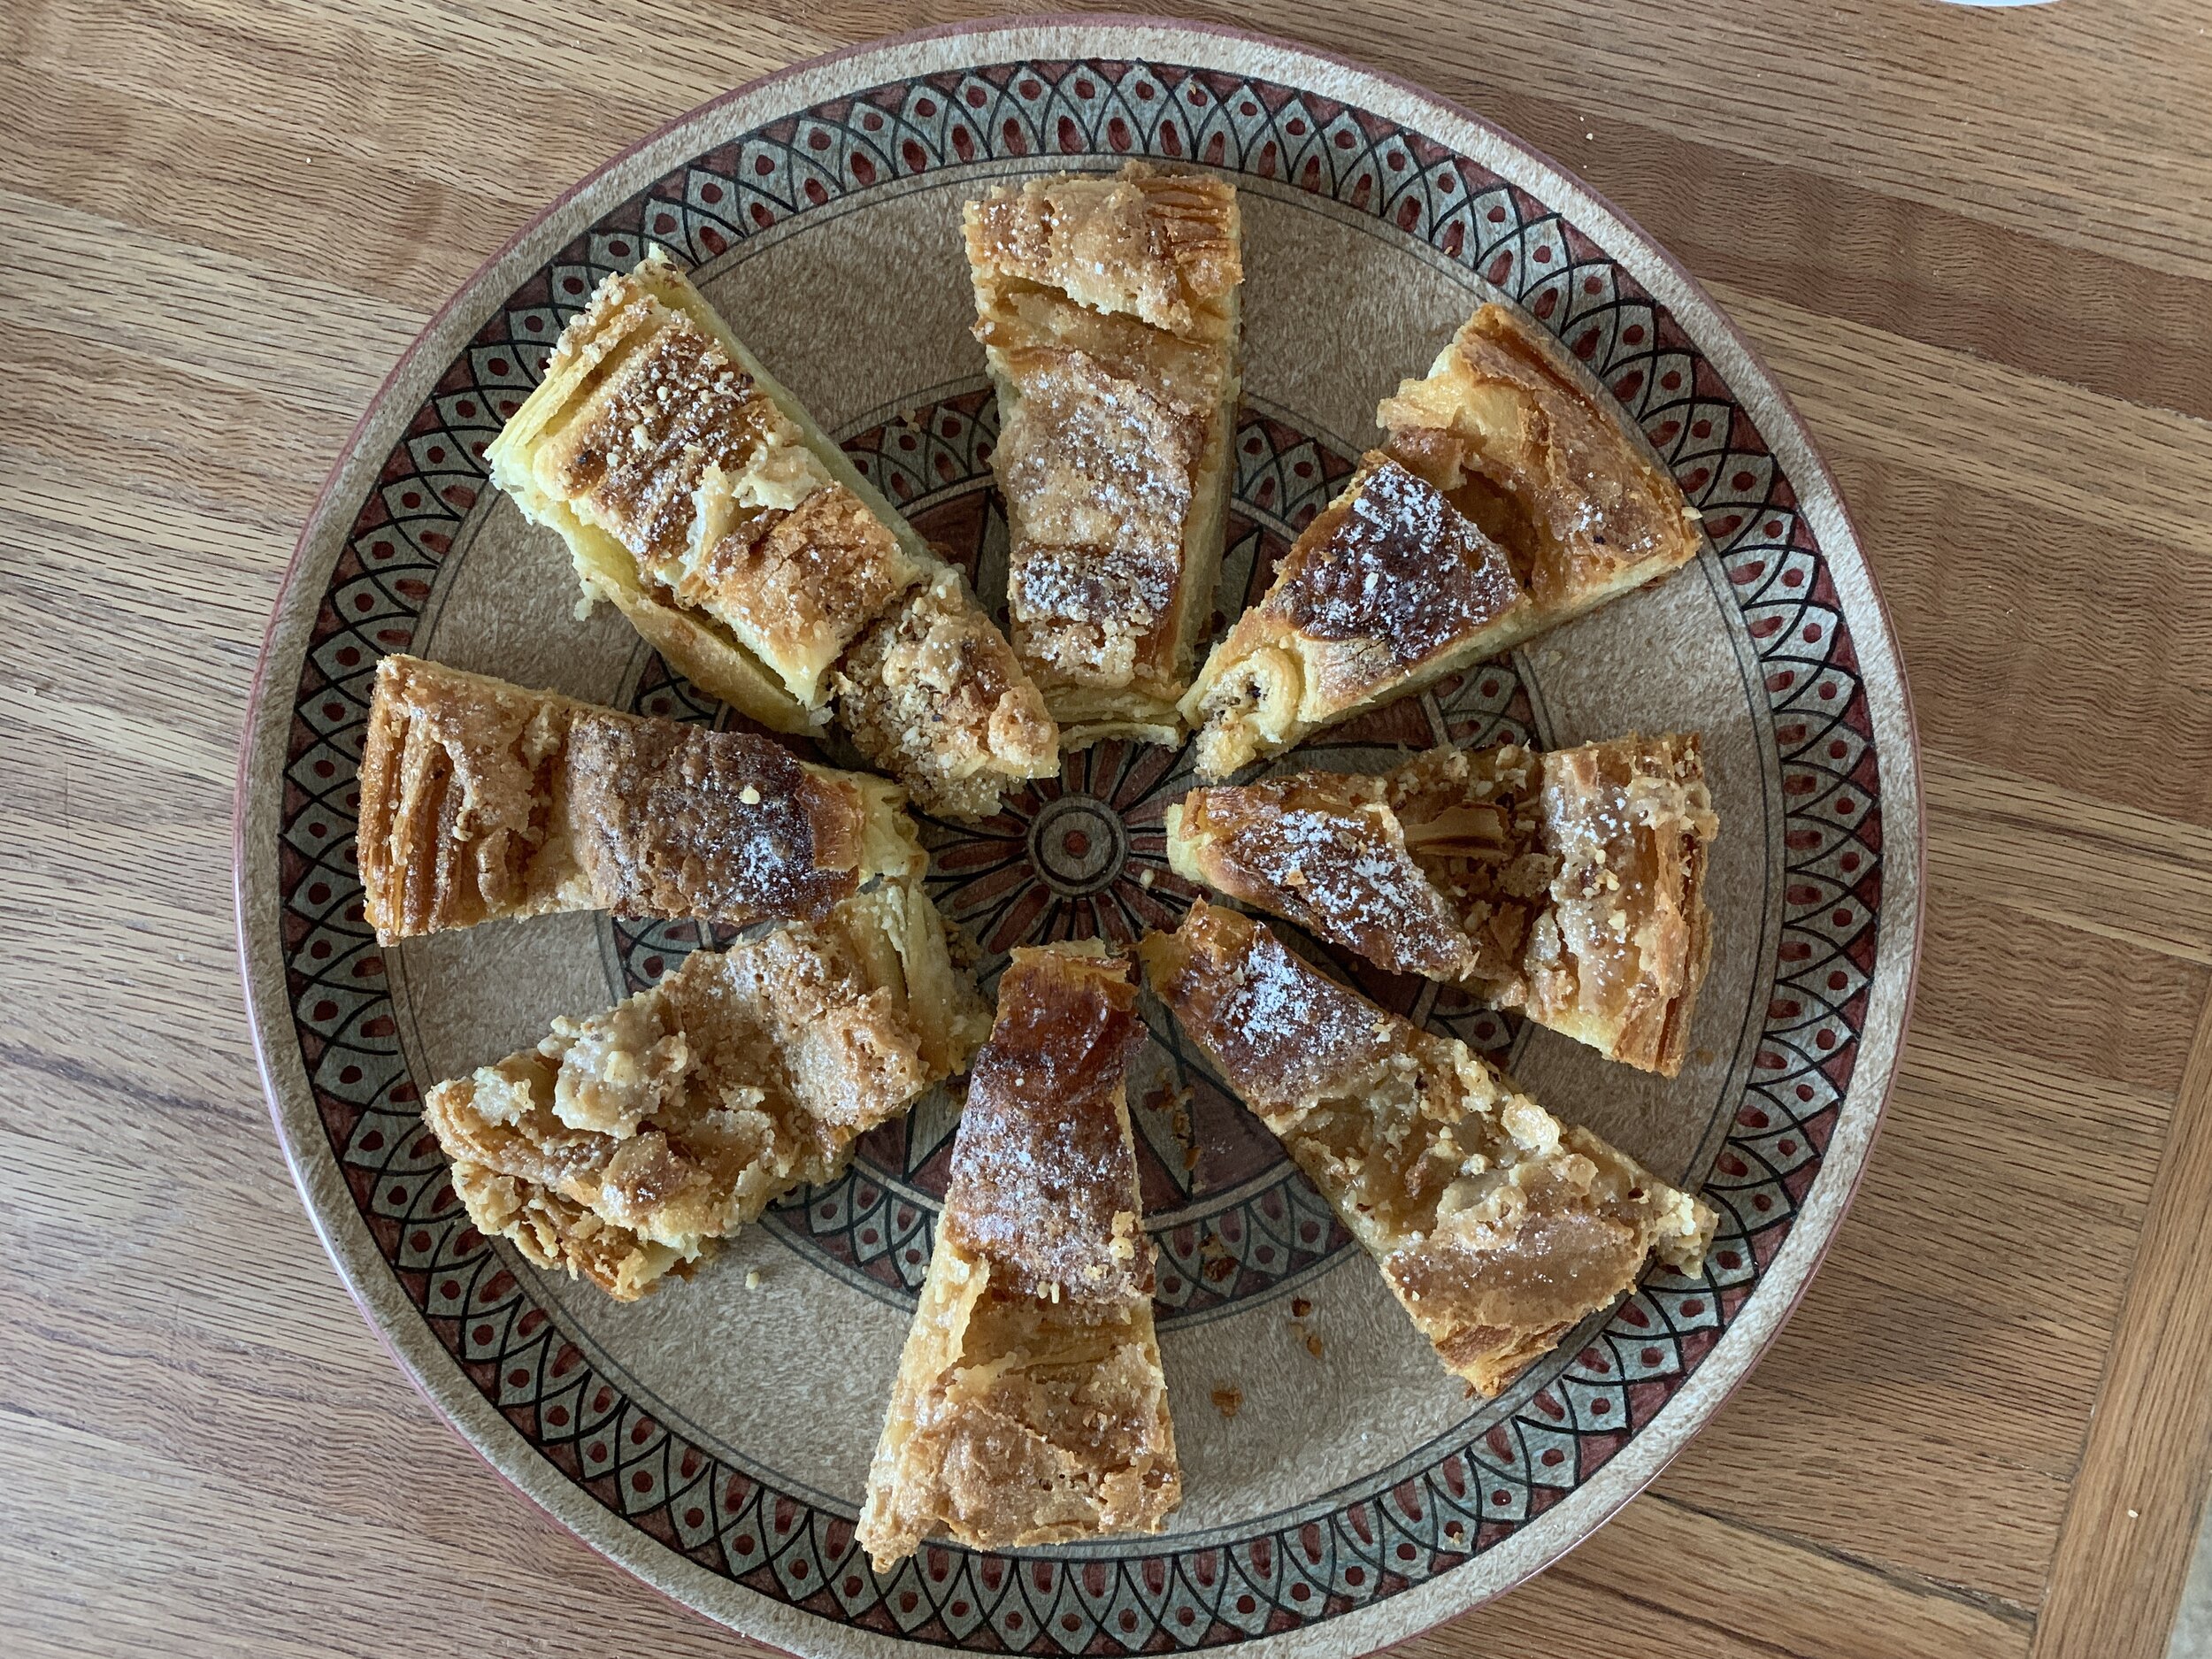
Here’s a plate of the mini versions. One or two are simply perfect with my afternoon cup of coffee.

Give these a try - you’ll love them!
Wishing all of you a very Merry Christmas, peace, calm and all things bright.

Holiday Light show at nearby Meijer Gardens after a snowfall; Photo courtesy of Connie B.