Fulton Street Market and a mixed fruit galette
/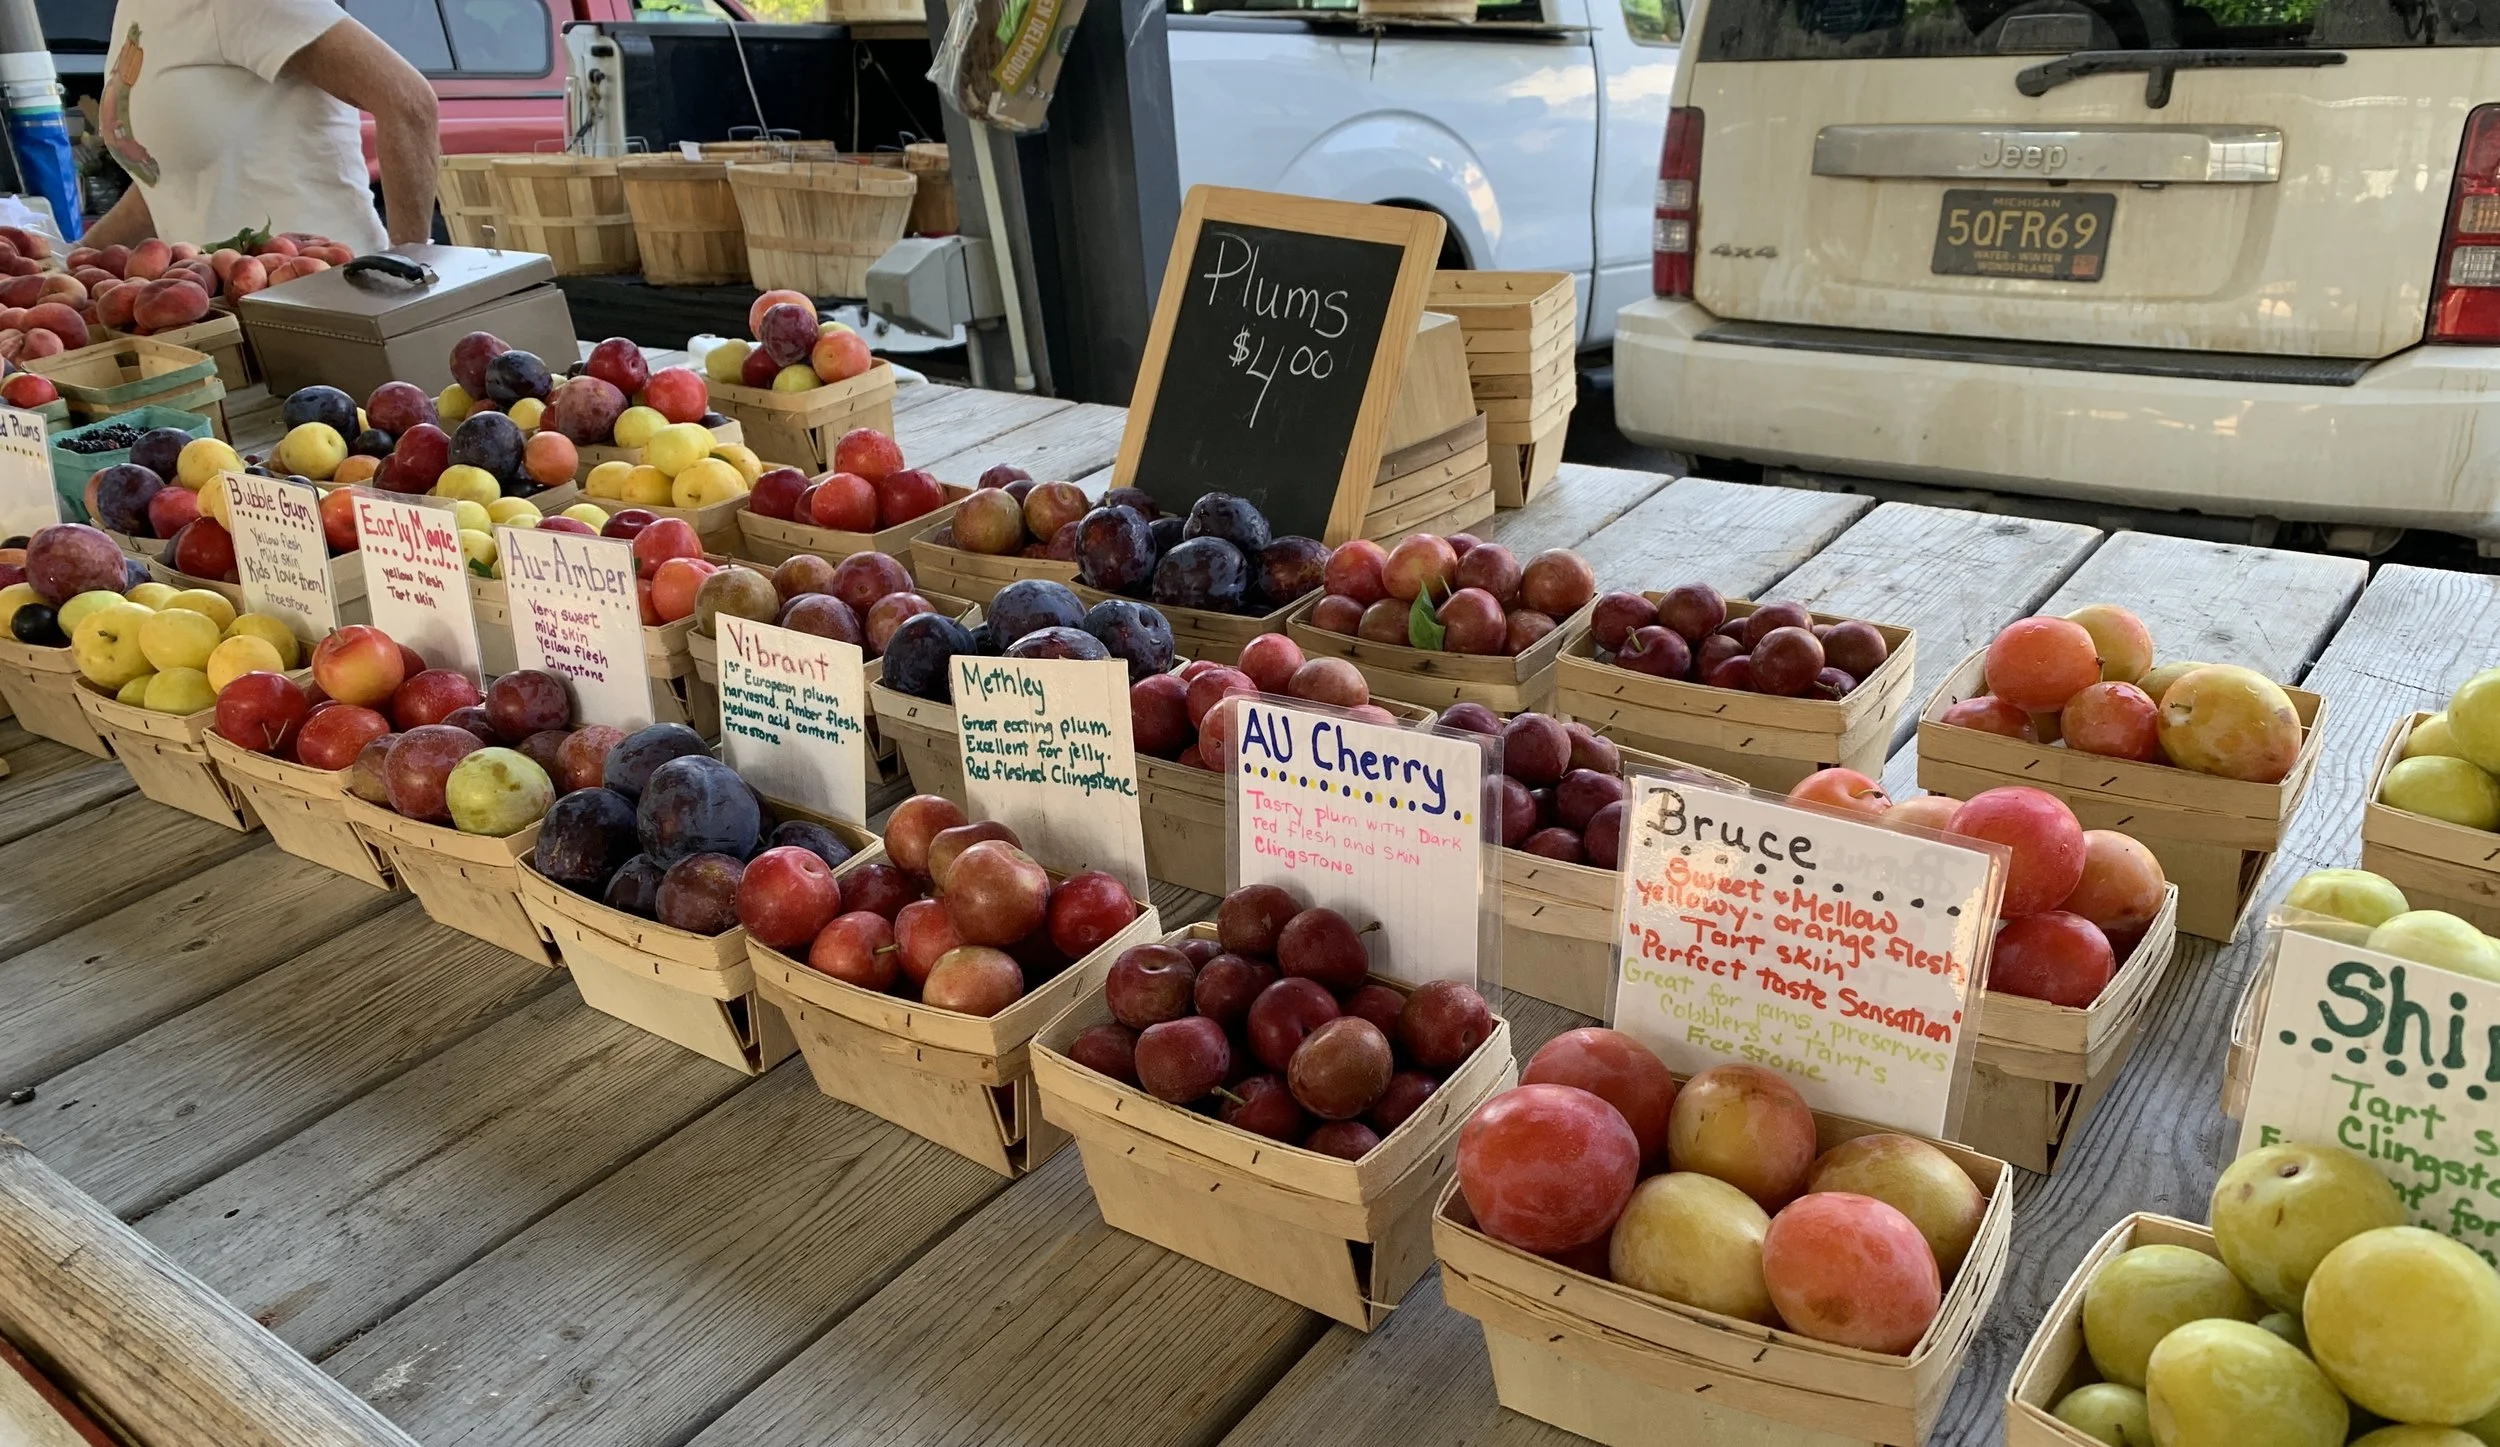
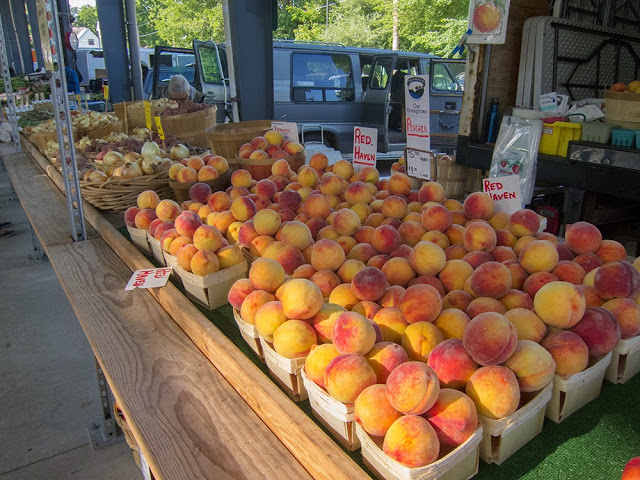
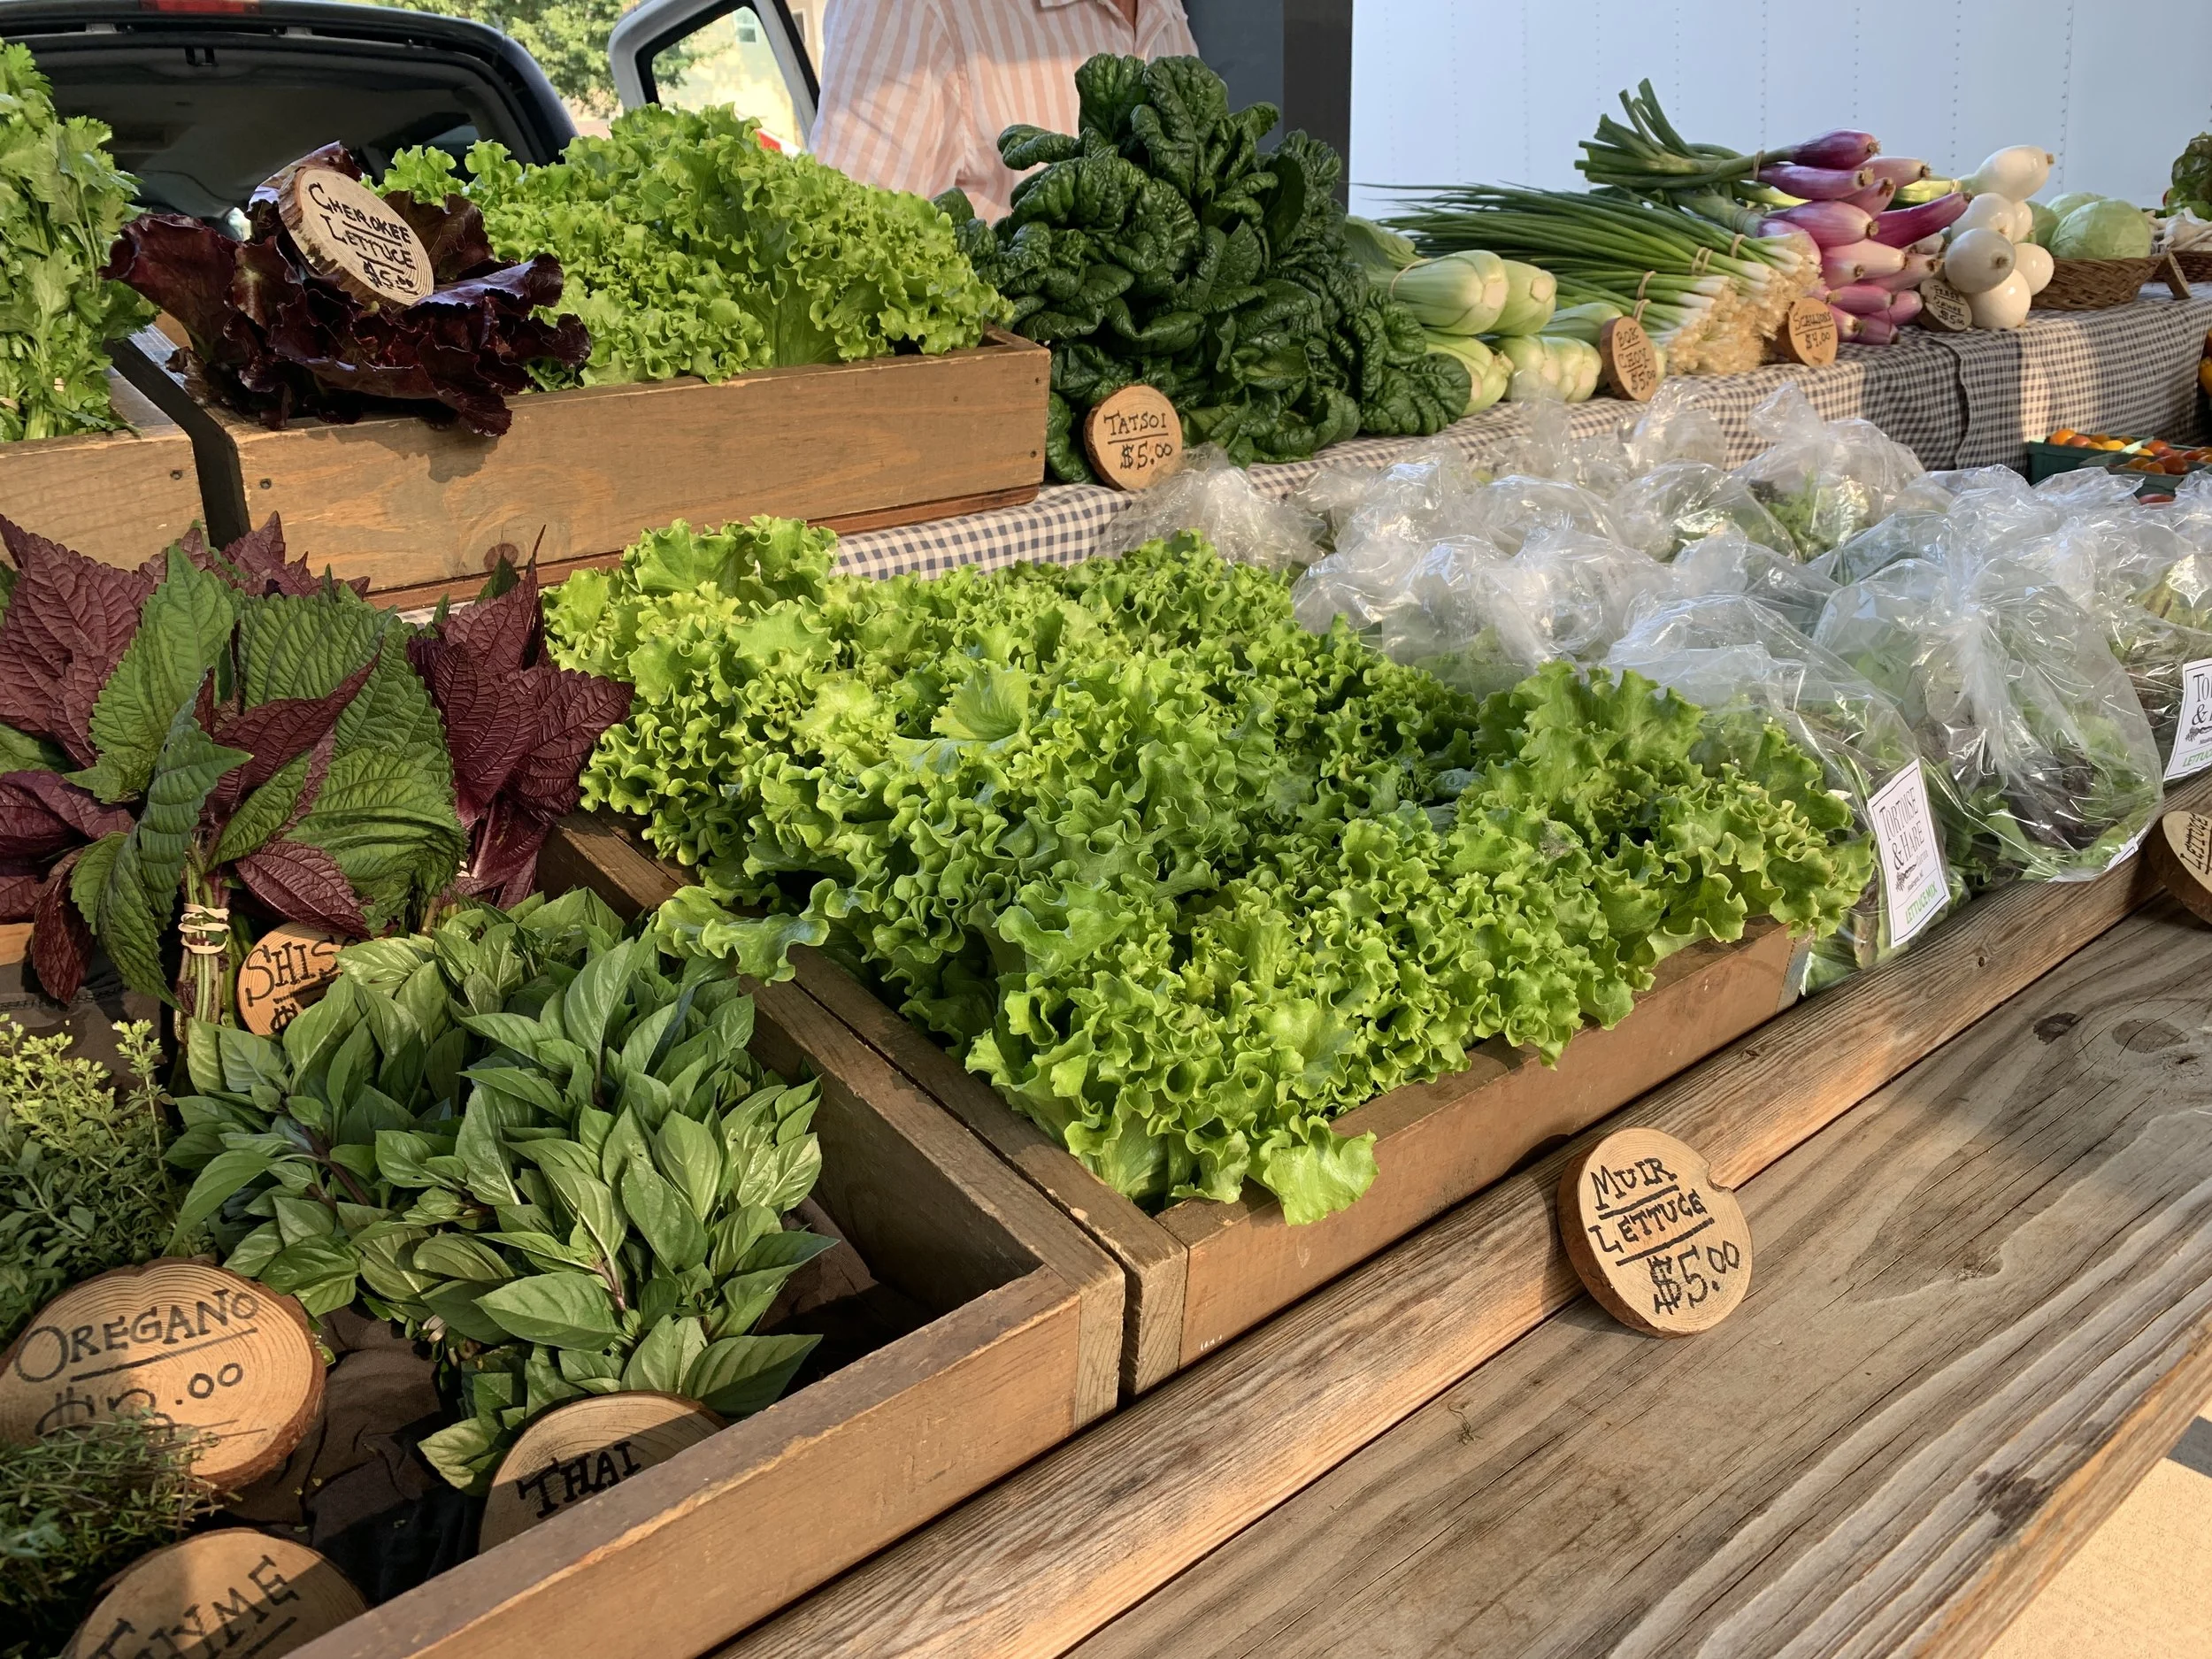
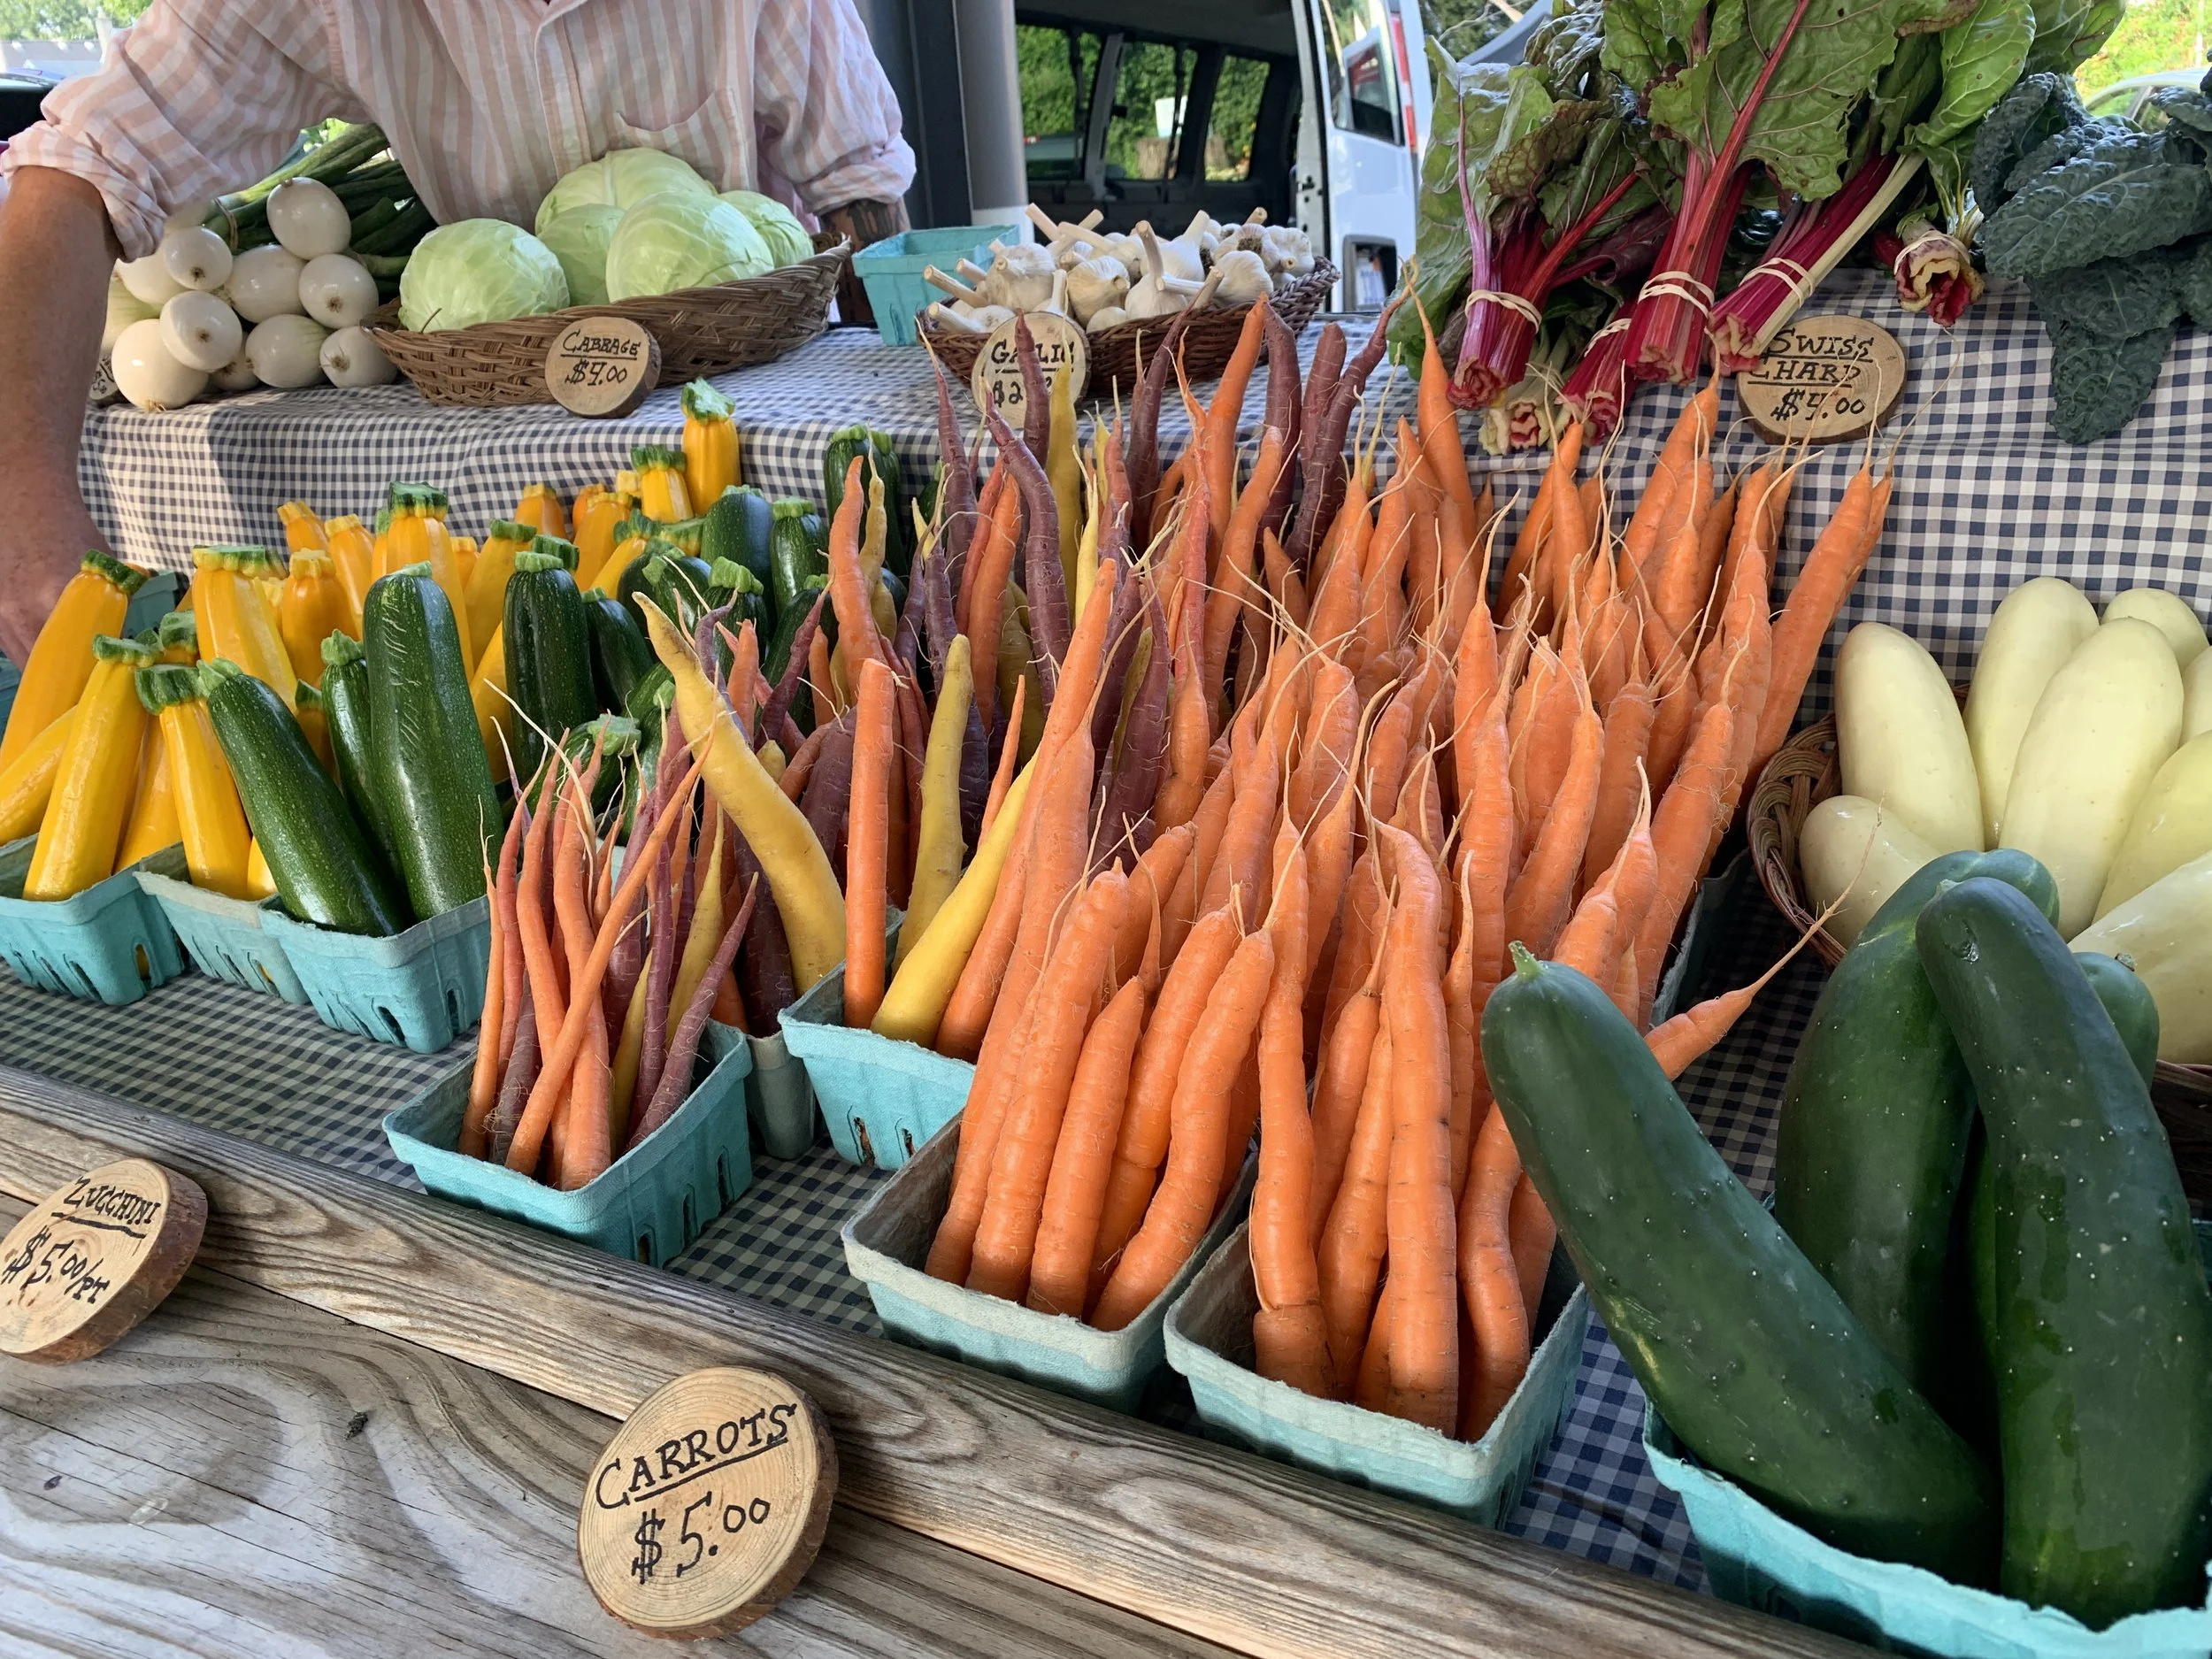
It’s that wonderful time of year! Hurray!! It’s happening at our local Fulton Street Market where we find all manner of beautiful fruits and veggies. And there’s more to come before the chill of autumn arrives.
Not only a feast for our tummies, the gorgeous natural colors and hues are a feast for the soul and the eyes as well.
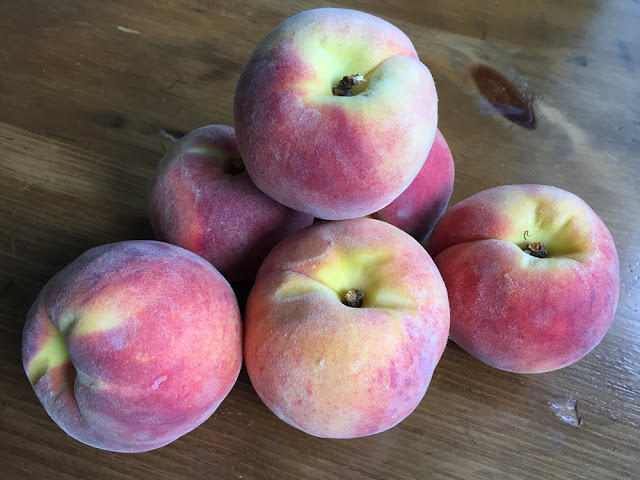
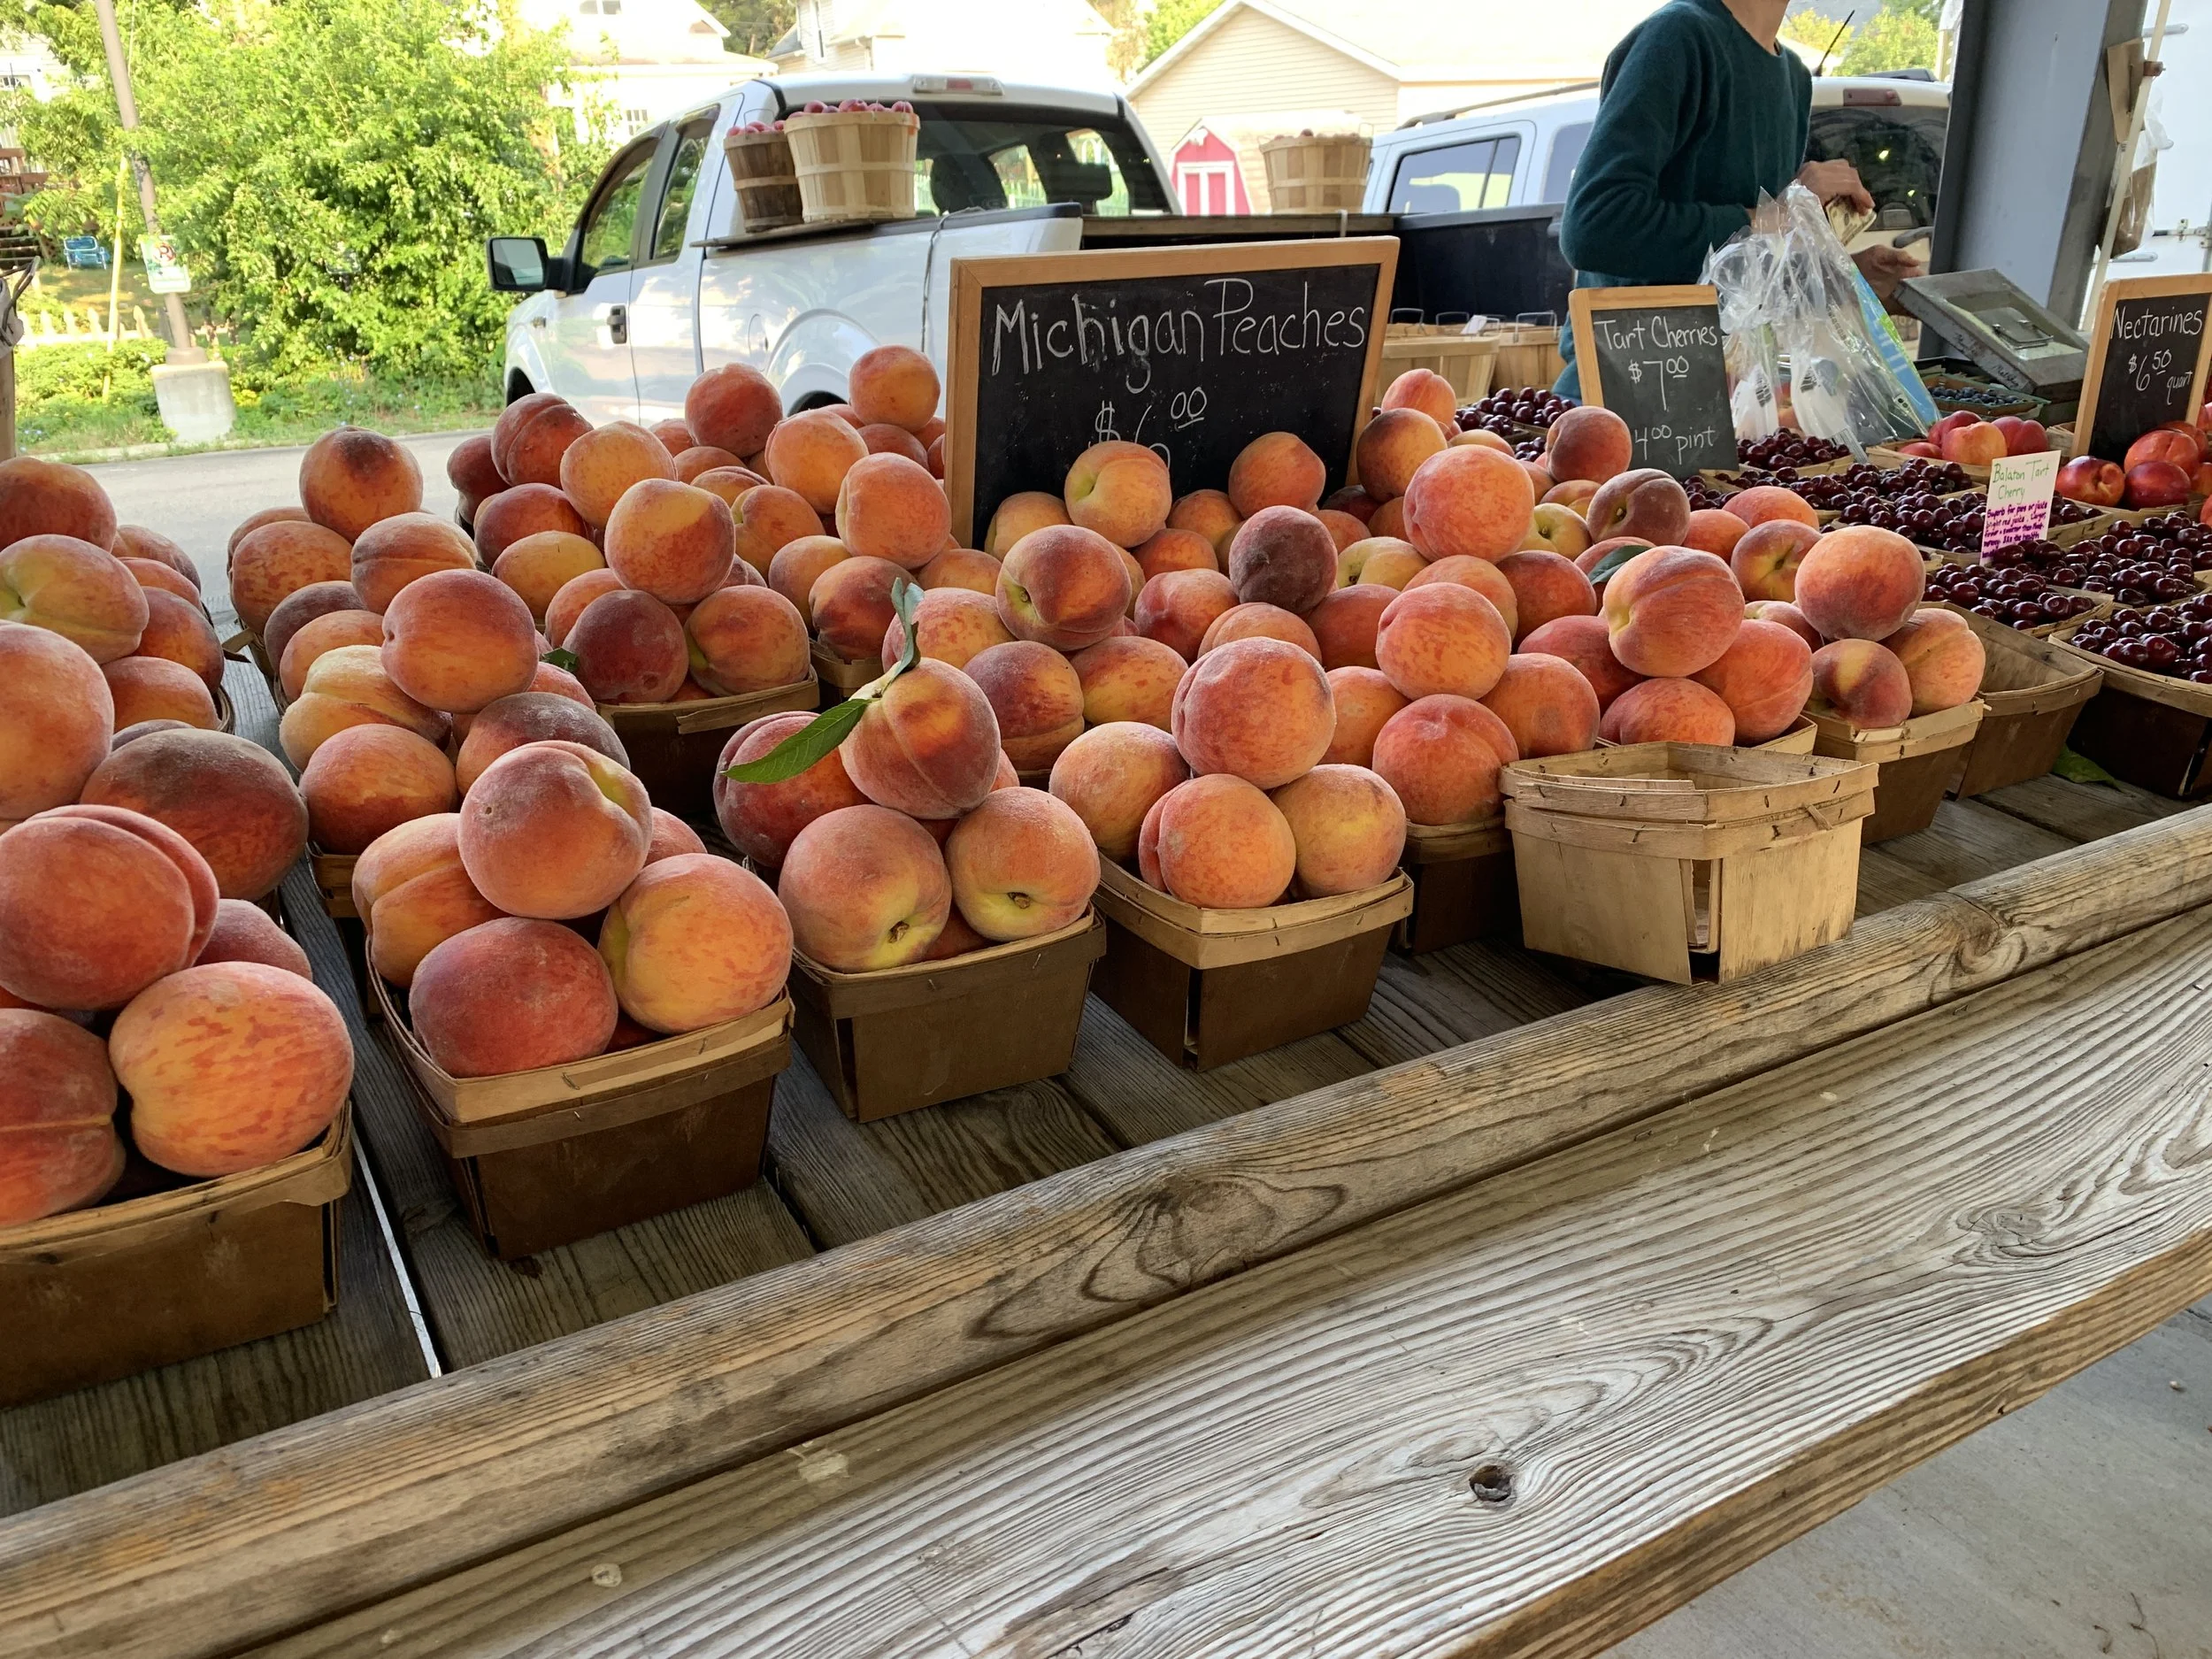
Nyblad farms is one of our favorite vendors, especially for stone fruits like the plums above and peaches below.
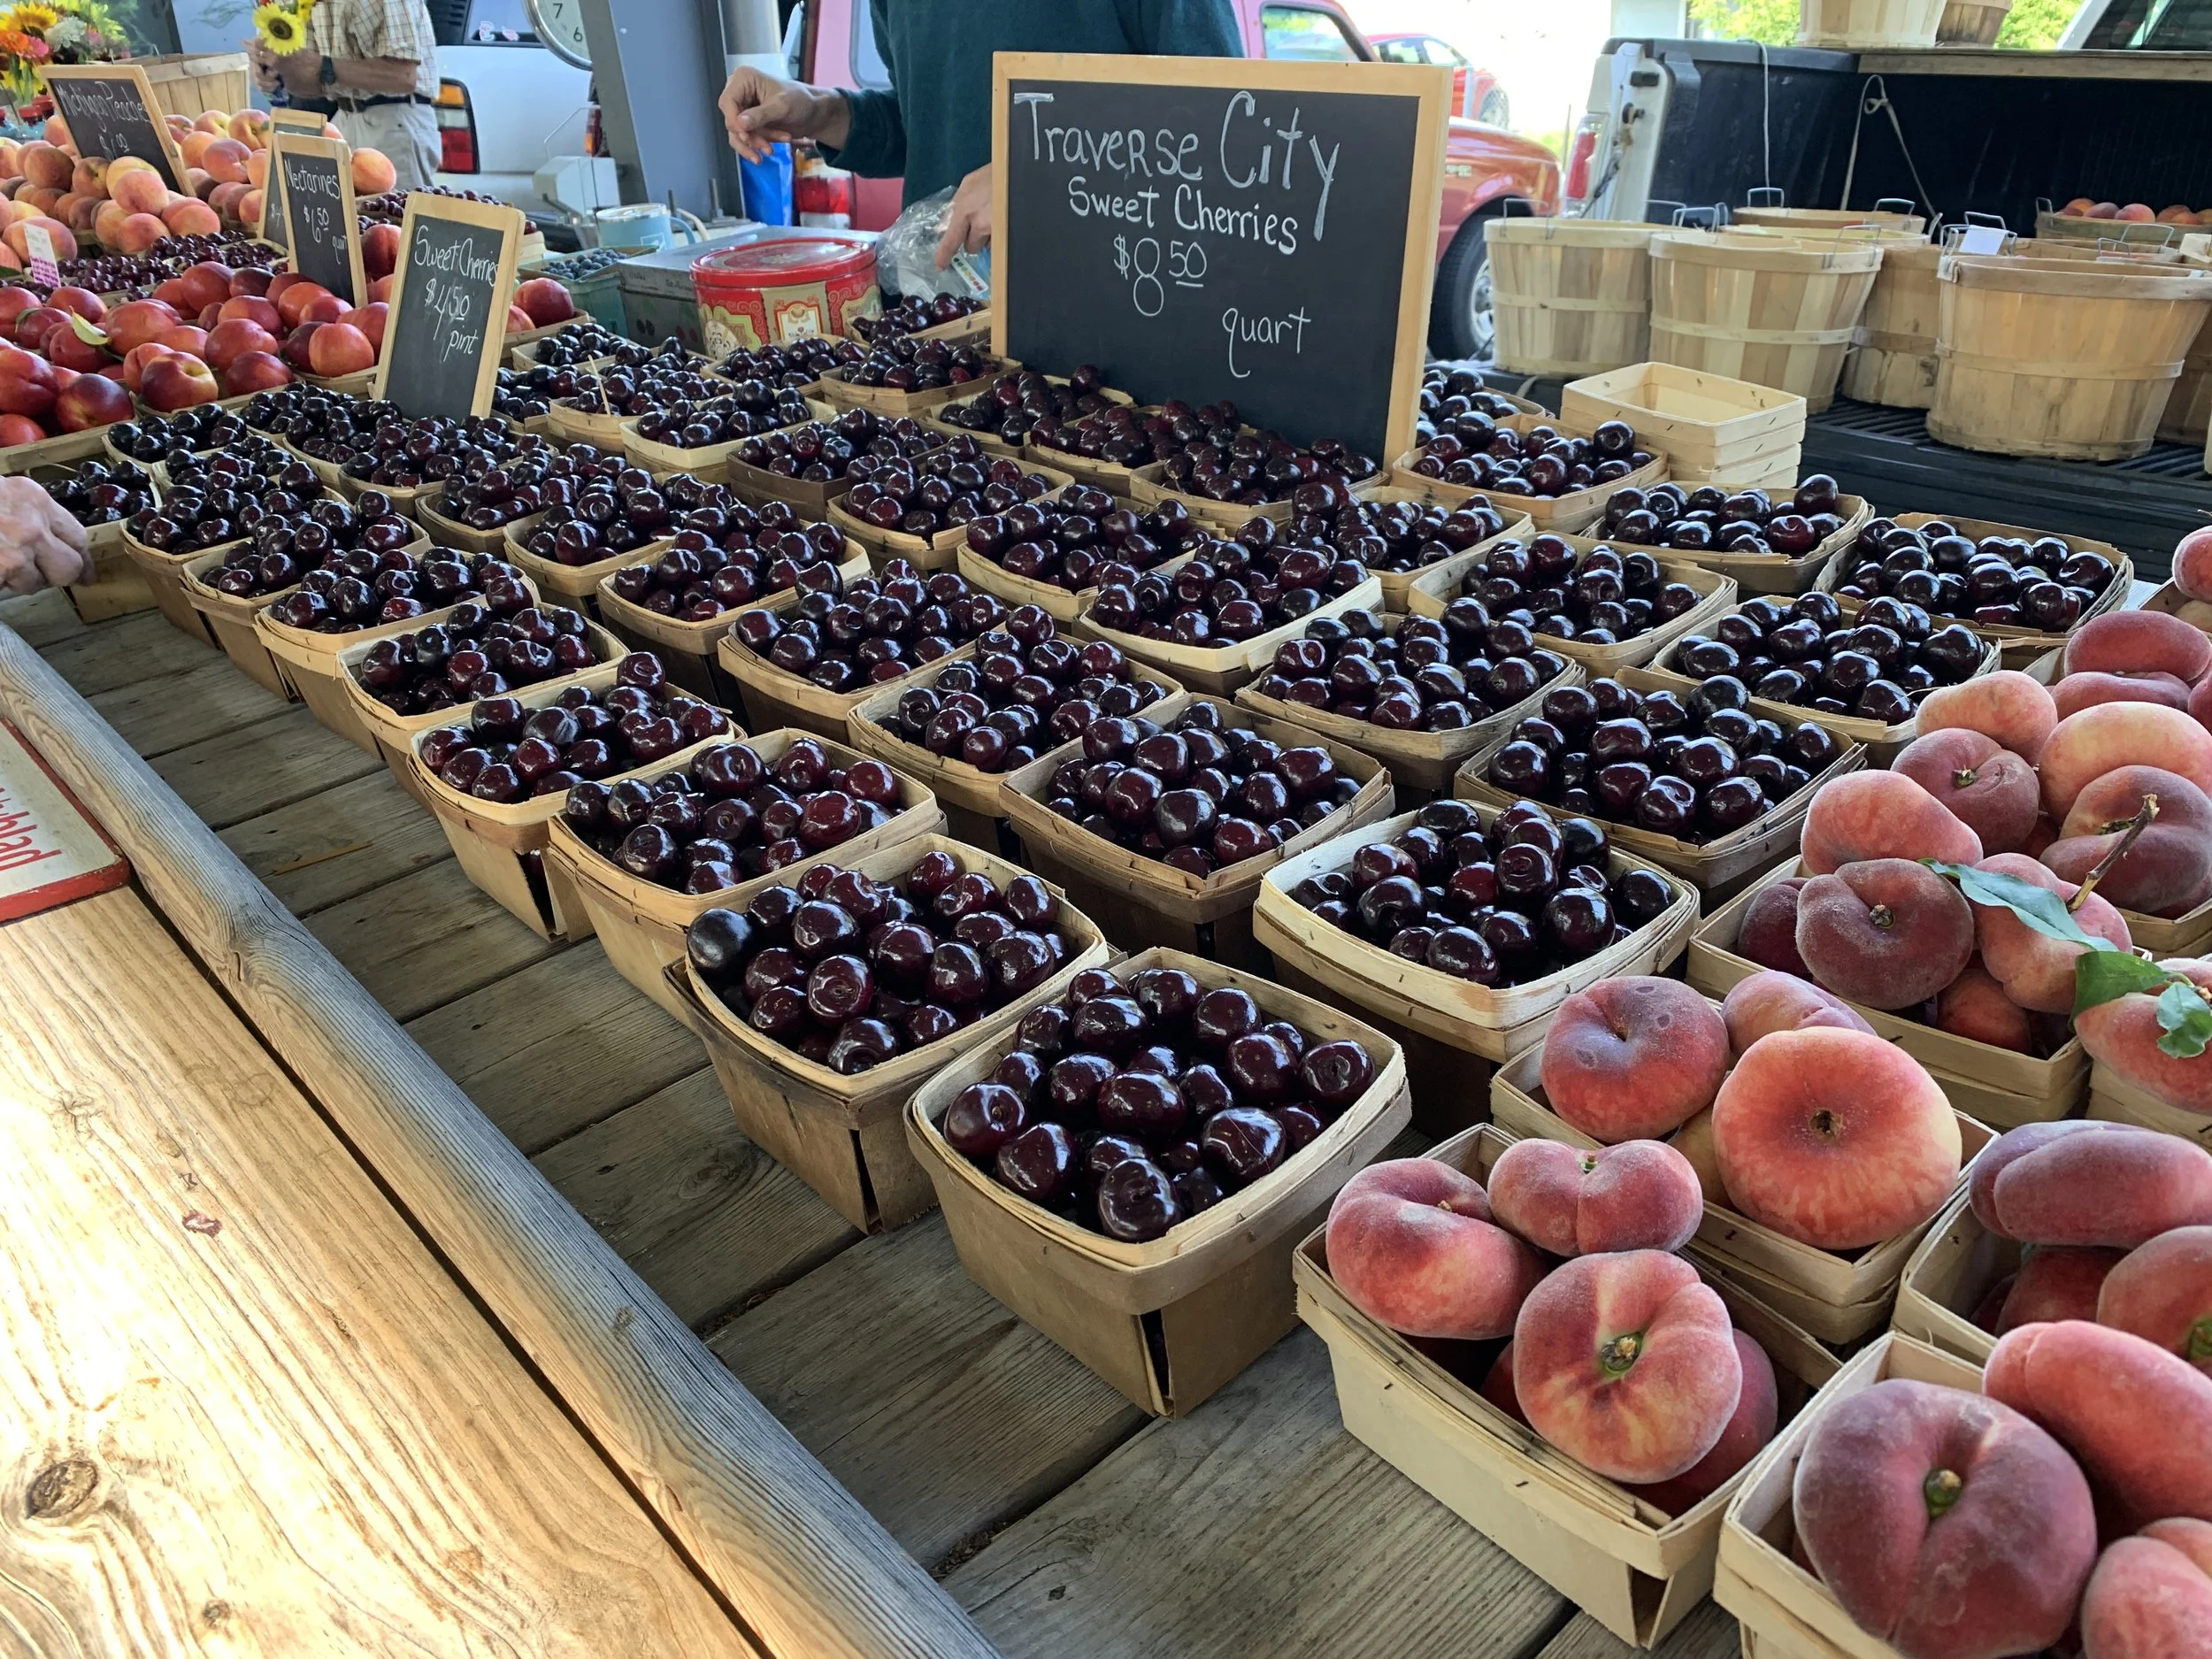
Sweet cherries were going strong but alas are finished for the season. But I now have a nice stash of pitted tart cherries in my freezer for upcoming projects. Yay!
Tortoise and Hare offers beautiful, fresh and delicious veggies, herbs and greens.
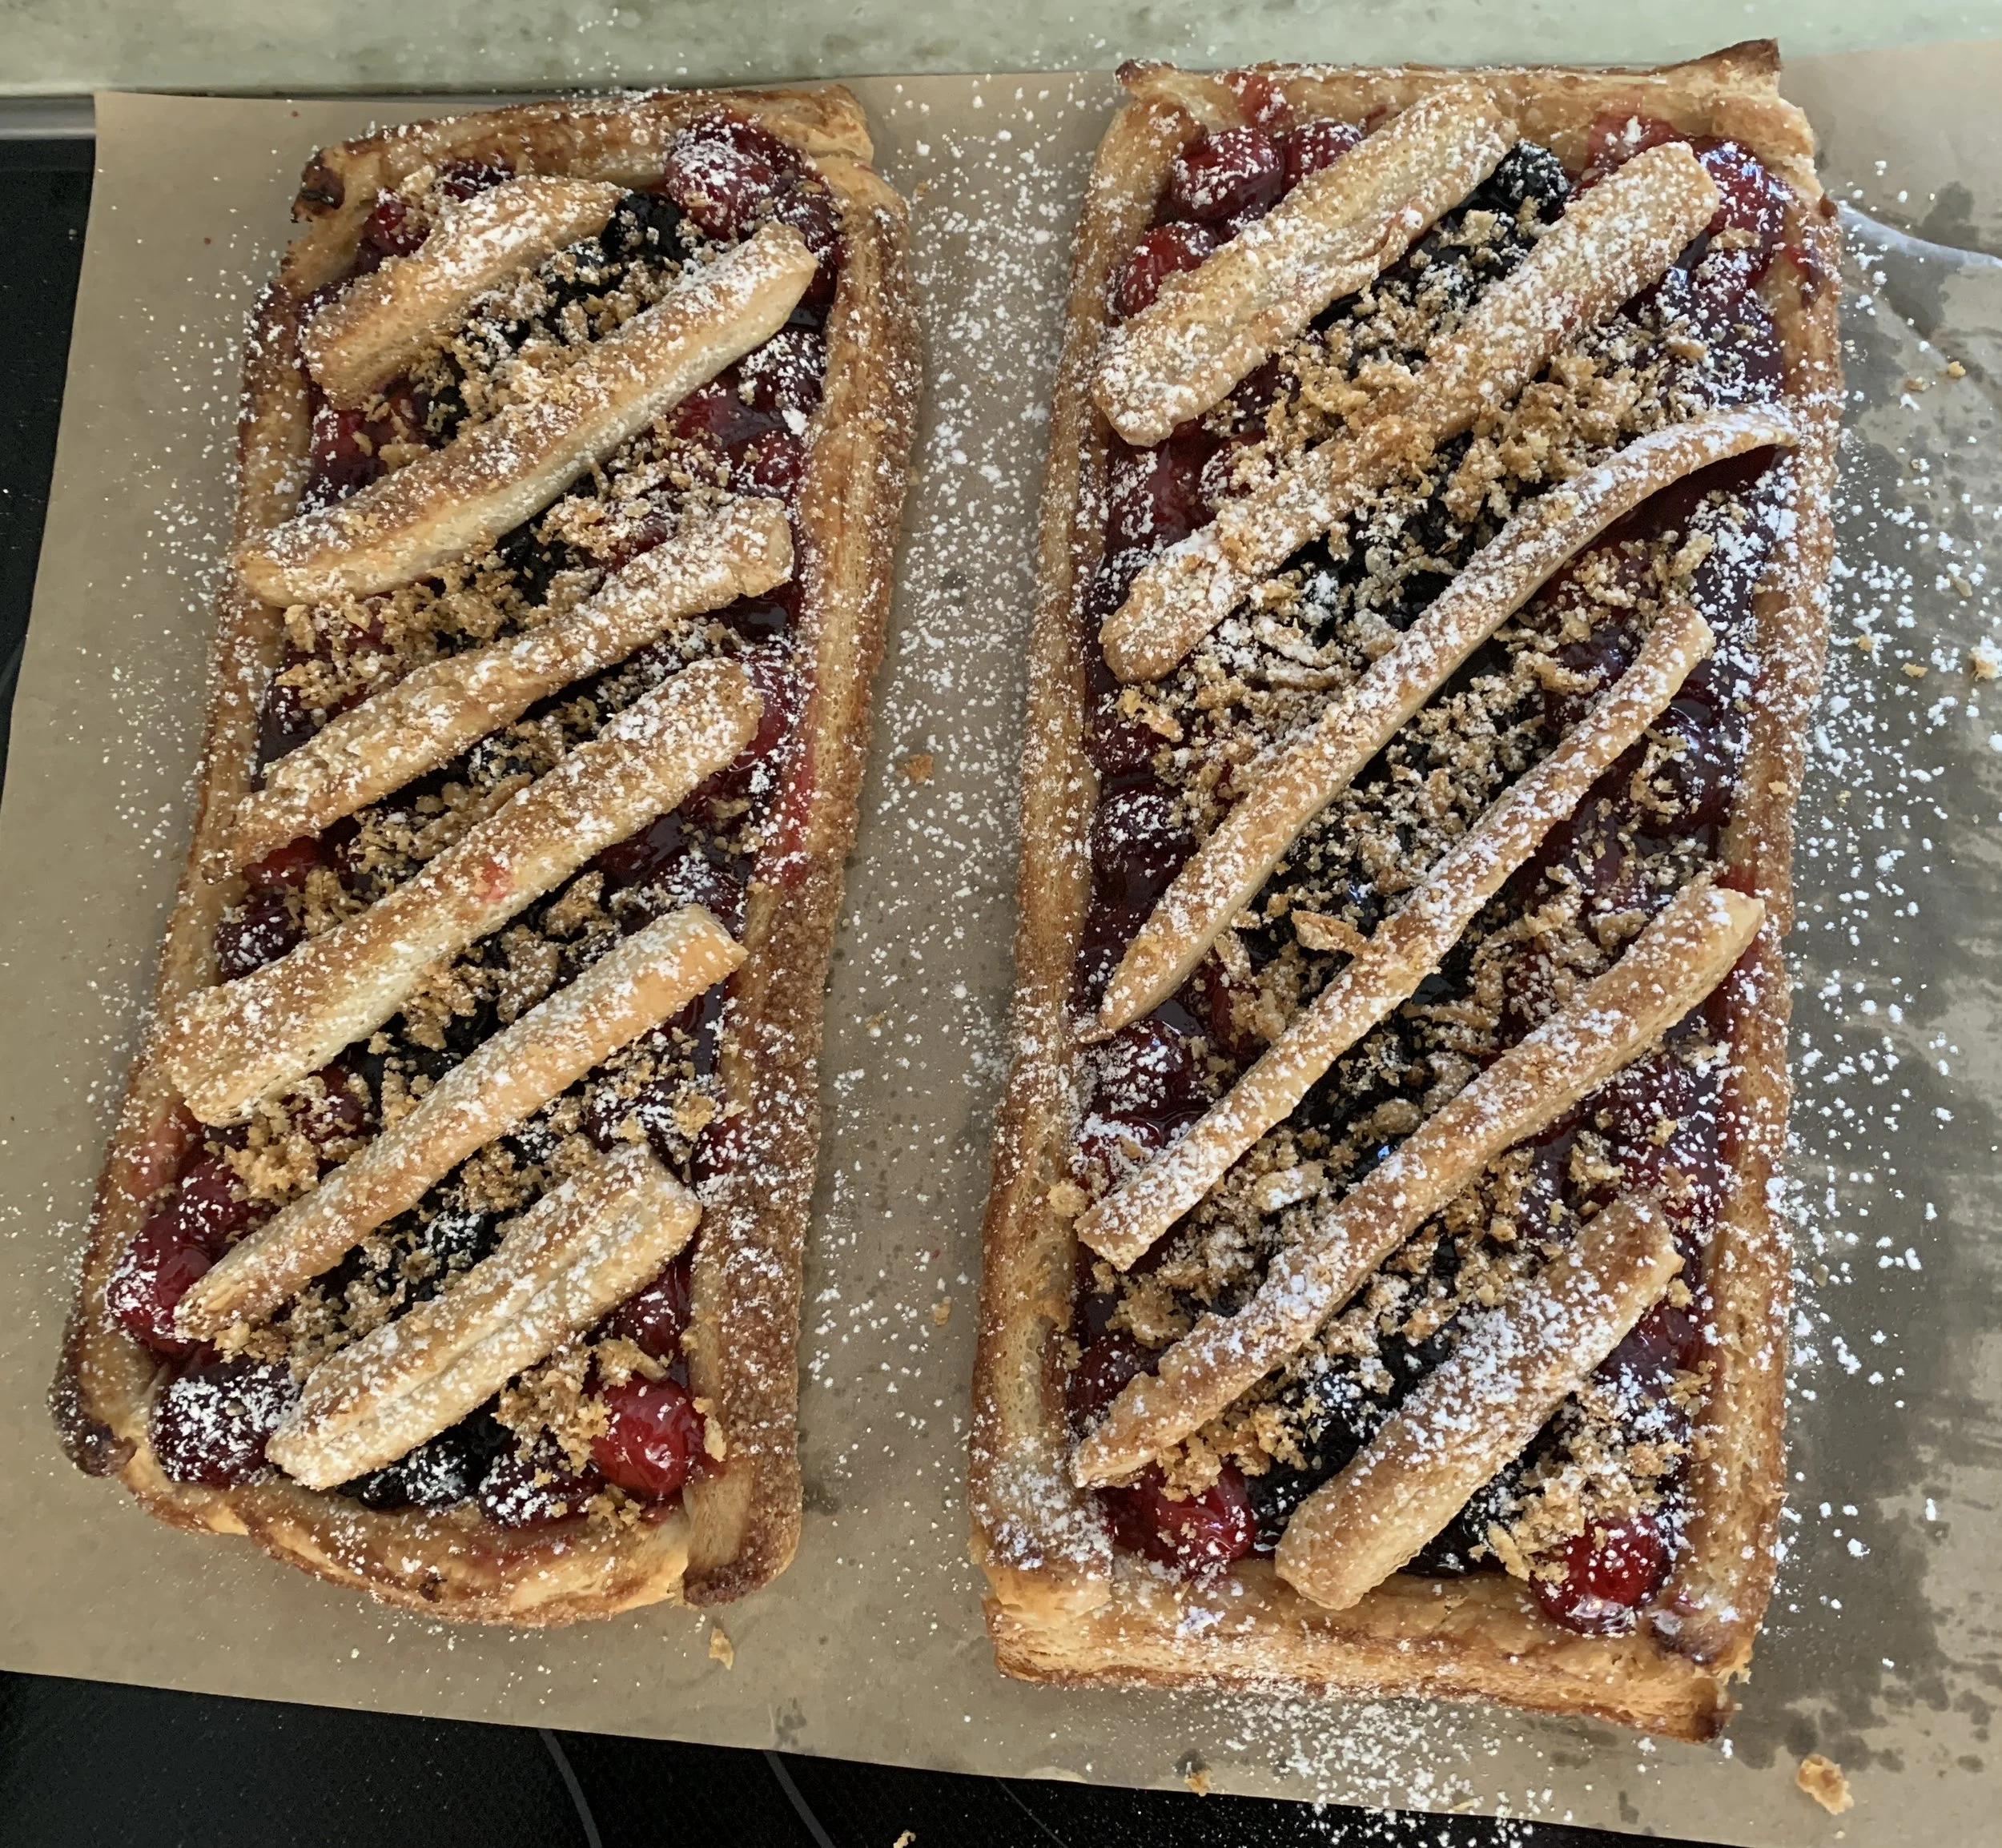
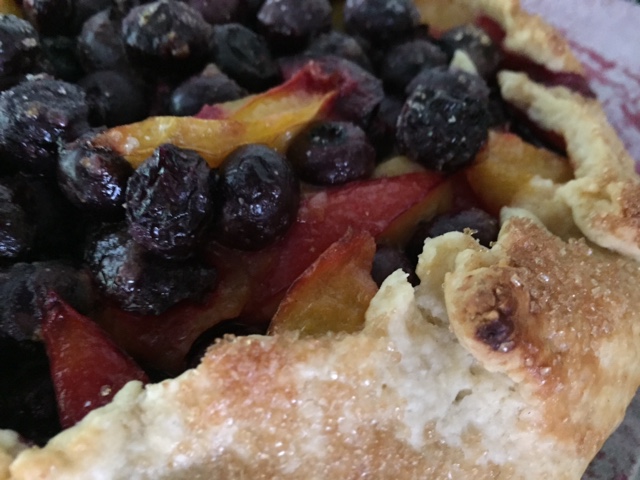
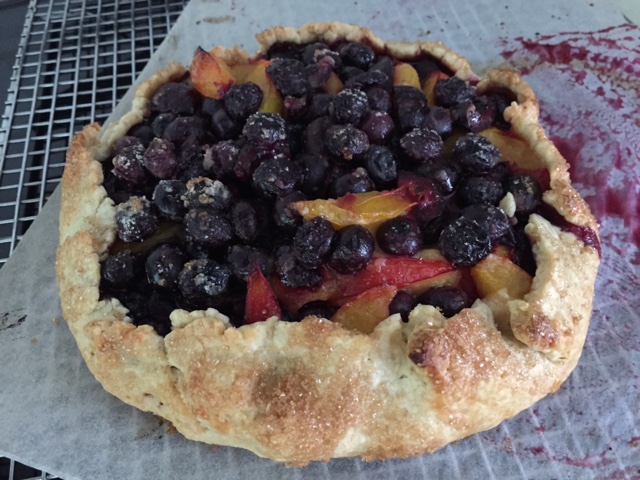
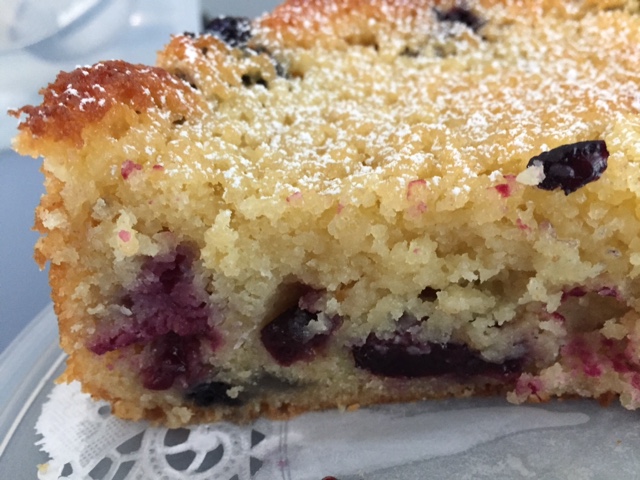
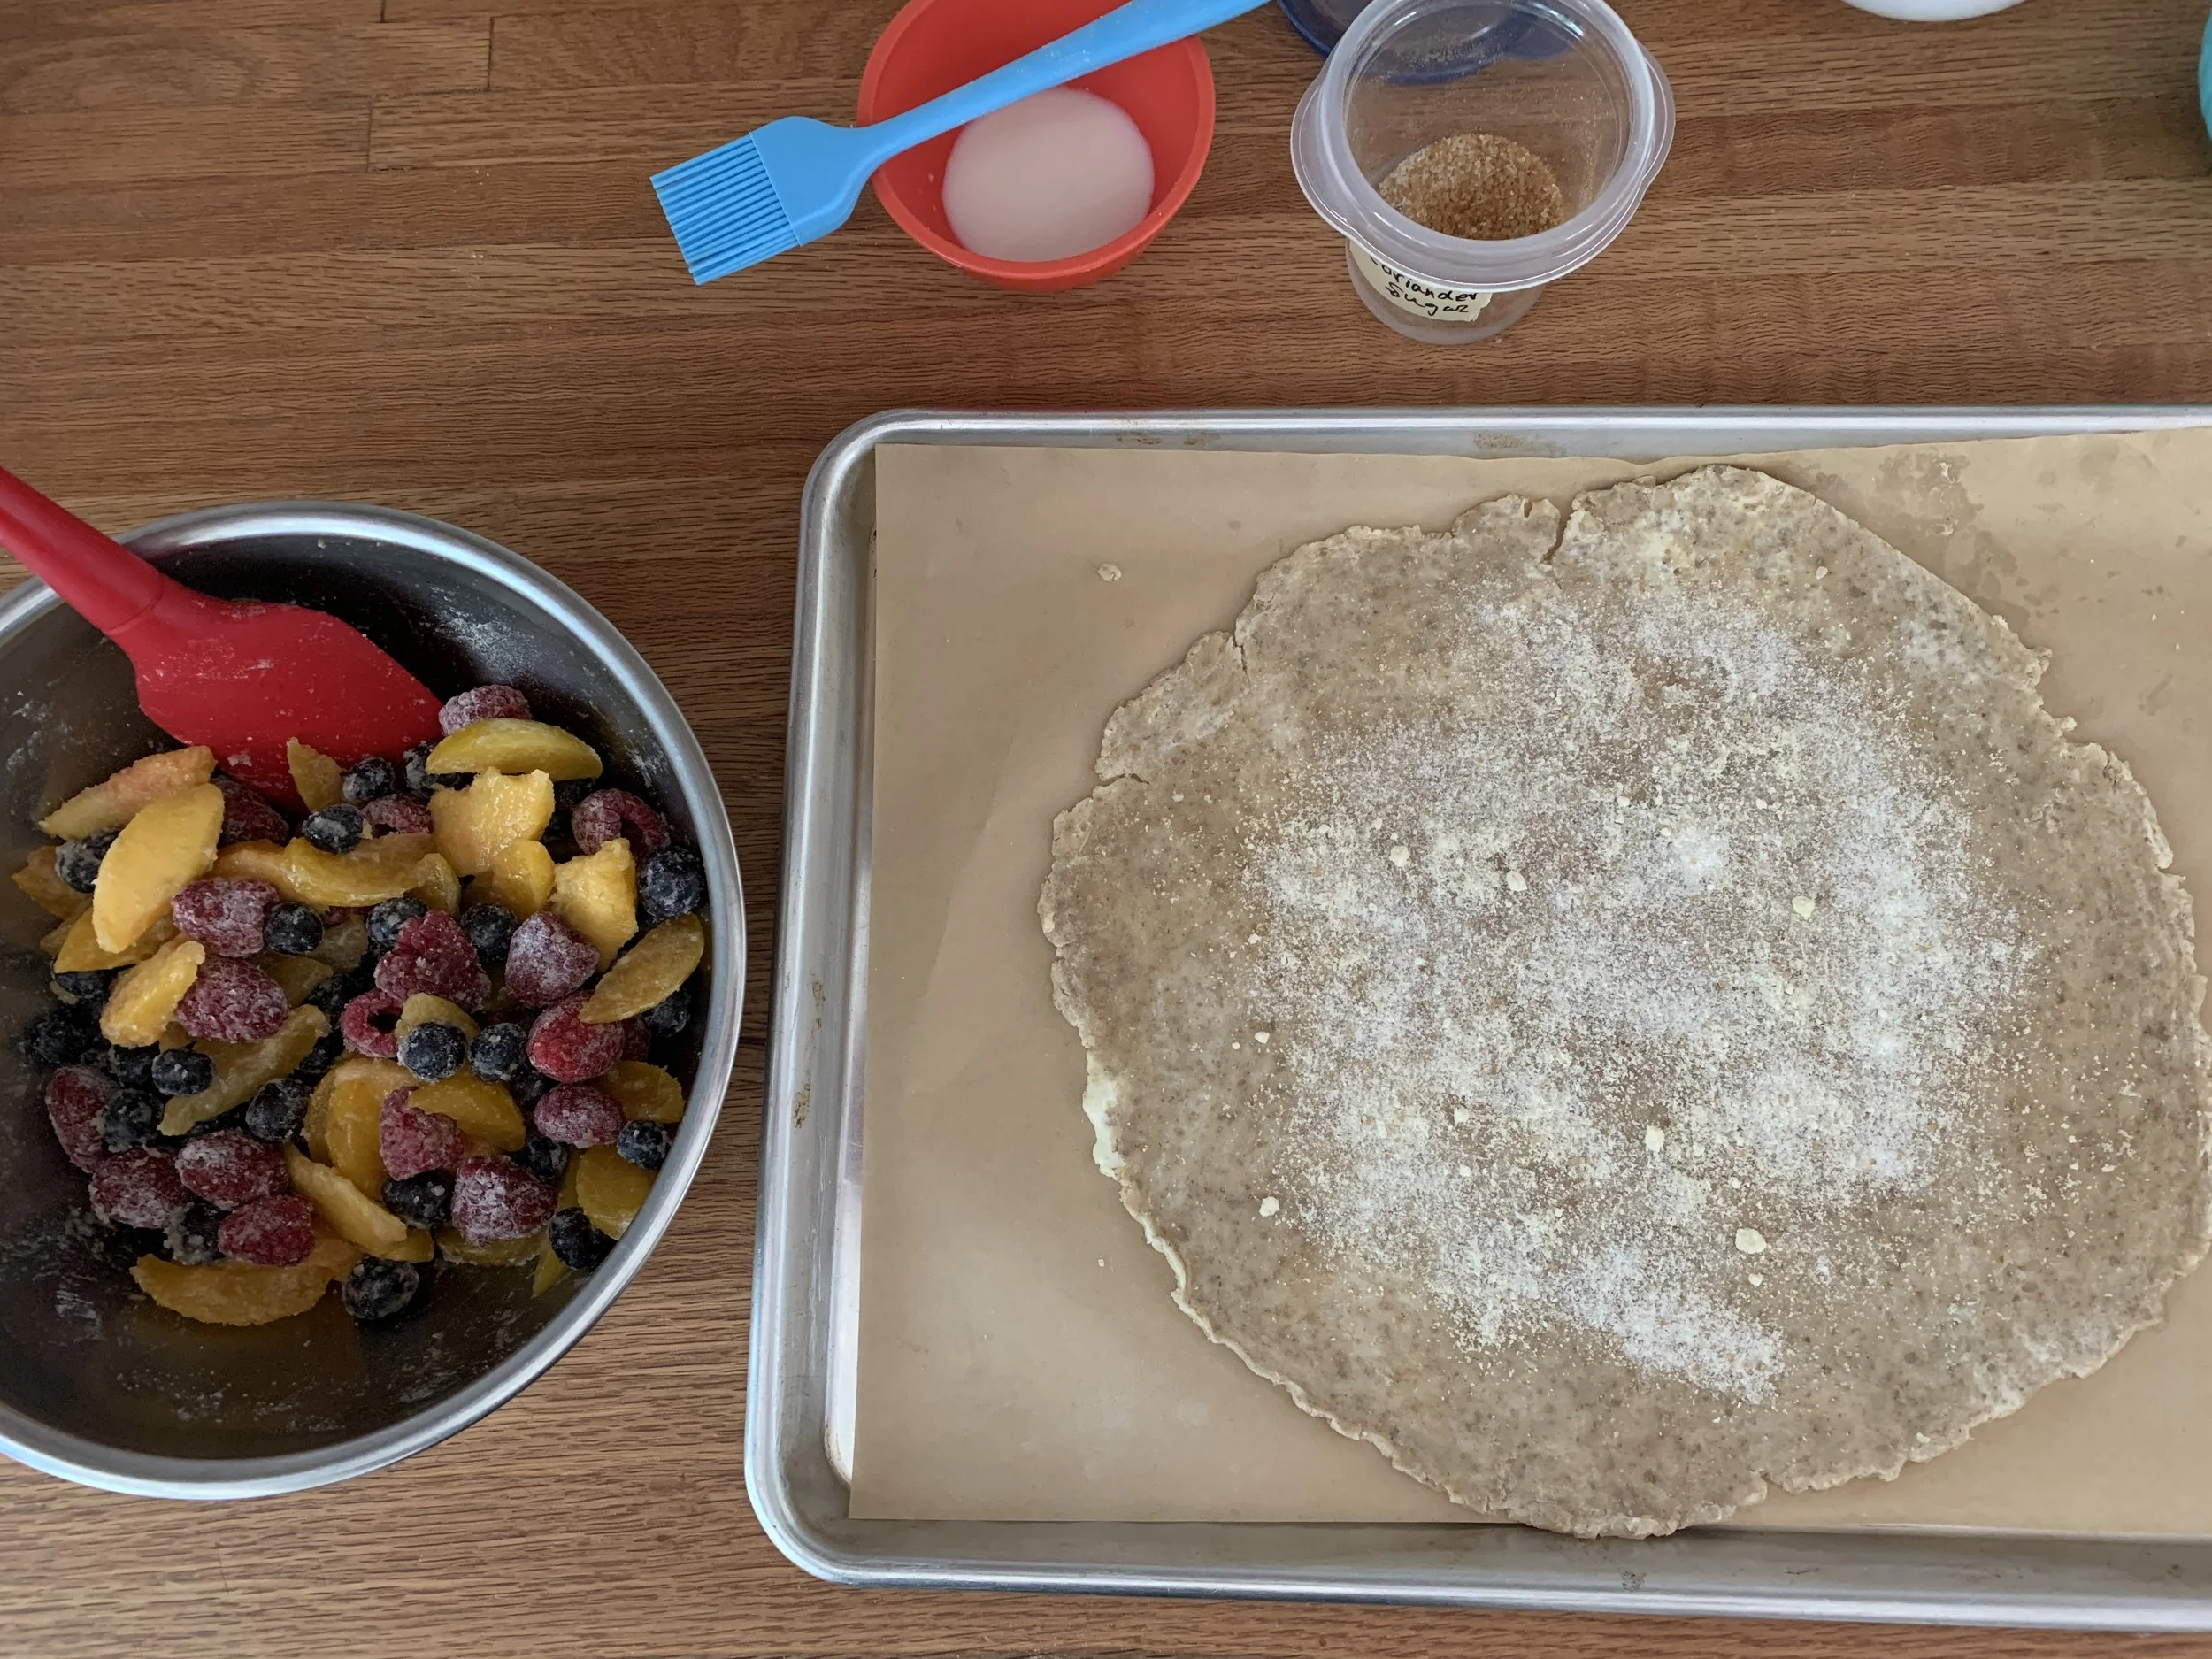
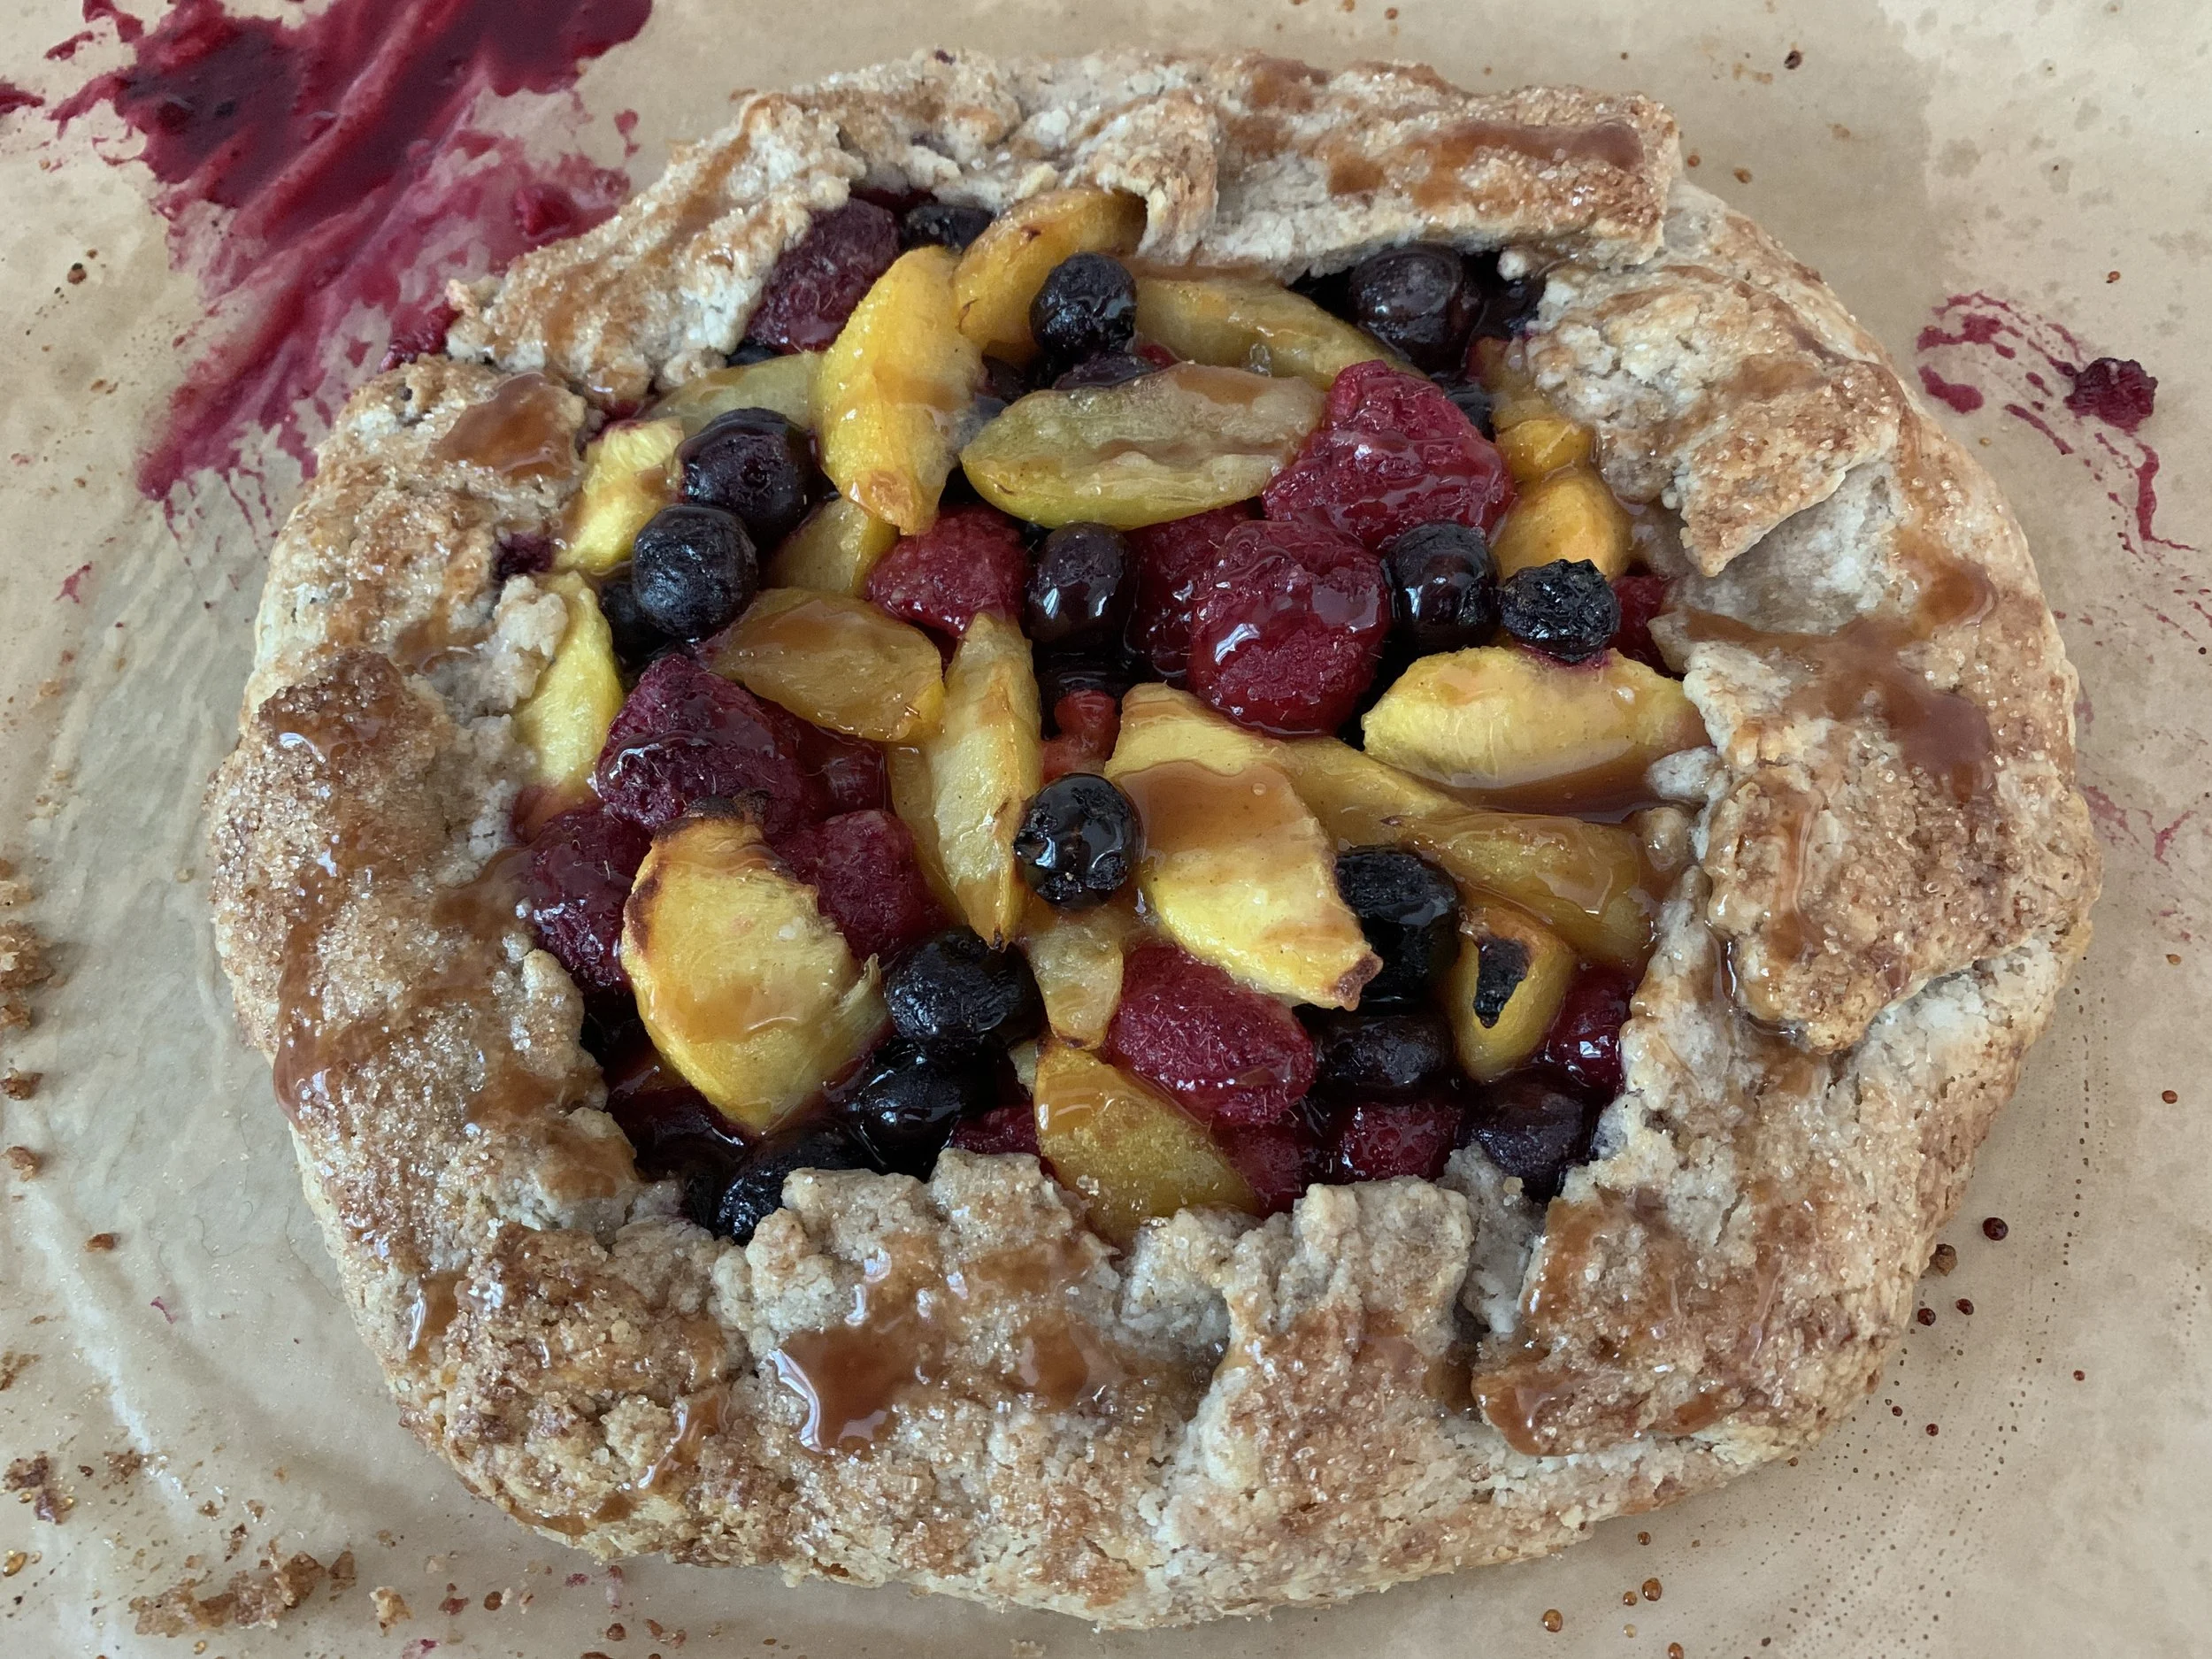
OK! Let’s do some baking! Since I had some of my favorite pâte brisée handy in the freezer, I decided to whip up a lovely rustic mixed fruit galette using peaches, plums, blueberries and raspberries. I’ve written about galettes on and off over the years but it never hurts to focus on what summer’s bounty has to offer.
Heat the oven to 400ºF while you proceed with preparation and assembly. I bake my galette on a sheet pan placed directly on my heated baking stone.
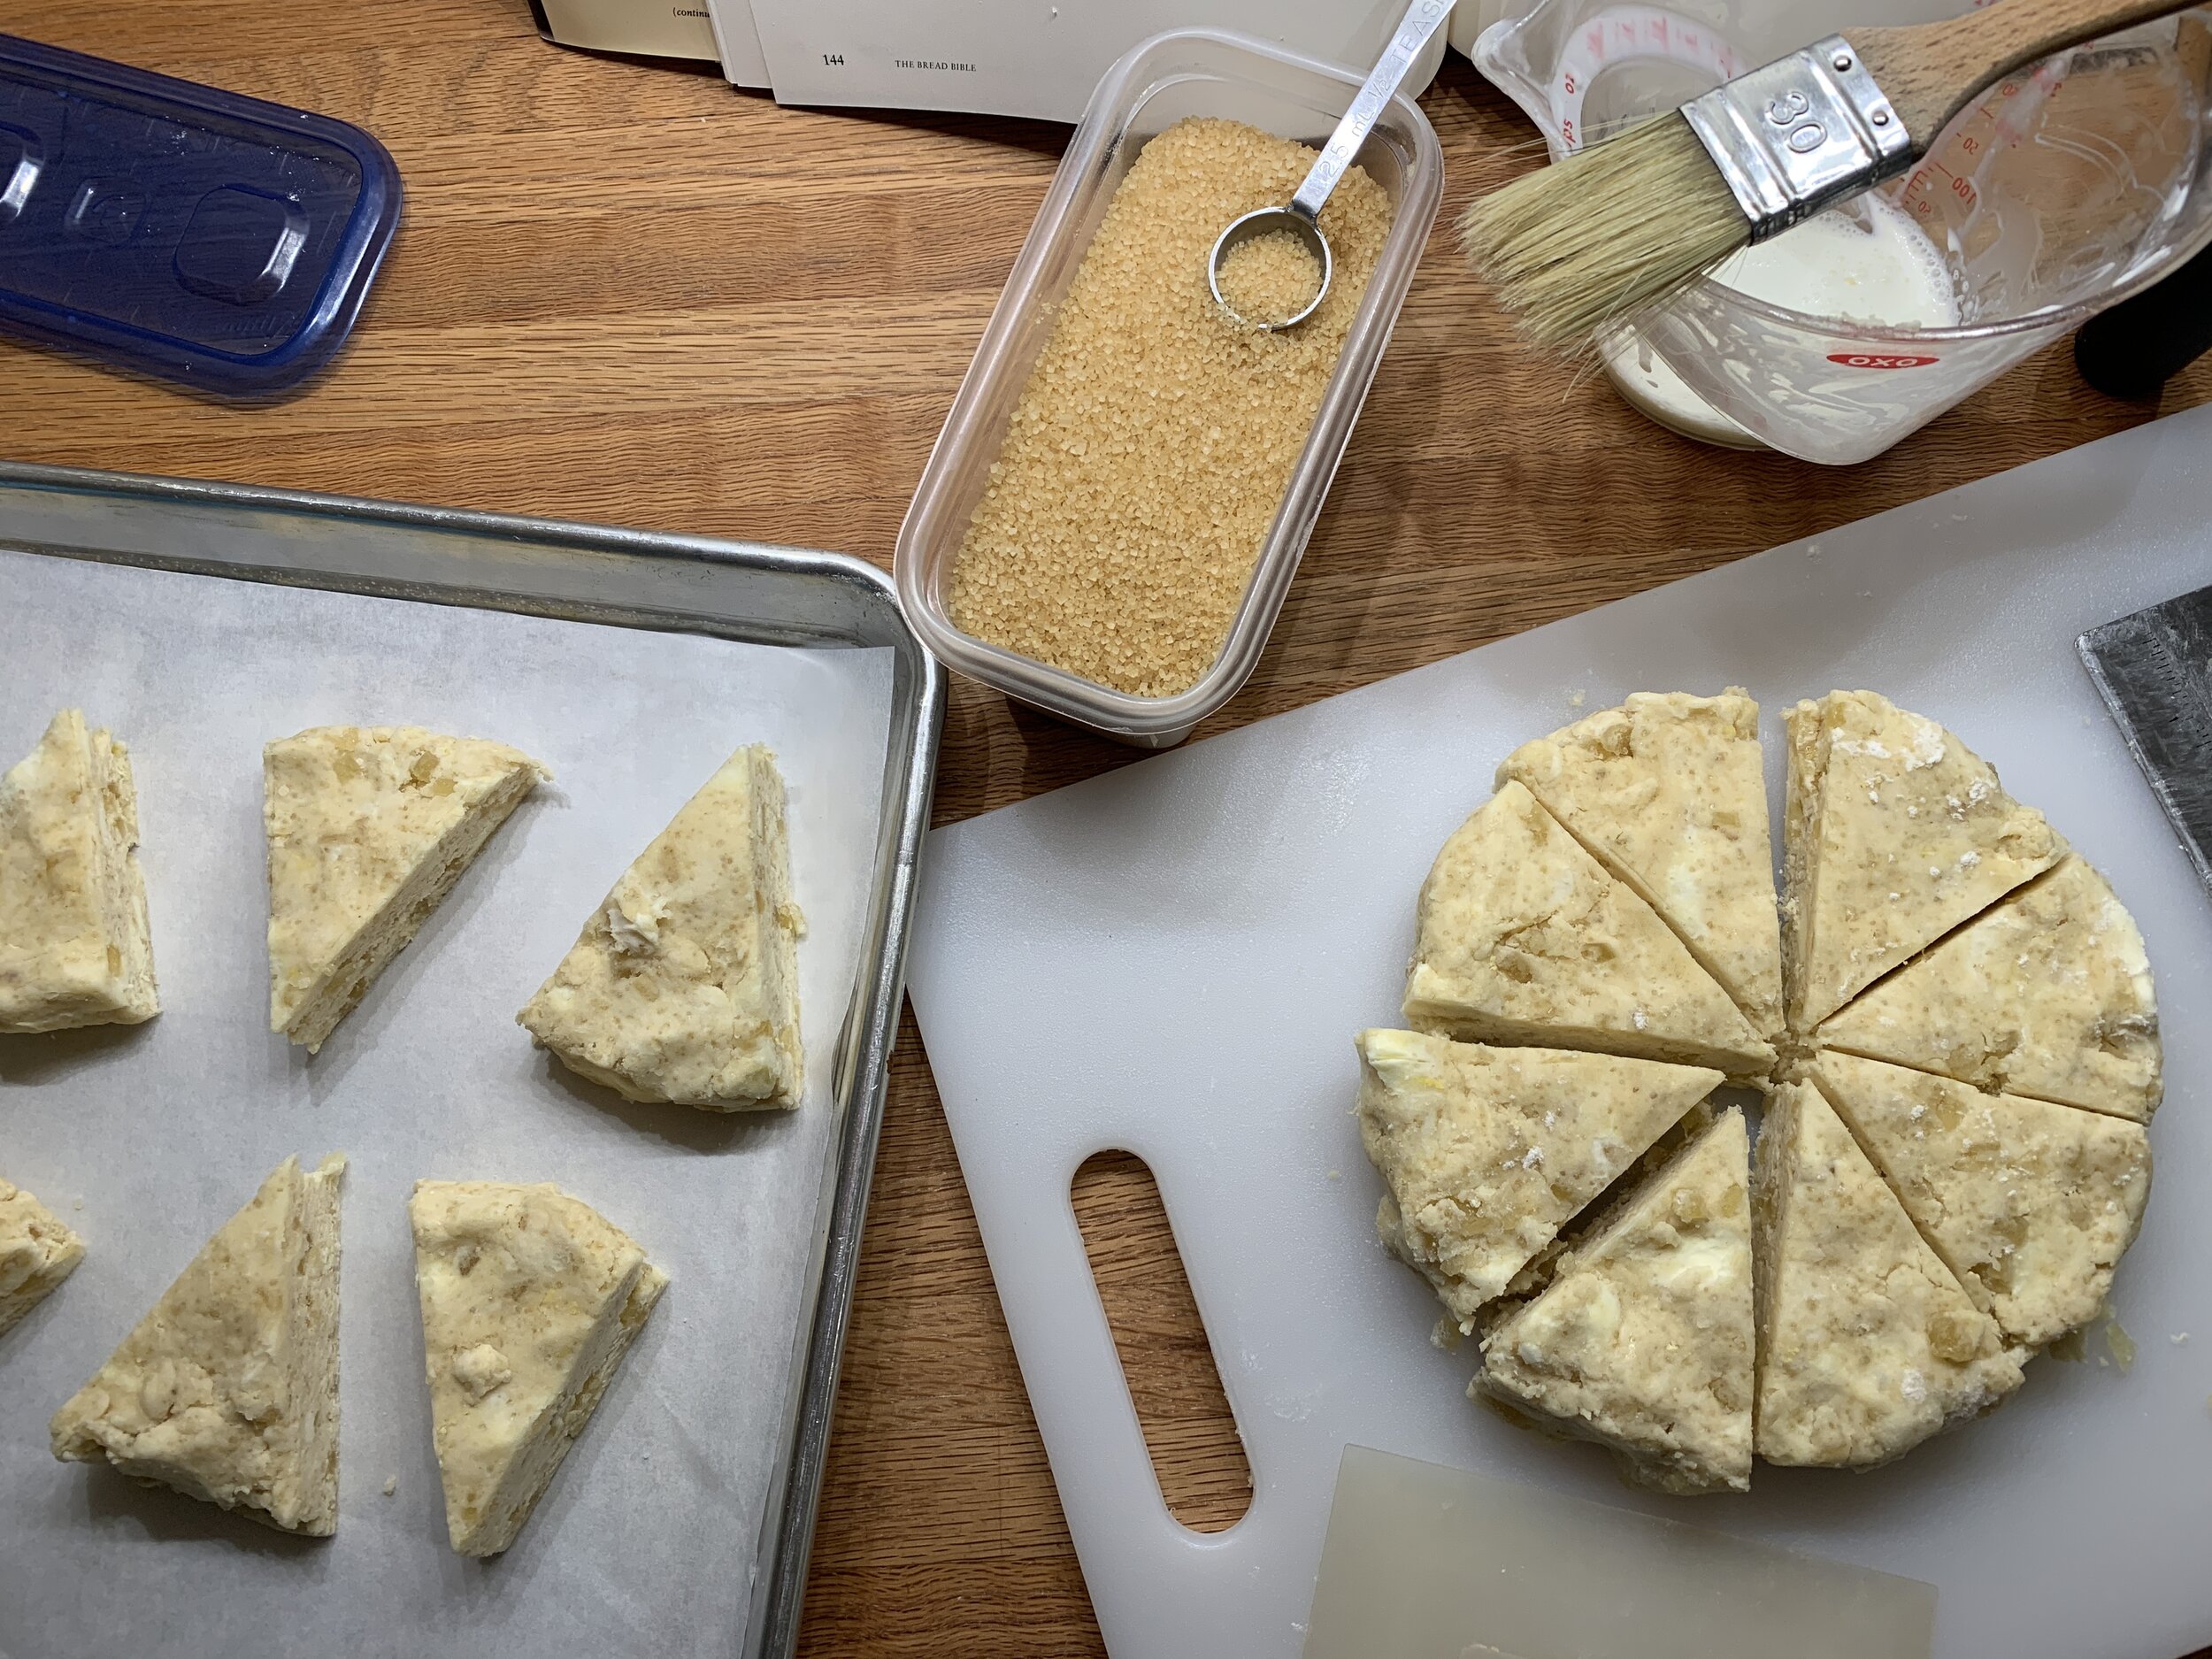
For a finished galette of about 9”, roll the dough out to an approximately 10-11” round to give yourself enough to pleat the edges up around the fruit. The dough should always be cool yet malleable. NOTE: Pâte brisée is generally a bit stiffer than a more flexible pâte sucrée, but be patient with it and you’ll be happy with the end result (such a delicious dough!).
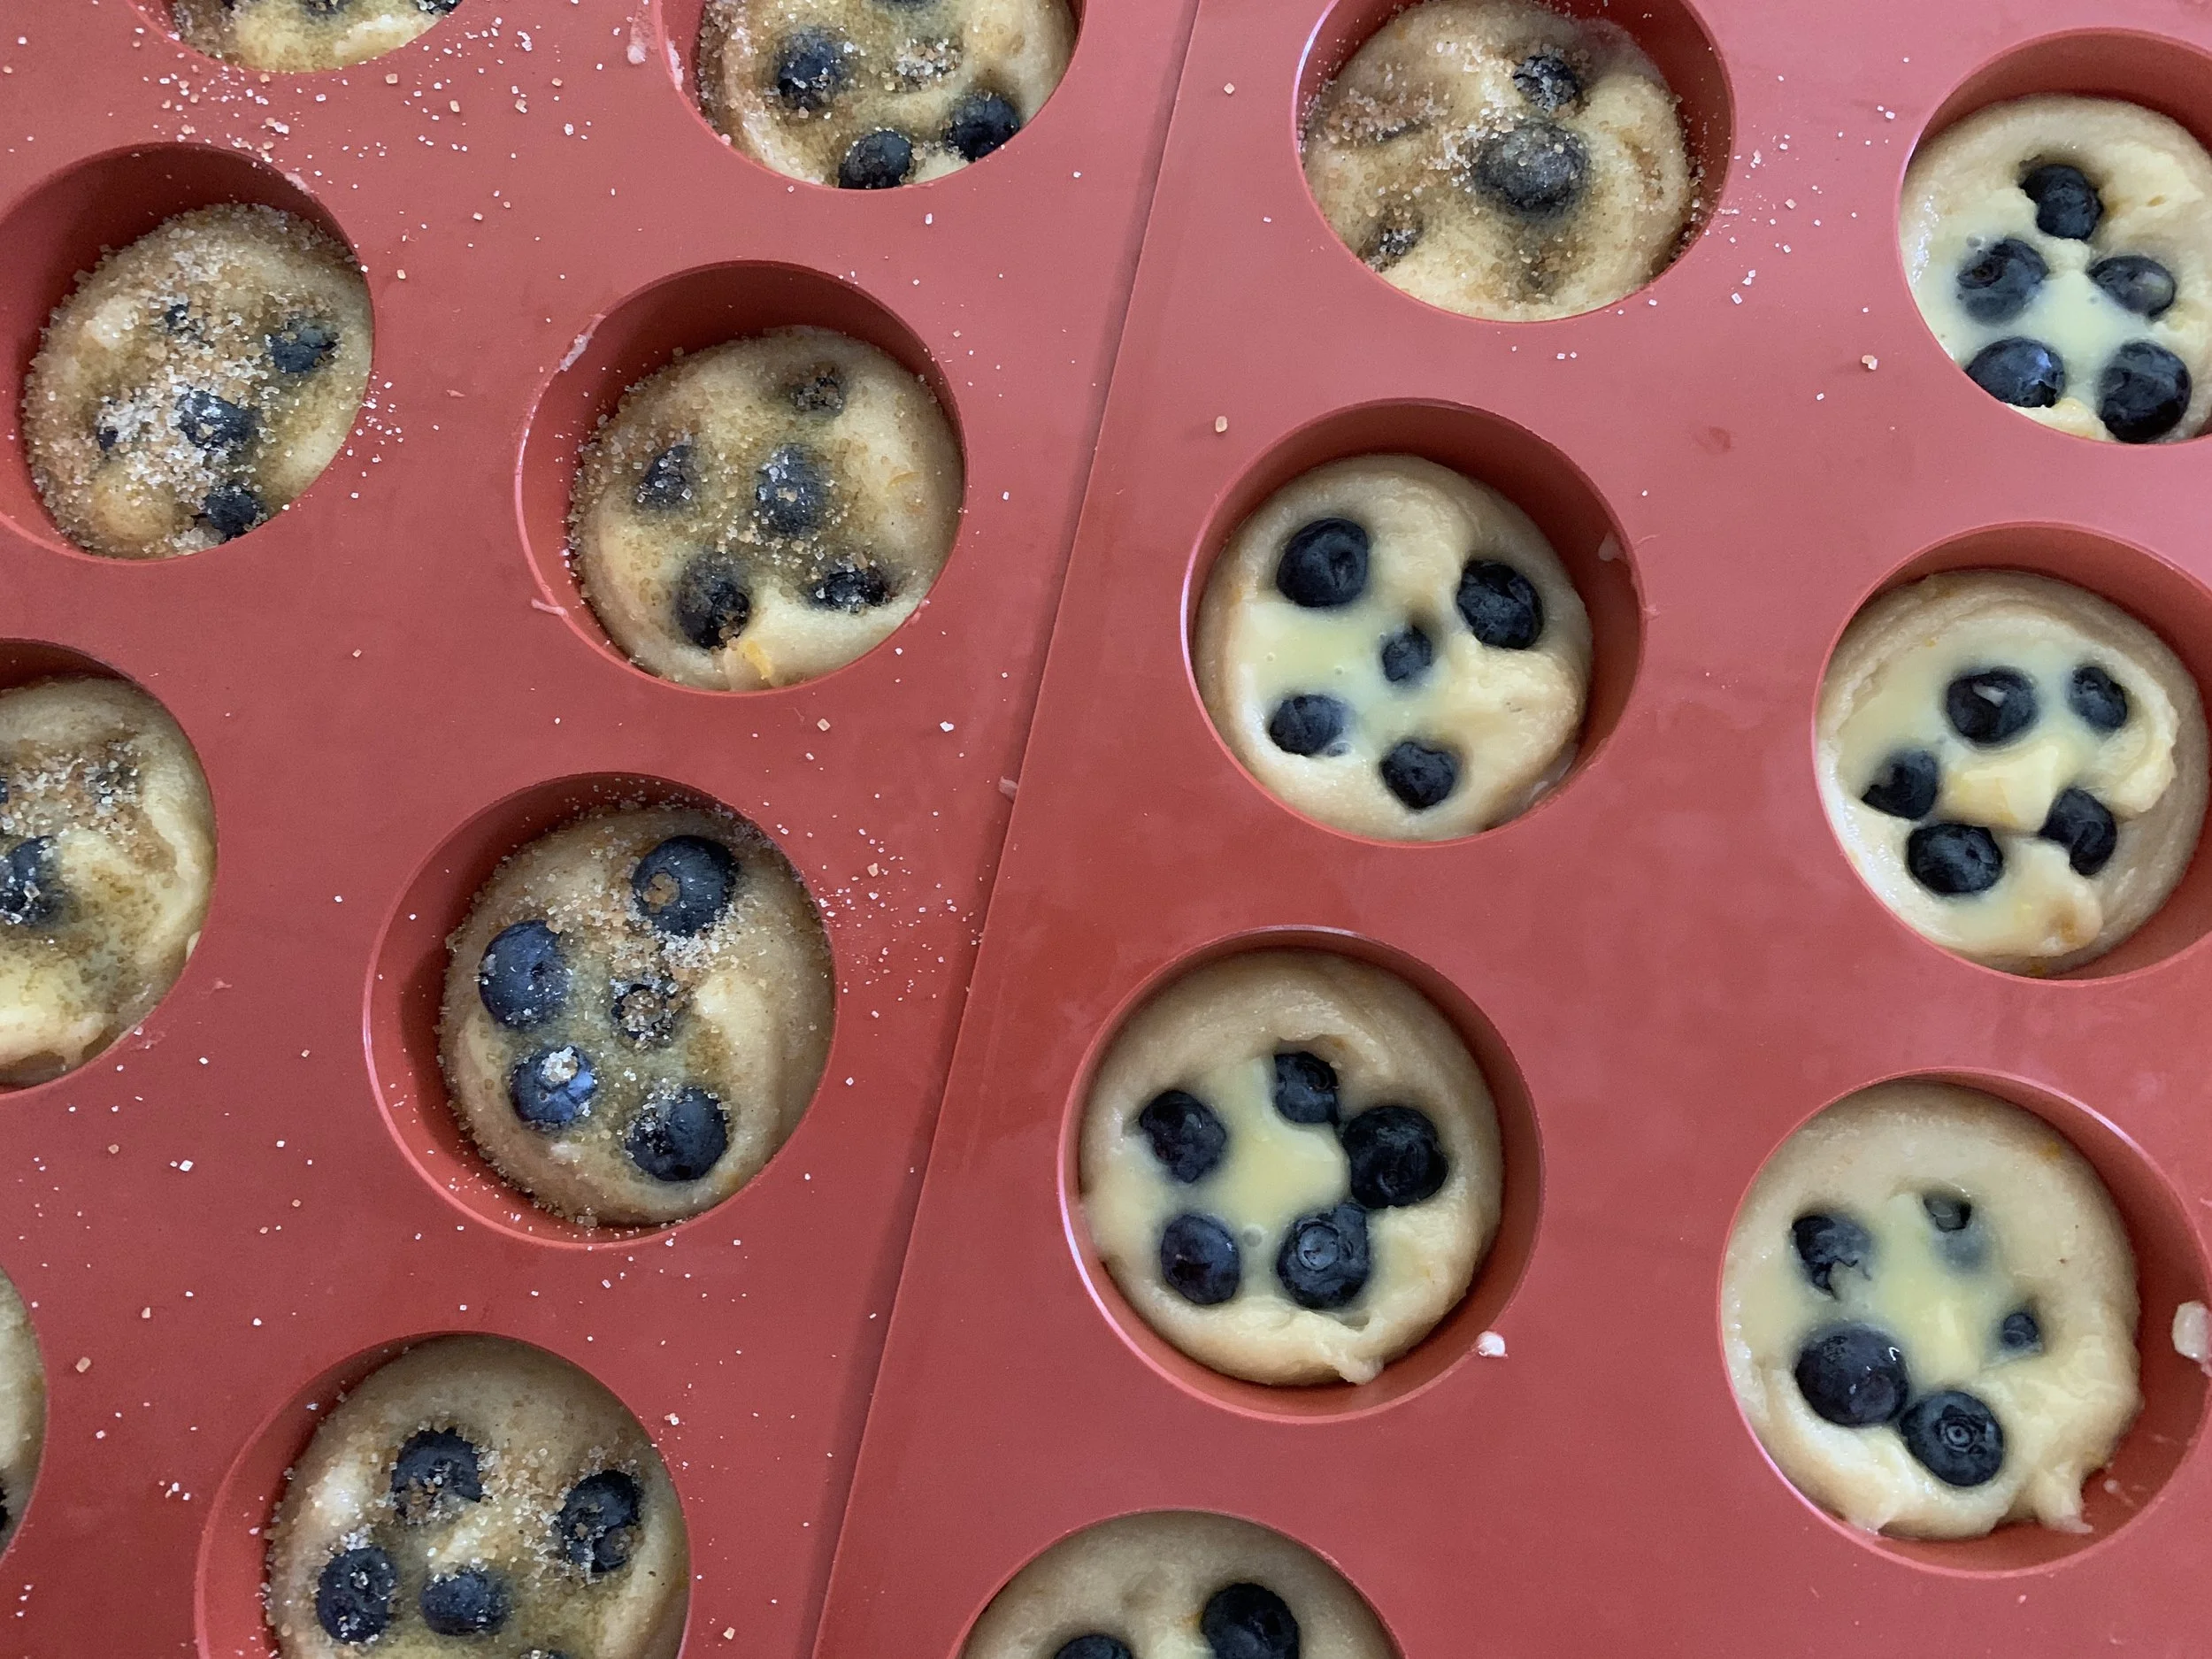
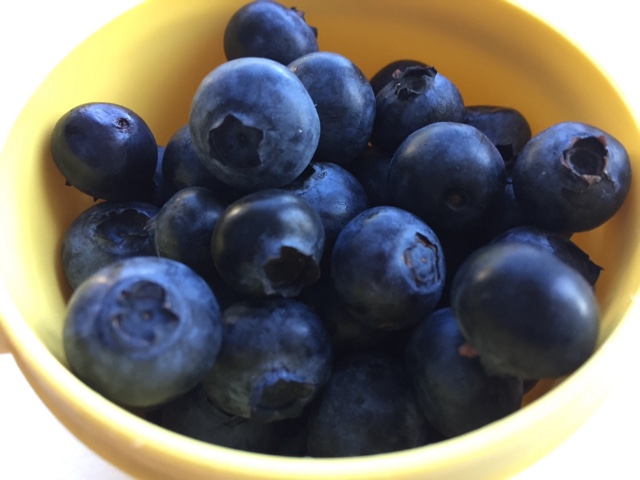
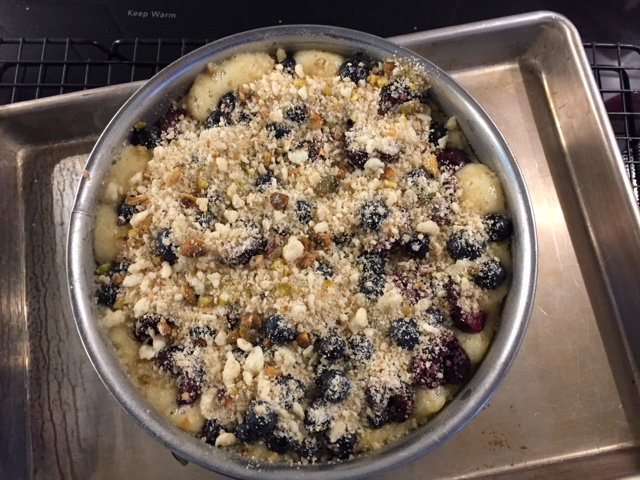
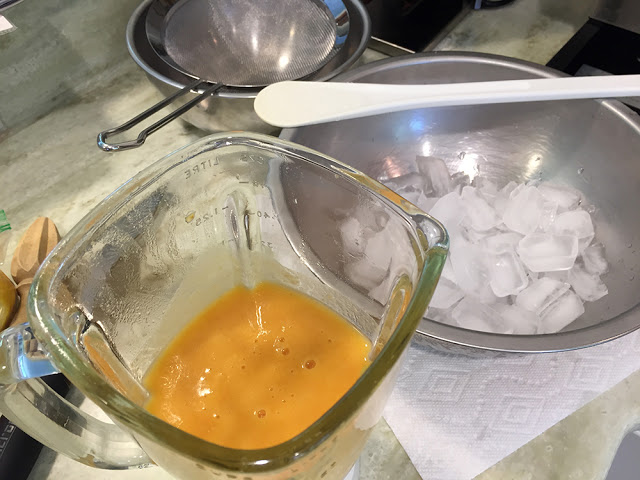
I use about 4 cups of fruit - I had a couple of peaches, four small plums and added frozen blueberries and raspberries to reach that goal. I toss the fruit with a few tablespoons of sugar mixed with half as much flour (I tend to go light on the sweetening - sometimes you just have to experiment).
DO NOT mix your fruit until you’re ready to load it onto the dough, particularly if using frozen fruit. If it sits too long, it’ll become juicy and may lead to soggy dough.
I mix a tablespoon each of raw sugar and flour (or almond flour) to sprinkle over the dough - it helps protect that bottom.
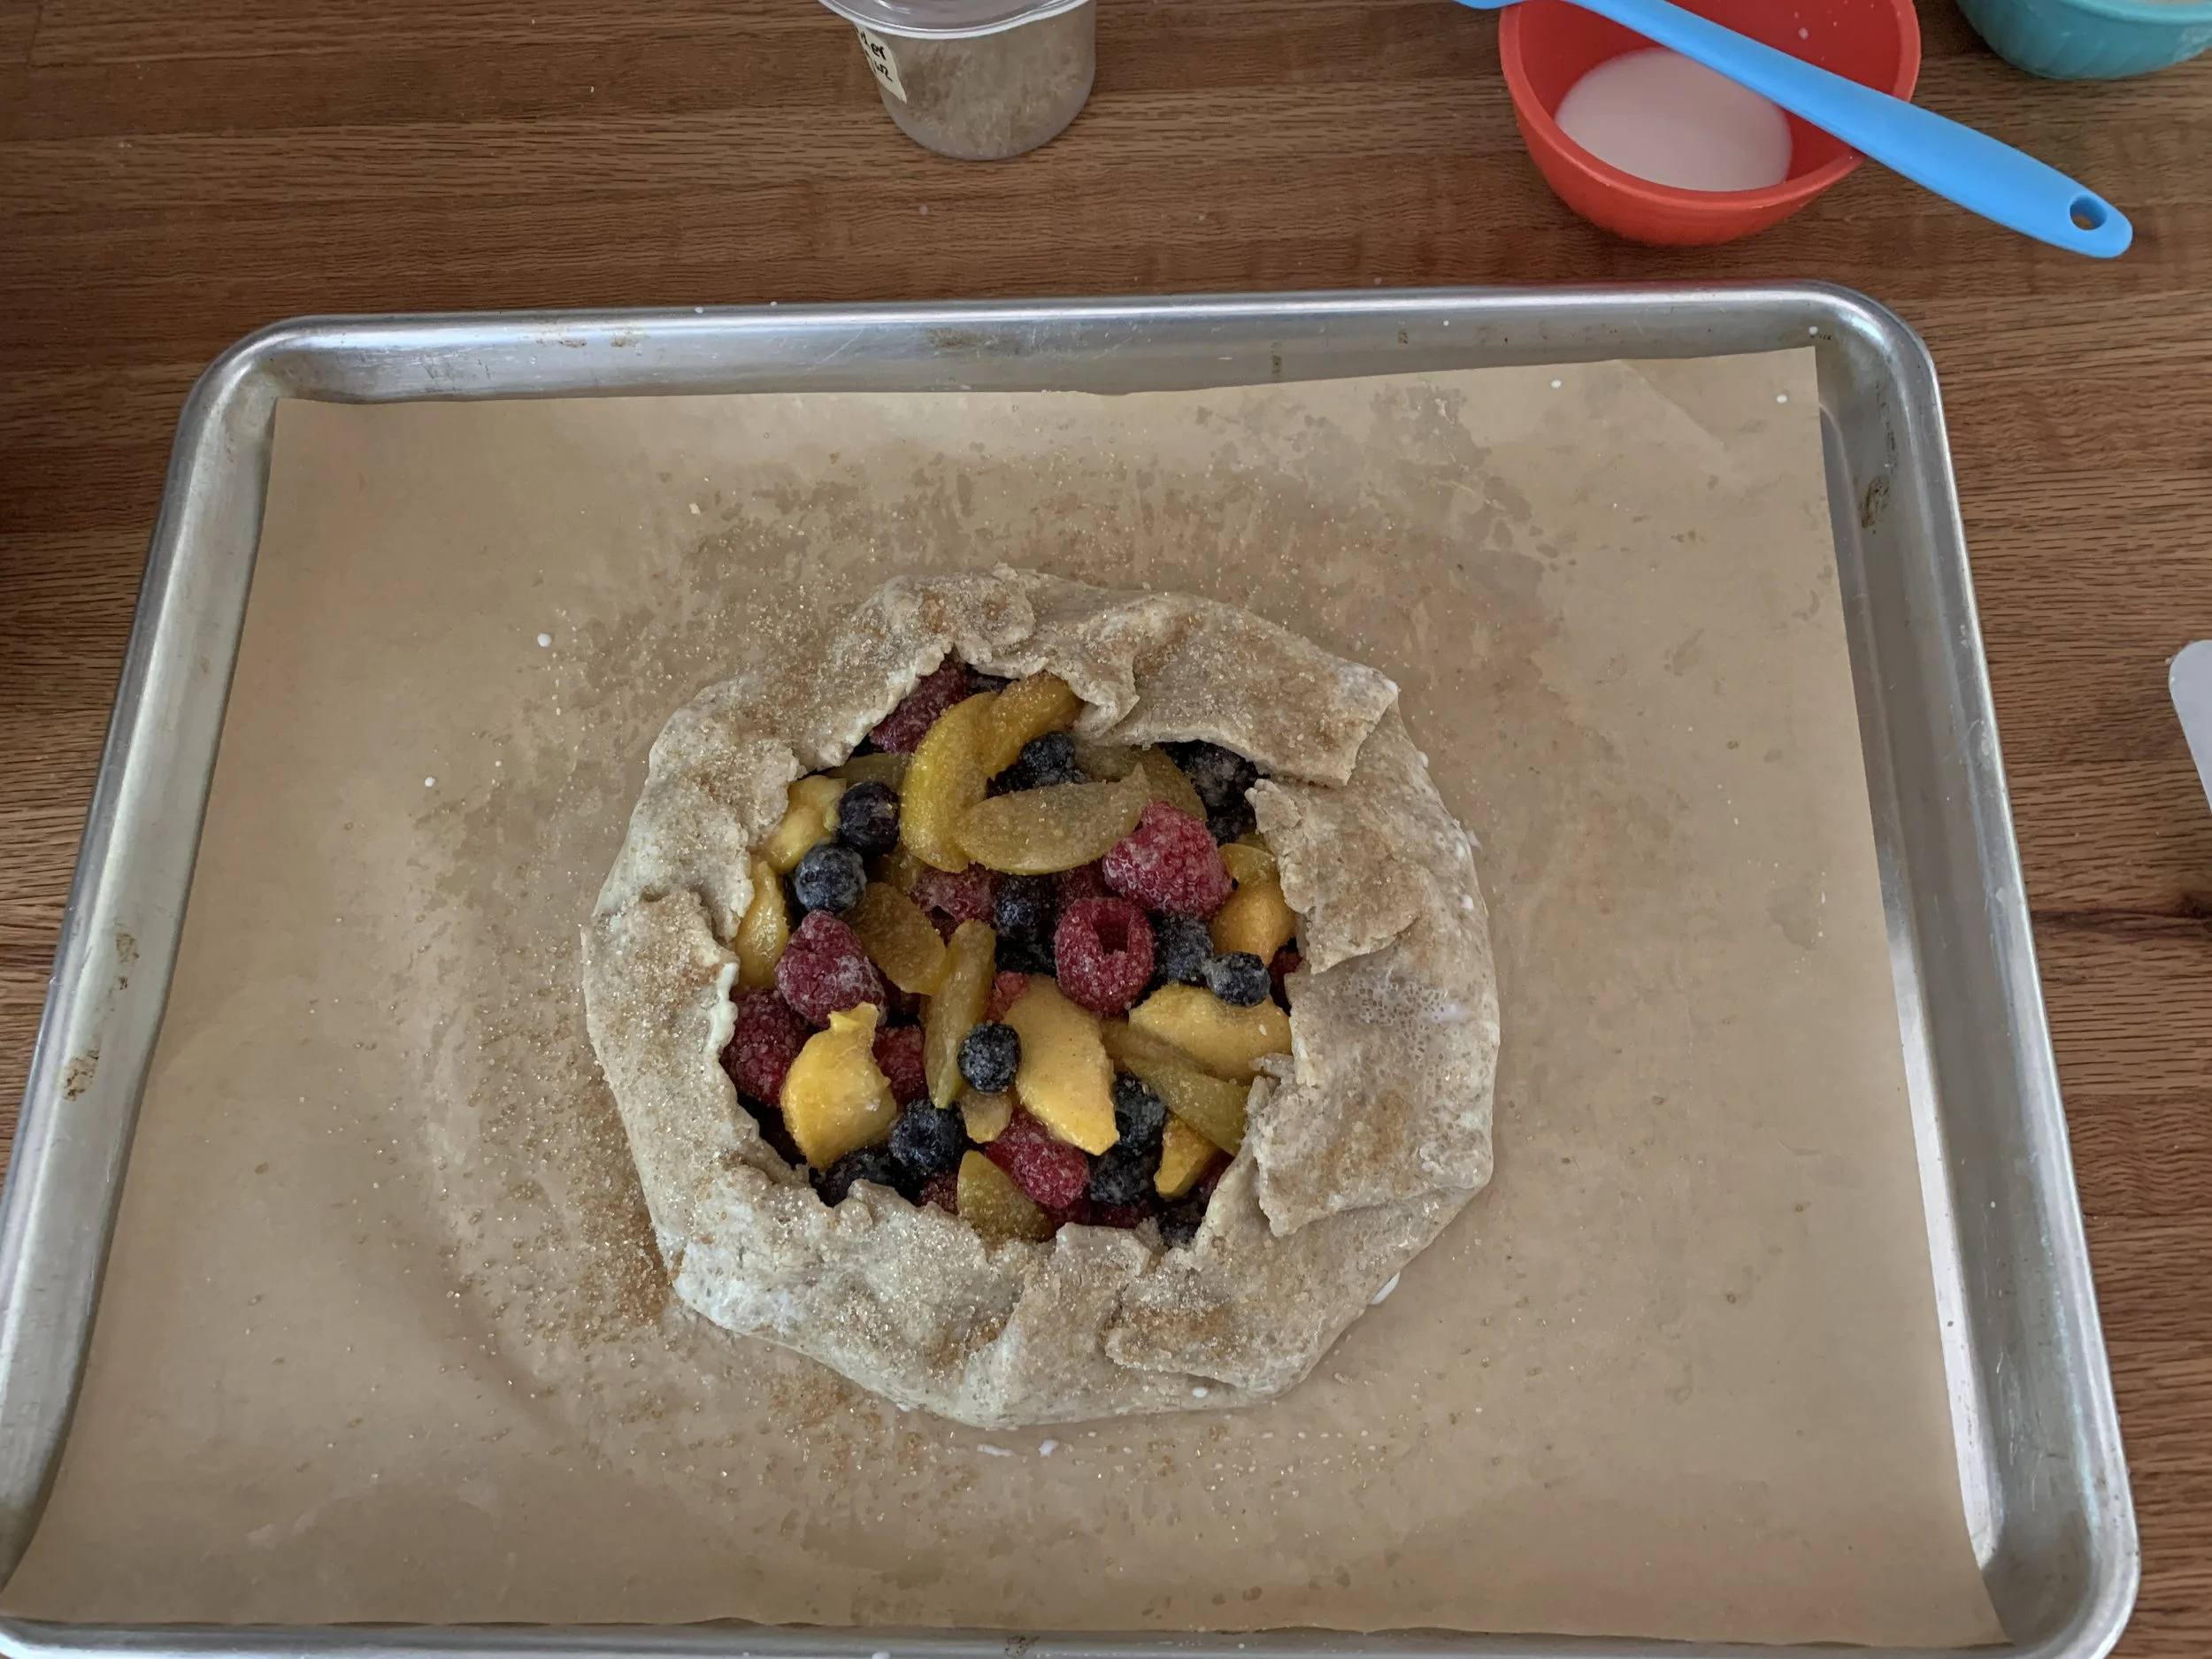
Ready for assembly
Gently place your fruit in a pile in the center of the dough, then carefully start pleating the dough up around the fruit.

Once the pleating is complete I take both hands and encircle the galette with my palms, giving it a nice squeeze to help set the pleats.
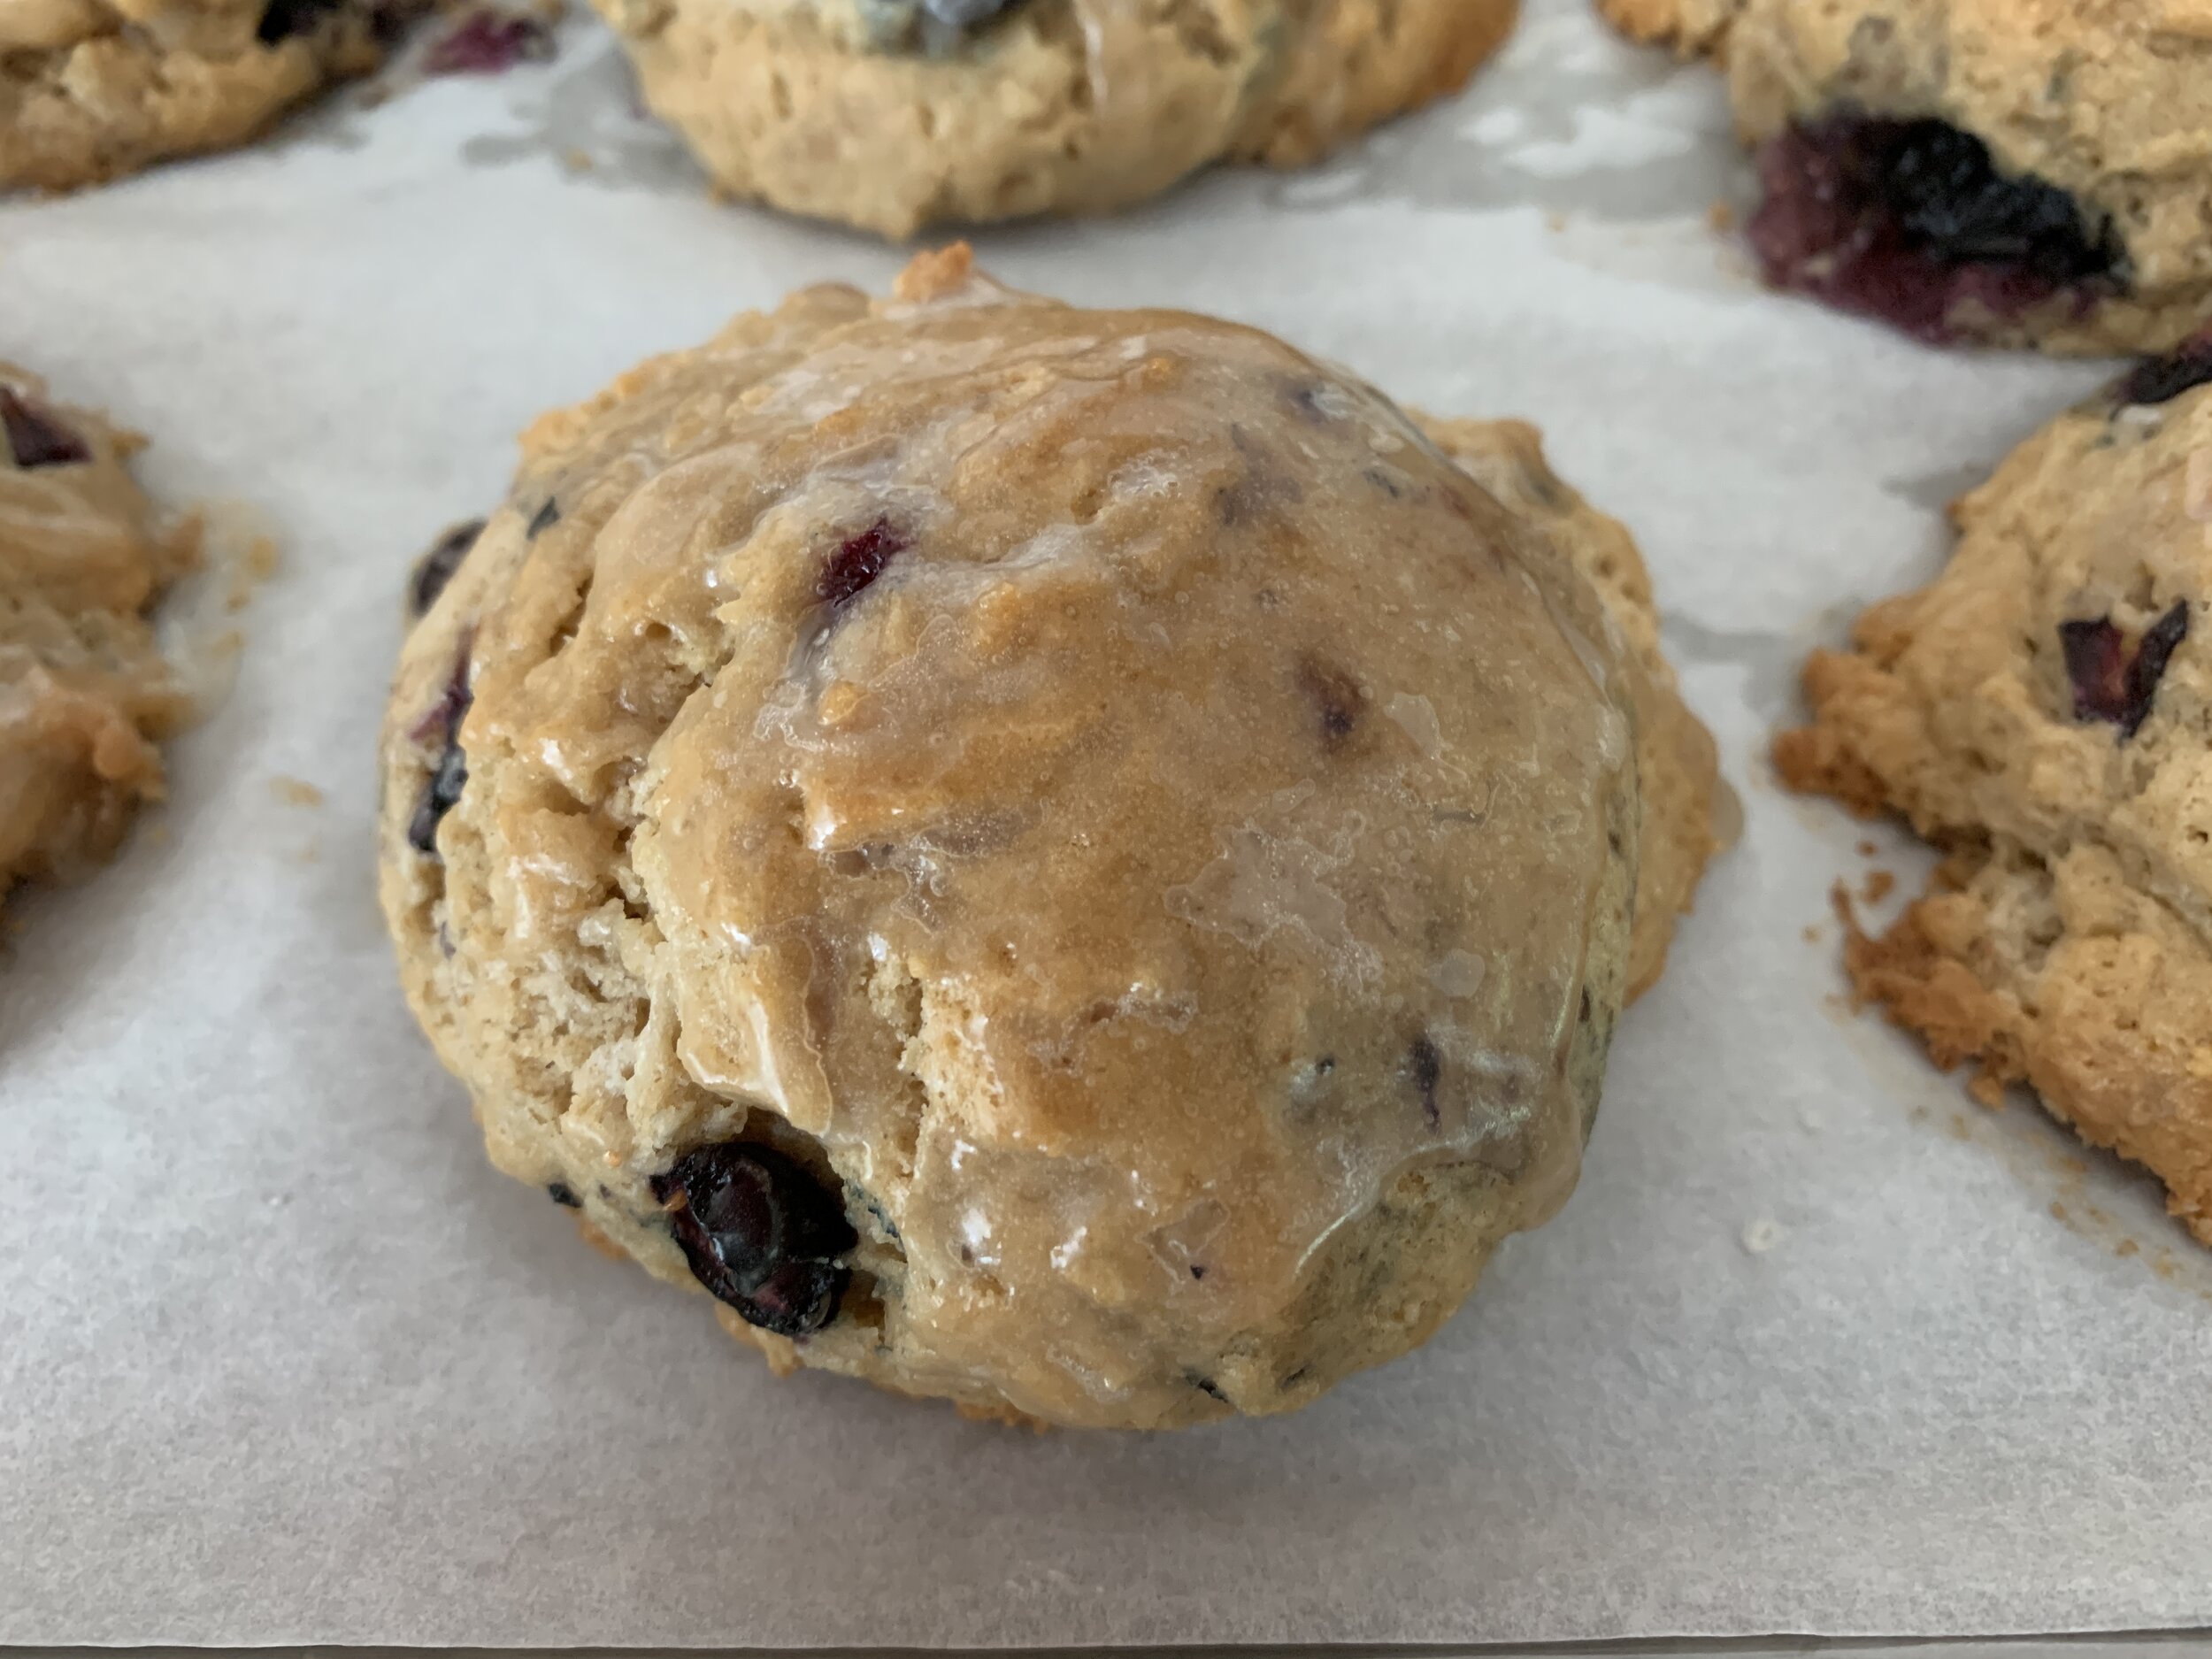
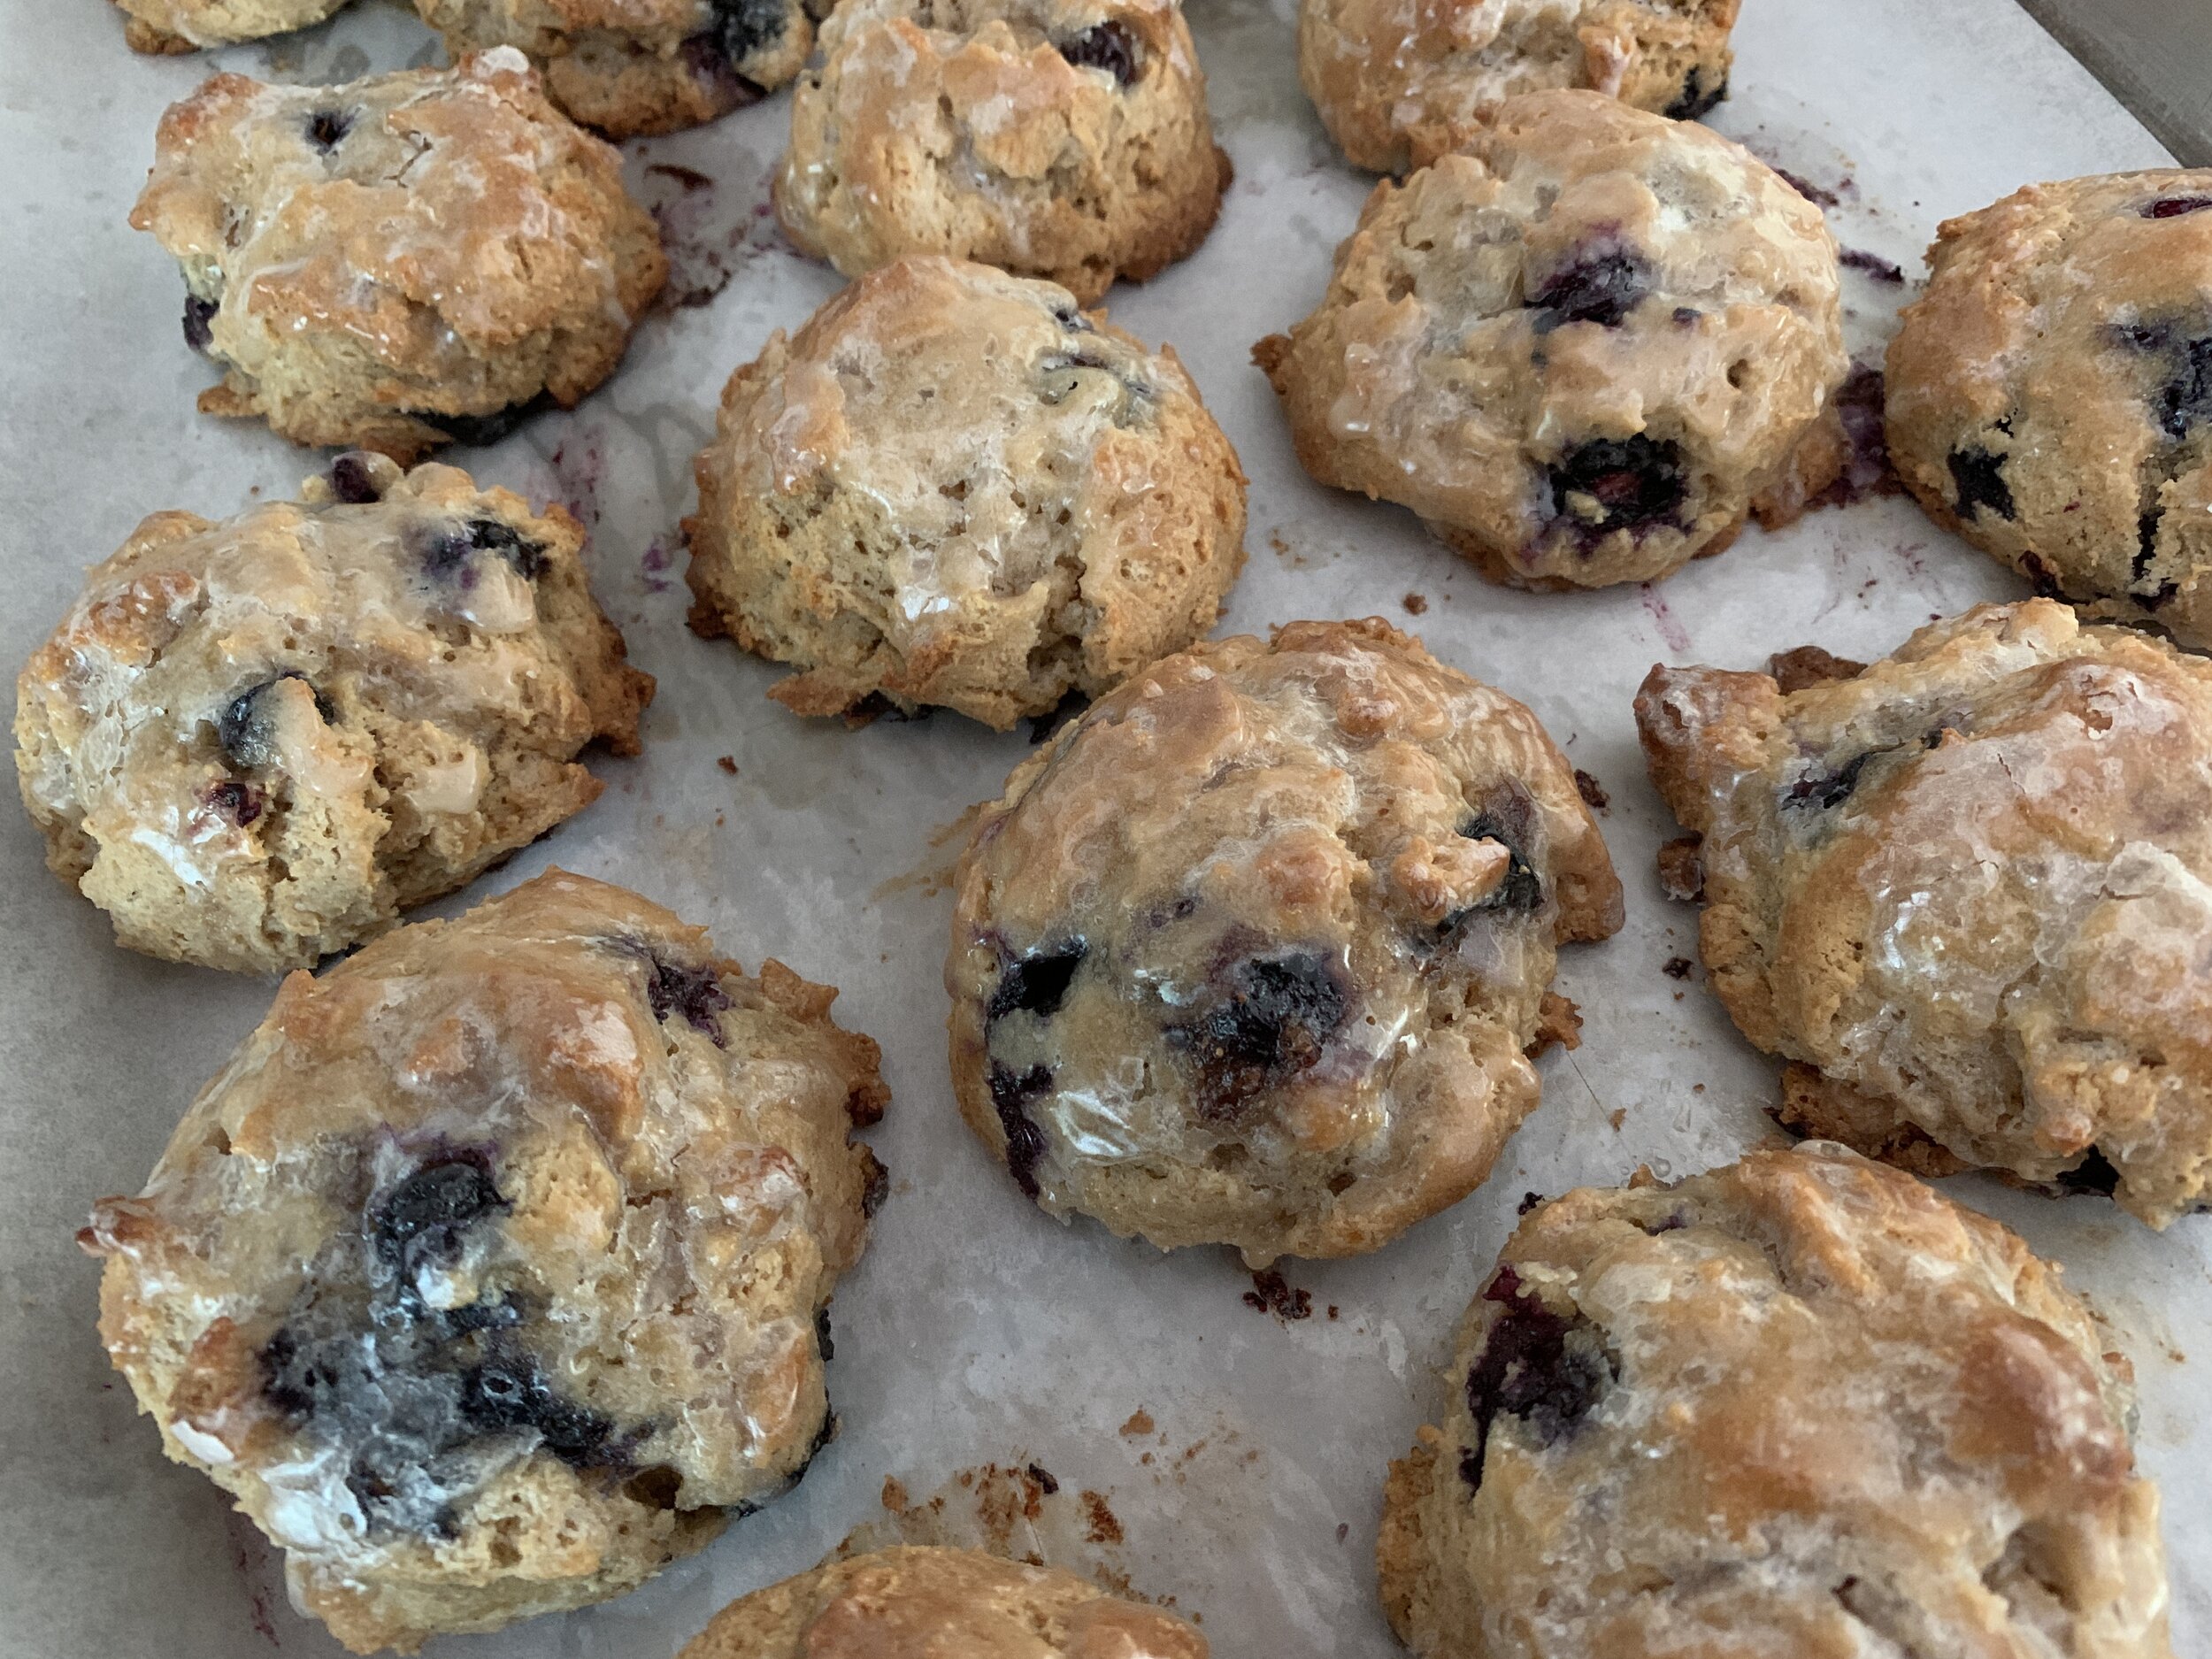
Brush the dough edges with a little milk and sprinkle raw sugar over them. I keep a mix of raw sugar and golden cane sugar on hand (I often add some coriander and a bit of freshly grated nutmeg) - love it with all kinds of fruit.
If for some reason, your oven isn’t ready yet, pop the tray with the assembled galette into the freezer to hold it until you’re ready to bake (once again - helps avoid a soggy bottom). Pâte brisée is one of those doughs (like puff pastry) that likes going directly from a cold freezer into a hot oven.
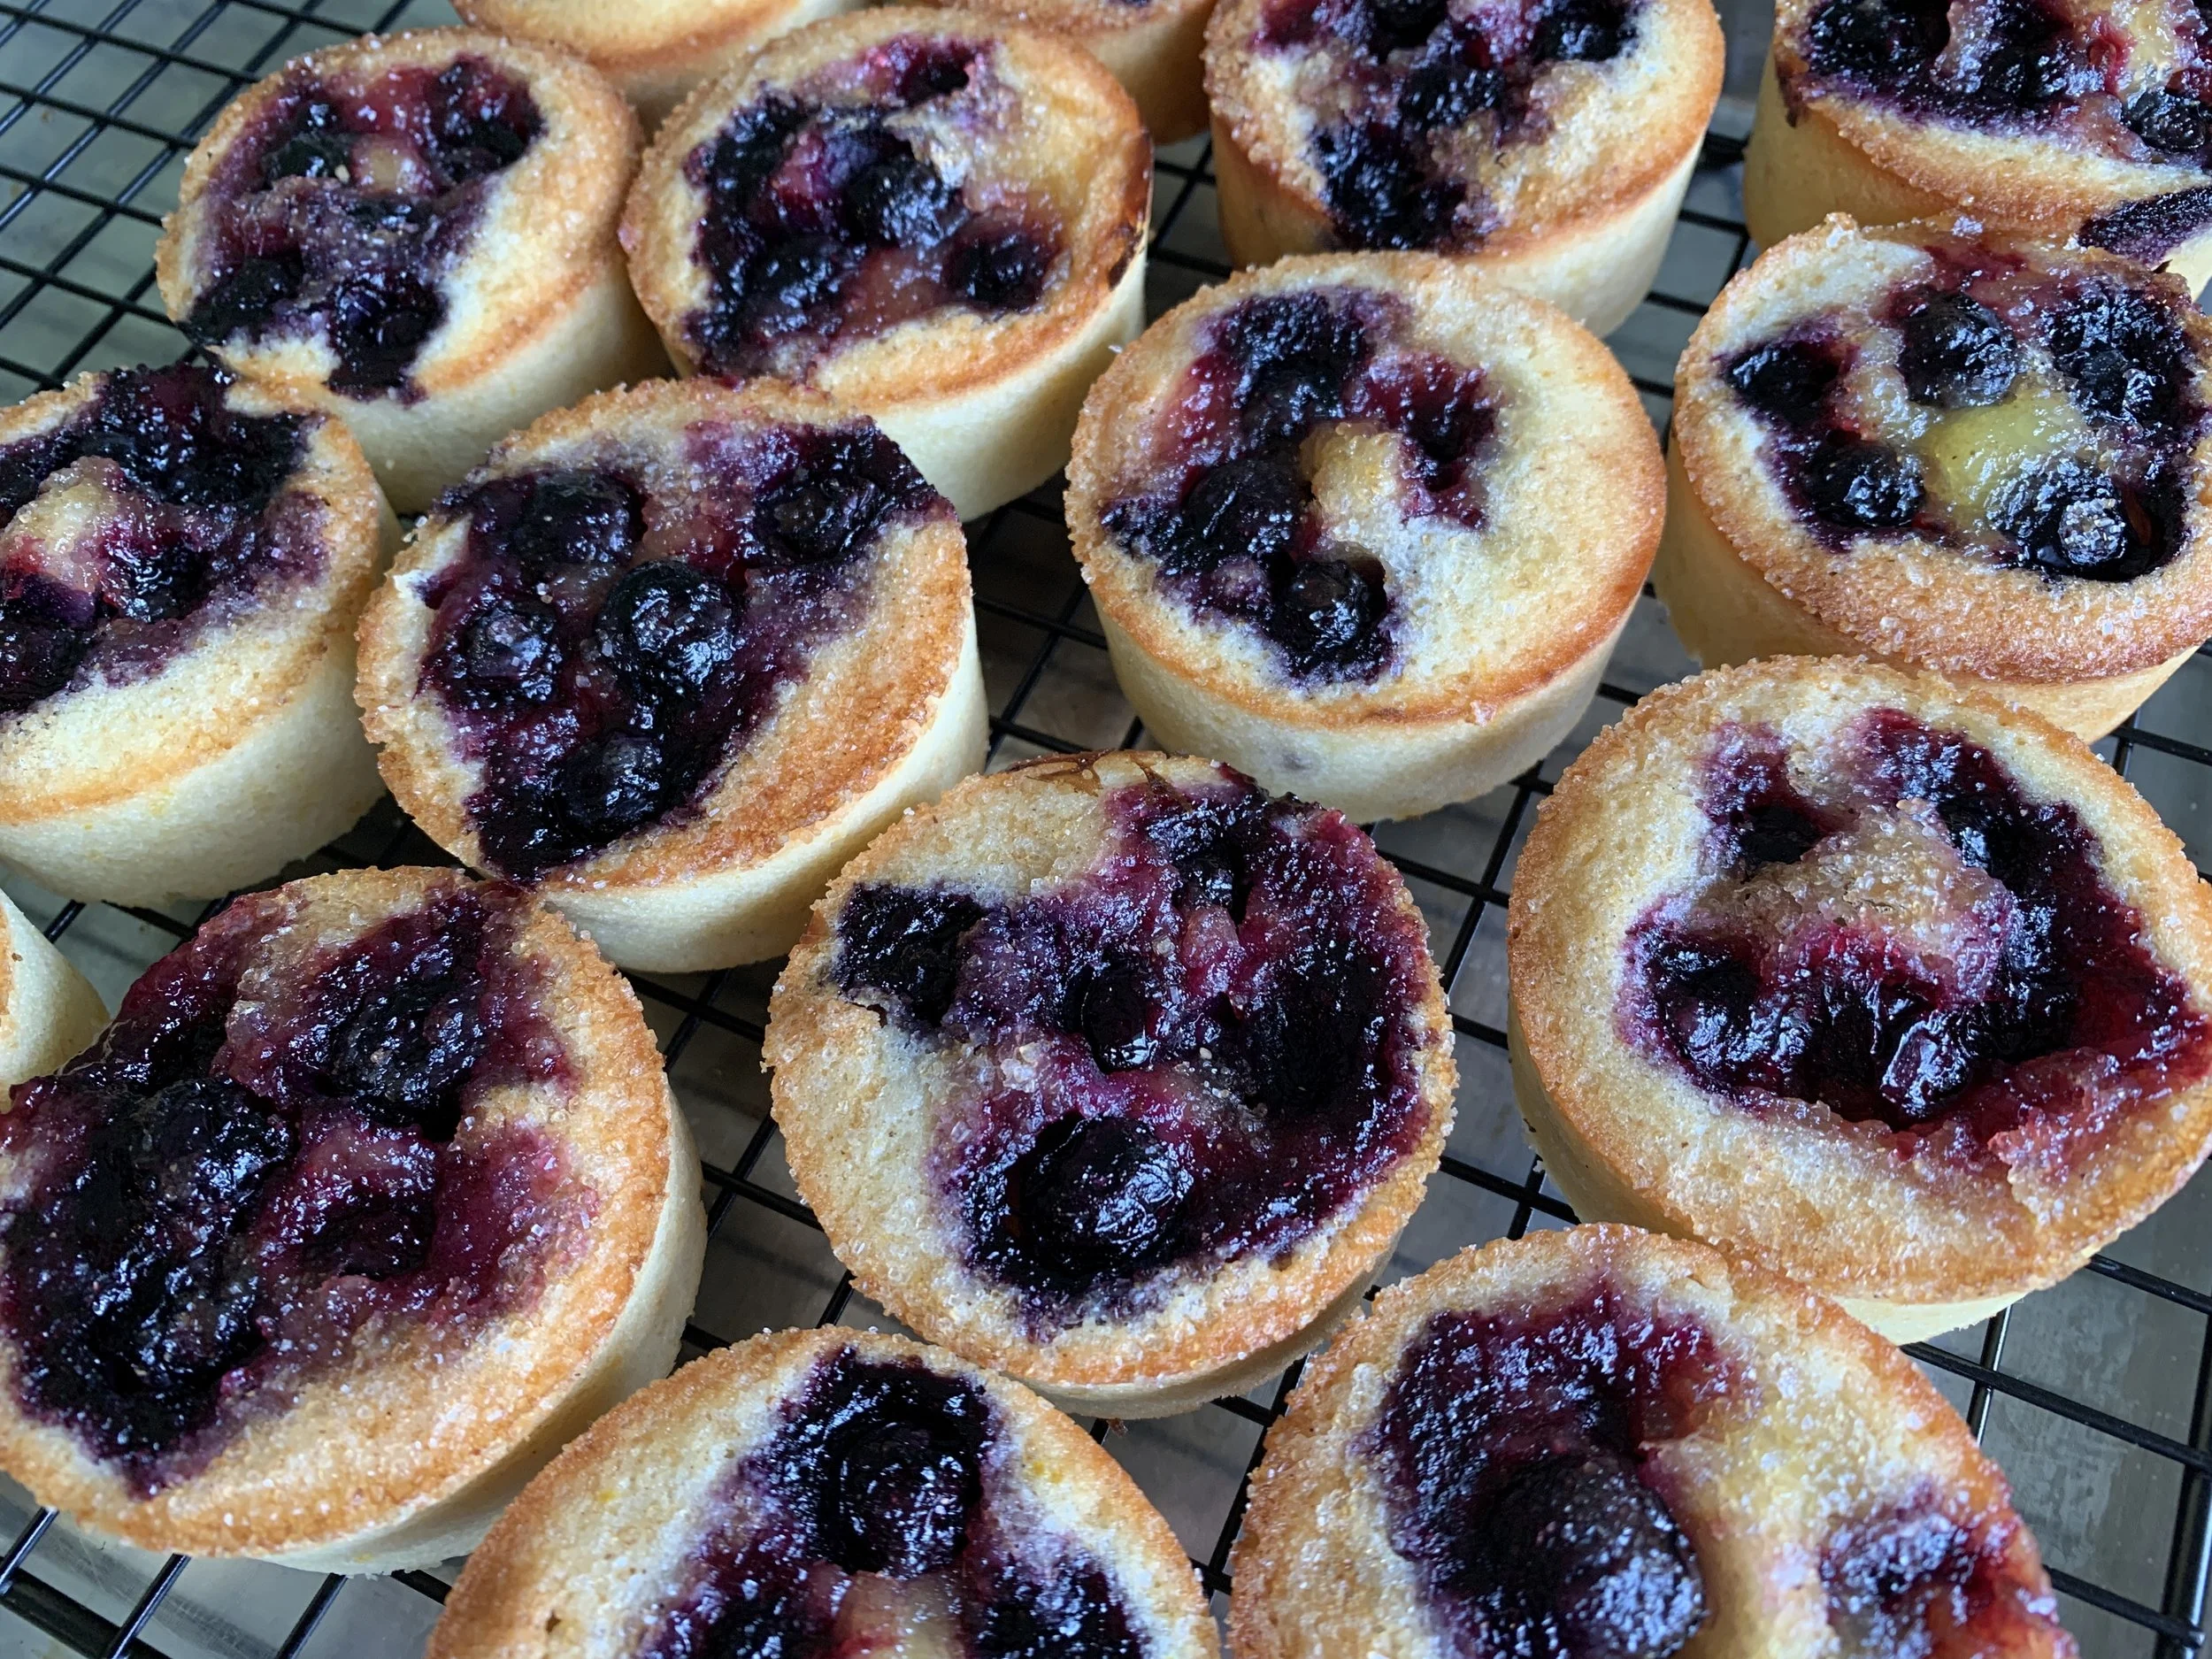
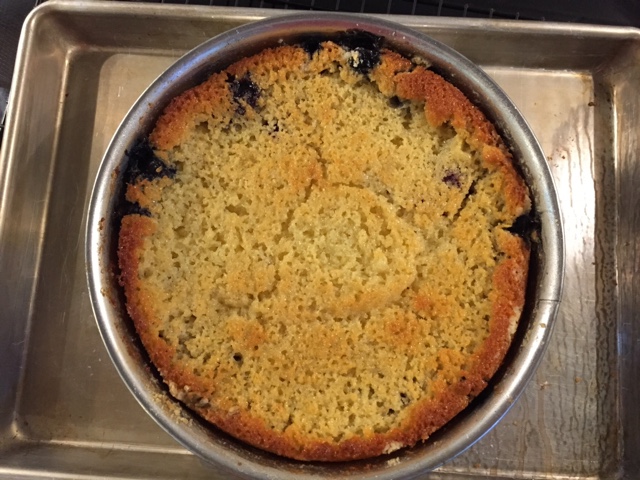
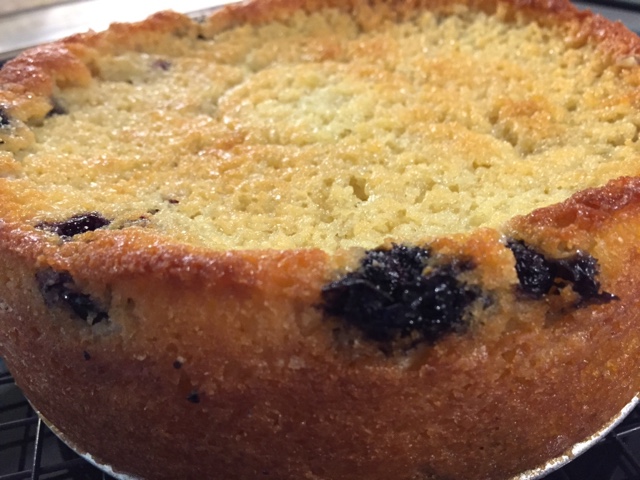
Bake at 400º F about 30-35 minutes. I check after the first 10 minutes or so and as the baking continues, if the edges look too brown but the fruit isn’t bubbly yet, I’ll turn it down to 375º. You want golden brown crust, bubbly fruit.

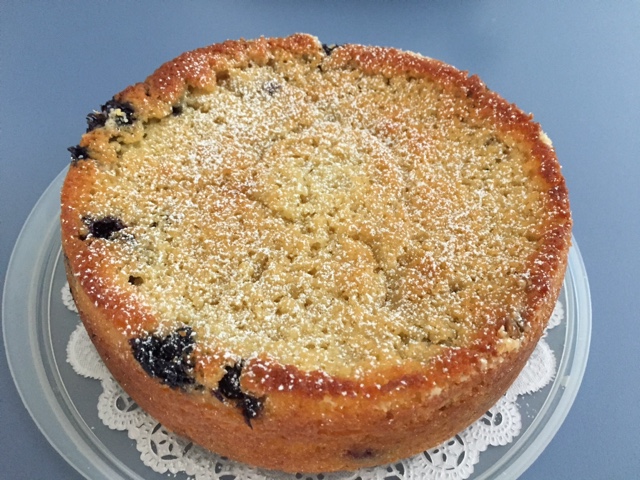
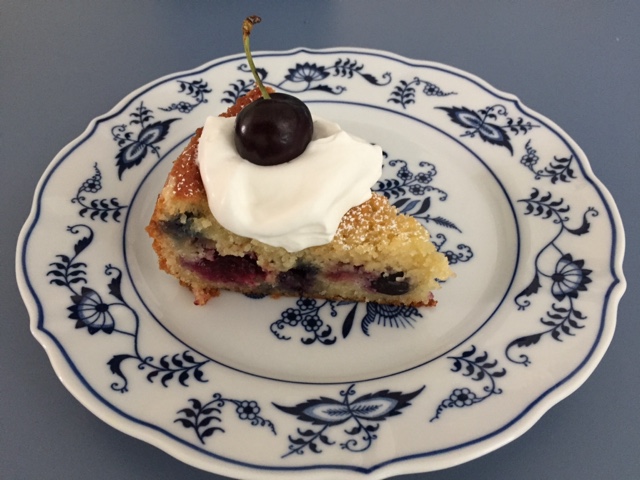
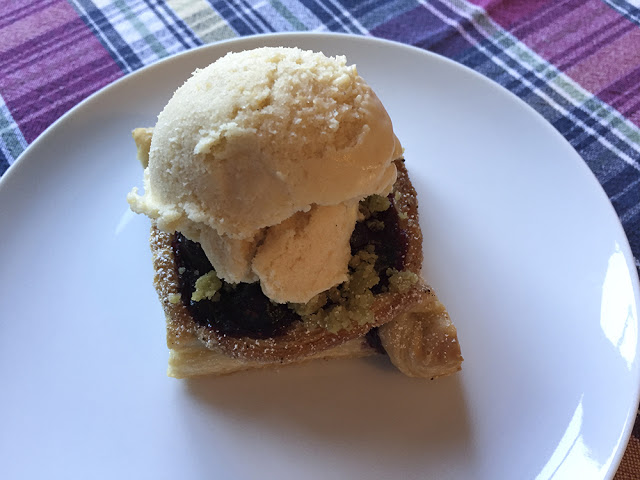
Once out of the oven I drizzle some caramel all over.
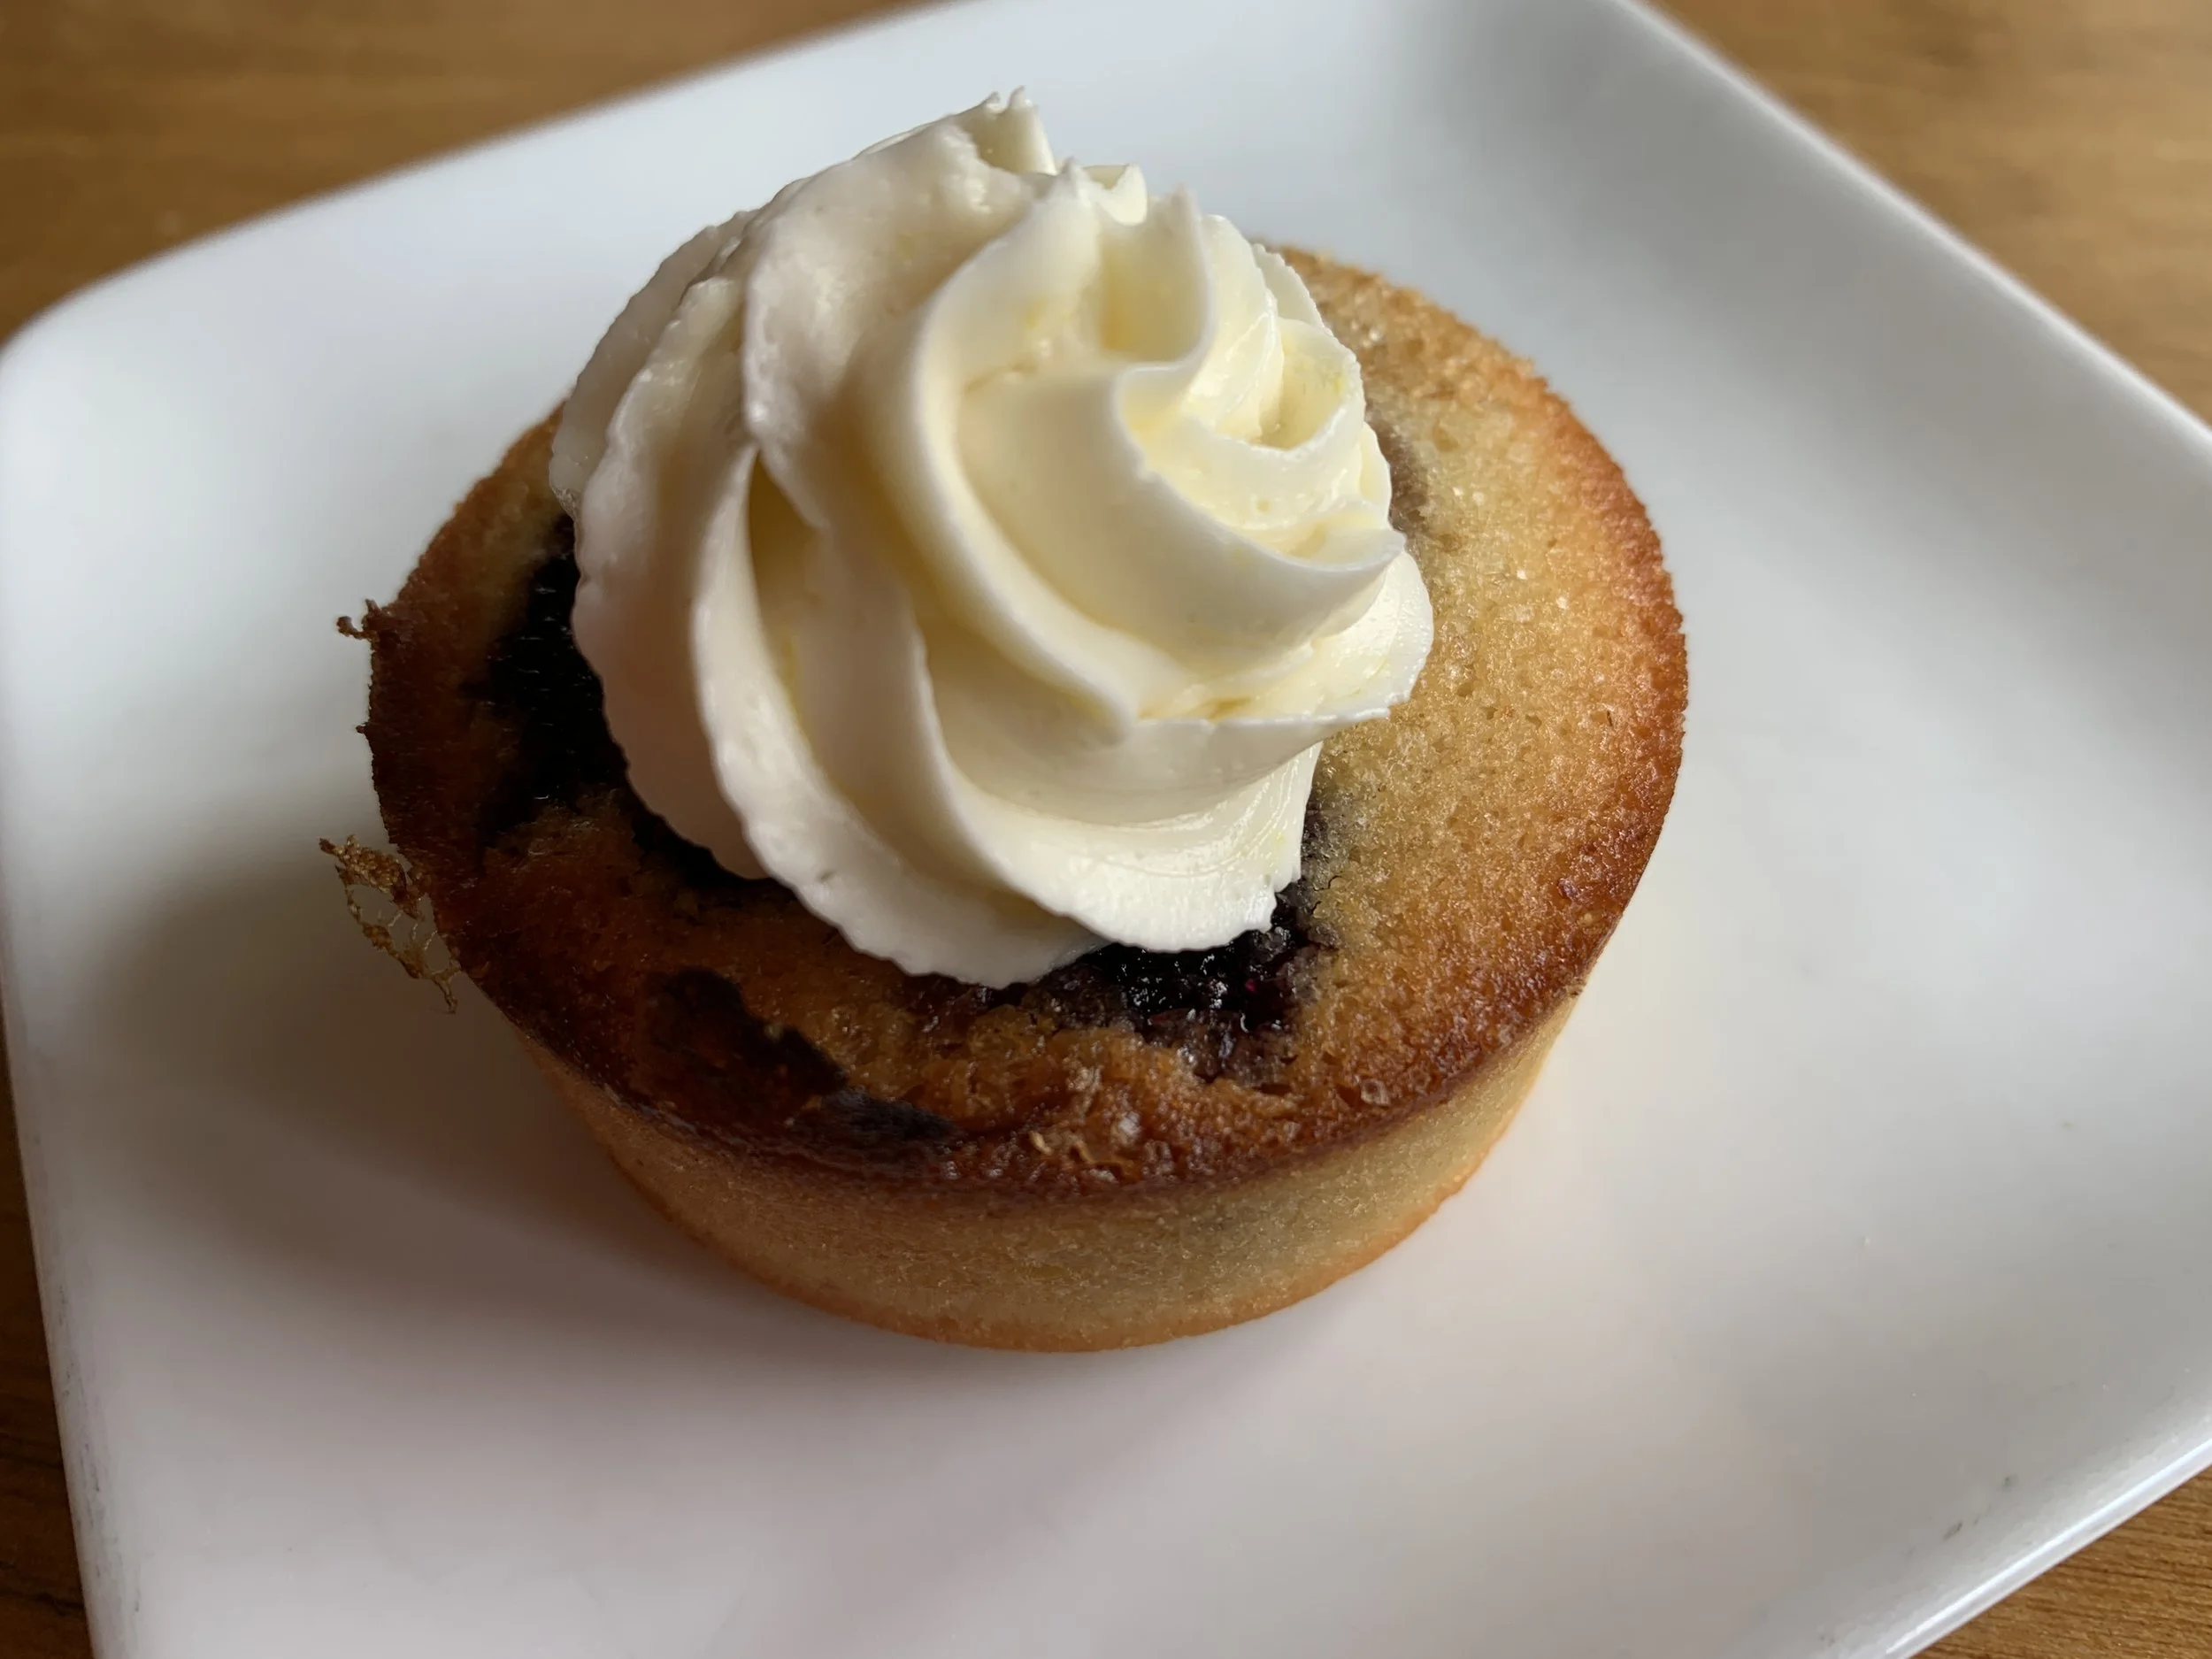
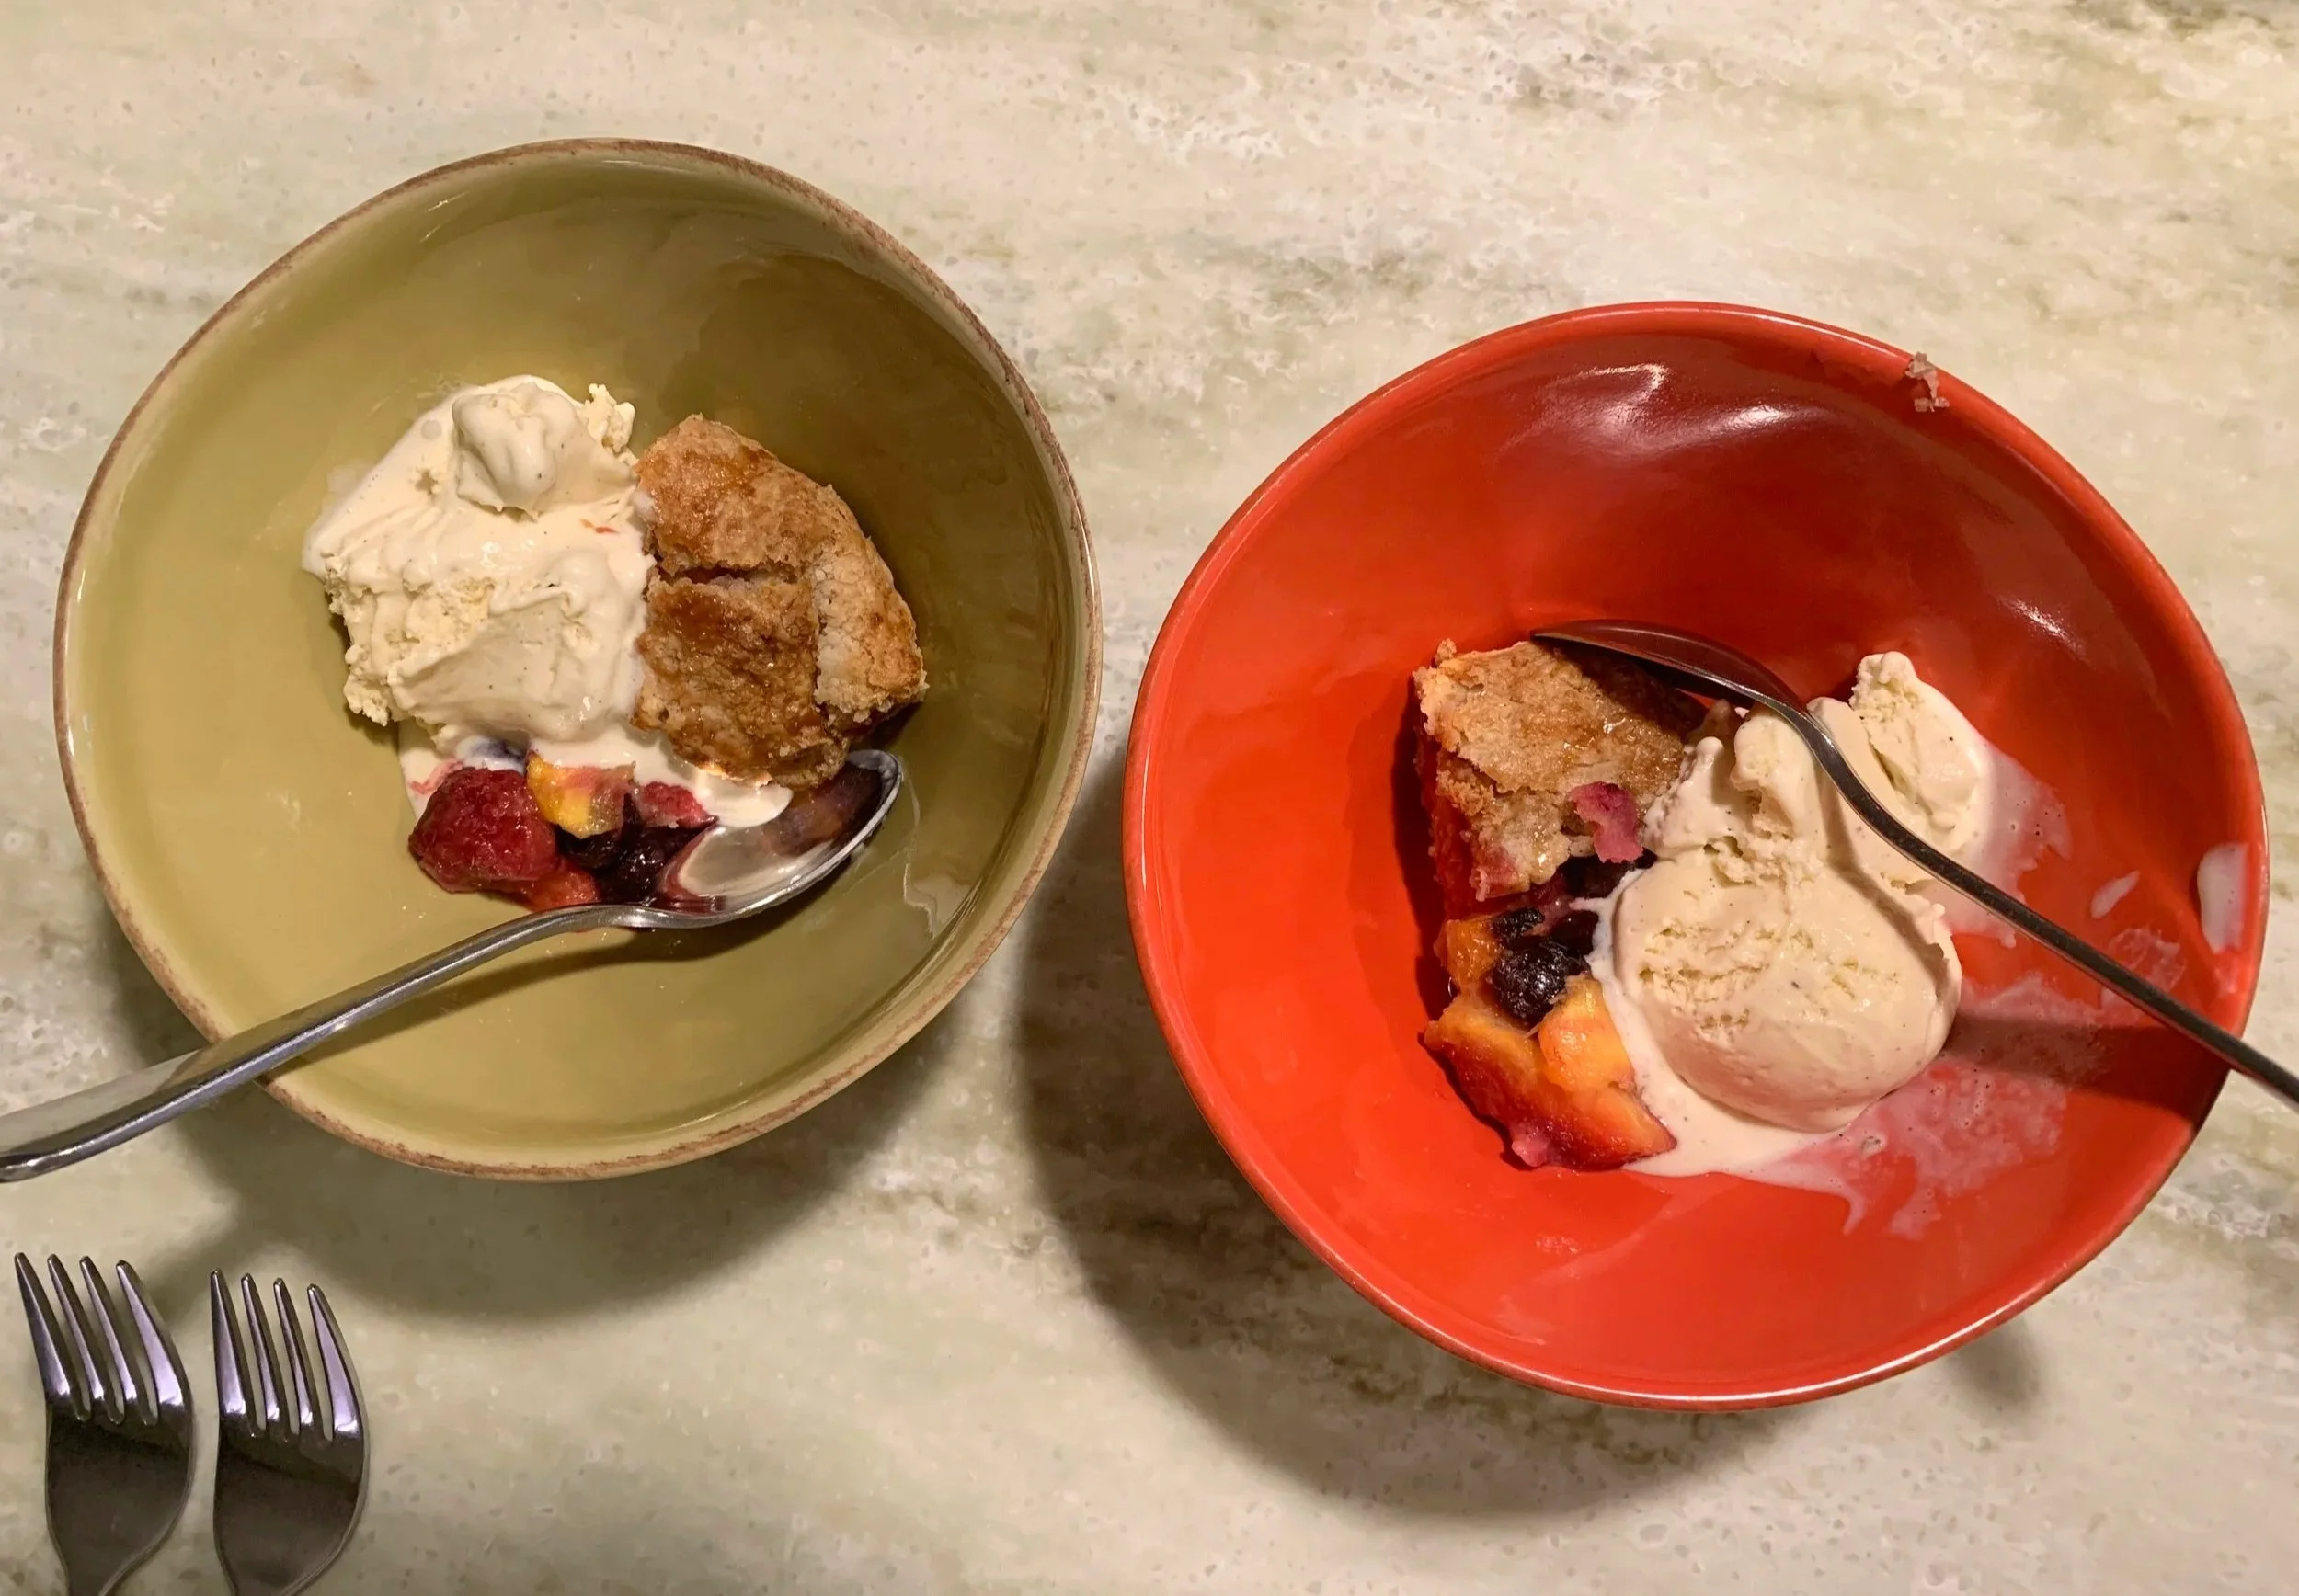
As is our wont, Steve and I enjoyed a slice topped with a bit of my homemade vanilla ice cream - so simple and delicious! That crust - oh my!
I’m currently working on a couple of tart related posts - an Italian crostata and a Nordic terte (tart) that I hope to share in the next week or two. Good stuff.
Schools around here are back in session this week - hard to believe it!!
Until next time.
Love the markings on these maple leaves