Puttering in the kitchen in August
/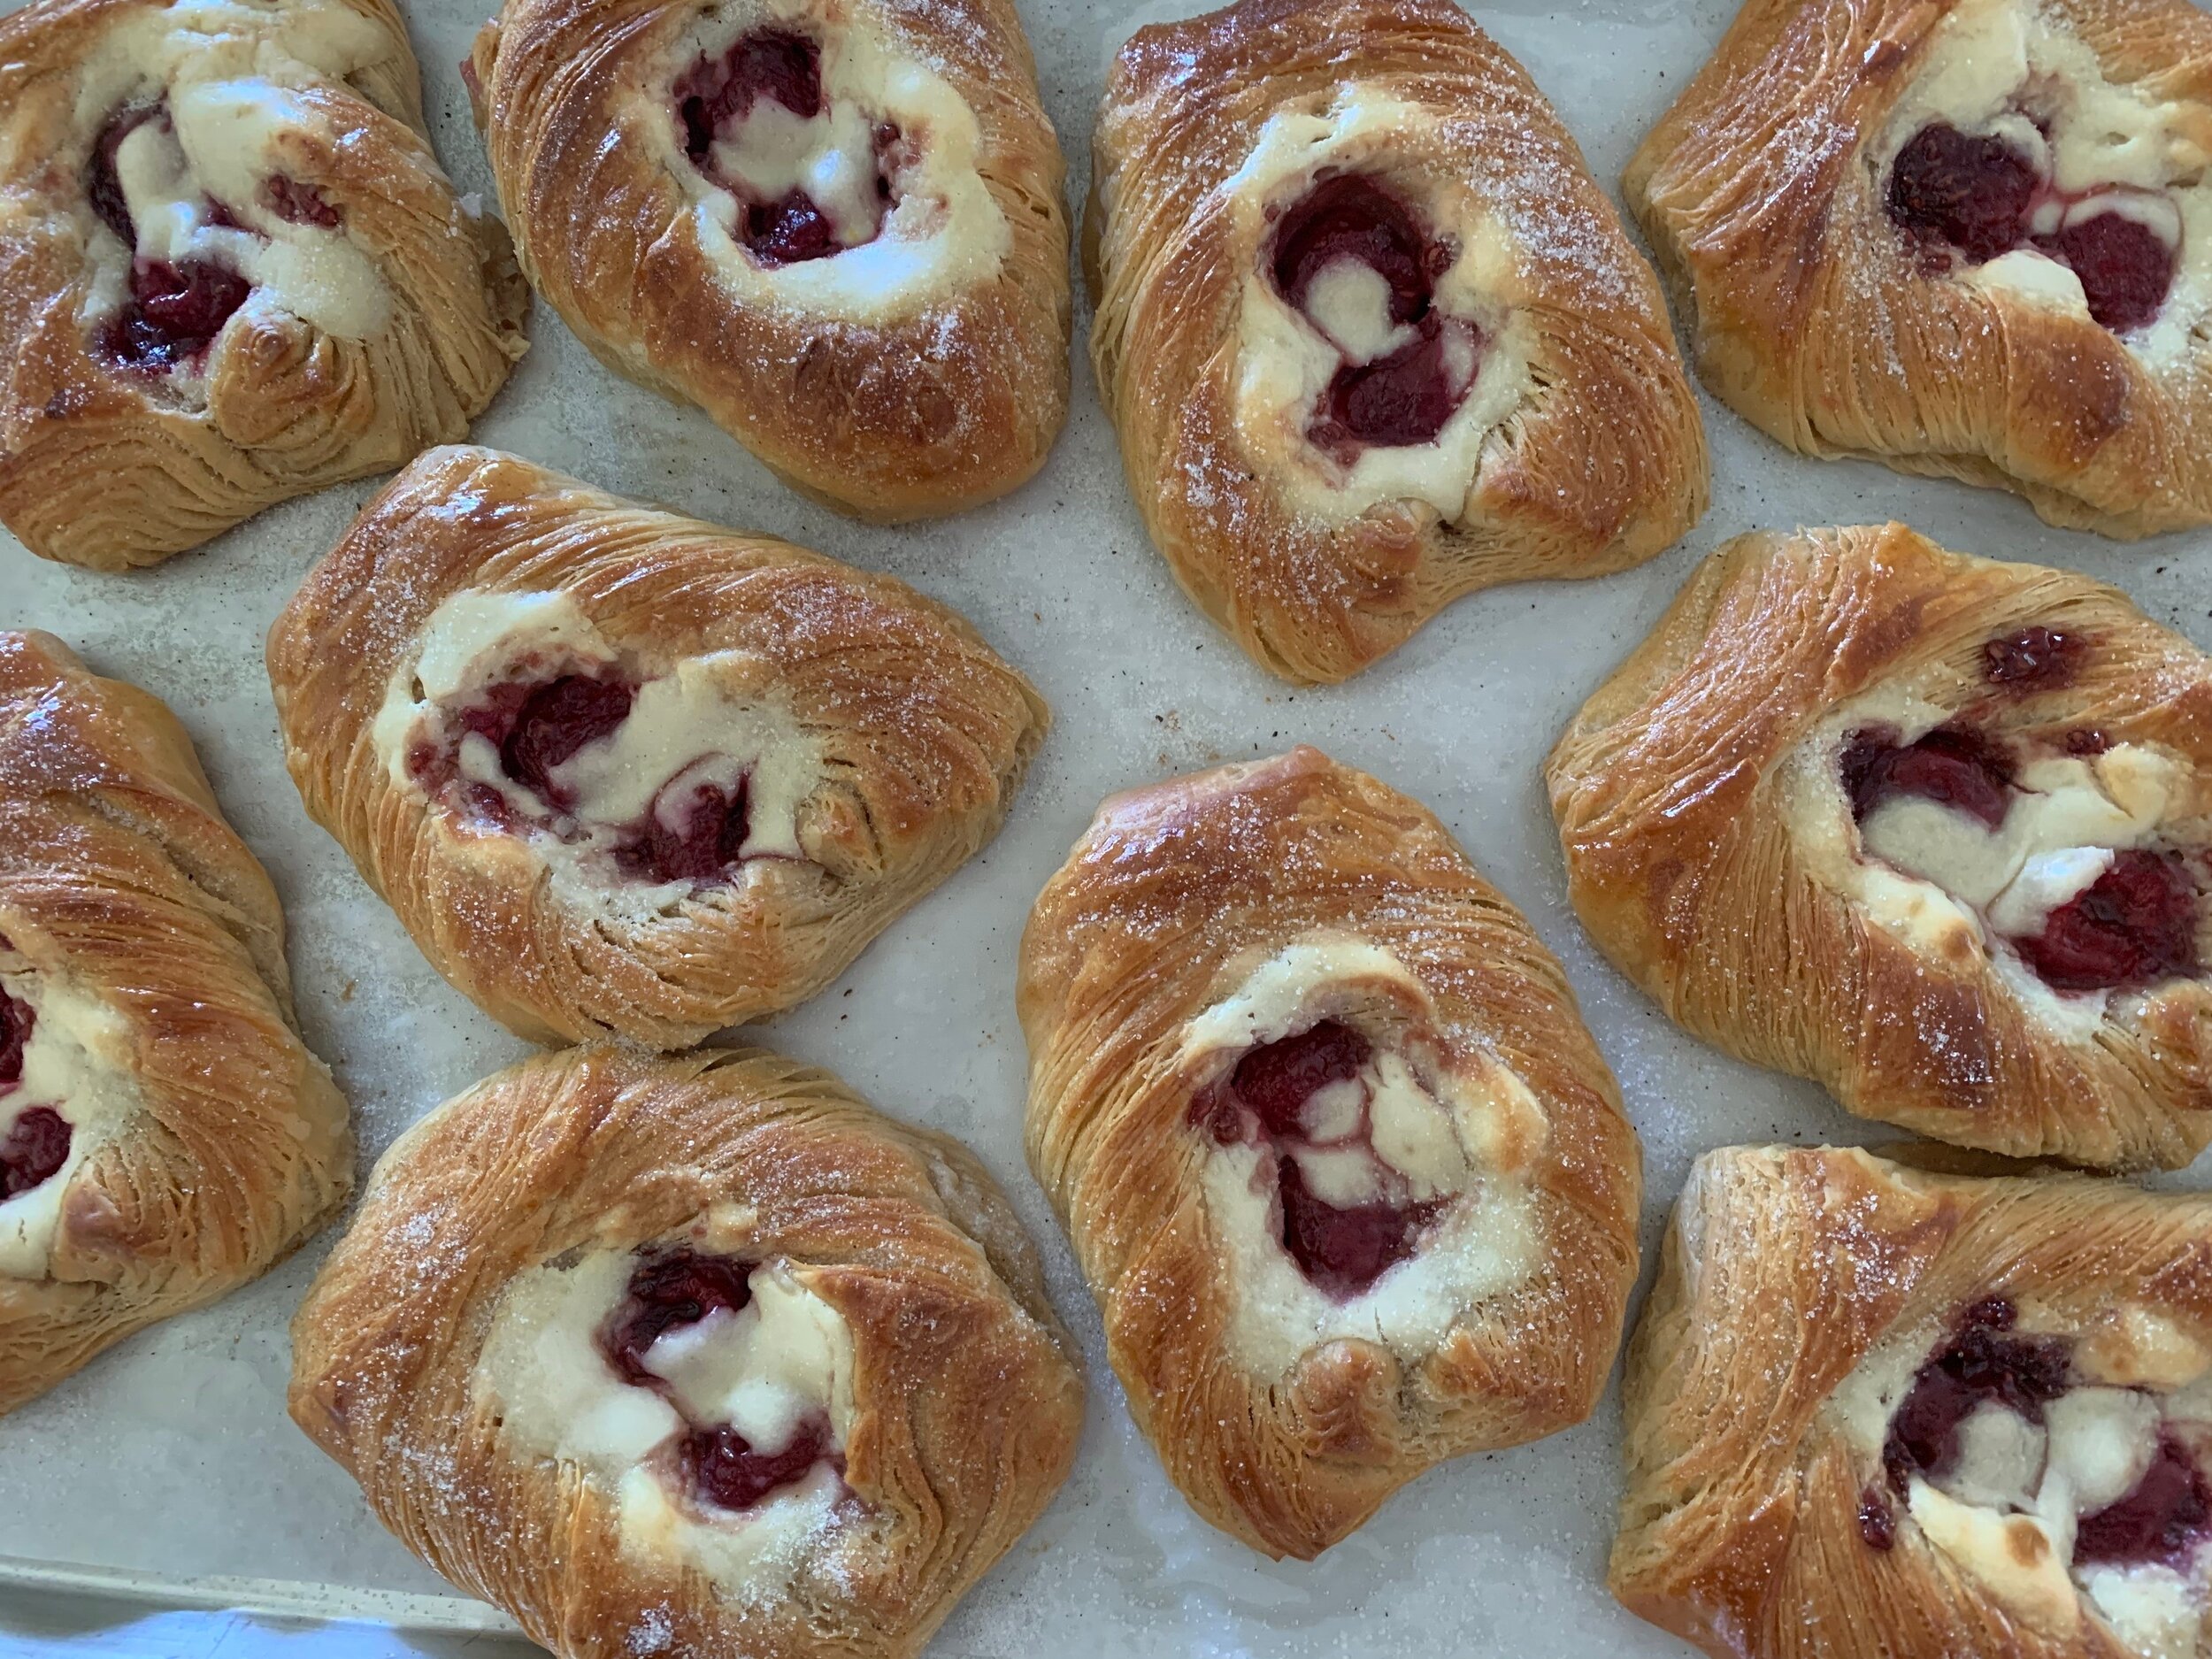
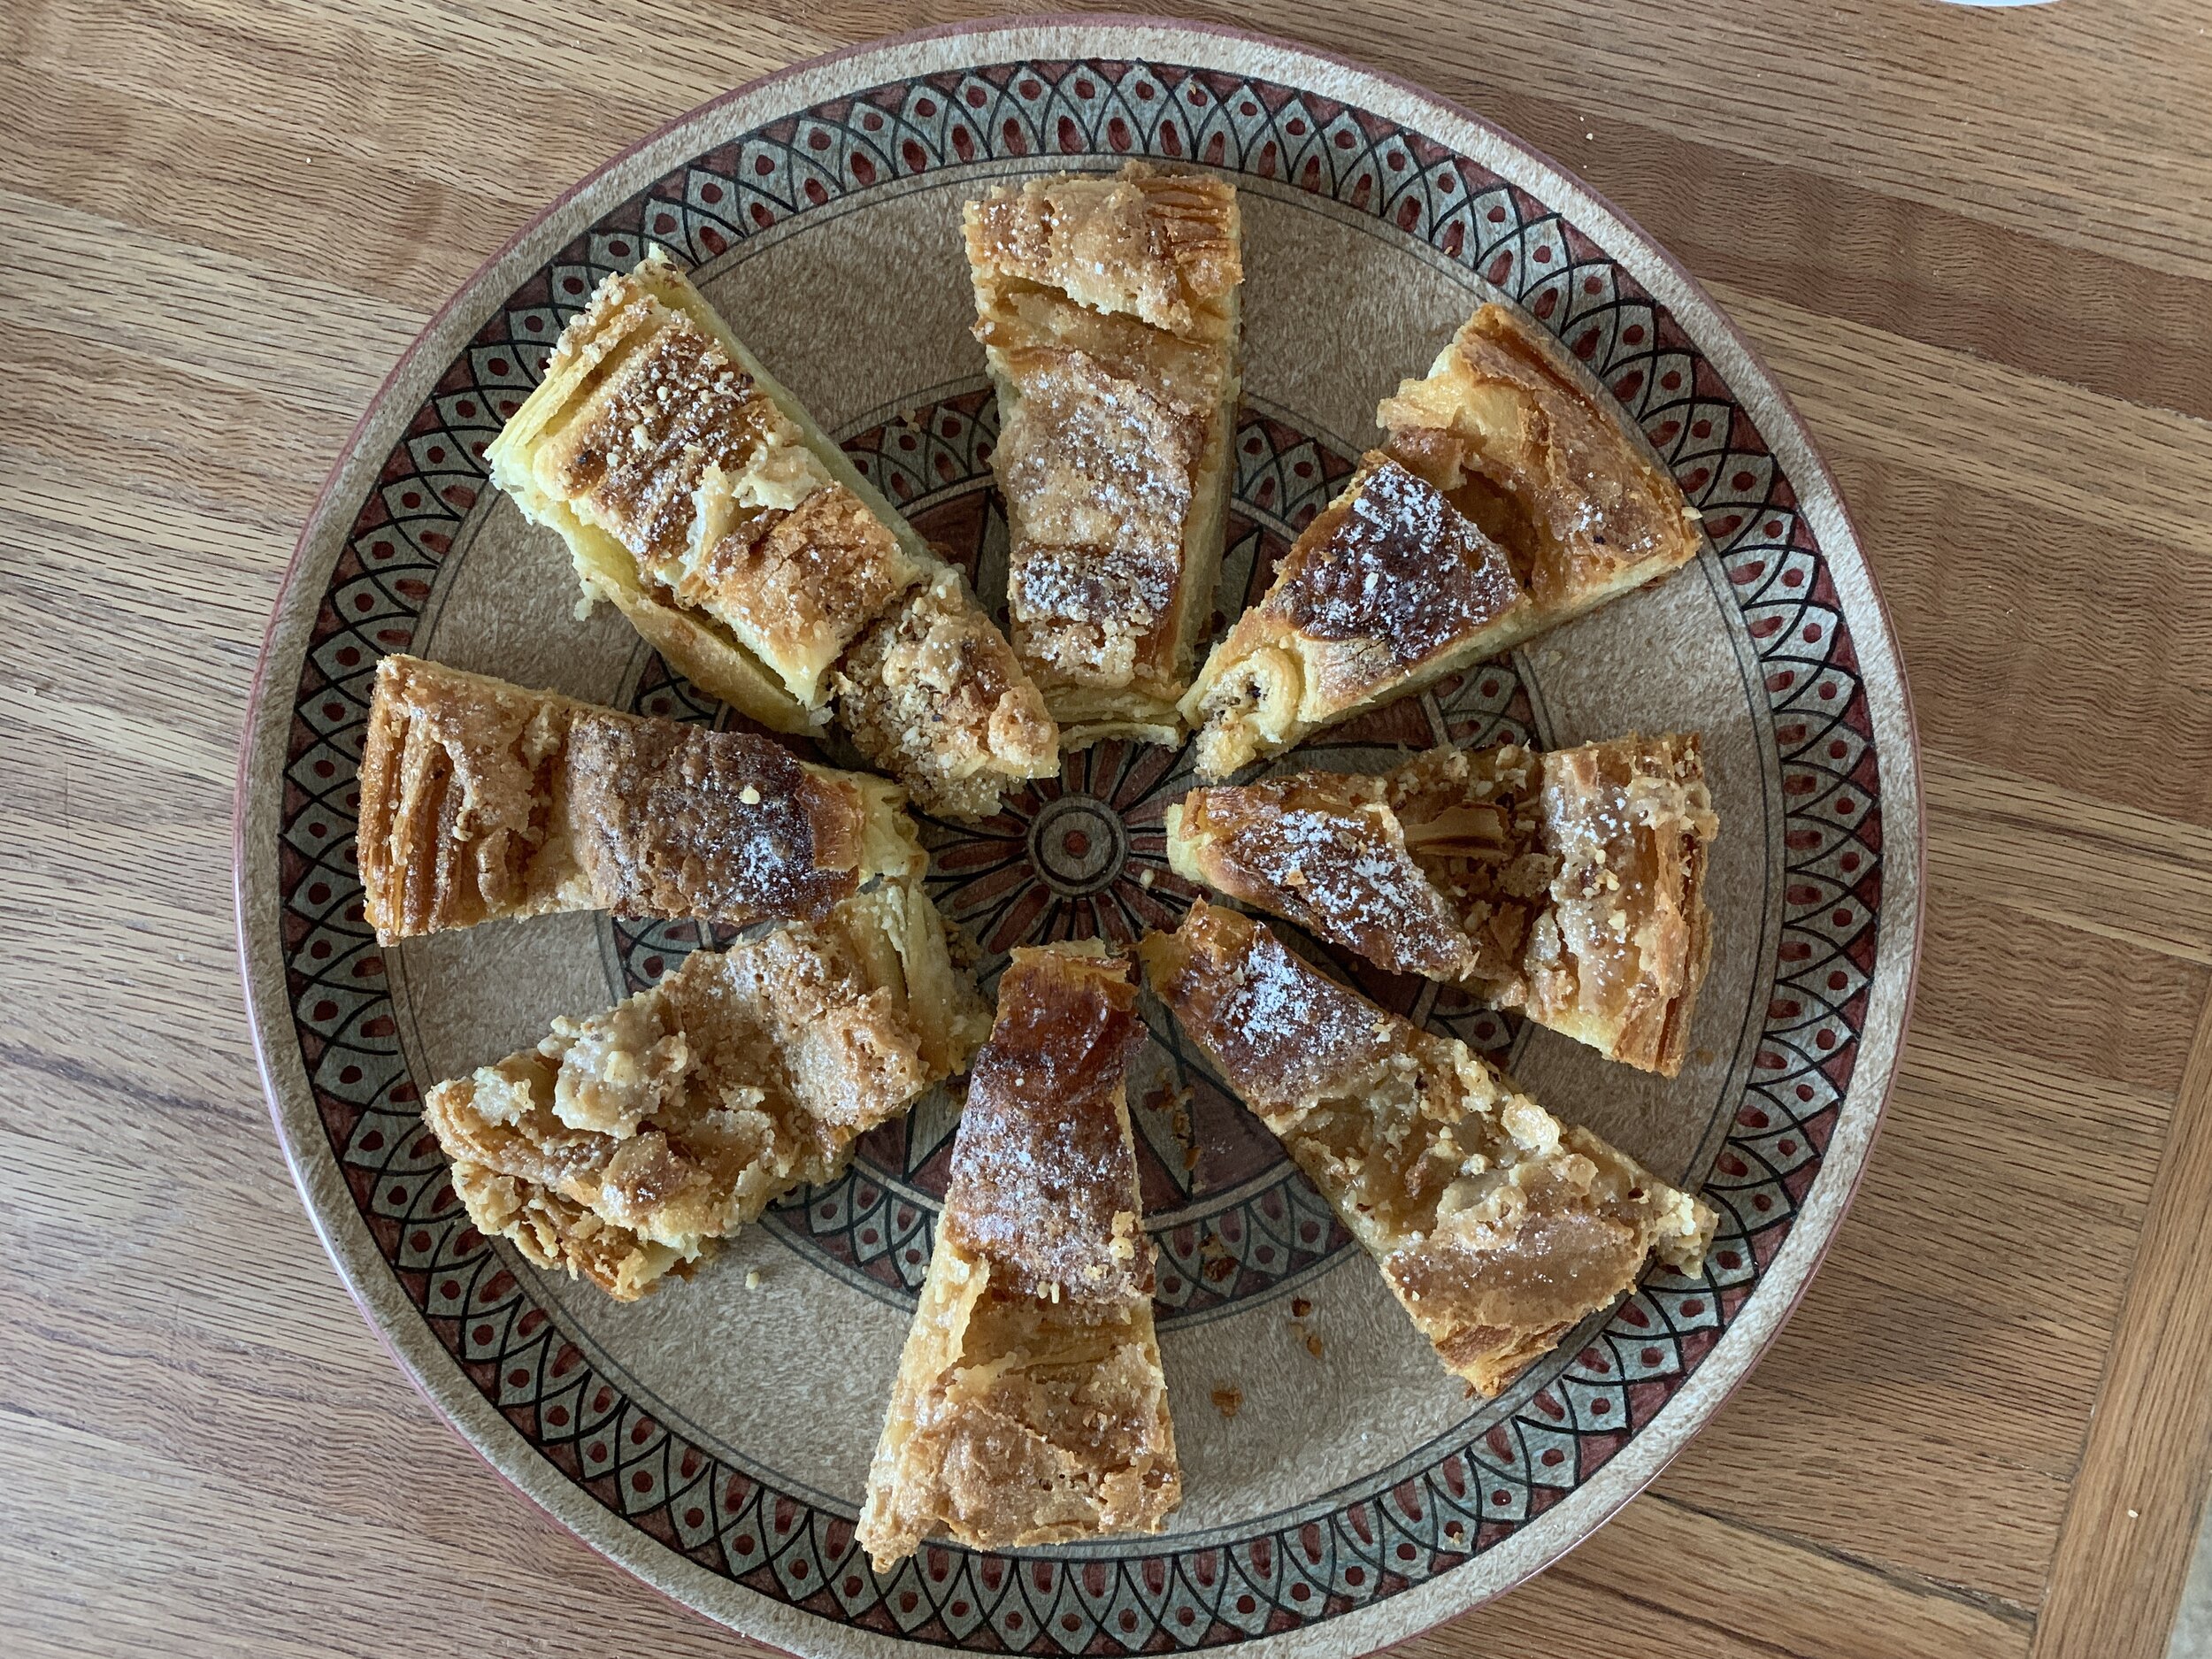
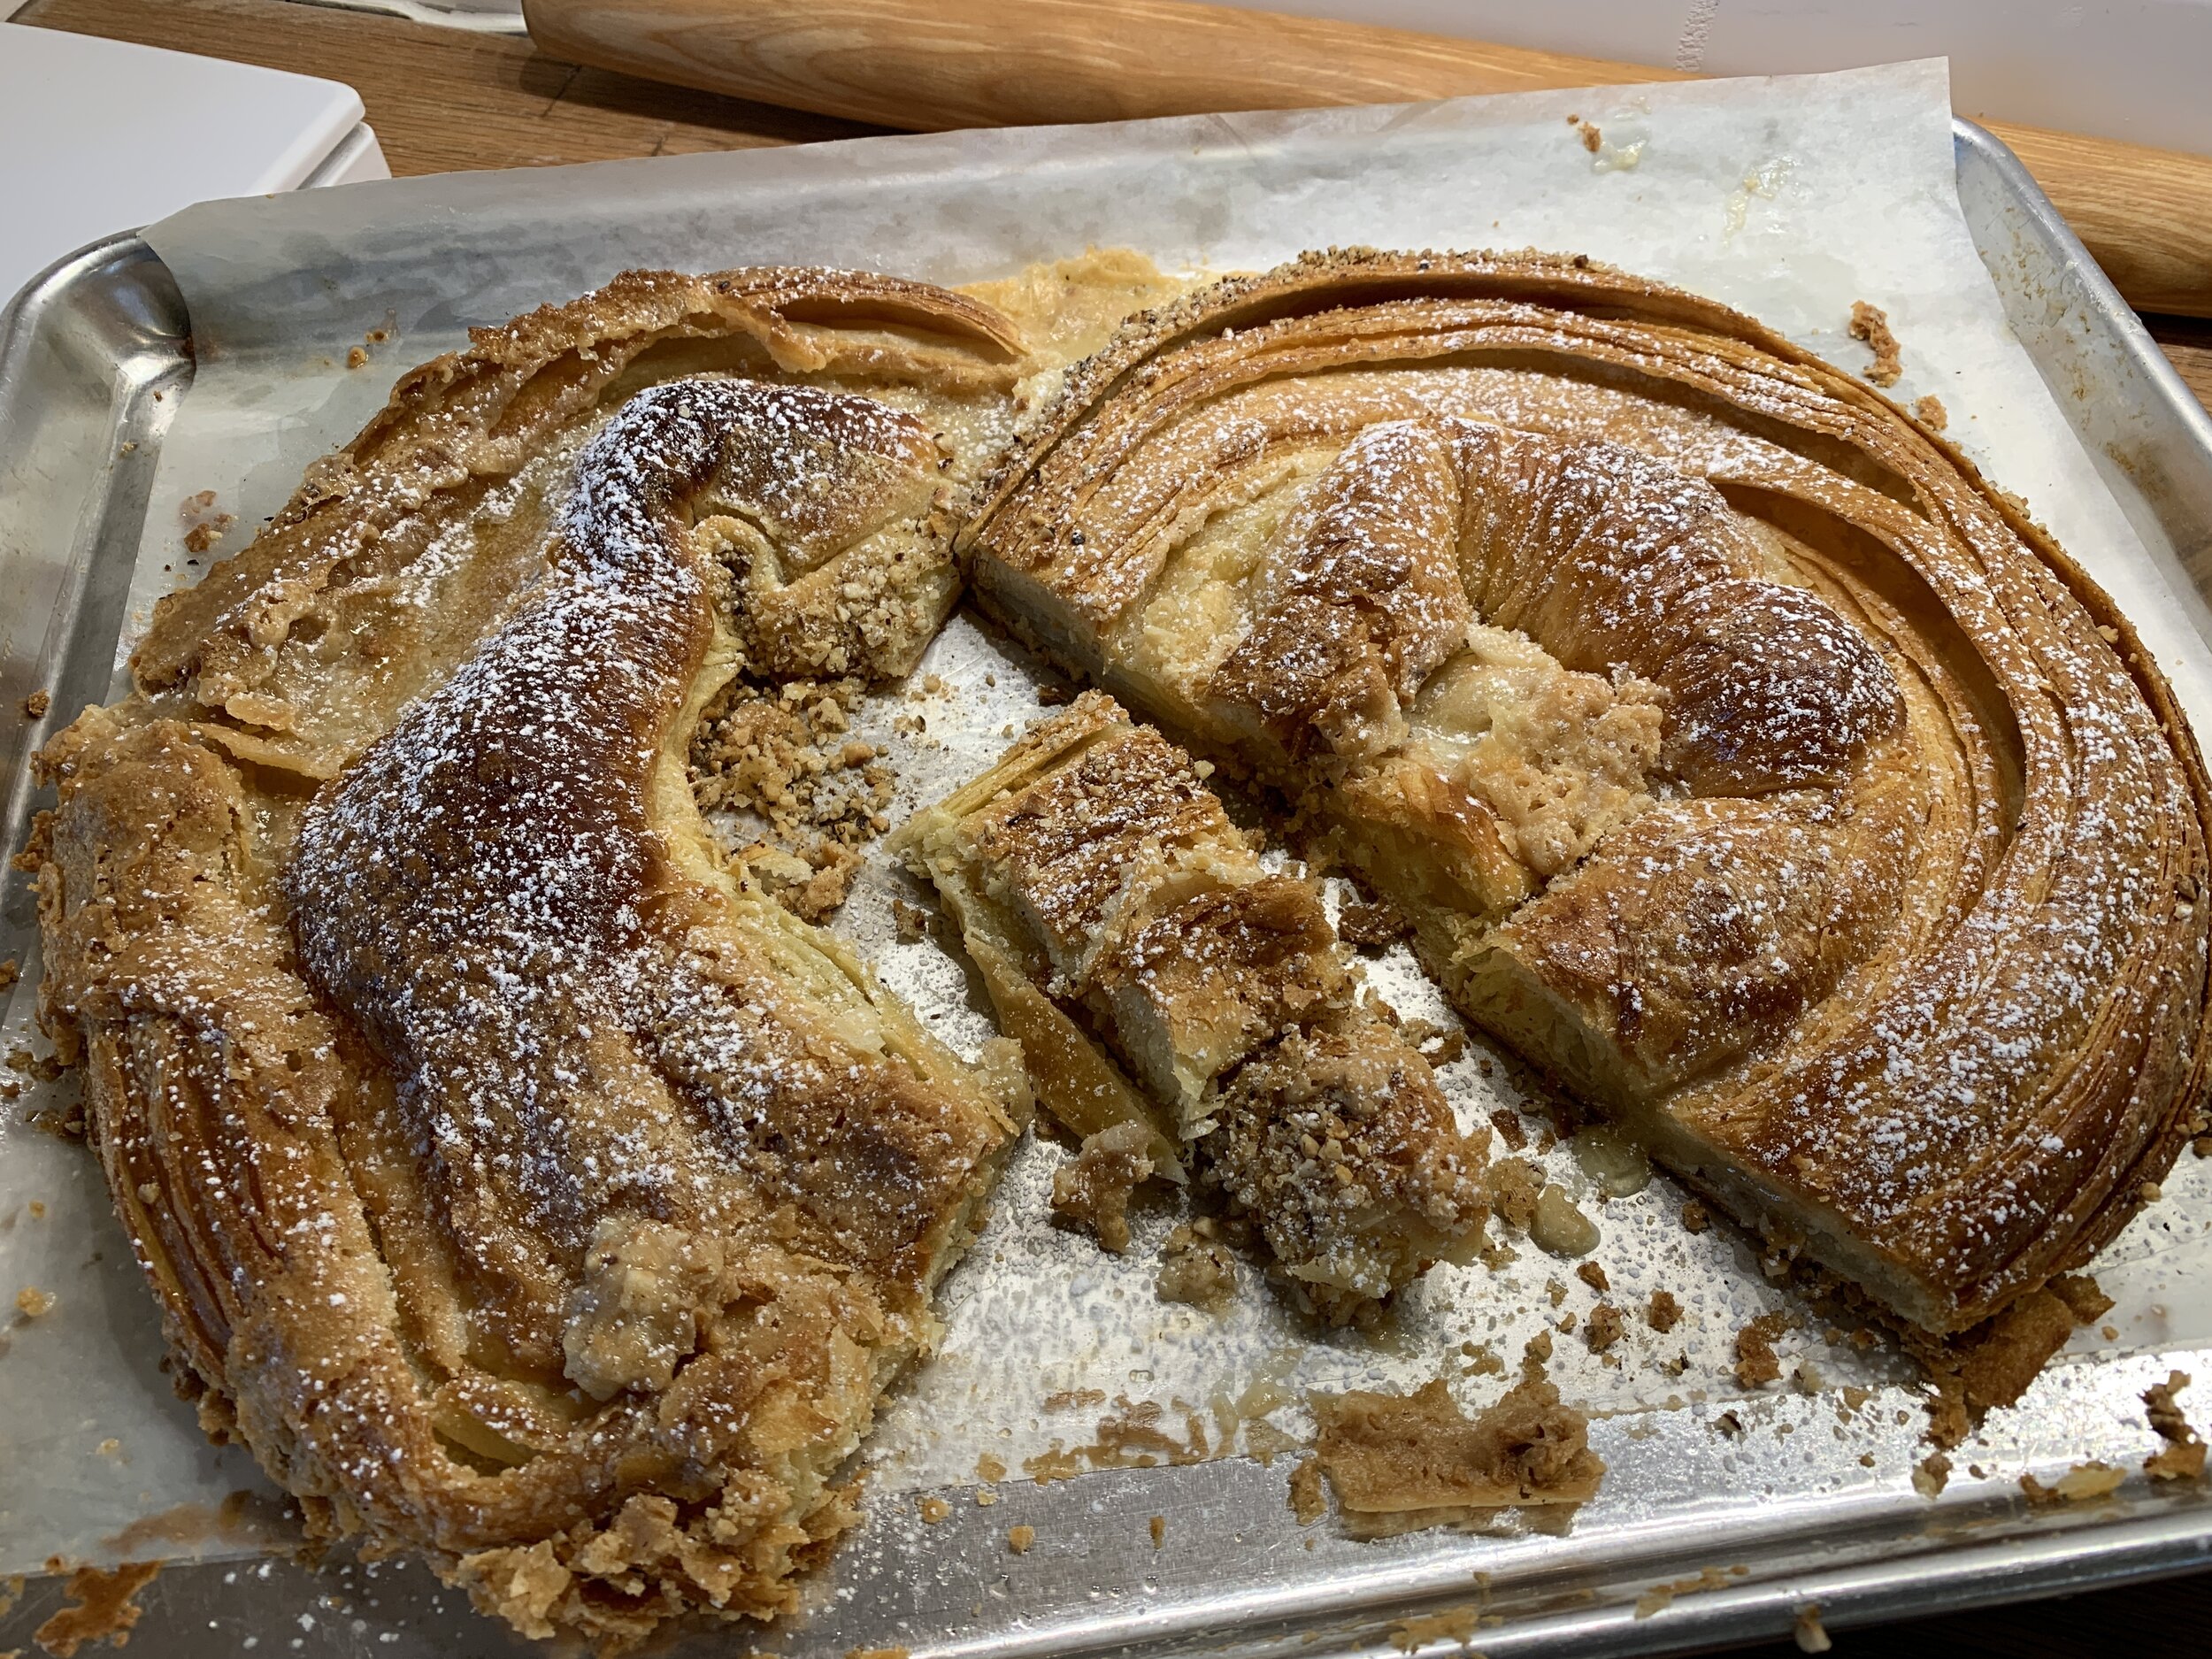
Raspberry cream cheese Danish
I first published this post a few days ago but I’ve broken out the blueberry scone section into it’s own post and edited this one. So, if you saw it the first go-around, it’s different now.
We’ve had some touch of autumn days (which I LOVE!) but also some heat and humidity coming back in which doesn’t typically inspire one to do much baking. Even so - I still manage to get some quality kitchen time in. Gotta do it.
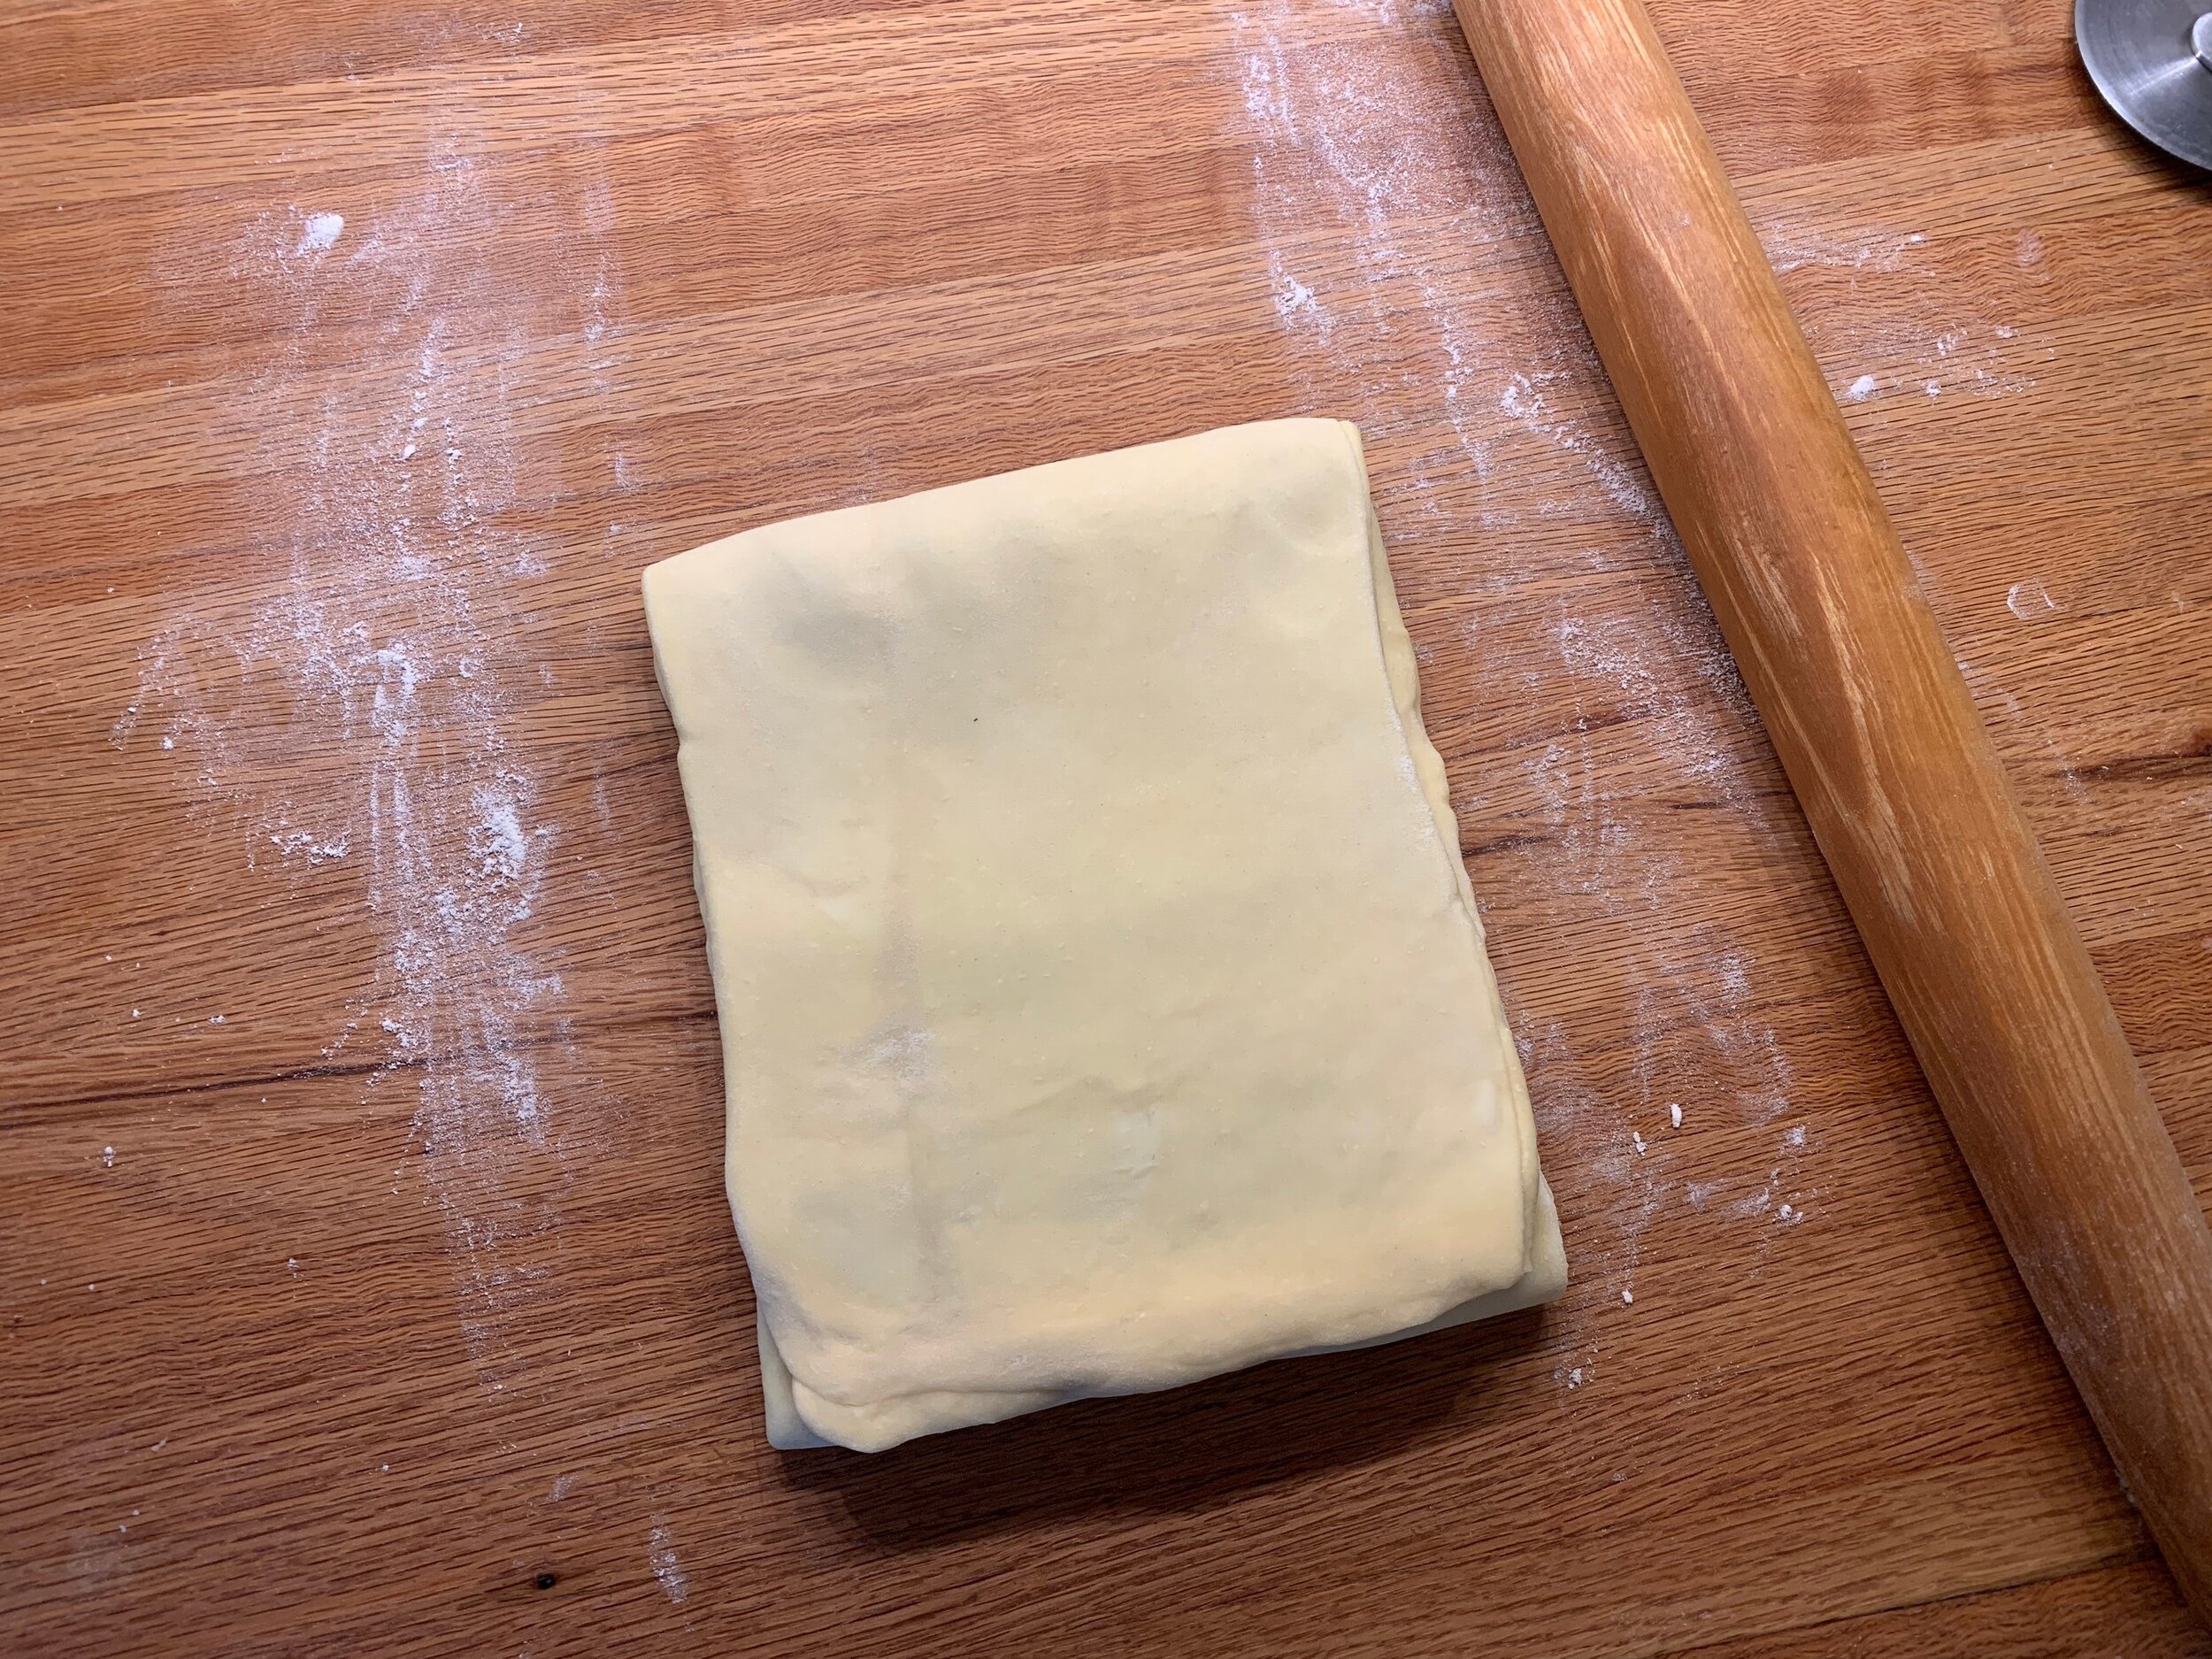
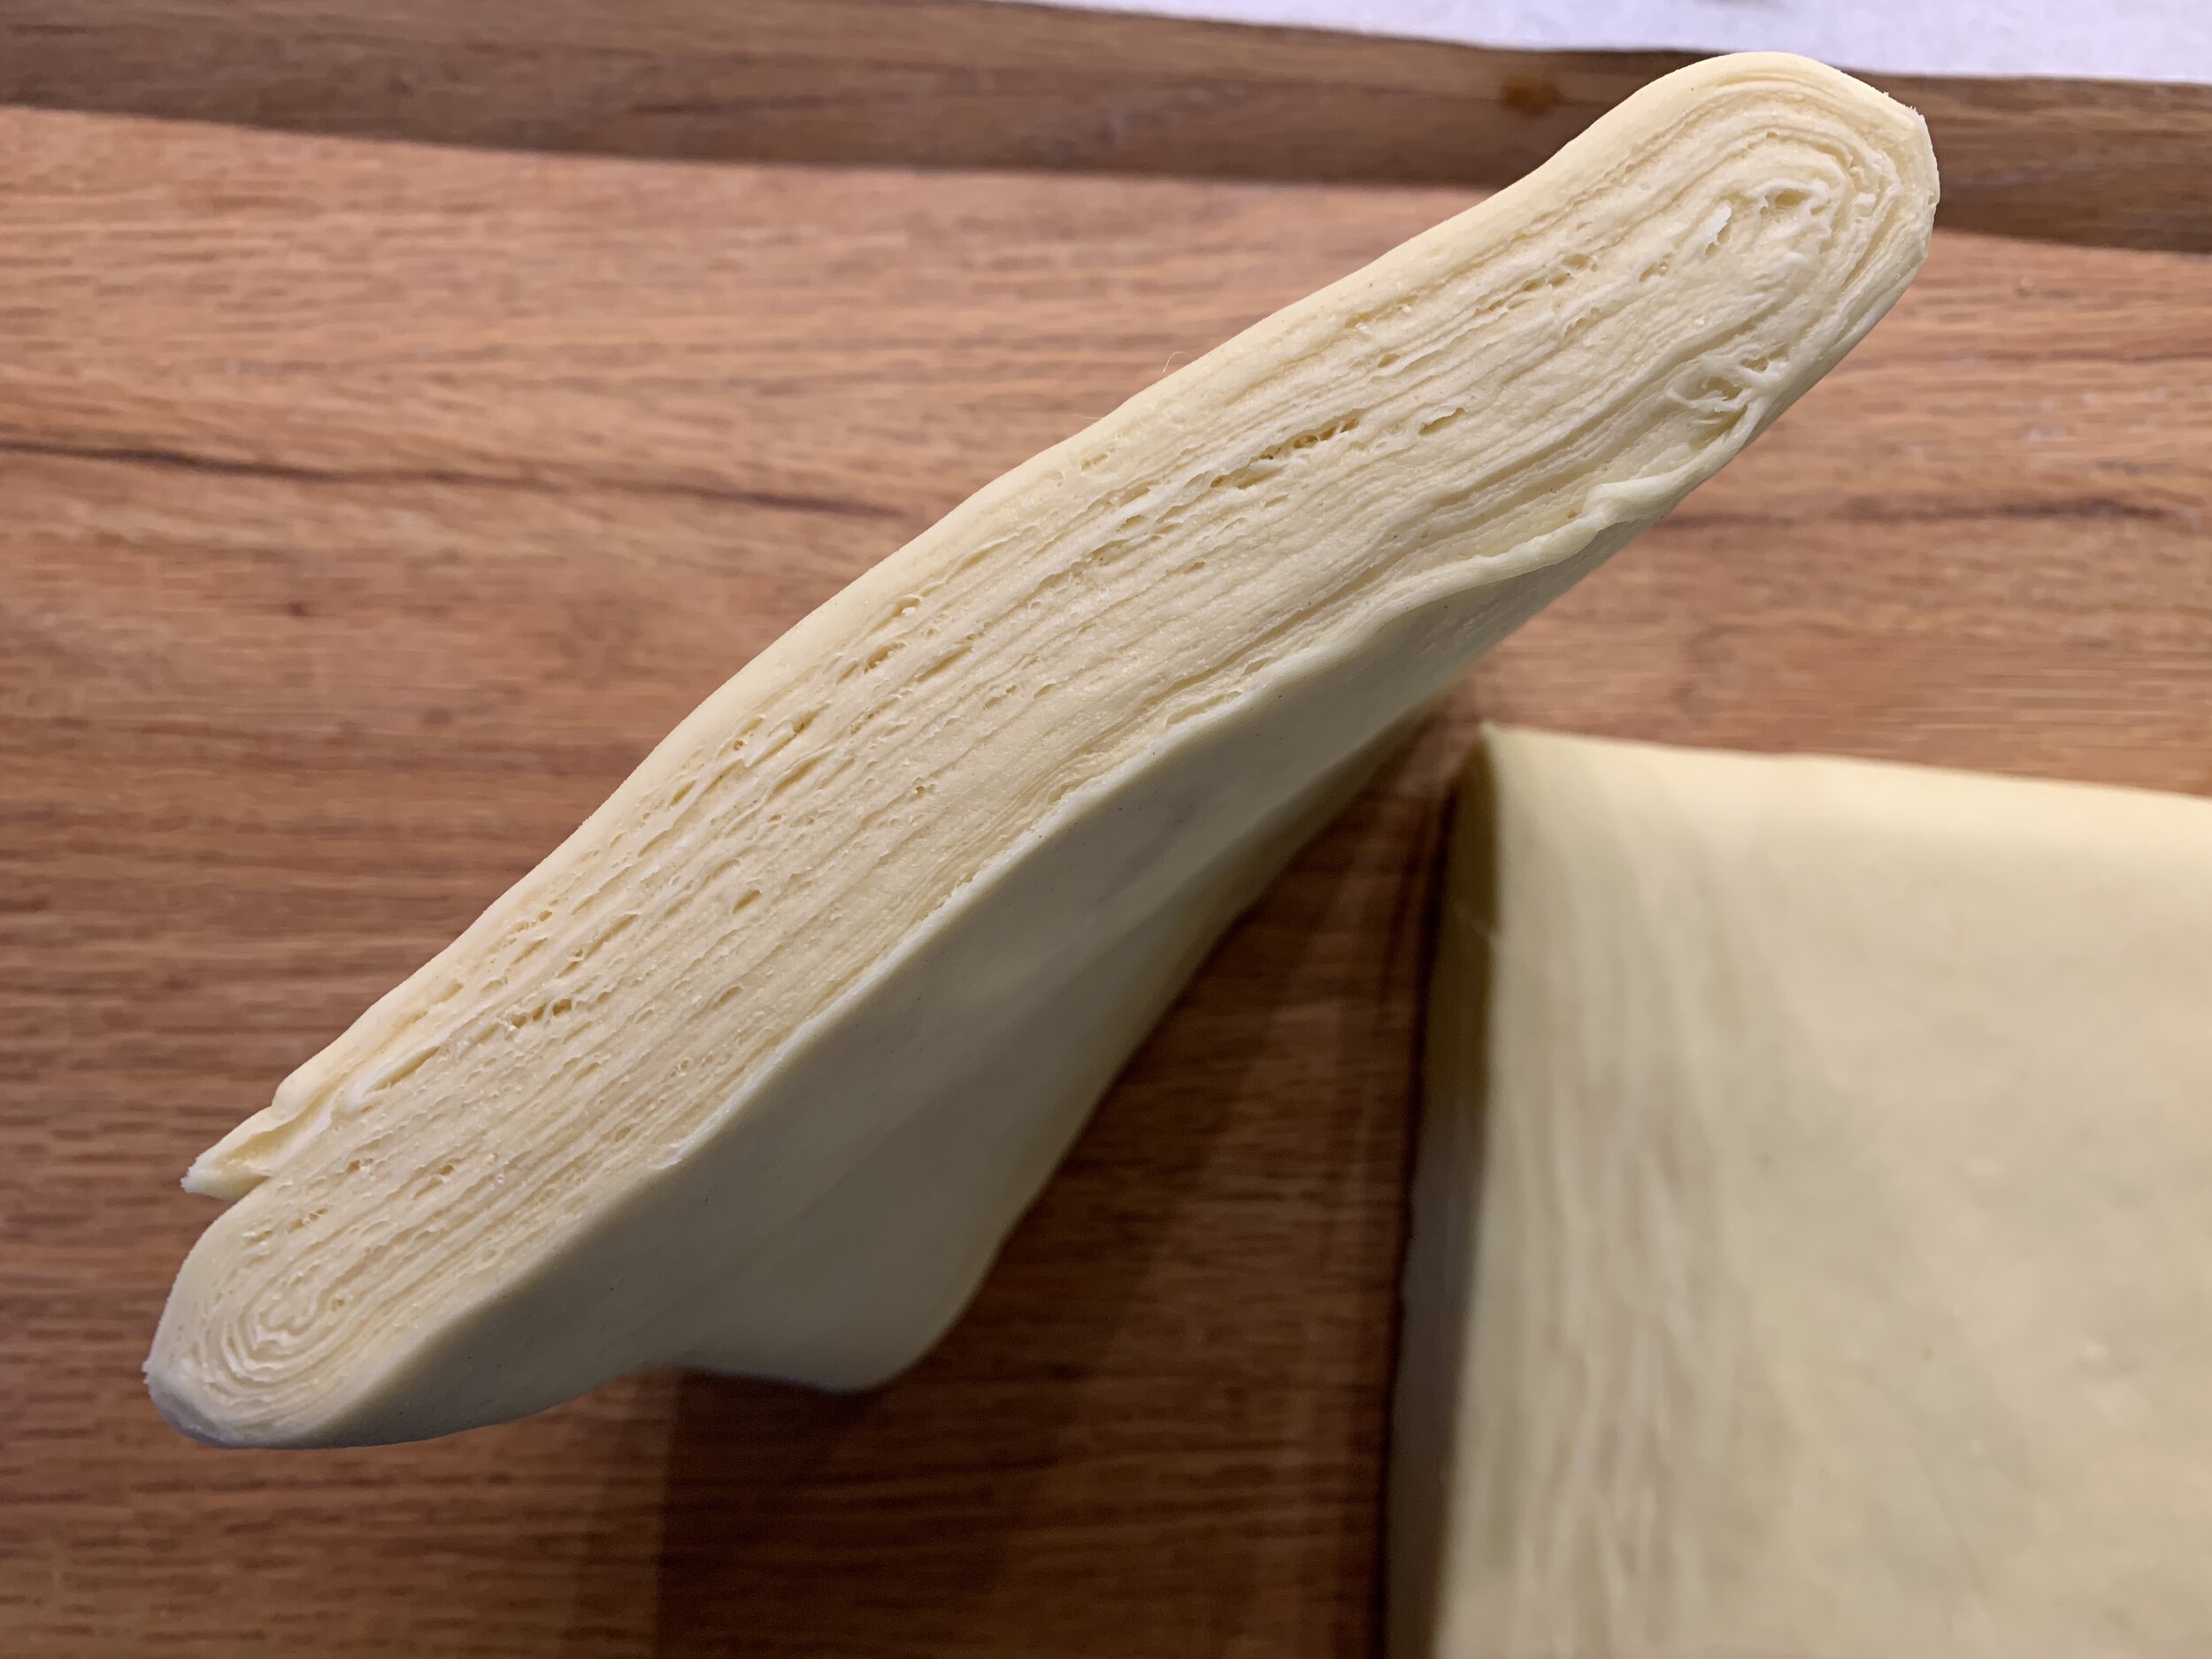
The raspberry Danish above are a result of tweaking and finalizing my Danish dough recipe mentioned in the recent Swedish cardamom bun post. So delicious!
Following are a few more visuals of some of the things I’ve been doing lately. I stumble across recipes that either get my attention or not, but those that might incorporate a different technique or ingredient are the ones that I put on the to-do pile.
Please enjoy the pics and dream of the things you might create!
First these blueberry scones are from a NYT article by Dorie Greenspan on Joanne Chang’s (of Boston’s “Flour” fame) recipe. Here’s a more fleshed out post on these. You should give them a try!

Maple glazed blueberry drop scones
Next up - dukkah shortbread. I’ve been wanting to do this for awhile now. Dukkah is a middle Eastern and Egyptian concoction made with toasted nuts, herbs, seeds and spices that are coarsely ground and used in marinades or as garnish for soups, salads, meats, veggies or whatever you want really.
There are LOTS of recipes. Just Google it. I used pistachios and hazelnuts, sesame seeds plus cumin, coriander, fennel and sea salt. I blended about 75 g of the mixture into my base shortbread dough made by blending 75 g sugar (consider half or all dark brown sugar here to add some caramel notes to the nuts and spices) with 200 g unsalted room temperature butter; blend in 250 g all purpose flour (or use 60 g whole wheat pastry flour and 190 all purpose) along with the dukkah . Wrap, chill at least an hour, then roll out and cut shapes of choice. This is good. Sweet and savory. I might leave the fennel out next time and add almonds into the mix.

Dukkah shortbread cookies
Individual cobblers are fun. These are made with fresh Michigan peaches and blueberries. Great with vanilla ice cream of course.

Individual peach blueberry cobblers
Financier batter is simply ripe with flavor possibilities.

Coffee walnut streusel financier
Next up - these maple almond butter cakes are from a recipe on the underside of the foil lid on Siggi’s yogurt. I don’t keep flax meal on hand so I used almond flour instead. Other than adding a bit of almond butter to shortbread dough in the past, this is my first foray into baking with a significant amount of almond butter. Let’s just say I could get used to it.
There are many brands out there - Justin’s is a popular one. I used “Barney Butter” and have since purchased a roasted almond butter from my favorite almond paste supplier Mandelin. I’m looking forward to trying it.

I made these twice. It’s an easy mixing process. The first time with some blueberries and/or peaches tucked on top before baking plus a basic crumb top. Two different sizes - 3” Fat Daddio aluminum pans and smaller panettone papers. One of the 3-inchers went to my mom for her birthday.
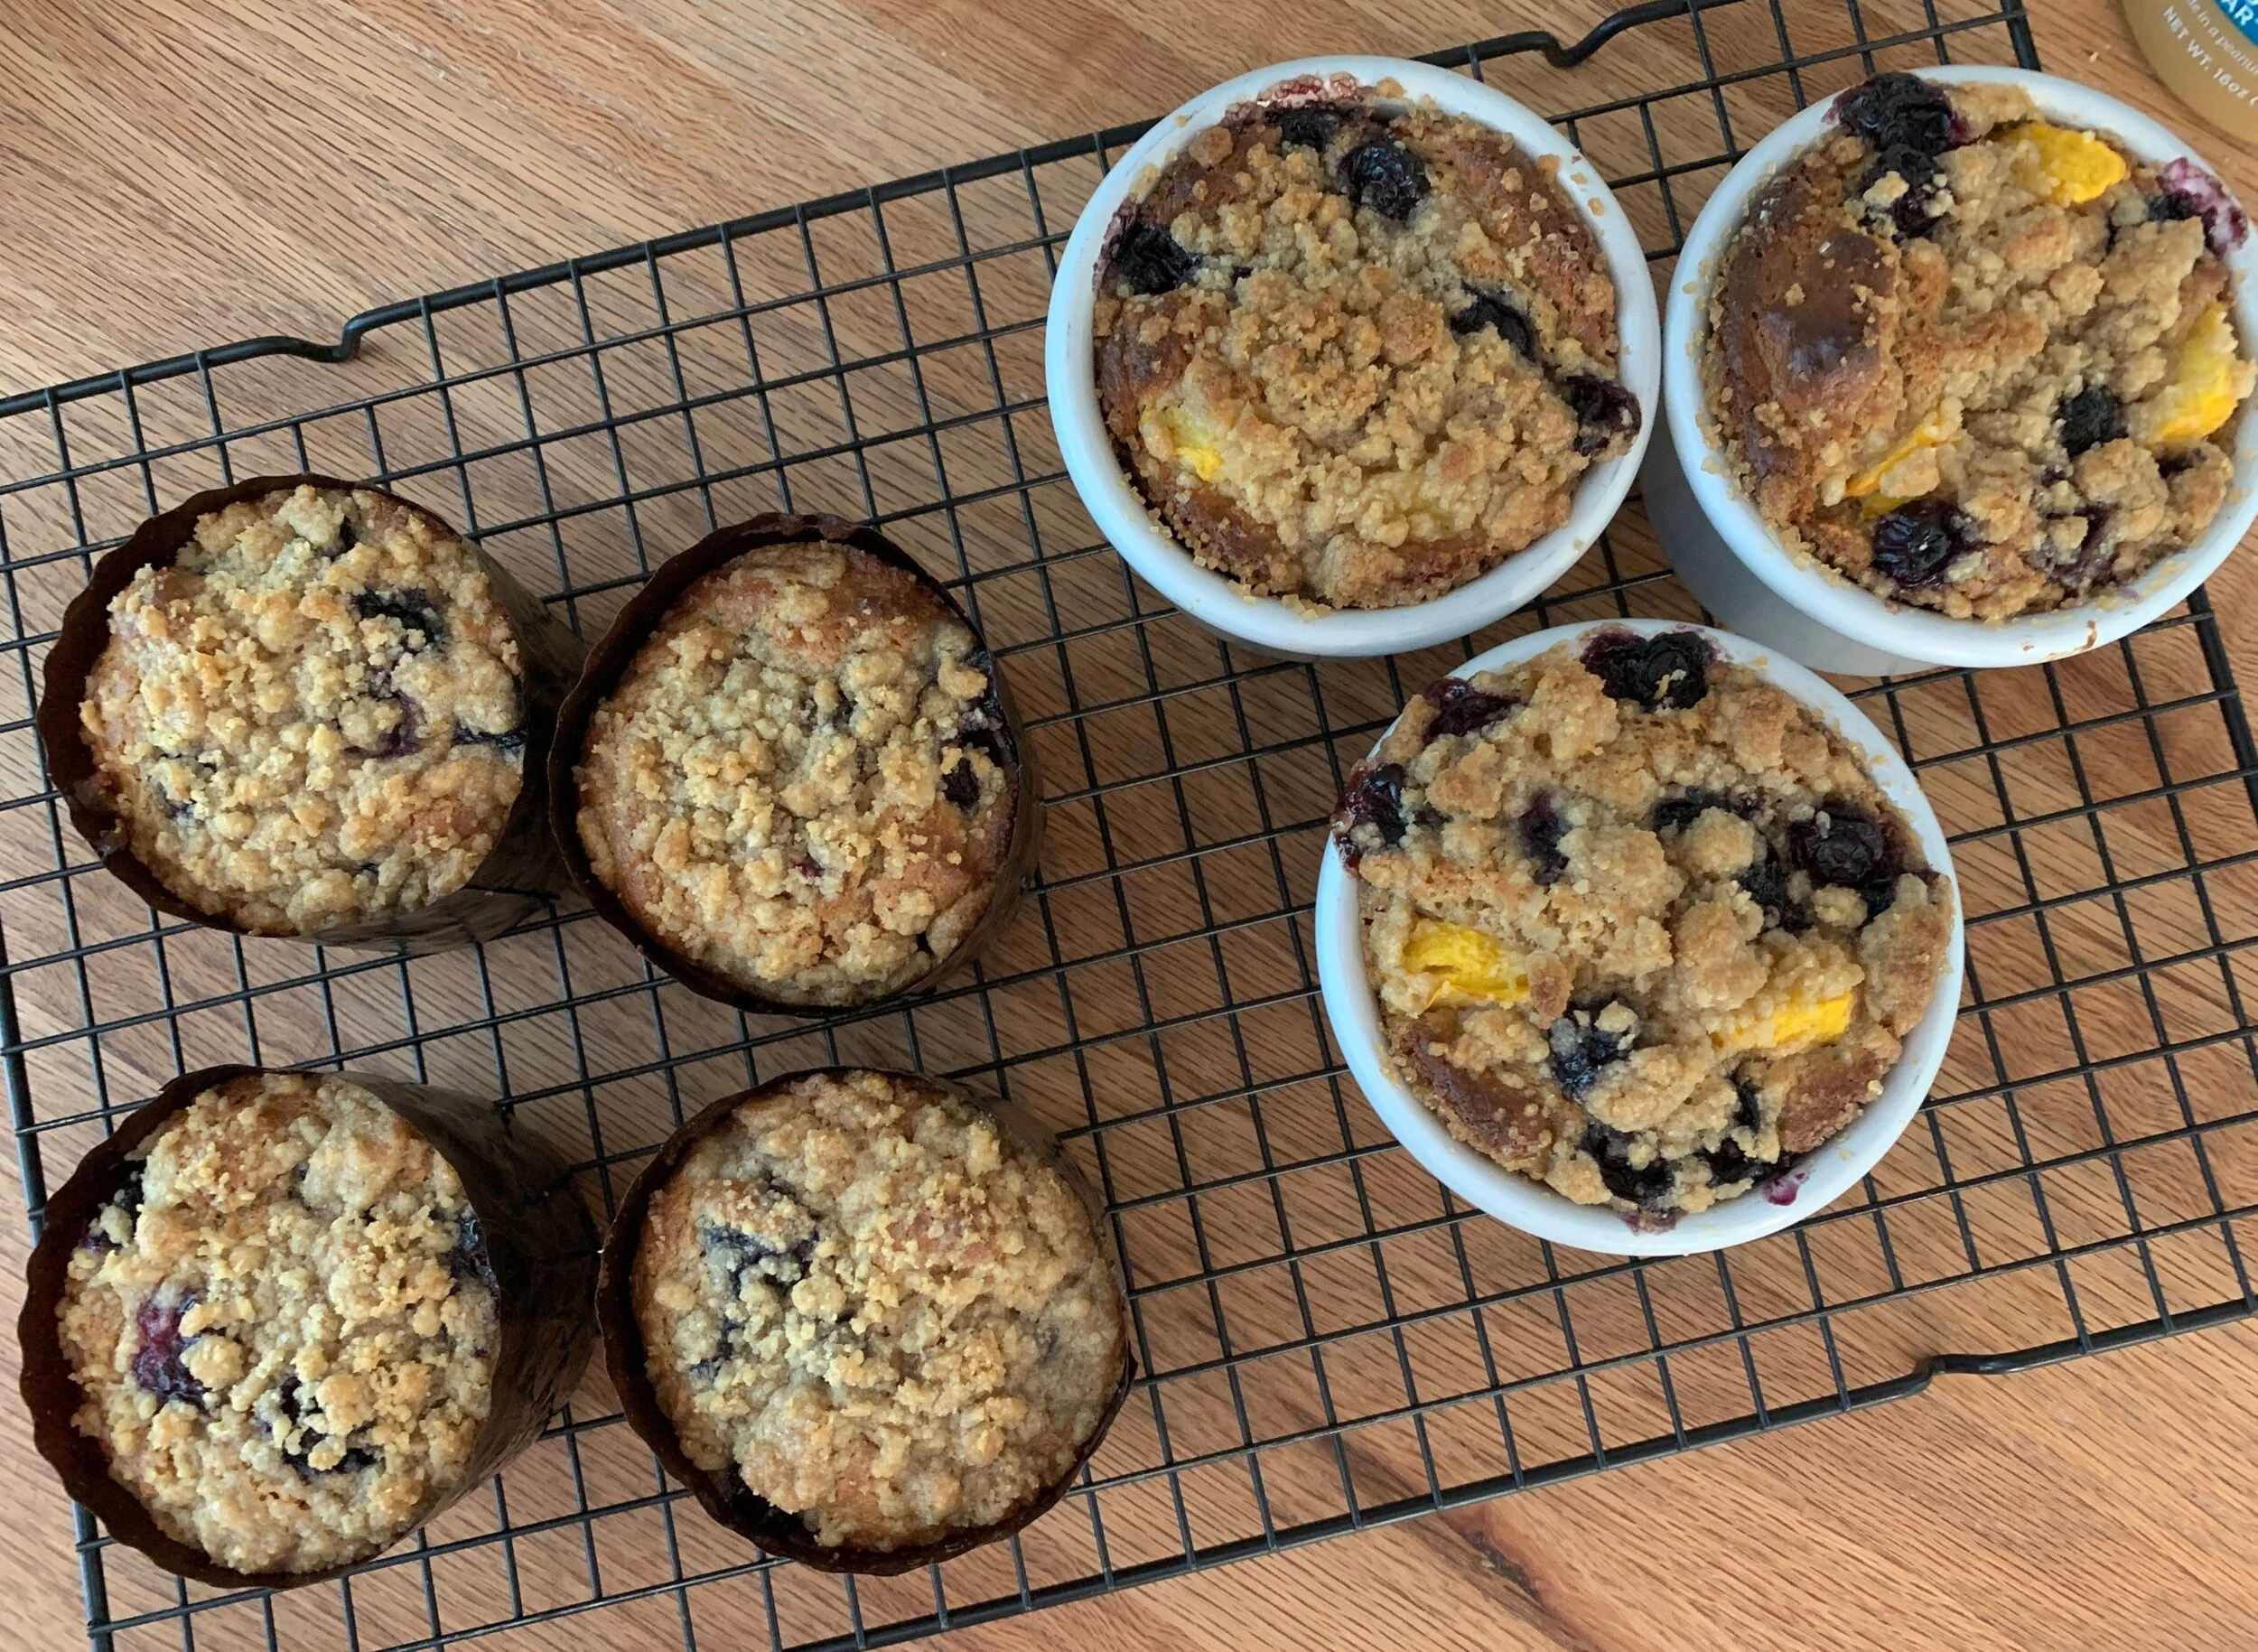
The second time I used one of my favorite silicone muffin molds, didn’t add fruit but made a delicious almond streusel topping.

I will say these are growing on me. They have very little sugar in them compared to many muffin recipes (1/4 cup maple syrup and just a couple tablespoons of brown sugar) so at first bite they seem to fall flat on the taste buds yet . . . . the texture and overall experience is nice, and they seem right somehow. Even Steve said so.
Drizzling some maple syrup or honey on before eating is an excellent addition. The fruit version definitely beats the non fruit and with that added almond streusel . . Yum. Methinks a nice dollop of jam in the center of each before baking would be great too. Next time.
A look ahead - even though it has taken me a seemingly endless amount of time, in addition to putting the final touches on a new brioche feuilletée post, I’ve started the draft for a baguette project piece as well. I love sharing details of processes and steps but that also means I spend a lot more time reviewing and comparing in order to offer a reasonable summary of whatever it might be. At any rate, after 24 weeks of essentially being home, each day brings a different vibe to our lives.
Happy baking, be reasonable and don’t forget that periodic deep breathing helps too.
Soon we’ll be deep into official “baking season”. Love it.