Tart cherry mascarpone custard torta (and one more)
/
Mascarpone here we come! I don’t typically keep this Italian style cream cheese on hand as a staple ingredient but, when I’ve used it for a specific project, there are usually leftovers that are begging to go into something delicious.
I’ve had mascarpone on the brain for a while now. It all started with a full day of three demo sessions for a local seniors group back in April. In addition to a couple of savory offerings, I prepared and served whipped lime mascarpone cream vol-au-vents topped with fresh strawberries. During the ensuing days I used the leftover mascarpone for a home freezer stash of strawberry lime mascarpone ice cream and some delightful raspberry teacakes (more on that later).
As it turns out, I still had one unopened tub in the fridge and - wouldn’t you know it (I believe it was kismet!) - a request came in to create something delicious for my cousin Mary’s afternoon book club group. You can guess where this is going.
*Just a quick note about mascarpone’s shelf life - if it remains unopened, it’s fine in your fridge for awhile - the use by dates are typically some months out. BUT . . . . once opened and the plastic sealer is removed it’s best to use it within 5-7 days. If I’ve used only a portion of the tub, I press plastic wrap directly on the surface to exclude air which helps keep it’s texture until I’ve finished it off.
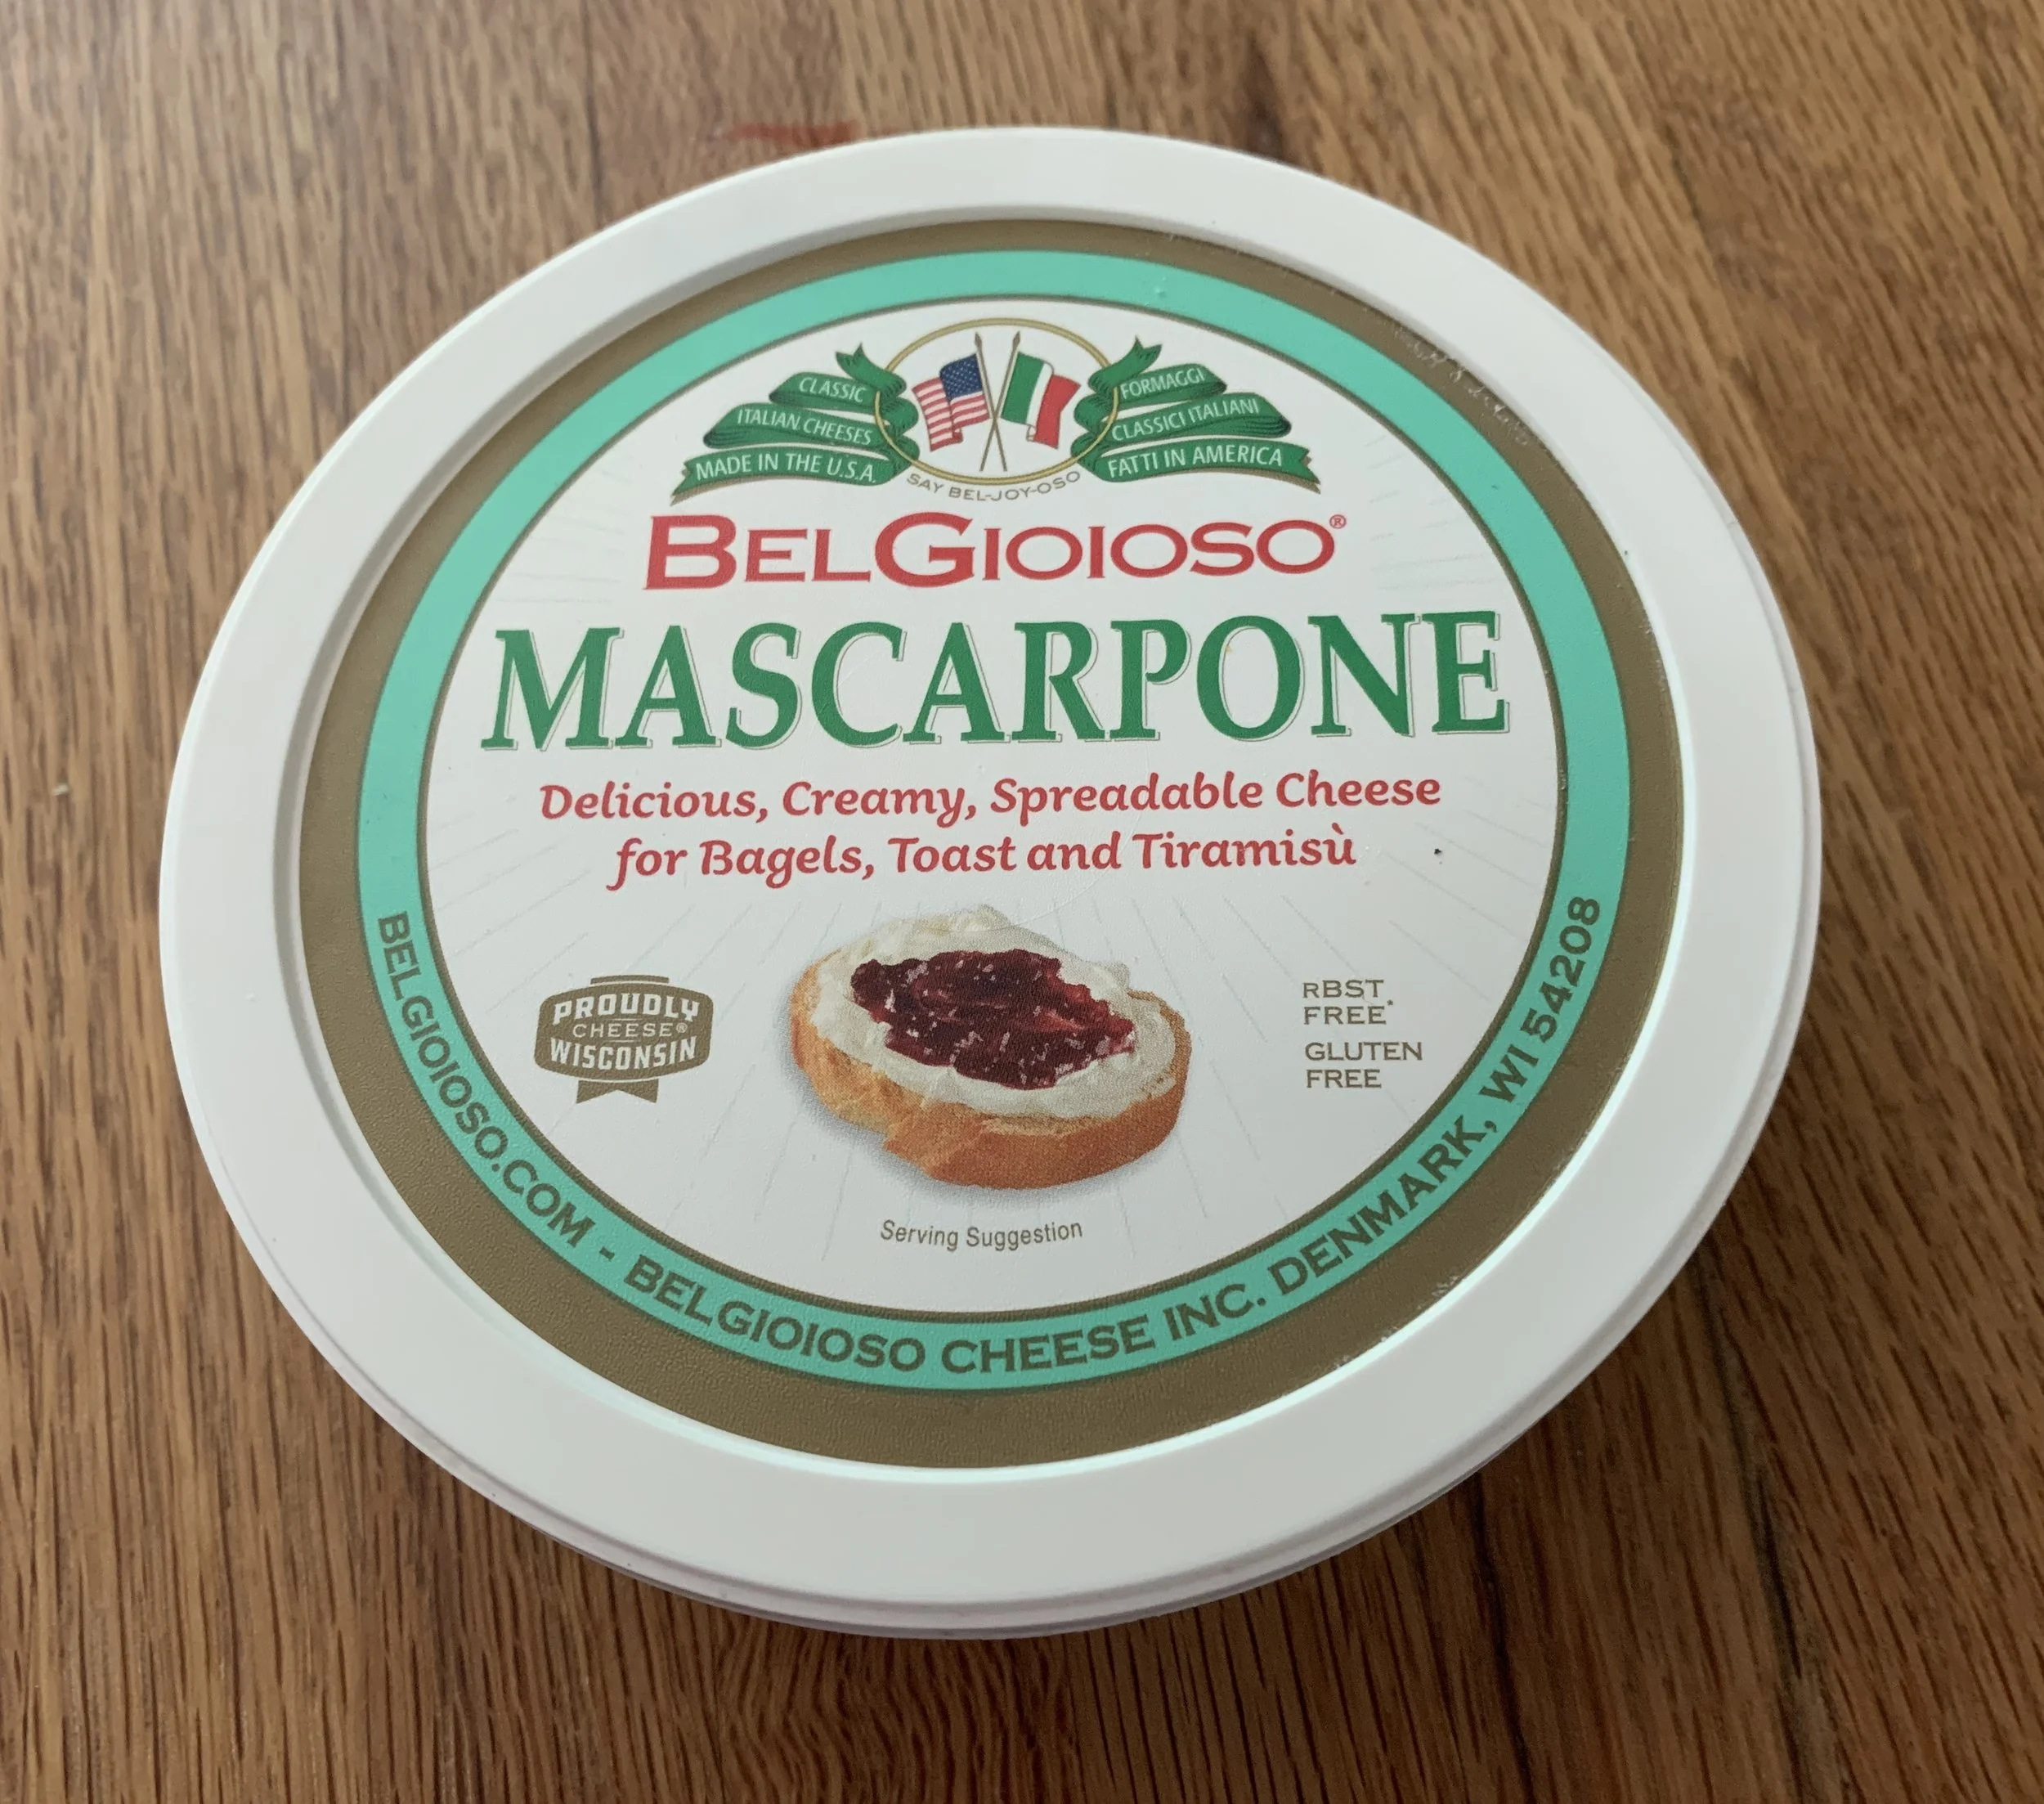
Most commonly found brand on grocery store shelves
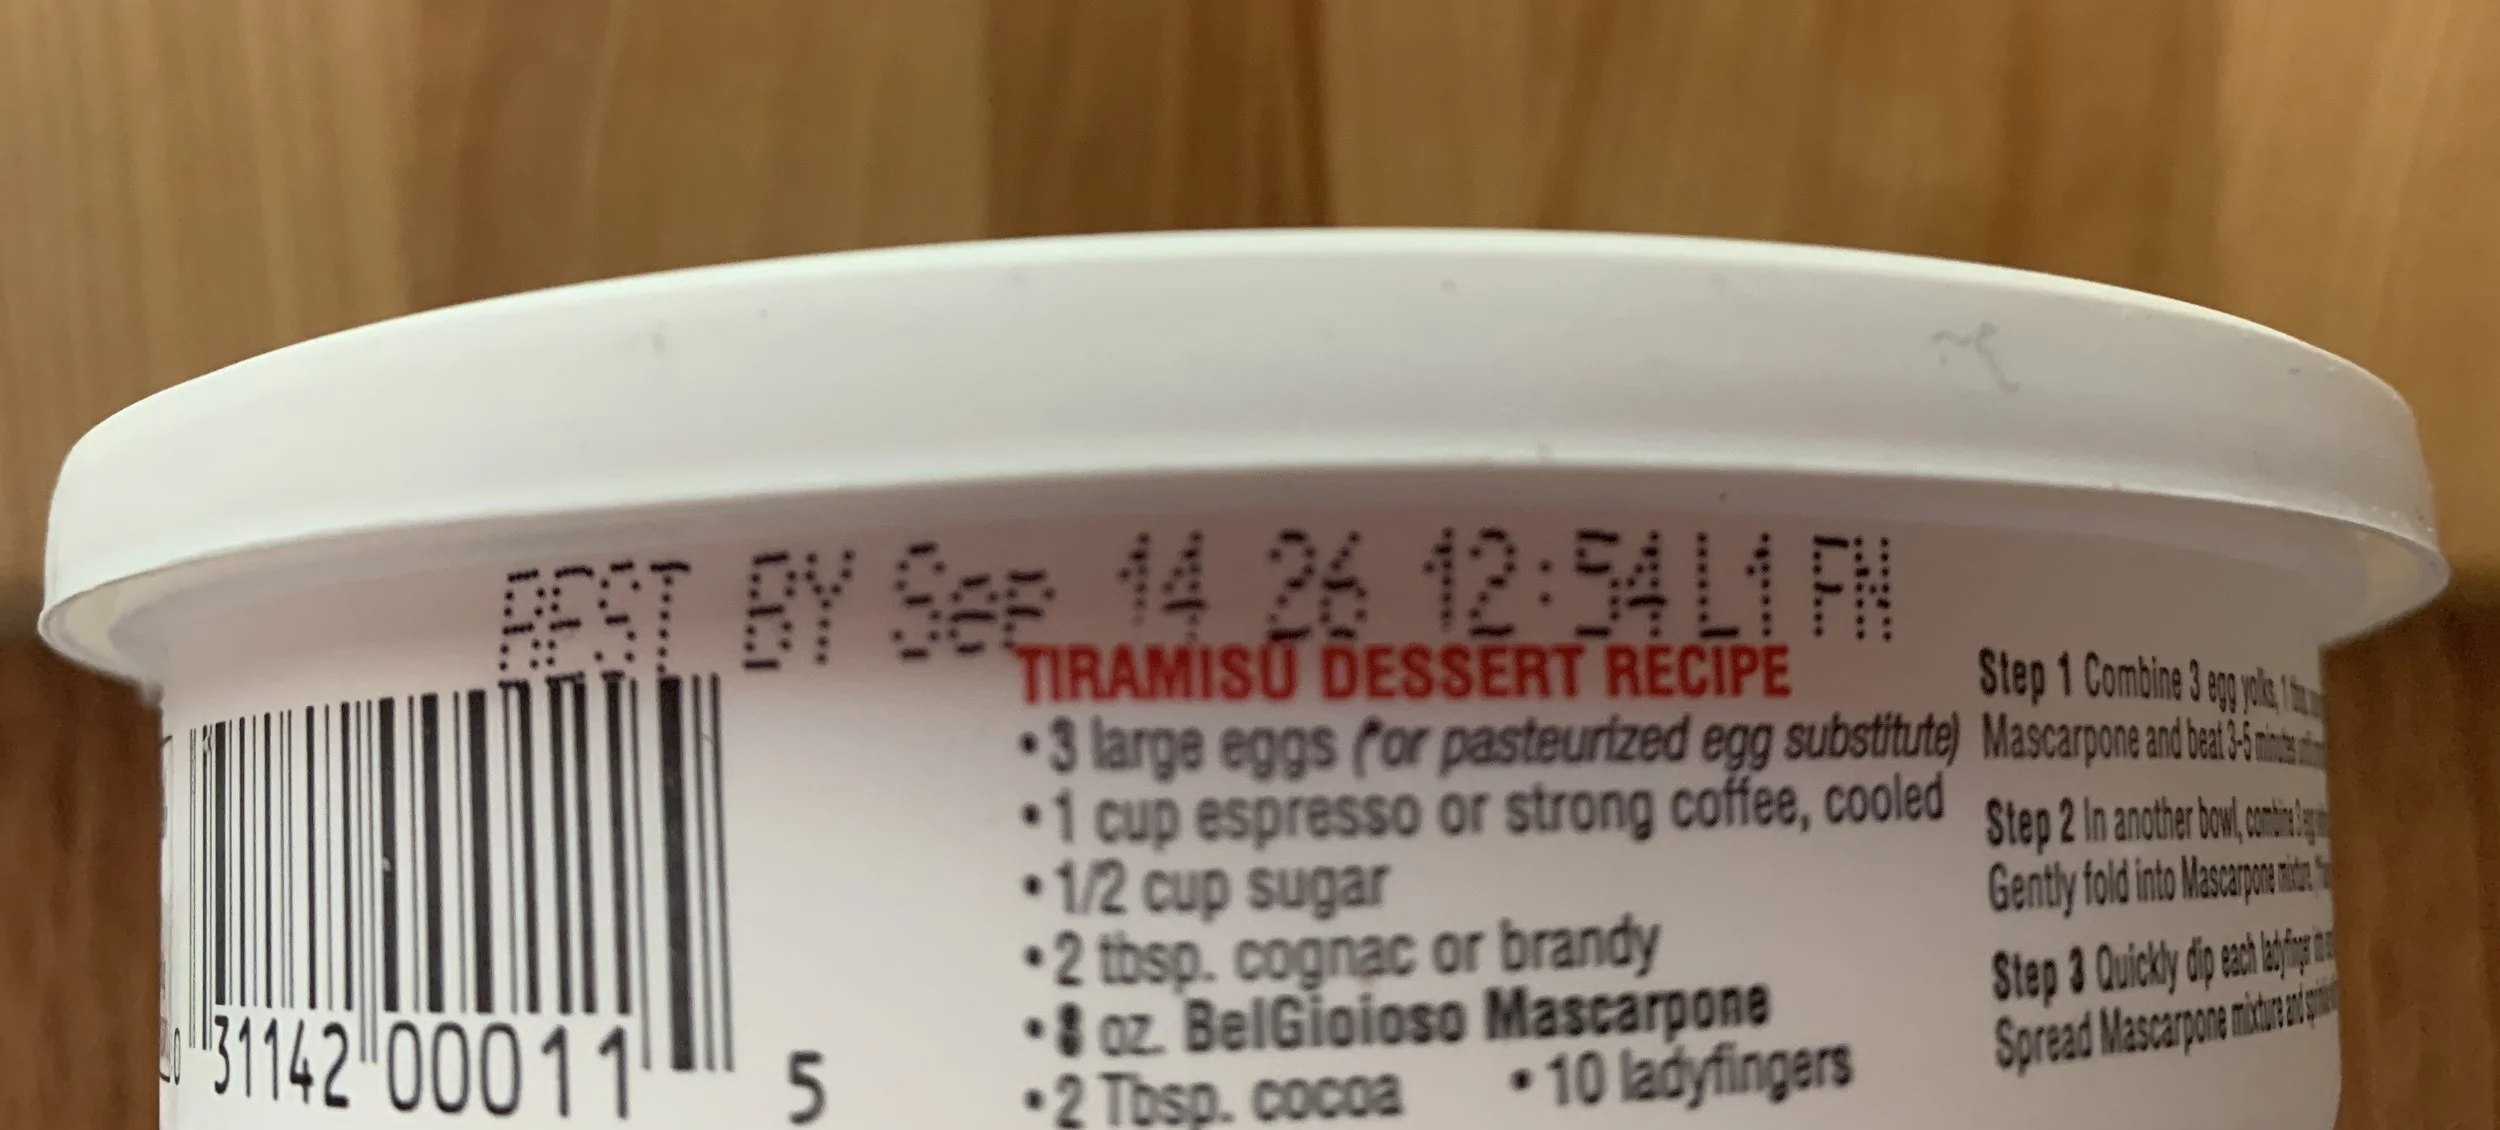
Purchased mid may - use by date 9/14/26 - if unopened!
Let’s get on with it! I had pasta frolla, Michigan tart cherries (the end of last year’s crop) and oat crumble in my freezer so, along with the unopened tub of mascarpone, I had a clear vision for the book club dessert. With a few additional ingredients always at the ready (cream, sugar, cornstarch, egg, lemon zest and vanilla) I was set.
Here’s the recipe PDF which includes all the components - if you prefer not to read through the entire post, you can go right to it and get to work on your own torta!
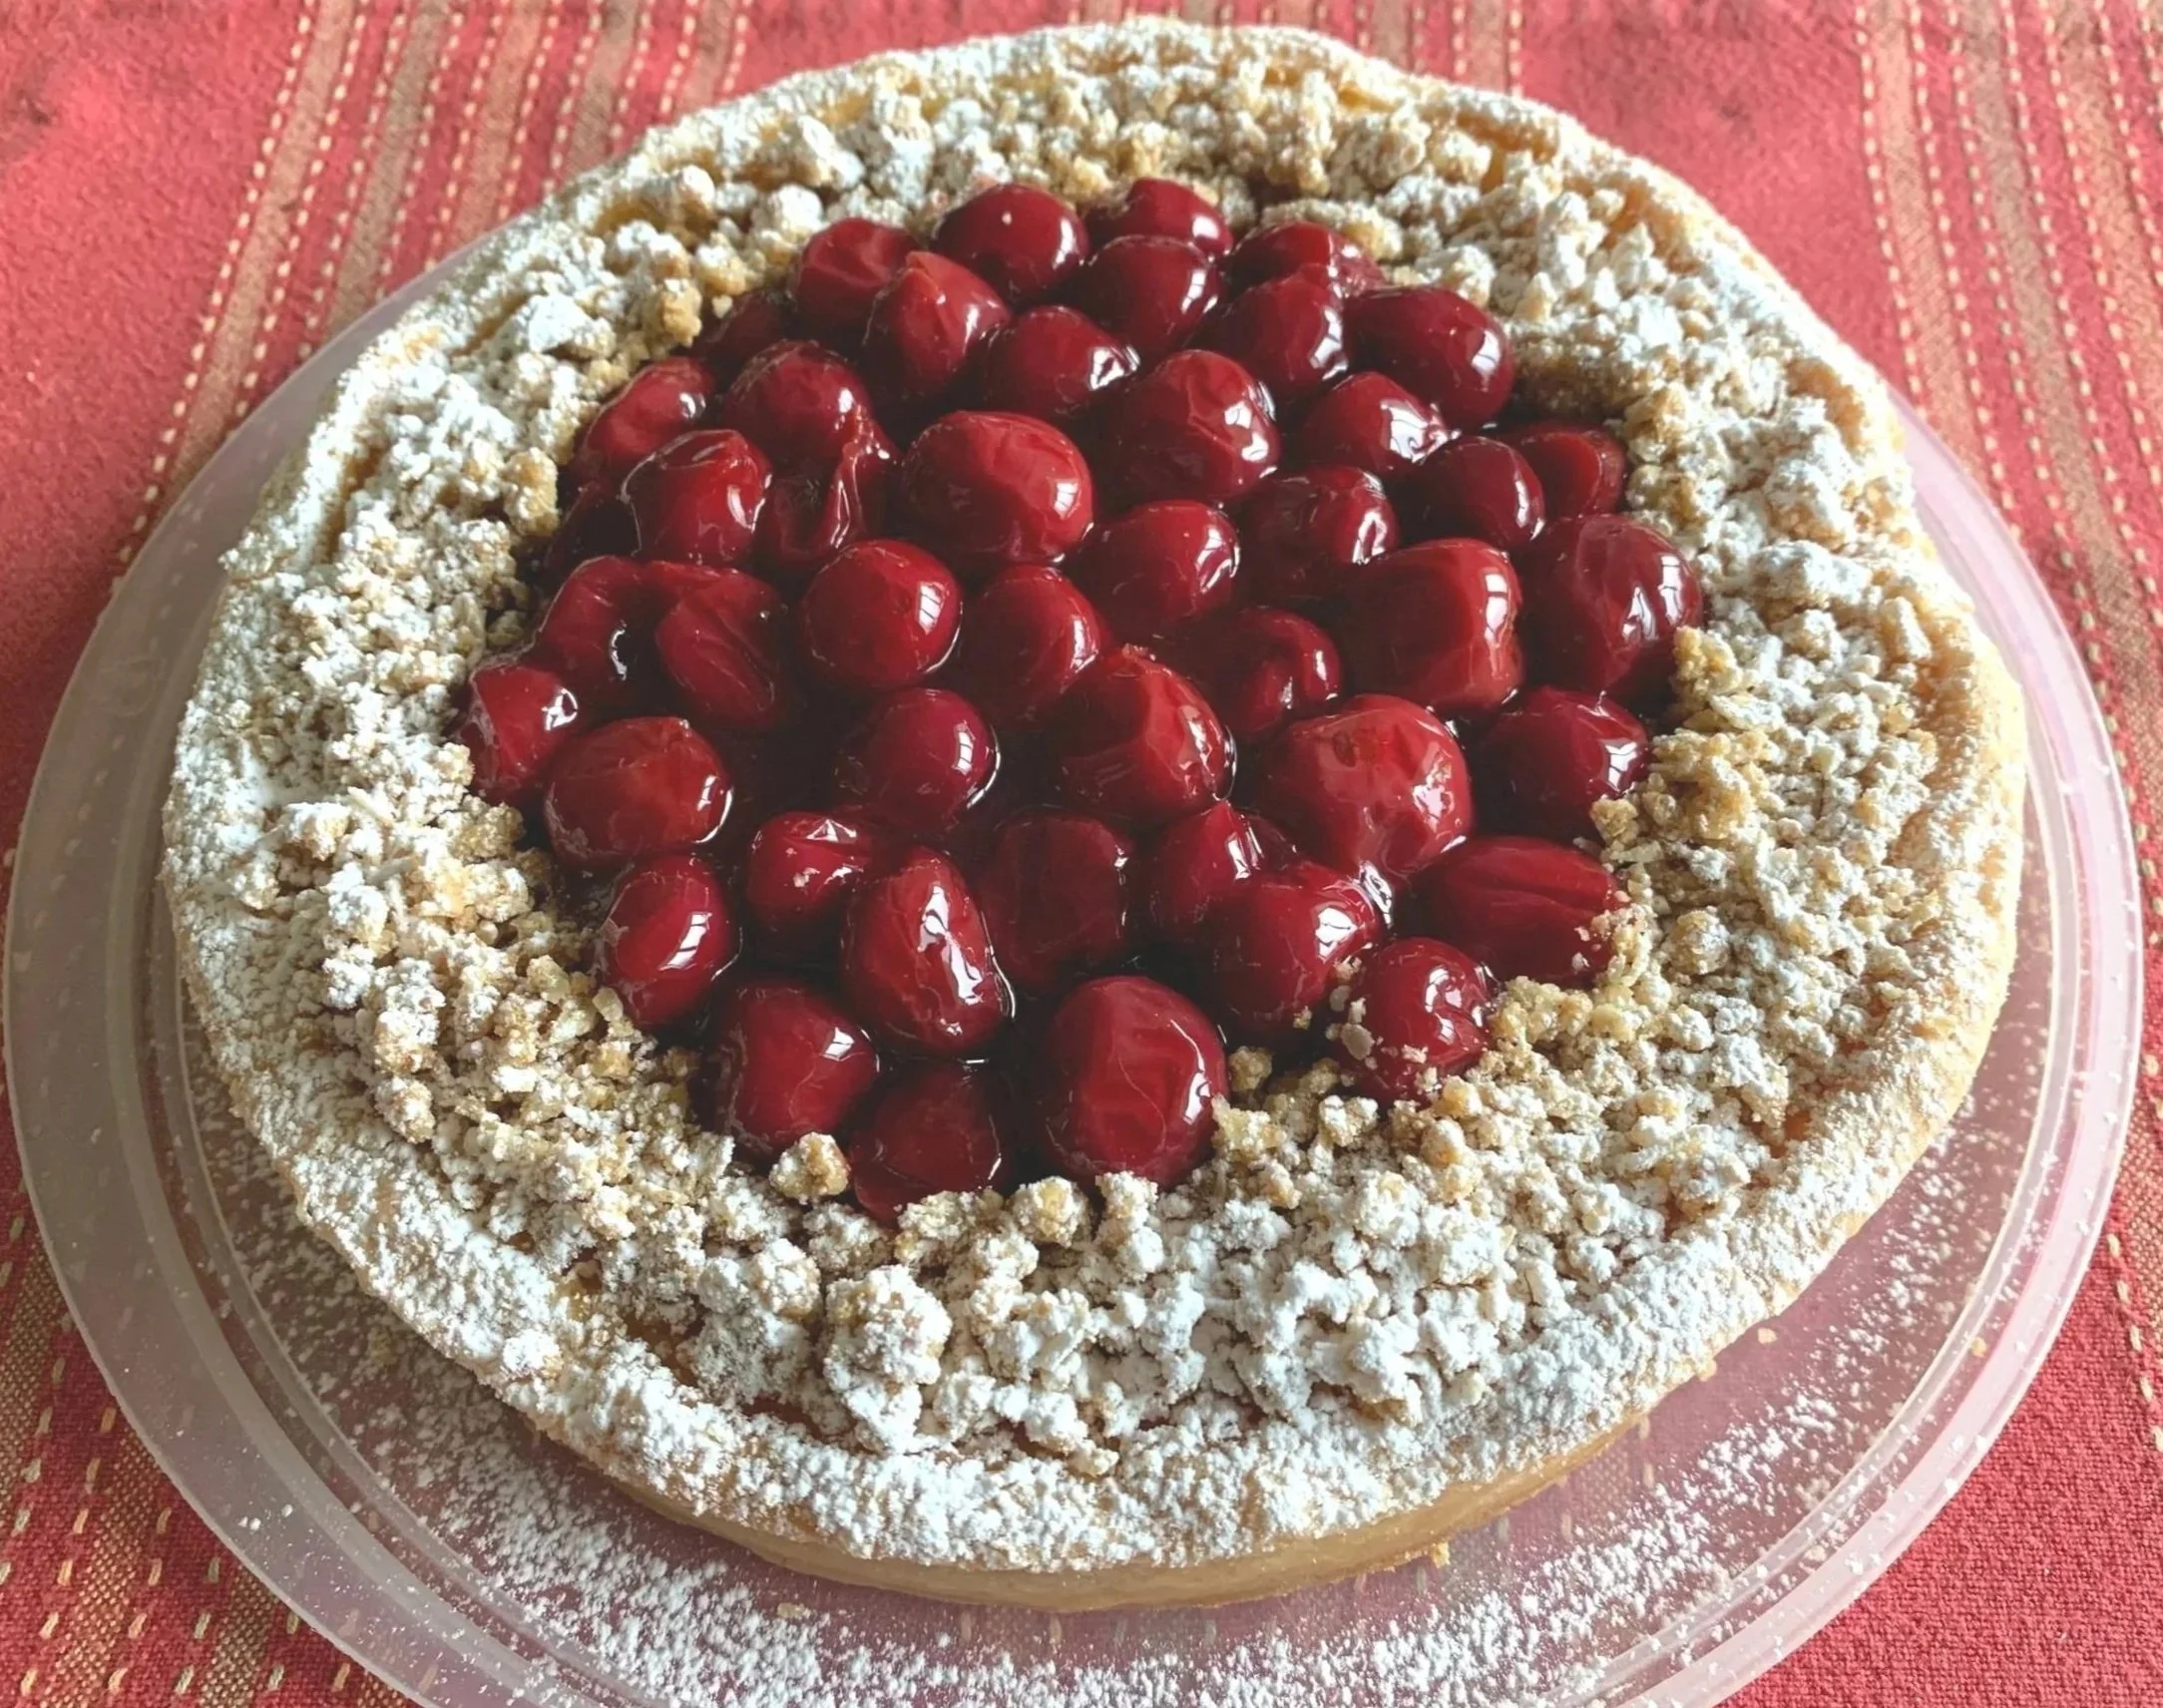
The book group torta
Cousin Mary’s book group gave the torta a thumbs up so, as Memorial Day approached, I thought it fitting to make another one for a family gathering at cousin Jen’s cottage! Yippee!
Let’s walk through the steps - or you can go to the full recipe here.
I decided to use an 8” springform pan so I could build up the sides a bit deeper than I might with a standard tart ring. I ended up using about 280-300 g of pasta frolla (the same dough I used for the crostata della Nonna last October). I lightly buttered the bottom of the pan and lined it with a parchment round.
Roll the dough to about a 10” circle 4-5 mm thick and ease it into the form. I wanted a height of about 1.25” so gave myself plenty of dough to work with. Score the dough at your desired height then remove the excess. Save scraps to re-roll for cookies or petite tarts.
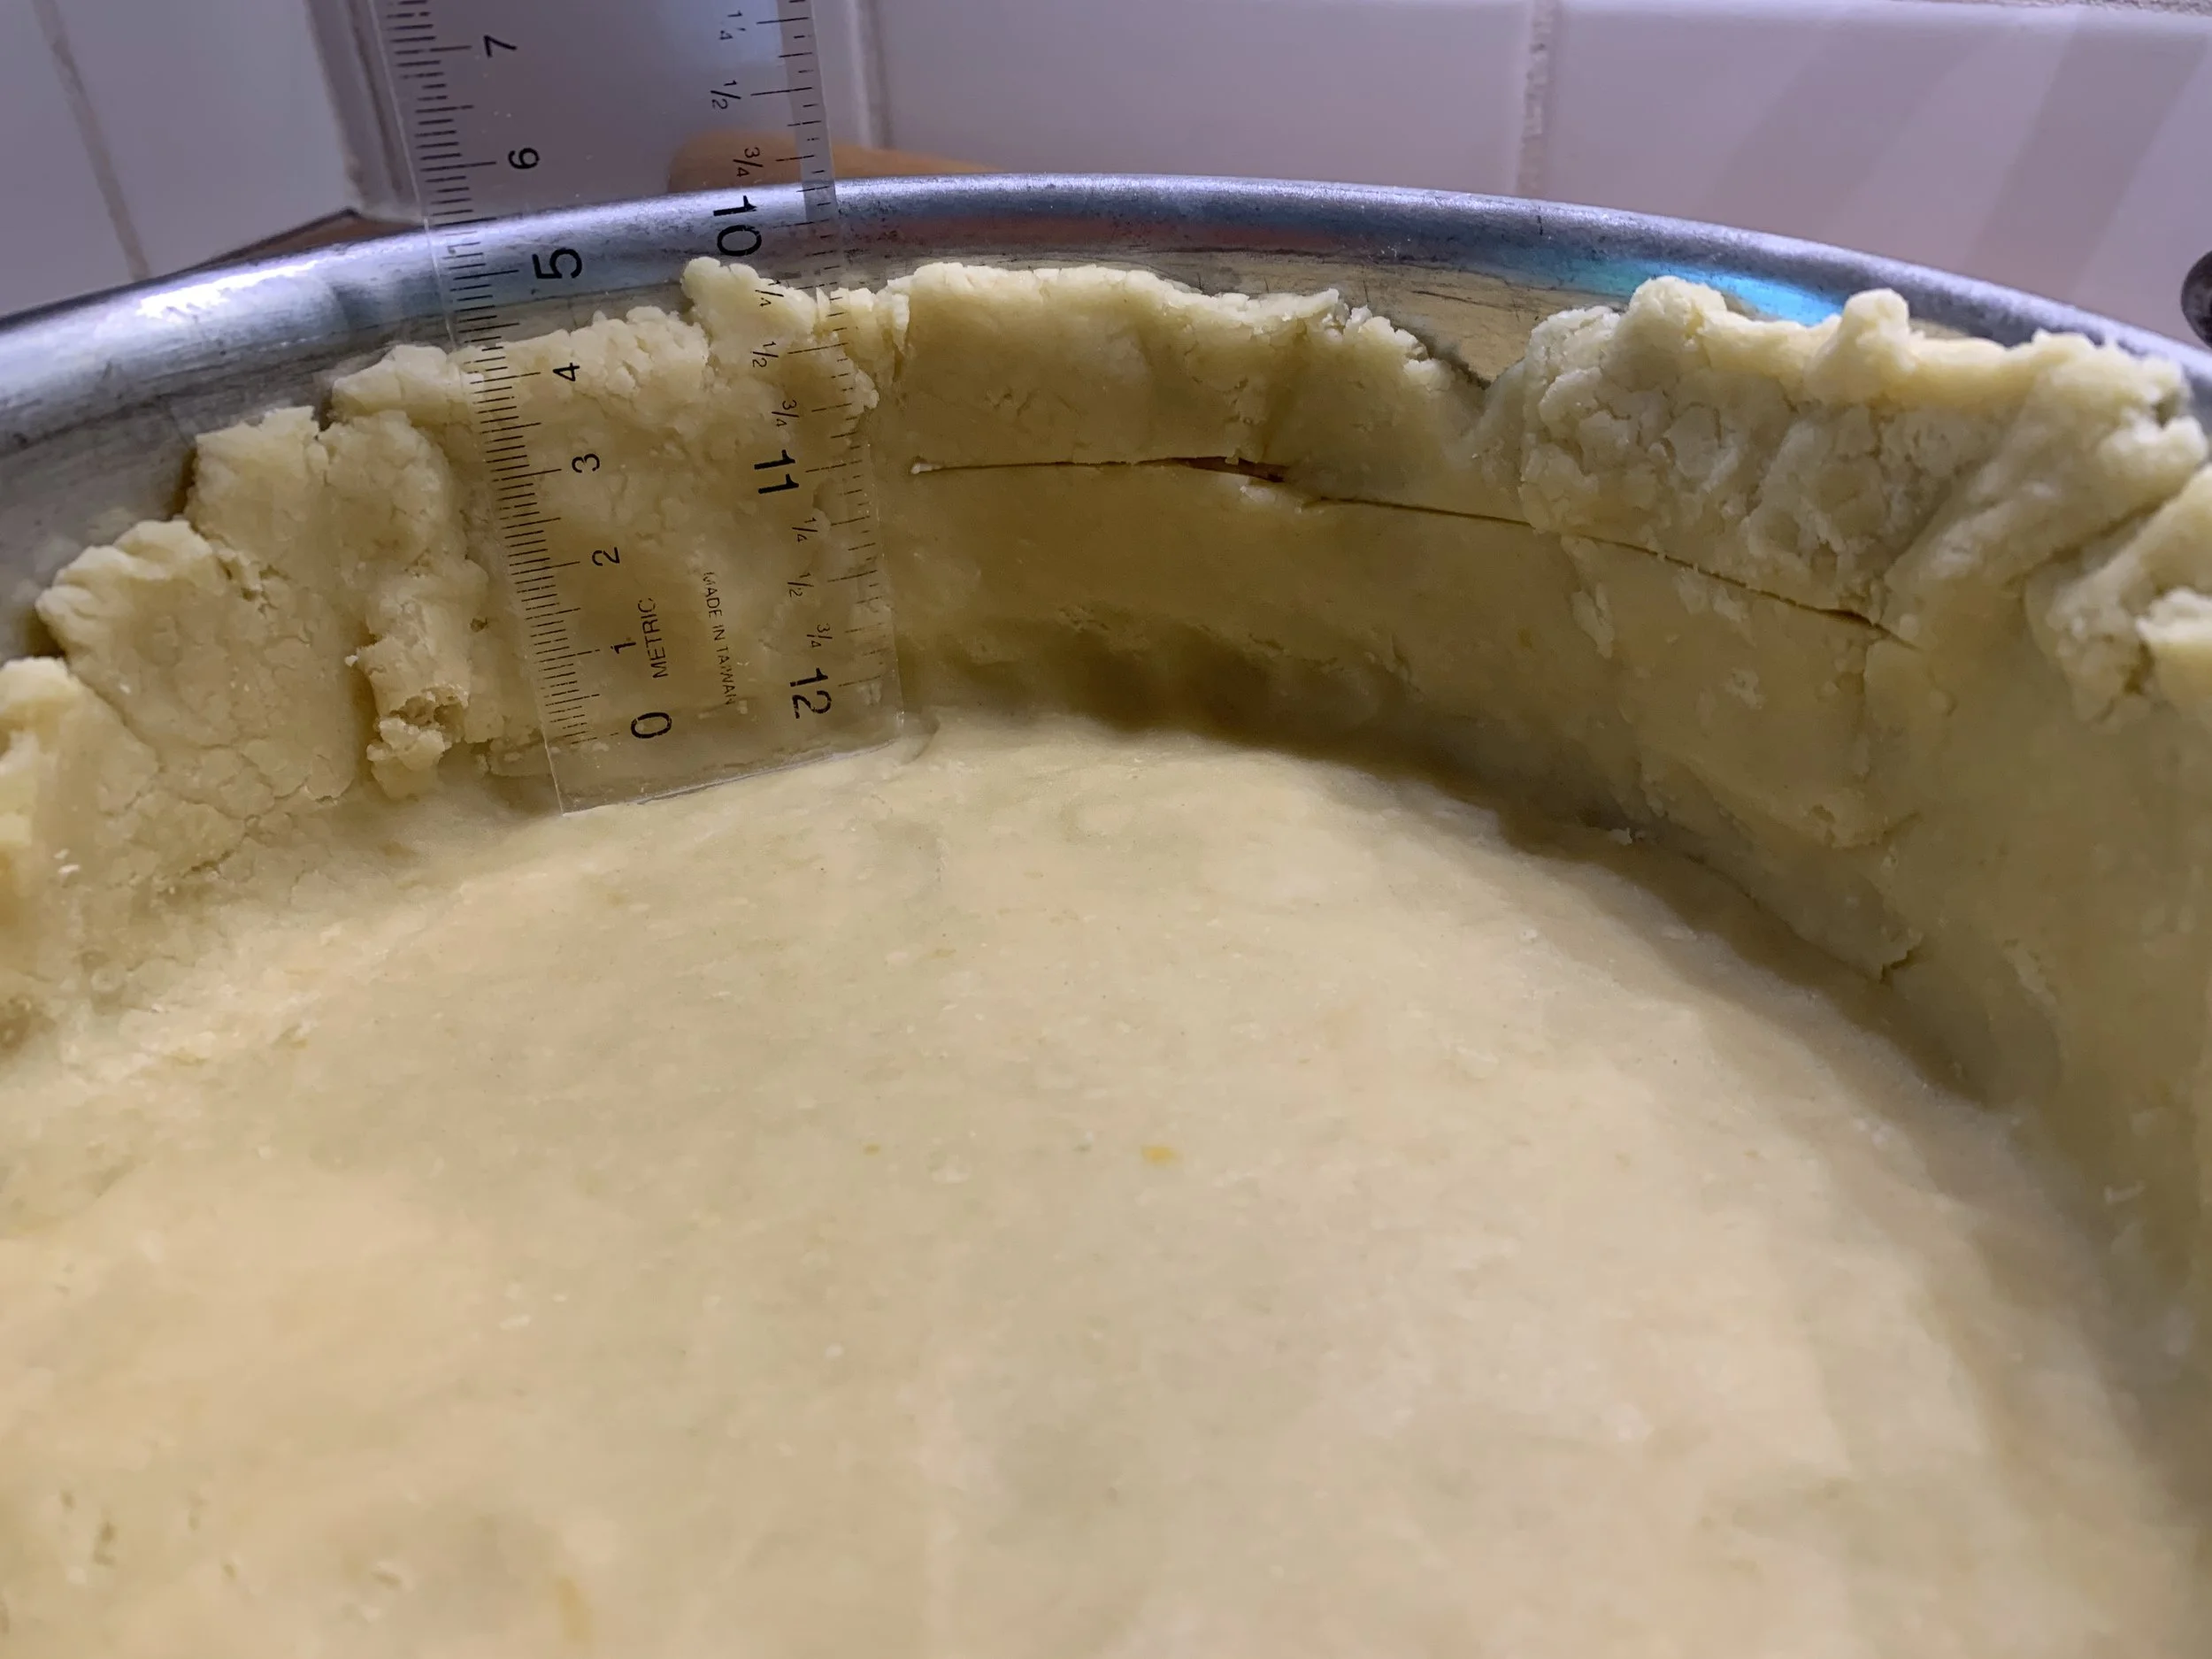
Starting the lining
Here it is all neatened up with a distinct edge. Prick all over with a fork. I always place my lined form in the freezer while my oven is heating to 350ºF (325º convection) - it helps the dough keep its form during baking.
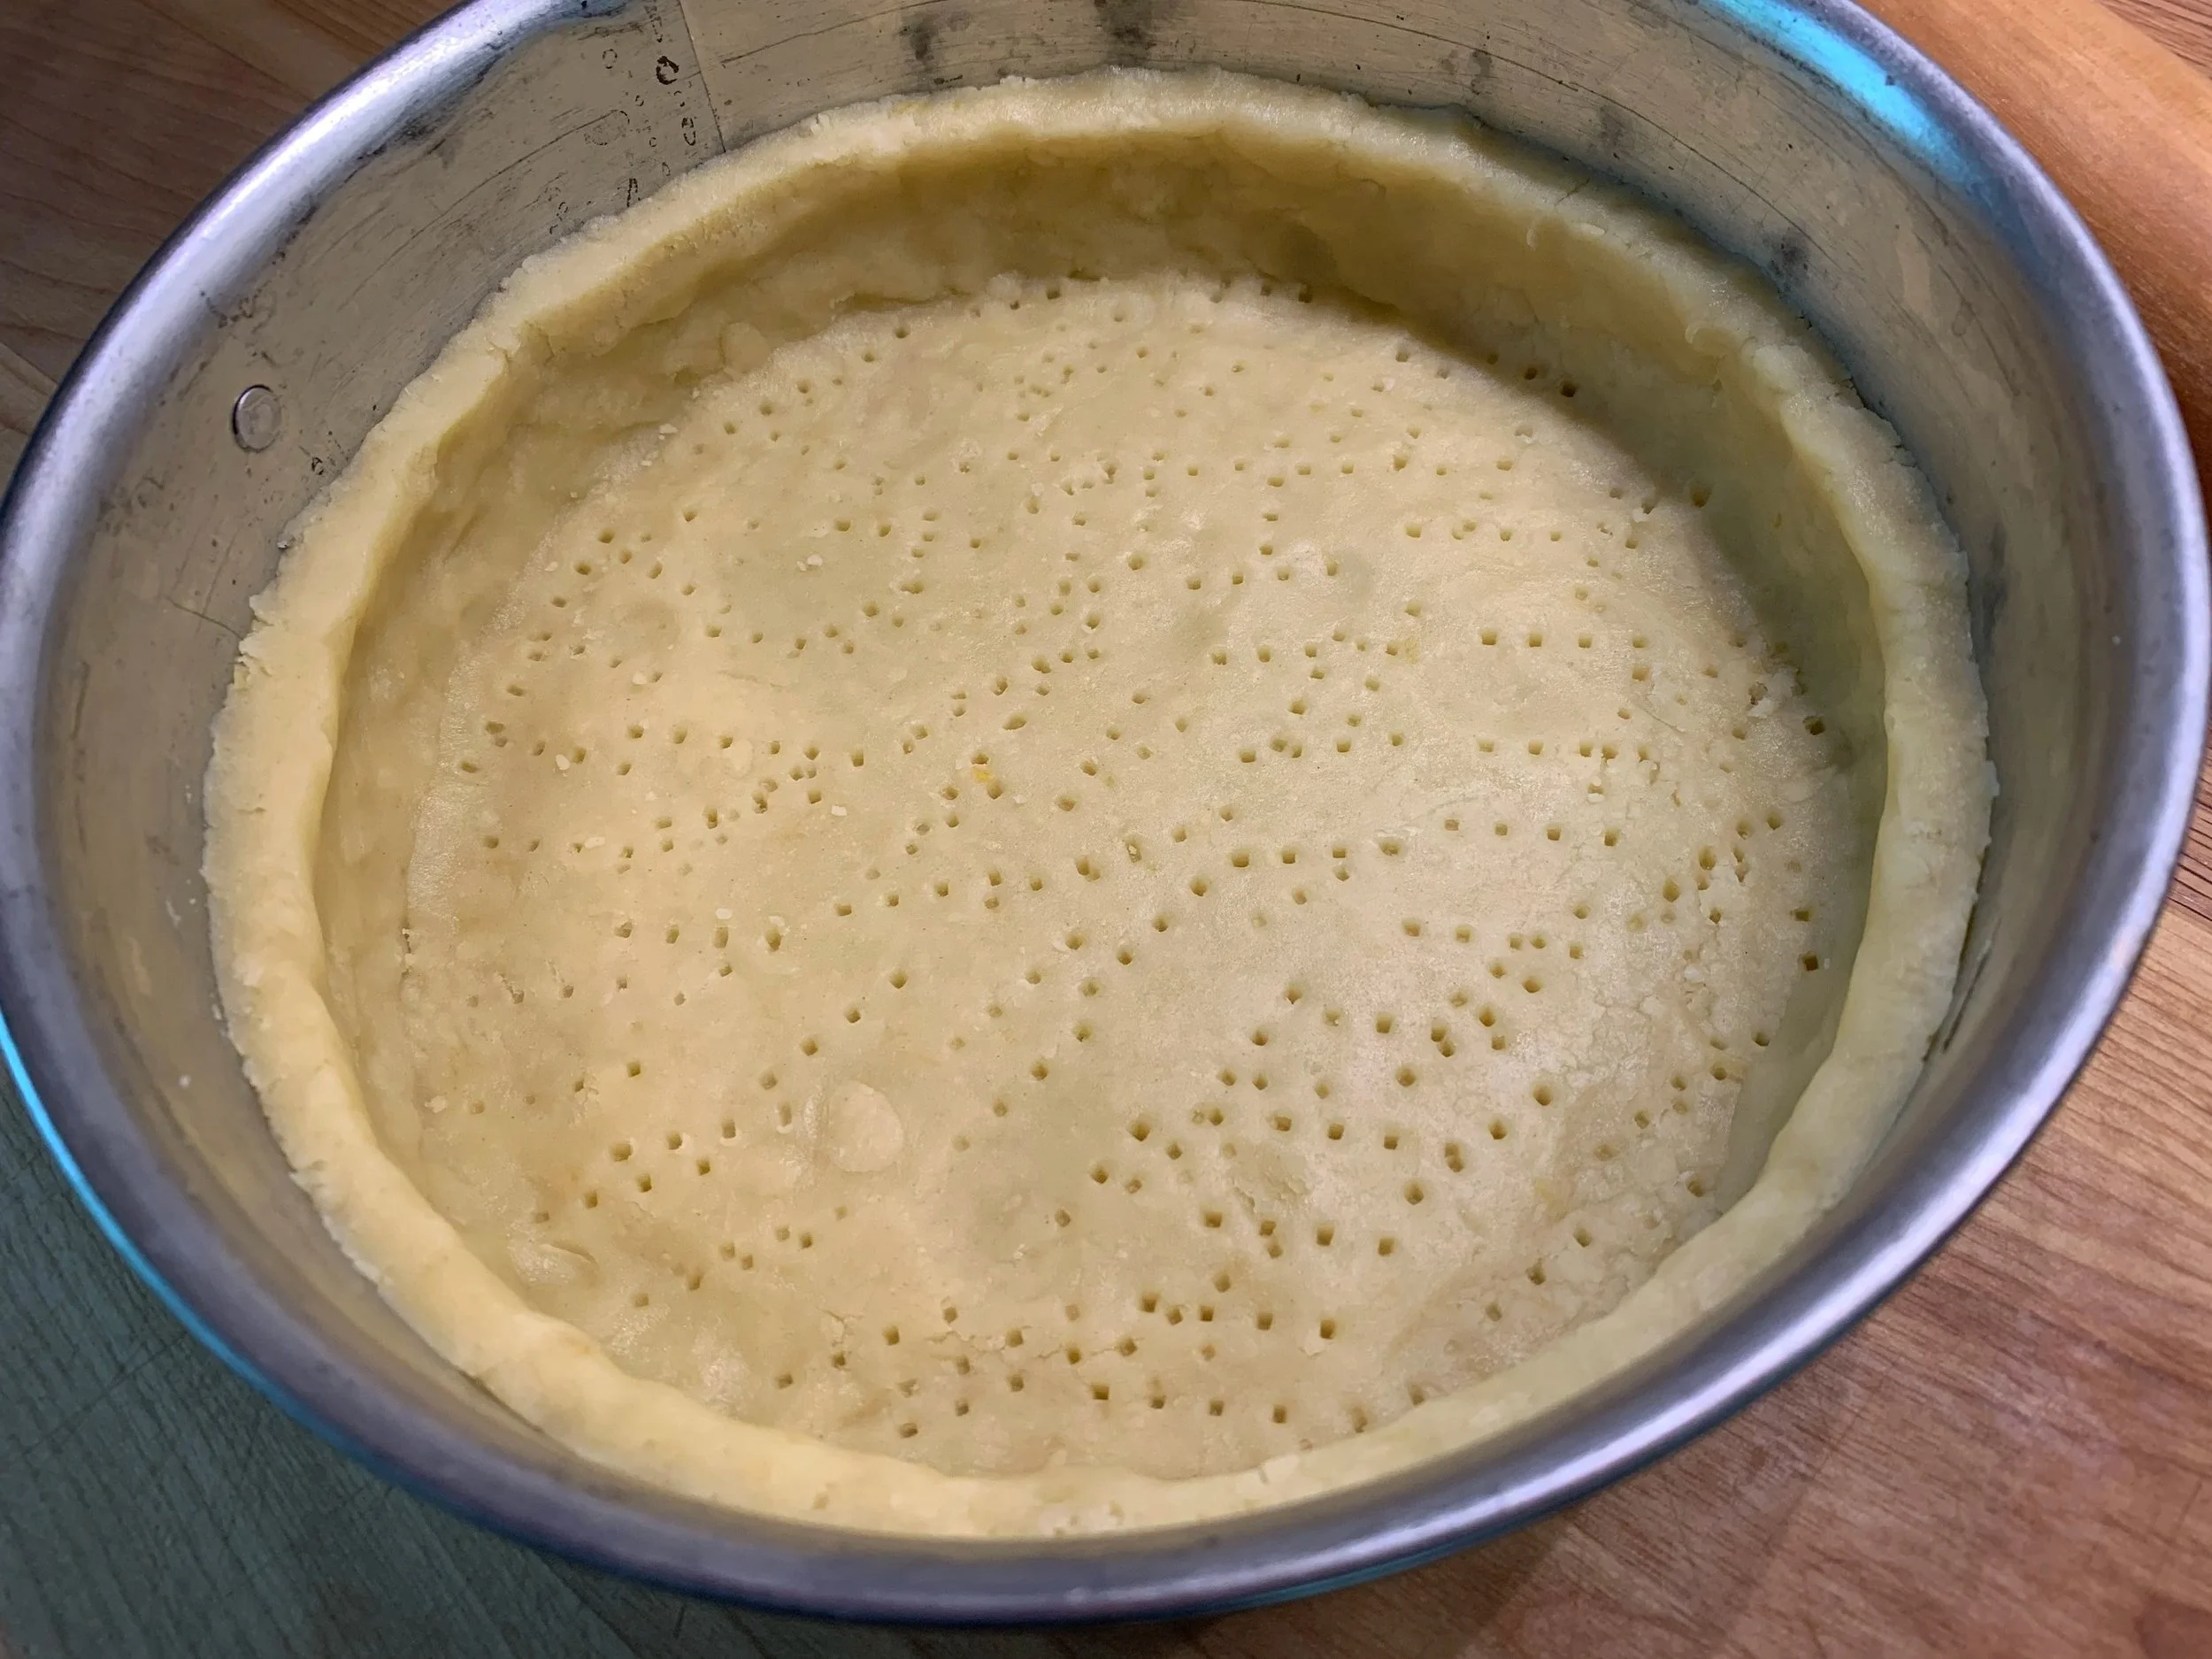
Ready for blind baking
Ease your parchment round into the pan, snugging it up against the dough. Fill with weights.
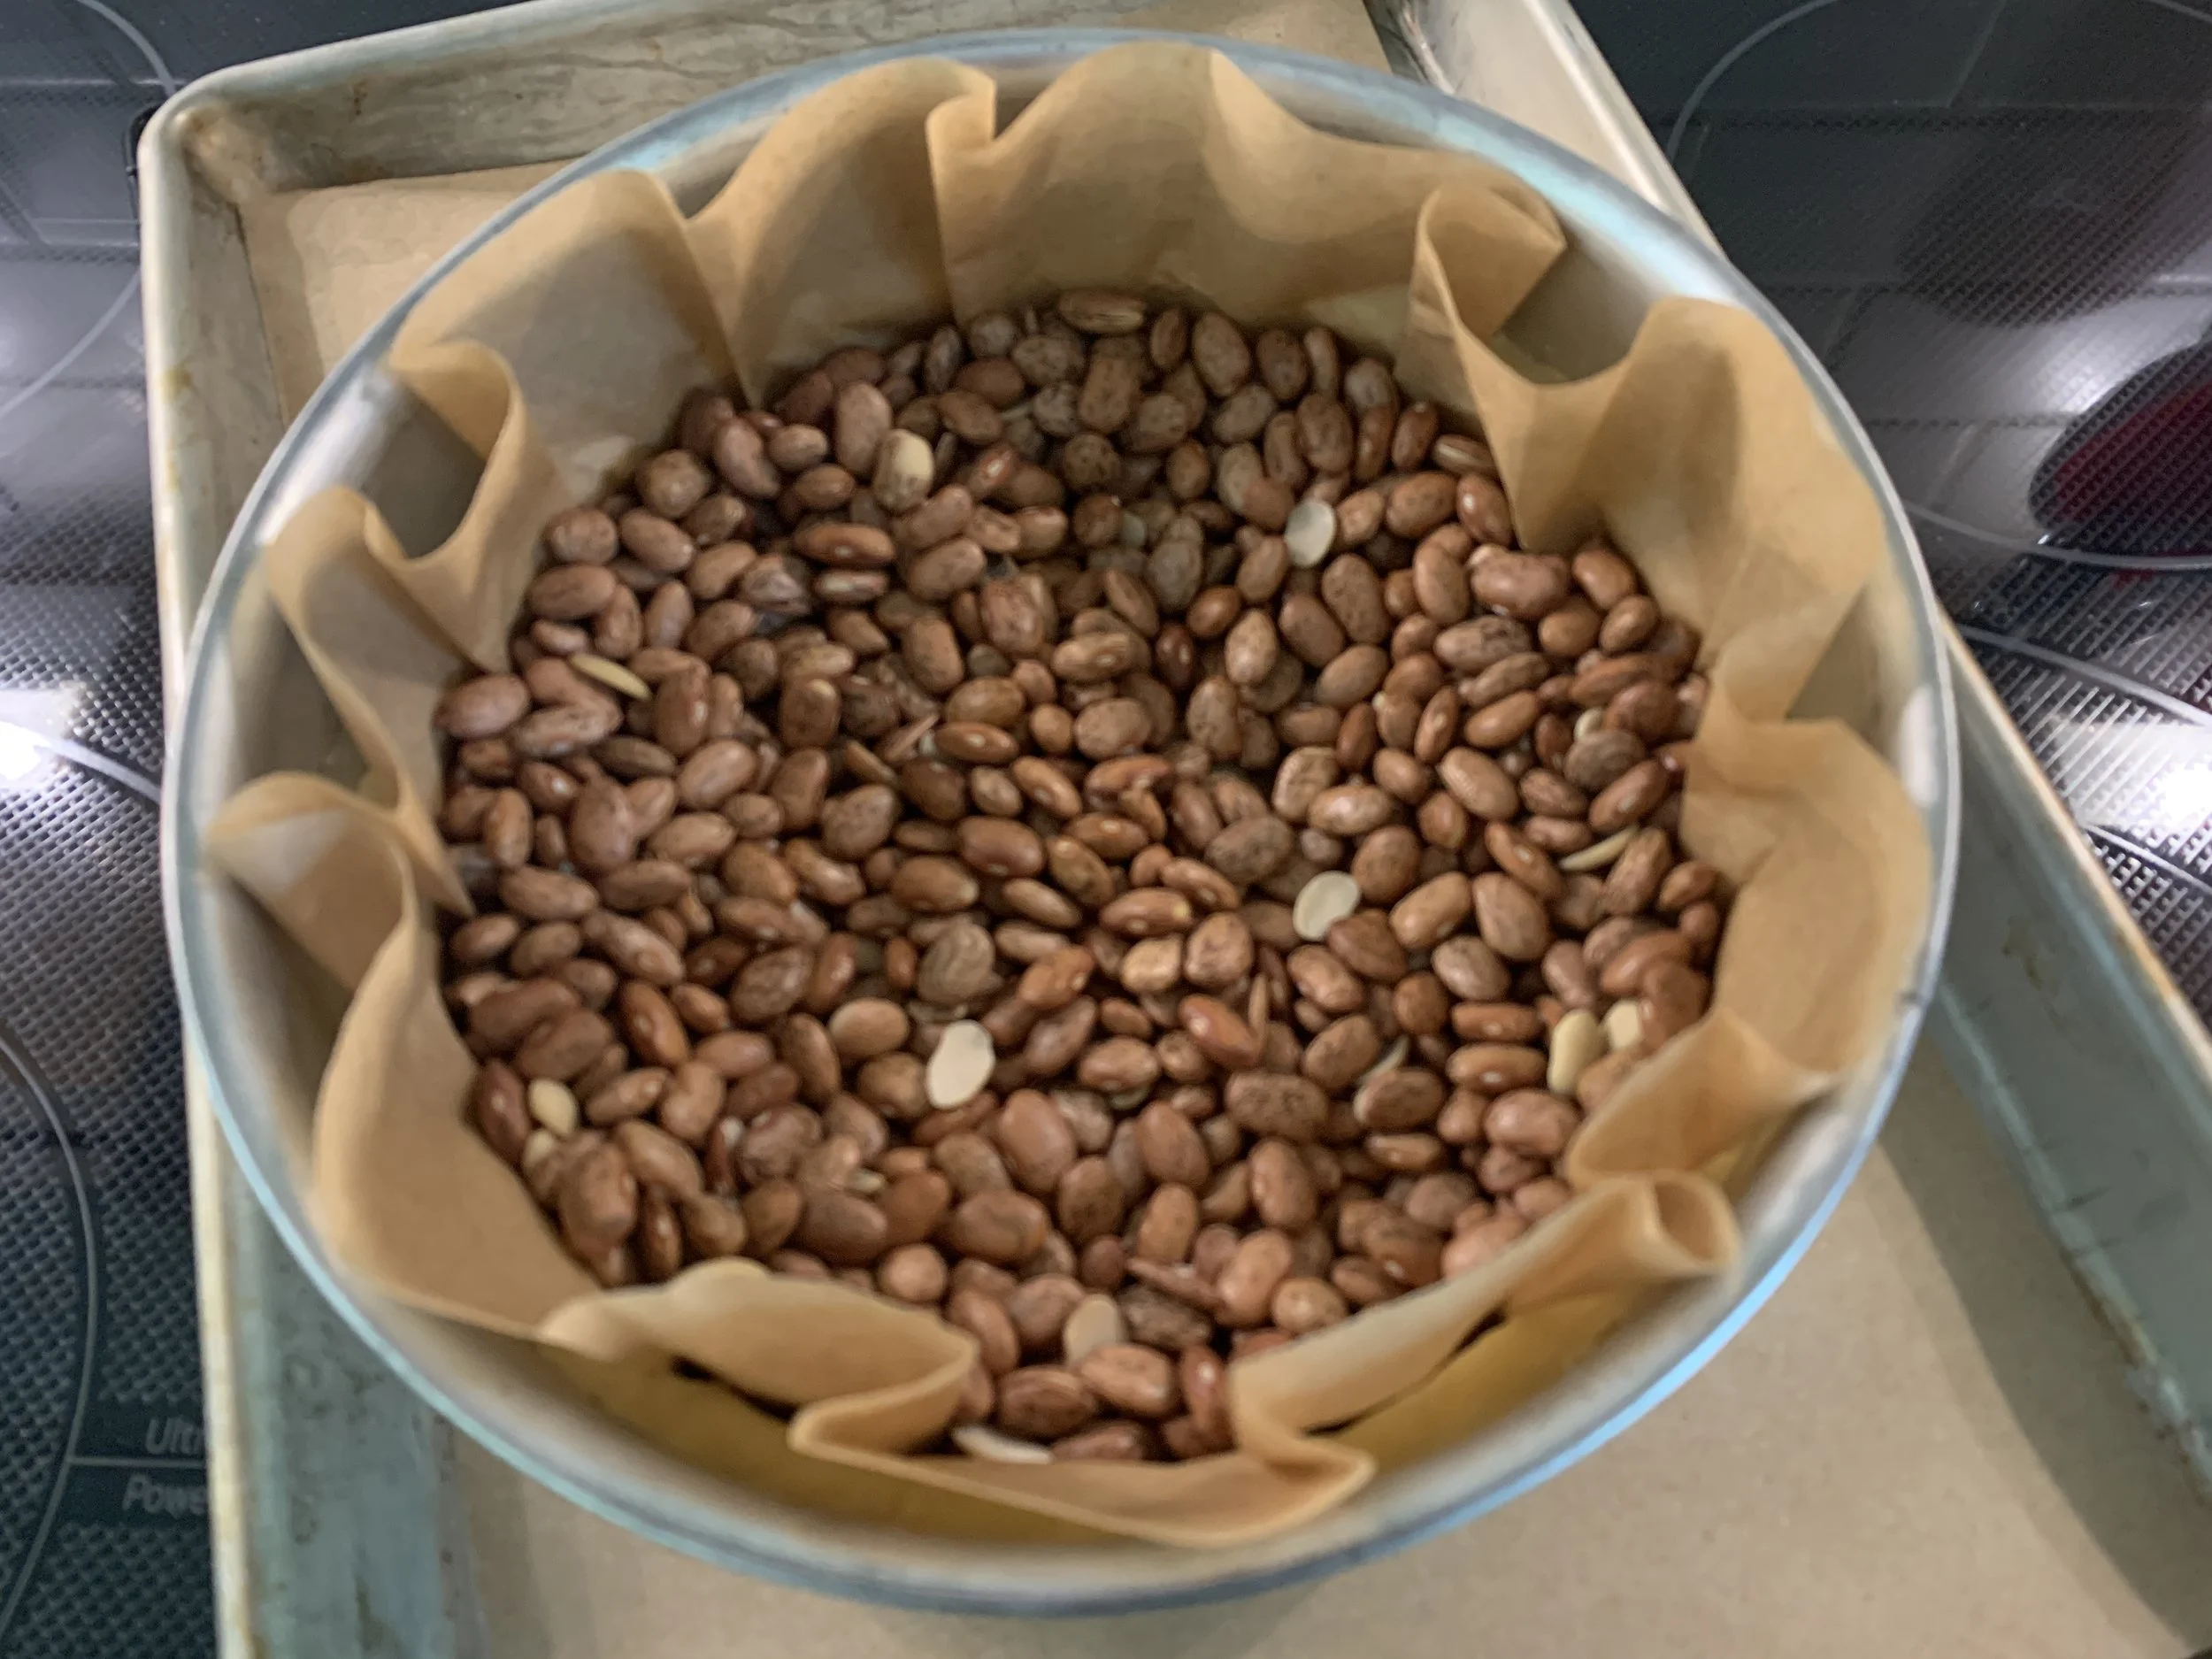
Bake 20 minutes, remove from the oven and gently lift out the parchment/weights. You want the edges of the dough starting to set. The bottom will still look wet but continue to bake without weights another 10-15 minutes until it looks dry.
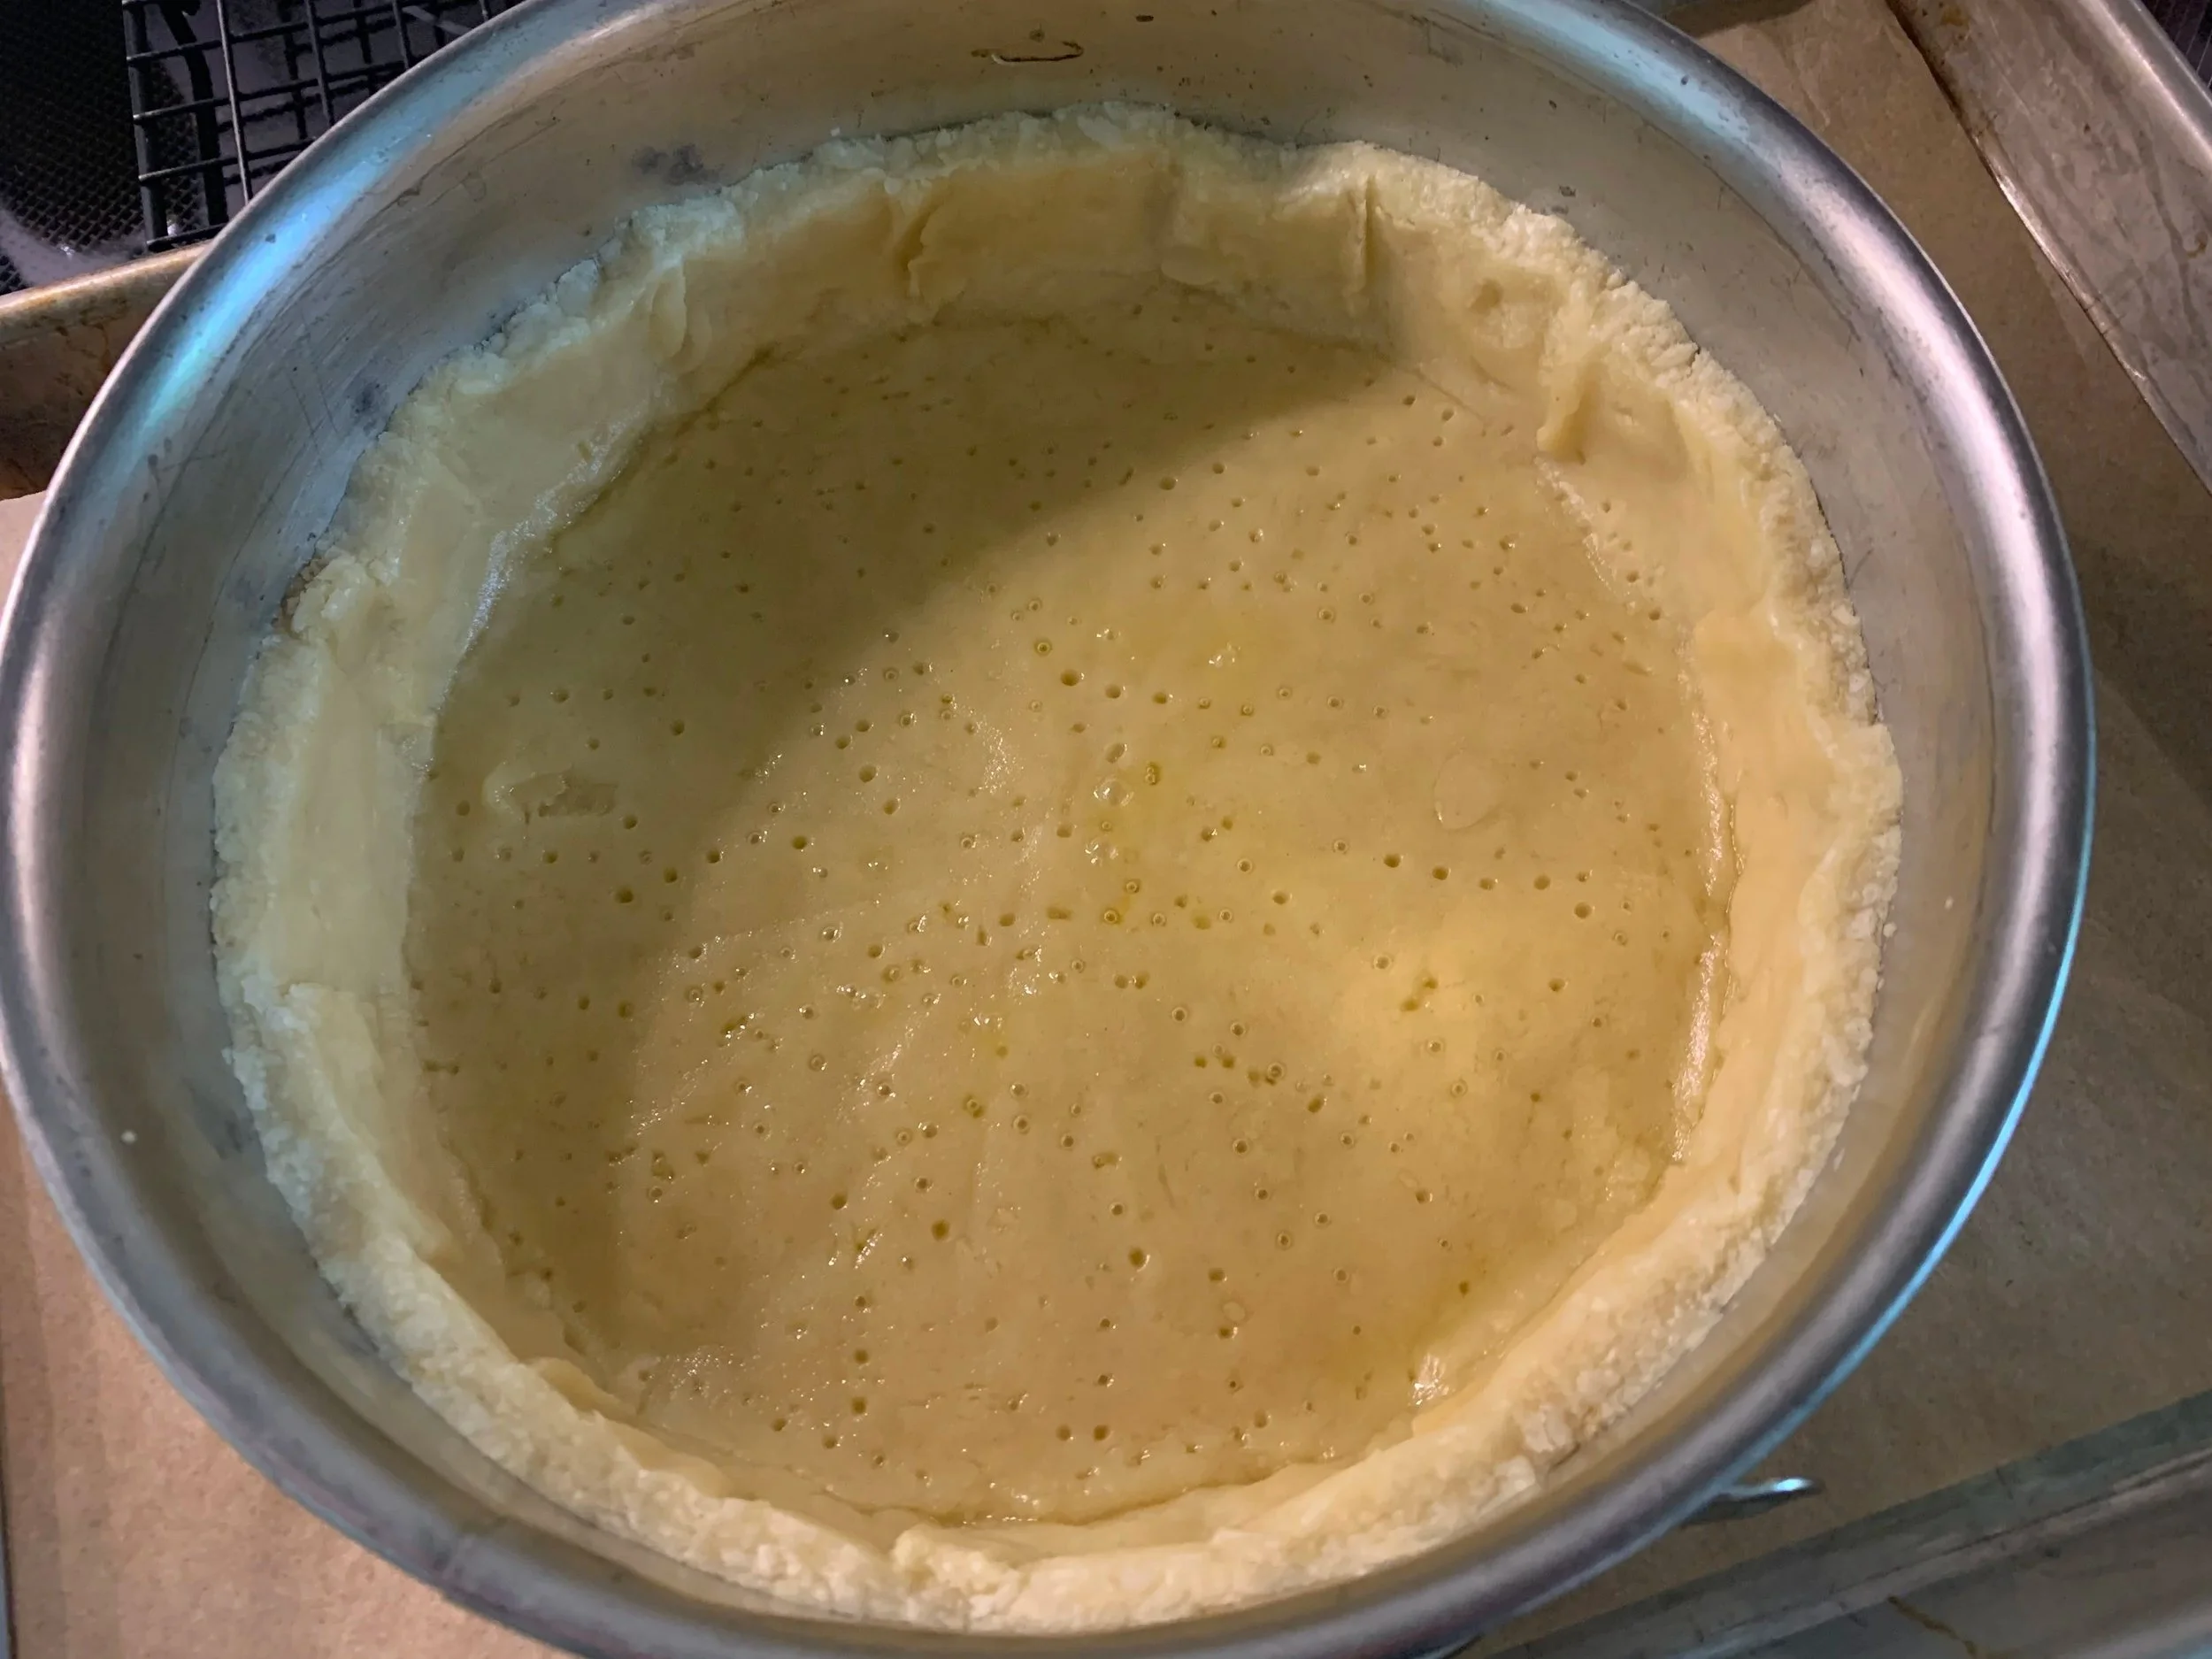
Egdes set, bottom needs more time
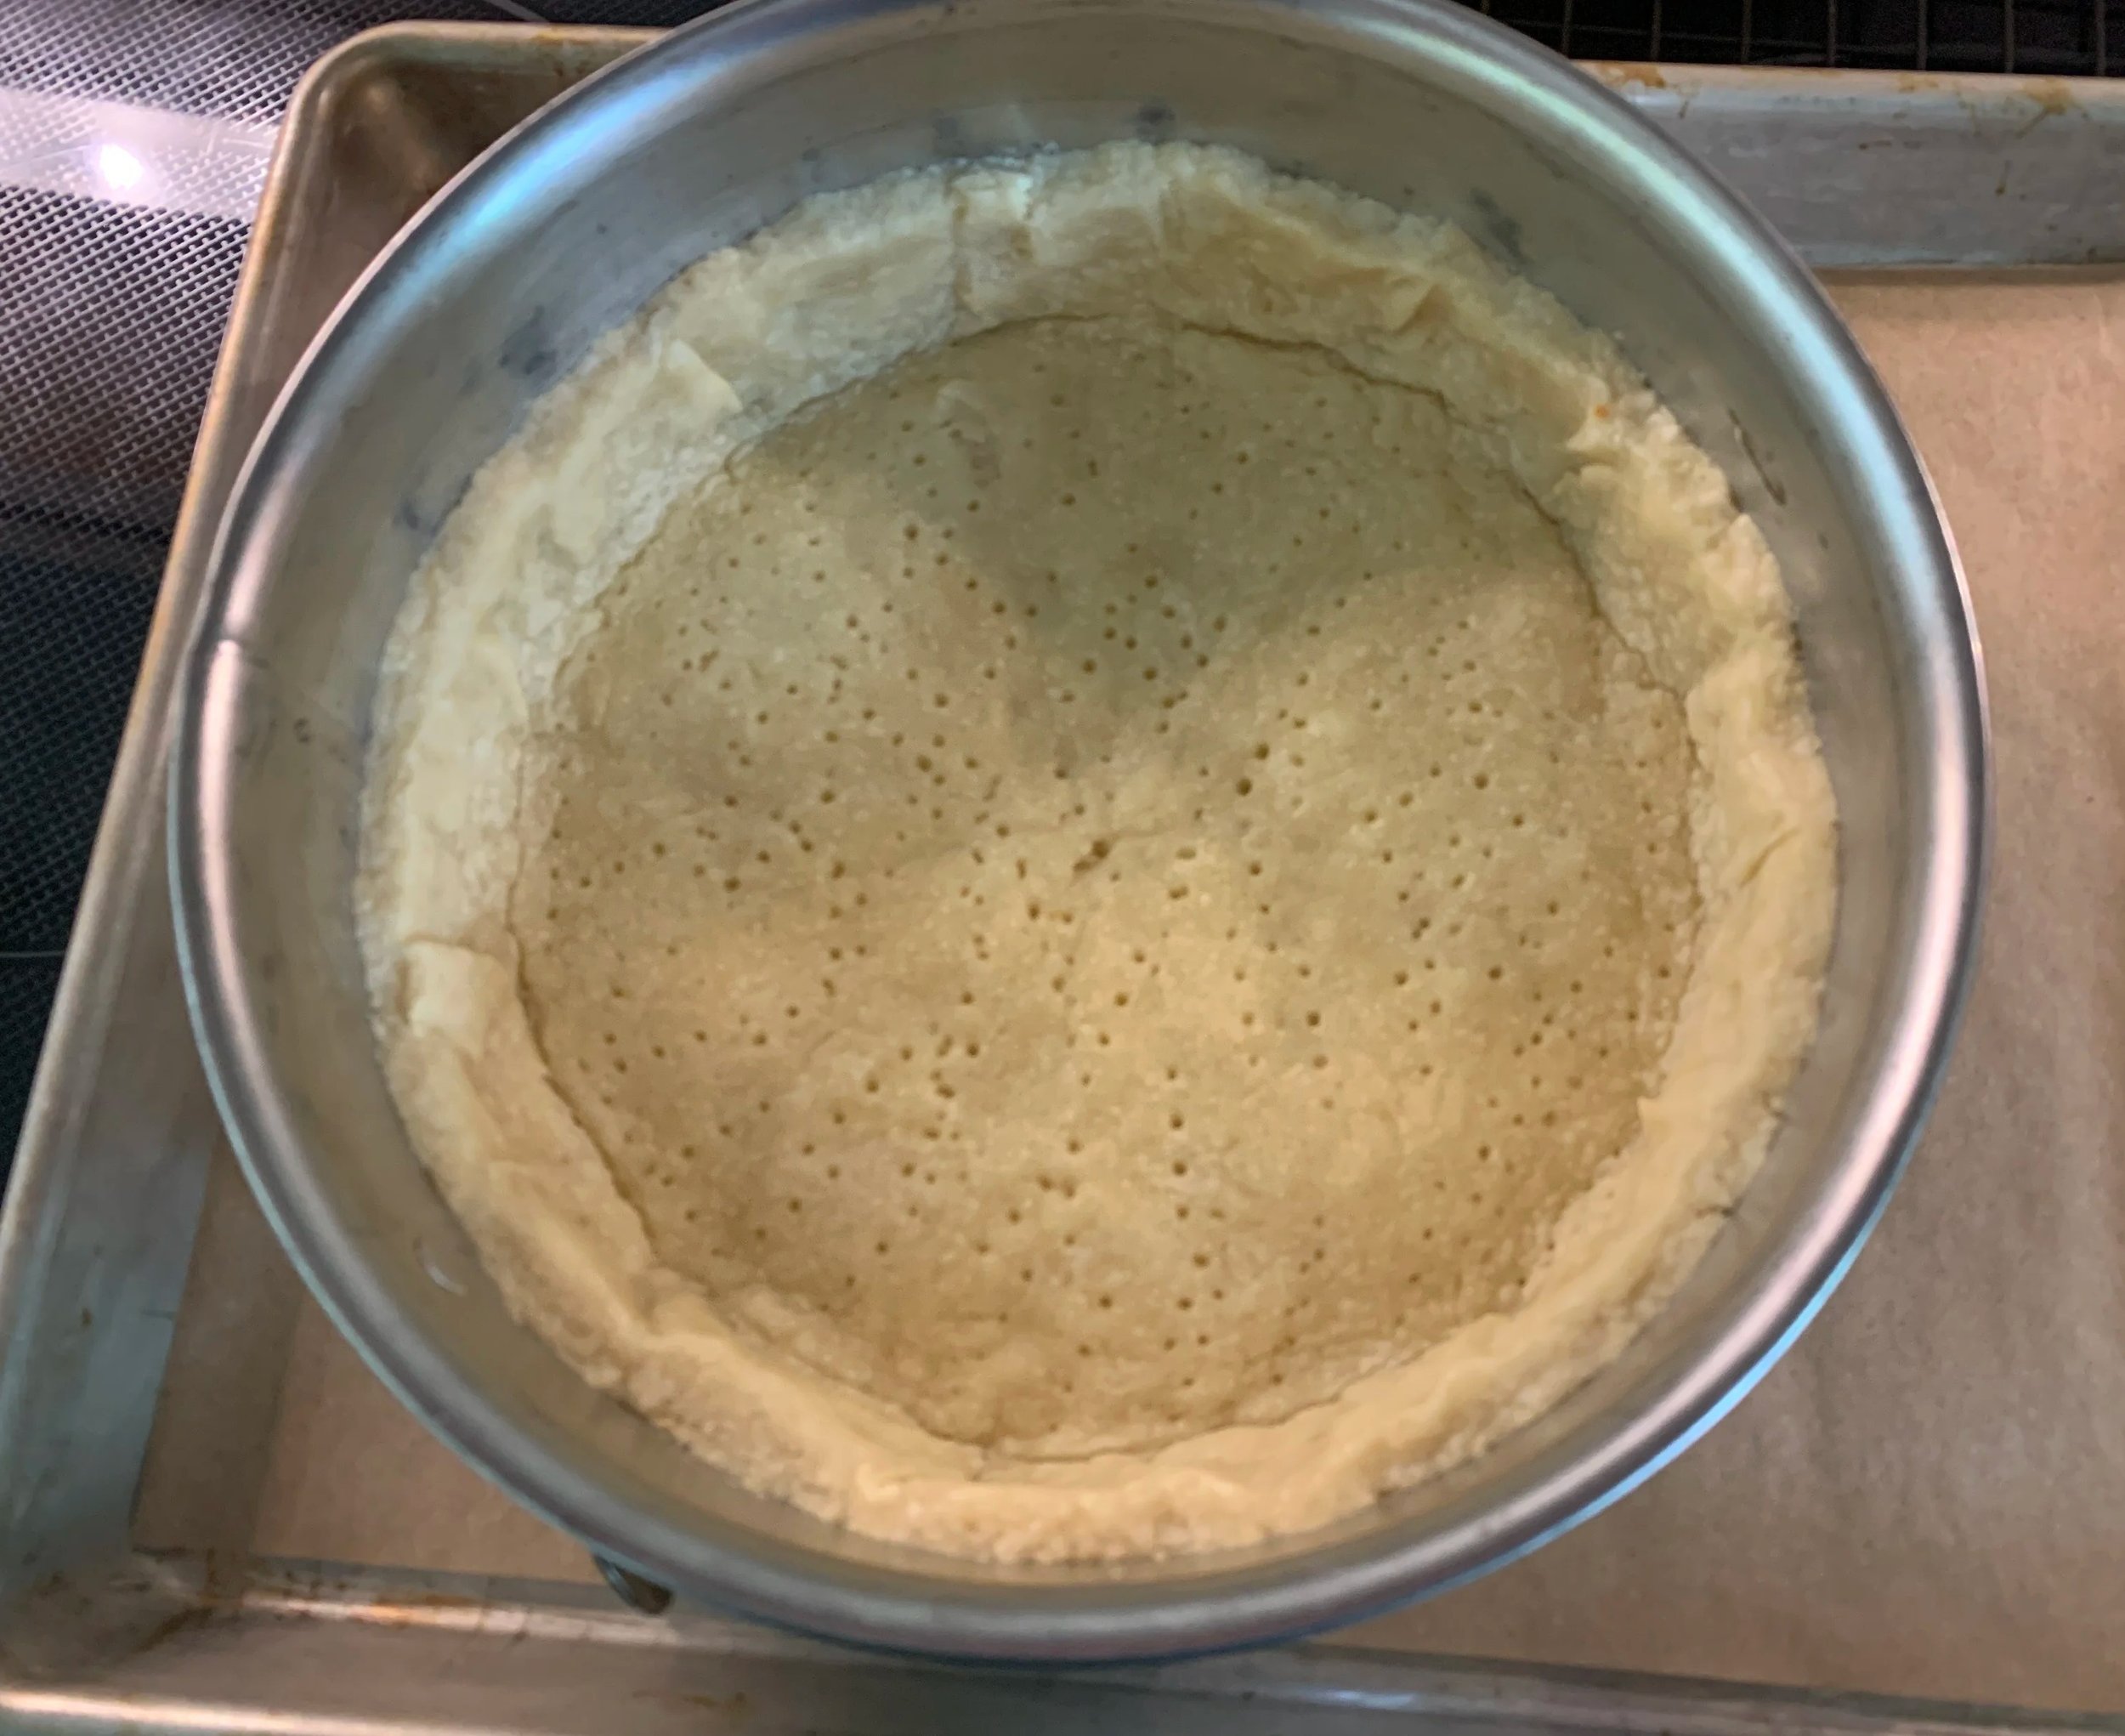
OK now we’re on a roll
At this point you have the option to let it cool and refrigerate it overnight (or freeze for up to a couple of weeks) if you wish to complete the project later.
If proceeding with filling and baking, make the mascarpone filling. The shell does NOT have to cool completely before filling with the custard and baking.
Here’s the mise for the filling . . . . I didn’t use lemon zest in this one.
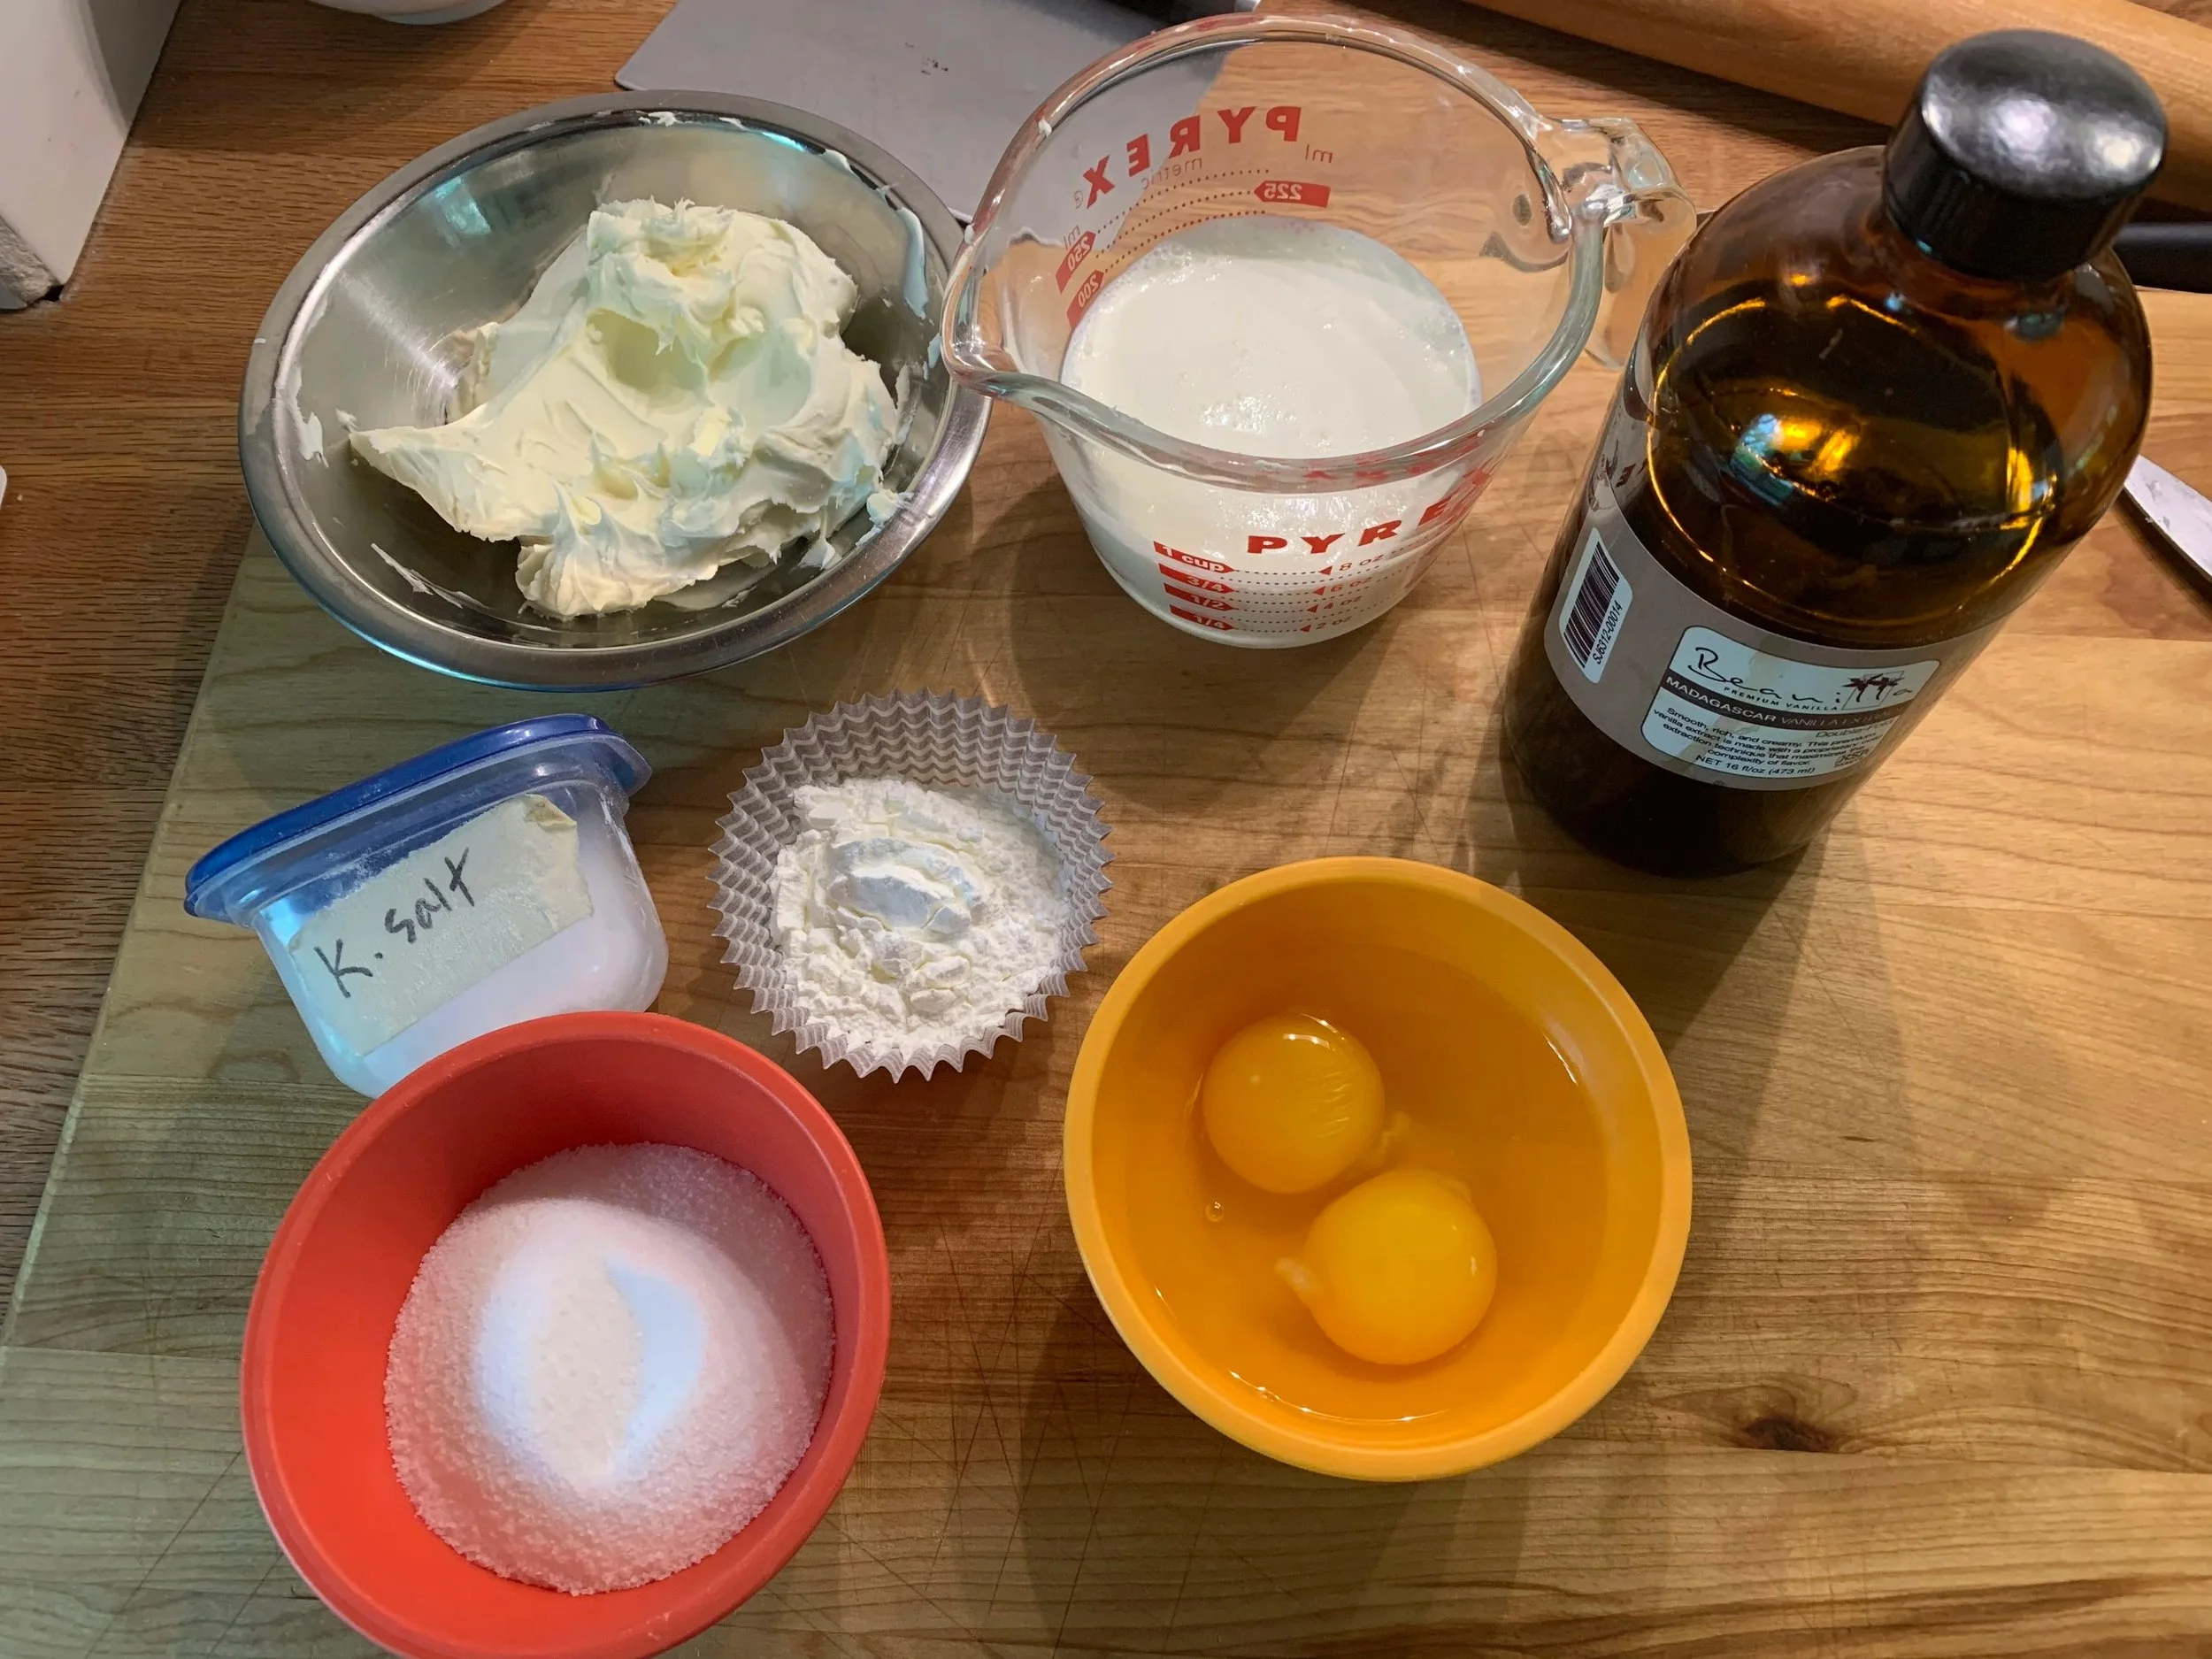
In a medium bowl blend 75 g / 1/3 cup + 2 teaspoons sugar with 3 tablespoons cornstarch and a pinch of salt. Whisk in 2 large eggs and 3/4 teaspoon vanilla. Lemon zest is an option and would be added here as well.
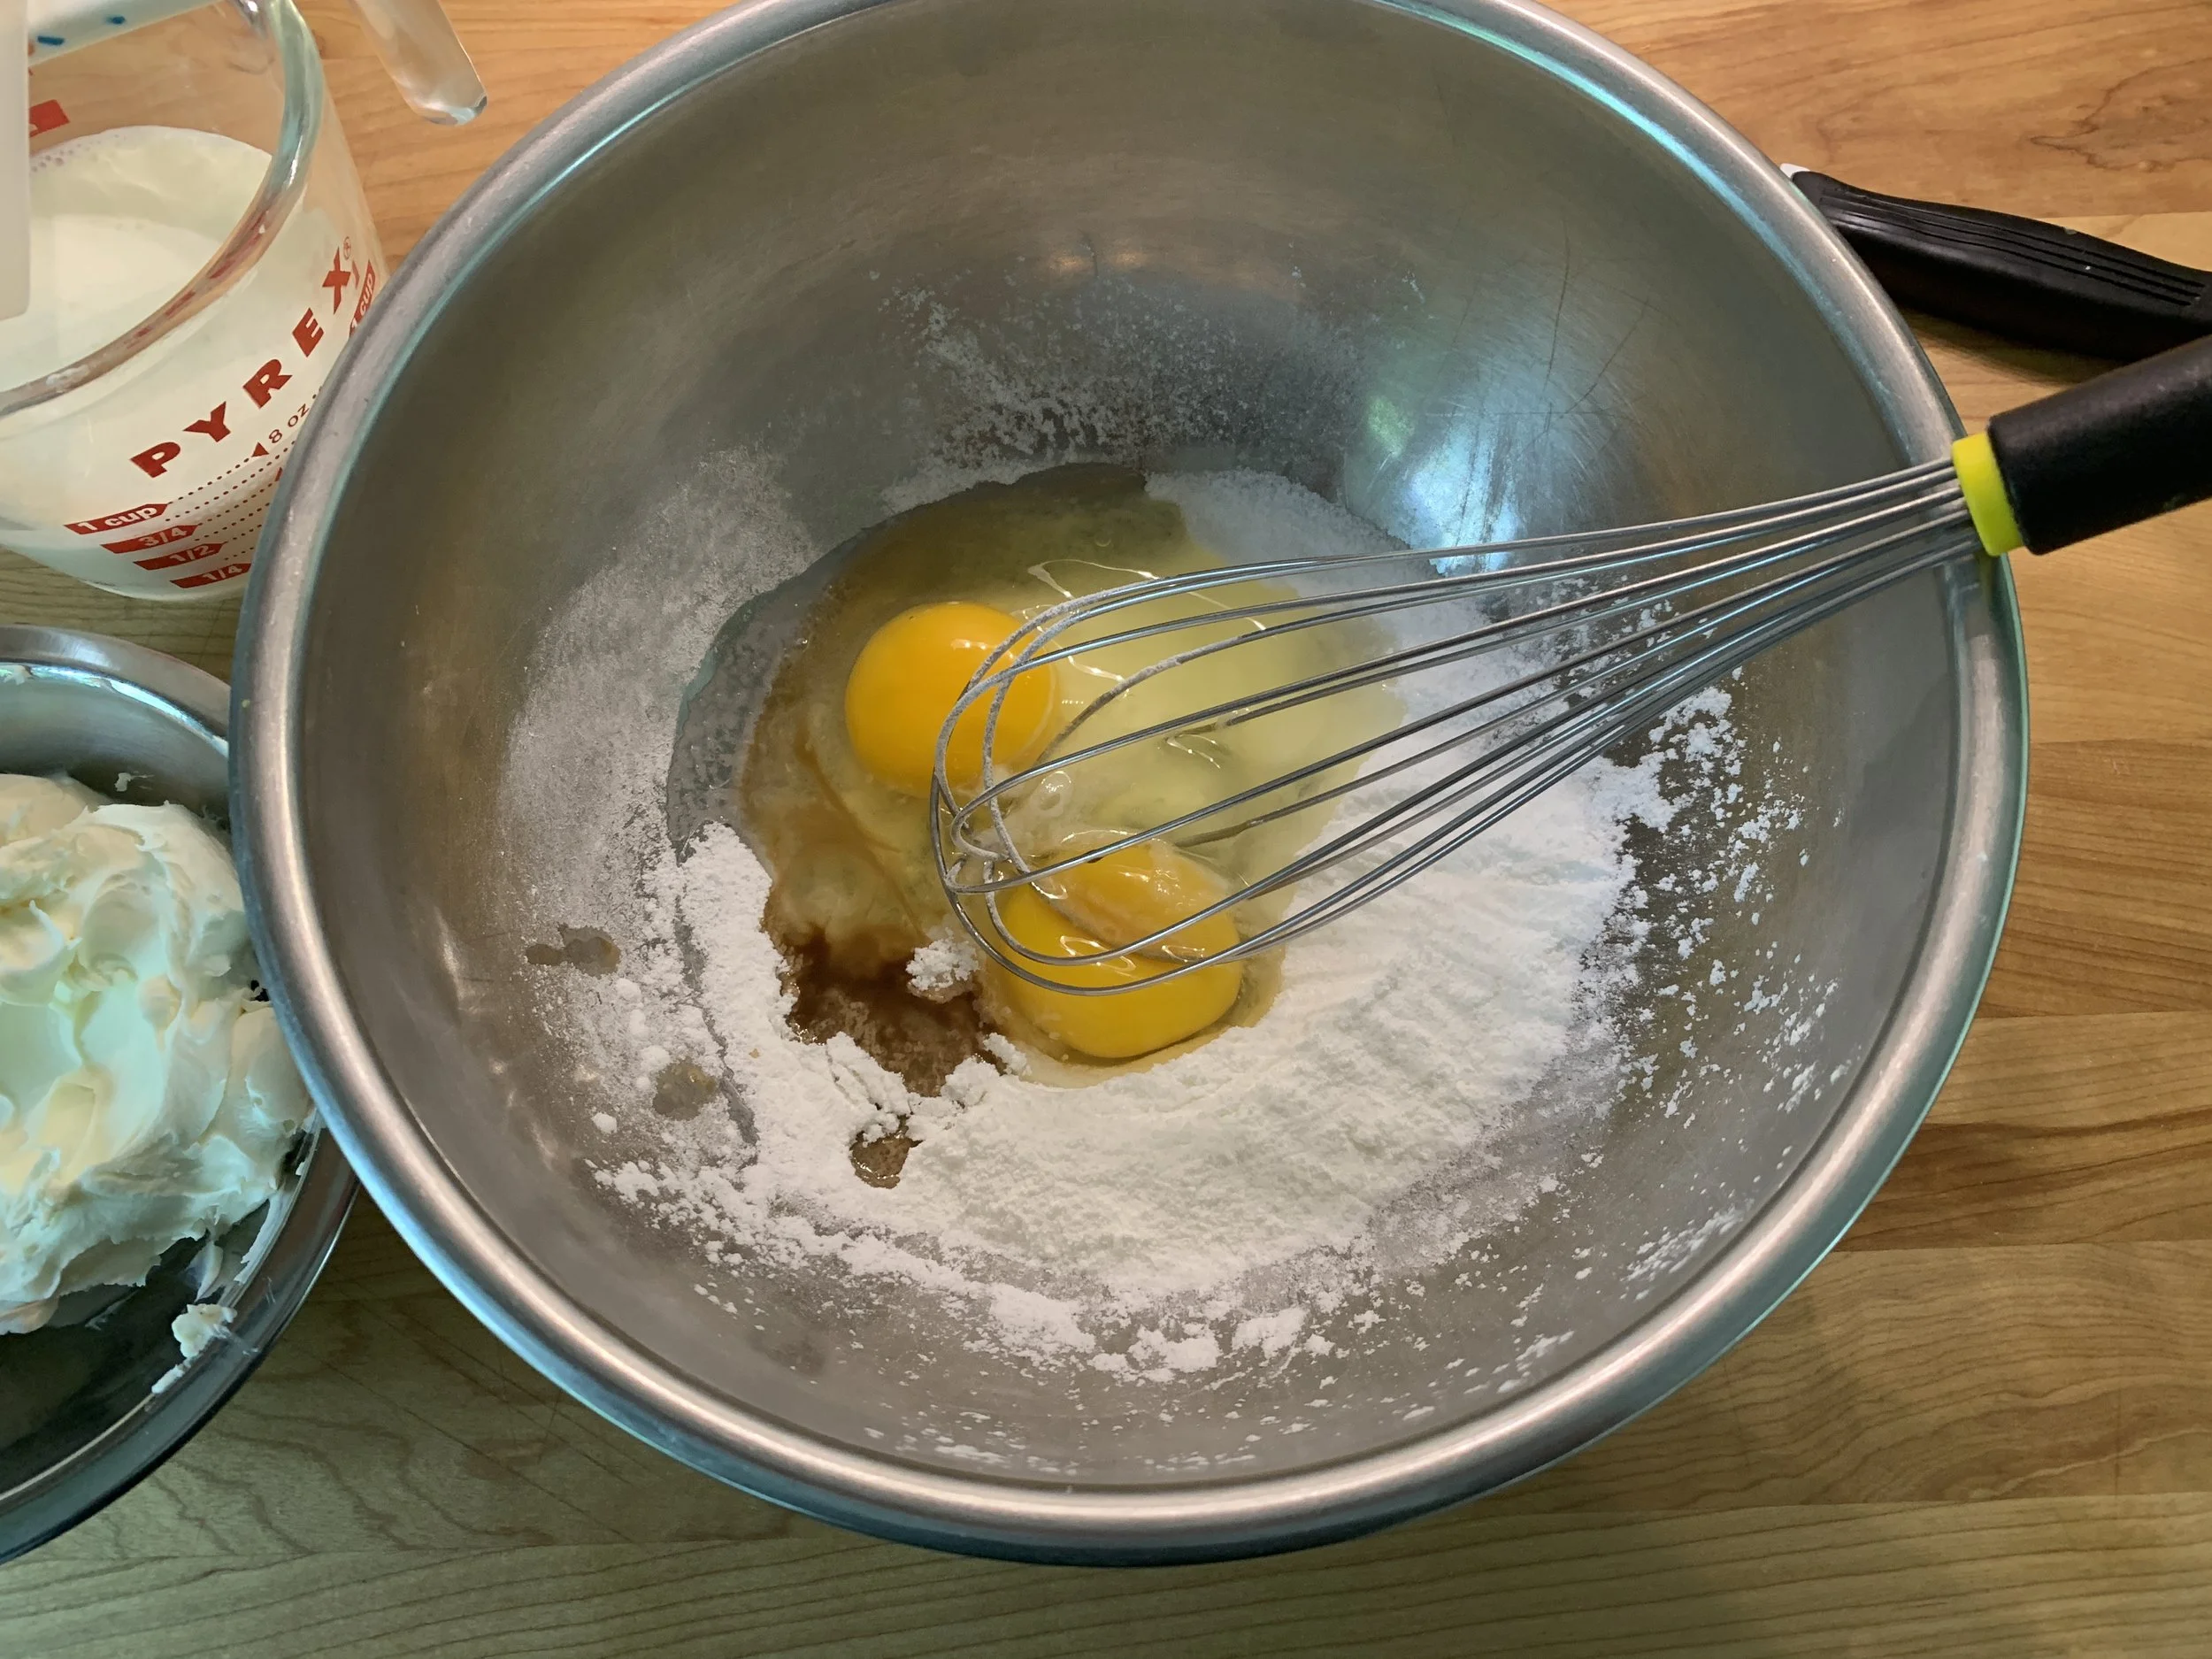
Blend in 170 g /3/4 cup mascarpone and 170 g /3/4 cup heavy cream
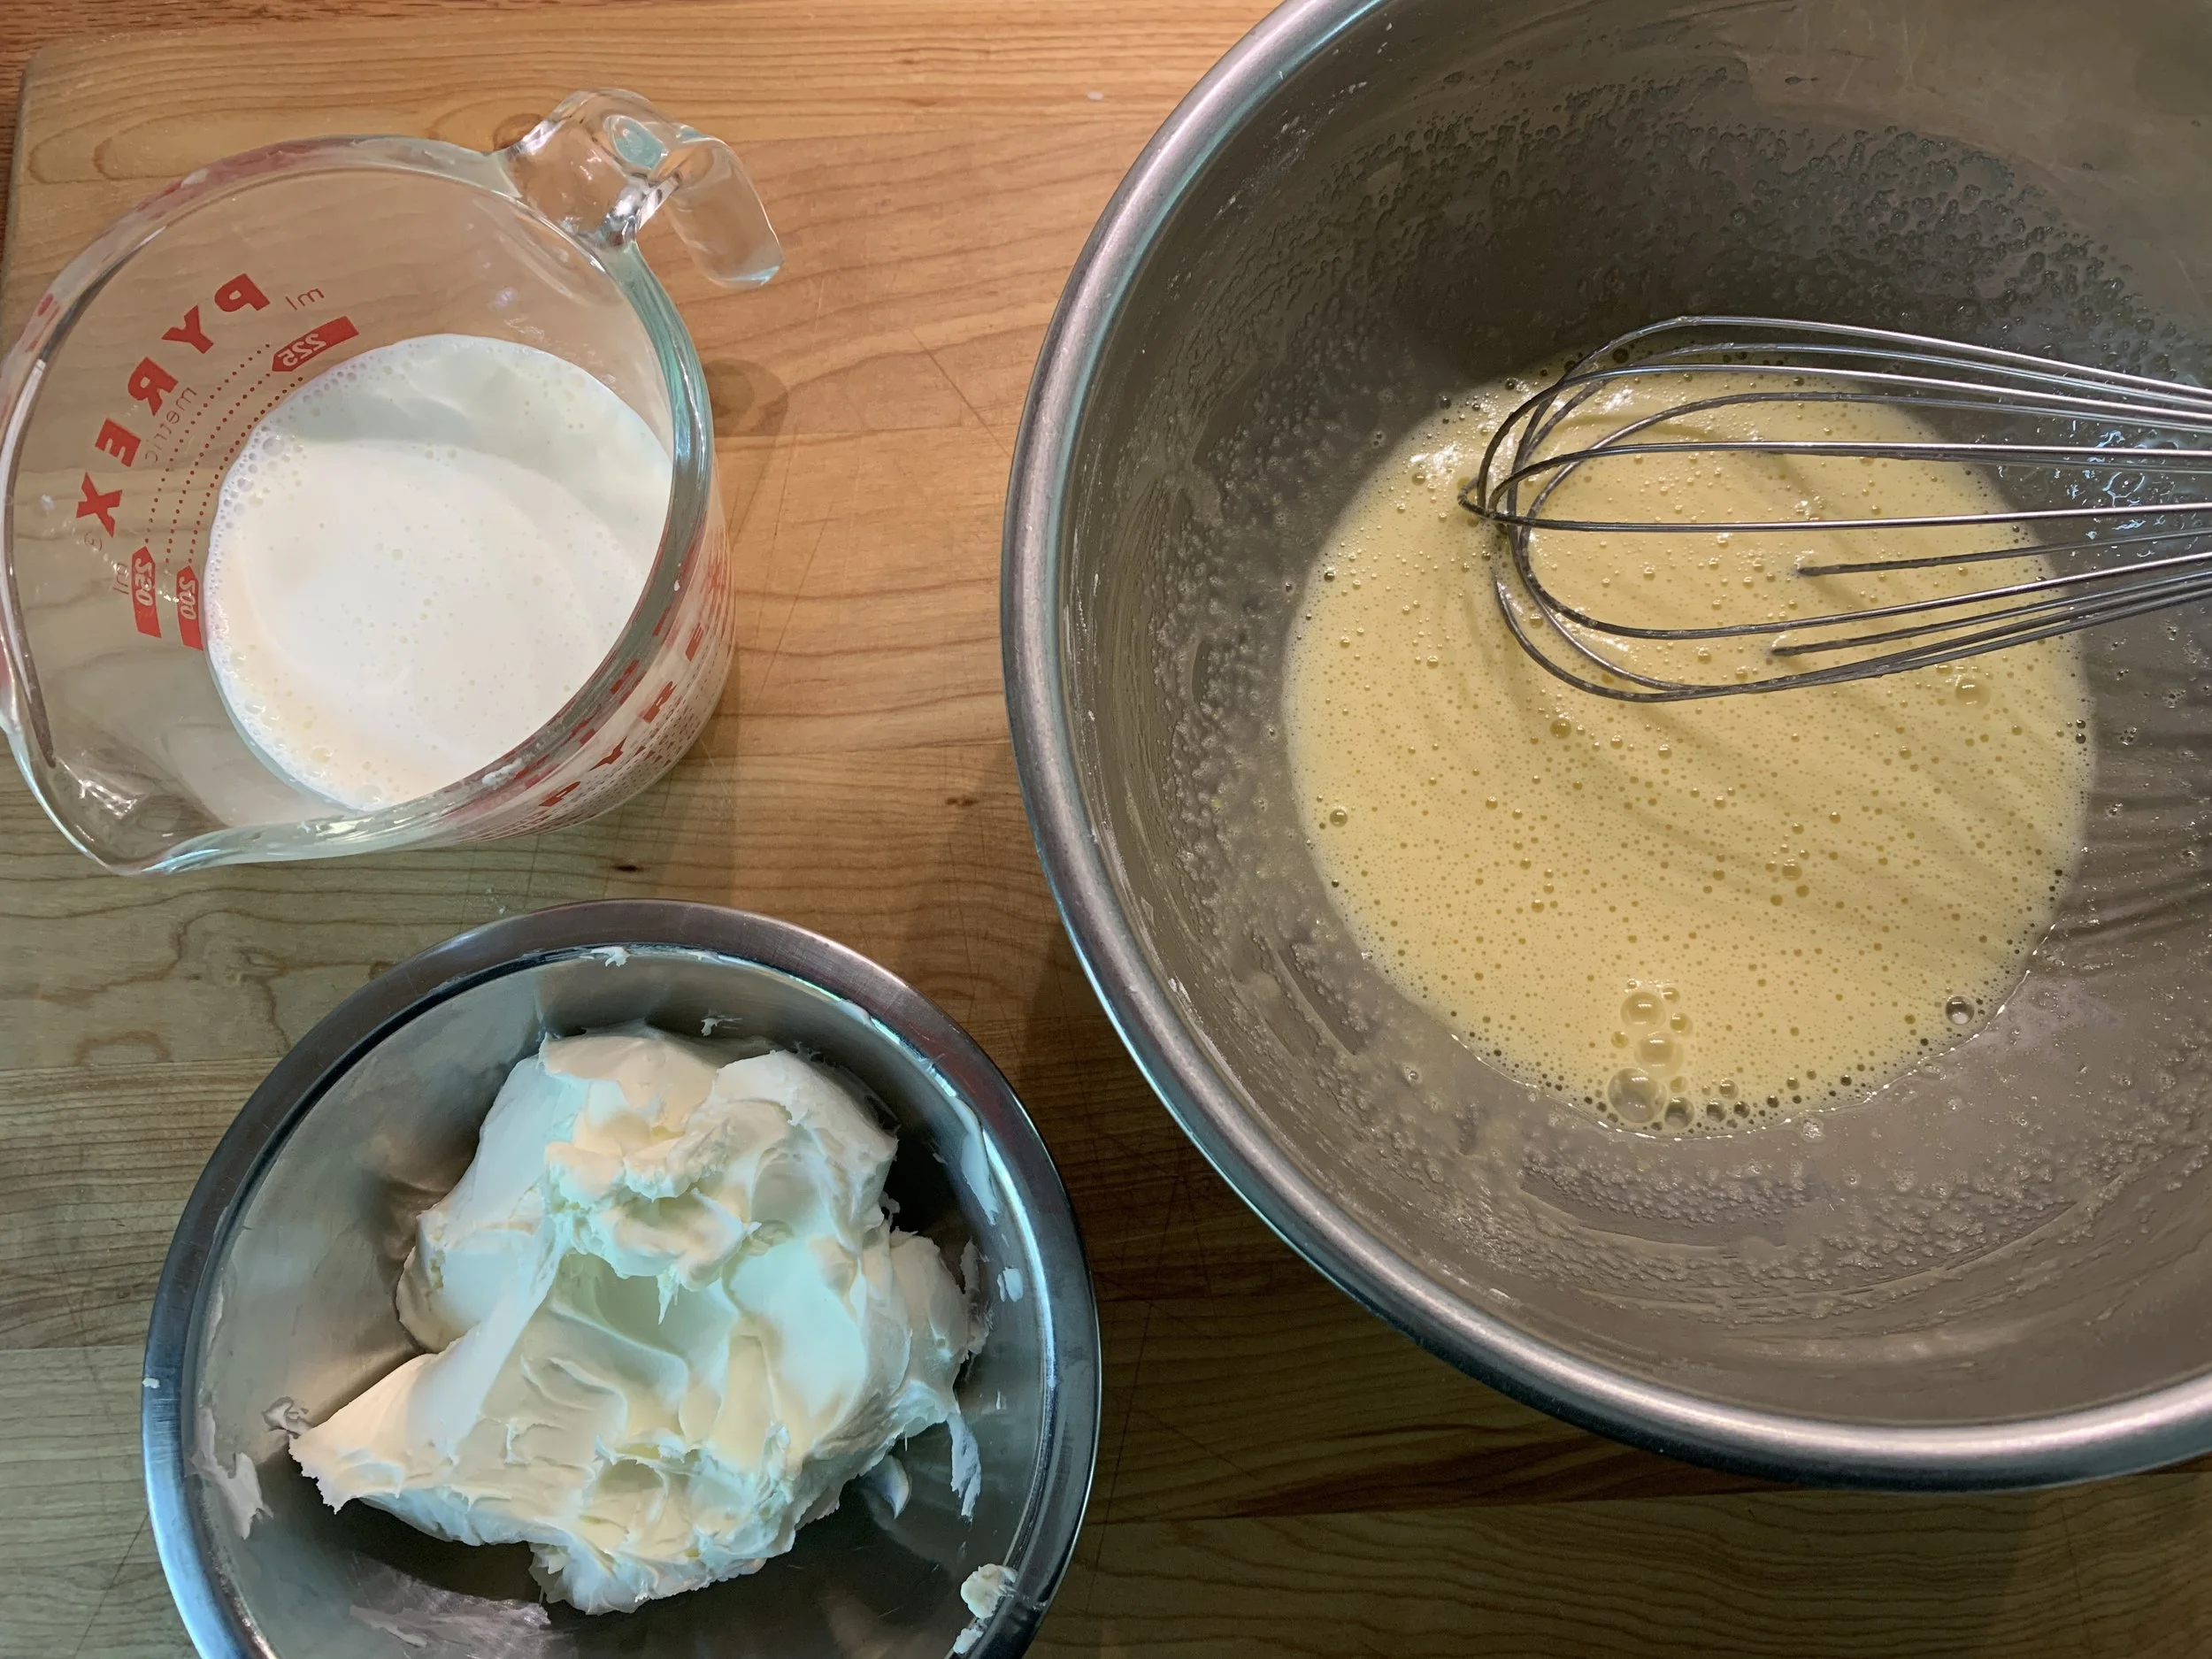
You can make the filling a day or several hours ahead and hold it in the fridge. Simply stir it back up to re-blend before pouring into the blind baked shell.
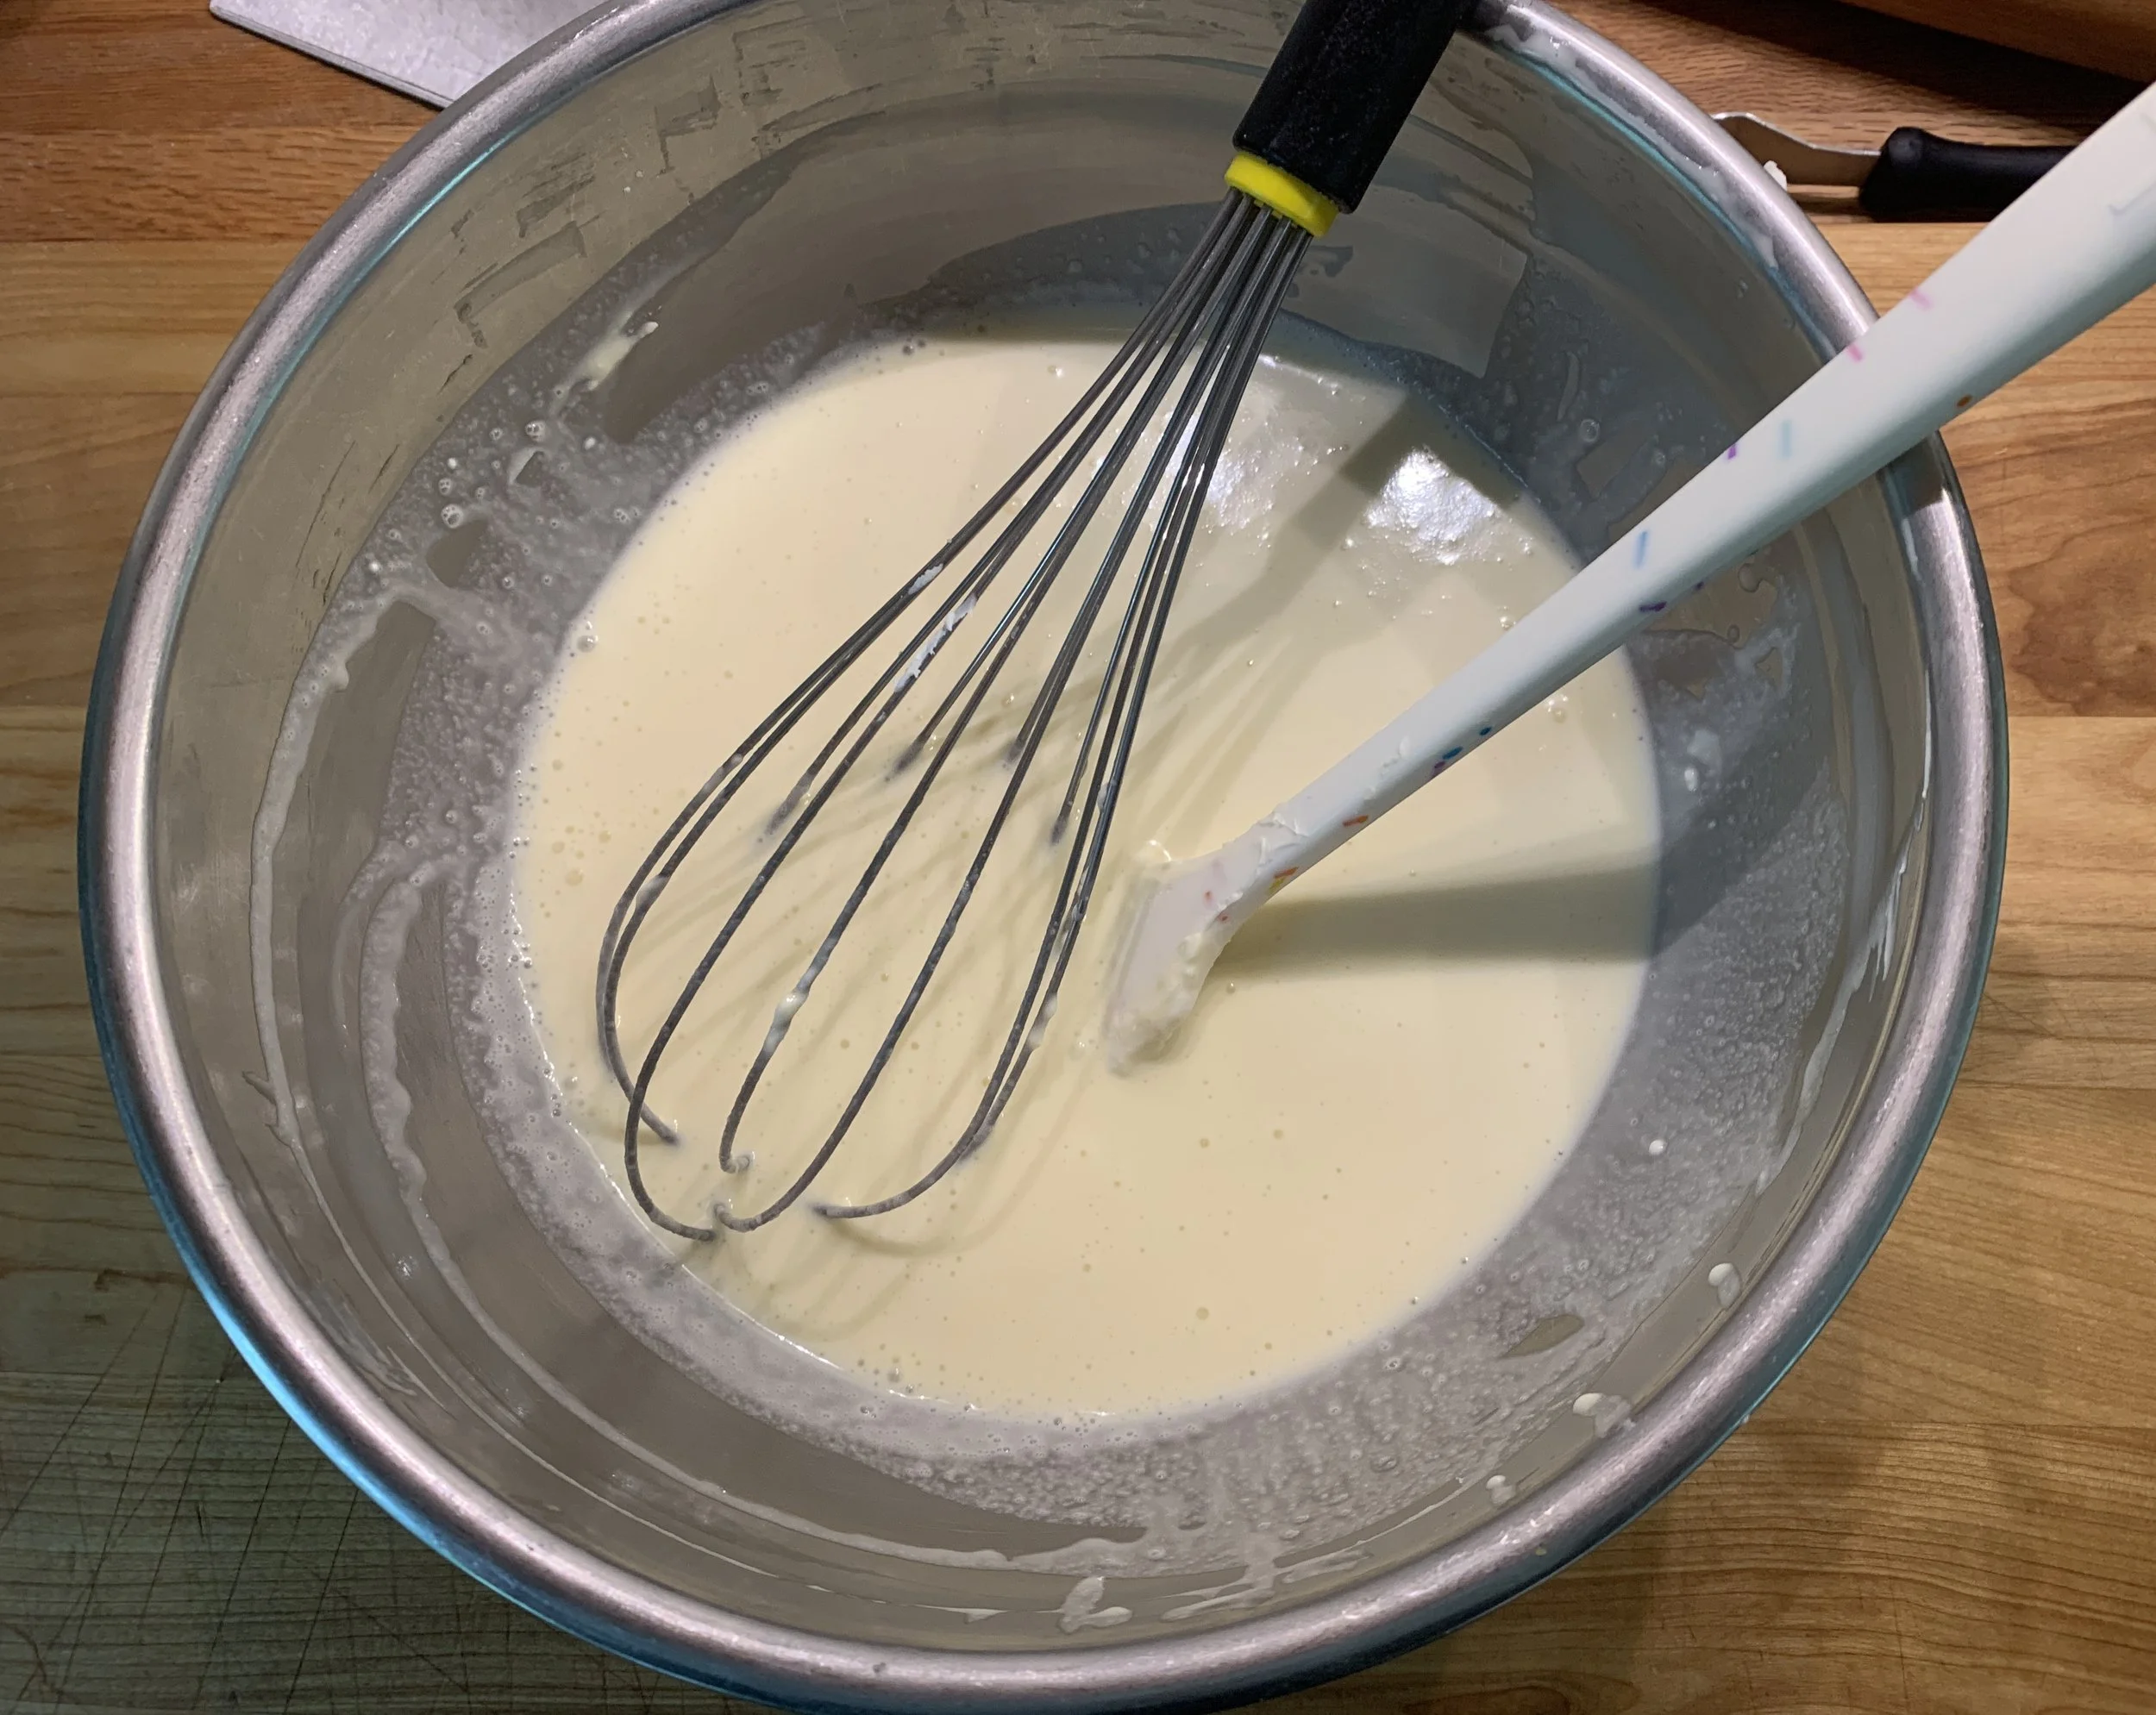
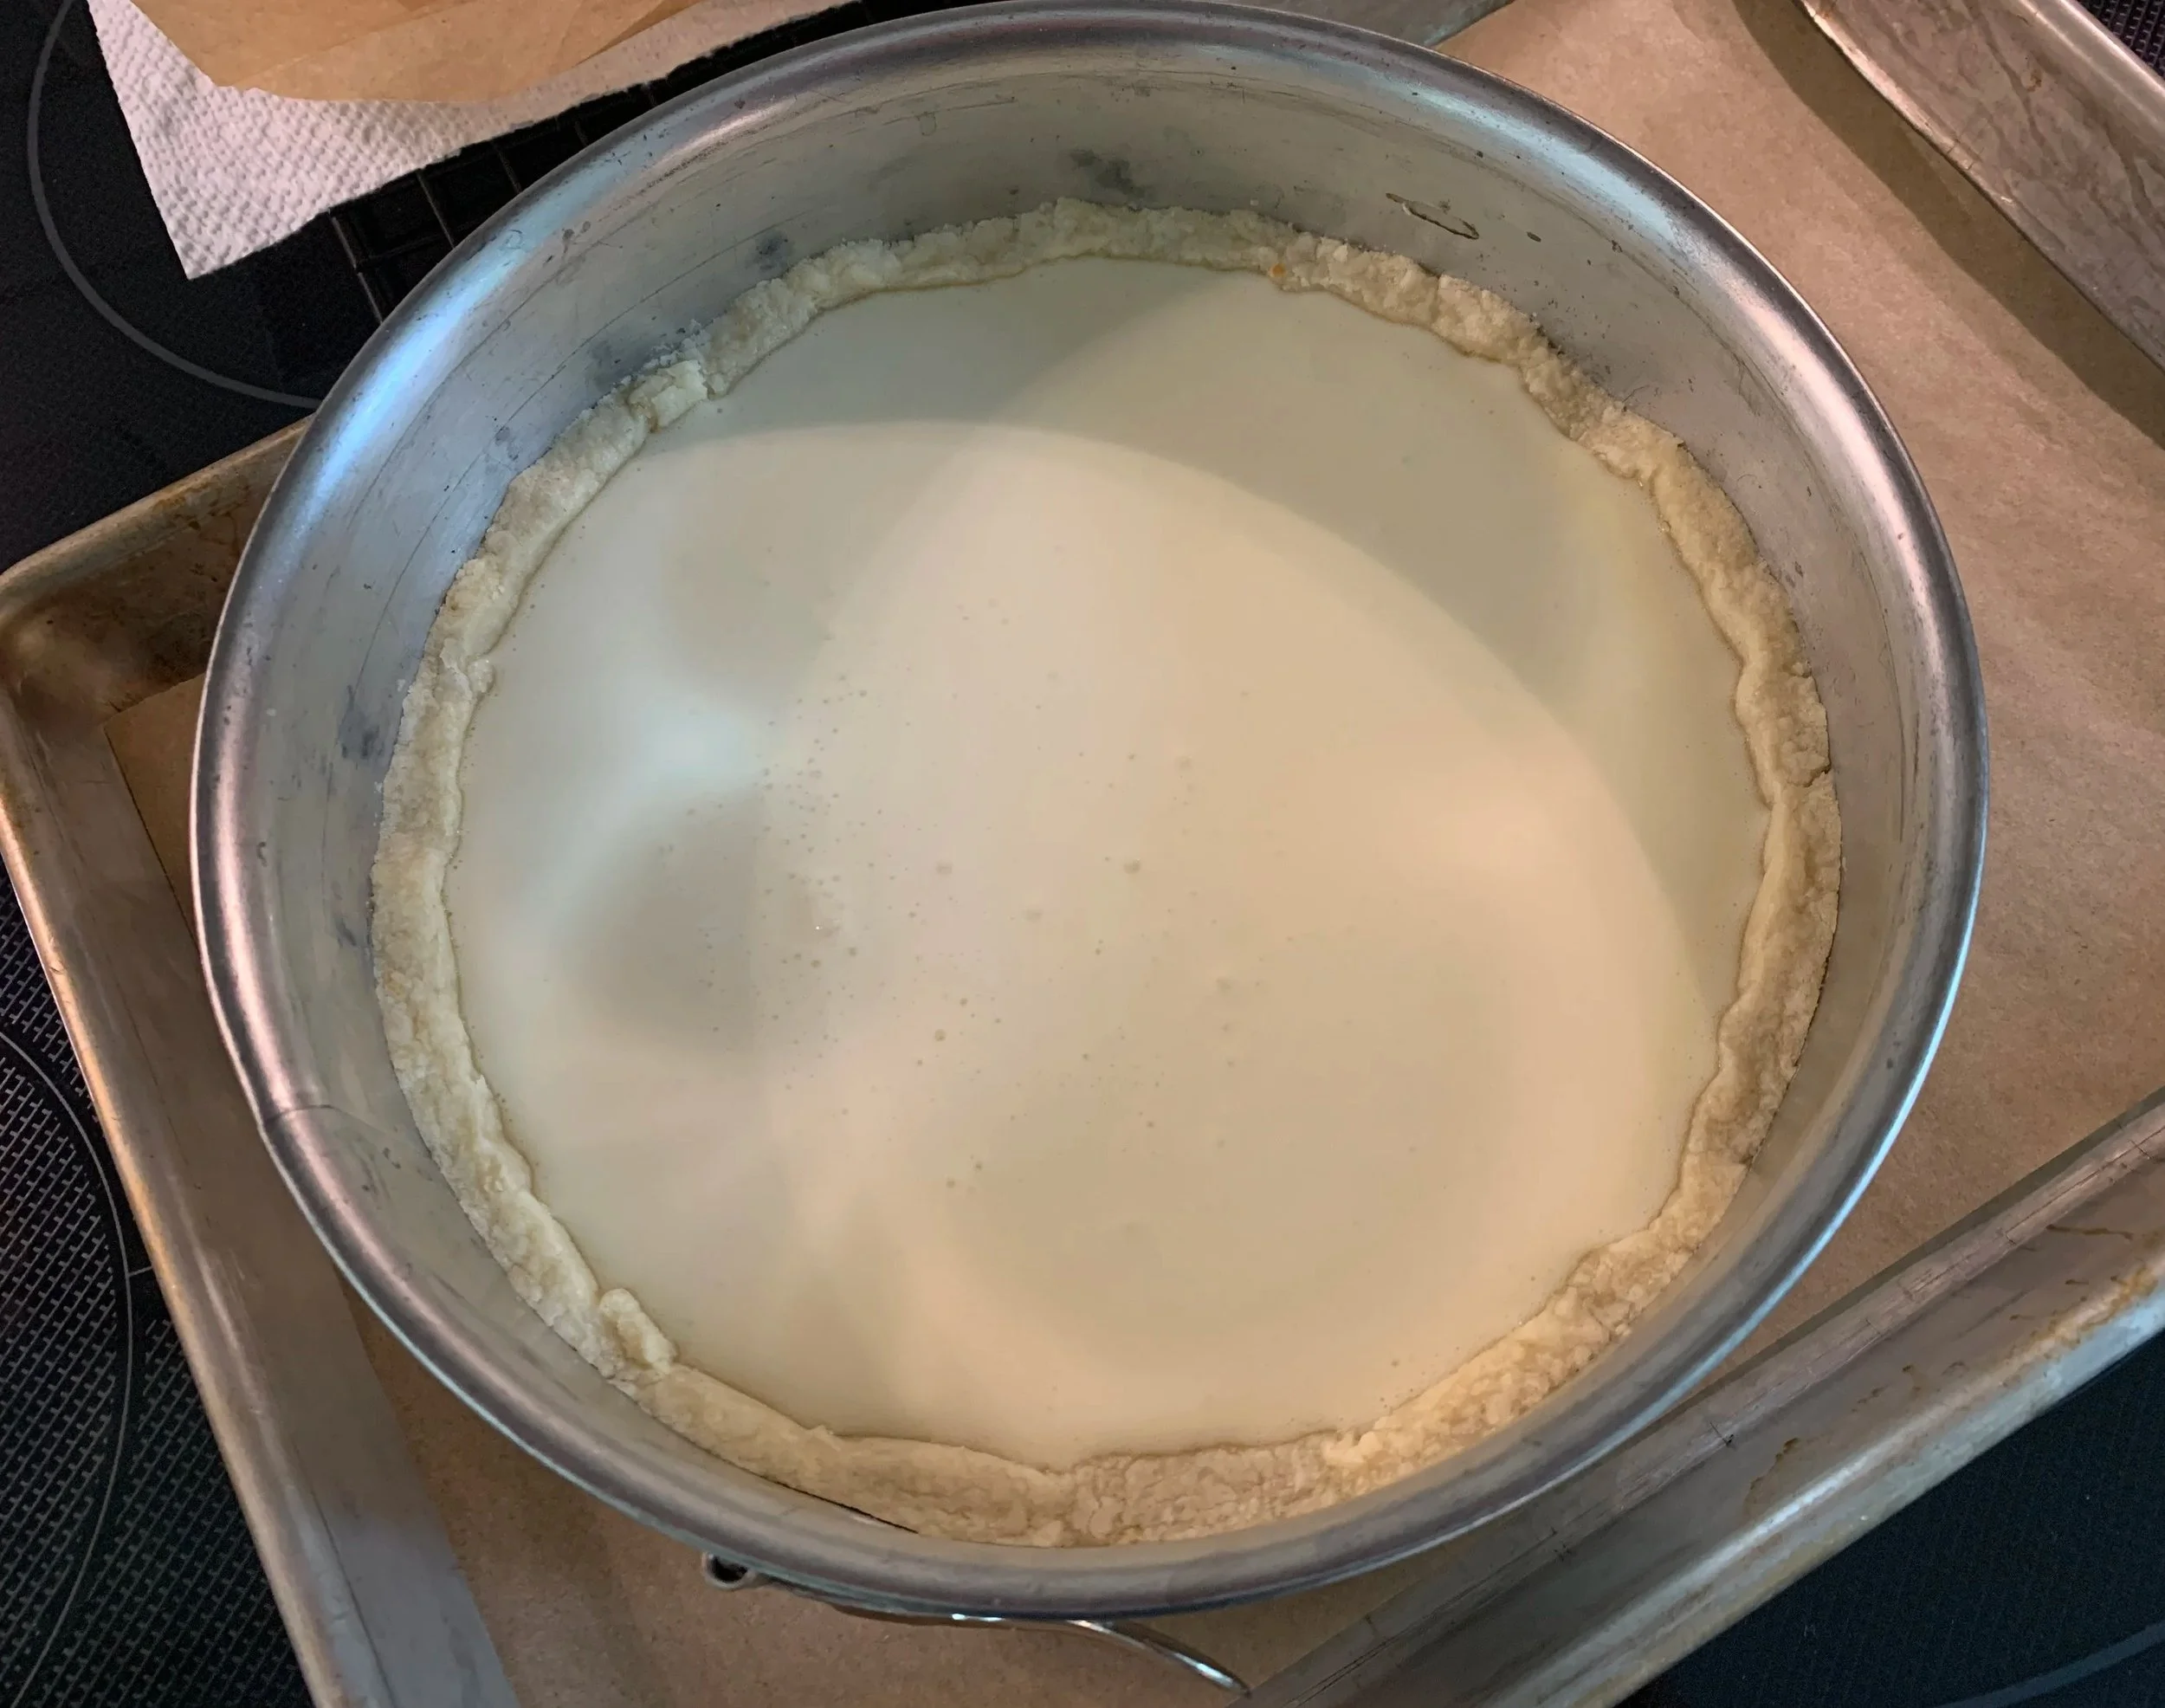
Ready for the oven
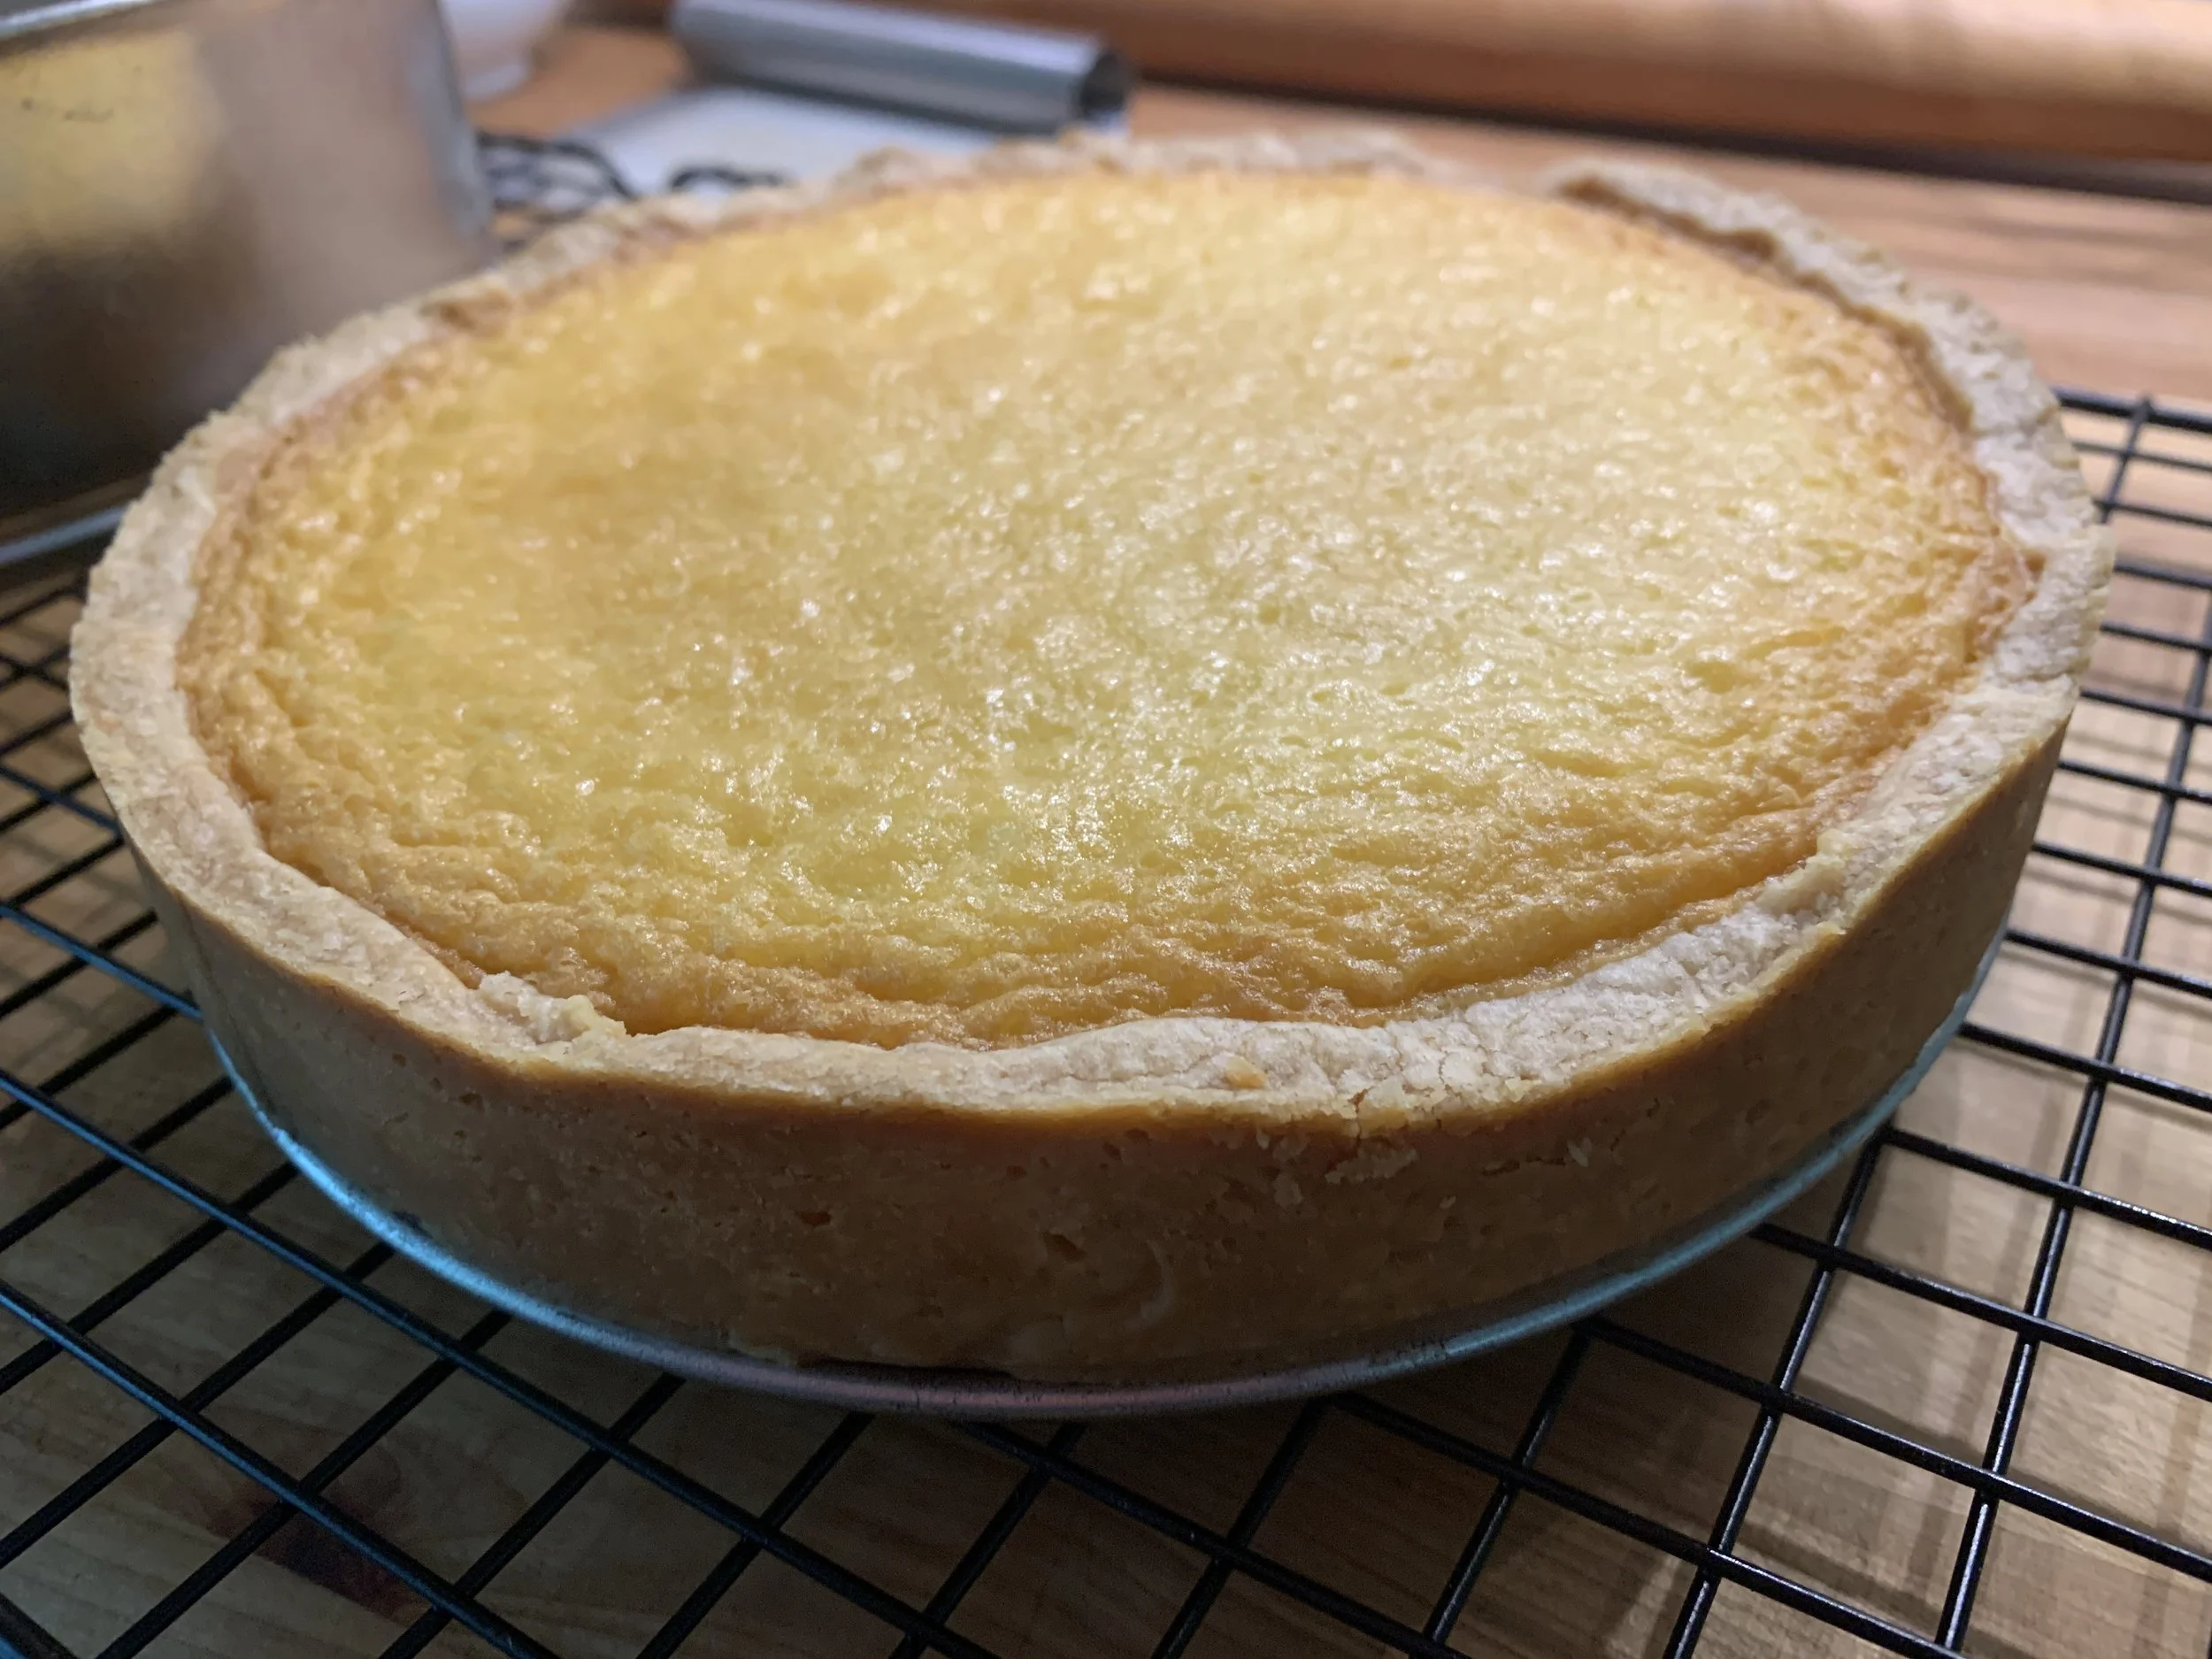
Bake at 350ºF (325º convection) about one hour - start with 25 minutes (it will still be quite jiggly), rotate the tray, allow another 25 minutes (should be setting around the edges and browning), rotate again then finish with another 10 minutes or so. Look for a nice golden brown surface and only a hint of jiggle in the center.
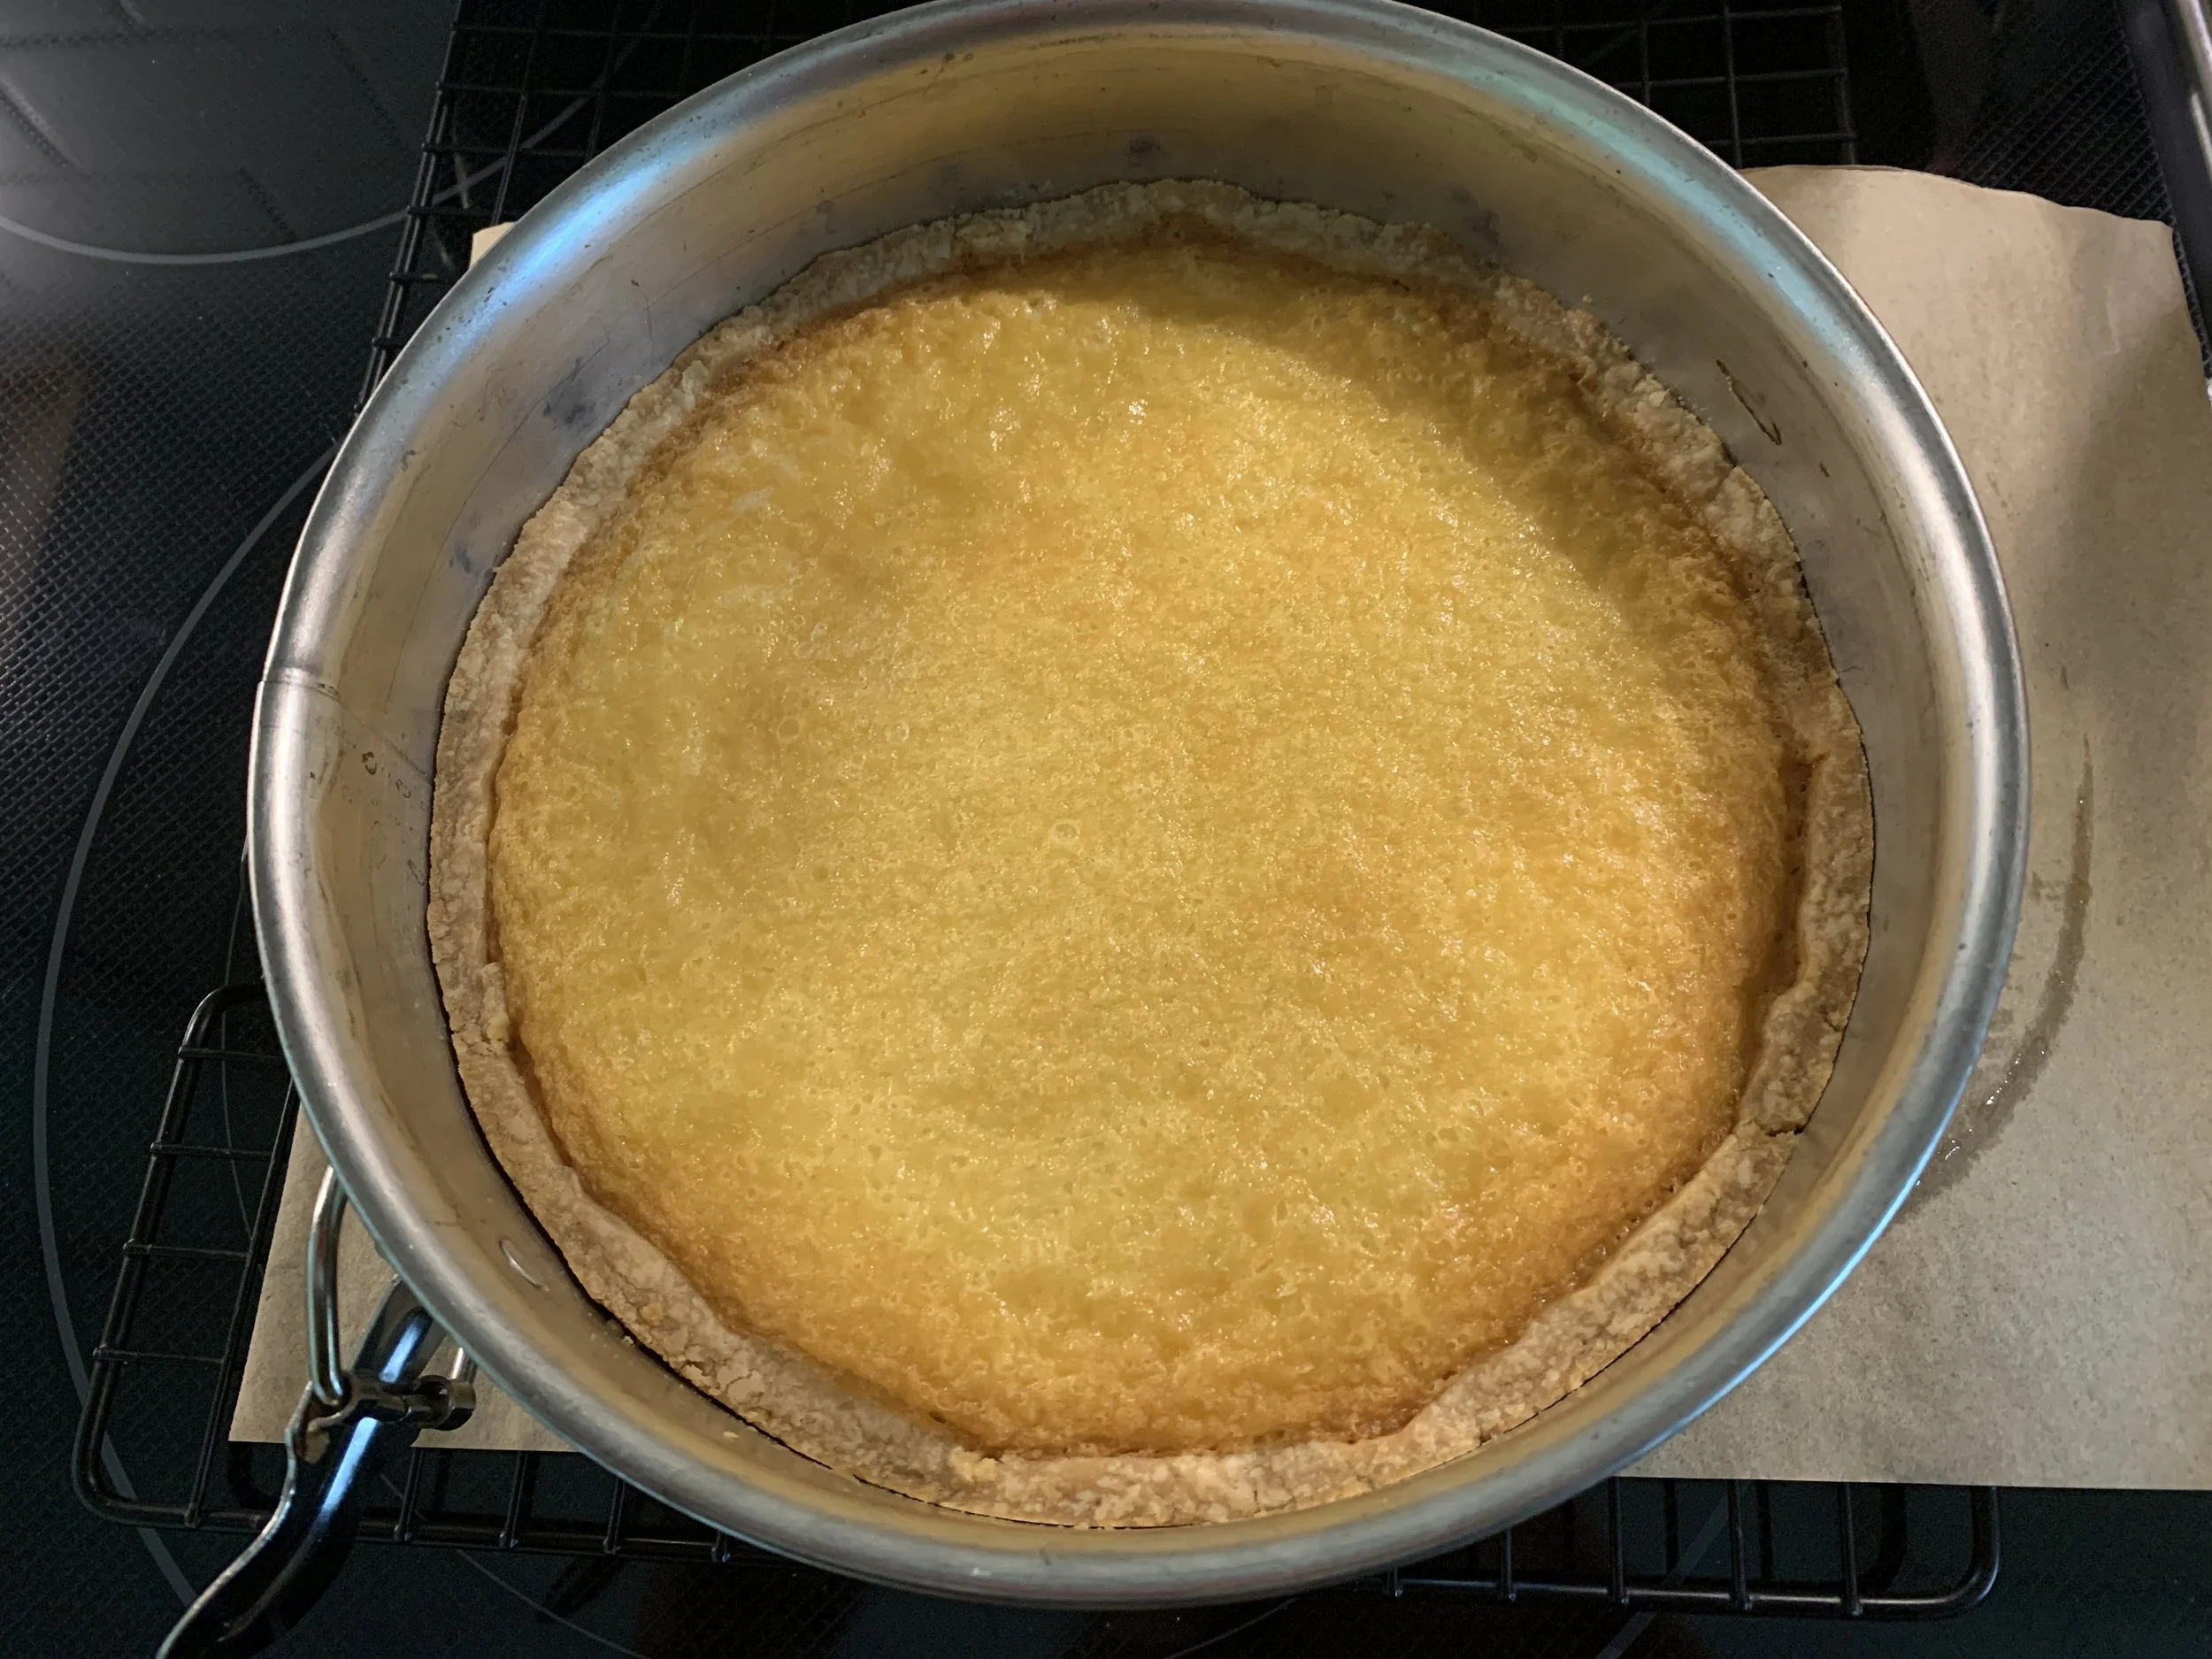
Now we’re talking!
I loosen the outer ring of the springform and let the torta cool to room temperature. Remove the ring. You can hold the torta in the fridge until the next day if you’re not ready for garnishing.
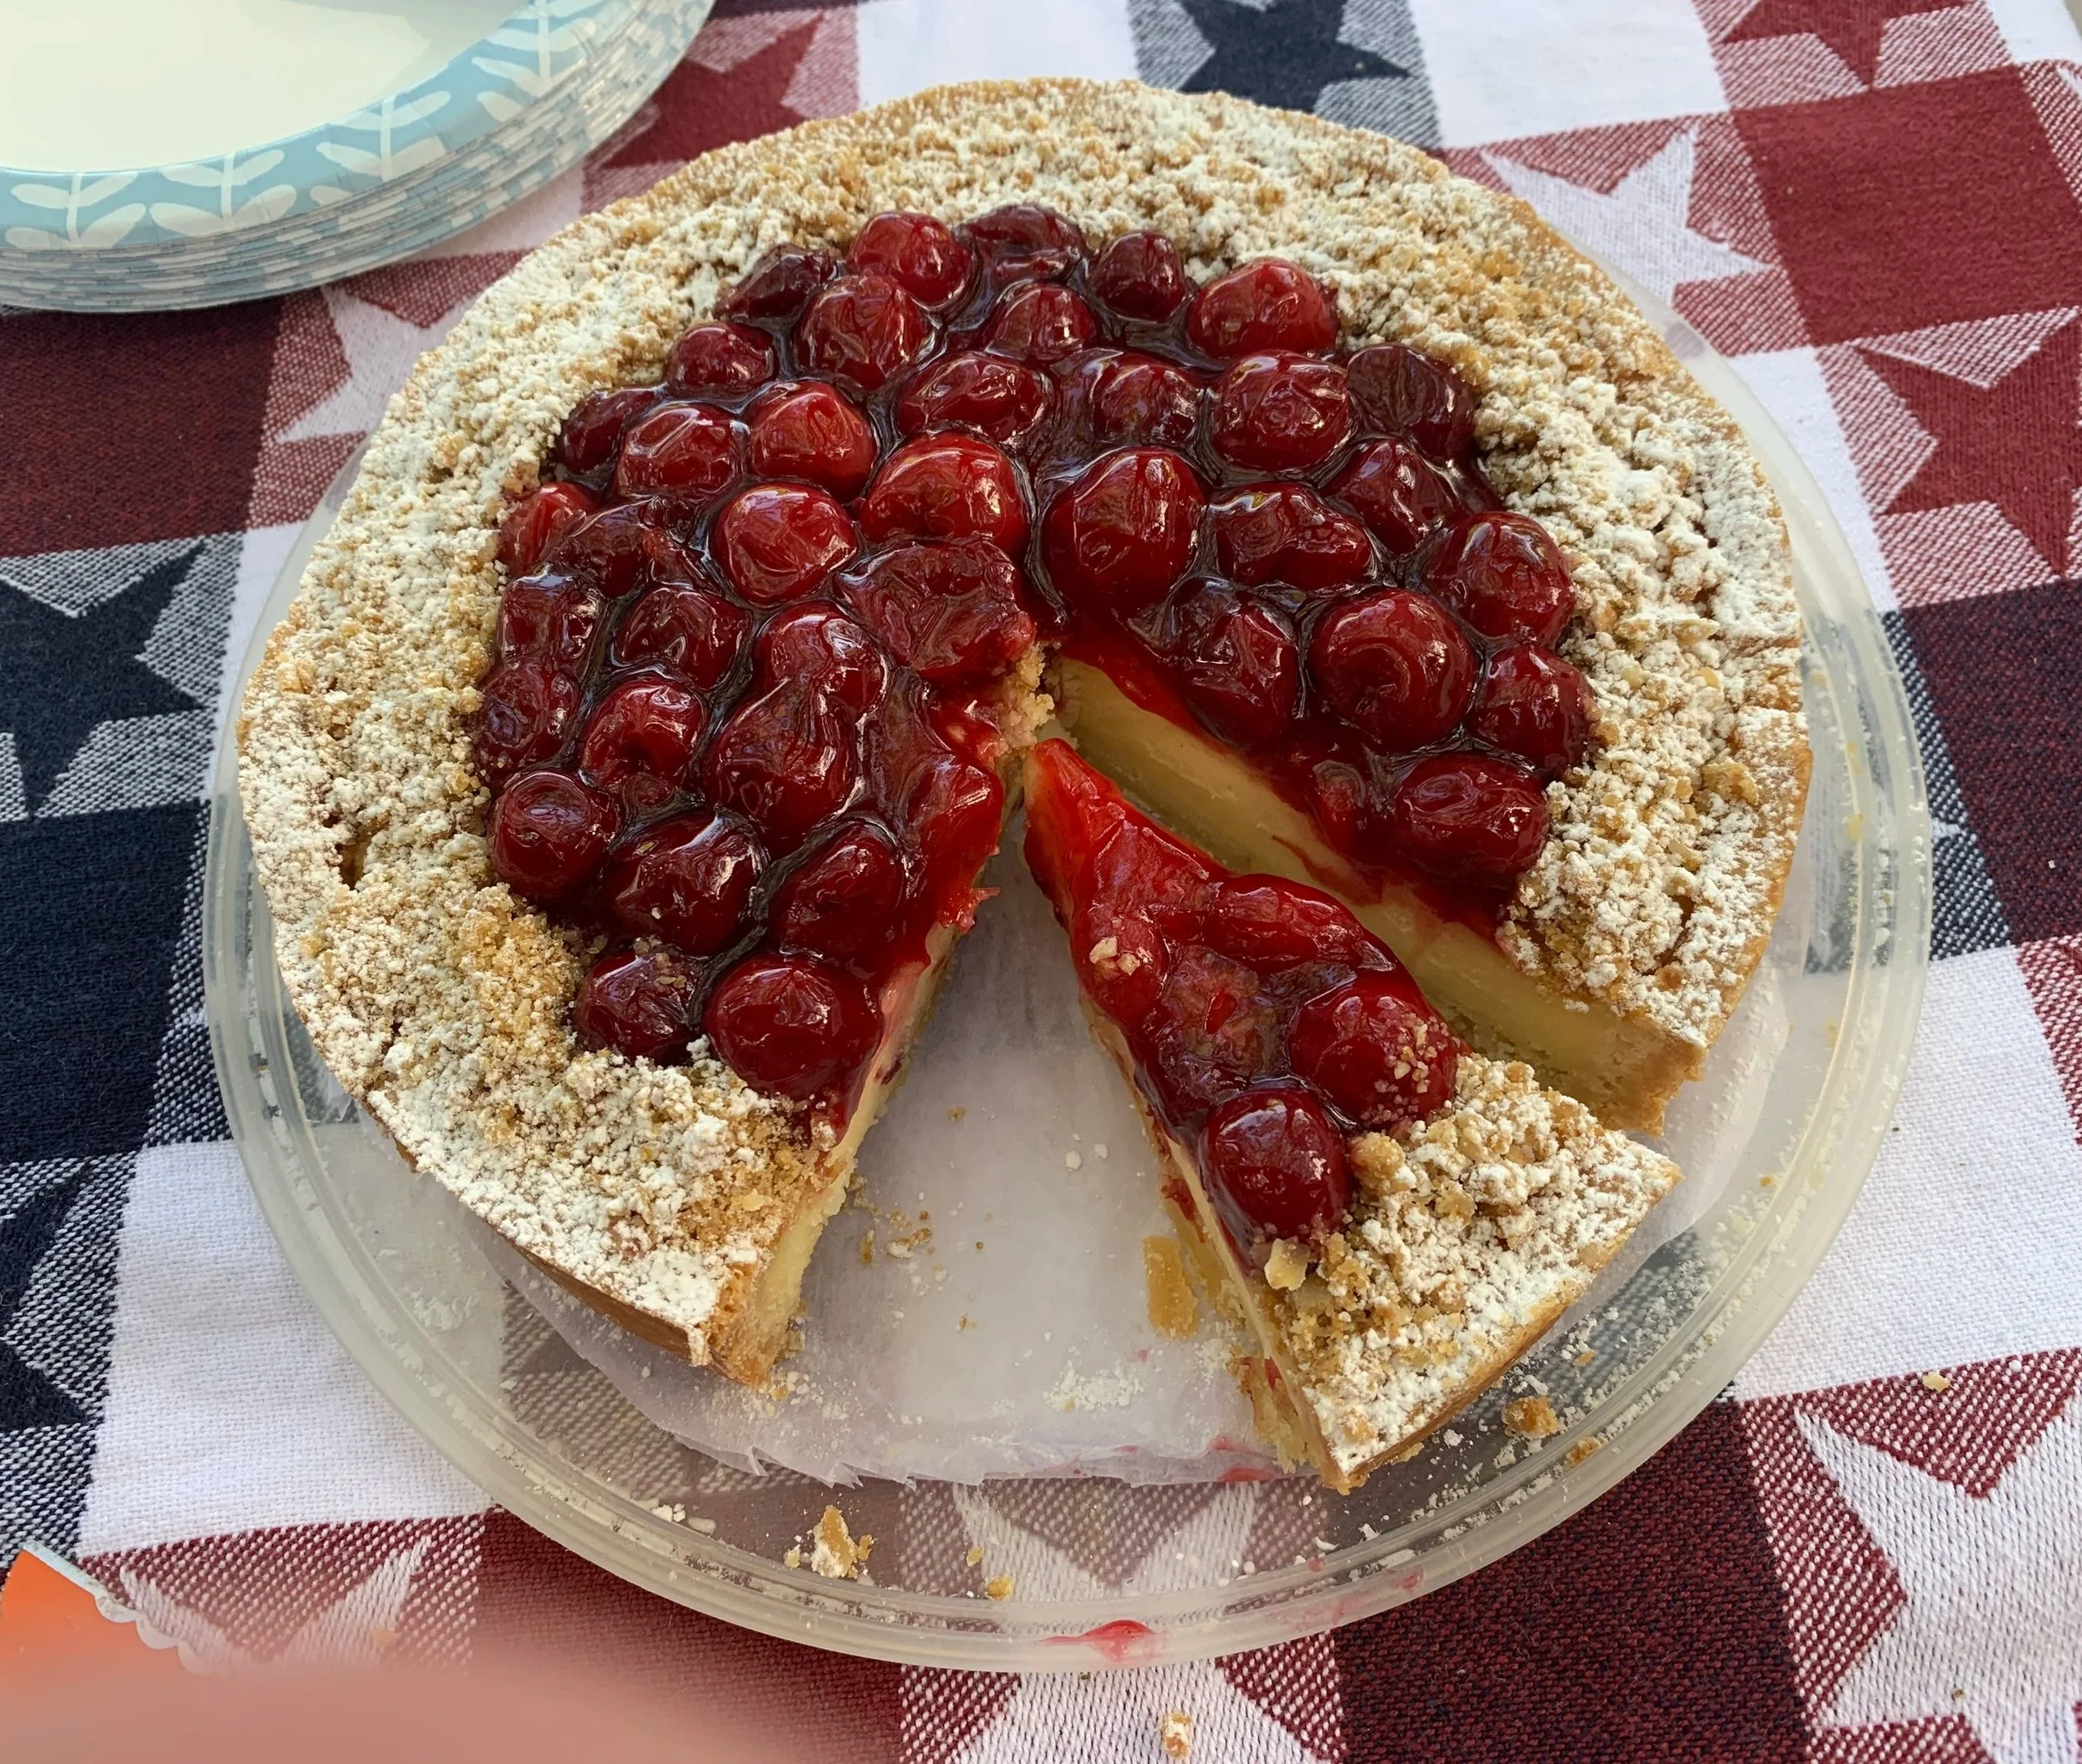
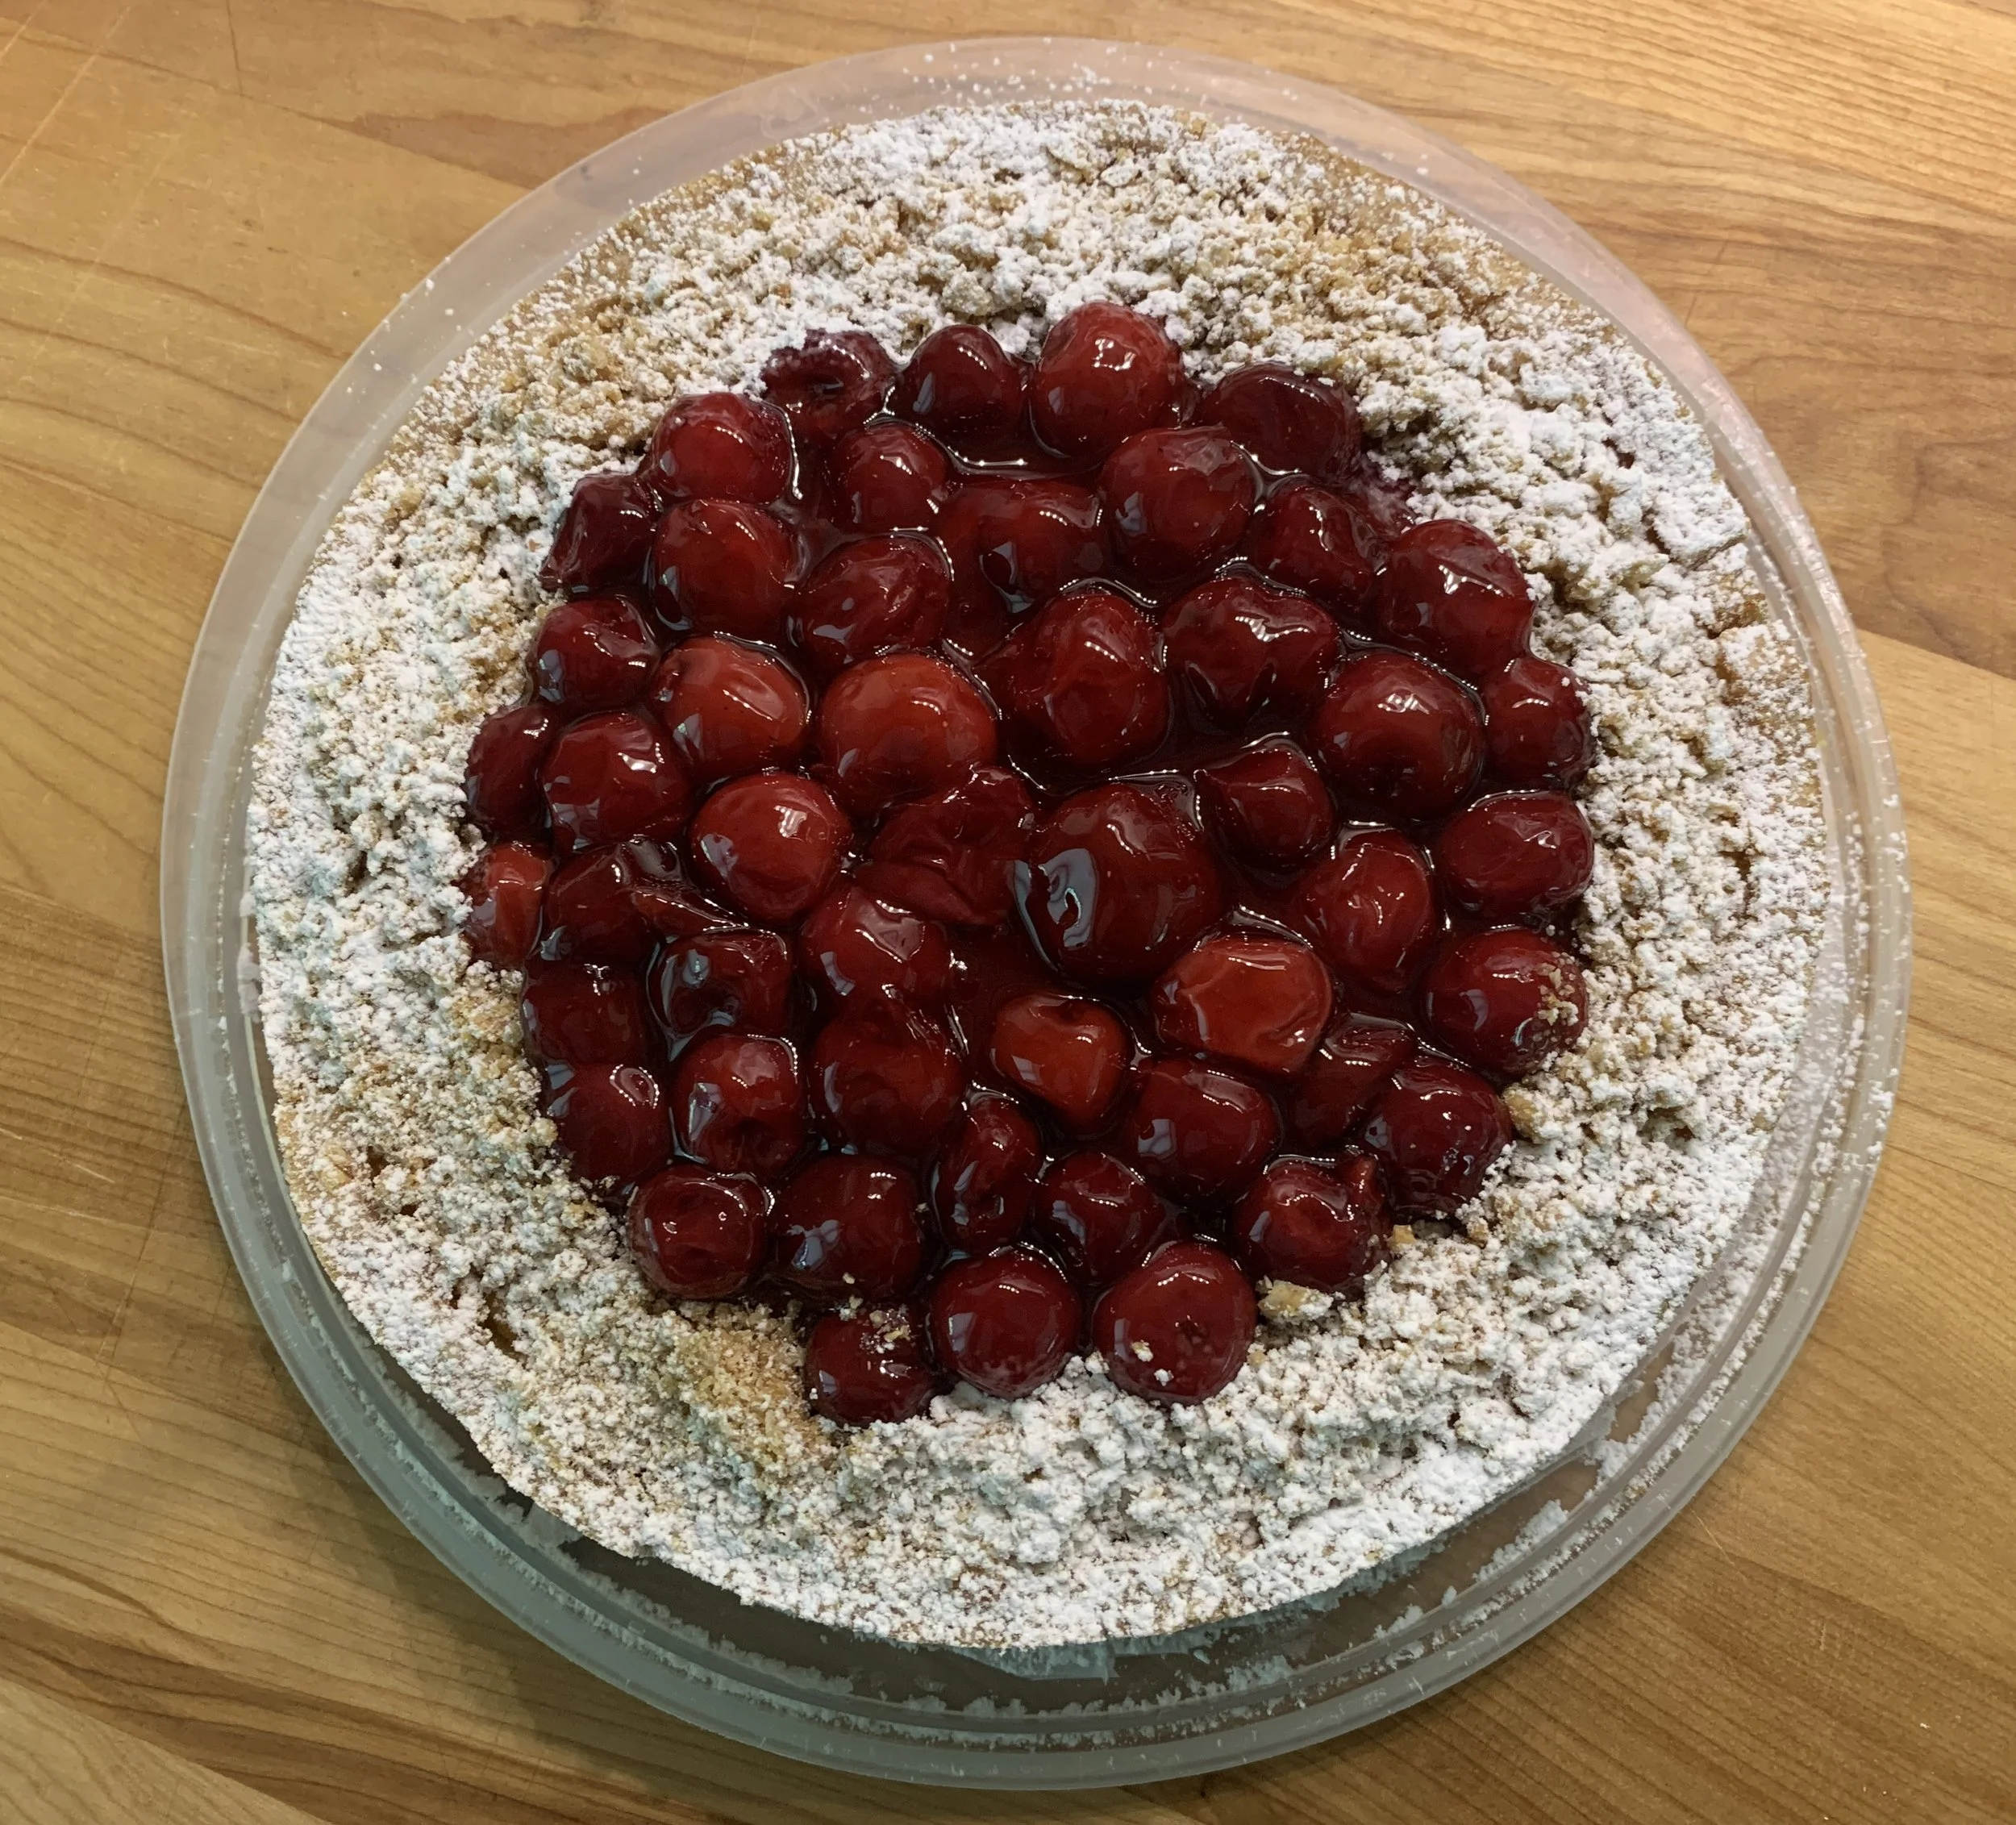
I make my cherry filling earlier in the day or the day before and keep it refrigerated. Spoon a layer of cherries over the center of the torta, leaving an inch or so clear around the edges. Sprinkle oat crumble around the edges then dust that with powdered sugar. TIP: hold a small bowl over the cherries while you dust - keeps them nice and cherry-y.
Slice and serve . . . . . the marriage of tart cherries, crunchy crumble, creamy filling and buttery crust can’t be beat.
Leftovers will keep for a couple of days in the fridge although the cherry topping/sauce may get a tad more runny.
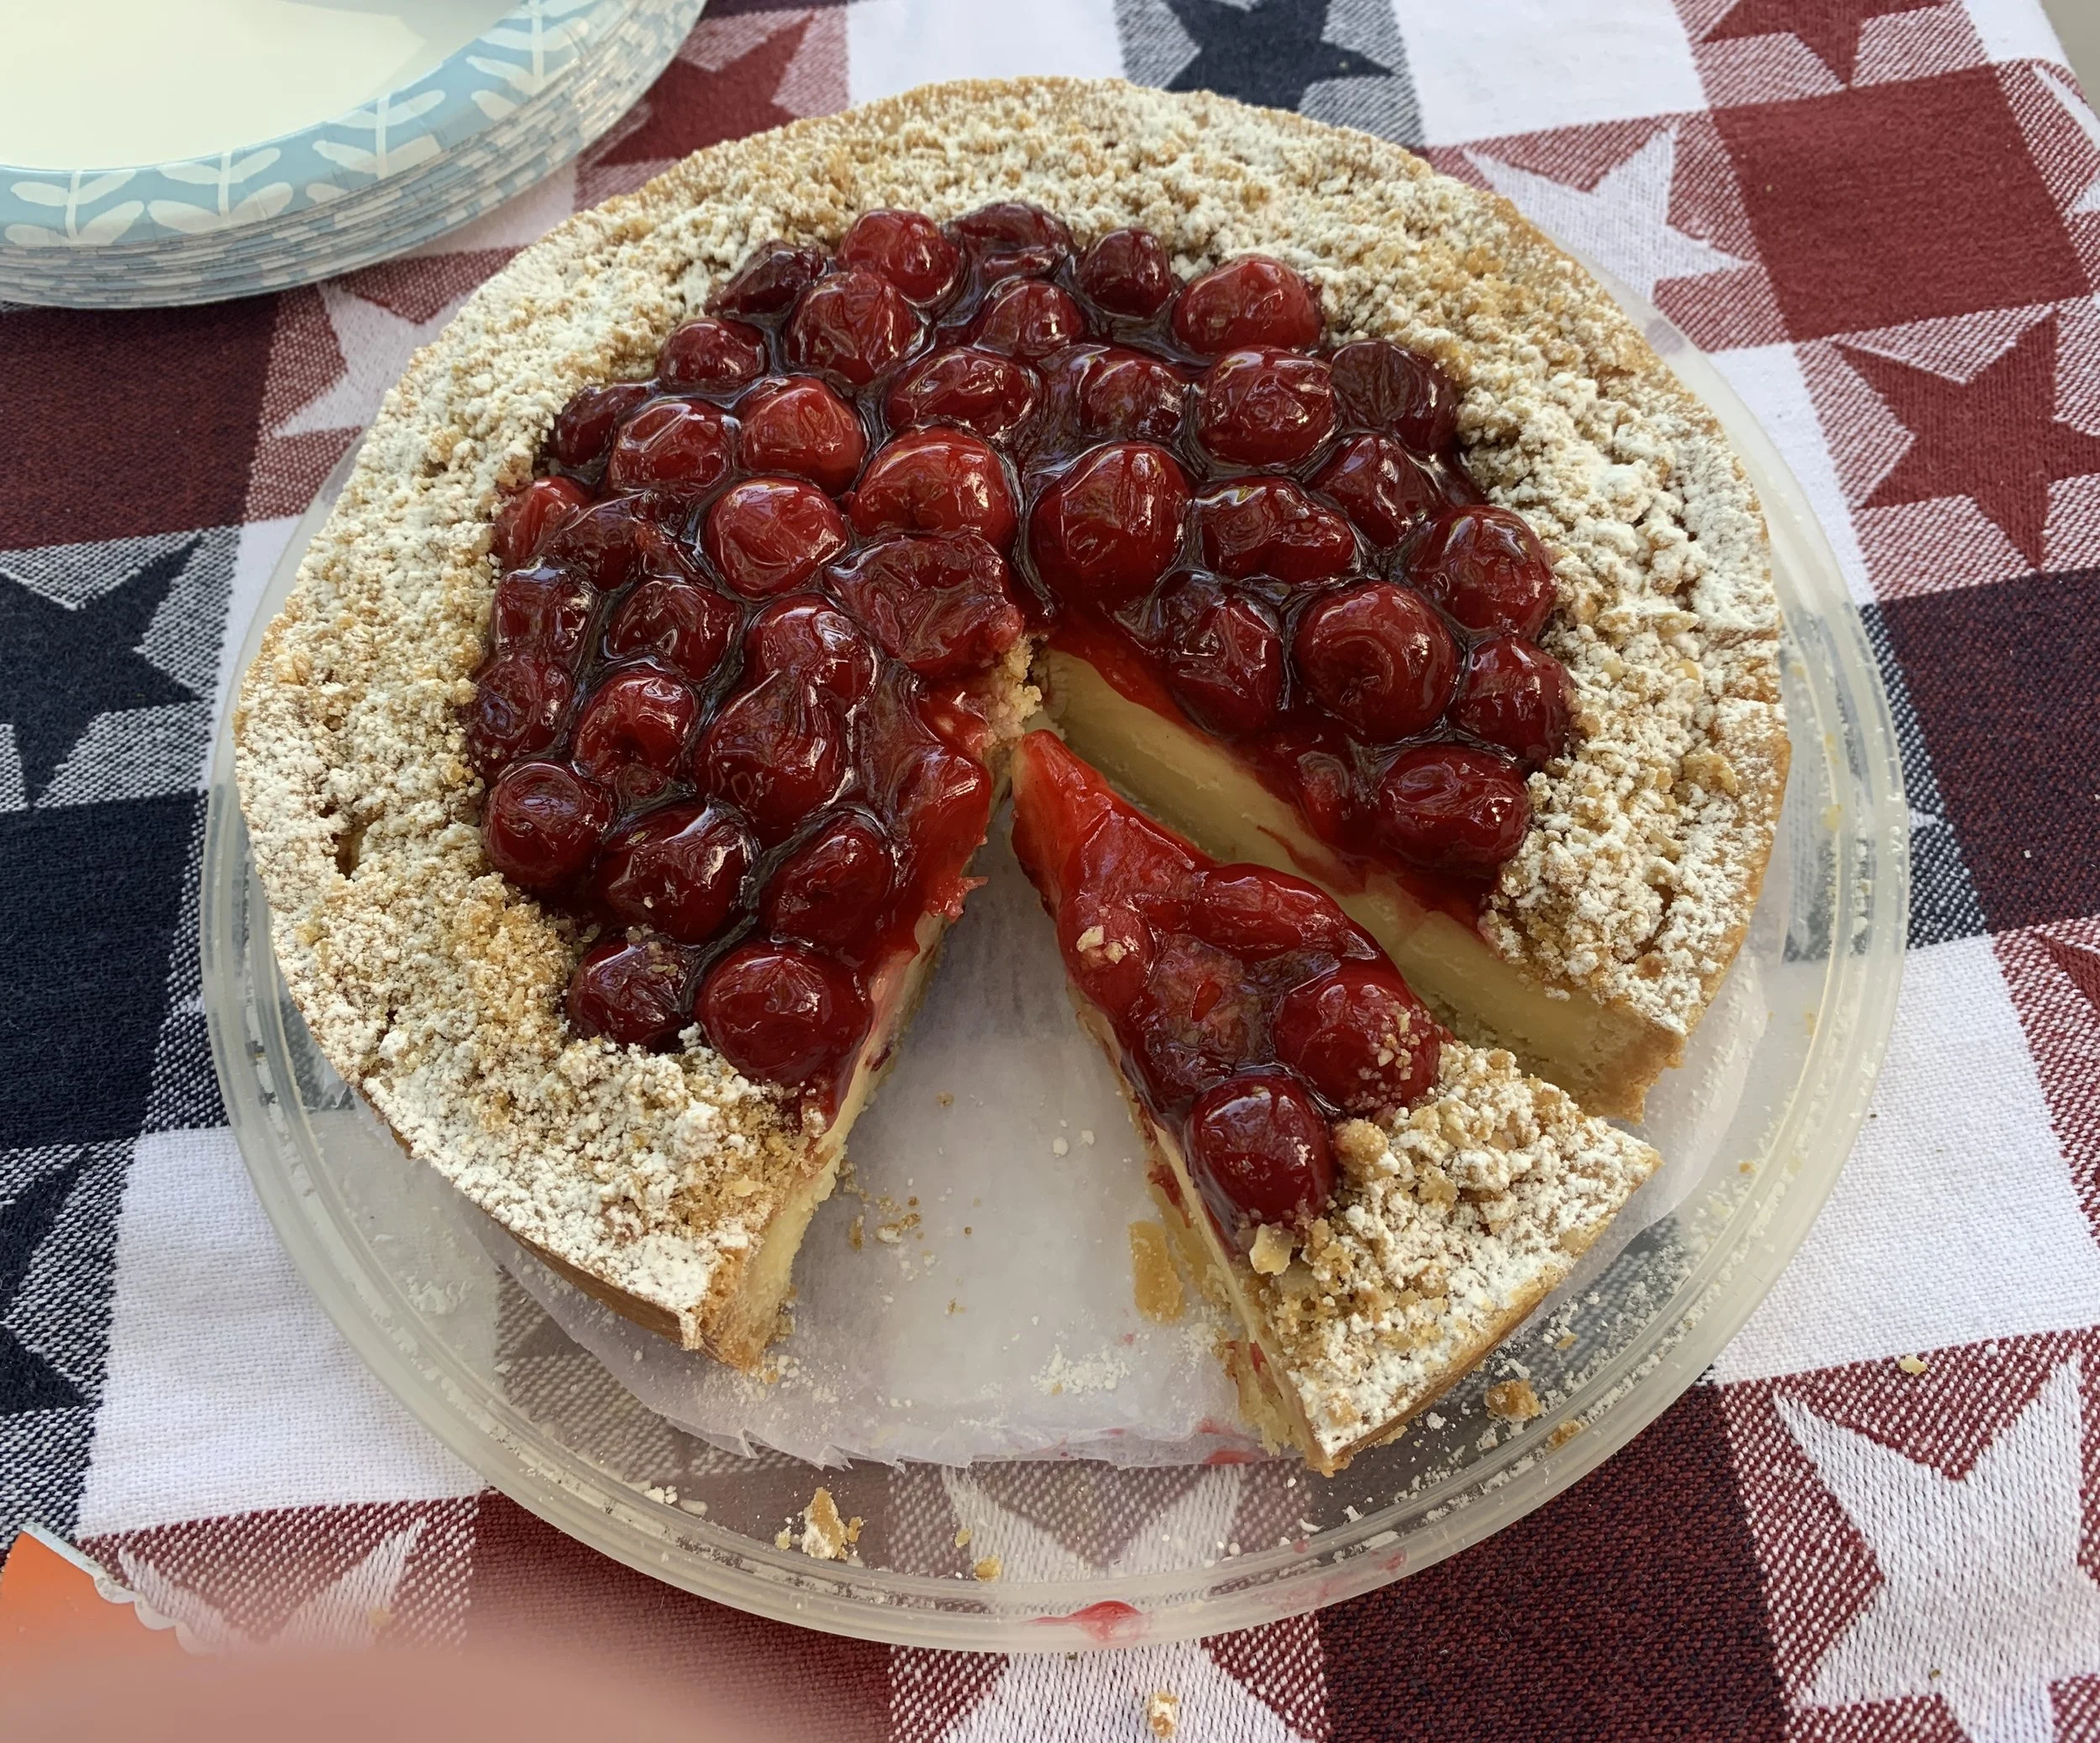
Yum!
Whoa! That one went on didn’t it! But there’s one more thing.
To help you use up any of your own mascarpone here’s a straight forward mascarpone cake that serves as a great blank canvas for adding fruit, nuts, and/or topping with various swirls of delight. The recipe makes one 8” or 9” cake or about 30 small teacakes.
As many of you know, I prefer baking petite teacakes versus a large sliceable cake. These do not disappoint.
For these babies I turned back to an oil based mascarpone recipe I originally found at “An Italian in My Kitchen” about seven years ago. The site is chock full - the section on cakes alone will knock your socks off.
I’ve made it a number of times over the years, tweaking ingredients here and there (e.g. melted butter for the oil; different combos of mascarpone/yogurt/heavy cream; adding chopped nuts and/or fruit). It’s quite adaptable.
Below is the mise for my current iteration of the recipe. Don’t let the 8” springform distract you - I ultimately topped that one with a lovely thin-ish layer of lemon Swiss meringue buttercream and a few chopped candied pistachios. Darn - I didn’t take photos. Sometimes I simply get lost in the moment.
No worries. The mise remains the same for the teacakes - recipe makes about 30.
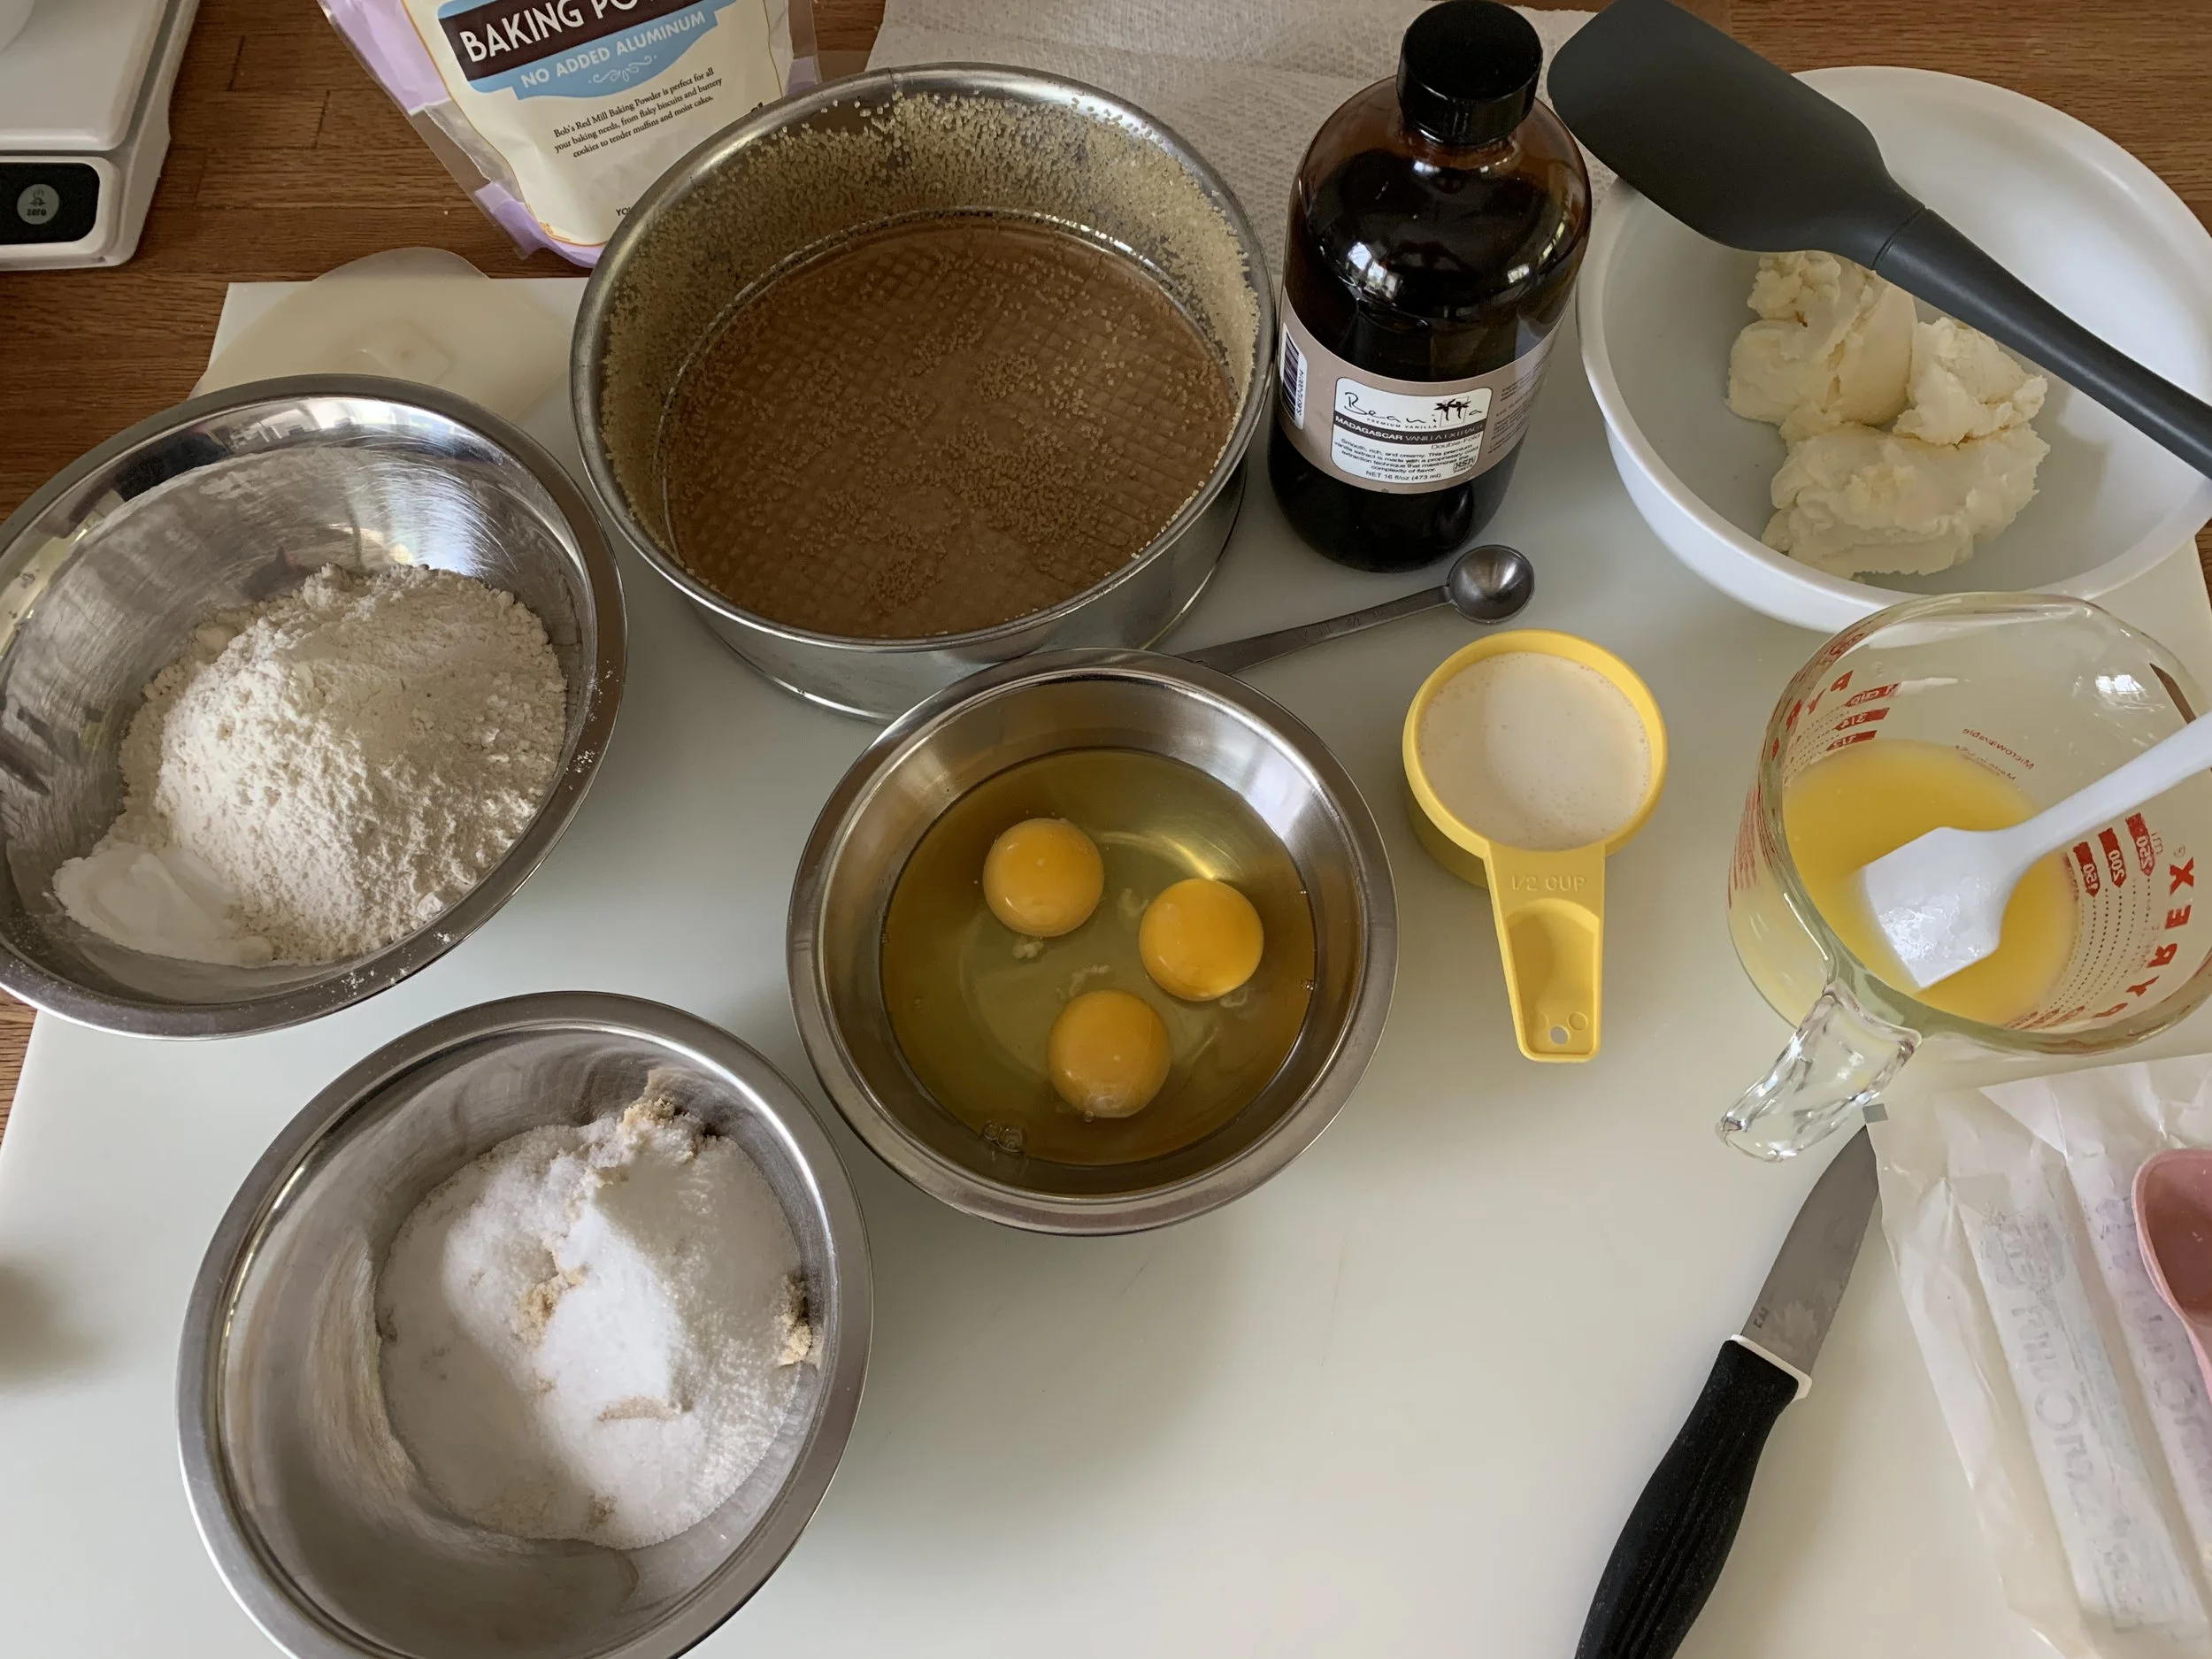
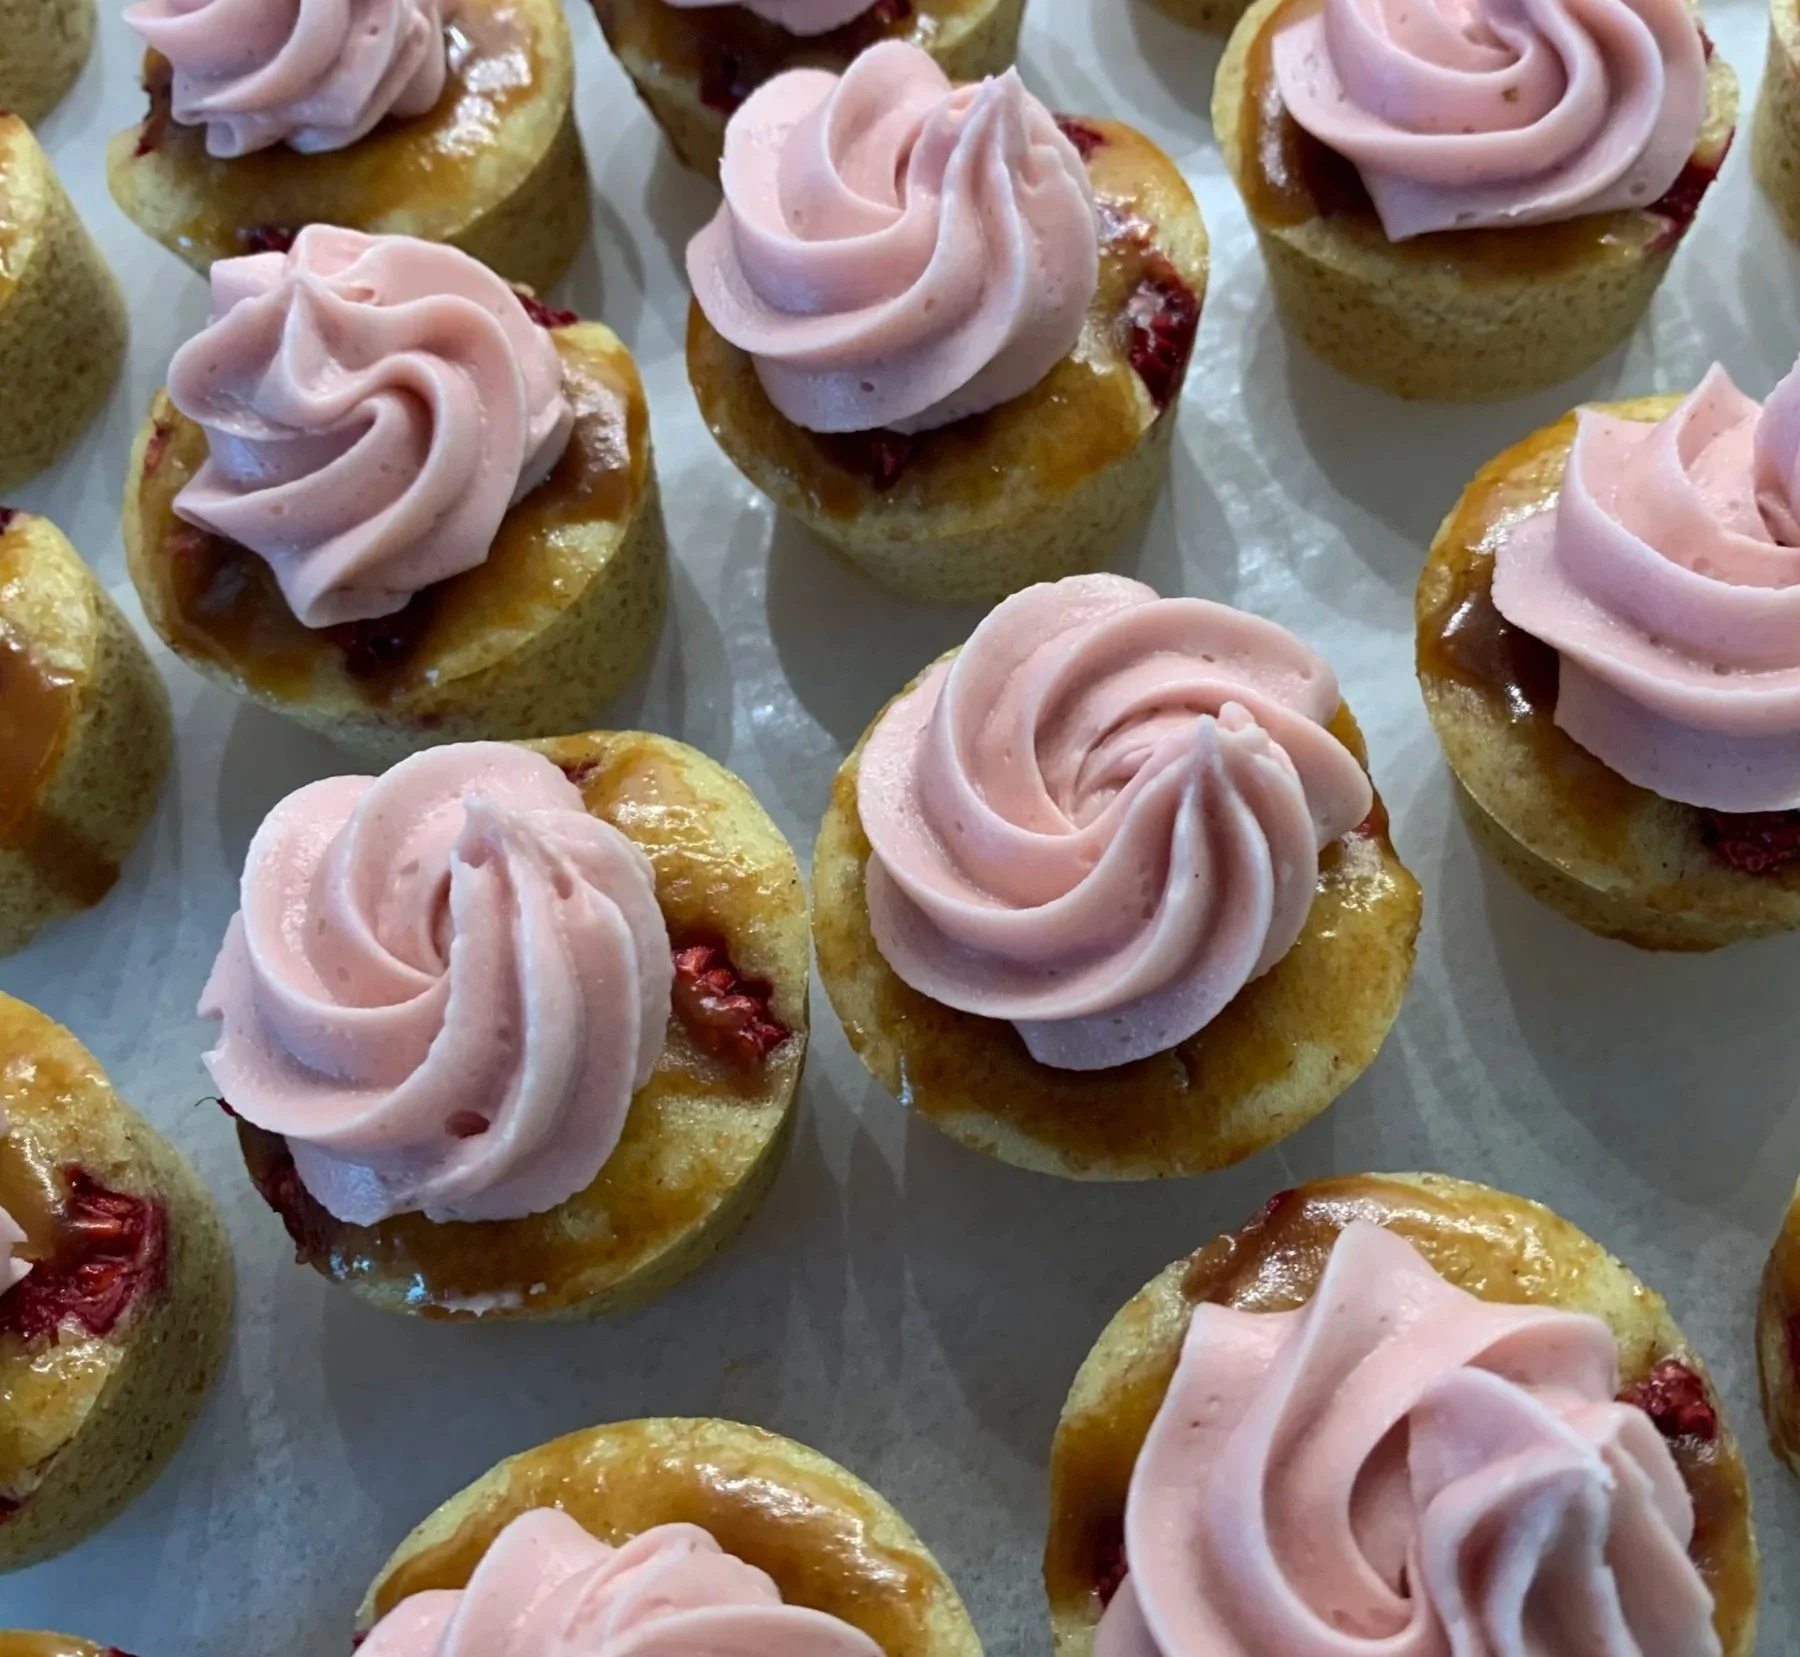
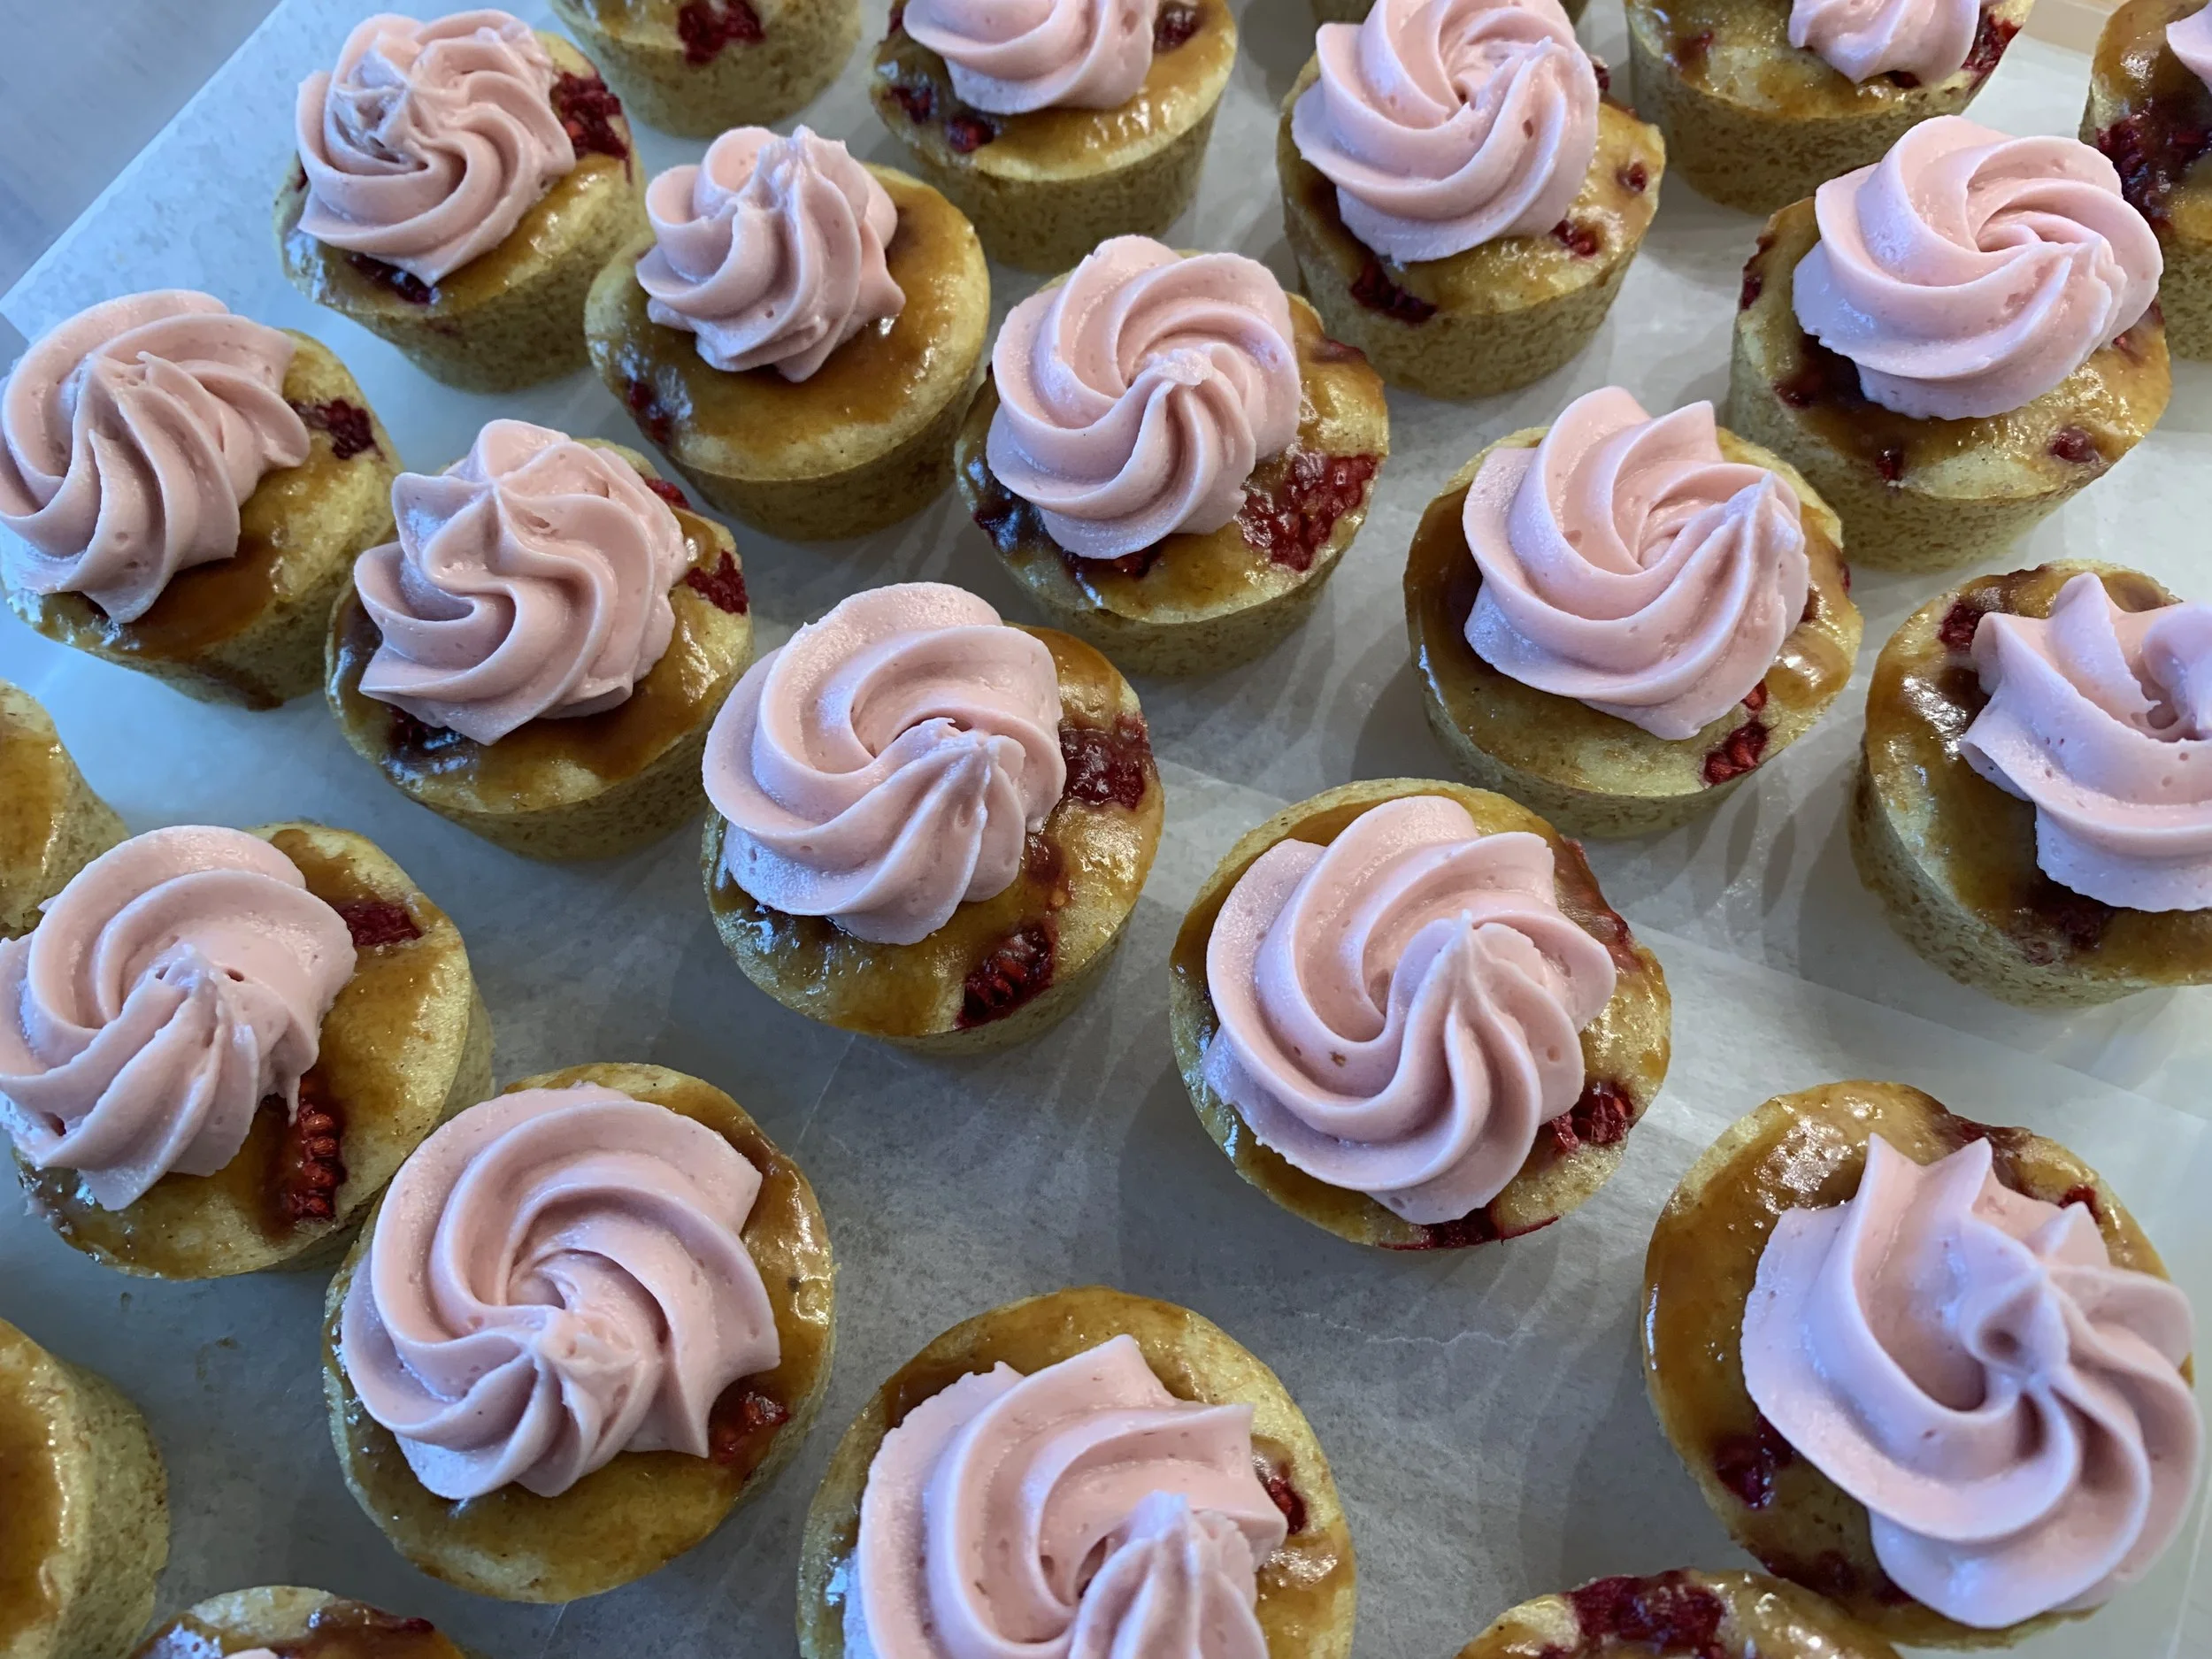
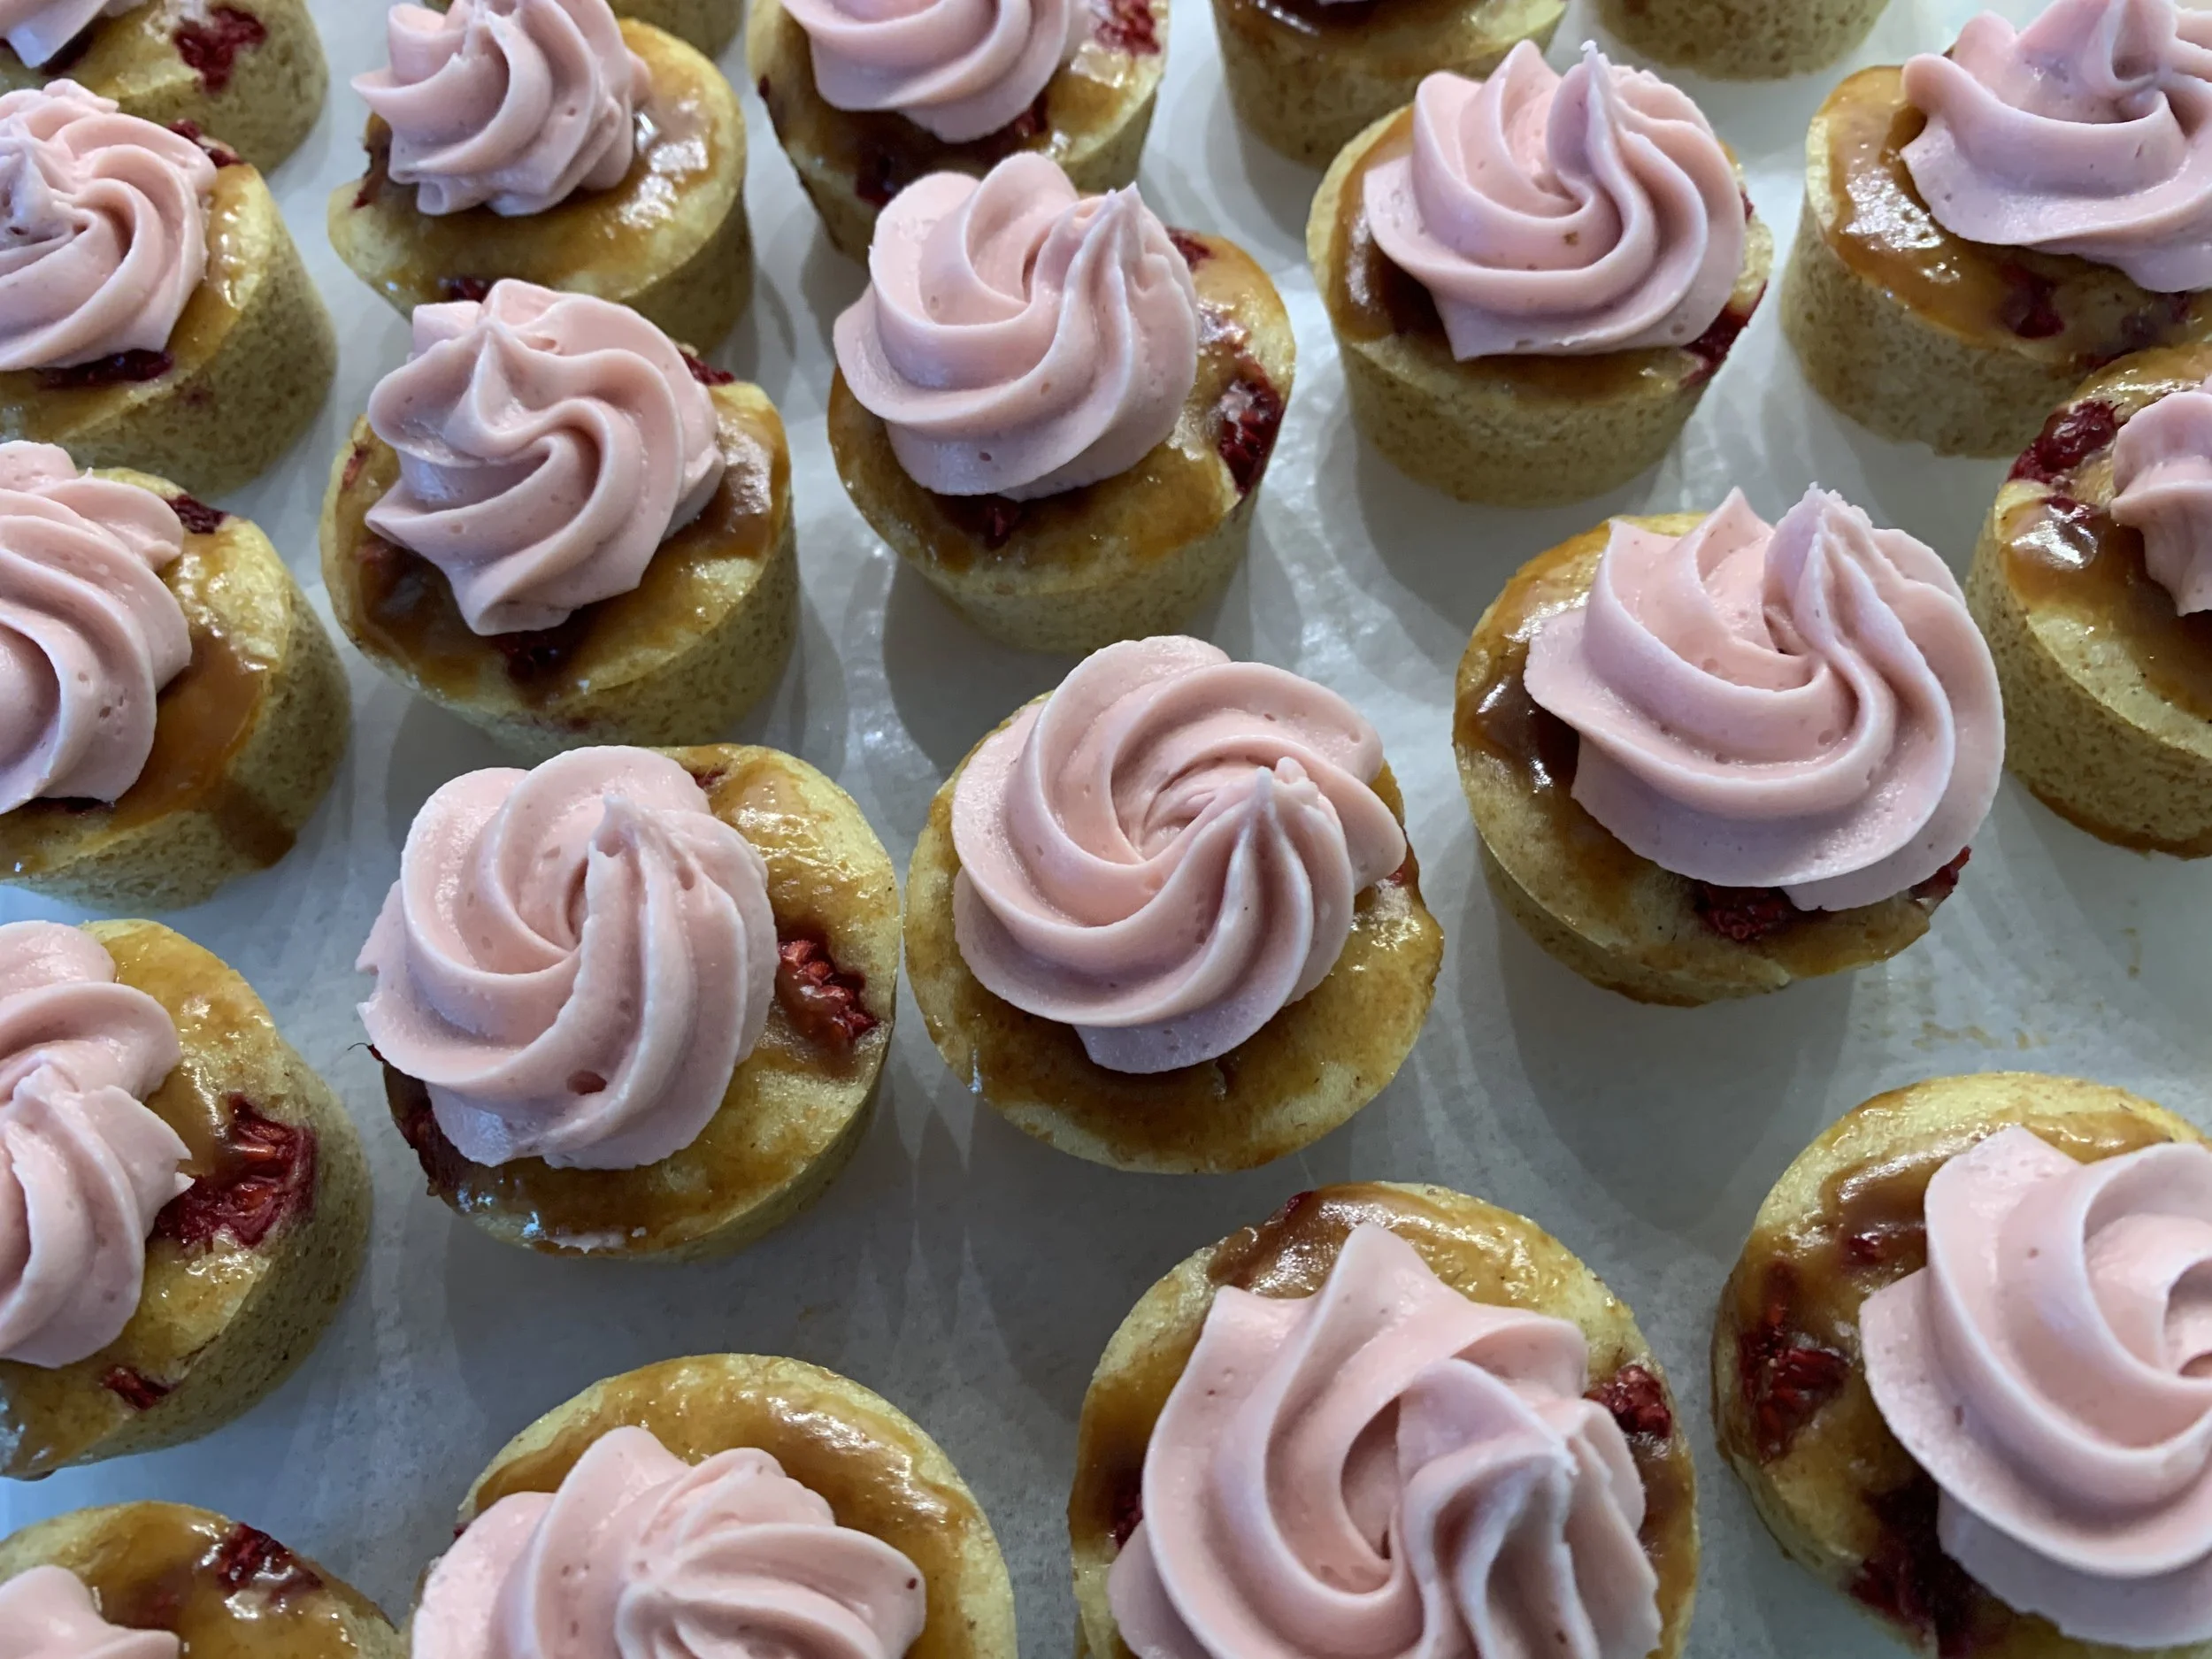
I’ve thrown enough at you so I won’t take you through the steps - just follow the recipe and create your own version. For these I piped the batter into flexi mini muffin molds, pressed some frozen raspberry pieces in and baked ‘em. If you’re not ready to garnish and serve them, they keep very well in the freezer for a couple of weeks.
When you’re ready, thaw and garnish as you wish. Here I drizzled them with caramel then gave them a nice cap of raspberry/tart cherry Swiss meringue buttercream. You could even sprinkle on some chopped pistachios.
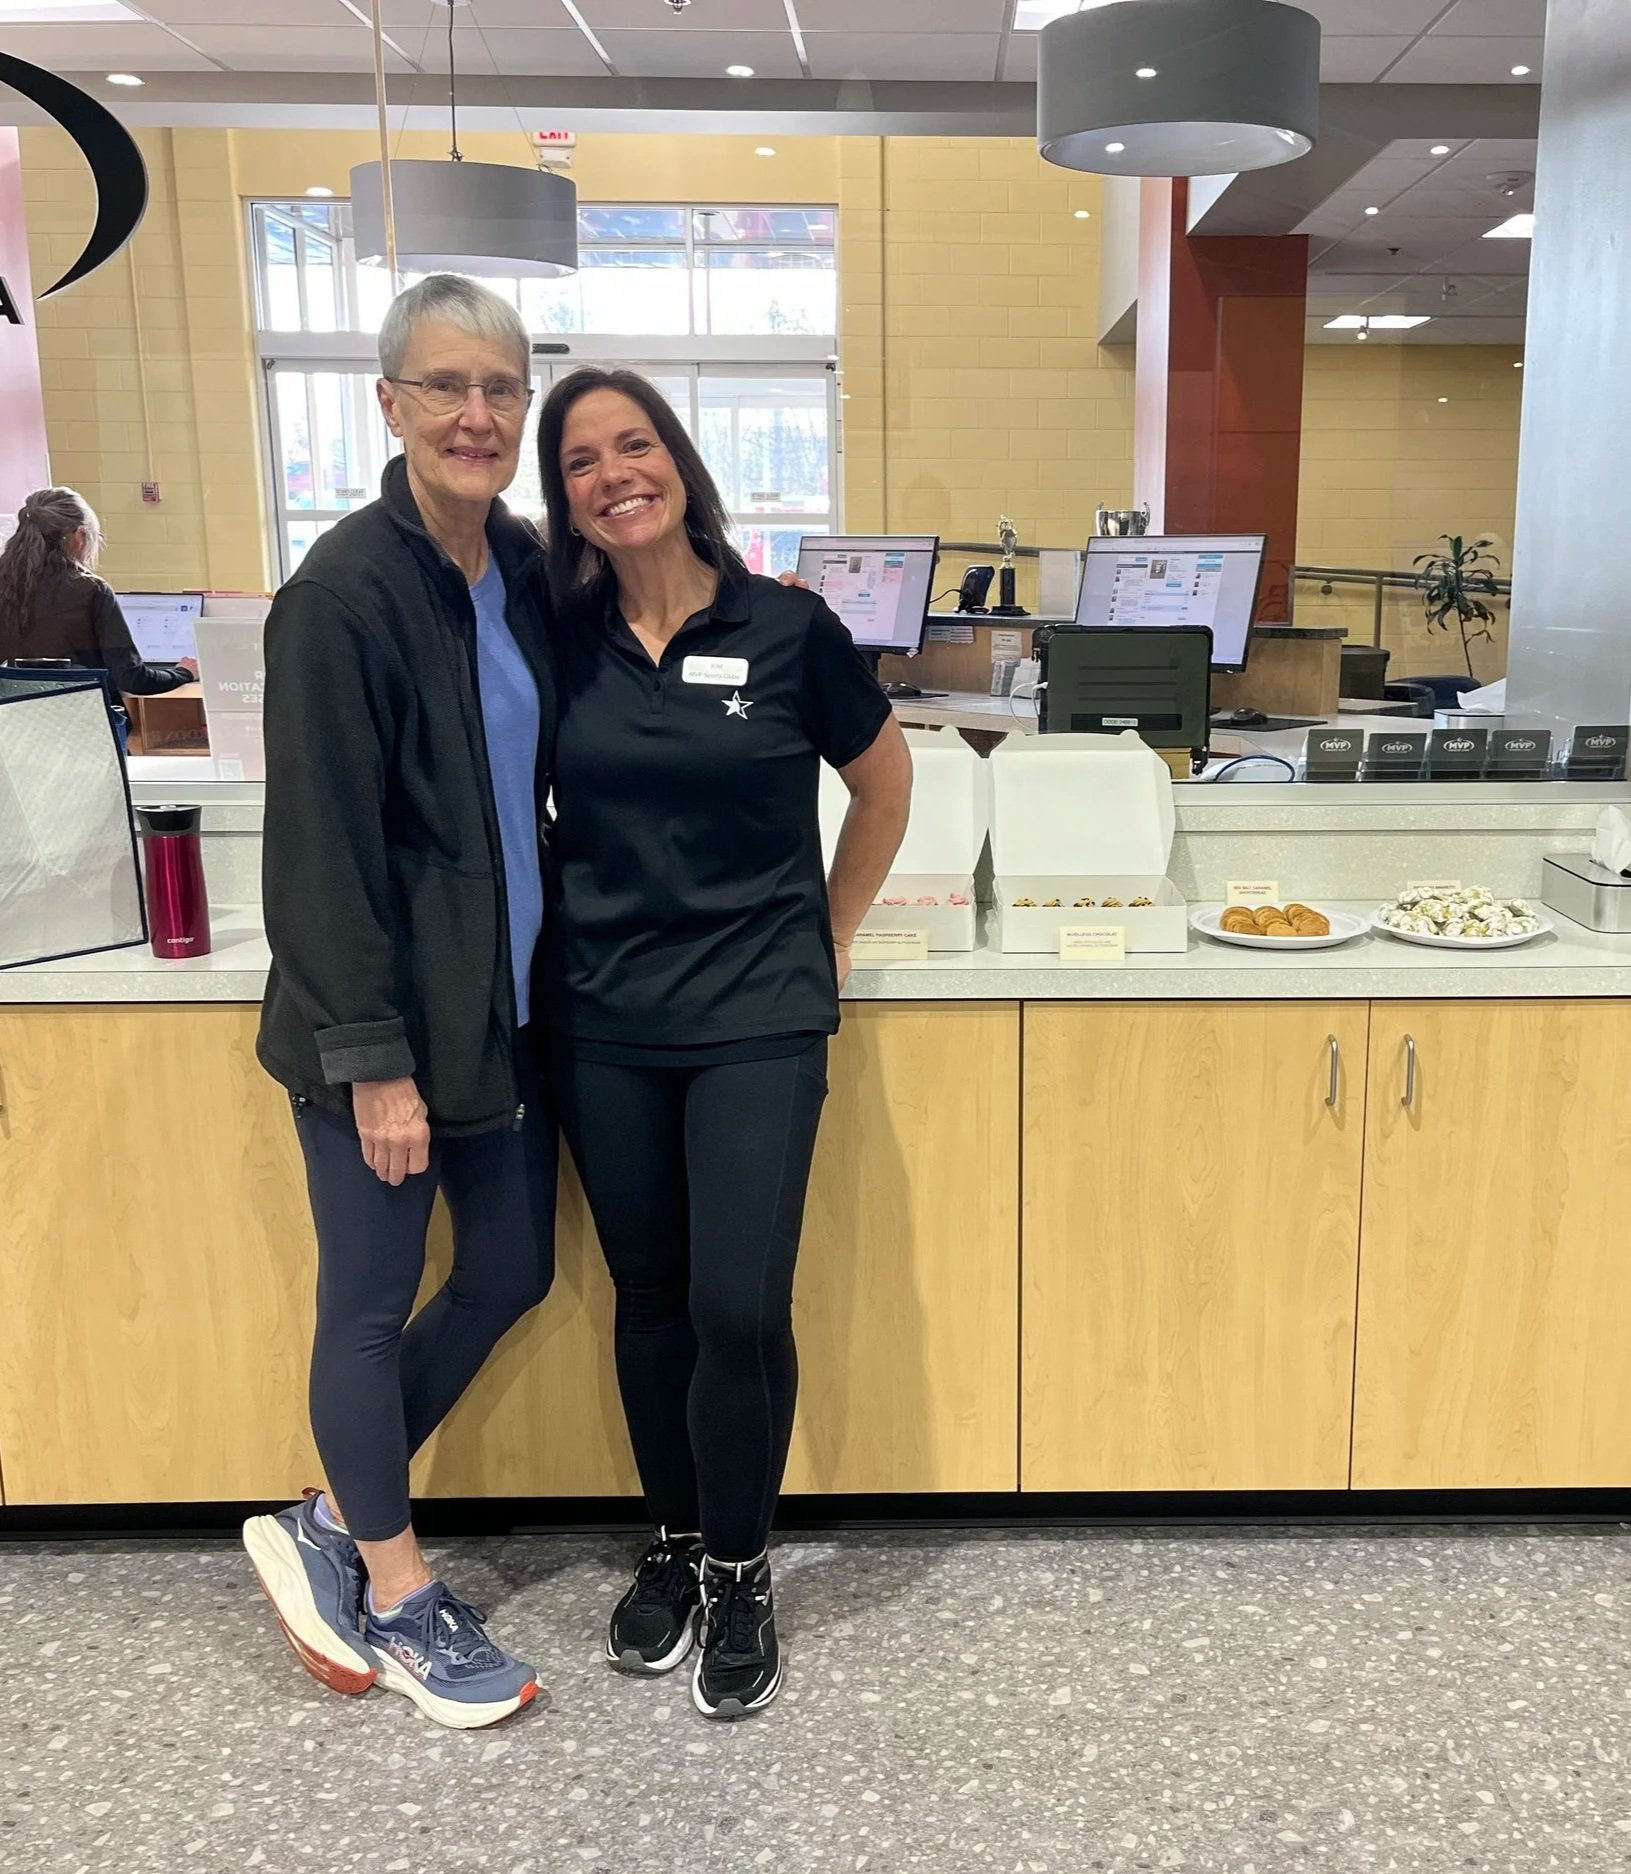
I served these at our exercise facility as a treat for friend Kim’s last day working there. We miss her!
Until next time! Ciao.