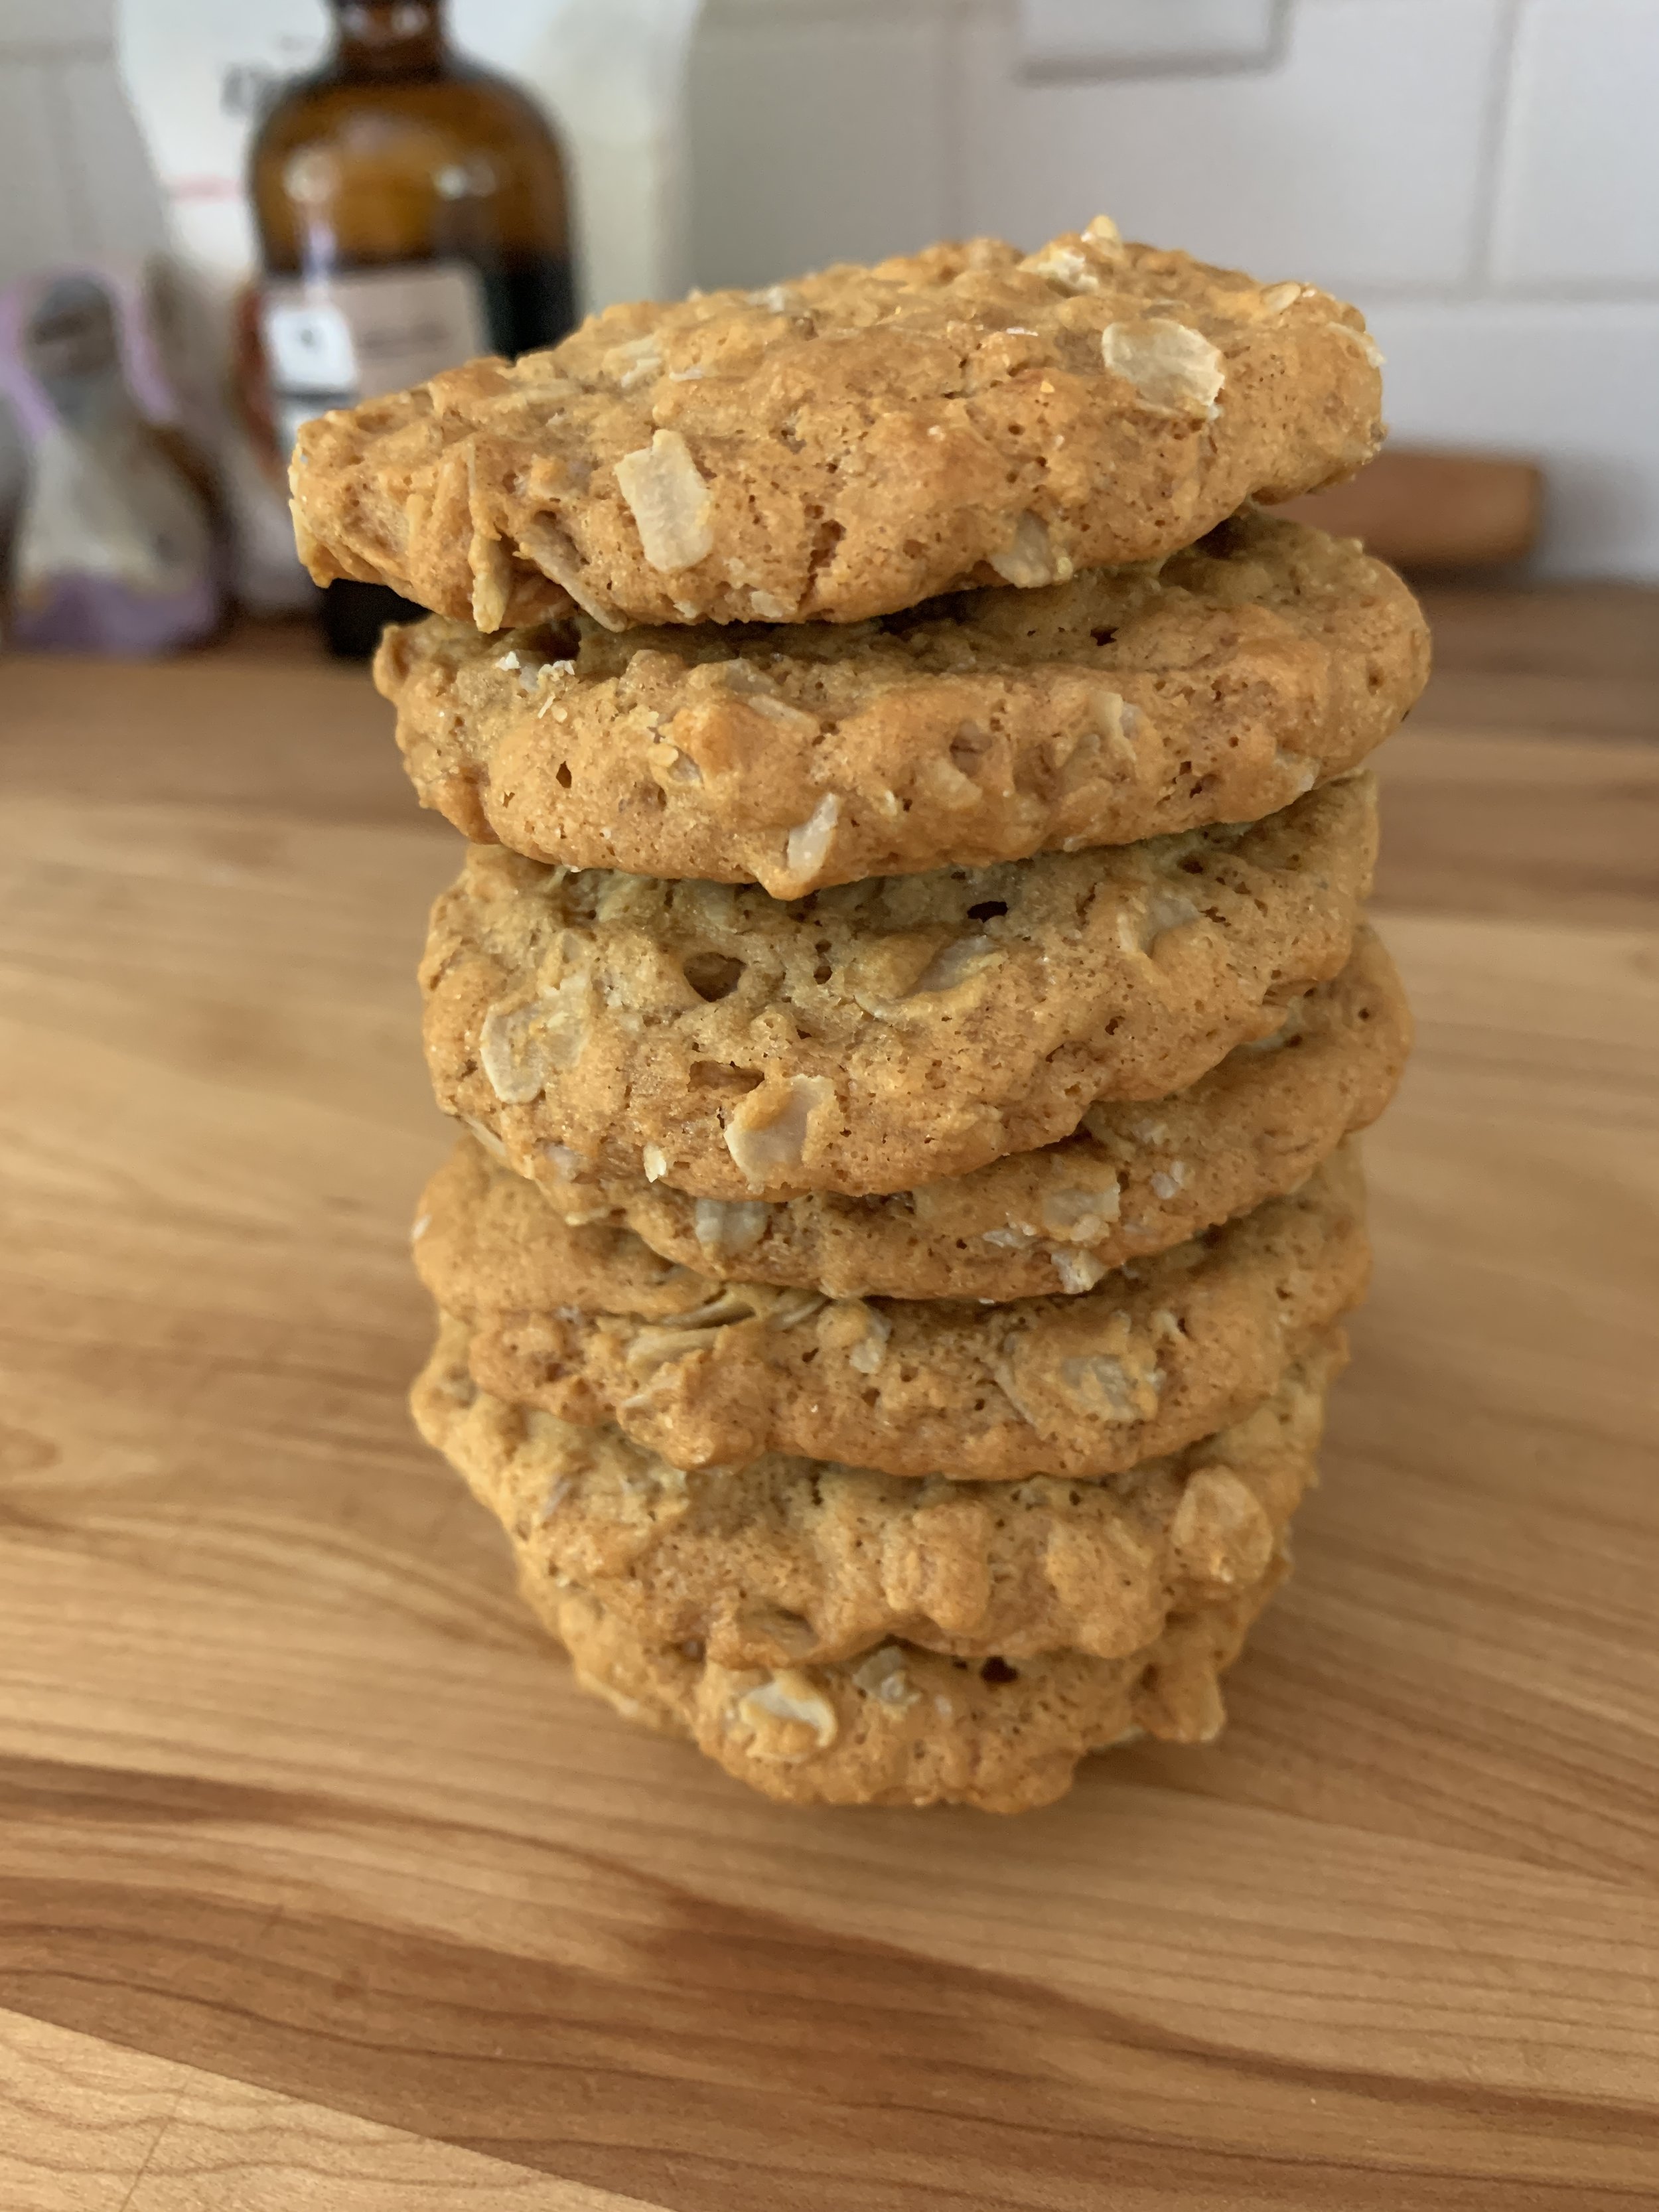
Oat and coconut (a.k.a.ANZAC) biscuits

7/24/26 NOTE: a big thanks to friend and blog reader Shirley who discovered my recipe PDF was missing the baking soda - a very important ingredient! I’ve corrected and updated the link to the recipe.

Although we’ve been dealing with heat and wildfire smoke, we were fortunate to have had a perfect weather break recently for our yearly neighborhood cookout. Great turnout, good conversation and plenty of food. Steve and neighbor Don were at the griddle/grill doing up the brats and dogs. It’s summer, there’s no doubt about it.

While baking has been and is currently reserved for shorter projects and earlier in the day oven sessions, this recipe find from the NYT and chef Brian Levy caught my eye! Made with oats and coconut using an interesting stove top preparation for the dough, these are tasty indeed. Just another example of using Lyle’s Golden Syrup, an ingredient that adds a toasty caramel nuance to the flavor. Yum.

The story goes that during WWI (think Gallipoli) the Australian New Zealand Army Corps (ANZAC) were supplied with a hardtack kind of biscuit at the front, one that wouldn’t go stale. Further research tells me that the current iteration of these cookies became very popular down under in the years following the war and remain popular still. Web search “ANZAC biscuits” and you’ll find many references/recipes. Depending on the baking time the result is either chewy (shorter bake) or crispy/crunchy (longer bake). Either way I can vouch for their deliciousness!

Here’s the recipe PDF which includes a few comments on the different batches I baked.

I’ve already made them several times - for my first trial I opted to leave out the coconut and up the oats (just because); second round went with a portion of the coconut and subbed in chocolate pearls for the rest; third round went with the base recipe.
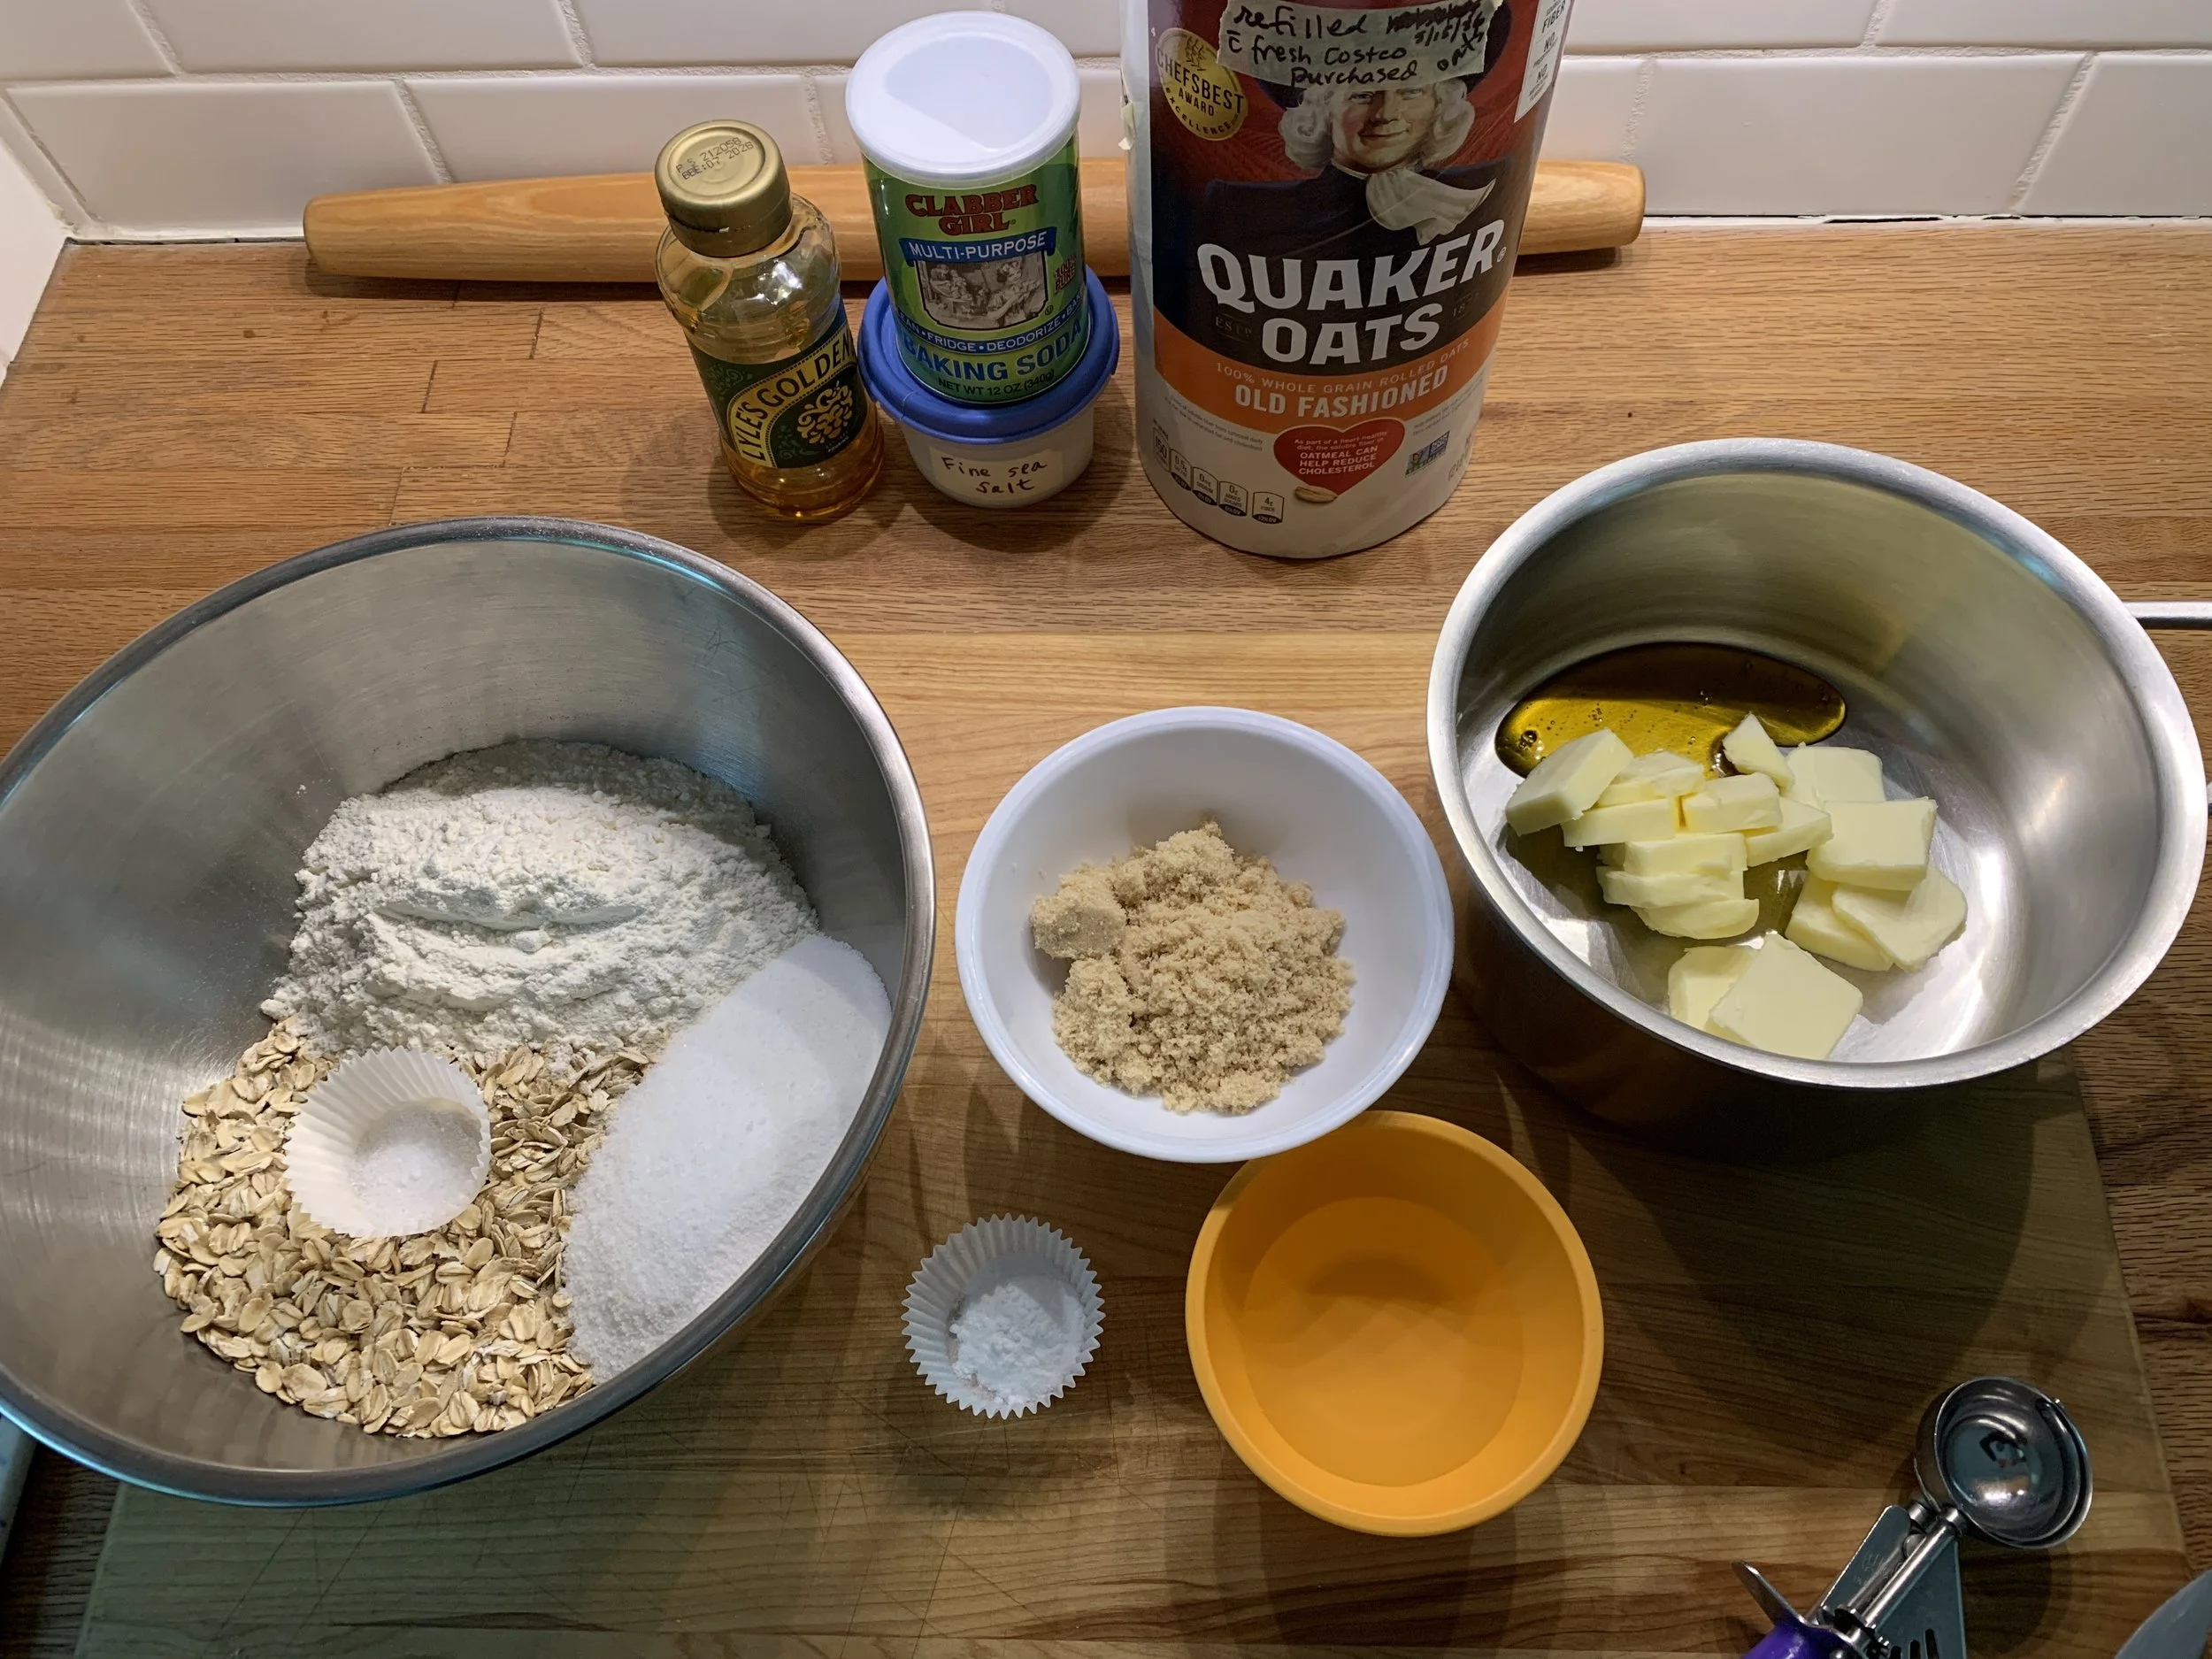
Mise for the first round sans coconut

Basically you need a saucepan and a mixing bowl (and smaller bowls for your mise if that’s how you roll). Oats, flour, coconut (if using), granulated sugar and salt go into the mixing bowl.

Unsalted butter, Lyle’s golden syrup, brown sugar and a little water go in the saucepan. Have 1 1/4 teaspoons baking soda standing by. This is the fun part.

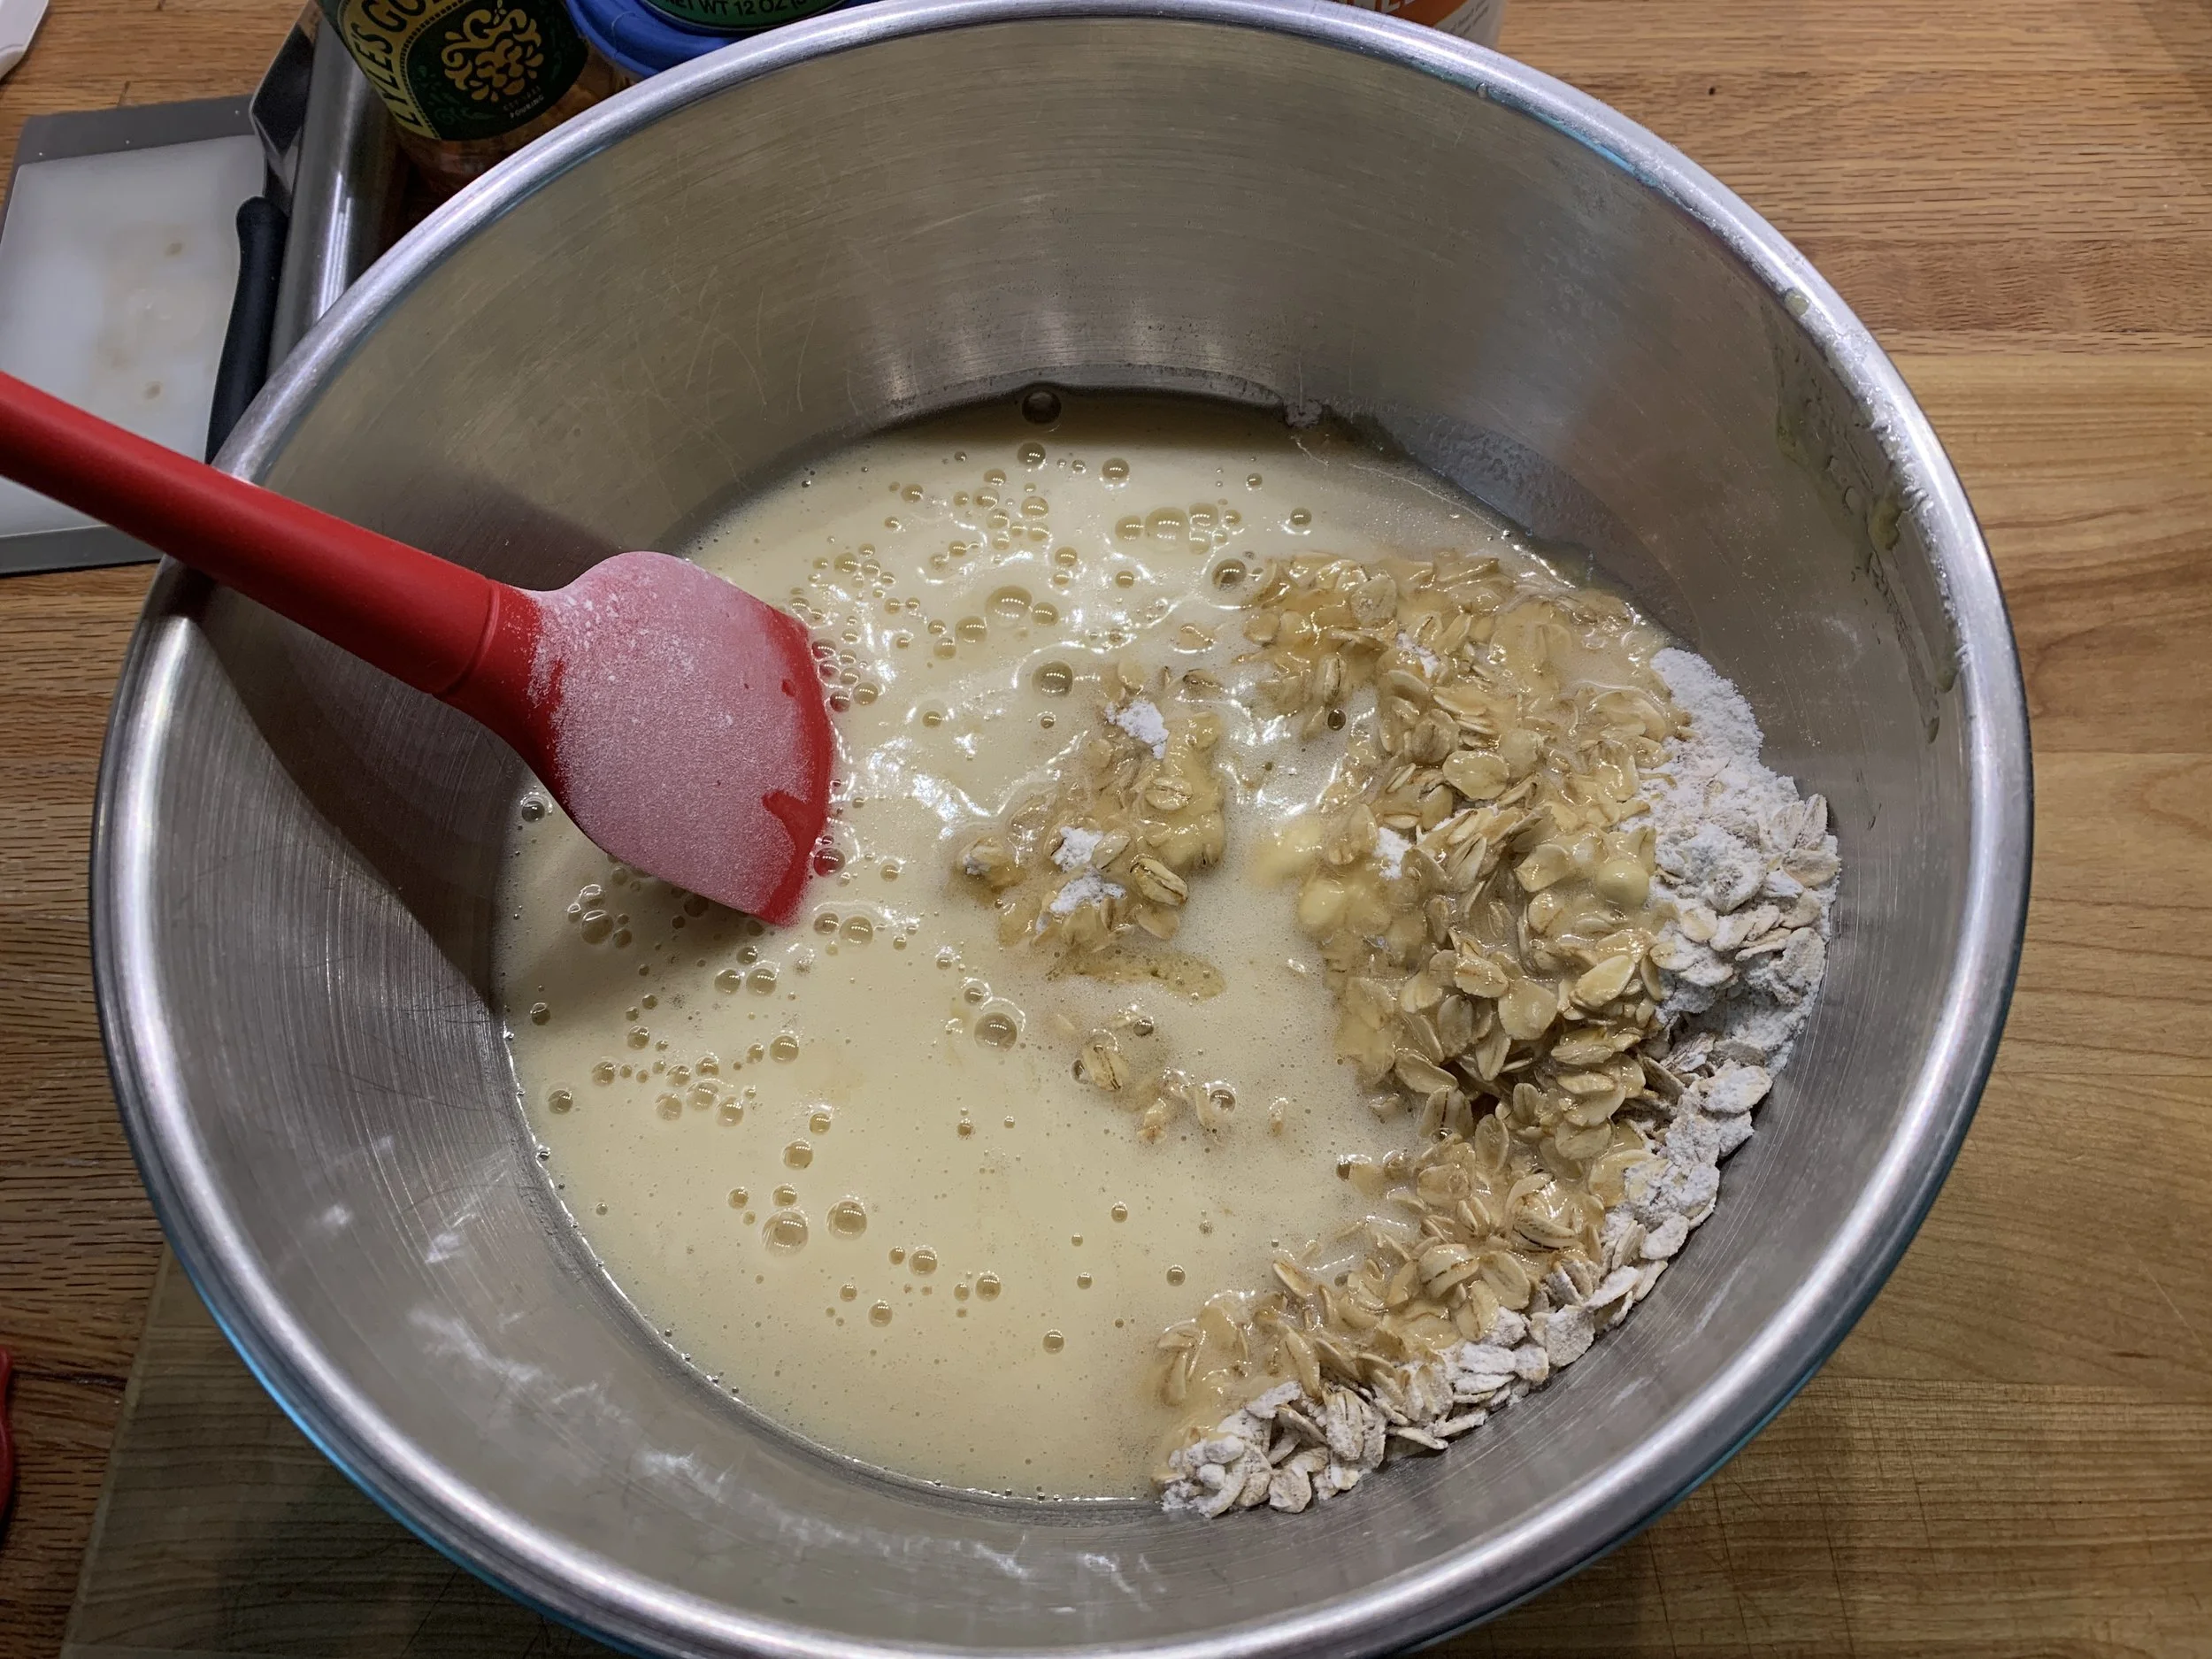
Warm and melt the ingredients in the saucepan. When the mixture just starts to bubble, remove it from the heat and stir in the baking soda. The mixture will foam up as seen below.
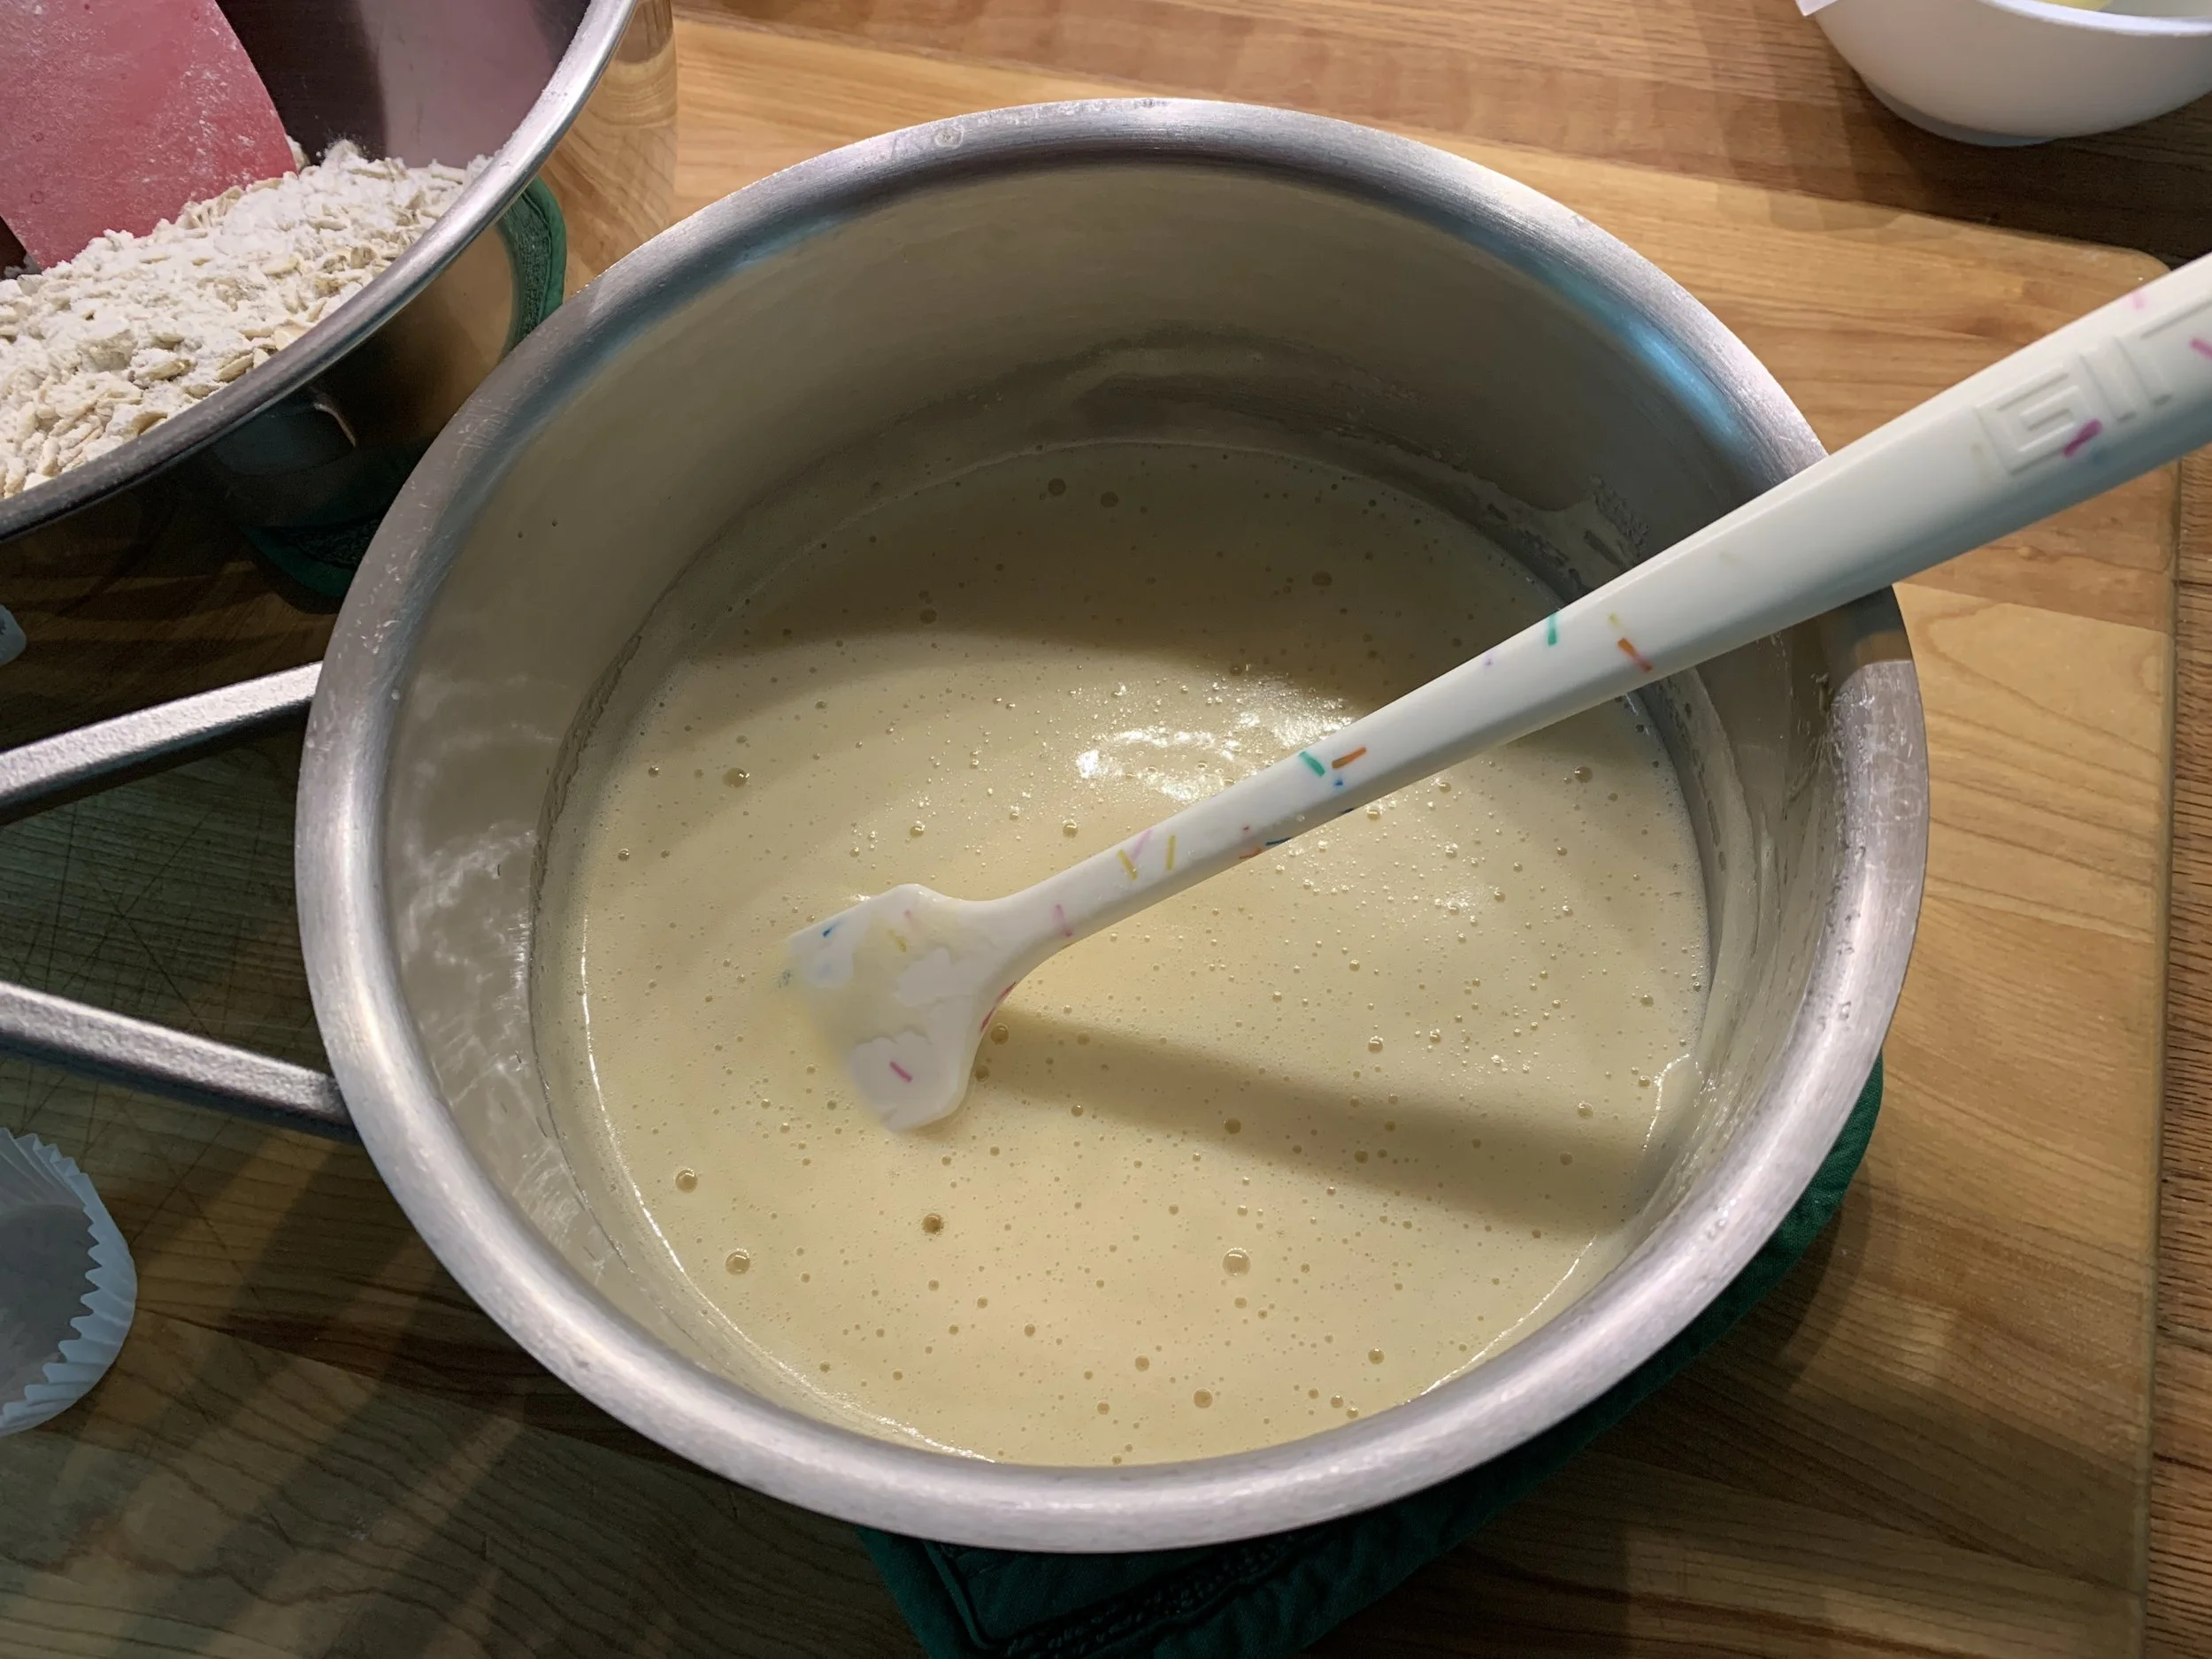
 

Pour the warm mixture over the dry ingredients in the mixing bowl and blend together.
 

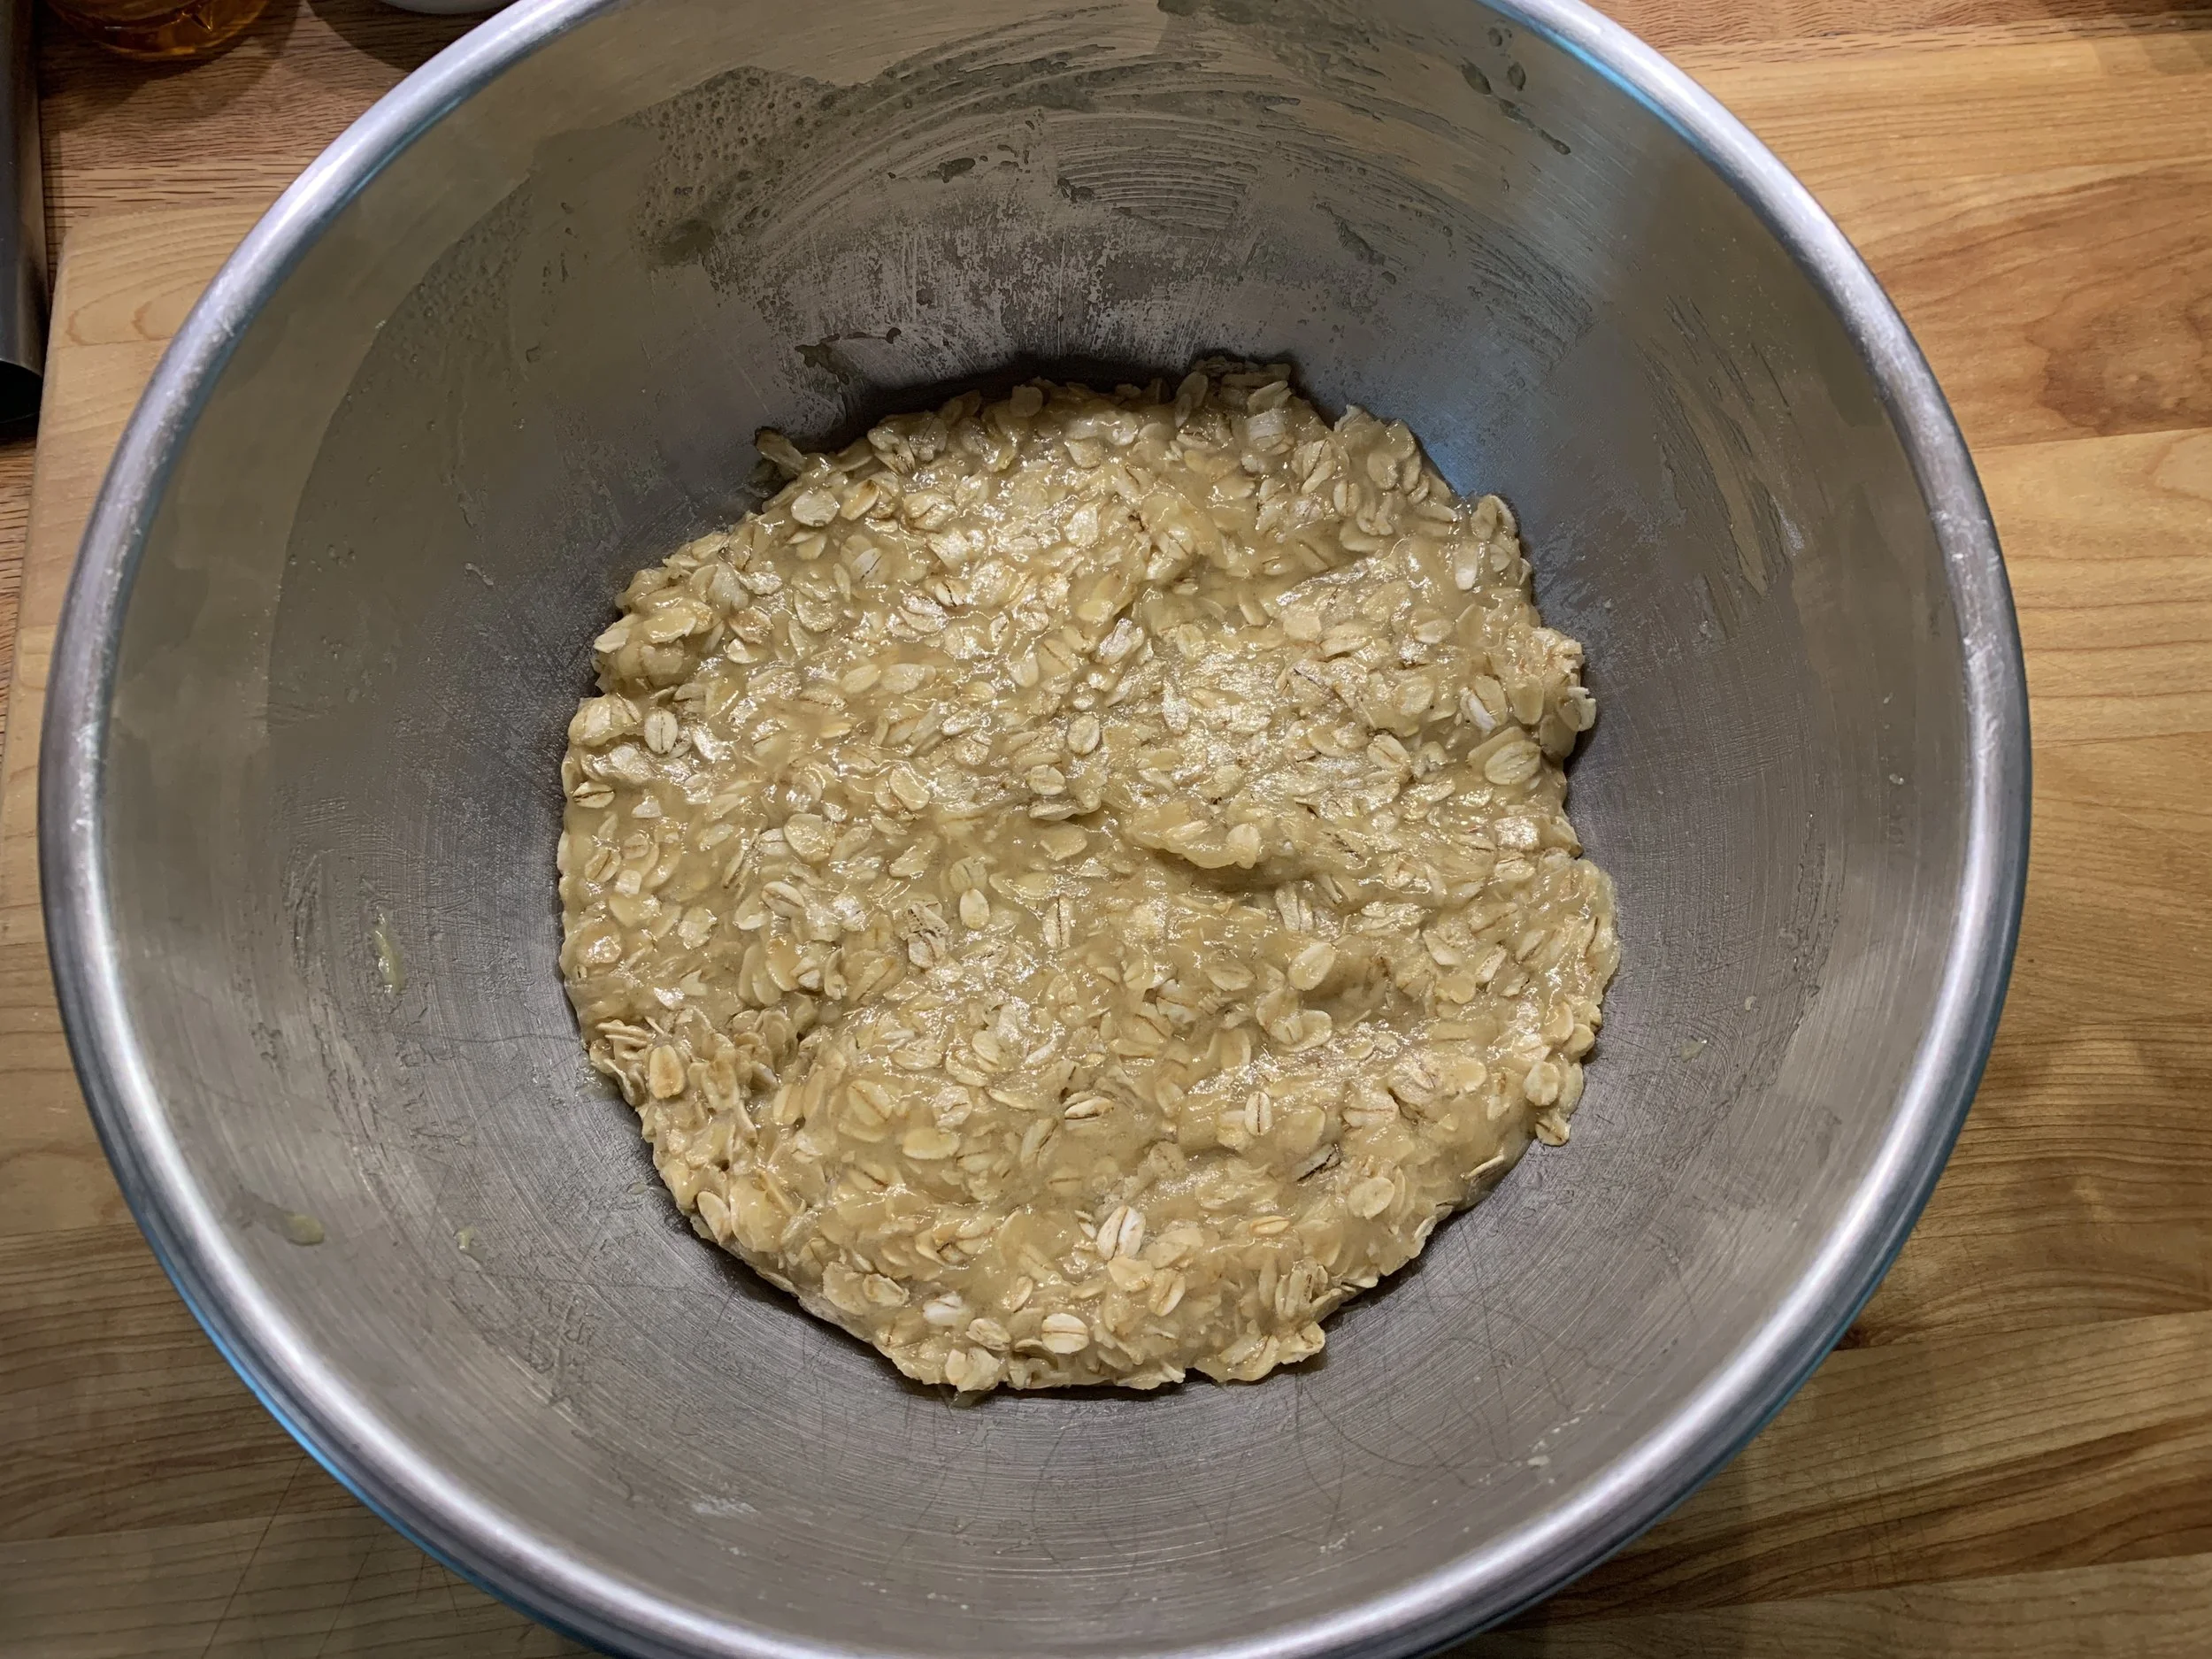
Press the mixture into the bottom of the bowl, cover the surface directly with plastic wrap and let sit 5-10 minutes. This makes it easier to scoop.
 

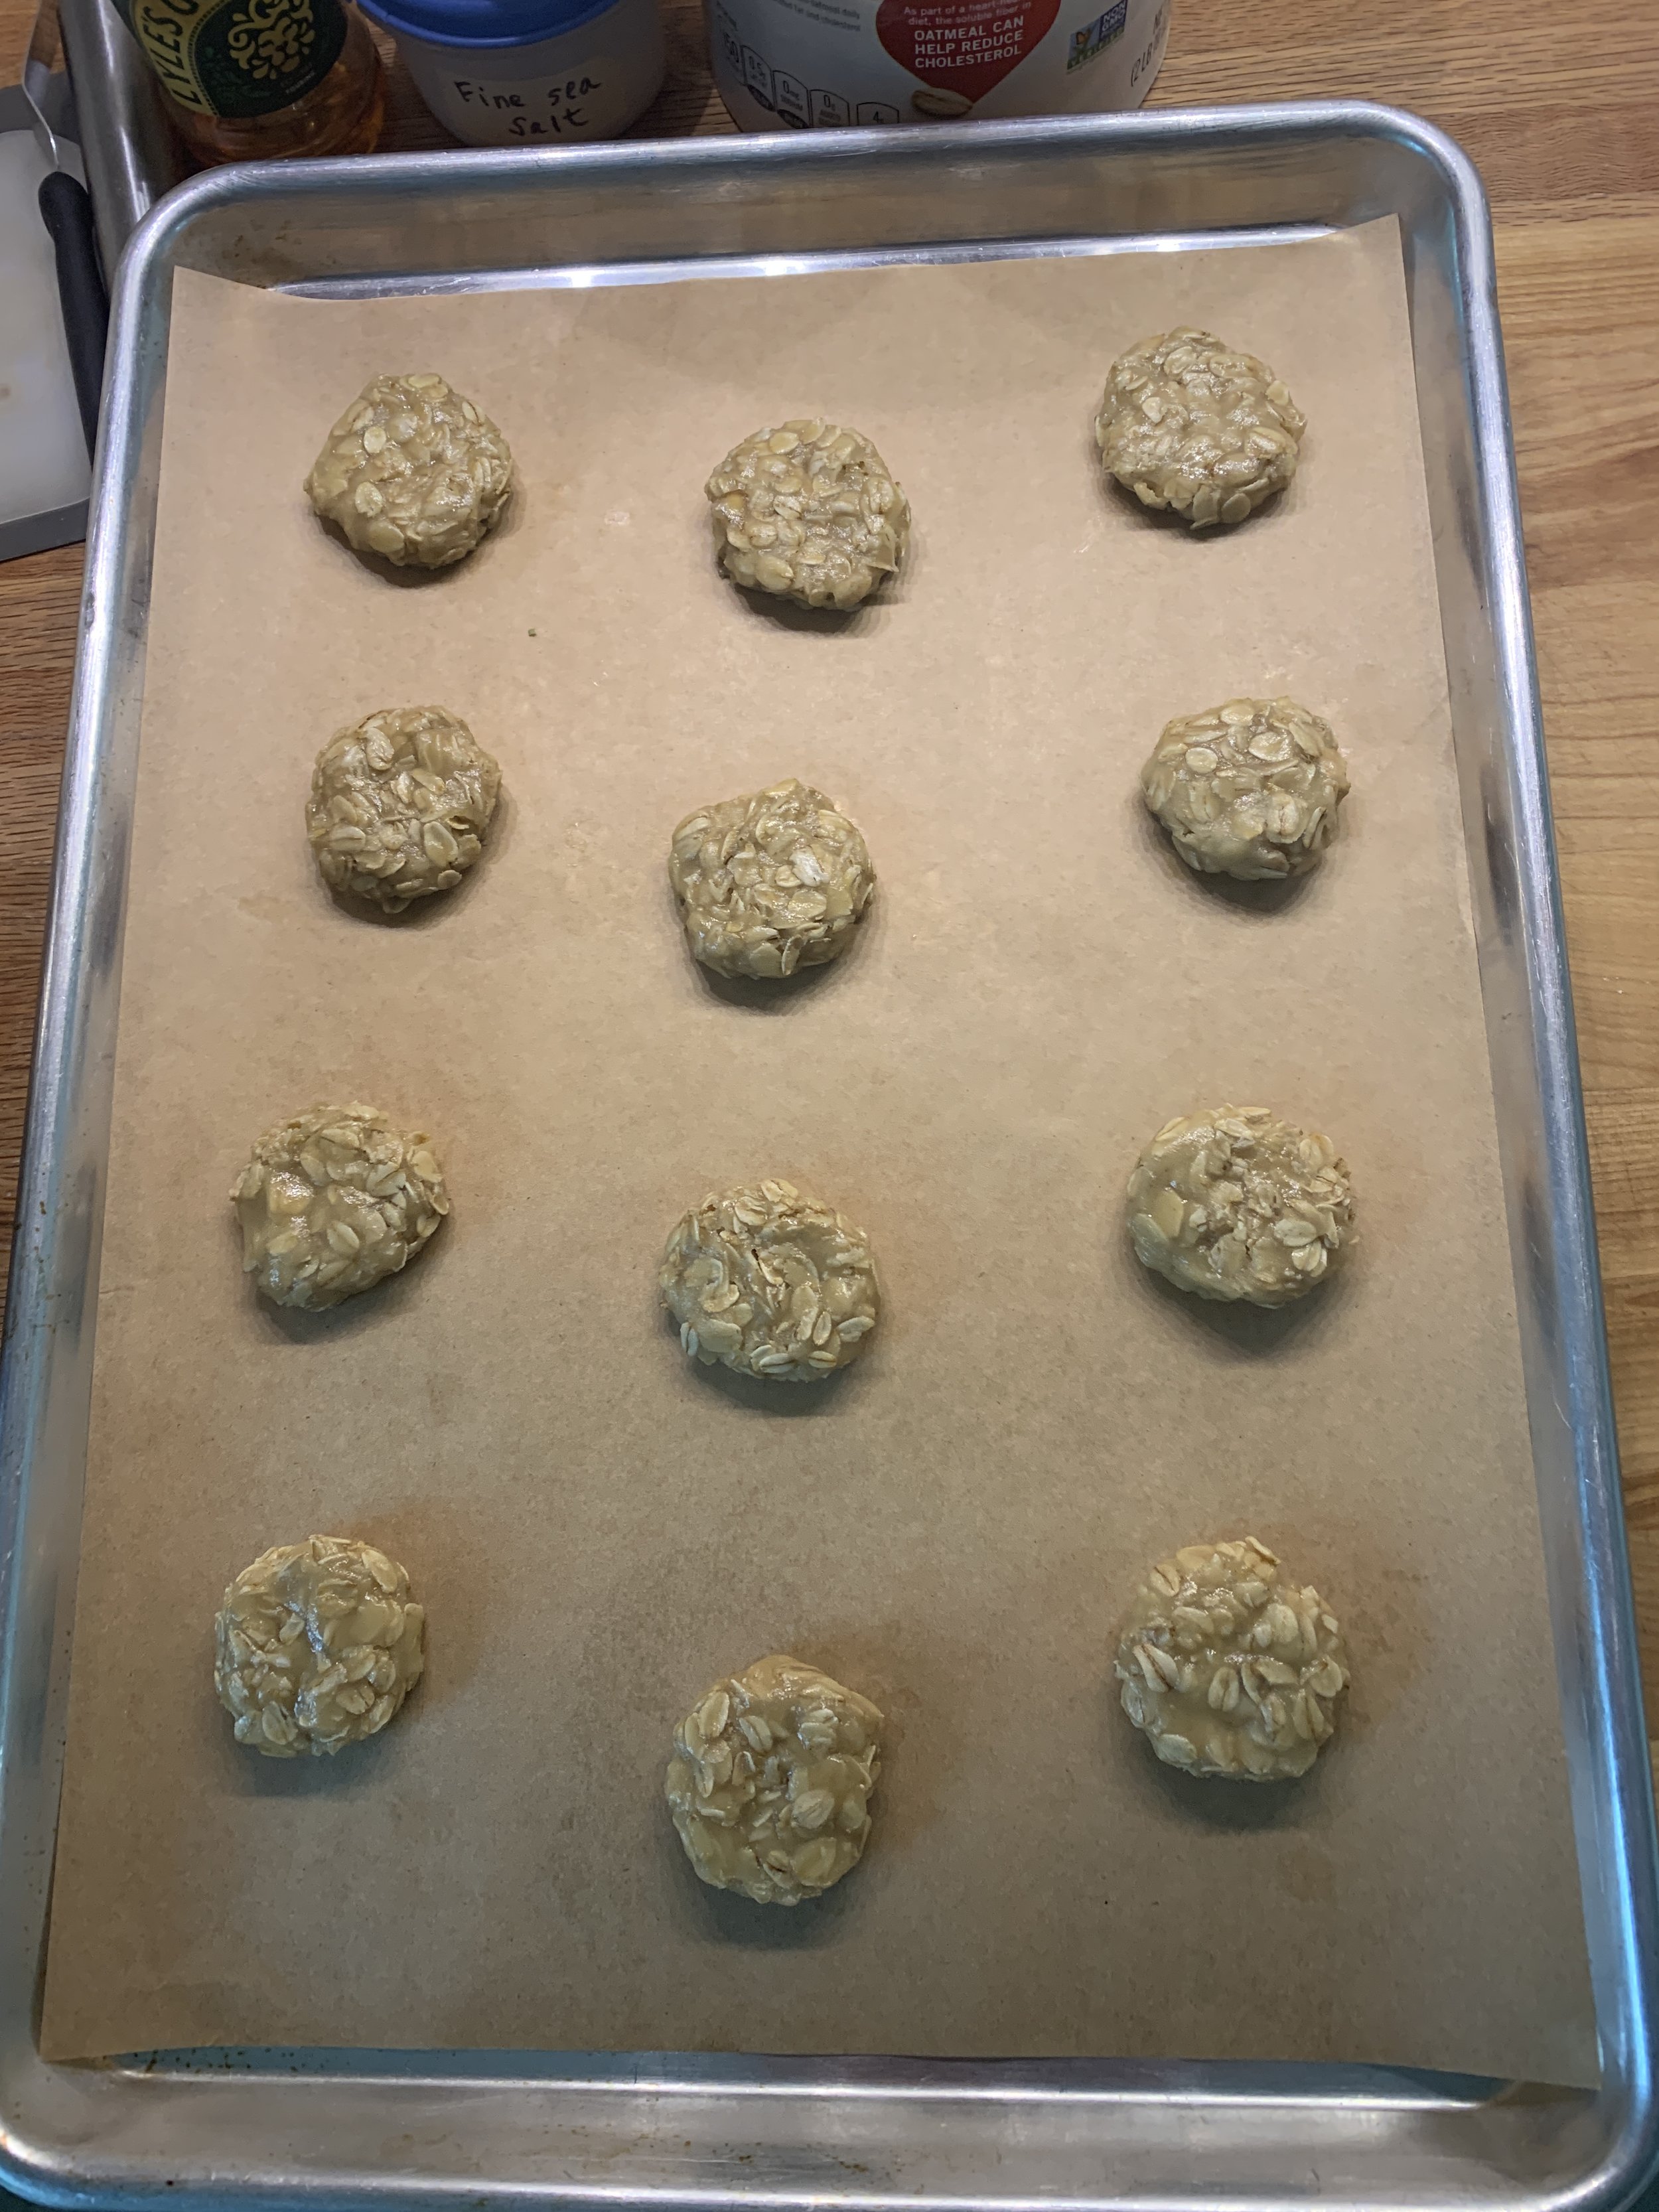
For my first round I scooped generous one+-ish tablespoon sized portions, rolled them smooth then lightly push down to flatten a bit. You’ll need two sheet pans for the batch. They do spread so give them some room. The more you make them, the easier it will be to gauge that.
 

Oven at 325ºF. Bake for 19-20 minutes for a crispy, chewy result. My yield was 29 cookies with the first batch sans coconut.
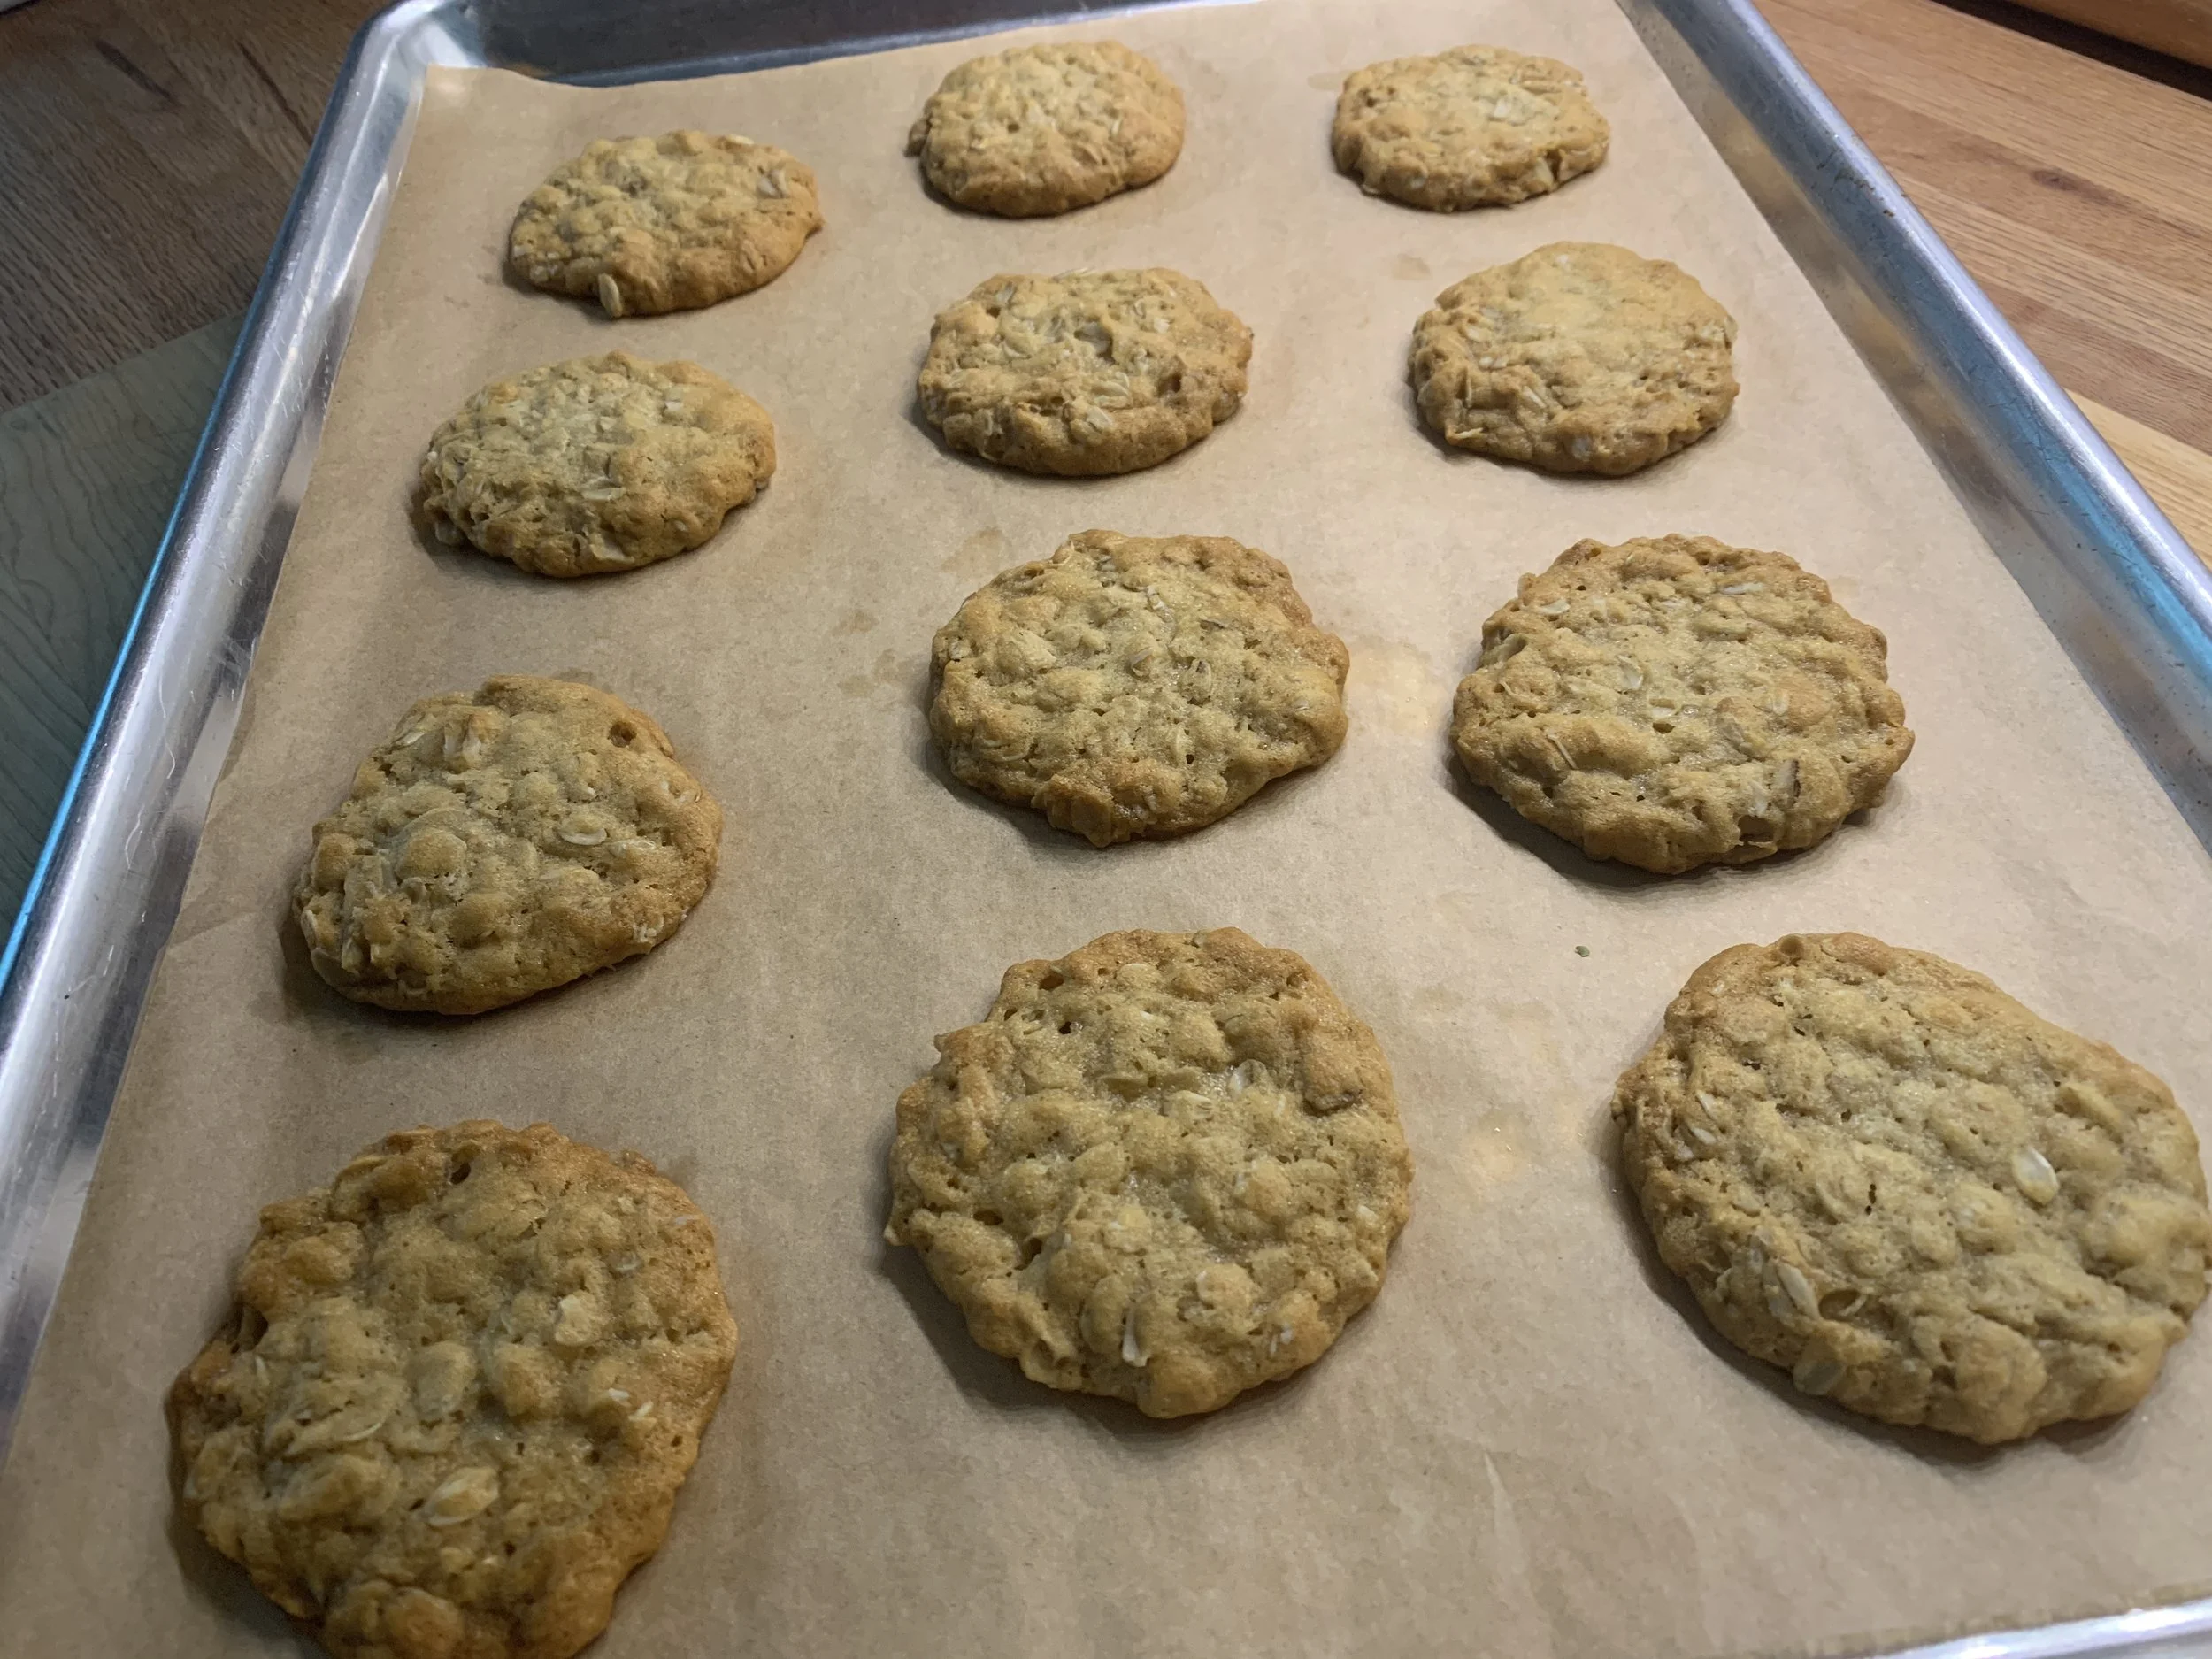
First of two pans in the first round of baking

For the second batch I adjusted the oats a tad, used half the weight of the coconut in the recipe and replaced the other half with mini chocolate pearls. See the recipe for more detail!

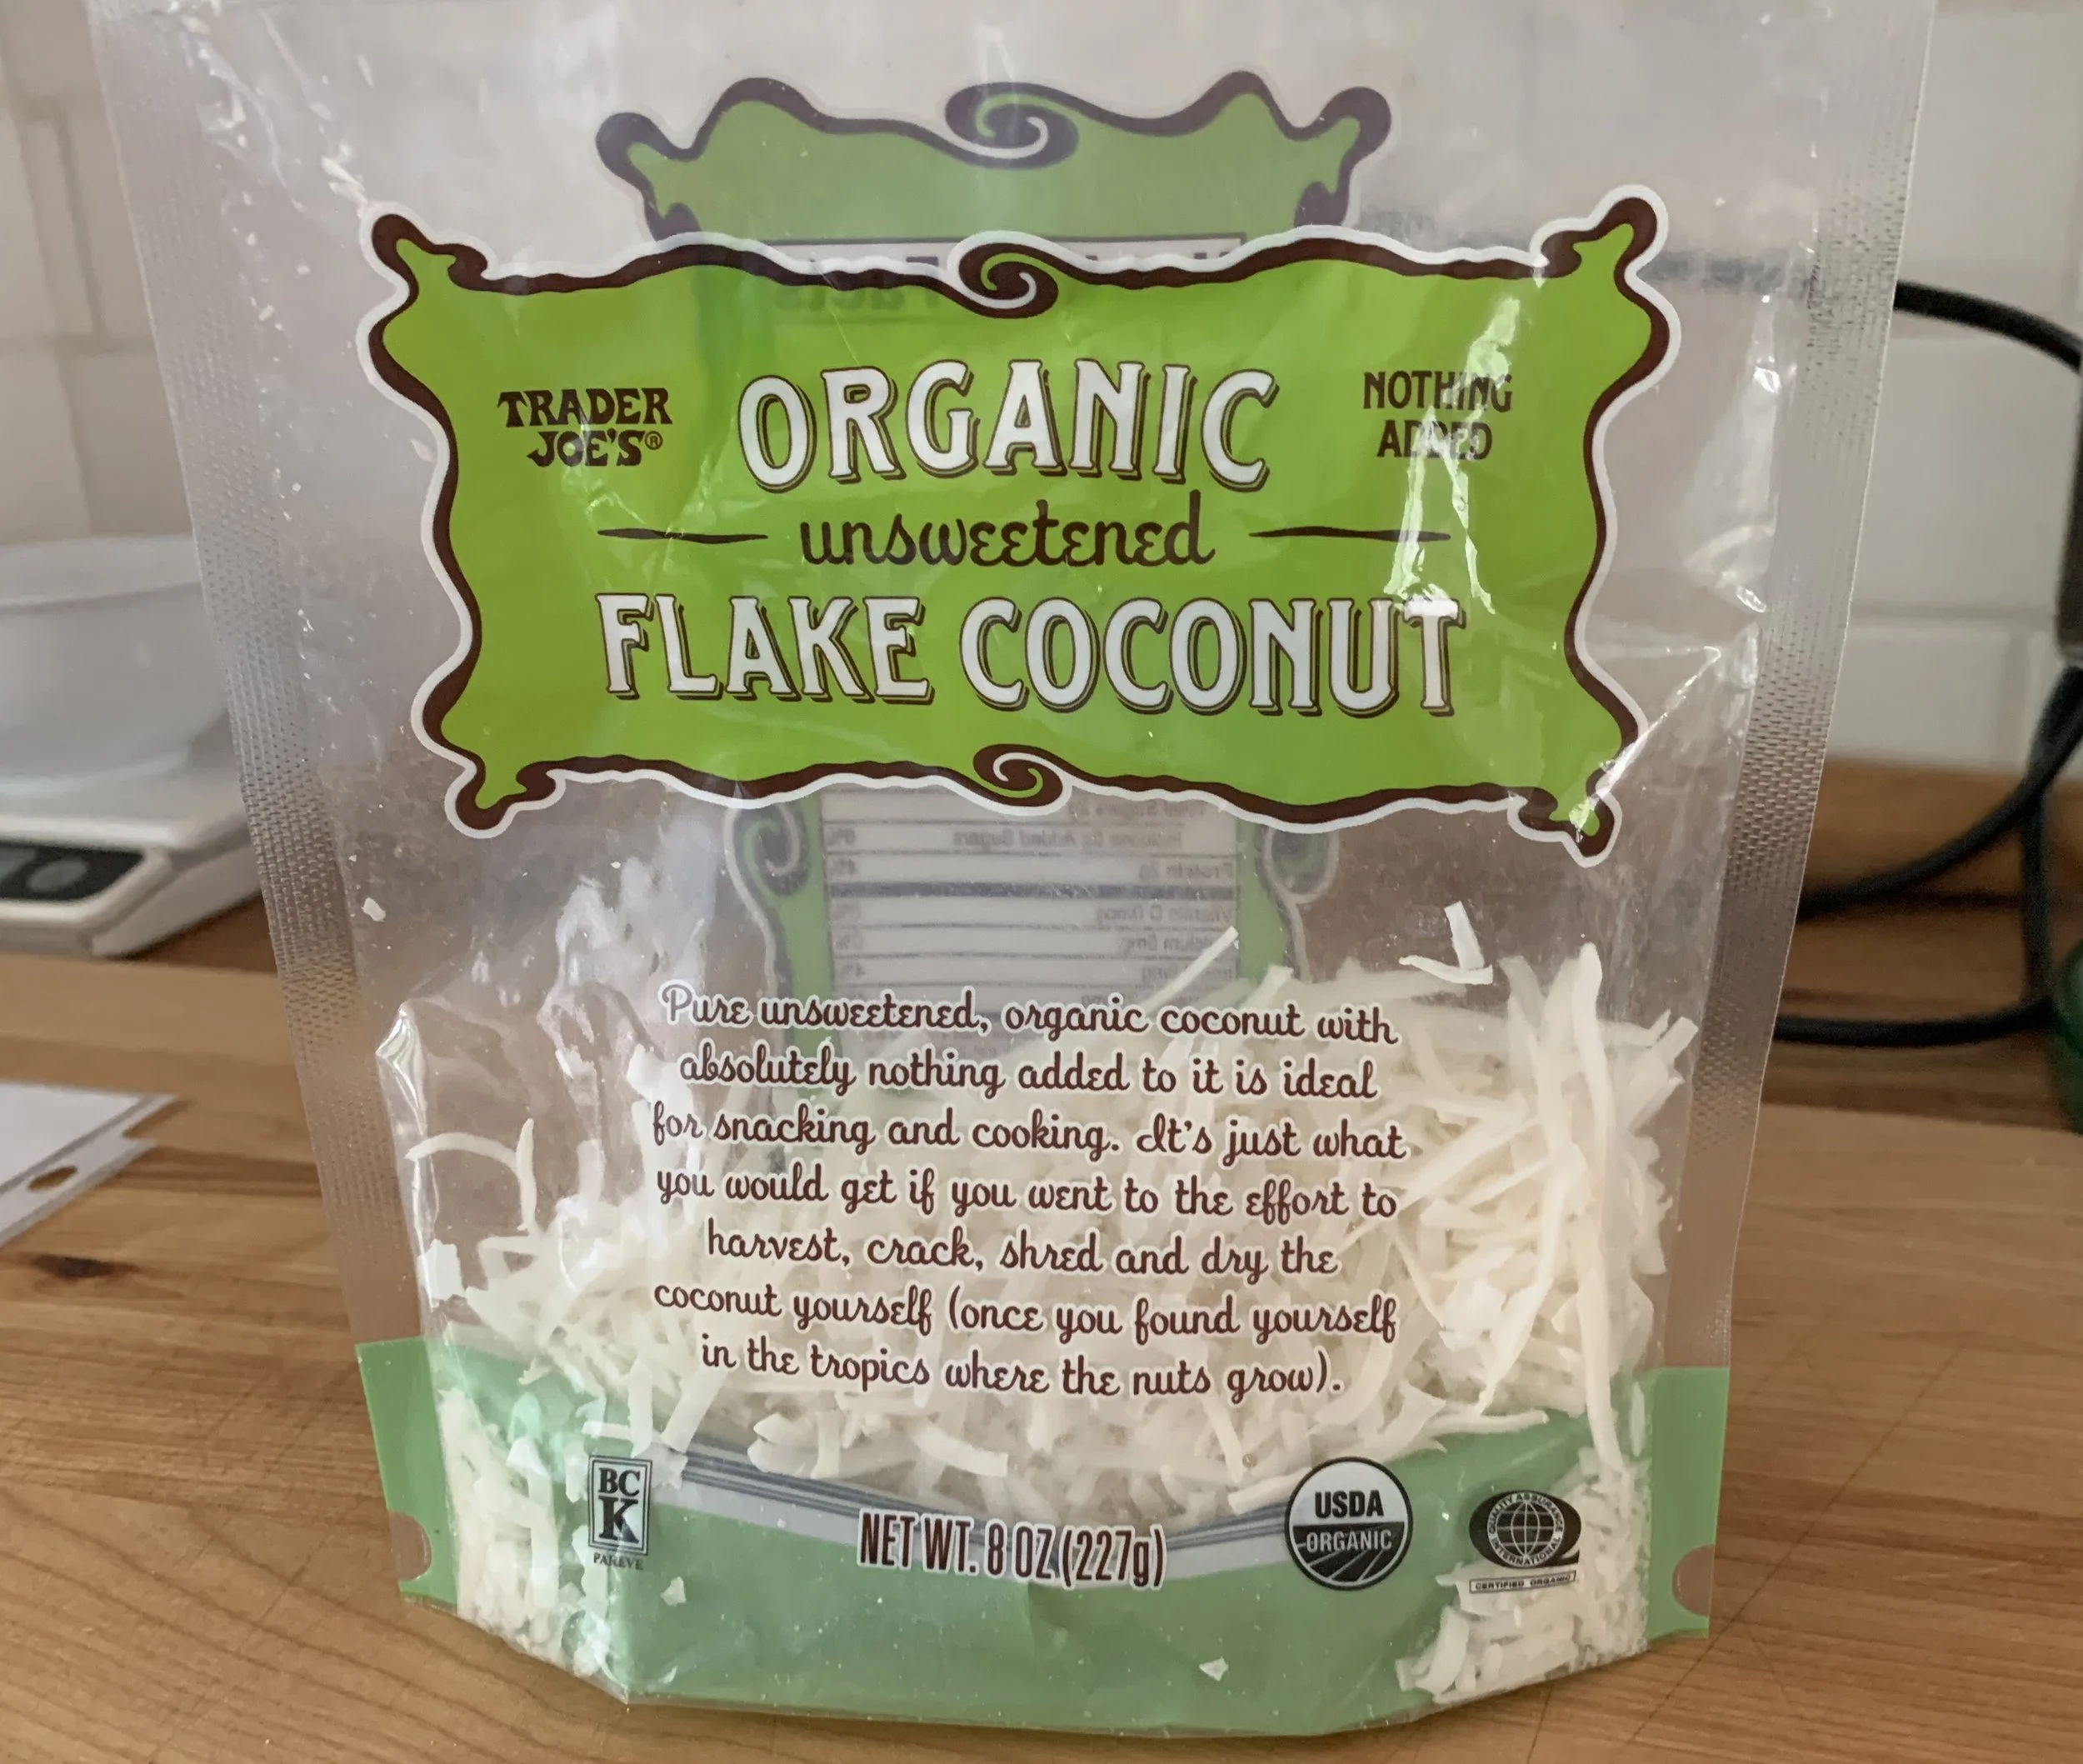
A quick word on coconut - as you see below I used Trader Joe’s unsweetened “flake coconut” which is really what most of us think of as medium shredded. I do lightly toast it, cool and crush it up a bit before adding it into the mix.

Flake coconut is typically more likely to refer to large flat pieces of coconut, often used for garnish; shredded can also be more finely shredded than what I used here while desiccated coconut is typically much, much finer.
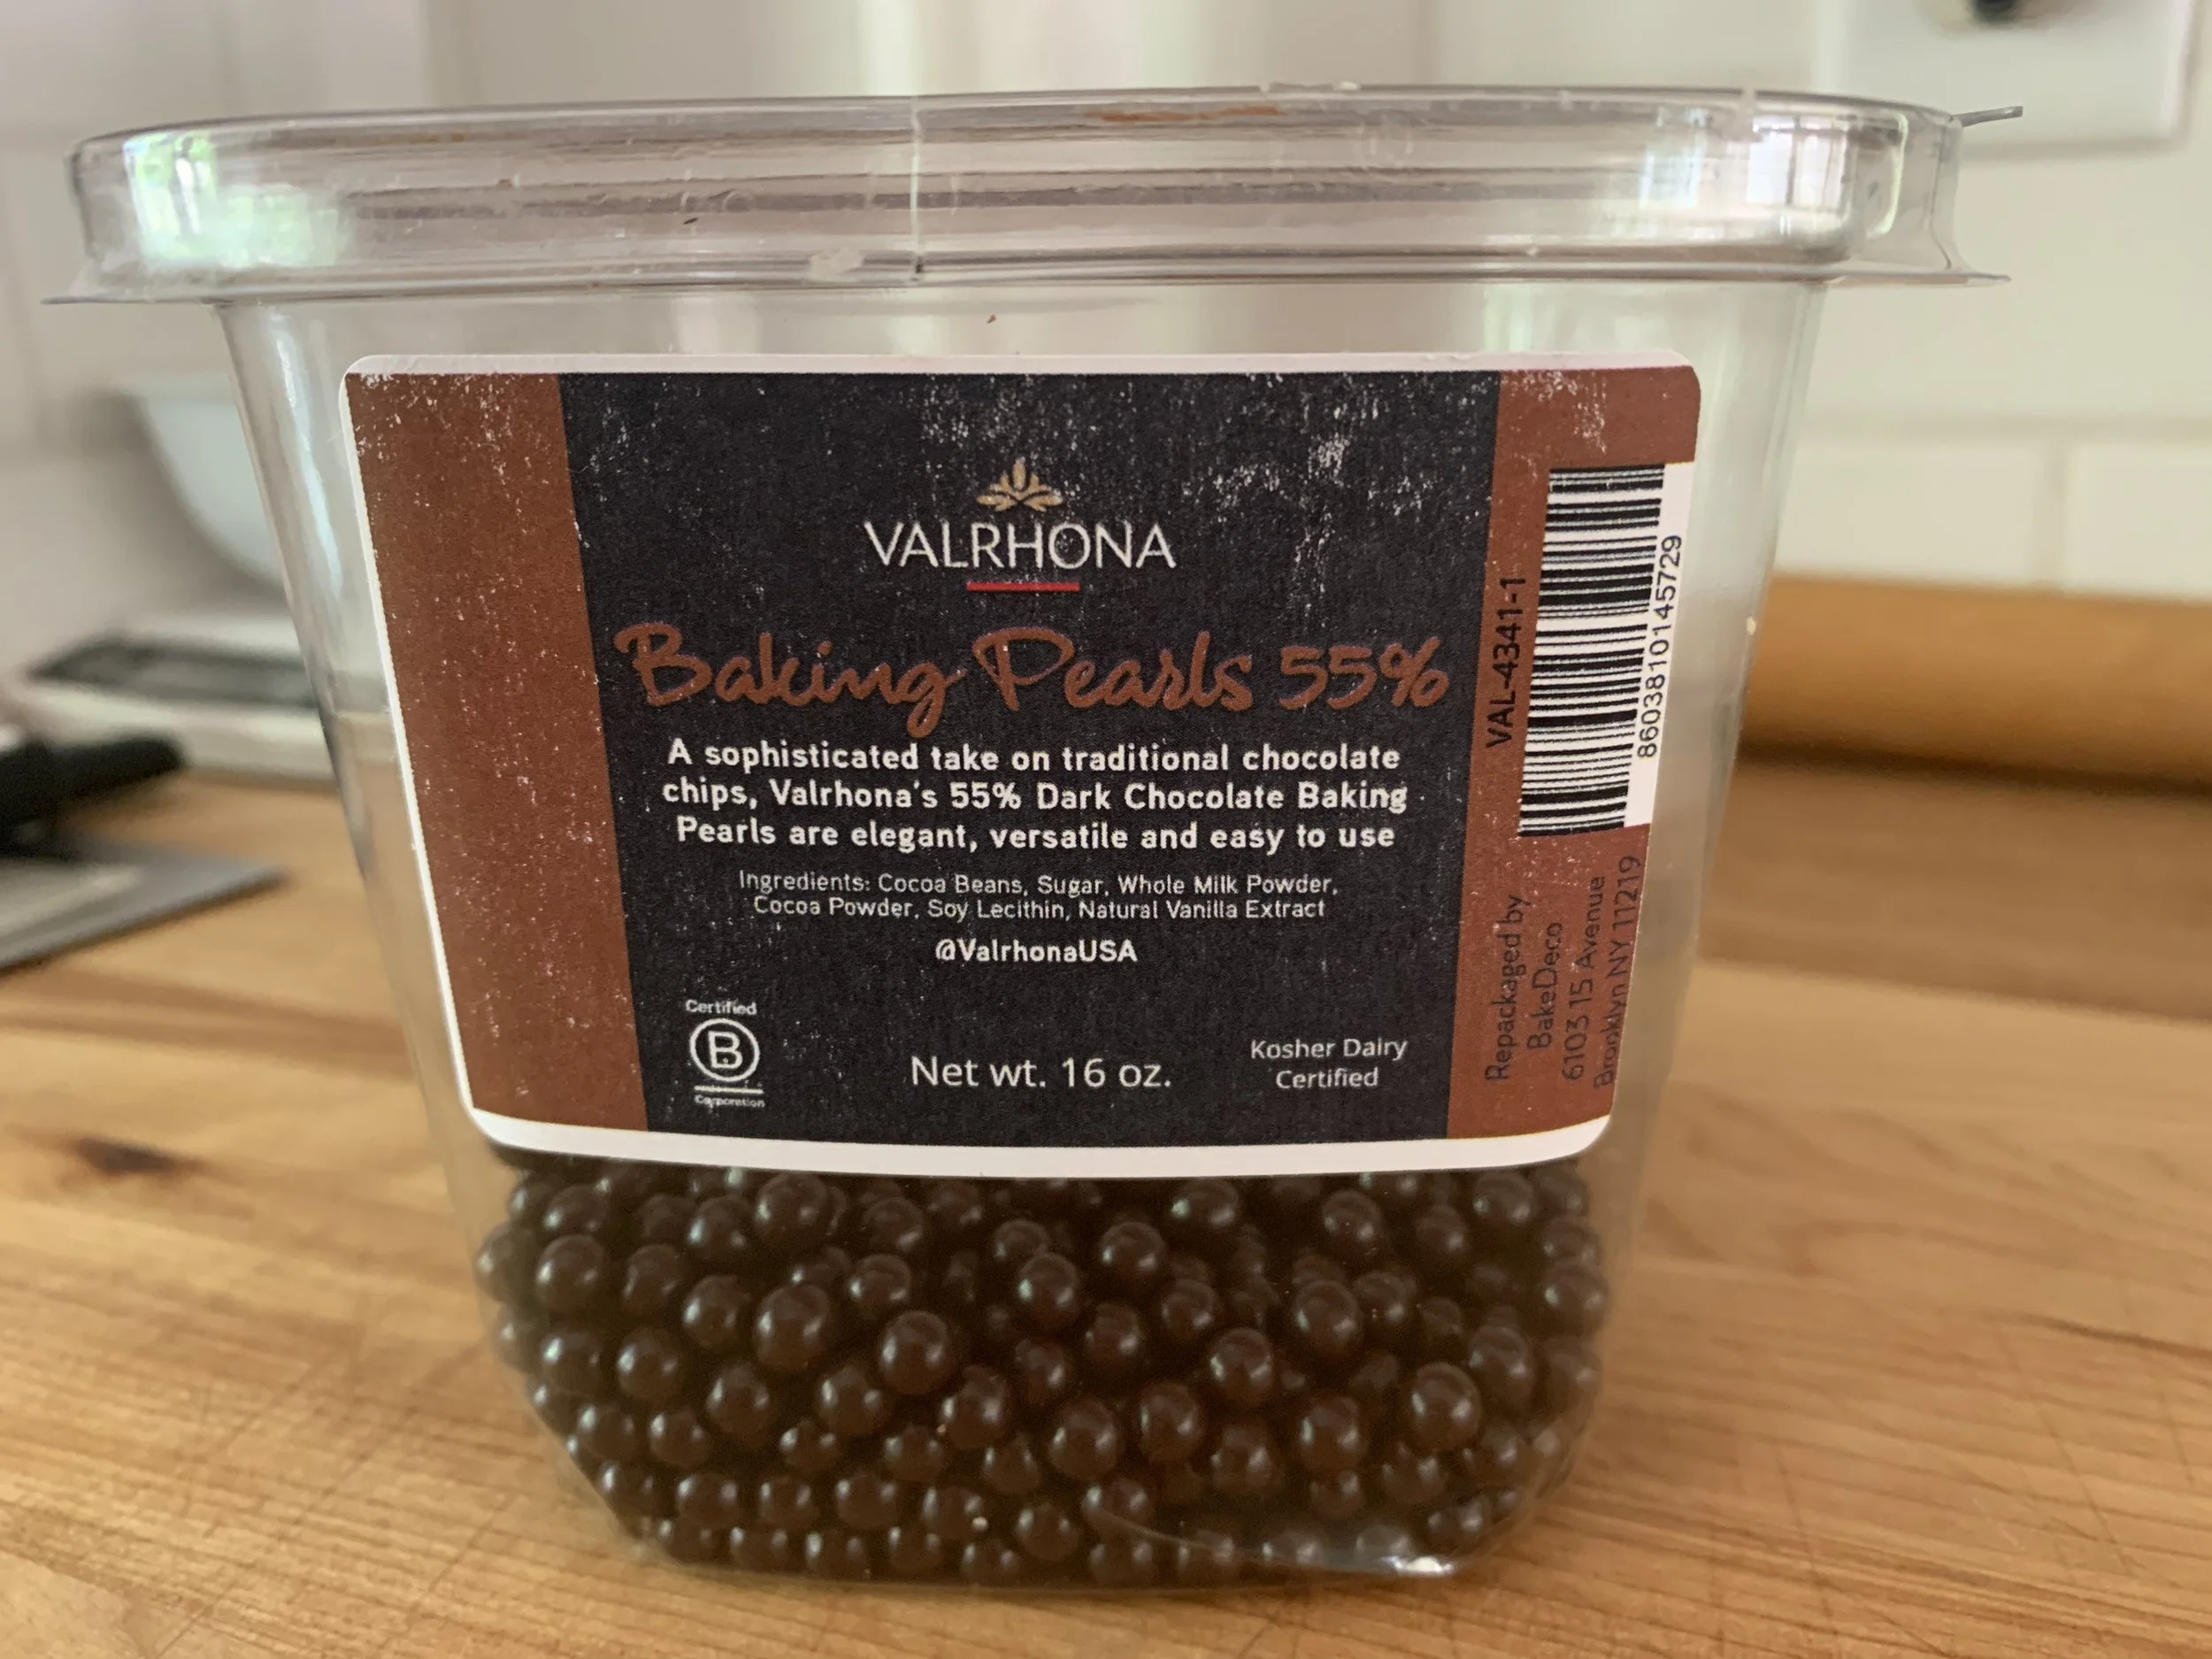


As for the chocolate pearls - oh Susan what were you thinking?! I had mixed the pearls in with the dry ingredients and, of course, when I poured the hot mixture over the dry - guess what - the chocolate melted toute de suite!

Not to worry - still delicious! My yield for this batch was 38 cookies using a tad smaller scoop. The chocolate added a lovely color as well as flavor.
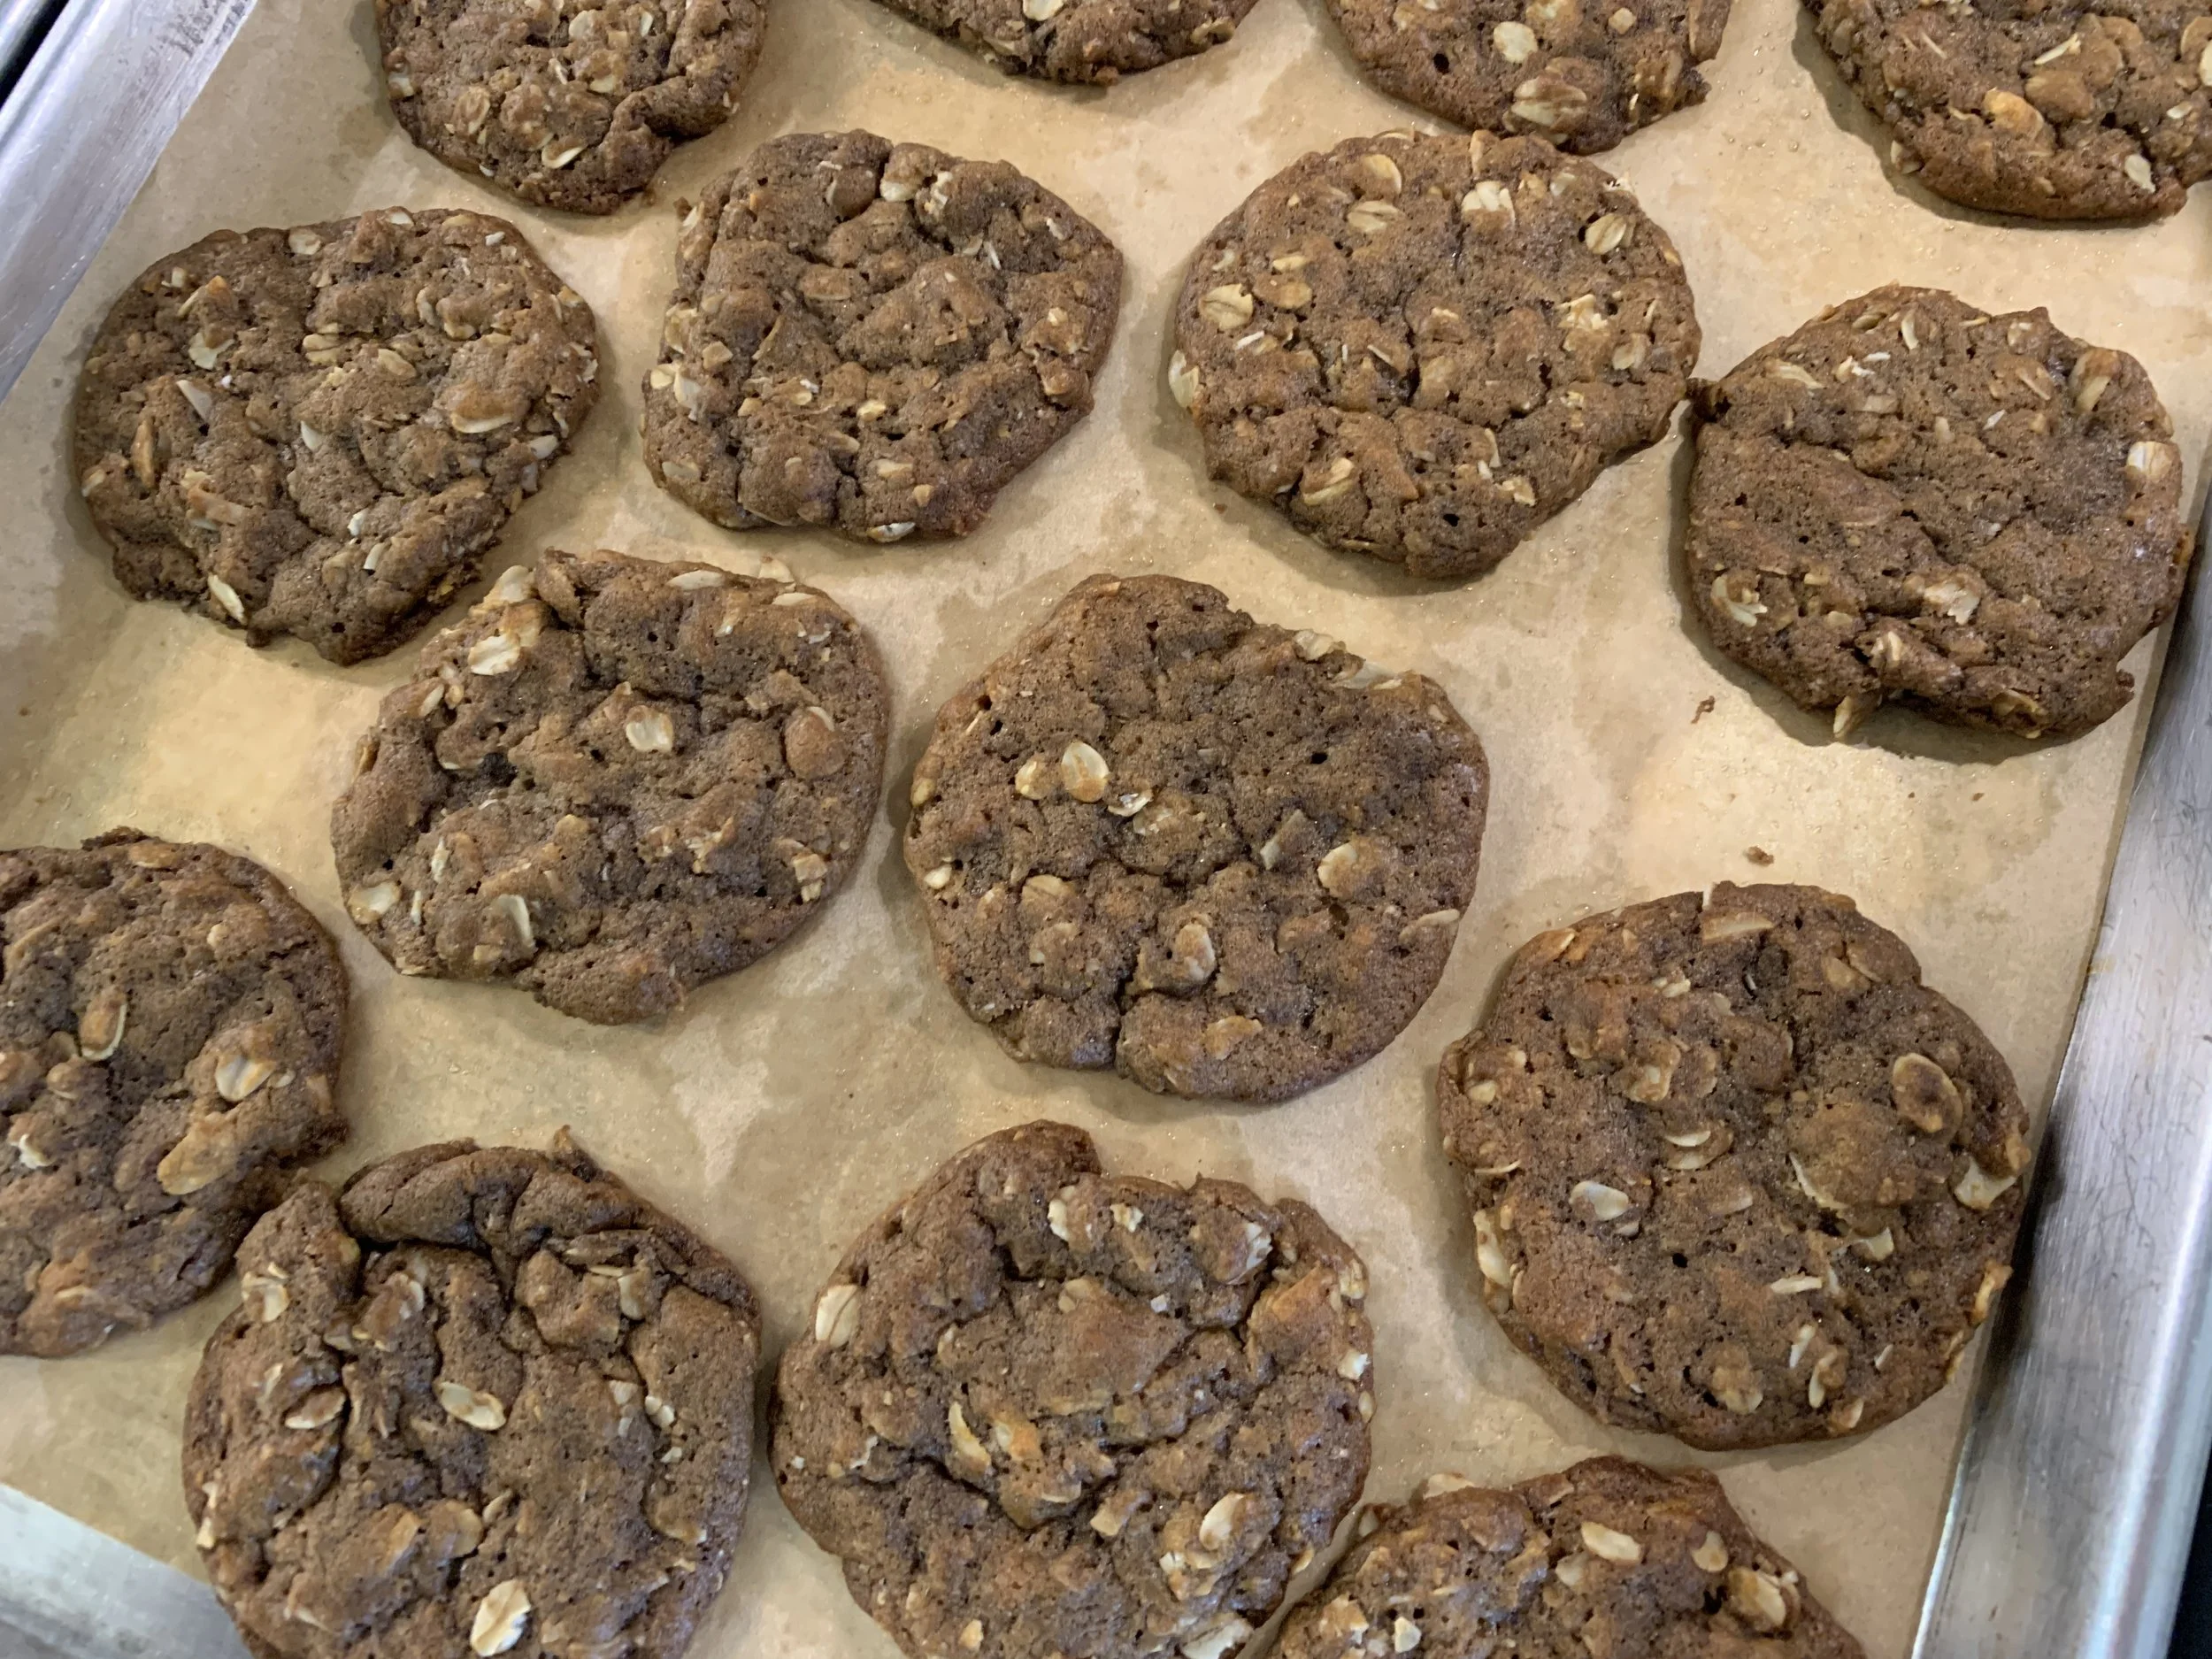
 

For the third batch I followed the base recipe and purposefully made my scoops petite. Yield of 47 cookies! Whoa!
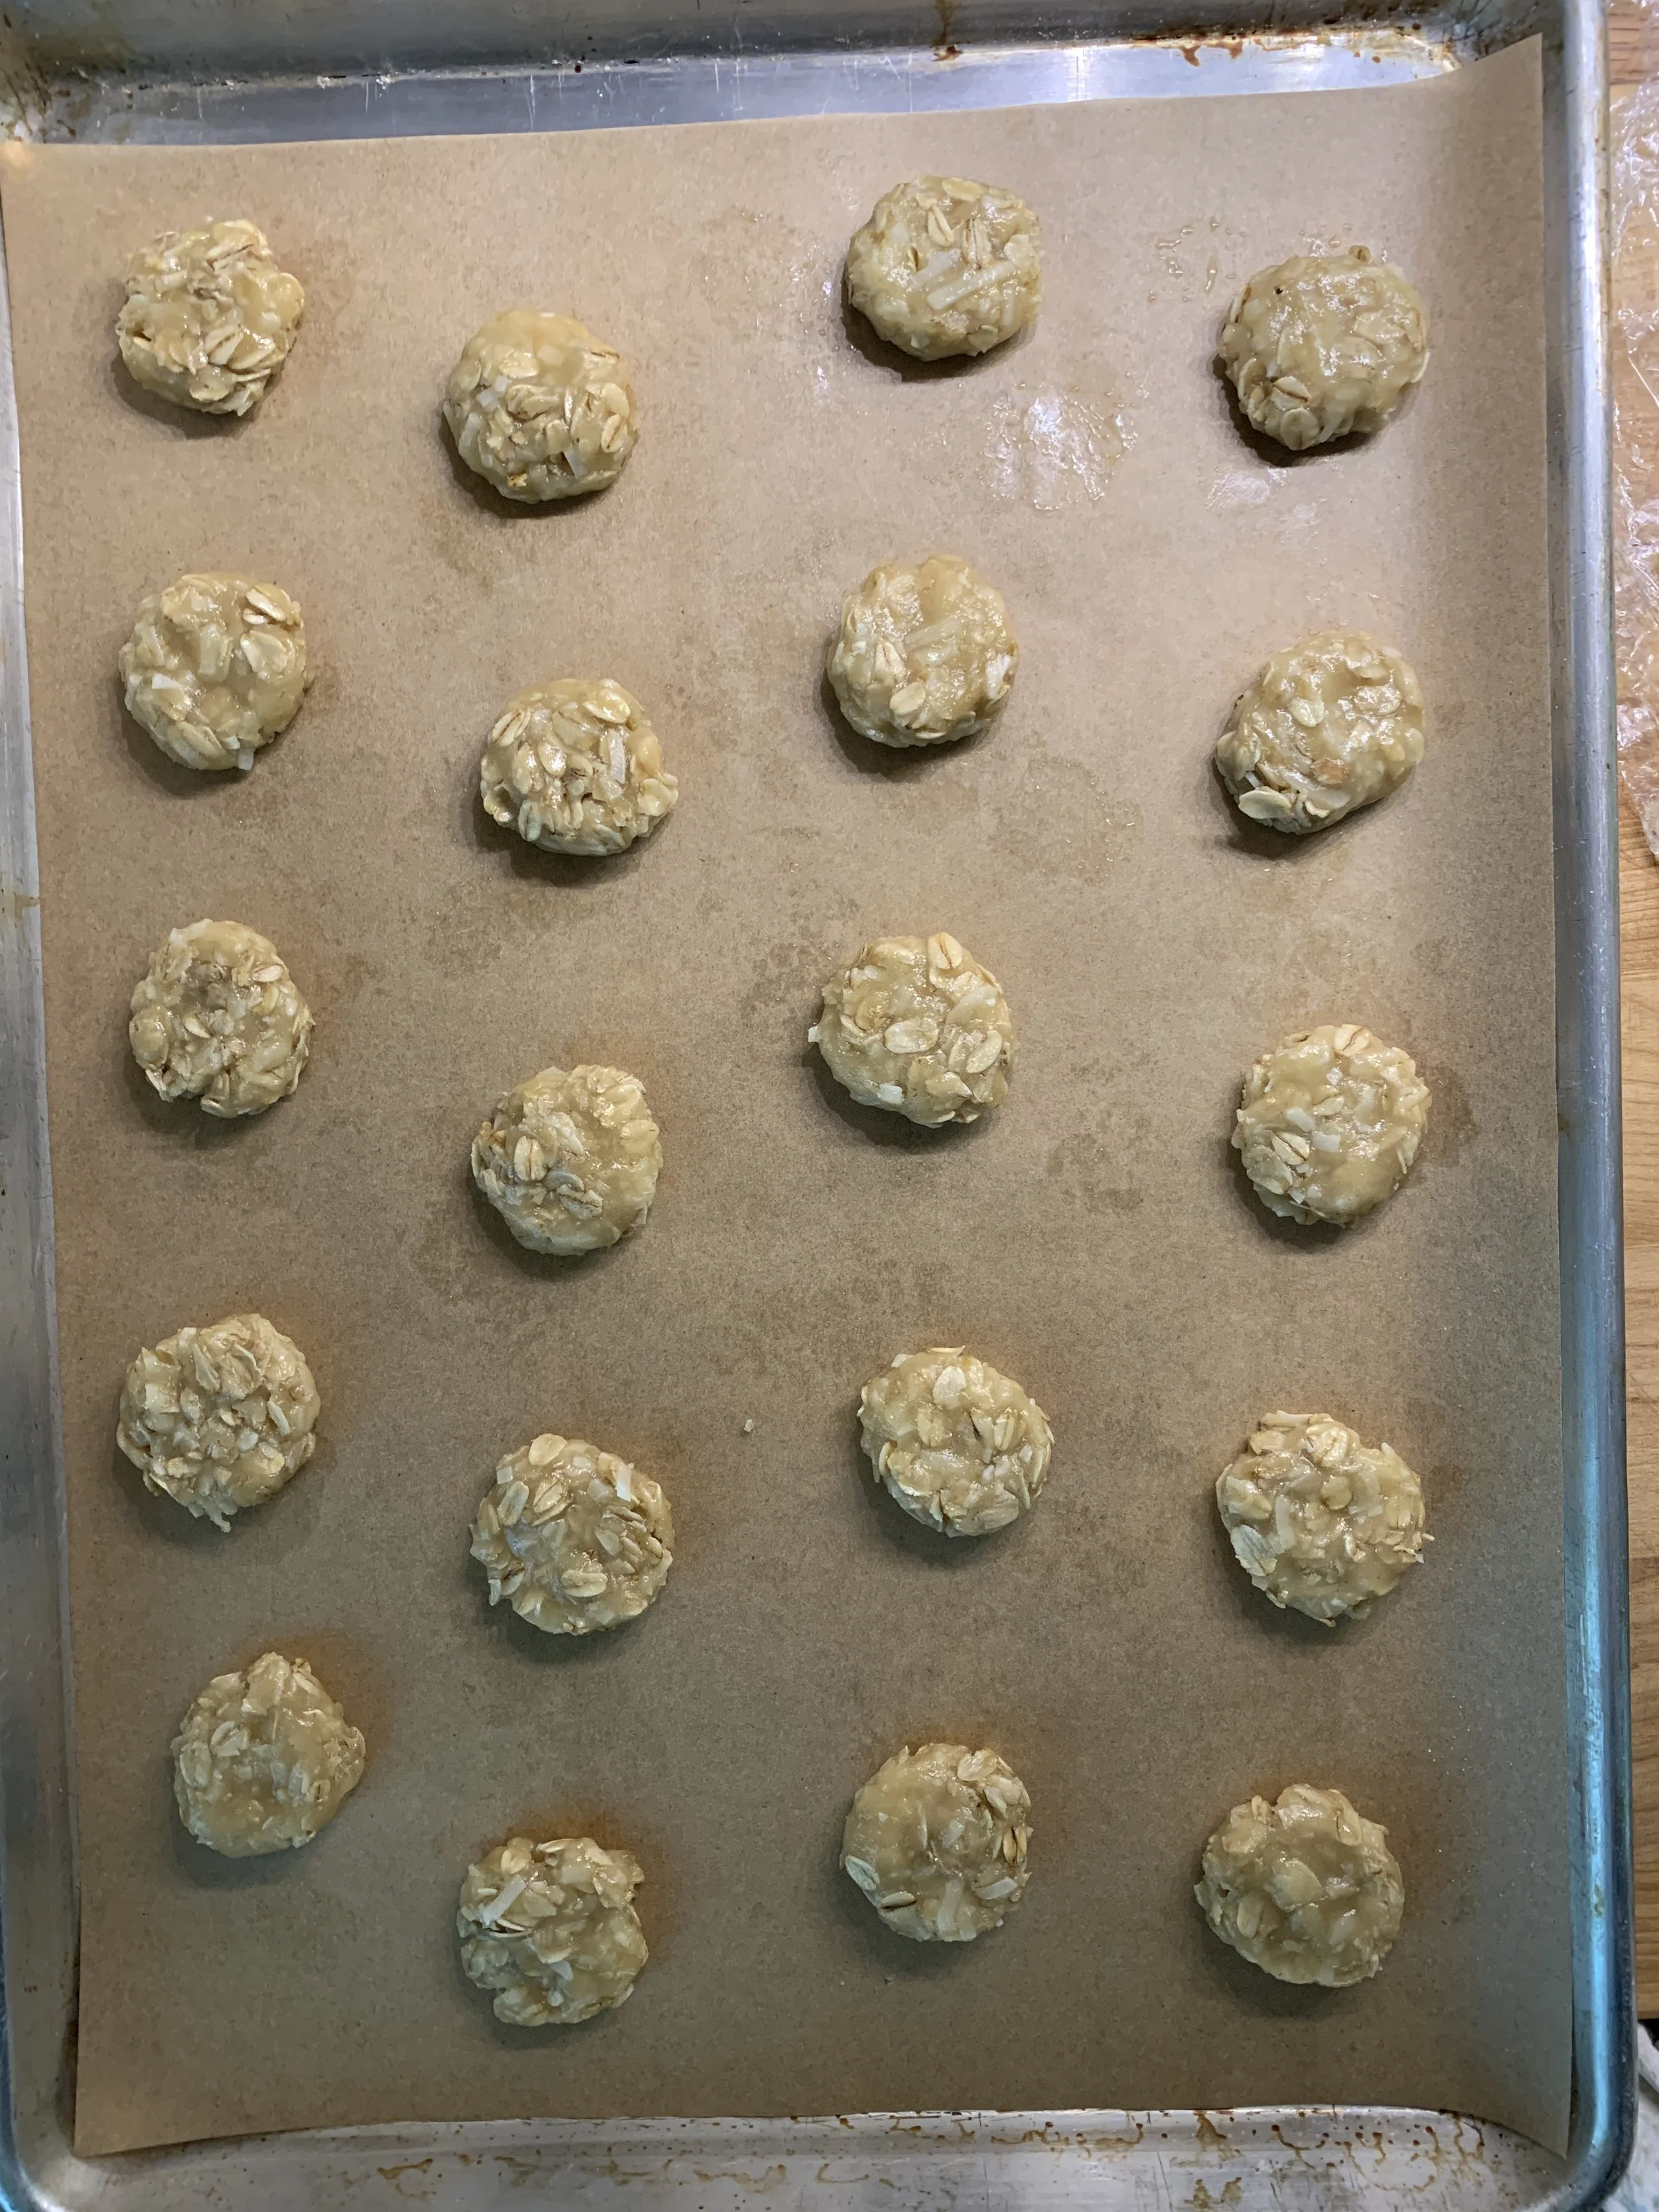
20 on the first pan
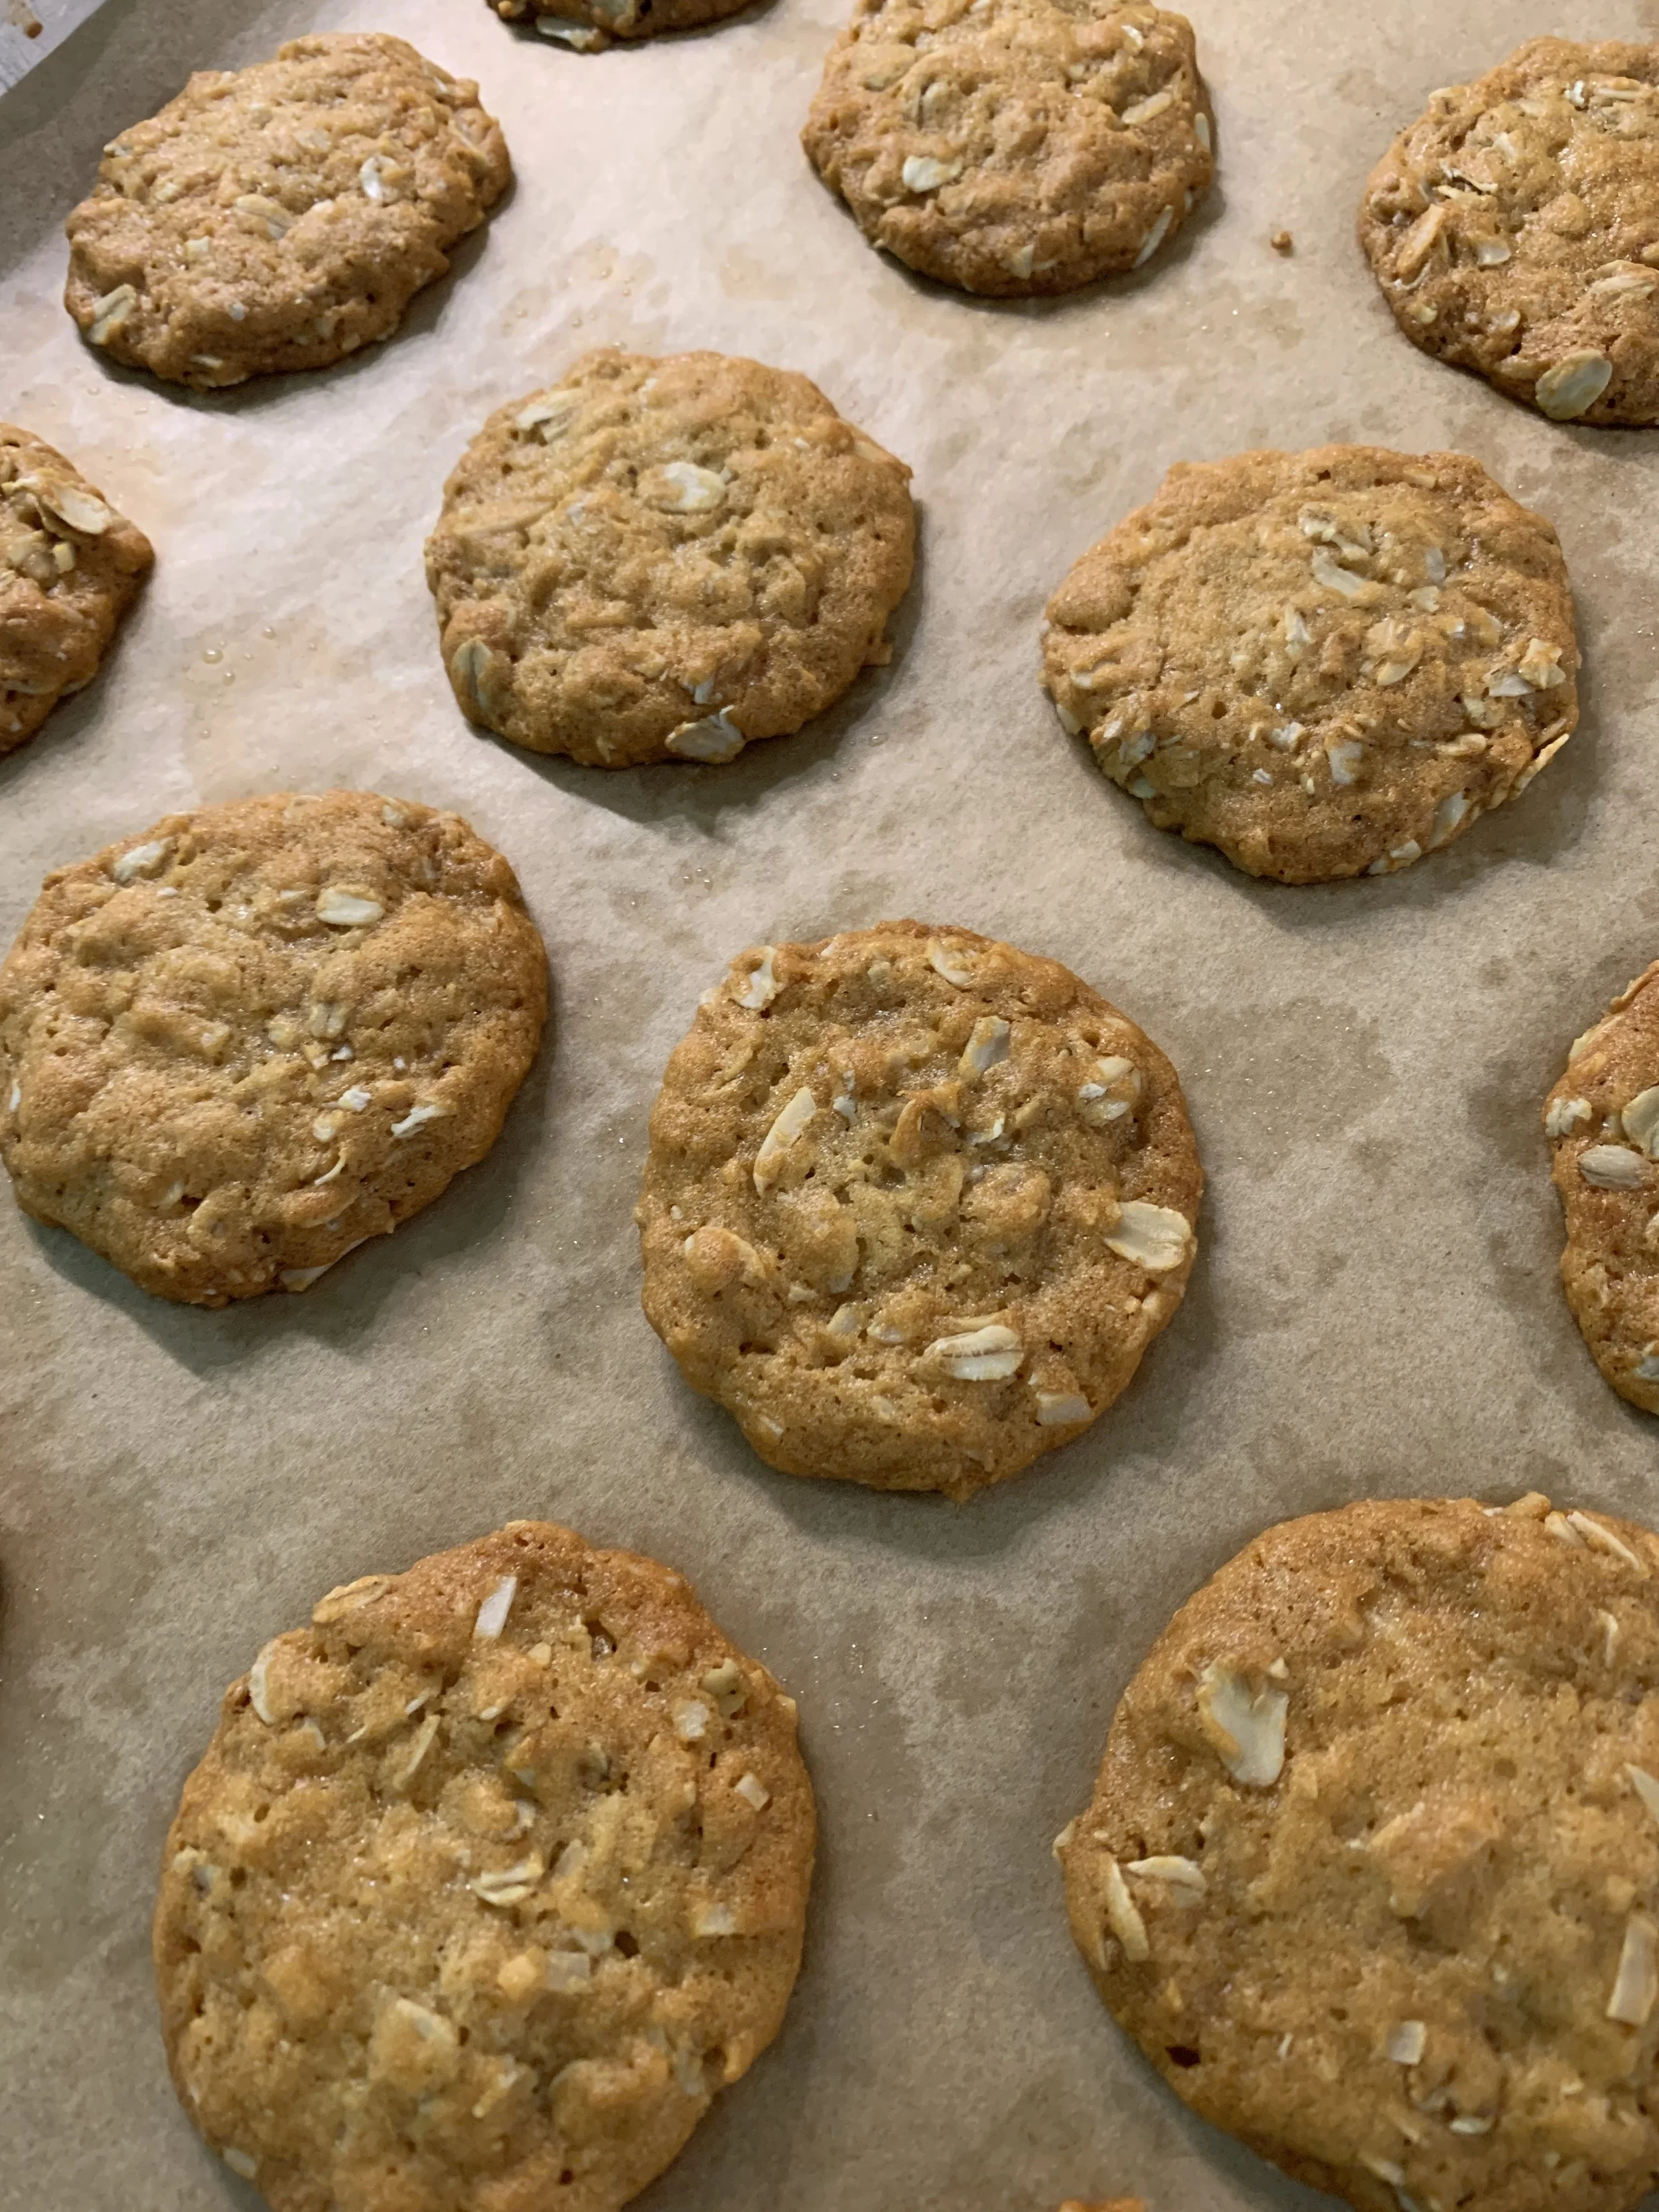
 

Oh that golden goodness
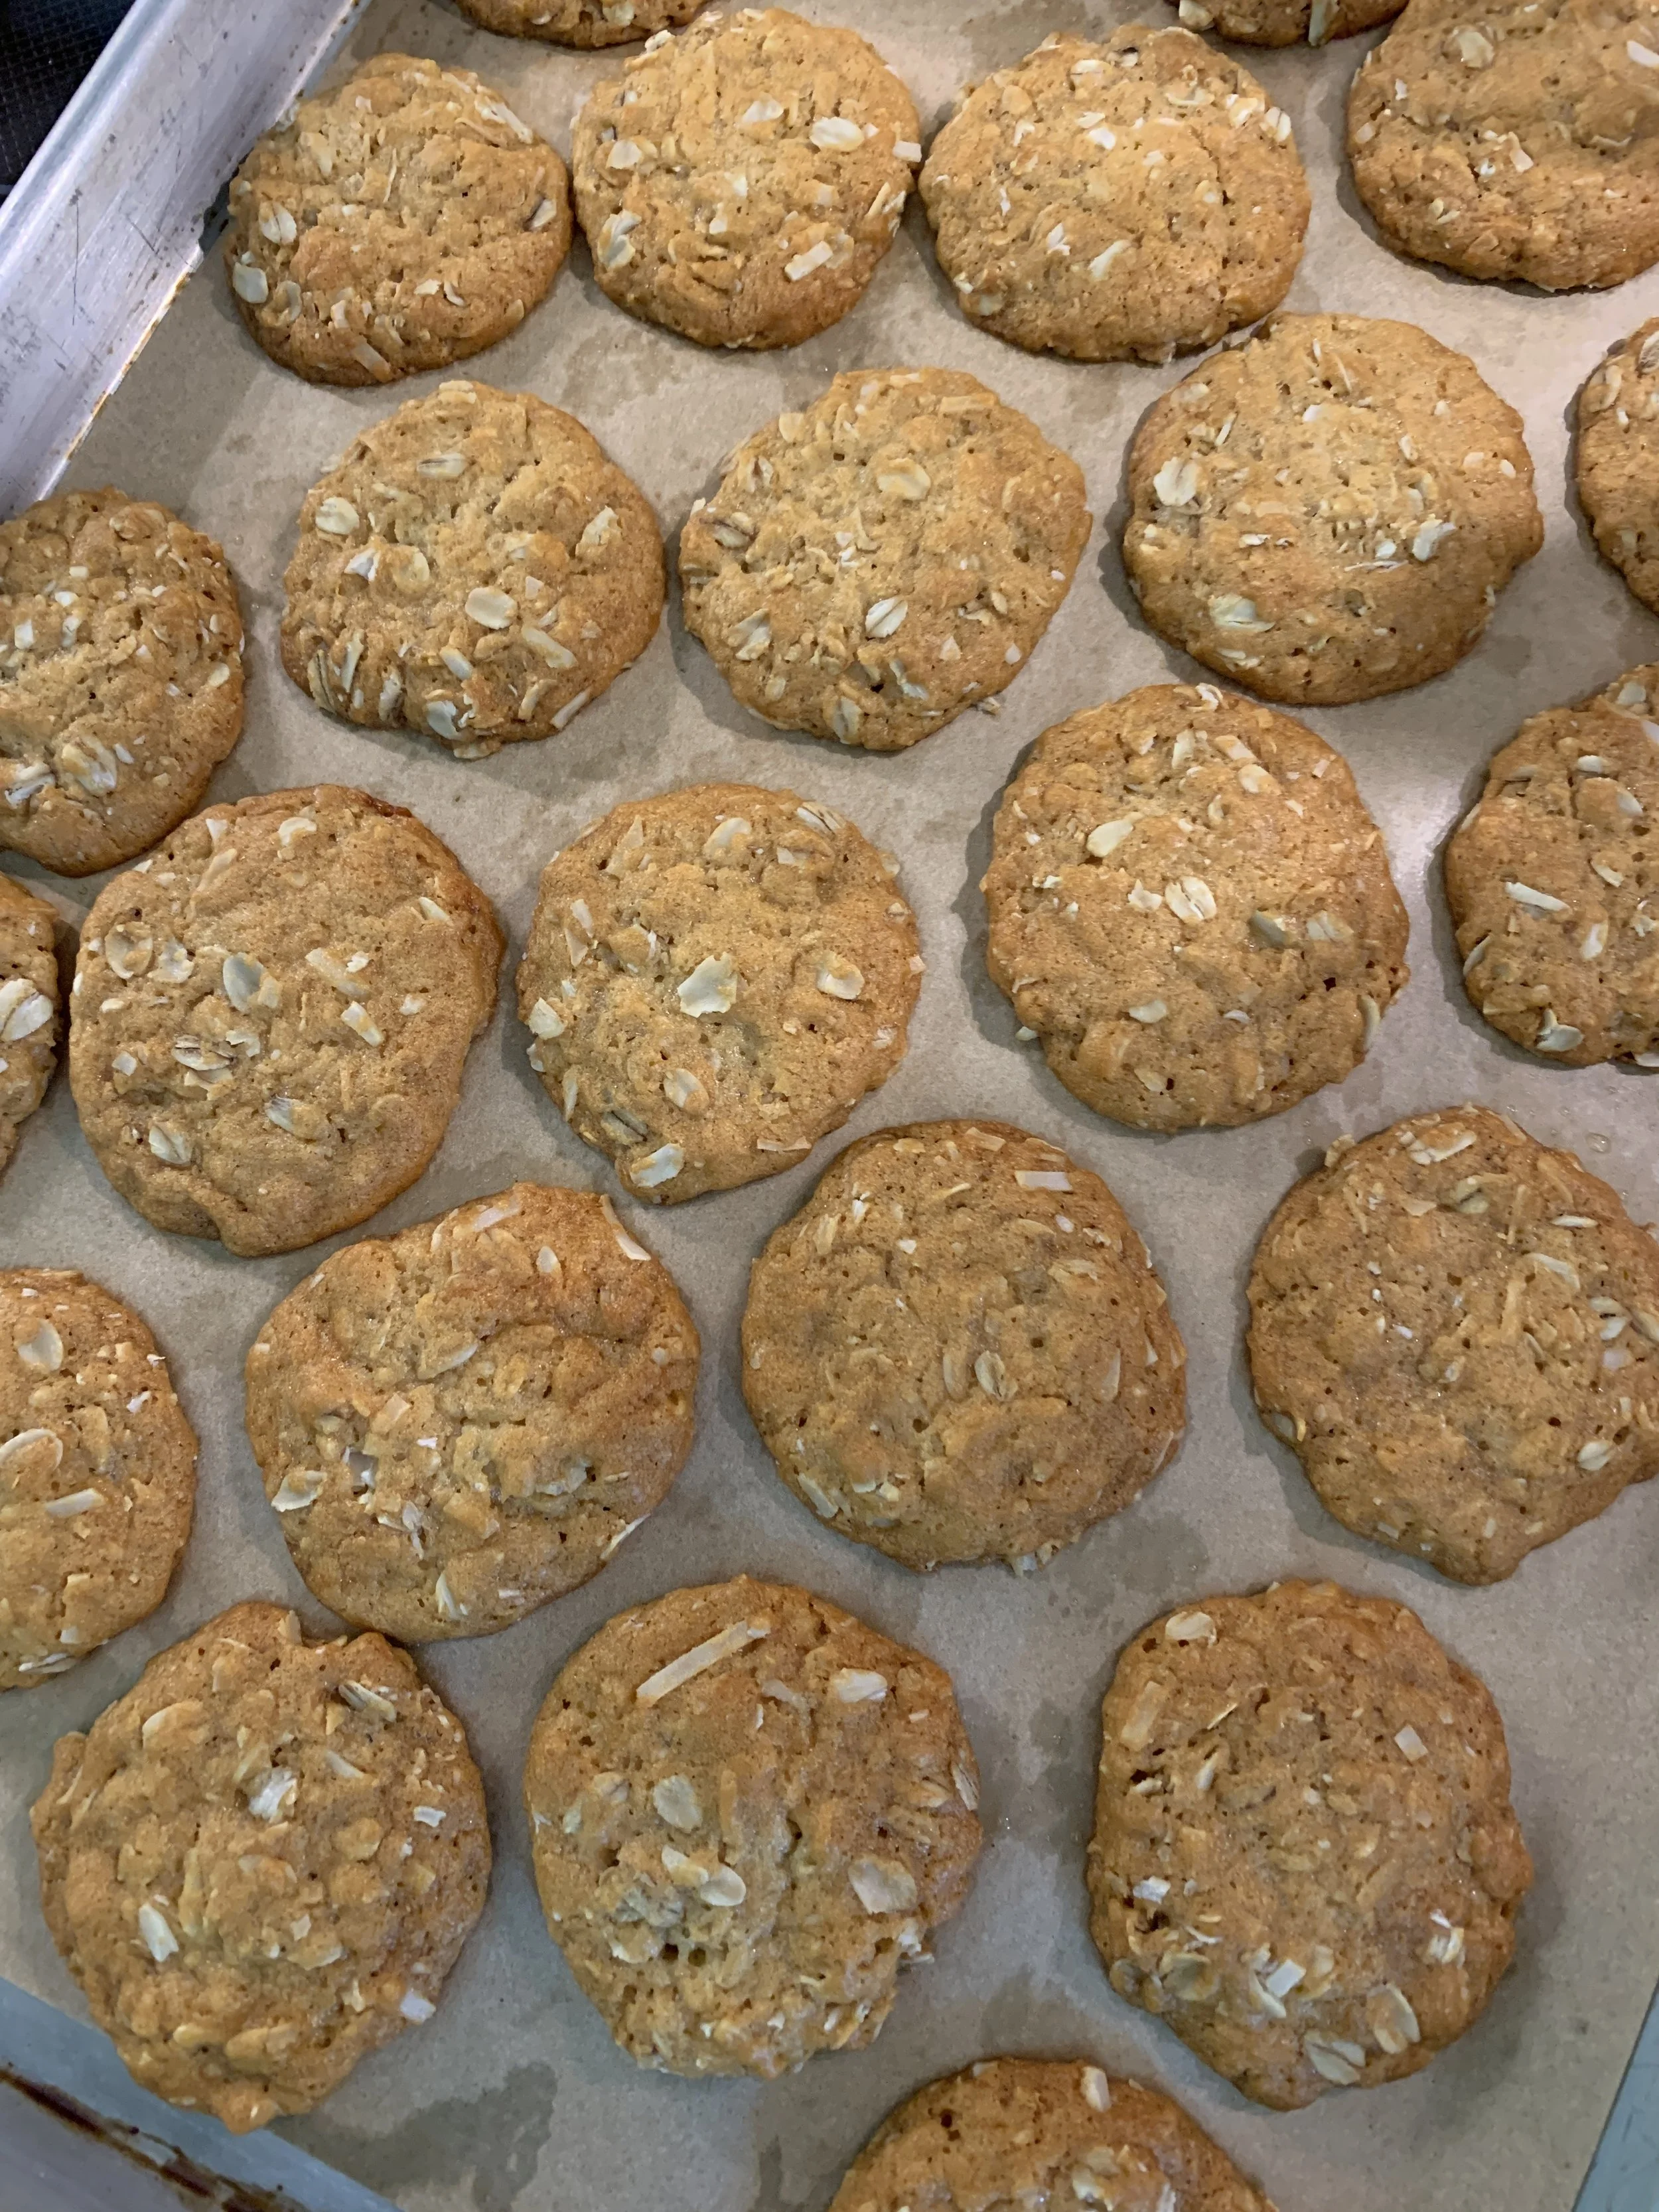
 

27 0n the second!

Just have fun with it!

Lastly, on a very different note - maybe it’s the reference to WWI regarding this cookie recipe, but I’d like to end with a bit of nostalgia (I’ve been experiencing a lot of that lately). . . . Dad was a navigator in a B-24 bomber during WWII. He died back in 1999 just a month or so after he turned 77, an age that we can’t help but think of now as “young” as we continue to age. And it’s been a touch over a year and a half already since Mom left this earthly life at the age of 97.

The current world seems so unusually disrupted (although historians tell us that “history repeats itself”), and I’m thankful my parents don’t have to experience the hatefulness and rancor that we’re seeing each and every day. OK. I’ve said it.

I’ve got a few things in the hopper for the blog plus I’m slowly working through my recipes, up dating posts and creating more links to recipe PDFs. Lots of work but it keeps me out of trouble. Take care all.

A memorial day visit to my parents’ gravesite

Caramel biscuit slices

Hi all! Christmas week is upon us, the winter solstice has passed by and now we can look forward to lengthening daylight in the coming weeks. I love it when the end of January creeps up on us and we realize “Wow it’s not getting dark at 5 pm any more!”

I’m easing back into life and want to share these delicious cookies with you. This Scandinavian recipe is compliments of Brontë Aurell’s book “Brontë at Home - baking from the Scandi Kitchen”. The word biscuit is used in Great Britain and Northern Europe for what we Americans think of as cookies. Tea and biscuits anyone?

One of this recipe’s ingredients is golden syrup which is made from cane sugar. Buuuut . . . . for my trial run I used honey since I didn’t have any of said golden syrup in my larder. That first batch of biscuit slices was a big hit, much enjoyed by those who were around to accept the role of samplers.

I ultimately got my hands on a couple of bottles of Lyle’s Golden Syrup, a brand that’s been around a long time and an ingredient that I often see in baking recipes from the Brits and “Scandis”. Made by the British company Tate and Lyle, the story began in 1881 when businessman Abram Lyle built a sugar refinery on the Thames in East London. The golden syrup was a by product of refining sugar cane to create sugar. He started selling it from wooden casks and was soon supplying large quantities to London businesses weekly.

It’s an inverted sugar syrup, the golden end result adding caramel (almost on the verge of being burnt, in a good way) and honey notes to baked goods. It can also withstand higher baking temperatures and helps prevent crystallization.


On to the task at hand! Making the dough is a straight forward process, As a plan ahead step, I like getting it shaped into planks then wrap and fridge (or freeze) them until I’m ready to bake.

Here’s the recipe. For general baking I use unsalted butter such as Challenge or Land O’Lakes, but for cookies I’ve been experimenting with European style butters which contain a higher amount of butter fat. There are a number that I can find locally - Land O’Lakes Extra Creamy (salted or unsalted, black box), Vermont Creamery (salted or unsalted), Danish Creamery (salted - made by Challenge), Kerry Gold (salted and unsalted). So far I’m enjoying the flavors in the cookies I’ve baked with the salted versions, finding that the salt adds a certain je ne sais quoi. If you opt to use salted butter in a recipe that includes salt as an ingredient, simply reduce the recipe amount by half.


I often replace a quarter to a third of a recipe’s all purpose flour with whole wheat pastry flour, (WWPF) particularly in my shortbread cookies and pâte brisée. Pastry flour is softer with less gluten than all purpose, giving a more tender end result. Plus I like the flavor the whole wheat imparts.

Buuuuuuuut! This year I had a hard time finding Bob’s Red Mill WWPF which is the one I’ve been using for some years now. Luckily I found some at a local specialty market here in Grand Rapids, but sadly I’ve just learned that all of Bob’s pastry flours have been discontinued. Oh man!

Mise en place (FYI - my mise here is for a larger batch of dough than the base recipe)

The dough process is a familiar one - cream butter and sugar (lately I’ve been using golden granulated cane sugar from Costco); add in golden syrup (or honey) and vanilla and blend; mix in flour and baking powder until it all comes together. Here’s the recipe again.

Once the dough comes together, divide it in three portions about 215 g each. To create the dough strips I place them on plastic wrap and get a rough shape going. You’re looking for a final sized strip of approximately 2” wide by 14” long for each portion of dough. Of course you can play around with size variations - I’ve done some where I cut the strips in half lengthwise for nice mini bites. Yummy.


Fold the plastic wrap up around the pre-shaped dough, leaving a bit of room for rolling it to it’s final dimensions. At this point you can proceed with baking or stash your strips in the fridge or freezer for later.


When ready to bake, heat the oven to 350º and place two strips on a half sheet pan. Sprinkle flaky sea salt on top.


Bake about 8-10 minutes - you might need a few minutes more. You’re looking for the dough to appear set and golden in color. Remember every oven is different.

Pull the sheet pan and drizzle caramel in squiggles across the surface. Pop the sheet pan back in the oven for 3-4 minutes to set the caramel. Top with finely chopped blanched almonds and pearl sugar if you’d like. I’ve been keeping most of my batches pristine with caramel and sea salt. So good!

Let the strips cool on the sheet pan for 5-10 minutes, then cut into slanted strips with a sharp knife or pizza cutter. I gently push them apart with a small offset spatula and let them cool fully before enjoying.

They store well in a covered container for several days at room temp or in the freezer for several weeks. Simply take them out and place at room temperature for 20-30 minutes before enjoying.

Chopped almond/pearl sugar version

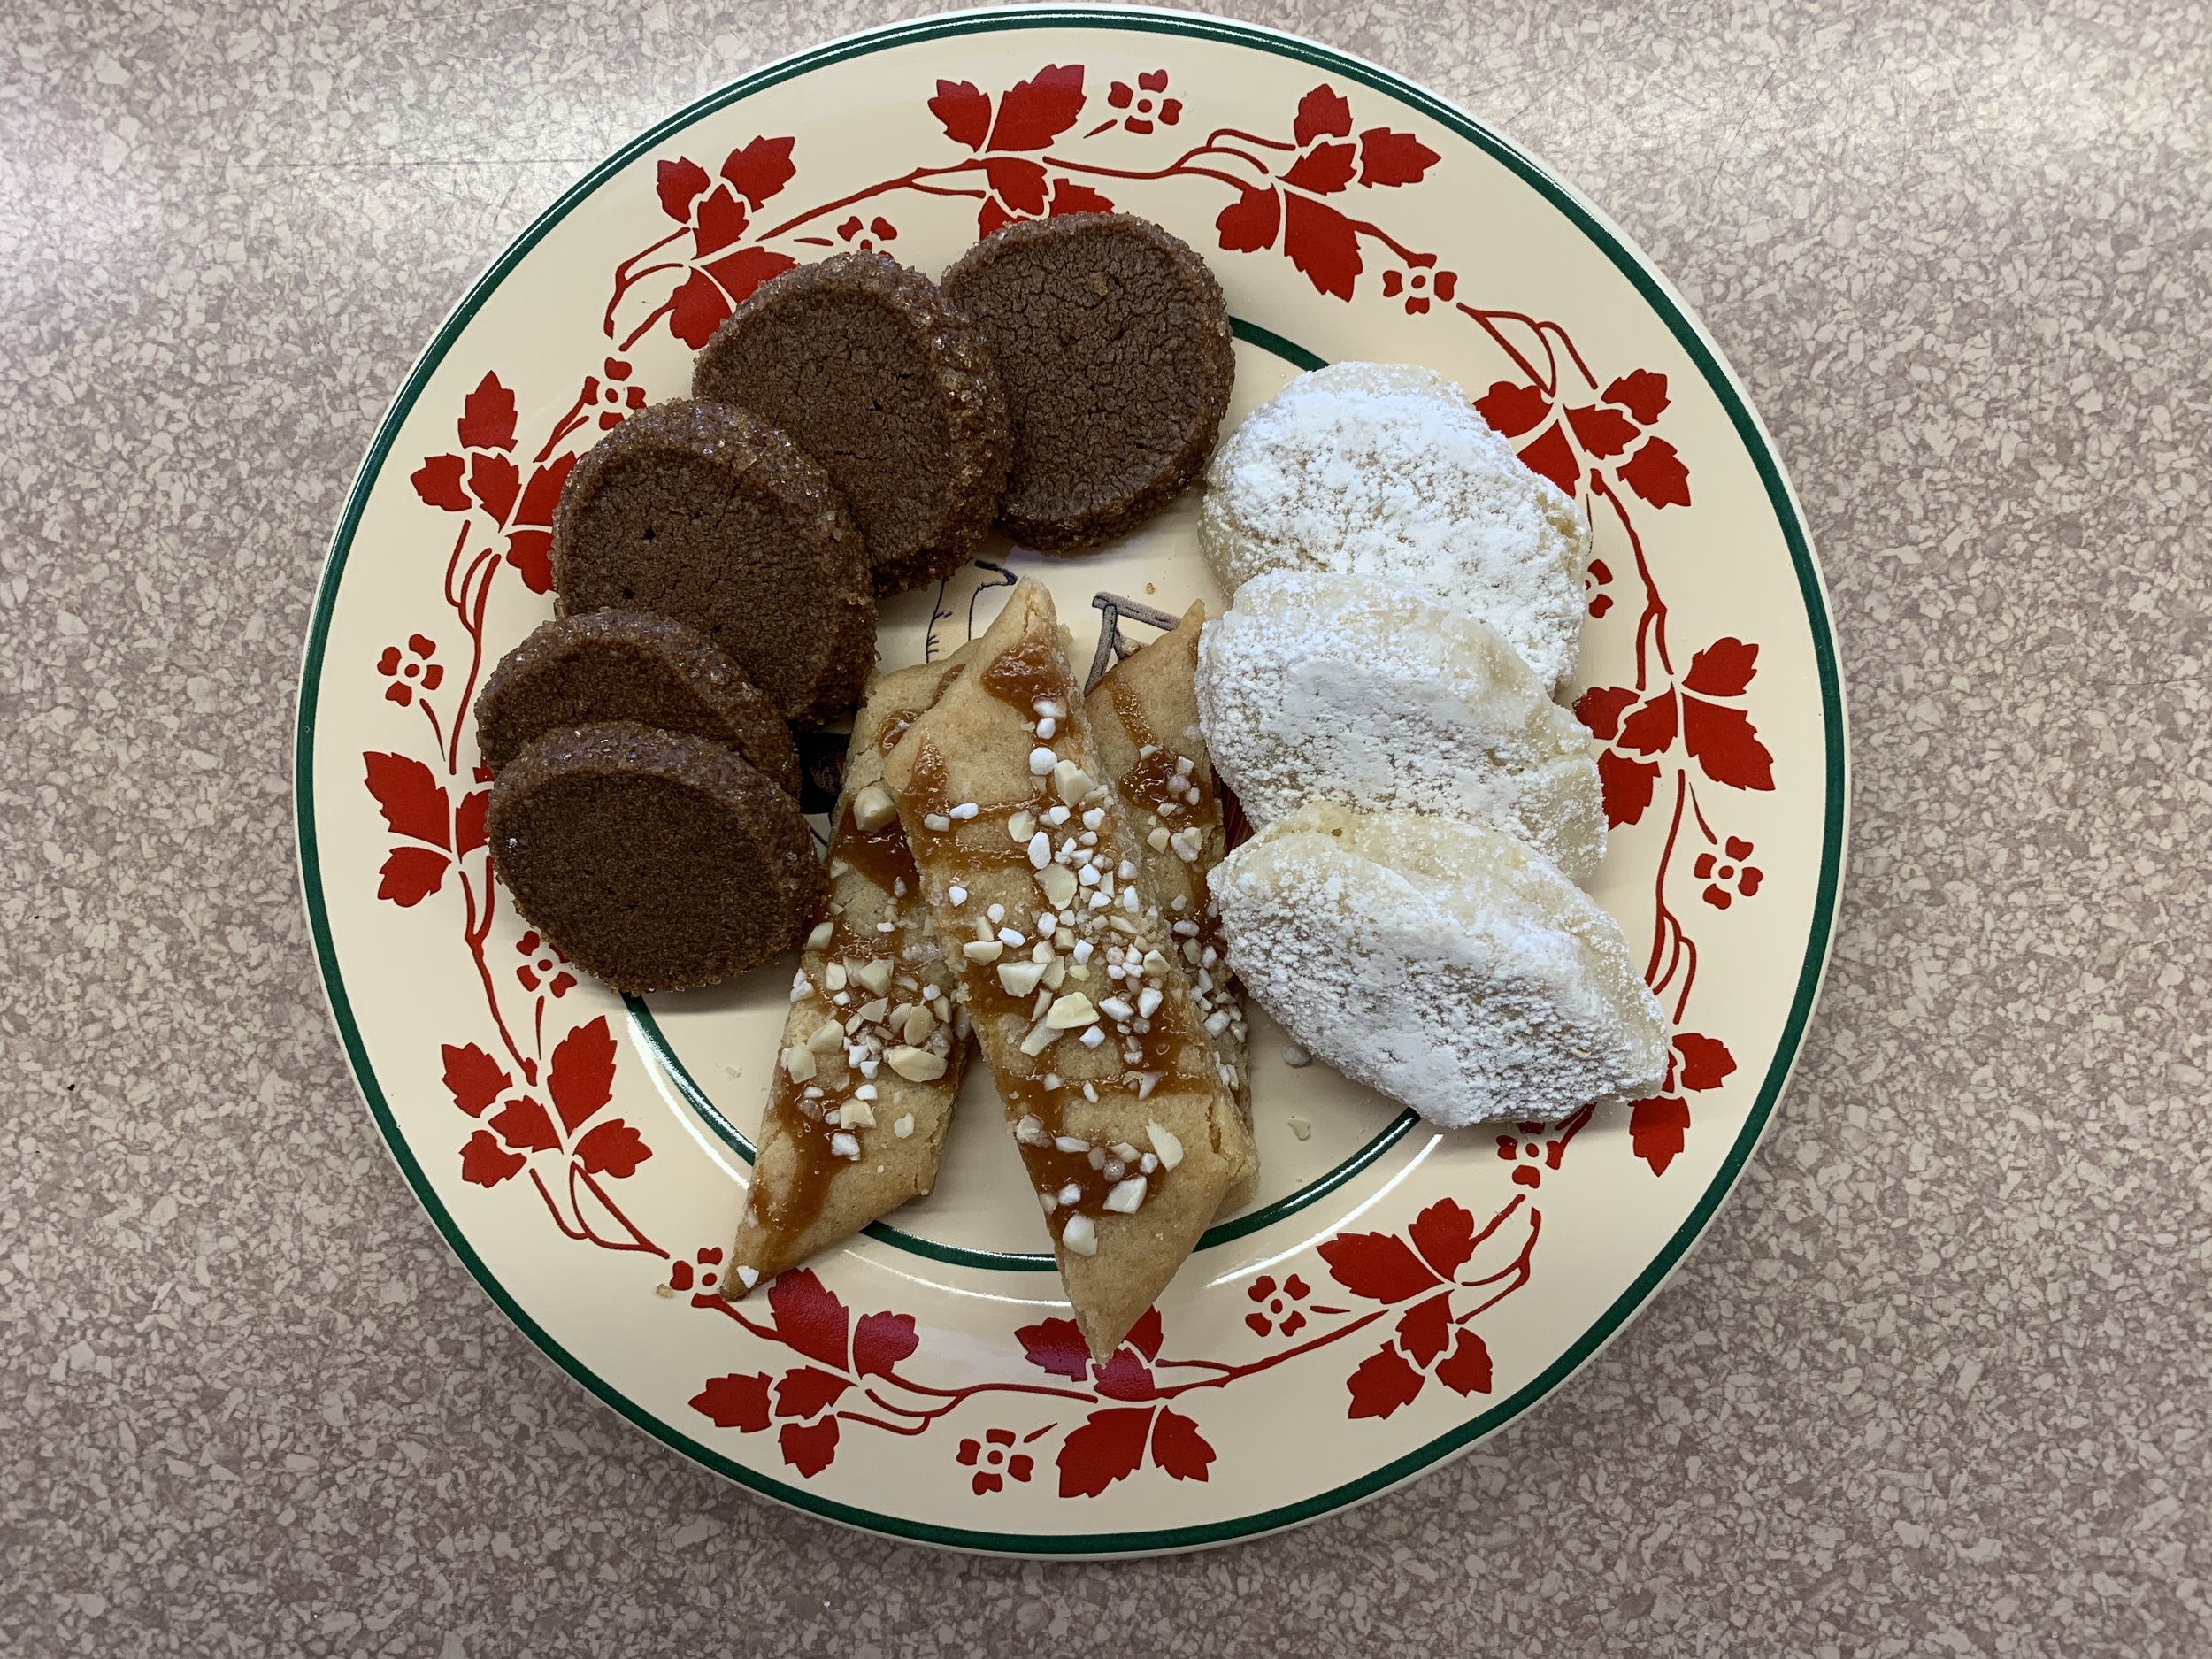
I made these for several demo sessions I did for a local seniors group and they were a big hit. Below is a holiday cookie trio of these slices along with ricciarelli (delicious Italian almond meringues) and diamant au chocolat (classic French sablés).


Here’s a plate of the mini versions. One or two are simply perfect with my afternoon cup of coffee.

Give these a try - you’ll love them!

Wishing all of you a very Merry Christmas, peace, calm and all things bright.

Holiday Light show at nearby Meijer Gardens after a snowfall; Photo courtesy of Connie B.