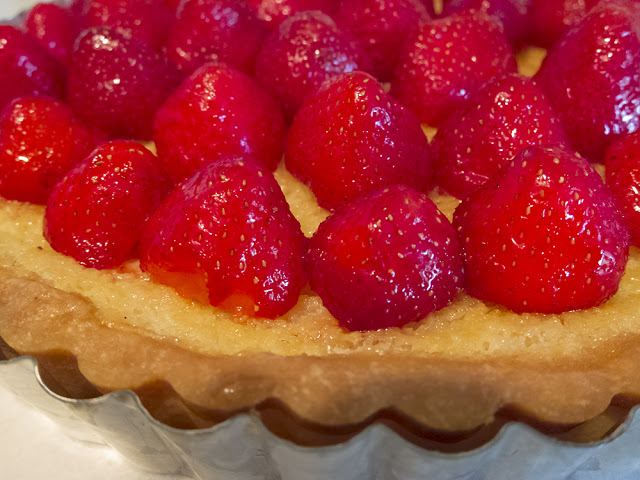
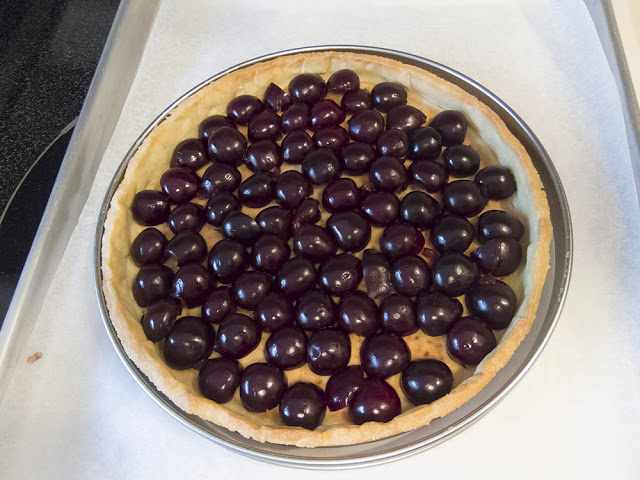
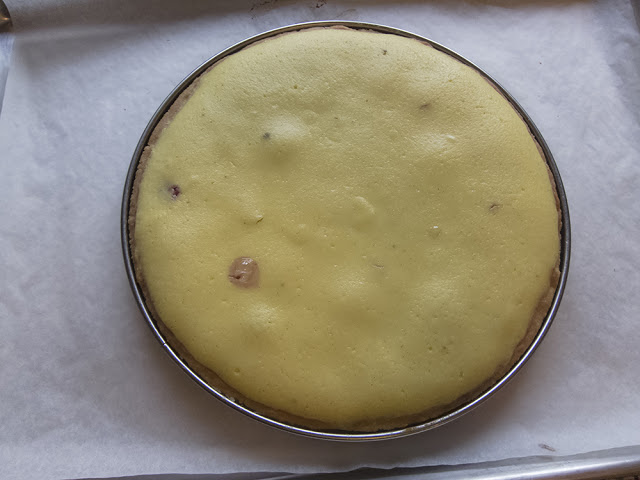
Kouign-amann pudding
/
Now here's a good one - essentially a bread pudding made with leftover Kouign-amann. What?!
Of course some might argue that once Kouign-amann are made they'll be gobbled up and there won't BE any leftovers.
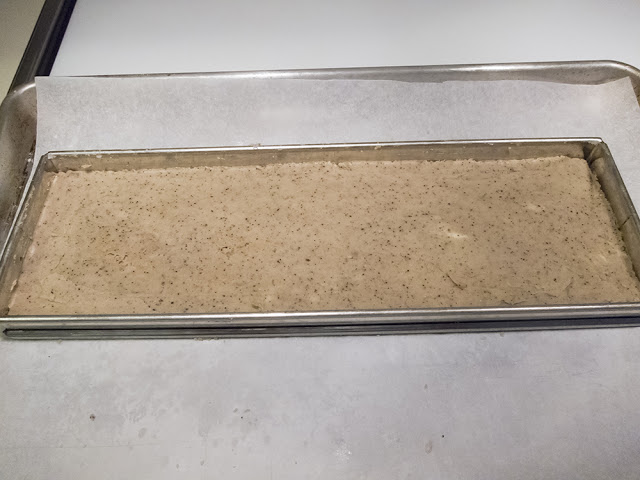
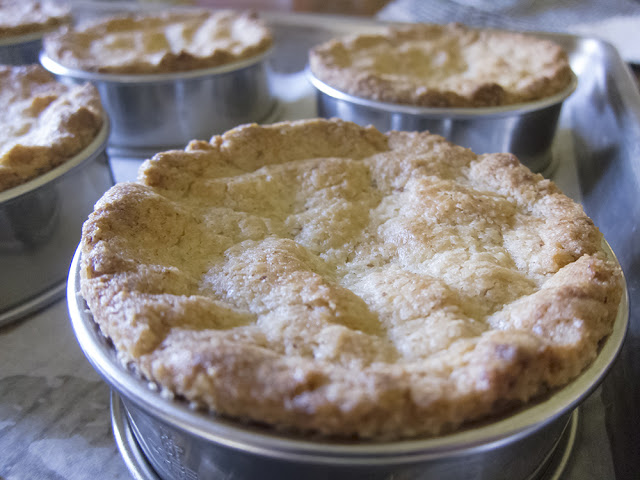
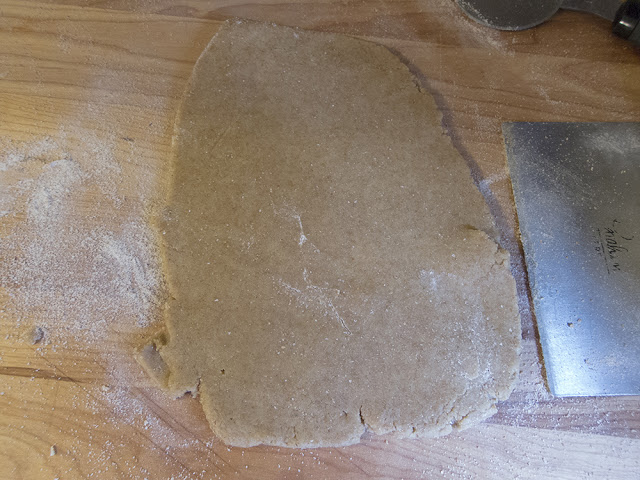
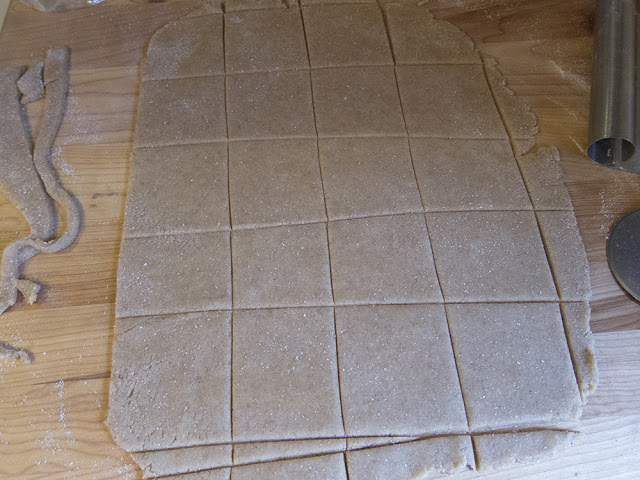
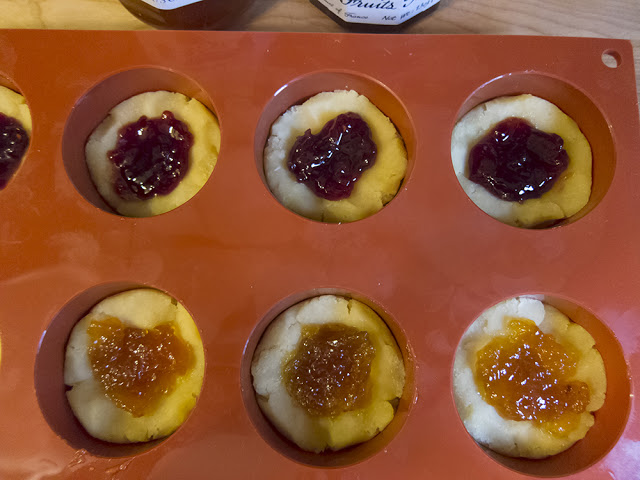
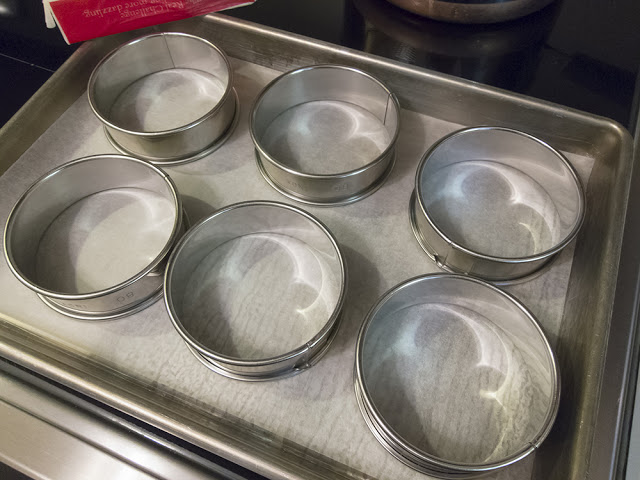
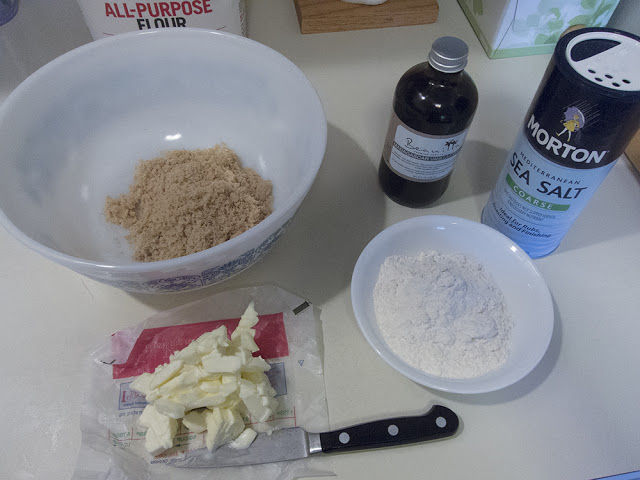
Not so in my case. A couple of months ago I decided to make a batch of K-a, but, instead of baking them in open tart rings, I baked them in flexi-molds. I thought it would lend itself to much easier release of the final baked goods from their sticky, caramelized holders.
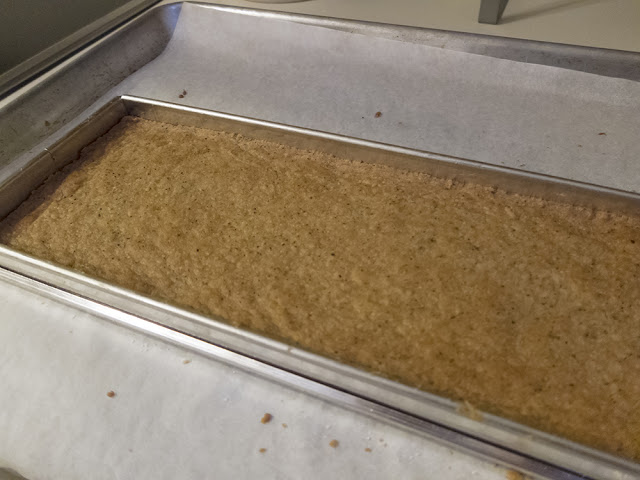
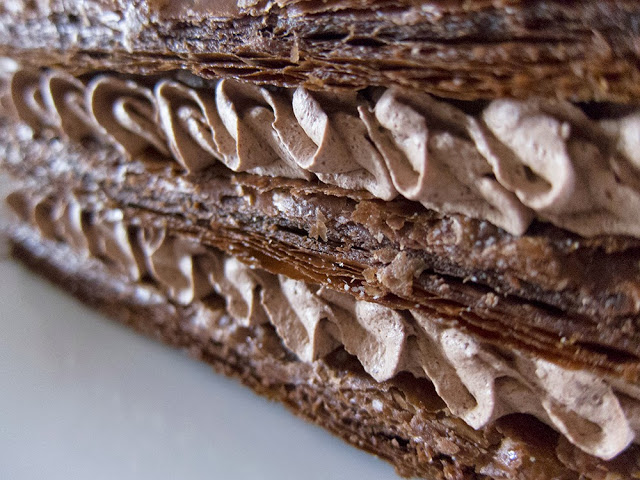
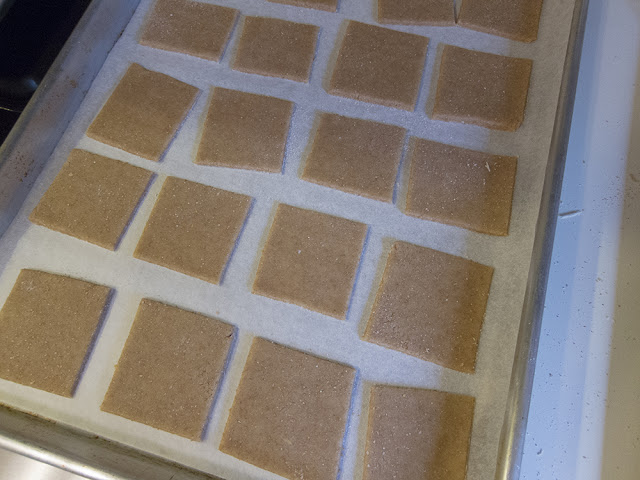
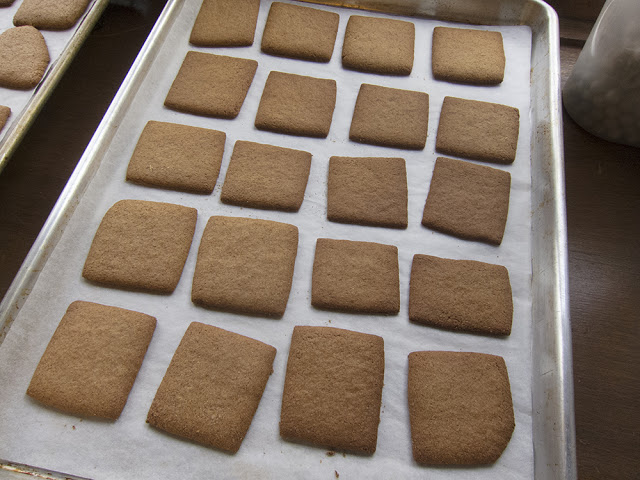
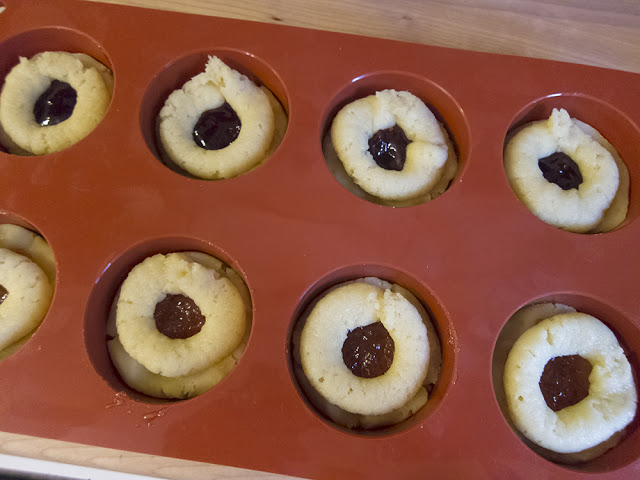
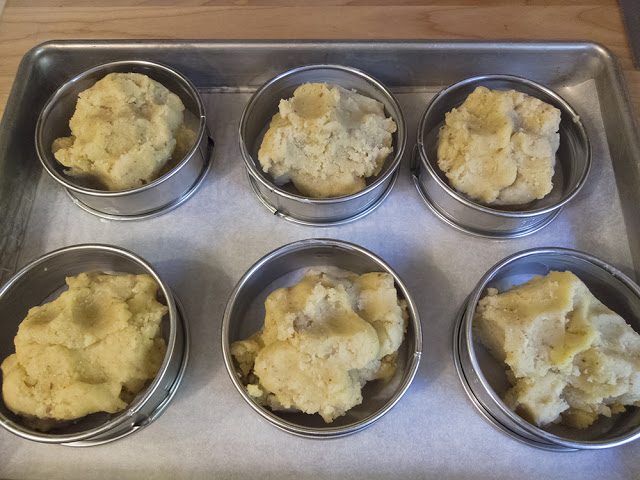
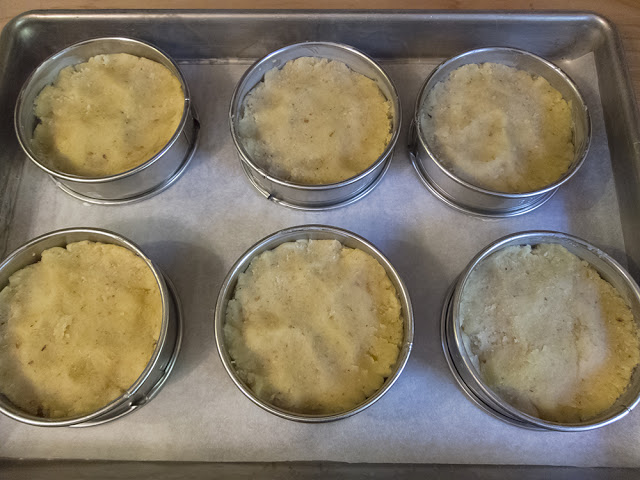
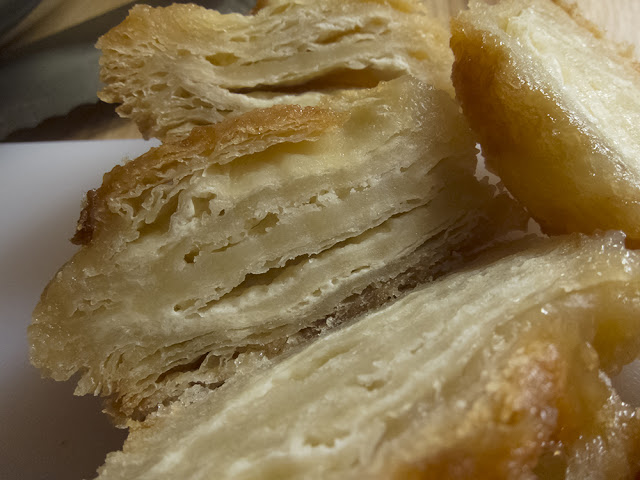
Nuh-uh. Because the dough was essentially "shielded" by the silicone molds, the K-a exteriors did not caramelize, the dough layers did not bake through and were pale and floppy. It was a gooey mess.
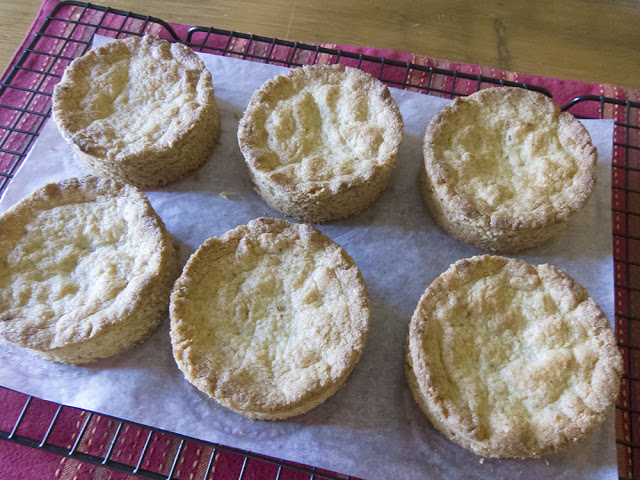
Note to self: certain things bake and brown much better surrounded by metal. Yup.
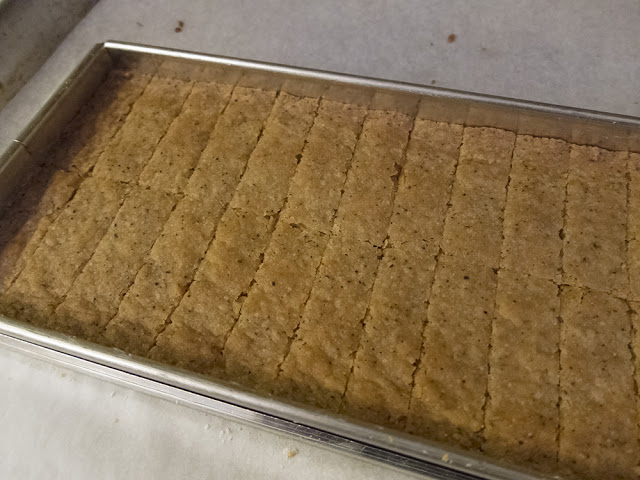
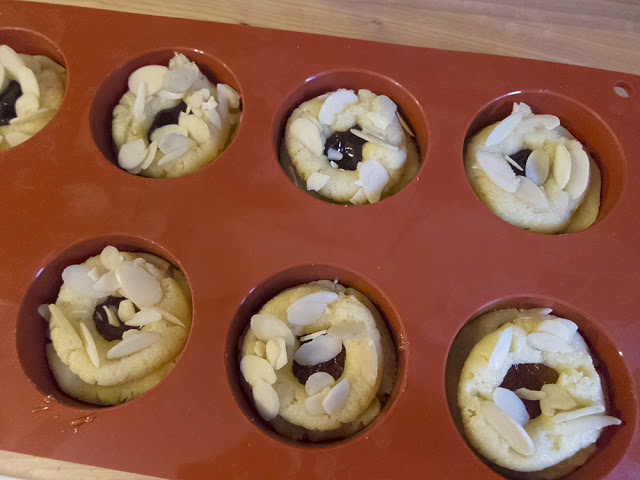
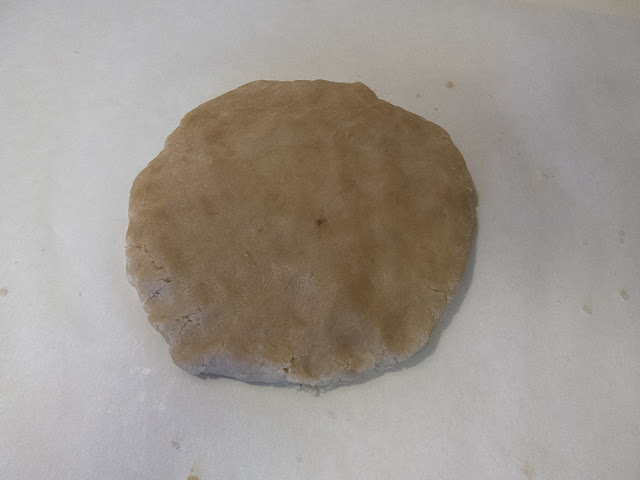
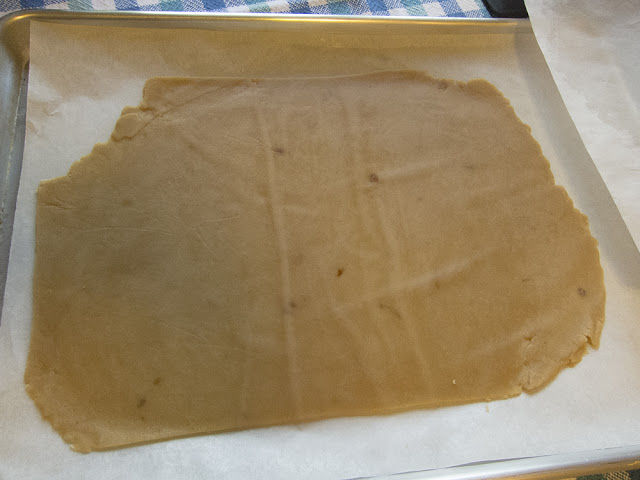
Some of the edges were actually OK and the flavor was there, so something wouldn't allow me to throw them all away and into the freezer they went.
After the holidays I was visiting Schuler Books here in Grand Rapids, looking of course at baking books, and was excited to find a recipe from Rose Levy Beranbaum's The Baking Bible (with Kouign-amann on the front cover no less) for "souffled French toast".
It uses day-old K-a baked in an egg, milk, cream, vanilla custard. What's not to like.
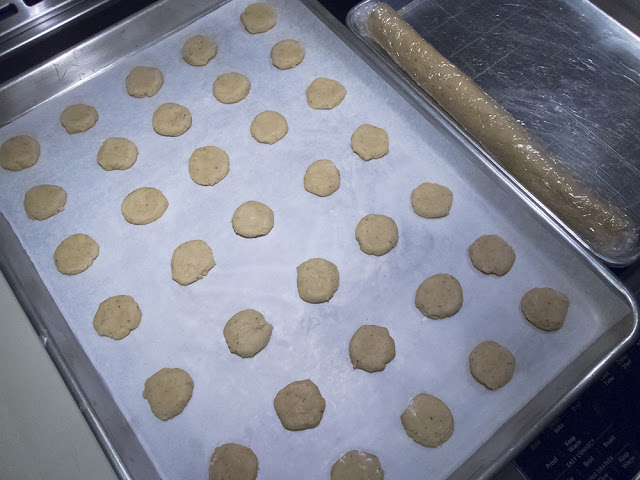
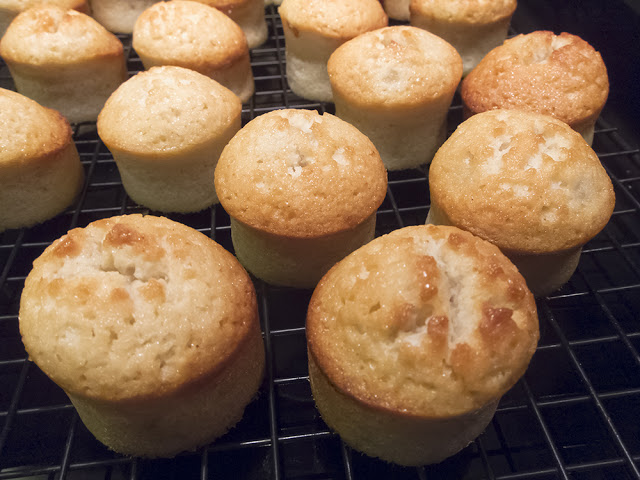
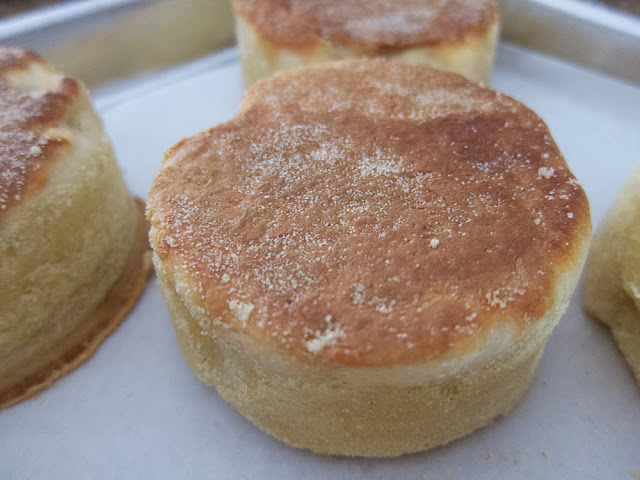
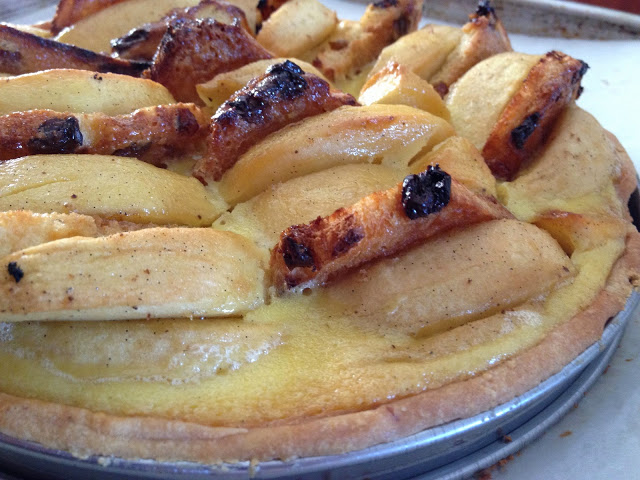
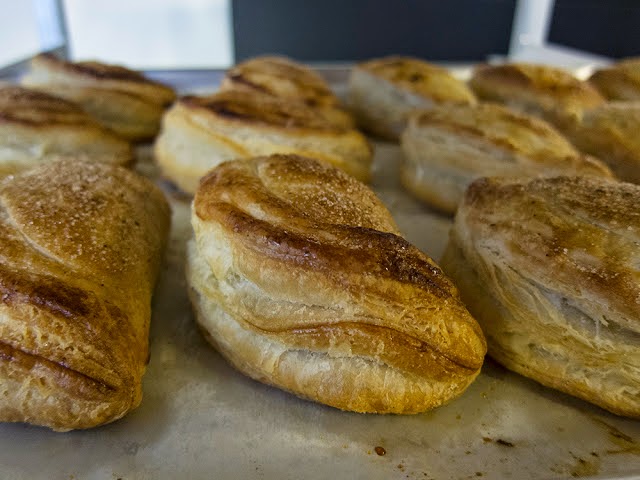
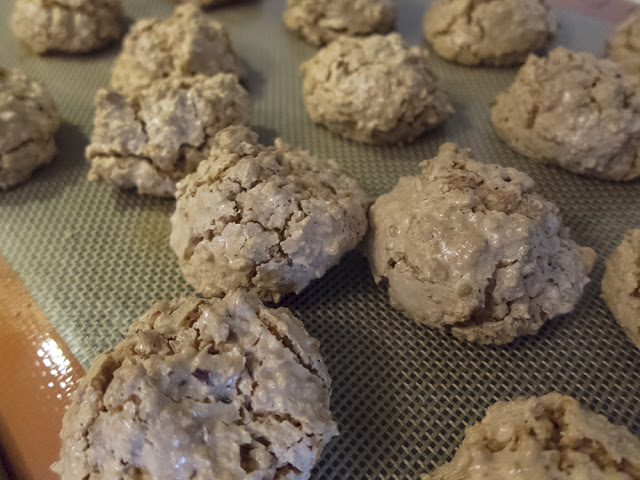
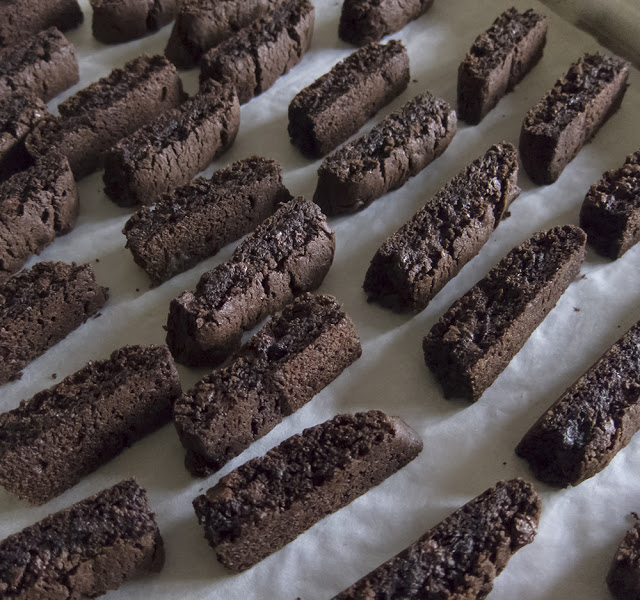
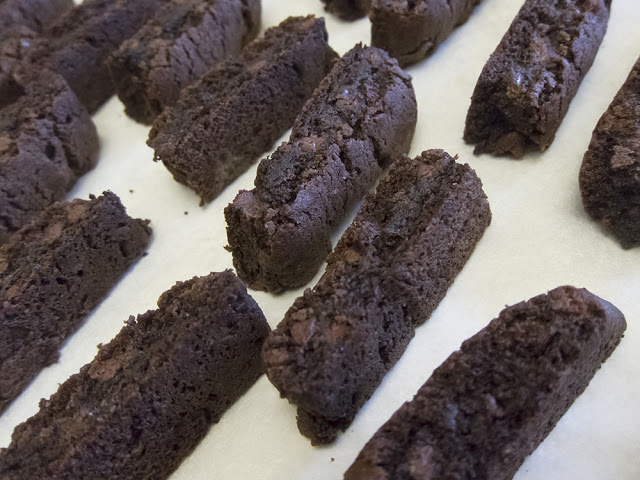
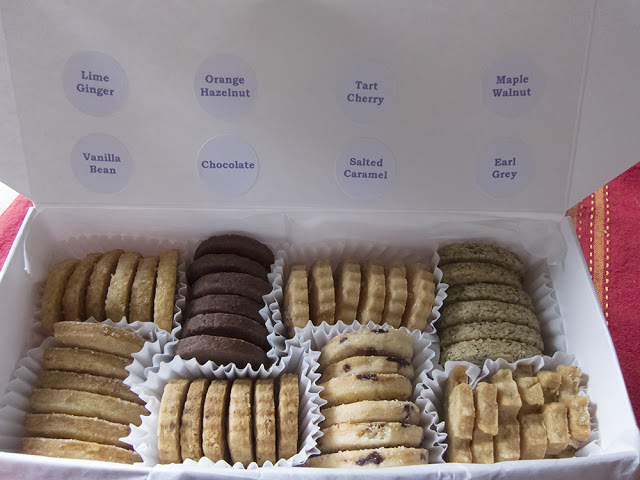
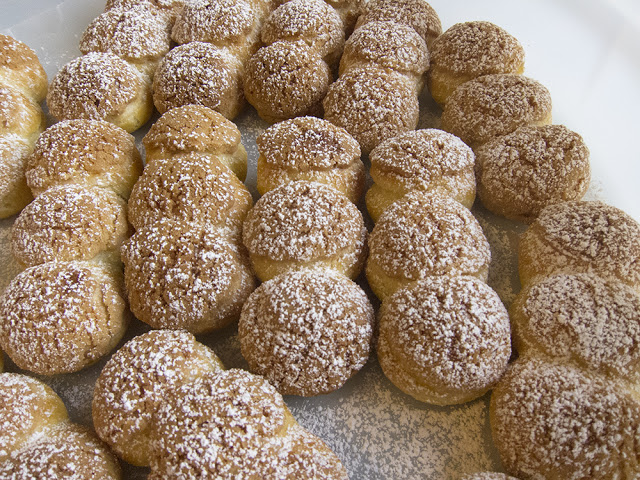
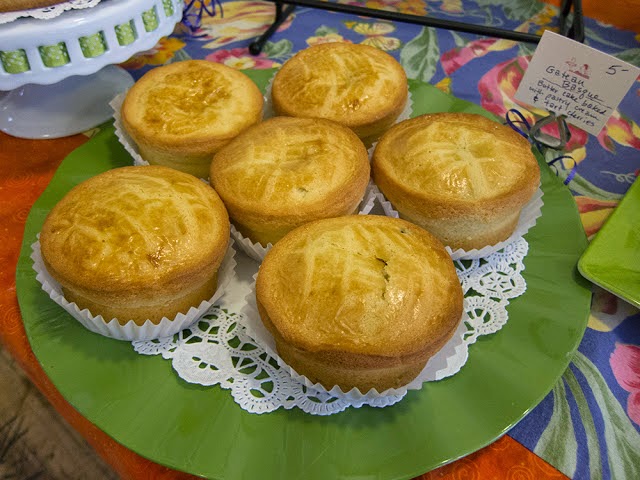
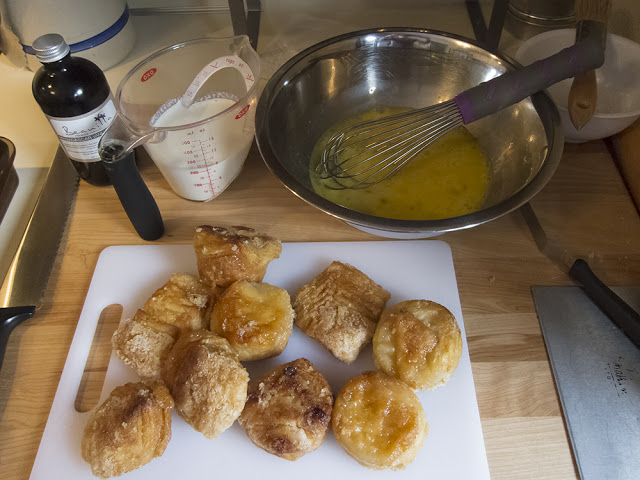
I removed 480 grams of K-a from the freezer some hours ahead and let them thaw at room temperature. Notice the misshapen K-a lumps in the photo below.
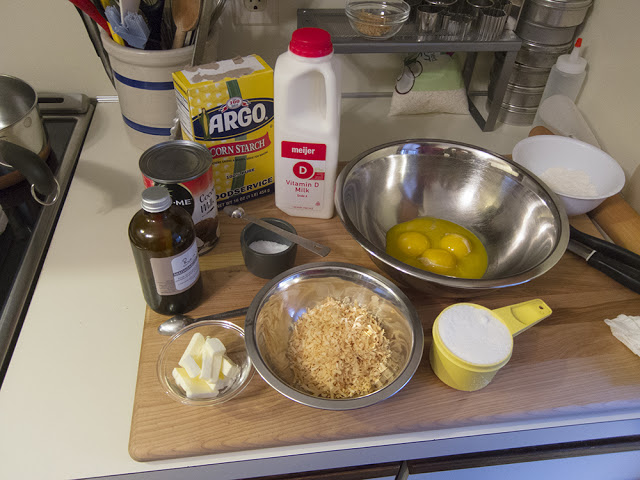
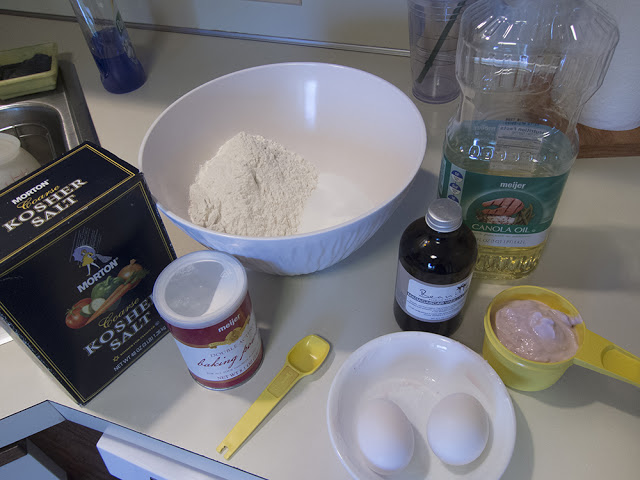
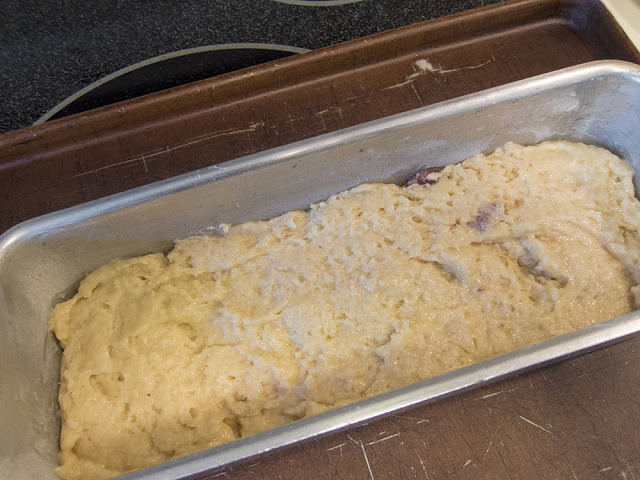
Cut the K-a into cubes and place them in an 8"x8" glass baking dish.
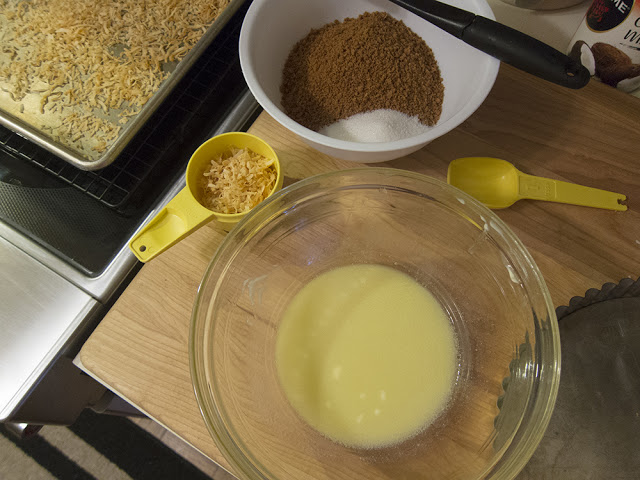
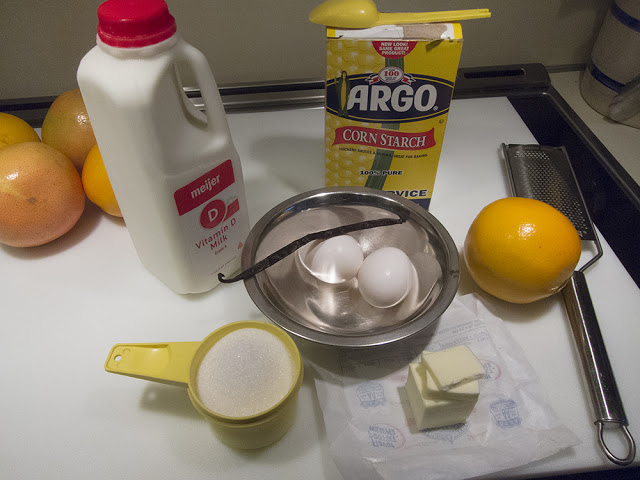
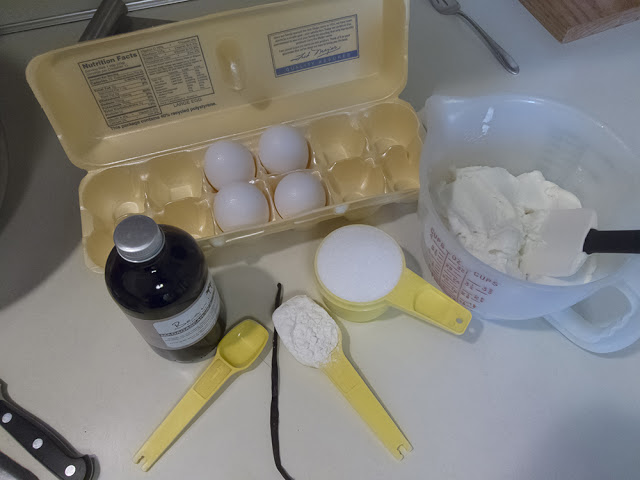
Mix 6 large eggs, 160 ml heavy cream, 60 ml whole milk and 1 teaspoon vanilla extract.
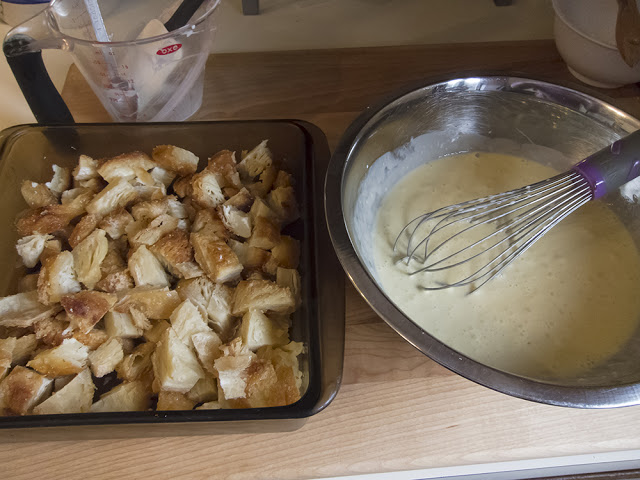
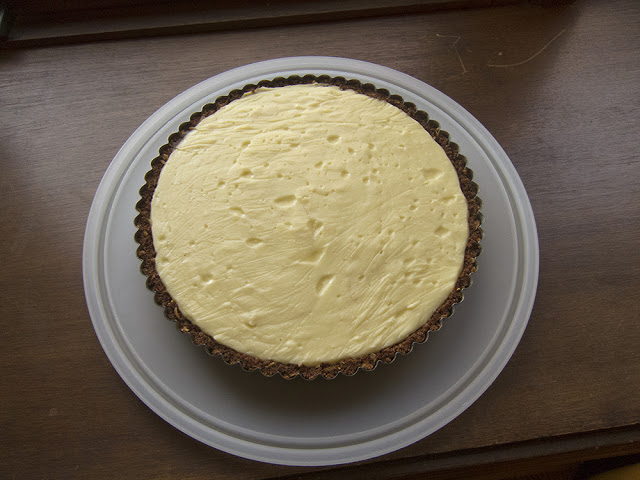
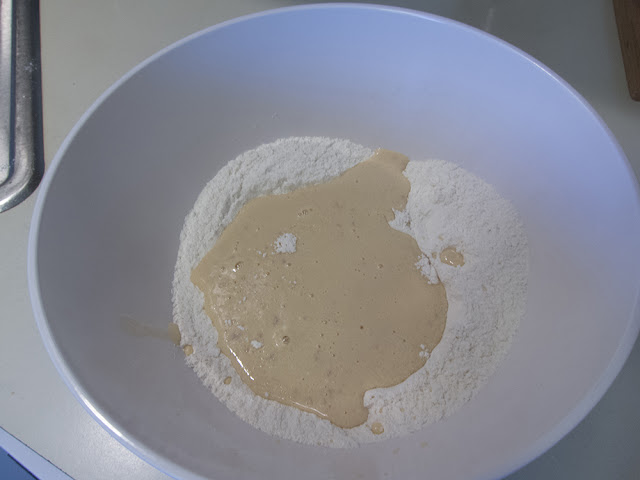
Pour the custard over the K-a, cover and soak the mélange in the fridge over night.
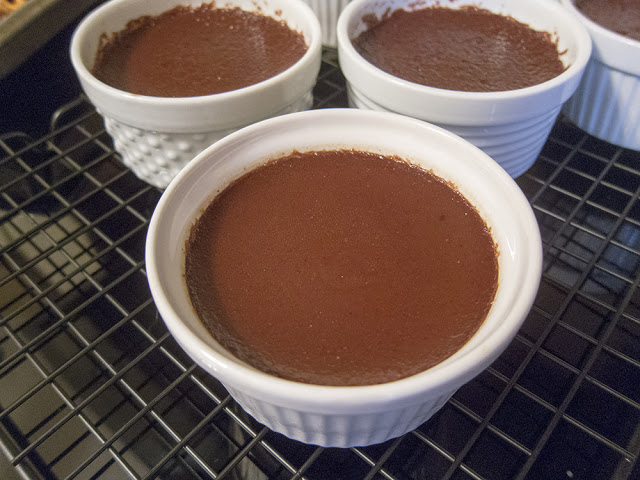
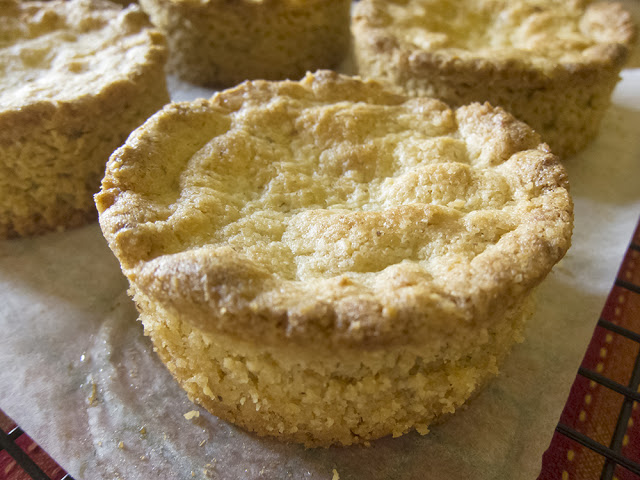
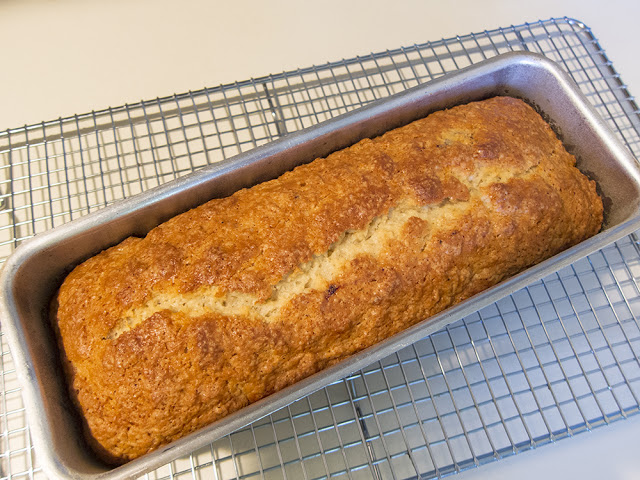
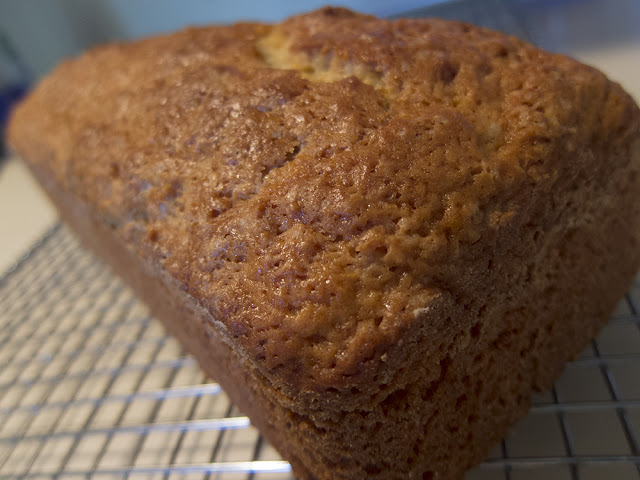
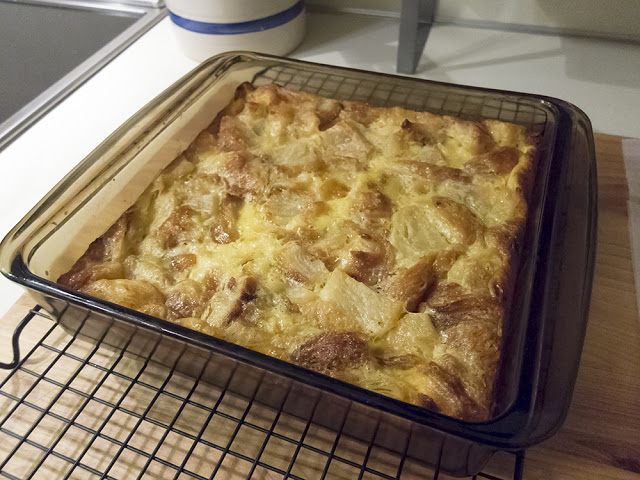
Heat the oven to 350º F. Bake covered with foil for 10 minutes, then remove foil and bake an additional 10 minutes or until the pudding is puffed, set and nicely browned.
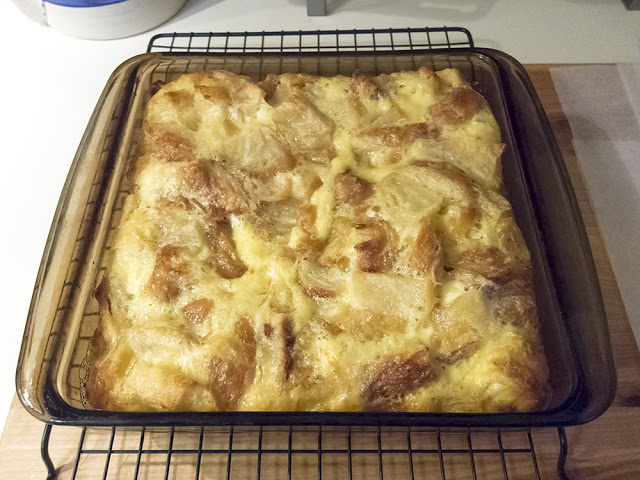
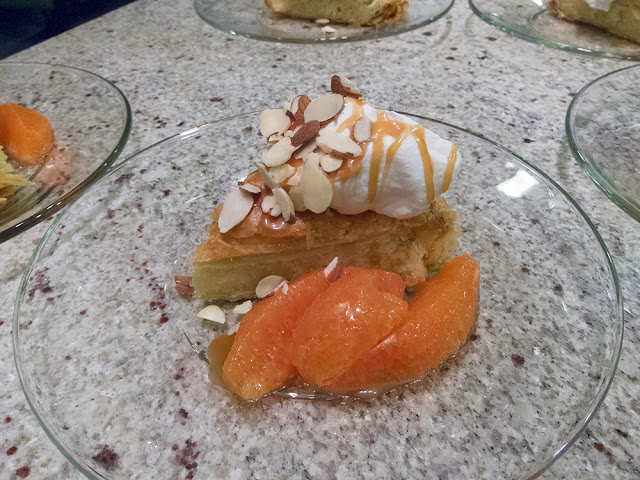
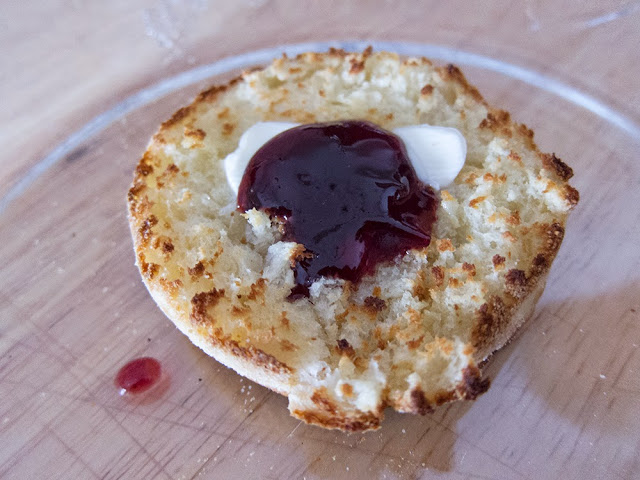
We ate this for dessert au naturale, still slightly warm (when it's at its best, by the way).
I can just imagine it topped with a little chantilly cream, a drizzle of maple syrup and some fresh berries, either for dessert or for breakfast or brunch. YUM.
So now you know what you can do with those leftover or not-so-perfect Kouign-amanns that you just might have lying around.
Thanks Rose.
Of course some might argue that once Kouign-amann are made they'll be gobbled up and there won't BE any leftovers.
Not so in my case. A couple of months ago I decided to make a batch of K-a, but, instead of baking them in open tart rings, I baked them in flexi-molds. I thought it would lend itself to much easier release of the final baked goods from their sticky, caramelized holders.
Nuh-uh. Because the dough was essentially "shielded" by the silicone molds, the K-a exteriors did not caramelize, the dough layers did not bake through and were pale and floppy. It was a gooey mess.
Note to self: certain things bake and brown much better surrounded by metal. Yup.
Some of the edges were actually OK and the flavor was there, so something wouldn't allow me to throw them all away and into the freezer they went.
After the holidays I was visiting Schuler Books here in Grand Rapids, looking of course at baking books, and was excited to find a recipe from Rose Levy Beranbaum's The Baking Bible (with Kouign-amann on the front cover no less) for "souffled French toast".
It uses day-old K-a baked in an egg, milk, cream, vanilla custard. What's not to like.
I removed 480 grams of K-a from the freezer some hours ahead and let them thaw at room temperature. Notice the misshapen K-a lumps in the photo below.
 |
| notice the doughy interior layers |
Cut the K-a into cubes and place them in an 8"x8" glass baking dish.
Mix 6 large eggs, 160 ml heavy cream, 60 ml whole milk and 1 teaspoon vanilla extract.
Pour the custard over the K-a, cover and soak the mélange in the fridge over night.
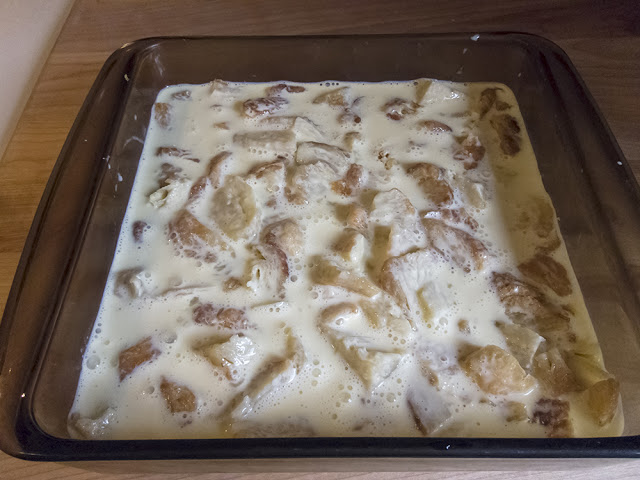 |
| ready for an overnight soak |
Heat the oven to 350º F. Bake covered with foil for 10 minutes, then remove foil and bake an additional 10 minutes or until the pudding is puffed, set and nicely browned.
We ate this for dessert au naturale, still slightly warm (when it's at its best, by the way).
I can just imagine it topped with a little chantilly cream, a drizzle of maple syrup and some fresh berries, either for dessert or for breakfast or brunch. YUM.
So now you know what you can do with those leftover or not-so-perfect Kouign-amanns that you just might have lying around.
Thanks Rose.