Crunchy topped choux
/
As a brief respite from traveling, moving and trying to figure out where we're going to live, I wanted to prepare something for dessert for my Aunt Marian's birthday lunch. Part of the reason Steve and I are transitioning back to Michigan is so we can be on the ground, as it were, to lend a hand to my Mom and her sibs and sibs-in-law, all of whom are aging as we speak. But then, aren't we all??
At first I was going to turn to one of my standards - financier, a tart of some sort, shortbread - all the usual suspects. And then my thoughts turned to choux!
Some years ago while visiting my pastry friend Misato in Mulhouse (Alsace) I was perusing one of her pastry books by Jean-Michel Perruchon. I was intrigued by the recipes for crunchy topping for pâte à choux, as well as the different fruity variations of pastry cream - a whole new world opened up to me!
Since then I had tried the crunchy topping thing as well as a pear pastry cream version for a tart I created and found them very satisfying. For some reason I put those ideas aside as other things in the pastry world seemed to grab my attention.
But now, as I reviewed Dorie Greenspan's "Baking Chez Moi", I found her recipes for "Crackle-Top Cream Puffs" and "Bubble Eclairs". The wheels started spinning.
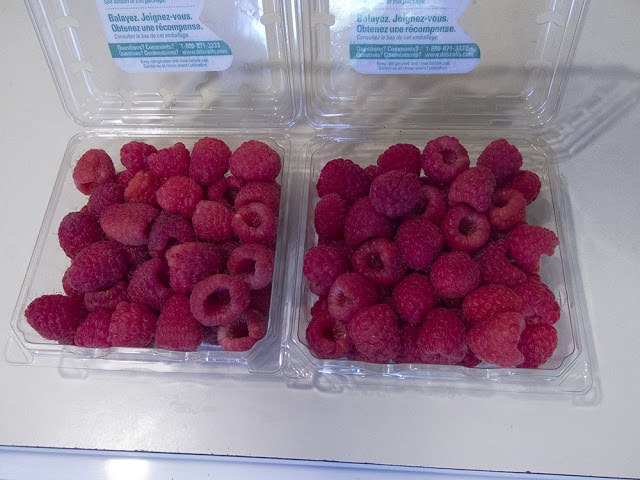
Inspired by raspberries on sale at Meijer for $1! per 6 oz, I decided to make a raspberry pastry cream to fill my version of "bubble-crackle-top eclairs".
OK - so let's get to it.
First - the crackle-top dough. This is basically akin to a crumble - mix 64 gm cool, diced butter, 100 gm sugar (in this case brown sugar), 85 gm all-purpose flour, a pinch of salt and 3/4 tsp vanilla extract . . . .
and form a rough dough that just holds together.
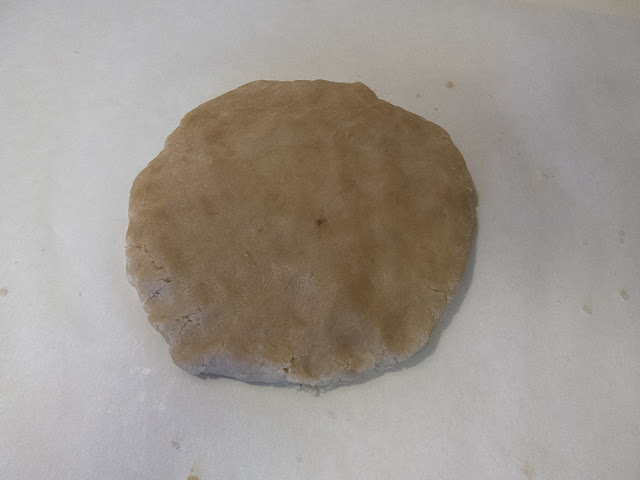
Form a disc . . . .
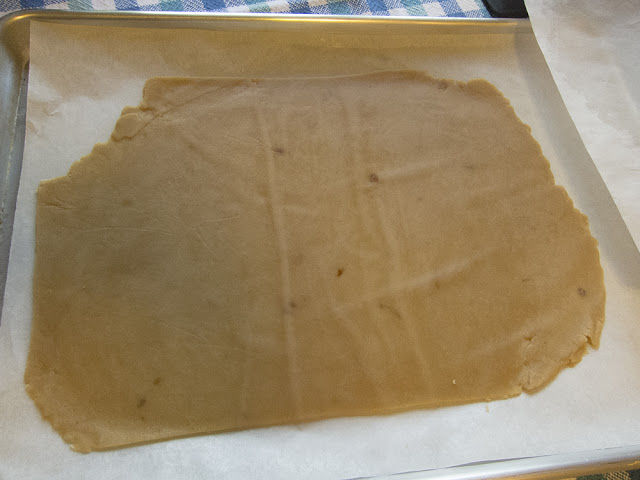
and roll it to 1/16" thick between two sheets of parchment paper.
Freeze it for a couple of hours (or until ready to bake your choux puffs), then cut into rounds that will later top the puffs. You can hold this dough frozen and wrapped for many days!

I wrapped the scraps and froze them for another time.
Second - the pastry cream. The beauty of this is its make-ahead-by-a-day-or-two feature.
Initially I found the whole idea of a fruit version of pastry cream (hmmm, fruit puree and milk?) kind of odd. But, as I thought about it, we use fruit purees and dairy in many ways -ice cream, smoothies, cheesecake, mascarpone cream to name a few. Instead of using only milk as the liquid base as is typical for standard pastry cream, one can create variations by using a combination of fruit puree and milk, proceeding with the very same process used to make pastry cream with egg yolks, sugar and cornstarch. I like to think of it as a cross between pastry cream and curd.
I wasn't sure how much puree my 12 oz of fresh raspberries would yield, so I smooshed and strained them with a yield of 215 gm. Now I could figure out the quantities for the remaining ingredients.
In Perruchon's recipes a greater proportion of fruit puree is used compared to the milk e.g. 500 gm puree + 100 gm milk. I tweaked the proportions based on my 215 gm of raspberry puree, using equal weights of puree and milk.
To sum up, my recipe used 215 gm raspberry puree, 215 gm whole milk, 95 gm egg yolk, 77 gm sugar and 40 gm cornstarch; 20 gm butter is added at the end of the cooking process. If you don't know the standard process for making pastry cream, you can find many sources on line to help you.
Once the raspberry pastry cream was made I covered and chilled it until I was ready to use it the next day.
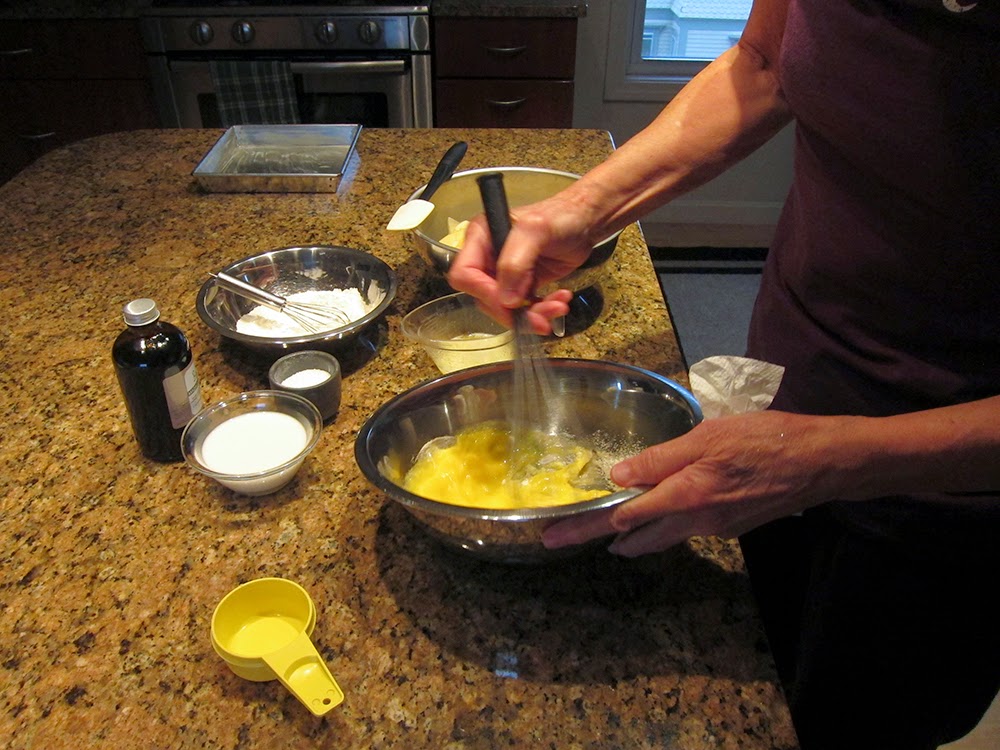
Next up - pâte à choux. For this I went with my standard recipe from Michel Roux - in a medium pan bring 125 gm milk, 125 gm water, 1 1/2 tsp sugar, 1/2 tsp salt, 100 gm diced butter to a boil; remove from the heat and stir in 150 gm flour all at once; place back on the heat and stir for a minute or so to dry it (you'll see a thin film on the bottom of the pan); stir in 4 eggs, one at a time, until you have a smooth, silky paste.
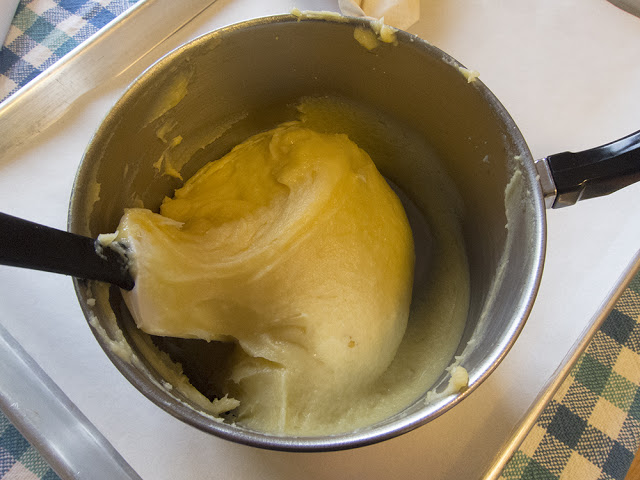
Here is the panada (the paste before the eggs are added) . . . .
and after the egg addition . . .
I piped out the puffs in series of three, each ball snuggling up to the next . . .

and topped them with the chilled crackle dough rounds.
Pretty cool!
Bake them at 375º for about 35 minutes until the tops are browned and the puffs are golden and firm to the touch.
Once the puffs are cooled it's time to garnish.
I typically lighten my pastry cream with a small percentage of whipped cream. In this case I blended 100 gm whipped cream into my raspberry pastry cream.

I opted for the fill-from-the-bottom technique, finding it much more user friendly than slicing each one in half. Plus, I've filled a LARGE share of puffs and eclairs over the years, and it's like riding a bicycle.
Poke holes in the bottoms and, using a pastry bag with a 6 mm tip, fill each section until the cream starts to ooze out of the adjacent holes. That way you know you've filled adequately. Once you've done this multiple times you begin to understand what the "heft" of a well filled puff is all about.
I'm told that Parisians get mighty peeved if their eclairs and profiteroles aren't filled properly!
I scrape the excess off with a small offset spatula, place them crunch side up and dust them with powdered sugar. And we're off to the races!

These were well received by the family, who had gathered at Uncle John's Clear Bottom Lake cottage to celebrate Aunt Marian's 86th birthday. The crunchy top is such a wonderful contrast to the cool, creamy filling and the light as air choux. I enjoyed the raspberry cream, although Steve still holds out for classic pastry cream (praline and chocolate are some of his faves too).
Happy Birthday Aunt Marian!
At first I was going to turn to one of my standards - financier, a tart of some sort, shortbread - all the usual suspects. And then my thoughts turned to choux!
Some years ago while visiting my pastry friend Misato in Mulhouse (Alsace) I was perusing one of her pastry books by Jean-Michel Perruchon. I was intrigued by the recipes for crunchy topping for pâte à choux, as well as the different fruity variations of pastry cream - a whole new world opened up to me!
Since then I had tried the crunchy topping thing as well as a pear pastry cream version for a tart I created and found them very satisfying. For some reason I put those ideas aside as other things in the pastry world seemed to grab my attention.
But now, as I reviewed Dorie Greenspan's "Baking Chez Moi", I found her recipes for "Crackle-Top Cream Puffs" and "Bubble Eclairs". The wheels started spinning.
Inspired by raspberries on sale at Meijer for $1! per 6 oz, I decided to make a raspberry pastry cream to fill my version of "bubble-crackle-top eclairs".
OK - so let's get to it.
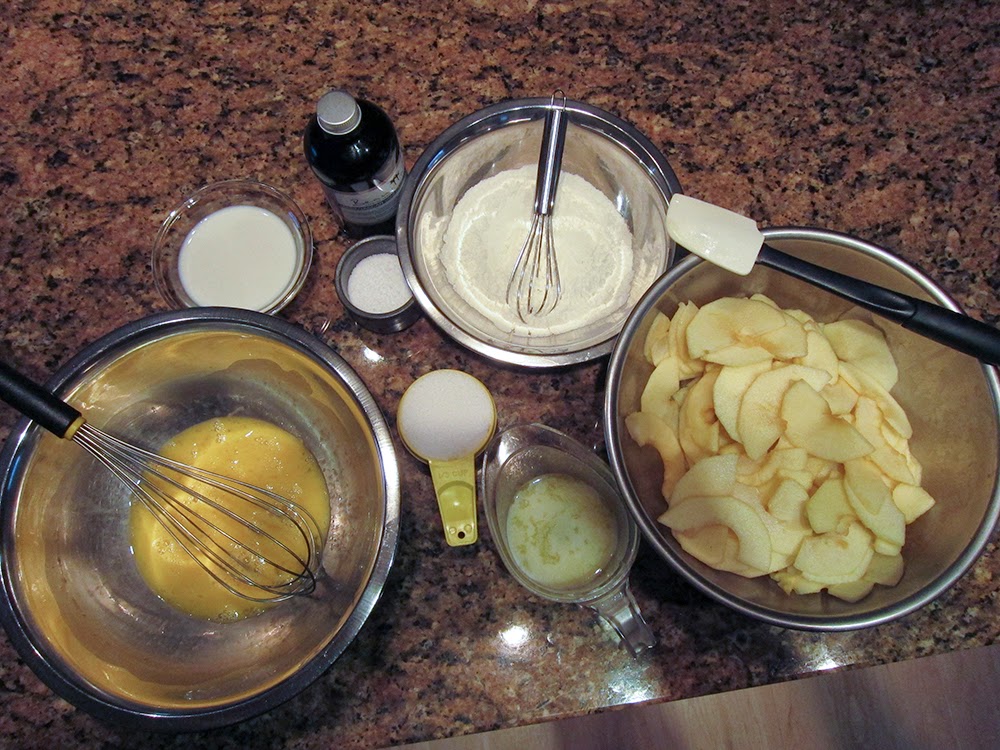
First - the crackle-top dough. This is basically akin to a crumble - mix 64 gm cool, diced butter, 100 gm sugar (in this case brown sugar), 85 gm all-purpose flour, a pinch of salt and 3/4 tsp vanilla extract . . . .
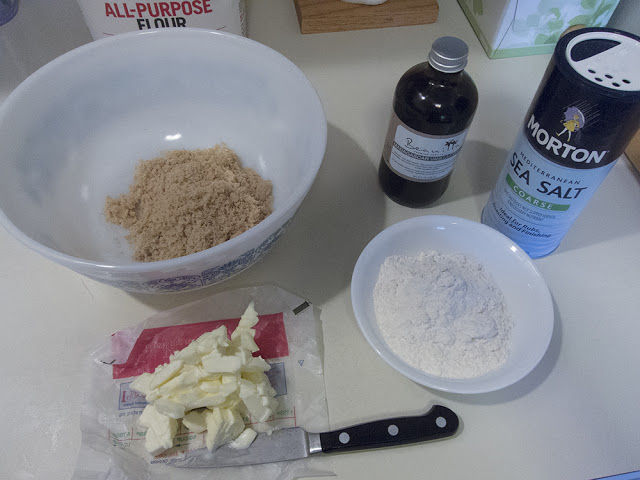 |
| les ingredients |
and form a rough dough that just holds together.
 |
| crumbly but holds together when squeezed |
Form a disc . . . .
and roll it to 1/16" thick between two sheets of parchment paper.
Freeze it for a couple of hours (or until ready to bake your choux puffs), then cut into rounds that will later top the puffs. You can hold this dough frozen and wrapped for many days!
I wrapped the scraps and froze them for another time.
Second - the pastry cream. The beauty of this is its make-ahead-by-a-day-or-two feature.
Initially I found the whole idea of a fruit version of pastry cream (hmmm, fruit puree and milk?) kind of odd. But, as I thought about it, we use fruit purees and dairy in many ways -ice cream, smoothies, cheesecake, mascarpone cream to name a few. Instead of using only milk as the liquid base as is typical for standard pastry cream, one can create variations by using a combination of fruit puree and milk, proceeding with the very same process used to make pastry cream with egg yolks, sugar and cornstarch. I like to think of it as a cross between pastry cream and curd.
I wasn't sure how much puree my 12 oz of fresh raspberries would yield, so I smooshed and strained them with a yield of 215 gm. Now I could figure out the quantities for the remaining ingredients.
In Perruchon's recipes a greater proportion of fruit puree is used compared to the milk e.g. 500 gm puree + 100 gm milk. I tweaked the proportions based on my 215 gm of raspberry puree, using equal weights of puree and milk.
To sum up, my recipe used 215 gm raspberry puree, 215 gm whole milk, 95 gm egg yolk, 77 gm sugar and 40 gm cornstarch; 20 gm butter is added at the end of the cooking process. If you don't know the standard process for making pastry cream, you can find many sources on line to help you.
Once the raspberry pastry cream was made I covered and chilled it until I was ready to use it the next day.
Next up - pâte à choux. For this I went with my standard recipe from Michel Roux - in a medium pan bring 125 gm milk, 125 gm water, 1 1/2 tsp sugar, 1/2 tsp salt, 100 gm diced butter to a boil; remove from the heat and stir in 150 gm flour all at once; place back on the heat and stir for a minute or so to dry it (you'll see a thin film on the bottom of the pan); stir in 4 eggs, one at a time, until you have a smooth, silky paste.
Here is the panada (the paste before the eggs are added) . . . .
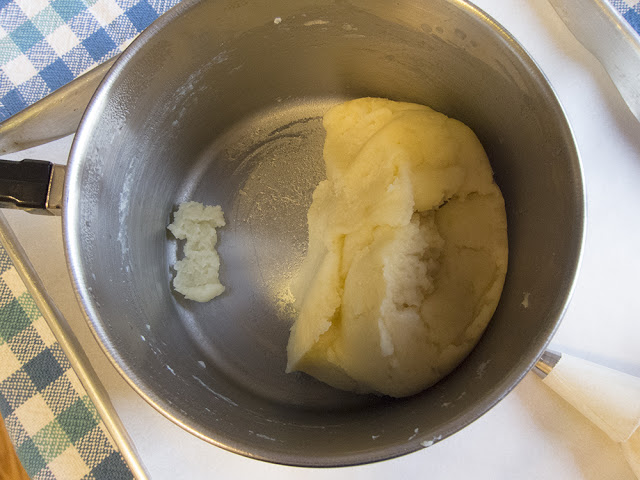 |
| check out the thin coating on the bottom of the pan |
and after the egg addition . . .
 |
| silky smooth |
I piped out the puffs in series of three, each ball snuggling up to the next . . .
and topped them with the chilled crackle dough rounds.
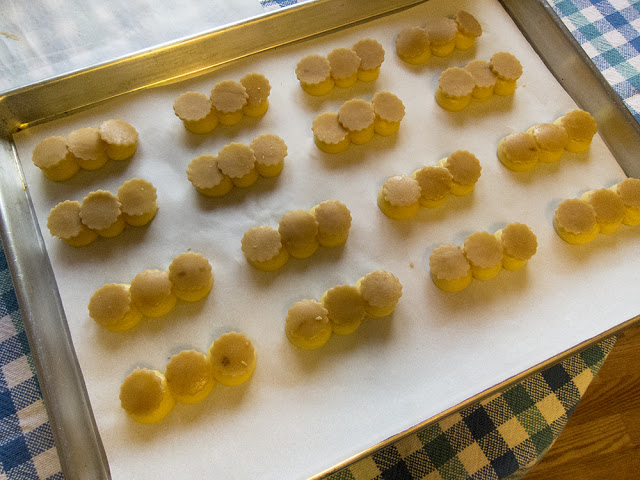 |
| ready for the oven |
Pretty cool!
Bake them at 375º for about 35 minutes until the tops are browned and the puffs are golden and firm to the touch.
 |
| Oh yeah - lookin' good! |
Once the puffs are cooled it's time to garnish.
I typically lighten my pastry cream with a small percentage of whipped cream. In this case I blended 100 gm whipped cream into my raspberry pastry cream.
 |
| whipped cream and pastry cream ready to be blended together |
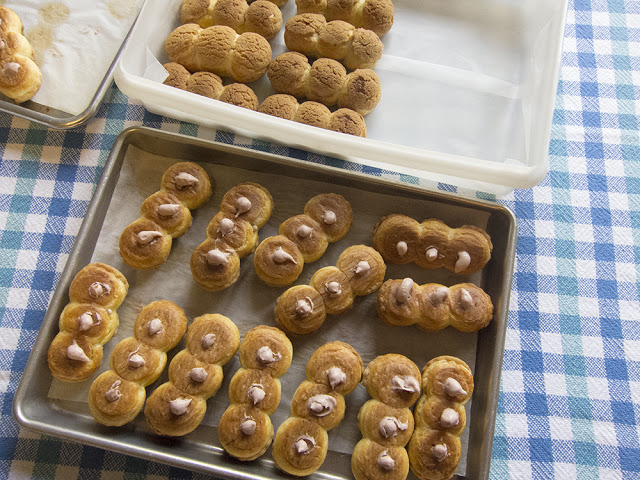
One can garnish puffs or eclairs in two different ways - slice the choux, pipe the cream decoratively on the bottom half and sandwich- OR fill the choux from the bottom.
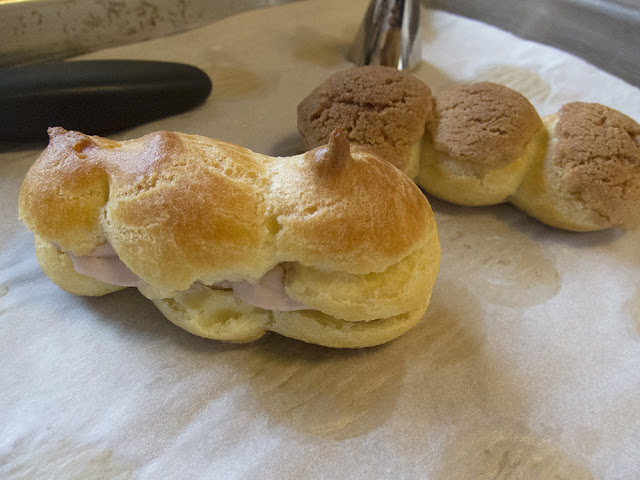 |
| the non crackle-top in the foreground was my practice version! |
I opted for the fill-from-the-bottom technique, finding it much more user friendly than slicing each one in half. Plus, I've filled a LARGE share of puffs and eclairs over the years, and it's like riding a bicycle.
Poke holes in the bottoms and, using a pastry bag with a 6 mm tip, fill each section until the cream starts to ooze out of the adjacent holes. That way you know you've filled adequately. Once you've done this multiple times you begin to understand what the "heft" of a well filled puff is all about.
I'm told that Parisians get mighty peeved if their eclairs and profiteroles aren't filled properly!
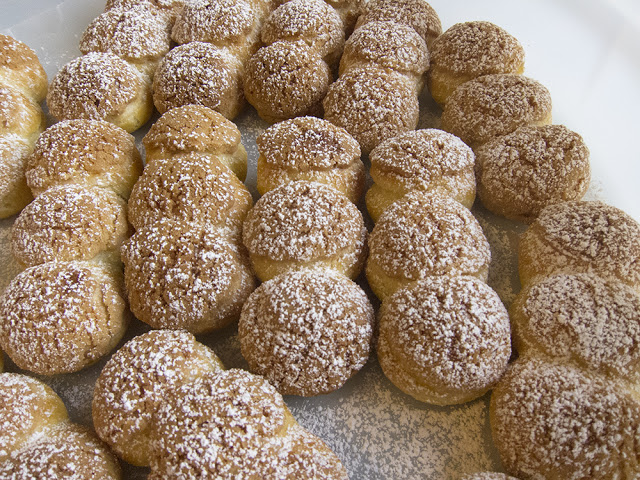
I scrape the excess off with a small offset spatula, place them crunch side up and dust them with powdered sugar. And we're off to the races!
These were well received by the family, who had gathered at Uncle John's Clear Bottom Lake cottage to celebrate Aunt Marian's 86th birthday. The crunchy top is such a wonderful contrast to the cool, creamy filling and the light as air choux. I enjoyed the raspberry cream, although Steve still holds out for classic pastry cream (praline and chocolate are some of his faves too).
Happy Birthday Aunt Marian!