Michigan cherry charlotte
/
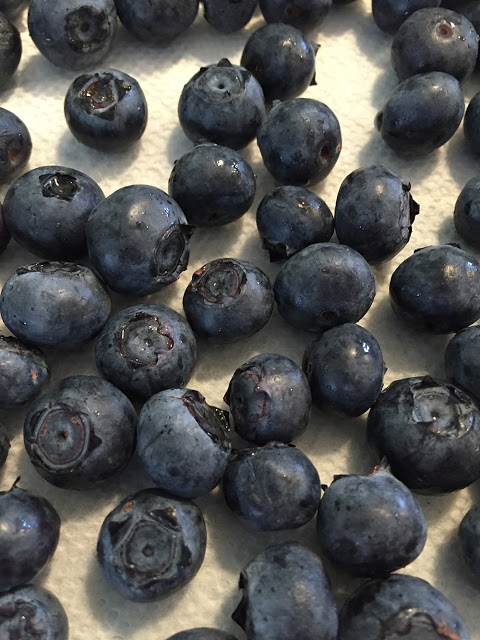
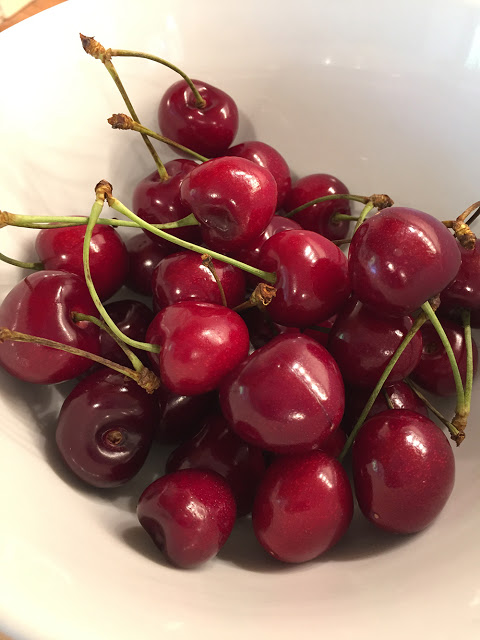
It's Michigan sweet cherry season!
There are so many delicious things to make with sweet cherries, and, since I had some petite lady fingers in my freezer, my mind turned toward a cherry version of a classic charlotte.
A charlotte is a dessert assembled in a mold lined with lady fingers, sponge cake or bread and then filled with a fruit mousse, Bavarian cream, whipped cream or custard.
I remember making a pear version in pastry school and recall it was quite tasty indeed. I don't believe I've made one since.
It was time.

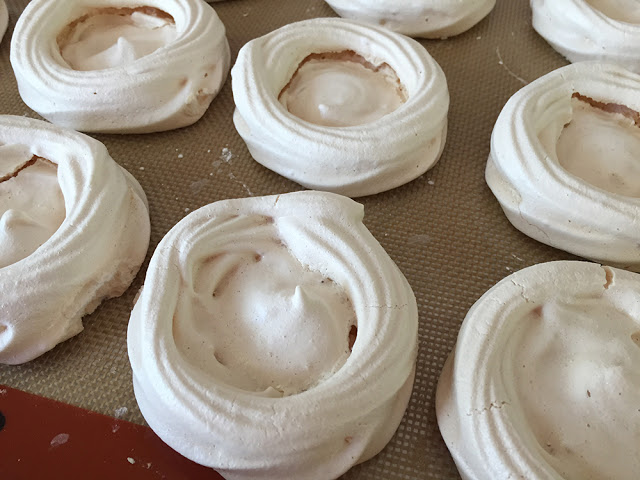
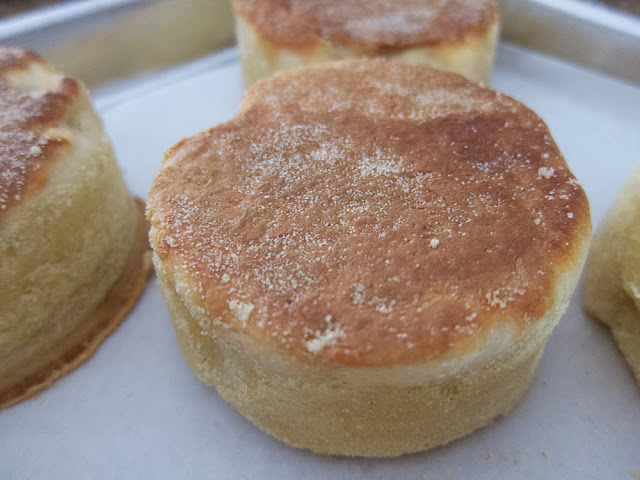
First a brief note about lady fingers. They belong in the category of sponge cake and are really quite straight forward to make.
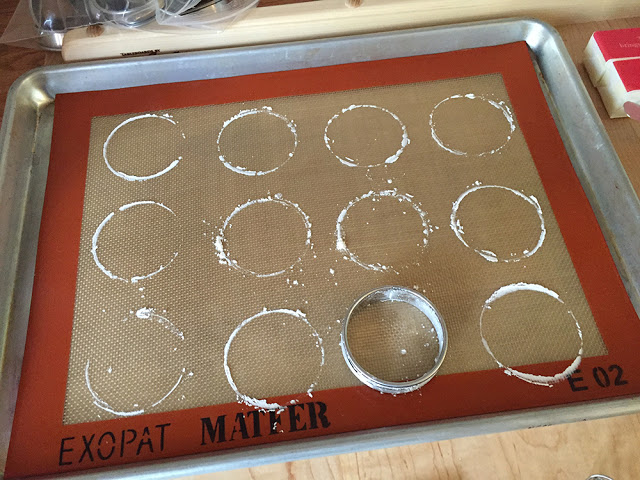
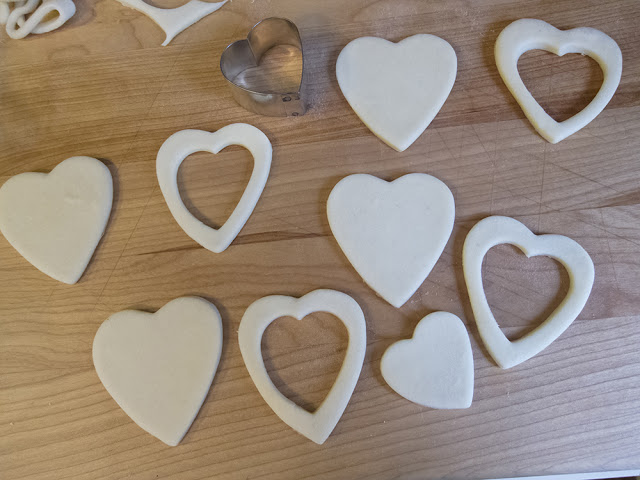
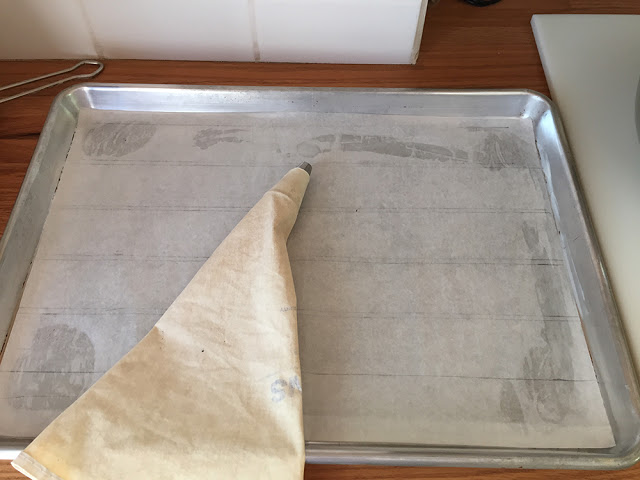
To prepare for piping the lady fingers I marked a half sheet pan in 3 inch wide increments as a guide for my piping. You can make your lady fingers any size your little heart desires!
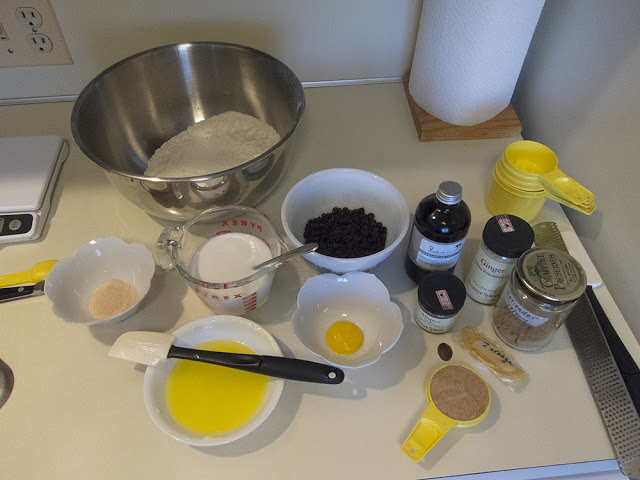
The base recipe we used at Le Cordon Bleu calls for 4 eggs, separated; 125 grams sugar and 125 grams all purpose flour.
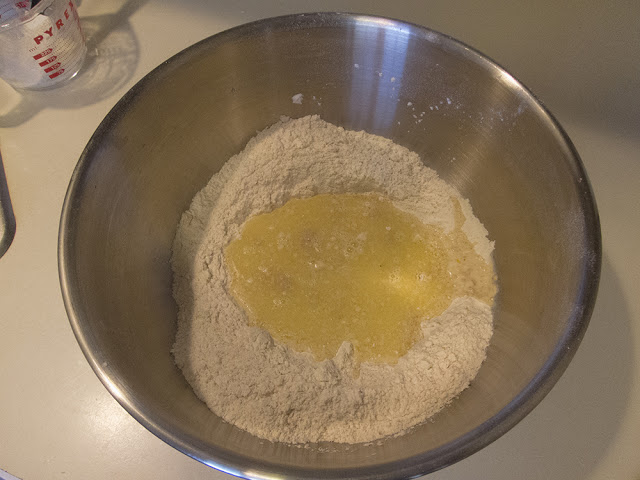
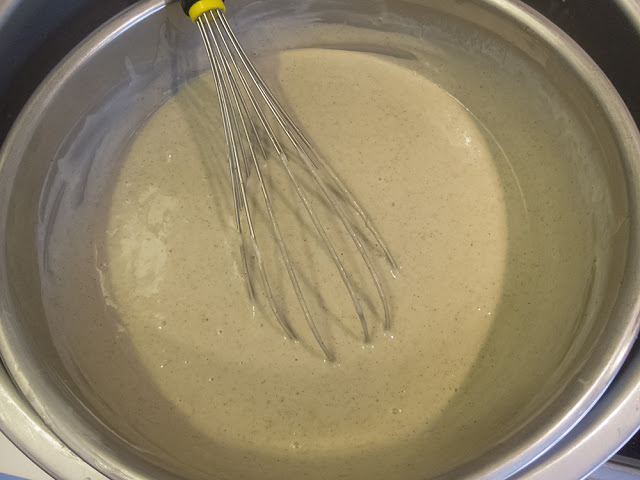
The egg whites are whipped to medium stiff peaks along with half the sugar. The yolks are then whisked with the other half of the sugar until pale and thickened and are folded into the beaten whites.
Then half the flour is gently folded into the egg mixture, followed by the second half of the flour just until blended. Don't overwork it.
Pipe the batter in rows . . . . .

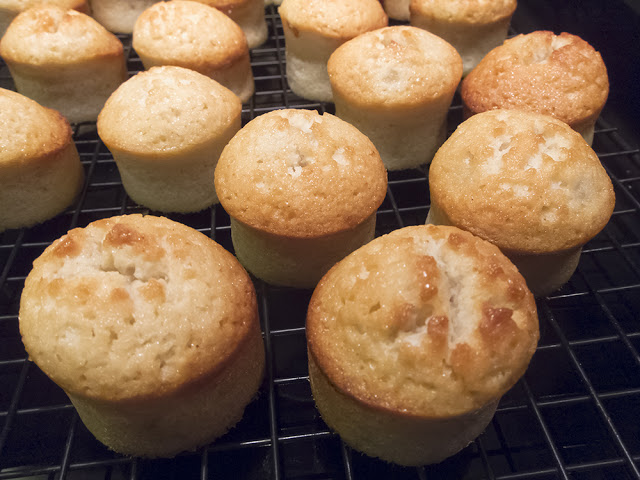
Et voila!

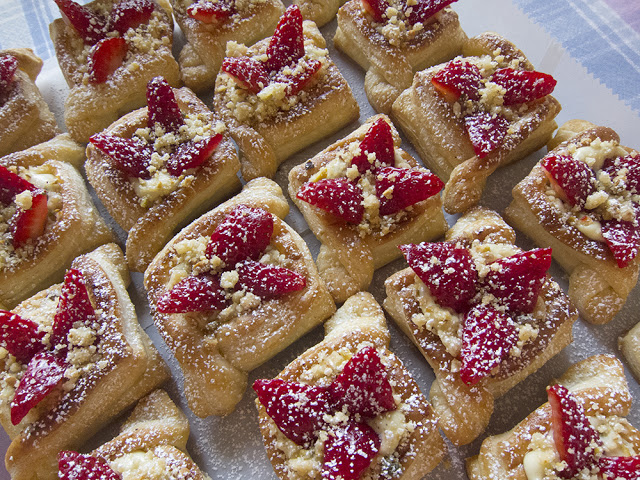
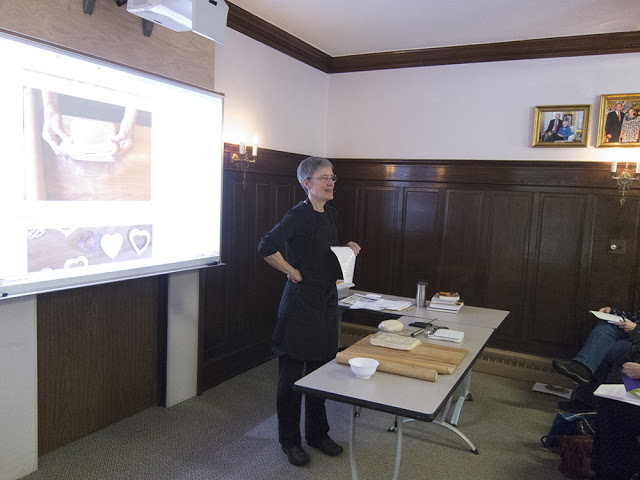
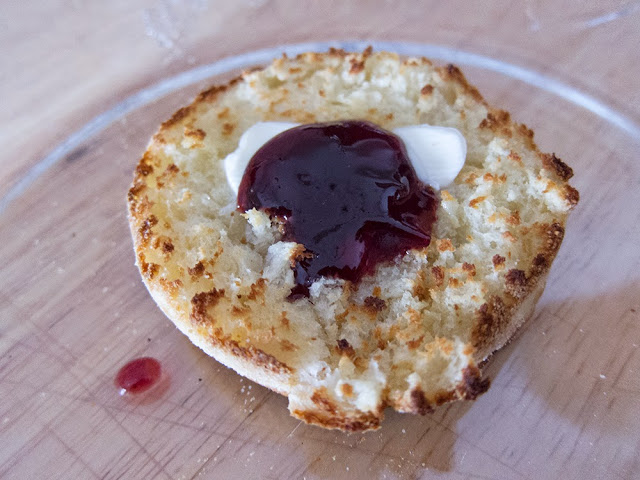
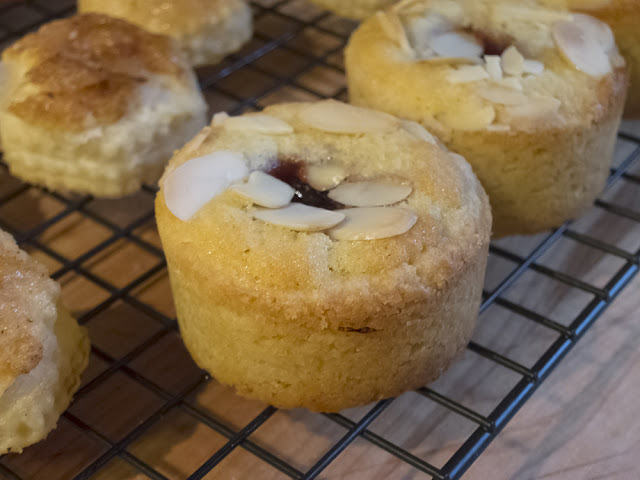
I had served some of the lady fingers sandwiched with lemon curd and strawberry jam at a recent demo presentation, but the rest went into the freezer (they freeze very well!) just waiting to be incorporated into a luscious, creamy charlotte.
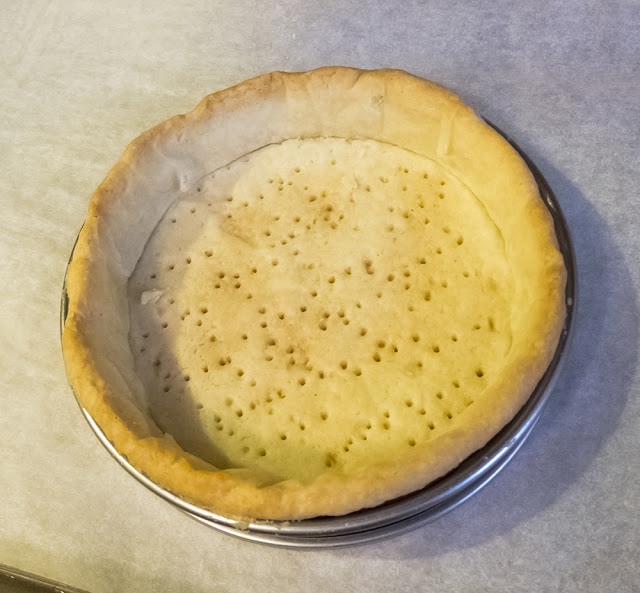
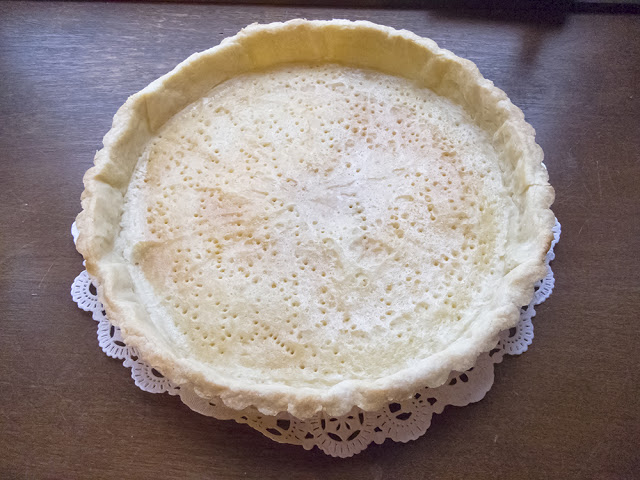
I used a 16 centimeter round ring mold for my charlotte assembly and opted to bake a round of tart cherry shortbread as my base.
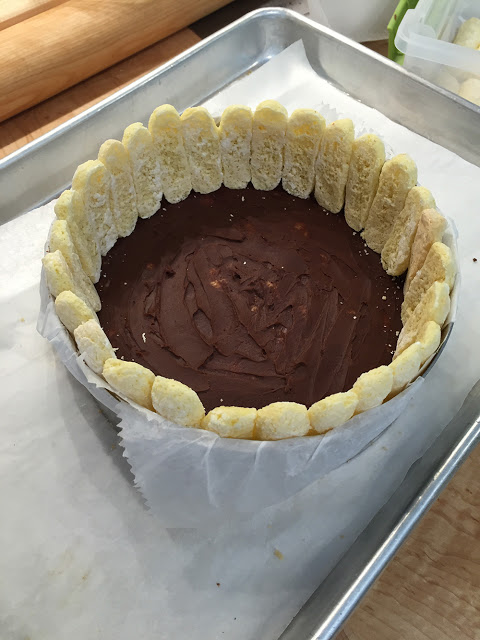
Once the shortbread base was baked and cooled, I lined the ring rather rustically with waxed paper sheets, put the shortbread base in and coated it with a brushing of chocolate ganache. This was meant to protect it from the soon-to-come cherry mousse filling and keep it crisp.

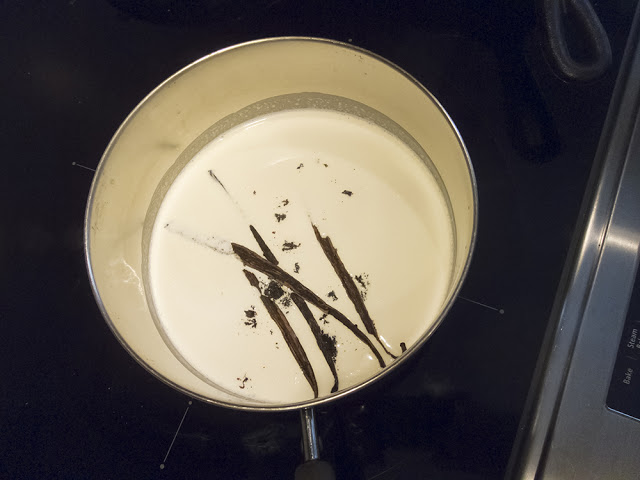
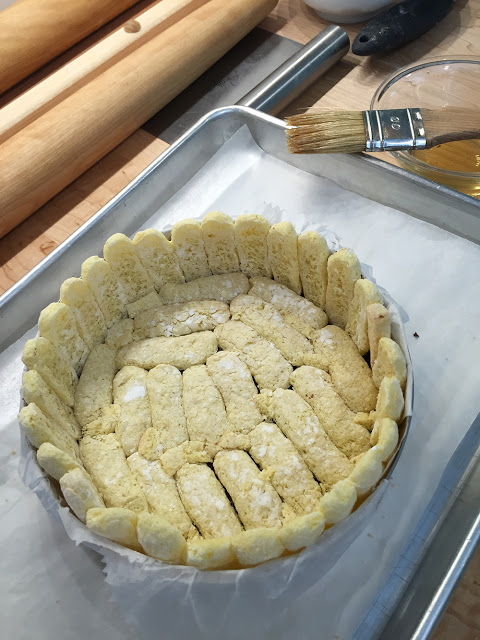
I then lined the ring sides and base with the lady fingers and imbibed them with vanilla simple syrup.
I wasn't quite ready to make my cherry mousse so I popped the assemblage into the freezer to await the final stages.
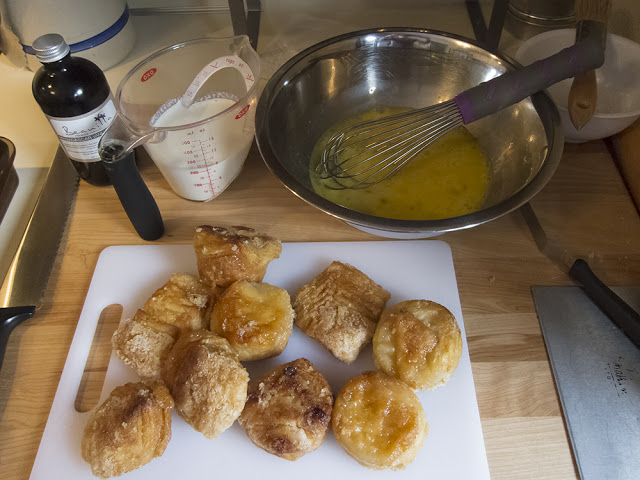
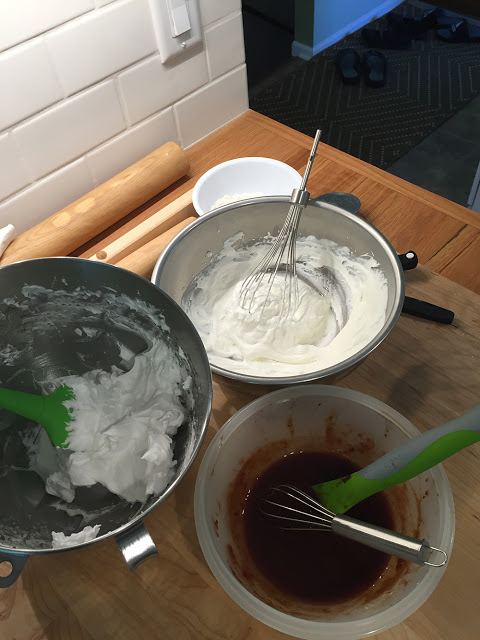
For the mousse I needed cherry purée, whipped cream and Italian meringue (boy, I haven't made THAT in forever!!).
I puréed 130 grams of pitted and halved cherries with about a tablespoon of sugar, a generous squeeze of lemon juice and a couple of teaspoons of water.
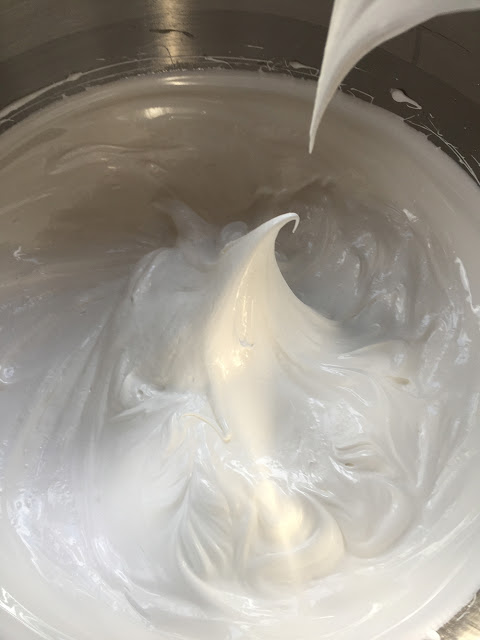
I made a small batch of Italian meringue by cooking 50 grams sugar and 20 ml water to 118ºC . . . .

then pouring the sugar syrup over one whipped egg white and whipping until cooled and nicely shiny and stiff.
(Note to self - plan ahead for various uses and make a larger batch of Italian meringue next time!)
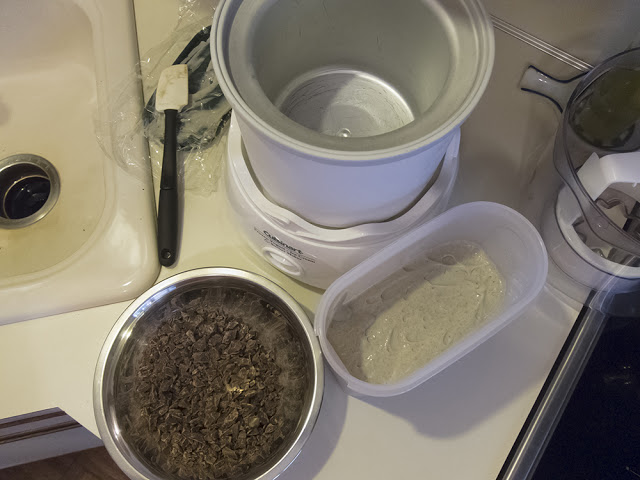
Then I whipped 150 ml heavy cream to soft peaks.
Below are all three components ready to be blended.
Once the mousse was blended I filled my lady finger lined charlotte ring and smoothed the top.
I placed the charlotte into the freezer to set.
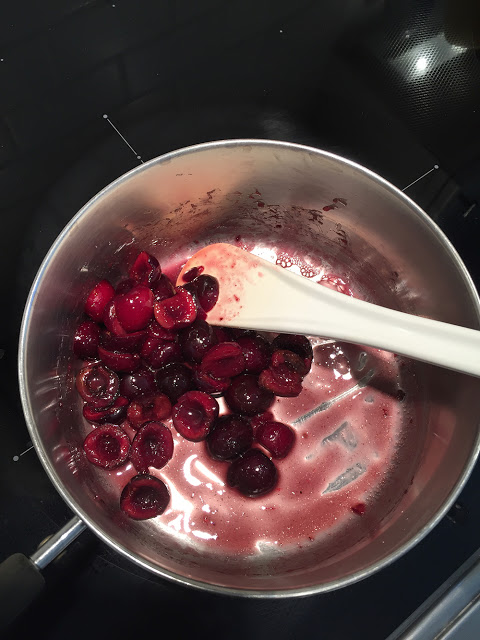
For my garnish I used 120 grams of pitted and halved cherries, cooked them with a little sugar, cornstarch and lemon juice until thickened, then let them cool.
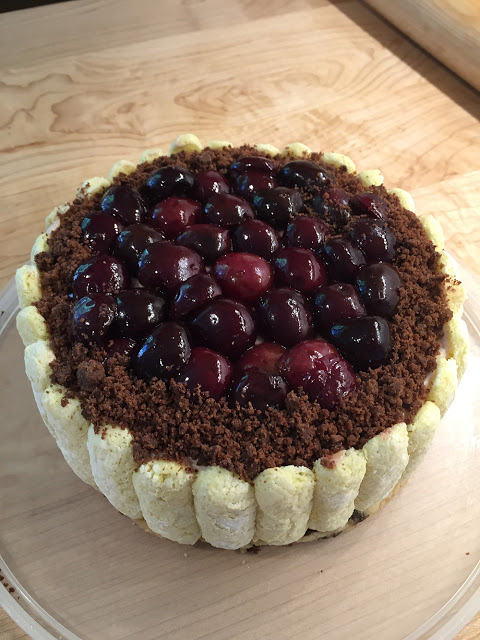
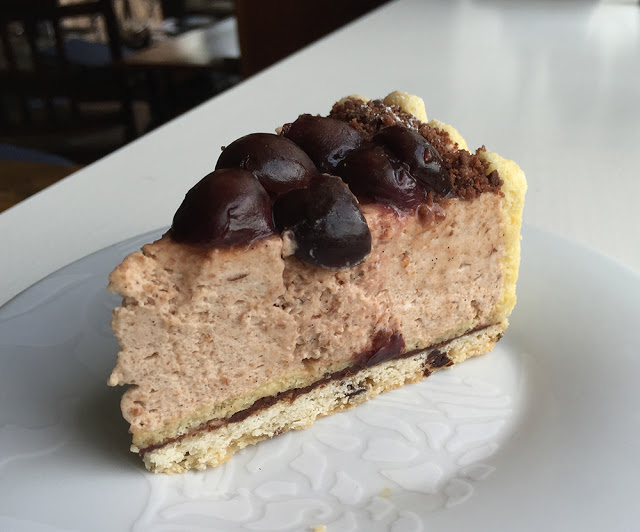
Once the mousse was set (after an hour or so in the freezer), I topped it with the cooled cherries and added a rim of crushed chocolate shortbread cookies to give it a bit of flair.
Mom came over for a delicious summer supper of grilled chicken, fresh green beans with broccoli and sliced almonds thrown in for good measure, and couscous (all prepared by head chef Steve!).
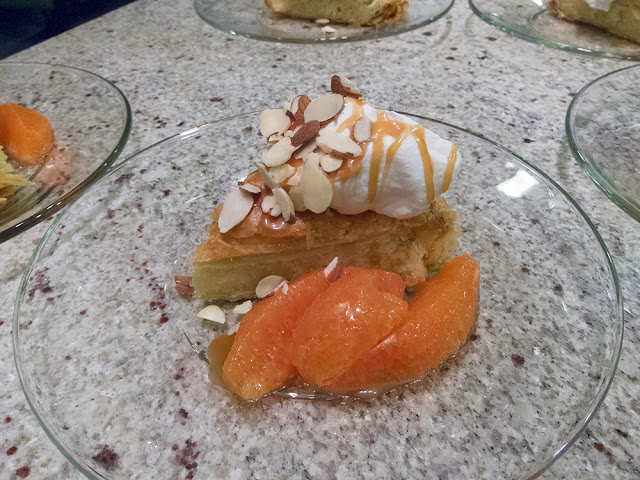
And, of course, for dessert we three simply had to sample the cherry charlotte.
We agreed that the mousse was SOOO . . light with a clear taste of cherries. The shortbread crust, cherry topping and dashes of chocolate all made for a tasty combination.
And after an overnight in the fridge it was still delicious the next day - yessirree!
Here's to summer!!
There are so many delicious things to make with sweet cherries, and, since I had some petite lady fingers in my freezer, my mind turned toward a cherry version of a classic charlotte.
A charlotte is a dessert assembled in a mold lined with lady fingers, sponge cake or bread and then filled with a fruit mousse, Bavarian cream, whipped cream or custard.
I remember making a pear version in pastry school and recall it was quite tasty indeed. I don't believe I've made one since.
It was time.
First a brief note about lady fingers. They belong in the category of sponge cake and are really quite straight forward to make.
To prepare for piping the lady fingers I marked a half sheet pan in 3 inch wide increments as a guide for my piping. You can make your lady fingers any size your little heart desires!
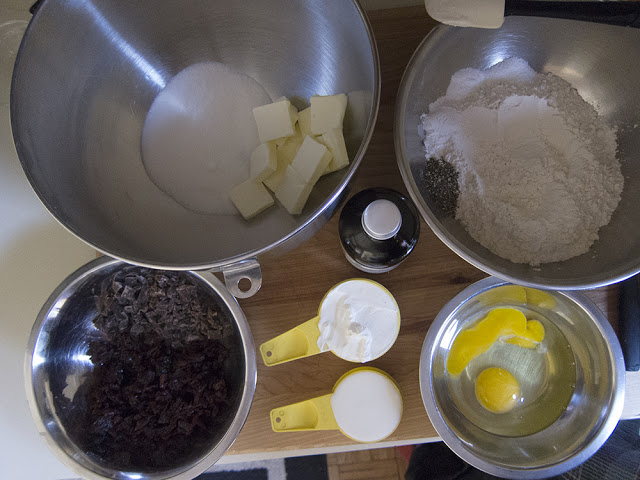
The base recipe we used at Le Cordon Bleu calls for 4 eggs, separated; 125 grams sugar and 125 grams all purpose flour.
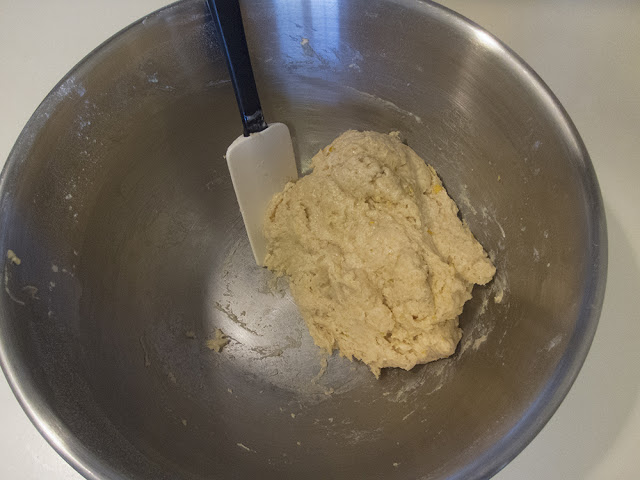
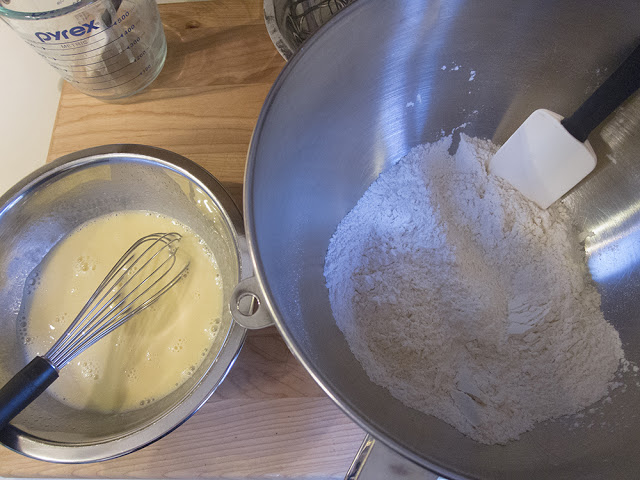
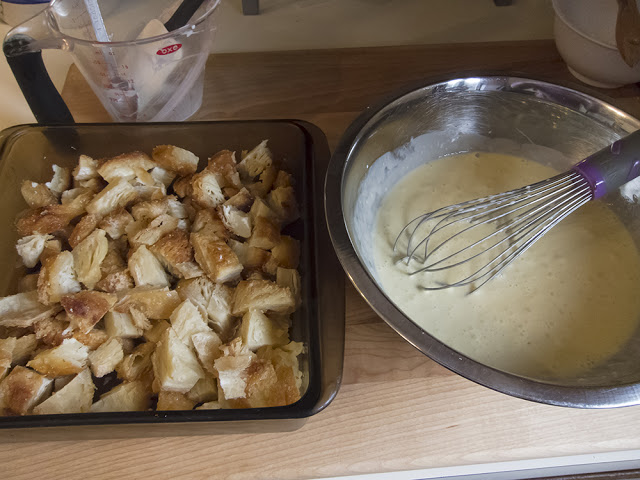
The egg whites are whipped to medium stiff peaks along with half the sugar. The yolks are then whisked with the other half of the sugar until pale and thickened and are folded into the beaten whites.
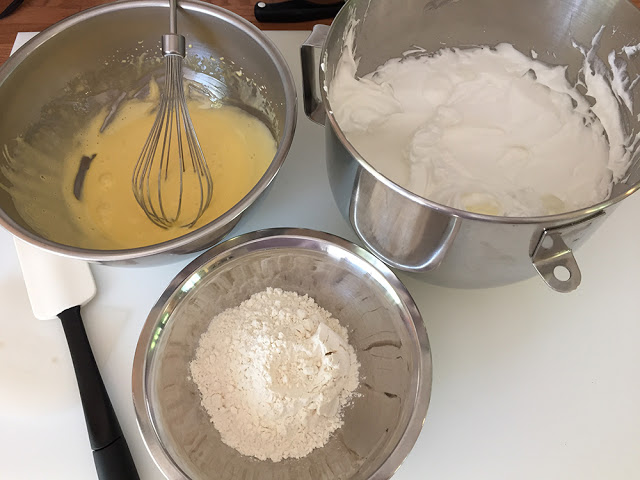 |
| beaten yolks and whites plus flour ready to be added |
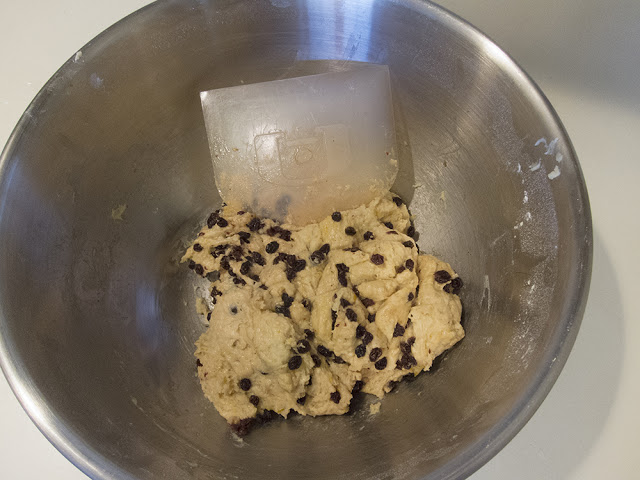
Then half the flour is gently folded into the egg mixture, followed by the second half of the flour just until blended. Don't overwork it.
 |
| all folded and ready to pipe |
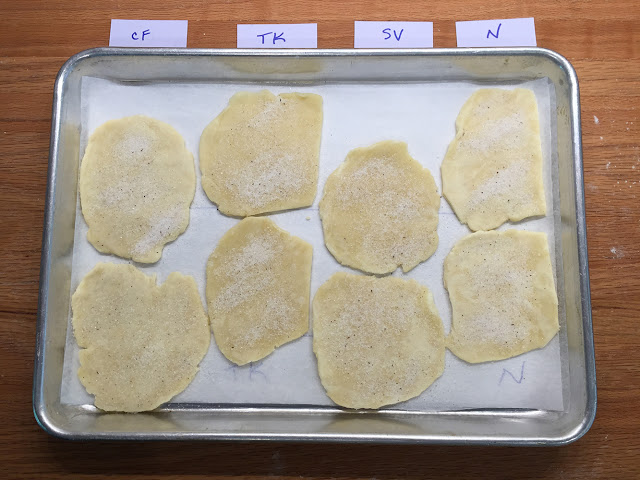
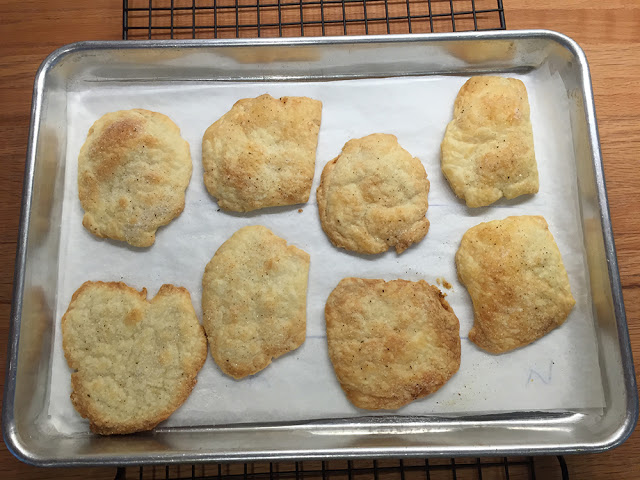
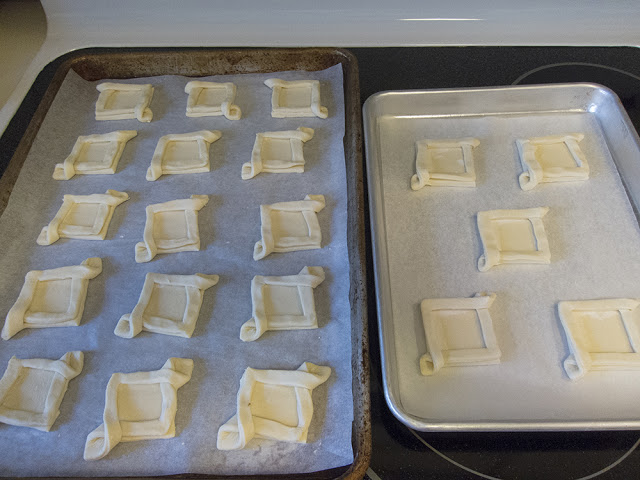
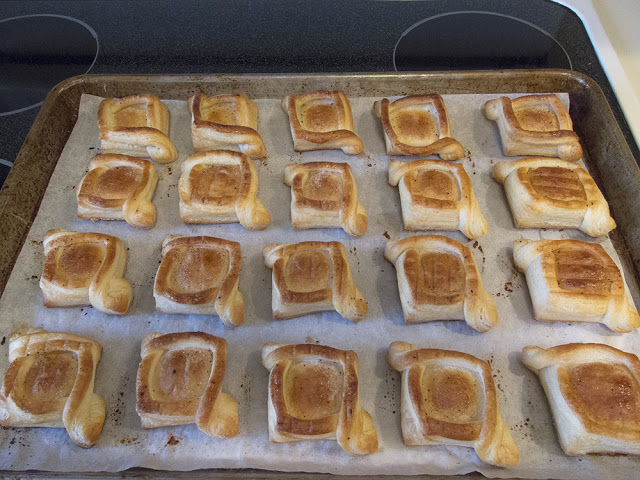
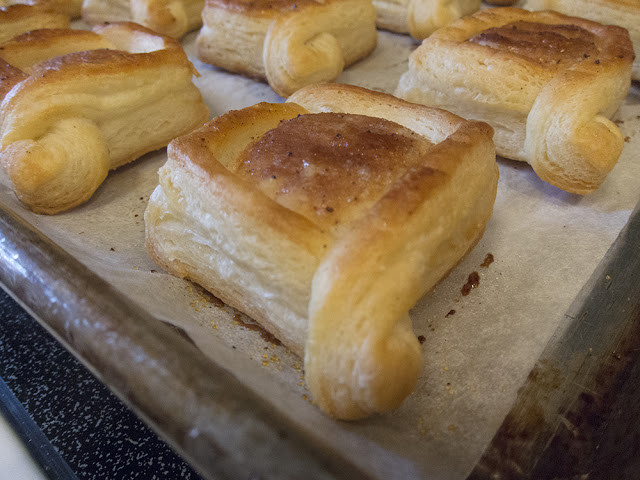
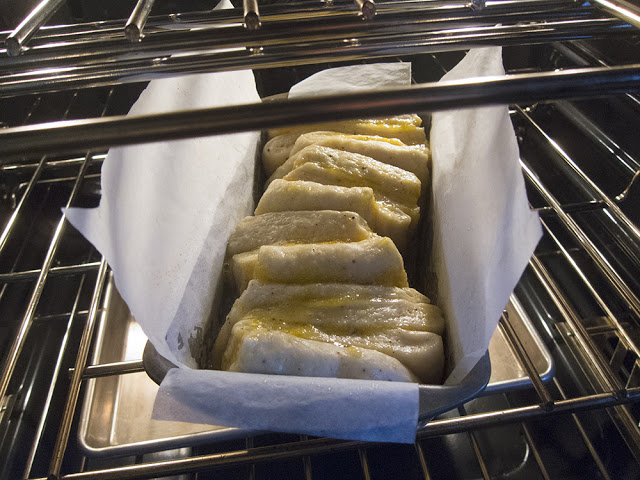
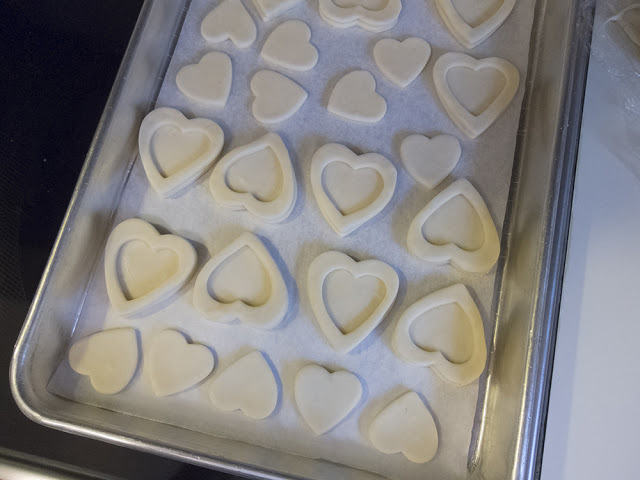
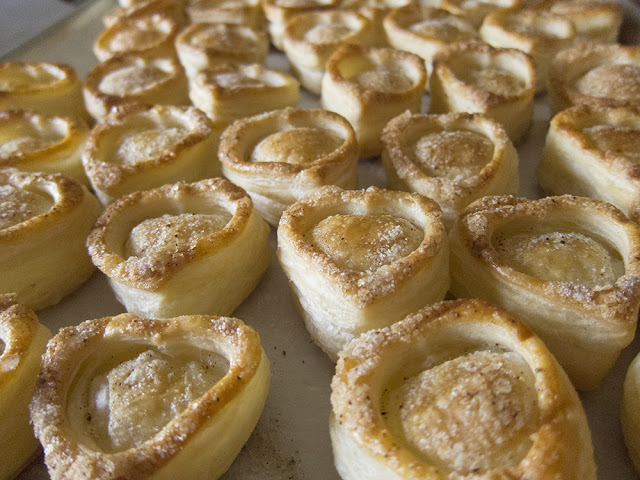
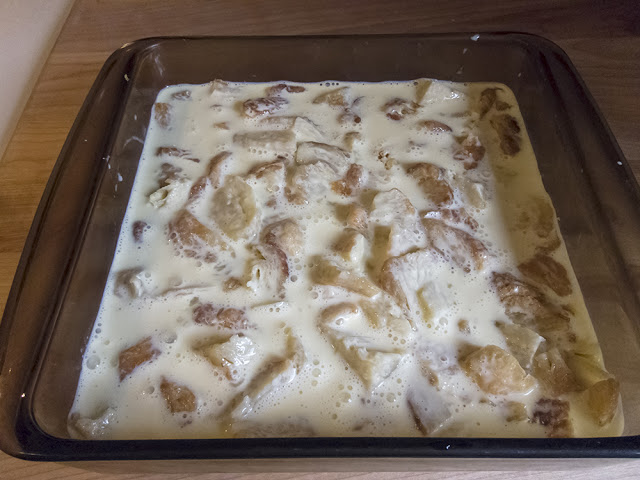
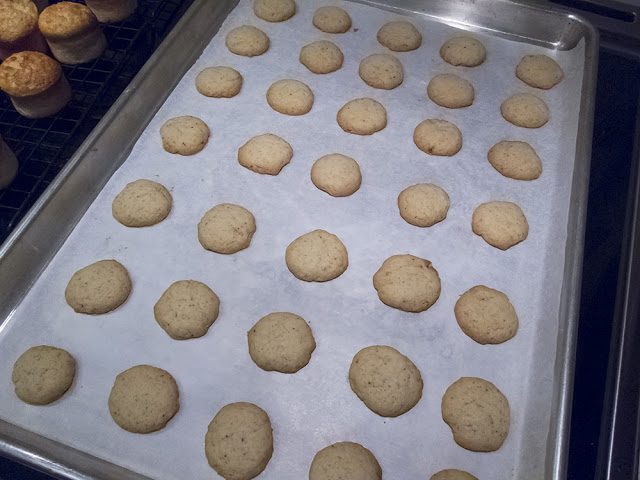
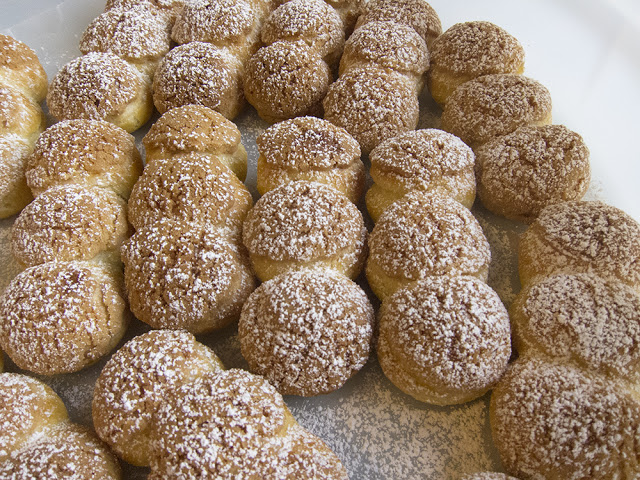
Pipe the batter in rows . . . . .
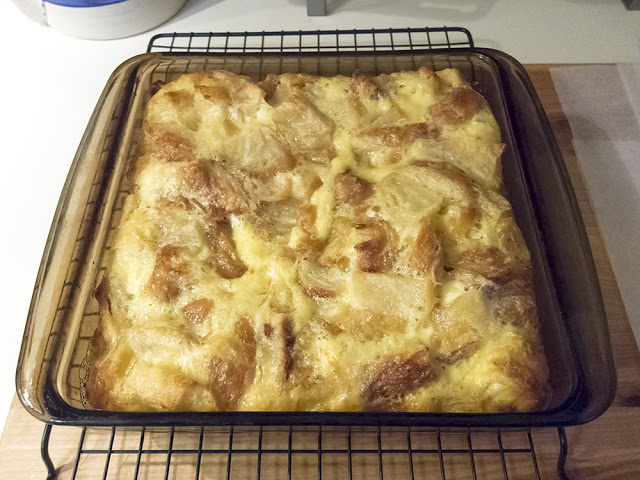
and dust with powdered sugar before baking in a 375 F oven for 15-20 minutes until lightly browned.
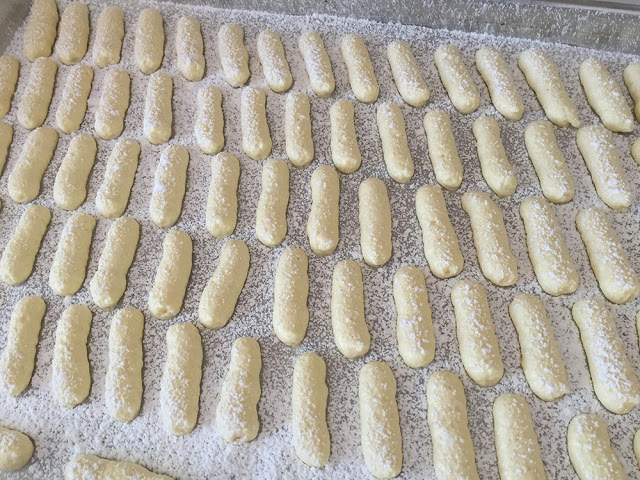 |
| ready for the oven |
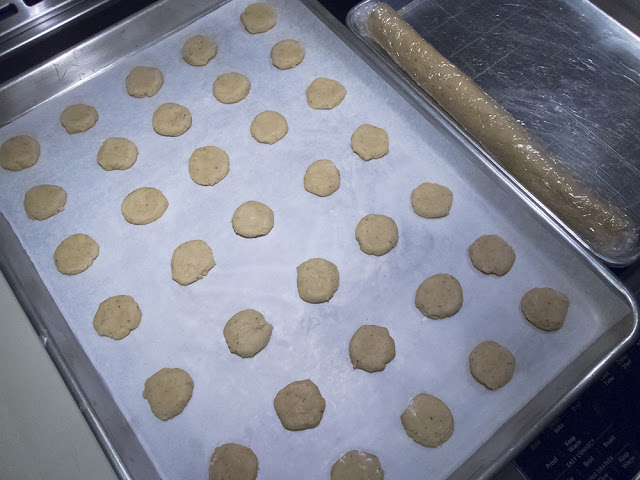
I had served some of the lady fingers sandwiched with lemon curd and strawberry jam at a recent demo presentation, but the rest went into the freezer (they freeze very well!) just waiting to be incorporated into a luscious, creamy charlotte.
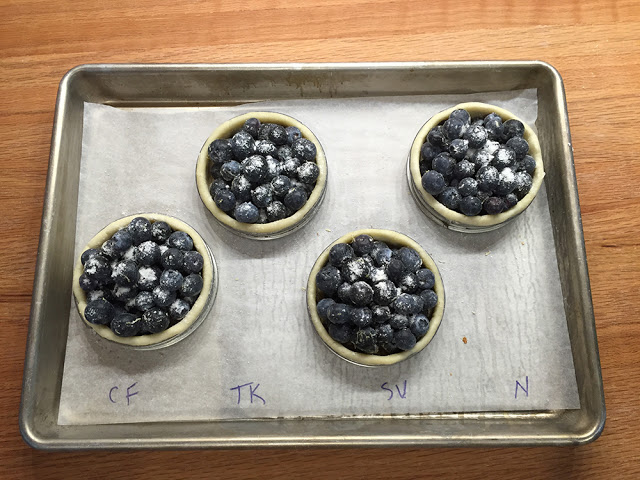
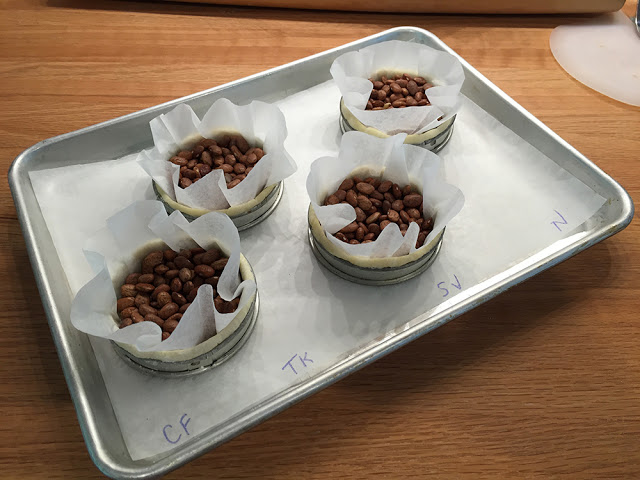
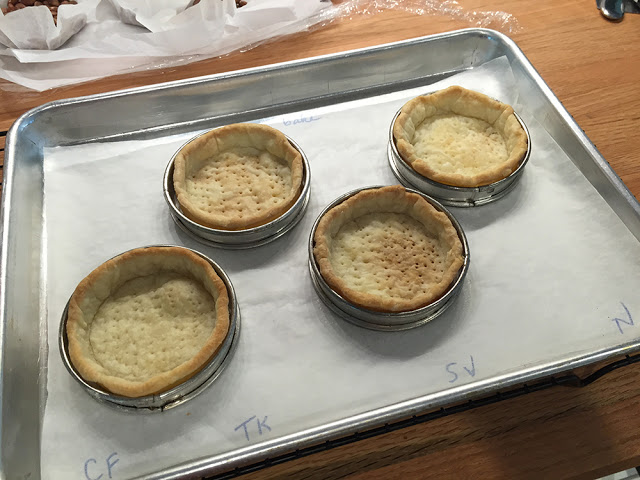
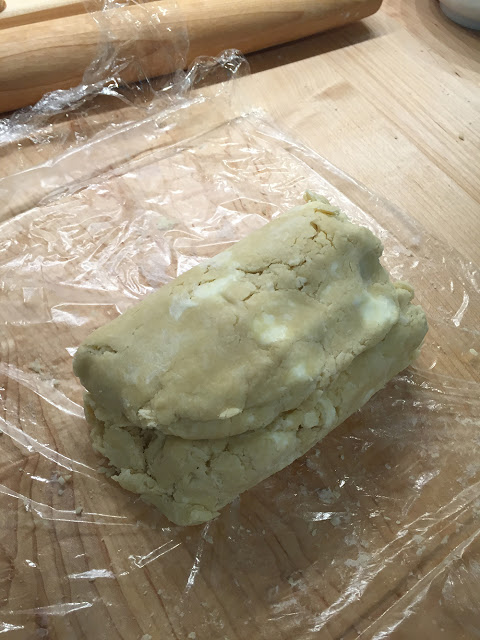
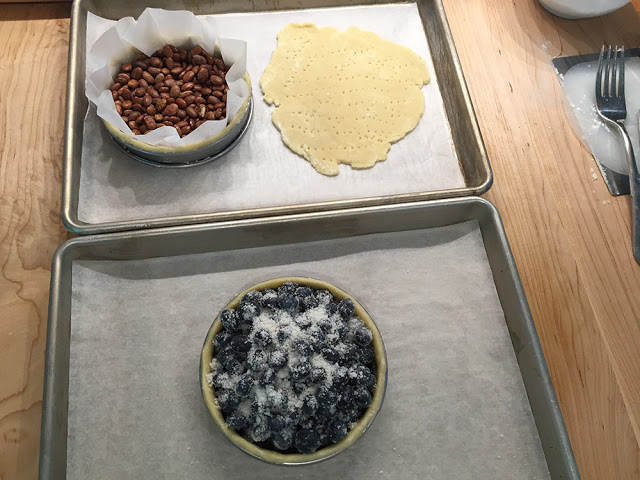
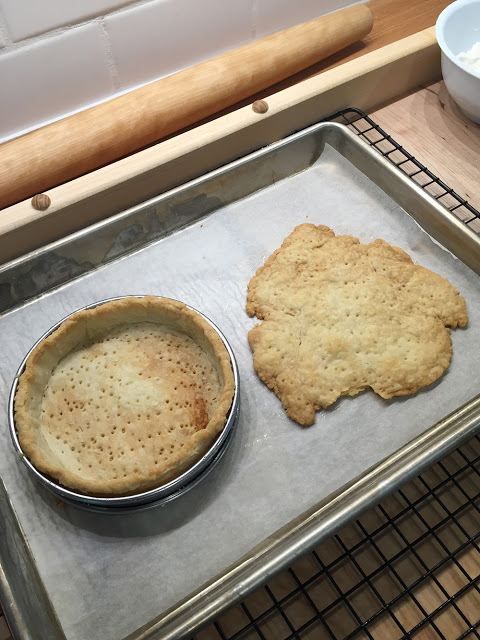
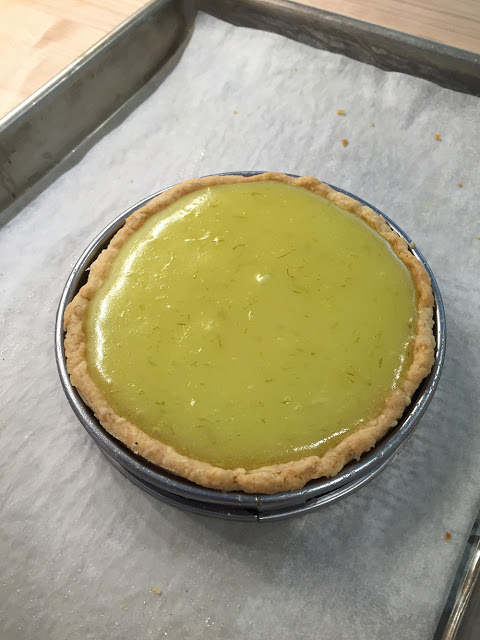
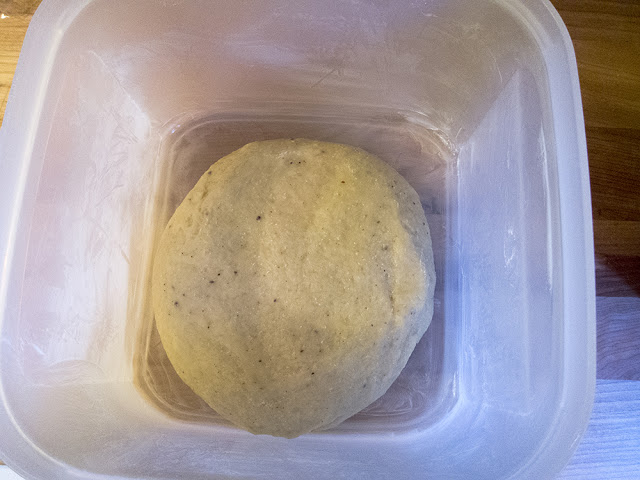
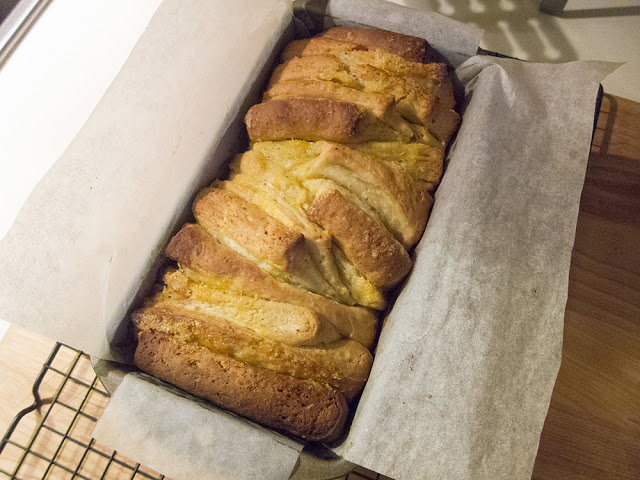
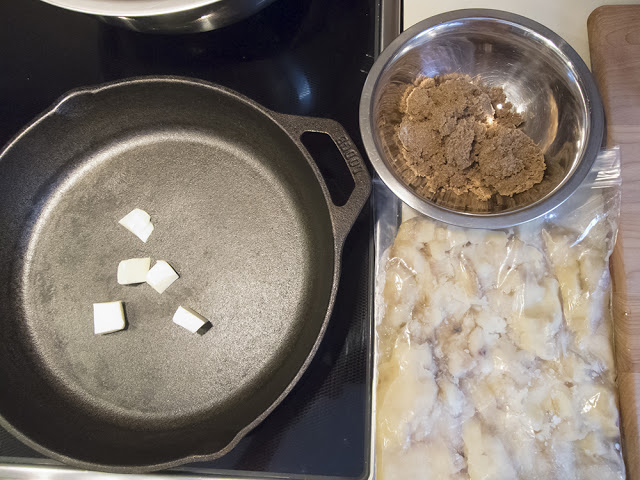
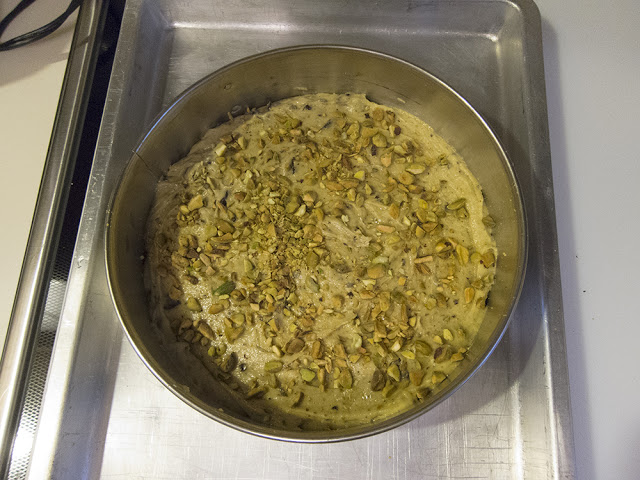
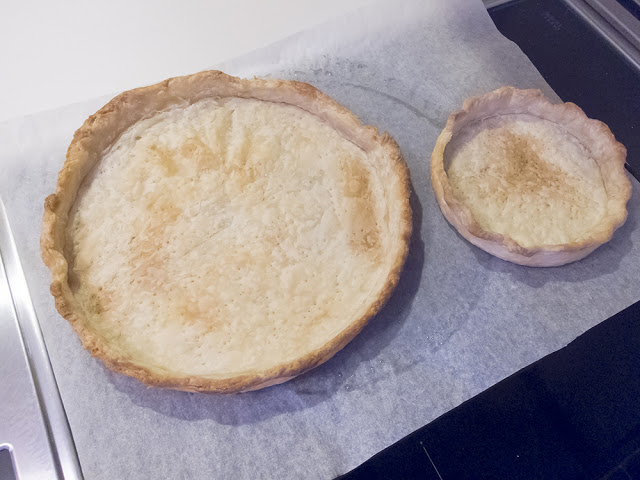
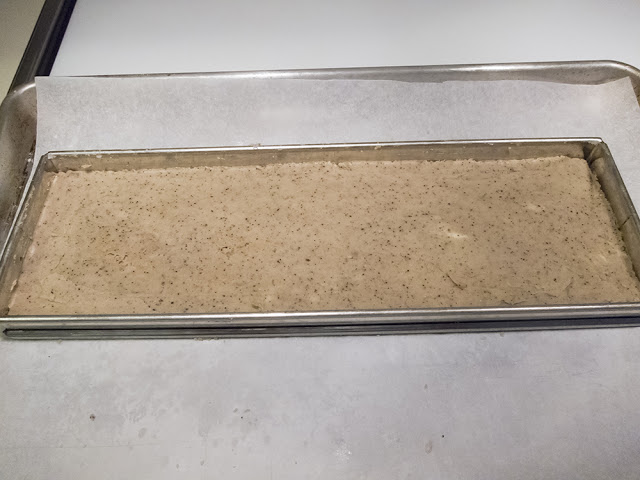
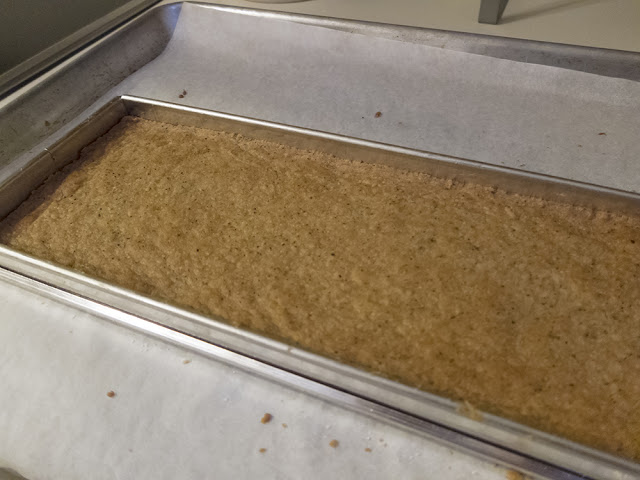
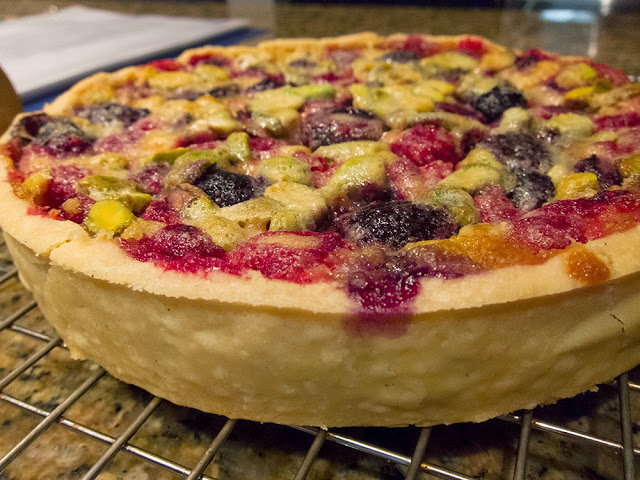
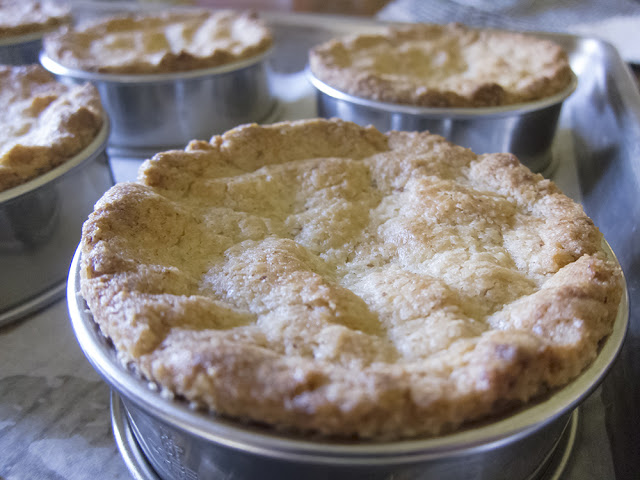
I used a 16 centimeter round ring mold for my charlotte assembly and opted to bake a round of tart cherry shortbread as my base.
 |
| ready for the oven |
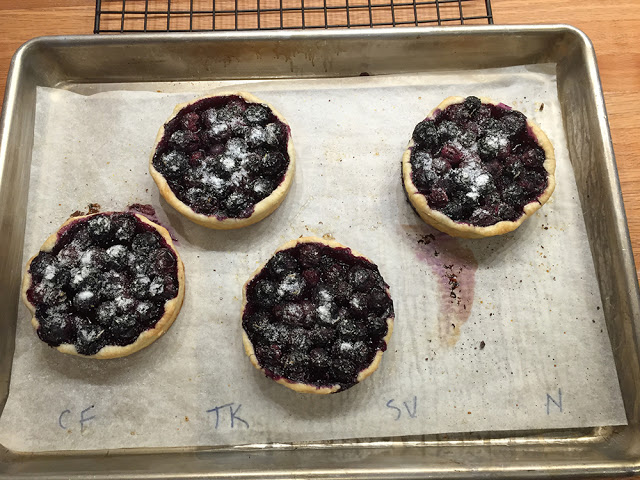
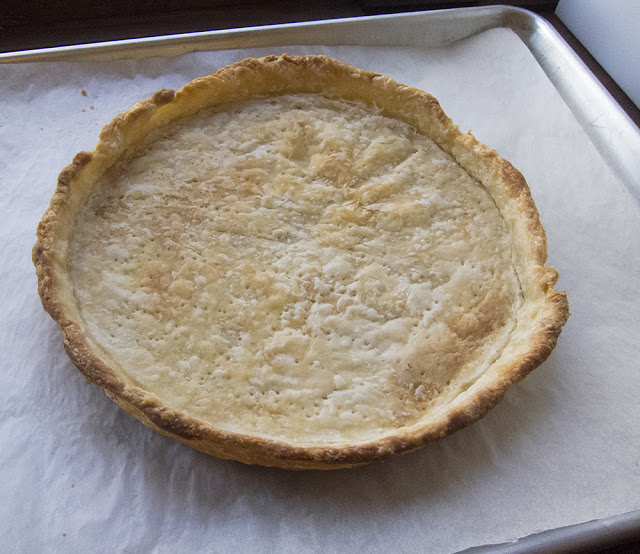
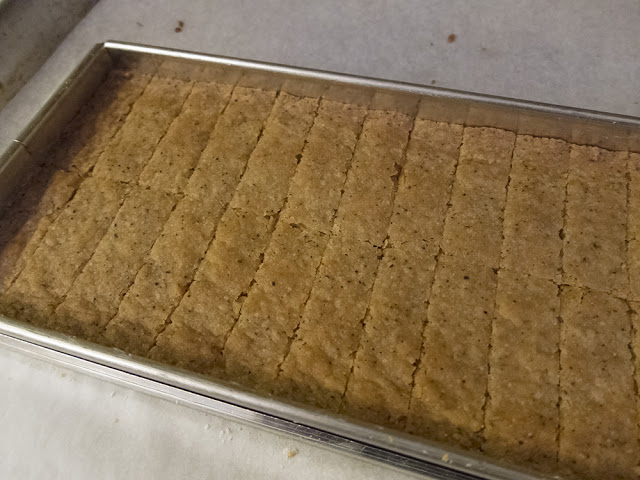
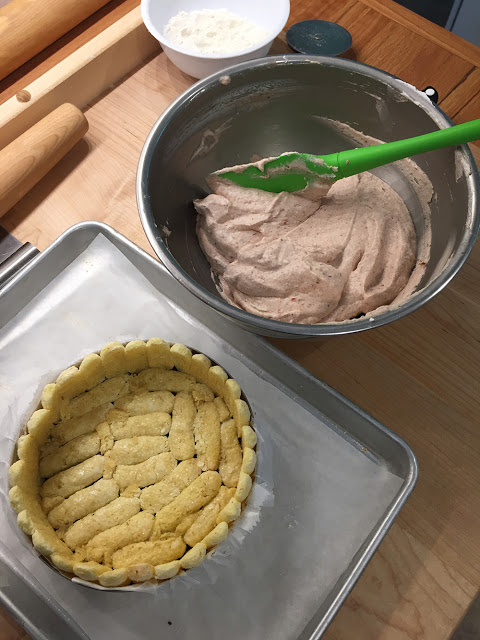
Once the shortbread base was baked and cooled, I lined the ring rather rustically with waxed paper sheets, put the shortbread base in and coated it with a brushing of chocolate ganache. This was meant to protect it from the soon-to-come cherry mousse filling and keep it crisp.
I then lined the ring sides and base with the lady fingers and imbibed them with vanilla simple syrup.
I wasn't quite ready to make my cherry mousse so I popped the assemblage into the freezer to await the final stages.
For the mousse I needed cherry purée, whipped cream and Italian meringue (boy, I haven't made THAT in forever!!).
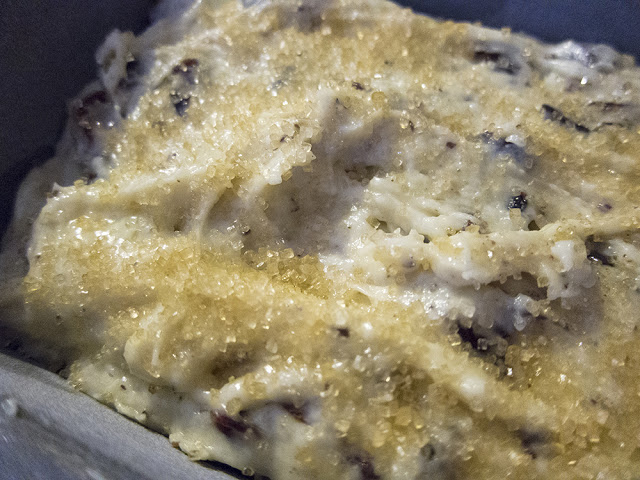
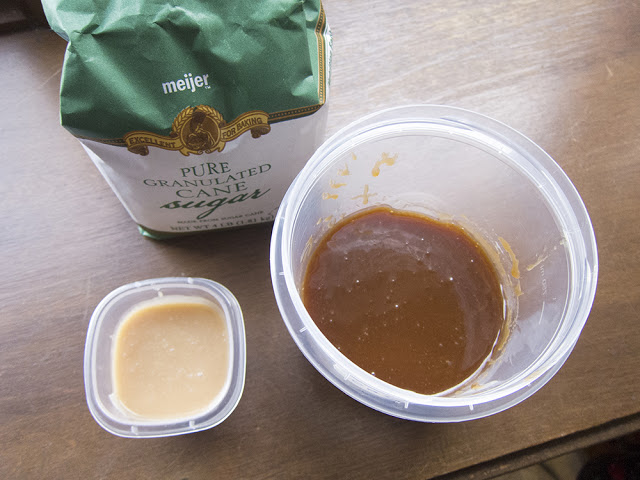
I puréed 130 grams of pitted and halved cherries with about a tablespoon of sugar, a generous squeeze of lemon juice and a couple of teaspoons of water.
 |
| yup - looks like a purée |
I made a small batch of Italian meringue by cooking 50 grams sugar and 20 ml water to 118ºC . . . .
then pouring the sugar syrup over one whipped egg white and whipping until cooled and nicely shiny and stiff.
(Note to self - plan ahead for various uses and make a larger batch of Italian meringue next time!)
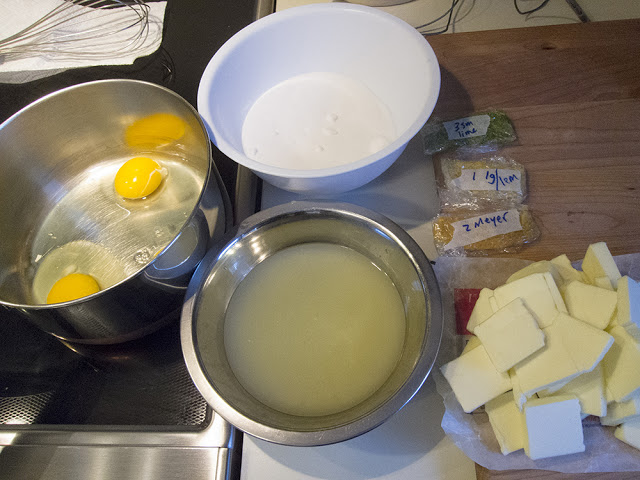
Then I whipped 150 ml heavy cream to soft peaks.
Below are all three components ready to be blended.
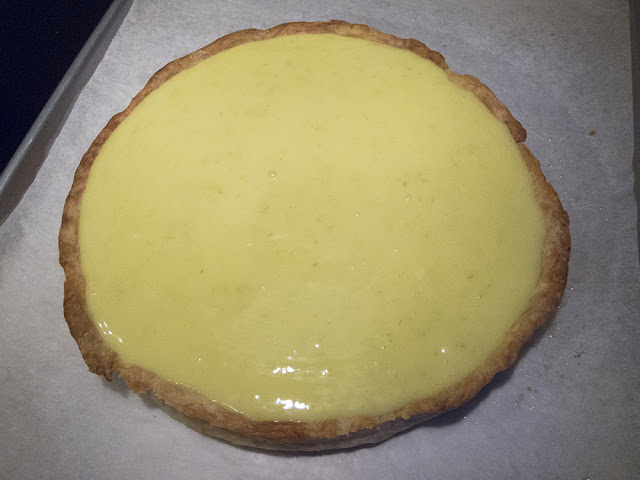
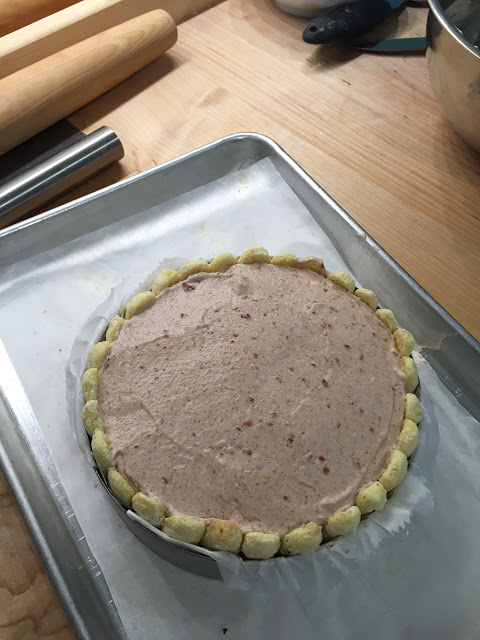
Once the mousse was blended I filled my lady finger lined charlotte ring and smoothed the top.
I placed the charlotte into the freezer to set.
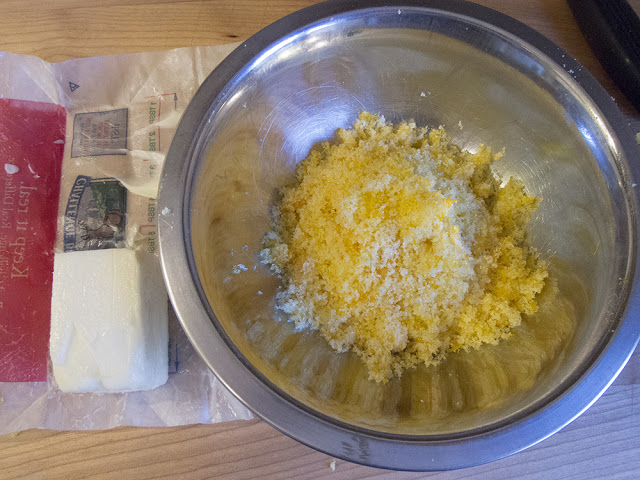
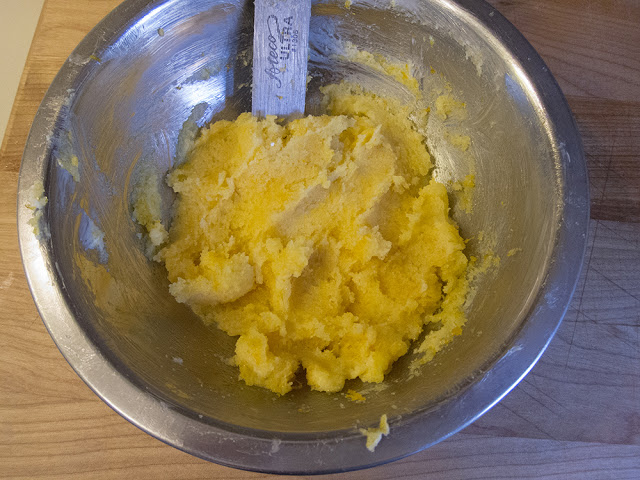
For my garnish I used 120 grams of pitted and halved cherries, cooked them with a little sugar, cornstarch and lemon juice until thickened, then let them cool.
Once the mousse was set (after an hour or so in the freezer), I topped it with the cooled cherries and added a rim of crushed chocolate shortbread cookies to give it a bit of flair.
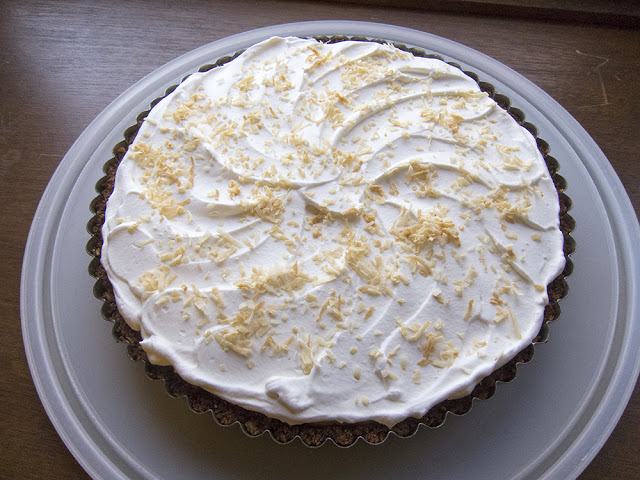
 |
| Michigan cherry charlotte |
And, of course, for dessert we three simply had to sample the cherry charlotte.
We agreed that the mousse was SOOO . . light with a clear taste of cherries. The shortbread crust, cherry topping and dashes of chocolate all made for a tasty combination.
And after an overnight in the fridge it was still delicious the next day - yessirree!
Here's to summer!!