Caramelized peach semifreddo
/Hello from autumnal west Michigan! It feels so good to be away from the seemingly weeks and weeks of heat and humidity. My baking juices have been flowing - yippie!
Peaches have been around for a few weeks now and are ever so delicious. In addition to the mixed fruit galette I shared with you recently, I’ve made a peach cake for a cousin’s gathering a couple of weeks ago, I have peach ice cream in the freezer and just baked a peach/blueberry custard tart to share with neighbors.
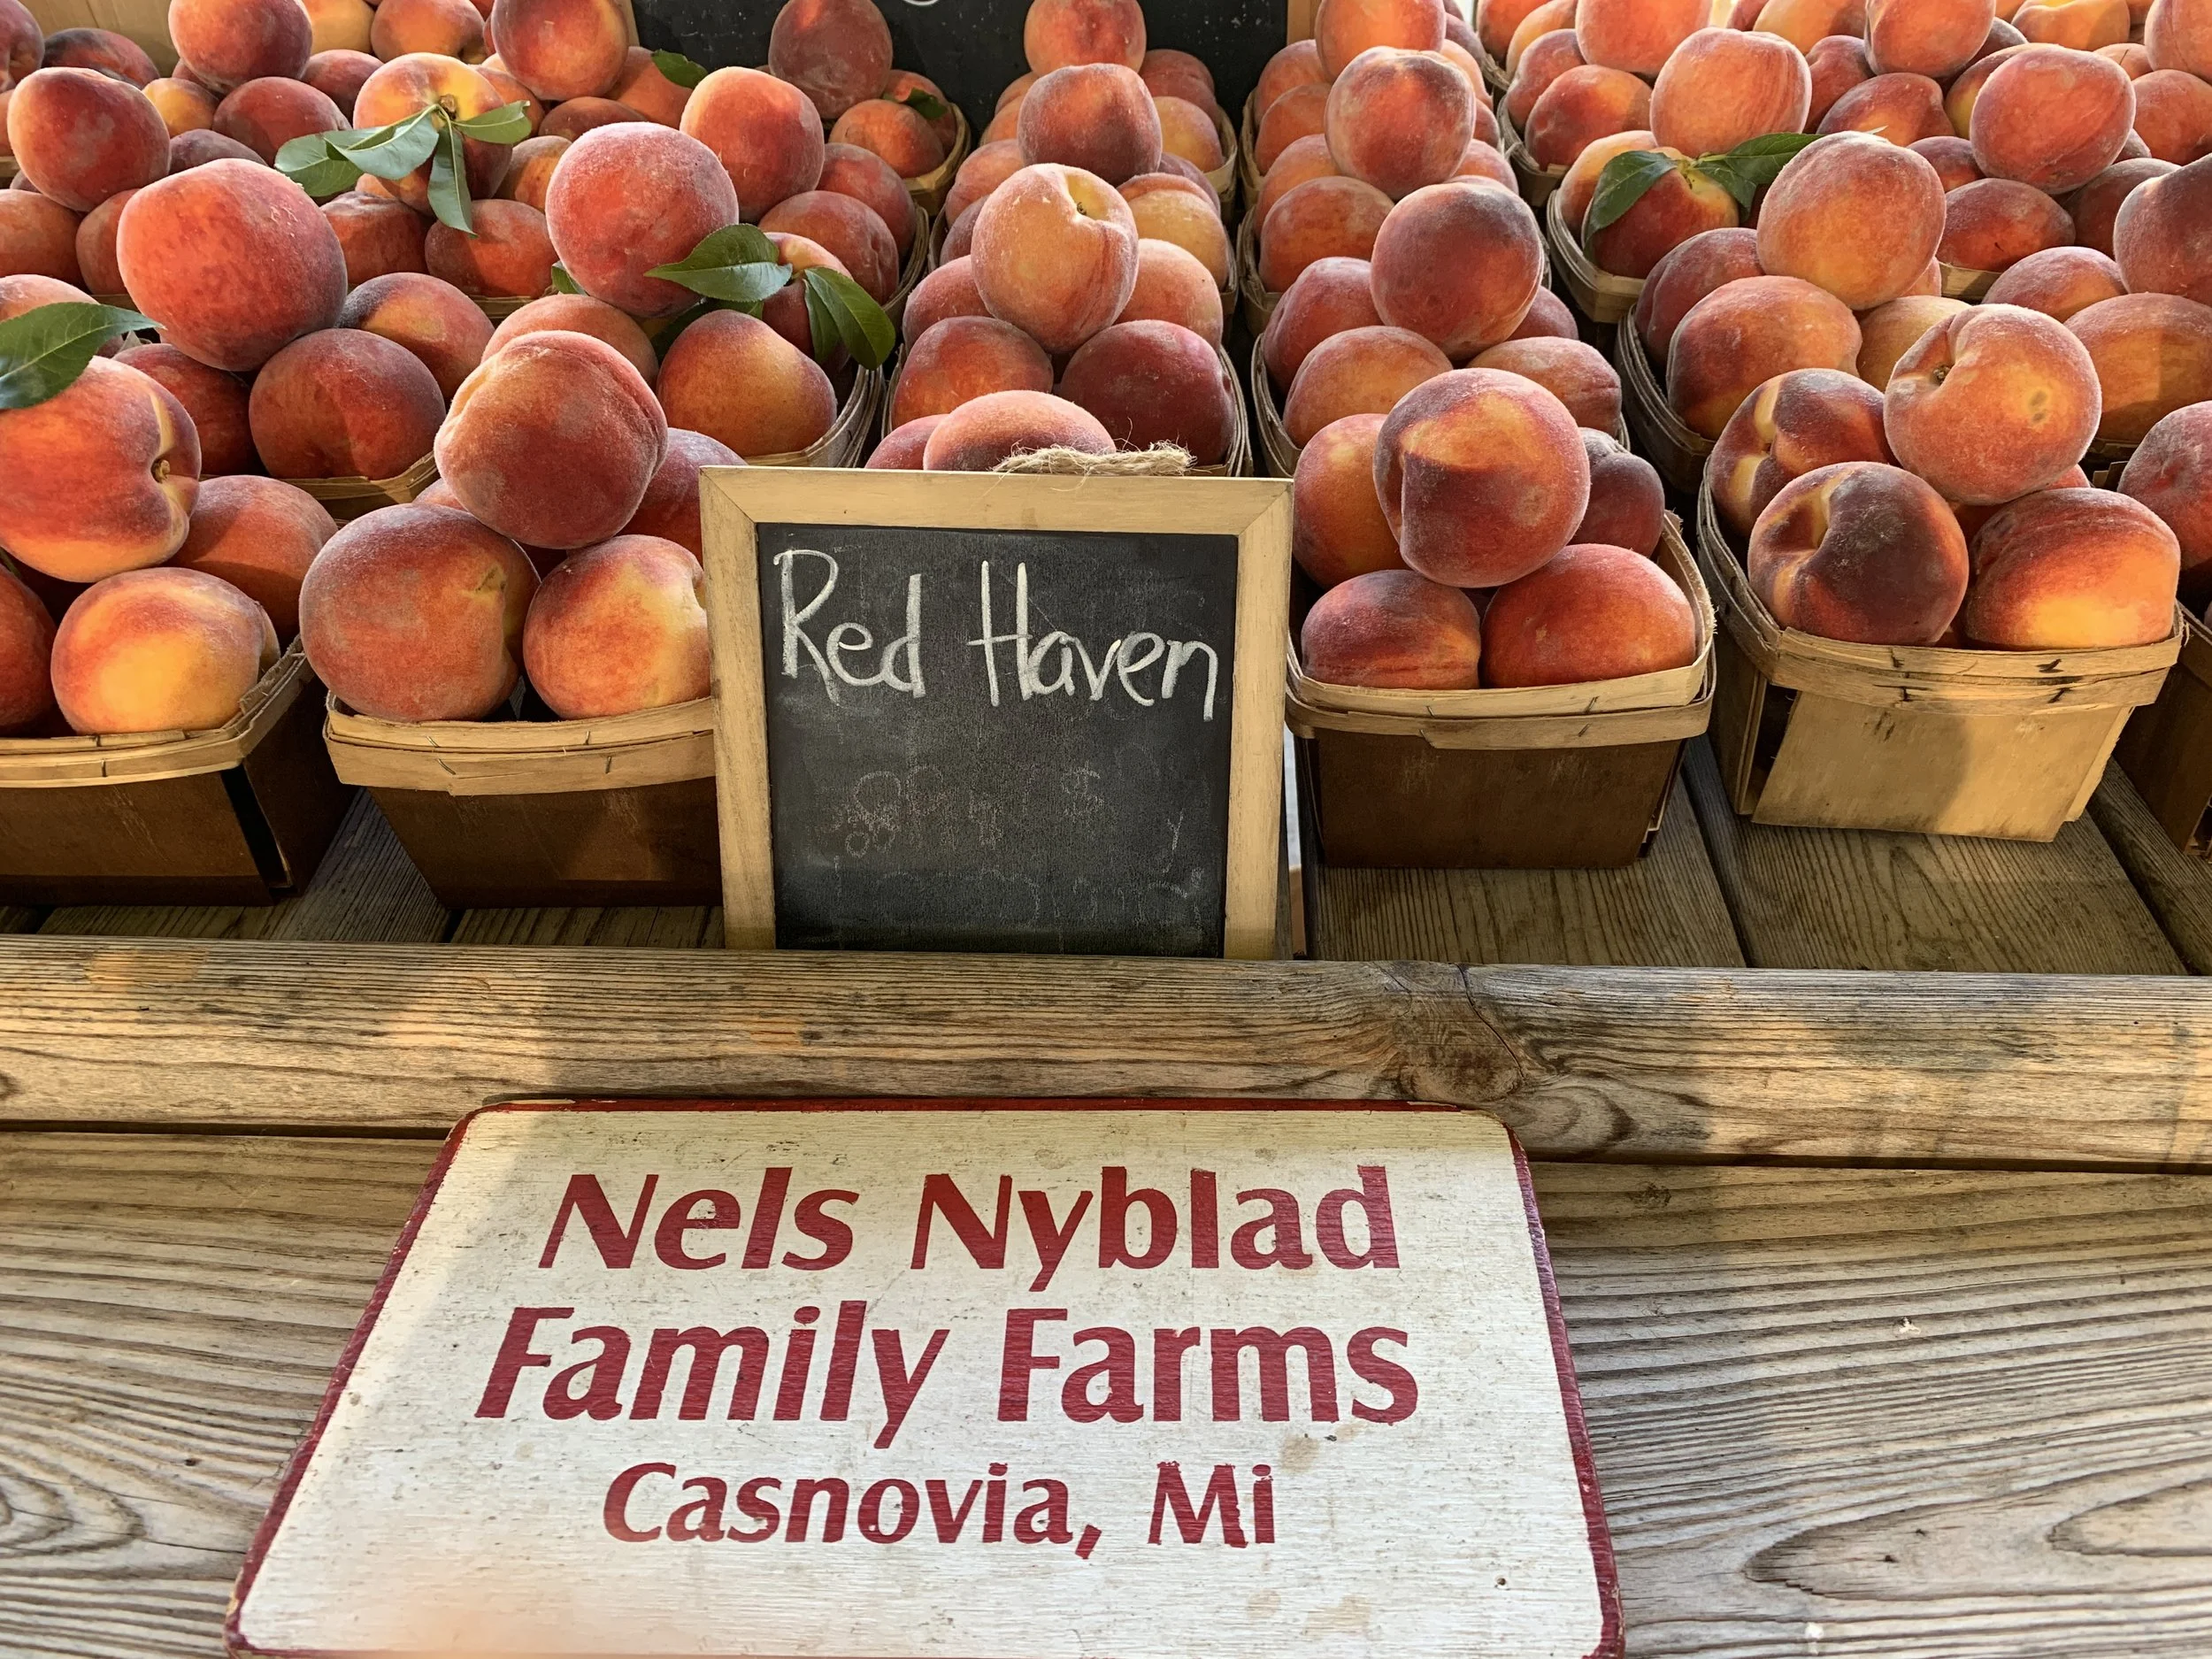
My favorite stone fruit vendor
This post has been underway for awhile after my discovery of the book “Dolci!” by Renato Poliafito at our local library. Hence I’ve been off on an Italian tangent with this delicious semifreddo (I’ll have a few other Italian bakes to share with you in the coming weeks.)
As a bit of back story, let’s not forget that my first foray into professional pastry school was at Apicius in Florence, Italy back in early 2006. By the way, at the end of this month it’ll be TWENTY years since I left my medical career - wow!
At Apicius I enjoyed the basic pastry program and had hoped to continue with a second semester, but, alas, the proposed summer session wasn’t going to happen. As Steve and I contemplated our next move, he so wisely said “If you want to learn pastry, why not go to Paris?” And the rest is history as they say.
Like a big sparkler
Let’s get back to the task at hand. I recently taught a French macaron class to a couple of teenagers (good fun!) which meant I had to have egg whites on hand a few days ahead so they could age in the fridge. When I need egg whites, I look for something tasty to make using the yolks. Semifreddo (Italian word meaning half-cold) is just one of those. Basically a still-frozen (not churned) egg/sugar or Swiss meringue base to which whipped cream is added, it can take on many flavor profiles.
For the base mixture: option one is a sabayon/zabaglione made with eggs + yolks (or all yolks) + sugar + a flavoring liquid such as a nut liqueur/fruit juice/Marsala/Champagne or a fruity white wine; option two is a Swiss meringue base to which one can add fruit purees, melted chocolate and/or ground nuts to name just a few.
Both options end with folding in whipped cream and the whole shebang is frozen in a plastic-wrap-lined loaf pan.
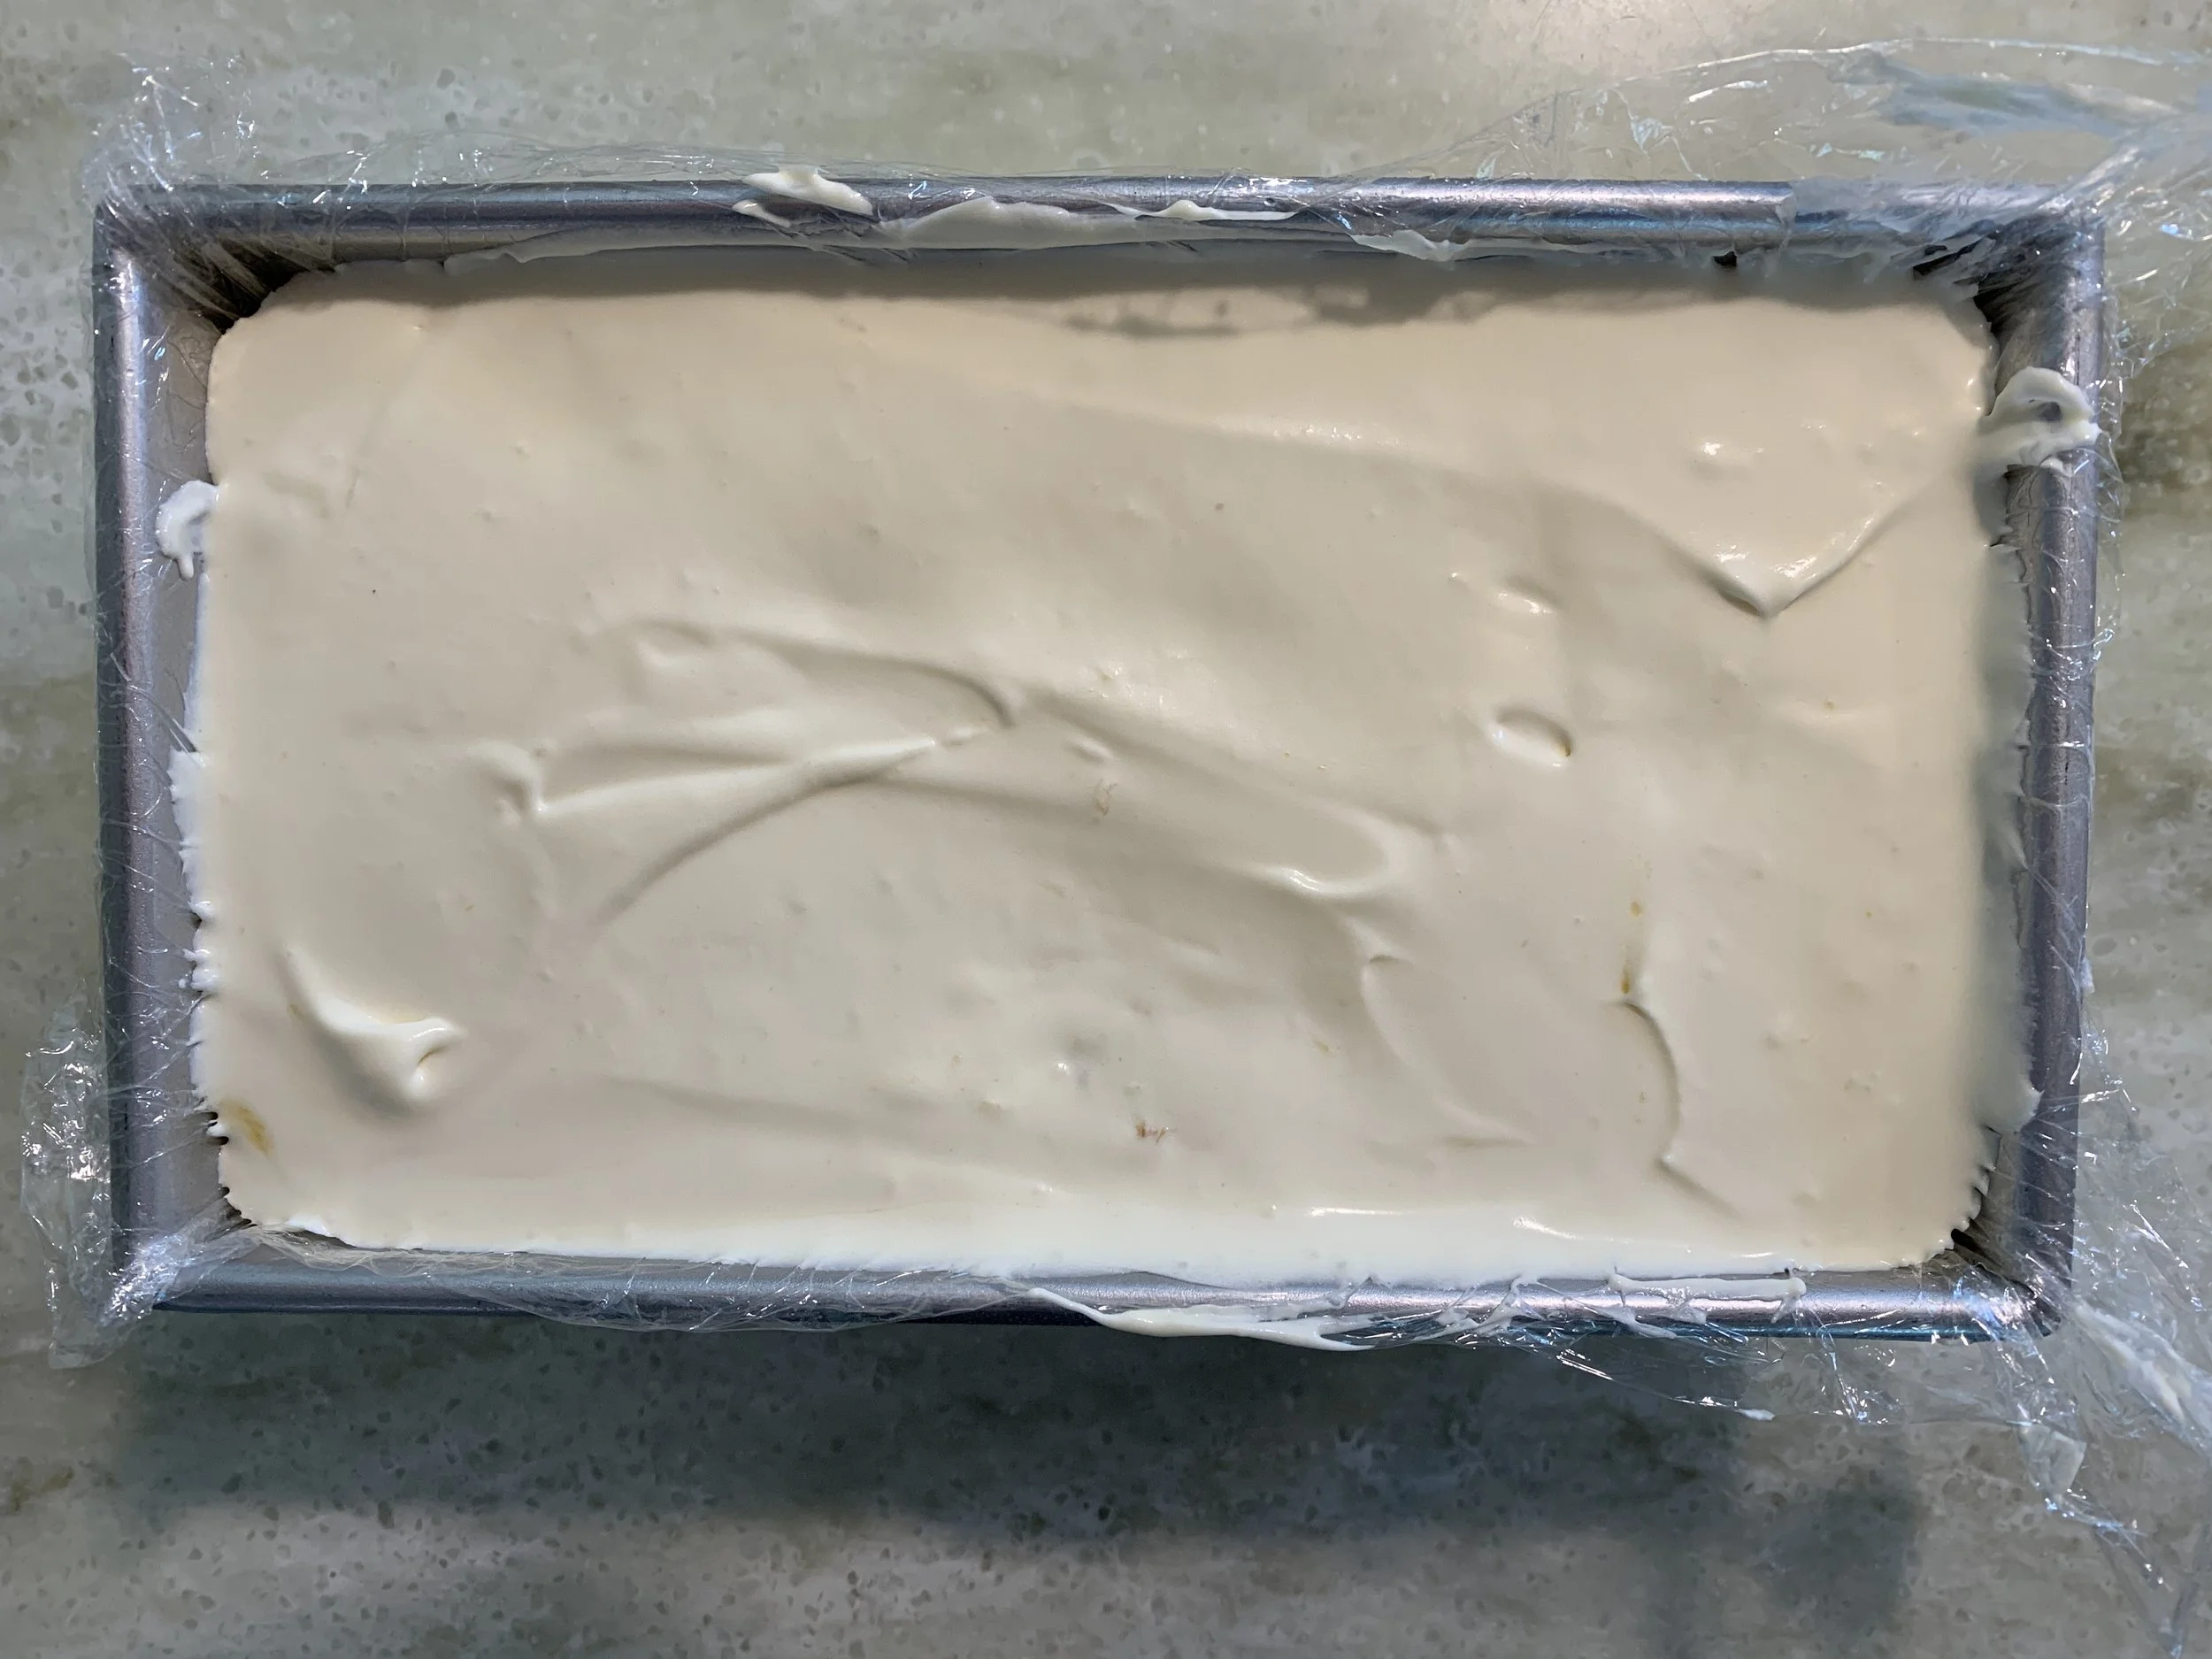
Cover with the plastic and into the freezer
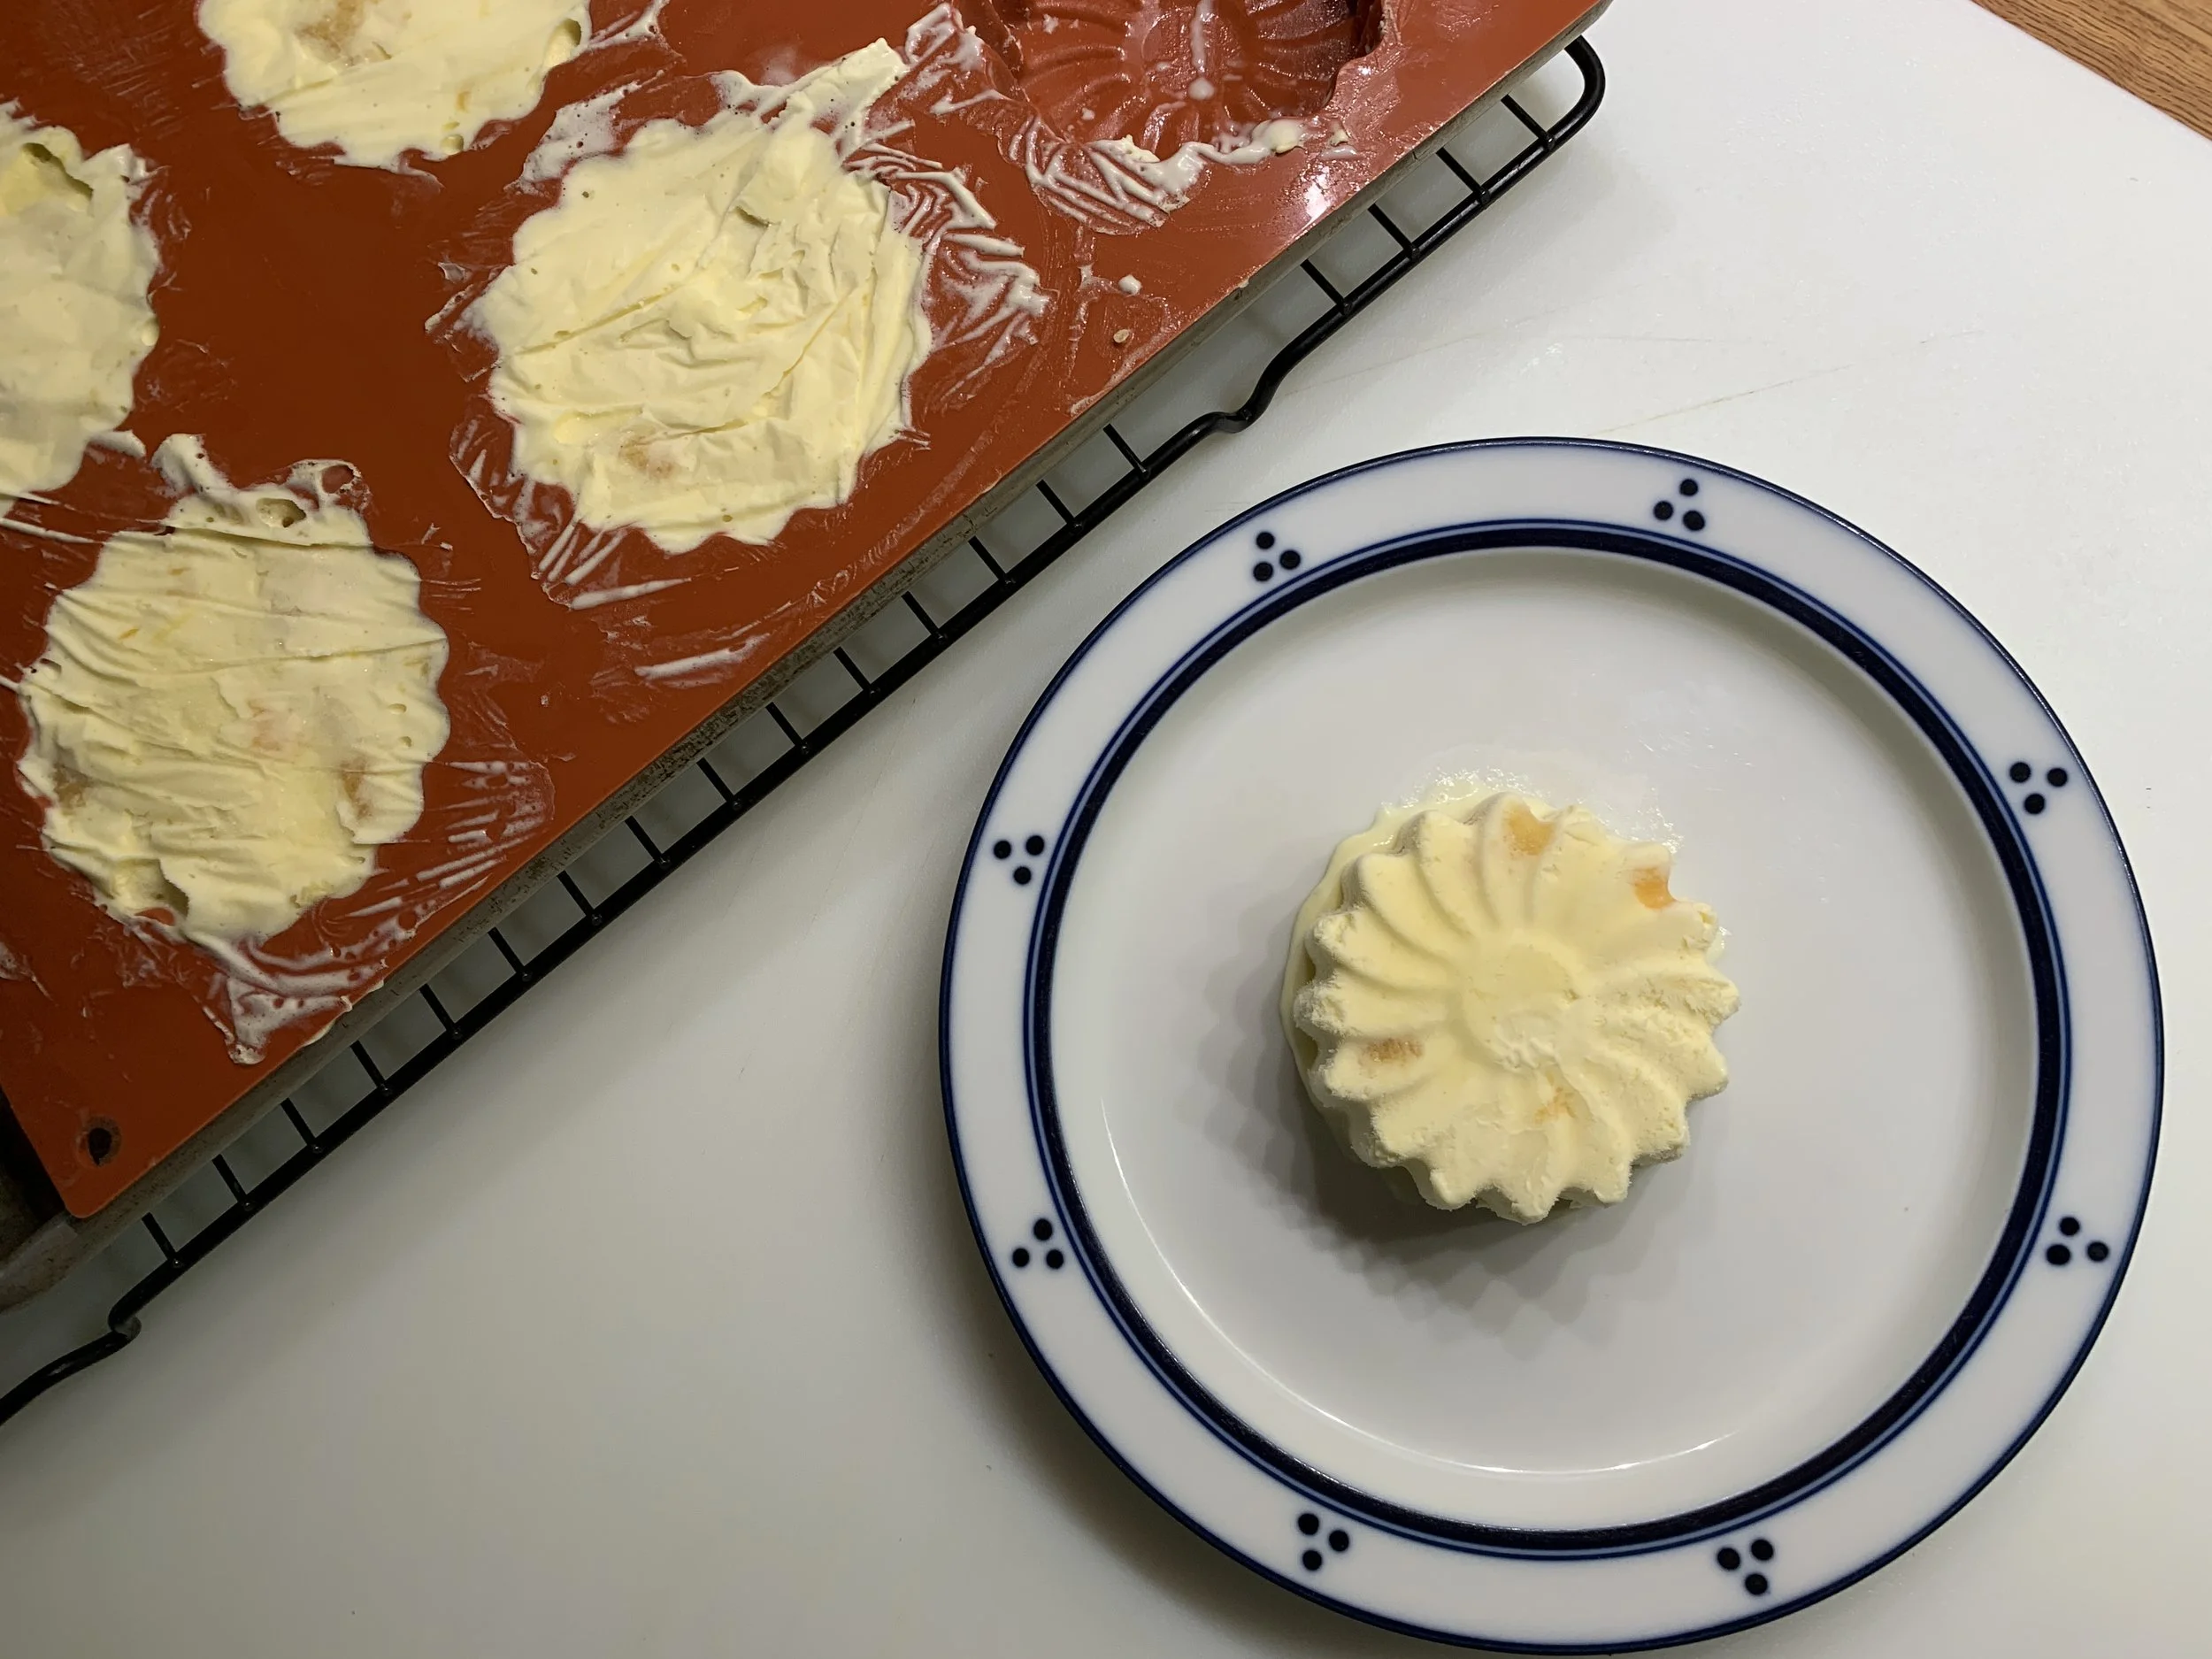
An alternative is to spread the mix into shaped flexi-molds of choice for an interesting single serving approach. The below image gives you the general idea. Top with fresh fruit or coulis plus a crunchy crumble and you’re good to go.
Waiting for garnish
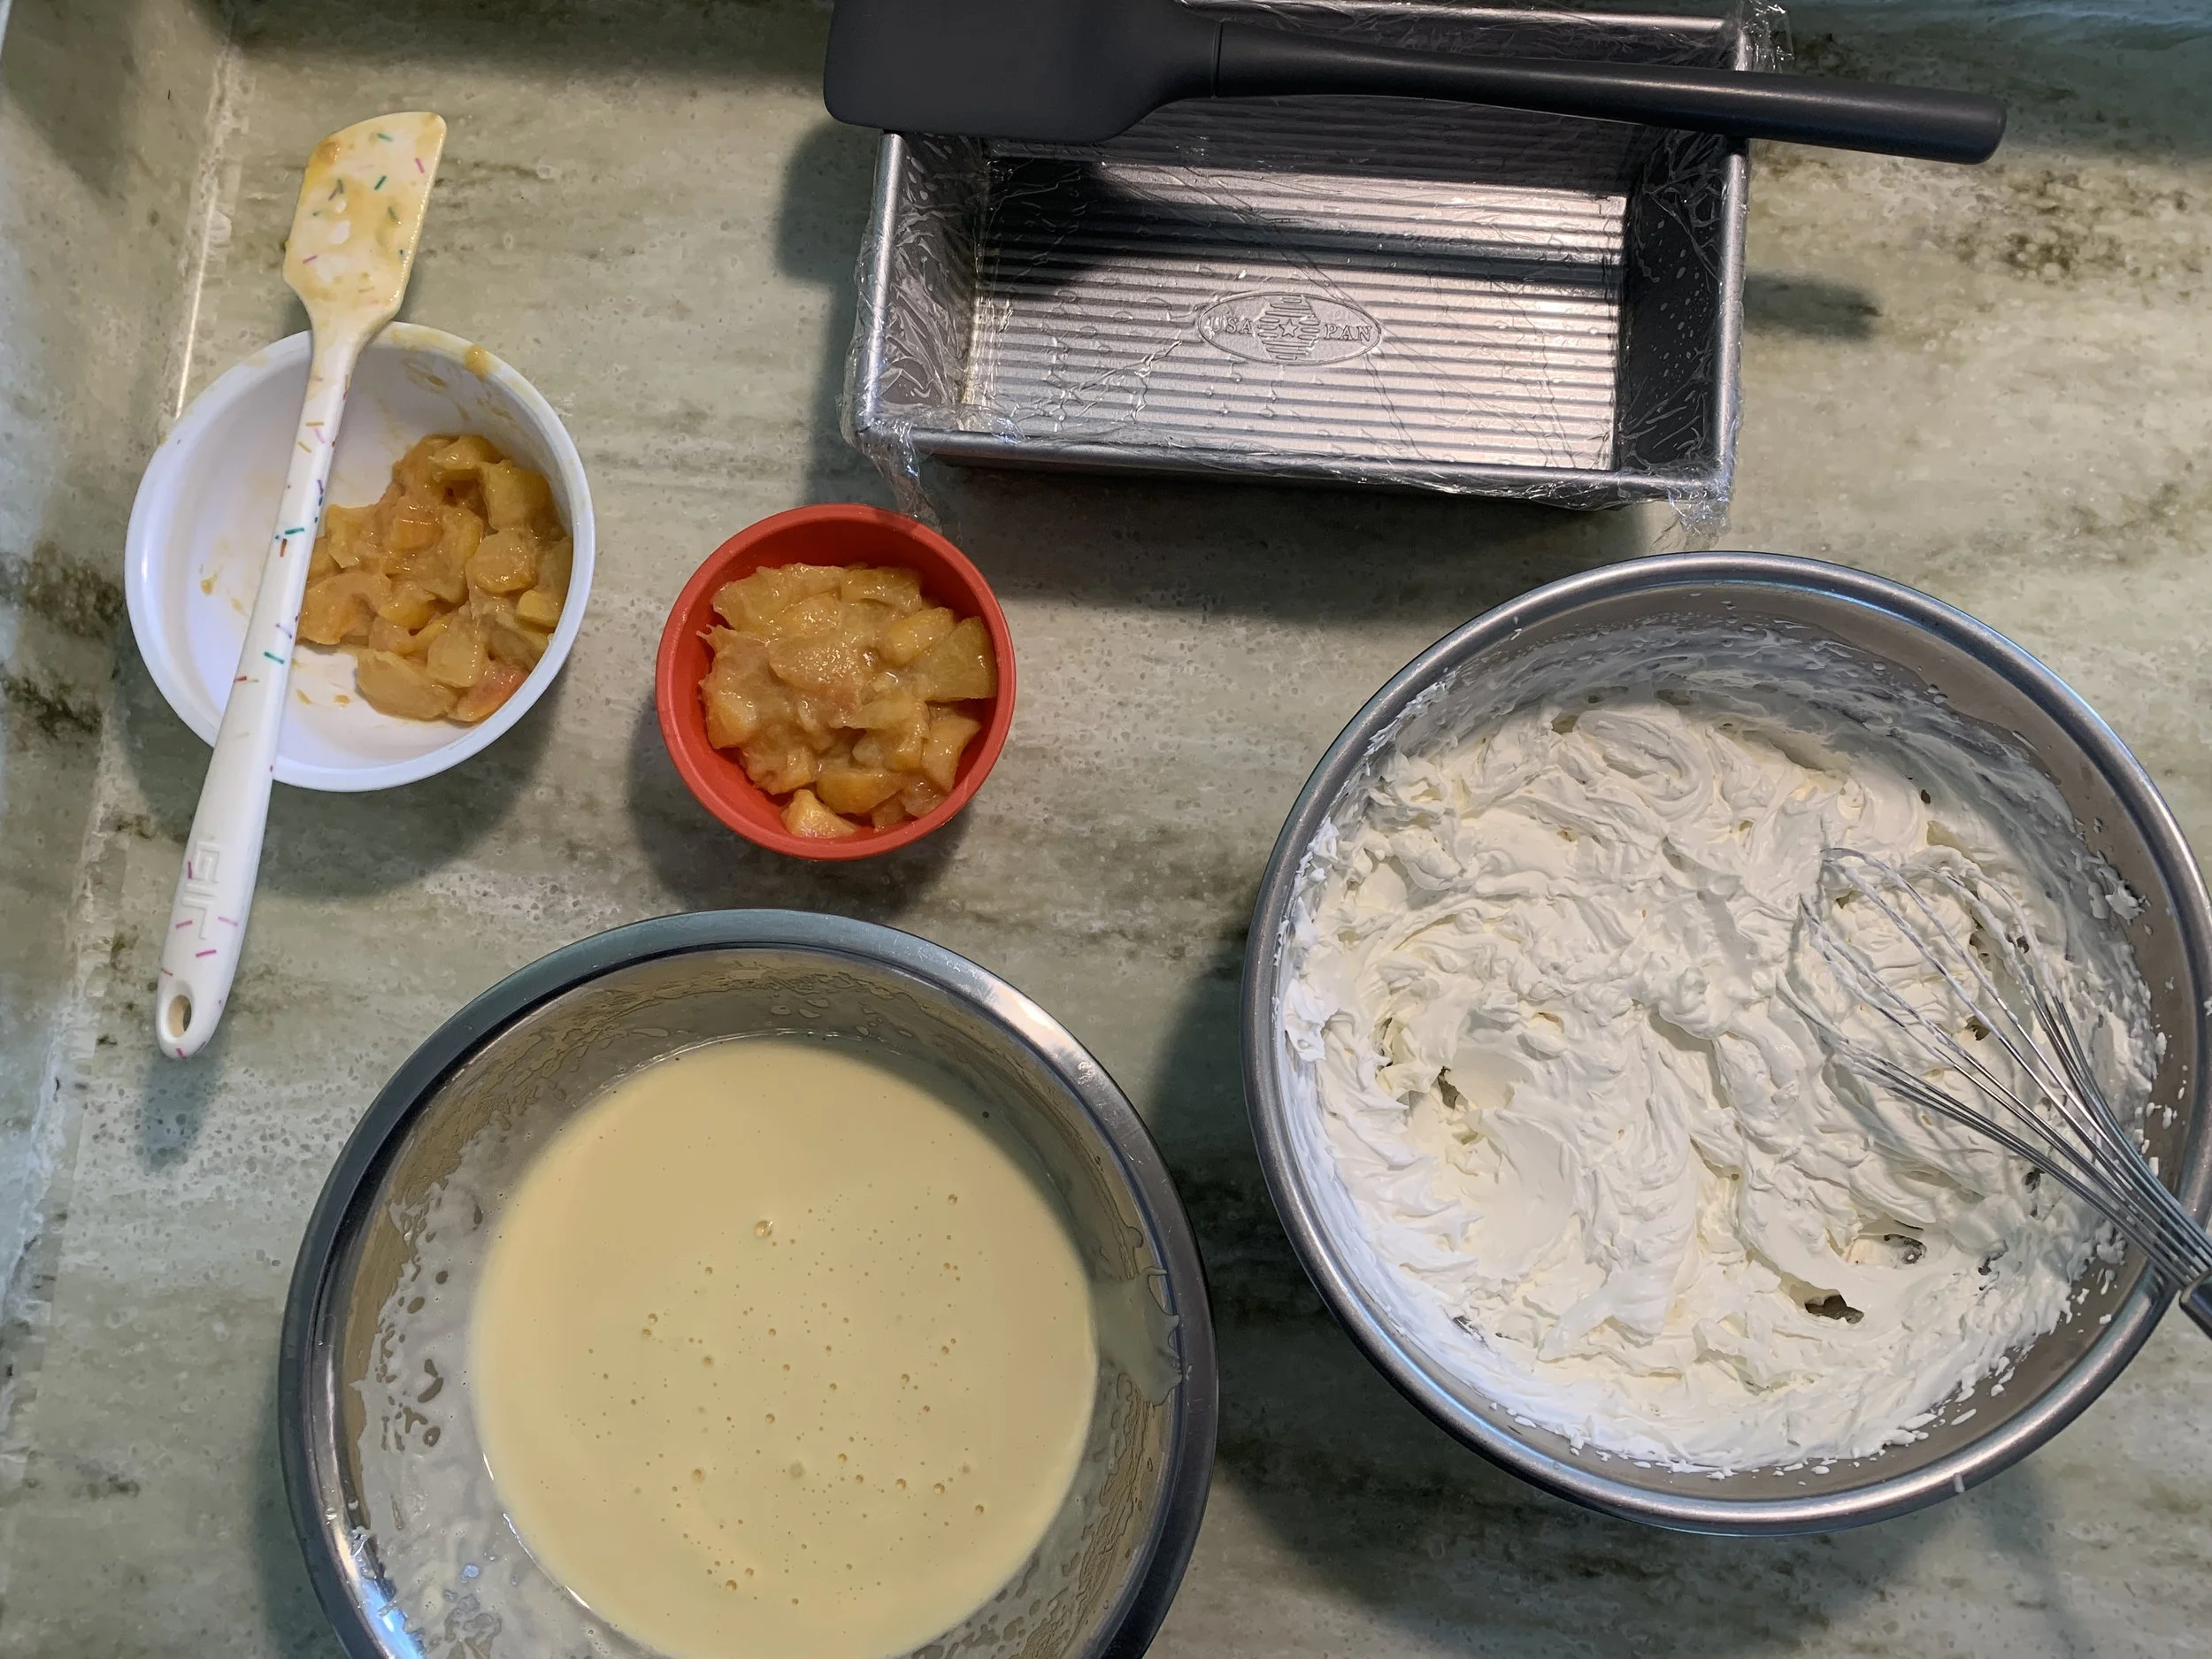
Let’s go over the process. This is a plan ahead-er for sure. Just be organized and you’ll find it’s pretty straight forward. Peaches diced, sautéed and cooled; base mixture whisked/heated over bain marie and fully cooled; cream whipped; then it all gets combined, spread into a pan and into the freezer. Here’s the full recipe PDF.
Lightly oil a 9”x5” loaf pan and line with plastic (the oil keeps the plastic in place) so that it overhangs the edges by 2-3 inches.
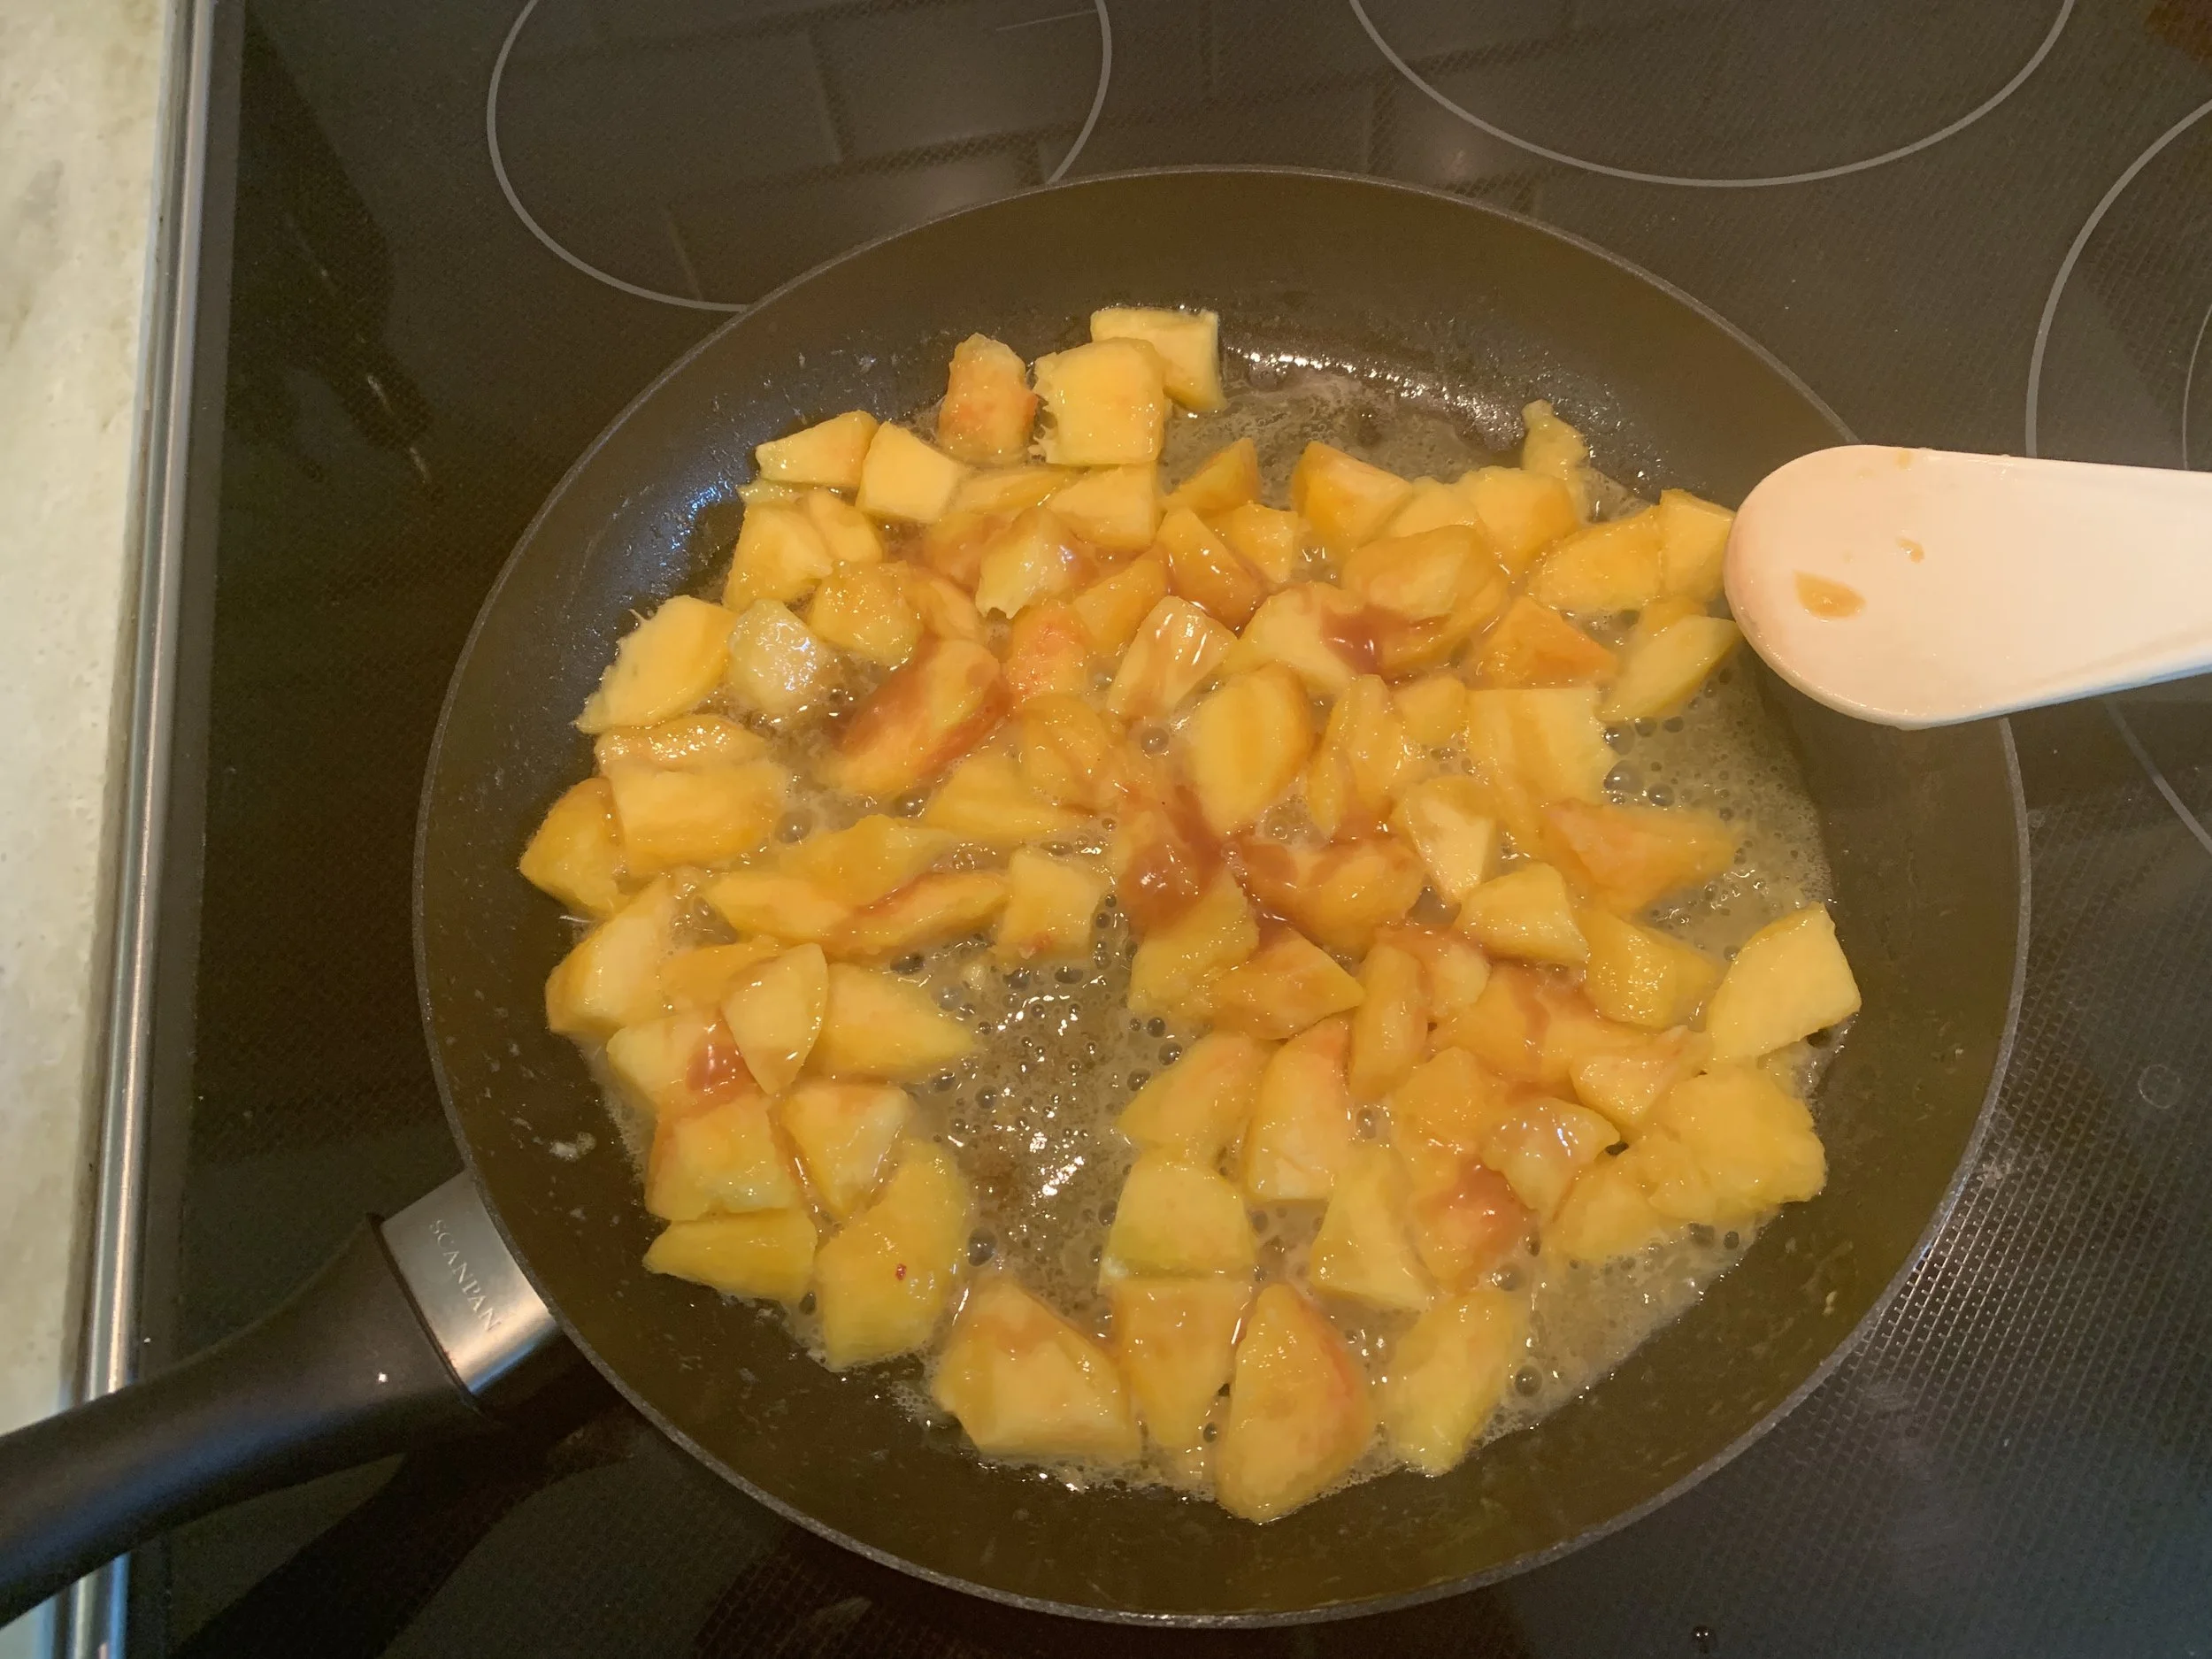
For the peaches I peeled/large diced 4 ripe peaches. Sautéed in a bit of sugar, butter and a splash of lemon juice to cook off the liquid, then stir in a couple of drizzles of my homemade caramel at the end makes for a tasty addition to the base.
Bubble . . . bubble
Transfer the peaches to a 1/4 sheet pan in a single layer and let cool fully. If not using soon, cover and refrigerate.
Make the sabayon by whisking 2 large eggs, 3 yolks and 100 g / 1/2 cup granulated sugar in a medium heat proof bowl over a bain marie. Whisk with vigor until the mixture pales, thickens and ribbons off a spatula or bowl scraper, about 5-8 minutes. It should reach 170ºF. Place directly into an ice bath and let cool completely, whisking occasionally.
Whip 360 ml / 1.5 cups heavy cream to medium soft peaks.
Components ready
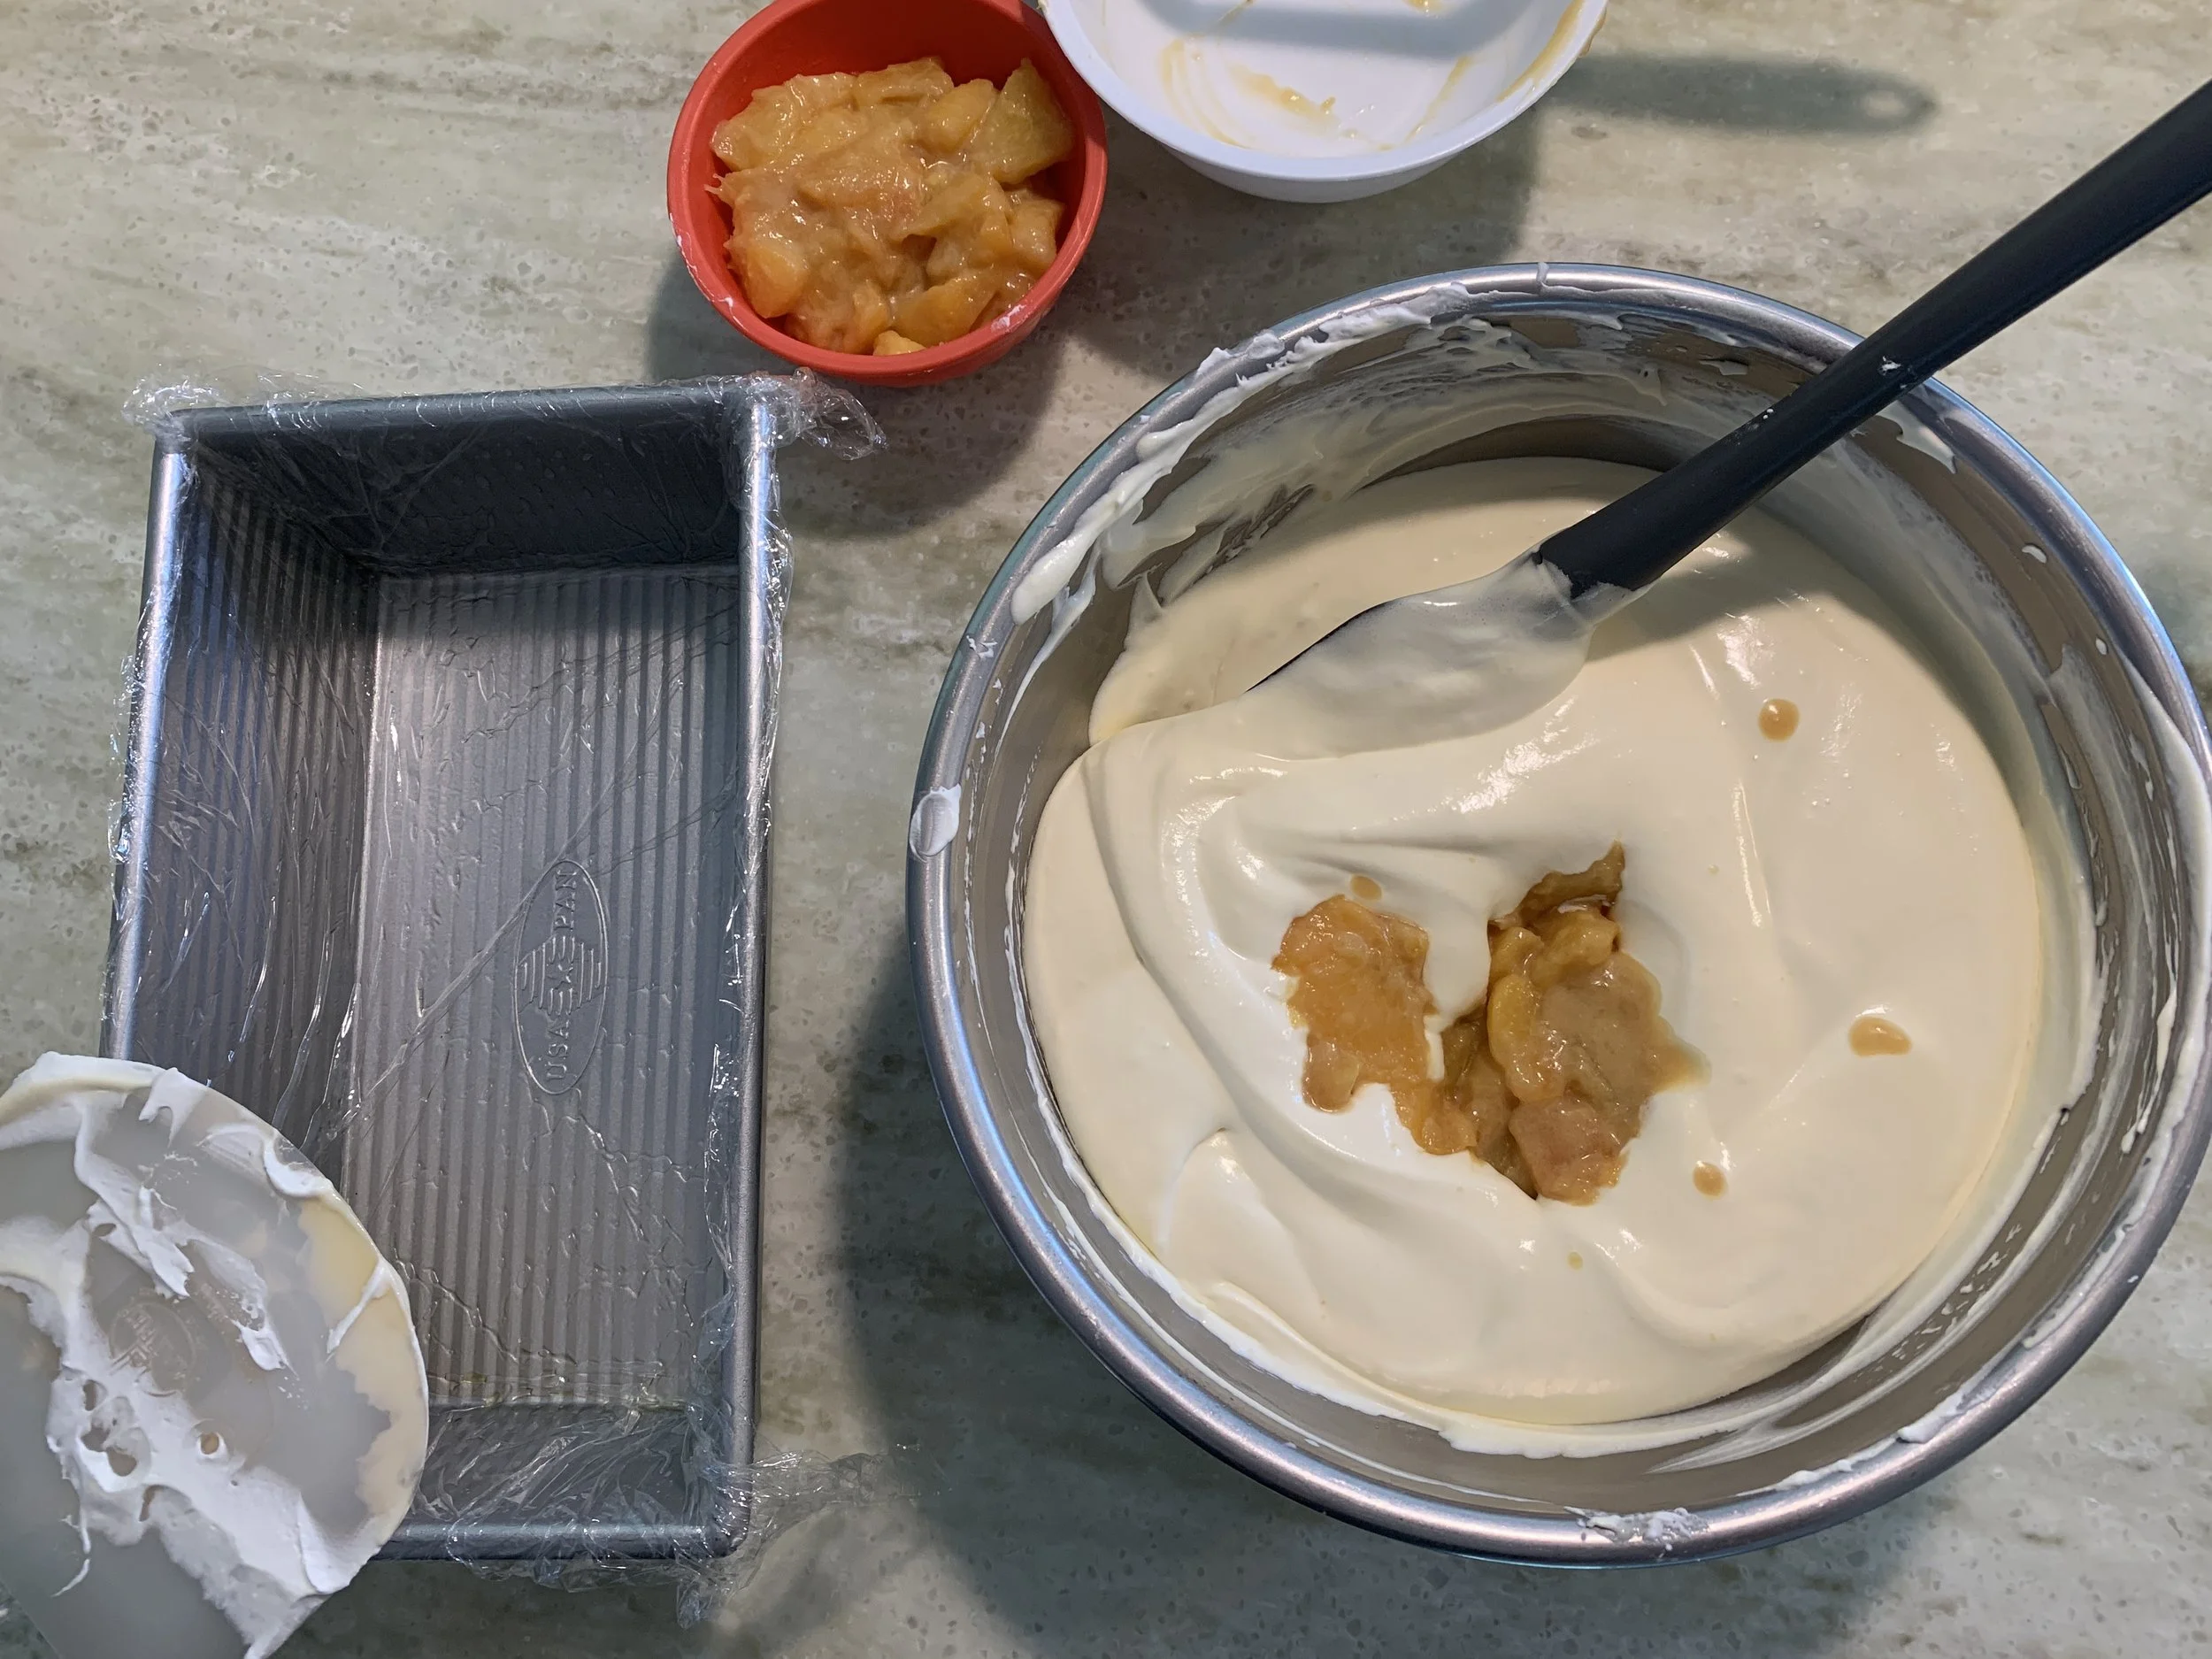
Blend the whipped cream into the cooled base then fold in the peaches.
Spread evenly into the prepared pan. Fold the plastic wrap over the surface, smooth down to eliminate air bubbles then place into the freezer for at least 4 hours. I made mine a couple of weeks before actually serving and enjoying it. Make ahead - gotta love it!!
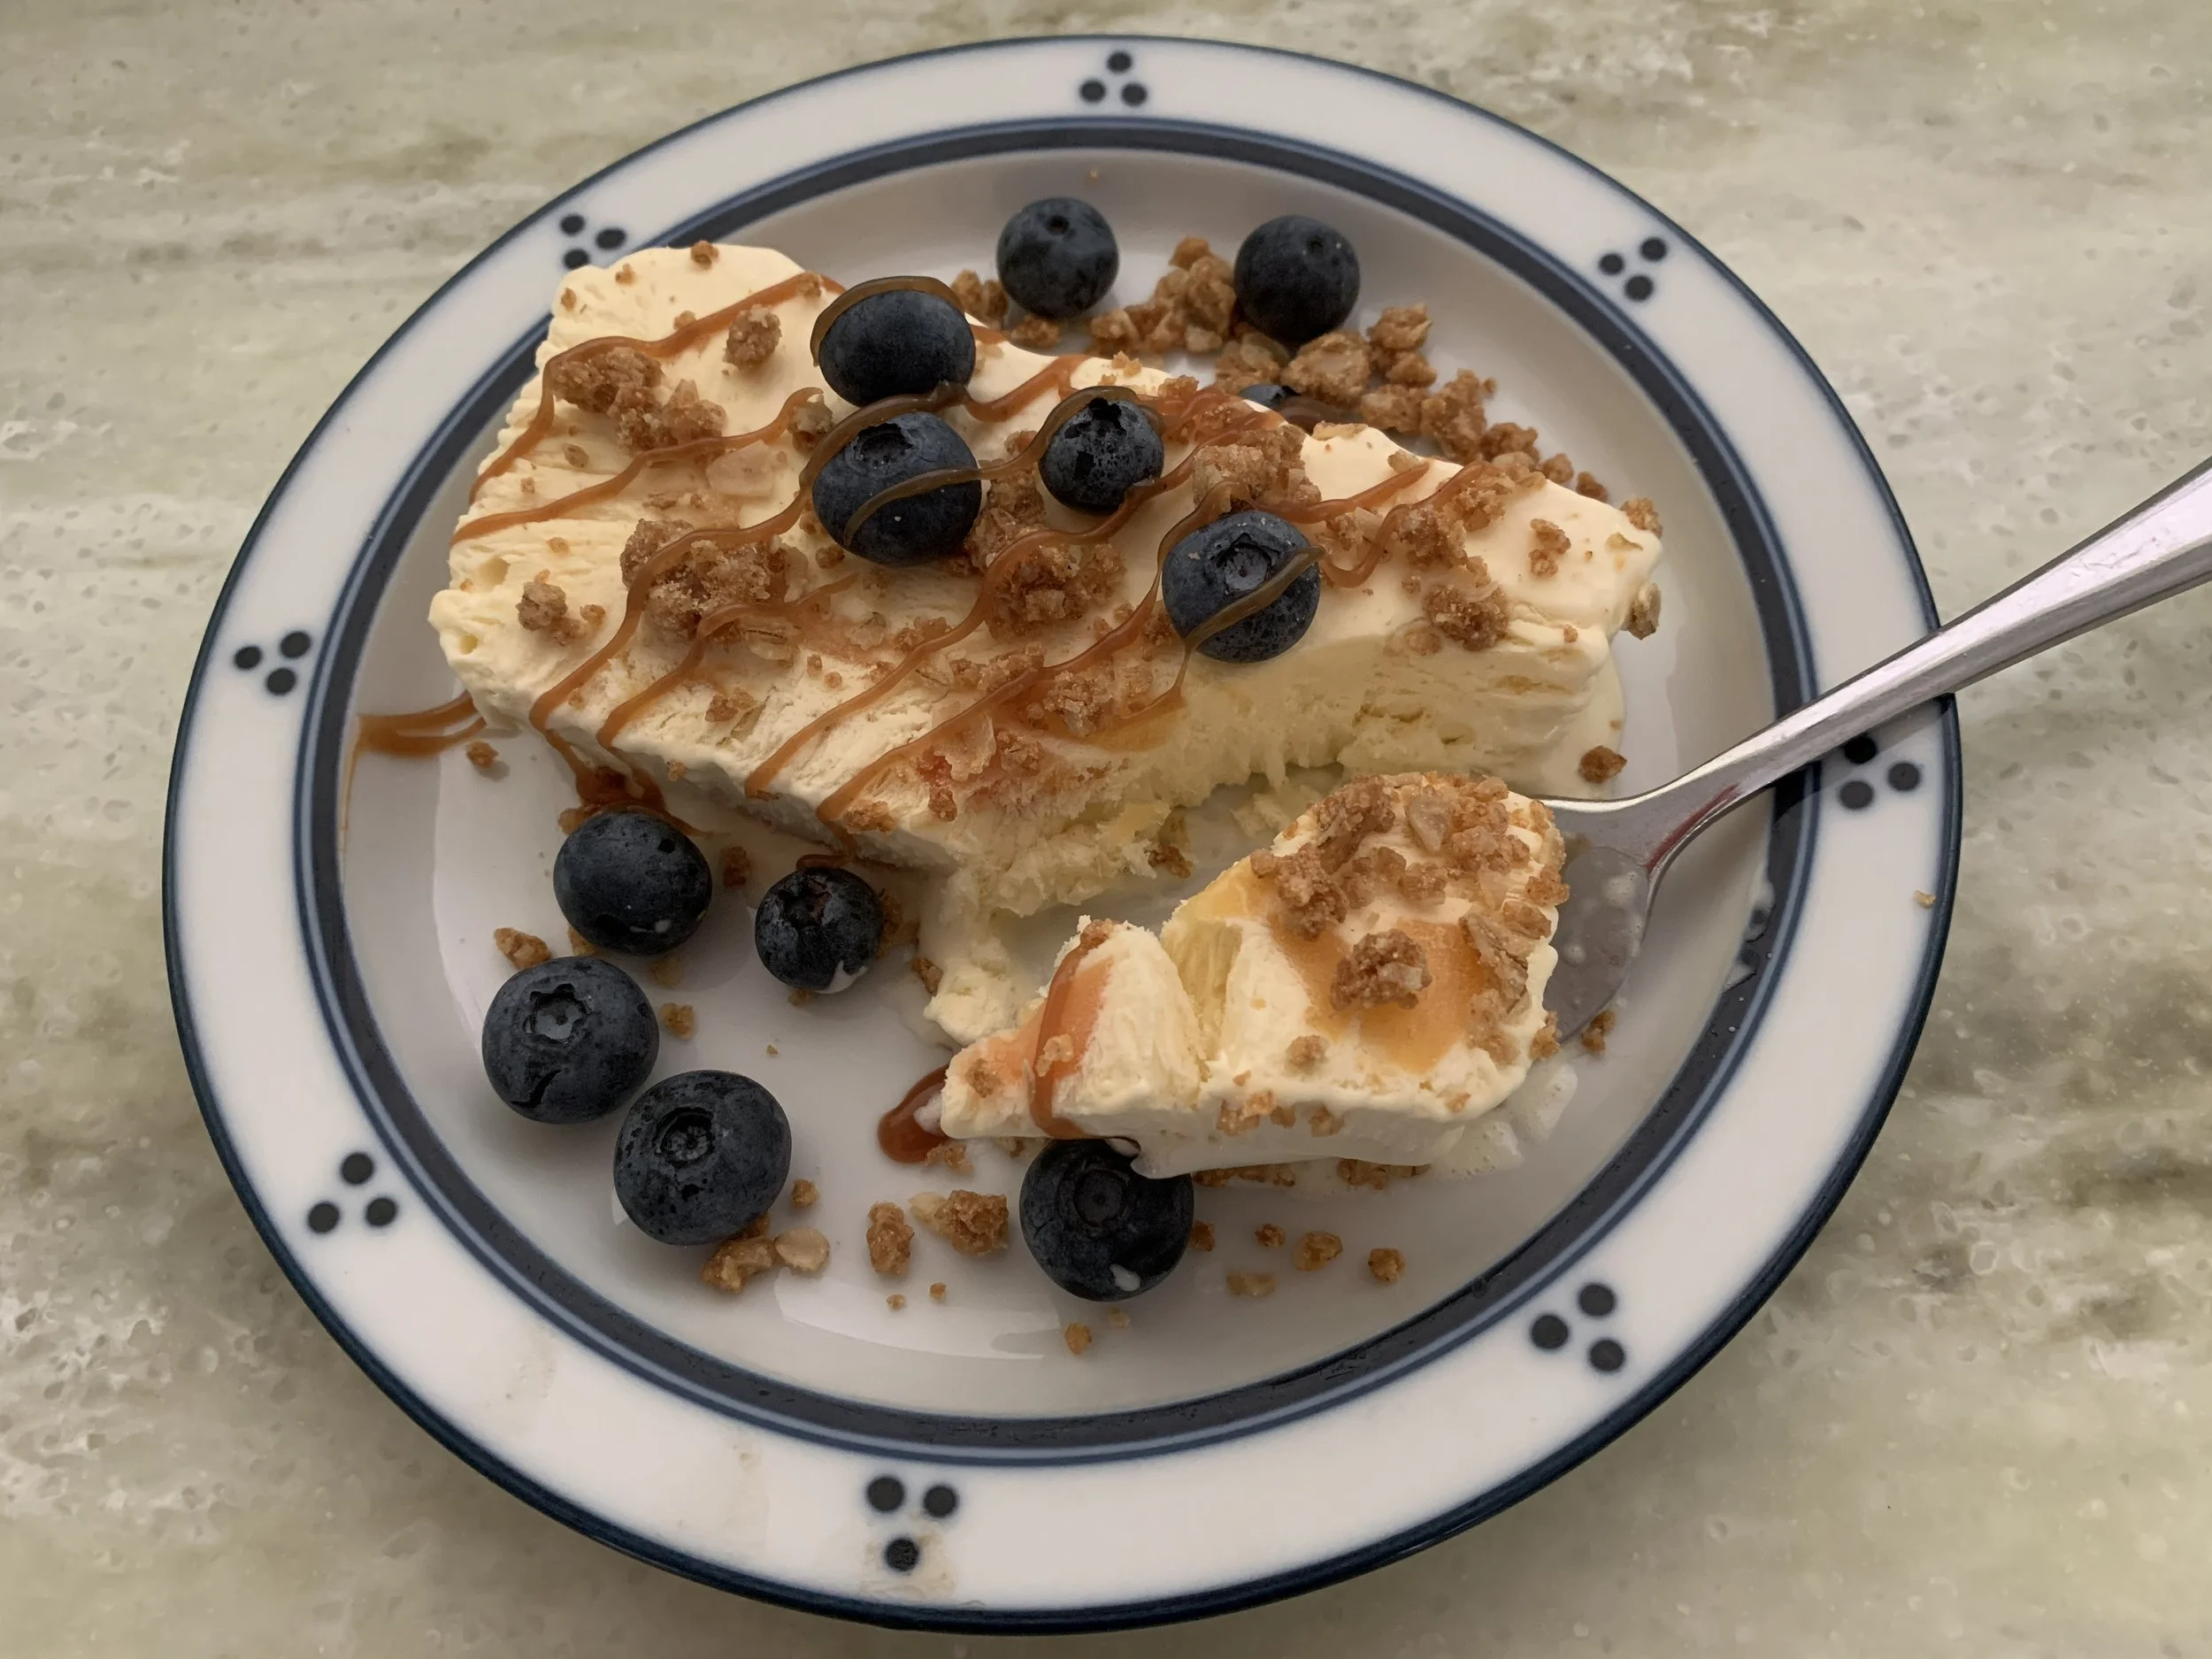
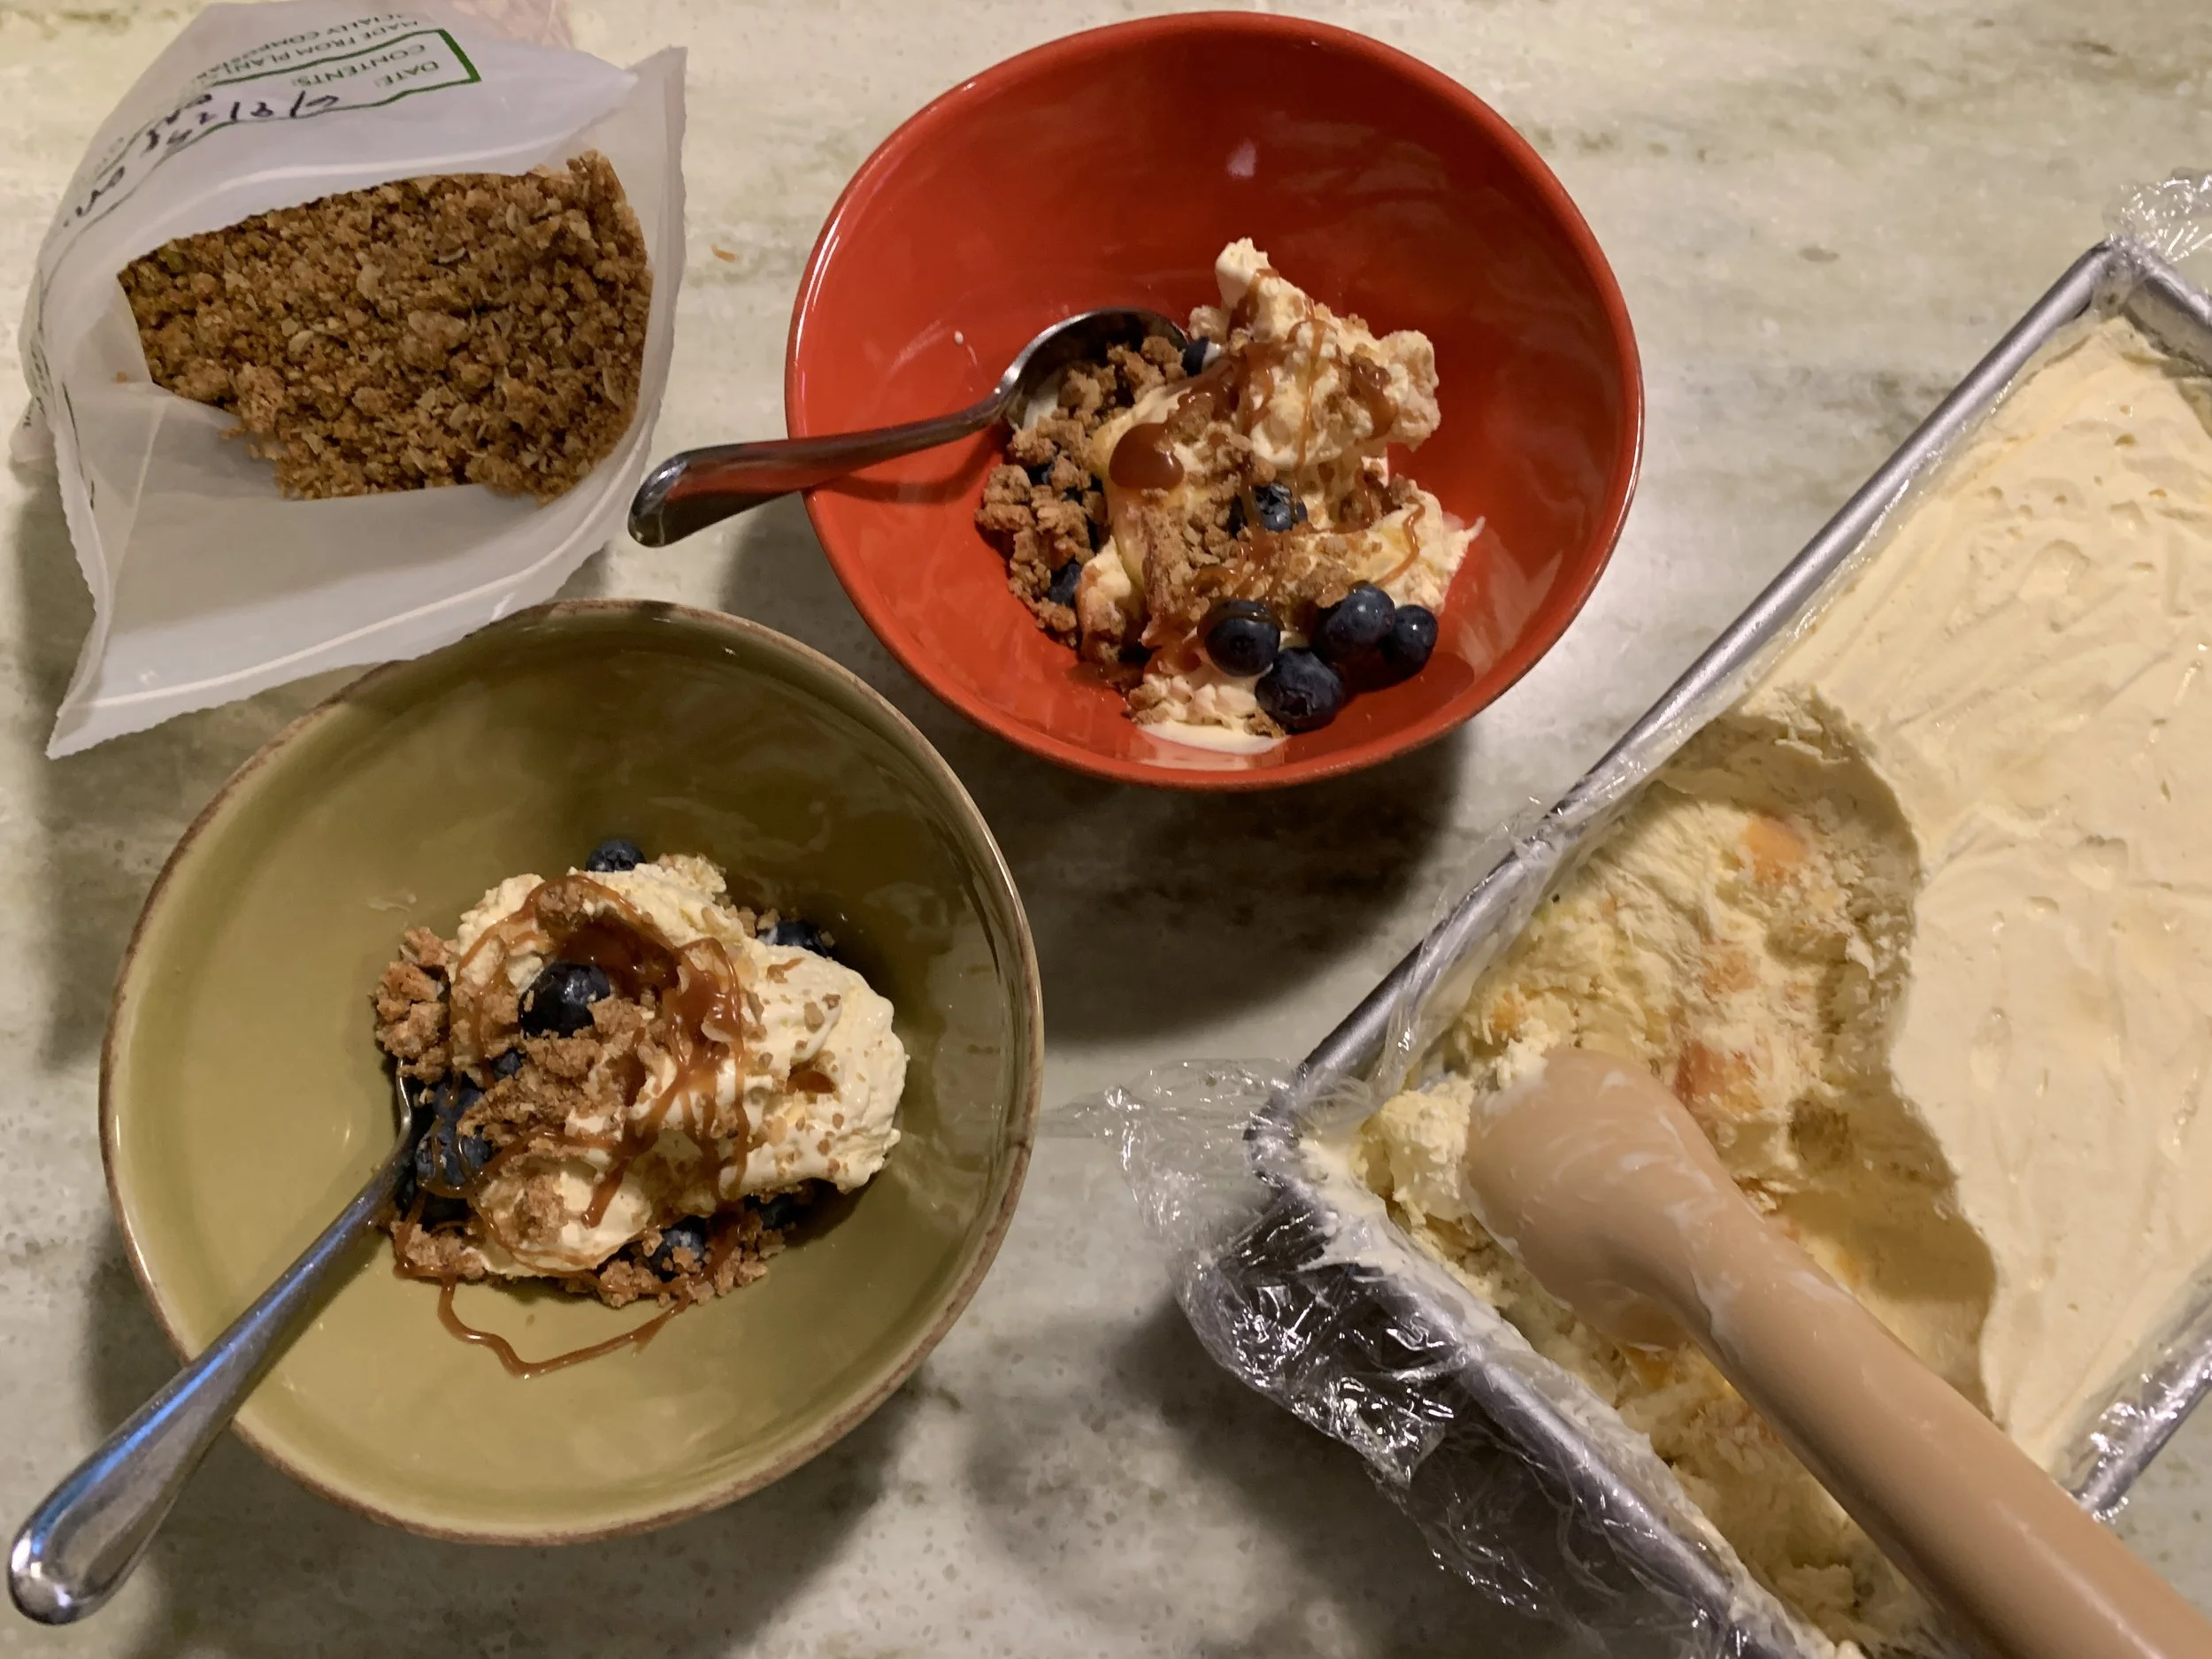
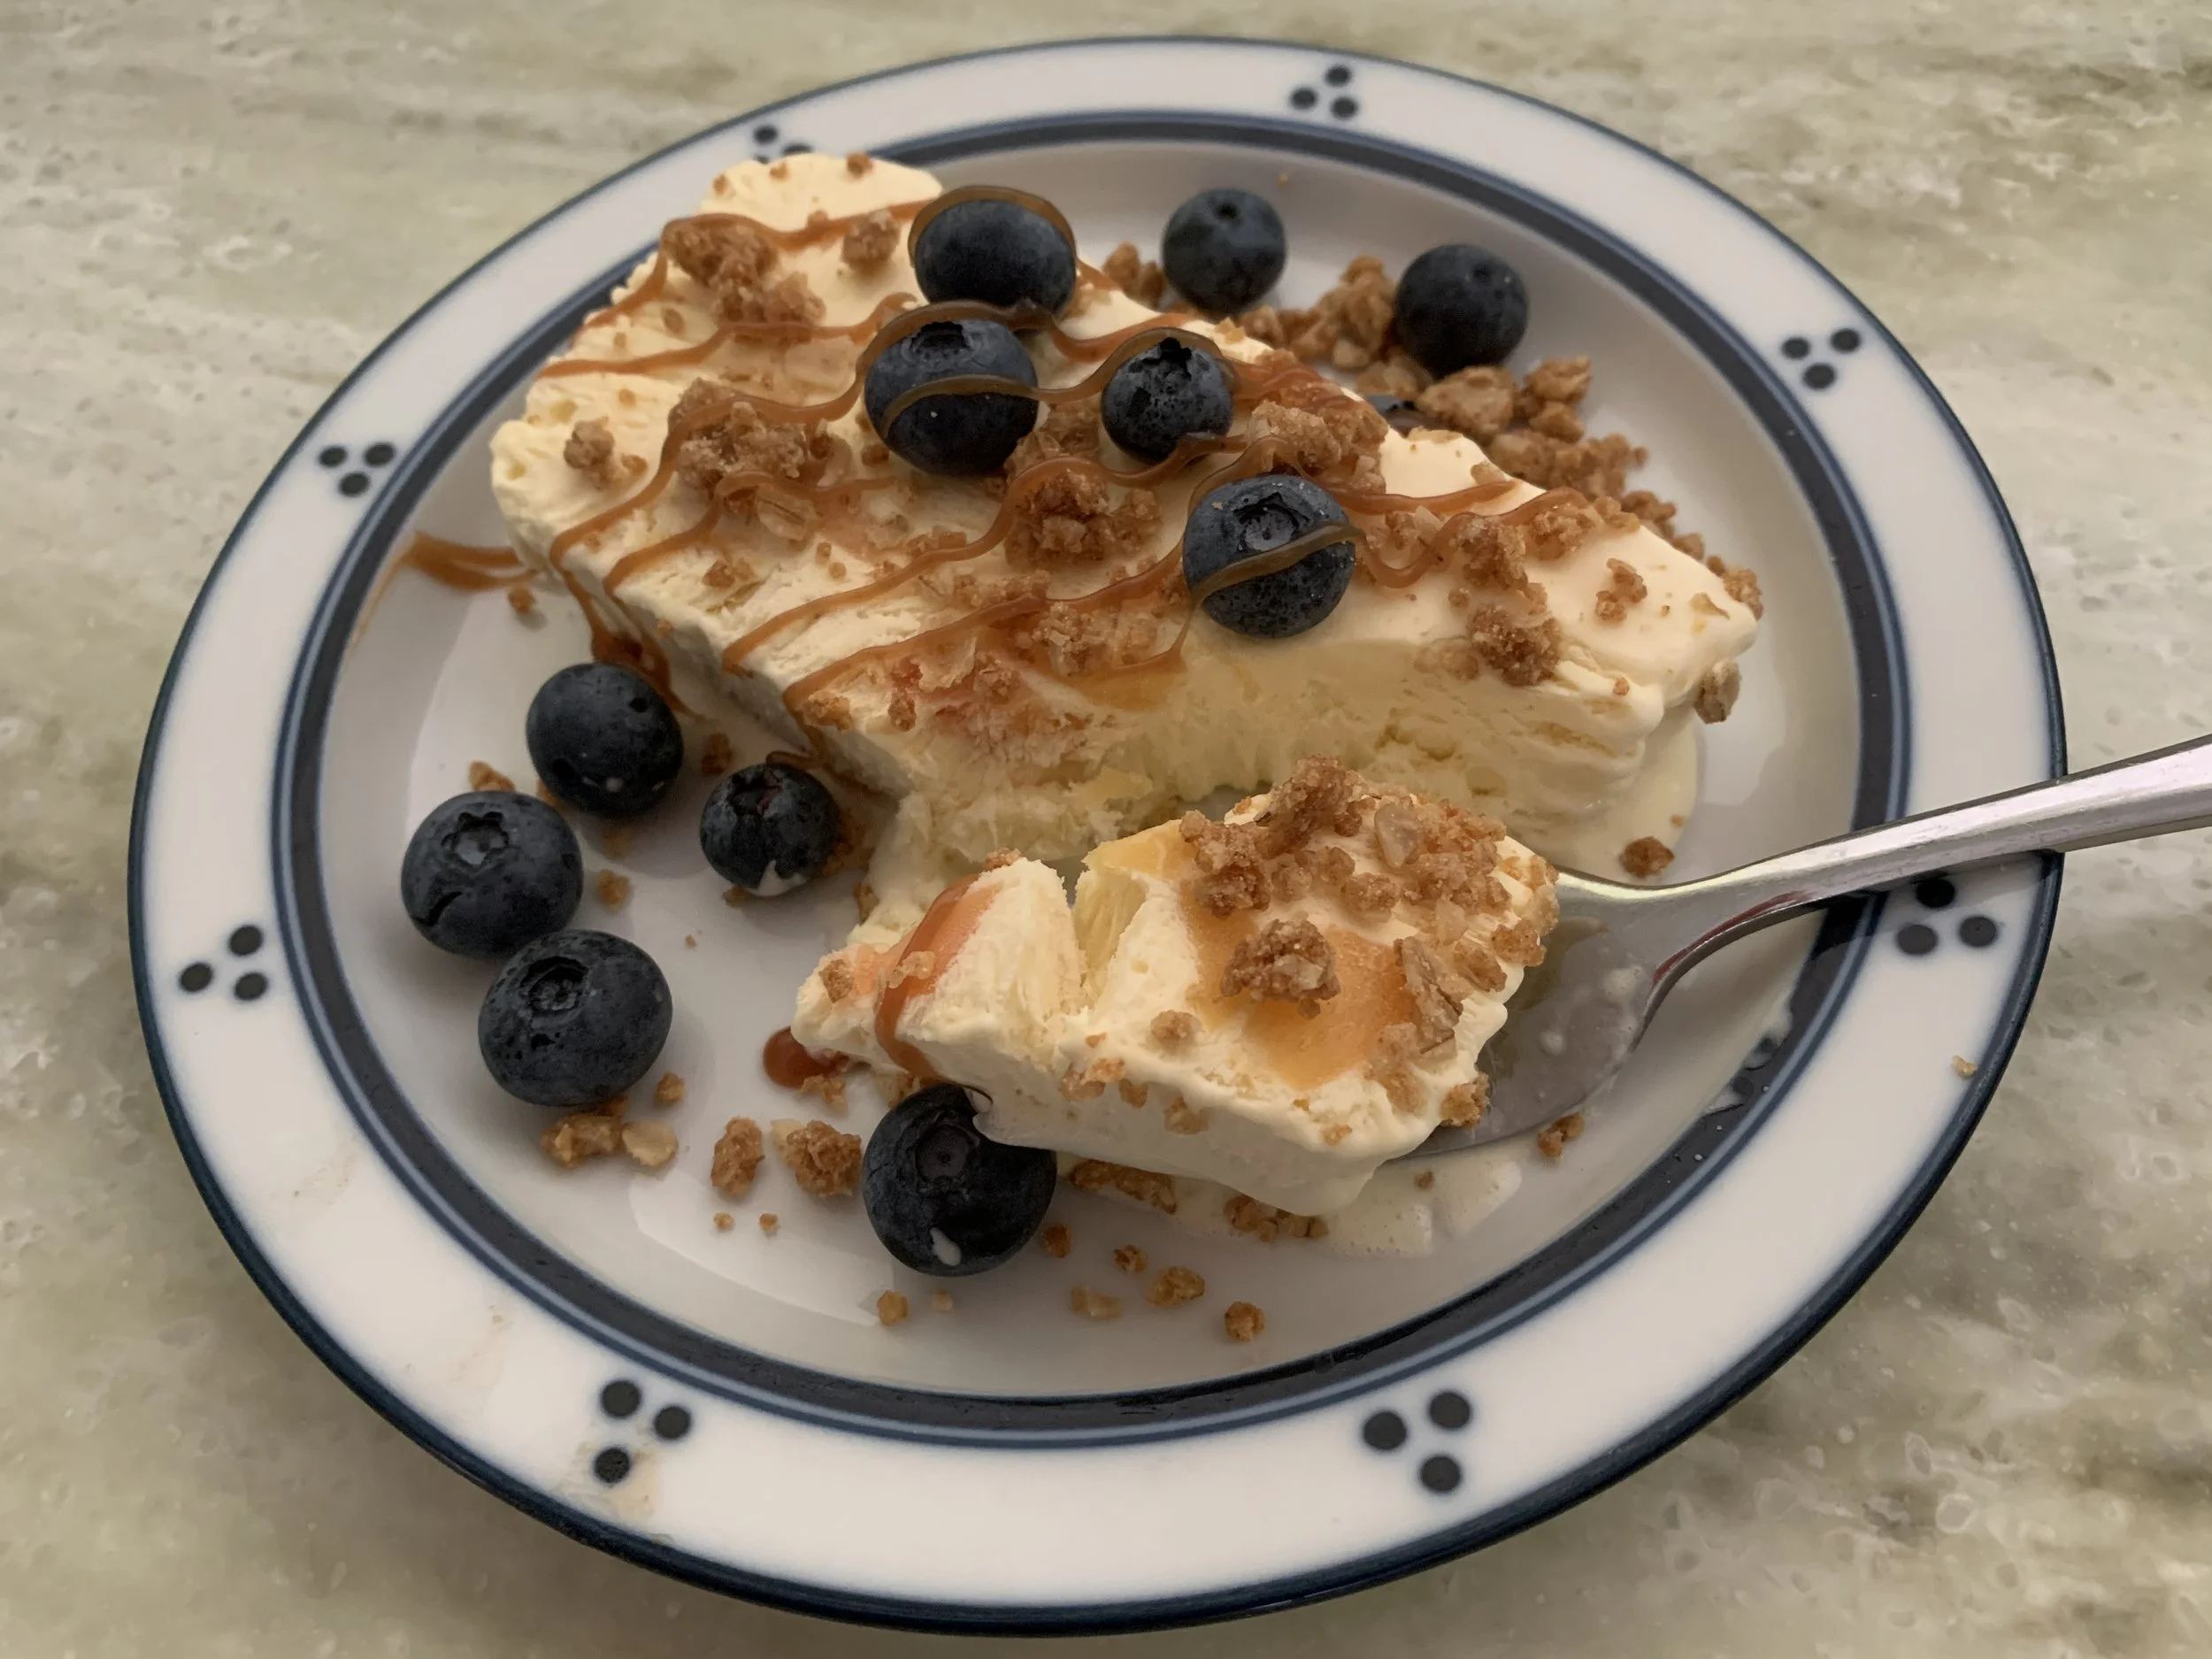
When it came time for the first taste, I opted for an ice cream scoop approach. I admit I might have been in a teensy bit of a hurry and this is an easy way to enjoy - a scoop into a bowl, topped with toasted sliced almonds and/or oat crumble, a few blueberries and a drizzle of caramel - YES!
The remainder went back into the freezer until I got my wits about me.
The next time I was feeling a bit more relaxed so took time to lift the semifreddo out of the pan, slice it and top with the same garnish of crumble, blueberries and caramel - never gets old.
I was left with enough to empty the loaf pan and press the remaining mixture into one of my decorative silicone molds (photo earlier above). Covered with plastic wrap and back into the freezer (again!) where it’s at the ready for another round of goodness.
A quick note - I would typically decide ahead of time whether I want to make a full loaf (e.g. sliced and garnished for a dinner party) or opt for the silicone individual portions that can be popped out and served singly or with just a handful of folks. It’s all in the planning.
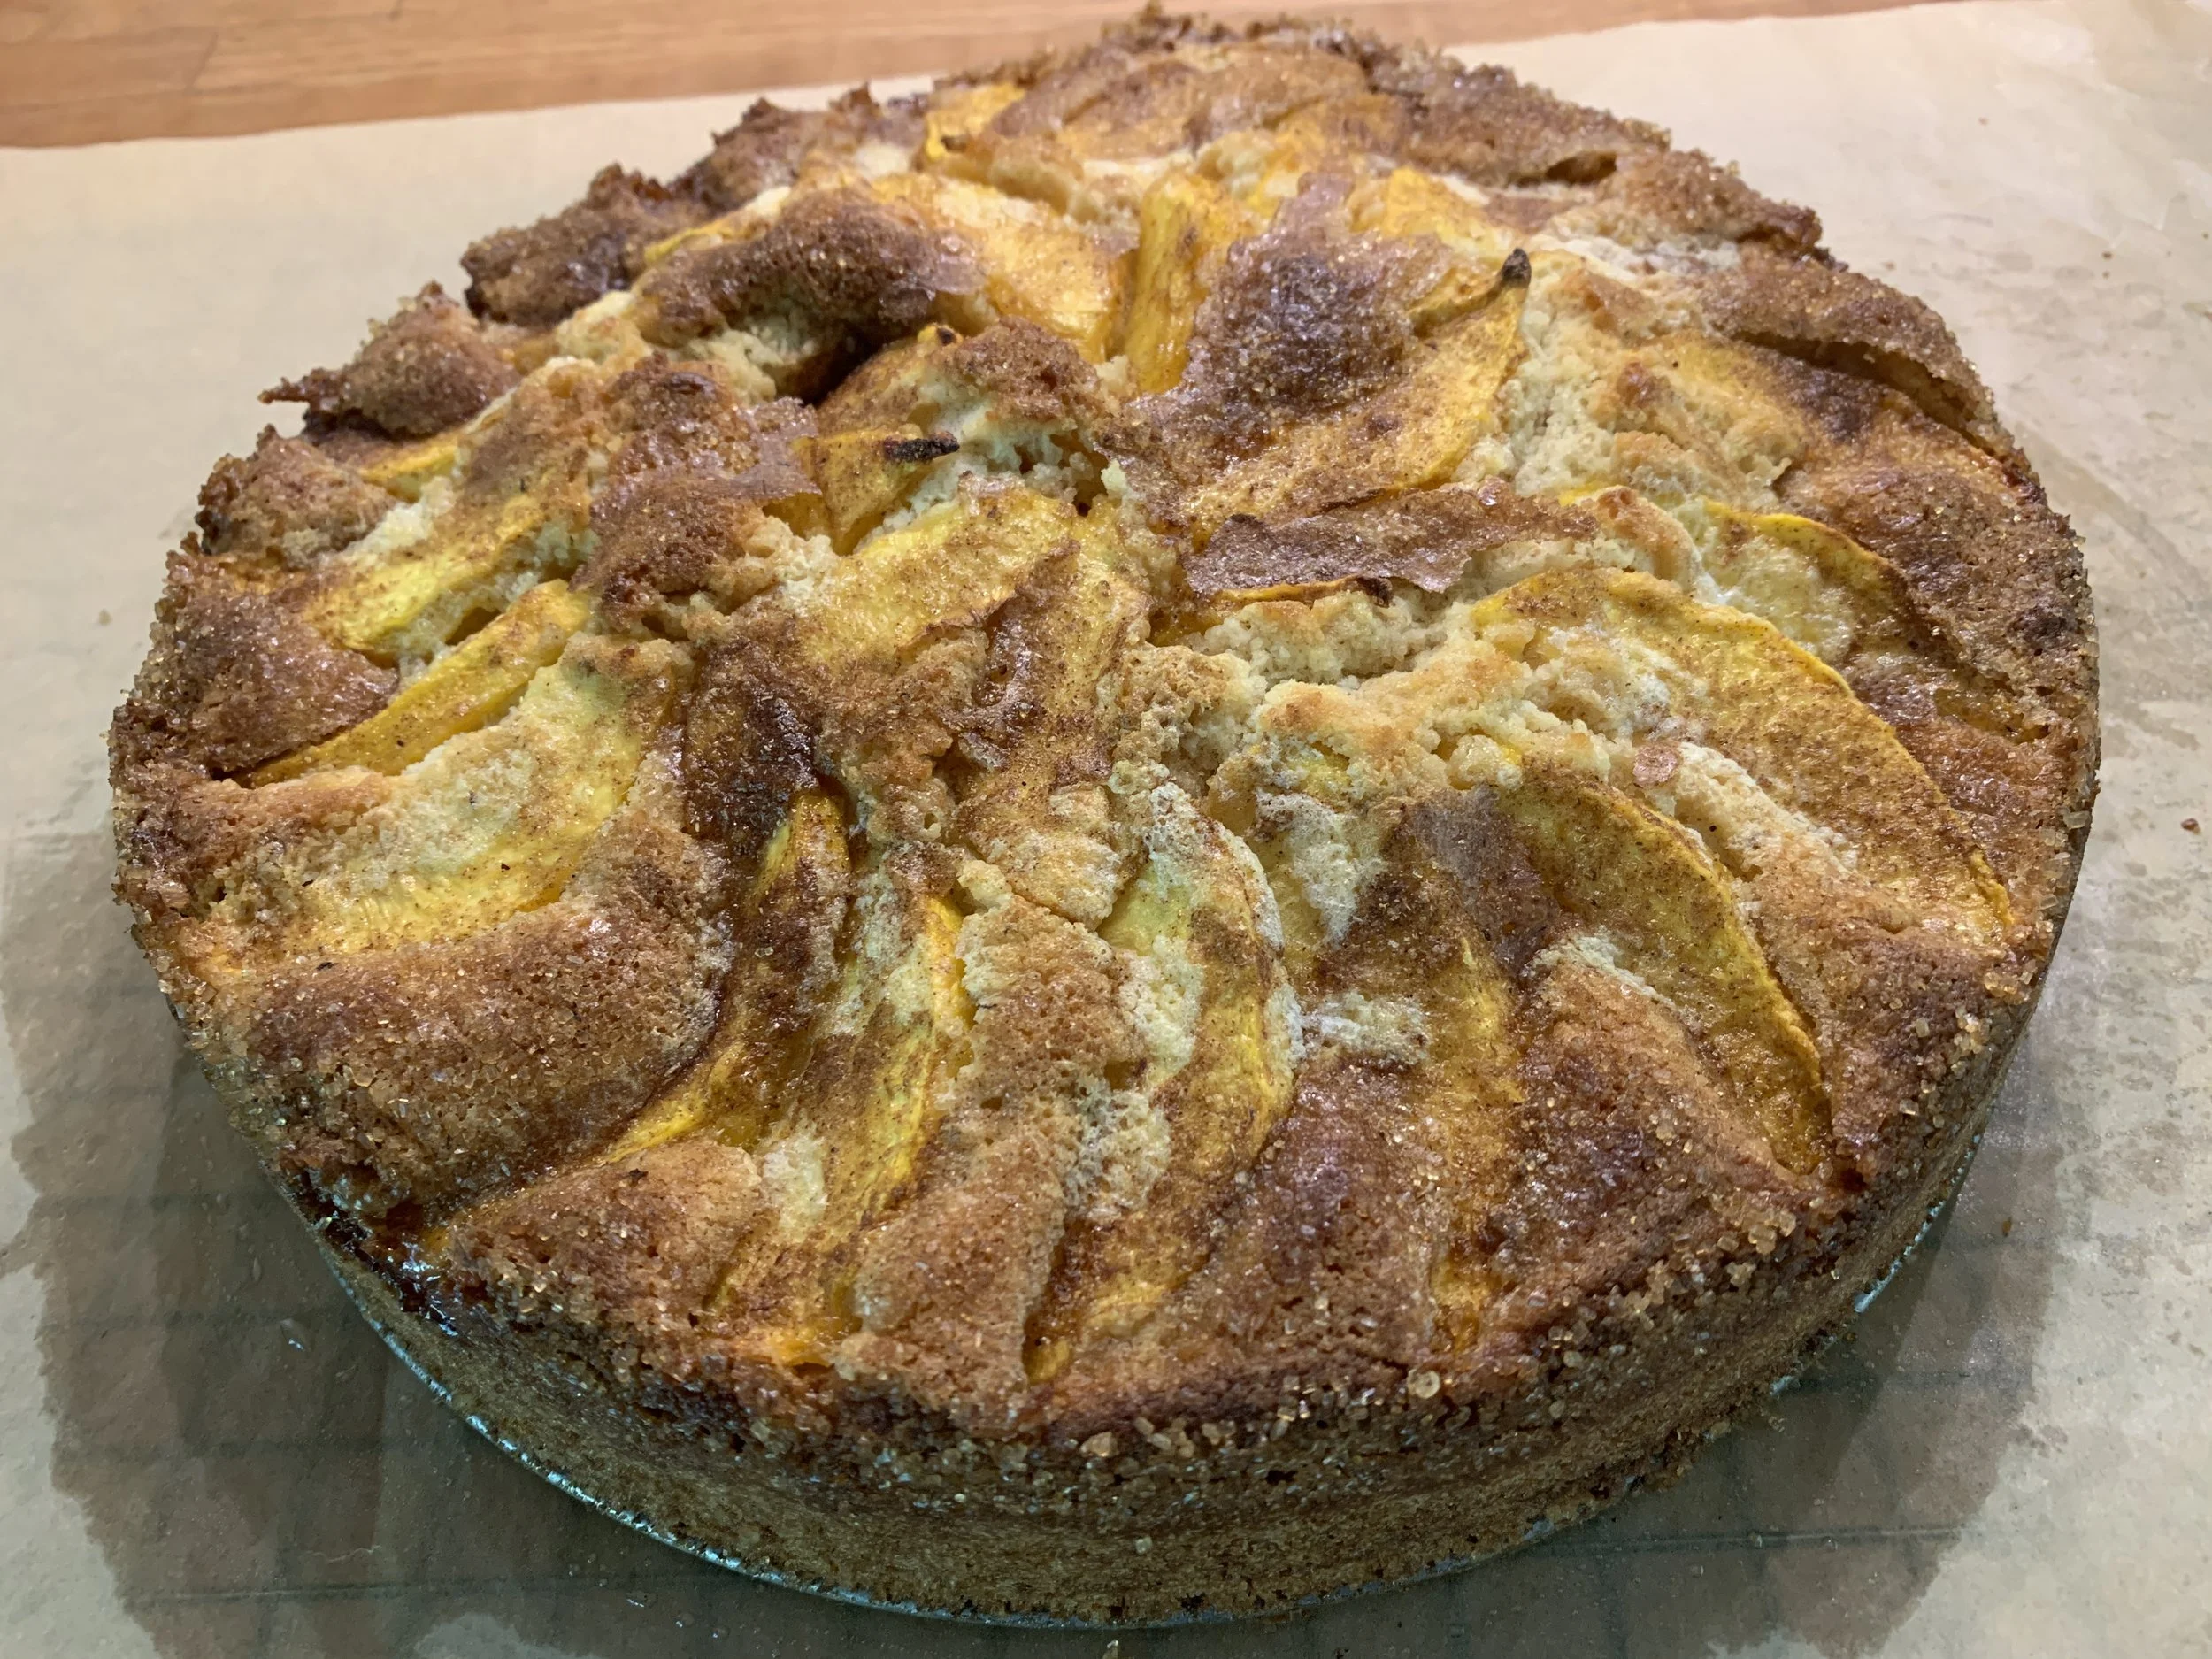
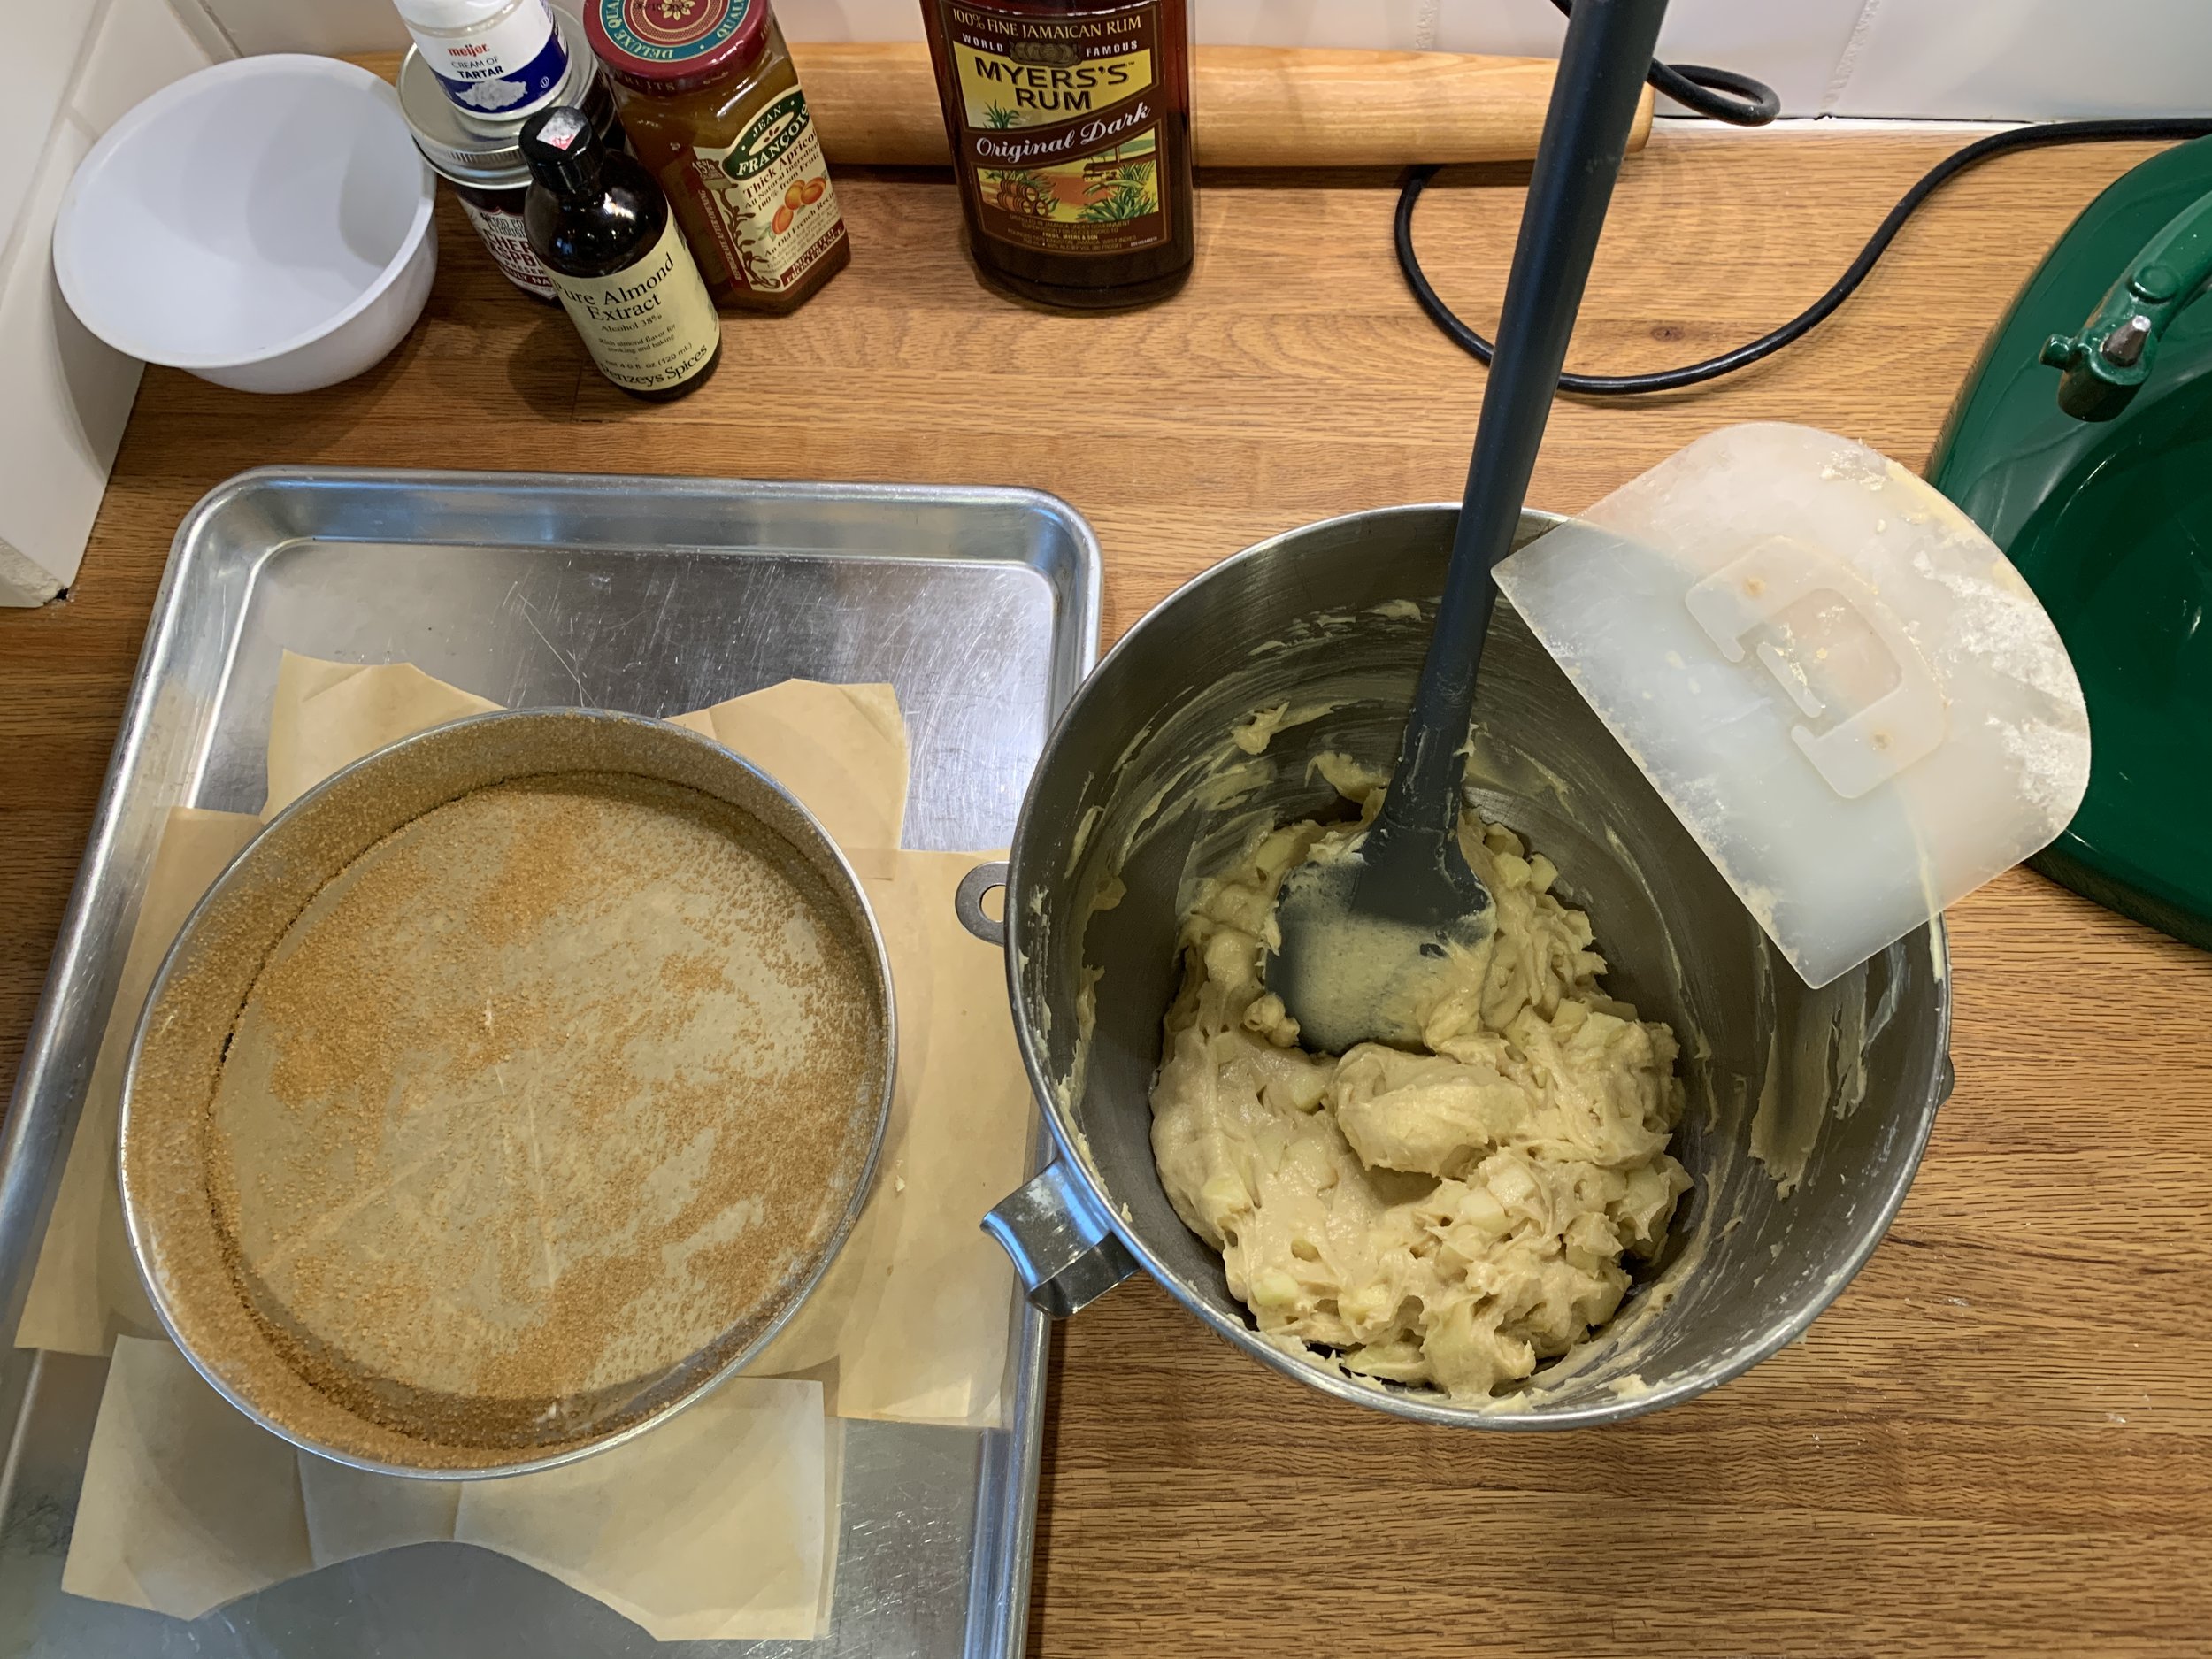
OK - enough of the semifreddo. Here’s the peach cake I mentioned earlier. The recipe is the same as one I posted back in late August of 2023 as mini cakes - this time I went with a 9” springform.
Hmmmmm . . . . what should go on top??
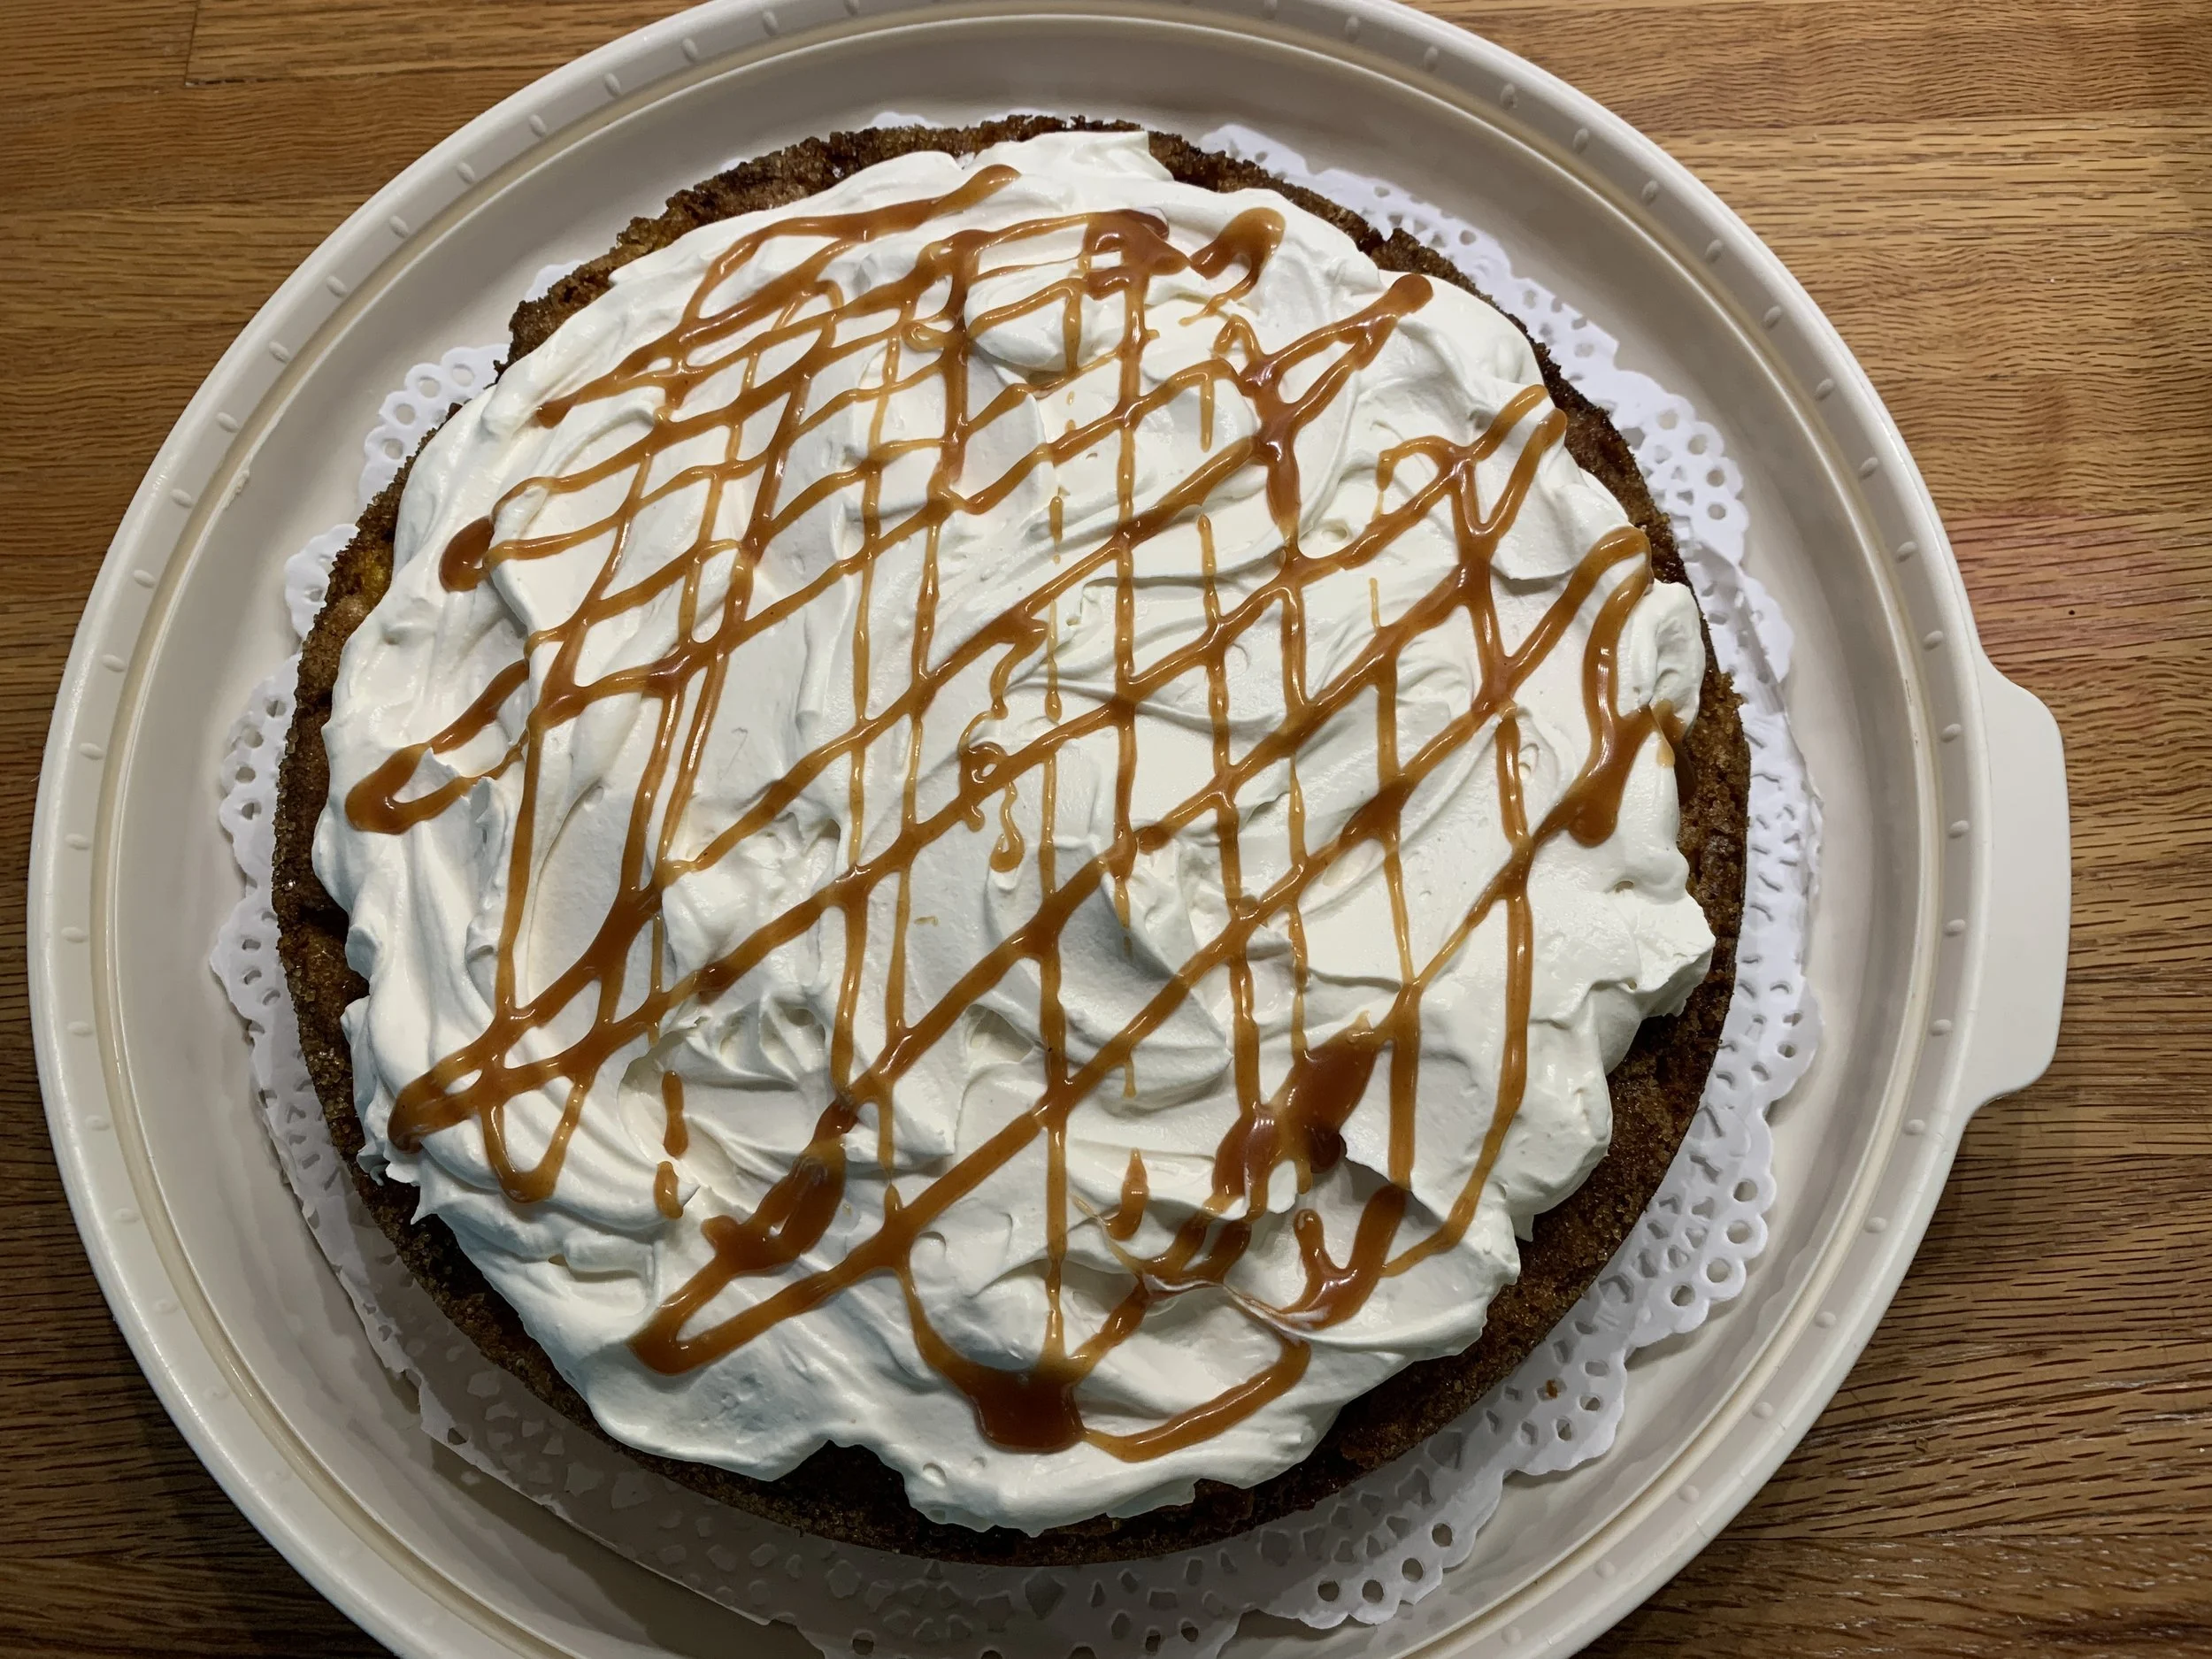
I topped it with my favorite caramel mascarpone cream plus a drizzle of caramel over all. I don’t have a photo of an individual portion (we were at my cousin’s cottage and it just didn’t happen), but I also made a blueberry sauce to top it. Boy oh boy was it good!
Happy baking and enjoy autumn!
Along my walking route

