Early summer update
/
Maple glazed pecan Danish
Though it’s not officially summer by the calendar, it certainly feels like it here in West Michigan. Hot and humid! The inspiration to bake is low on the priority list at the moment, but I can certainly dream, plan and write about baking, can’t I!
It’s been a bit since I’ve posted so I wanted to take the time to share a few of the goodies I’ve made in the past couple of months. Relying on favorite base recipes is de rigueur for me, and where appropriate I’ll share links to those recipes and give you any little changes I might have incorporated.
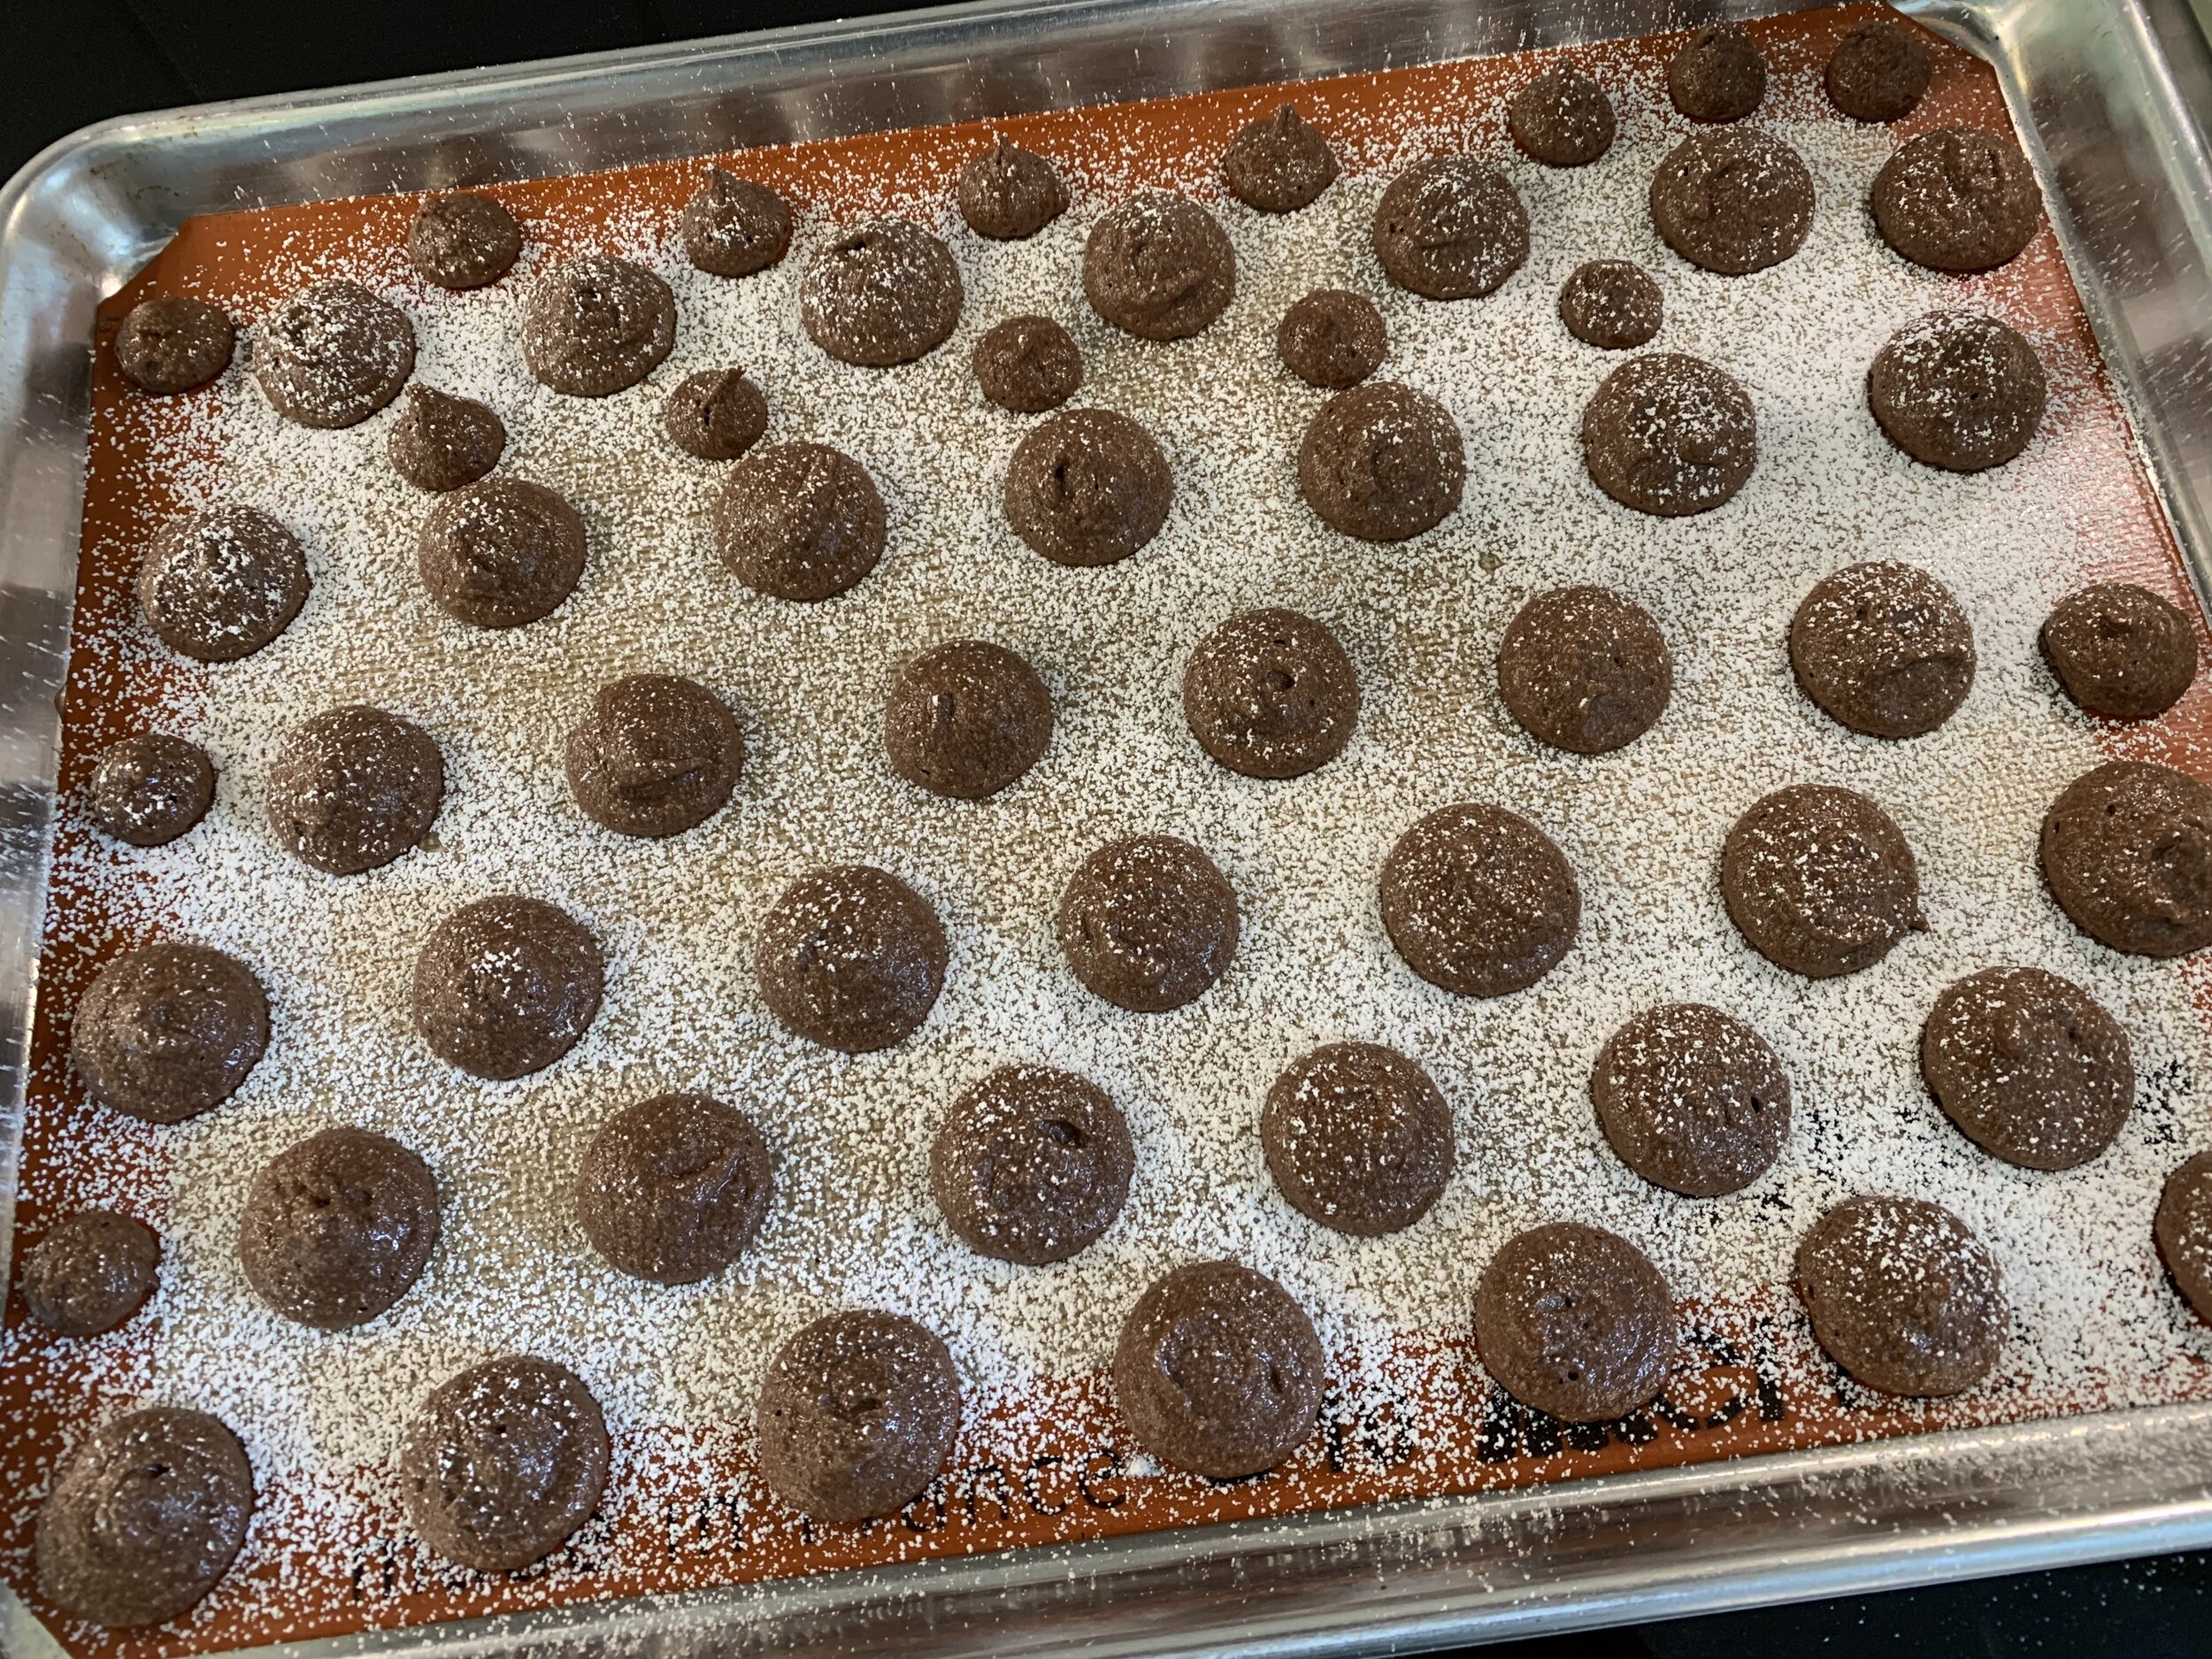
Chocolate dacquoise bites
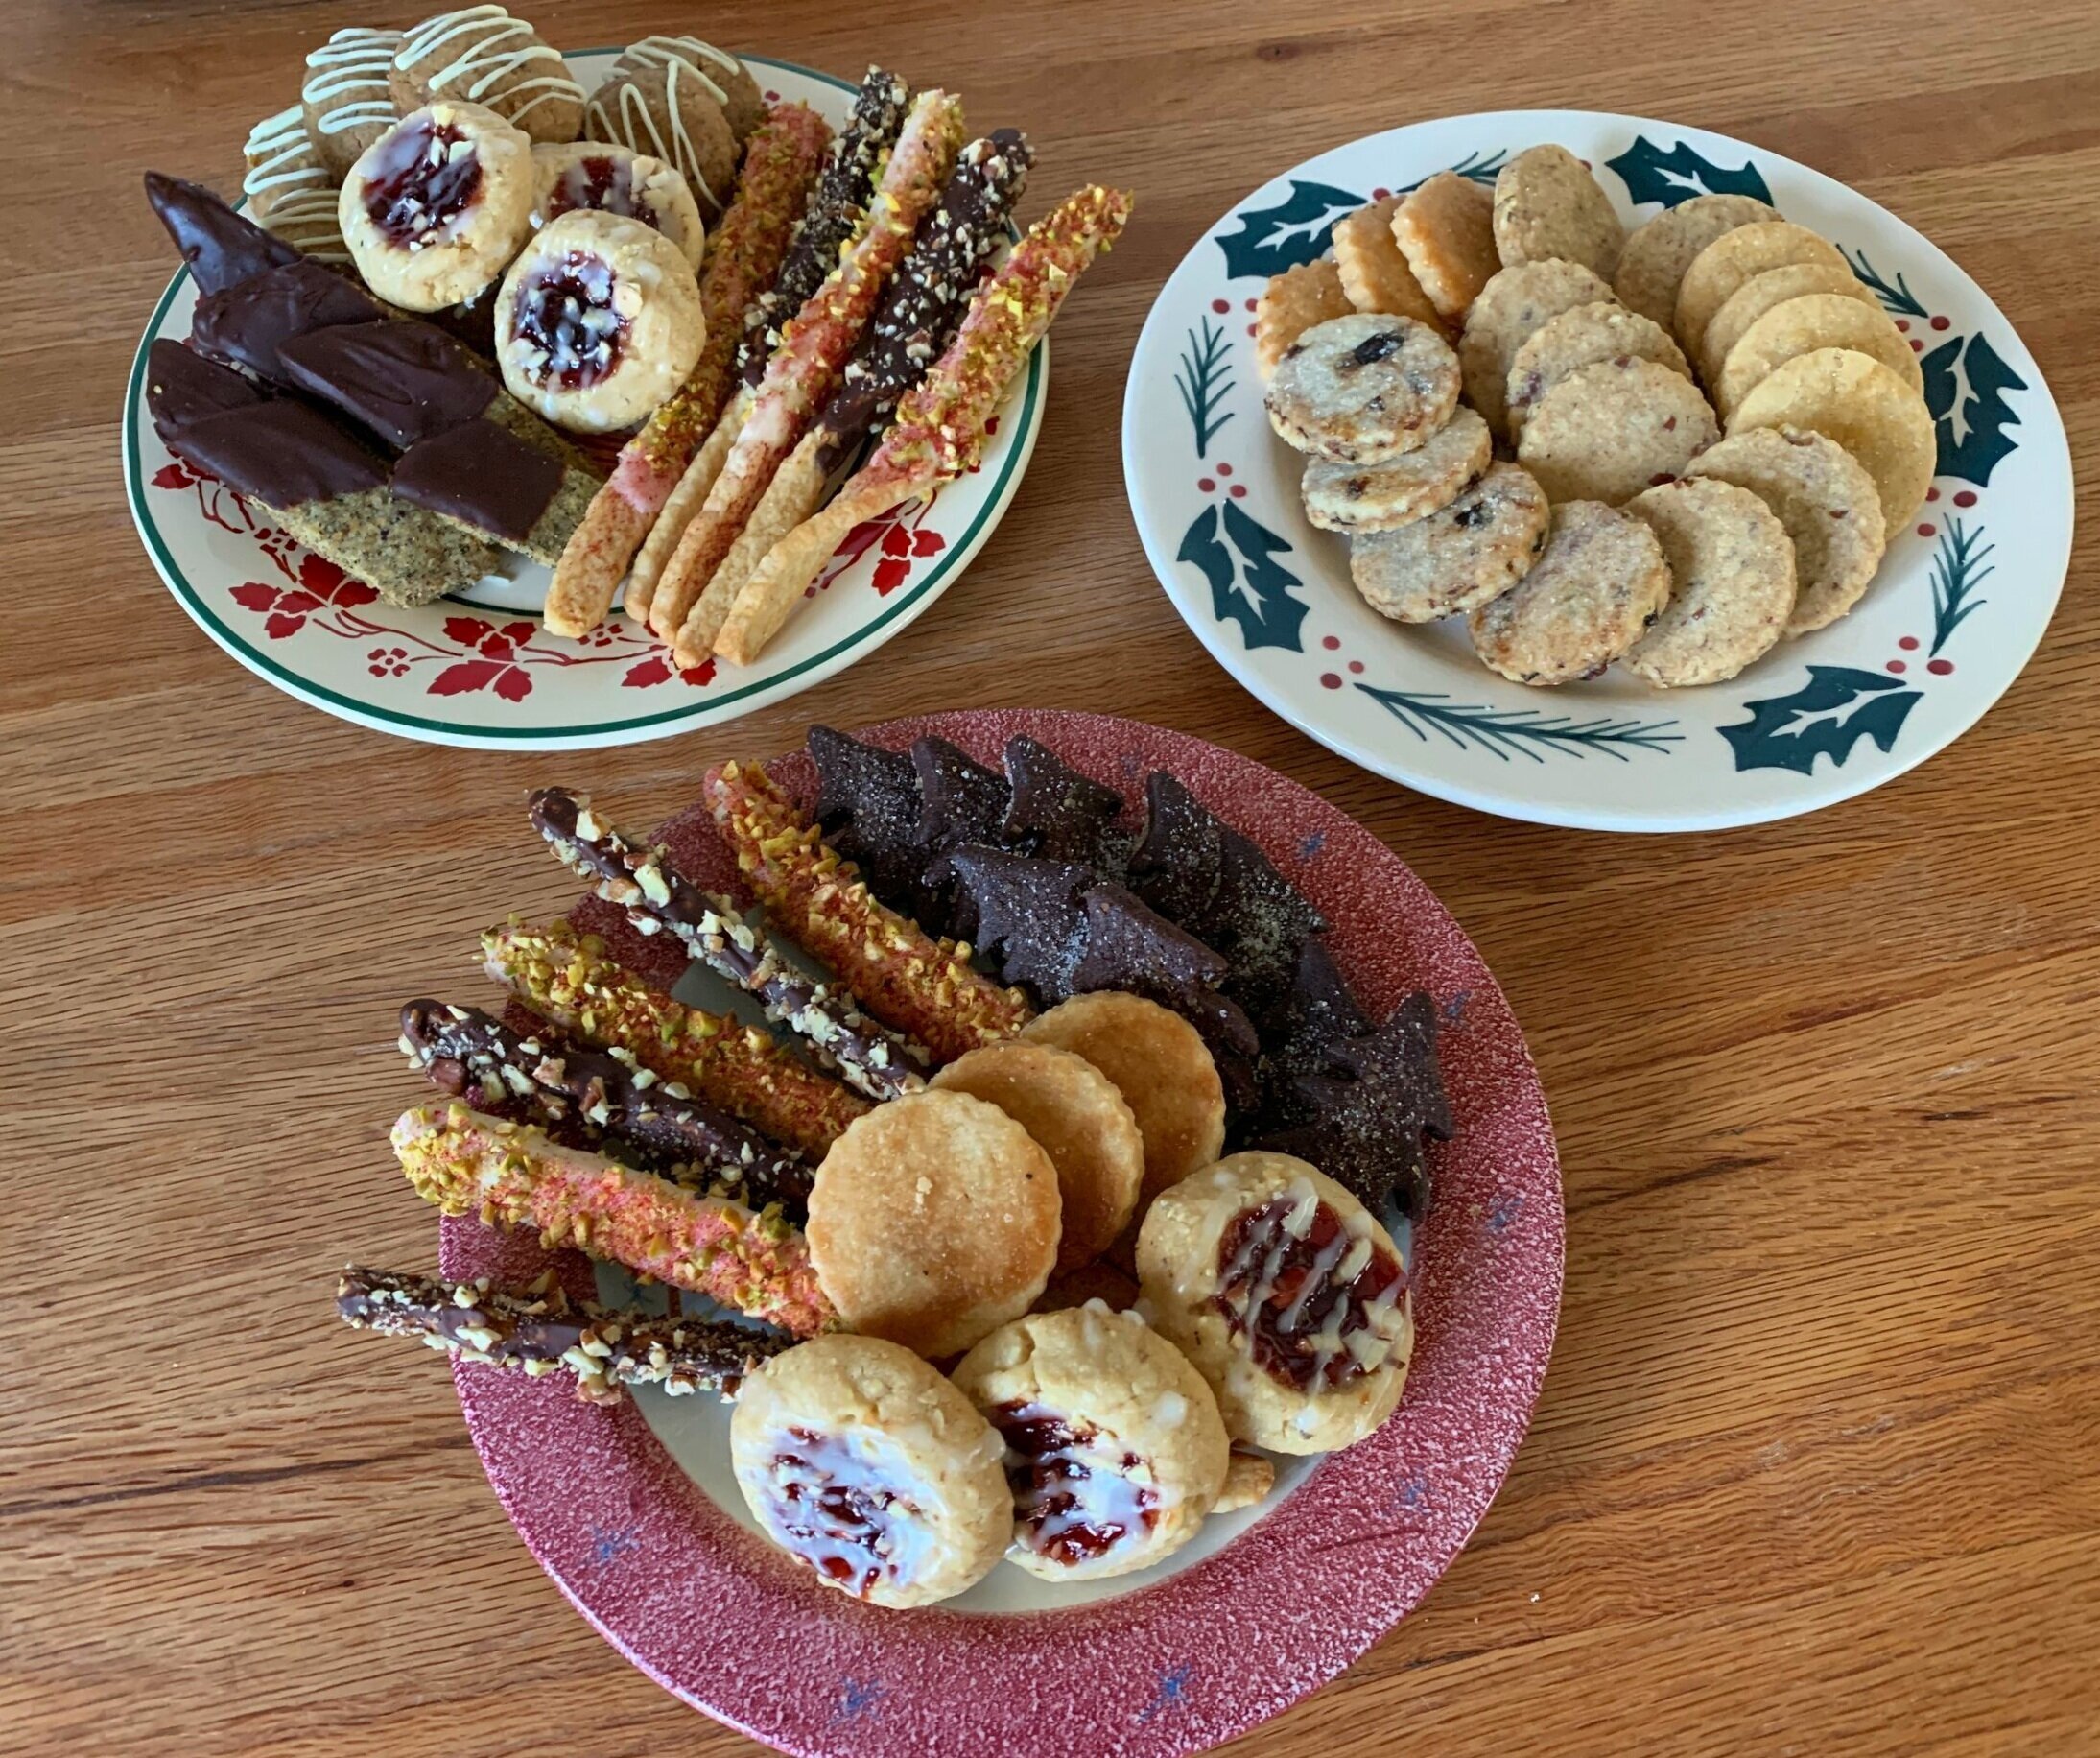
First up - I refer to these as rustic macarons. Made using my standard dacquoise base (remember my last post on vanilla-chocolate dacquoise?), I added 30 gm Dutch process cocoa powder to the almond flour/confectioners sugar to create a chocolate version, piped/baked simple rounds then sandwiched ‘em with salted caramel buttercream. The result is less sweet than the ever popular French macaron, a characteristic I prefer.
The buttercream is basically a combo of about 1 3/4 cups stove top caramel sauce whipped until cool then blended with 113 g (one stick) cubed/room temperature unsalted butter. Add the butter cubes bit by bit as you whip, just like you would when making Swiss meringue buttercream (you could make a caramel version of that instead if you prefer).
These freeze extremely well and can be eaten pretty much as soon as you take them out to enjoy.

Chocolate caramel dacquoise bites
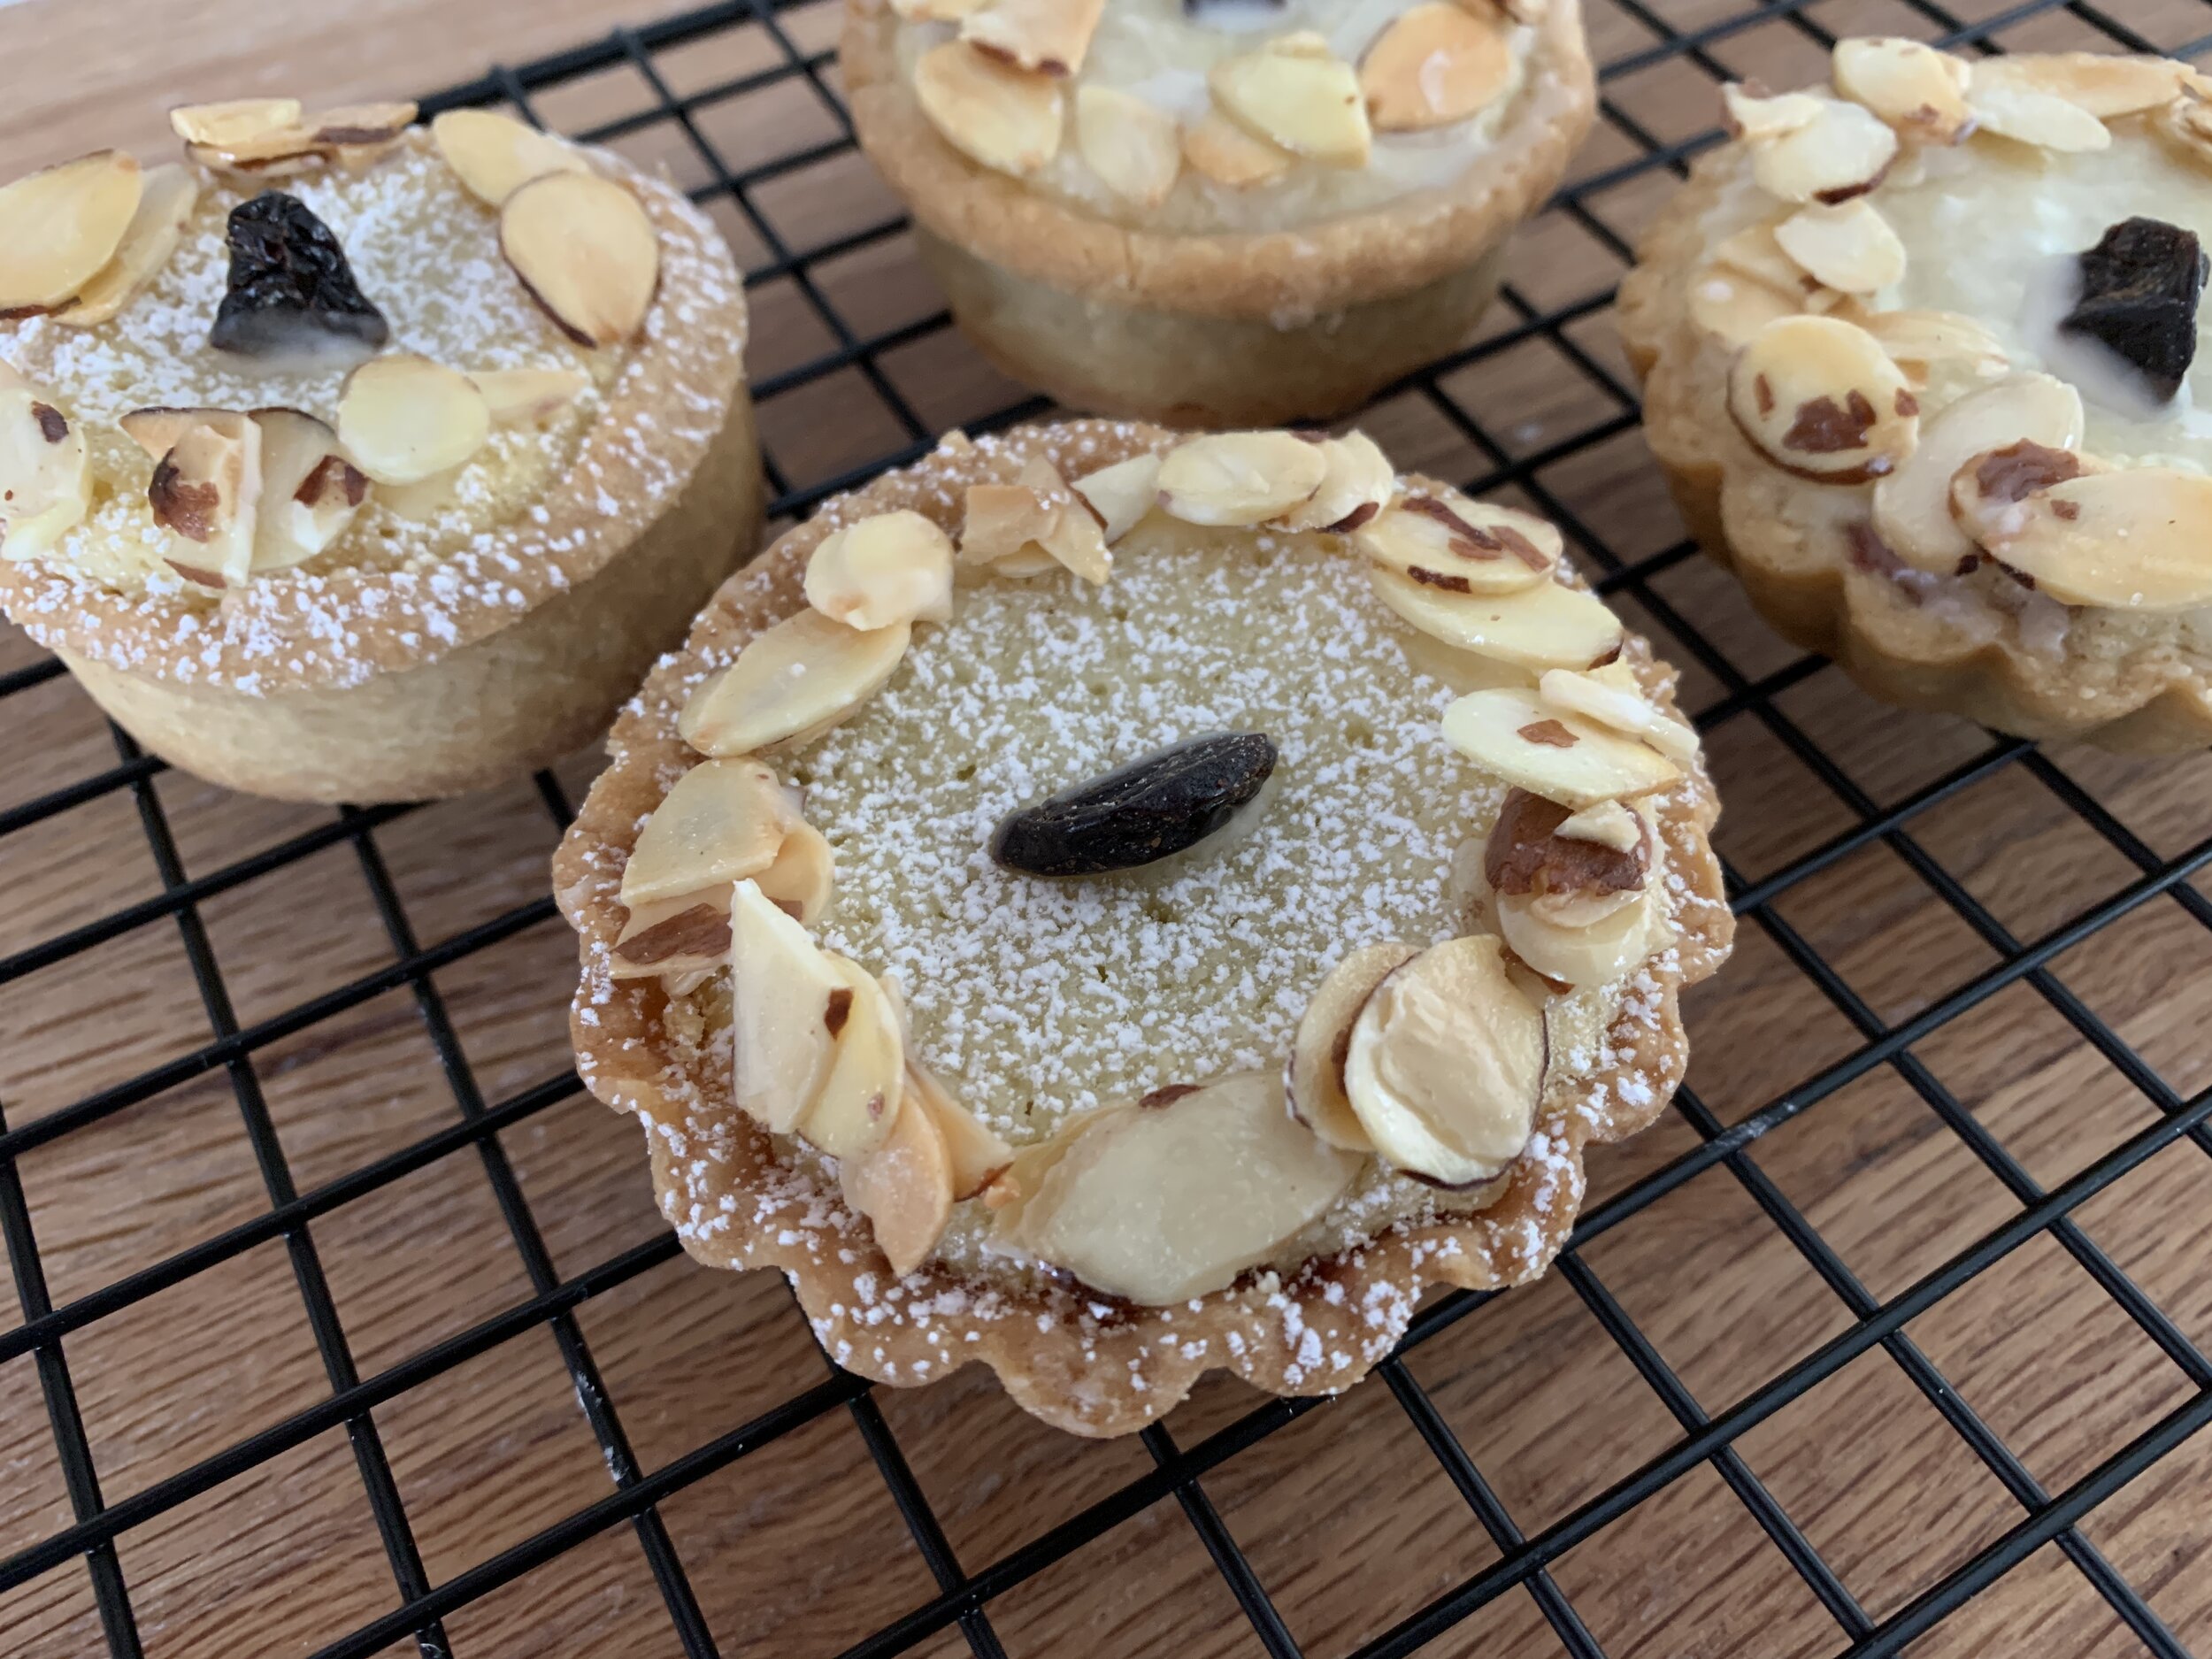
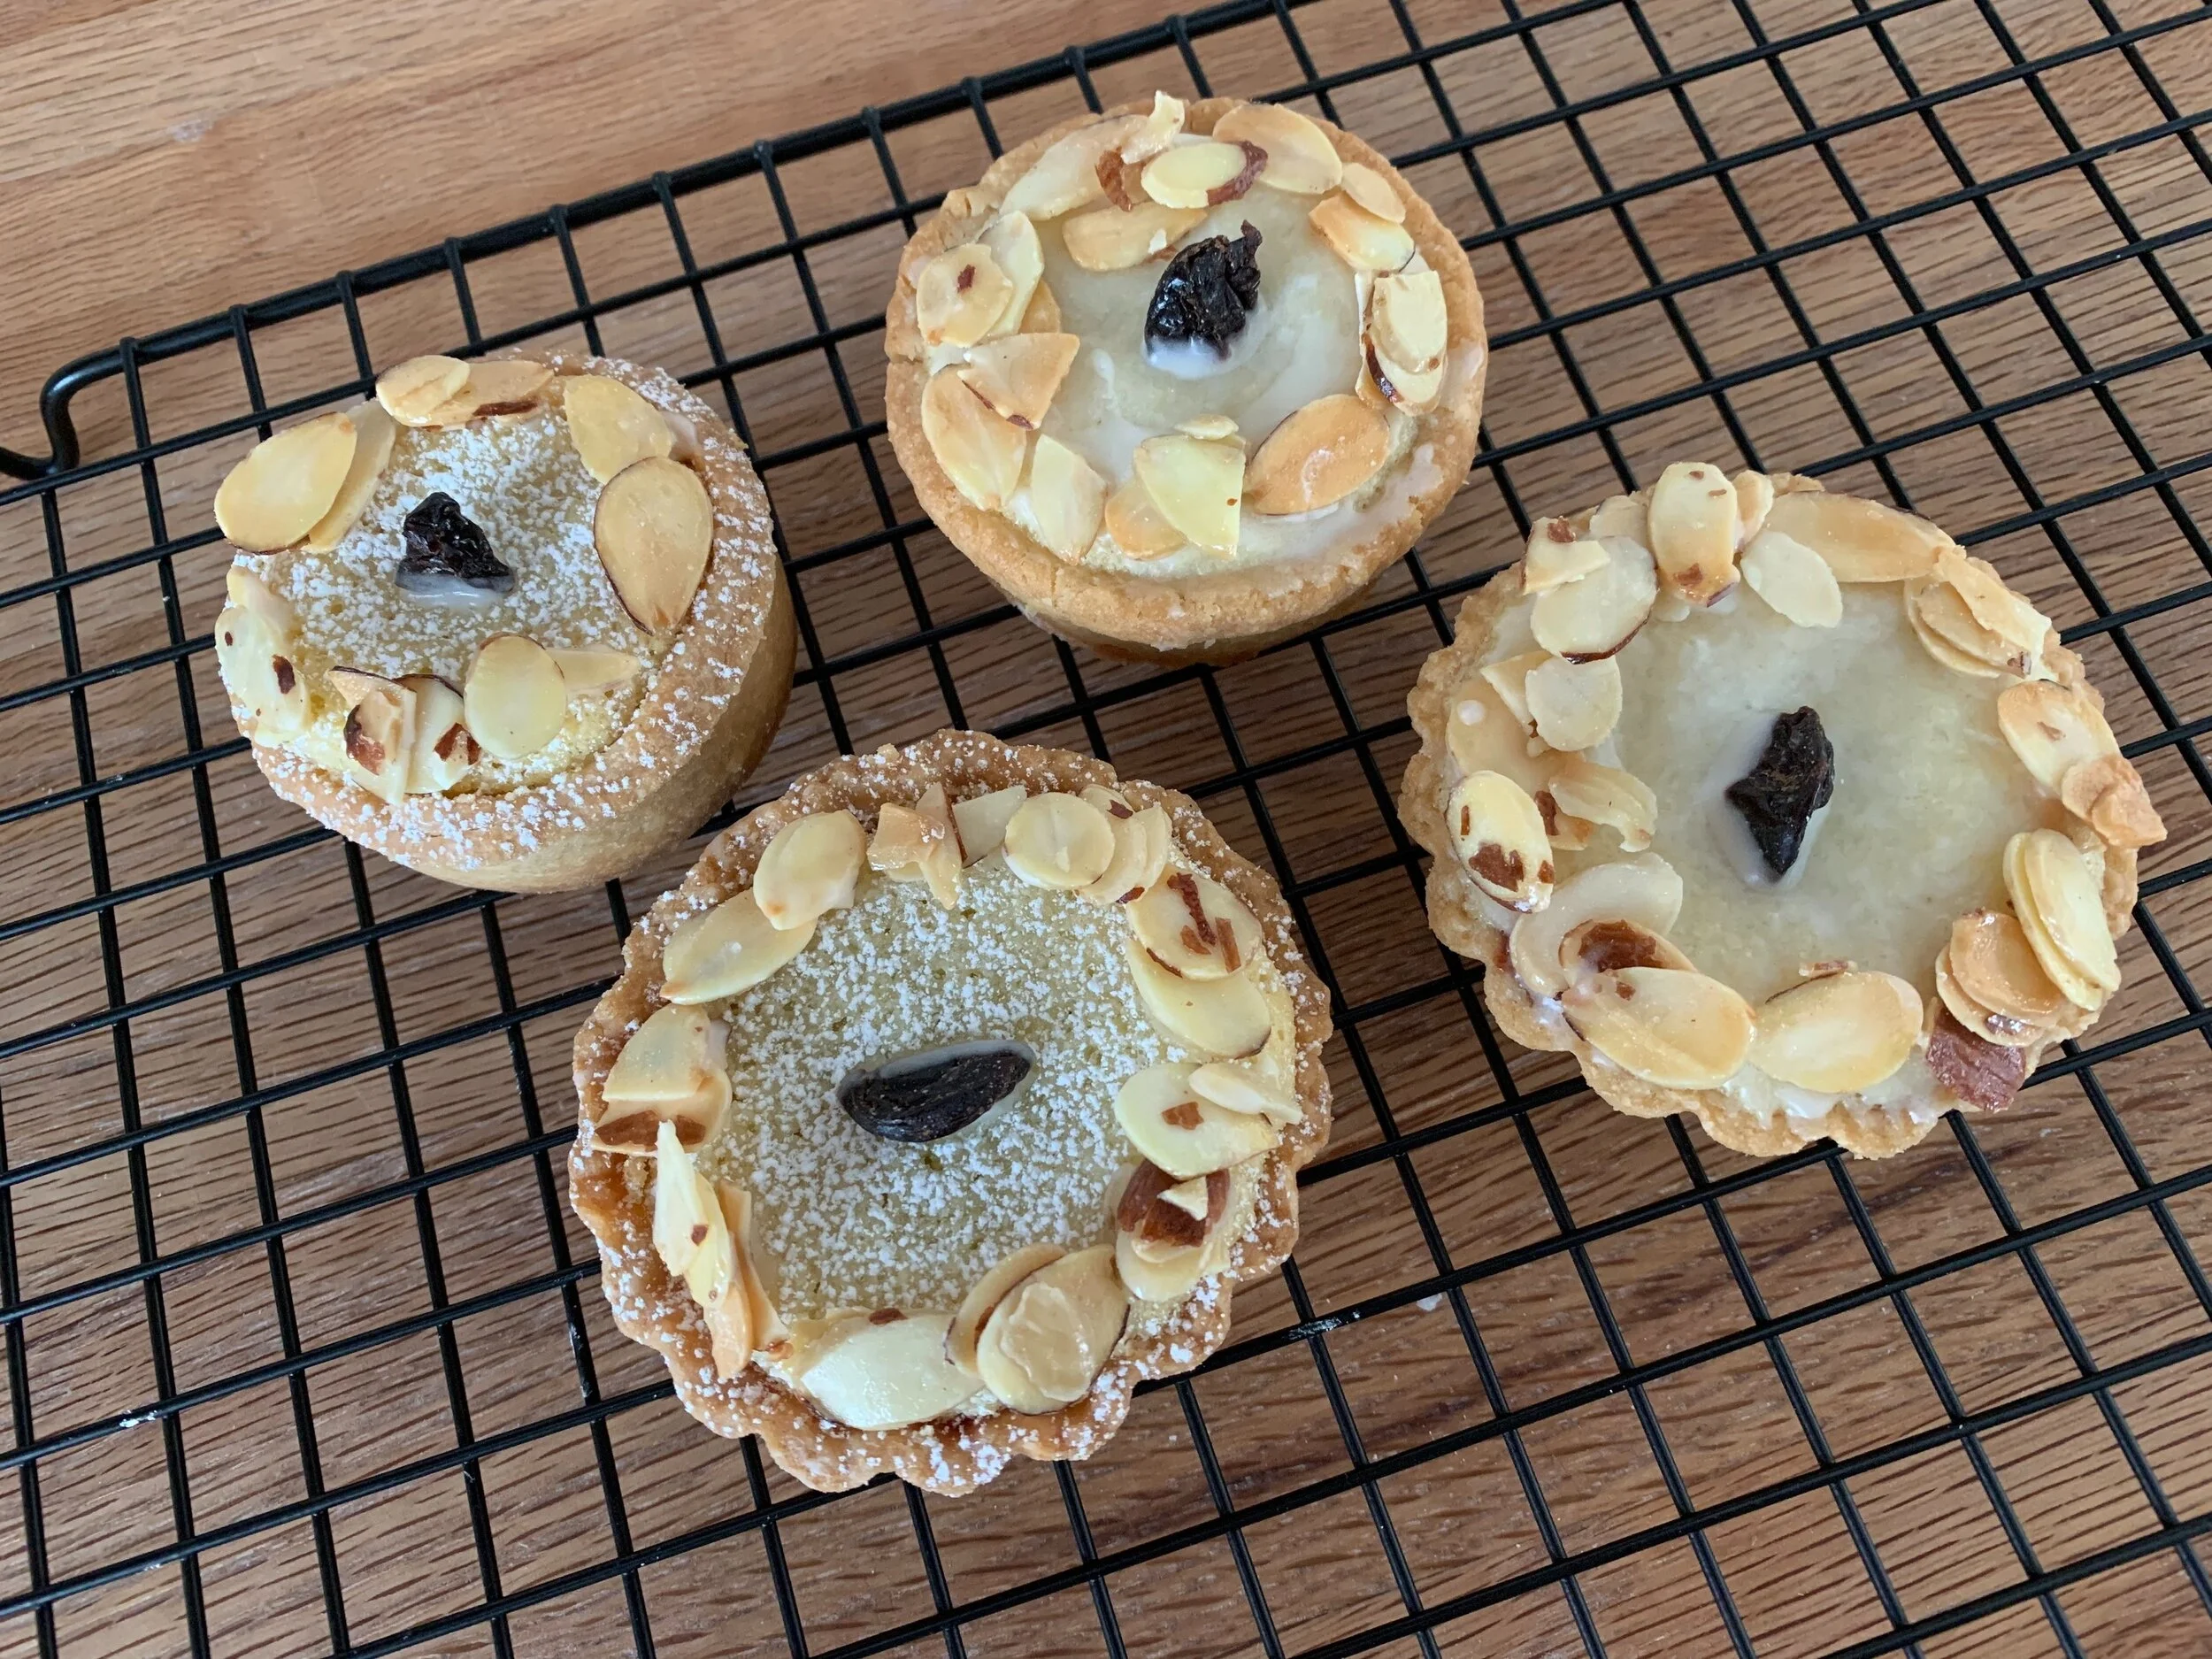
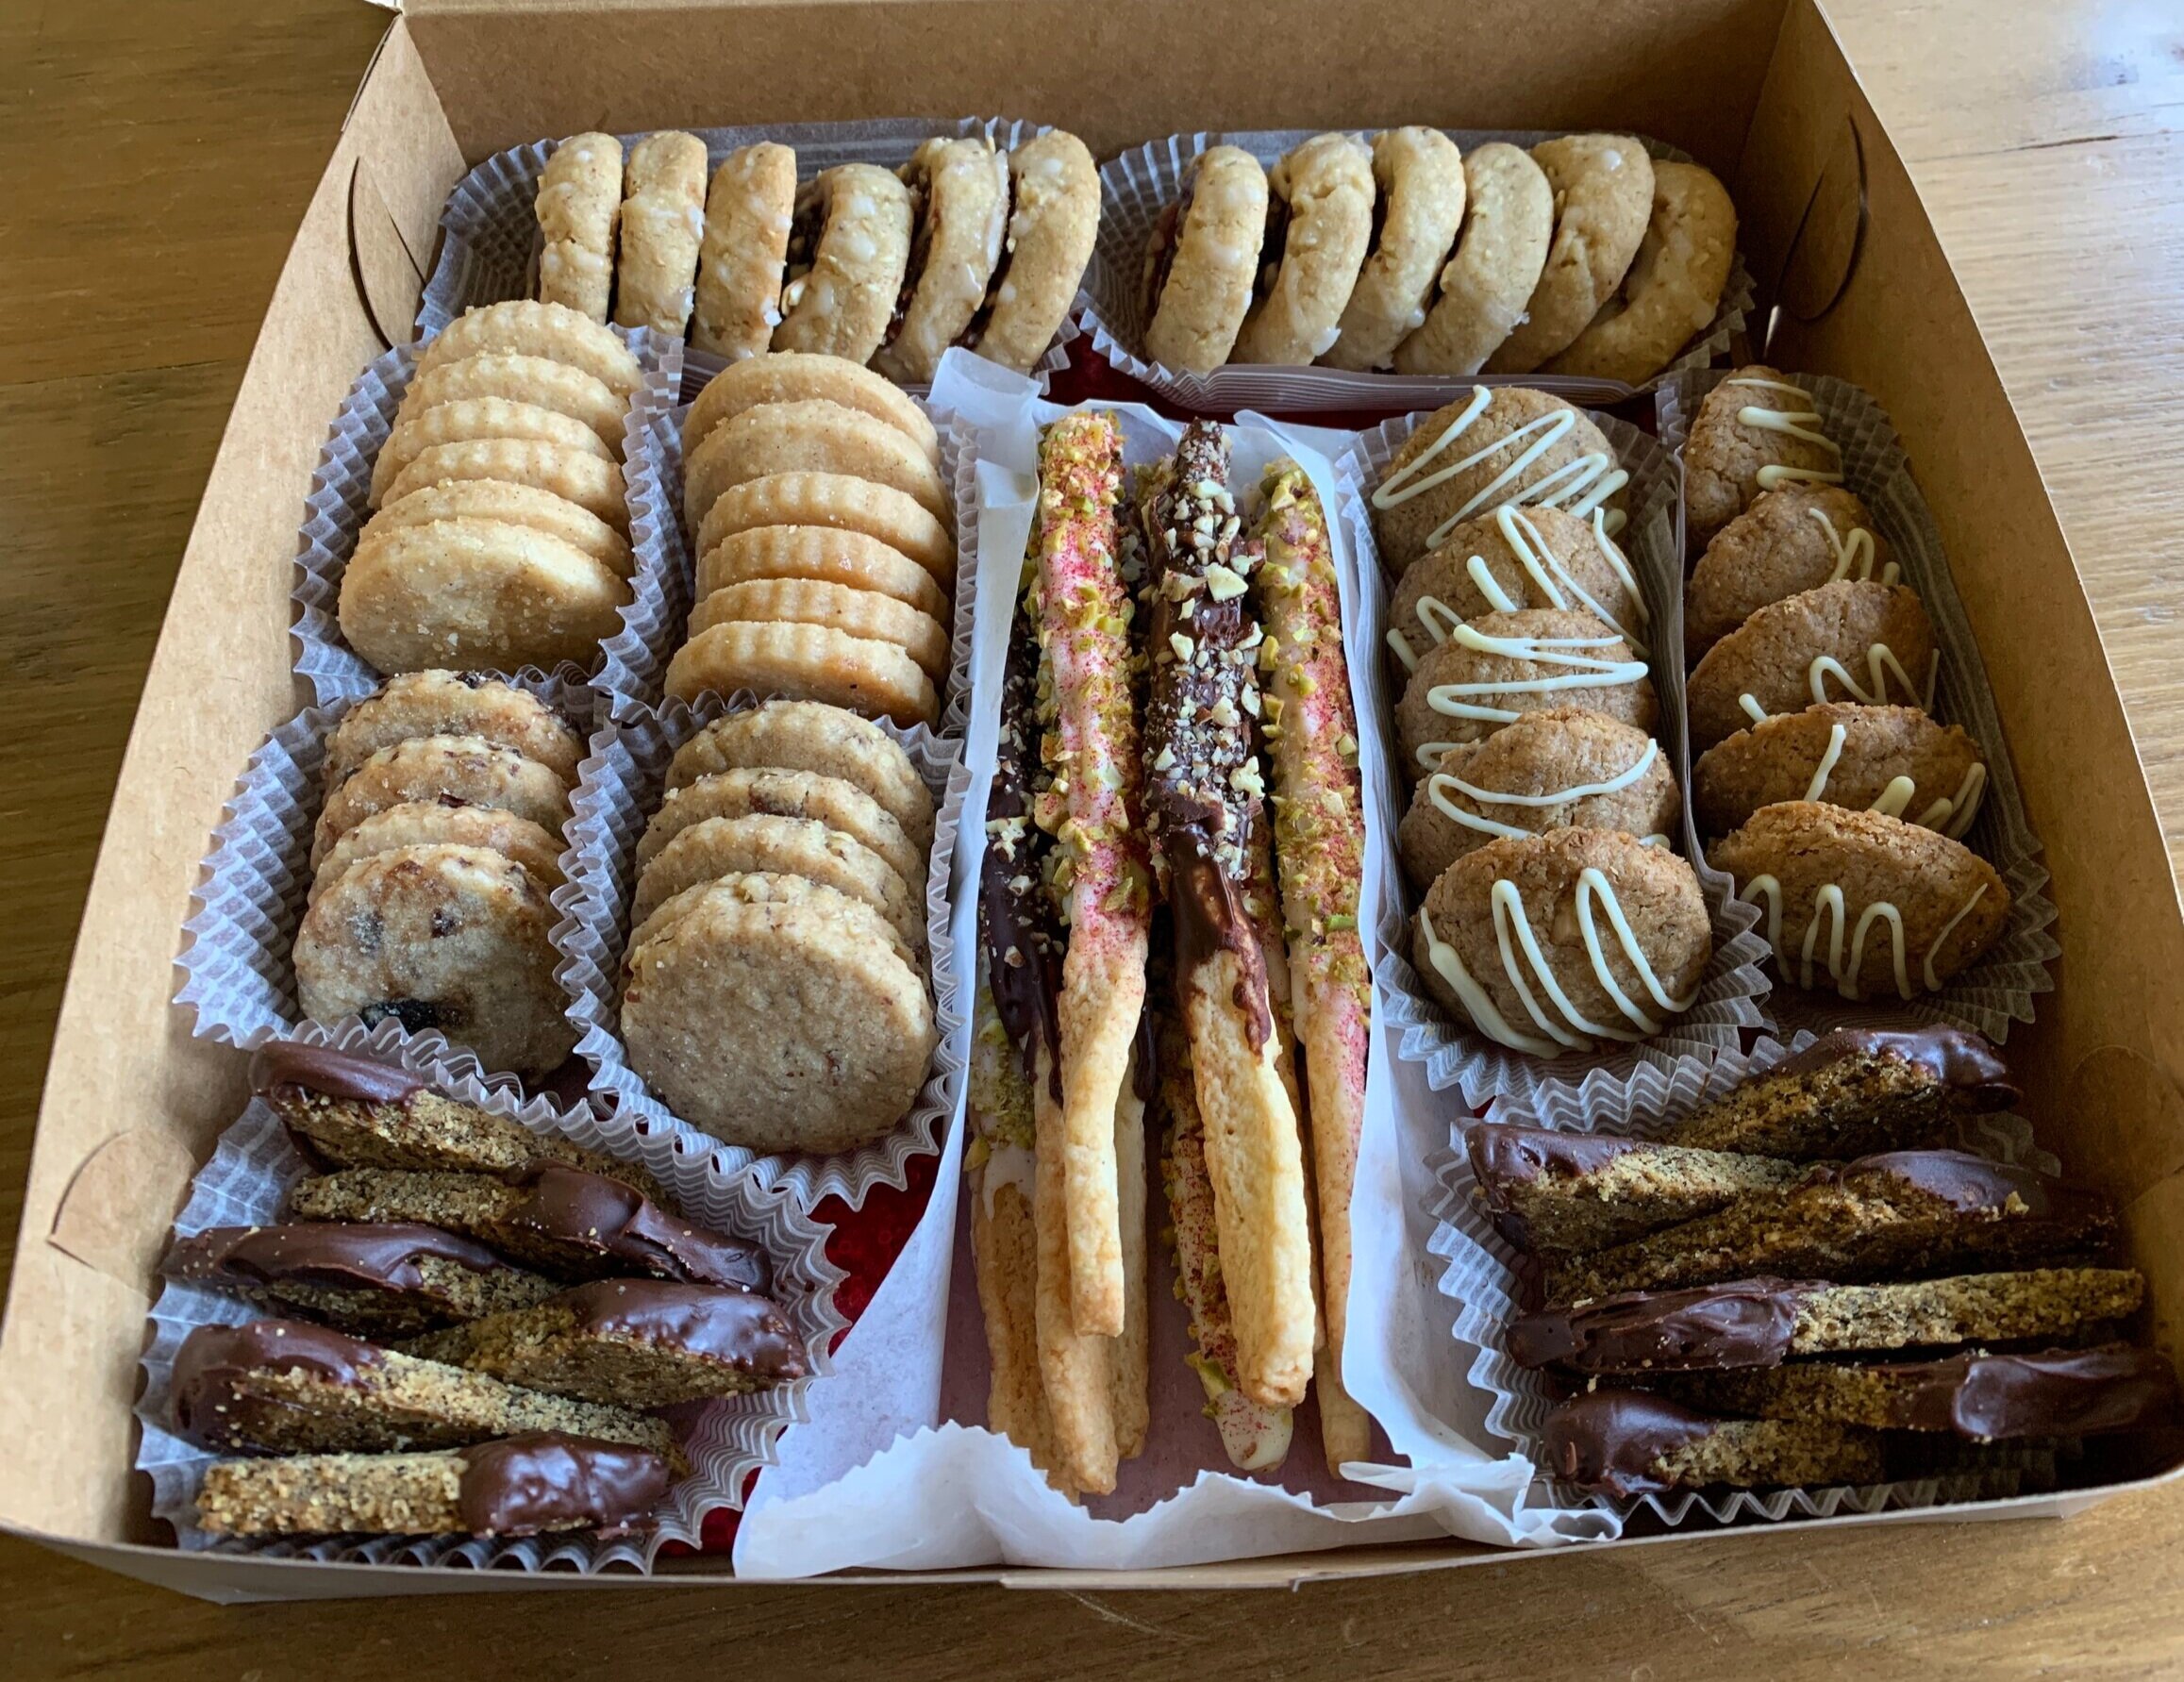
These treats became part of a small gift box for a volunteer at a nearby assisted living facility, combined with Breton cherry/pistachio tartes topped with tart cherry Swiss meringue buttercream and candied pistachios. Yum.

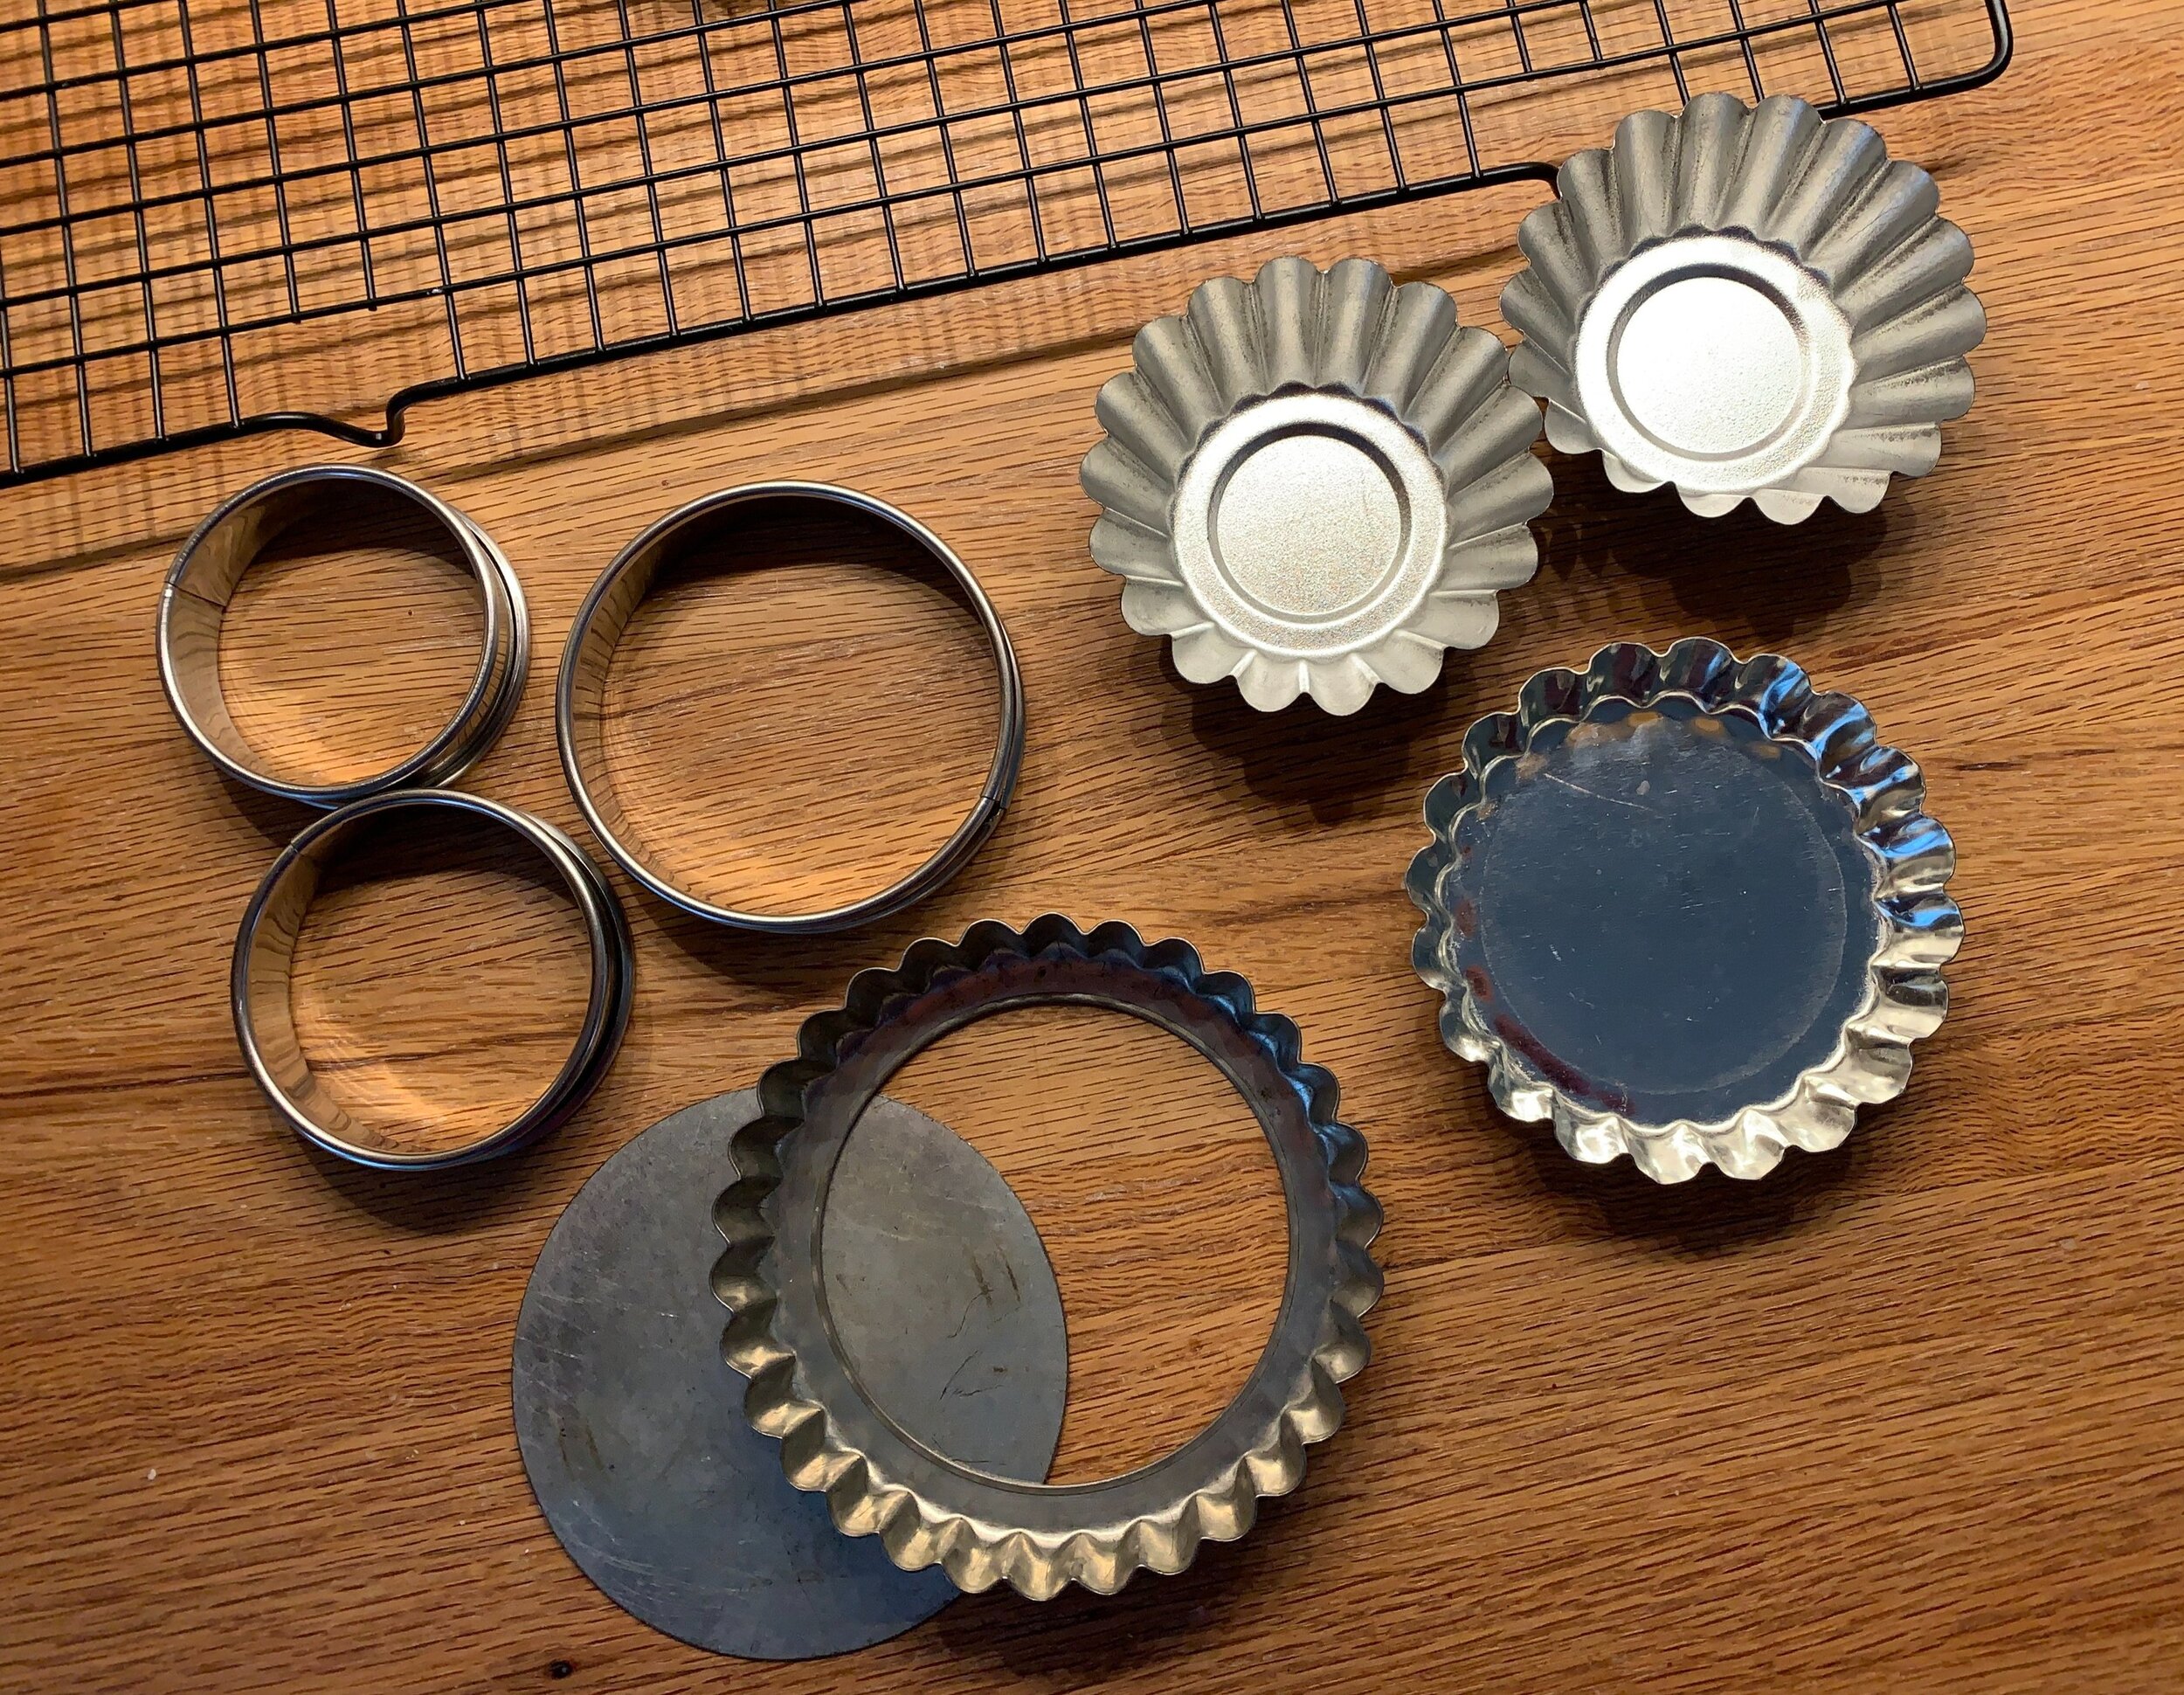
For the Breton tartes, use this dough recipe and add some chopped tart dried cherries and chopped pistachios to the dough (just eyeball it). I use about 40 g of dough for my 65 mm / 2.5” open tart rings (buttered). There are so many options one can create!
Next - maple glazed Danish buns.

I had a couple of batches of laminated Danish dough in the freezer and decided to create a few things with them: cherry cheese Danish, Danish almond braids and these buns for which I used a half batch of dough for a yield of 9 buns. Roll the dough out to a 12” high x 9” wide rectangle (for a full batch of dough roll to 12” high x 18” wide).
Make a filling (double it for a full batch) by blending 50 g almond flour (or sub in toasted and ground pecans for extra pecan-ness), 43 g dark brown sugar, 30 g egg white (1 large), 15 g maple syrup plus 1.5 T unsalted butter and a tablespoon all purpose flour. Spread it over the rolled out dough then sprinkle toasted, chopped pecans over, pressing them down to help them adhere.
Roll it up cinnamon roll style then slice into nine 1” rolls. I decided to bake these in a buttered and sugared 9x9 pan (again cinnamon roll style) rather than individually placed on a baking sheet. It’s easiest if you line your lightly buttered pan with parchment with an overhang on two opposite sides then butter and sugar the parchment.
After an hour or so rise, they baked up beautifully! Once baked you can simply lift the whole thing out, no muss, no fuss.
Mix 3/4 cup confectioners sugar with 1-3 tablespoons maple syrup to a thin-ish, brush-able consistency and give the buns a good coating.

Let cool completely or feel free to gently pull them apart and try one still warm. You won’t regret it! So good.

Next - roasted garlic/dill/cheddar bread created using a poolish approach. It came out pretty tasty although I’d like to tweak the hydration level and kneading/rising times to create a more chewy, rustic style bread. I hope to post about that adventure later this summer.

Roasted garlic/dill/cheddar boule

I don’t want to keep you much longer in describing my kitchen shenanigans. There’s always something going on in my head or in my oven so stay tuned for Canadian butter tarts and more.
Meanwhile we have a couple of sandhill cranes hanging out nearby, and we’re just waiting for a baby or two to appear.
Stay cool and calm and enjoy summer!
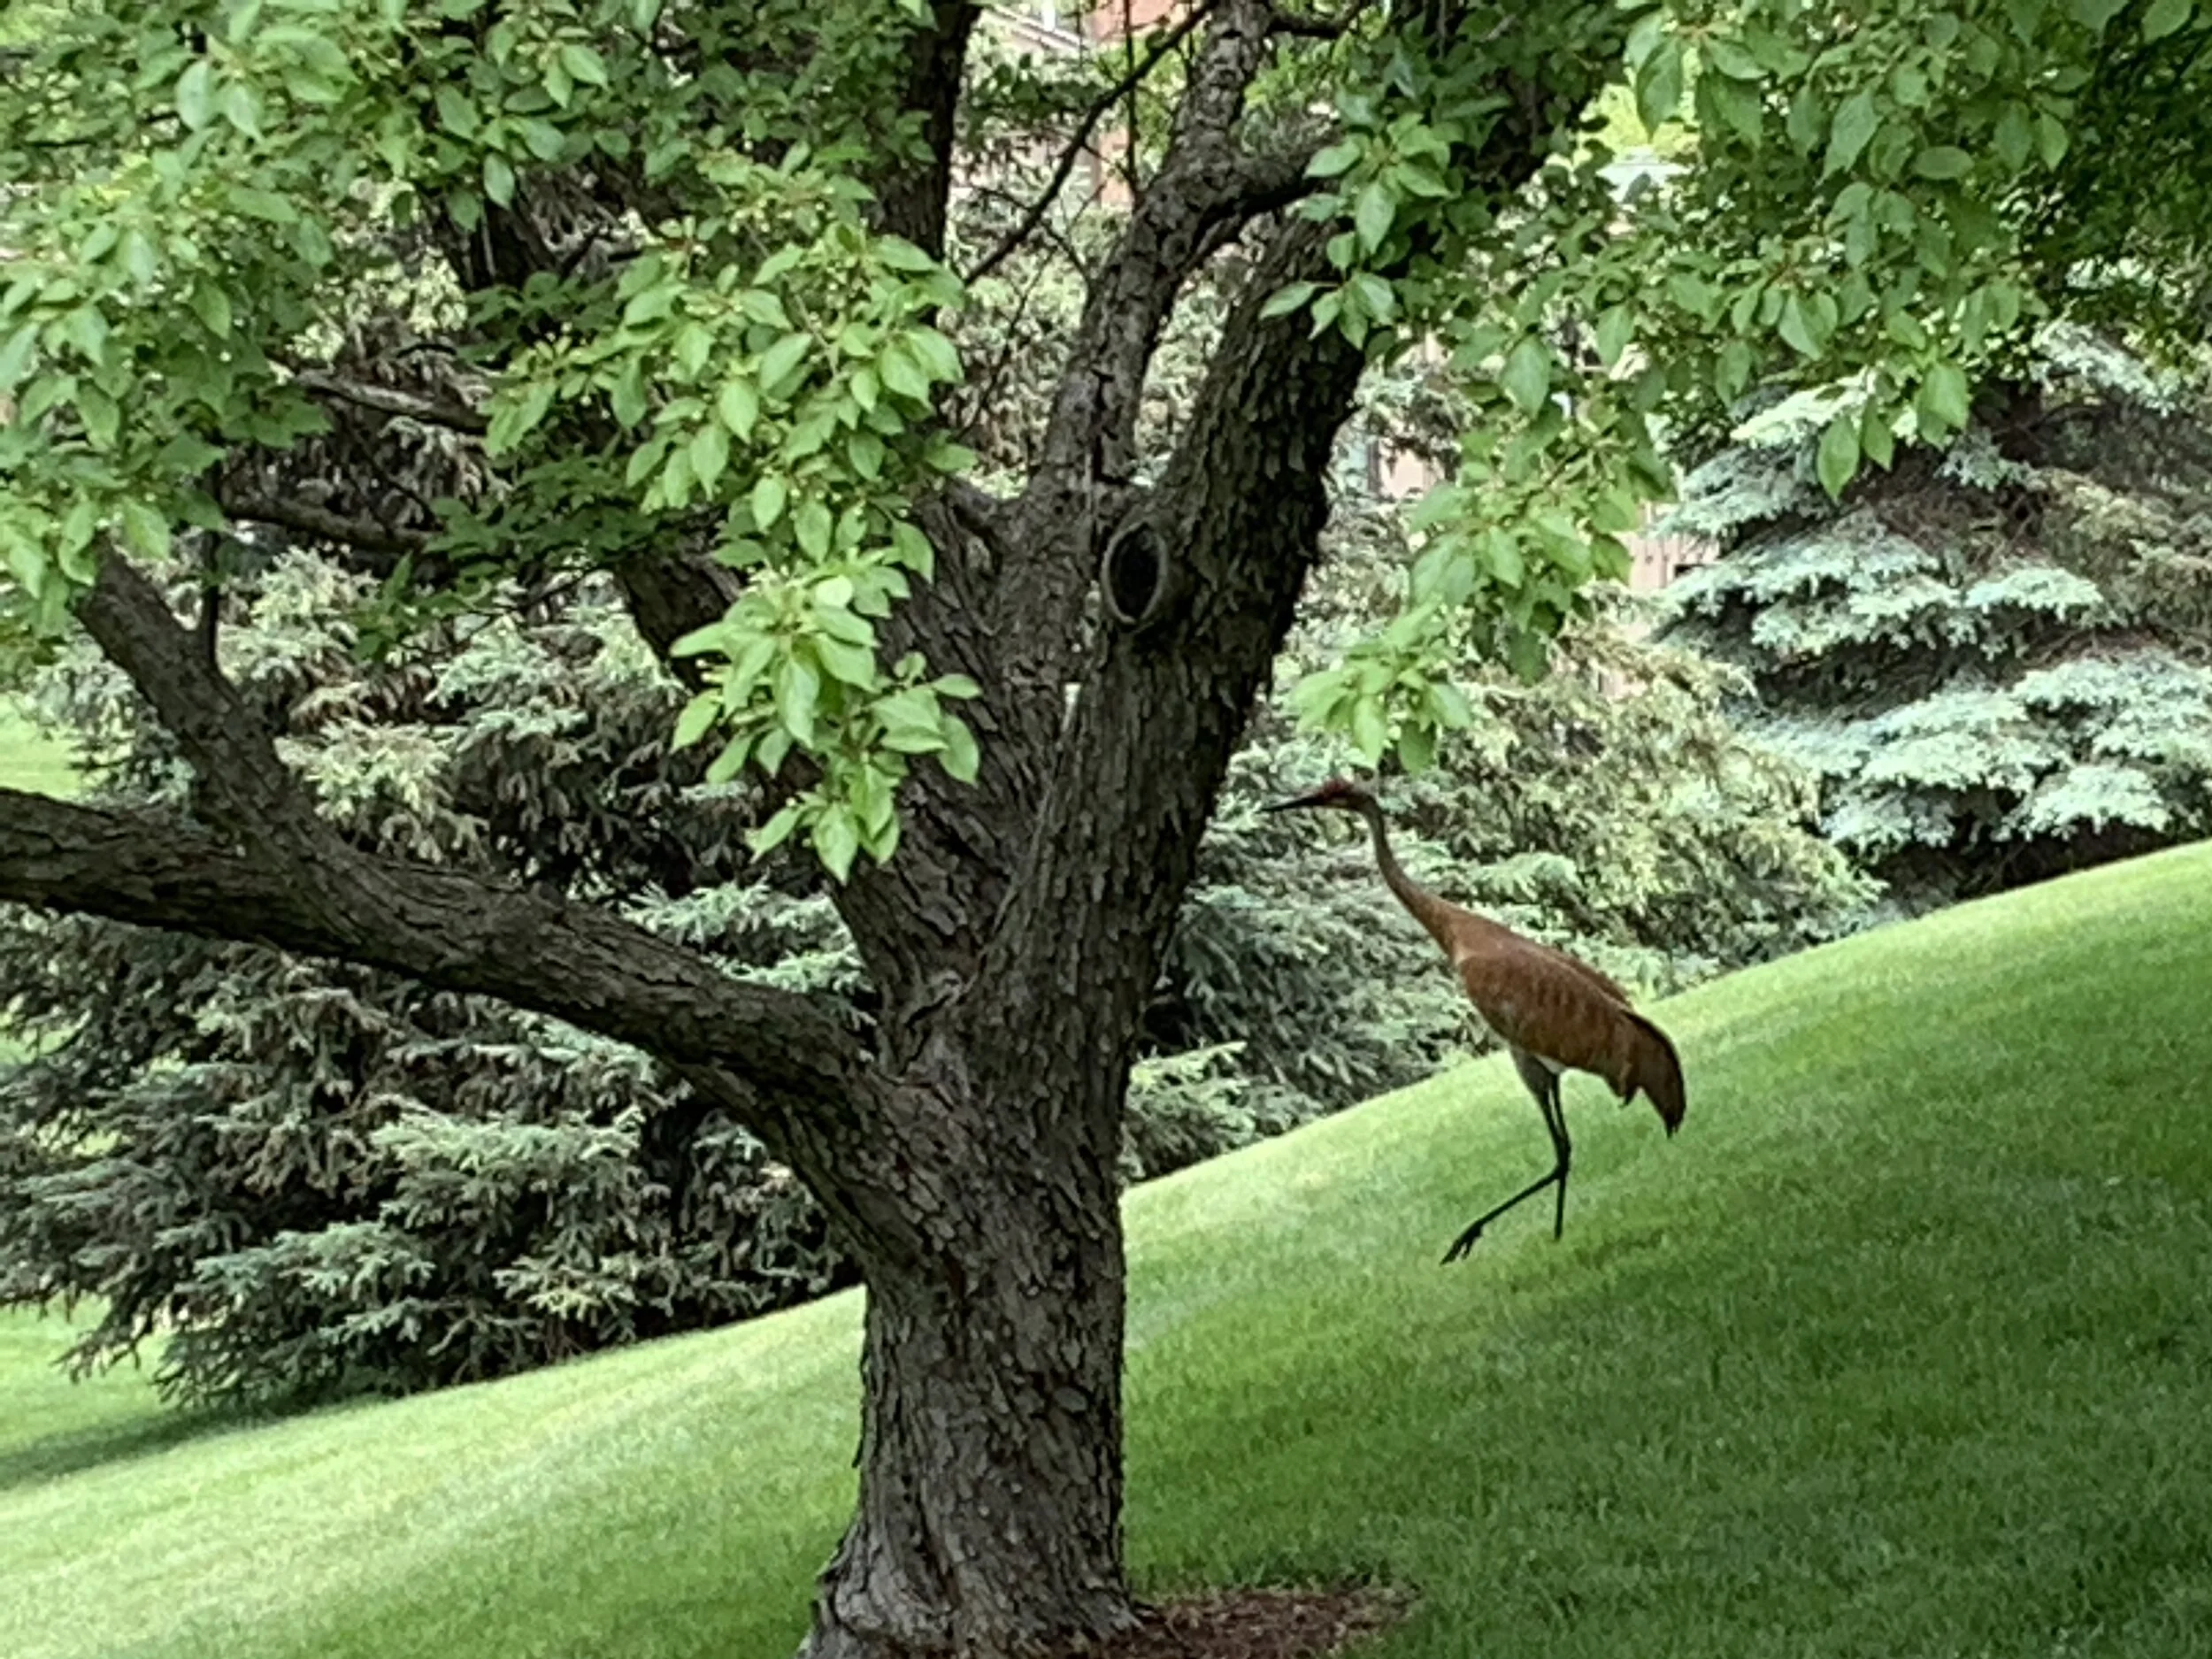
Mom or Dad??