
Pain de mie
/
Hi everyone. Boy oh boy did this one have me going . . . and going . . . . and going! I started this project back in the spring and now summer is whizzing by! After four different trials and tweeking recipe details I’m finally here to share it with you.
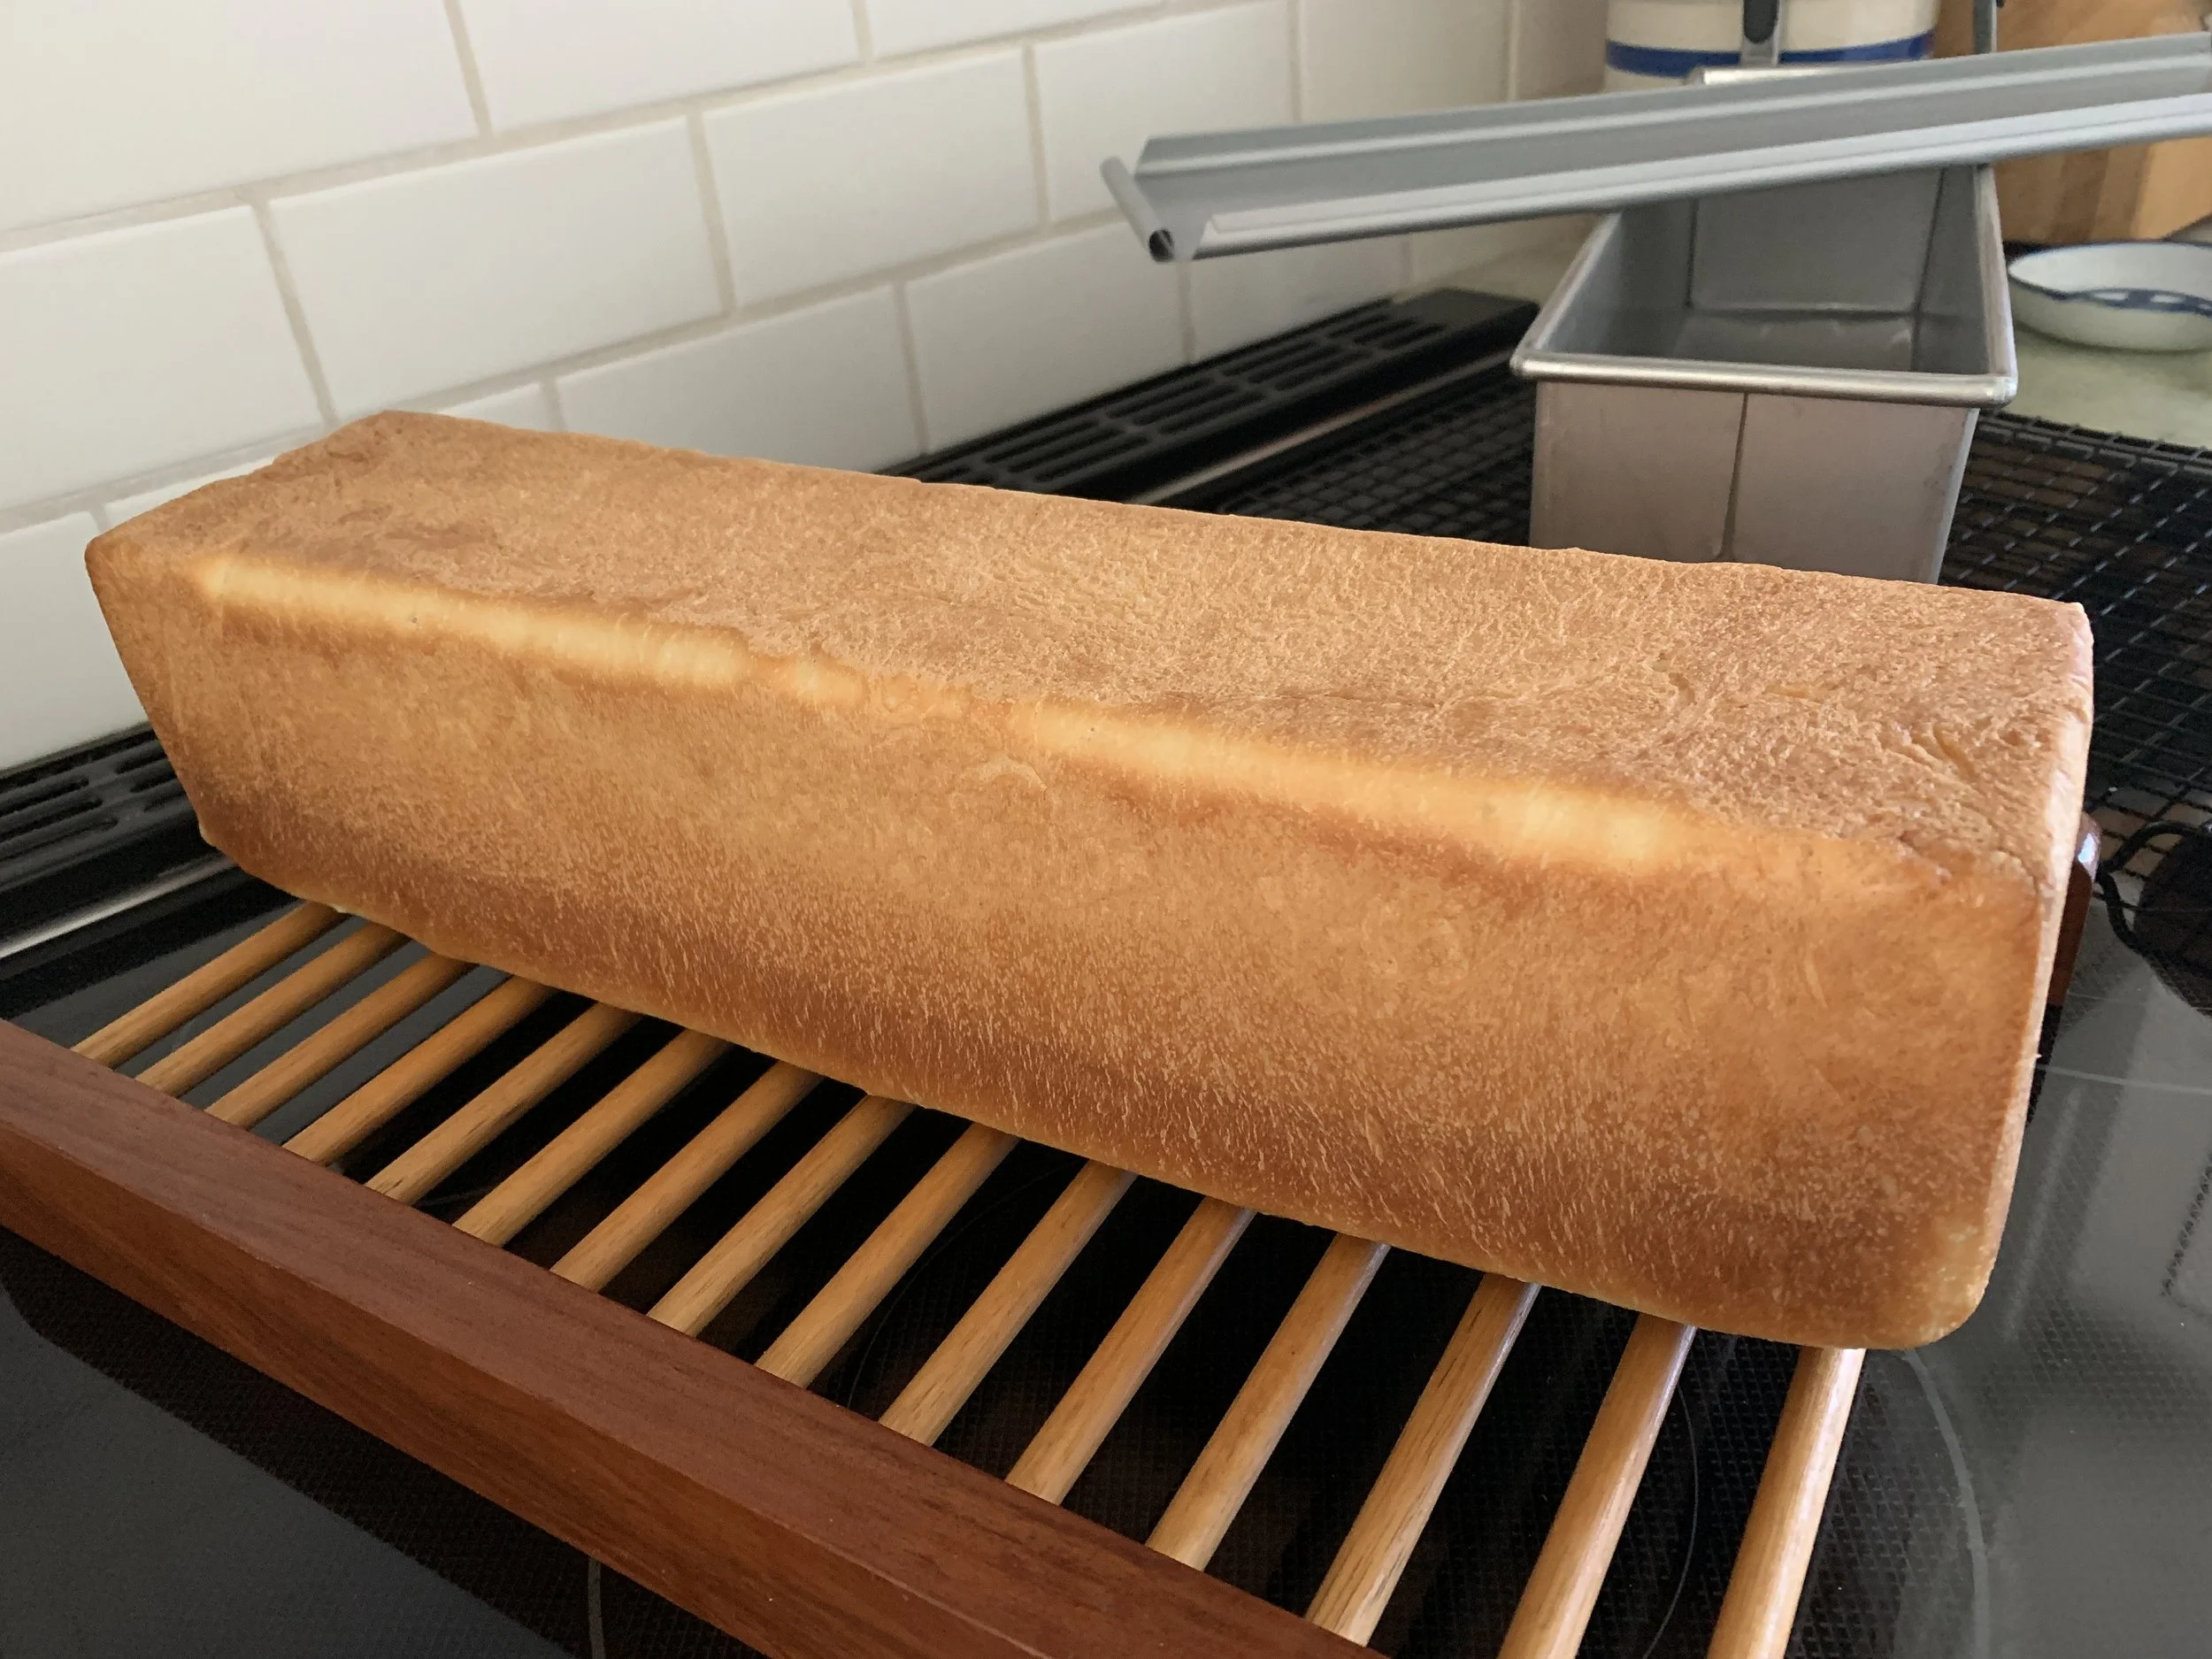
It’s time for pain de mie - that classic white French sandwich bread that’s great for grilled cheese, simple toast, lovely tea sandwiches, canapés and croque monsieur/madame, just to name a few.
Some time back I purchased a 16”x4”x4” lidded pain de mie pan (also known as a pullman pan). Frankly I don’t really remember when/why I decided to go with this pan. I think it had something to do with the fact that I enjoy creating assortments for afternoon tea events (think classic cucumber sandwiches on pain de mie) and felt I should have one. Well OK then - I think I’ve used it once.
That’s now changed for the better.
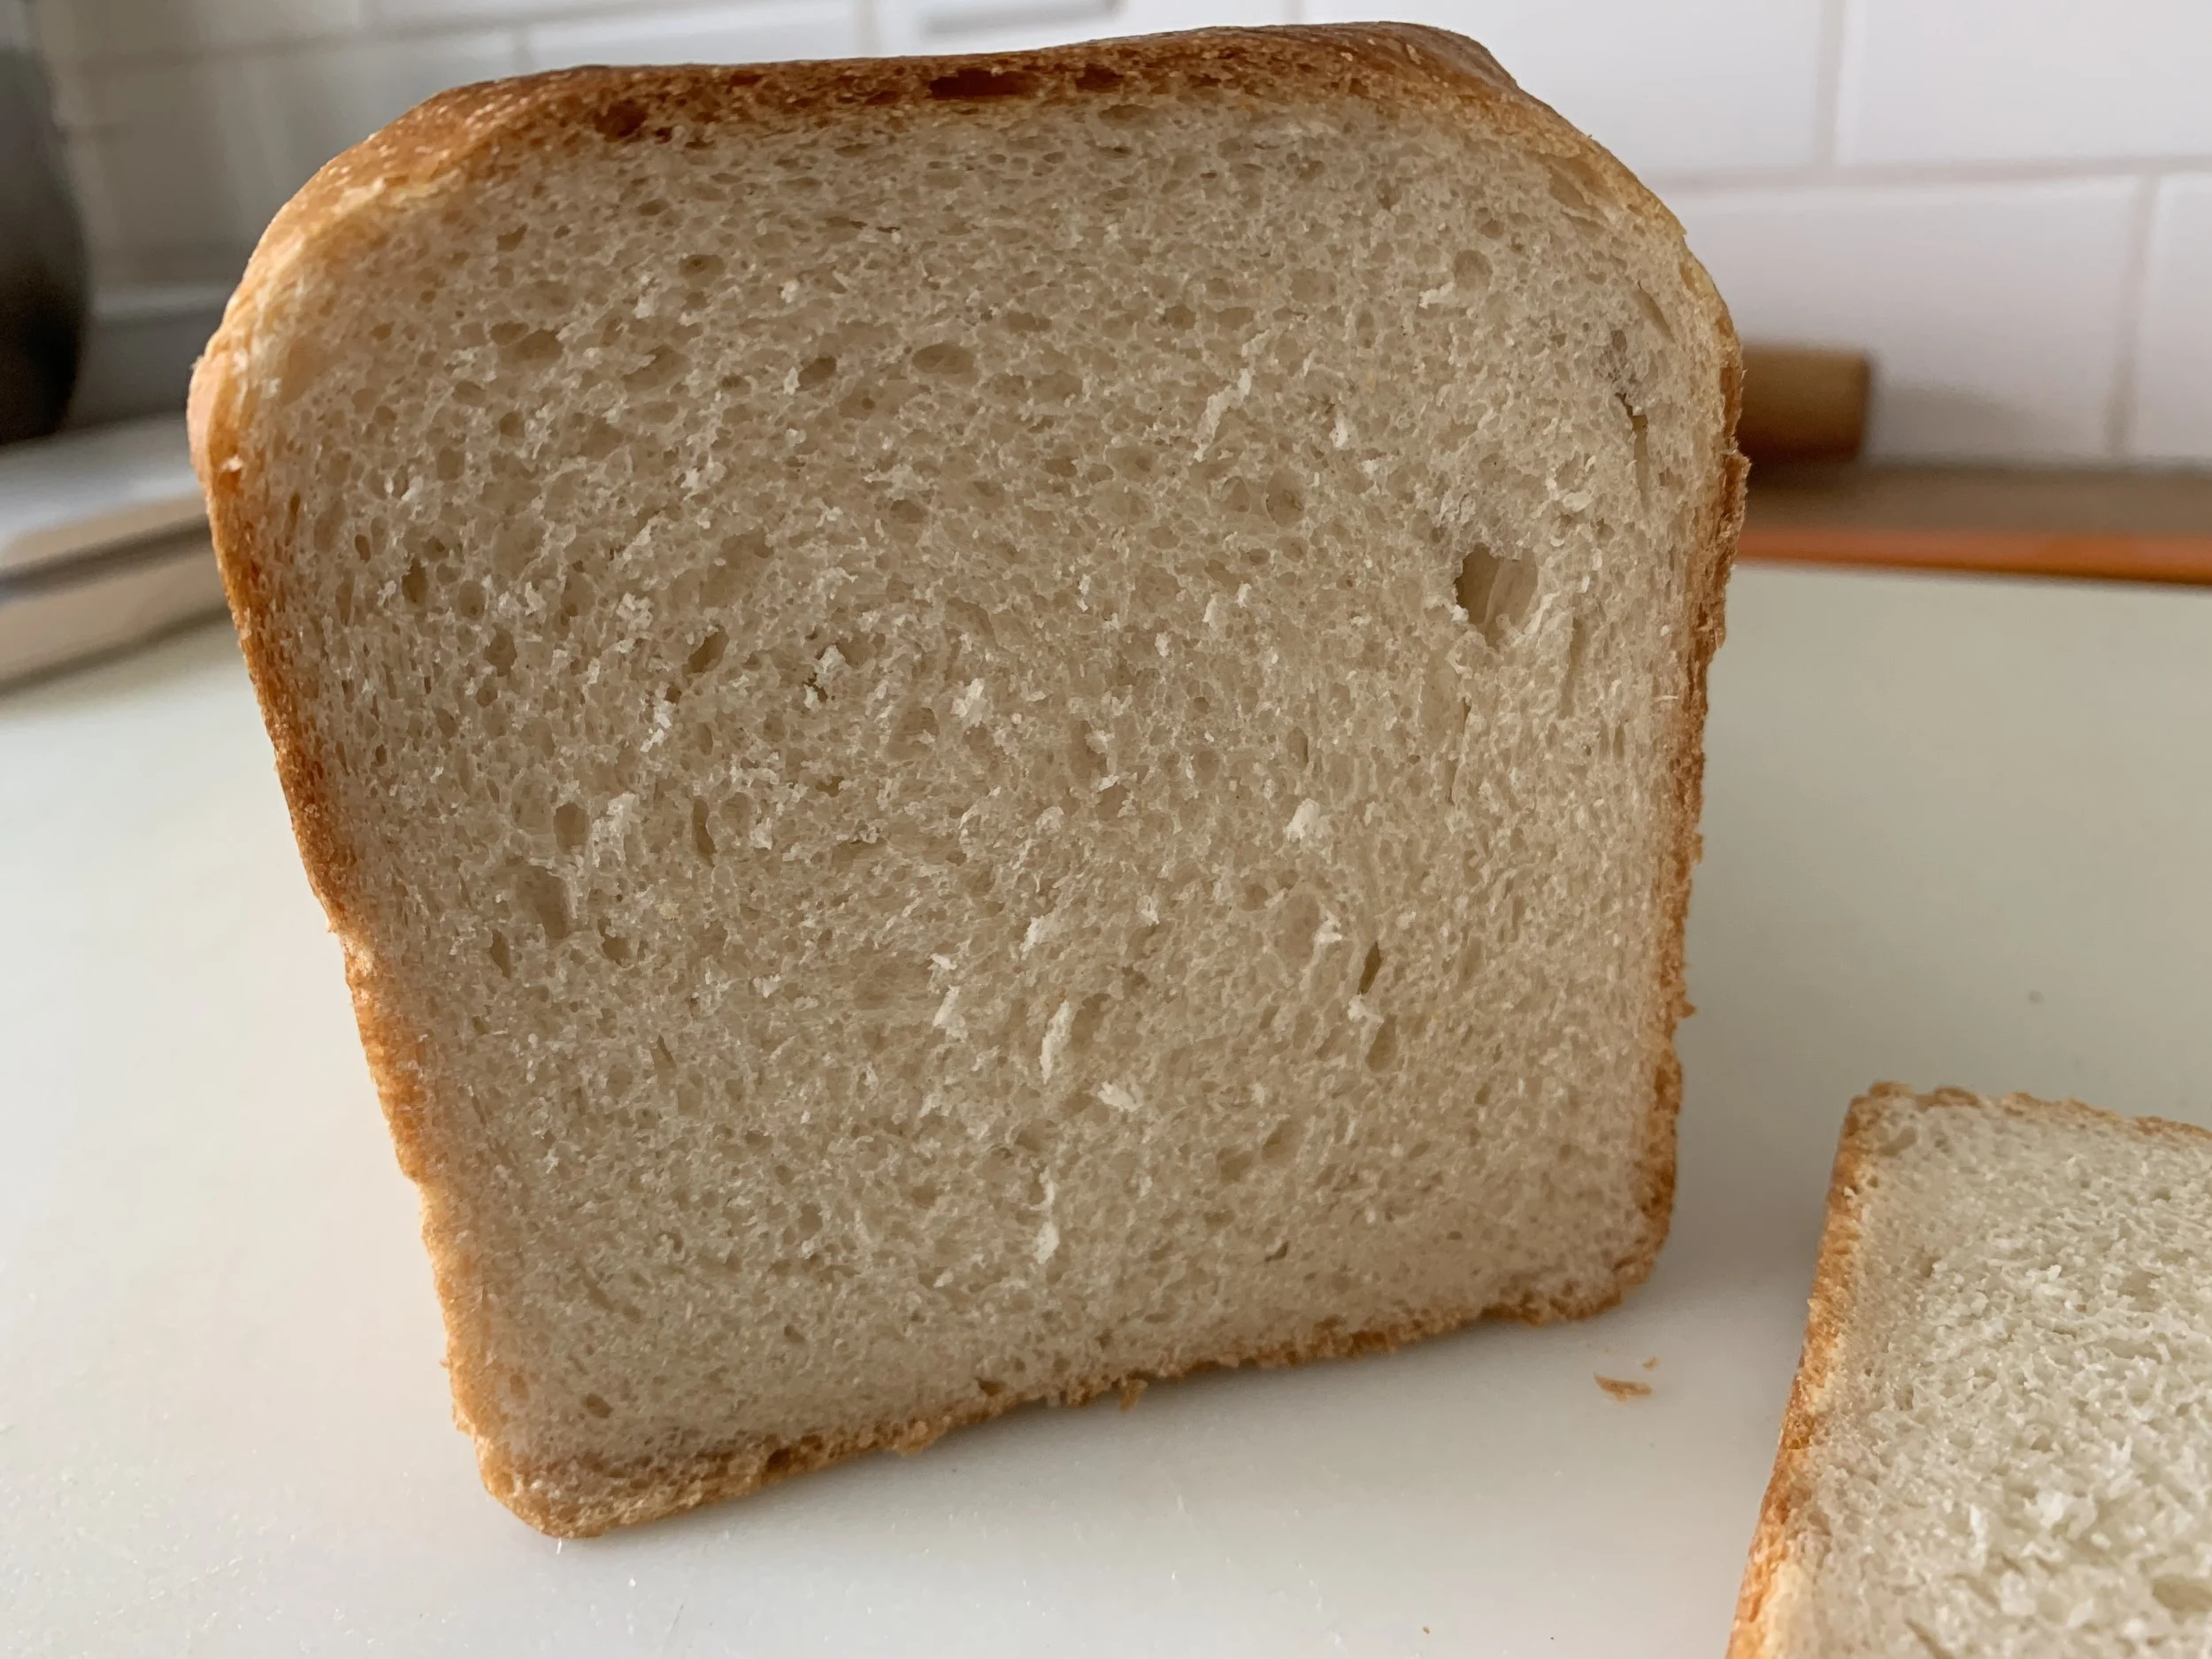
NICE crumb
Did you know there are different sizes of pain de mie/pullman pans? 9”x4”x4” and 13”x4”x4” are those most commonly used, and 7” and 16” lengths are also available. Mine is the longer 16”x4”x4” so I had to do a bit of figuring to determine how much dough I should use for that size.
After reviewing recipes from Jeffry Hamelman’s “BREAD”, Rose Levy Beranbaum’s “The Bread Bible”, my CIA 2004 edition of “Baking and Pastry” and a couple of other on-line resources, I found no consistency in recipes as to the quantity of dough needed for different pan sizes.
Not to confuse you but here’s just an example: Hamelman calls for 1022 g of dough for a 13” long pan; RLB uses 1127 g for a 16” long pan whereas CIA calls for 1360 g for a 16” pan. What’s a bread baker to do?? I finally found a cool site written by a couple who are majorly into bread baking. They recommend 1300-1400 g of dough for a 16” pullman pan, similar to CIA. In addition there was another source that suggests ~100 g of dough per linear inch of pan size e.g. 1600 g dough for 16” long pan.
I went through a few sessions of baking this lovely bread using Jeffry Hamelman’s full recipe which yields about 1580 g of dough. He recommends 1022 g for a 13” long pan and the rest for one small loaf.
NOTE: Here’s my final recipe variation if you choose not to go through the whole post.
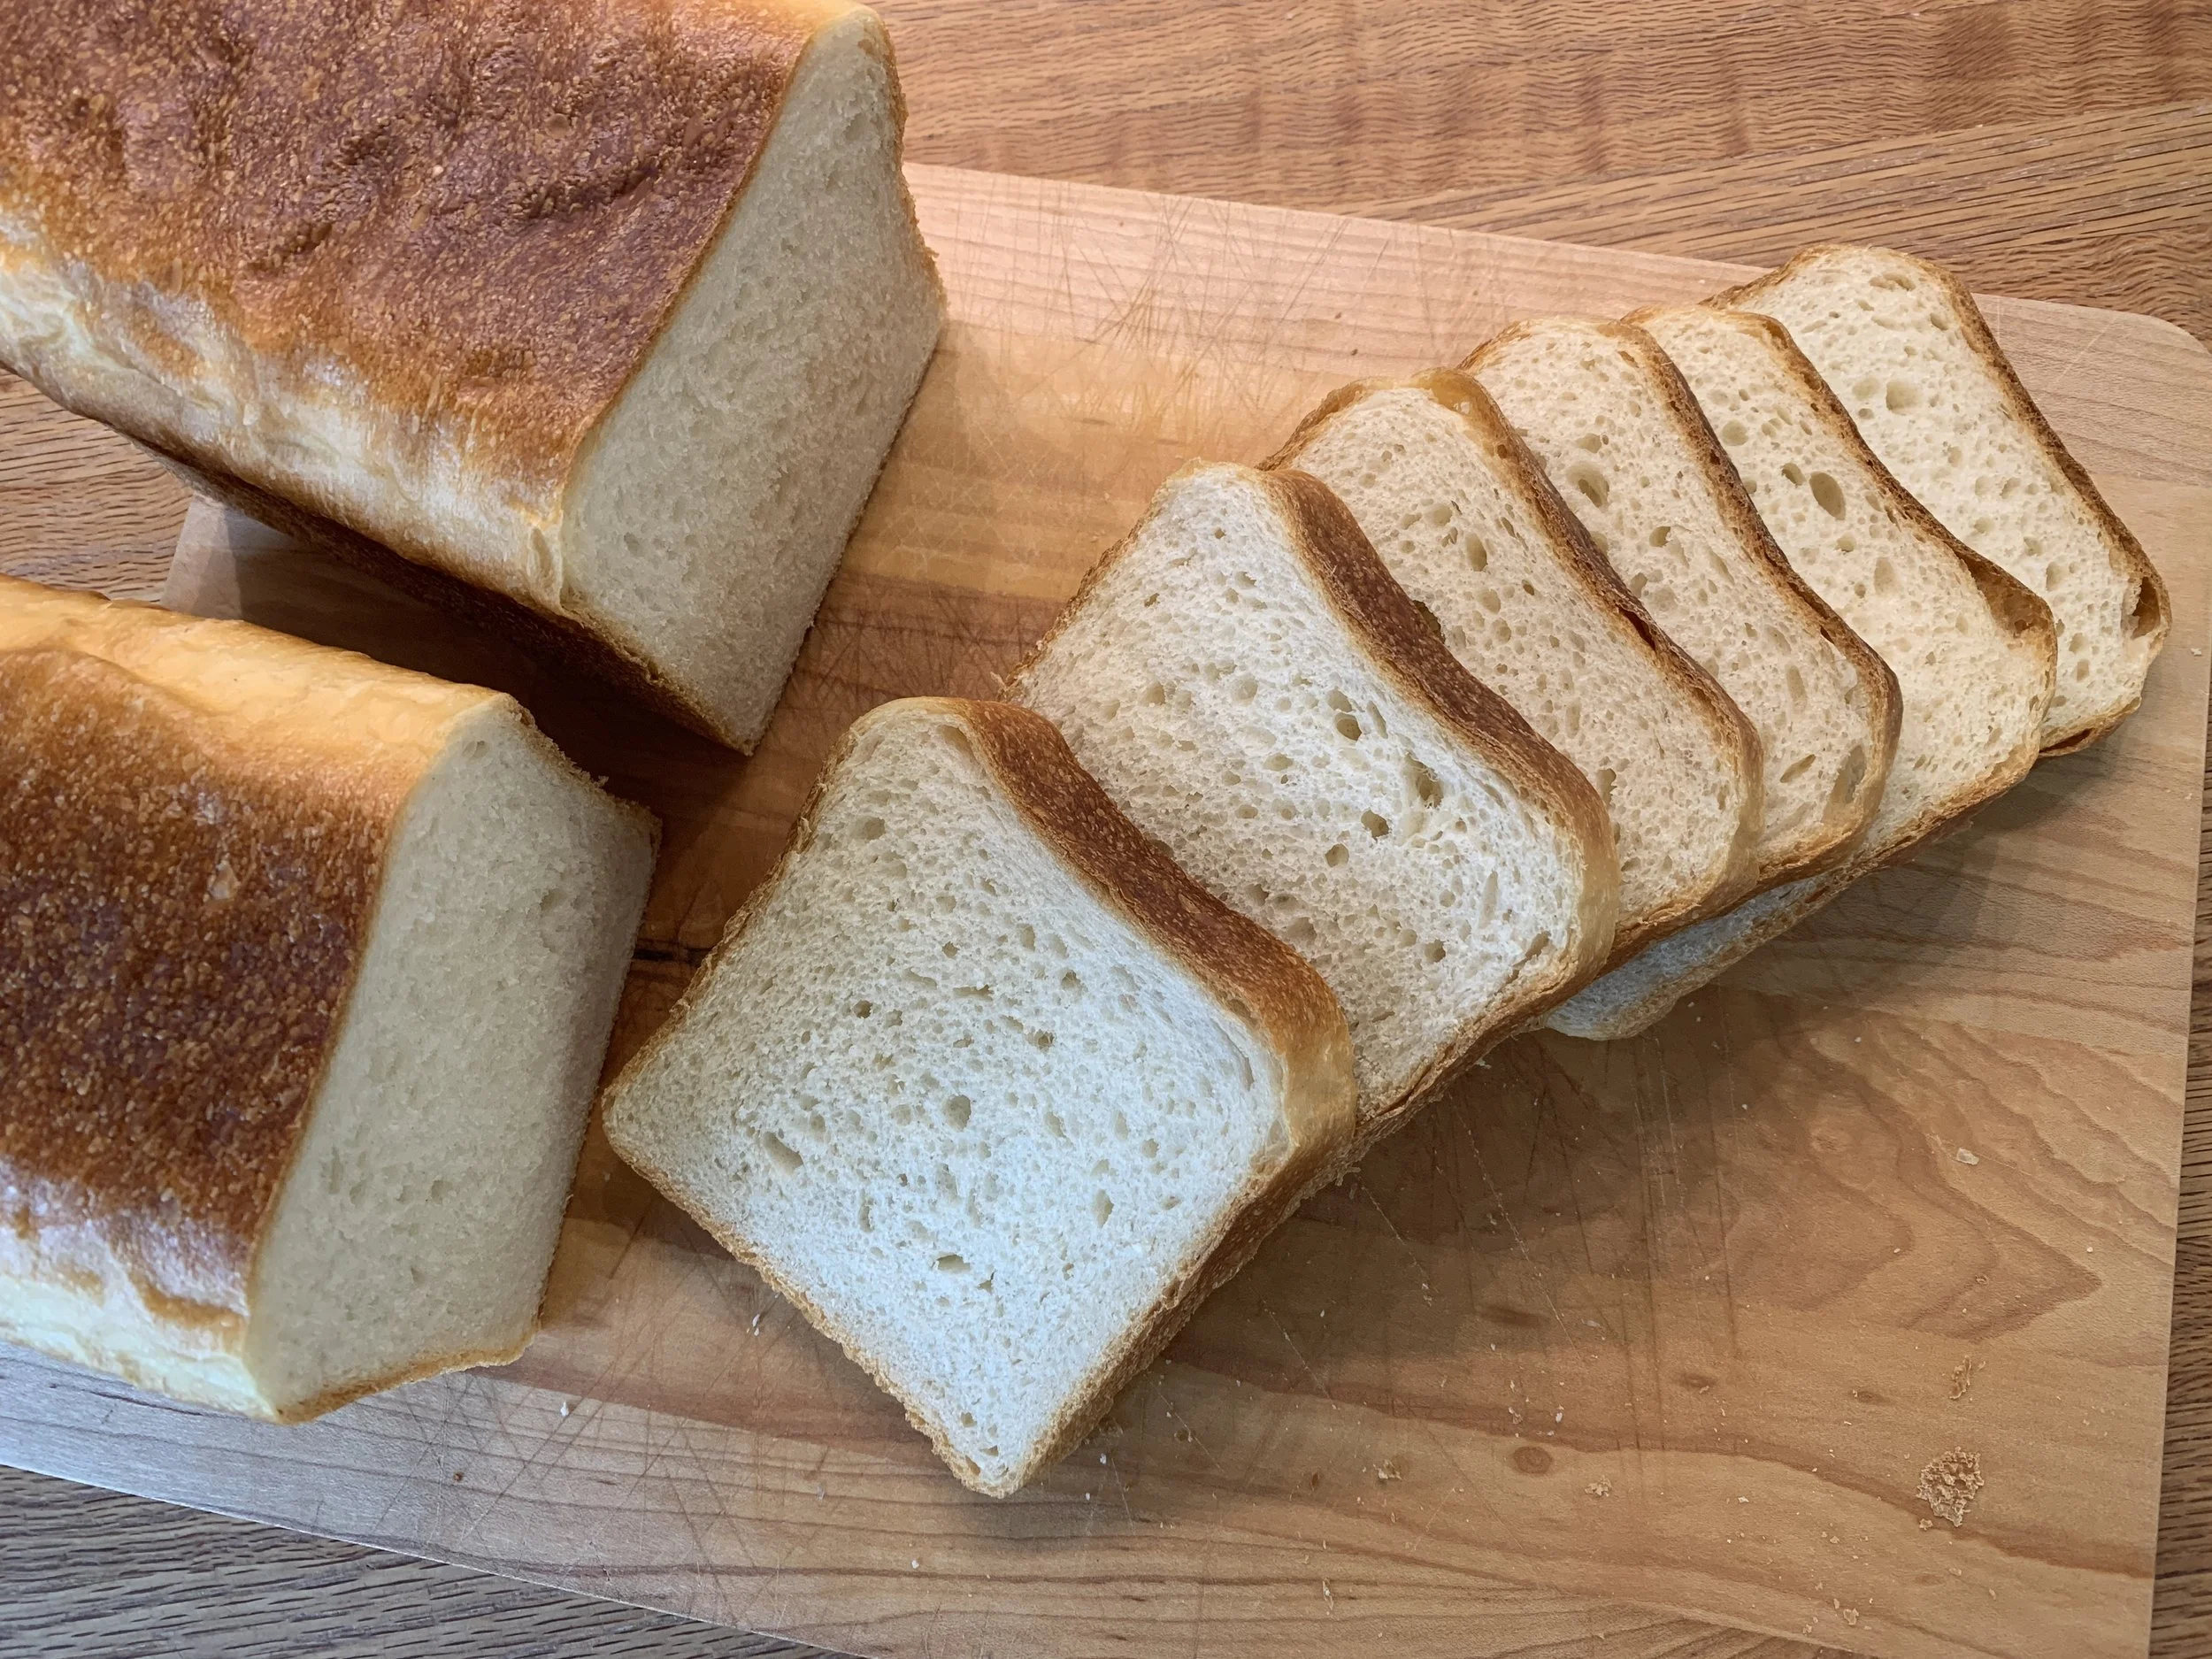
For my first round (March 21) I rather randomly chose 1217 g (an increase from RLB’s for this size pan) for my 16” pan loaf and used the remainder to make six ~60 g rolls.
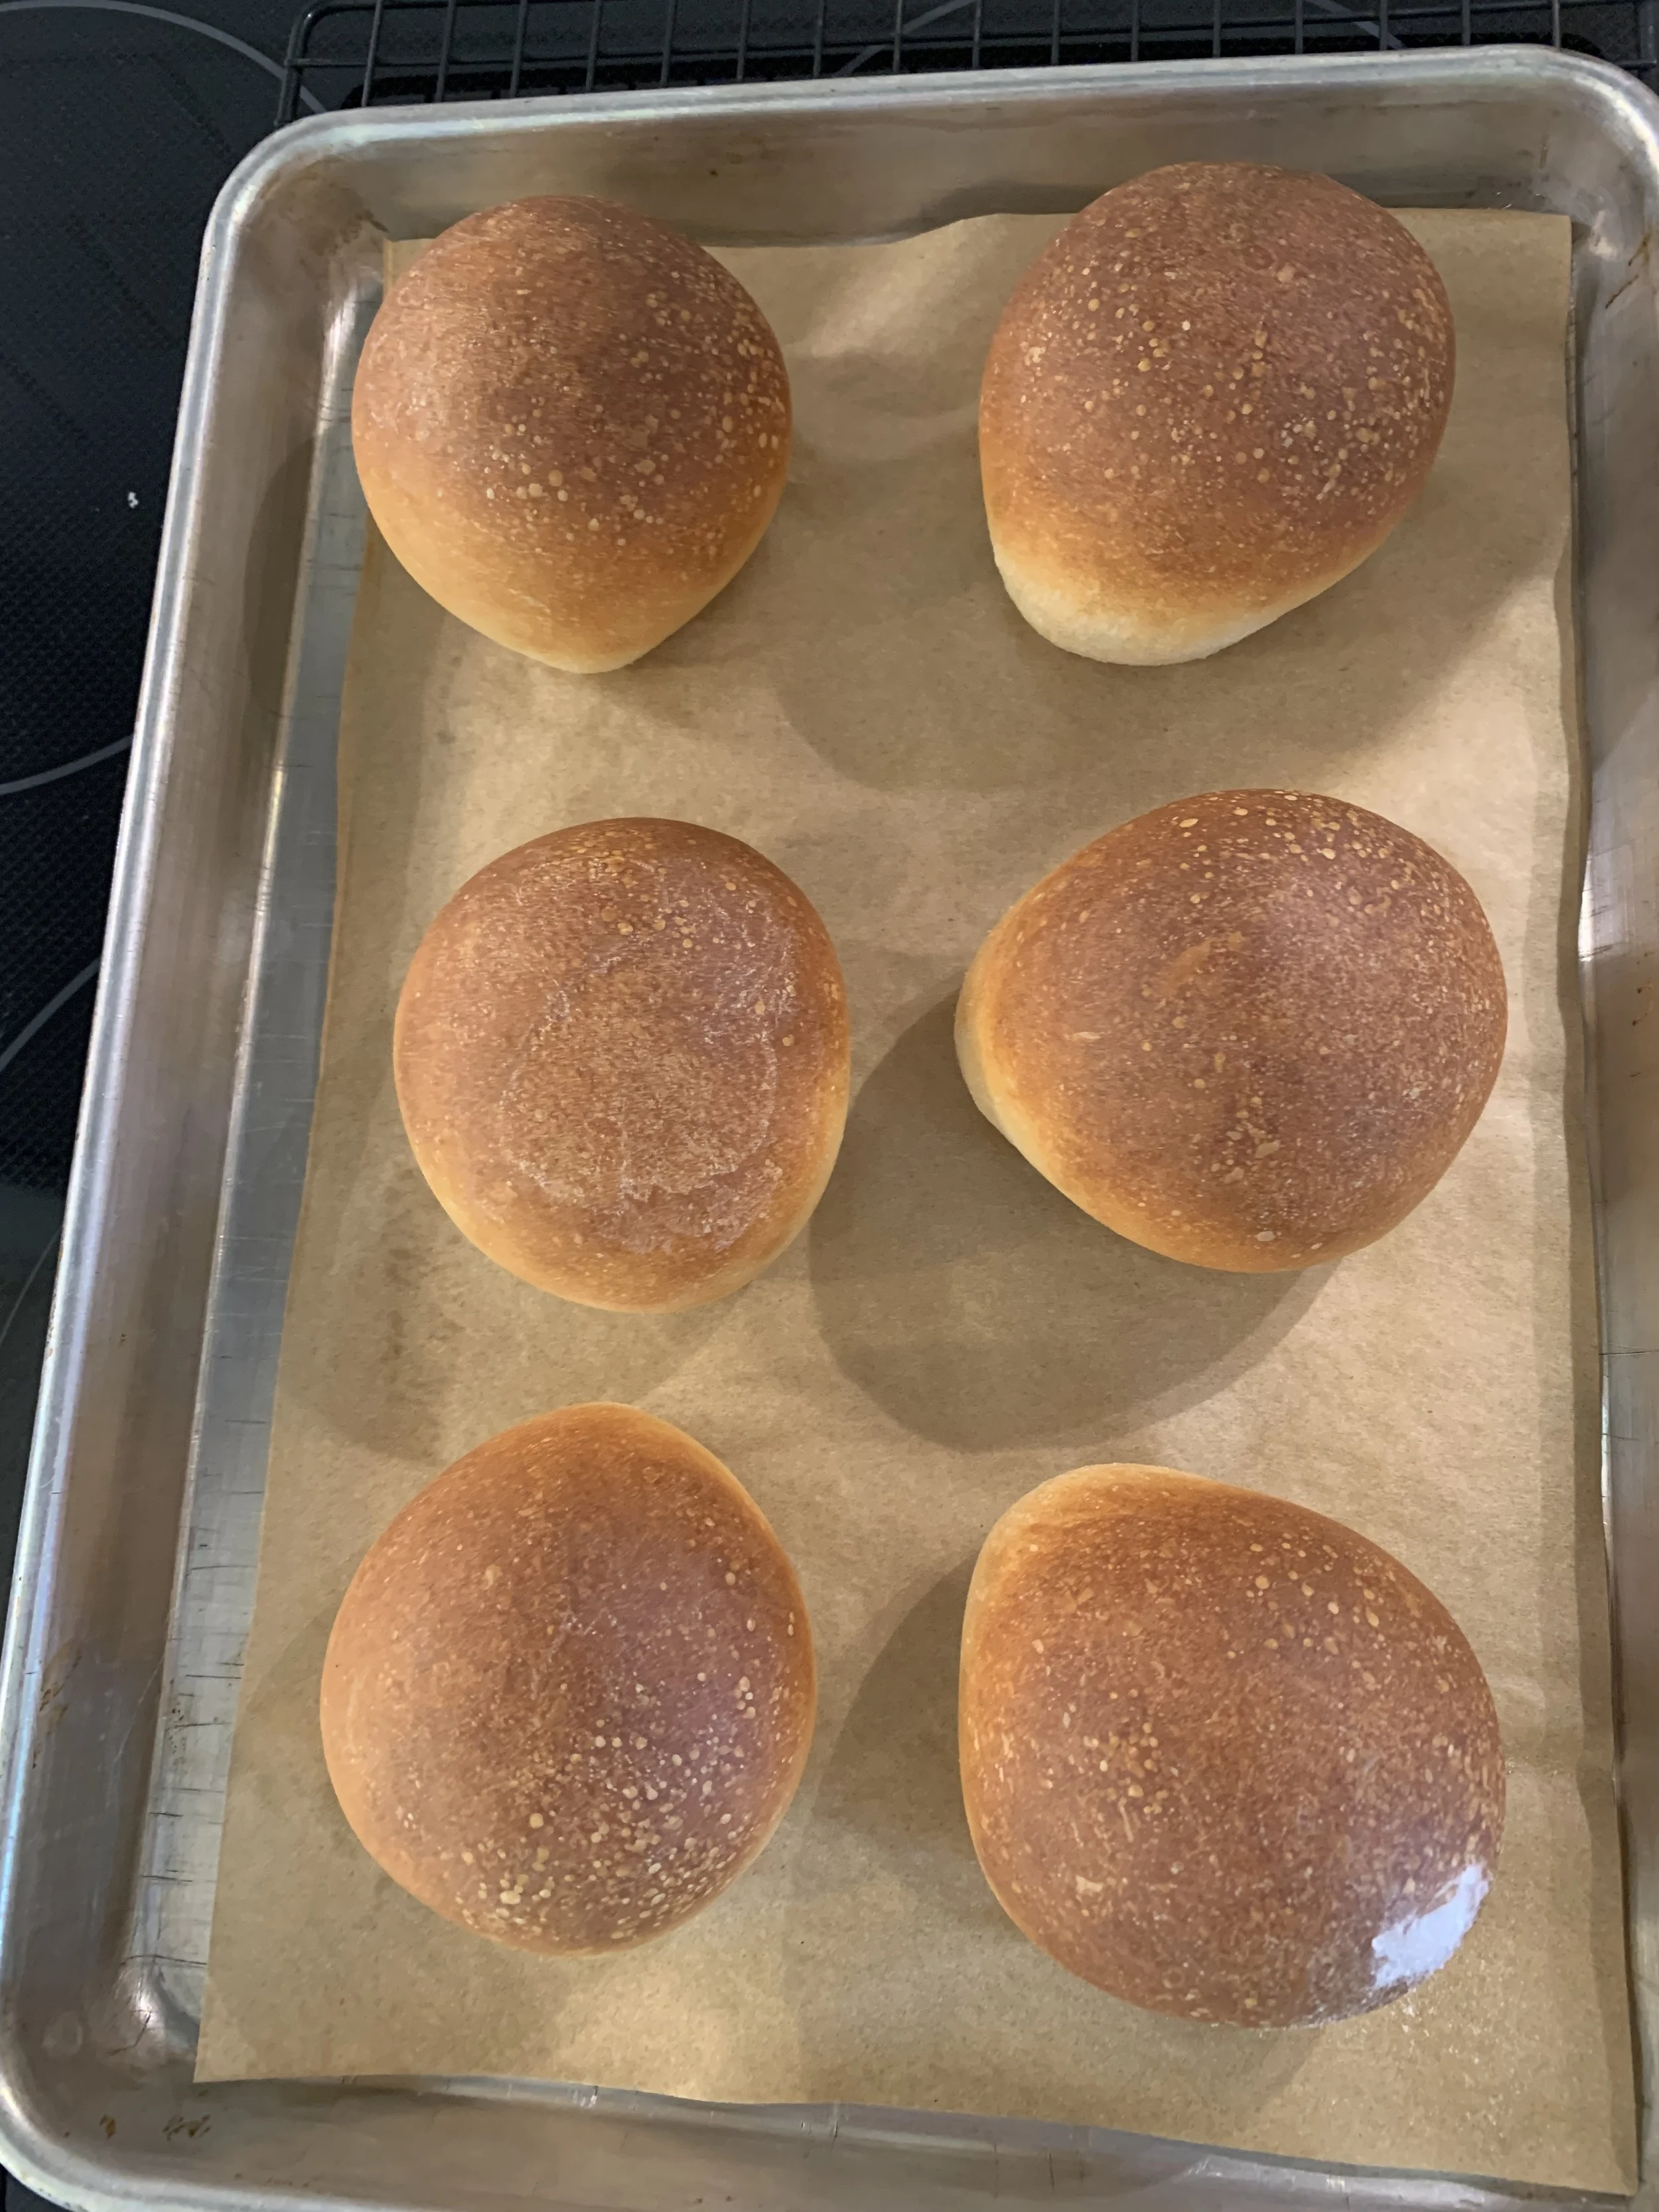
These were delicious!!
The loaf baked up nicely but didn’t have the straight edges typical of the classic pain de mie. That was my clue to use more dough in my second trial. At least it tasted great and the rolls were oh so good.
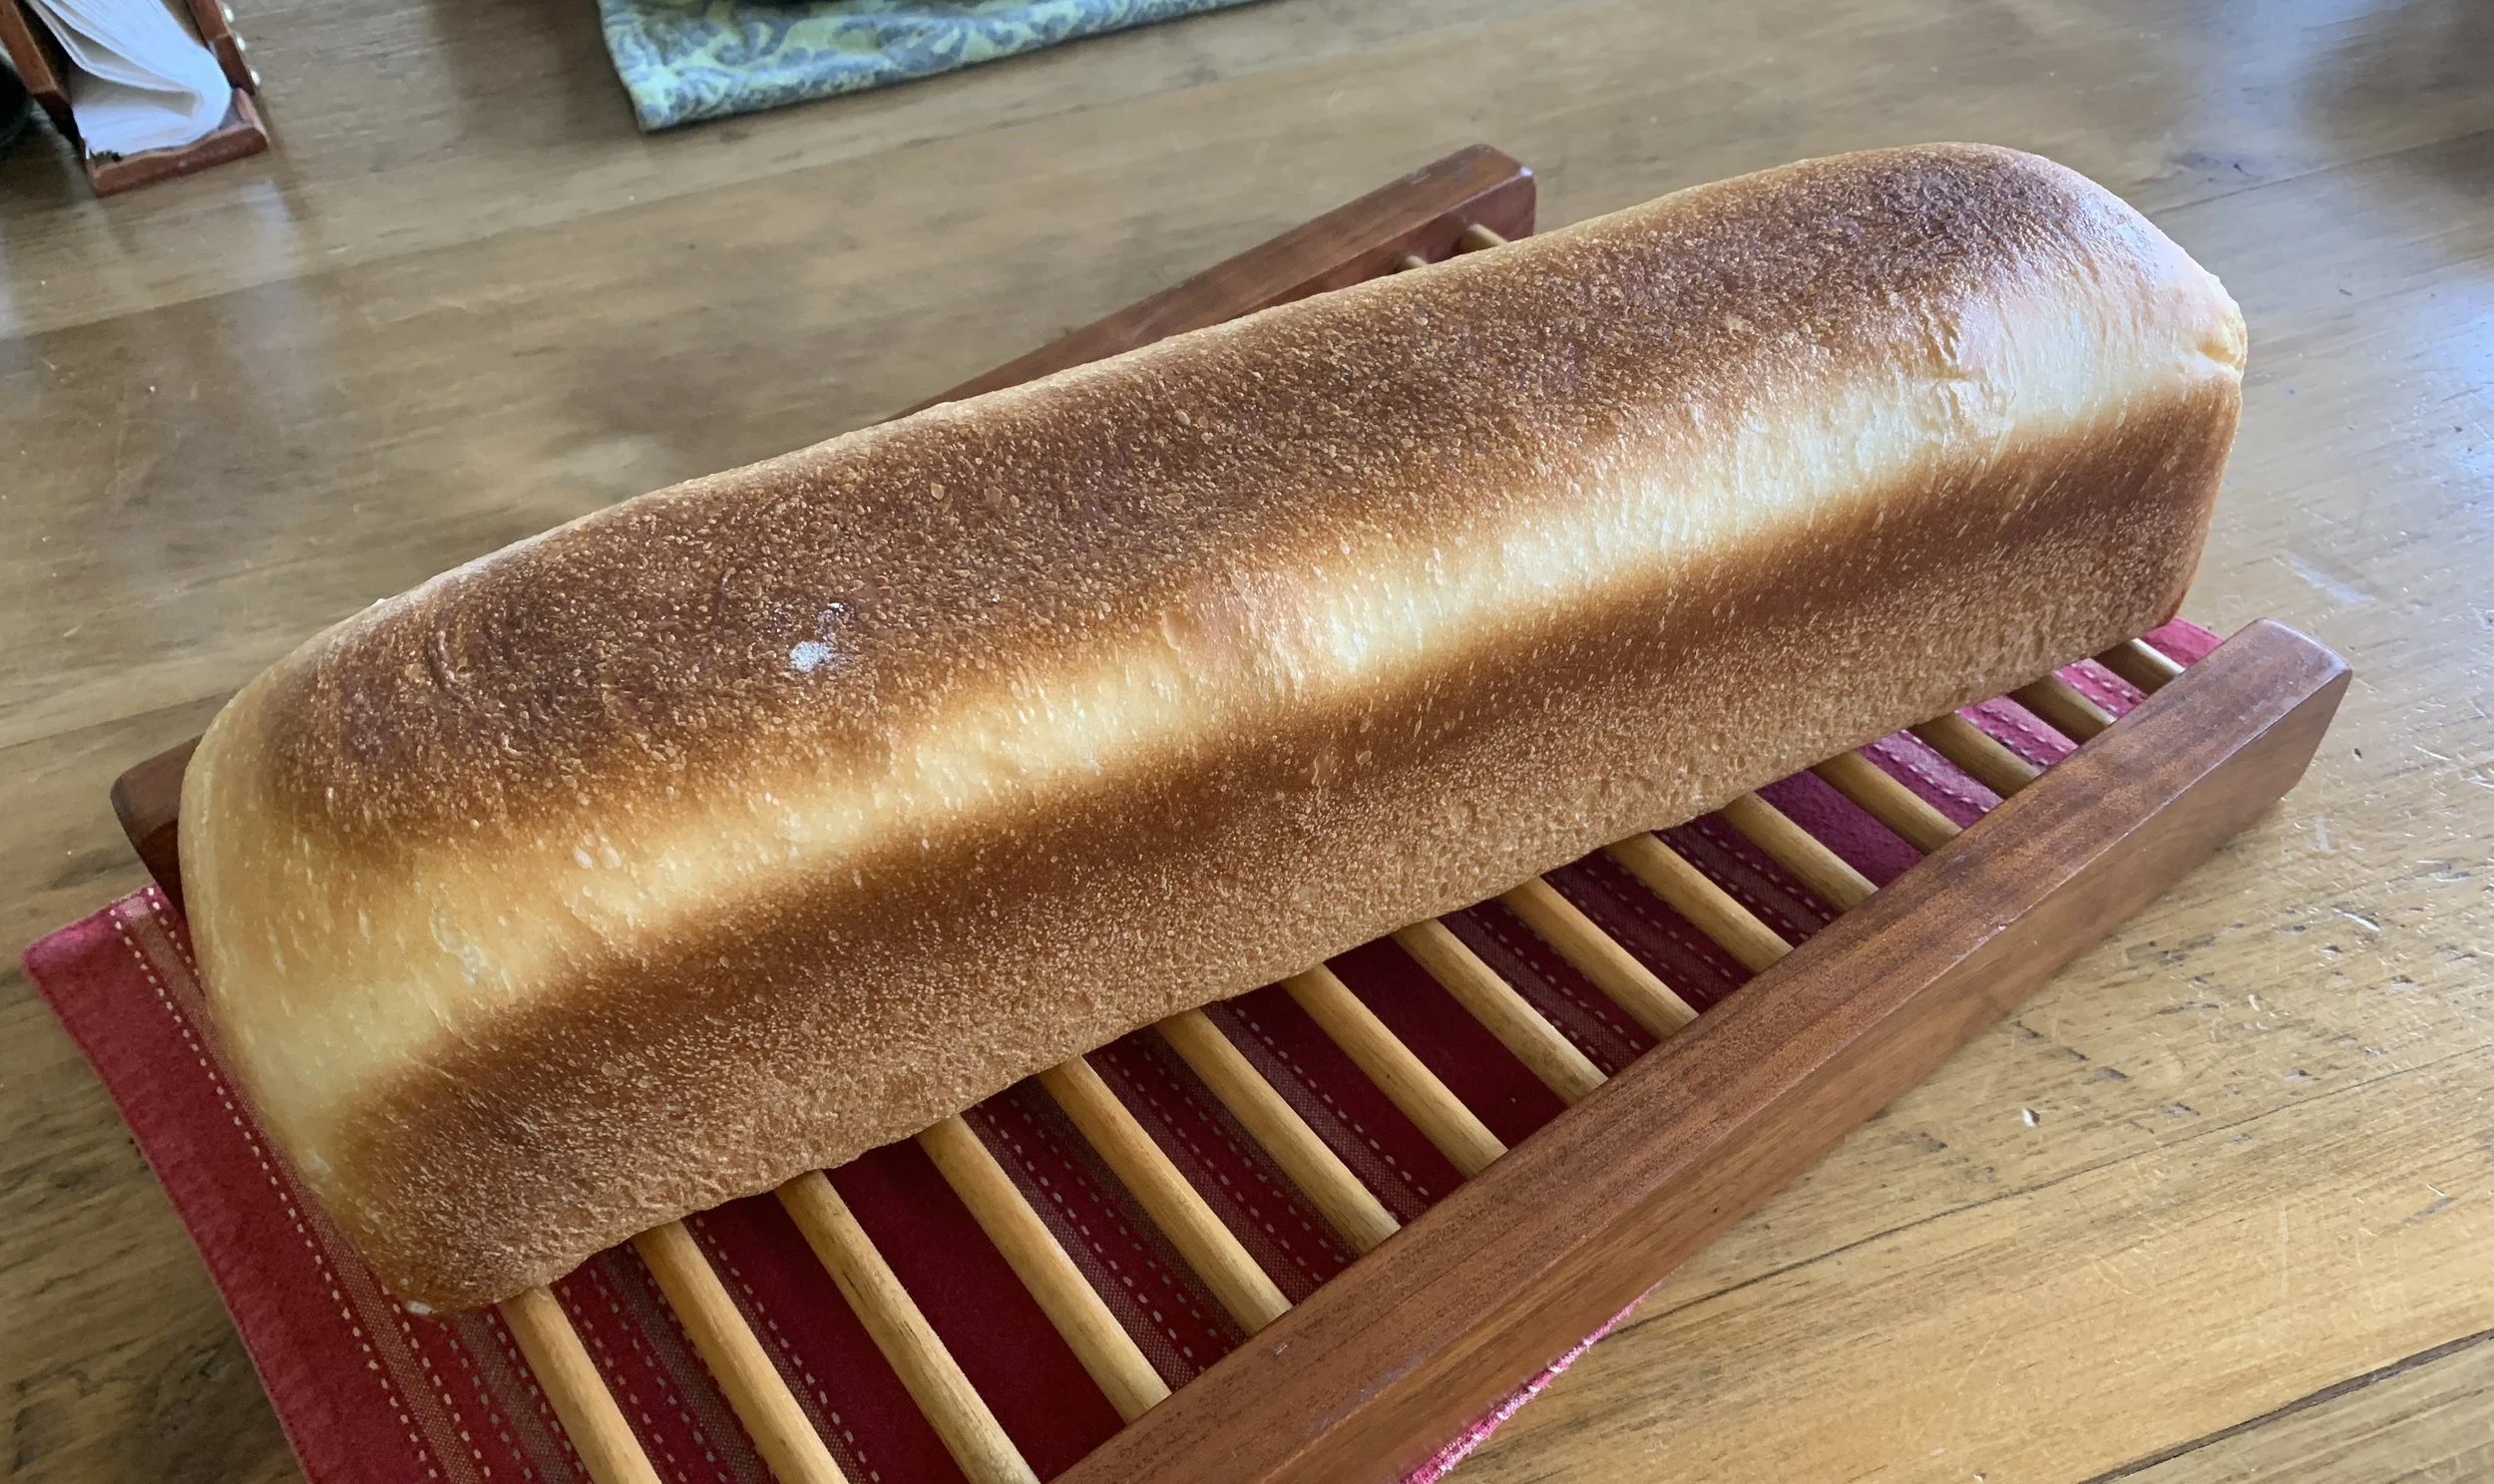
First attempt
The crumb looked more open than I thought it should, but it was delicious, especially toasted and spread with peanut butter!
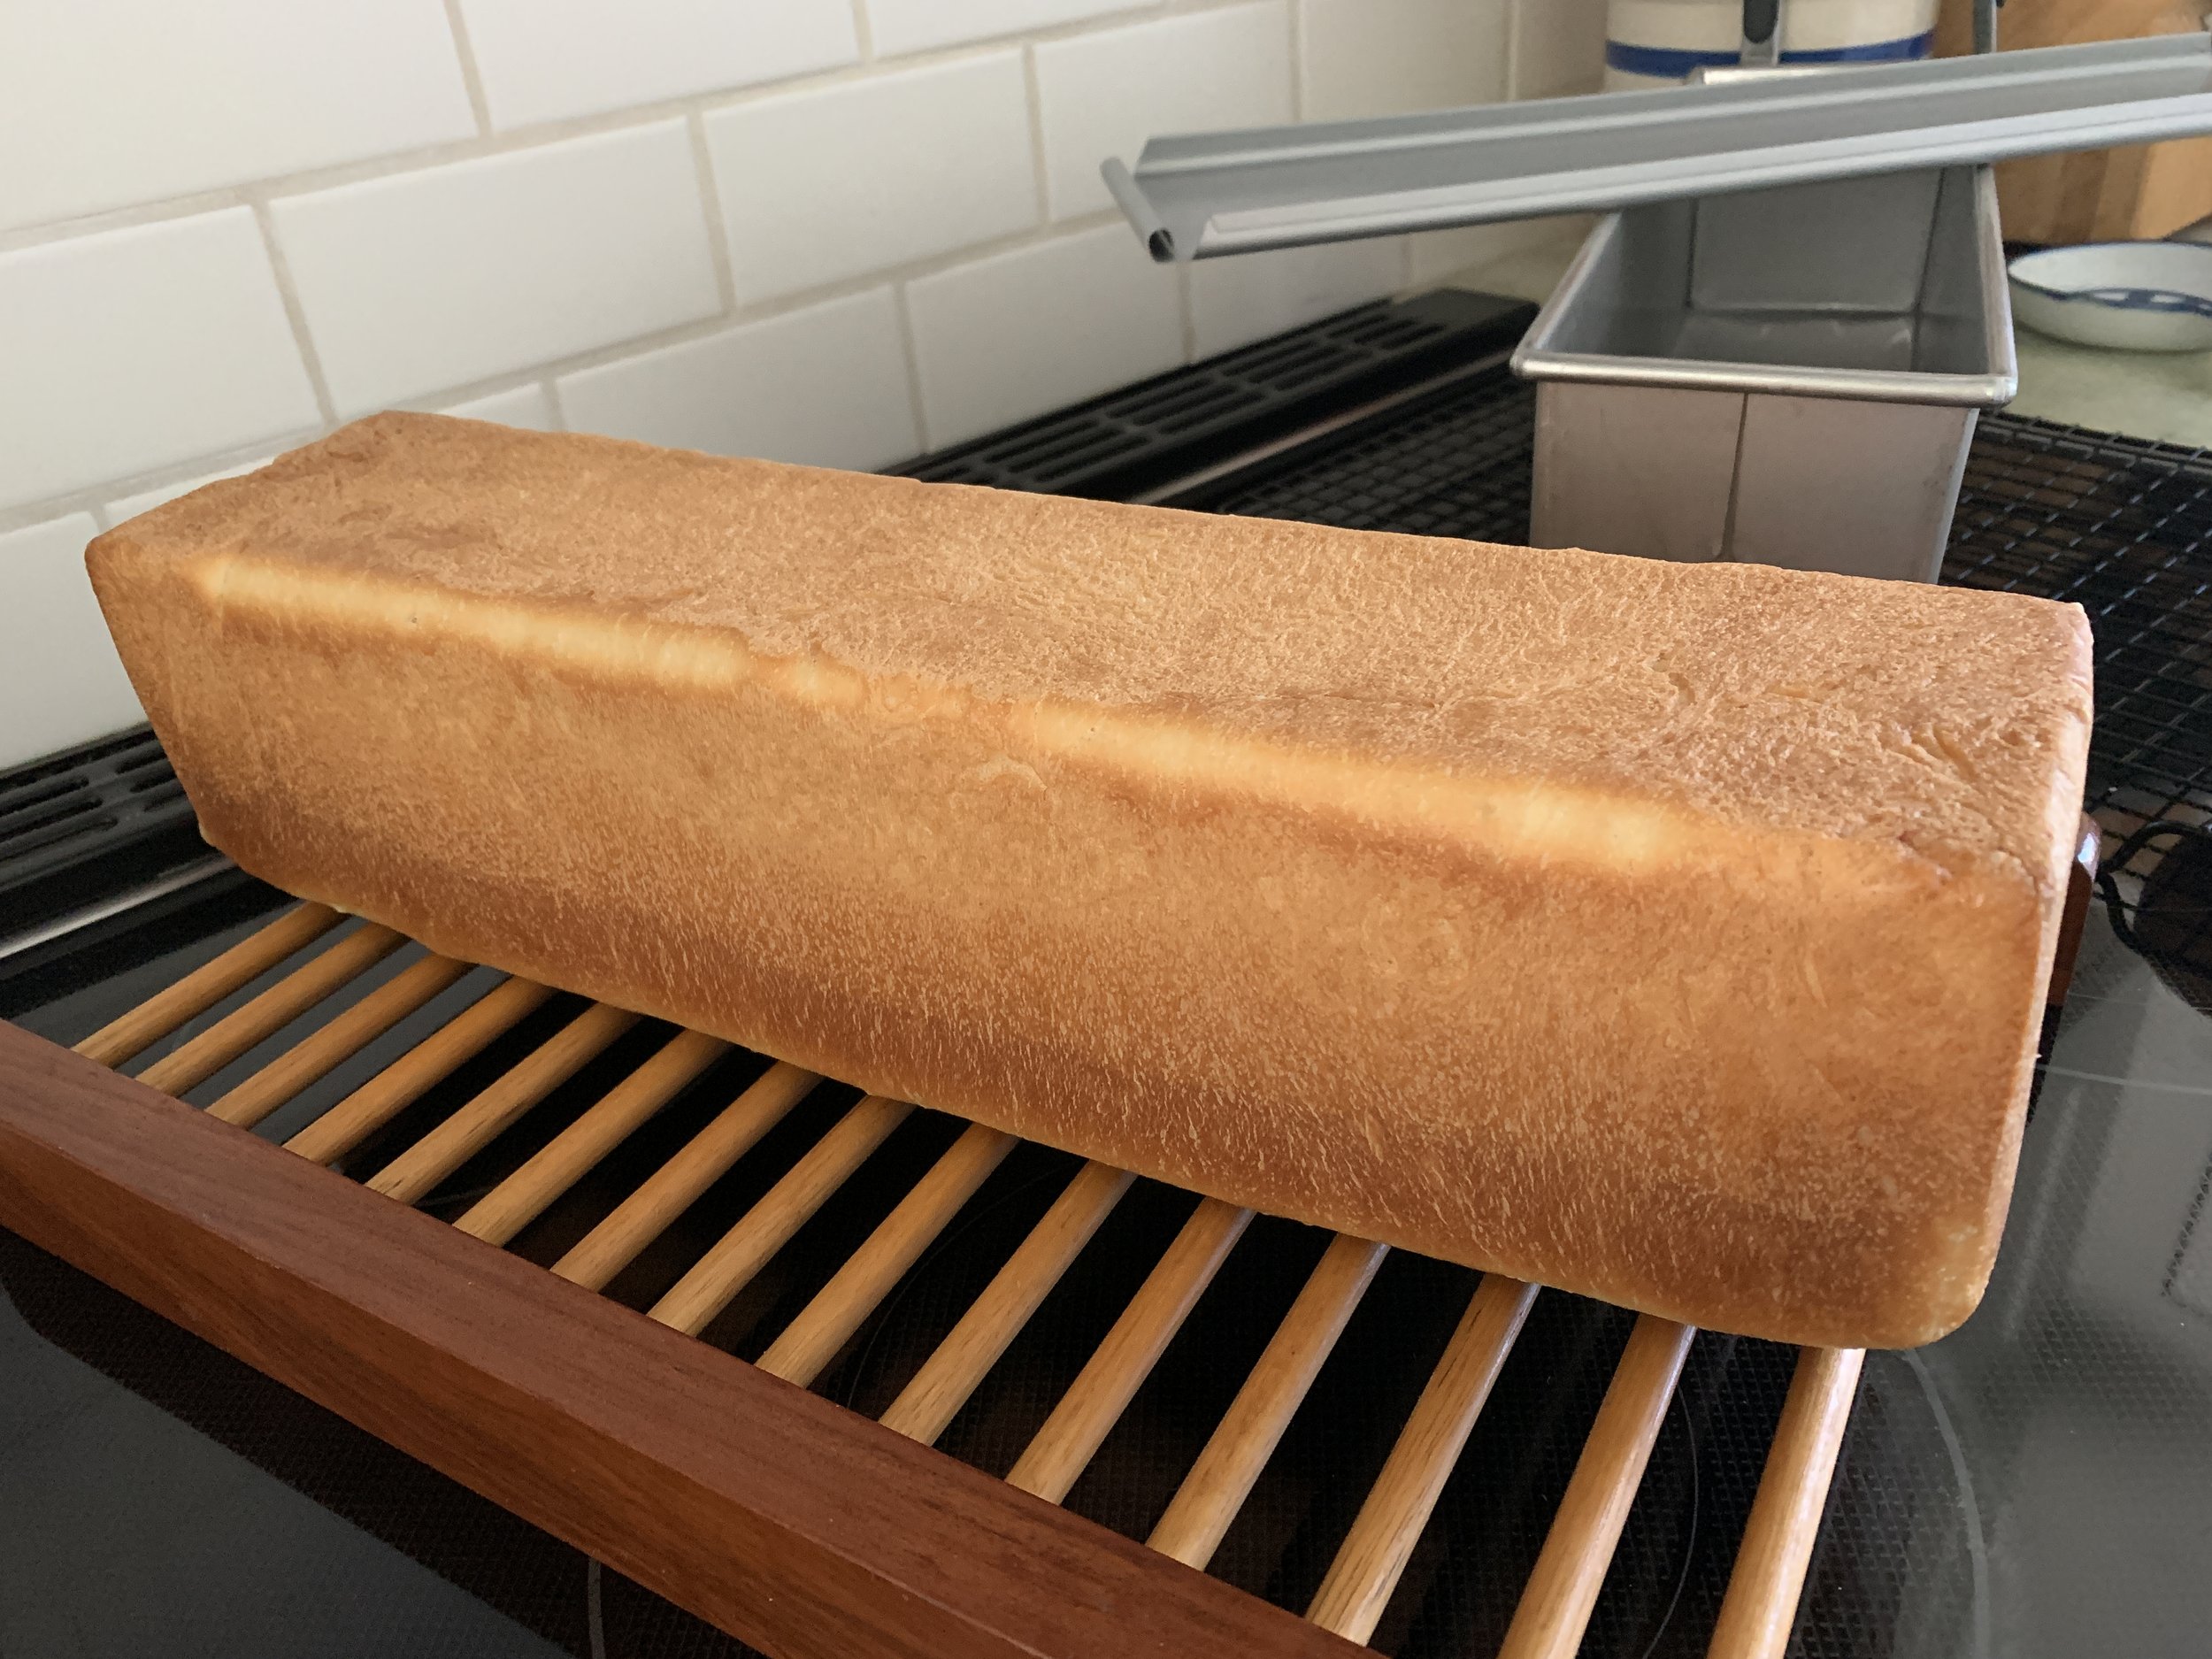
For my second round (April 7) I used 1400 g of dough for the loaf and made three 55 g rolls. While still not quite there in the appearance department, the edges approached a sharper look, particularly when I turned it out of the pan bottom side up. Not bad. Perhaps a slightly longer rise would have made the difference?
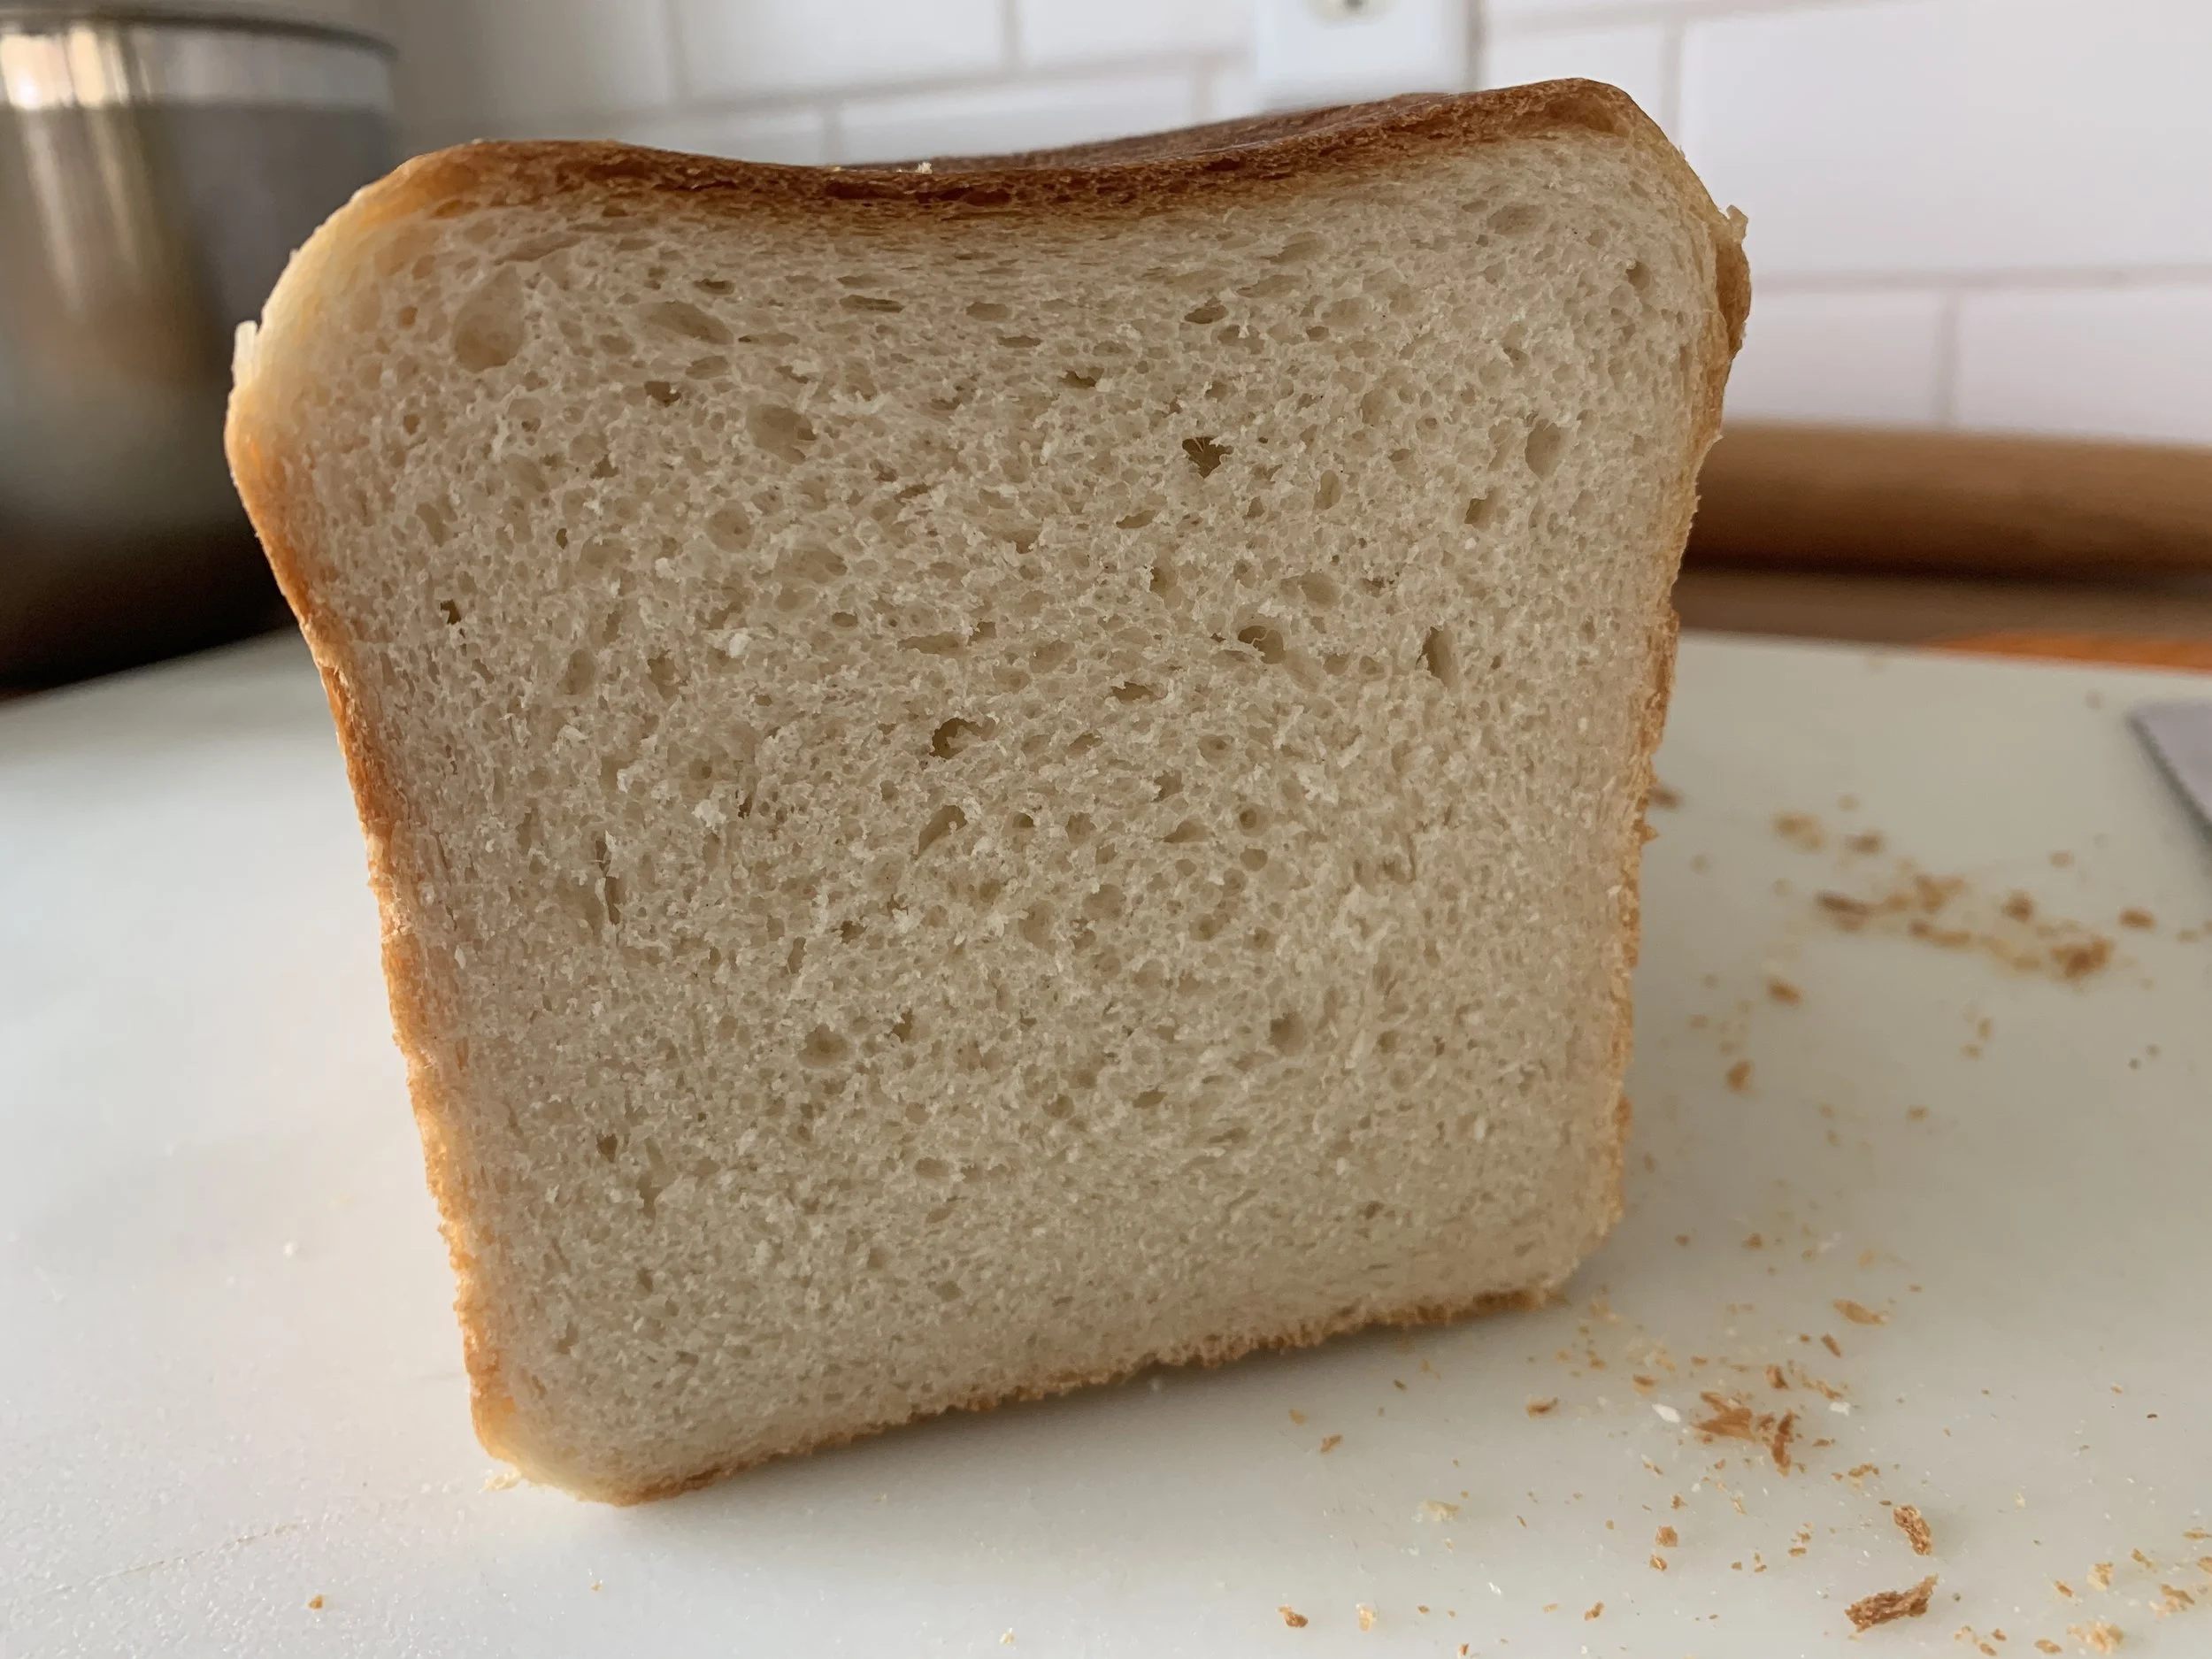
The crumb had a tighter more uniform appearance this time although a bit of a sag on top.
For the third round (May 15) I went for it and used the entire amount of dough (~1580 g) from Hamelman’s base recipe. Remember that guideline I mentioned above using 100 g per linear inch of your pan? Whoa - turned out to be too much!
During the final rise, the dough rose too close to the pan edge/lid on one end. Hamelman’s guideline is for the dough to reach about 1/2” from the top edge of the pan - that’s what I was looking for so I gave it a bit more time. Would’ve helped if I had shaped the dough more uniformly, eh?
Had I baked it at the one hour mark, it would probably have fared better.
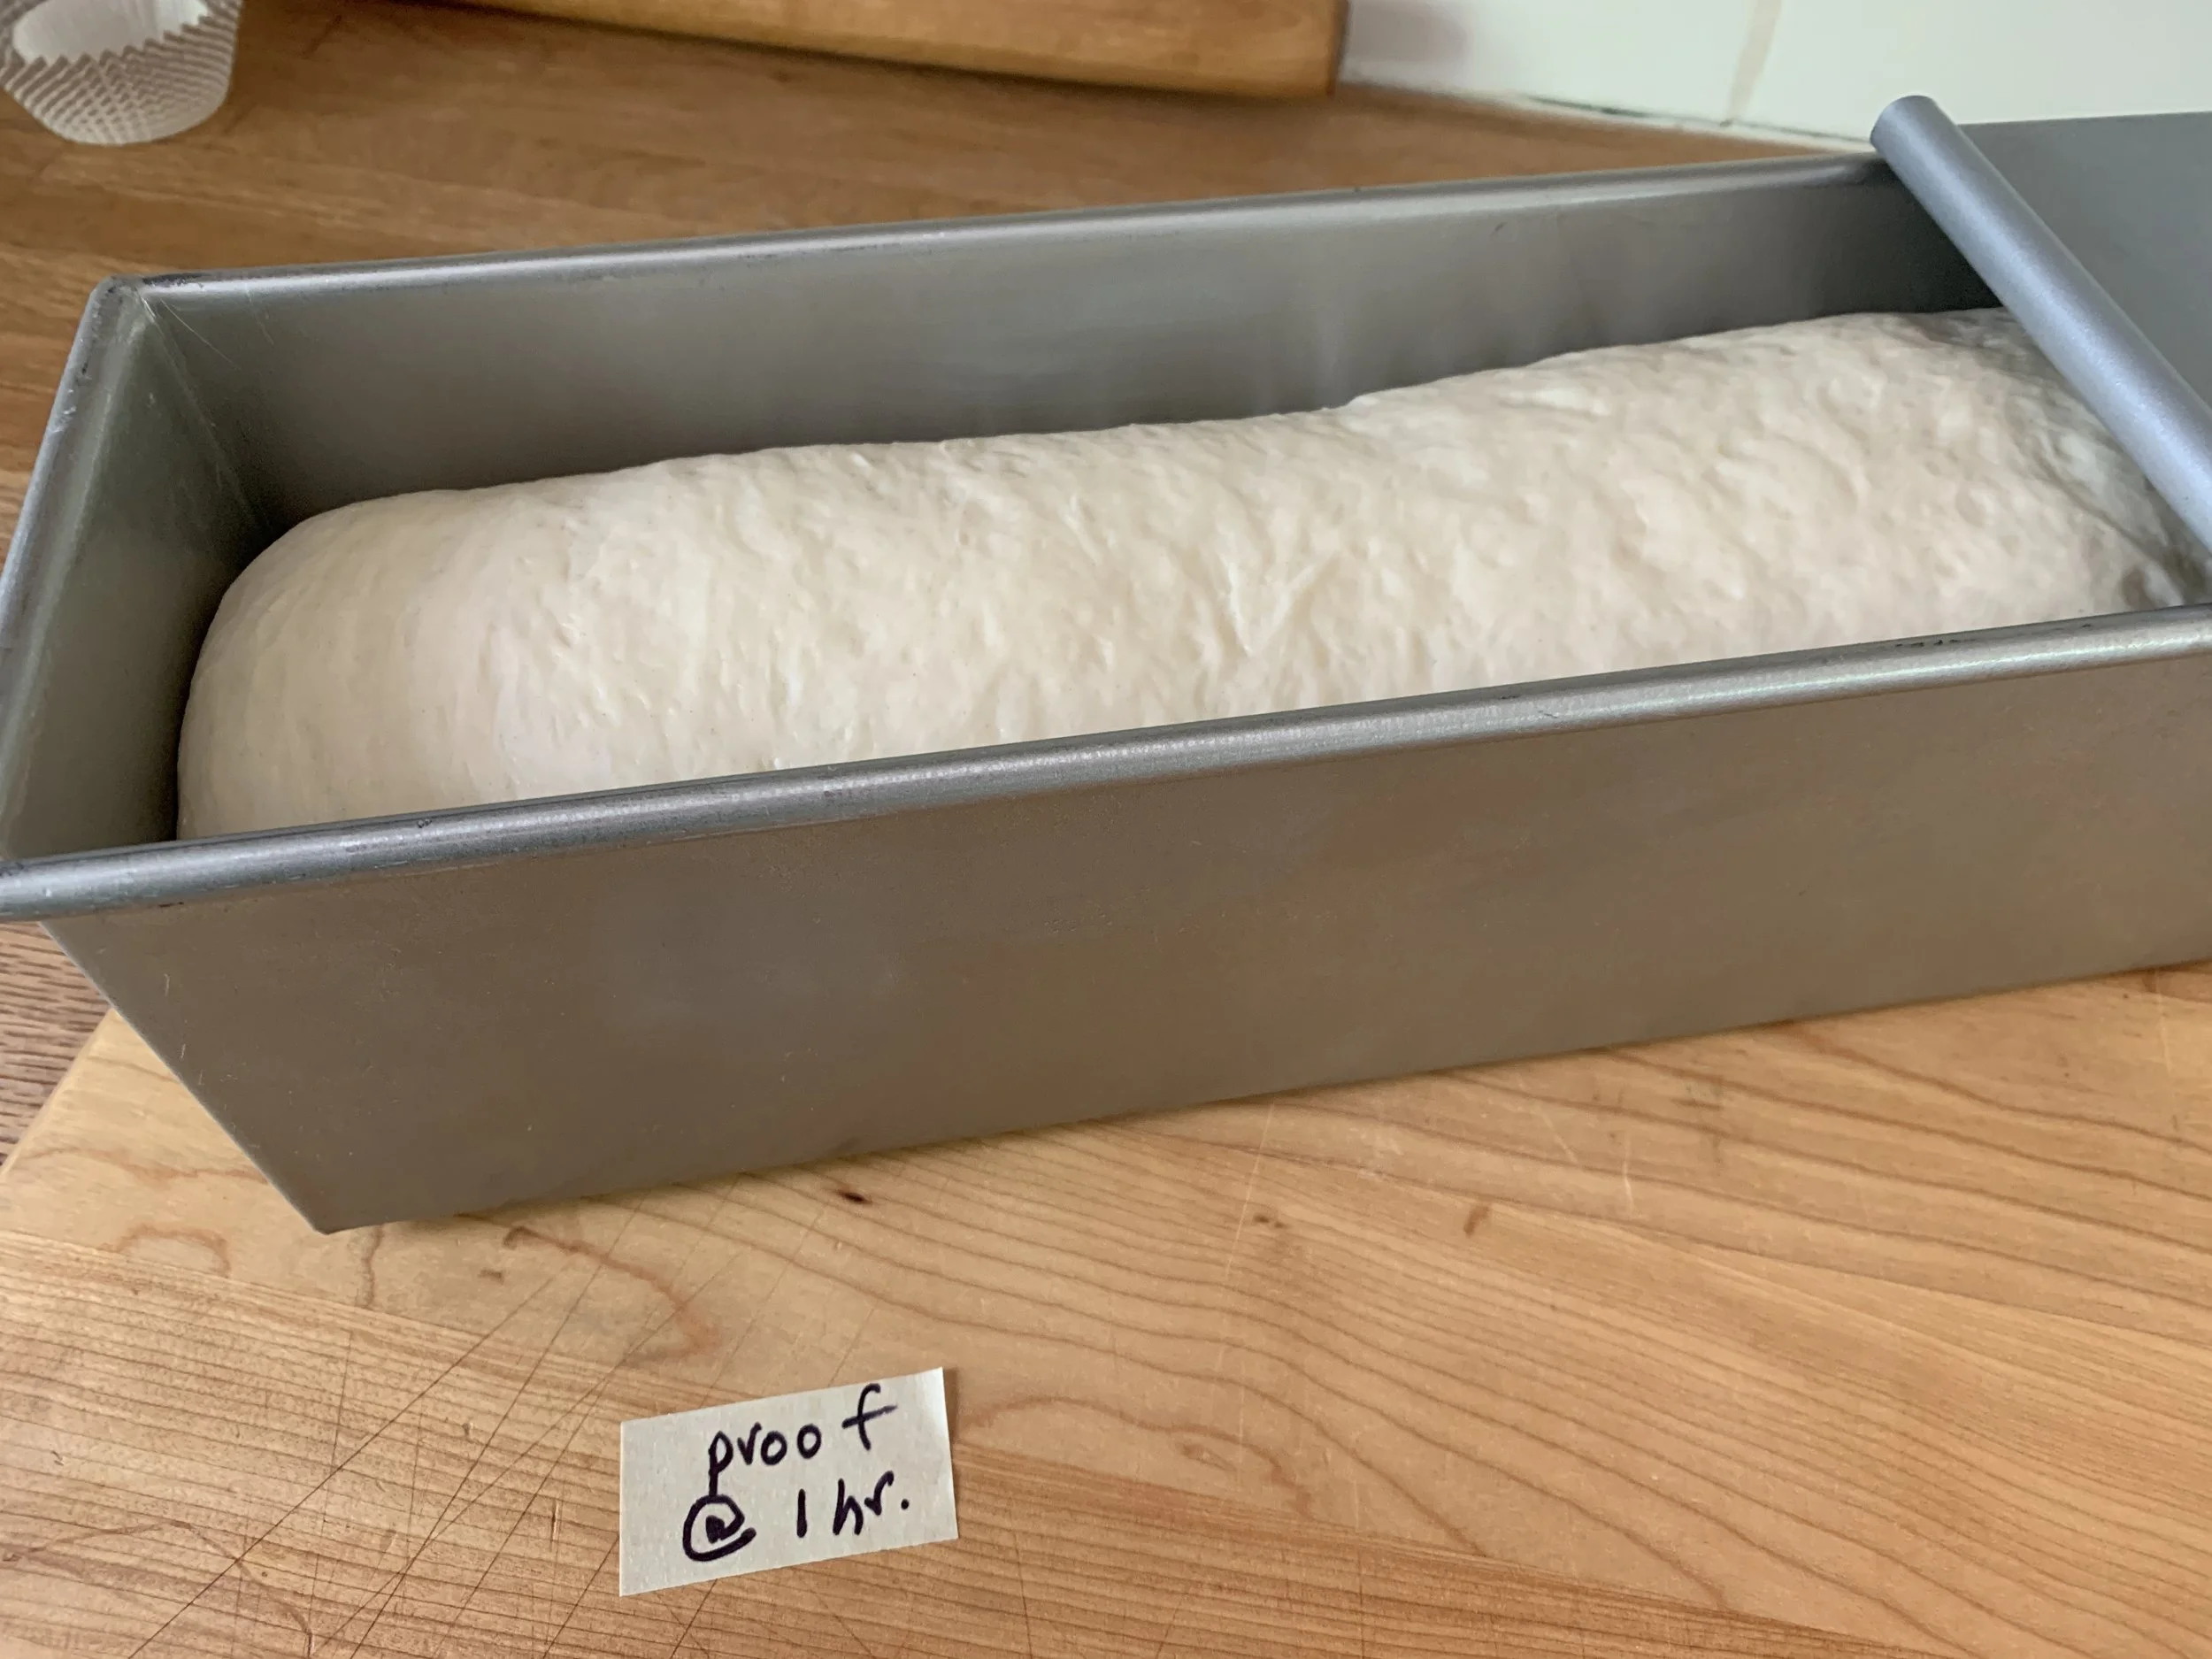
Another 20 minutes . . . . .
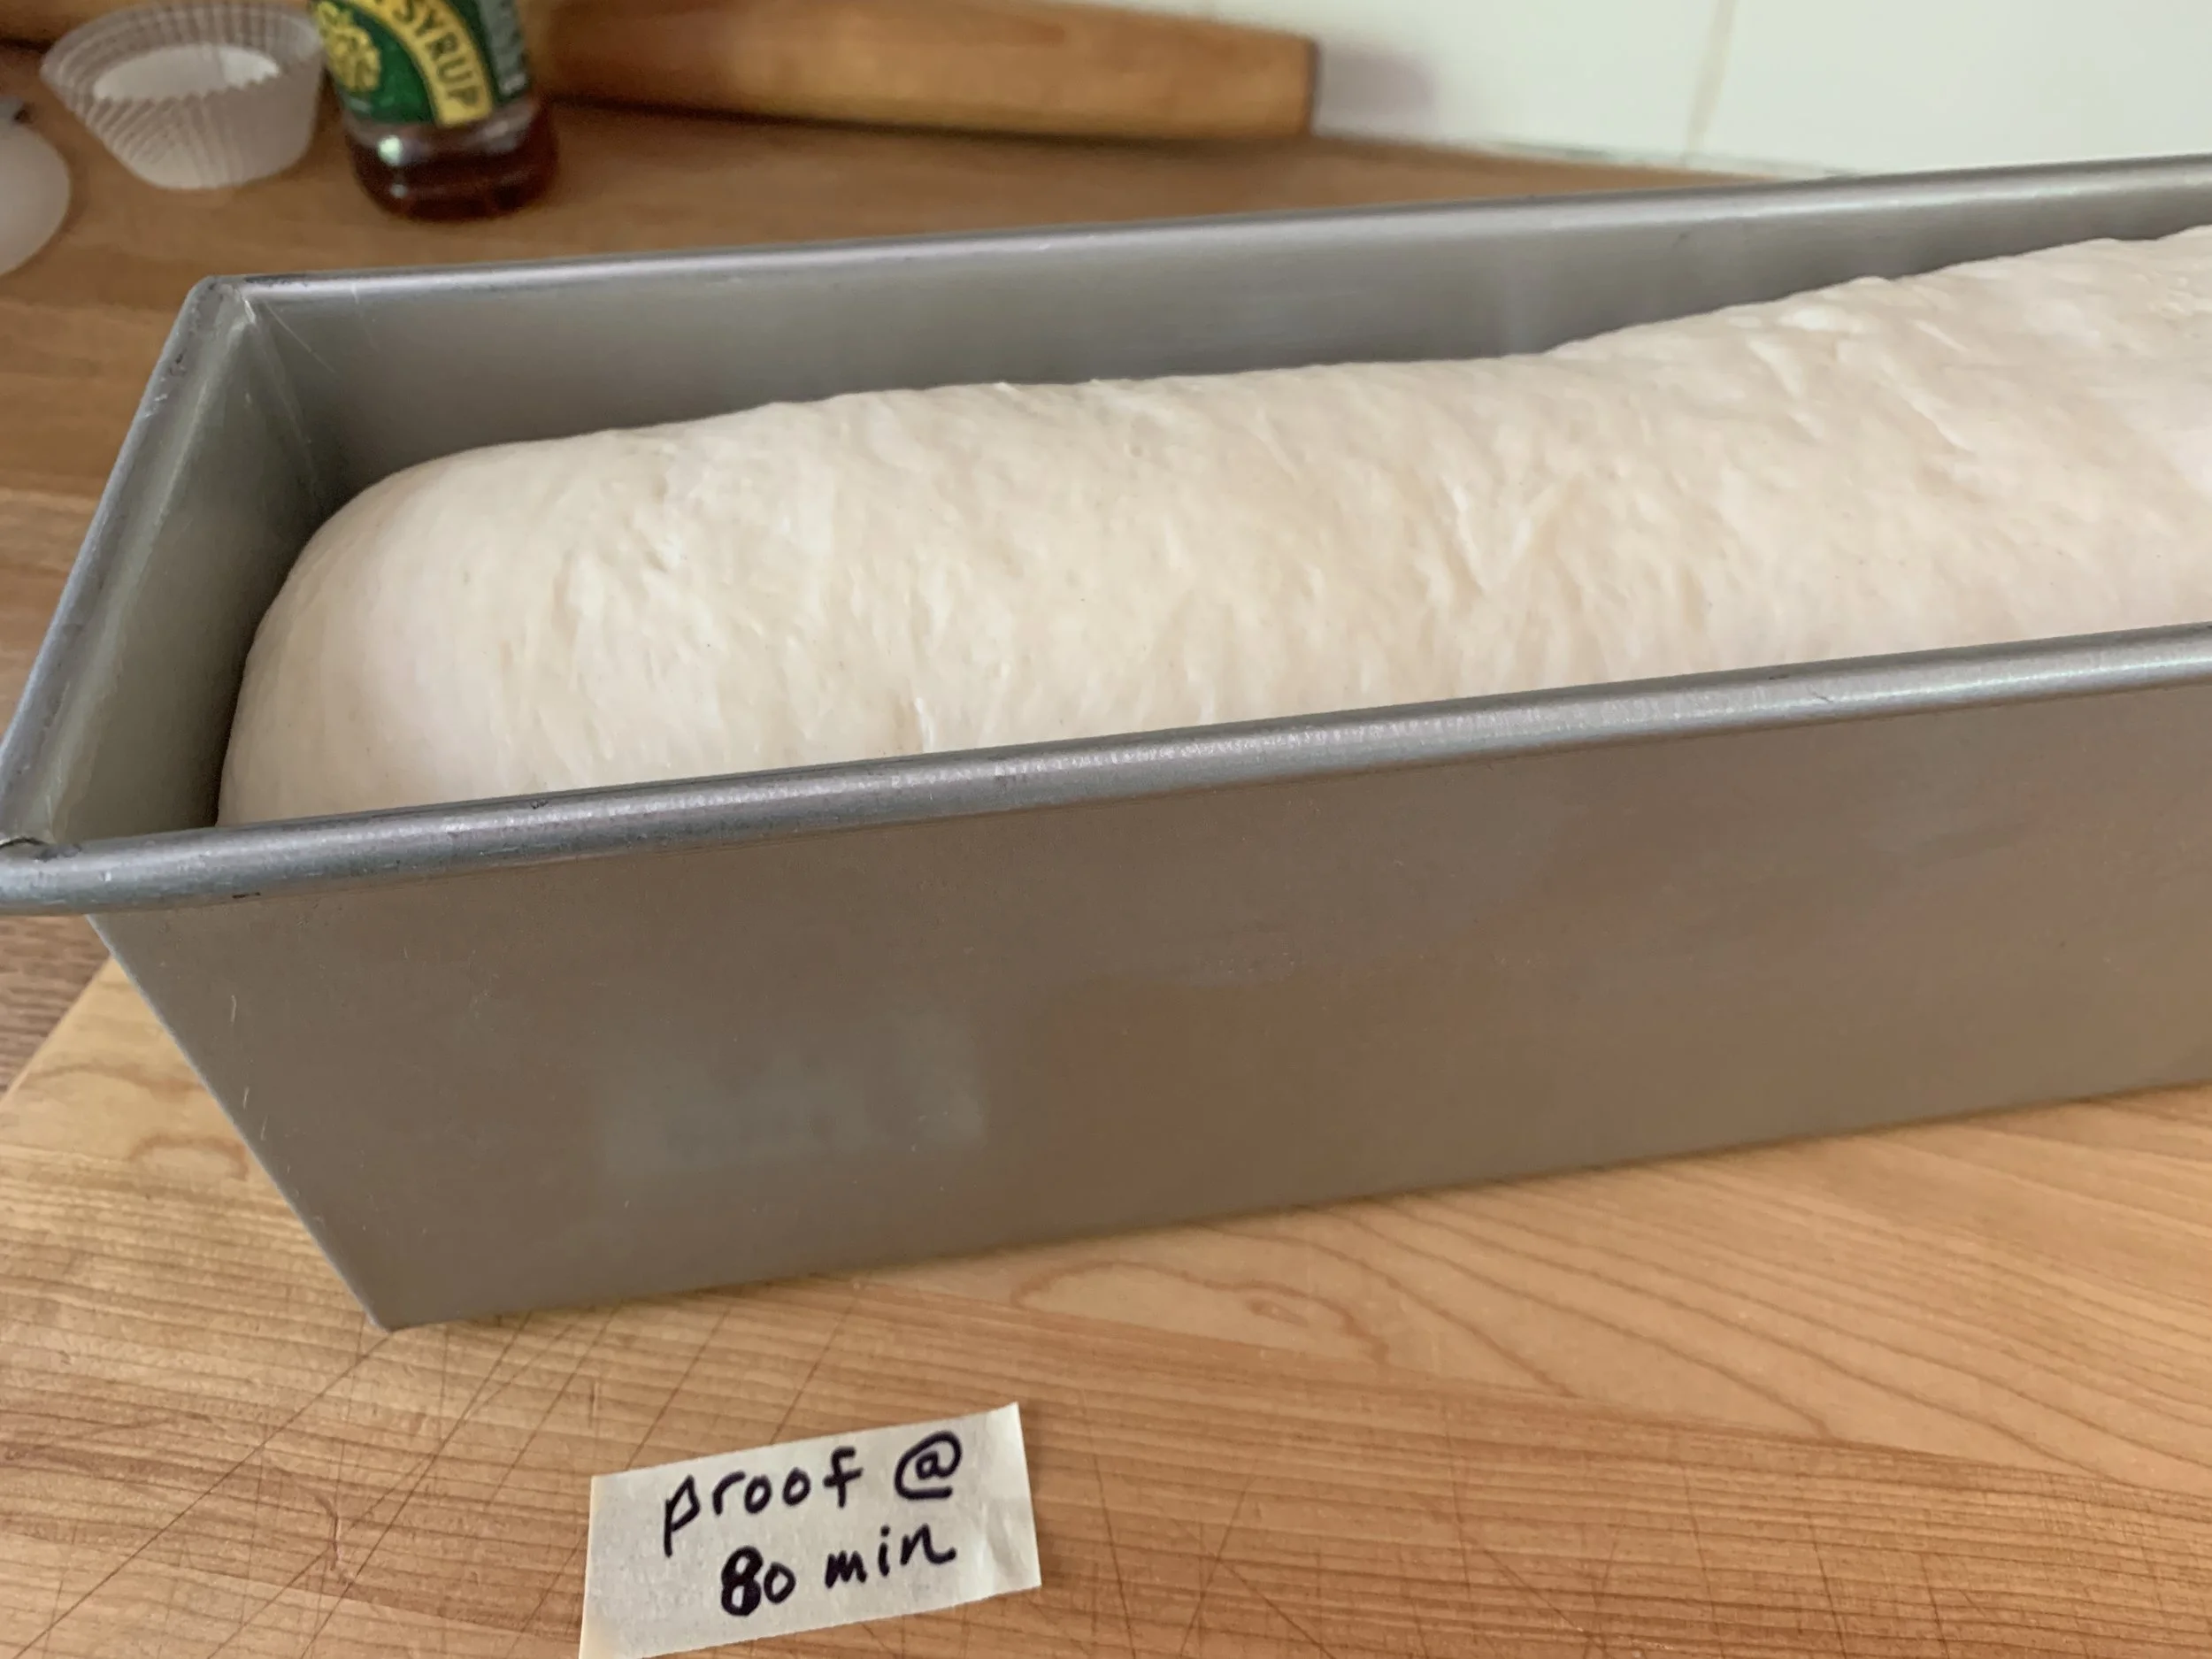
Uh OH - too high on the right
In addition, while I’m pretty sure the lid was on snugly going into the oven, the dough rose enough part way through the bake that the lid lifted right off one end of the pan! Yikes.
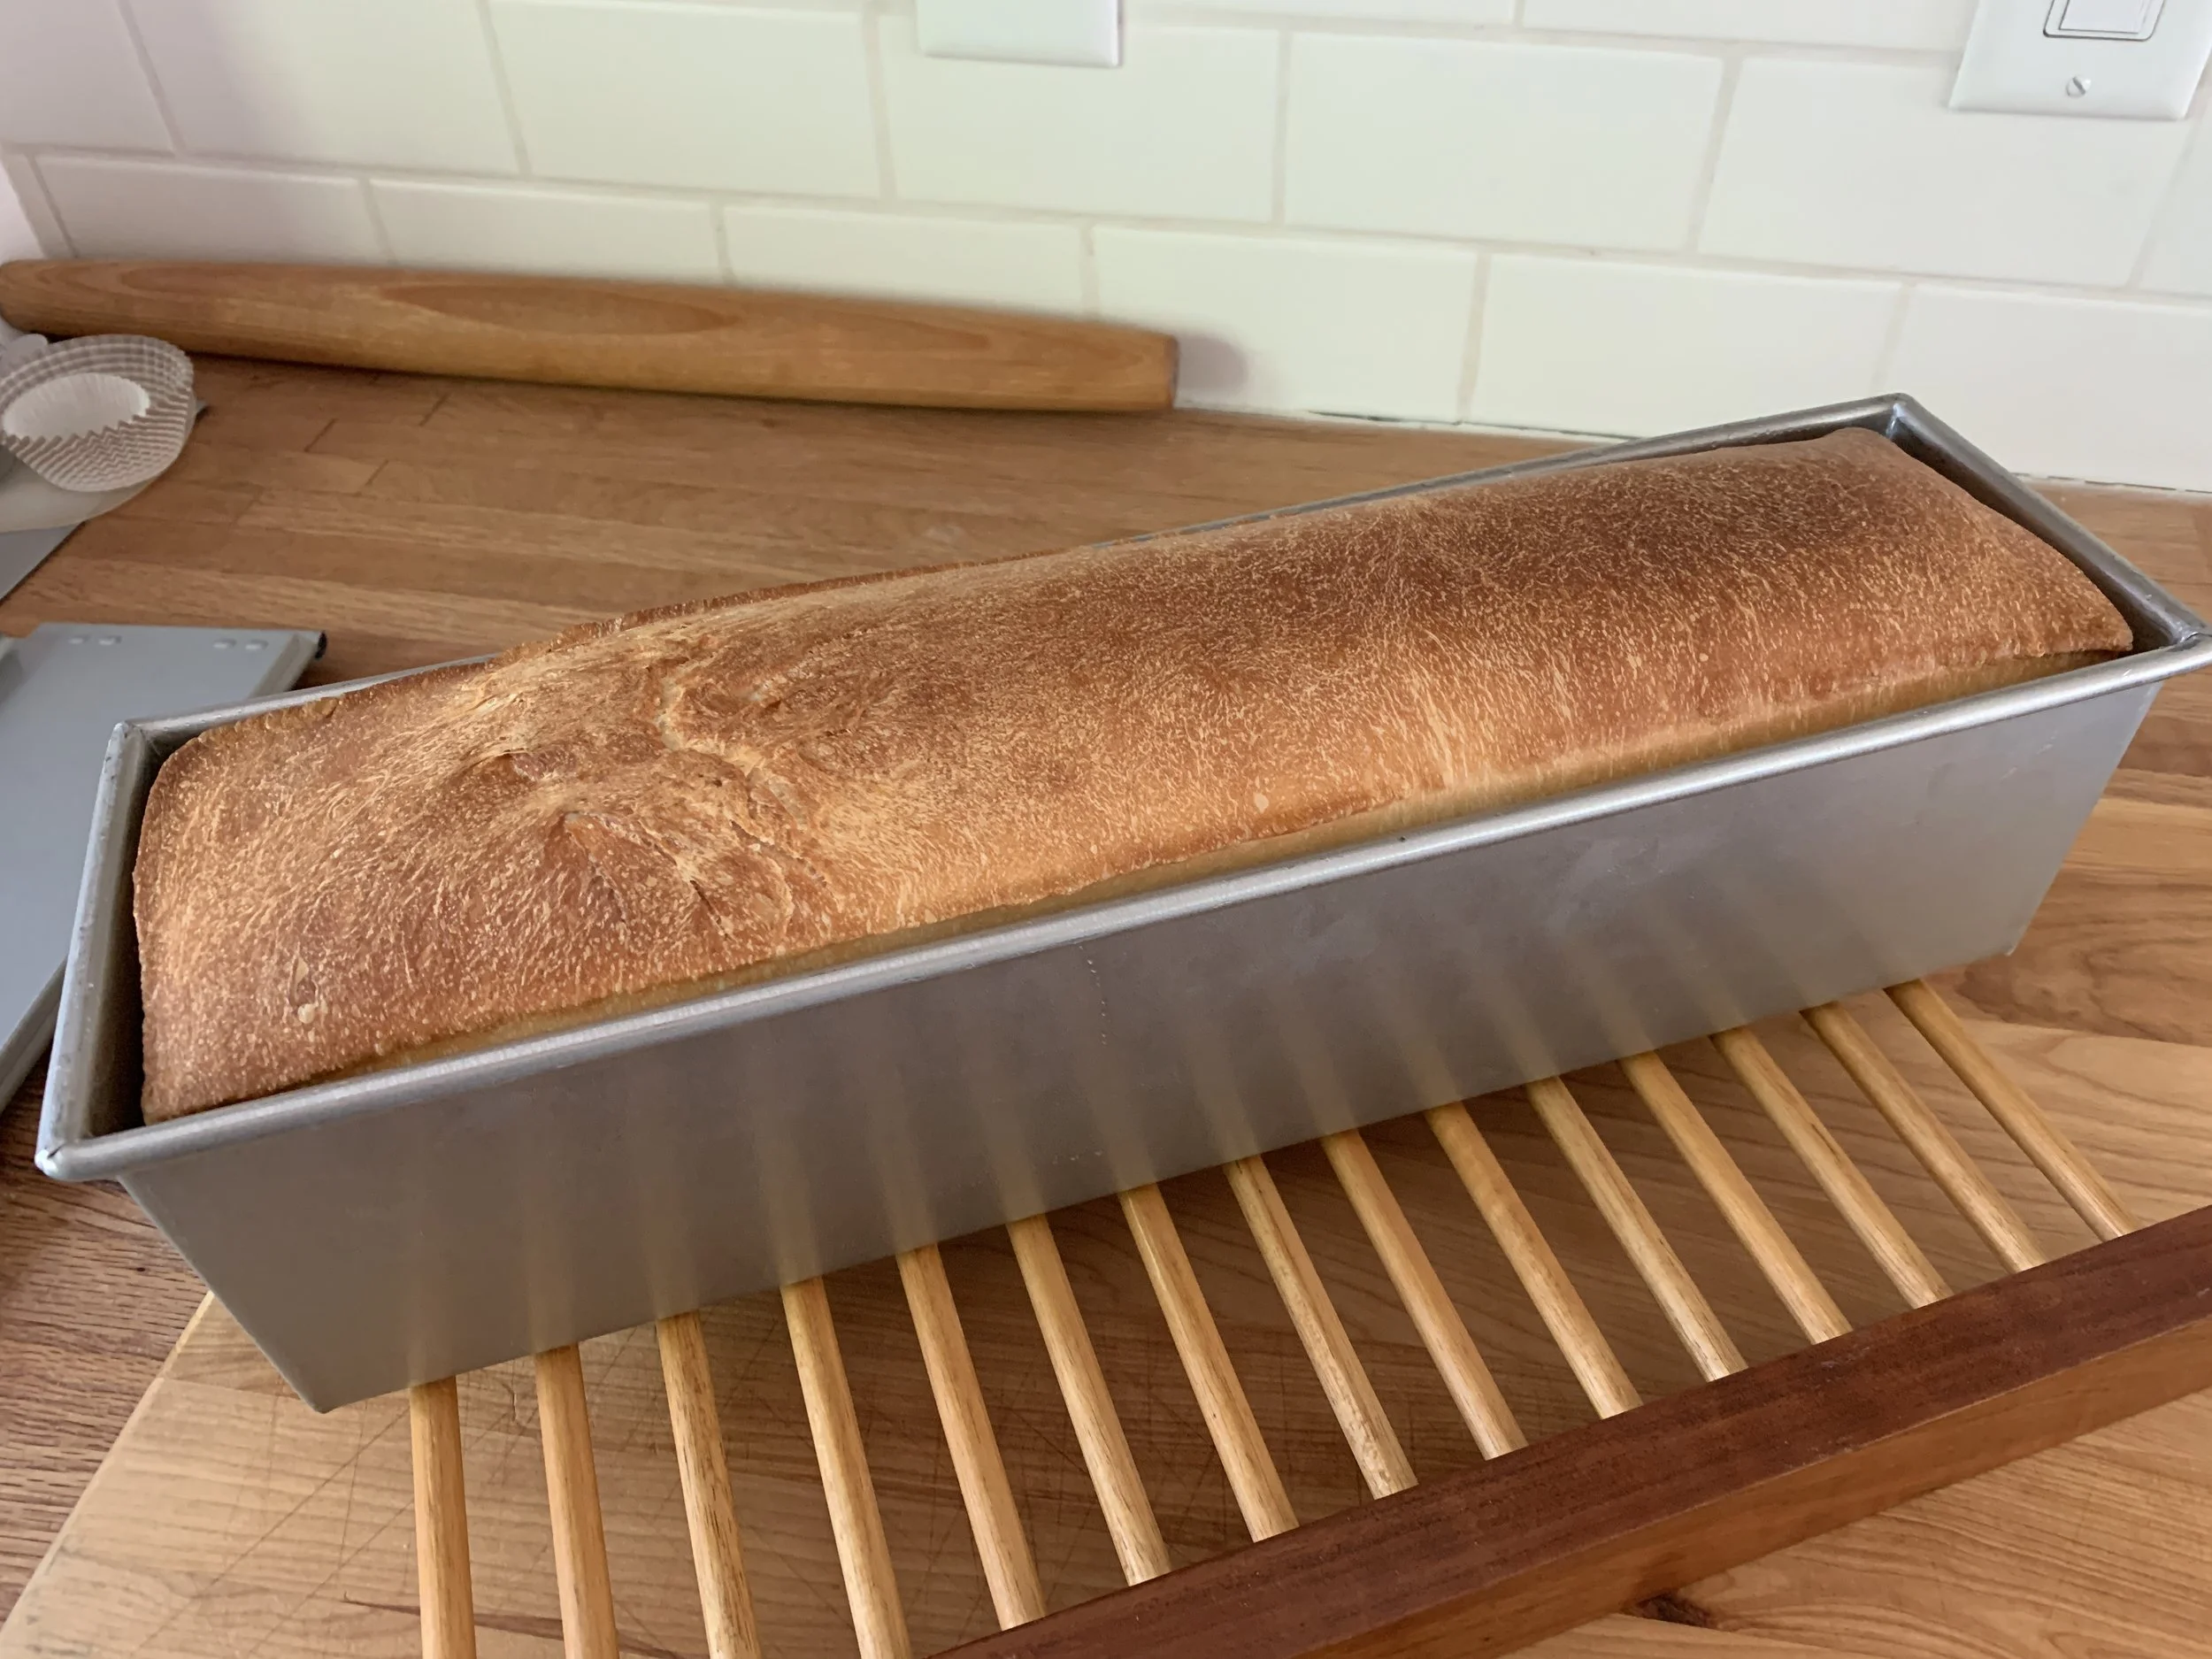
Third attempt - still tasted great!
I ultimately did a fourth loaf after making adjustments to the recipe/dough amount that I thought would fit nicely in the 16” pan. I went for a dough weight of ~1470 g. It rose quite robustly and pushed the lid off, just as in the 3rd trial but I was able to carefully slide it back on part way through the bake. Once again - tasted great!!
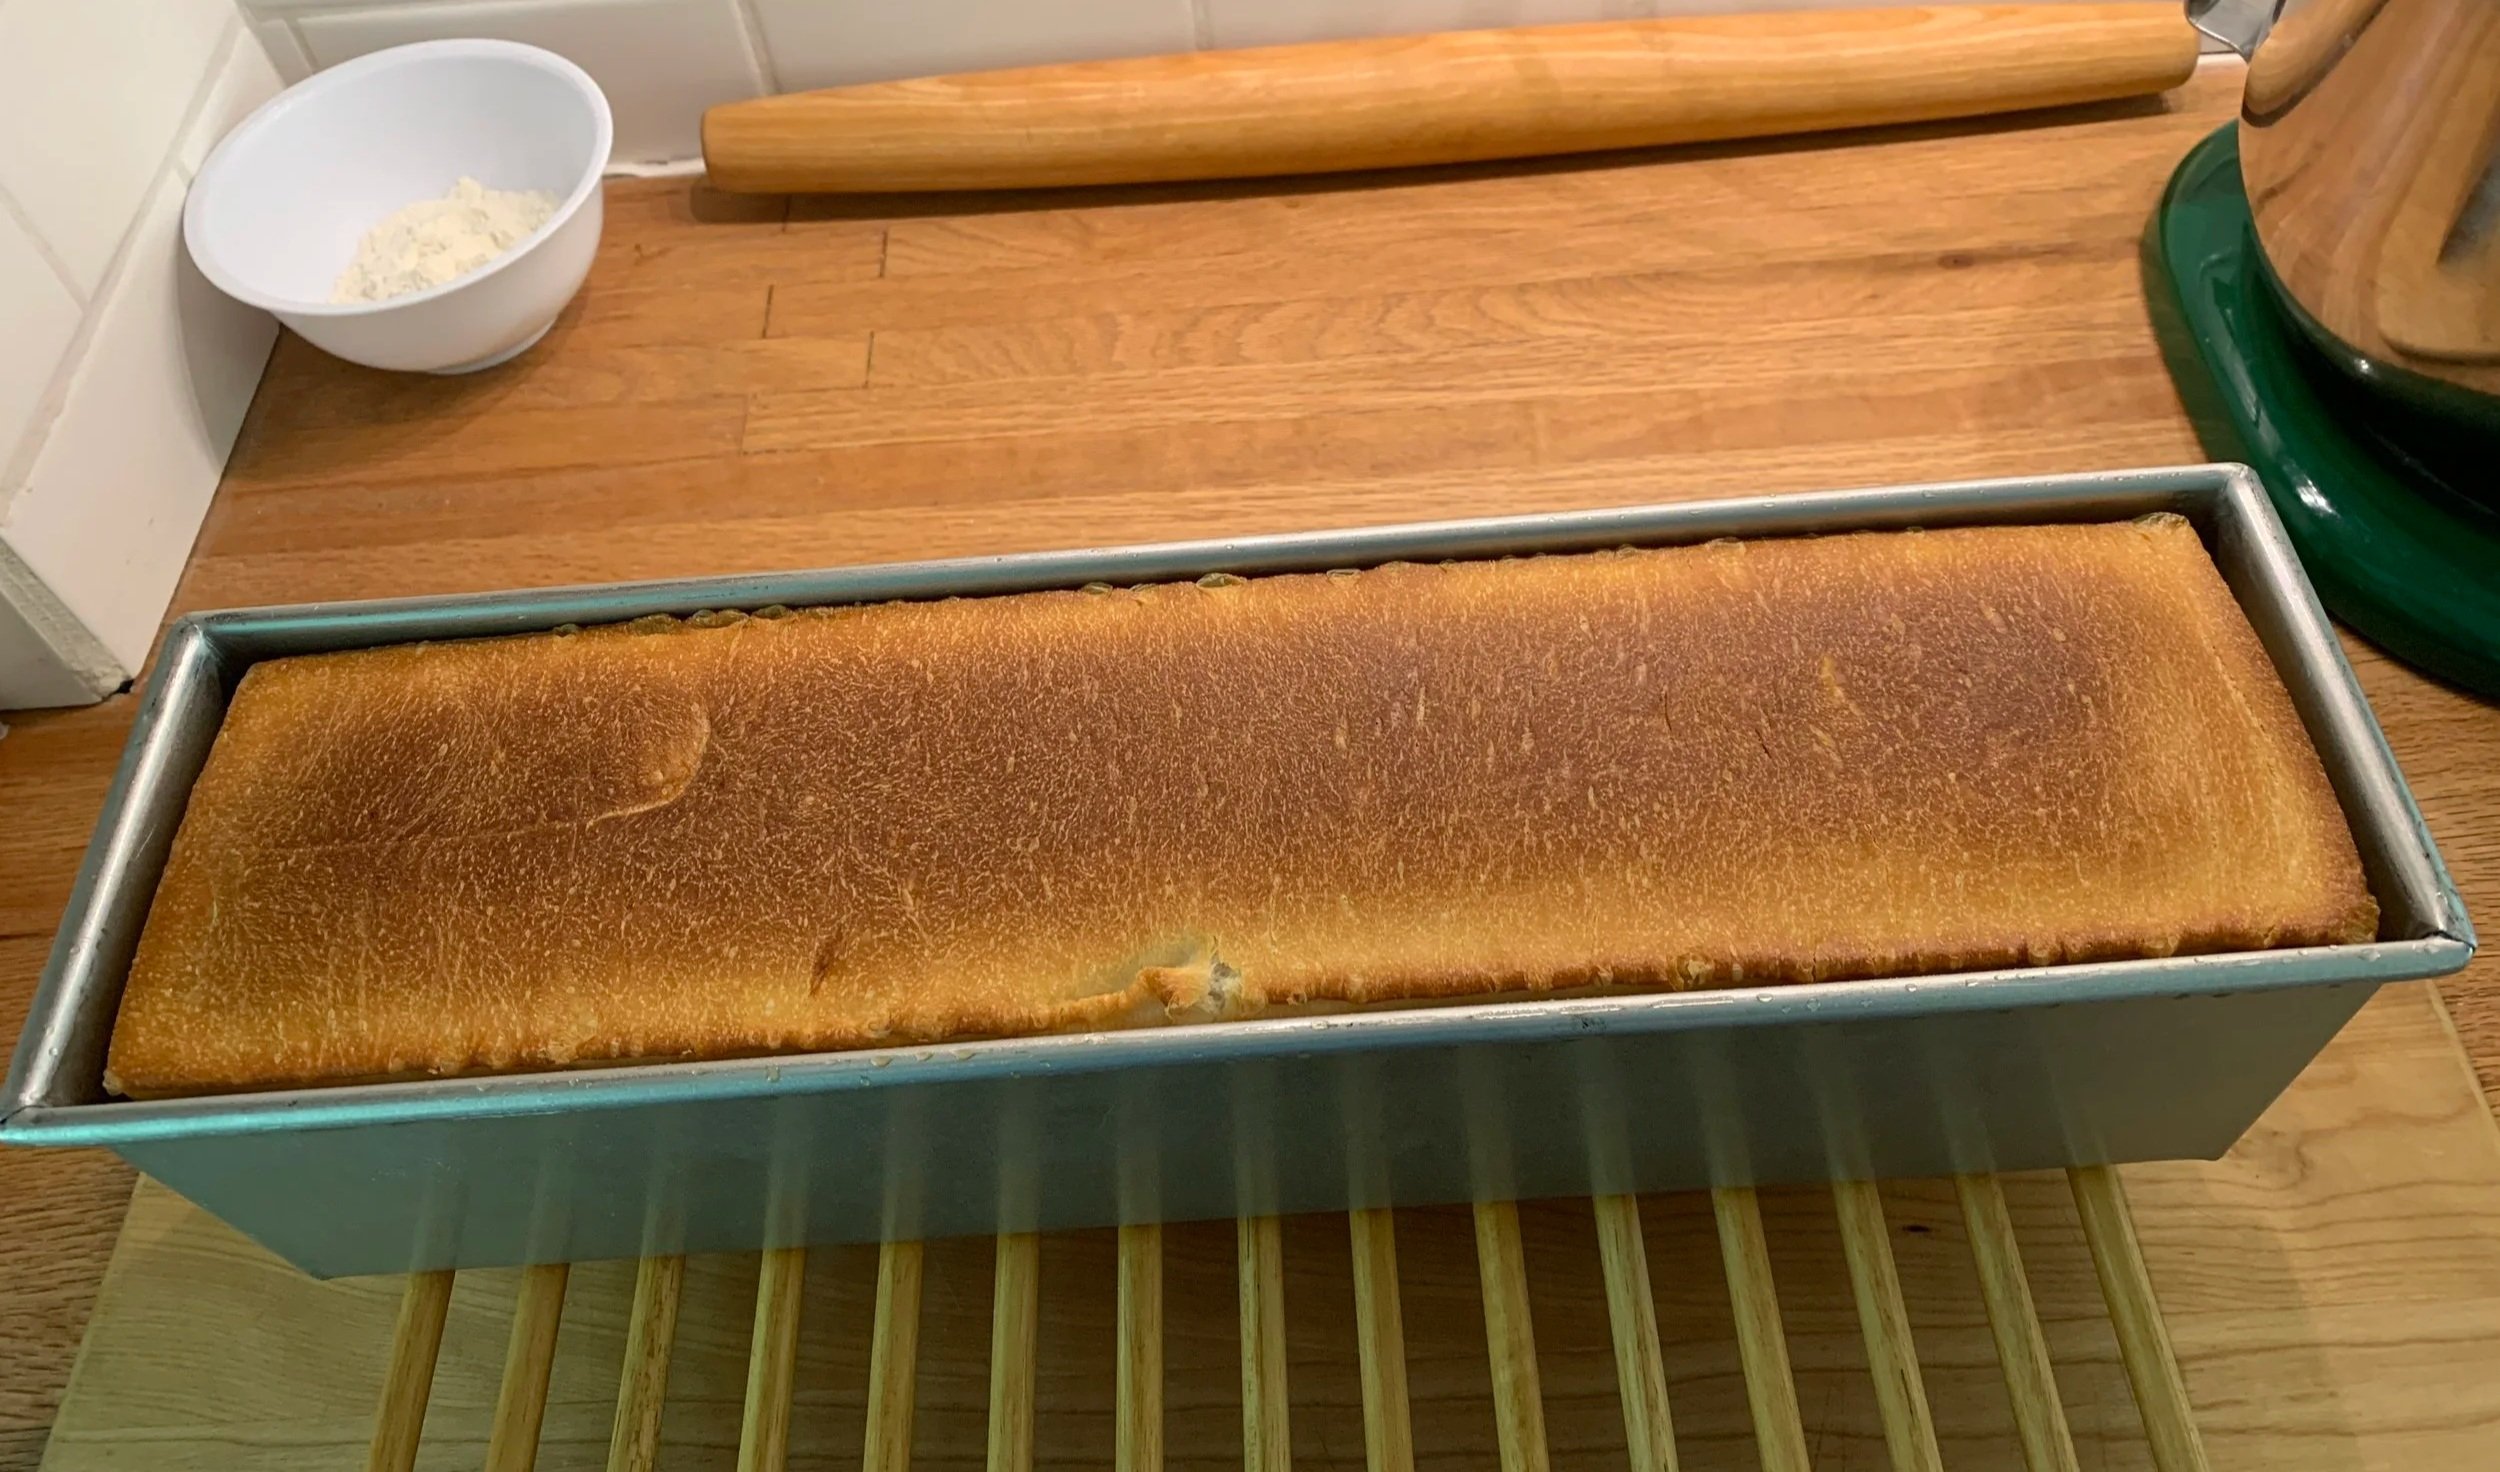
Fourth round just out of the oven
You can see the higher end of the loaf on the left side below.
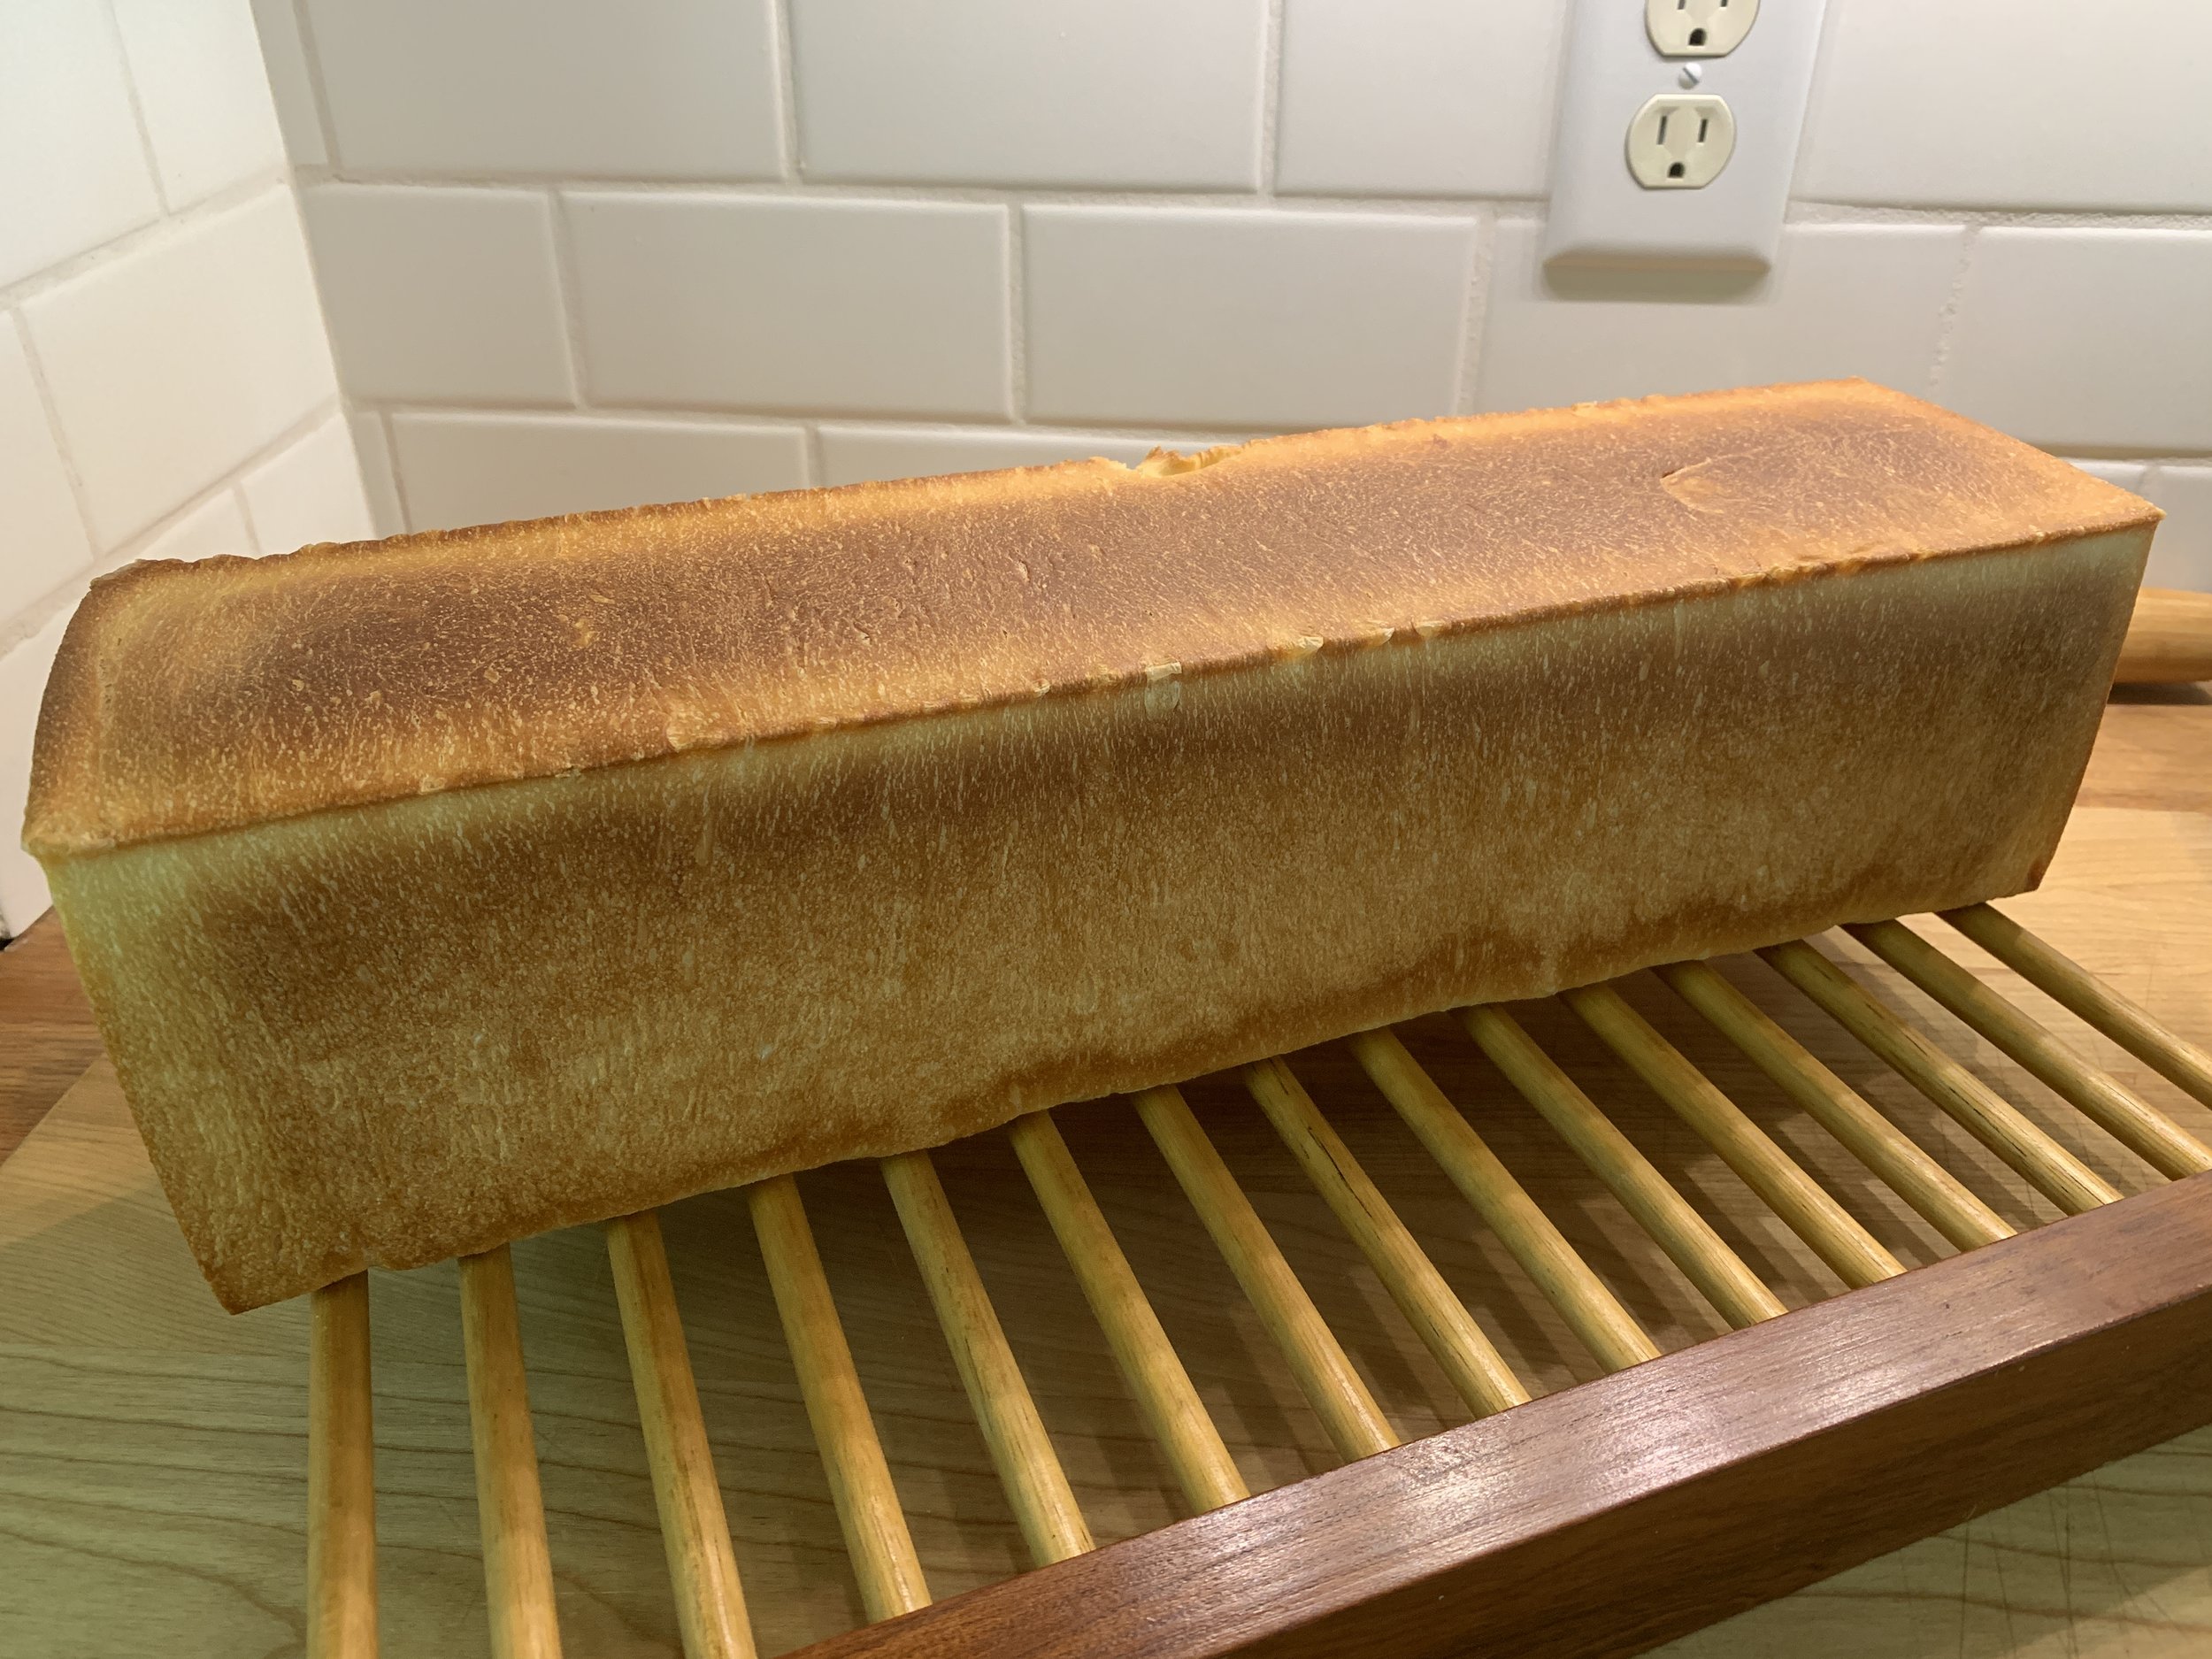
Fourth round Out of the pan and cooling
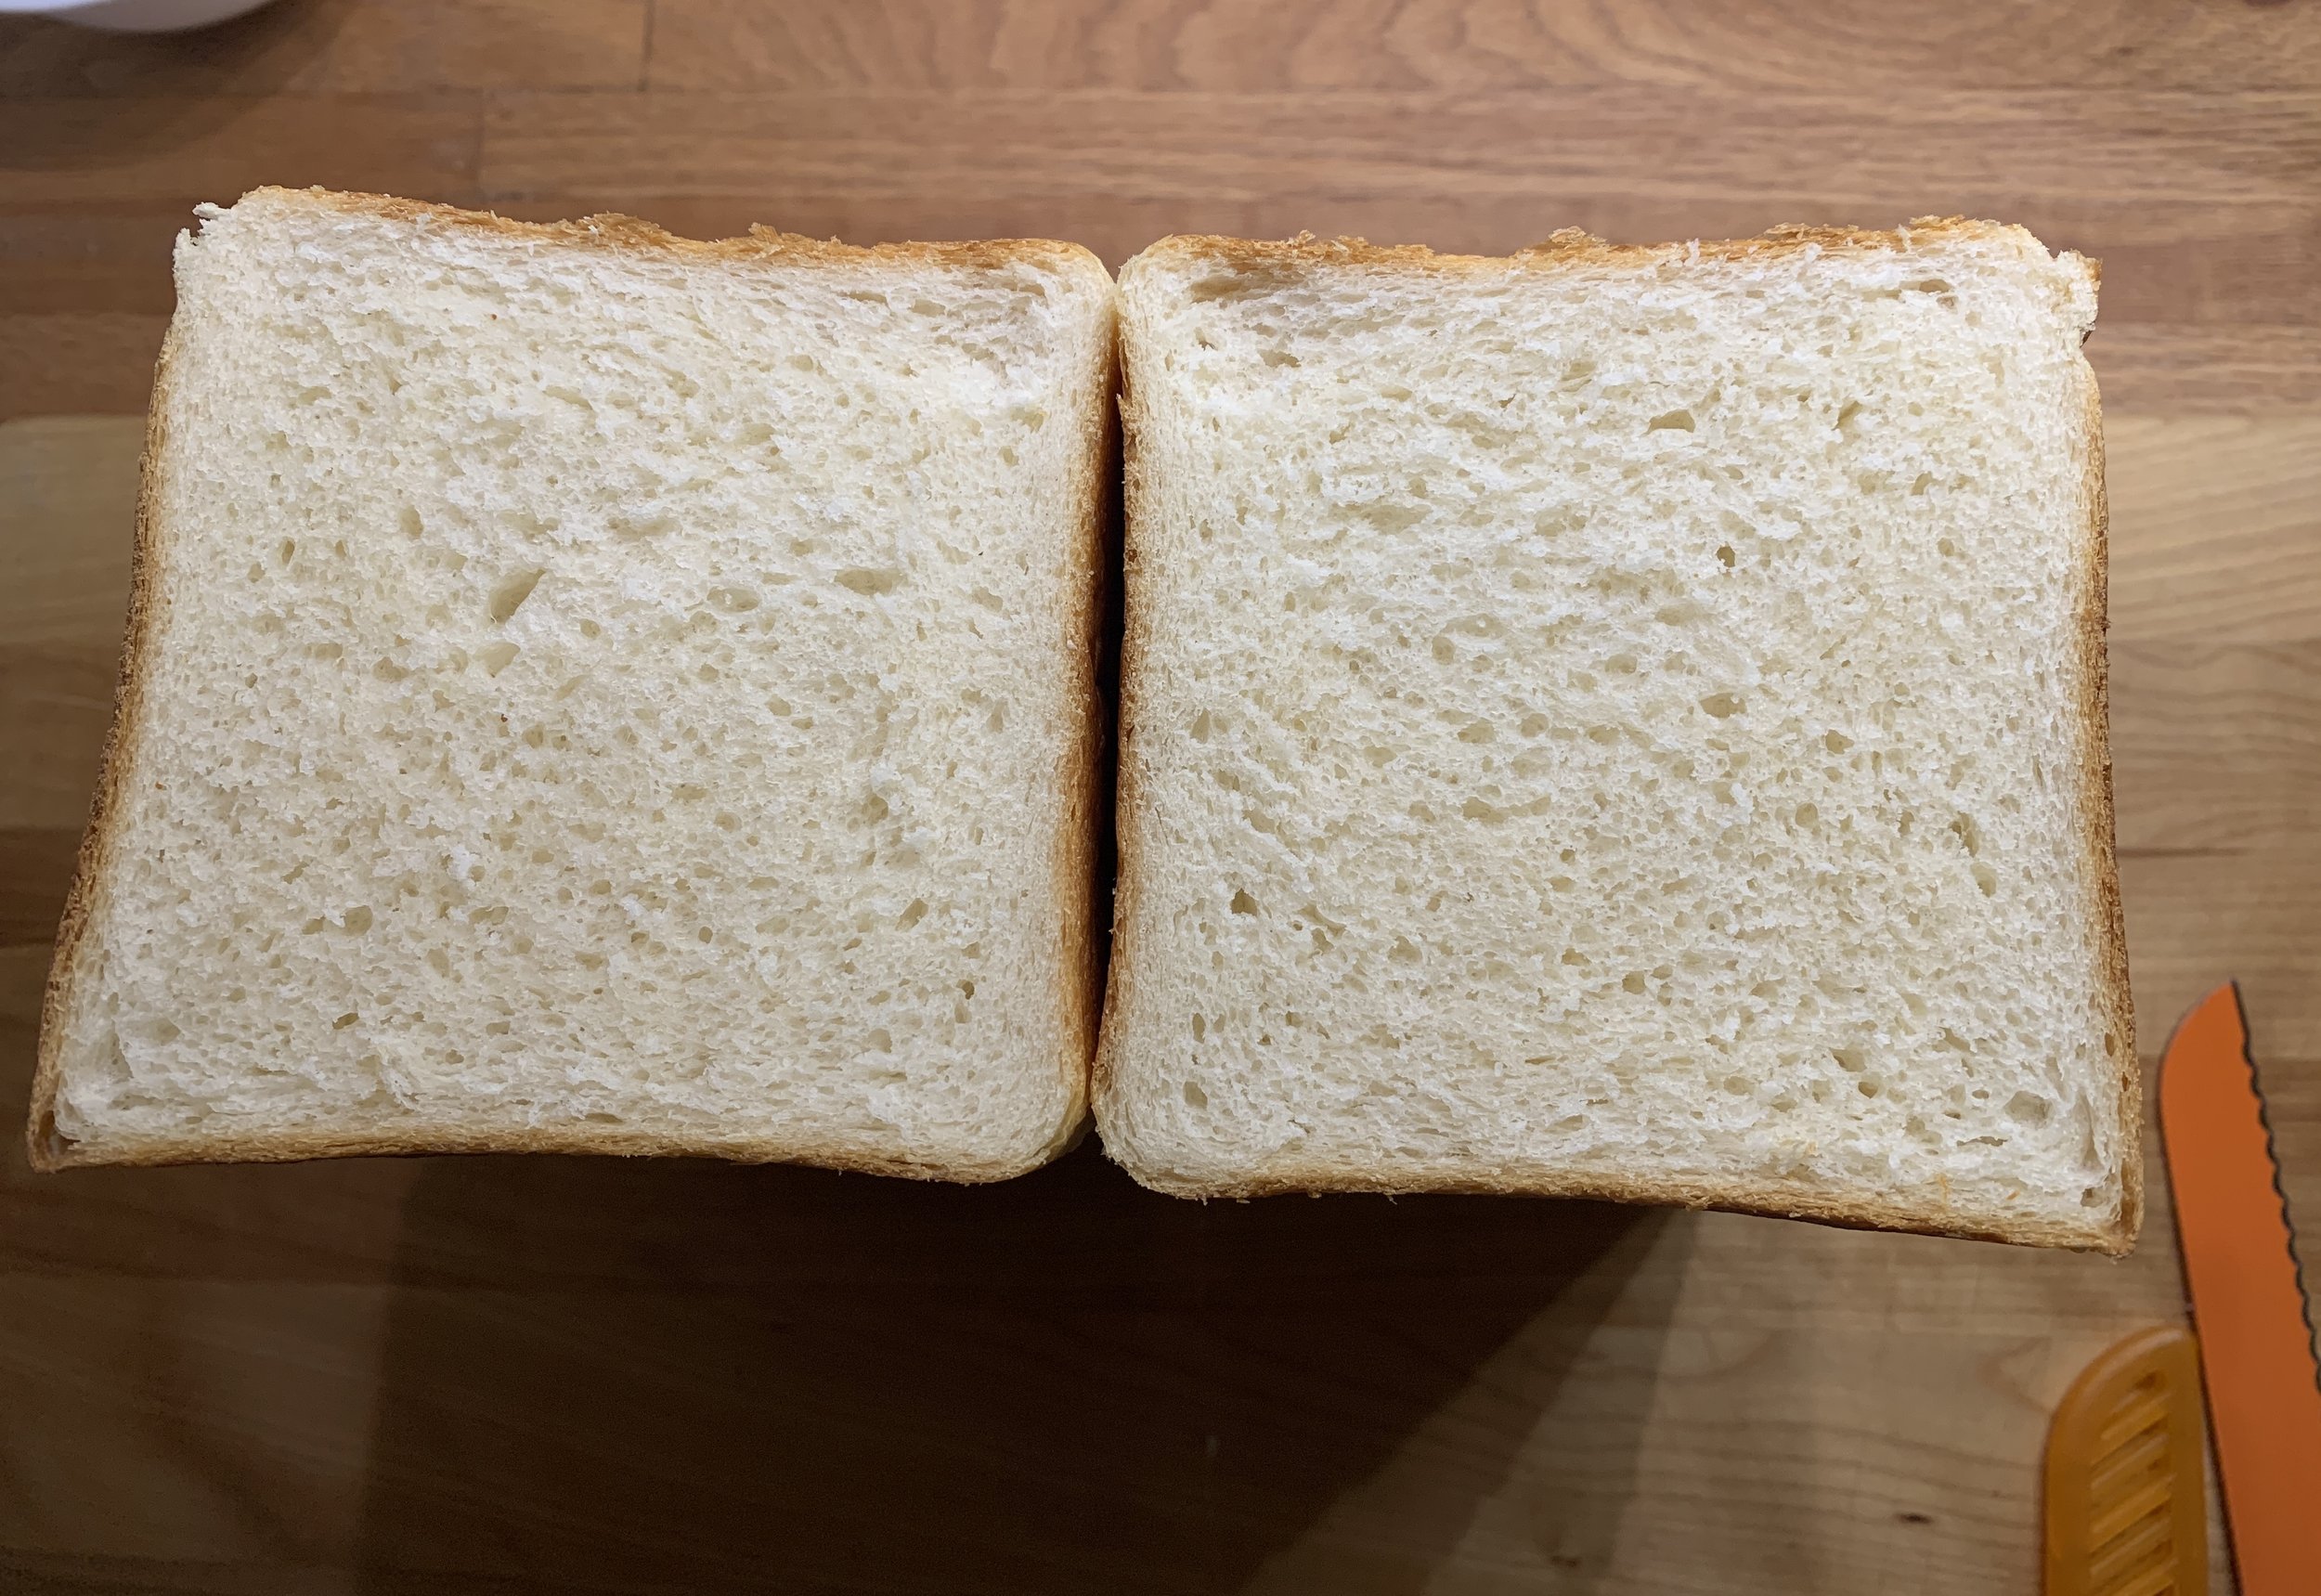
Nice crumb!
In the final analysis I’ve adjusted the recipe one more time to give me a total dough weight of 1425 g for my 16” pan - should be just the ticket.
So what was reinforced for me as far as bread baking goes?? FIRST: not all recipe guidelines/dough quantities for a certain bread or baking project are uniform; SECOND: shape the dough more uniformly Susan; THIRD: pay attention to ambient temps and rising times.
These trials showed me so vividly how large an impact kitchen temperature has on rising times. NOTE: Hamelman specifies the final rise is typically 1 - 1.5 hours at 76ºF. That’s a great guideline within which to work.
I made the first loaf back in March when my kitchen was probably about 69 or 70º. Had I given it a longer rise, my first loaf may have been a bit better, although the subsequent trials with larger amounts of dough showed me that the first loaf was basically just too small for the pan.
Fast forward to the last trial in July when the kitchen was around 76º and the rise was definitely faster - I gave it 1 hour 20 minutes when I probably could have stopped at an hour. And it led me to adjust the recipe amount one final time.
What a great comparison and clear example of how the environment affects bread baking!
You’ve probably had enough by now but I’ll take you through the steps. The images are from my fourth and final trial - remember I’ve adjusted the dough amount a bit for the final recipe.
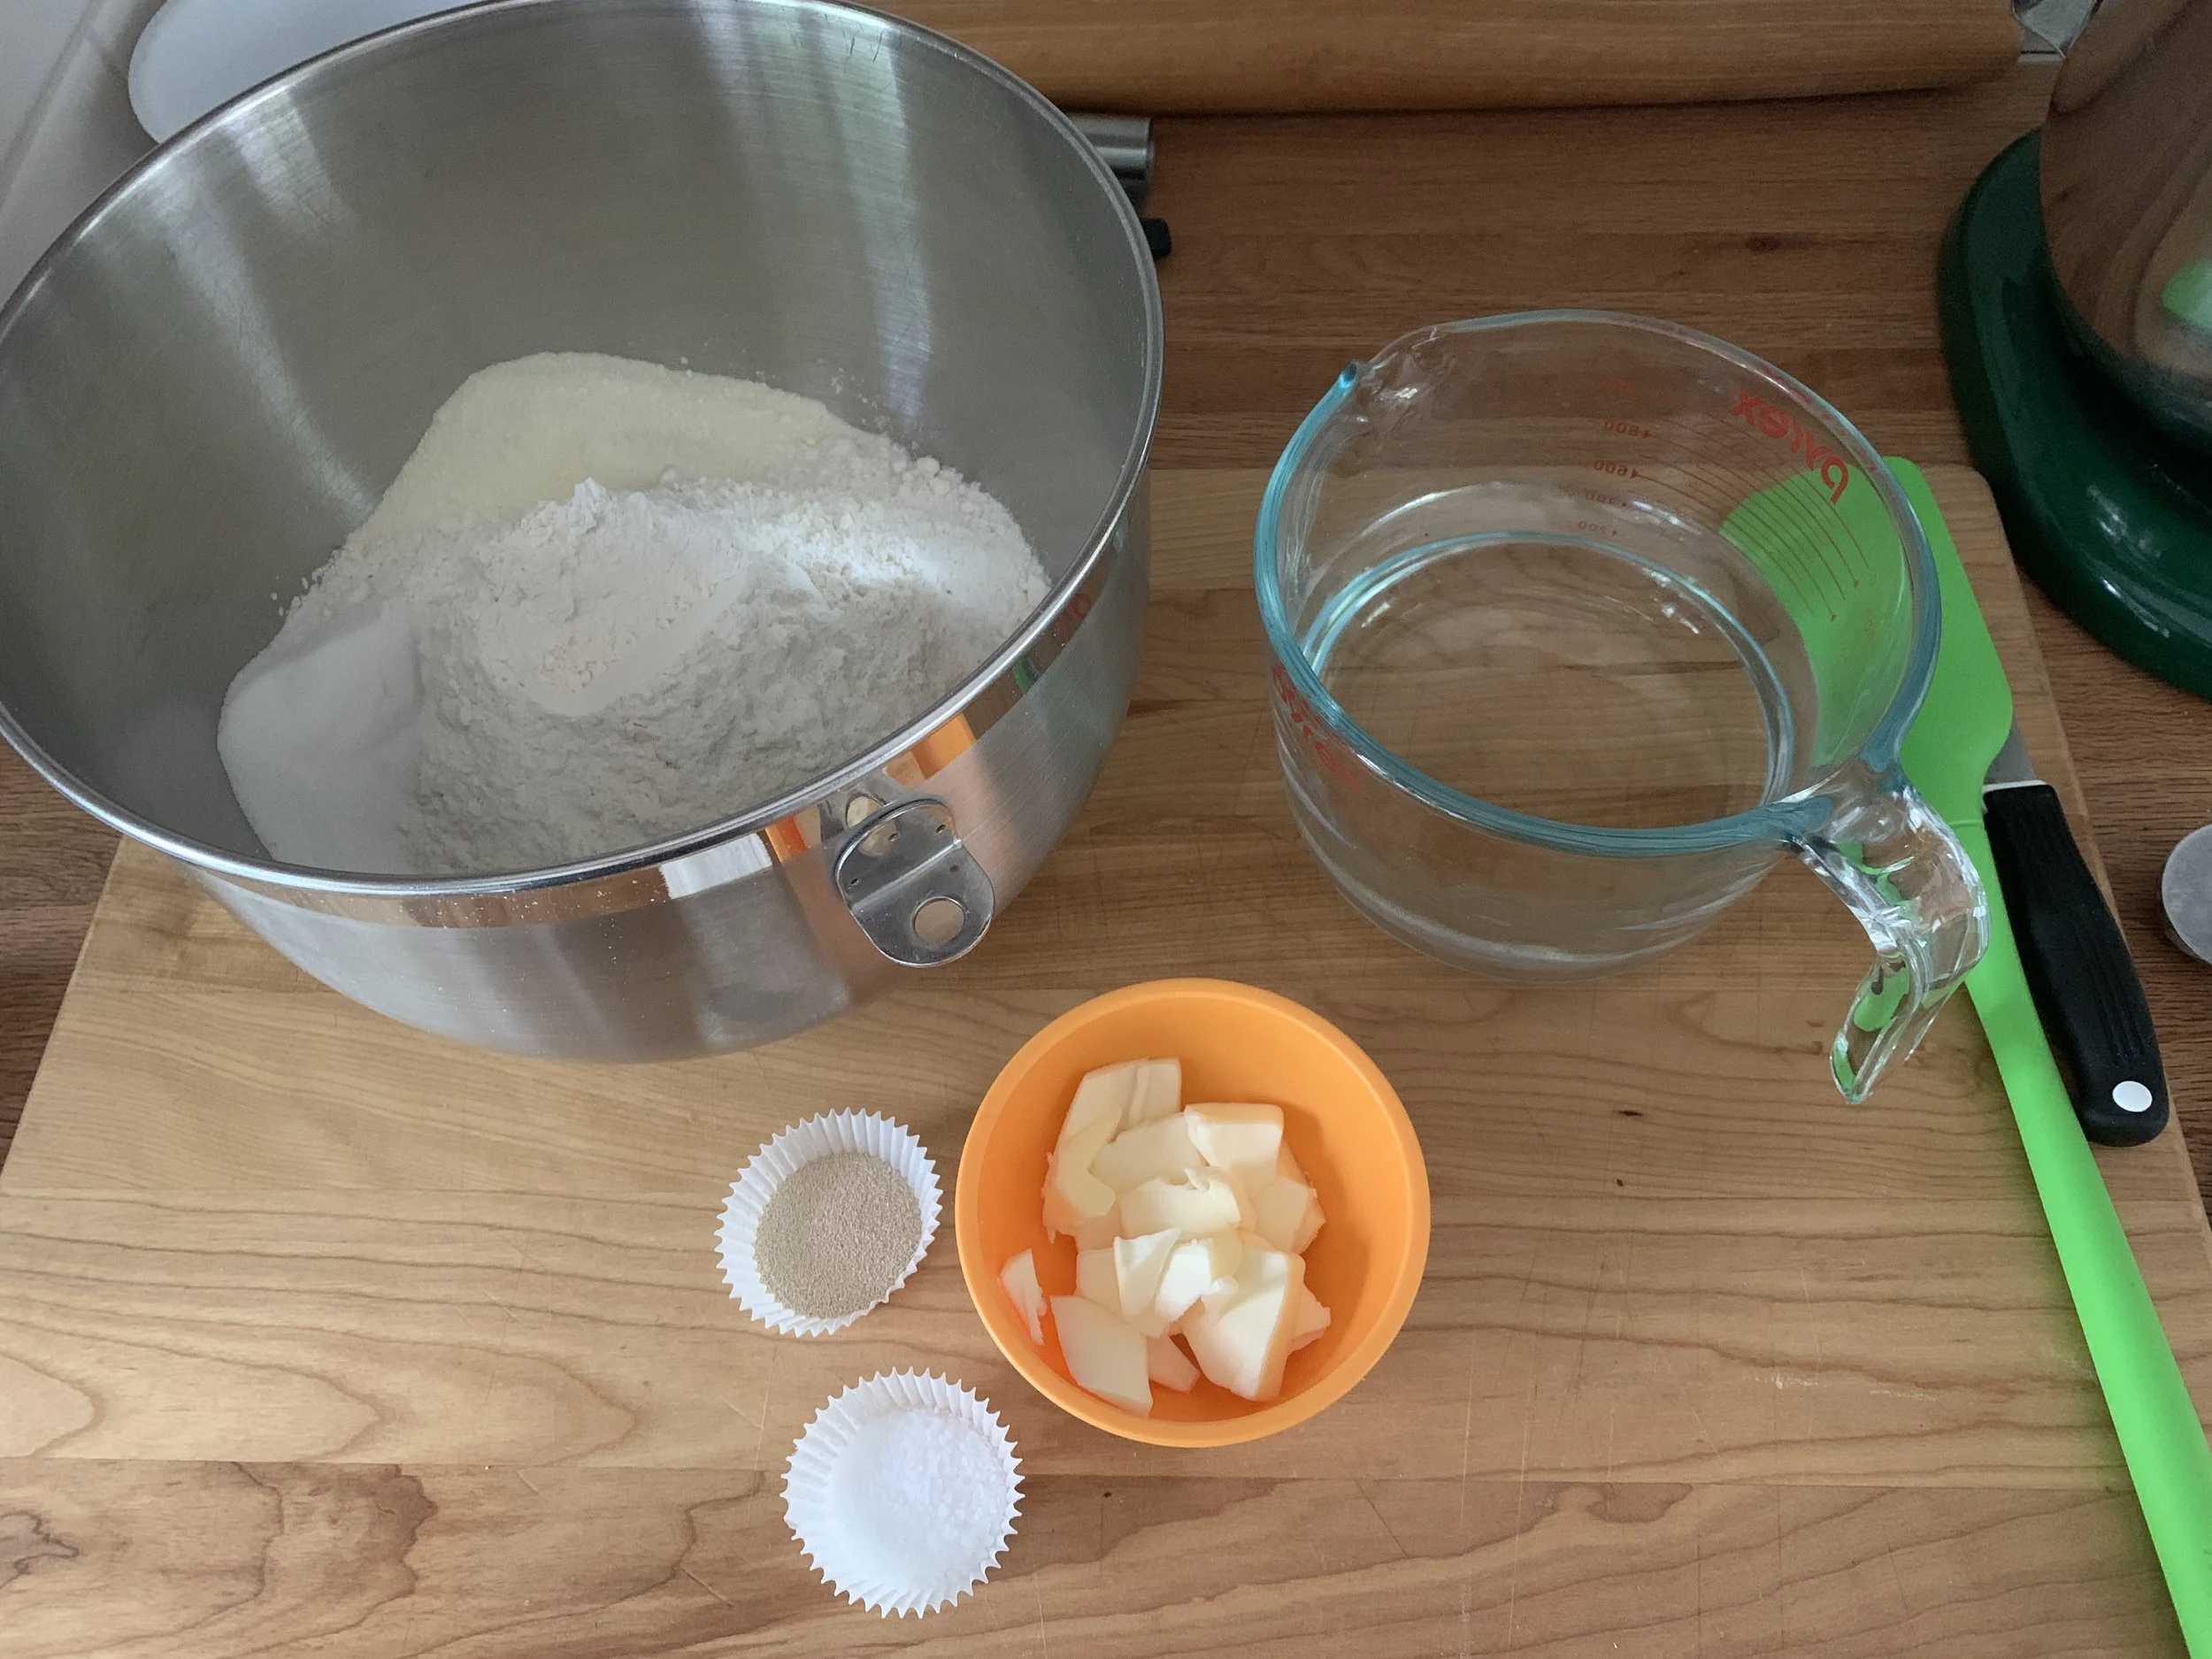
The mise
It’s a straight forward dough - here’s the final recipe version again. Place all the ingredients (bread flour, dry milk powder, sugar, unsalted butter, lukewarm water, salt, instant yeast) in the bowl of a stand mixer and, using the dough hook, blend on low for three minutes to incorporate all ingredients then increase to medium for 3-4 minutes to achieve a smoother dough that pulls away from the sides of the bowl.
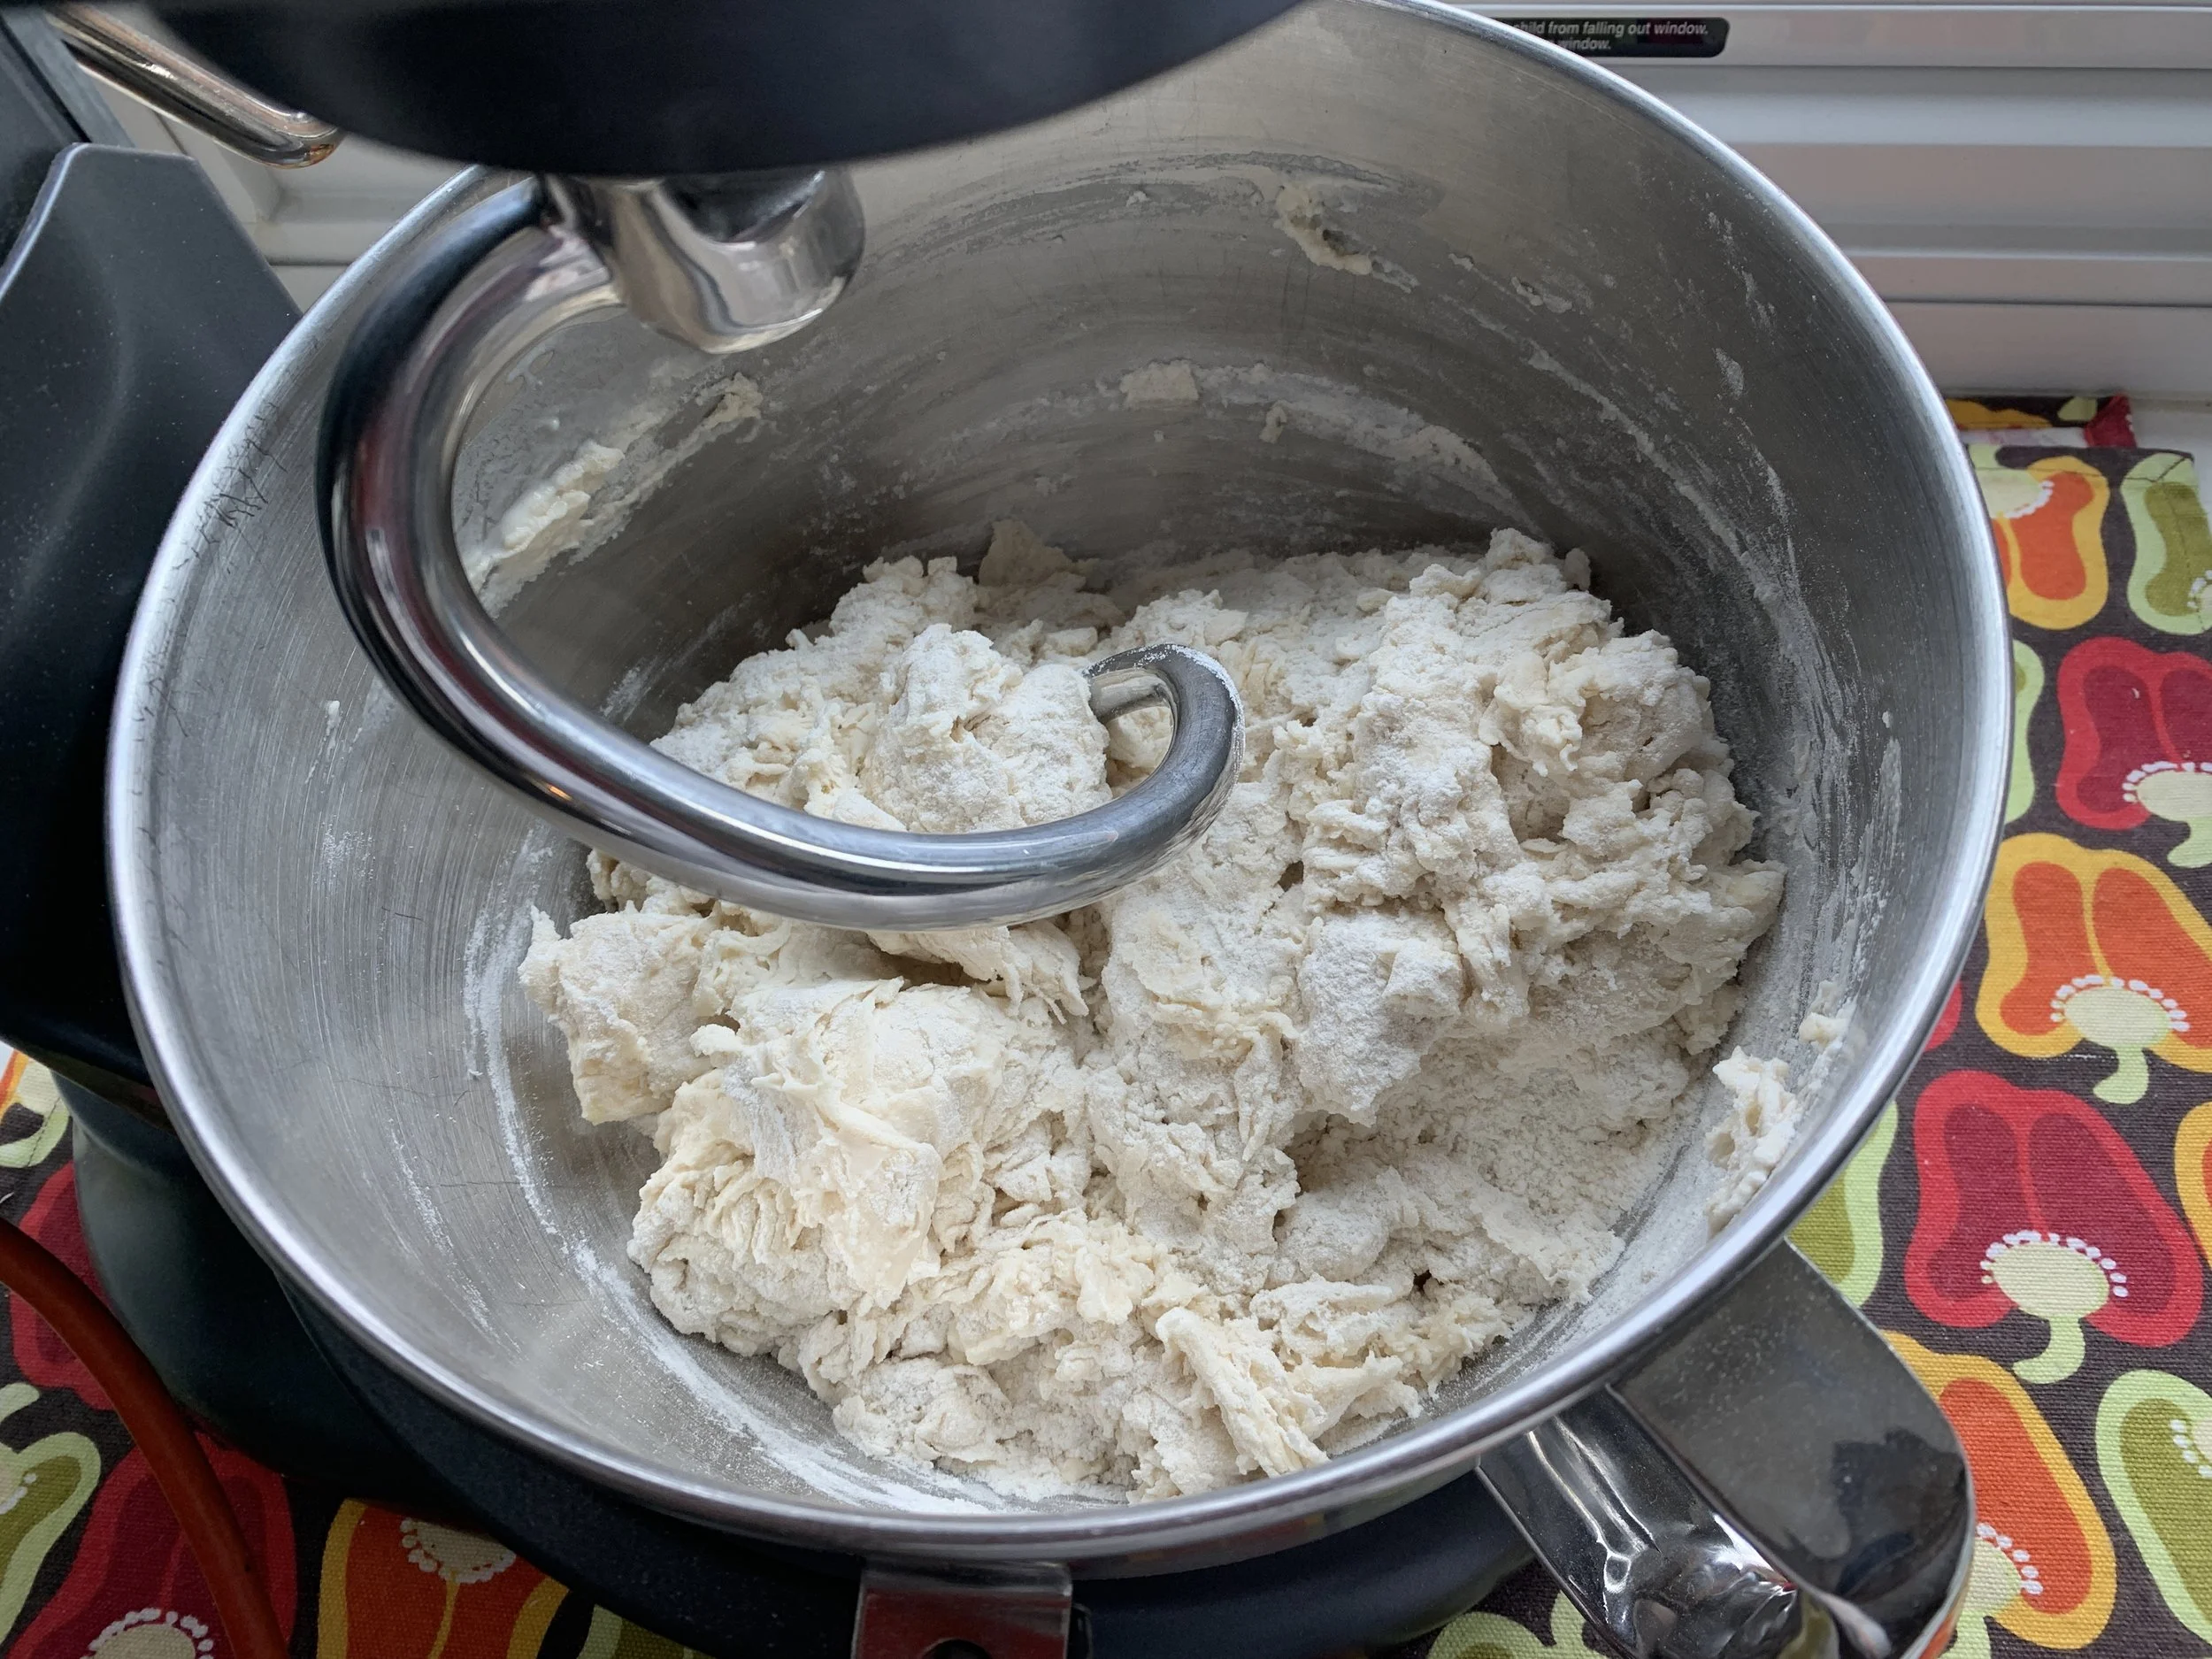
Just incorporated
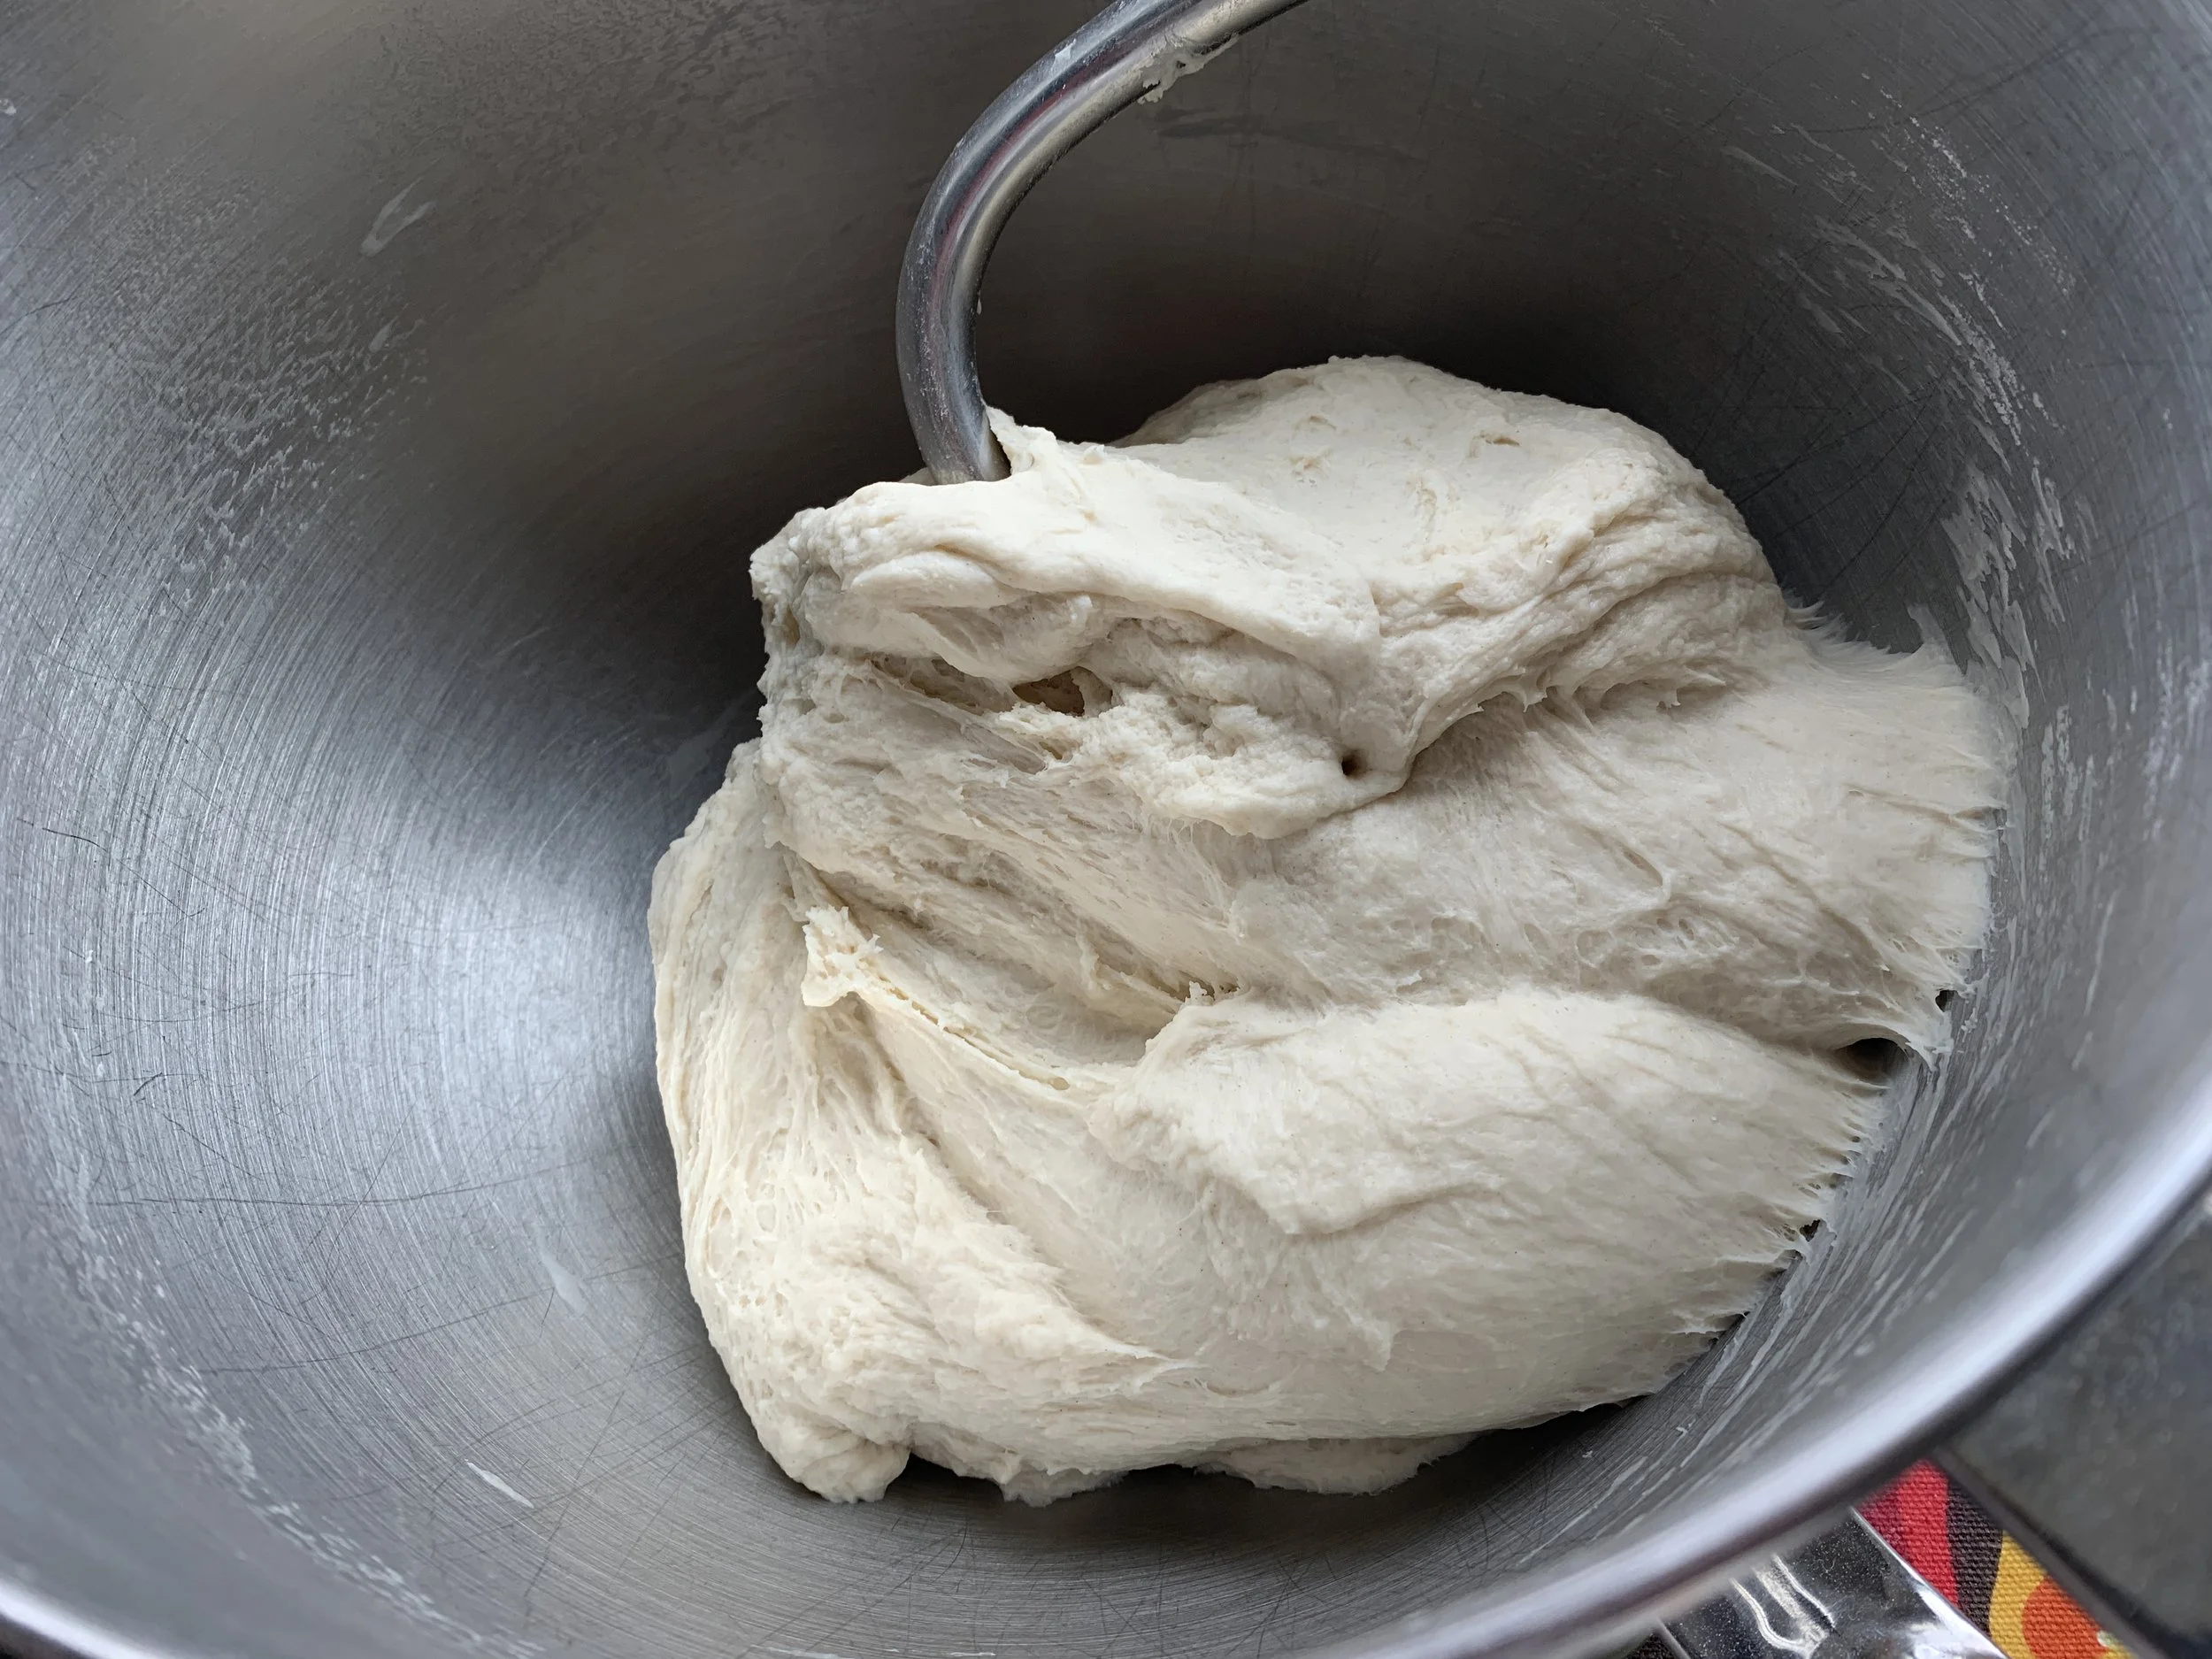
Fully kneaded
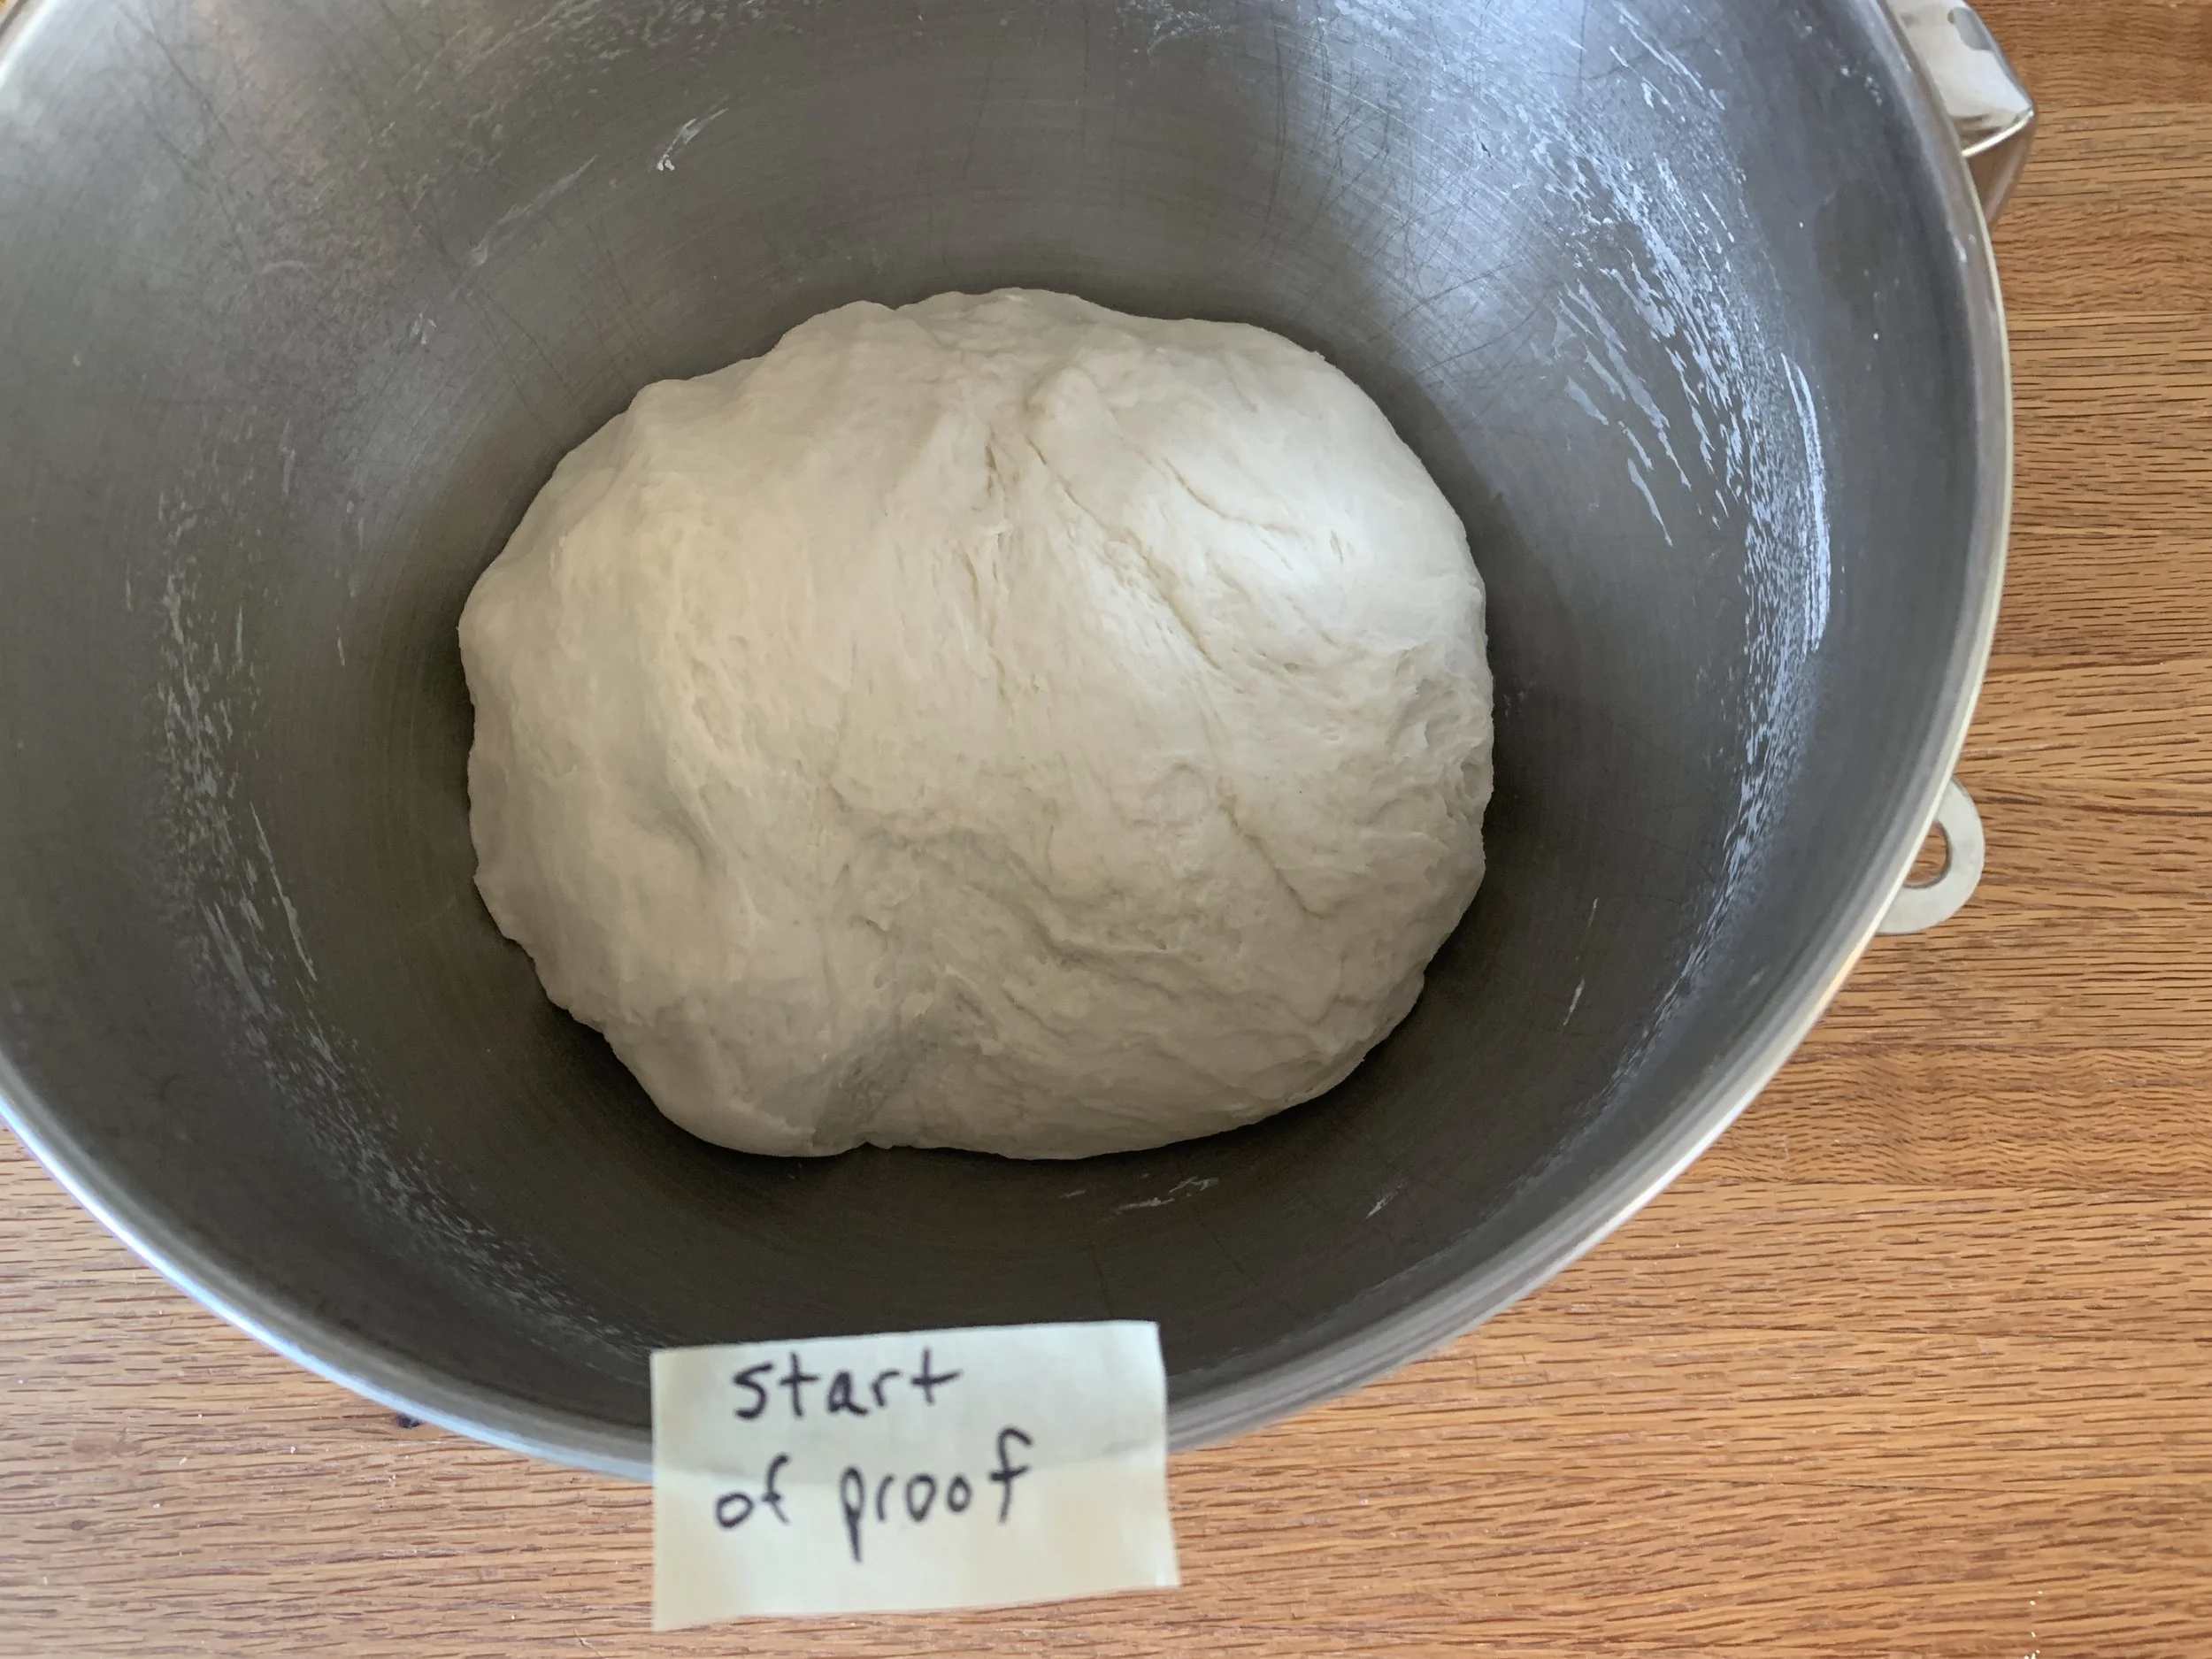
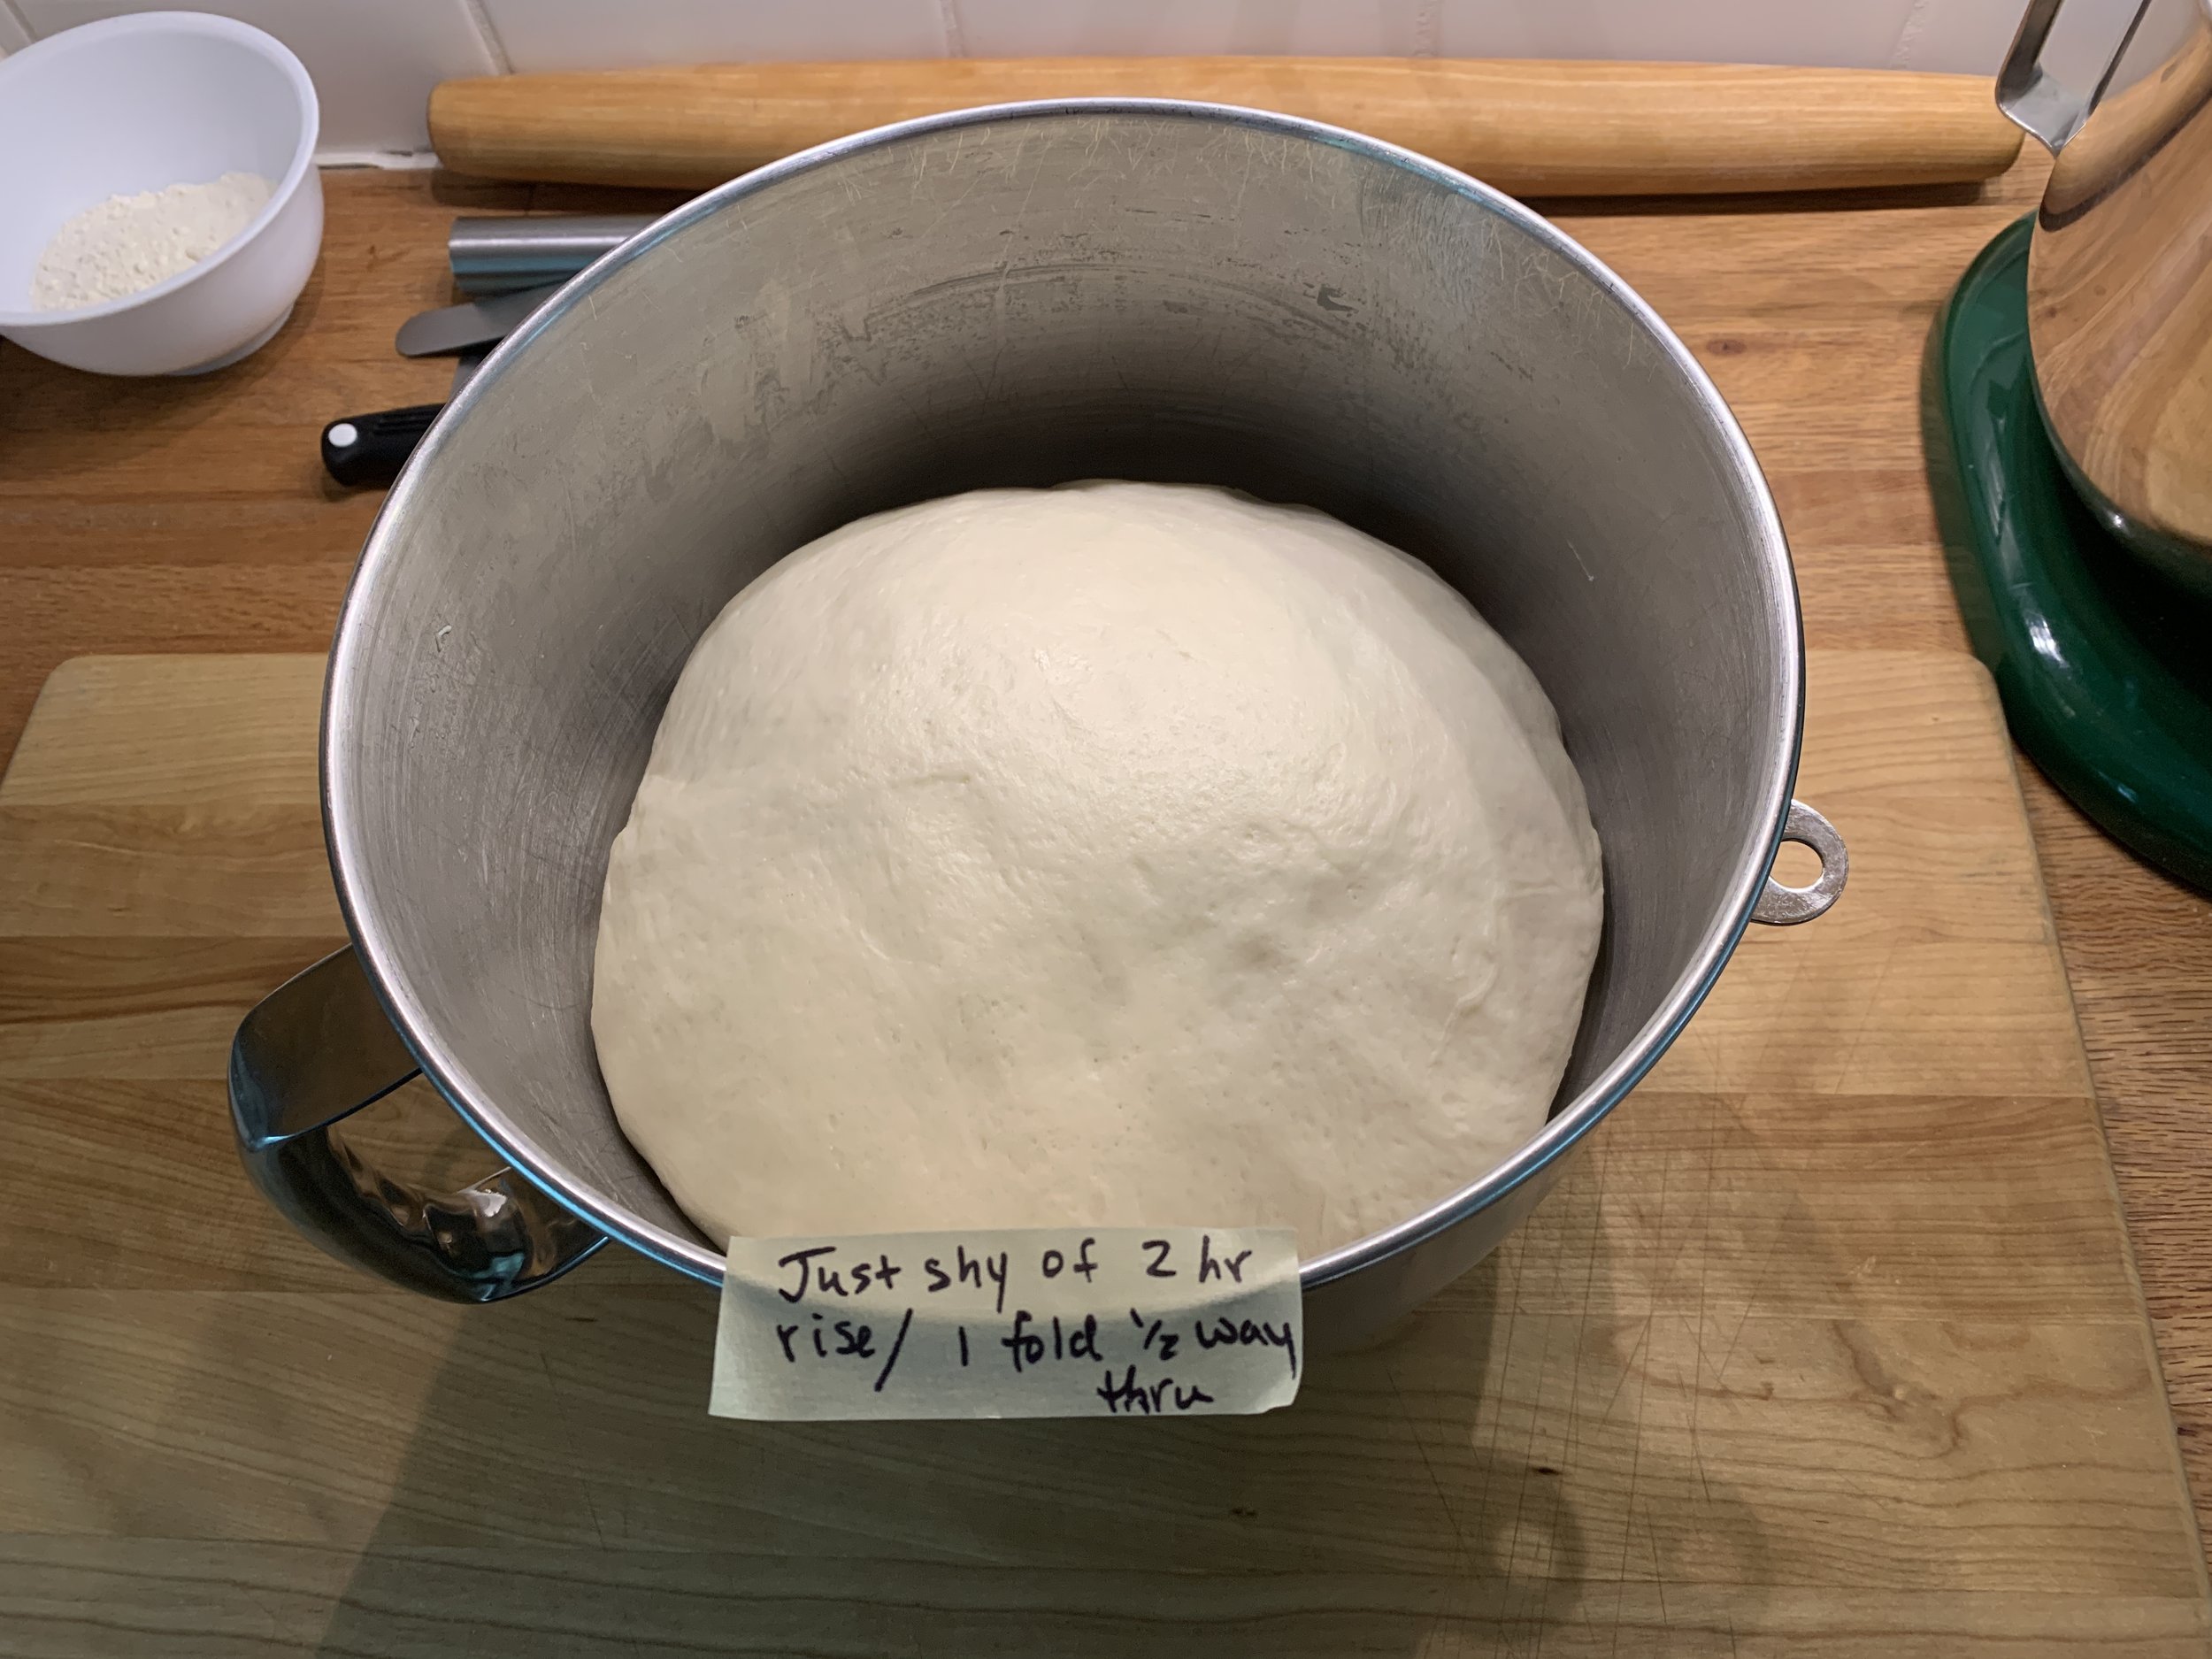
Ball the dough up and place it in a lightly oiled or buttered bowl, cover and let rise about 2 hours, giving it one full fold at one hour in.
Oil or butter your pullman pan including the under surface of the lid (IMPORTANT!). Roughly shape a blunt cylinder and cover with plastic wrap to rest for 10-15 minutes.
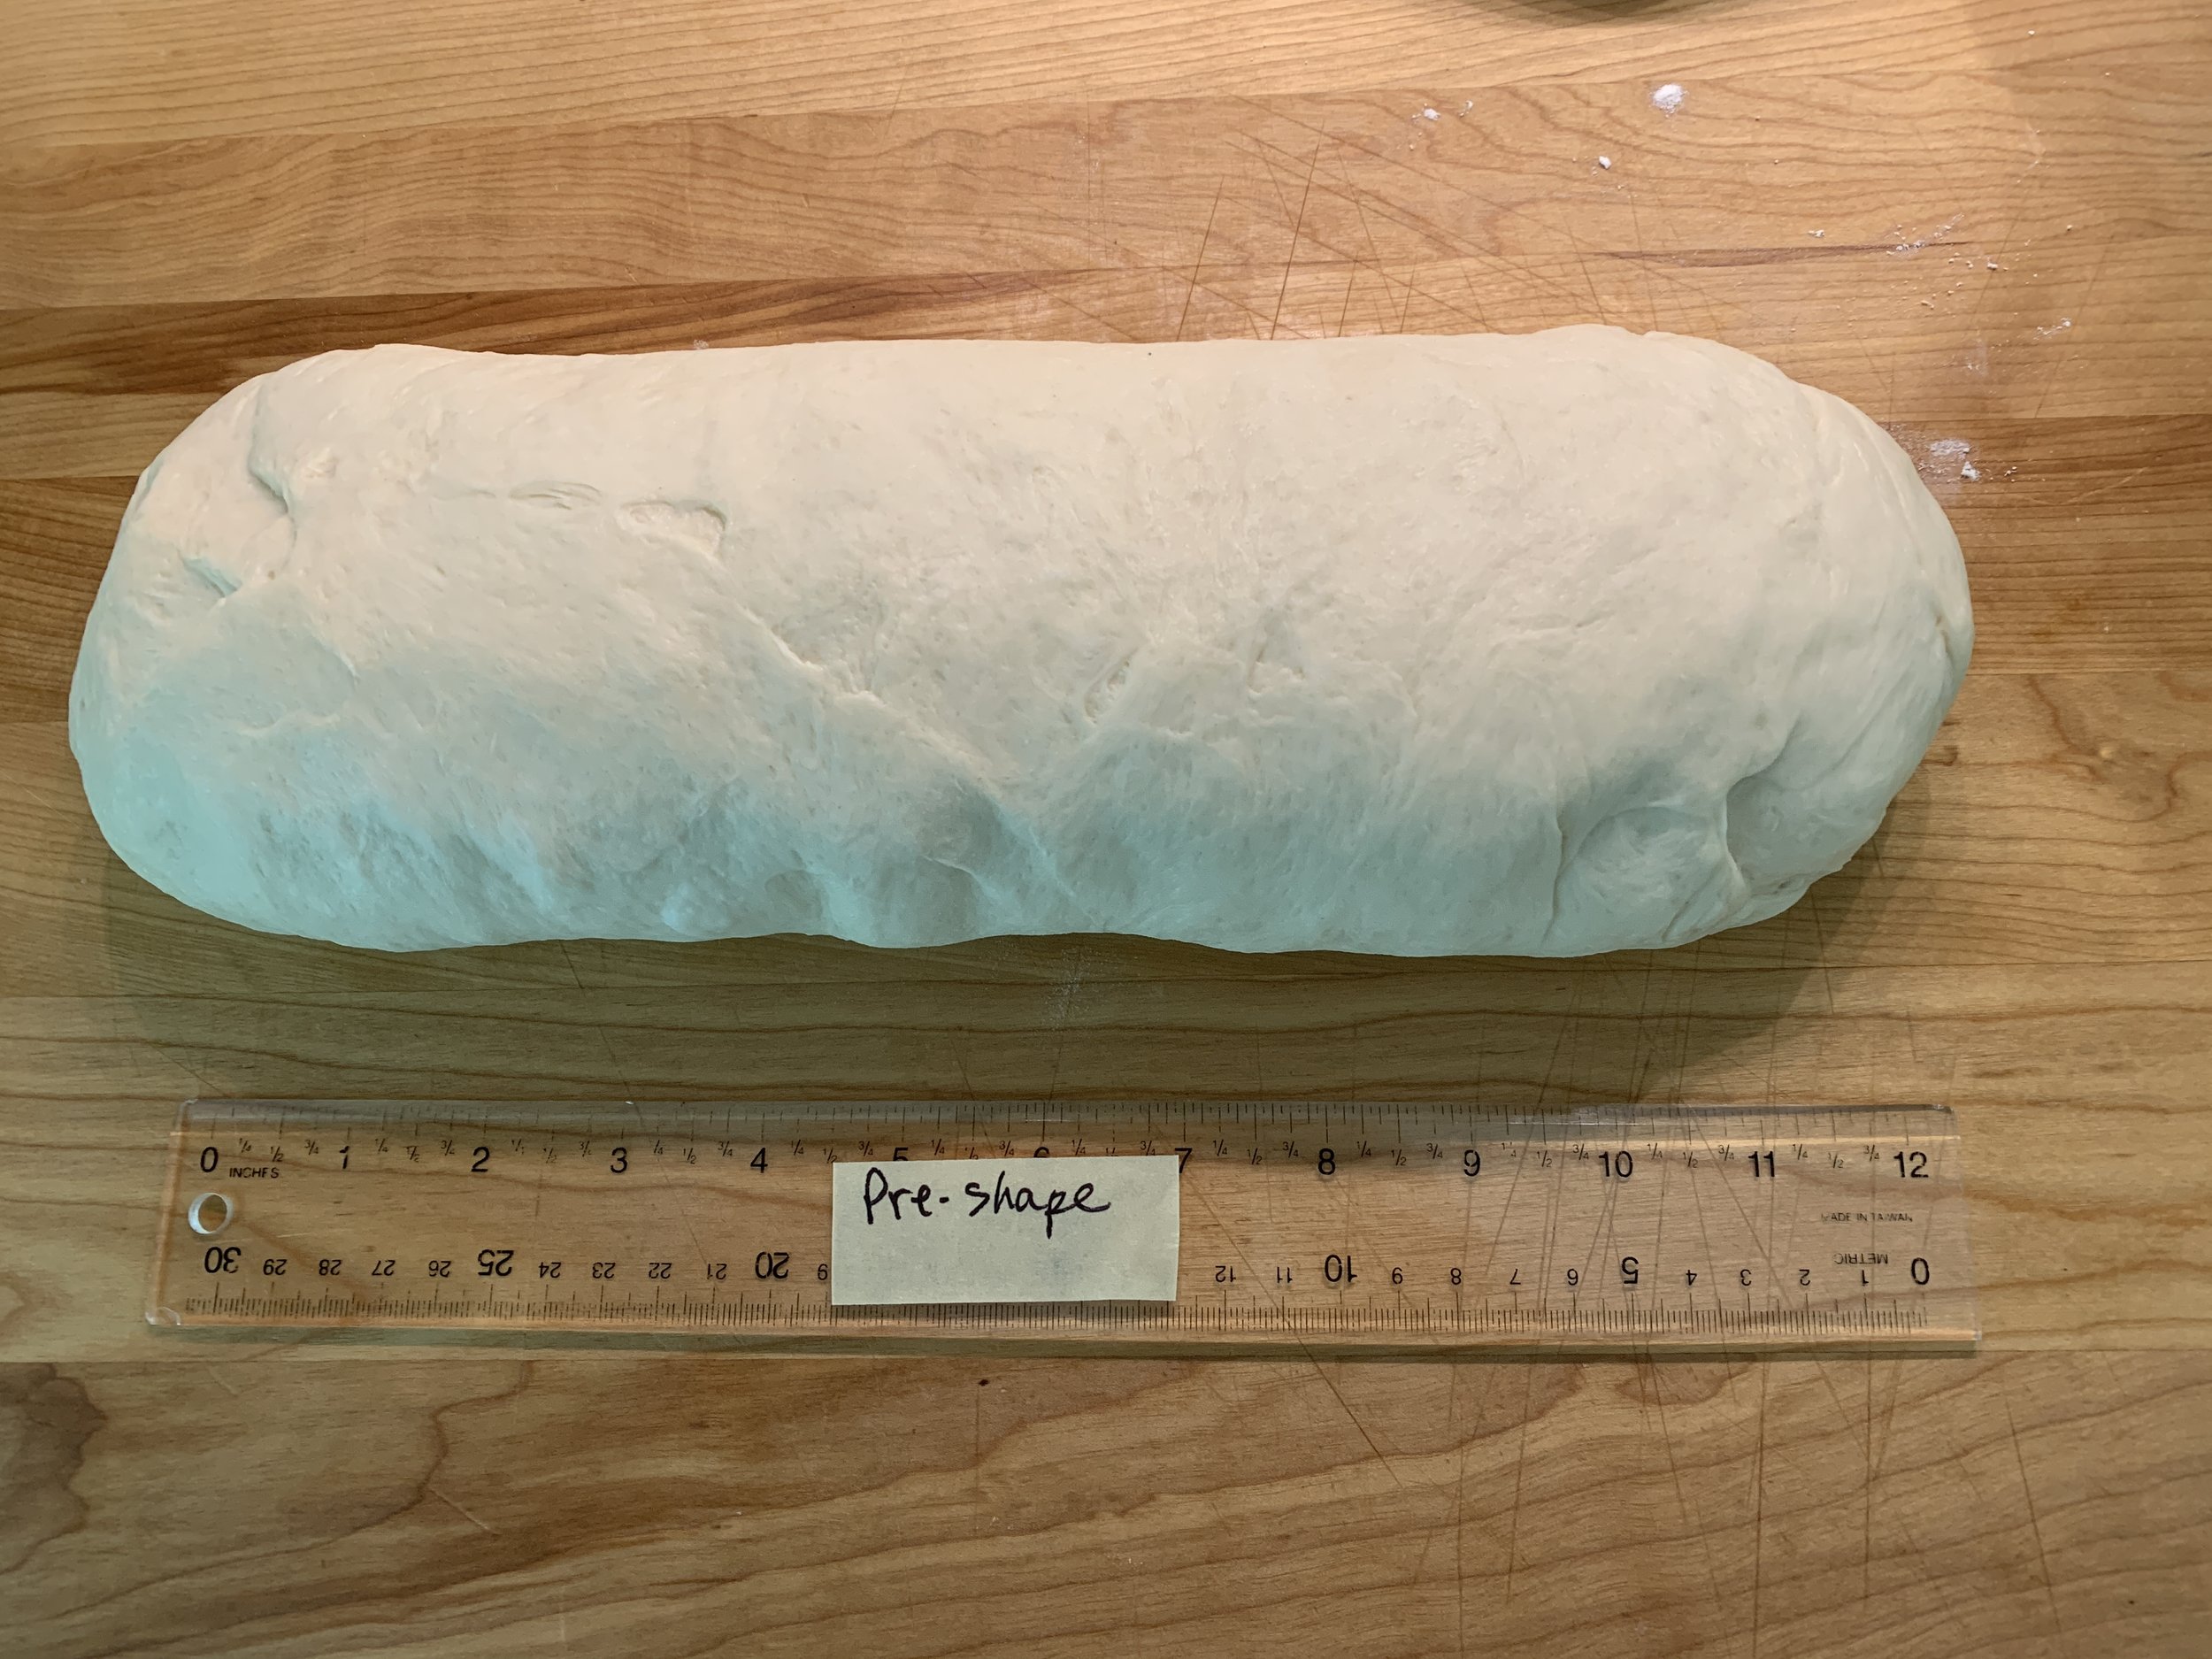
Preshape
Then shape the cylinder by elongating the dough to nearly the length of the pan and forming a tighter blunt ended log.
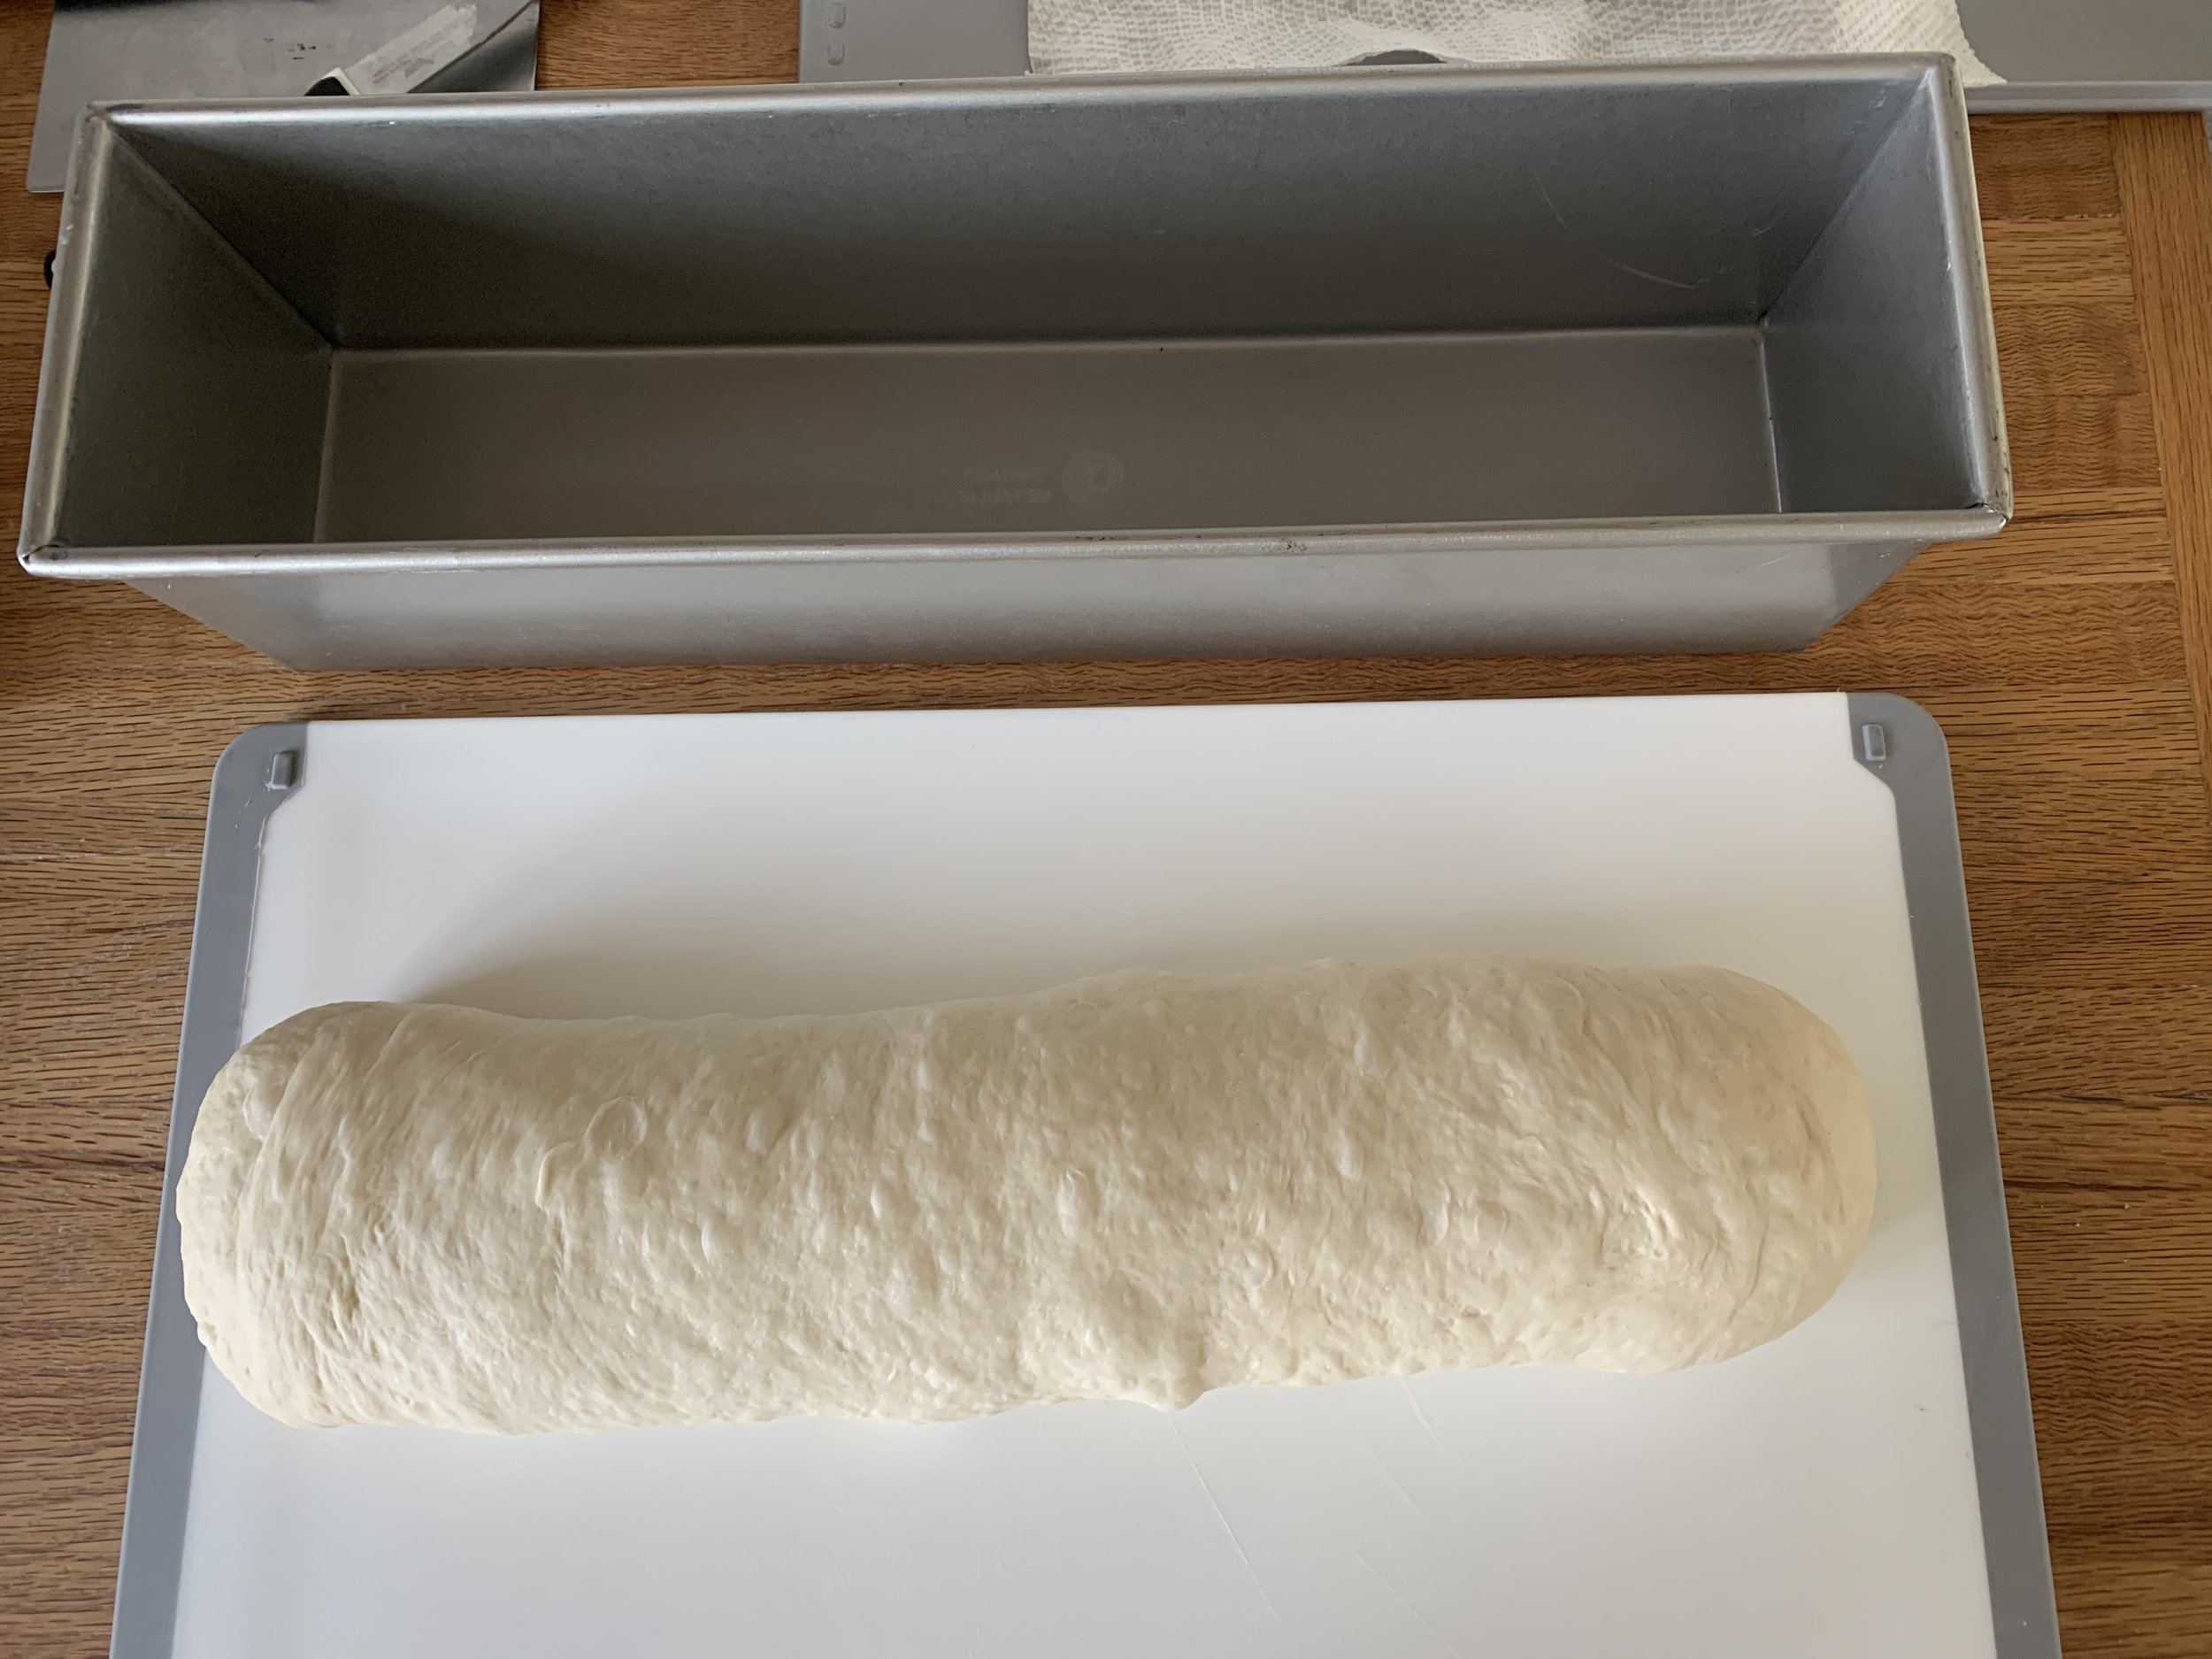
The dough should reach up about half way in the pan.
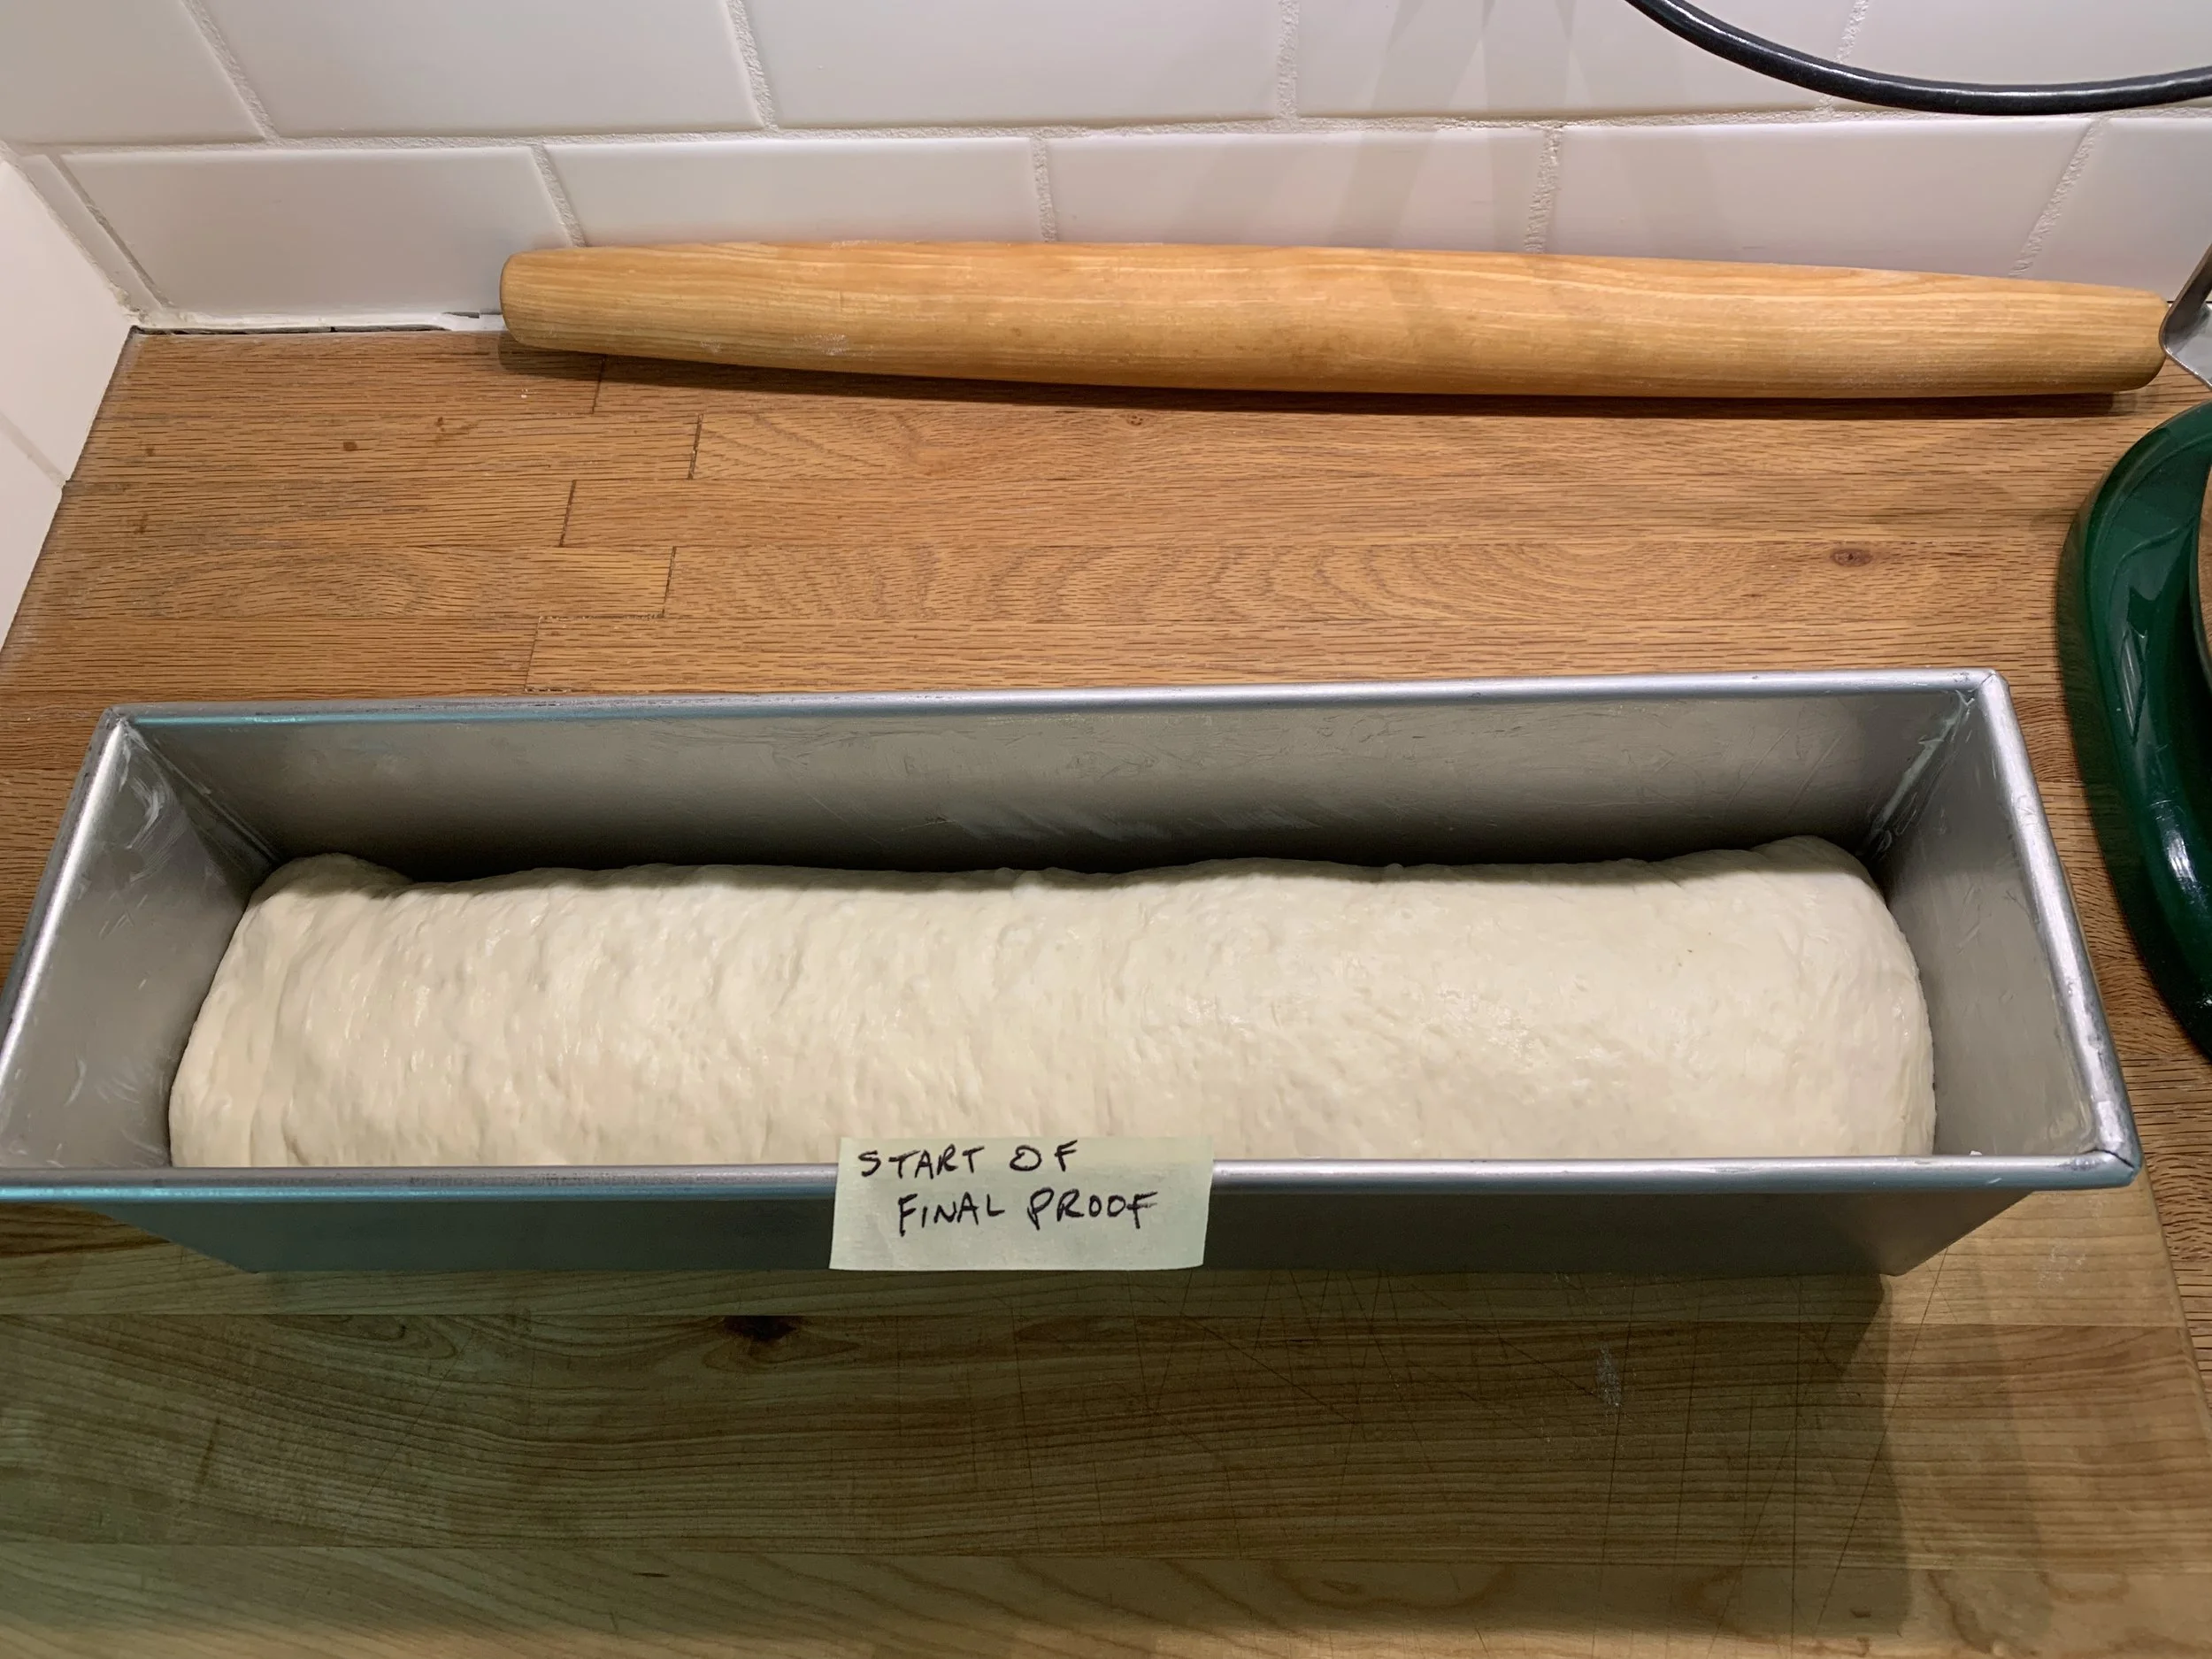
Slide the lid over the pan leaving a couple of inches visible so you can check the rise. Cover the open end with plastic wrap.
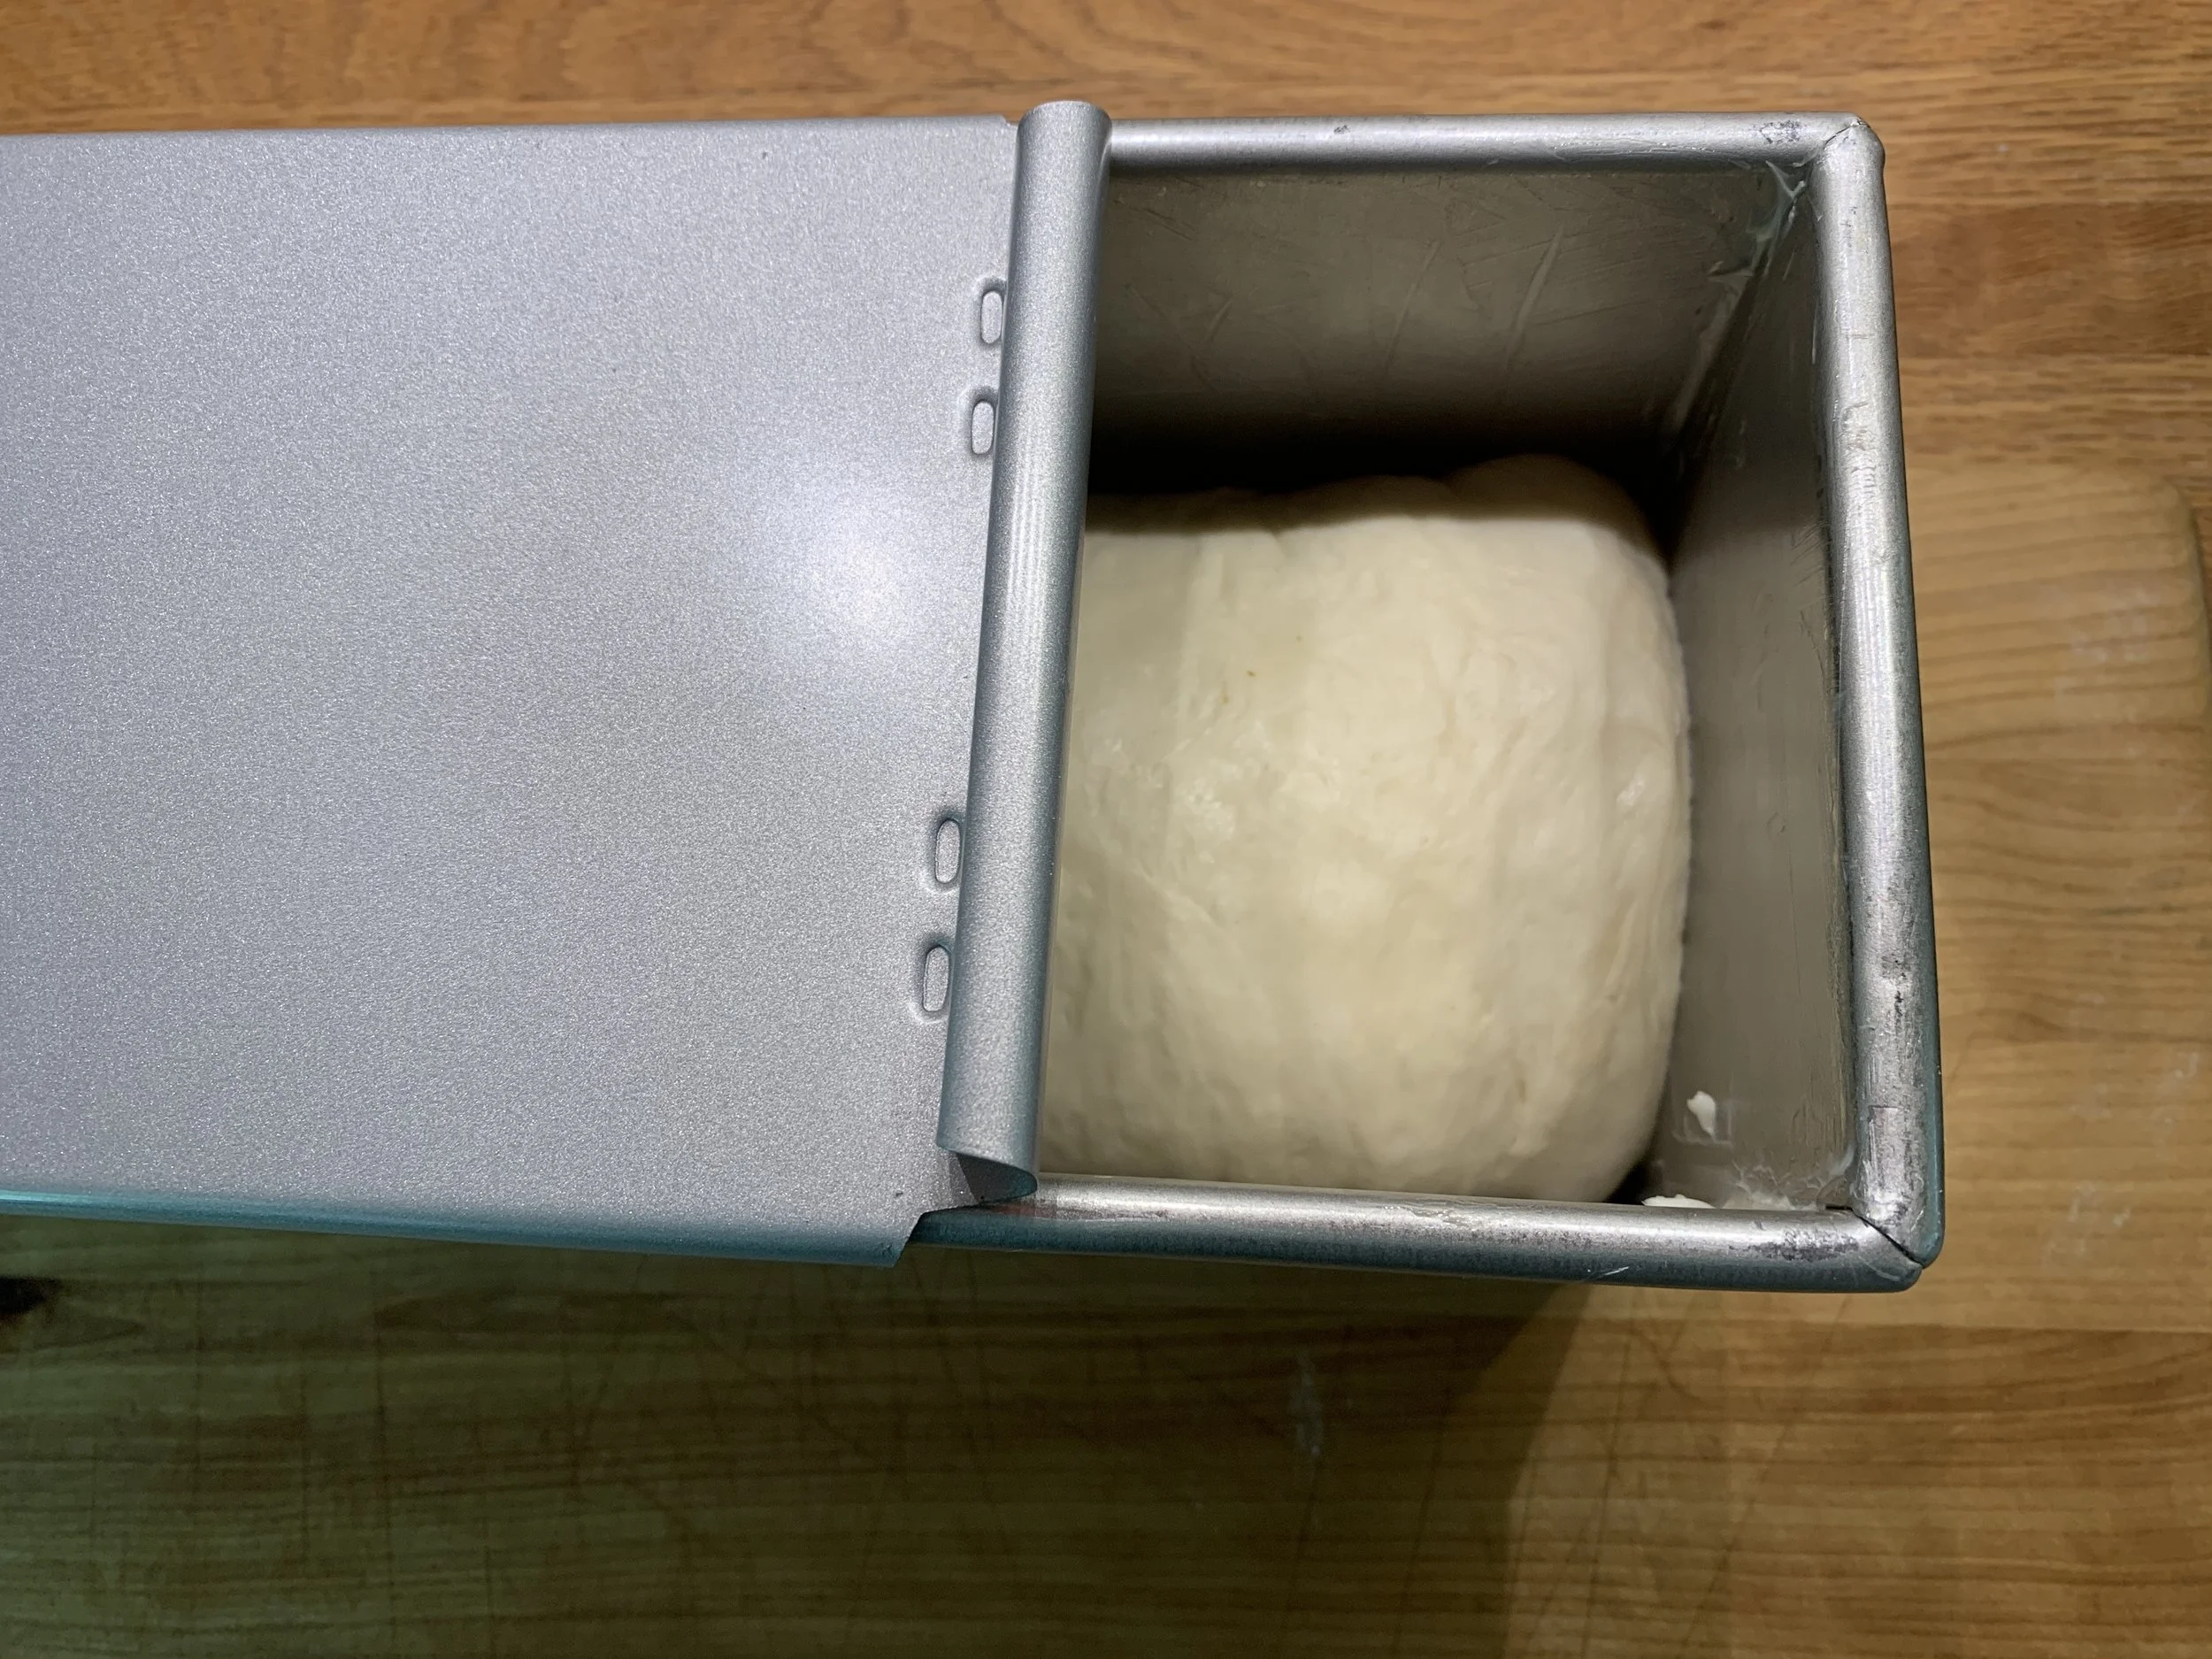
My kitchen was at 76º for this batch - typically a rise of 1 to 1.5 hours.
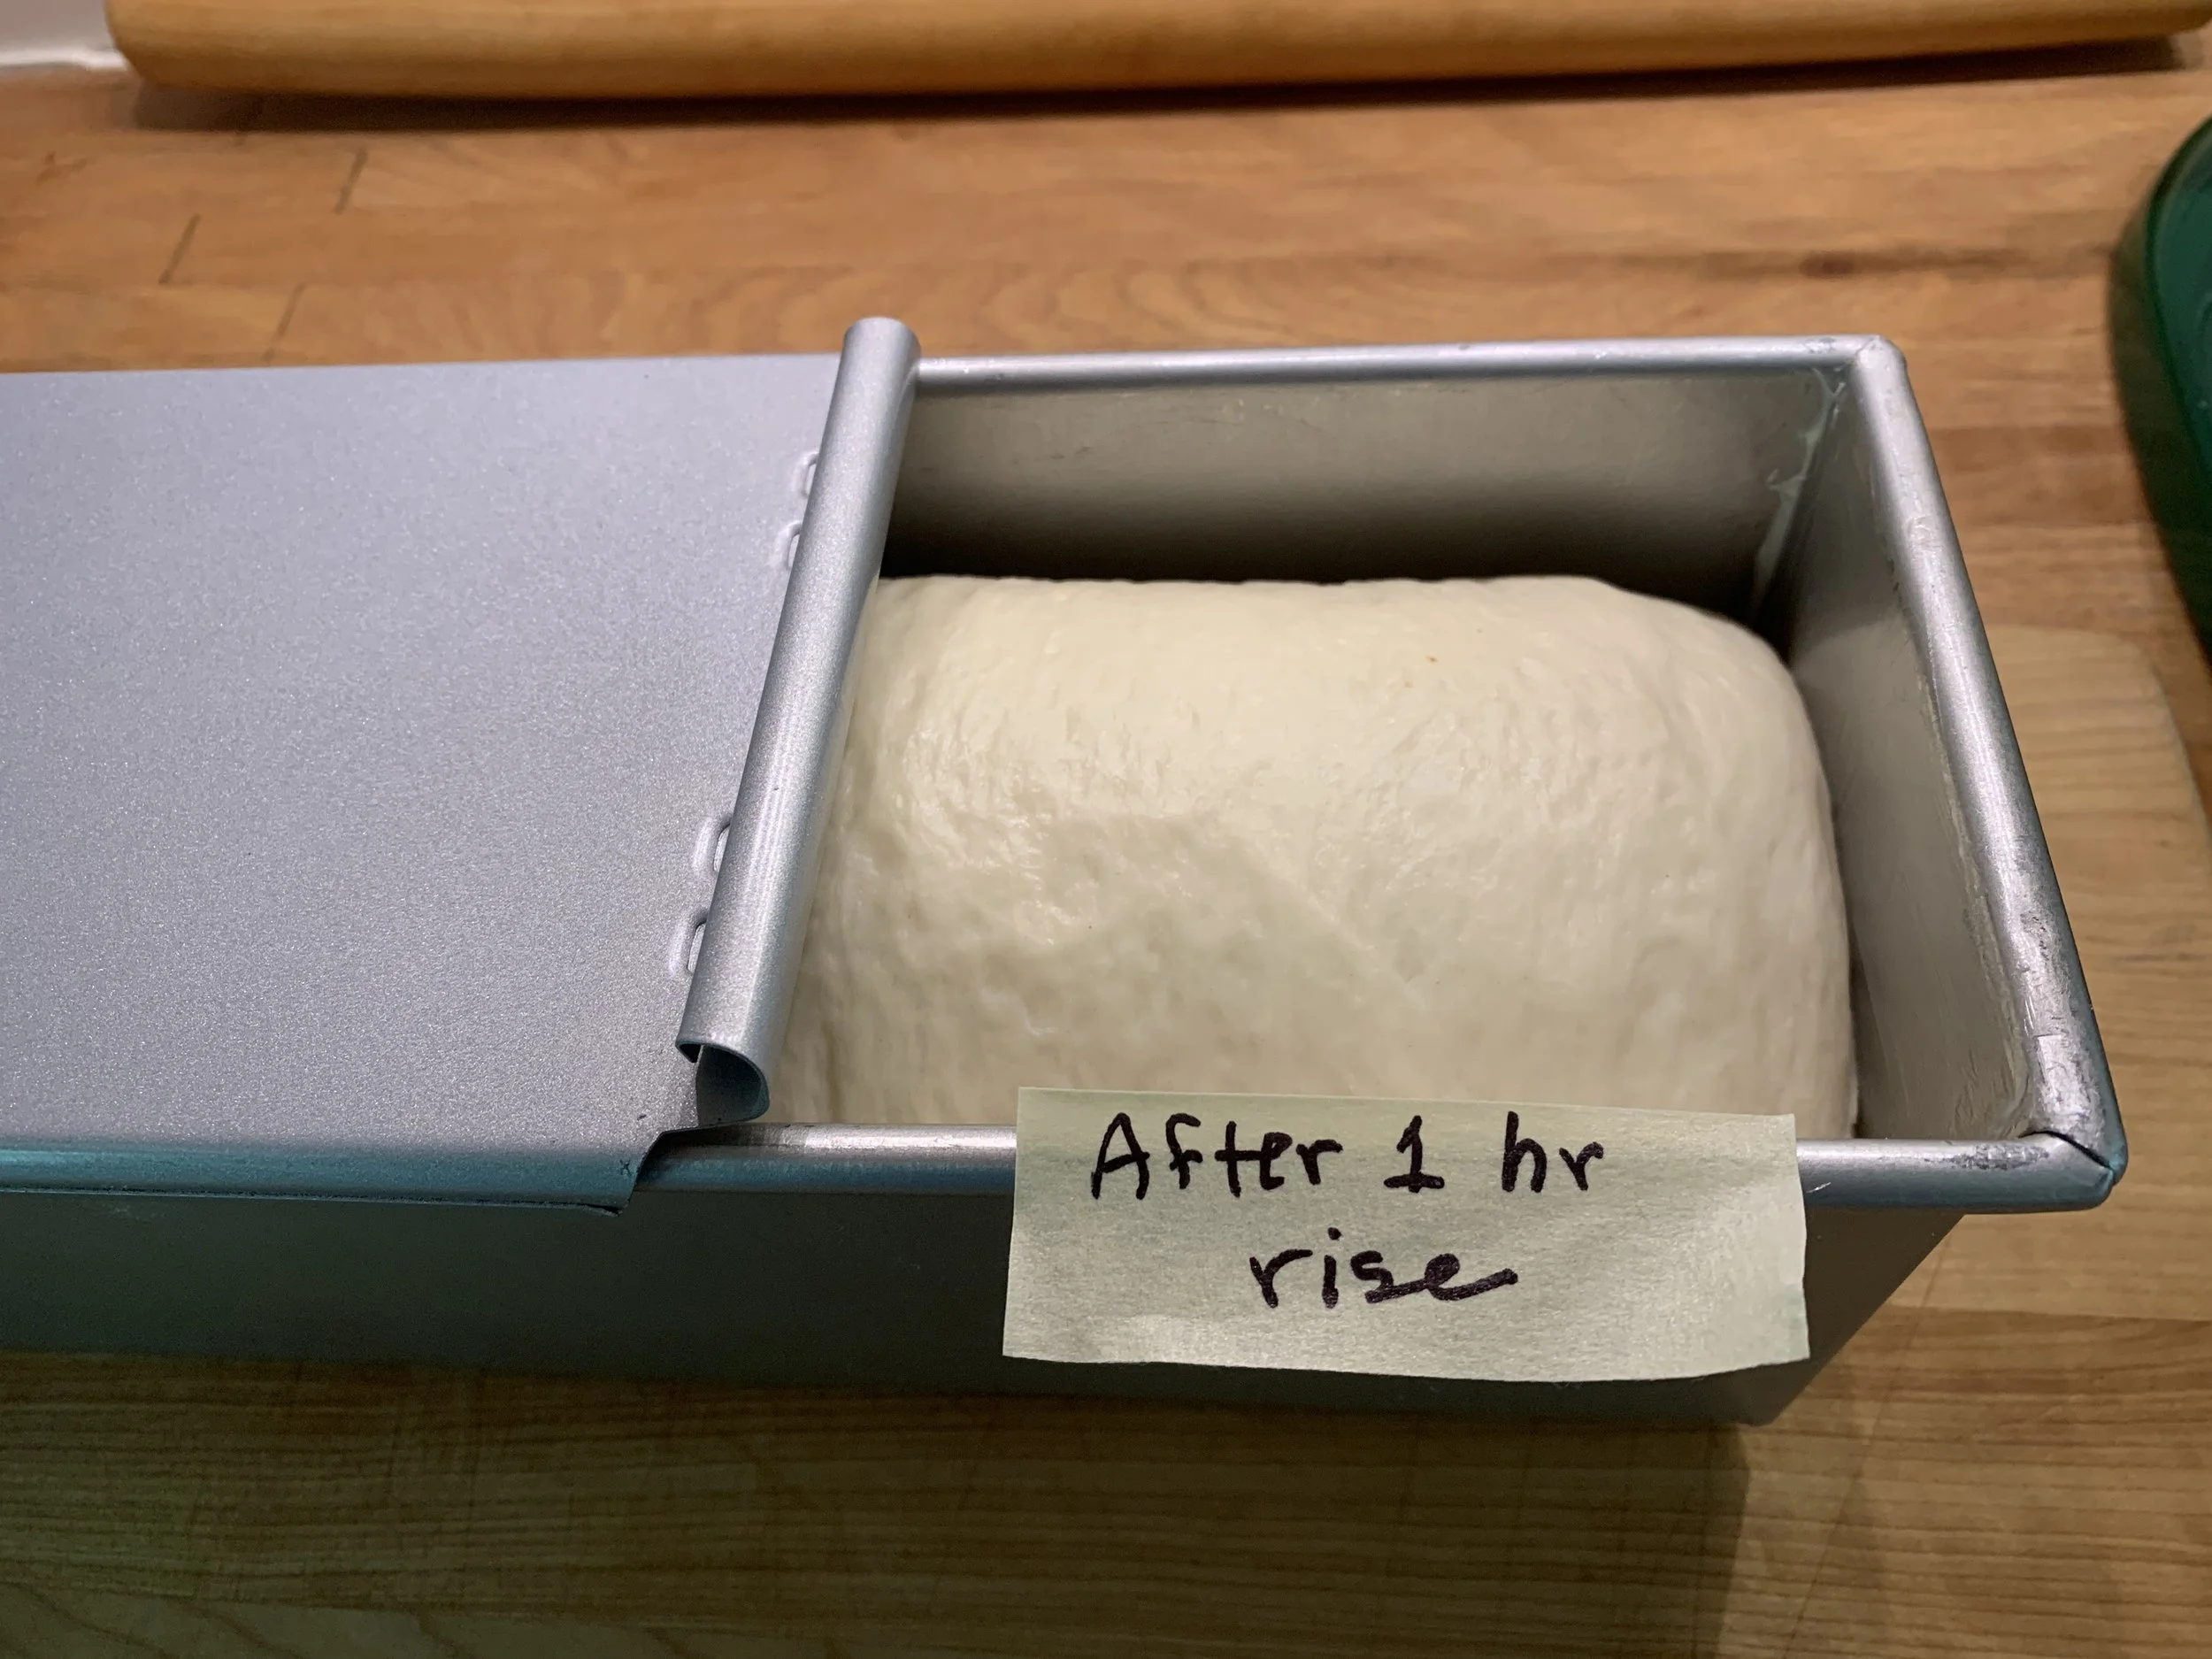
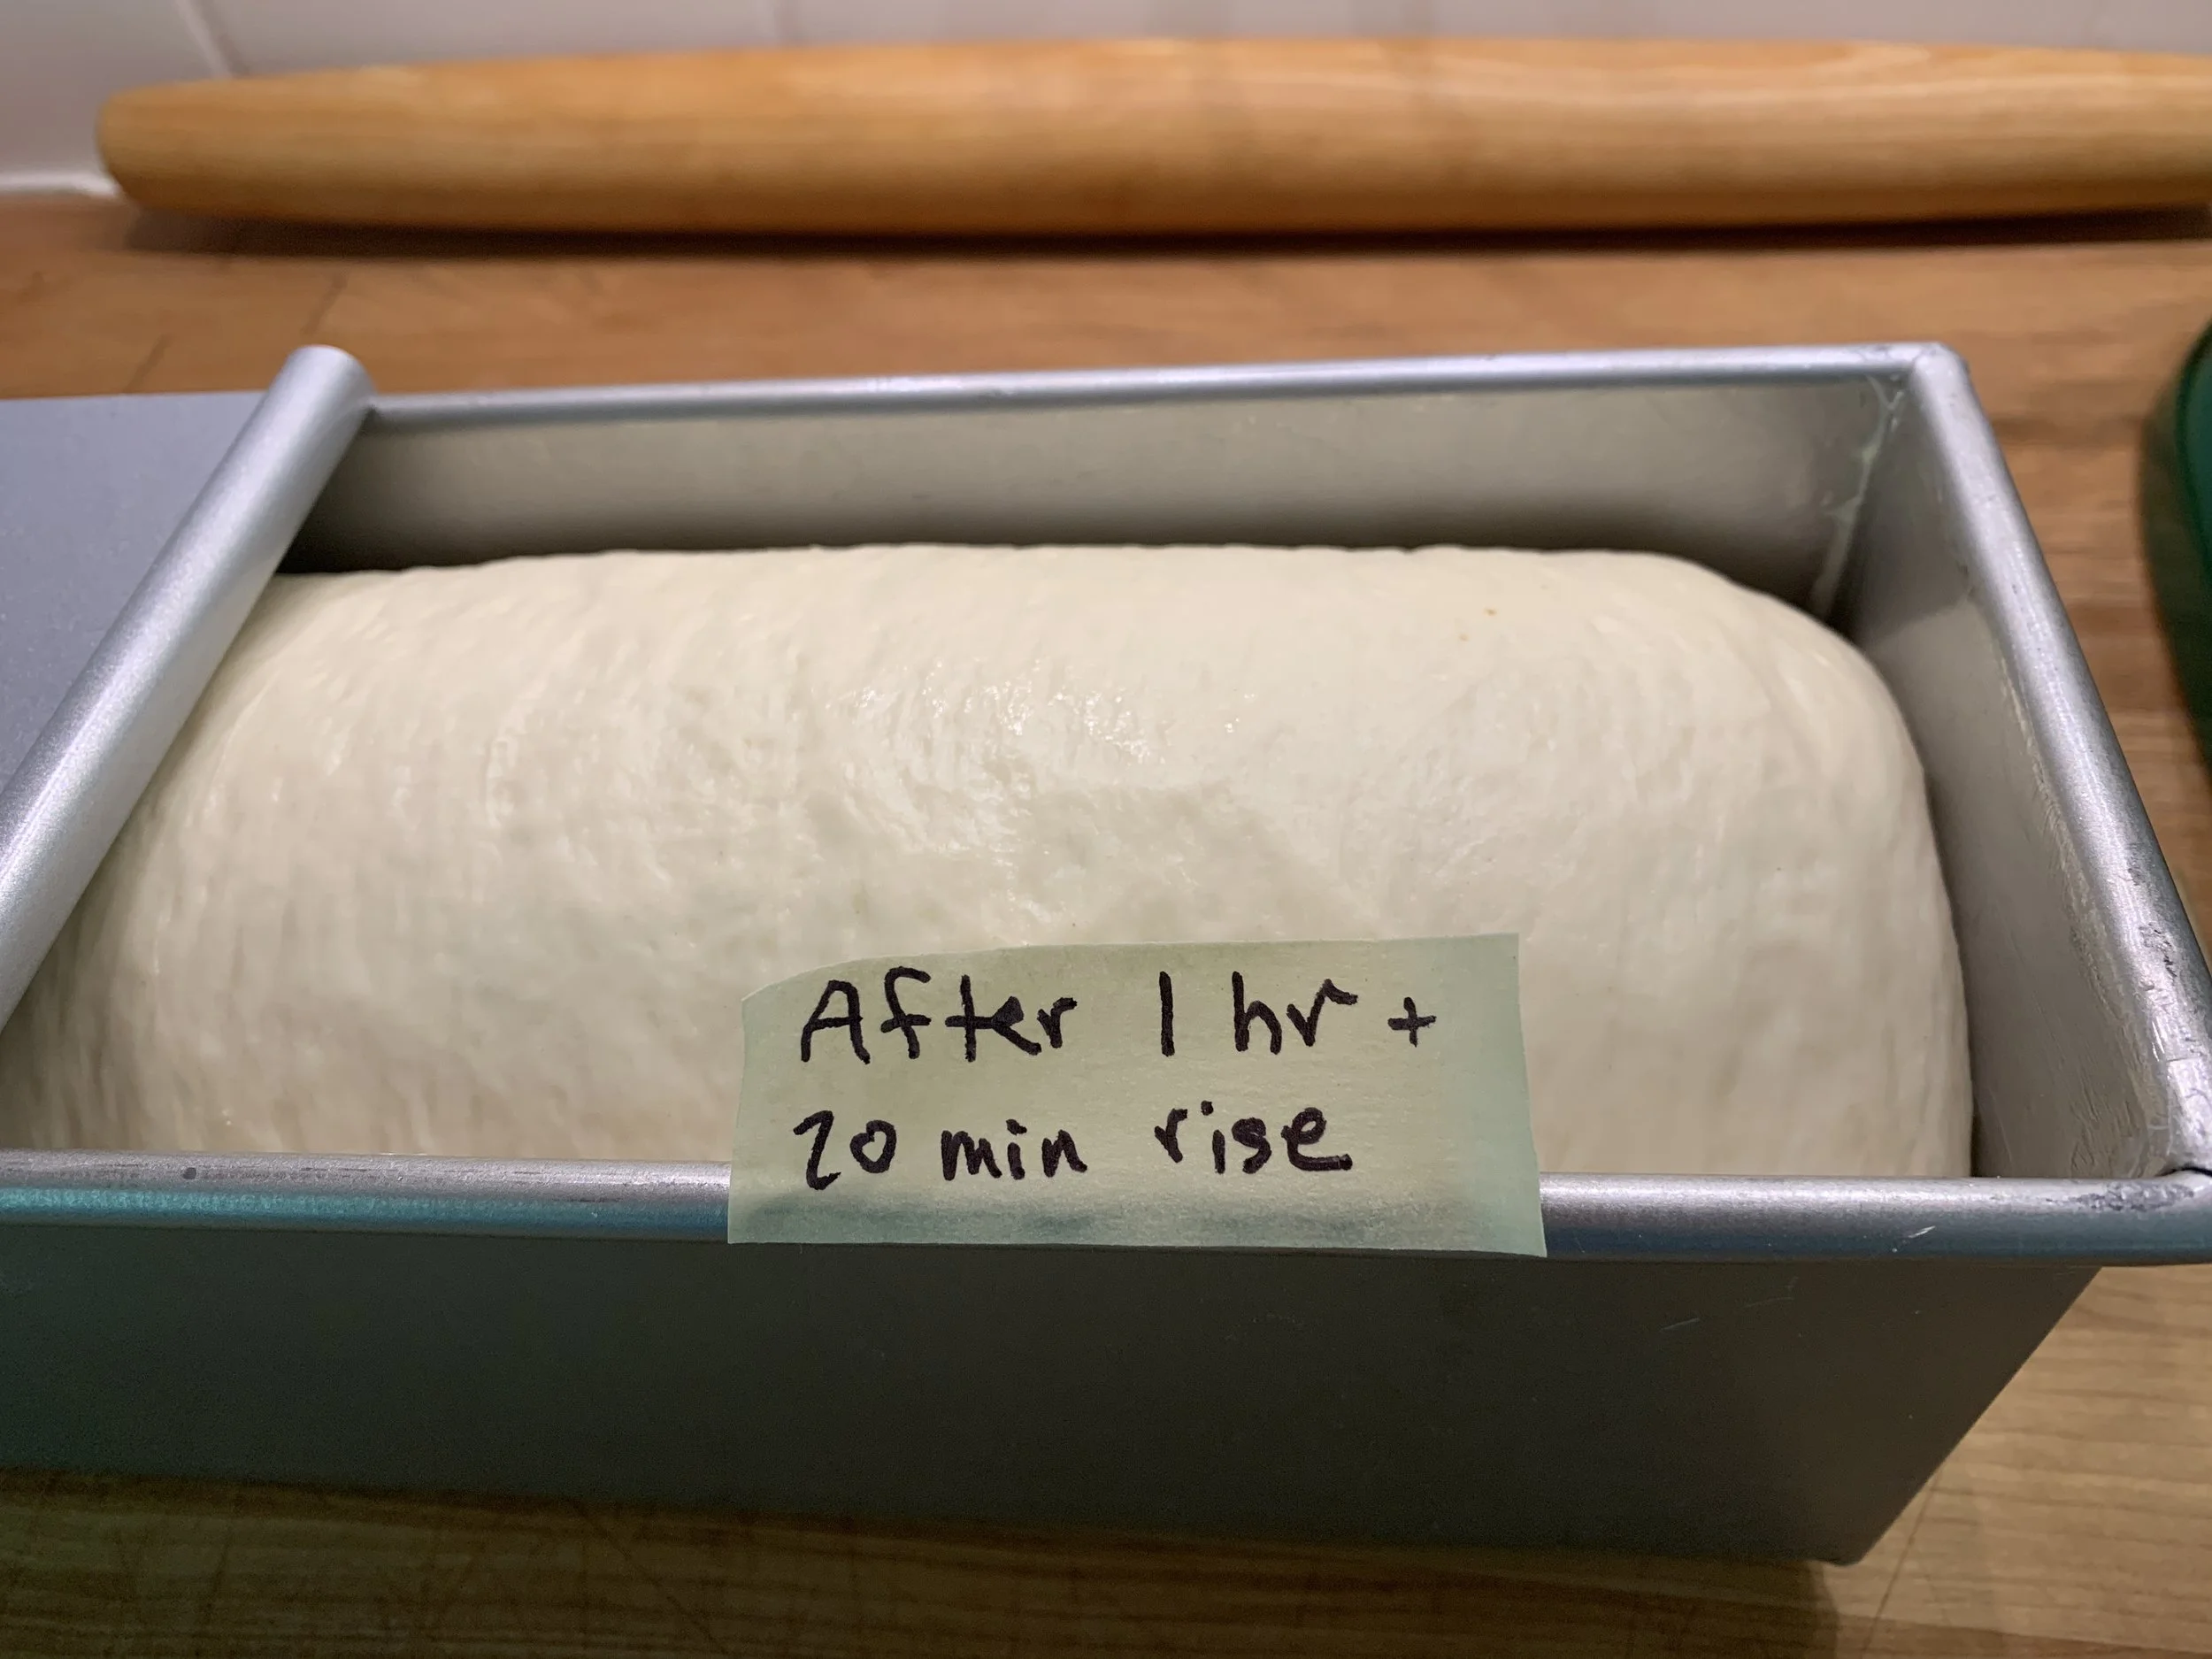
uh oh - a bit too close to the lid
Here I could have stopped at the 1 hour rise. With the extra 20 minutes you see the dough arching up against the bottom of the lid which makes for an interesting closure - a well buttered lid is so important!
Toward the end of the rise heat the oven to 400ºF. Slide the lid tightly in place and bake about 40-45 minutes. The bread should have an even golden brown color and the crust firm.
Once out of the oven, turn the bread out of the pan onto a cooling grid right away. Otherwise it will be affected by moisture in the pan and lose some of the lovely crust texture. Let cool completely.
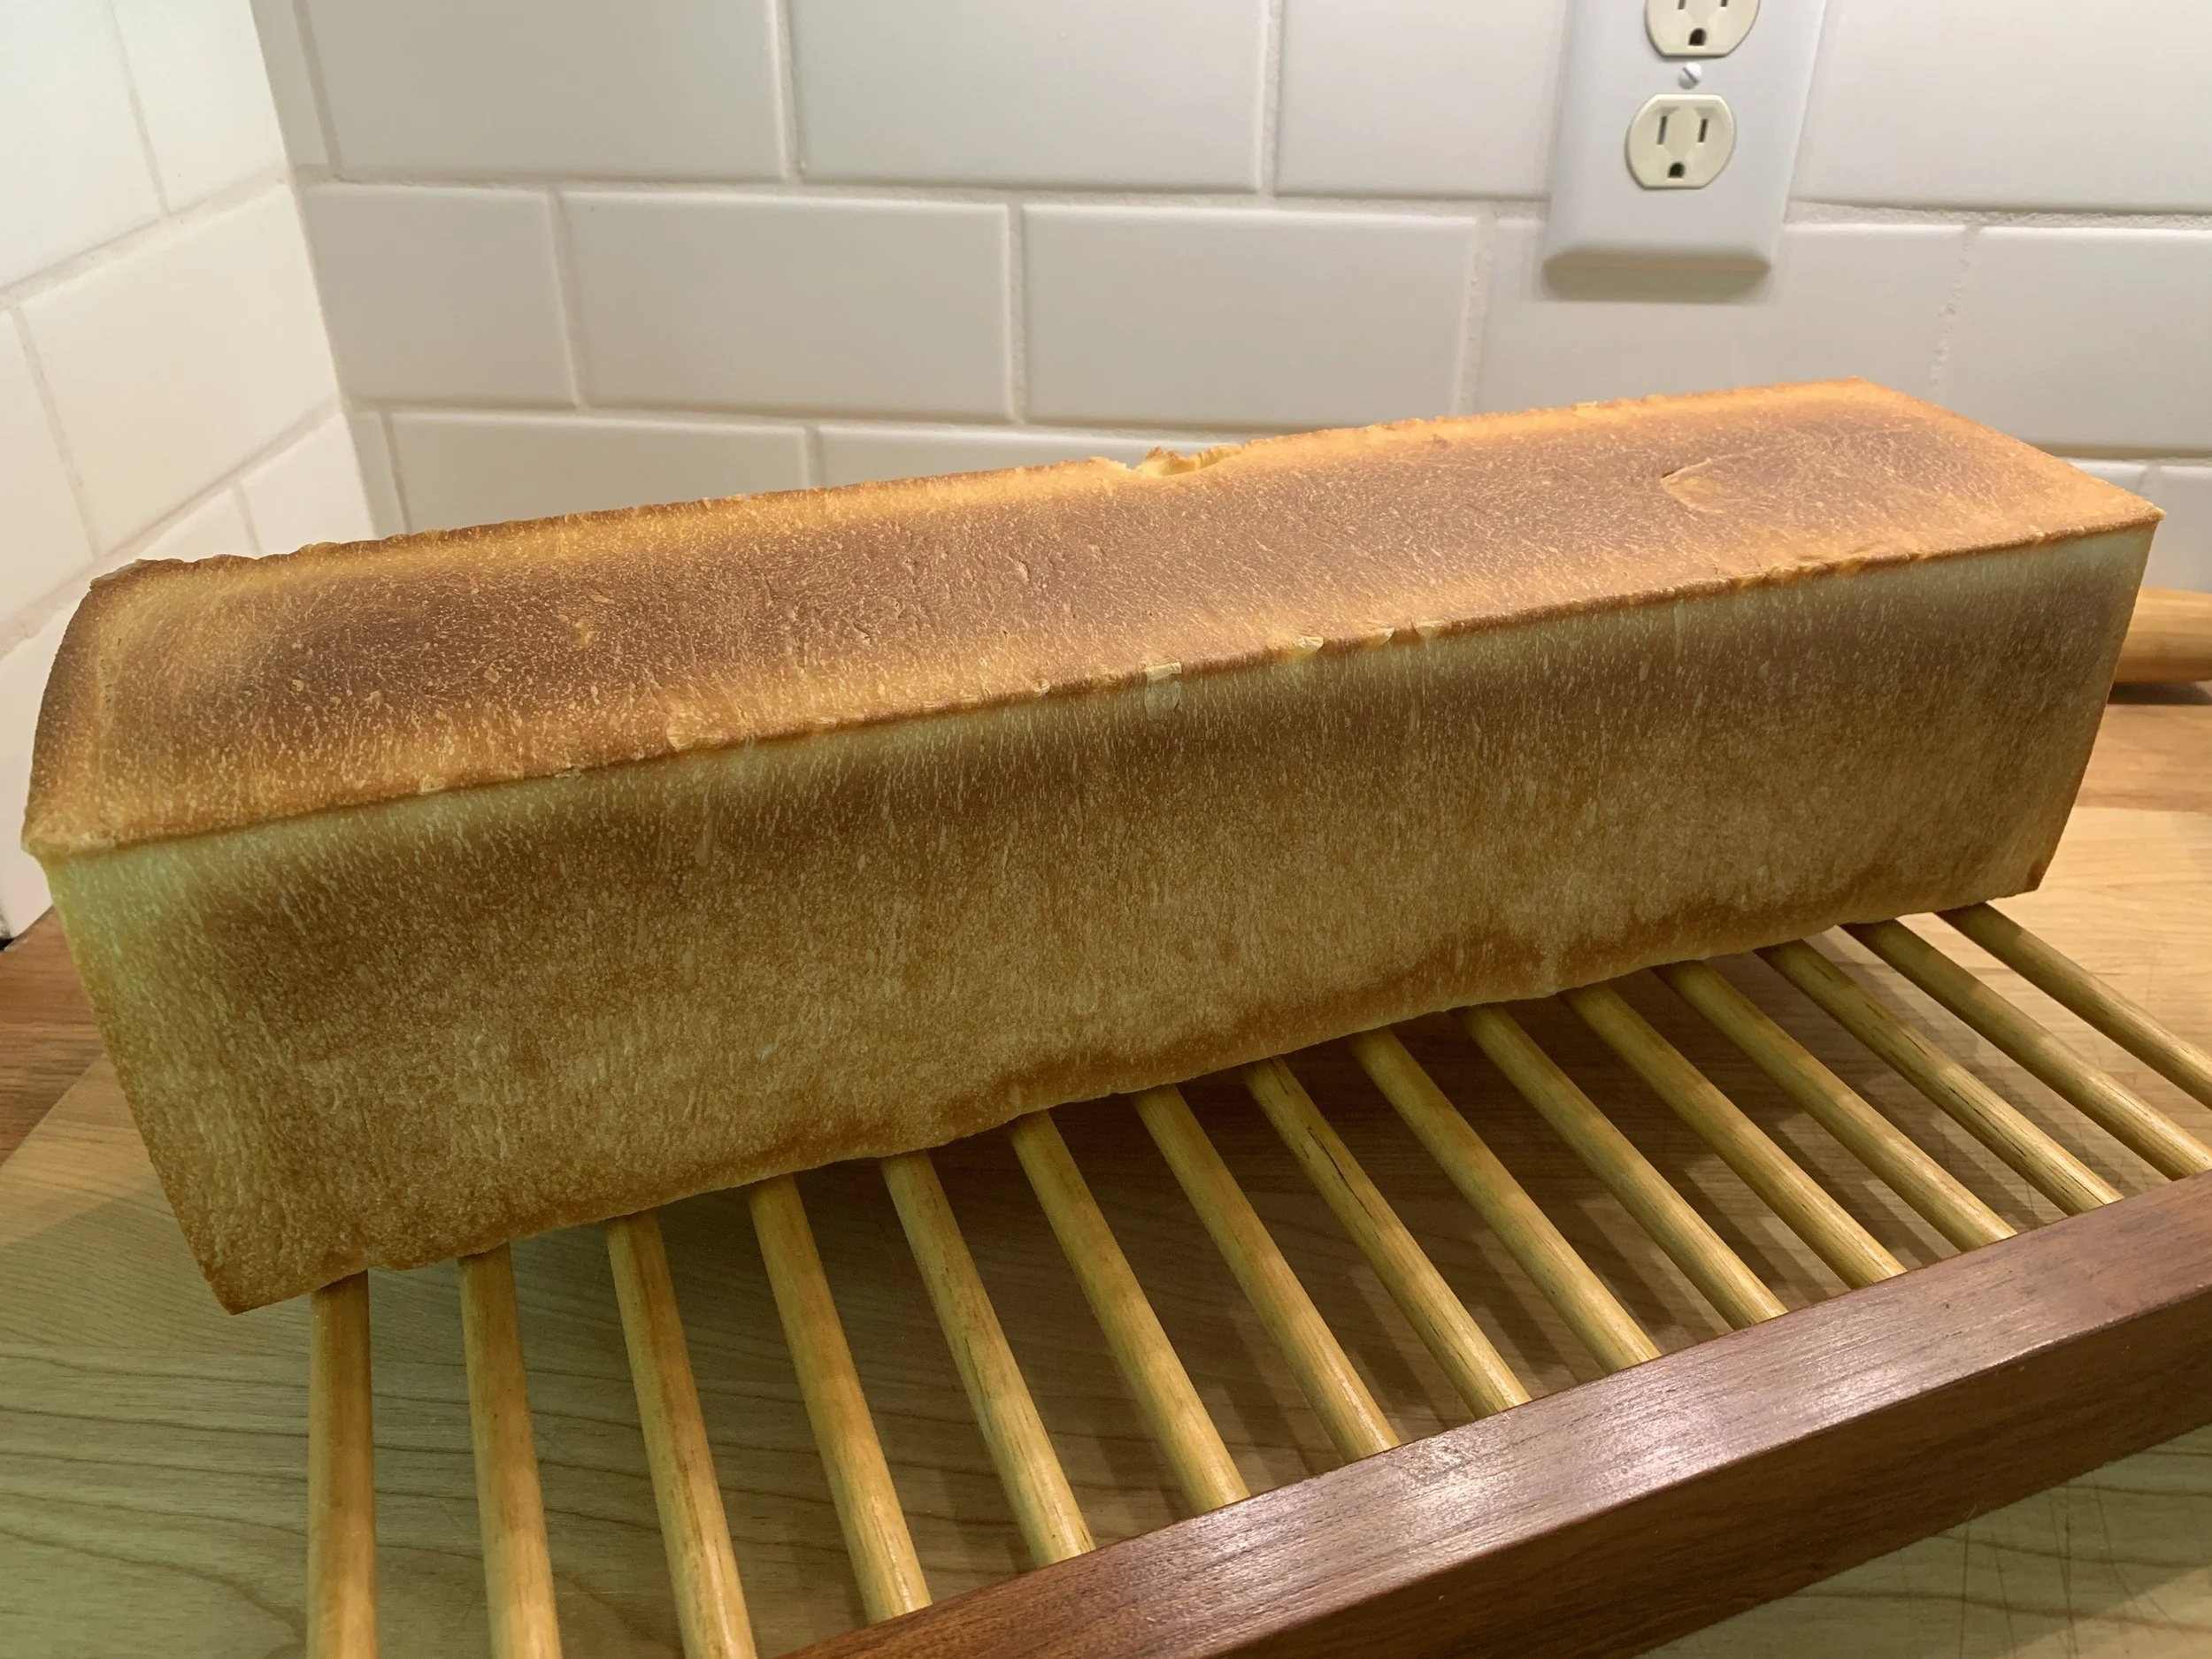
whew!
That was quite a ride! I hope you enjoy the rest of August. We’re flush into local sweet corn, blueberries and peaches - love it!
Hmmmm . . . . after all that, now I’m going to have to make croque monsieur one of these days!
