
French Tarte Faves (FTF) No. 6: Scones
/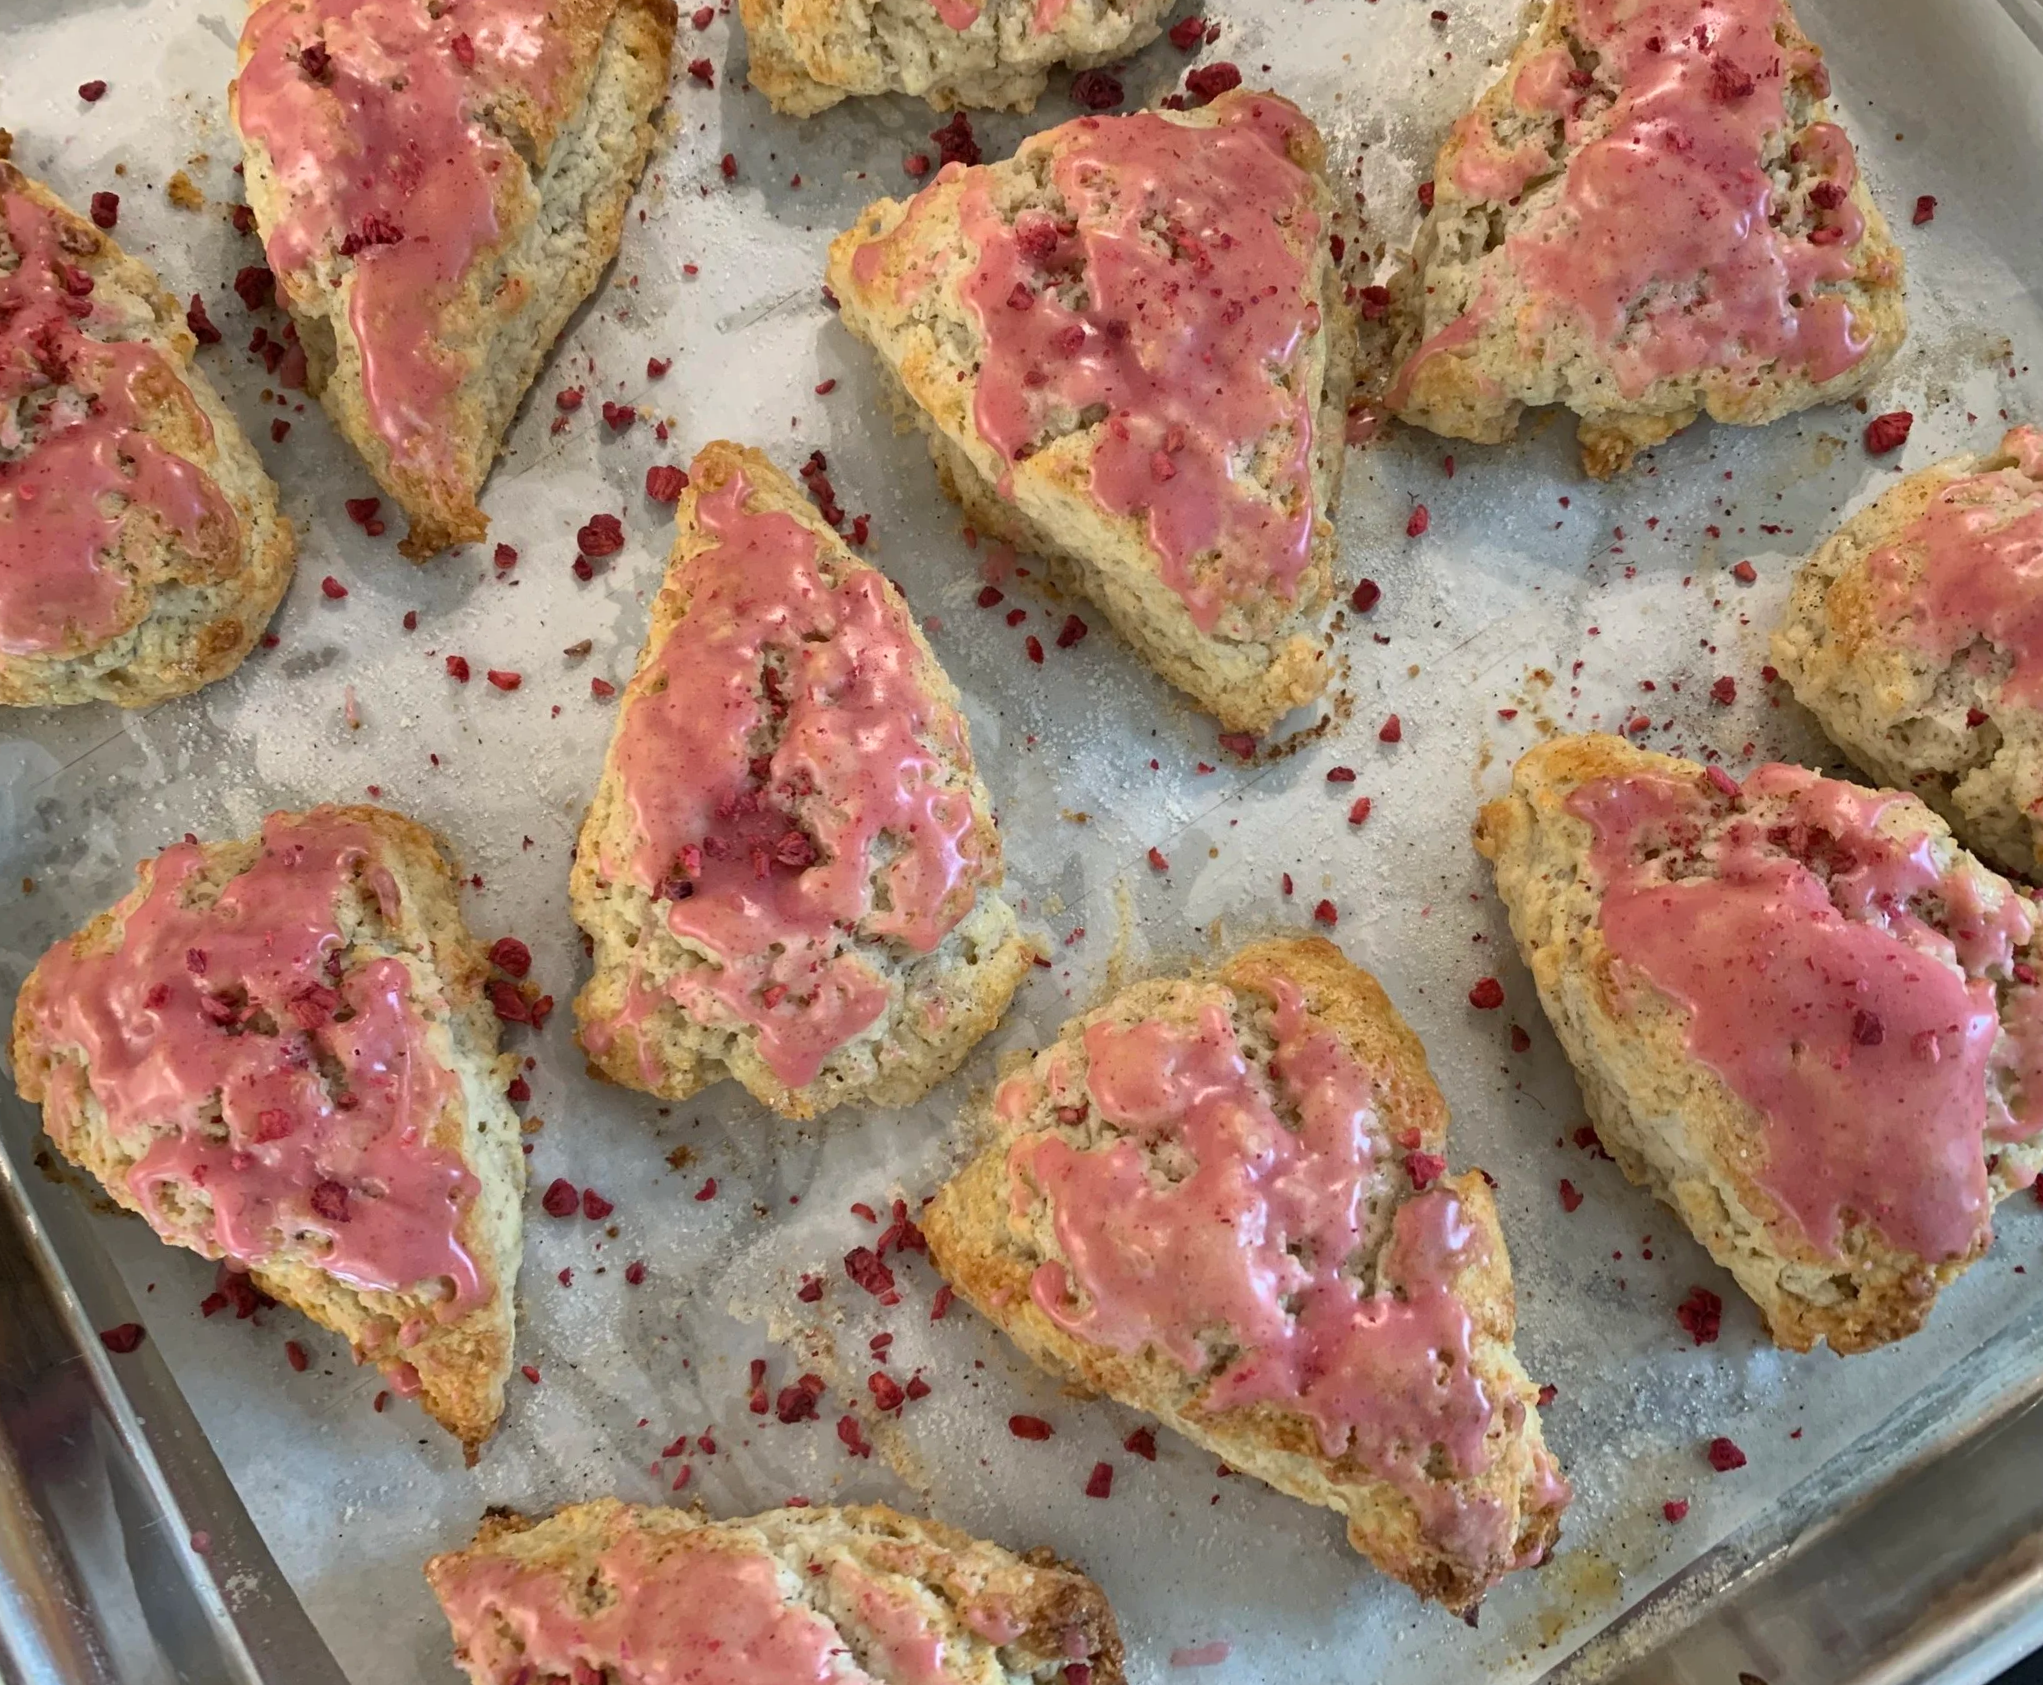
It’s been awhile since my last FAVE post - life happens, doesn’t it. This is certainly not a new topic for this blog. Over the years I’ve shared pumpkin, lemon, ginger, cheddar and blueberry scones to name just a few. In the lead image - raspberry glazed vanilla scones - yum.
I’ve been working on this particular post now for several months - whoa! It’s about time to finish it. Having taught a scone and teacakes class last week and another one coming up next week, I’m definitely in the mood.
Fair warning - it’s a lengthy one! I completely understand if you simply scroll through, check out the images, click on some of the recipe links and create your own tasty version of scones. Just have fun with it.
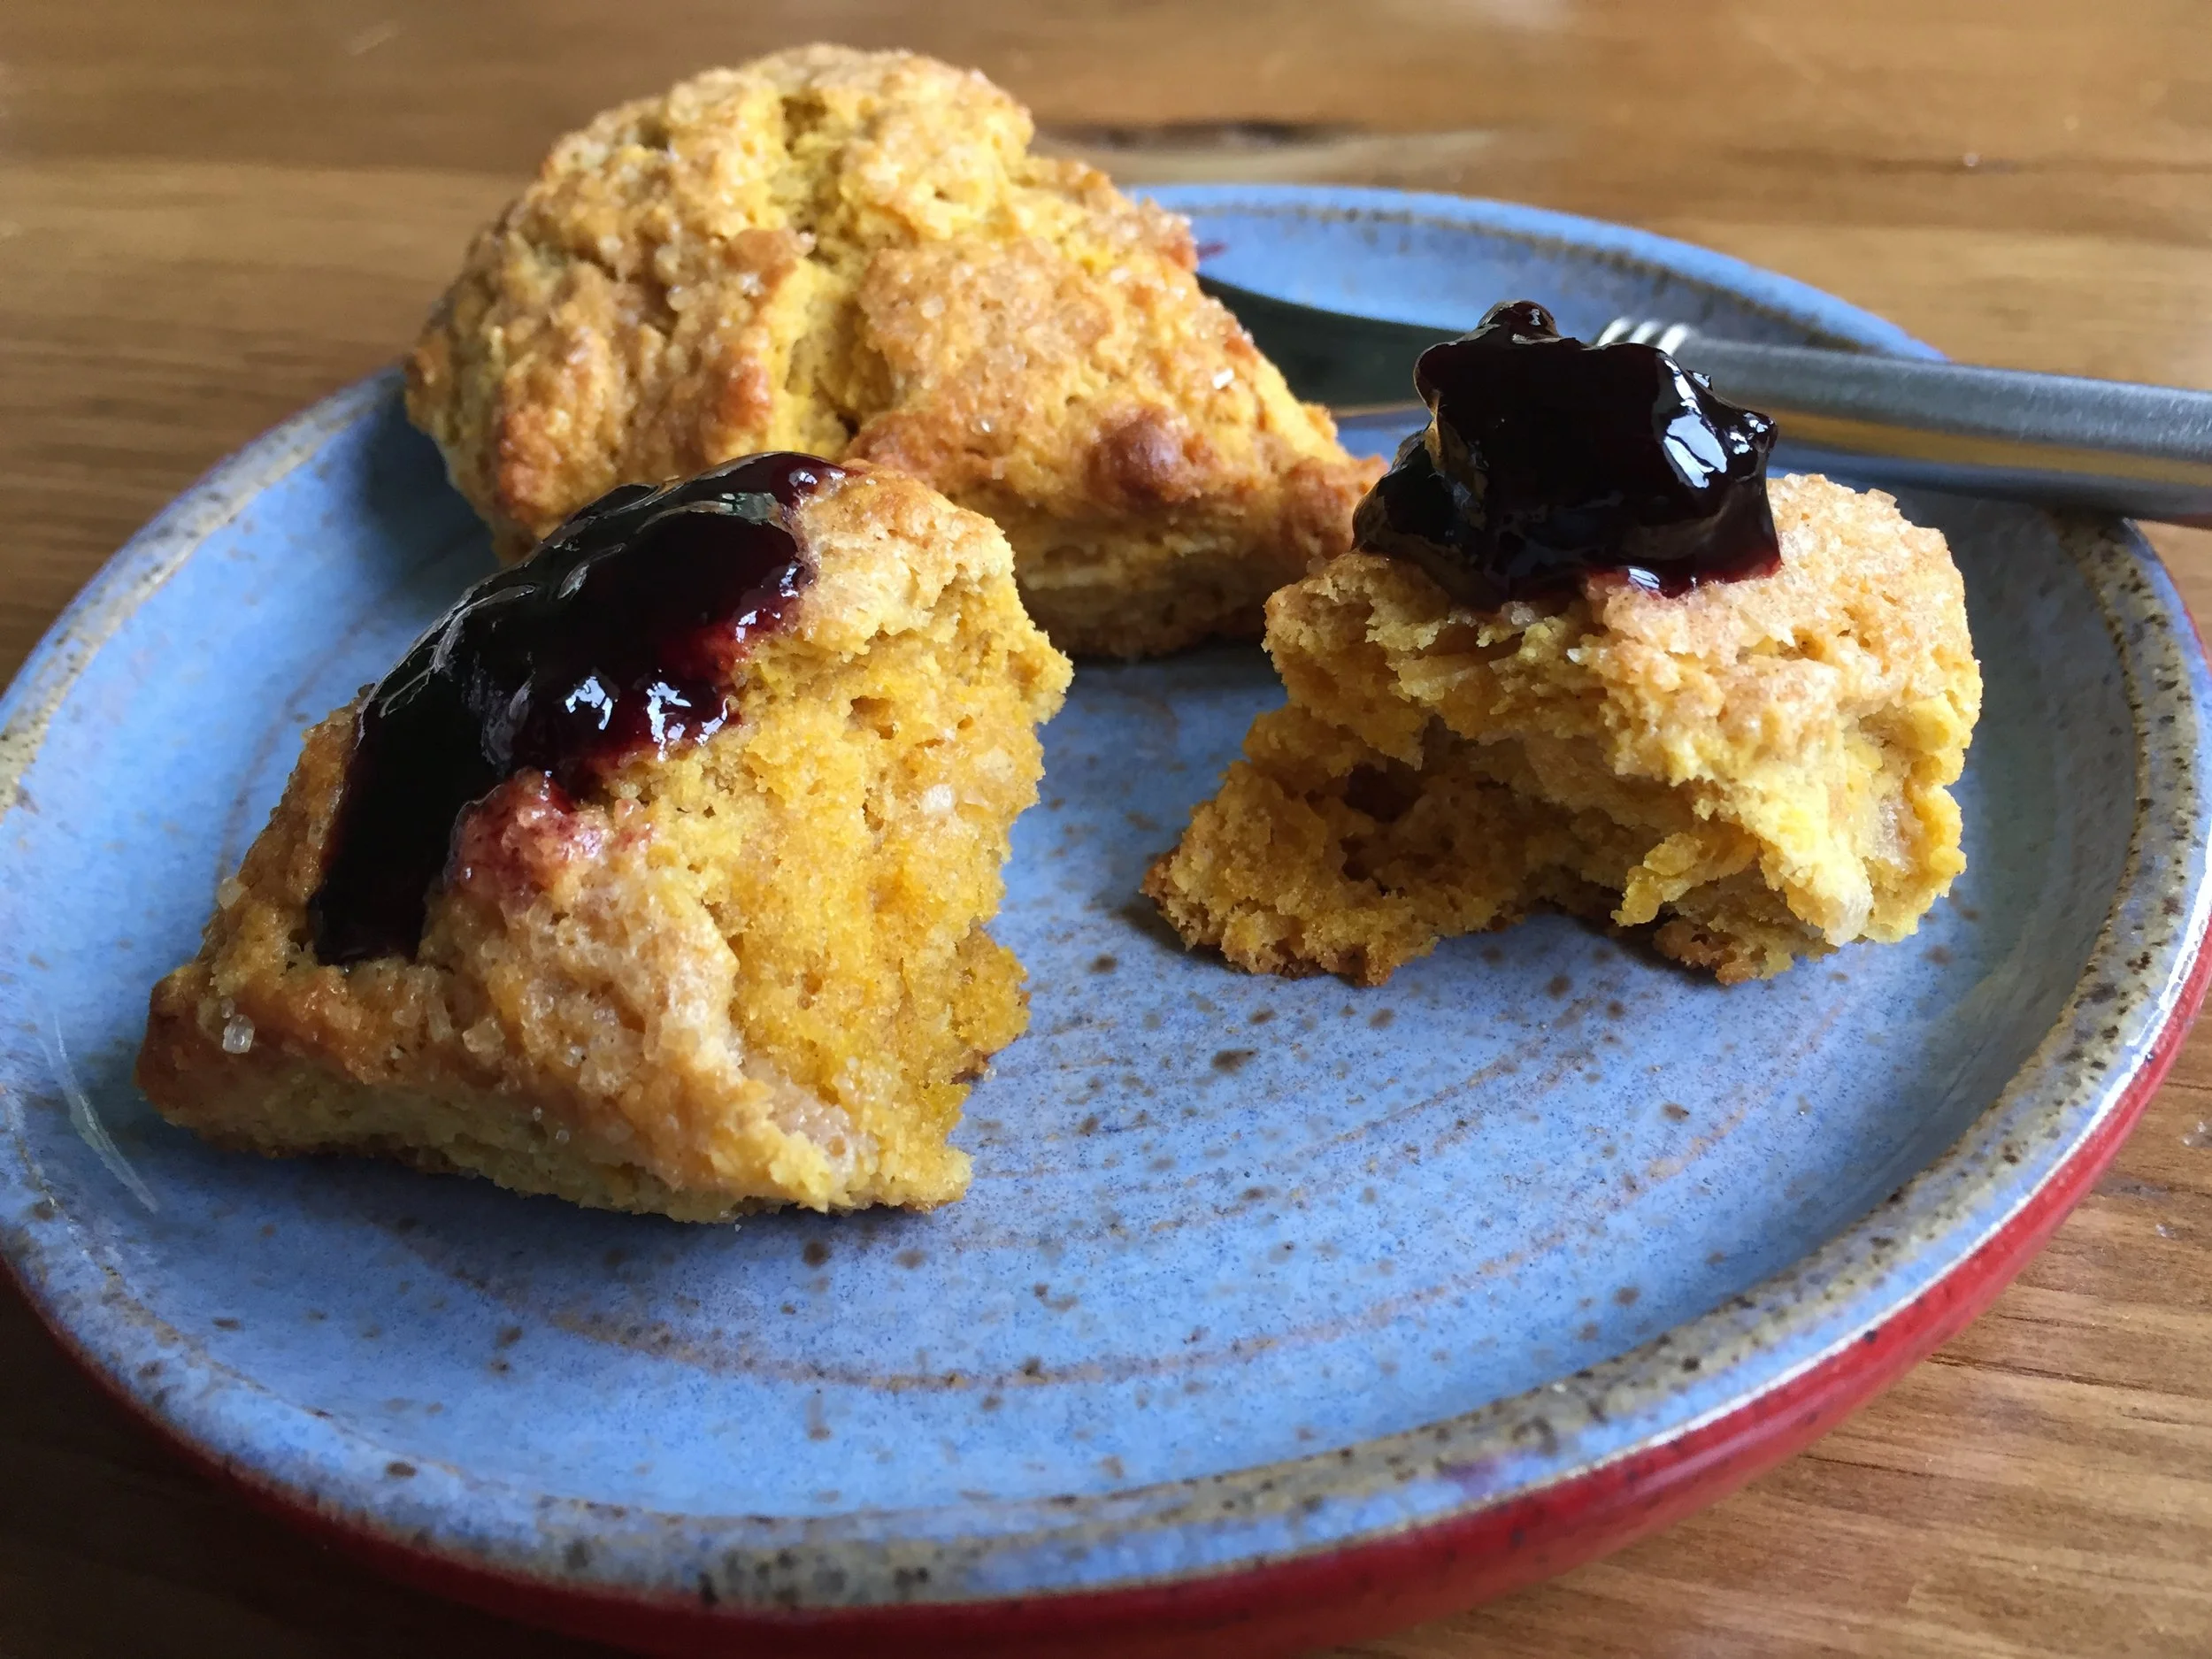
Pumpkin scone with blackberry jam
First let’s take a look at basic ingredients: flour, baking powder, sugar, salt, butter, dairy and sometimes egg.
Flour is usually all purpose but you can create your own combos. For example - create a mix using all purpose, whole wheat, spelt or rye, particularly for a cheesy savory scone. Or replace 1/4 of the flour with a nut flour like almond or hazelnut especially when adding dried fruit and/or chopped nuts. Even “00” pizza flour subbed in for 1/4 to 1/3 of the all purpose lends a lovely texture.
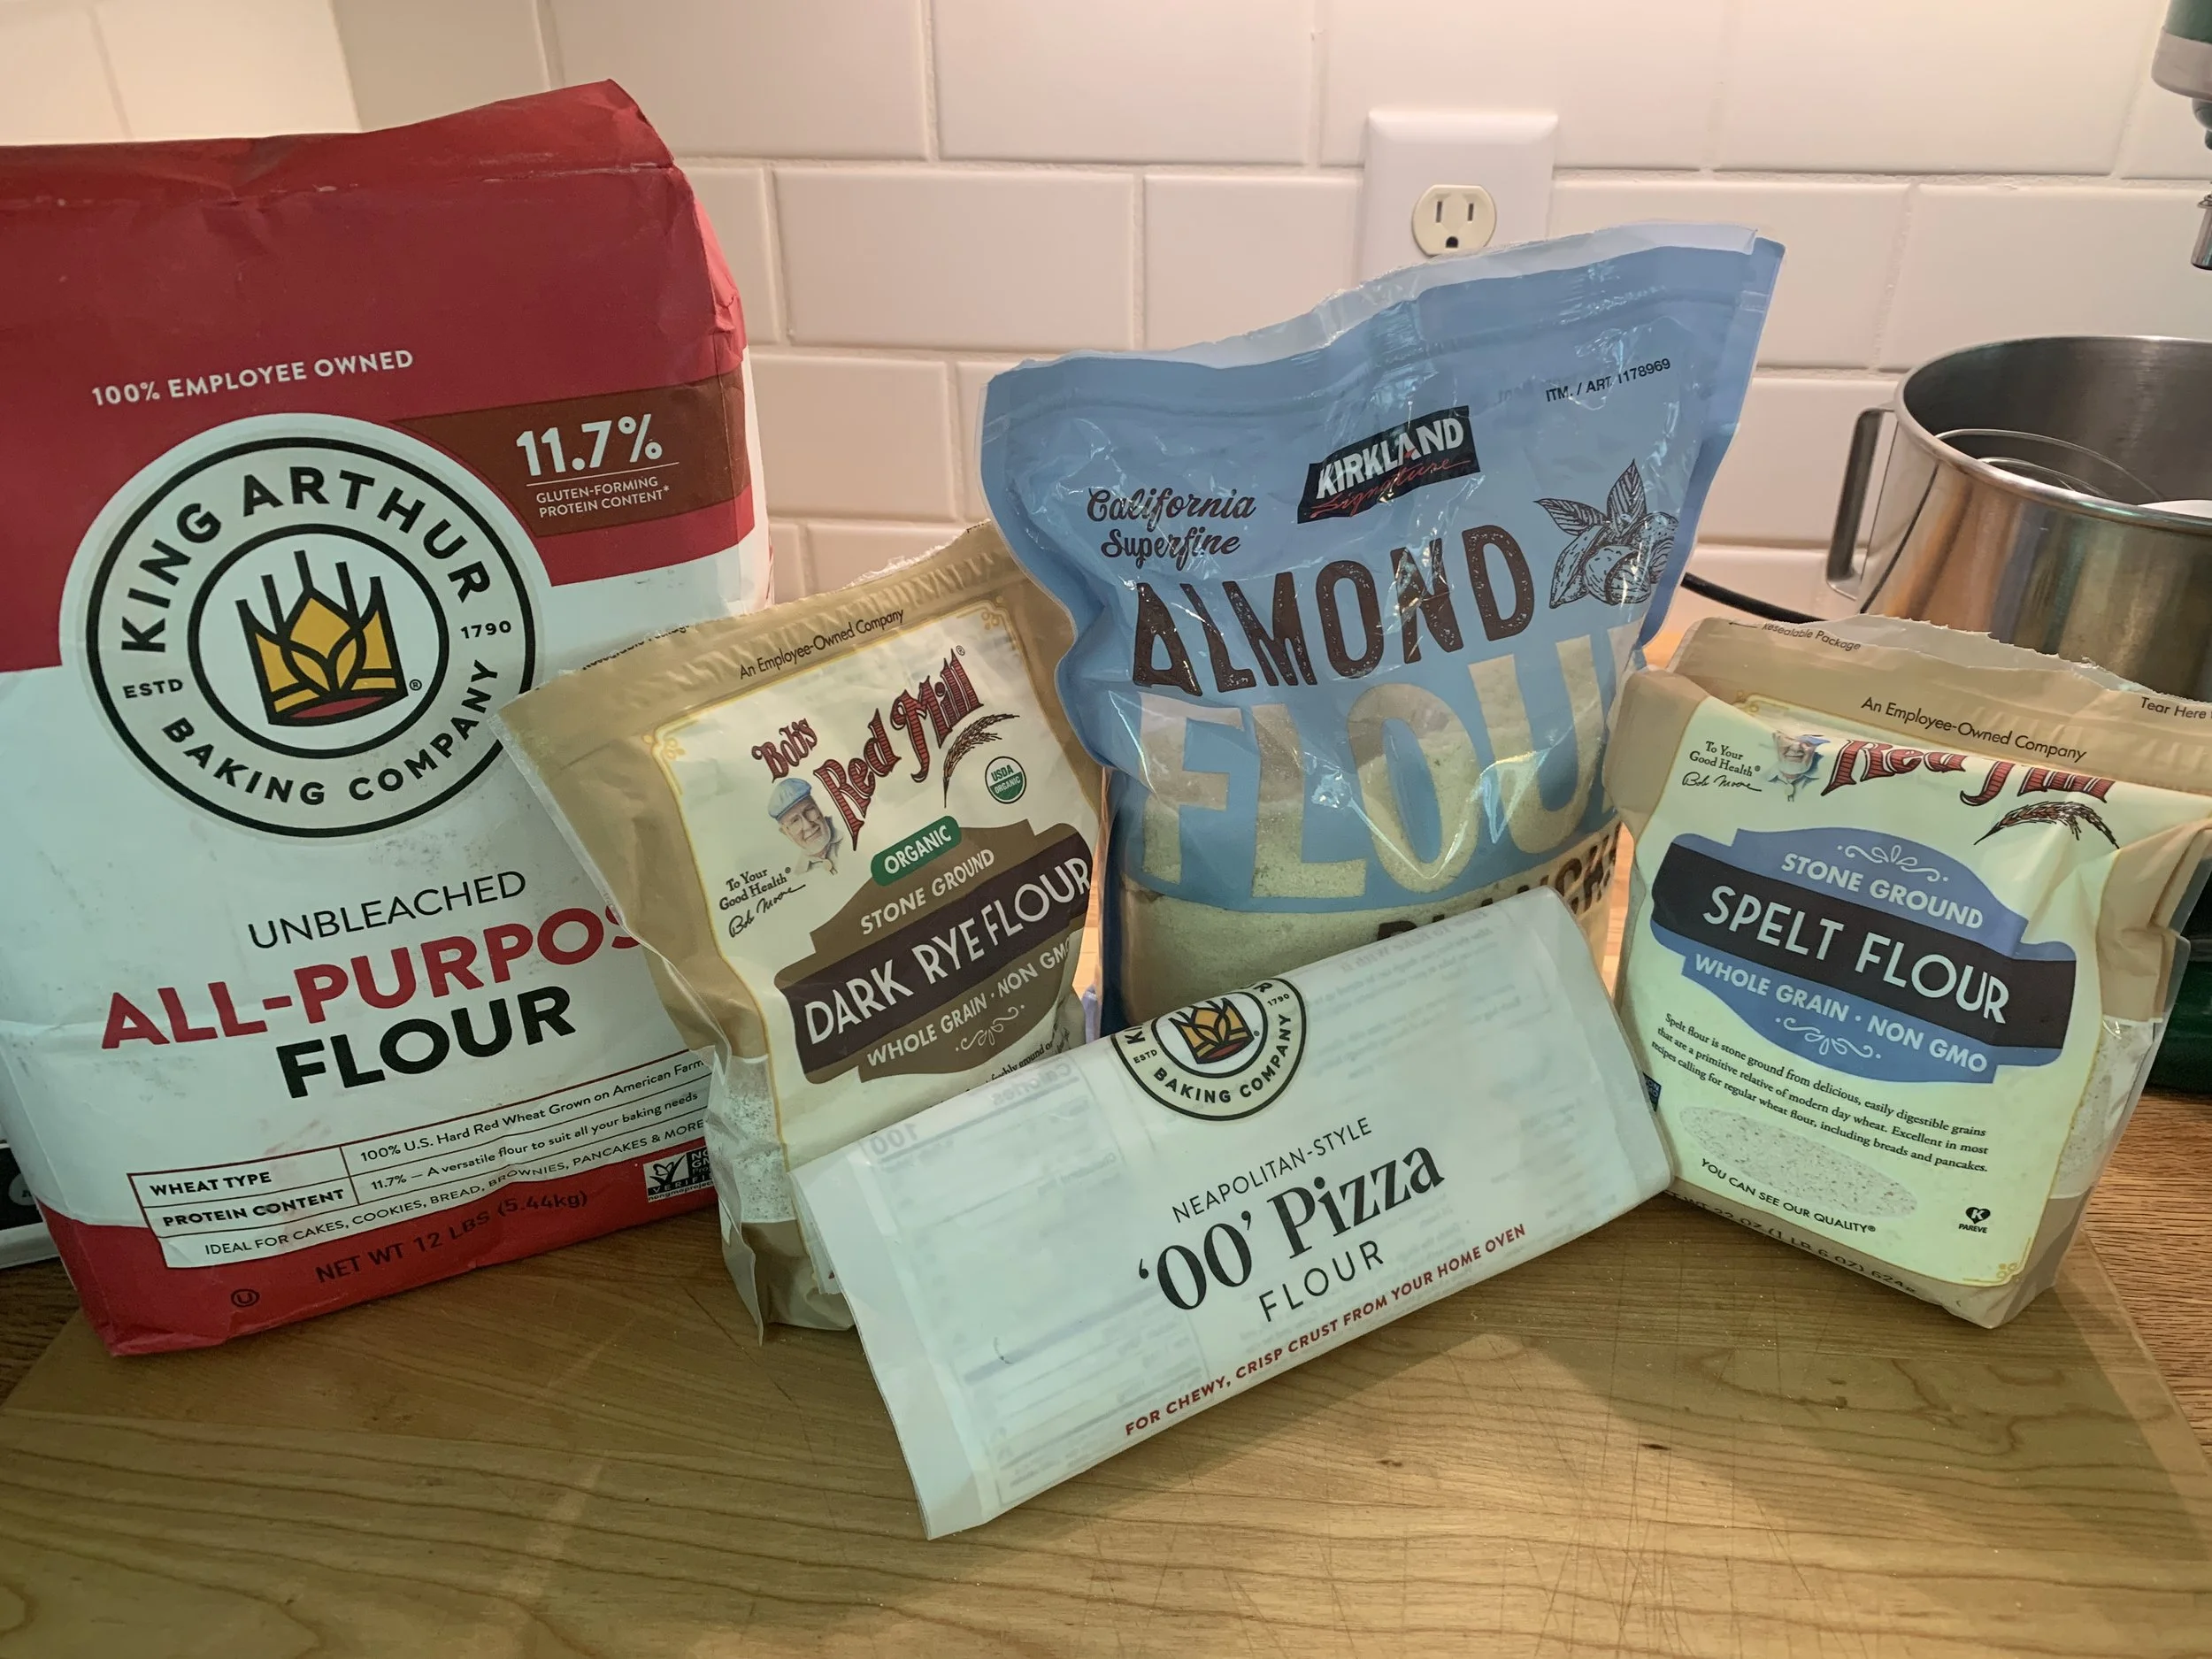
Just a few flour choices
Butter is typically unsalted in the majority of baking recipes, and, while I generally stick with that, I’ve used European style salted butters for different bakes (particularly shortbread cookies) with delicious results.
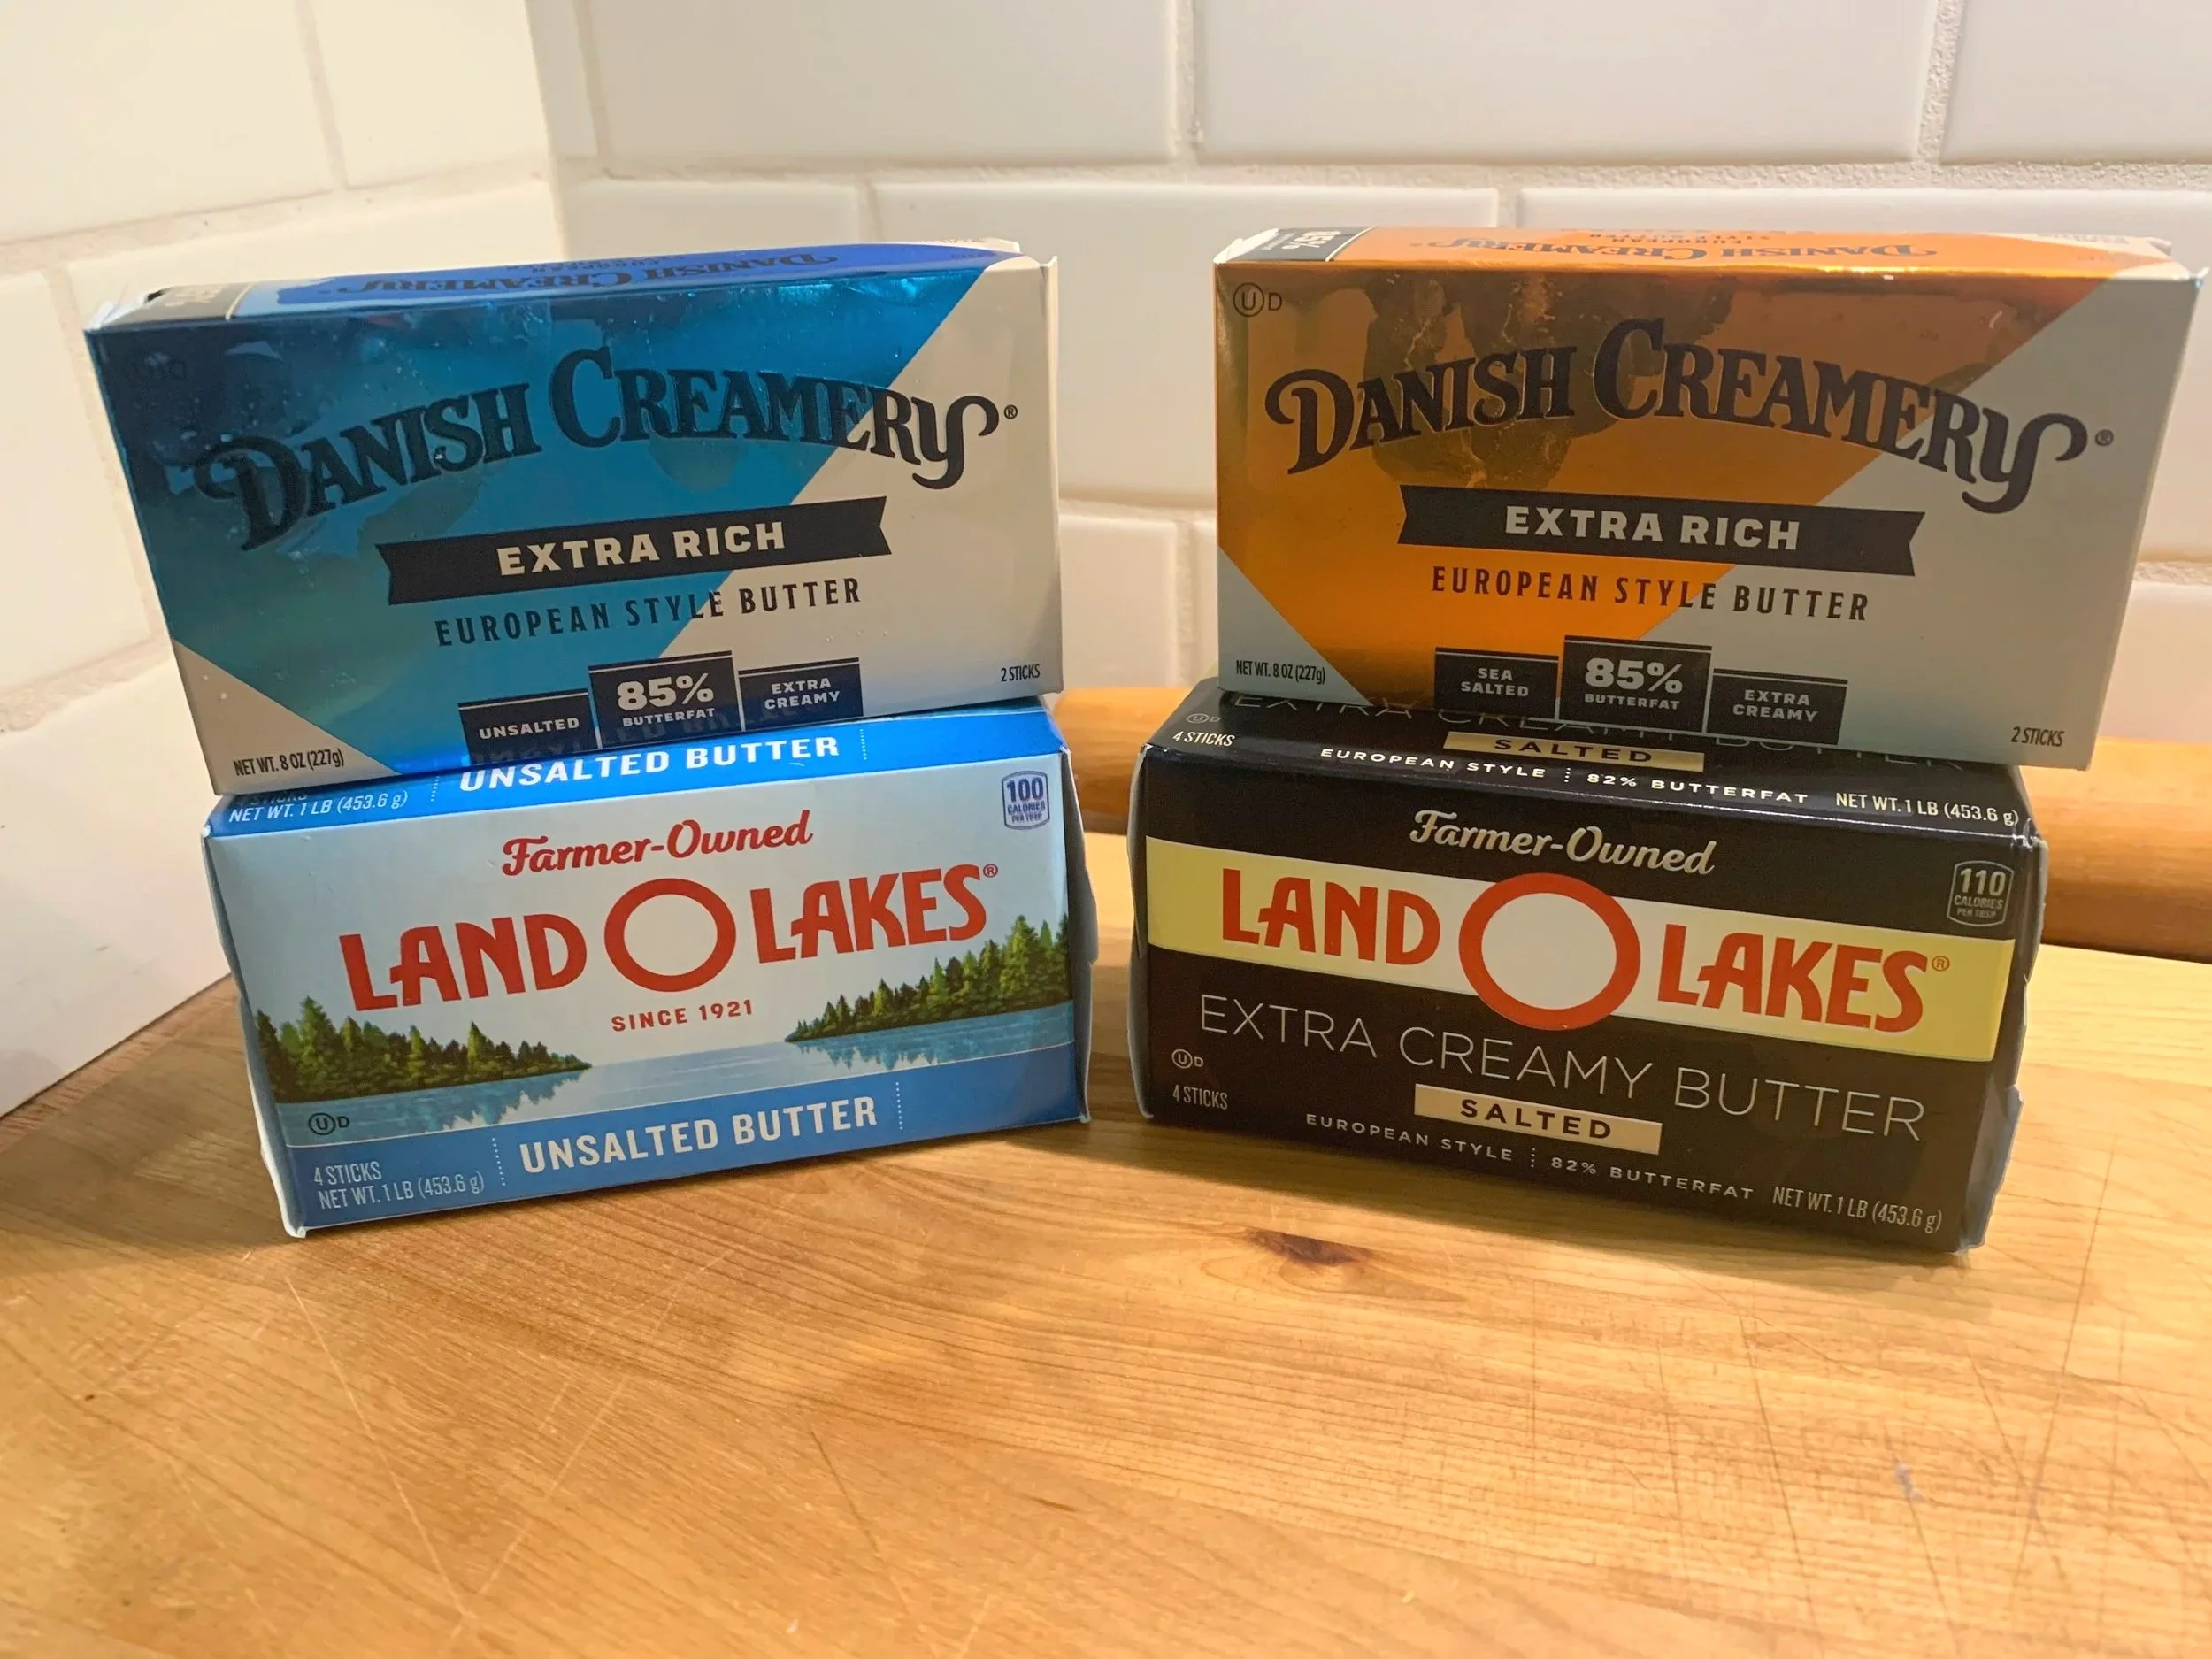
Some favorite butters at our local grocery
Not all scone recipes contain egg. Without it I generally find the end result to have a drier biscuit like texture and I do prefer the moisture provided by adding the egg (except Rose Levy Beranaum’s ginger scones! made with whipped cream!).
Here’s Rose’s ginger scone with fresh strawberries and homemade strawberry ice cream - delish!
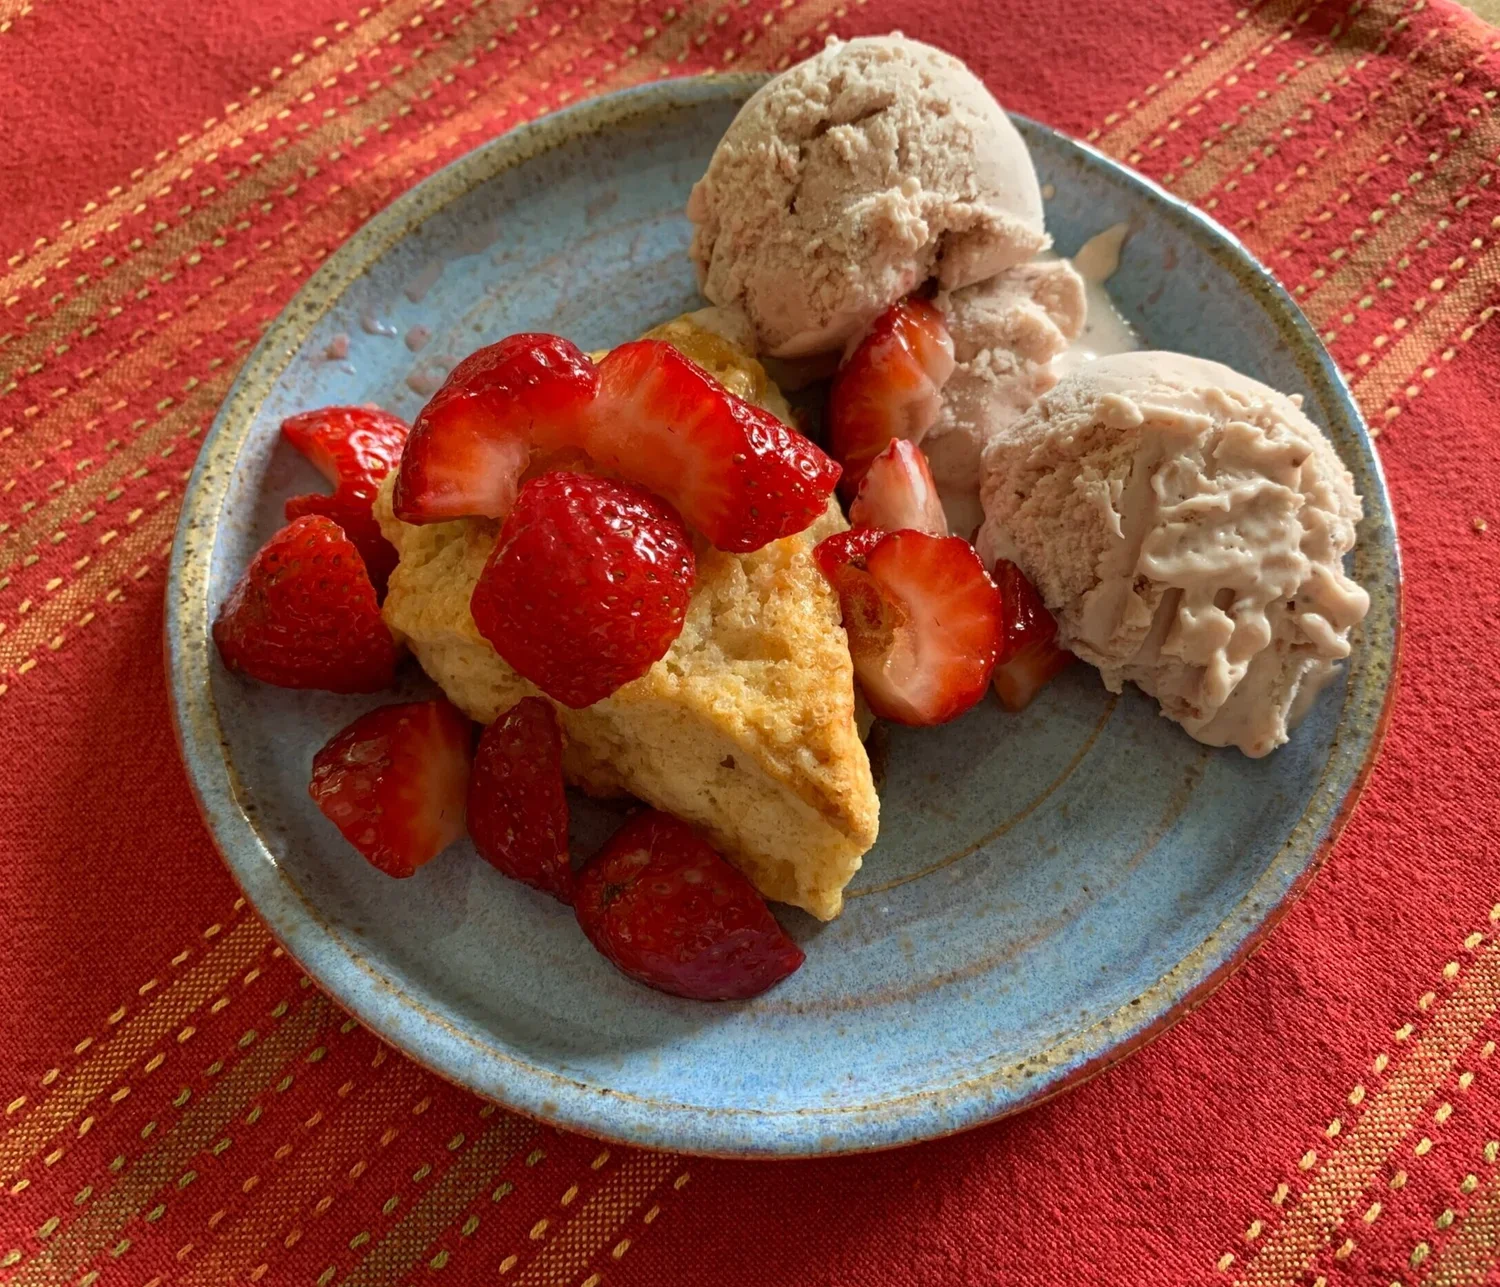
The form of dairy can vary from heavy cream or crème fraîche to buttermilk to yogurt or even cottage cheese or ricotta. I’ve used combos of cream+yogurt or buttermilk+ ricotta to create slightly different textures and flavors. Play around with it.
Then consider chunky or crunchy add-ins like dried fruits (cranberry, cherry, apricot, currants are all fair game), lightly toasted-then-chopped nuts and/or chopped or grated chocolate/chips/pearls; or savory versions with grated cheddar cheese, sun dried tomato or bacon bits. So many possibilities!
Be careful with “wet” add-ins which are likely to affect the scone’s texture. I generally don’t use fresh raspberries or strawberries due to their water content as well as difficulty incorporating them into the dough without squishing them a lot. I have however had pretty good luck with blueberries in this Joanne Chang recipe.
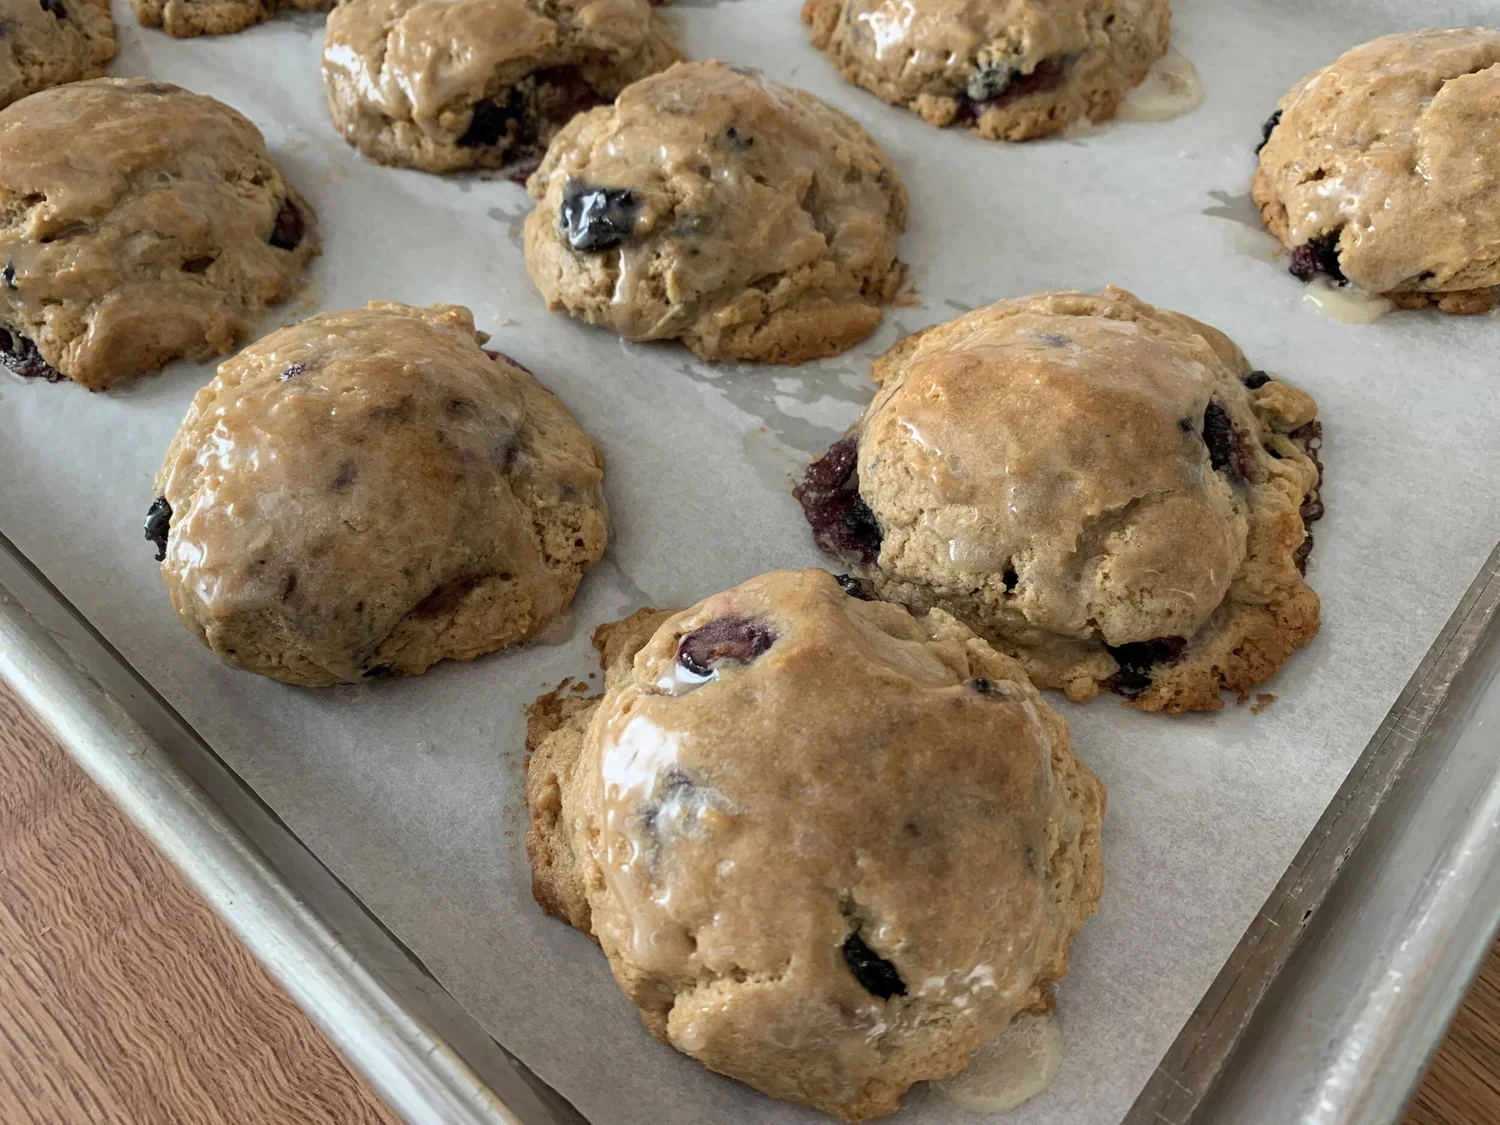
I utilize two base recipes for the most part. Here’s the one for a classic simple lemon or vanilla scone with some suggested flavor variations and different glazes you might like. And here’s the one with add-ins - same ingredients with adjusted quantities to allow for add-ins and yield the same batch weight as the classic version.
Example - if I’m making both lemon and cranberry nut scones, I’ll have essentially equal weights of each dough and can shape and cut the same number and size of scones from each batch. Yeah, I know - a bit over the top on the uniformity end of things, eh?
With a slight variation for savory scones I use this base.
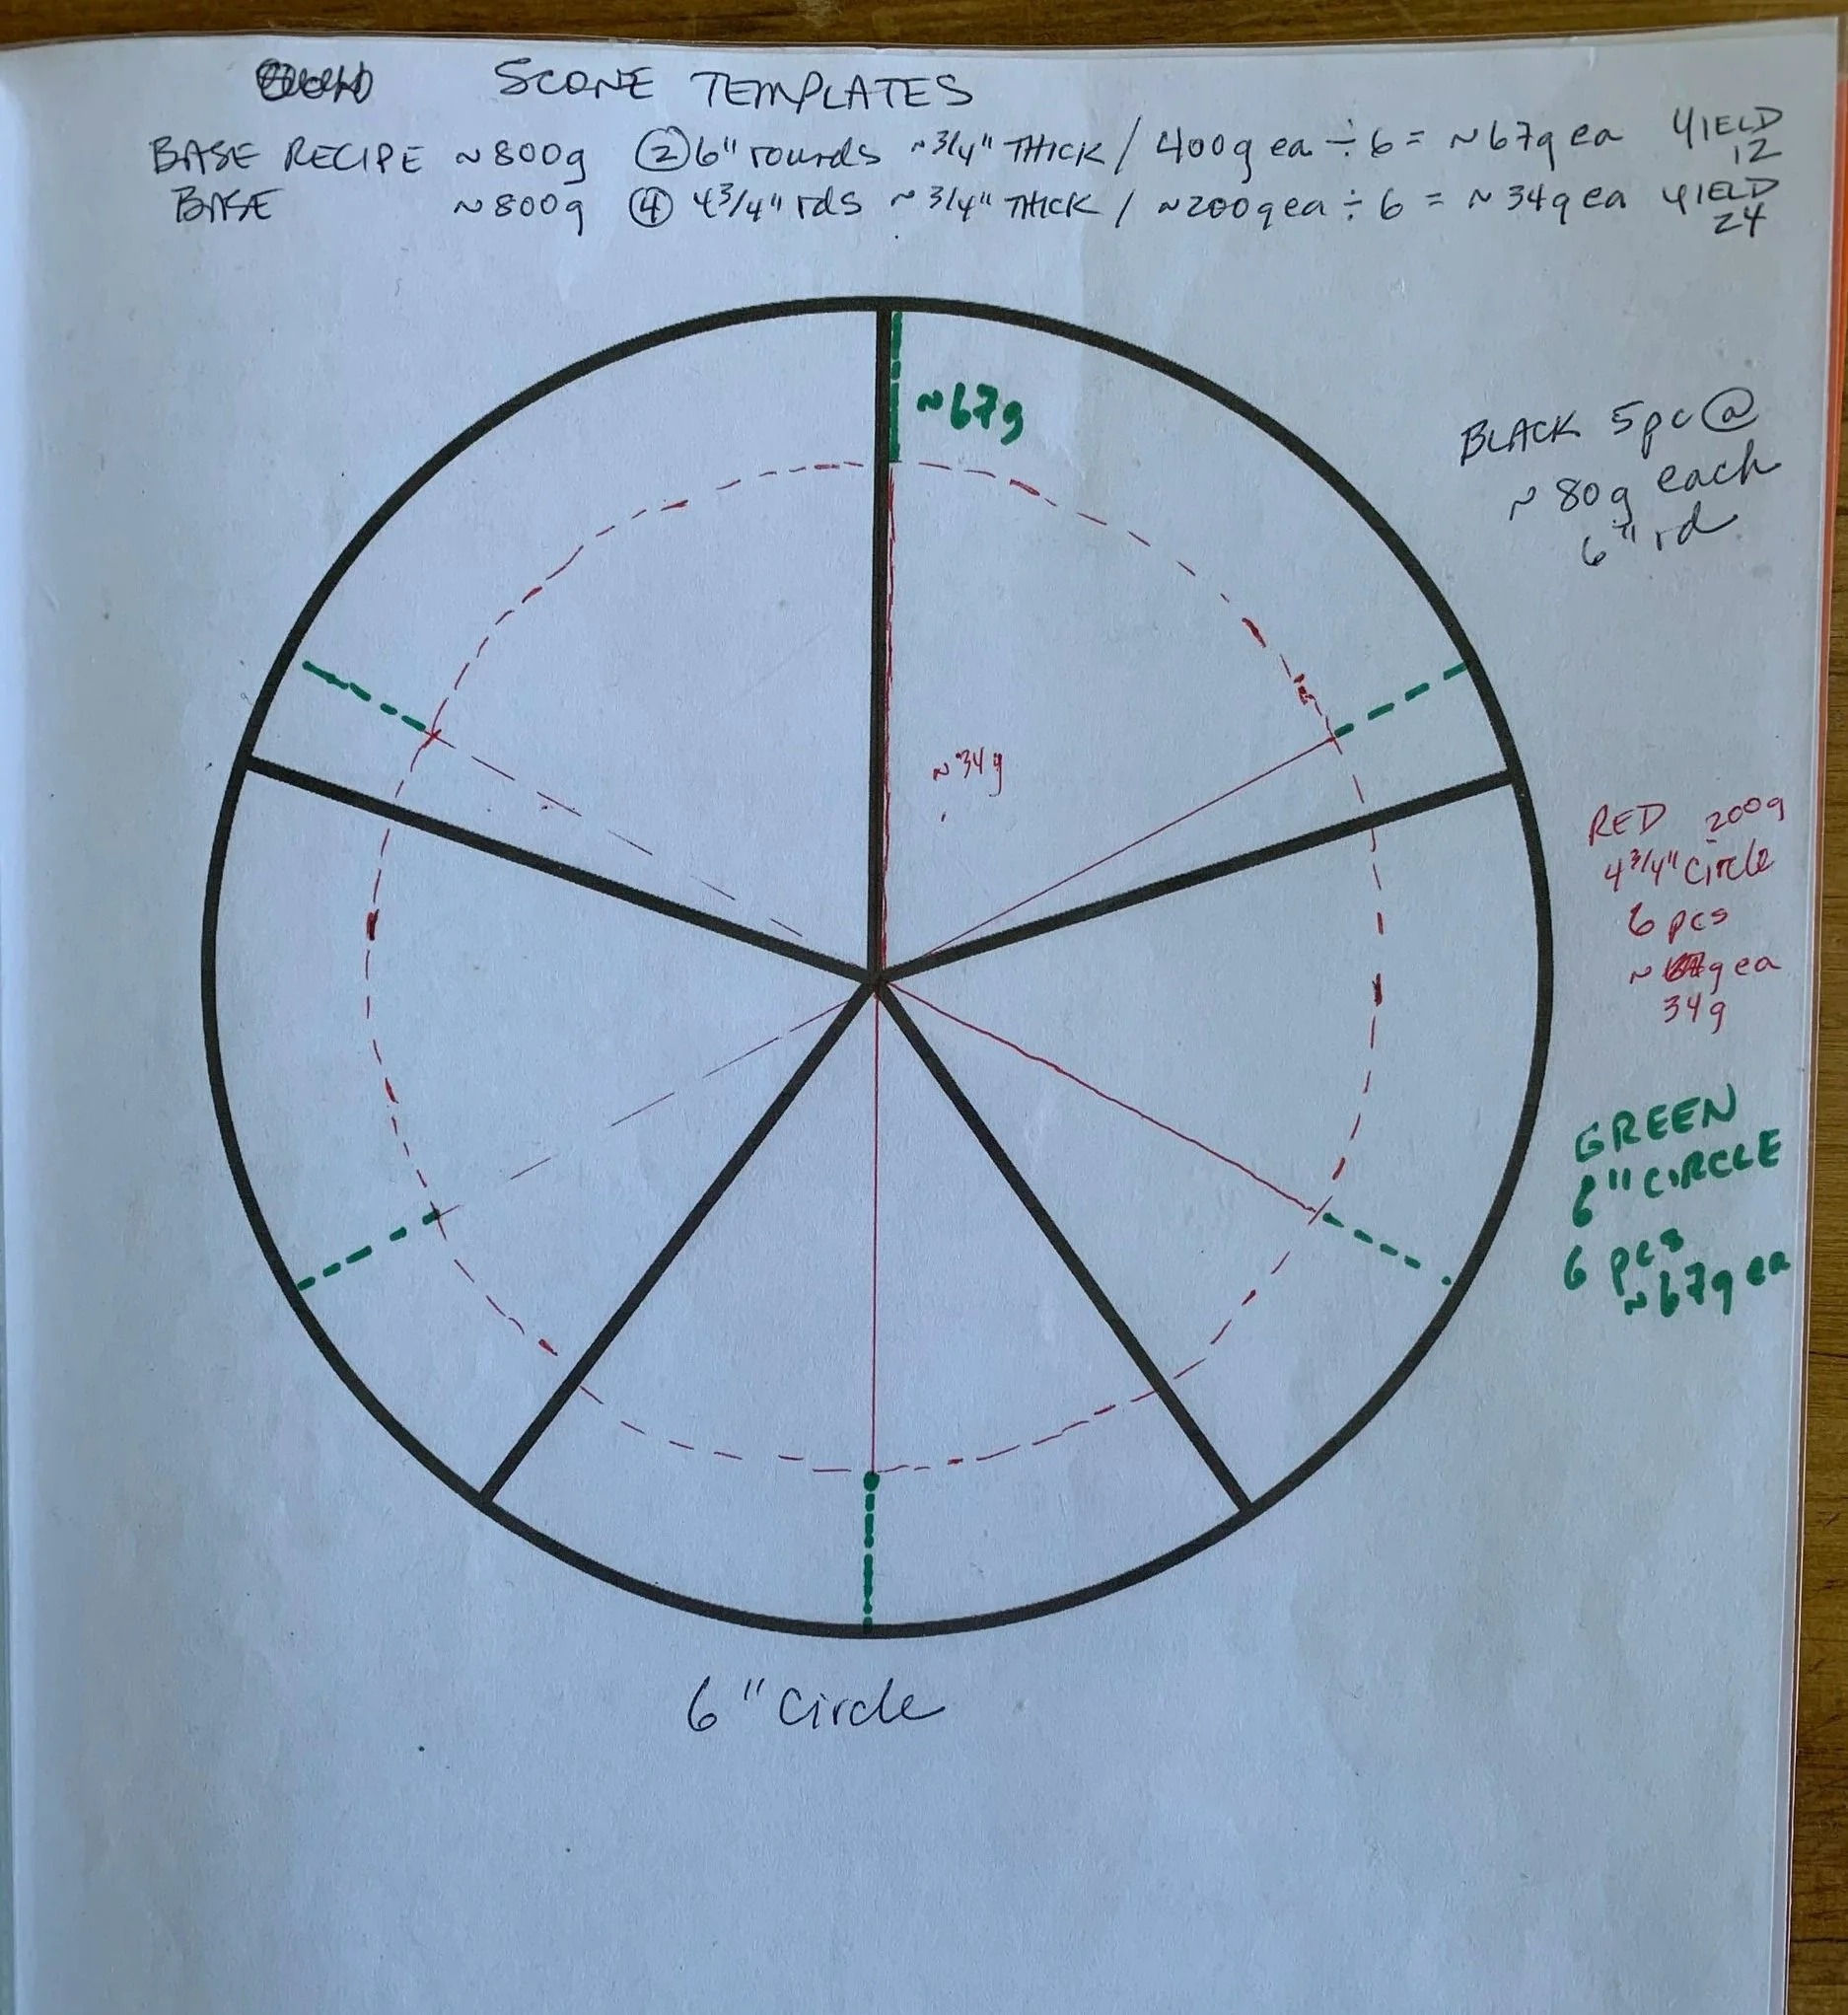
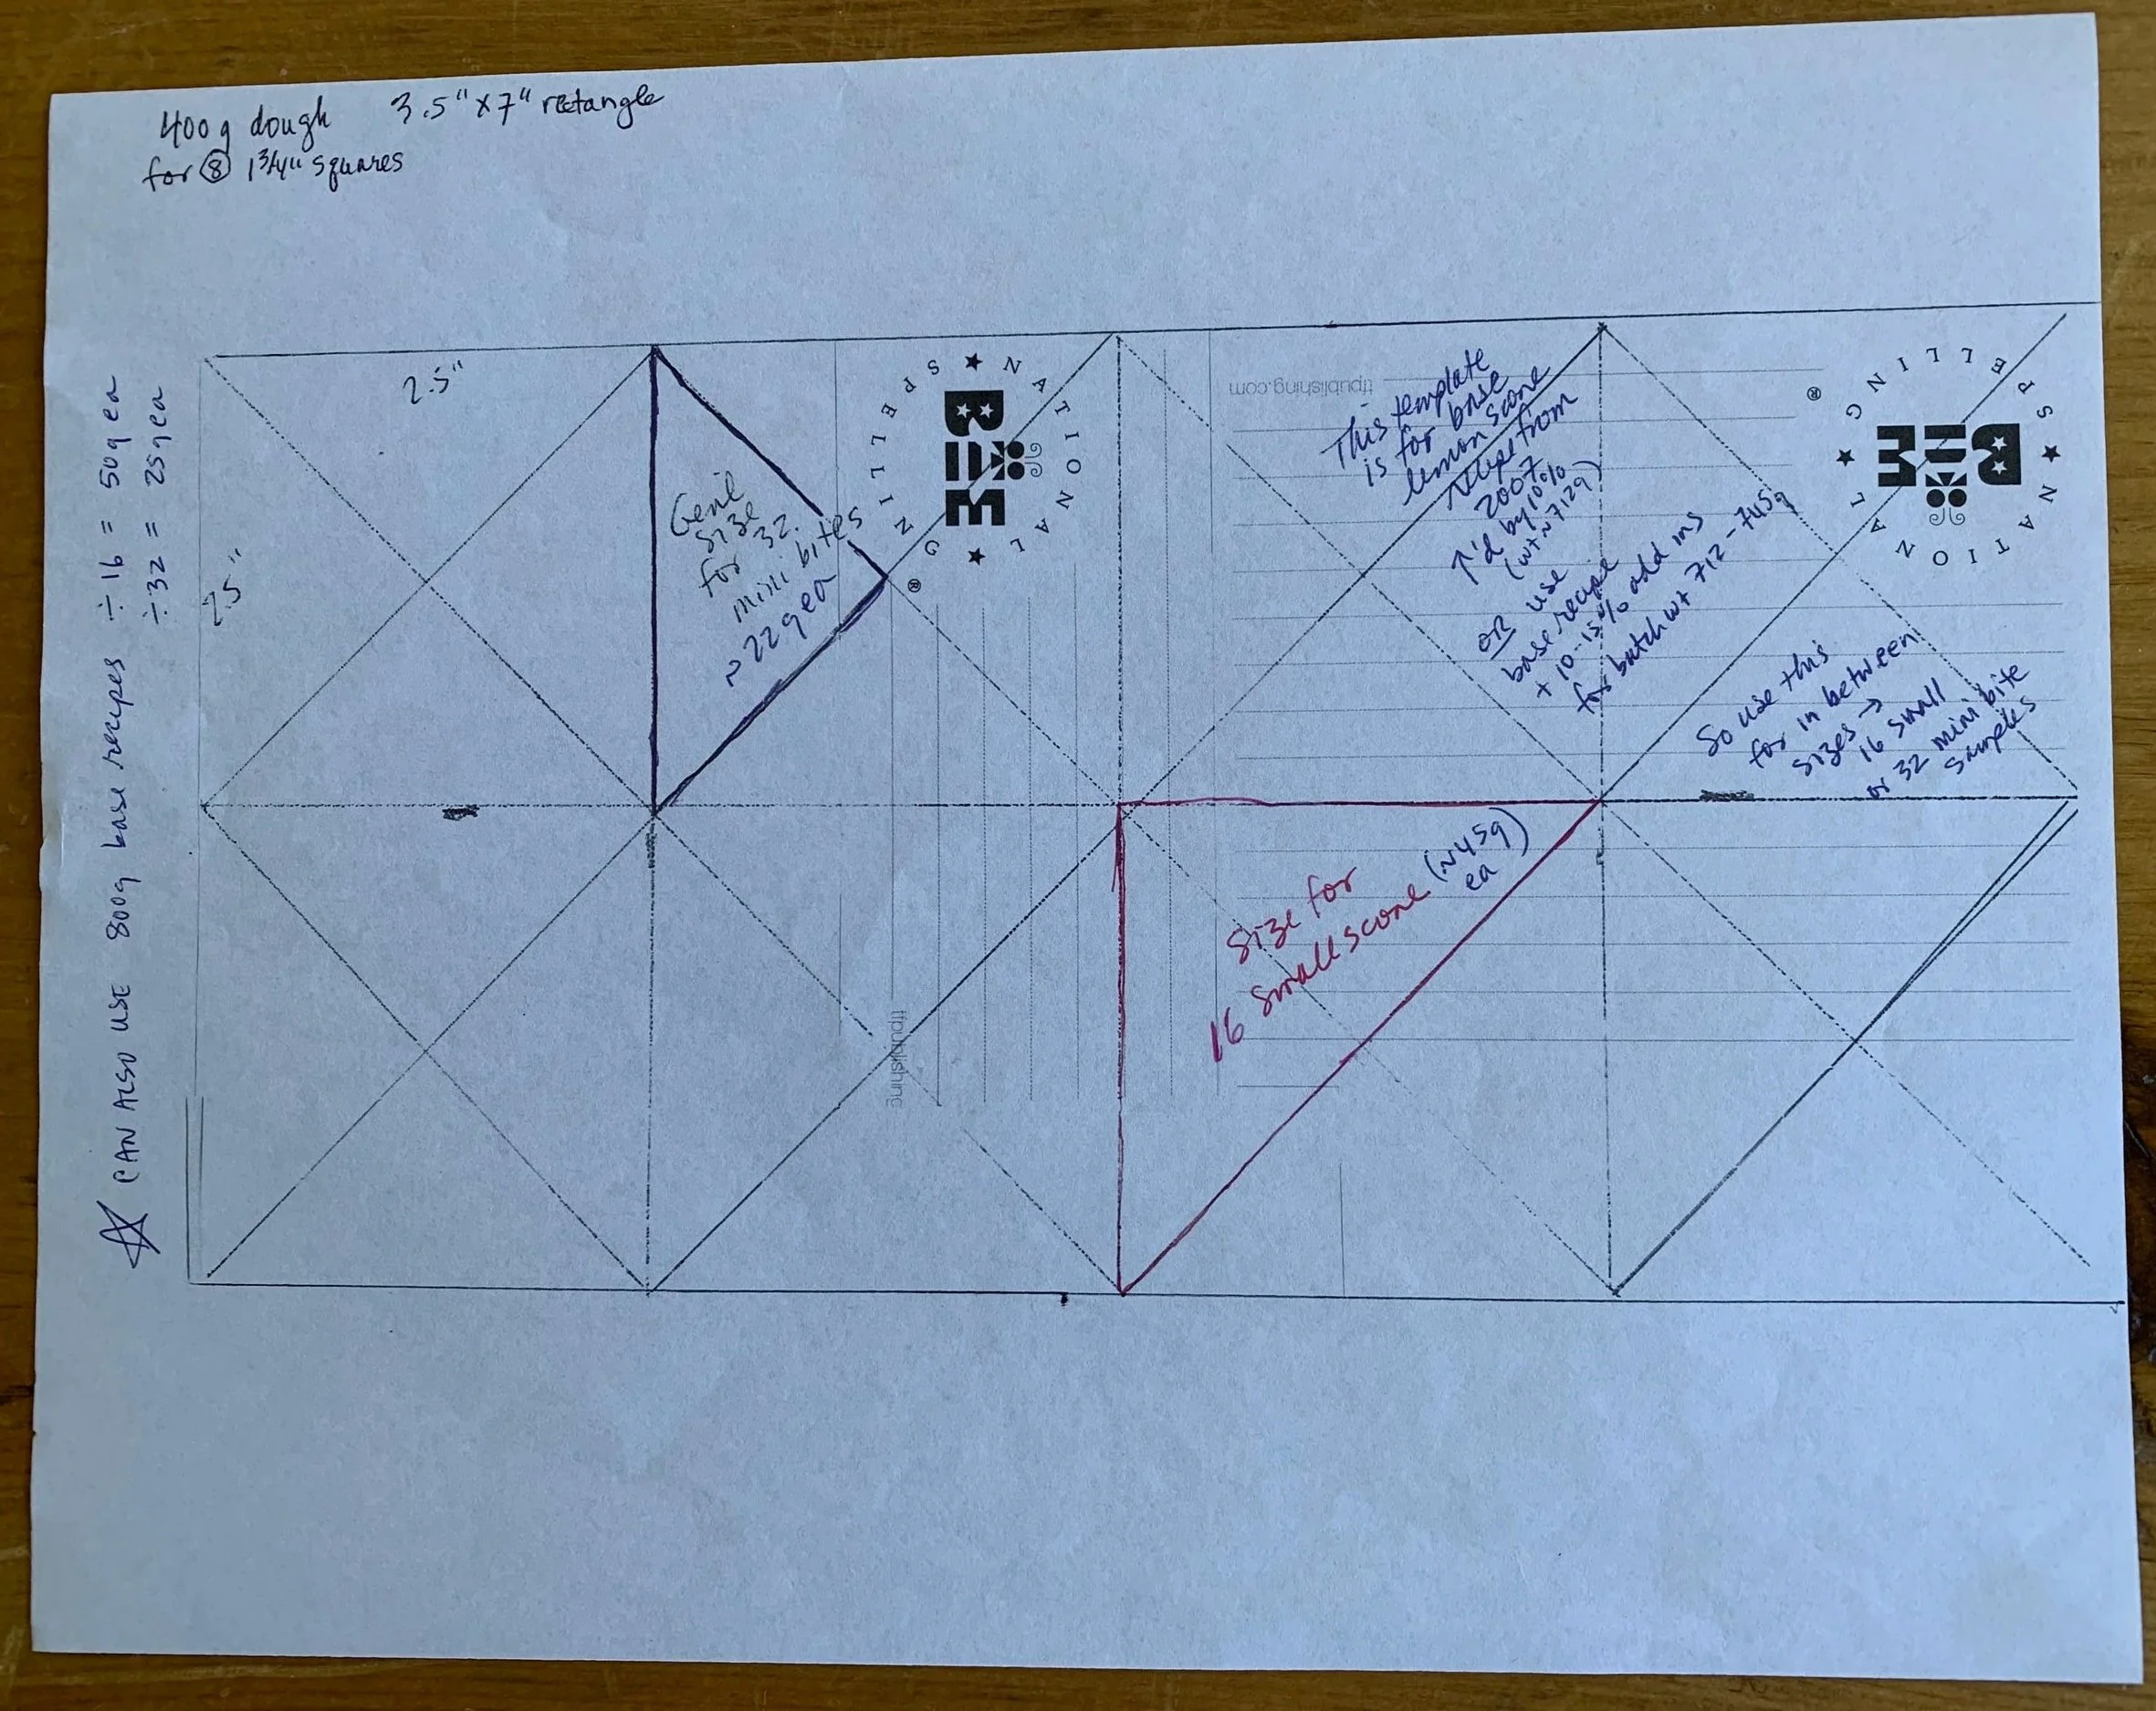
I usually shape my dough either into circles from which I cut larger triangles OR a rectangle from which I cut squares then divide those into smaller triangles. It’s not so much the exact dimensions but that you shape your dough at least 3/4” - 1” thick for a nicely risen scone.
Here are a couple of templates that help me determine shapes/sizes that I might choose to cut. Note different colored lines to indicate different sizes/yields/approximate weights of each scone. Yes I know - I’m kinda of a nut case!
I came across an approach recently for a slightly different take on things. For my basic lemon scone recipe I use exactly the same ingredients but incorporate melted/cooled (yet still “fluid”) butter into the mix rather than the usual cold, diced butter that’s briefly worked into the dough with the fingertips. This one requires some planning ahead since the dough has to chill in the fridge for 4-ish hours or overnight before you portion and bake.
Let’s take a look. Below are the ingredients for the basic dough - note the melted/cooled butter on the left.
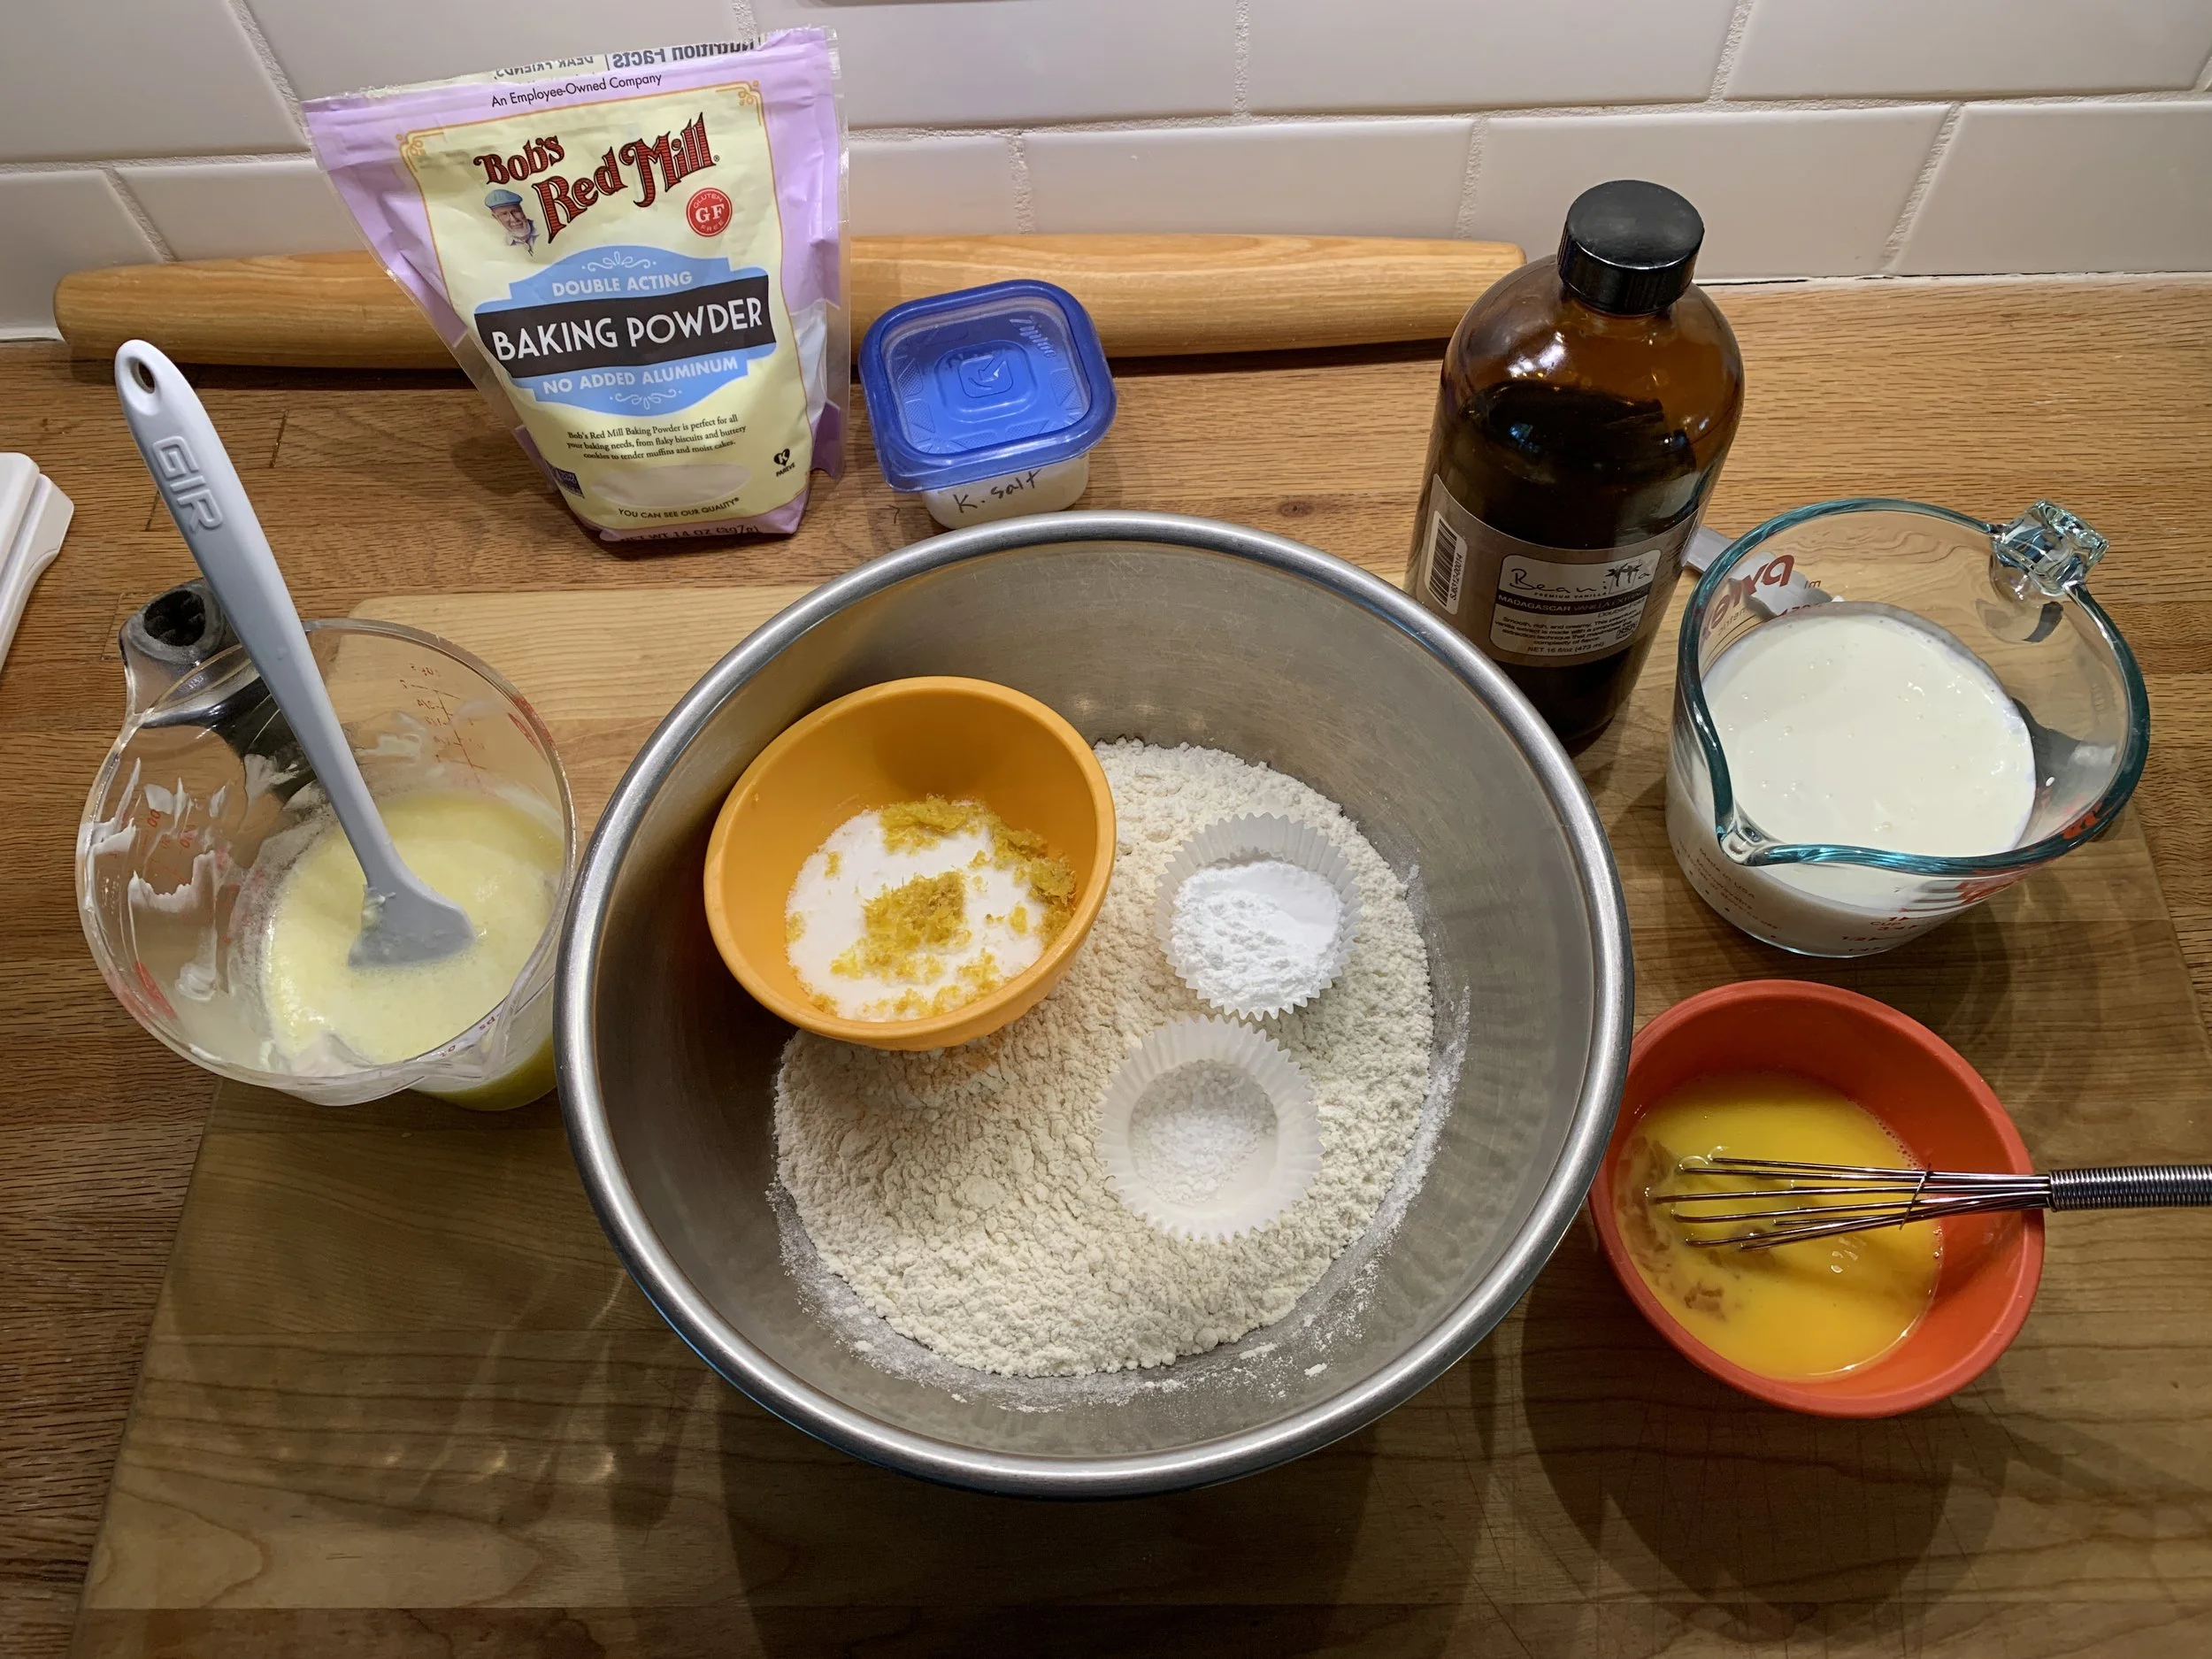
Blend the dry ingredients in the bowl, pour the butter in and gently mix it by hand or gently with a bowl scraper. Note the curd like consistency in the bowl on the left.
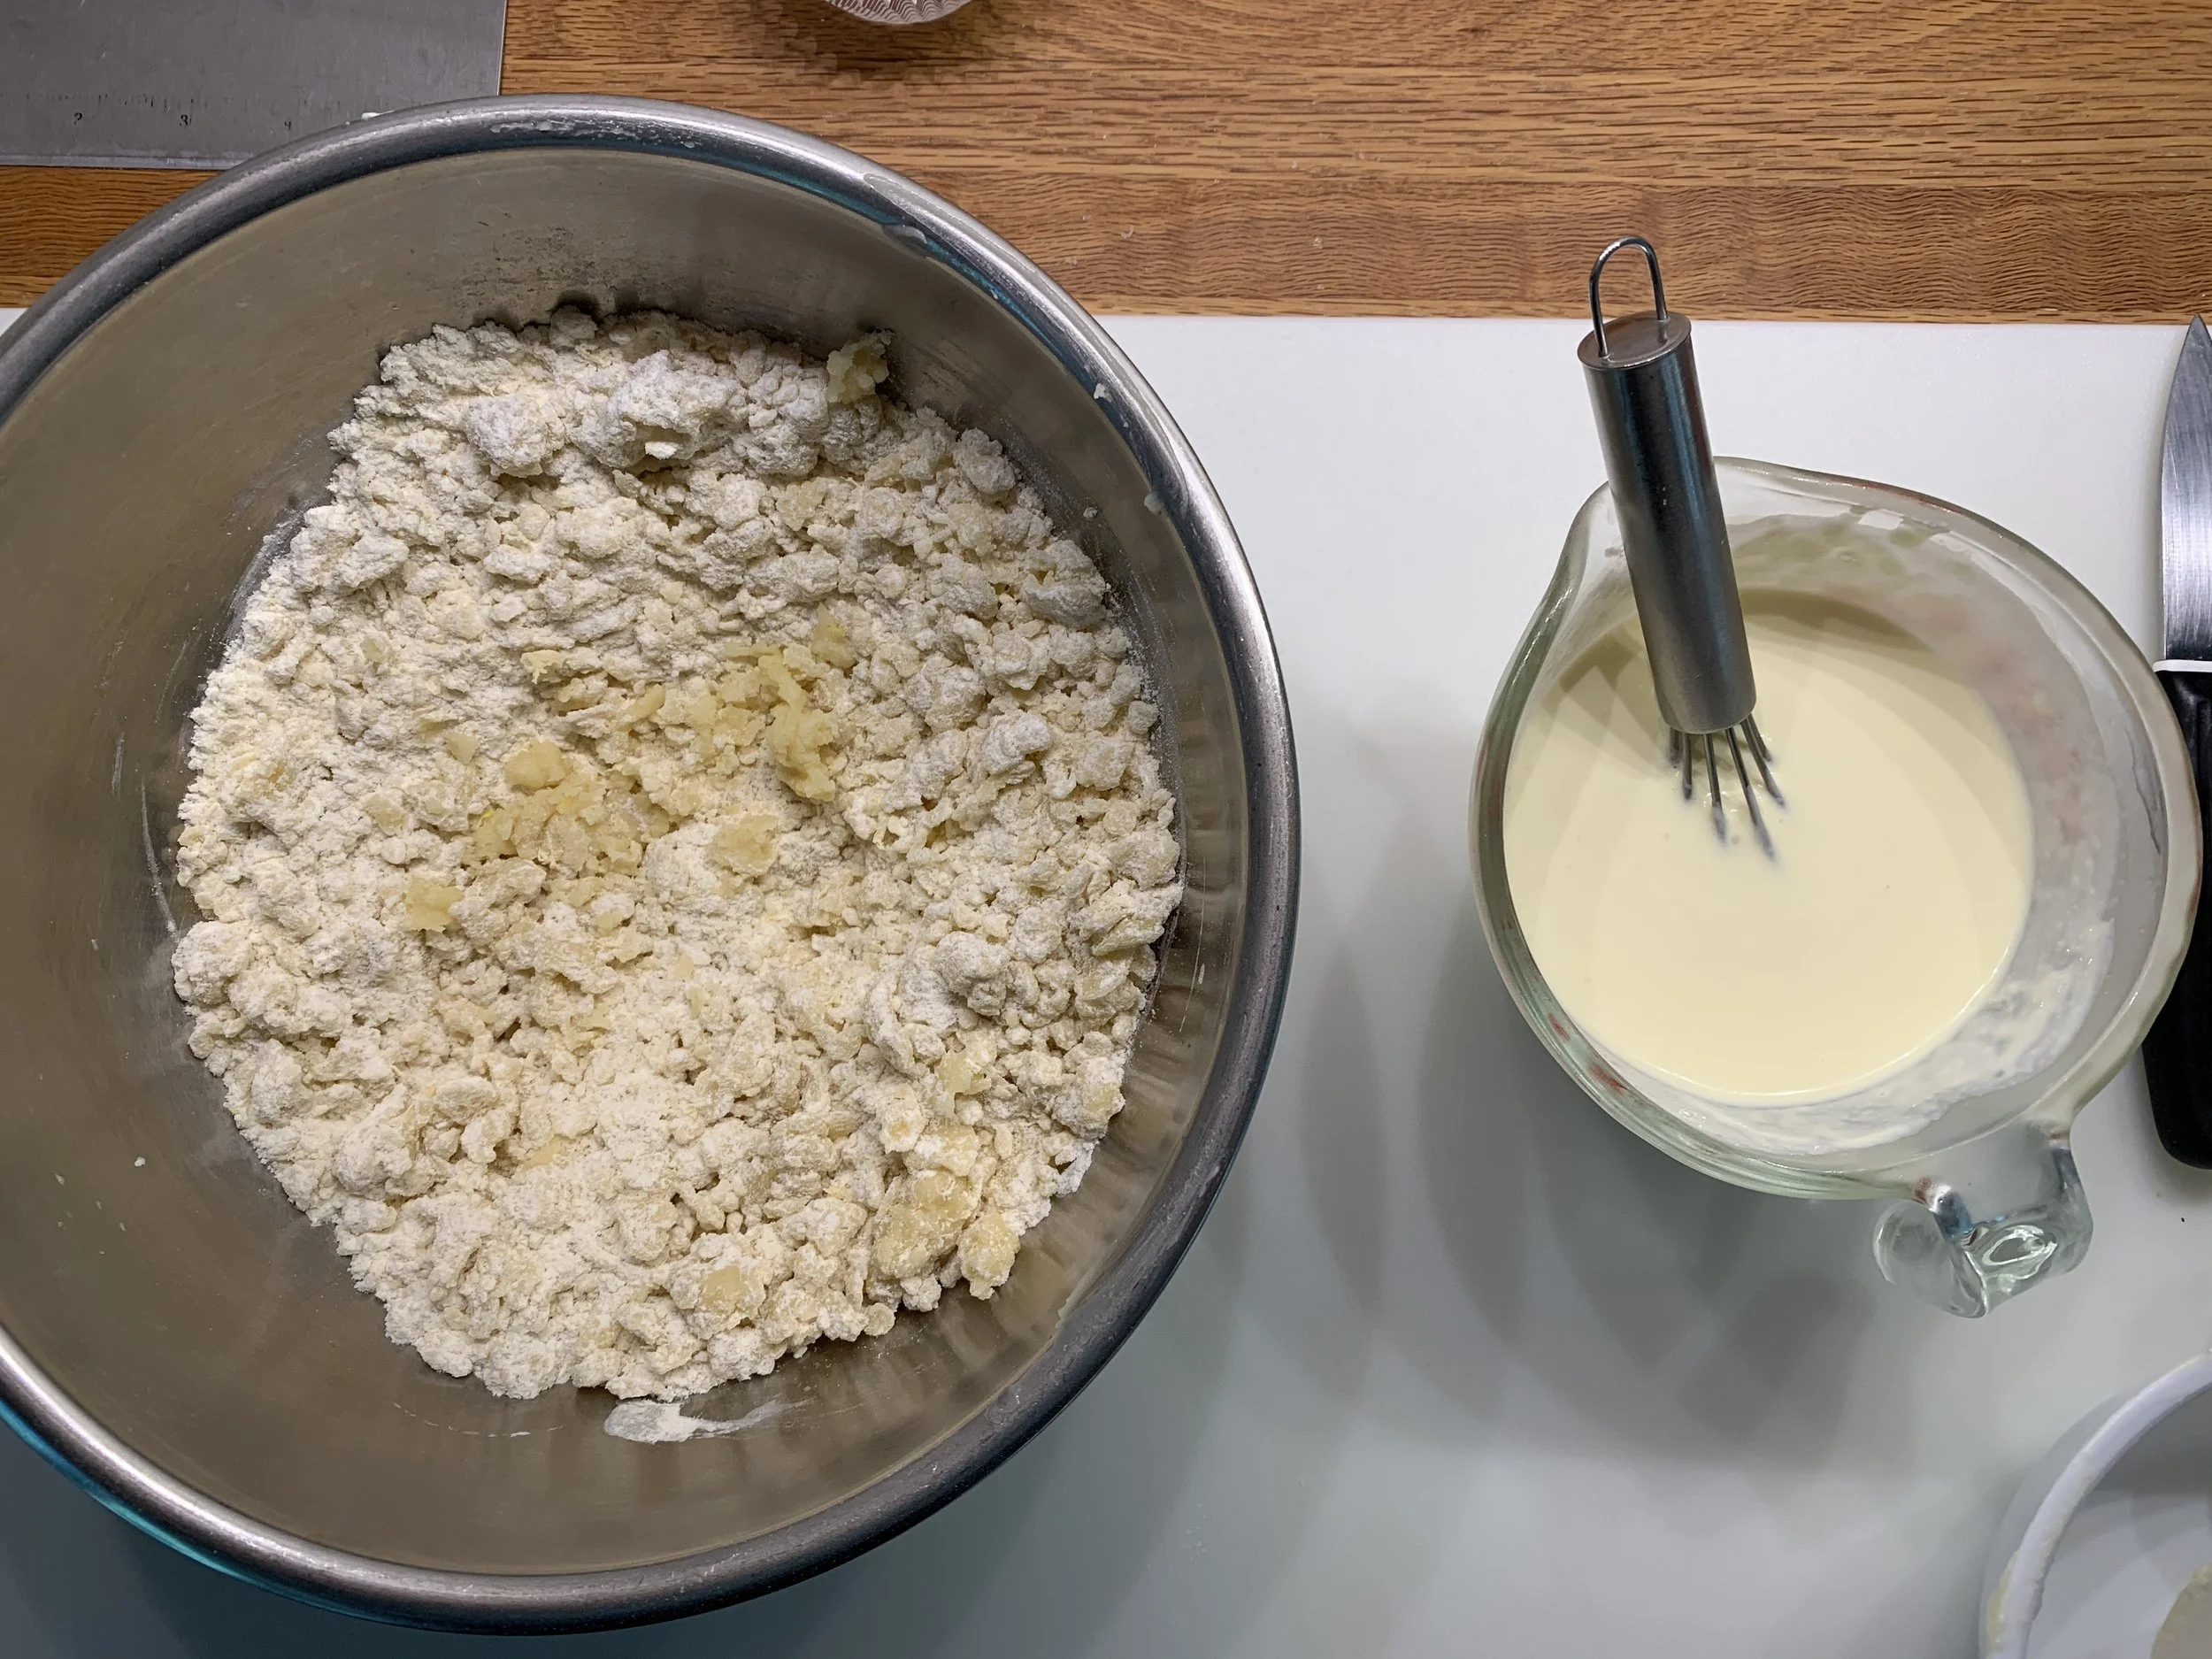
Then add the egg/cream . . . . . .
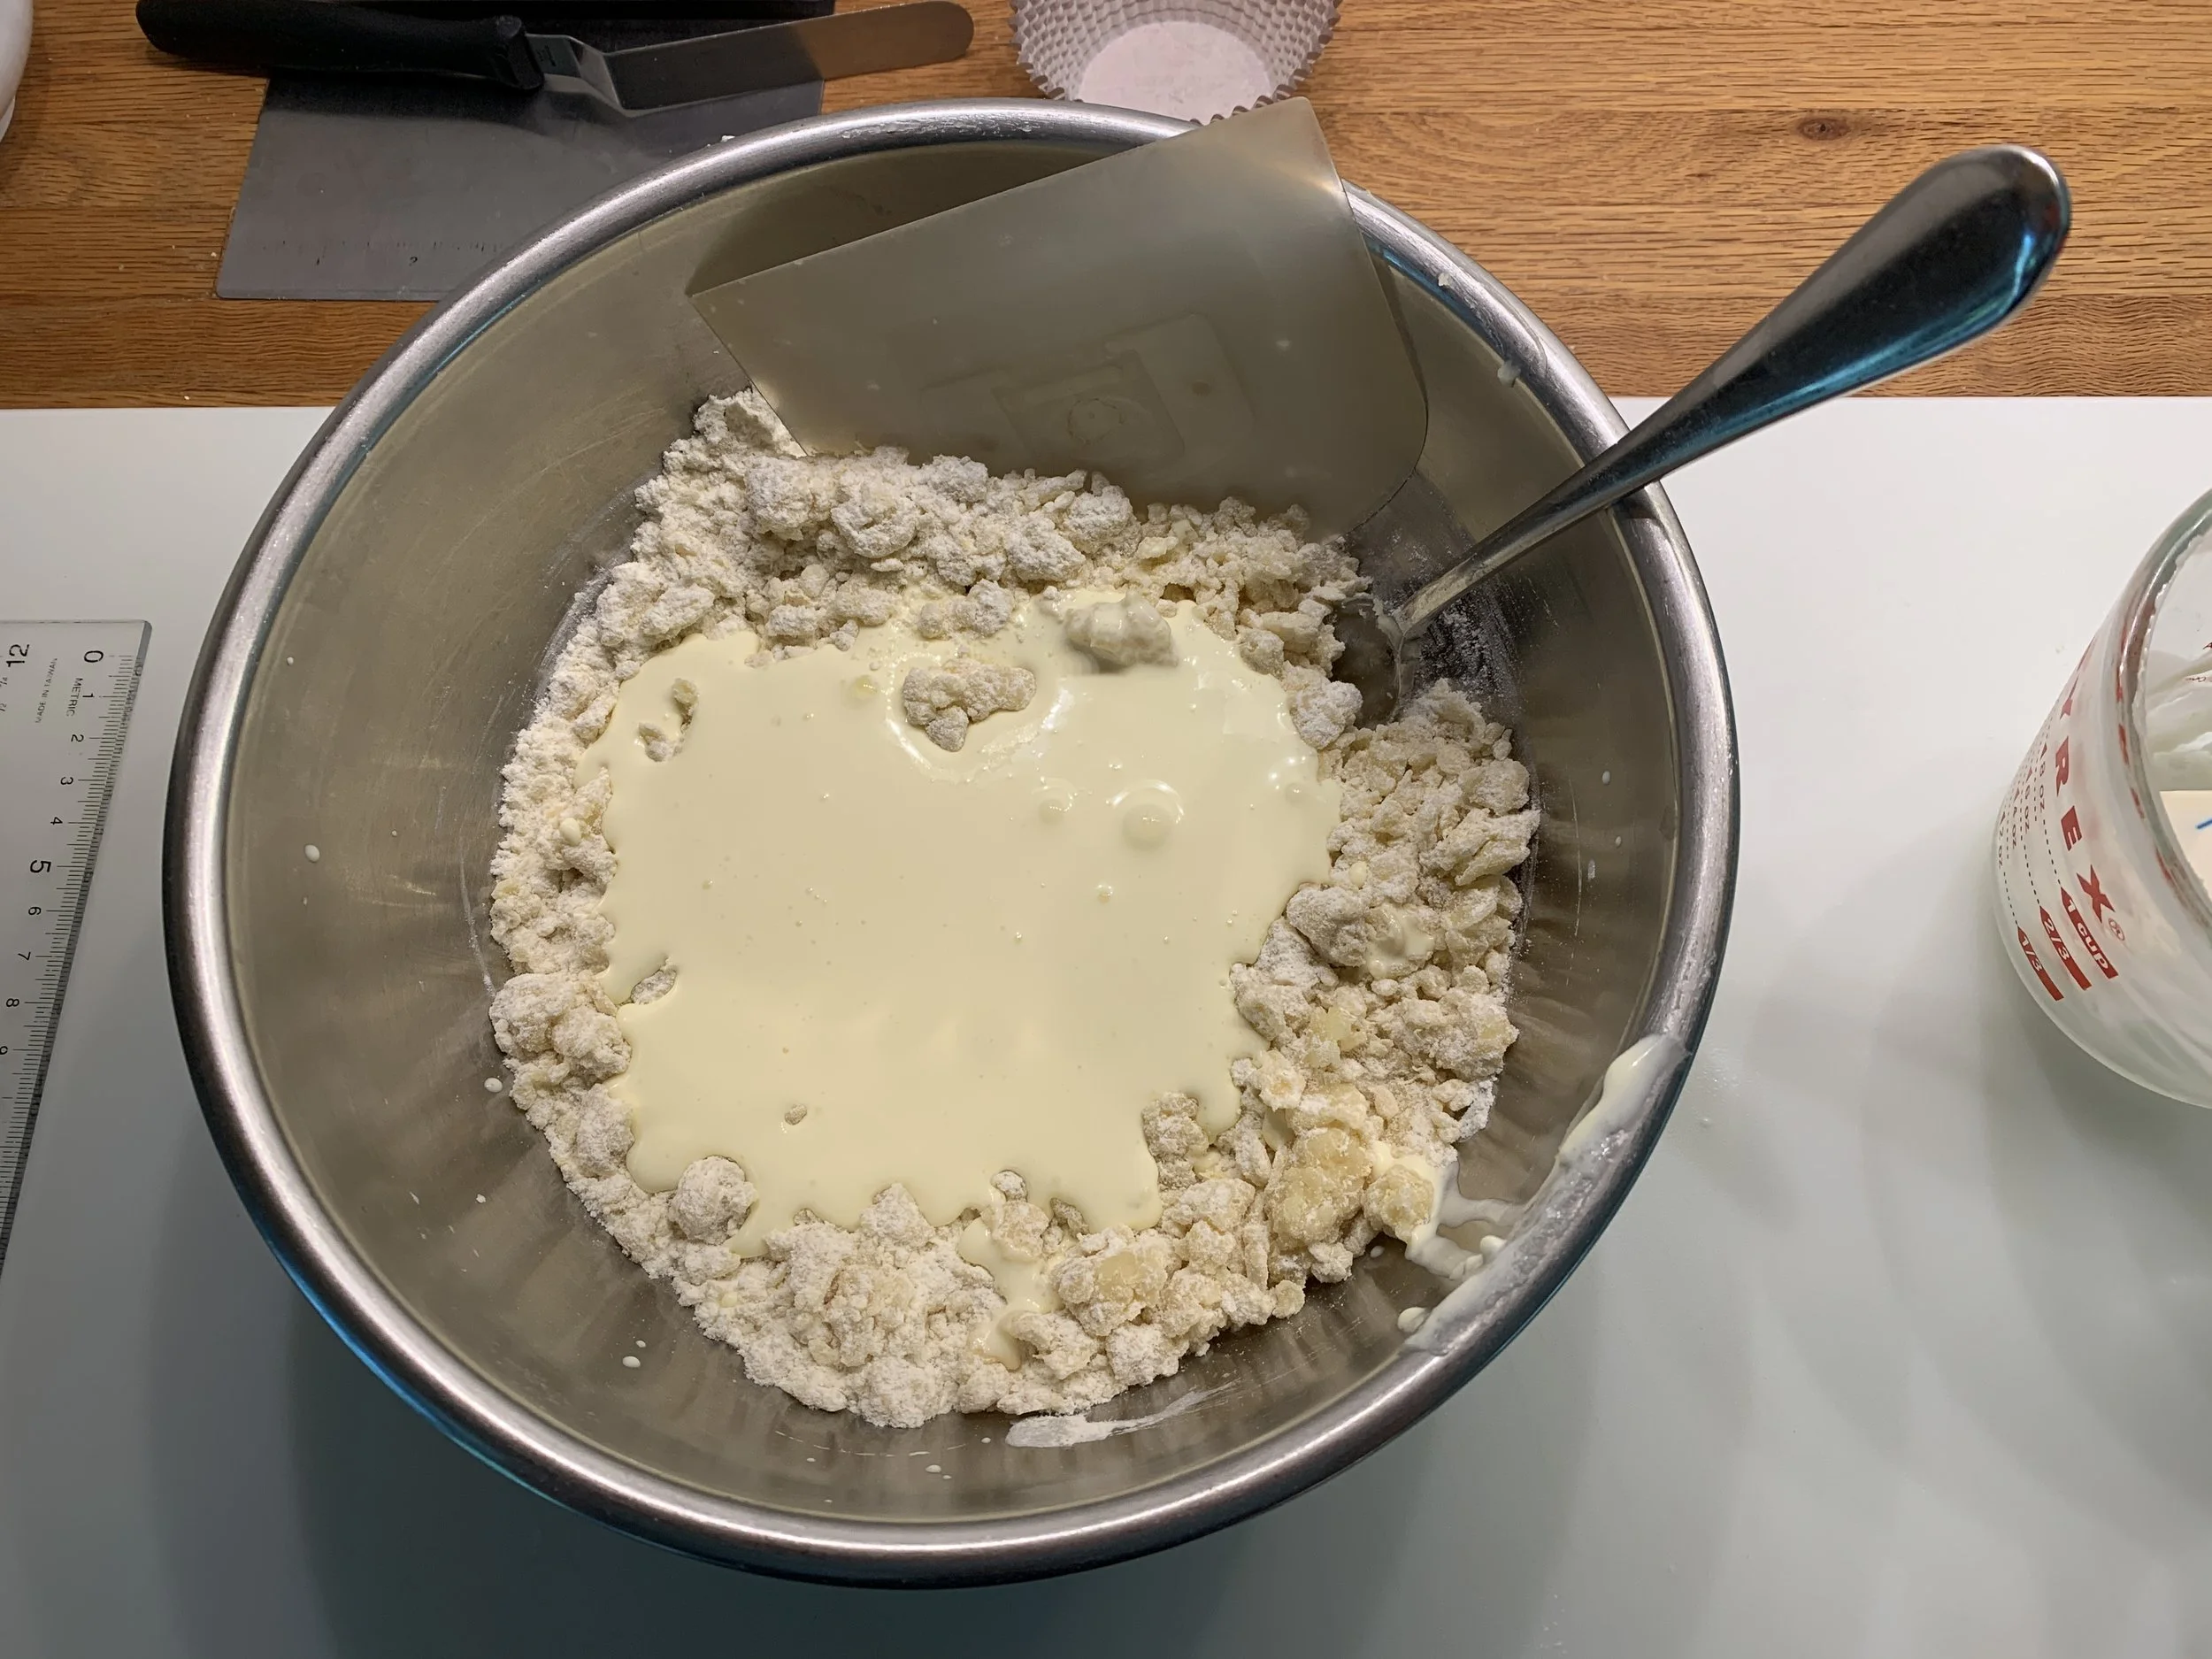
. . . . .and blend with a fork/bowl scraper to bring it all together.
Note the more moist cottage cheese like consistency below.
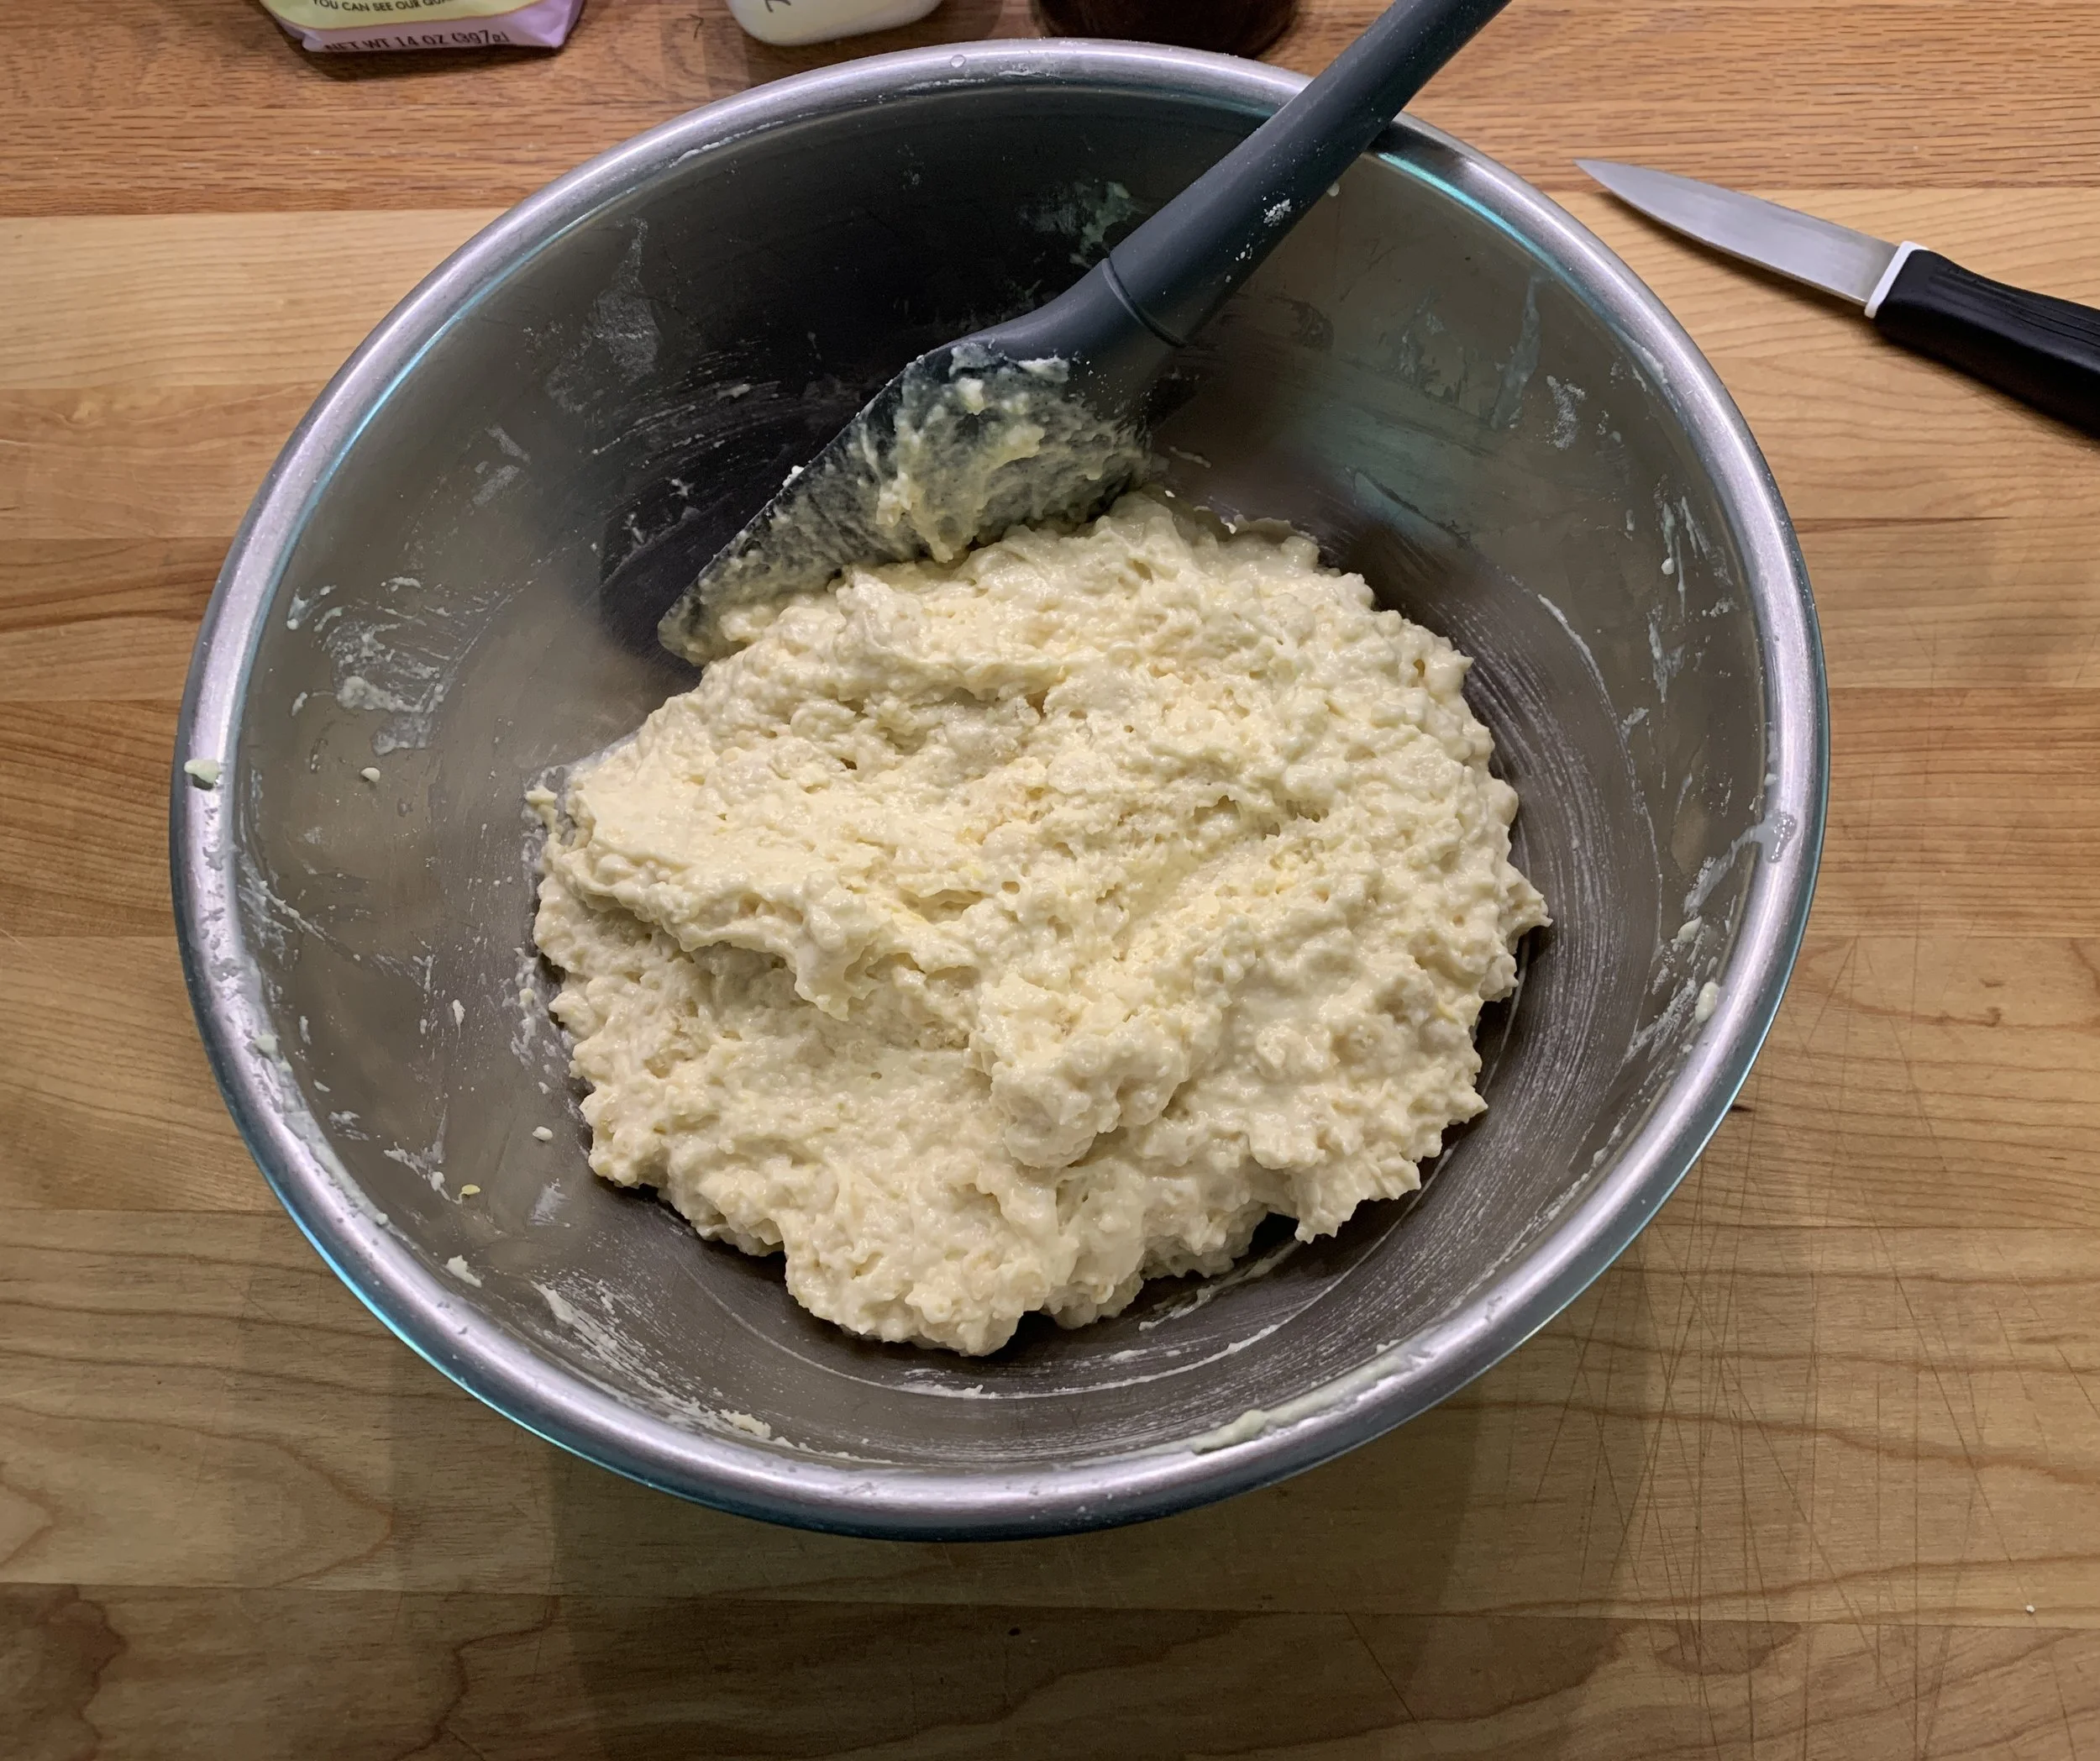
Now wrap it up . . . .
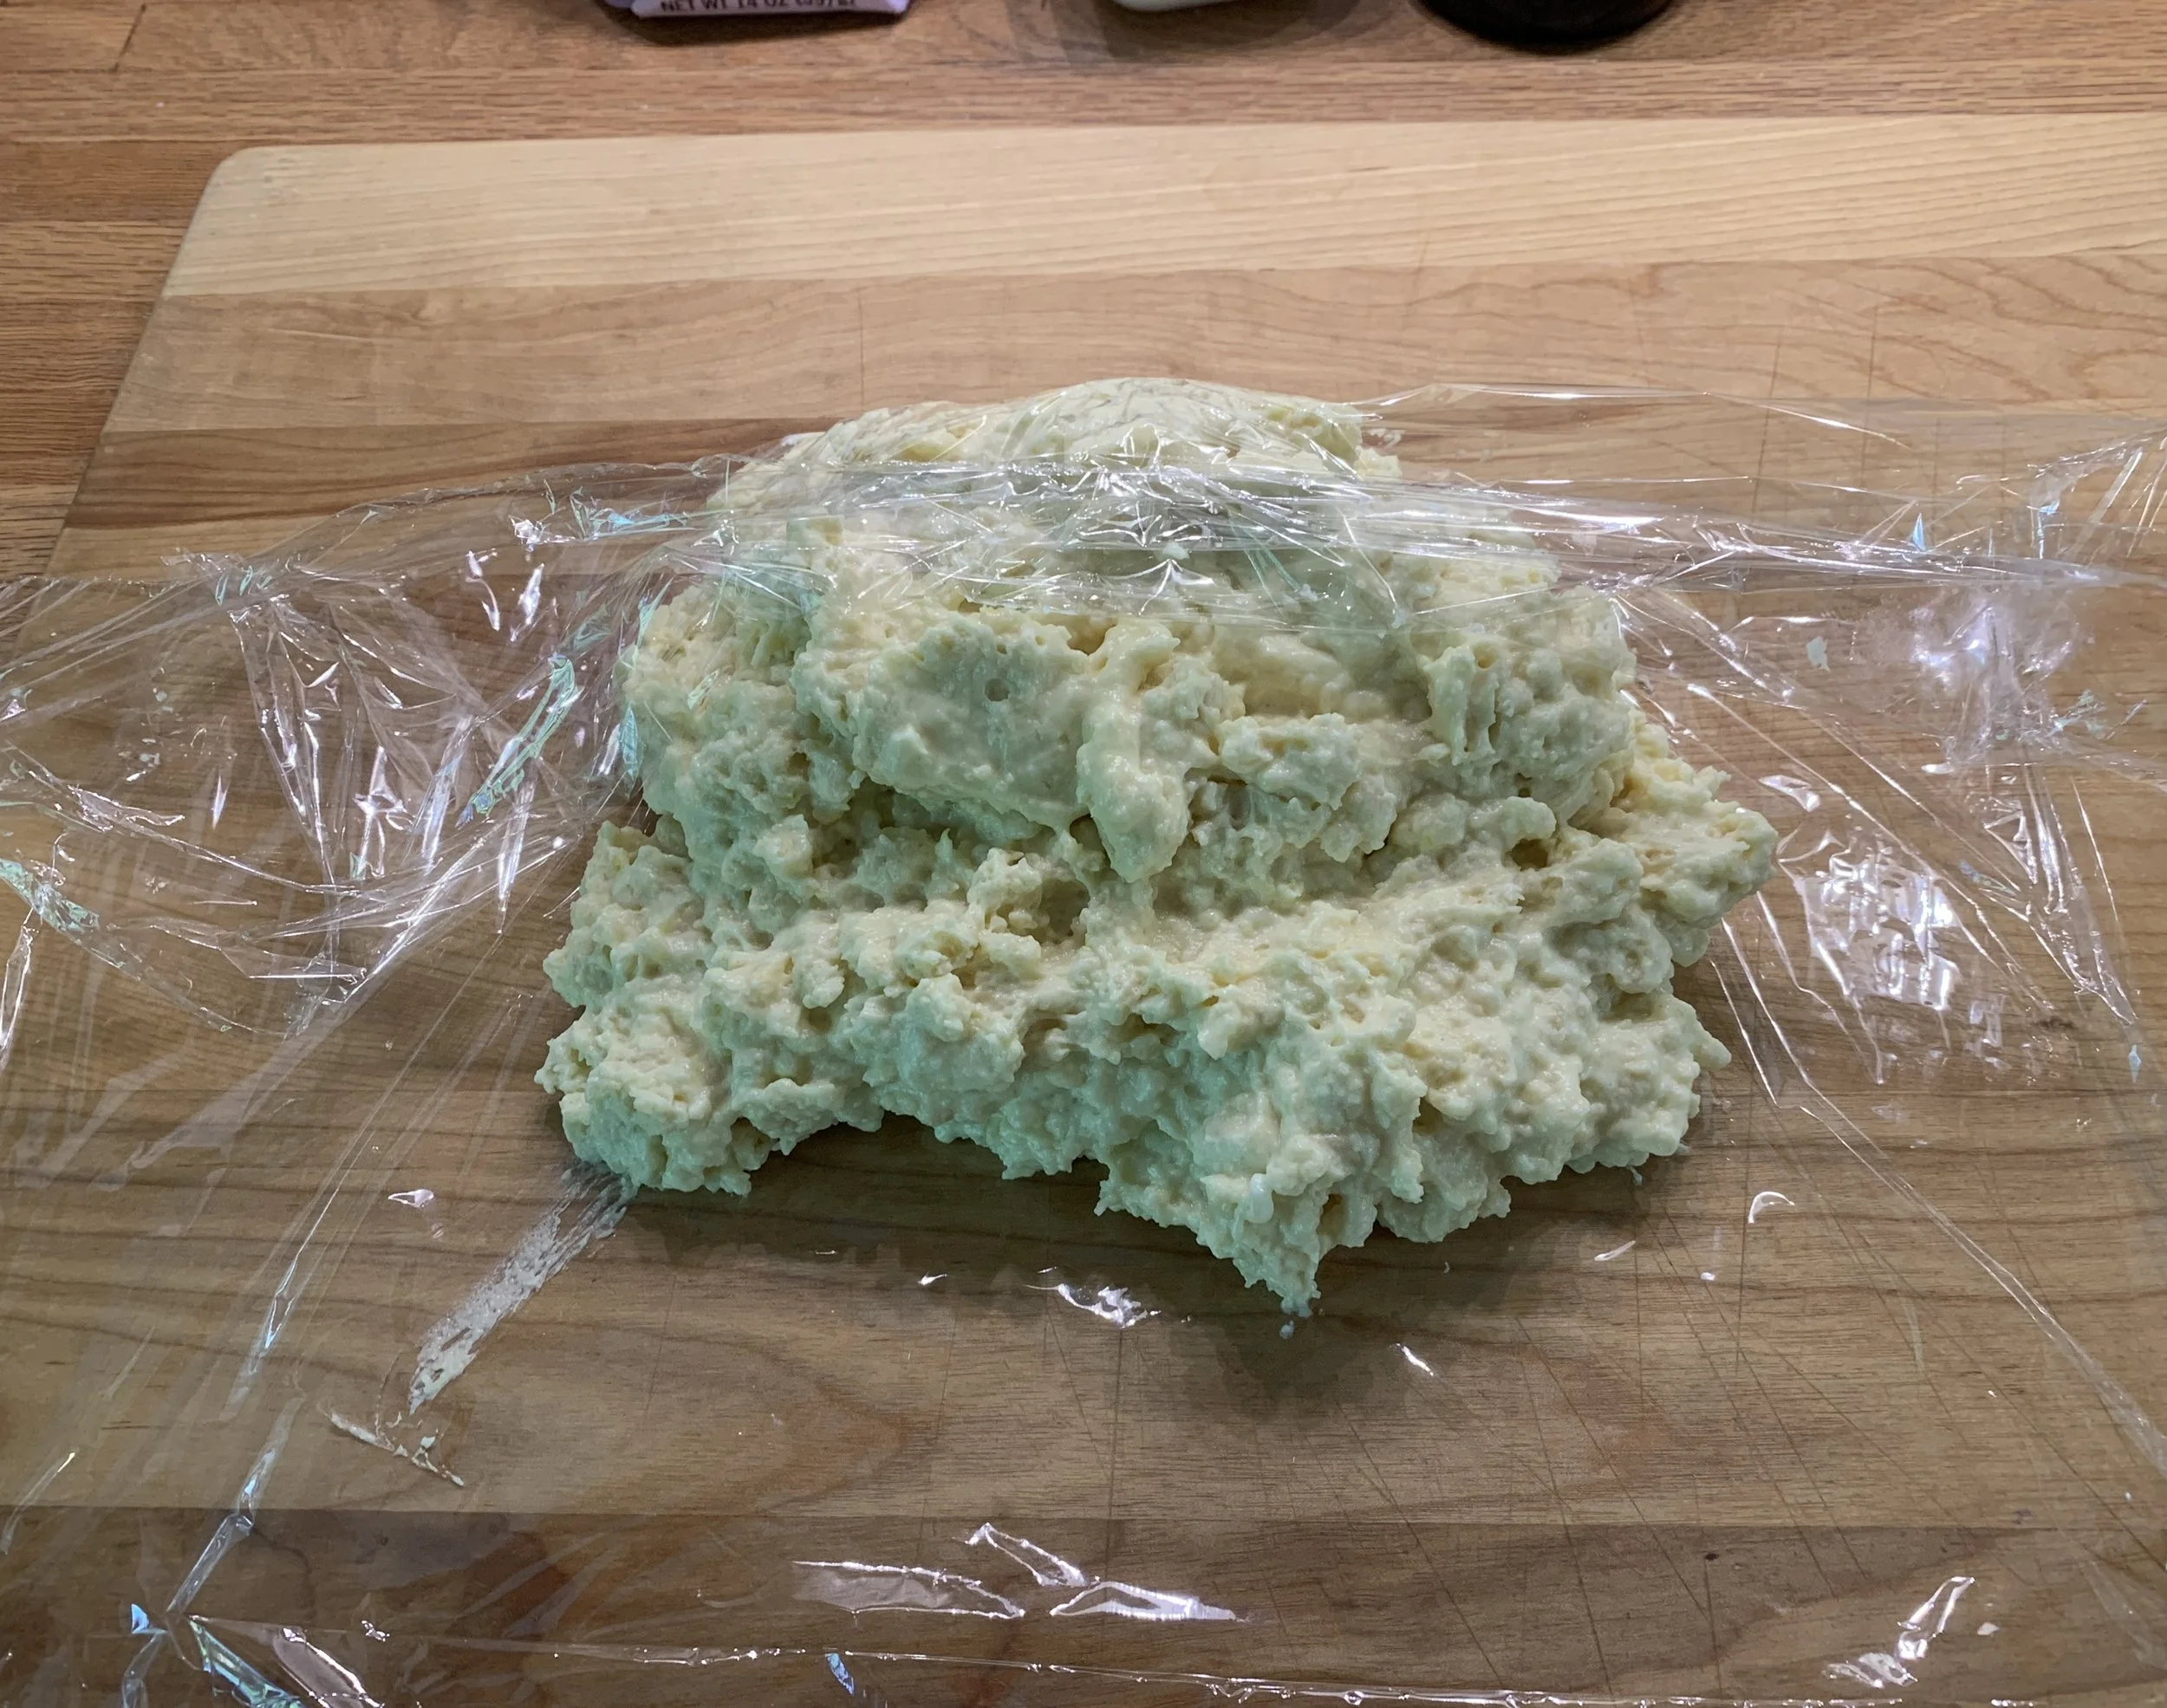
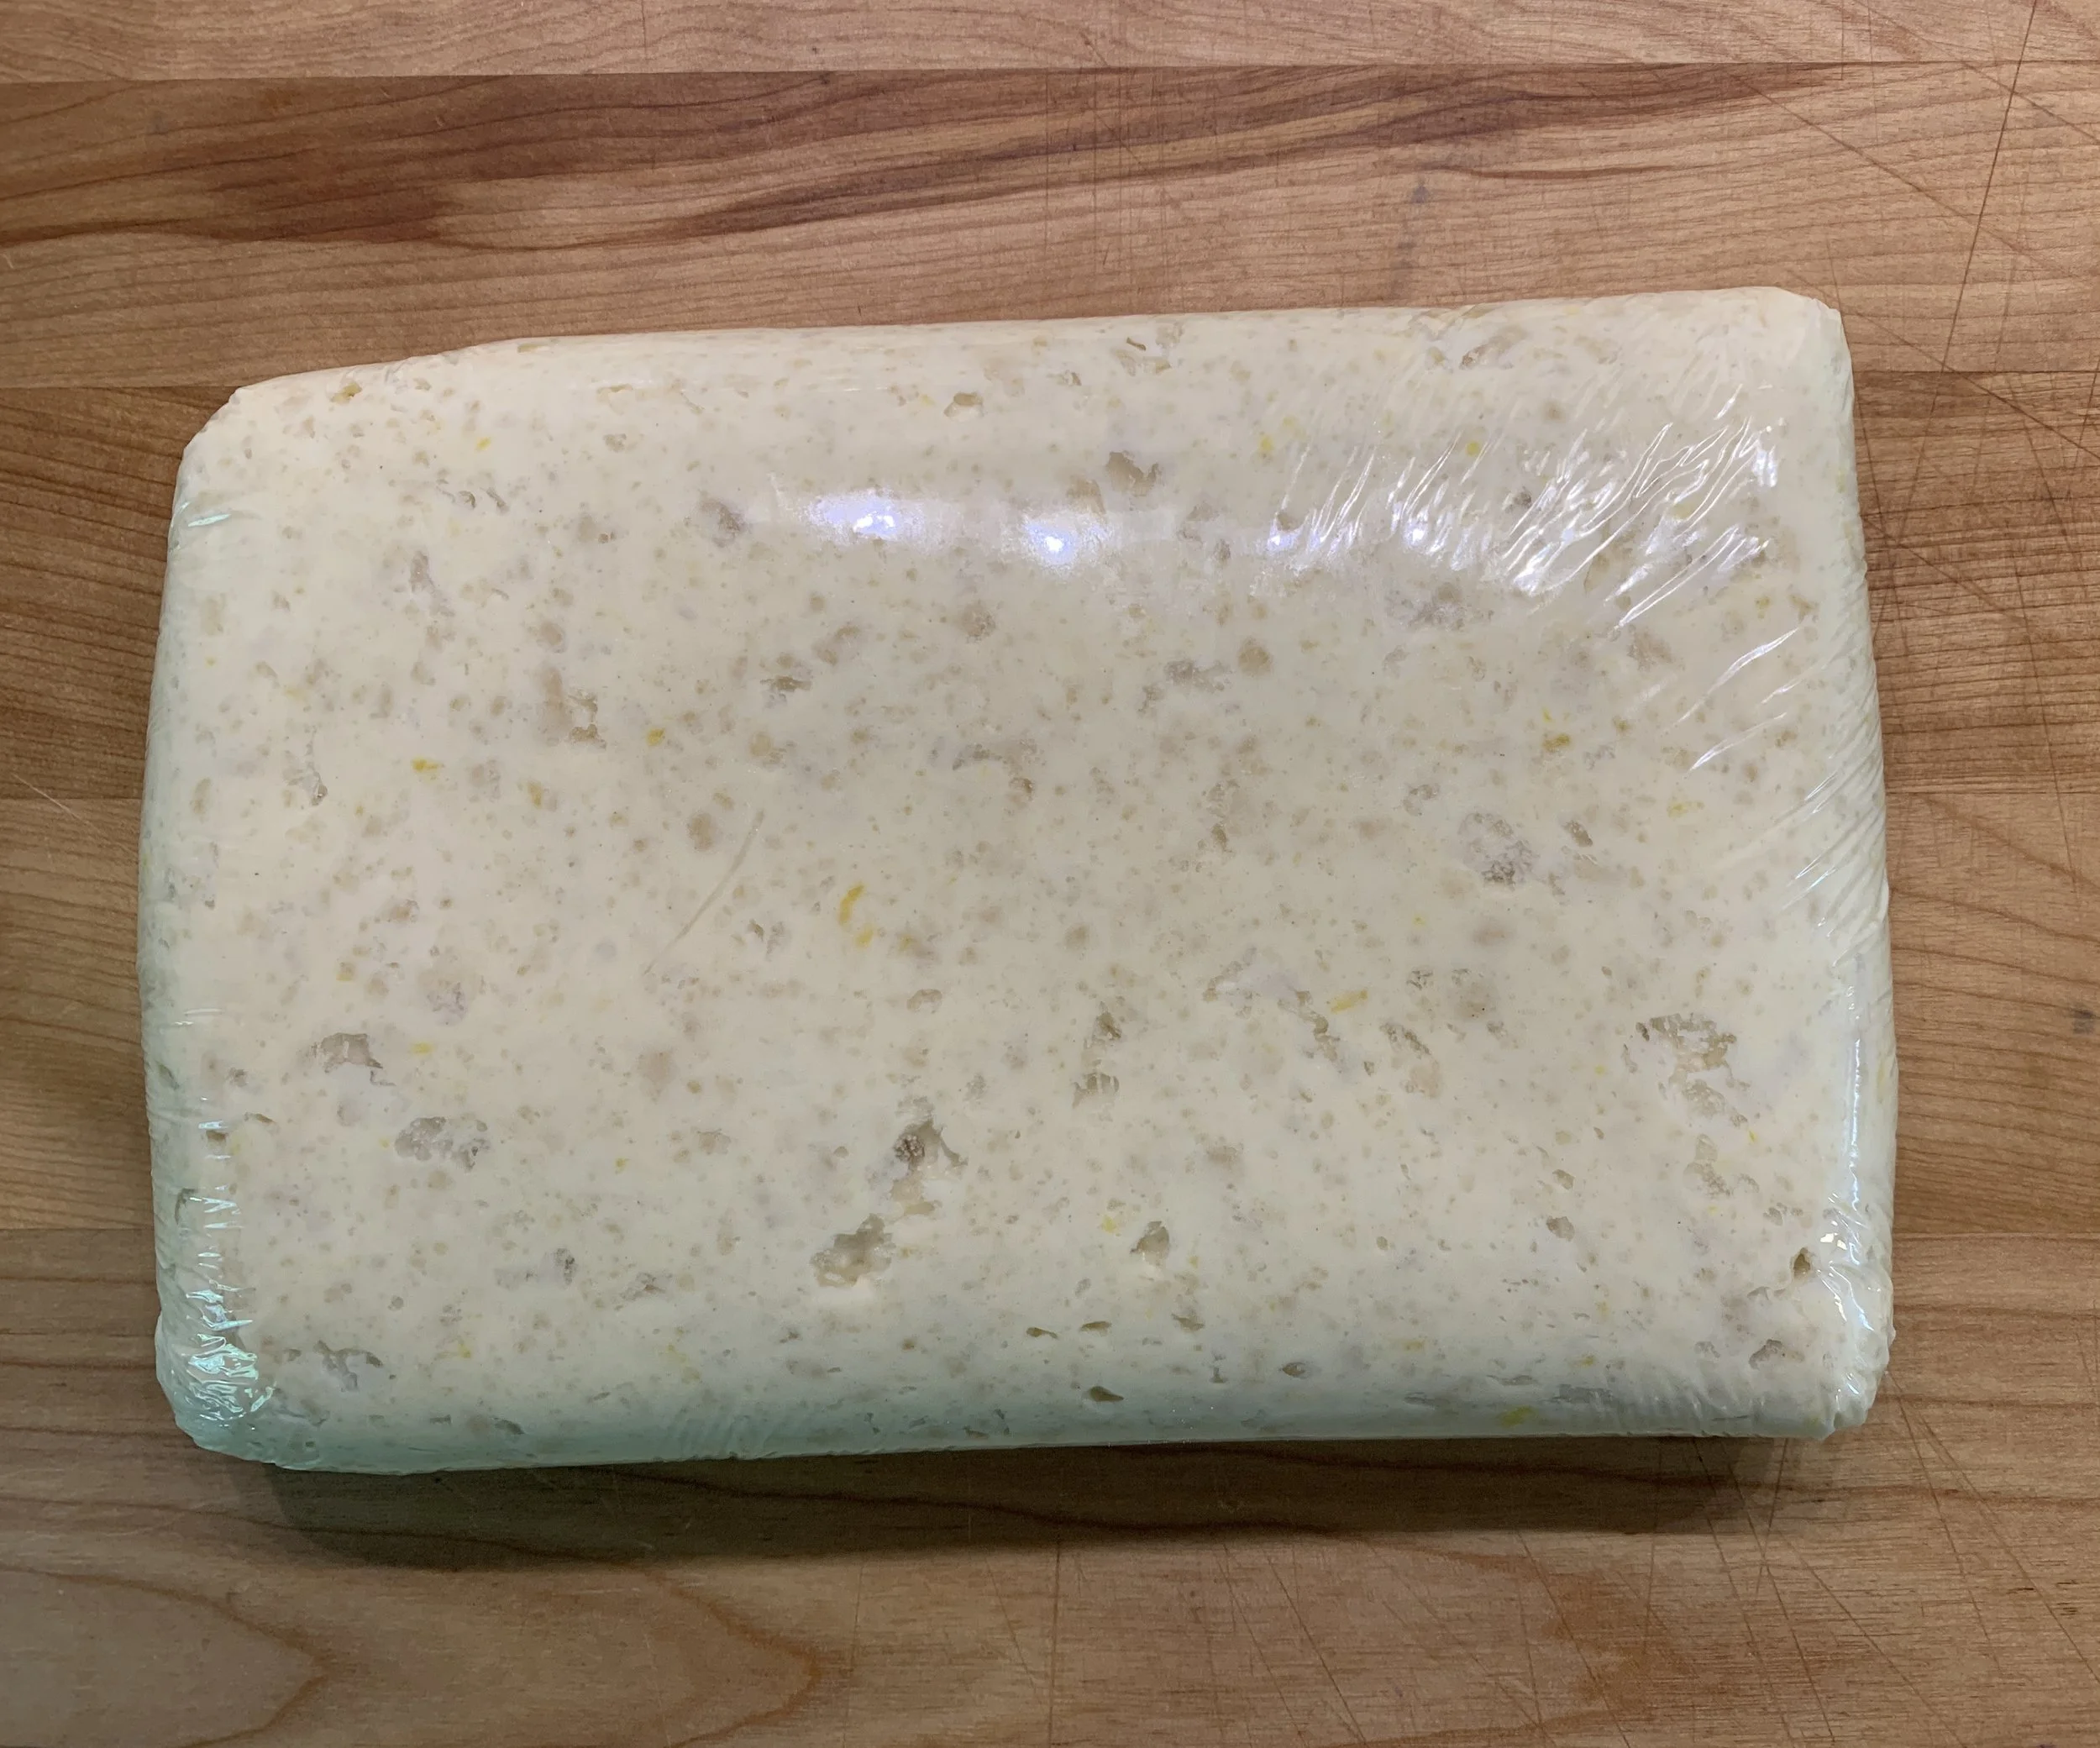
. . . . . and refrigerate at least several hours or overnight. This allows the flour to absorb the liquid.
When ready to bake, heat the oven to 425º. I keep a baking stone in my oven and will heat it as the oven is heating. I place my pan of scones directly on the heated stone for a bit more even heat while they’re baking. An option is to use a second sheet pan as your “stone”.
Scoop dough portions (I prefer mine on the smaller side) onto a parchment lined sheet pan, lightly press them down and sprinkle with raw sugar if you like. Option is to glaze after baking with lemon glaze (lemon juice and confectioner’s sugar blended to your chosen consistency) or a lemon simple syrup.
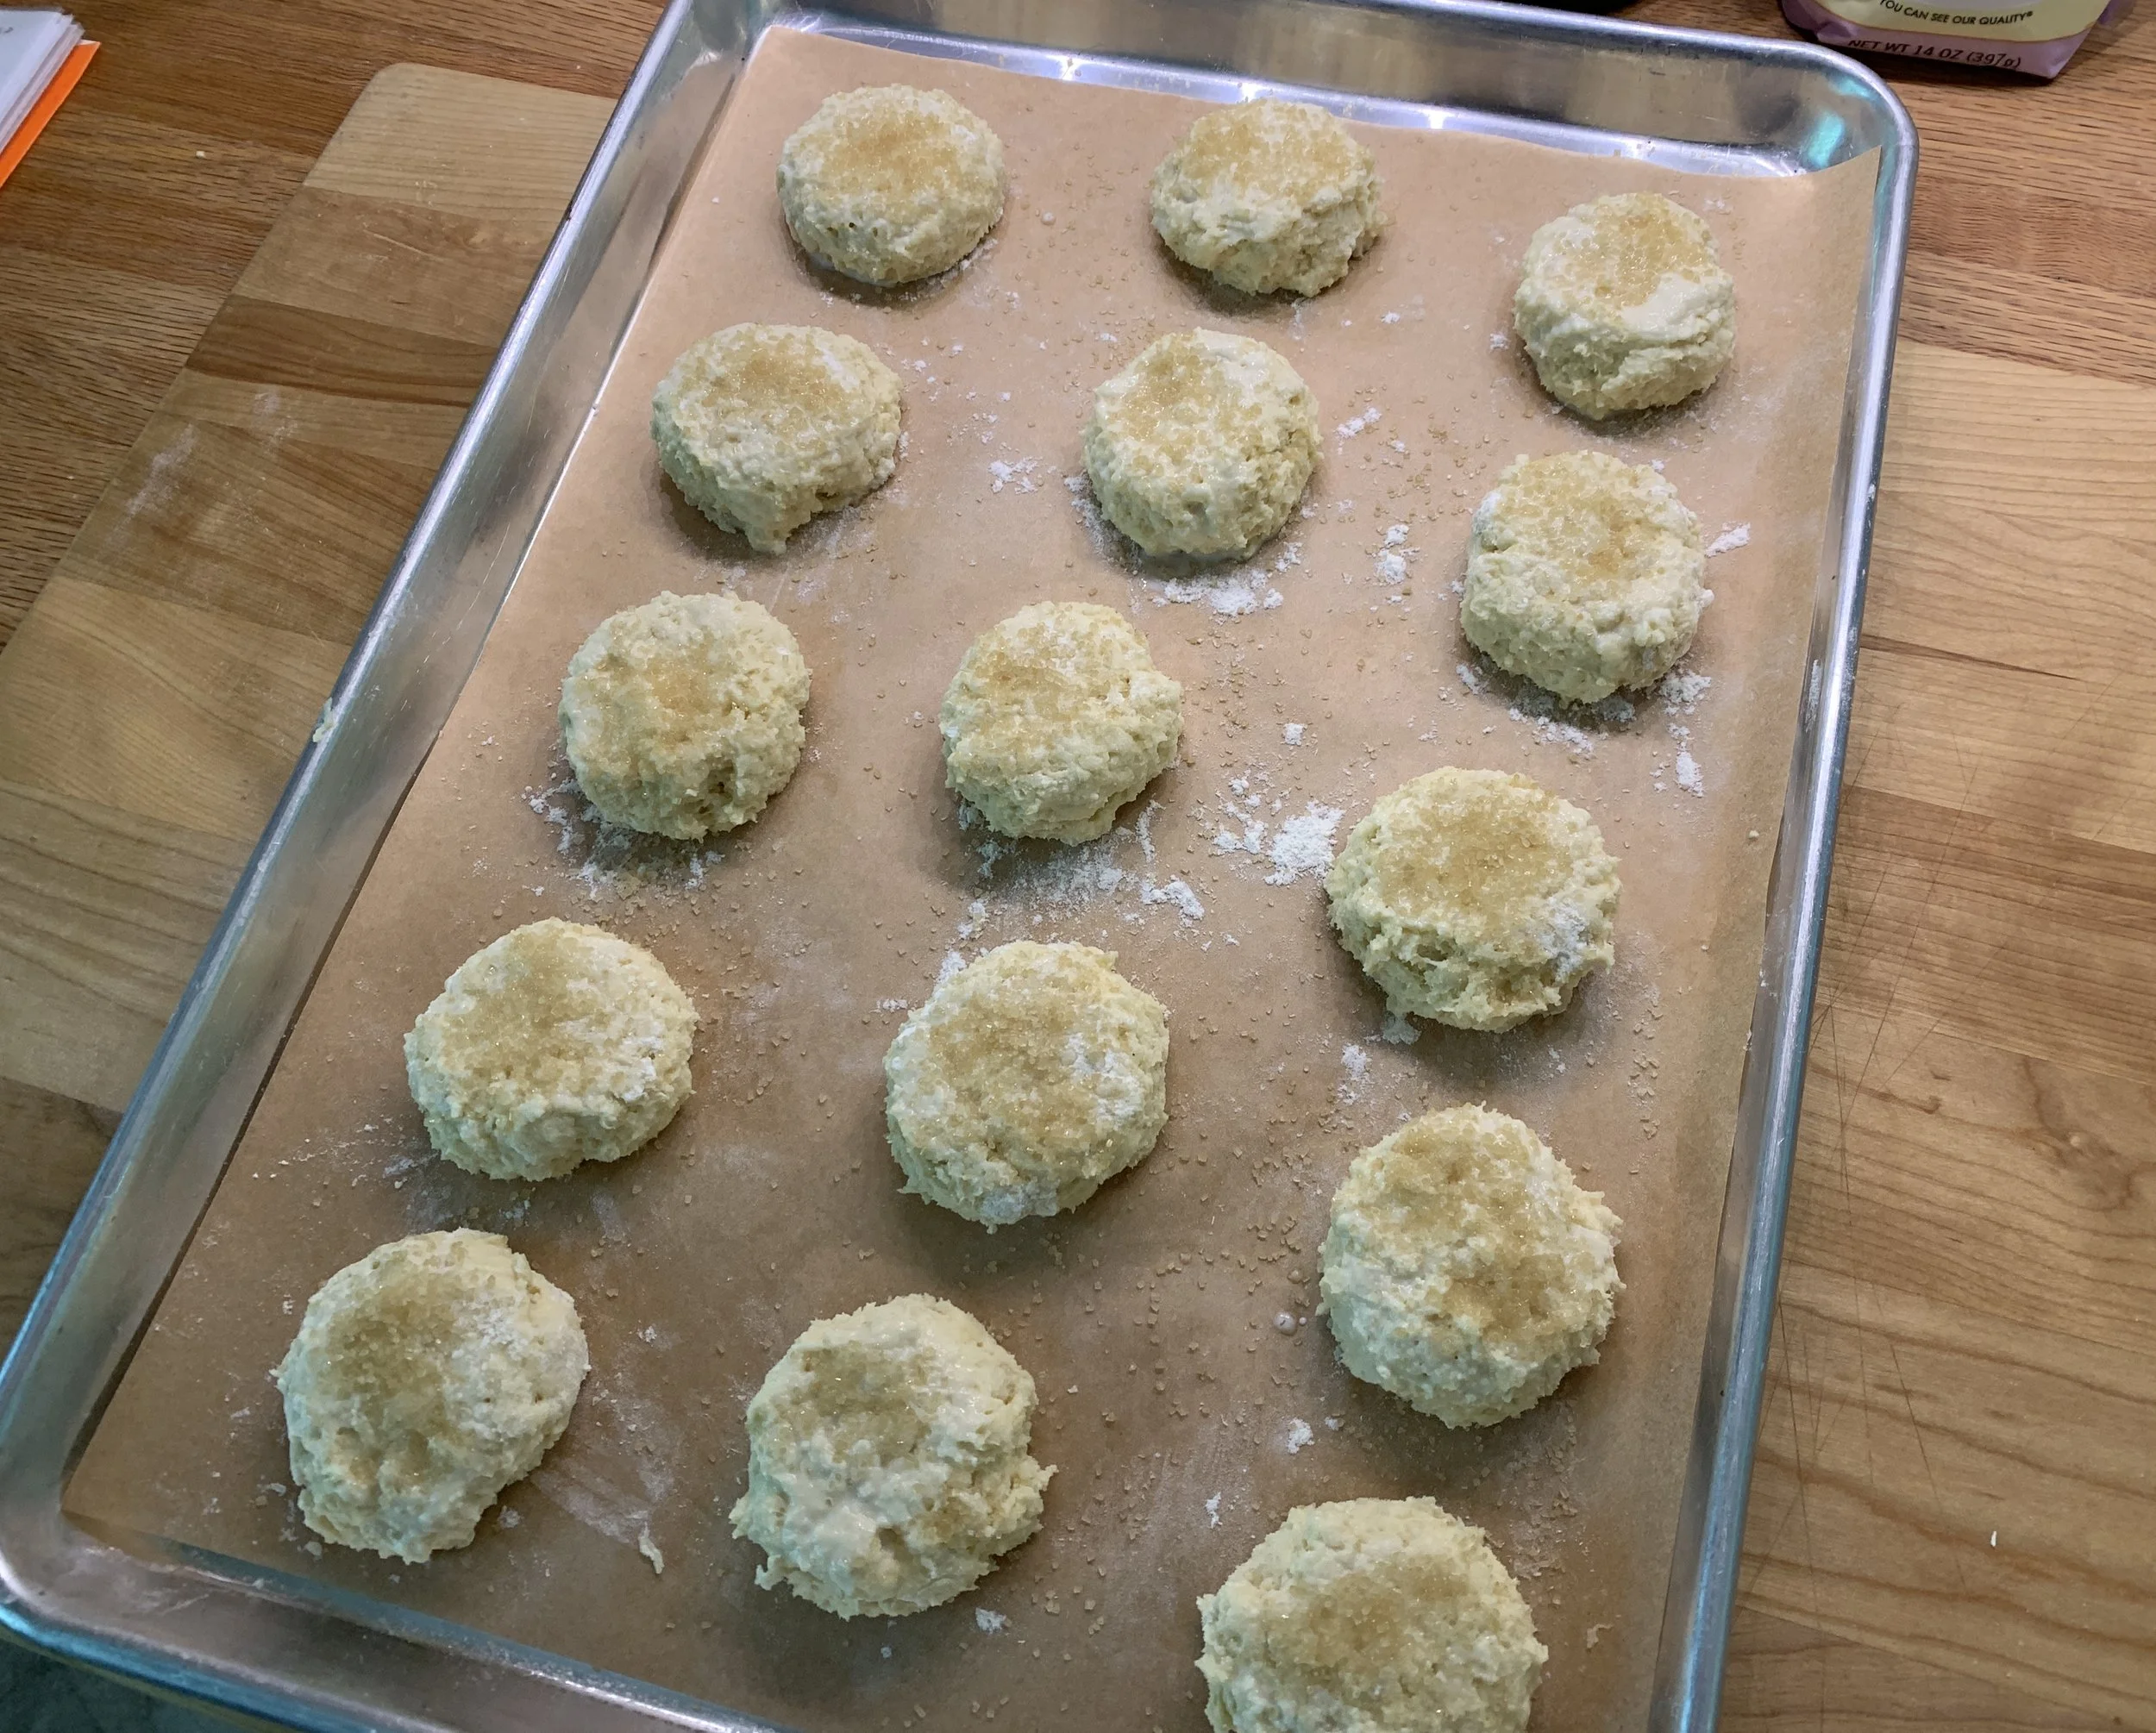
Bake 10 minutes, rotate pan 180º, reduce oven to 400º and continue baking 8-10 minutes until golden brown. Remember every oven is different - pay attention!
Brush glaze on while warm, let cool a bit and enjoy.
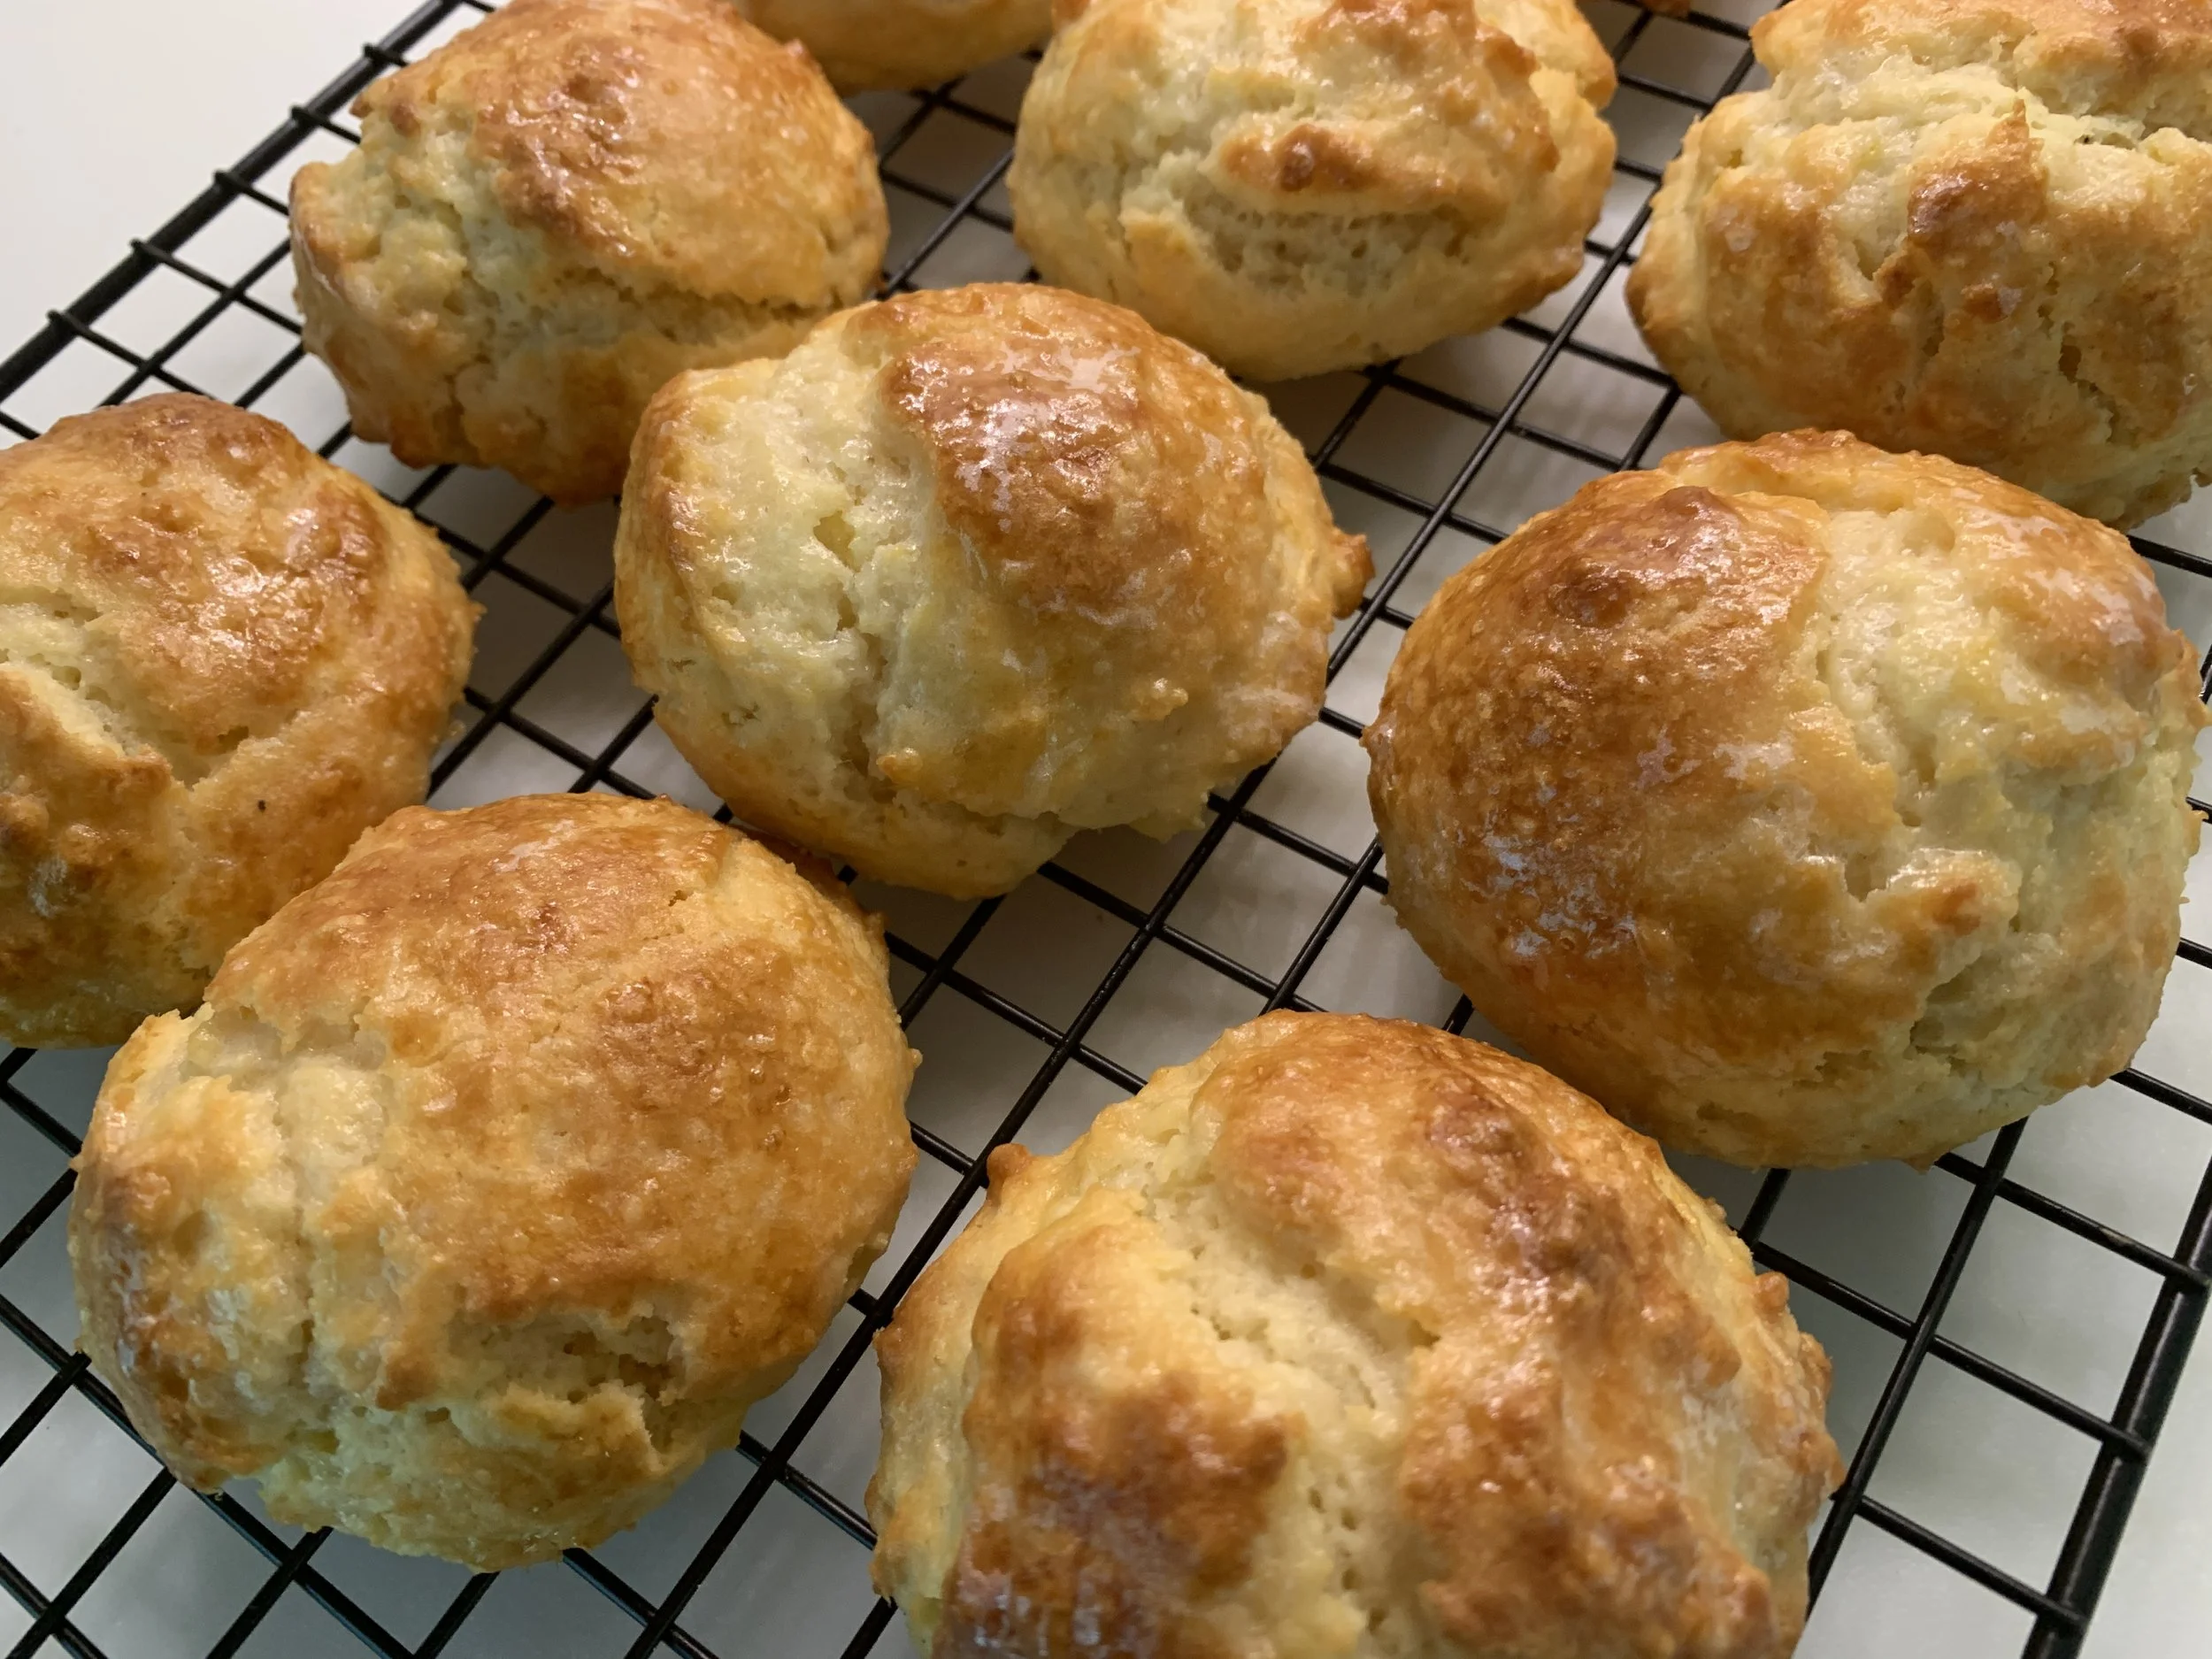
Simple syrup glazed
I recently did a side-by-side test of my classic version and the melted butter one. Both tasty with a similar crumb - I think I still like the original method (cold, diced butter sanded in) a tad better. Try them both and you decide!.
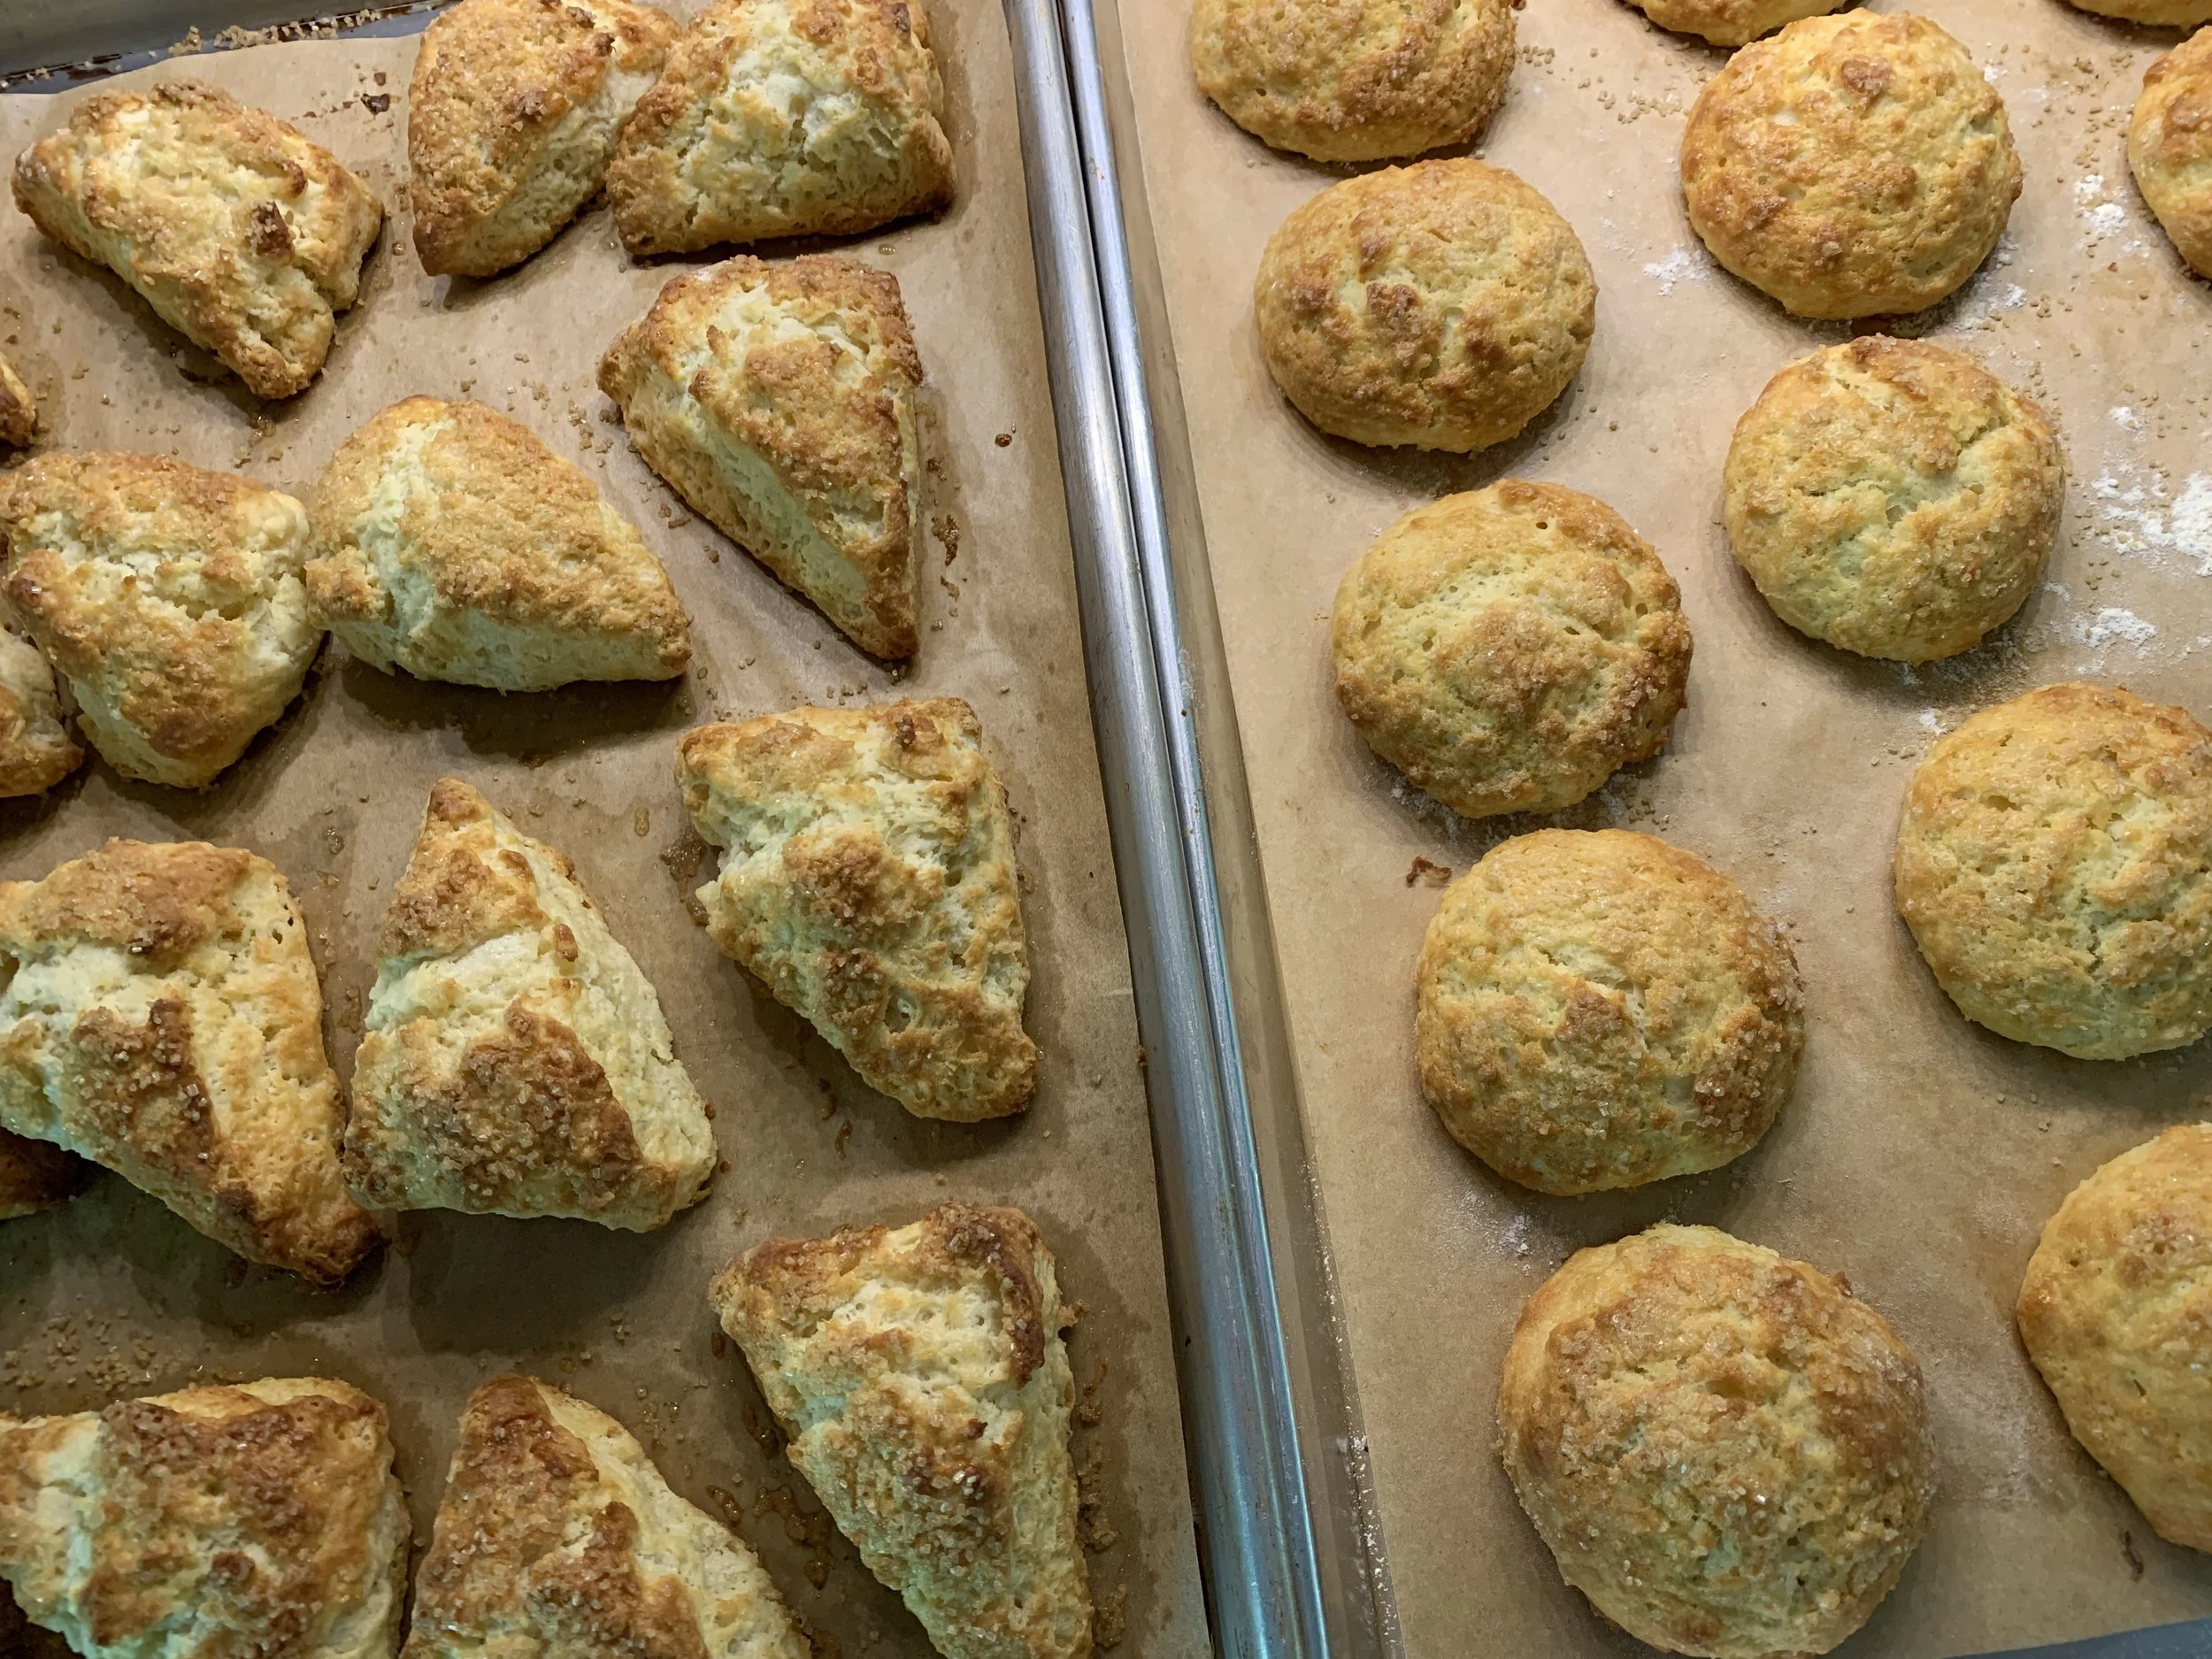
Eyeball the classic on left, scooped melted butter version on right.
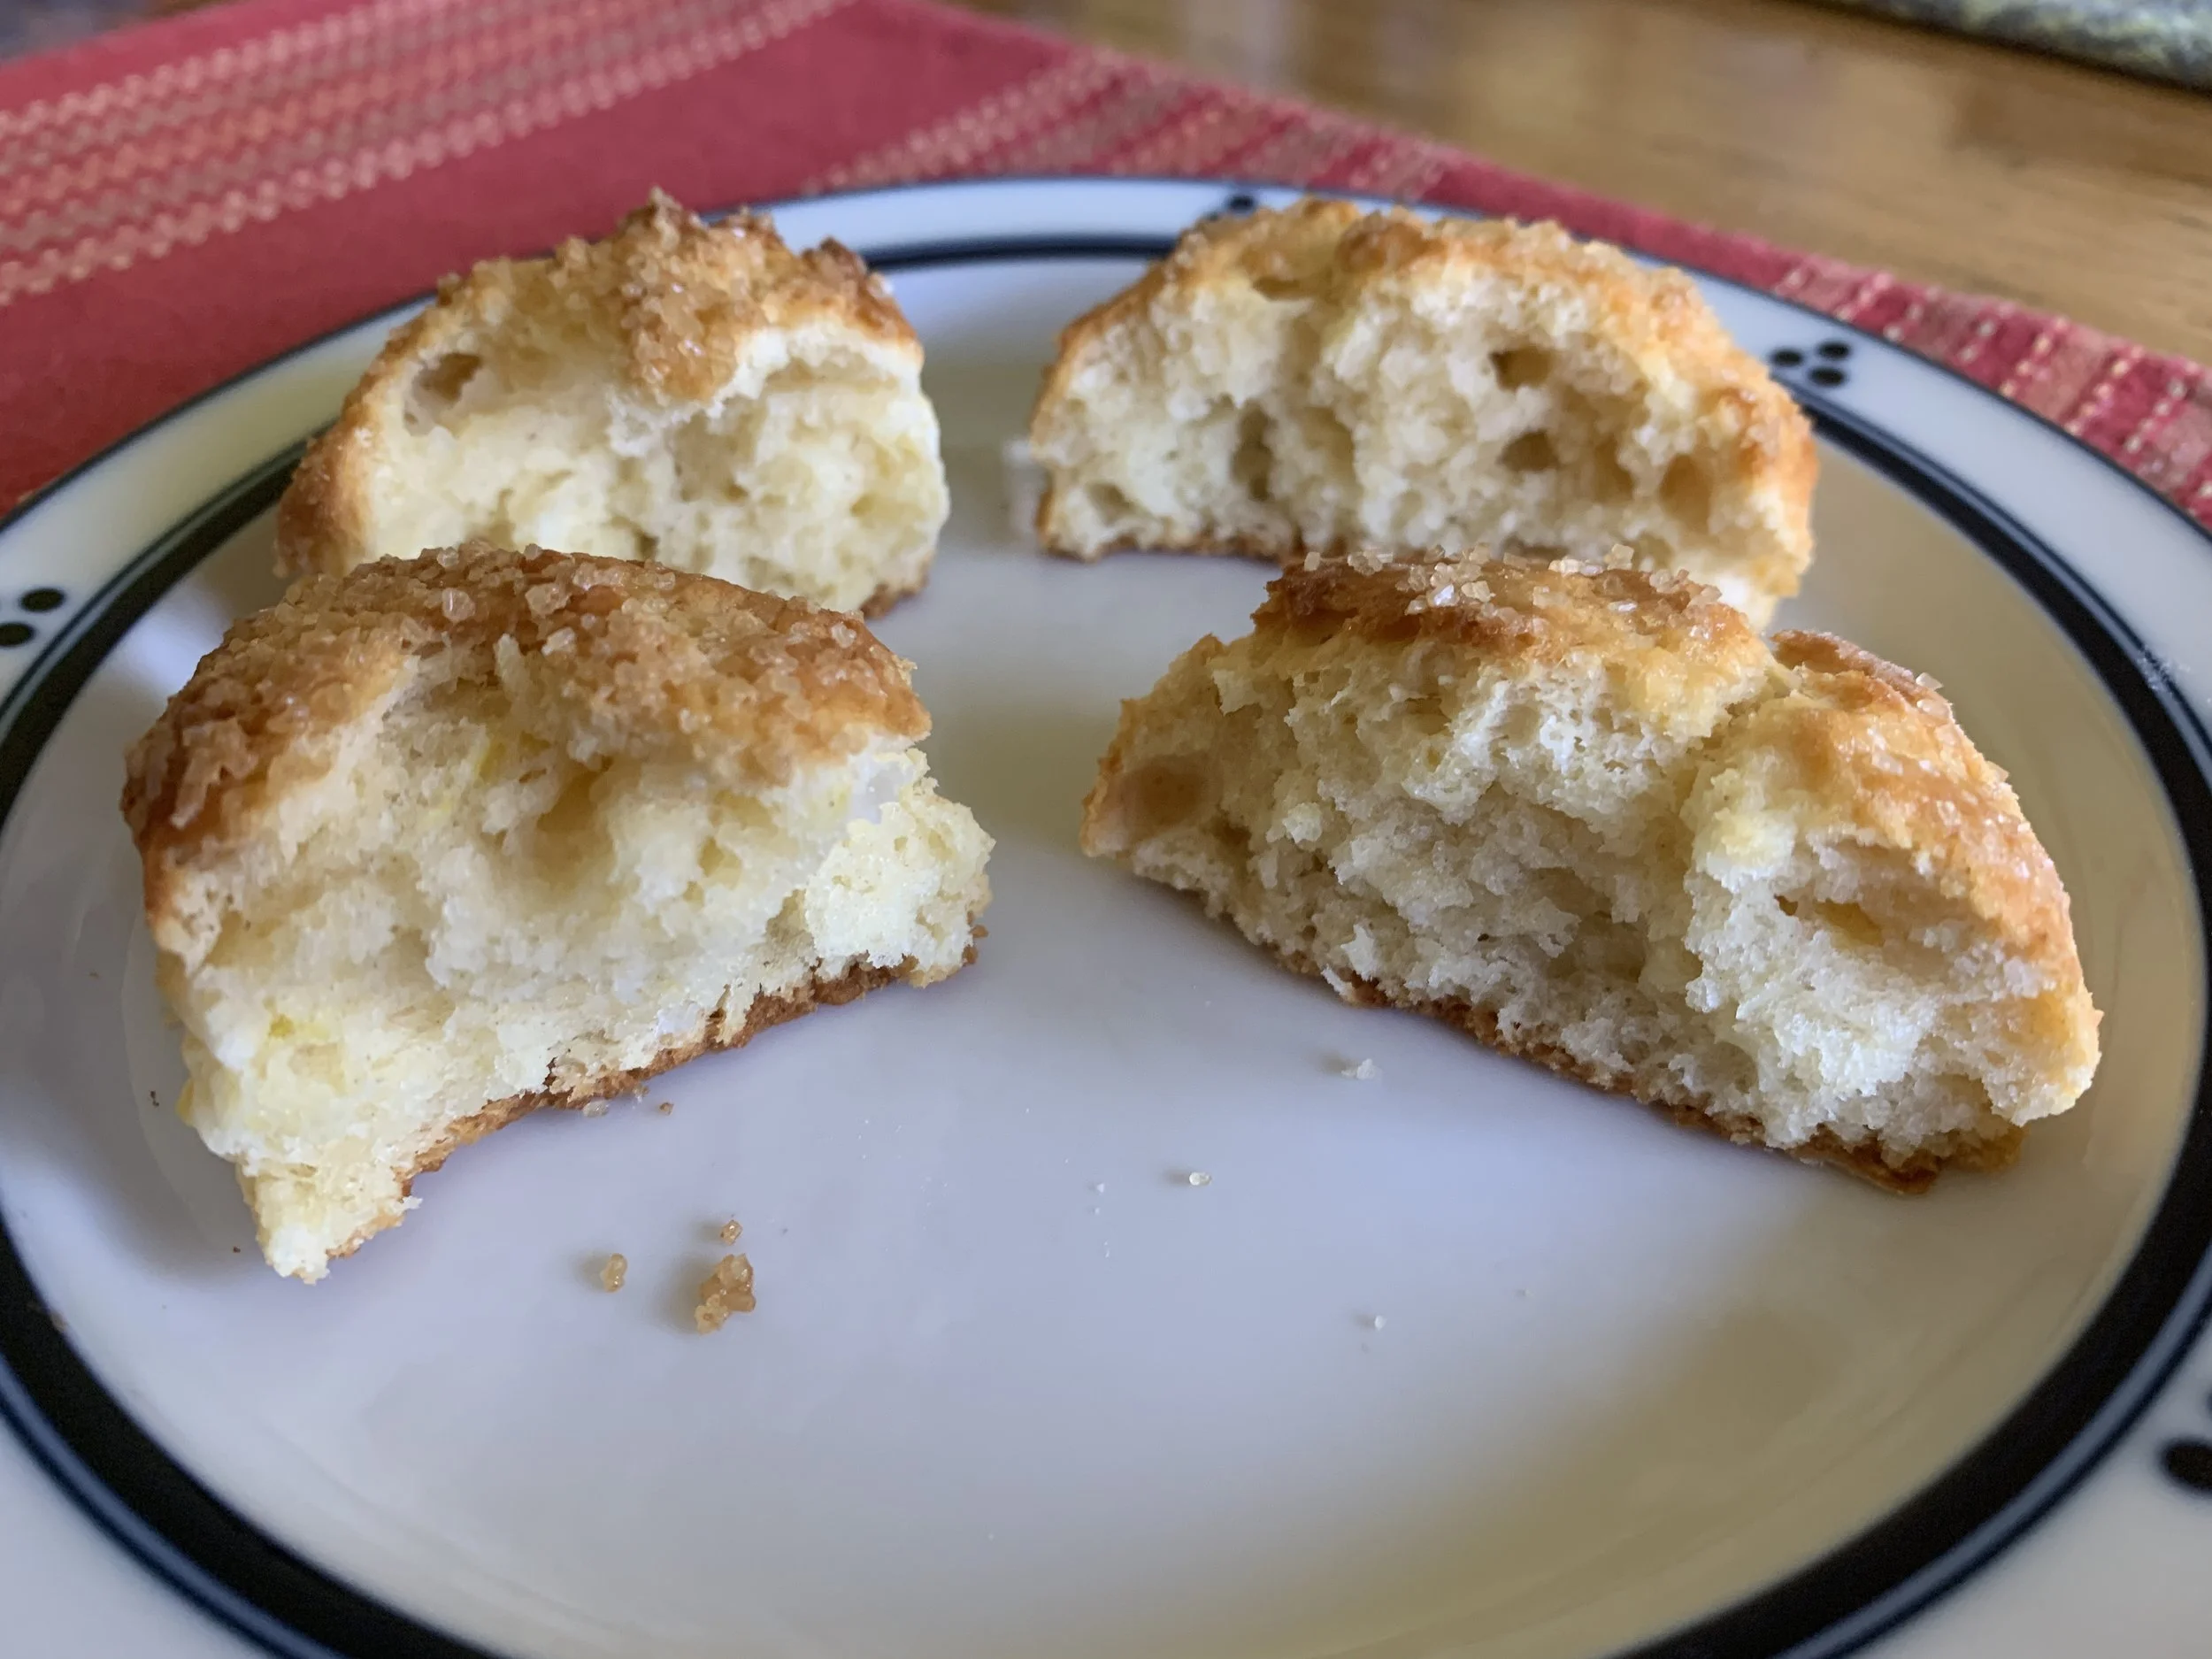
Pretty similar crumb and moistness
We’ll be finished soon! Let’s take a look at the add-ins version with similar steps outlined below. Nothing like repetition to get things to sink in.
Below is a basic lay out of ingredients for a batch with tart cherry/chocolate/pecan.
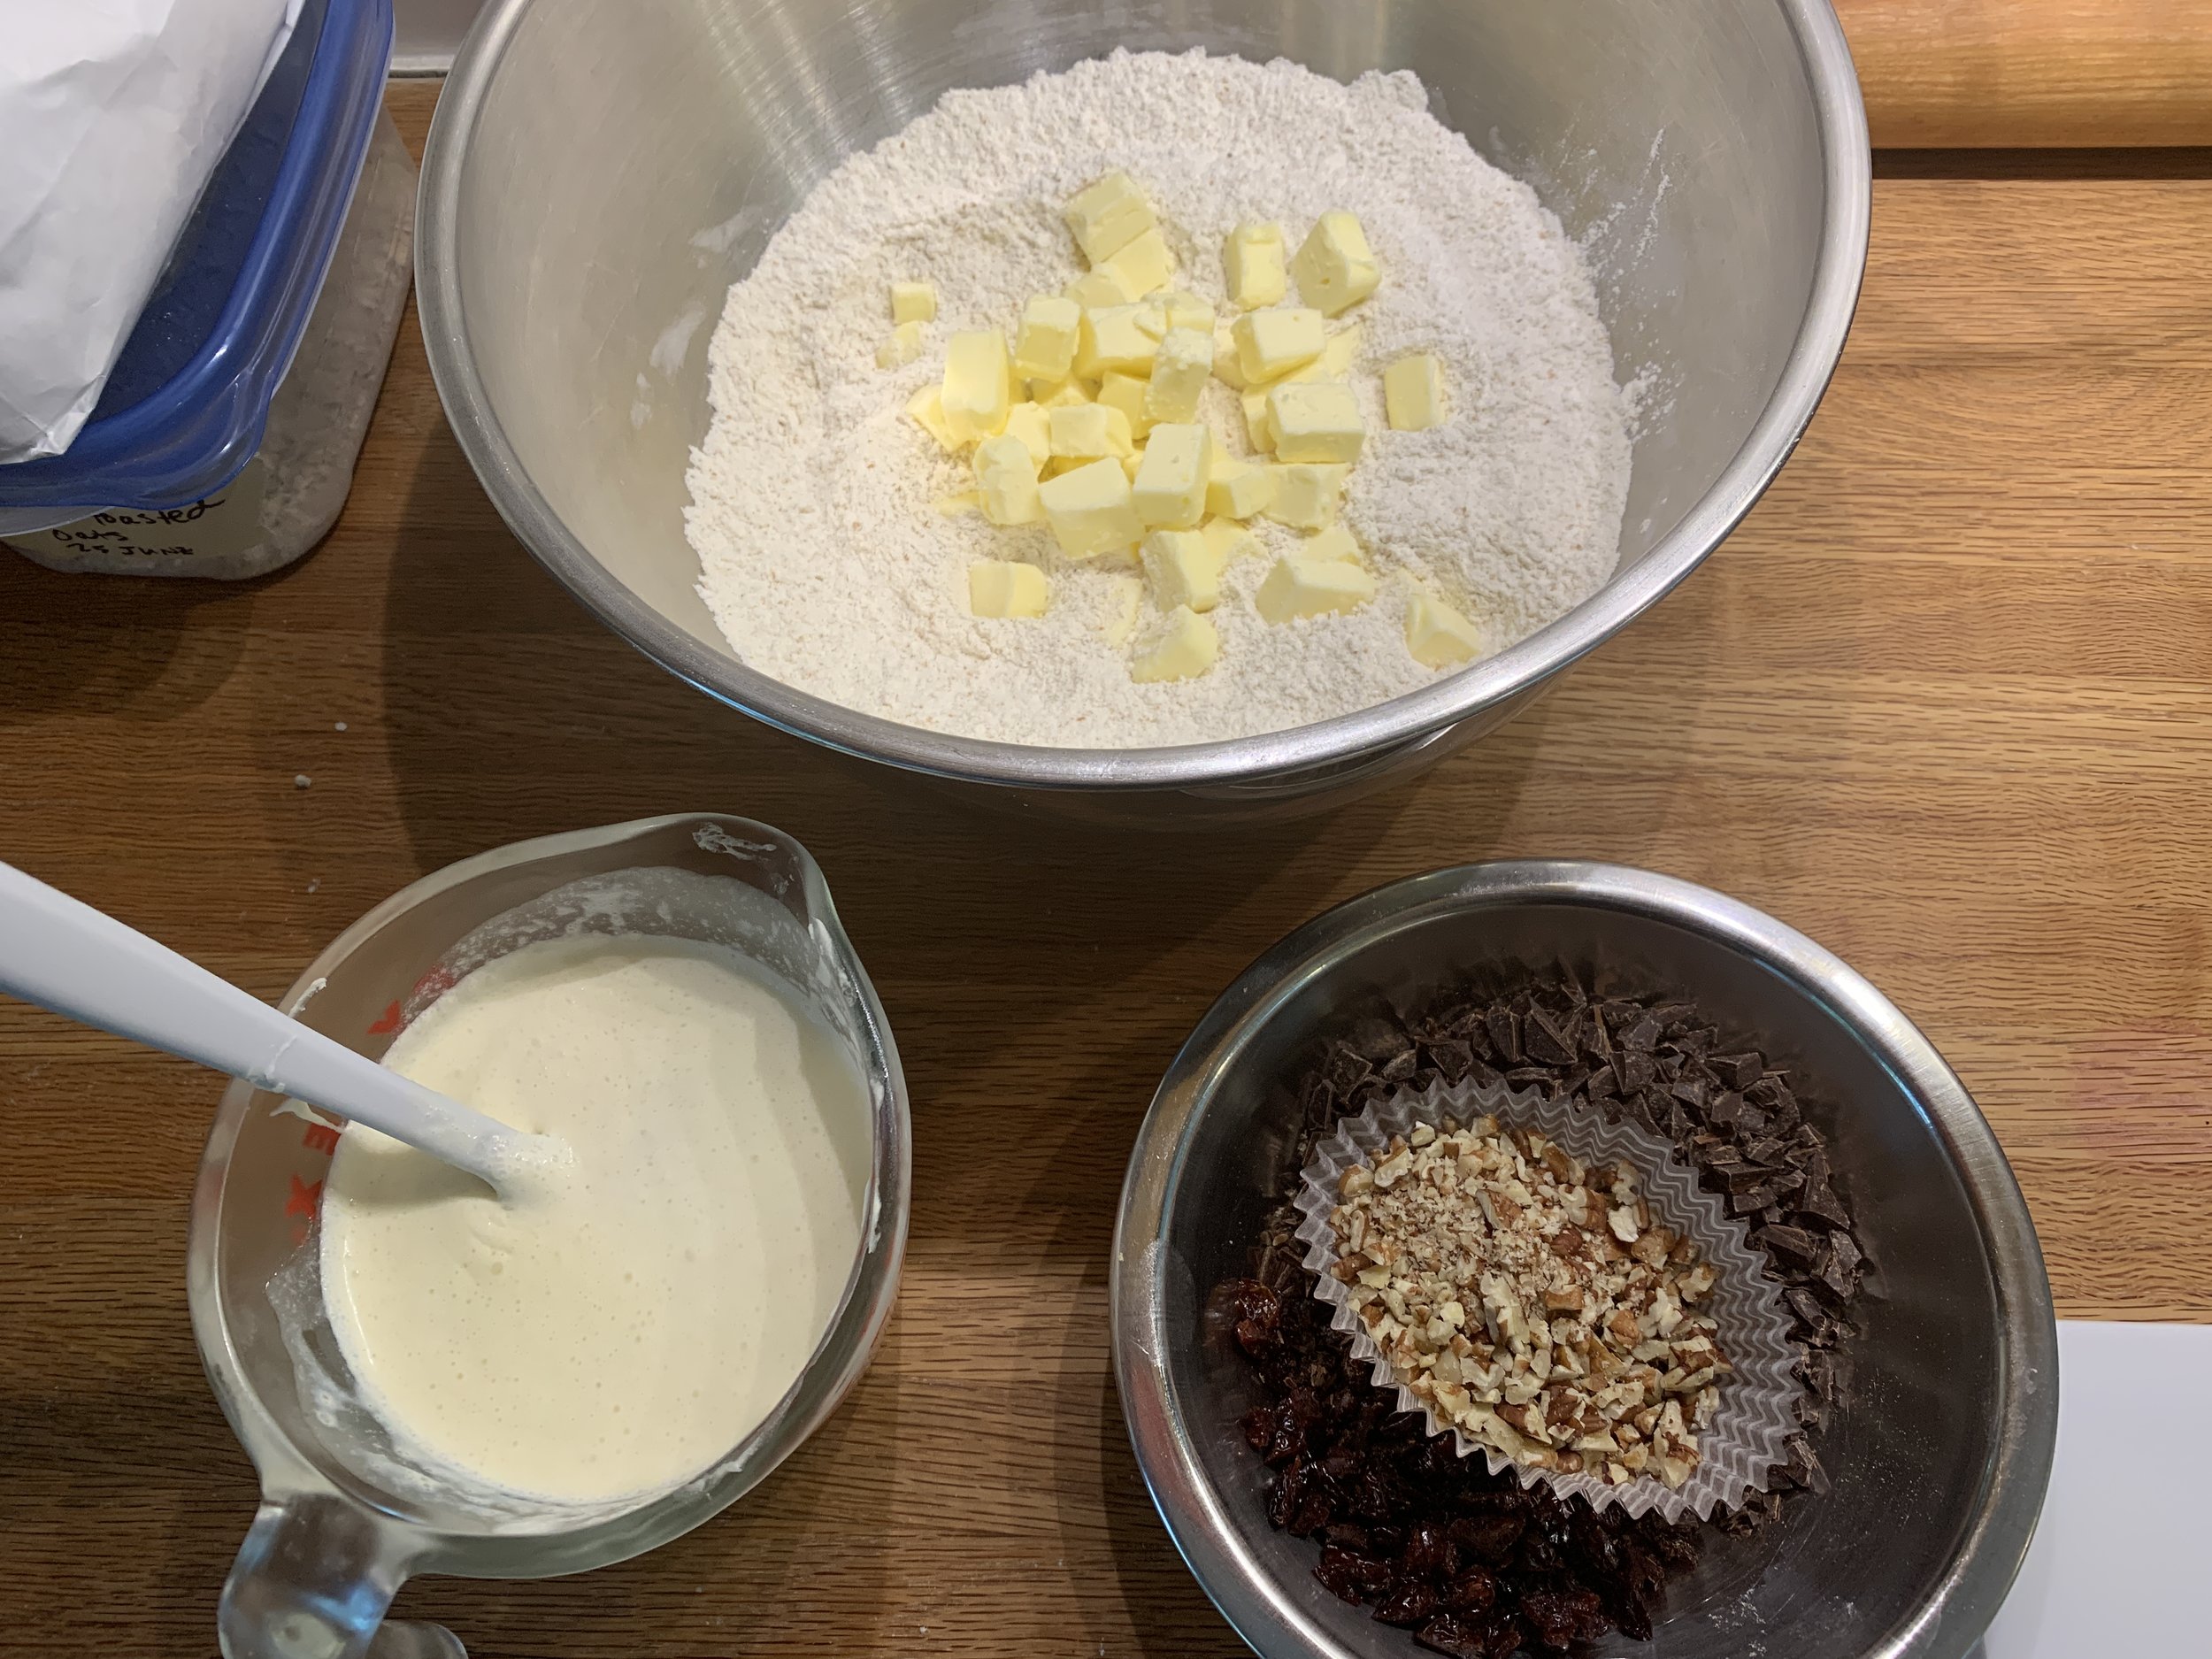
Flour, sugar, baking powder and salt go in the bowl; cold diced butter on top of dry, ready to sand in; cream and egg blended and ready to add (I keep it in the fridge until I’m ready); chopped chocolate (or chocolate pearls), lightly toasted/chopped pecans and plumped, chopped dry cherries at the ready.
Sand in butter, distribute the chopped add-ins around the periphery of the bowl then pour the cream/egg over it all.
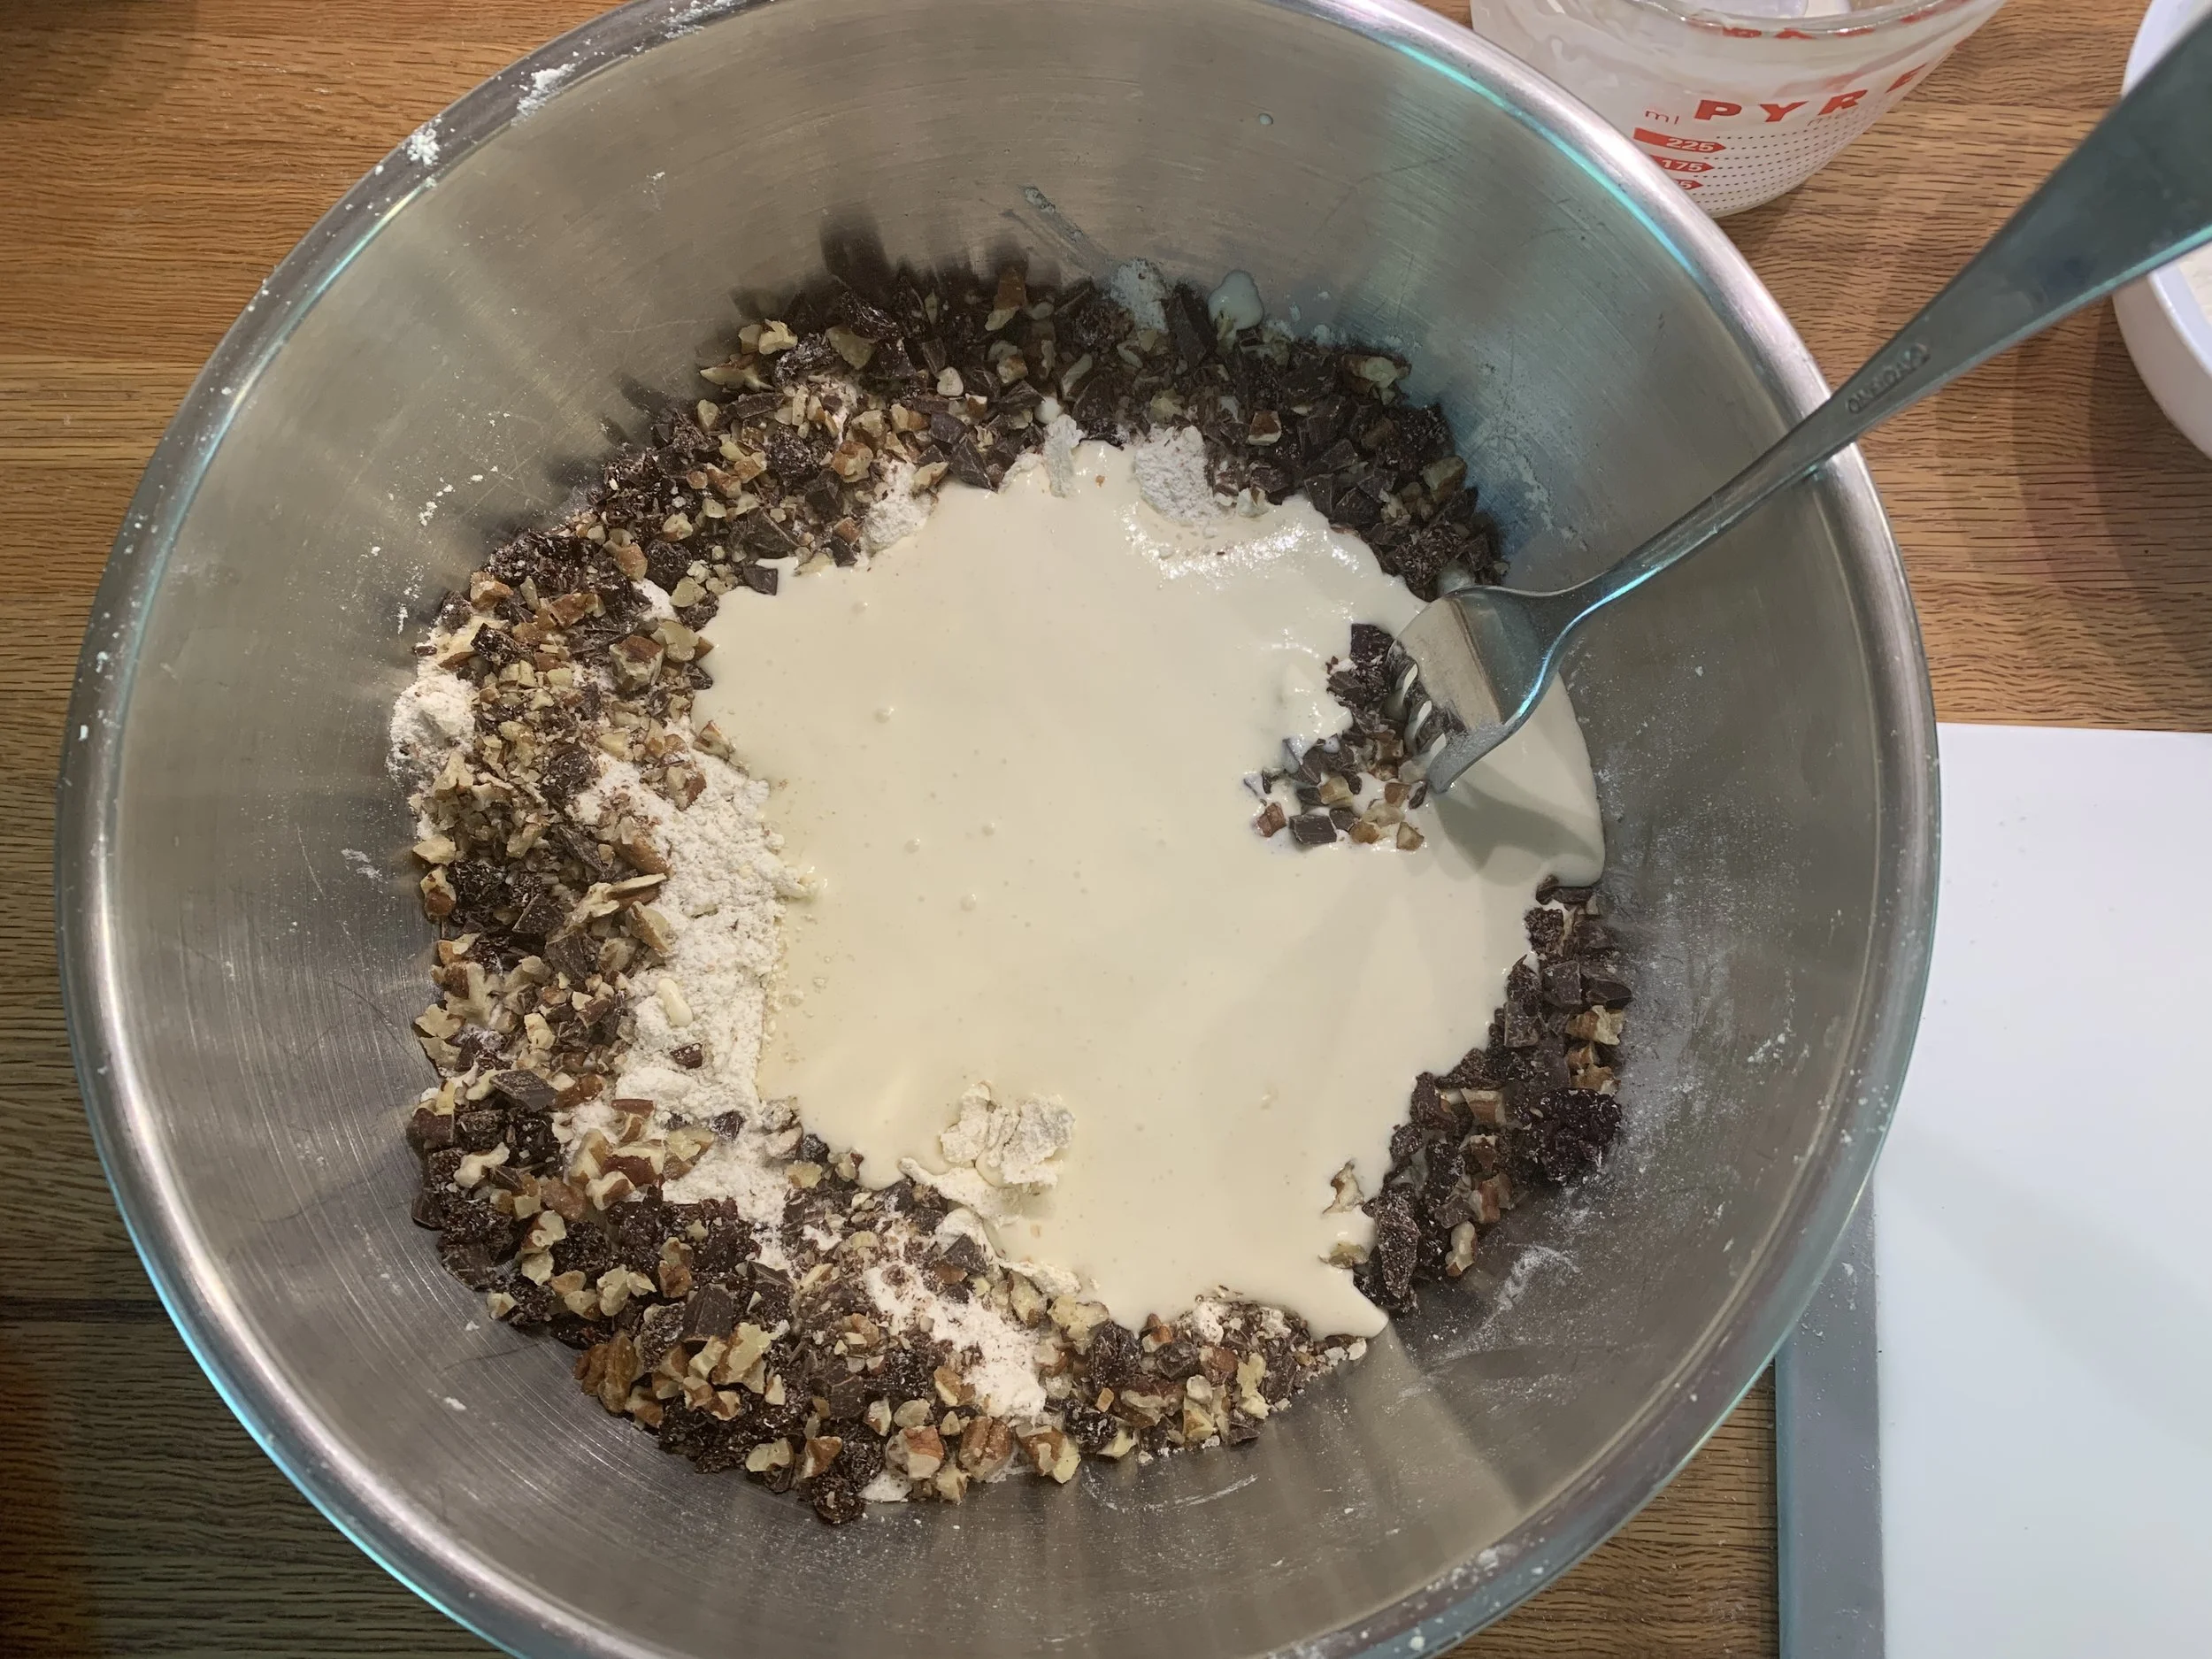
Toss everything with a fork to moisten. I then use my bowl scraper to continue blending and bring things together. Don’t overwork! Turn the roughly mixed dough out onto a work surface and quickly pat it into either a round or a rectangle depending on your end point.
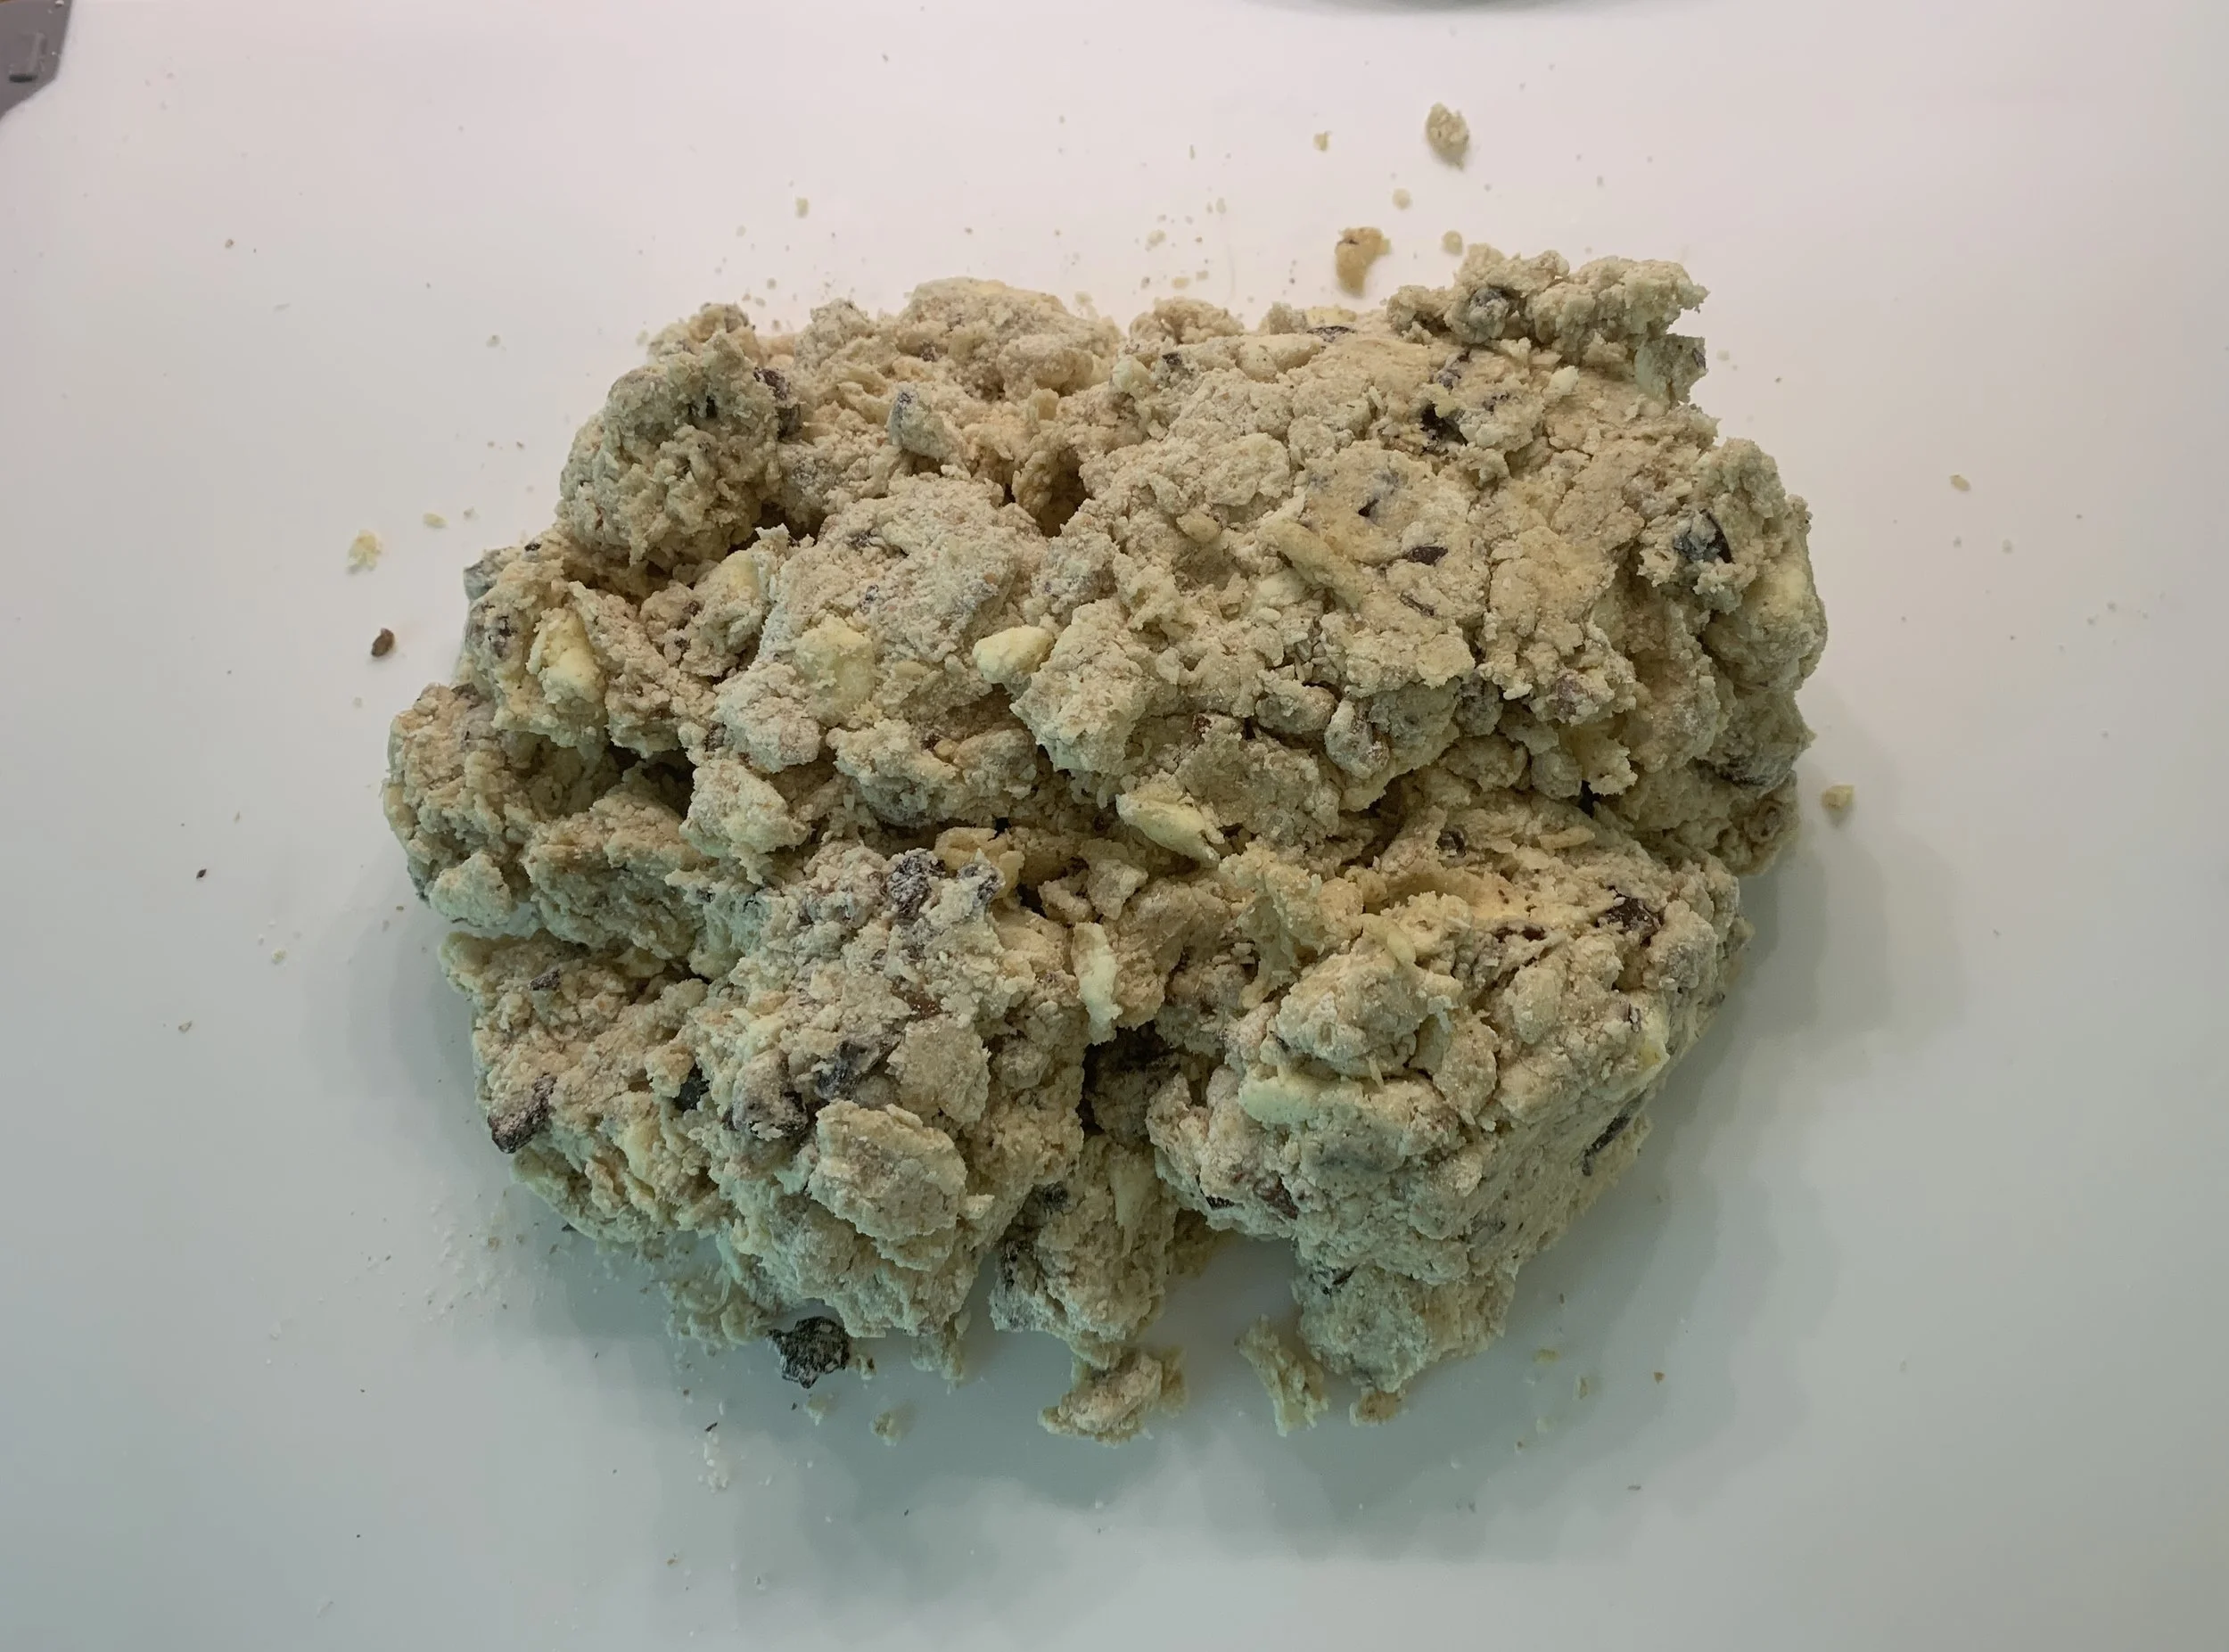
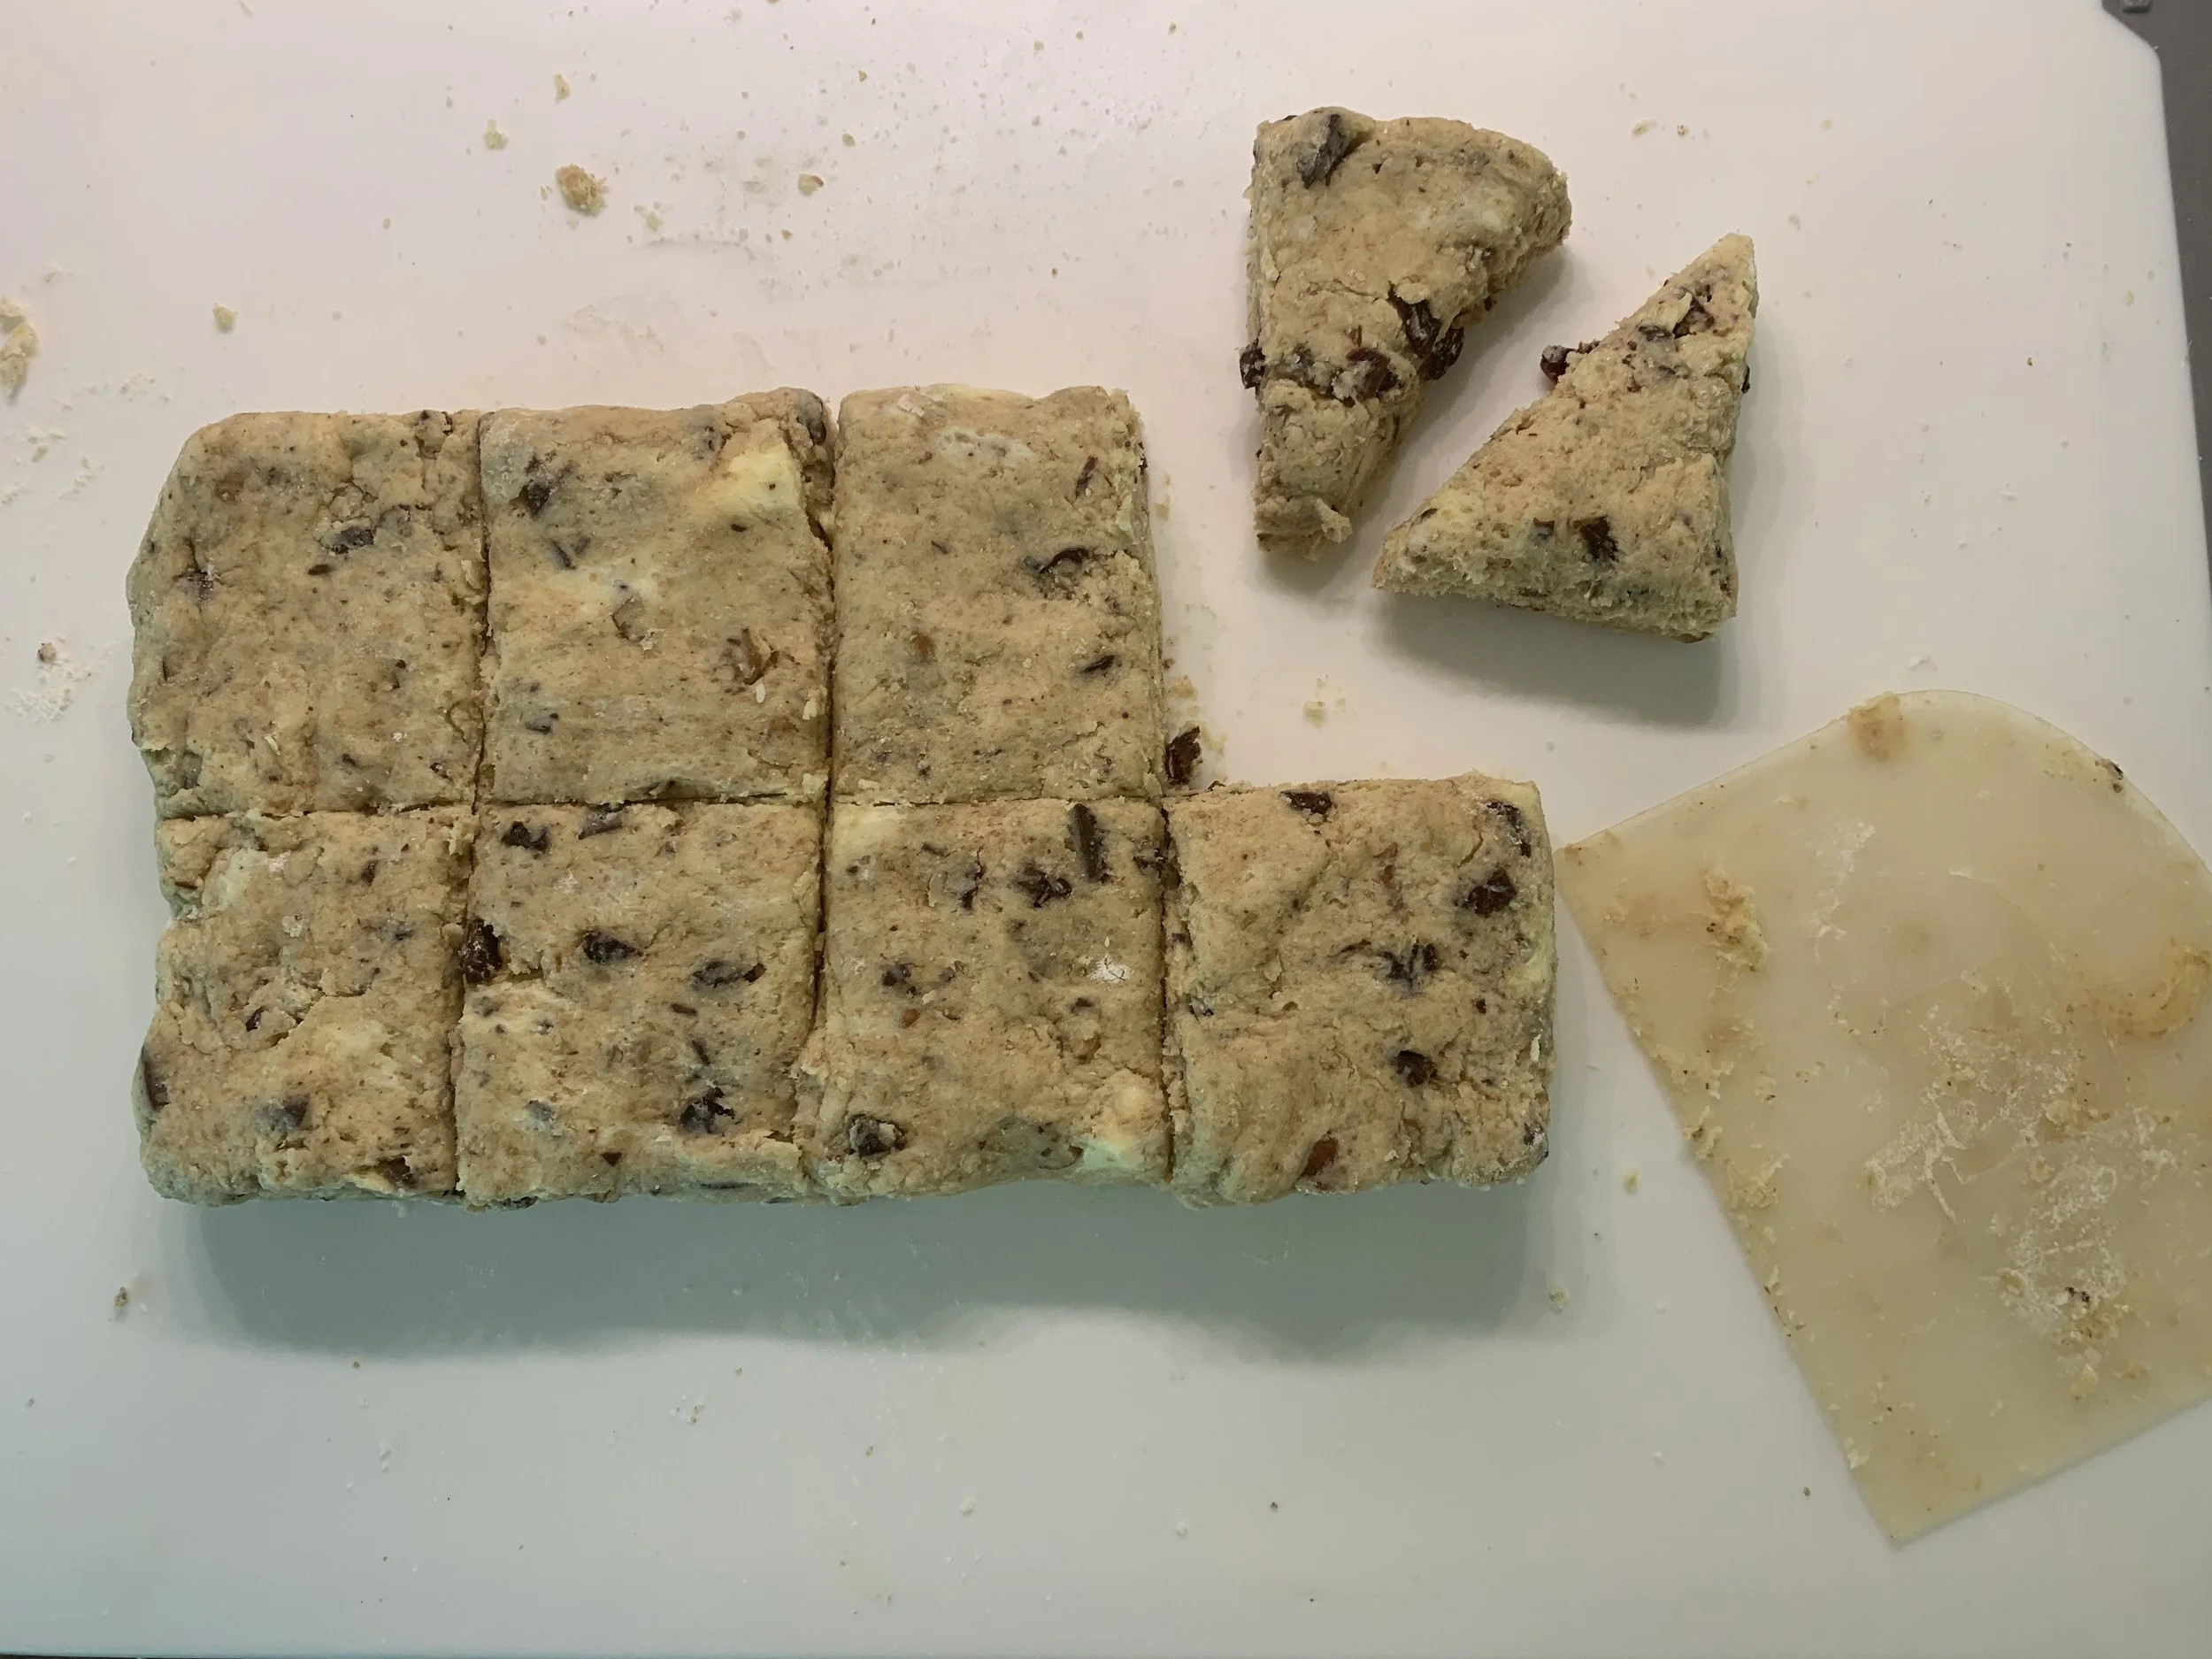
When making smaller triangles, shape the dough into a 5”x10” rectangle, cut eight 2.5” squares and then cut each of those into two triangles. Remember that template?
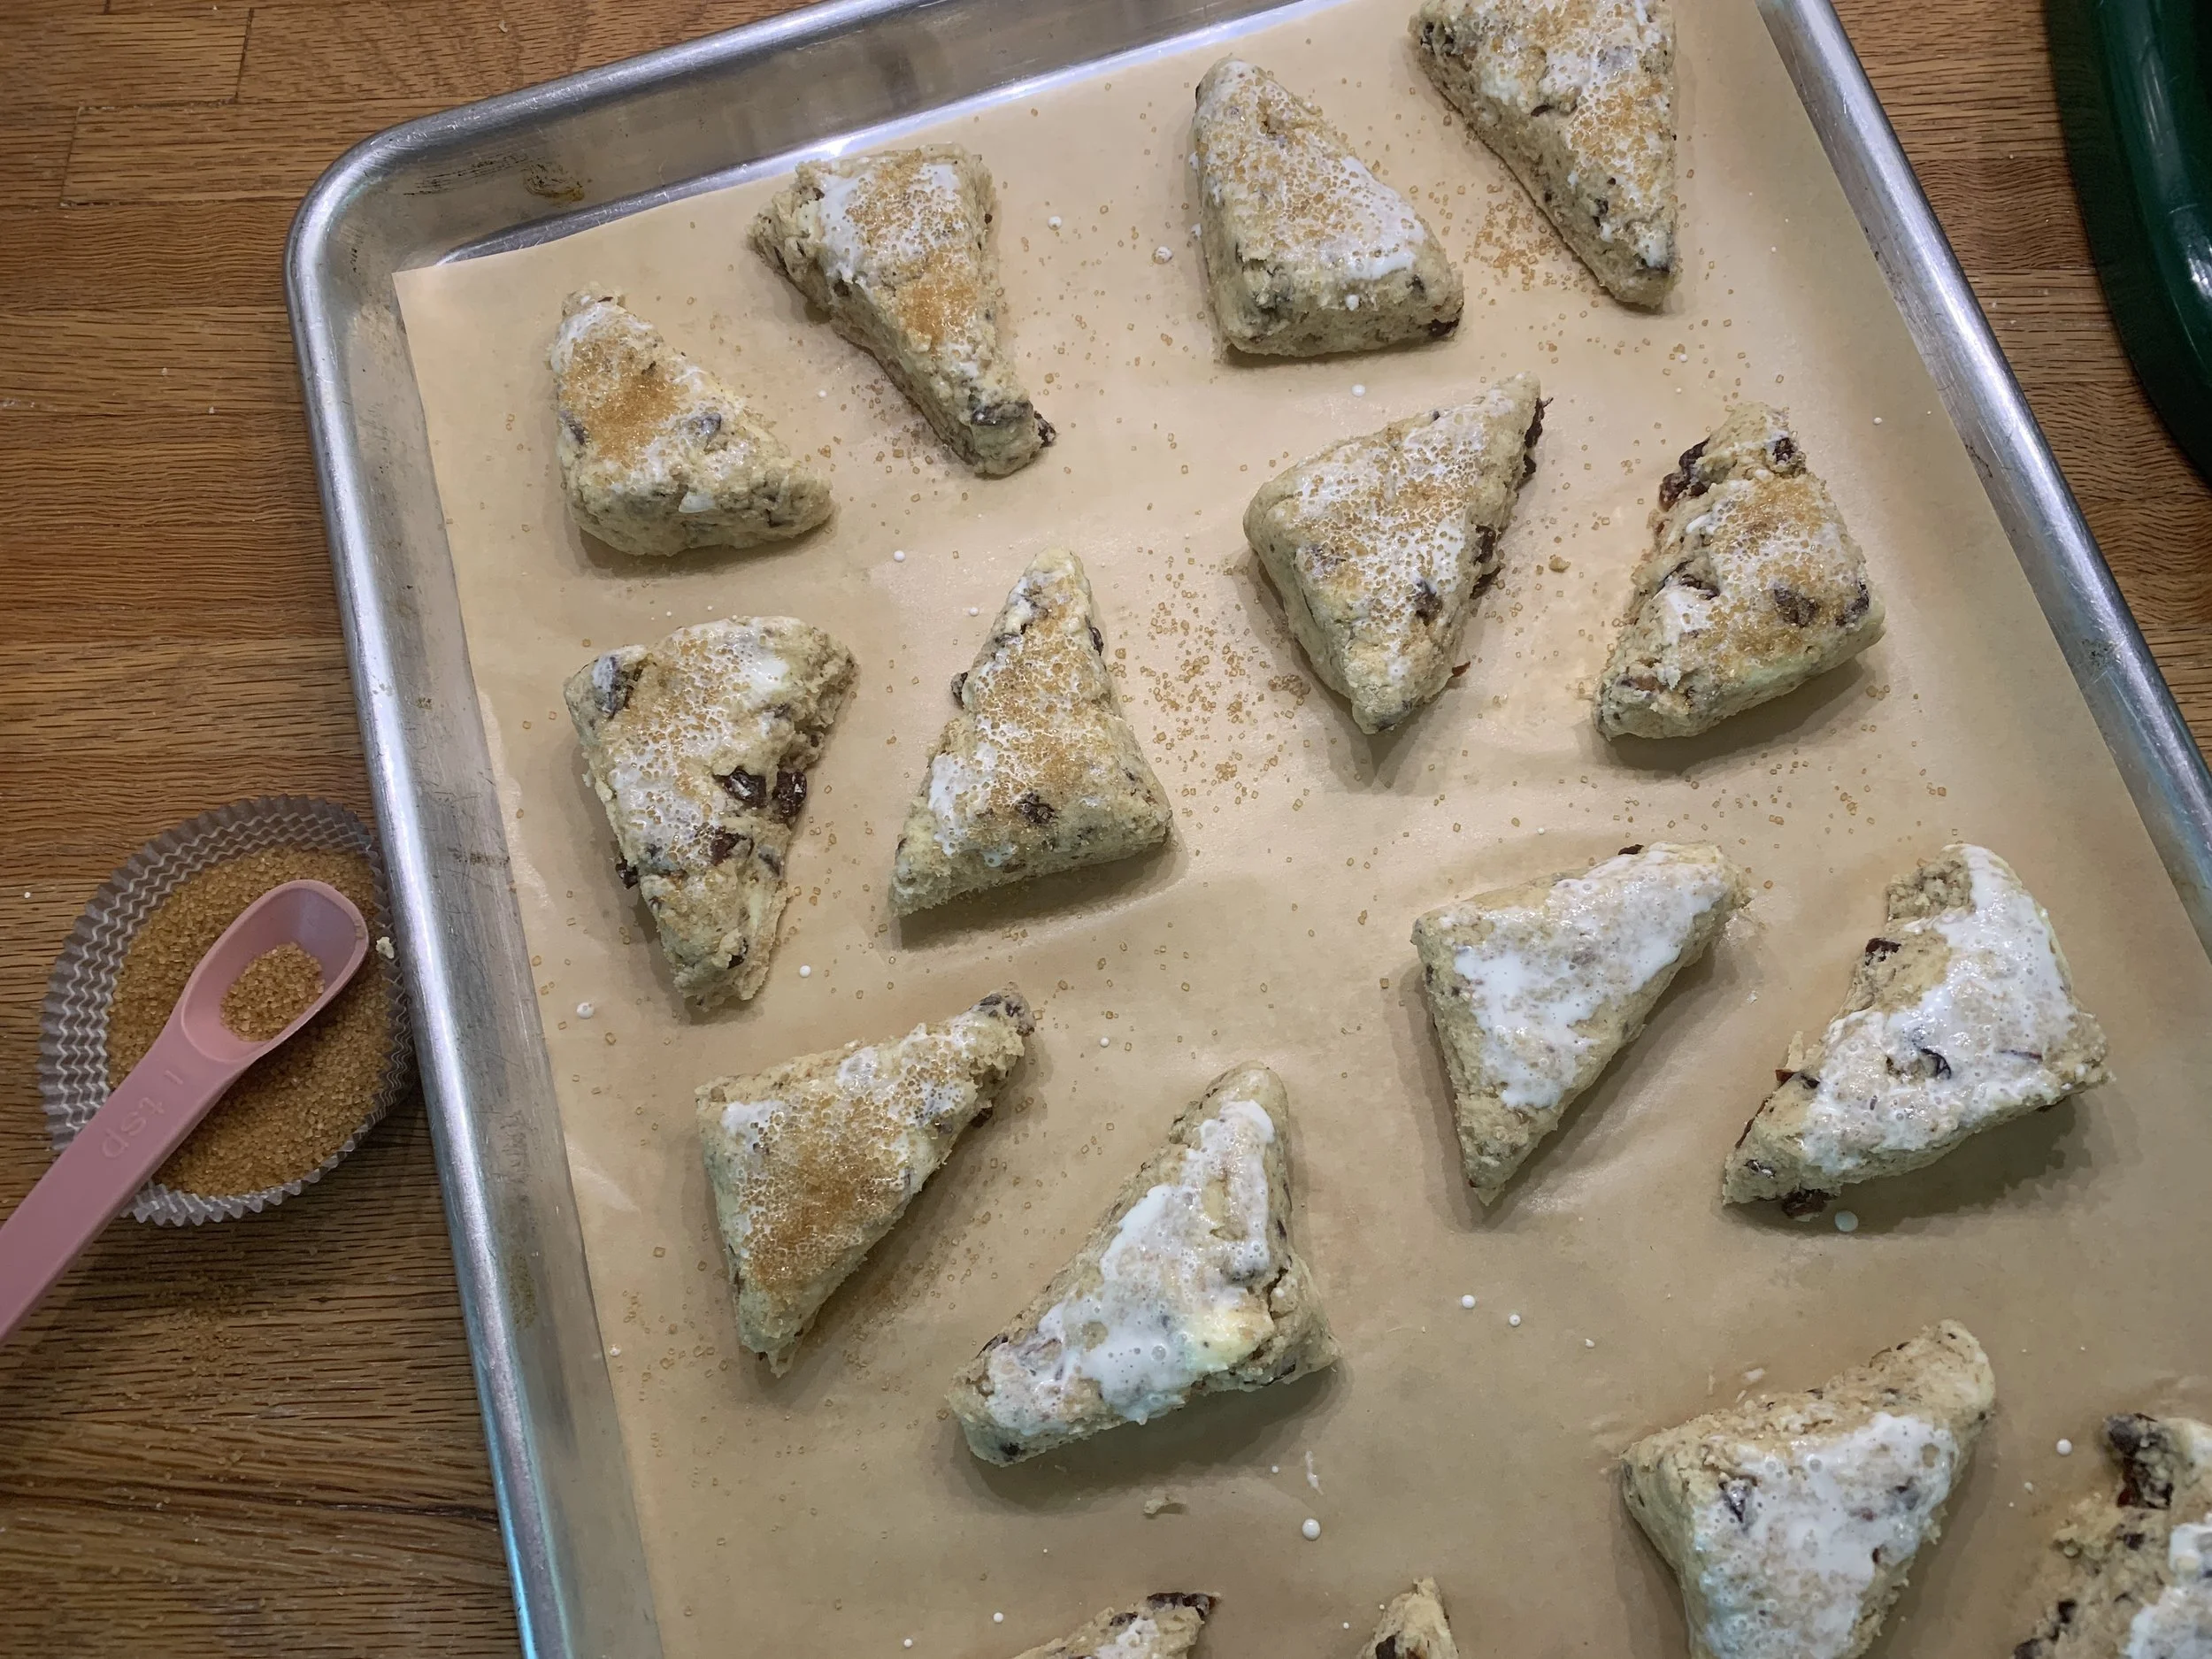
Place scones on a parchment lined sheet pan, brush with a bit of milk and sprinkle with raw sugar. Hold in the freezer while heating the oven to 425ºF. I typically have a second empty sheet pan or my baking stone heating up as well. I find that helps maintain even heat as the scones are baking.
Bake for 5 minutes then decrease temp to 400º and bake an additional 10-15 minutes until nicely browned and set, rotating the pan half way through the bake. Keep an eye on them - if they seem to be browning too quickly, decrease temp to 375º.
In this case I drizzled caramel over the baked scones, popped them back in for a few minutes to set the caramel. Delicious.
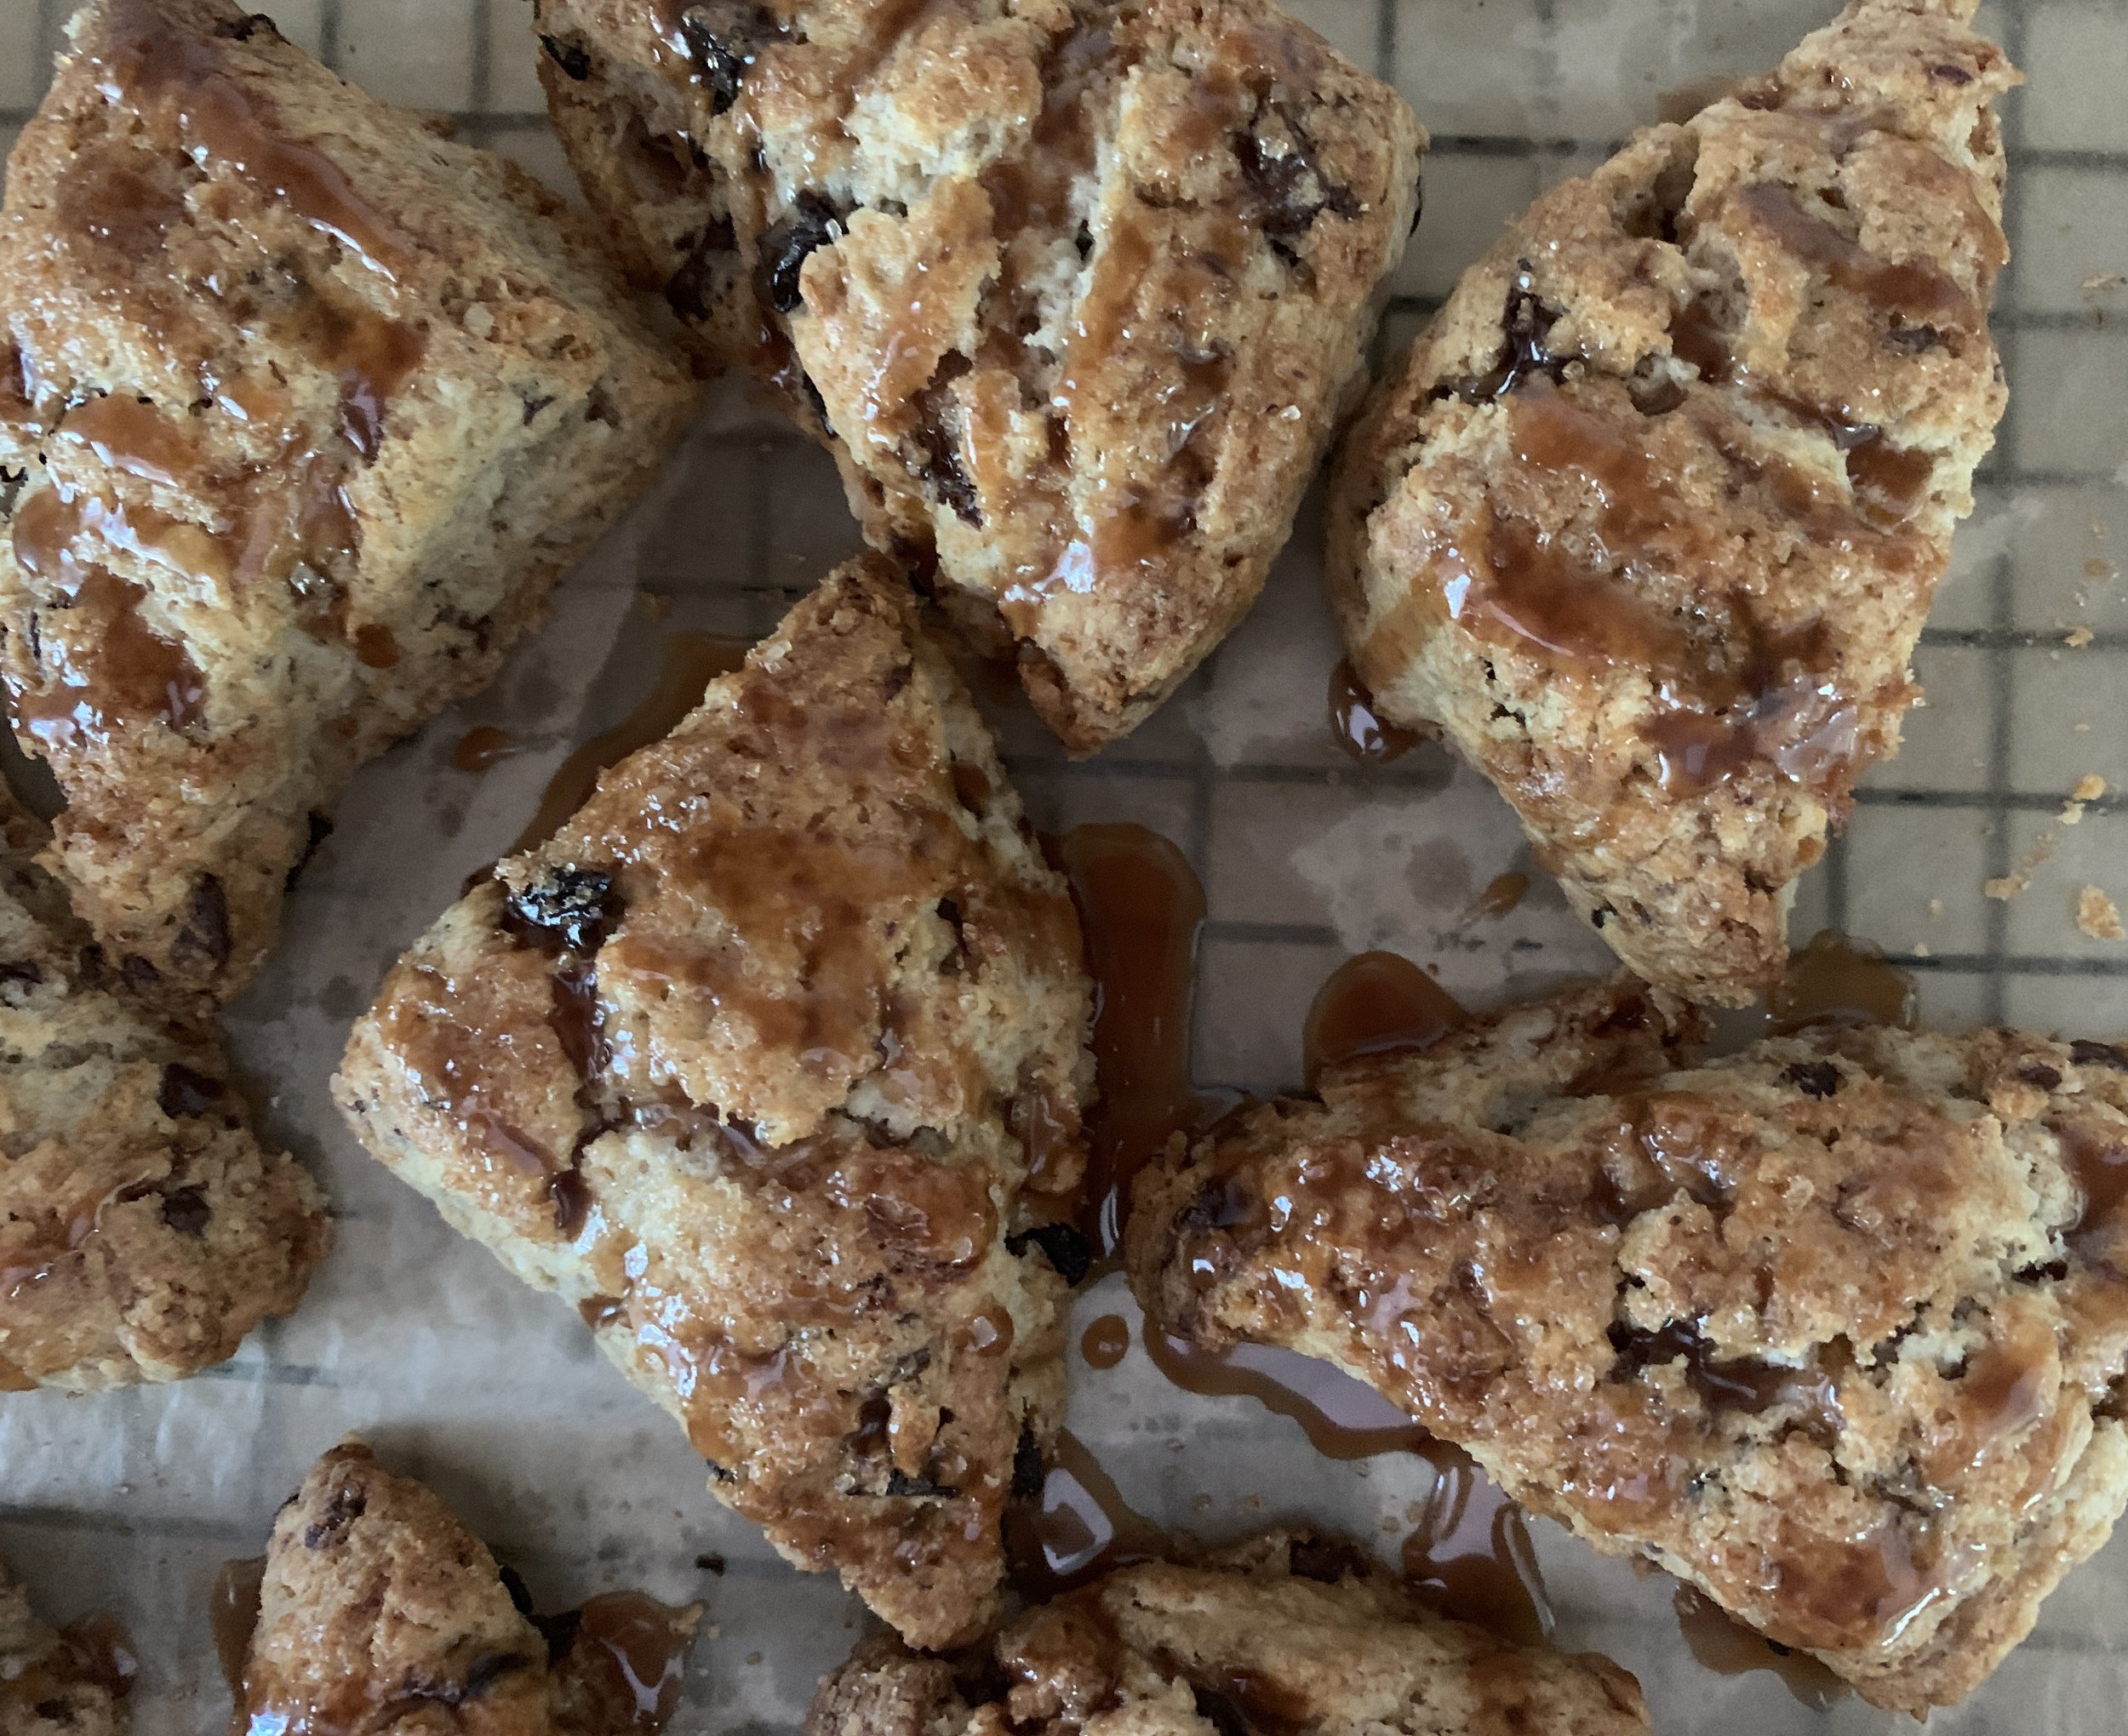
chocolate cherry pecan scones
Wow! What a scone ride that was! I hope you learned something.
Happy baking and happy autumn to all!
