
My first English muffins!
/I decided it was time to try my hand at making some, and what better day than when we were expecting (and ultimately getting) a blizzard here in Providence.
 |
| only the beginning |
 |
| lots more comin' |
Whenever I'm making something new, I enjoy reading and reviewing a number of recipes for whatever that something new might be. I checked out Rose Levy Beranbaum, Bouchon Bakery, Peter Reinhardt and King Arthur Flour and settled on Peter Reinhardt's recipe as my initiation into English muffin making.

Little did I know that English muffins are "baked" on the stove top - I had no idea! Plus I find it so intriguing to compare techniques and processes - Rose's uses a poolish (dough starter), Bouchon bakery uses a liquid levain (another version of a starter), whereas the one I chose to follow is a straight forward direct dough that is as easy as pie to put together and can sit in the fridge for up to four days! I like that. Thanks Peter!
On to the recipe.
 |
| ingredients |
Whisk 14 gm (2 teaspoons) honey and 14 gm (1 tablespoon) olive oil into 1.5 cups (340 gm) of lukewarm milk. In a separate bowl whisk together 340 gm (2 2/3 cups) unbleached flour, 1 1/4 teaspoons kosher salt and 6 gm (2 teaspoons) instant yeast.
 |
| the dry and the wet |
Now blend the wet into the dry, mixing for a minute or so to moisten all the flour. Scrape down the bowl and mix the batter for a few more seconds.
 |
| ready to cover and refrigerate |
Cover tightly with plastic wrap and refrigerate overnight or up to 4 days.
On the day you plan to bake the muffins remove the dough from the fridge a good 2 hours ahead of time. I chose to bake the following day, so my dough had an overnight rest in the fridge.
 |
| just out of the fridge after an overnight rest |
After a couple of hours you should see that the dough has bubbled a bit. It's subtle, but it's there.
 |
| can you see the difference? |
Now it's time to dissolve 1/4 teaspoon of baking soda in 3 tablespoons of warm water and fold that gently into the dough.

Let the dough rest for 5-10 minutes. In the meantime prepare your English muffin rings (in my case I used my 7/8" high, 80 mm tart rings) by oiling them and coating the insides with corn meal (I used semolina).

Heat a flat griddle or cast iron skillet over medium heat and place the prepared rings on the cooking surface. I'm using a non-stick flat griddle, but if you're using a classic cast iron "stick" pan or griddle, mist or coat it with oil first.

Sprinkle cornmeal in the rings . . . .

Lightly oil a 1/3 measuring cup and use it to scoop the dough into the prepared rings.

The dough is a bit sticky but just go for it - scoop away! Sprinkle a little more cornmeal on top . . .
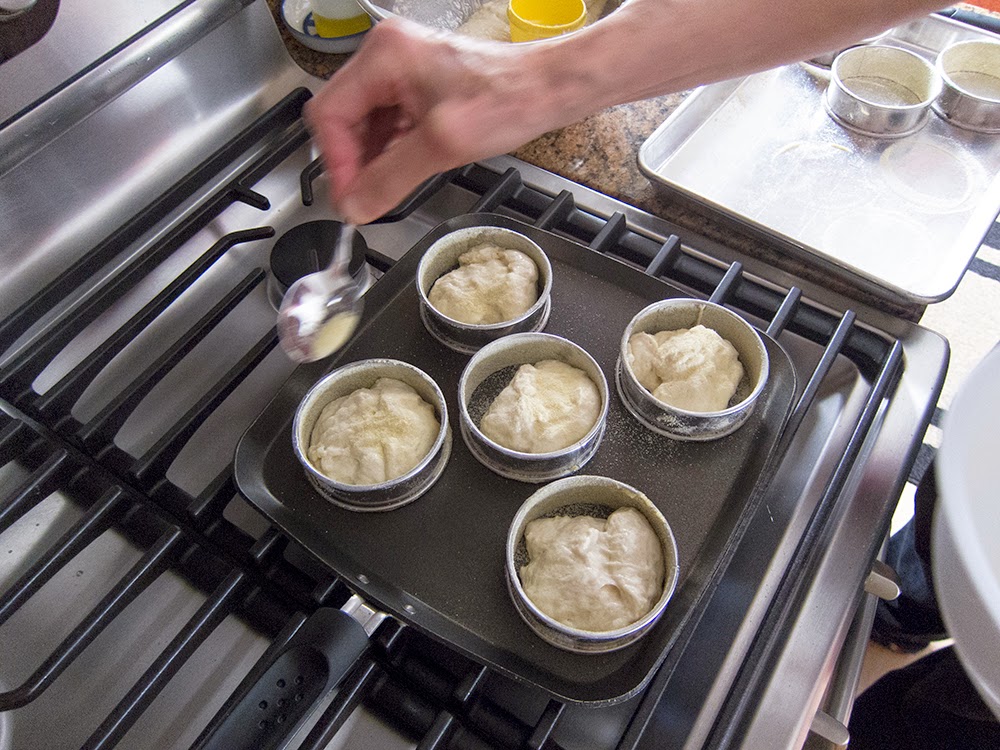
and cook the muffins for about 12 minutes over low-medium heat - the dough will start to rise and fill the rings.
 |
| away we go! |
Then it's time to flip them over, rings and all . . . .

 |
| all flipped |
You want them to be golden on the bottom before the flip, and then you cook them for another 12 minutes or so to achieve the same golden-ness on the flip side. You can peek underneath to check for the degree of browning, and they should also feel springy to the touch.
At that point remove them from the pan, let them cool a couple of minutes and then remove the rings.
Based on some of the techniques I gleaned from reading different recipes, I decided to pop them into a 325 oven for 5-10 minutes to finish them off. Since I haven't made these before, I wasn't sure how they should feel when they're done, and there's nothing worse than an under baked end result. Think of it as "baking insurance"!
 |
| the finished goods |

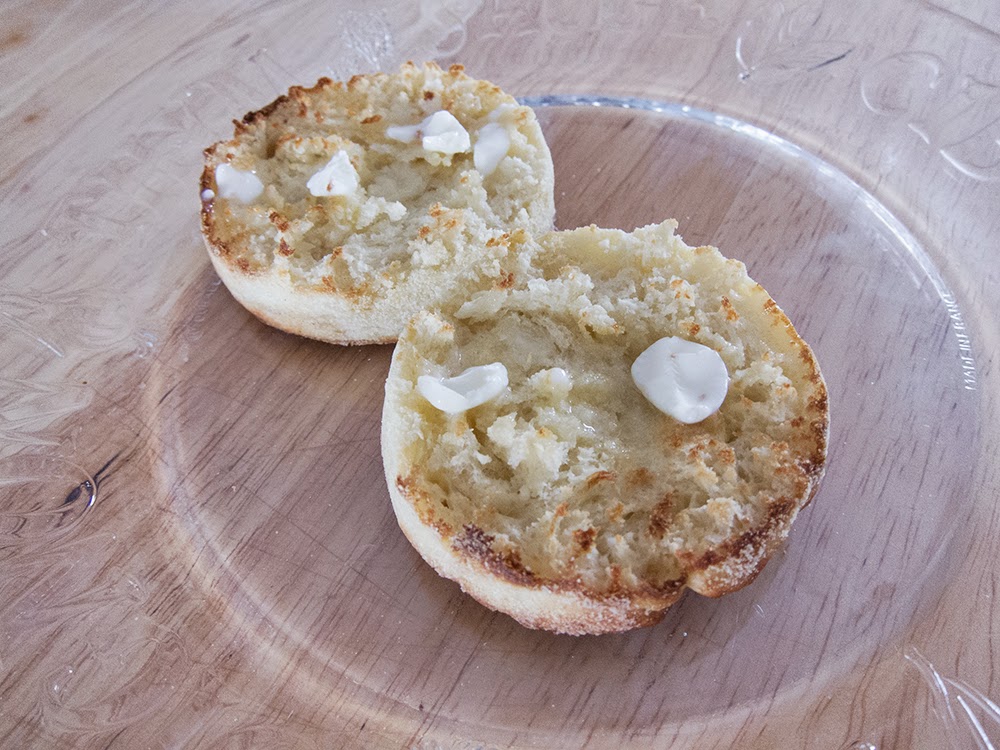
After a good 30 minute cool down Steve and I simply had to do a taste test. I performed a "fork-split" and found the interior to have that quintessential "nooks and crannies" appearance that one hopes for in an English muffin . . . .

First we toasted one and topped it with a little butter . . .
and then a second one with butter and cherry jam . . . .
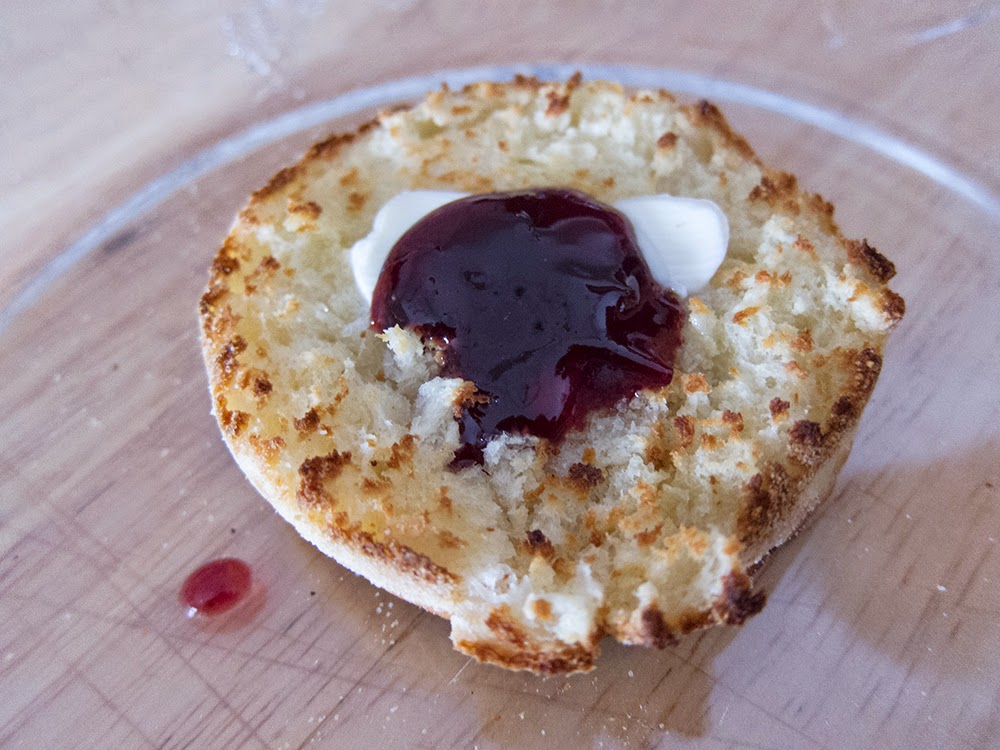 |
| yup - that's good! |
So the English muffin test was a success. Crispy outside yet tender with an almost custard like interior, a medium-coarse crumb and a just right taste.
Yes, I would make these again!
