Pasteis de Nata adventures at home
/
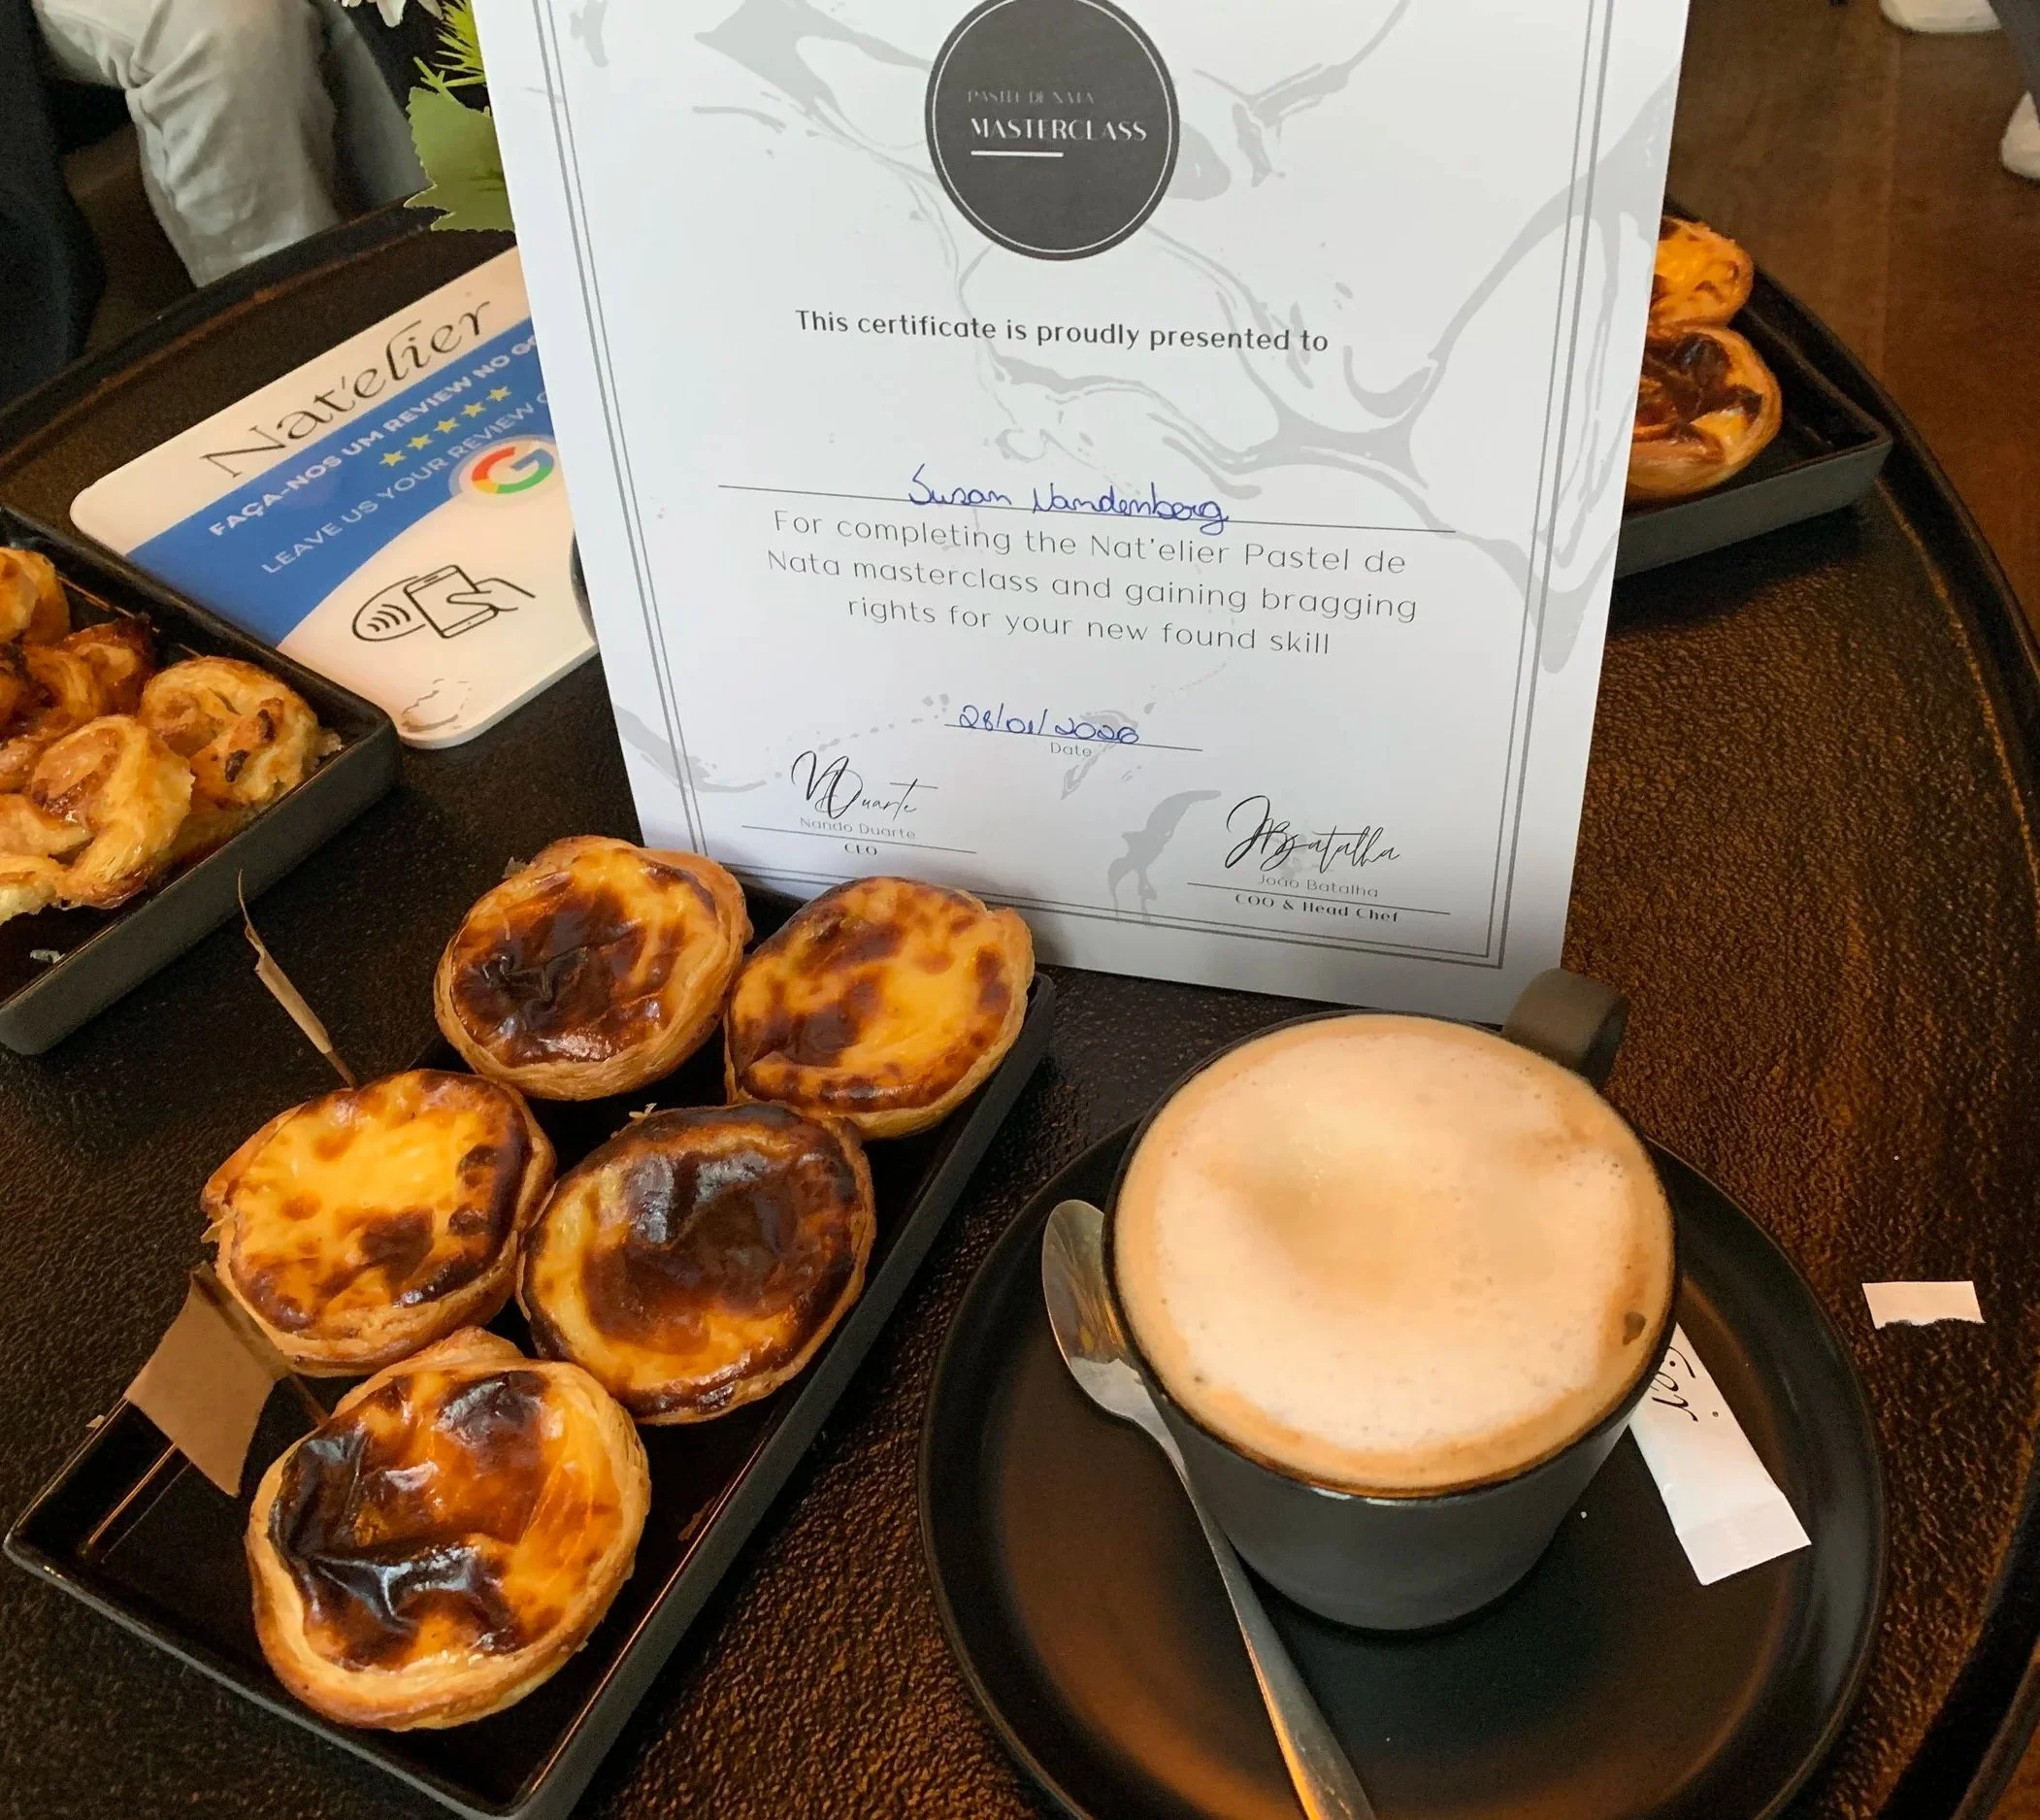
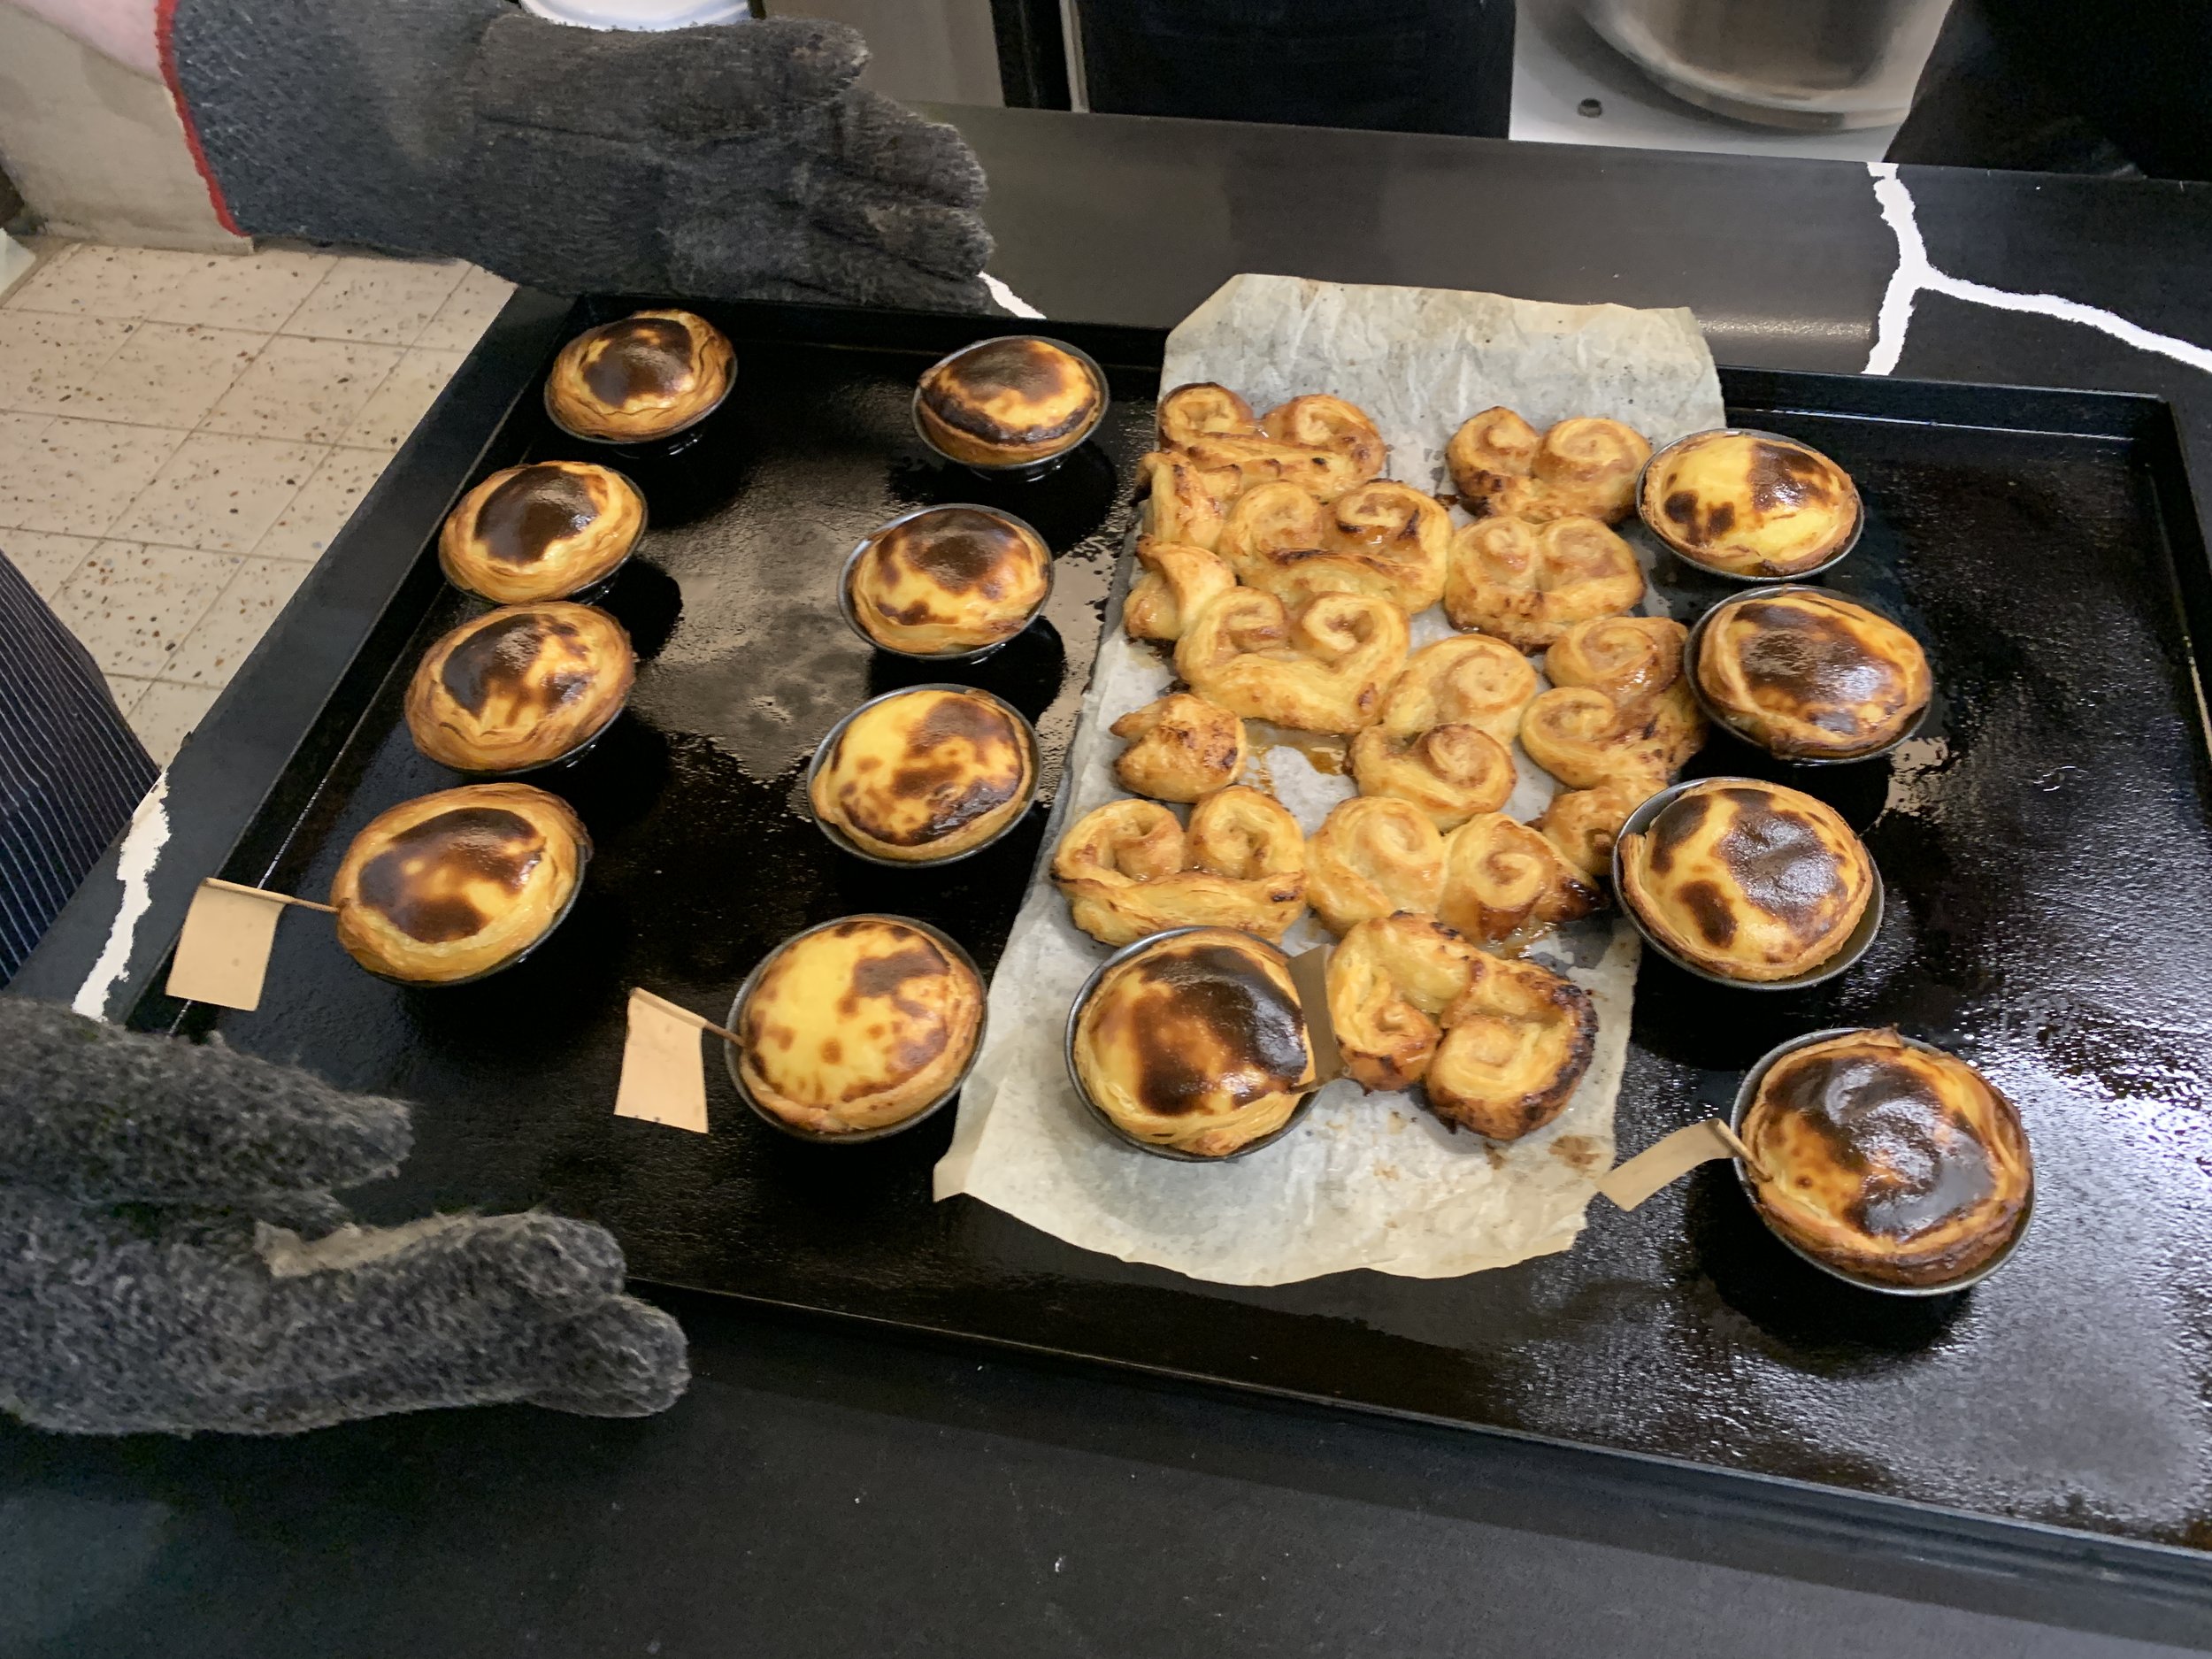
After a wonderful class in nata making at Nat’elier in Lisbon a few weeks back, I was determined to make these popular Portuguese treats at home. I went through several rounds and definitely learned a few things in the process.
When I started drafting this post, I felt like I was getting carried away with too much info on steps and recipe variants (you know me!). Instead I offer you the recipe that I plan to use from here on out as well as what I discovered about making these gems. The recipe is an amalgamation of the one I received from Nat’elier and the one that came with the nata tins I purchased - very similar.
The puff dough is easier/quicker than traditional puff pastry. It can be made with butter or margarine, although I’m told that margarine is what the “big houses” in Portugal use to make these. Our instructor at Nate’lier explained that margarine is more plastic, rolls more easily and stands up to very high heat. Oven temps are generally anywhere from 480º to 550º for these tarts but the word is that some shops bake as hot as 800º! Obviously we home bakers won’t be doing that, although hmmmm . . . . how about some of the pizza ovens available these days that get super hot?
The folding steps are fewer and there are no chilling and resting times other than a short rest before rolling the dough into a log and a final fridge rest once the dough is completed (45 minutes up to 2 days). The final tight log rolling of the dough is what yields the many layers. Here’s the recipe again.
One of my tests involved a more complicated and more fussy way to make the puff pastry - I’ll show you a bit about that later.
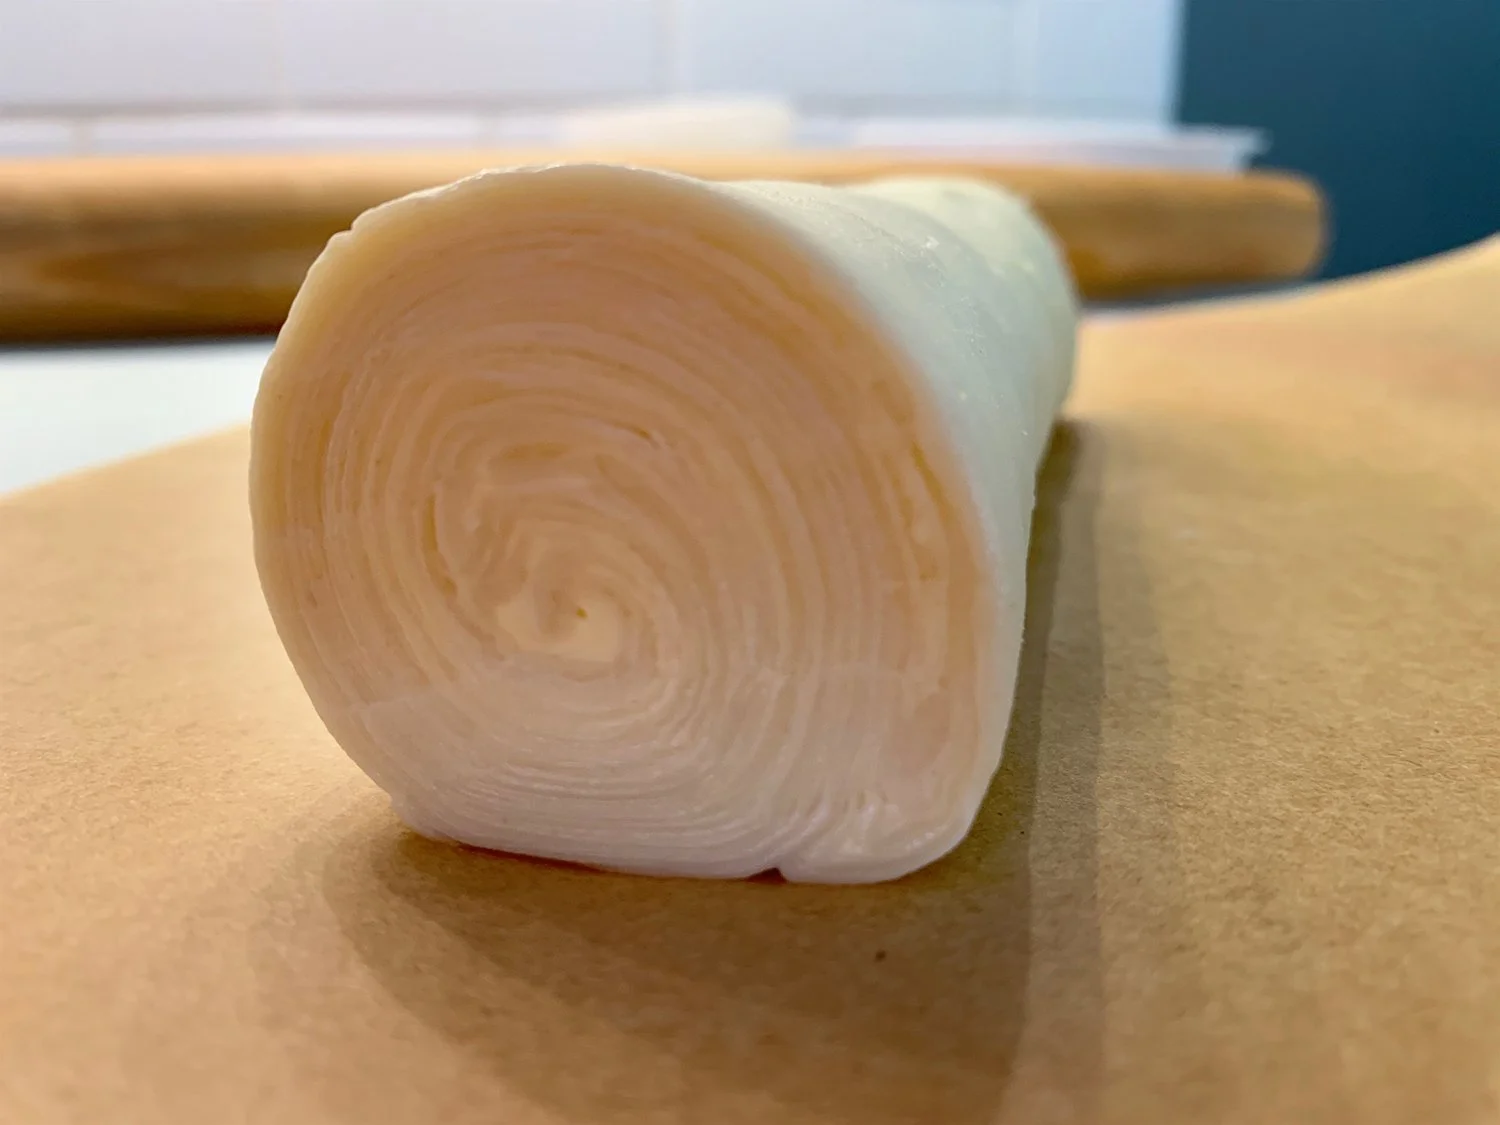
Isn’t that so cool!
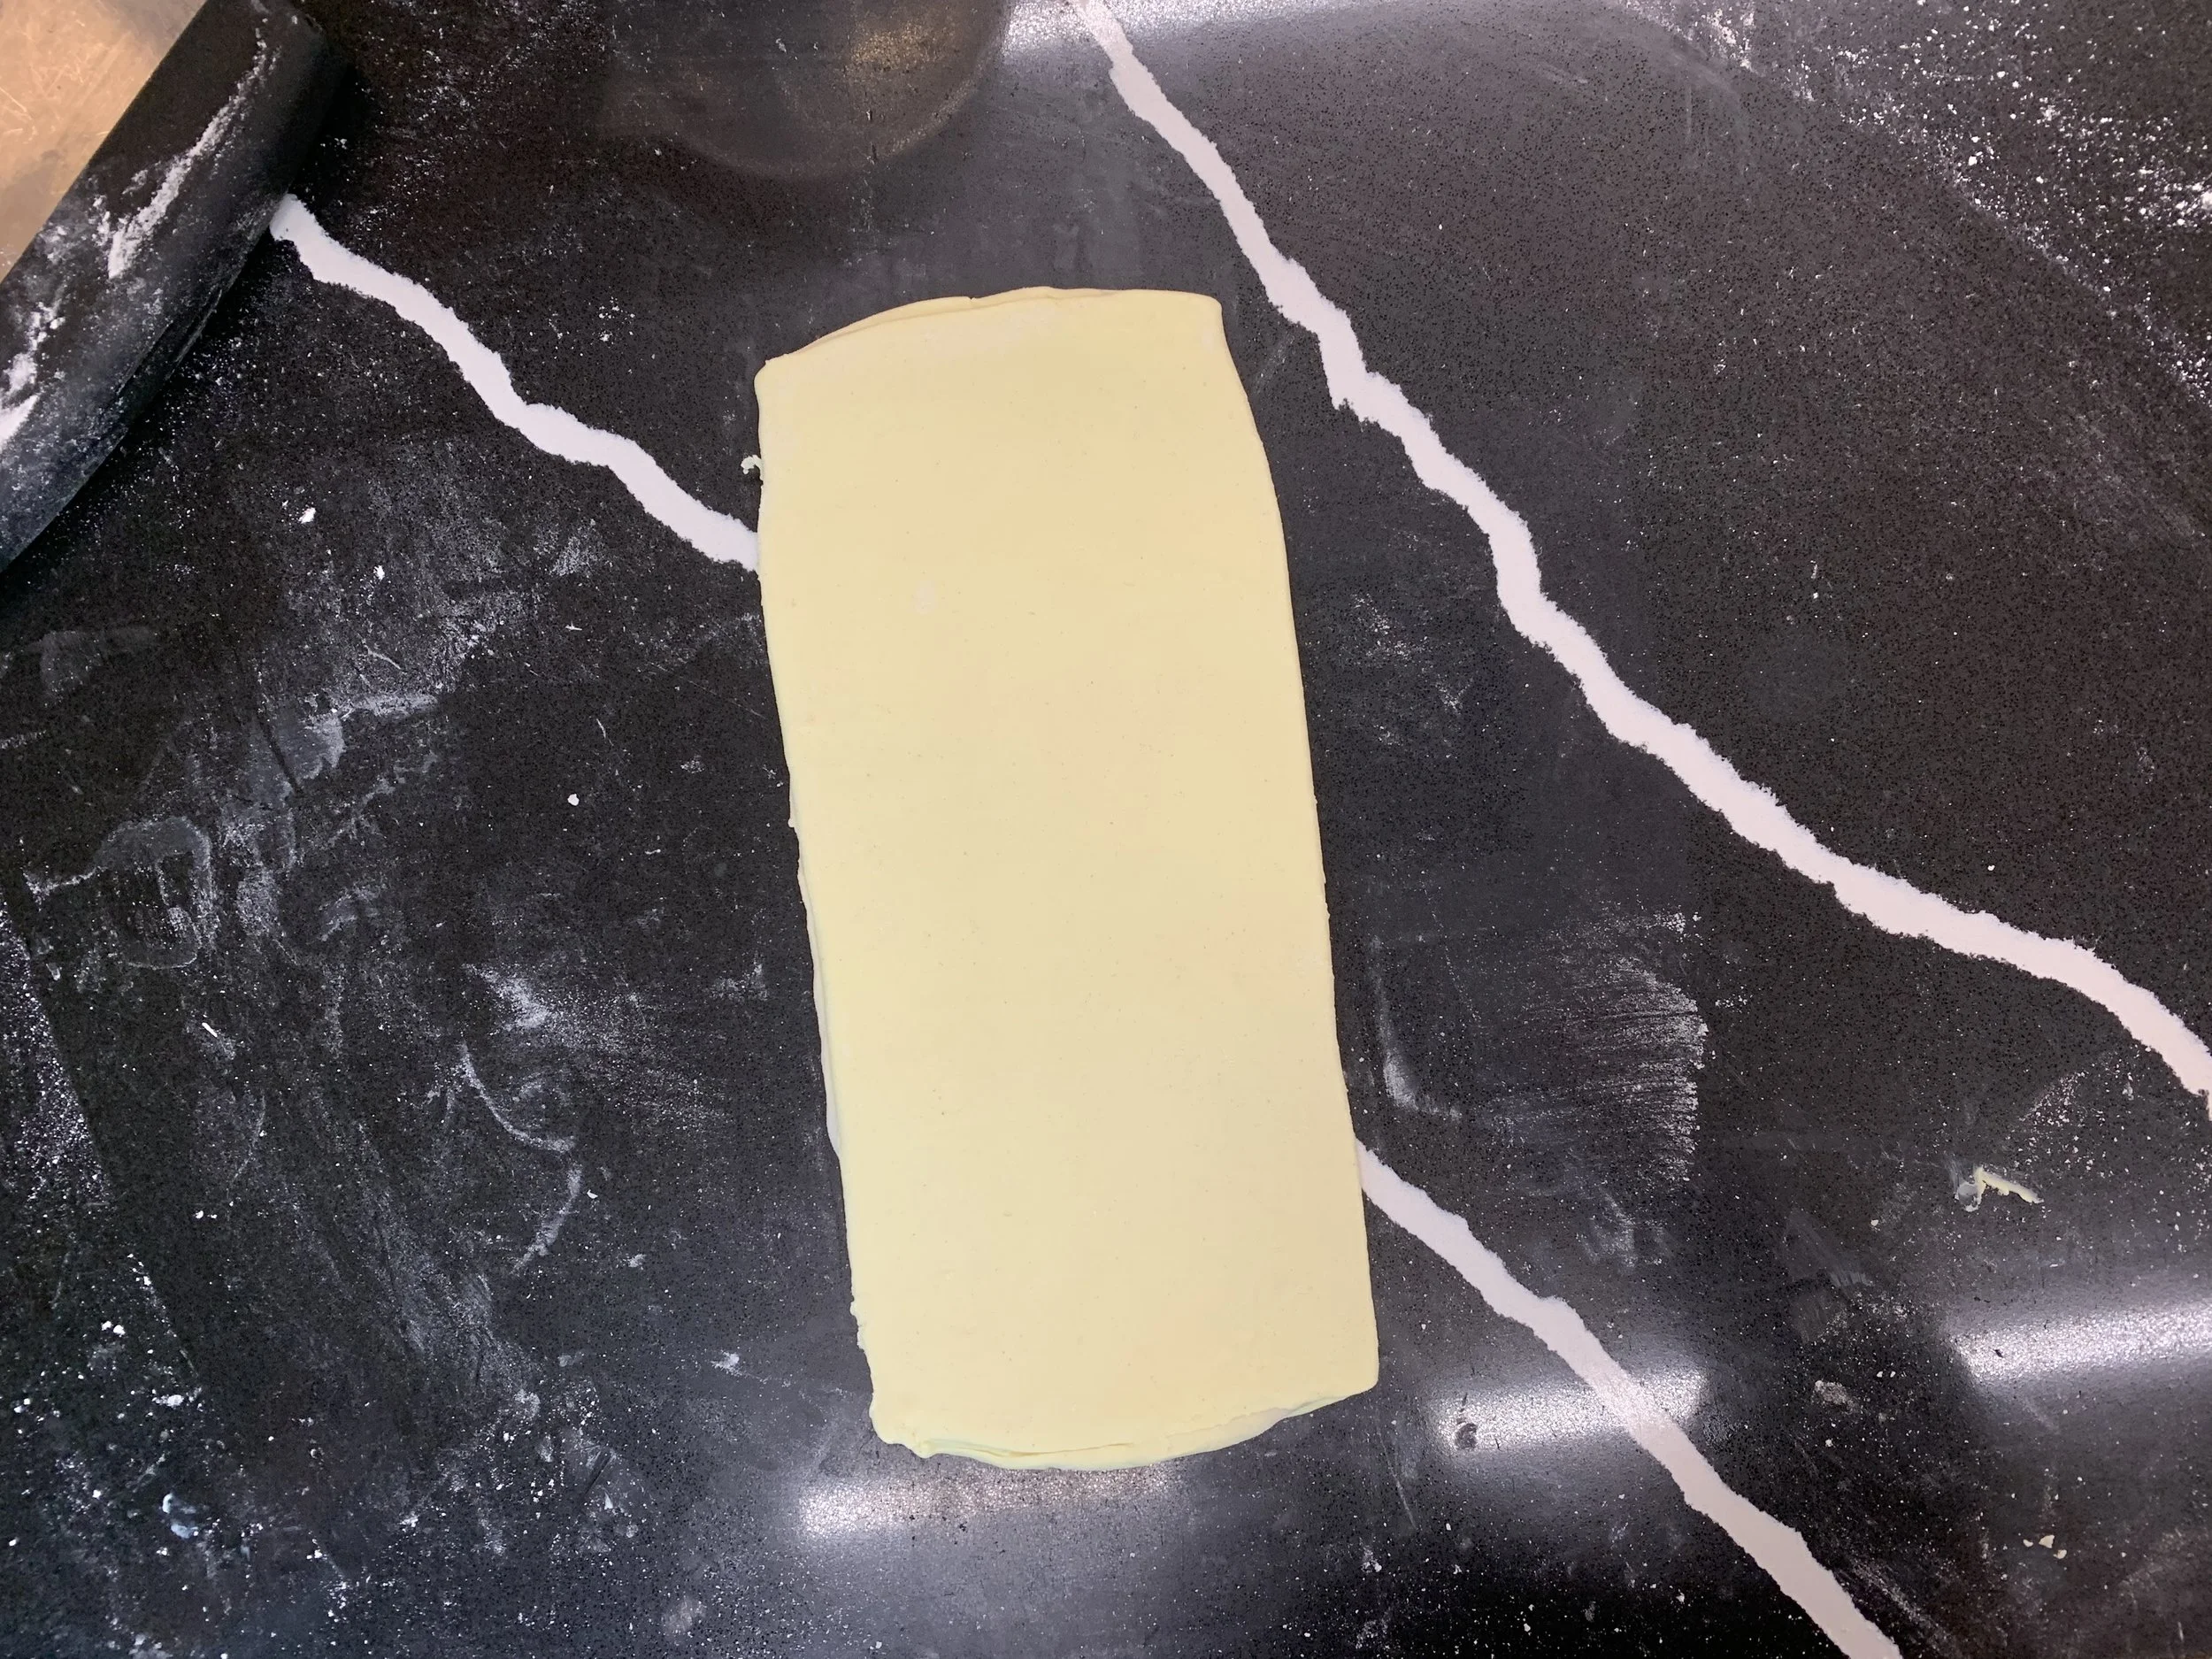
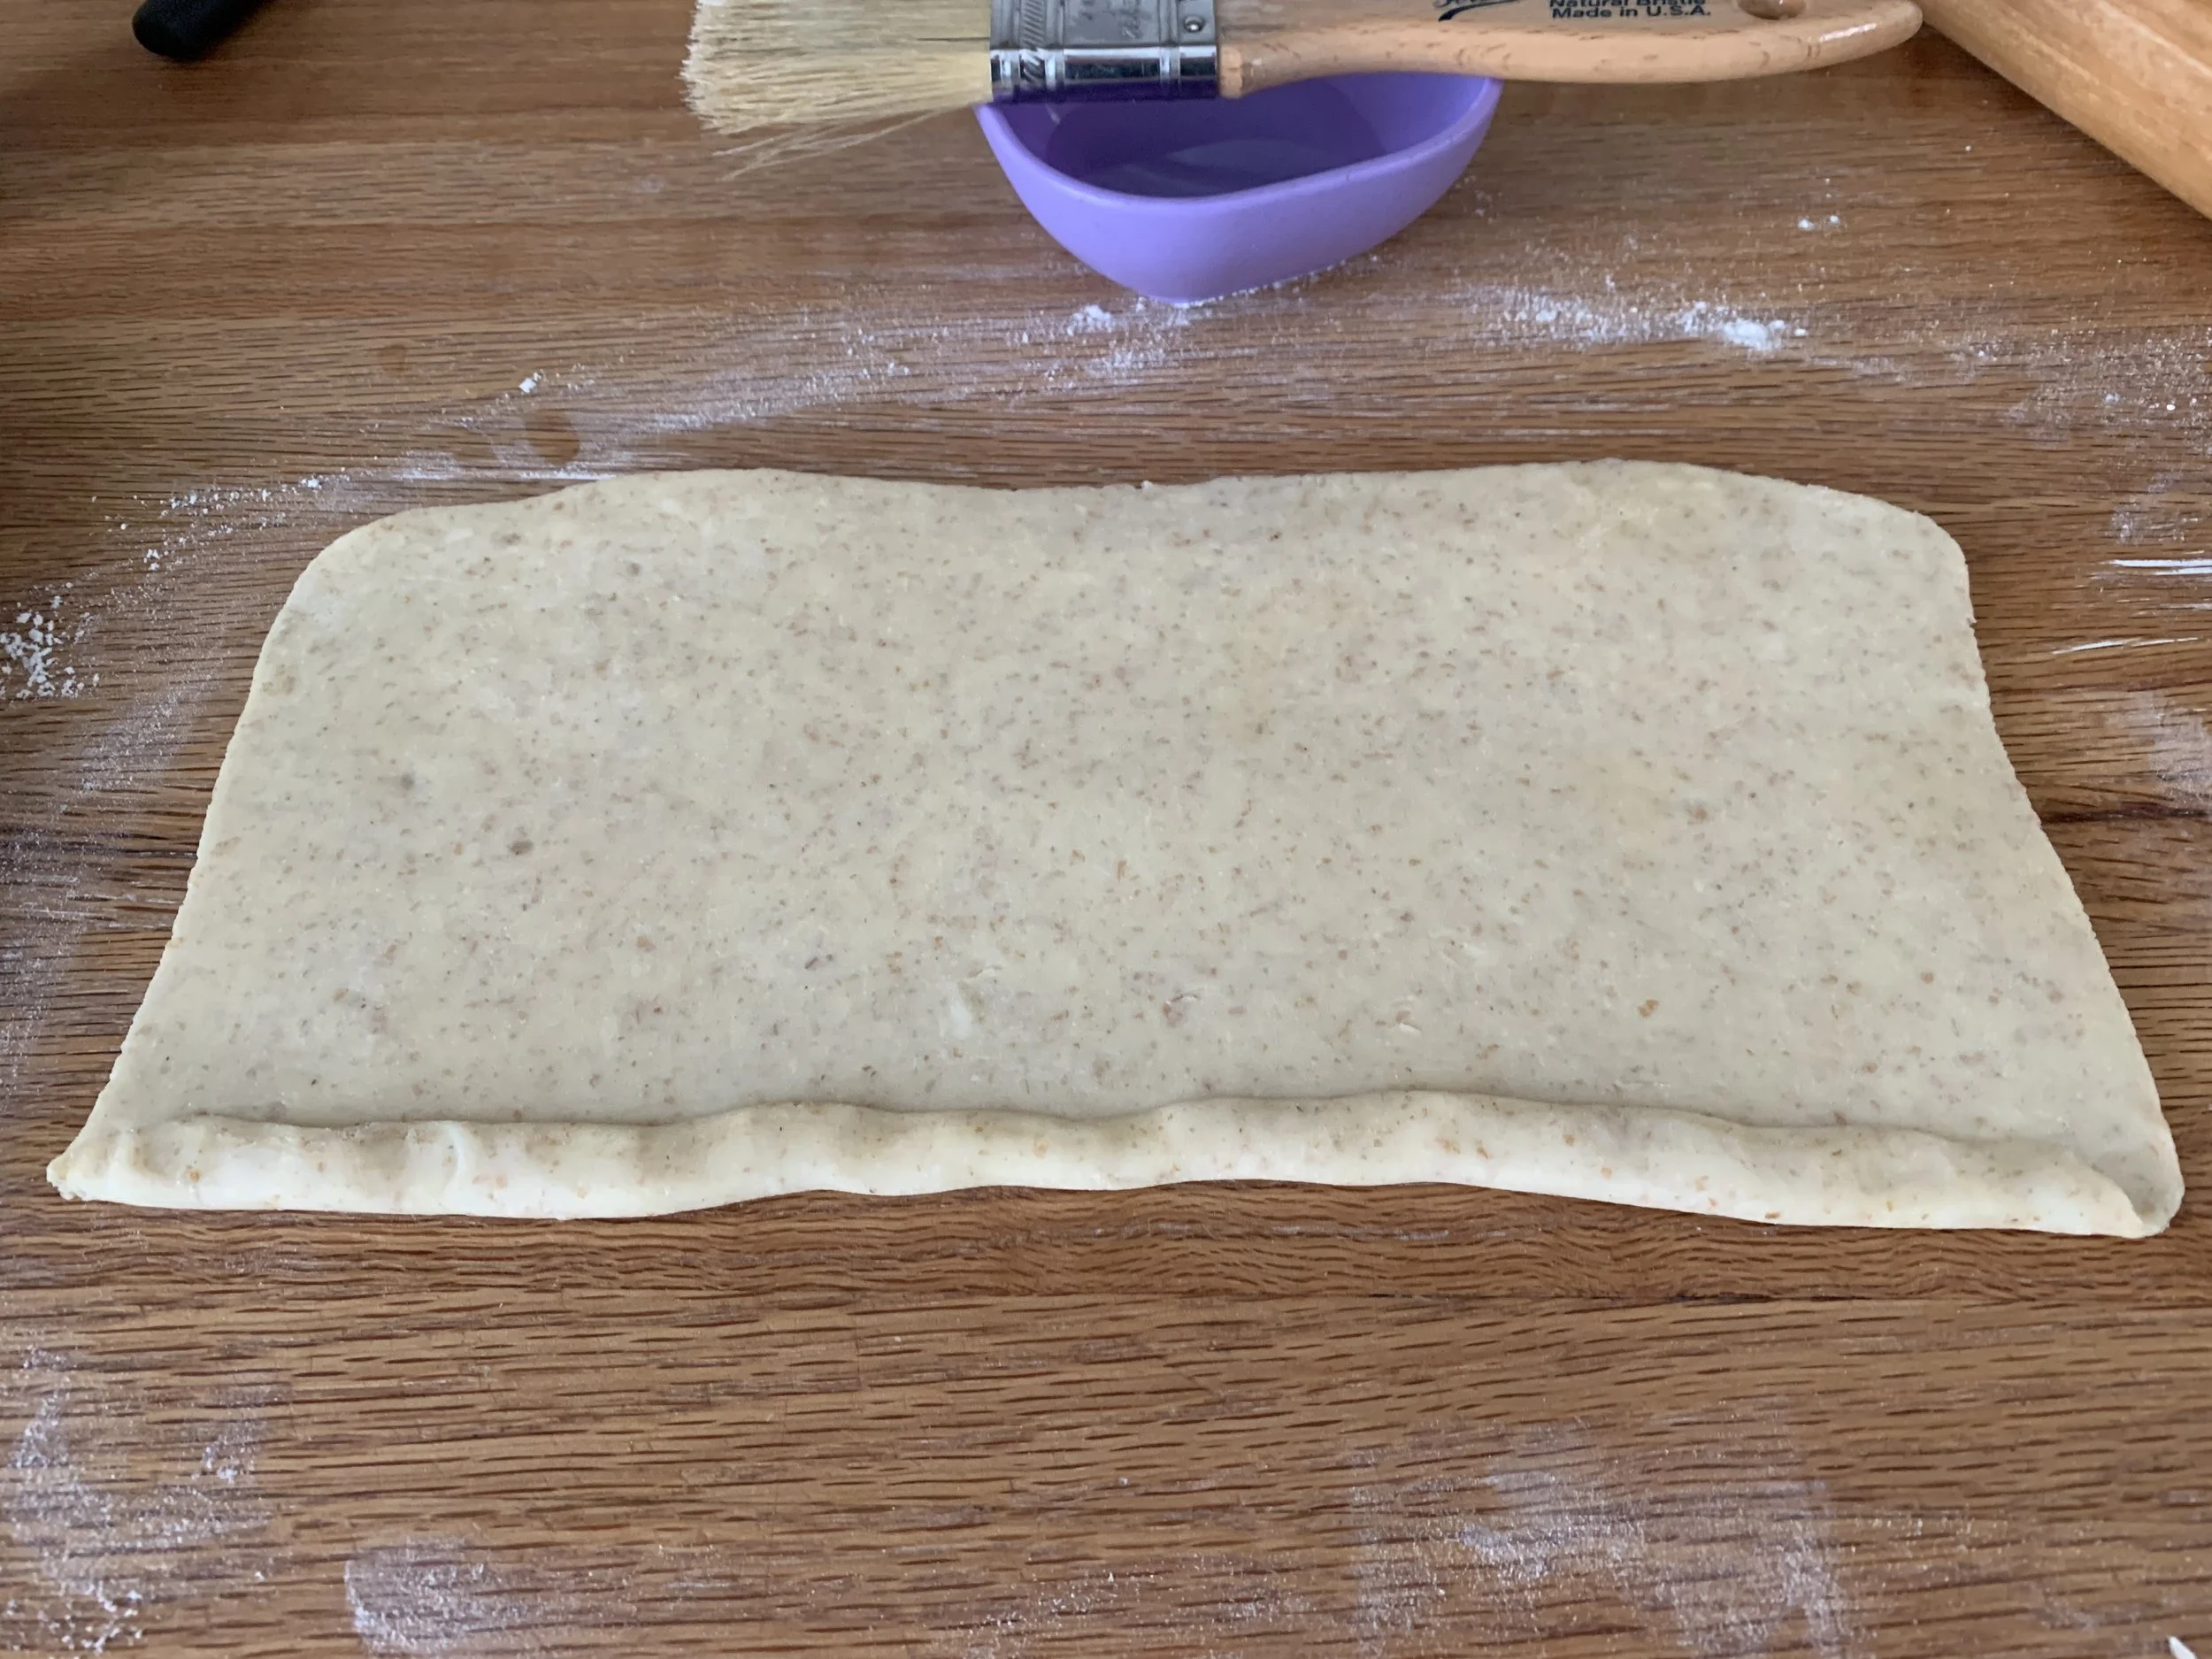
Below is my initial trial with the reverse puff I had in my freezer (I make it with spelt and all purpose flour) just to give you a visual of the log rolling process. The dough is brushed with water to make it sticky . . . . .

. . . . then rolled tightly from the bottom edge a couple of times to get things going . . . .
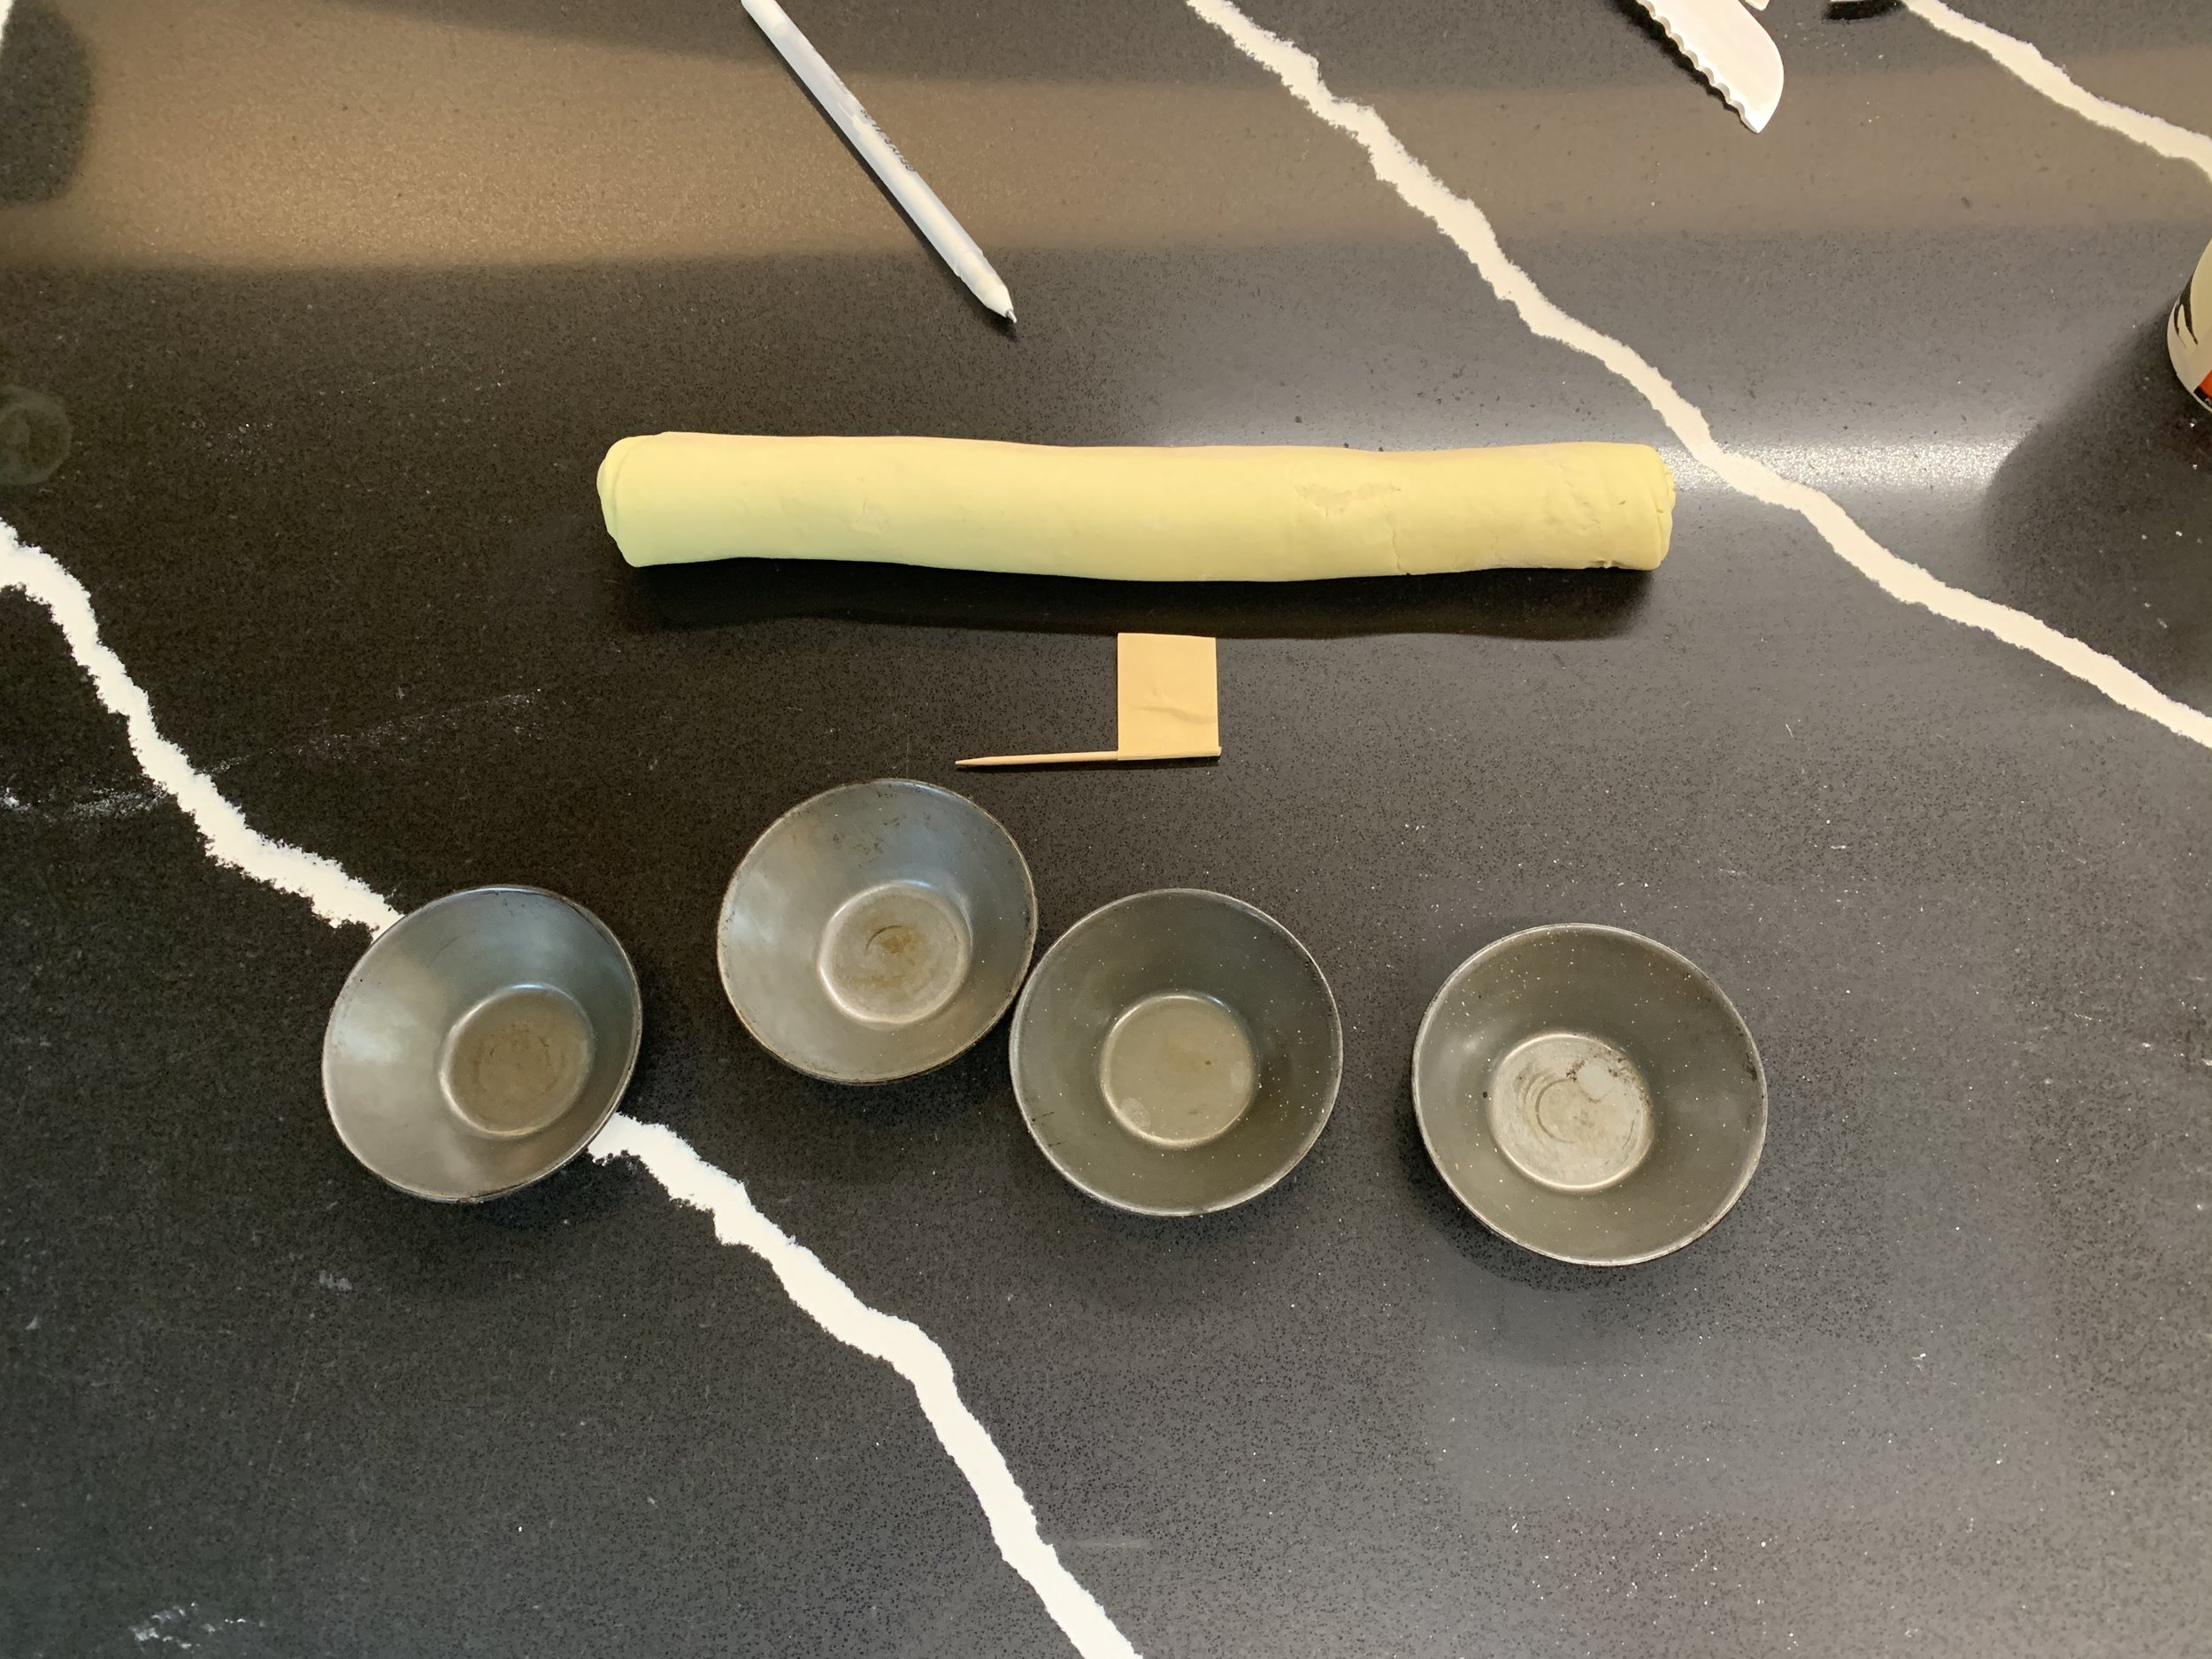
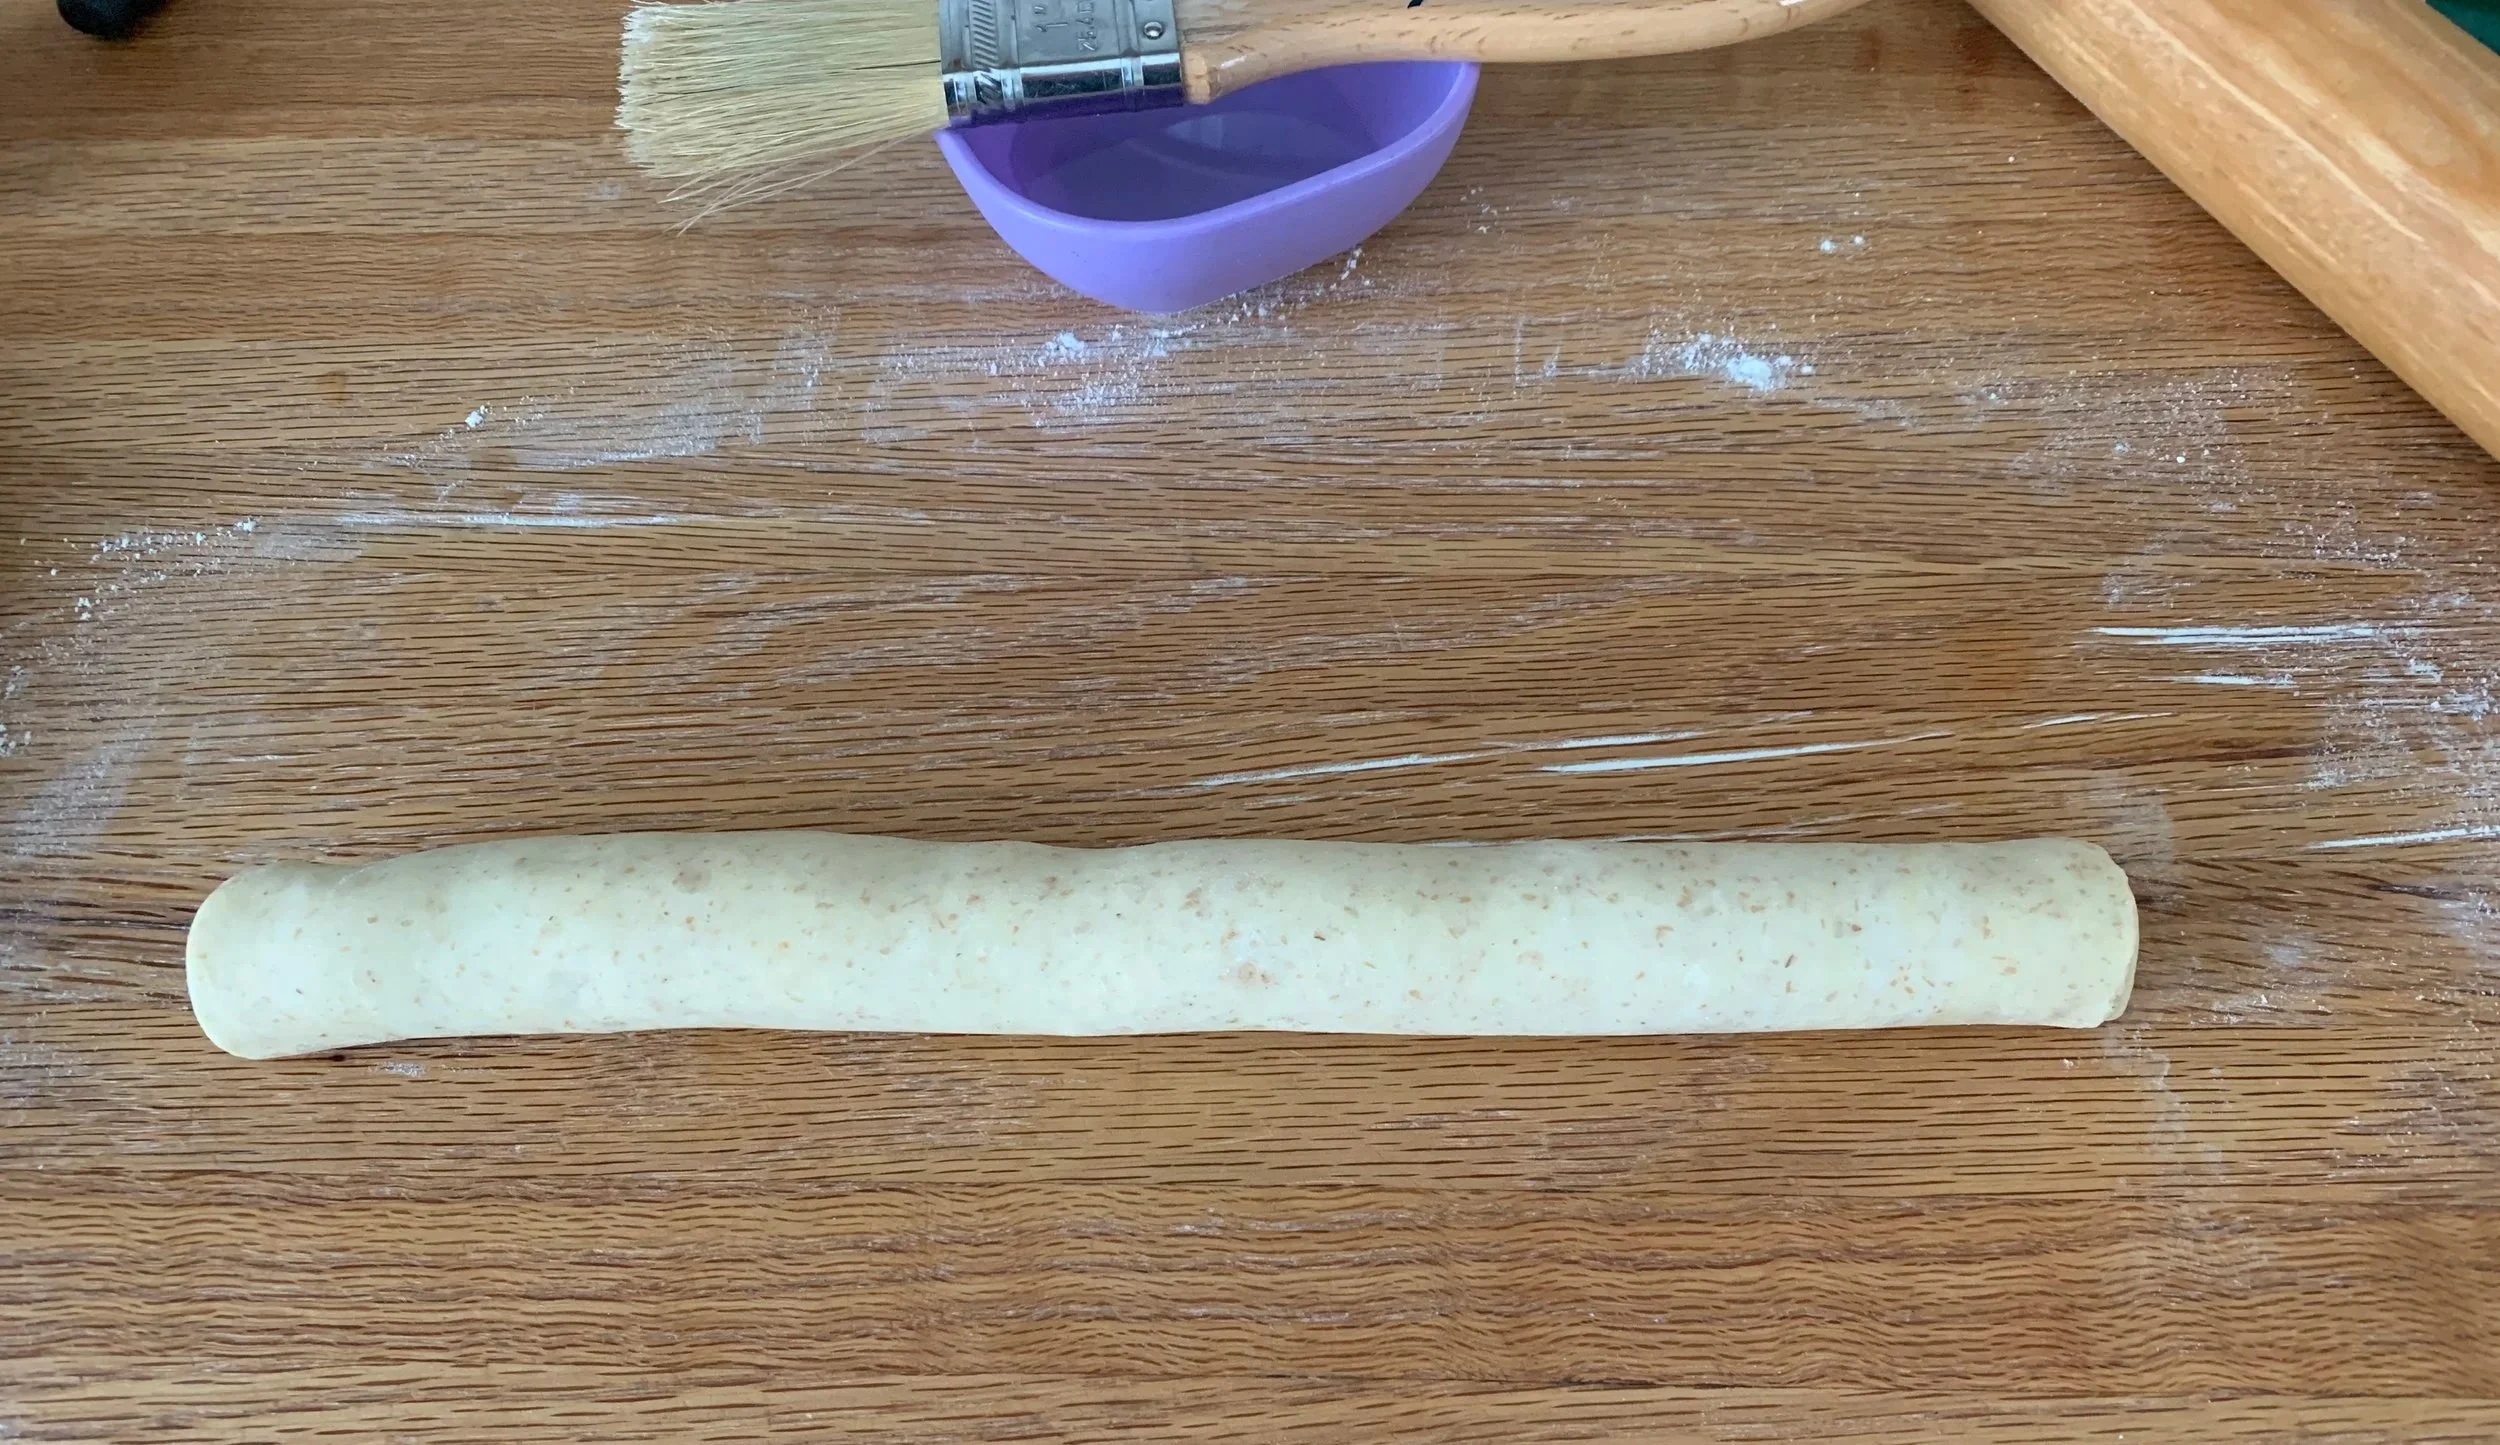
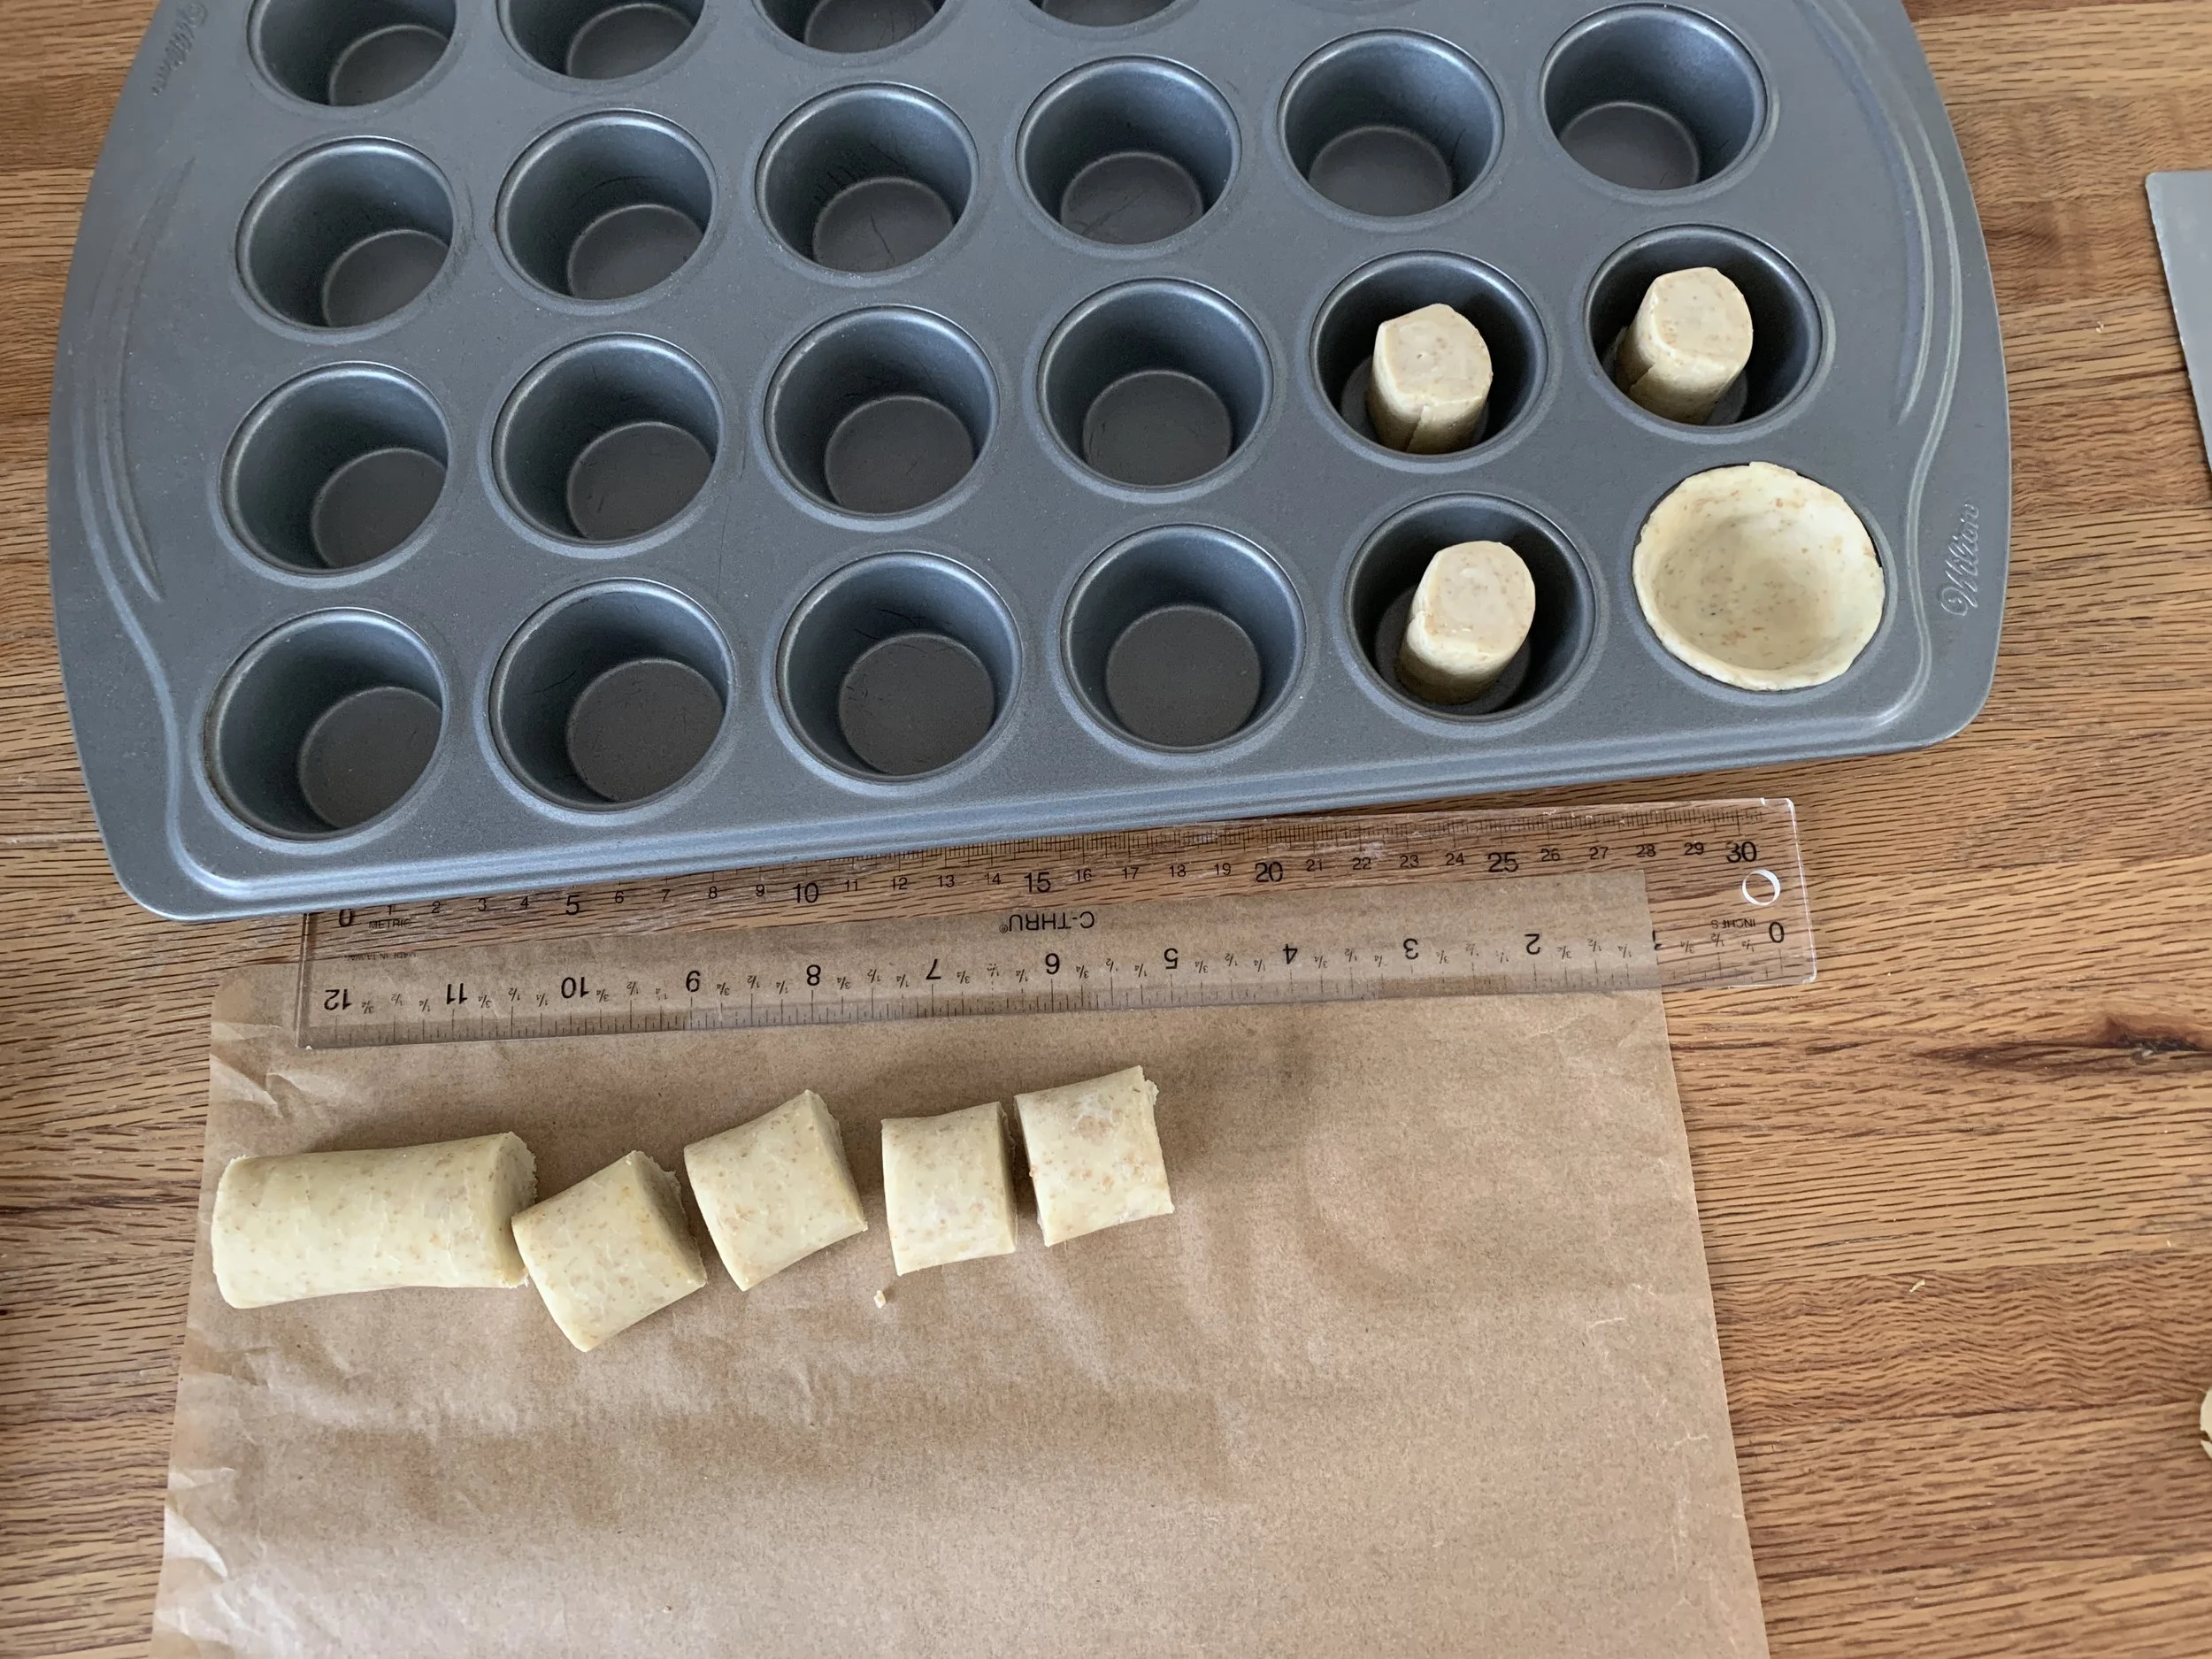
. . . . then finished off. The diameter of the log should be about the same as the diameter of the tart tin bottoms (3.5 cm). Wrap and chill at least 45 minutes up to 2 days. It can also be frozen.
The custard is straight forward with ingredients much like a classic crème pâtissière - milk/sugar/flour cooked to thicken; egg yolks added. Traditionally lemon rind and cinnamon stick are steeped in the milk mixture. I left the cinnamon out but am certainly not opposed to it. You can also sprinkle cinnamon and powdered sugar on top of the baked natas.
Nat’elier uses 2% milk, feeling that the lower fat content makes for a more creamy, less flan-like custard. I used both whole and 2% in my trials and didn’t see much difference. Some recipes I reviewed instruct that skim, 2% or whole are options.
Nat’elier also allows the cooked milk, sugar, flour mixture cool before whisking in the egg yolks, again feeling that gives a creamier end result. I also added a splash of vanilla extract at the end.
The following image is hazy (sorry - a fair amount of steam coming off the pan) but shows the amount of thickening to look for in the milk, flour, sugar mixture. A track should remain as you pull a spatula through it. It also thickens a bit more once cooled.
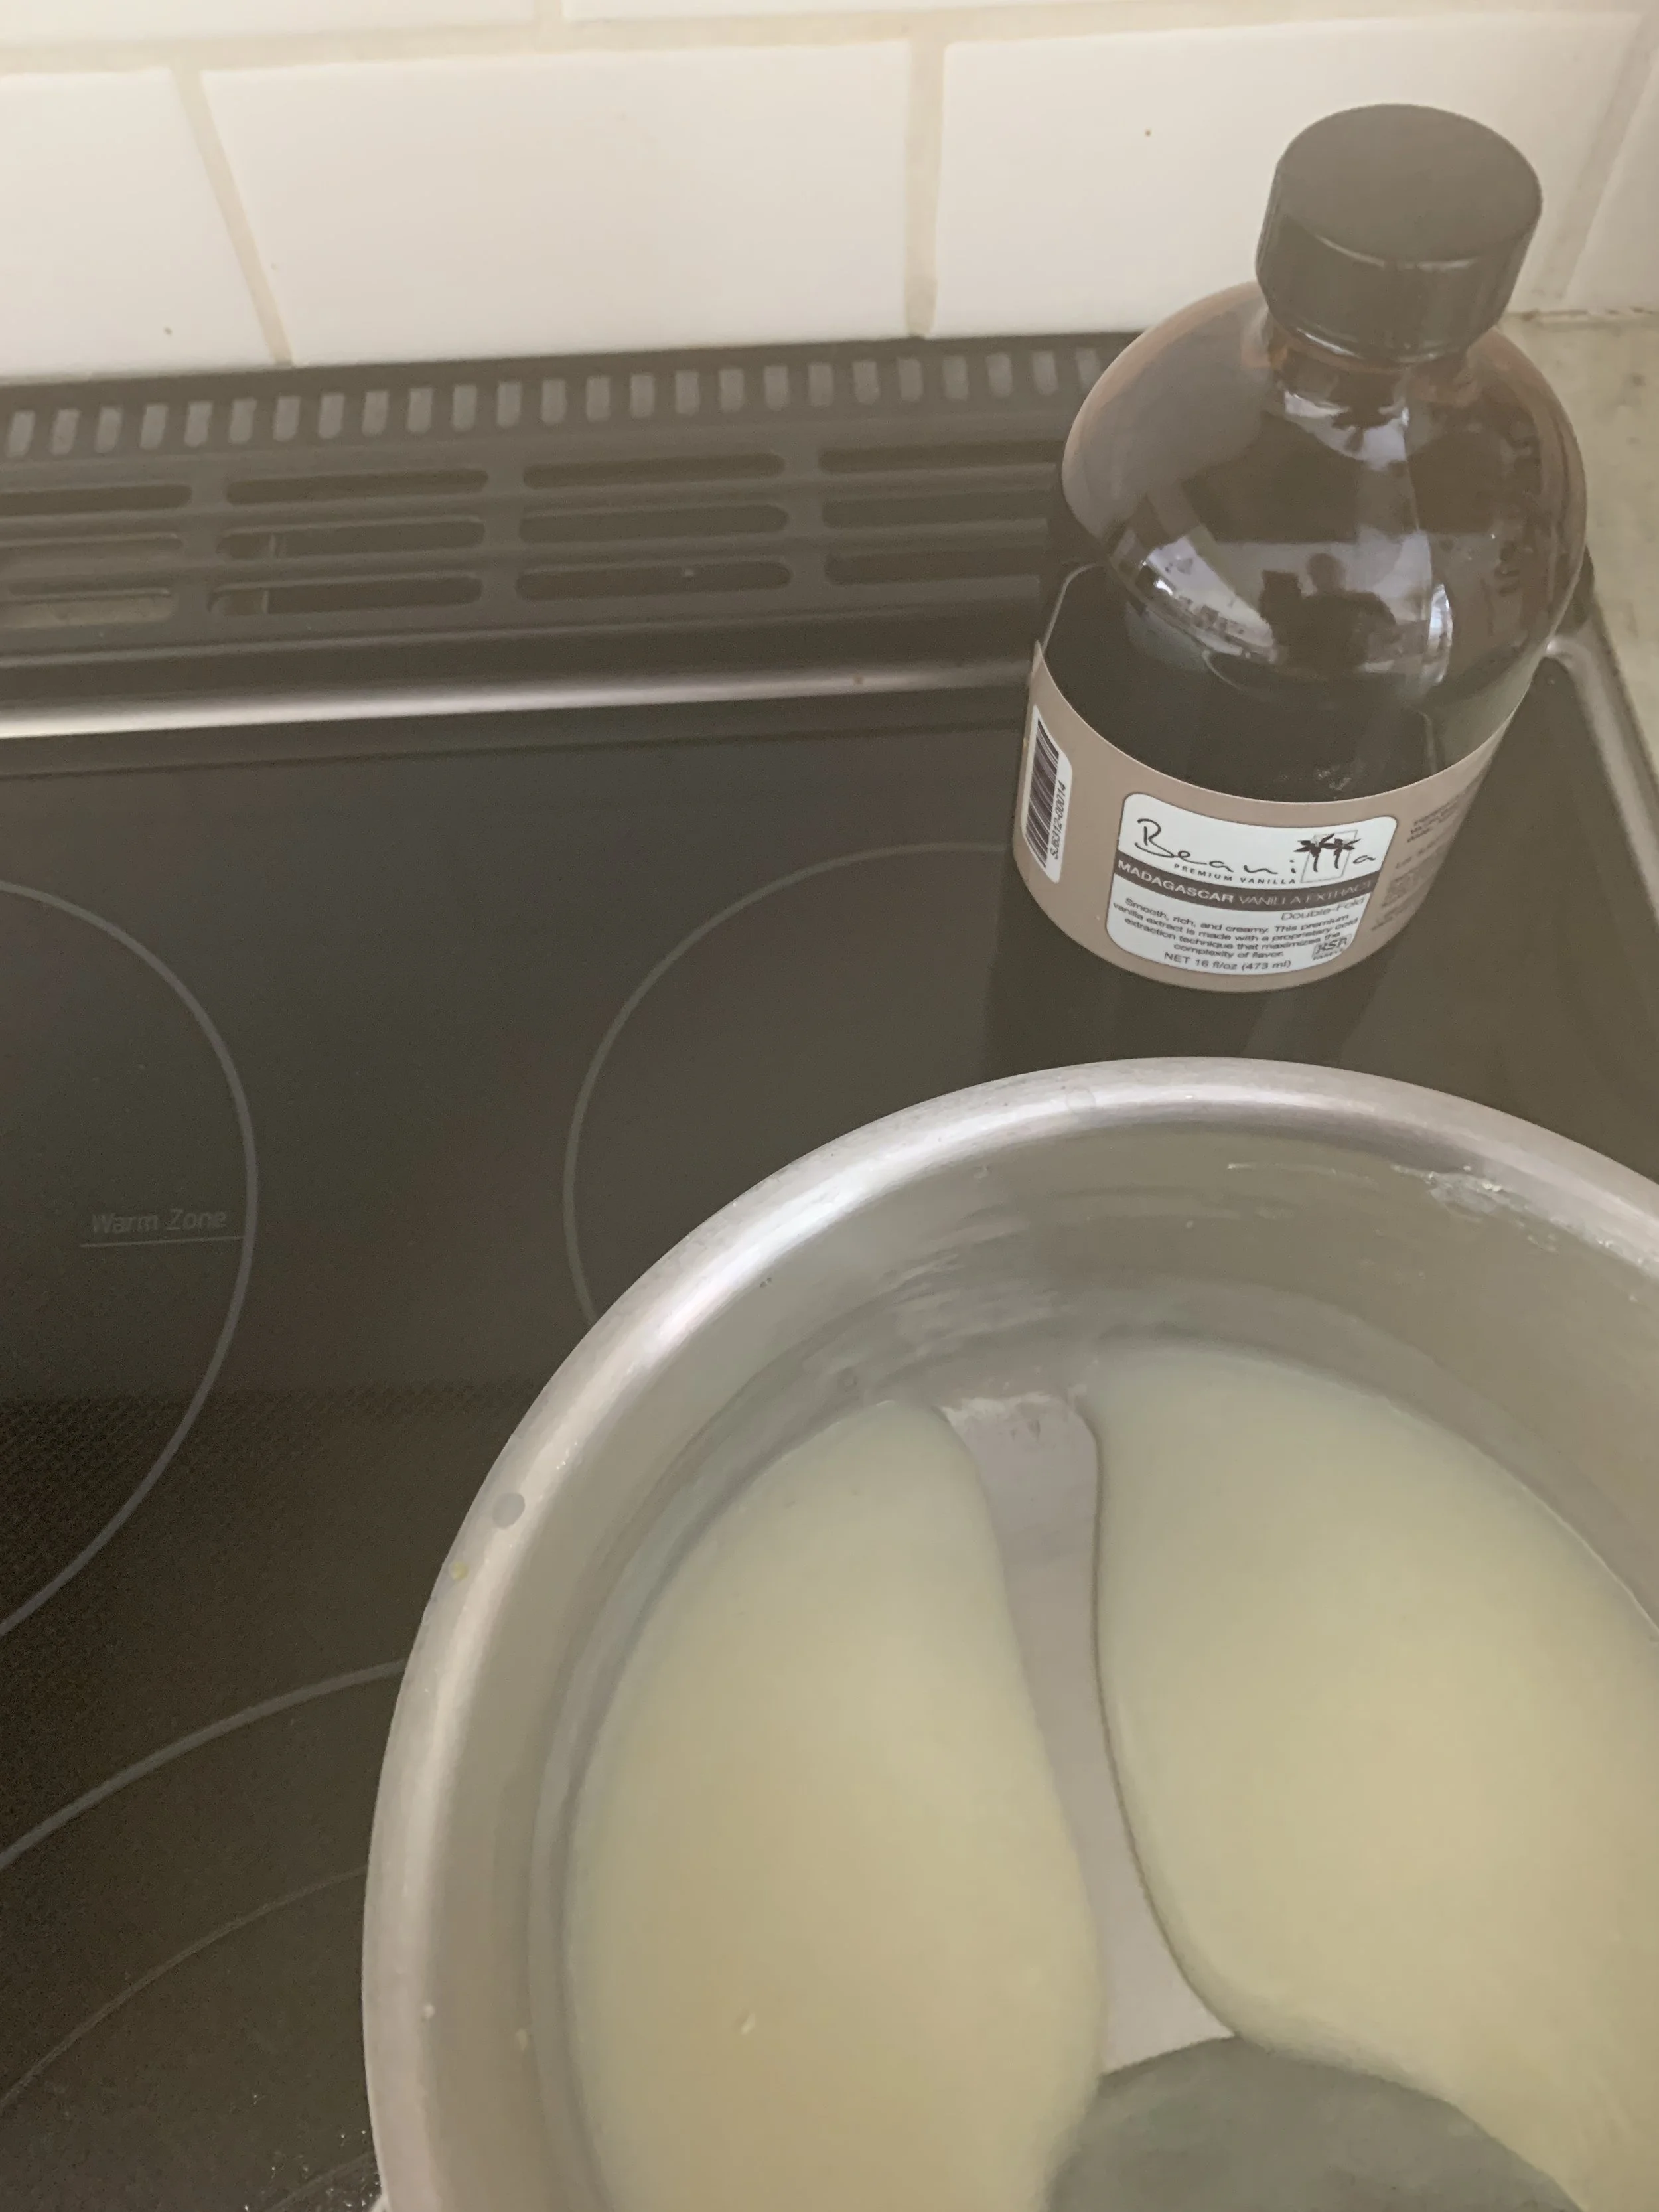
Here’s one more visual of the thickness as I was getting ready to whisk in egg yolks for one of my trials . . . .

Let’s take a look at my results.
My first round - As mentioned earlier, I used some of my reverse puff pastry from the freezer and made a half recipe of Nat’elier’s custard (a very close version to the one I’m sharing with you); I used a mini muffin tin and baked 10 pasteis. NOTE: I did not butter or oil the wells.
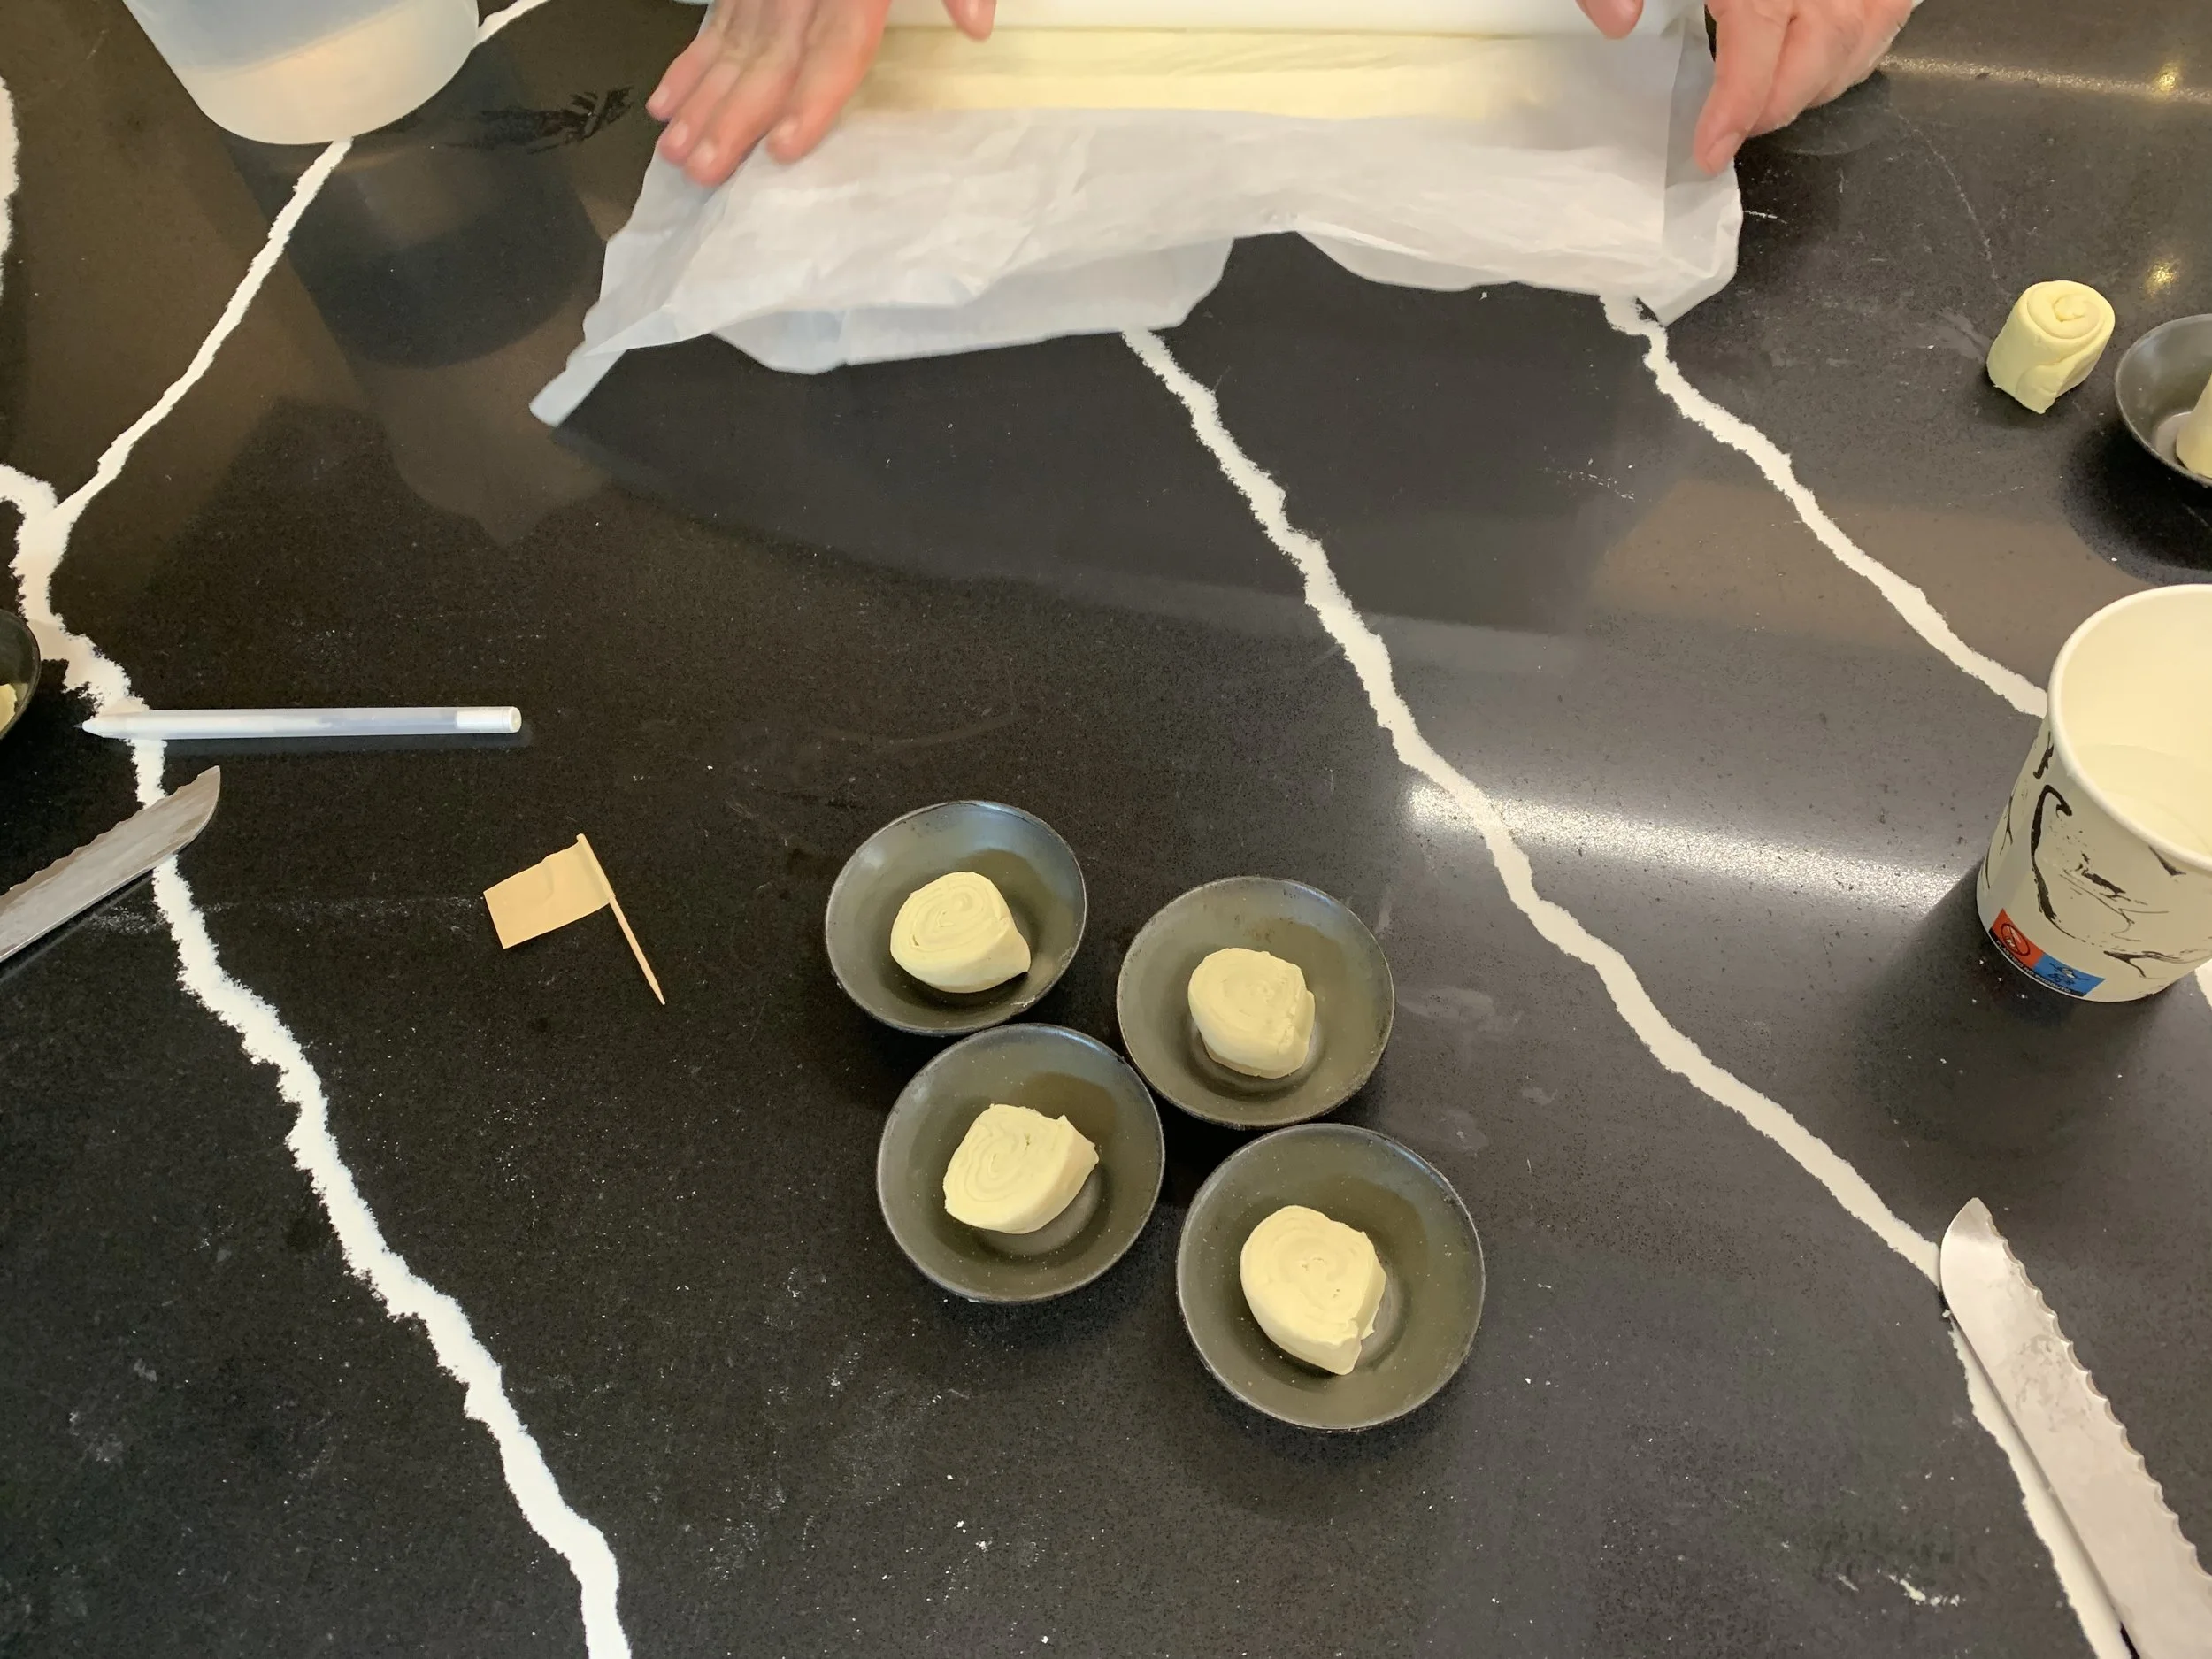
Slice the log, place a portion in each well and, with a thumb dipped in water, press directly down into the center of the dough. Using thumbs or index fingers push the dough up to the rim forming a lip at the top.
Have your oven heating for a good 30-40 minutes. I baked these at 480º, 5-10 minutes, rotate, then another 5-10 minutes. The custard shouldn’t jiggle - if it does give them another couple of minutes. You know my mantra - pay attention to what’s going on in that oven of yours!
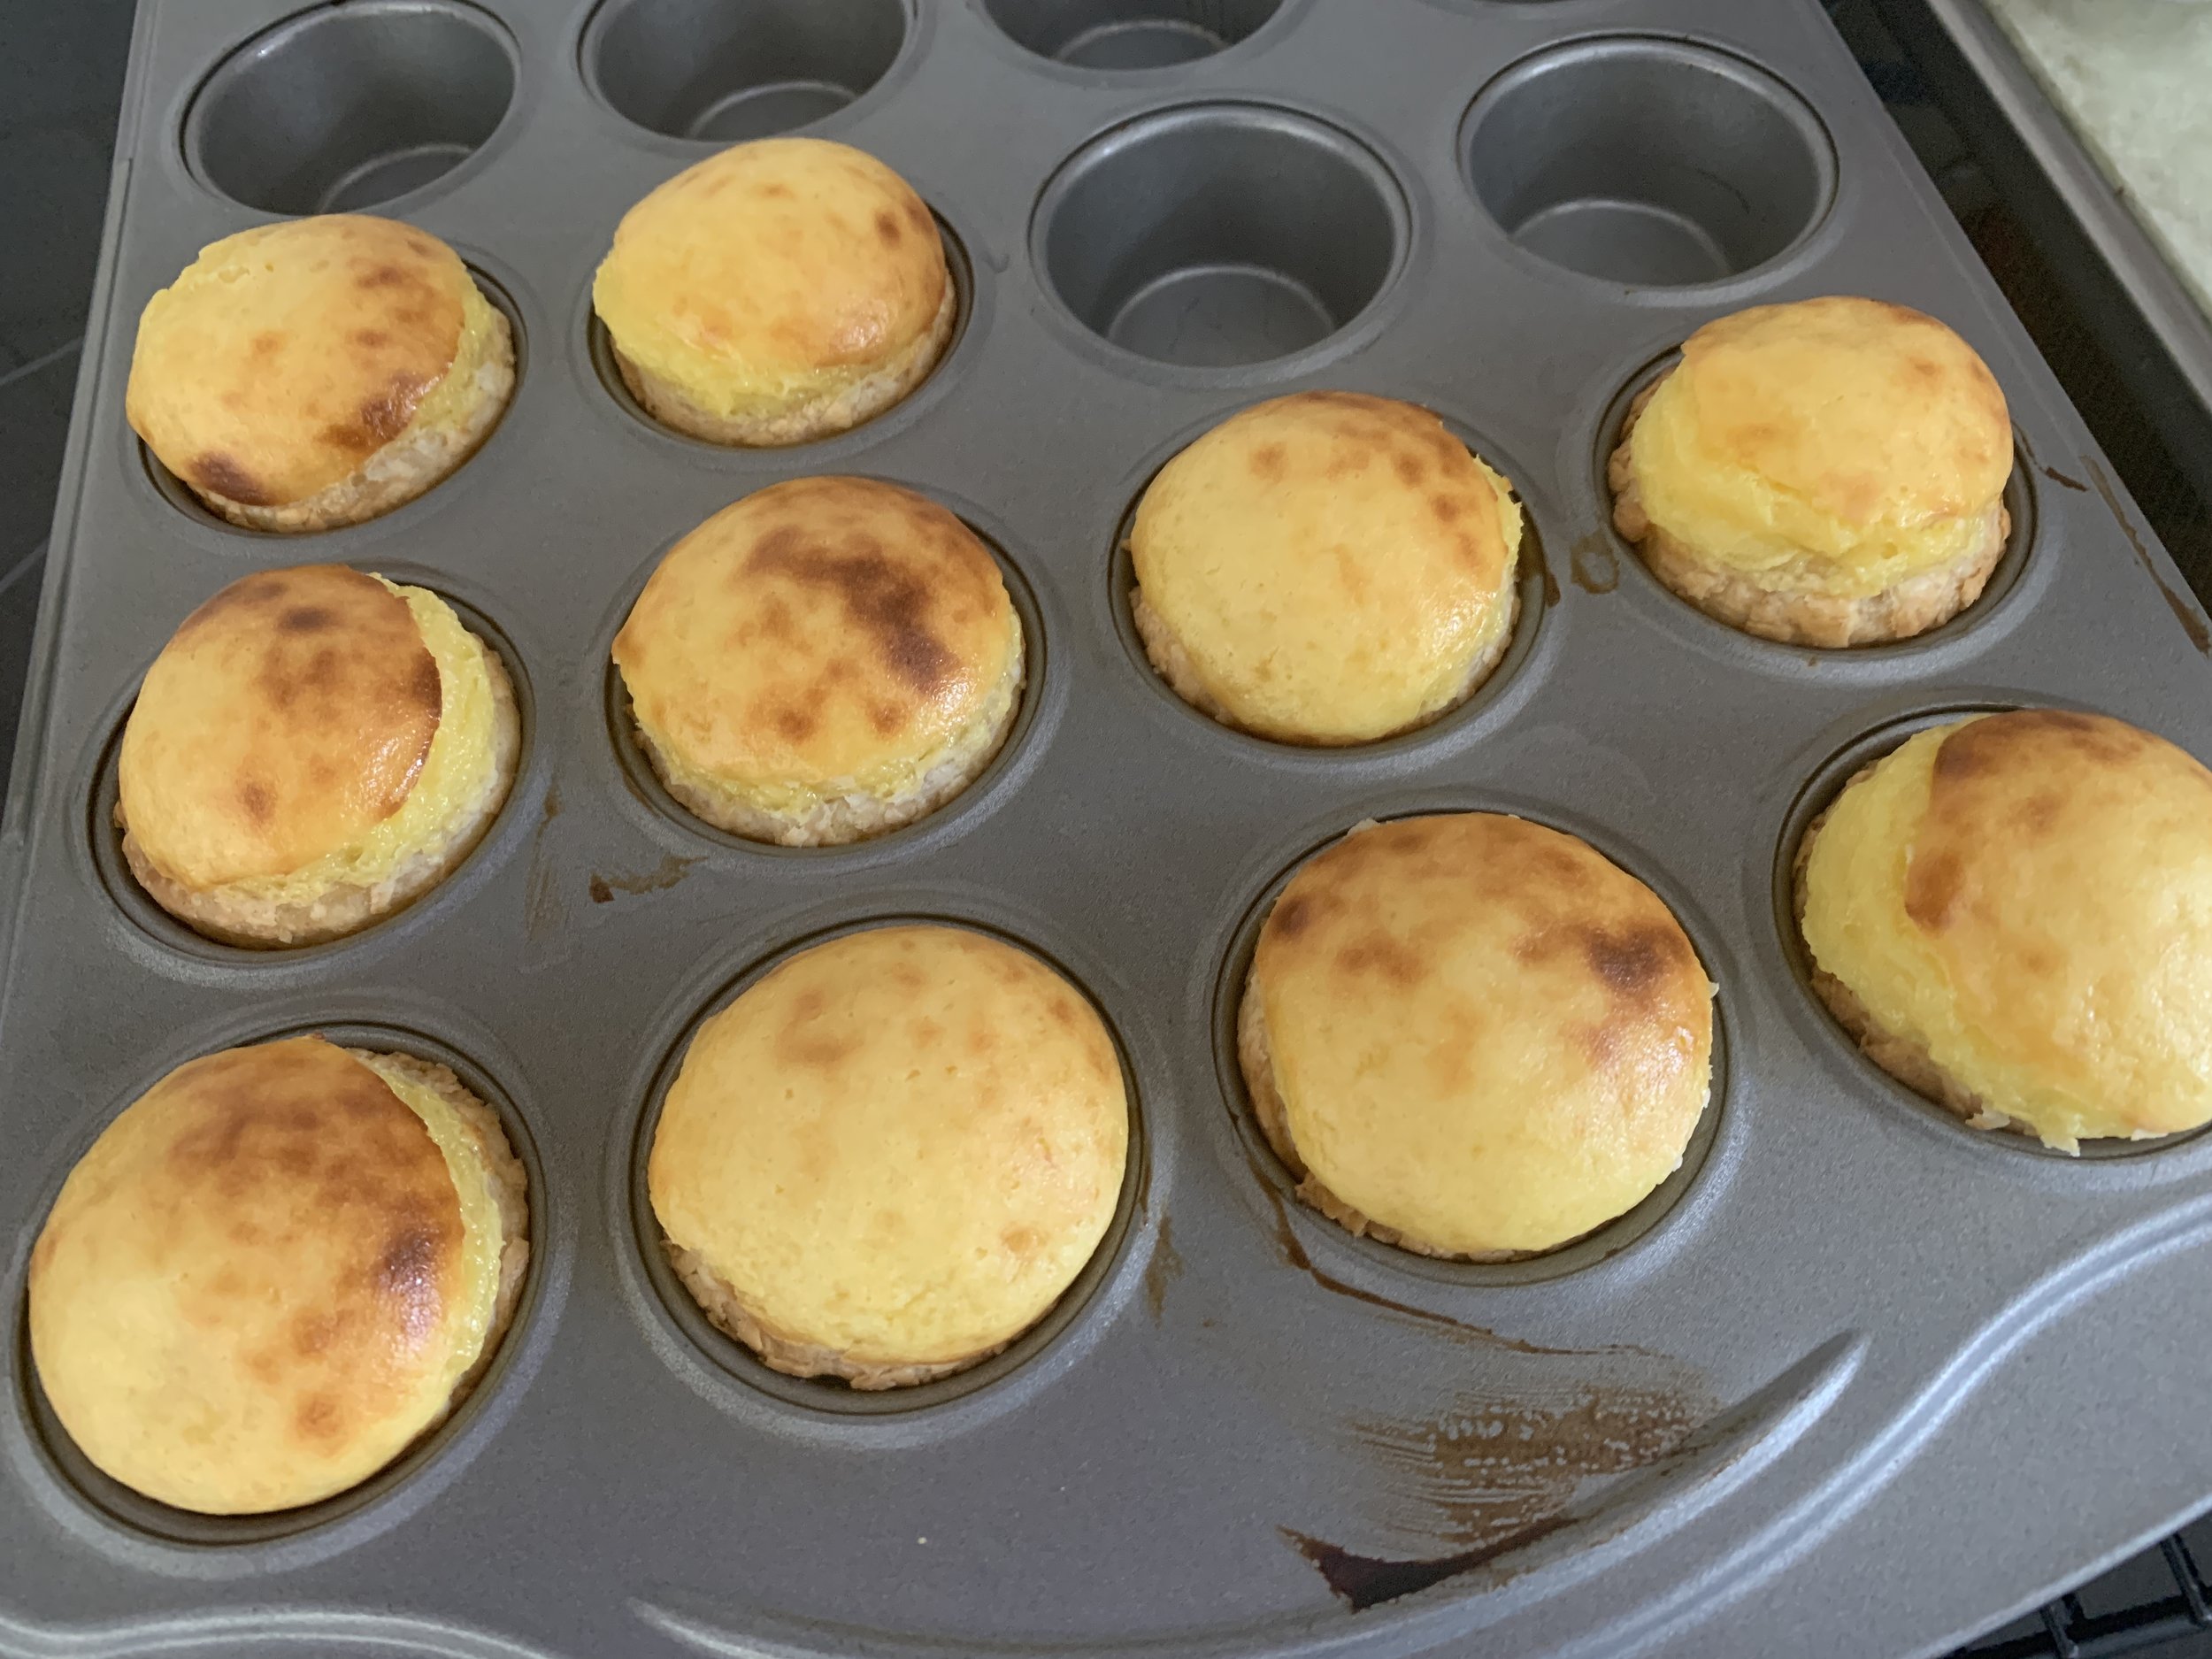
The shape of the mini muffin tin is taller and narrower than the traditional pasteis tins and the end result looked more like a muffin with the custard puffed up above the rim. These popped out of the wells easily.

In my eagerness to taste one, I cut one in half while still quite warm. Note the bottom dough layer - doesn’t look fully baked. However after waiting until they fully cooled, I cut open another and the dough looked much better. And they tasted great!
General rule - they taste best when freshly baked with a hint of warmth or at room temperature. Warm in the oven gently the following day (if you still have some hanging around).

Just out of the oven
Moving on - being one who prefers doing things in a traditional fashion, of course I succumbed and ordered a set of 12 nata tins - made in Portugal and accompanied by a recipe which, by the way, is very much the same as the one I received from Nat’elier. Hmmmm.
The tins come in two sizes, one shallower than the other - I went for the shallower one. Made from galvanized steel, they arrive with a protective coating that requires the tins to be seasoned before use - 500º - 550º oven for 90 minutes! Whoa! Wipe clean with a cloth or paper towel once cooled. With continued use they are meant to be non-stick - a bit more on that next.

The tins arrive shiny but develop the darker patina once seasoned
My second round: Always one to poke around, I discovered David Leite’s nata recipe during an online search. He’s a Portuguese American foodie who has a great web presence with lots of recipes and more. Comparing his dough to that of Nat’elier’s, he uses a higher ratio of butter and water compared to the all purpose flour. It’s not so much the actual recipe that caught my eye but his method of creating the puff pastry (note he uses butter NOT margarine).
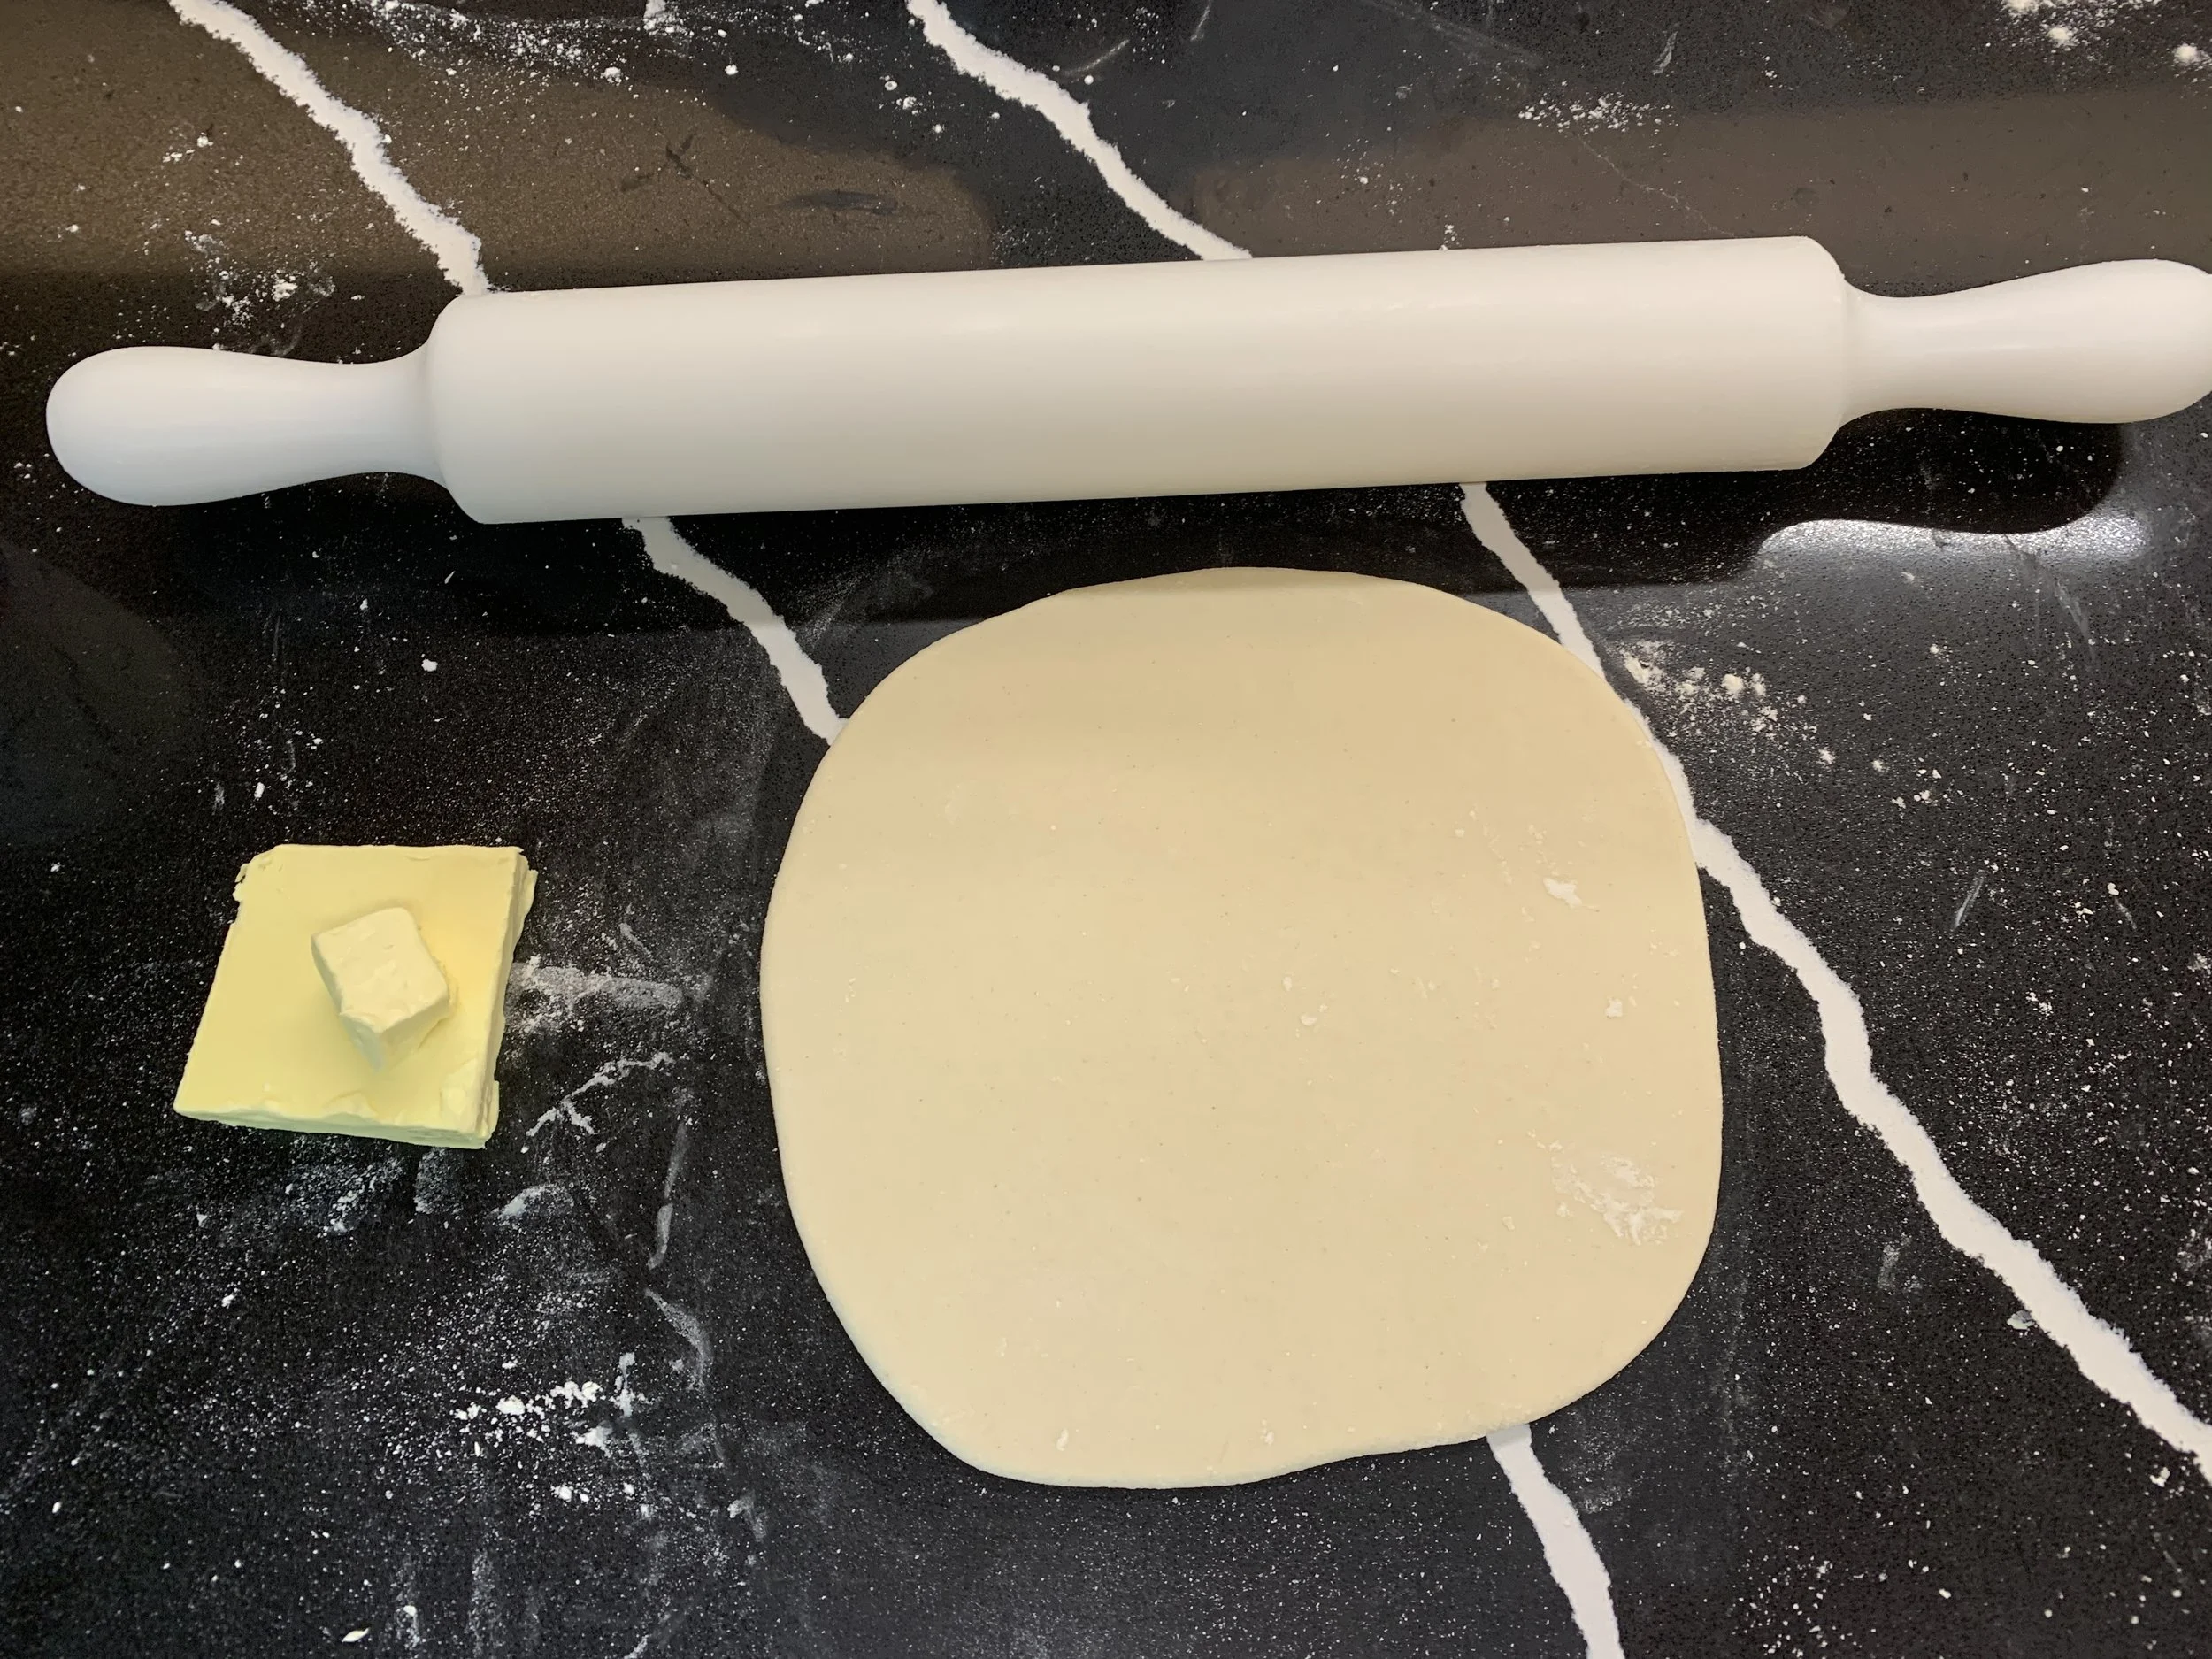
I’ll leave it that he rolls the dough much more thinly, spreads soft butter on portions of the dough then folds it to create the layers. The dough is very soft and has to be handled with a gentle touch.
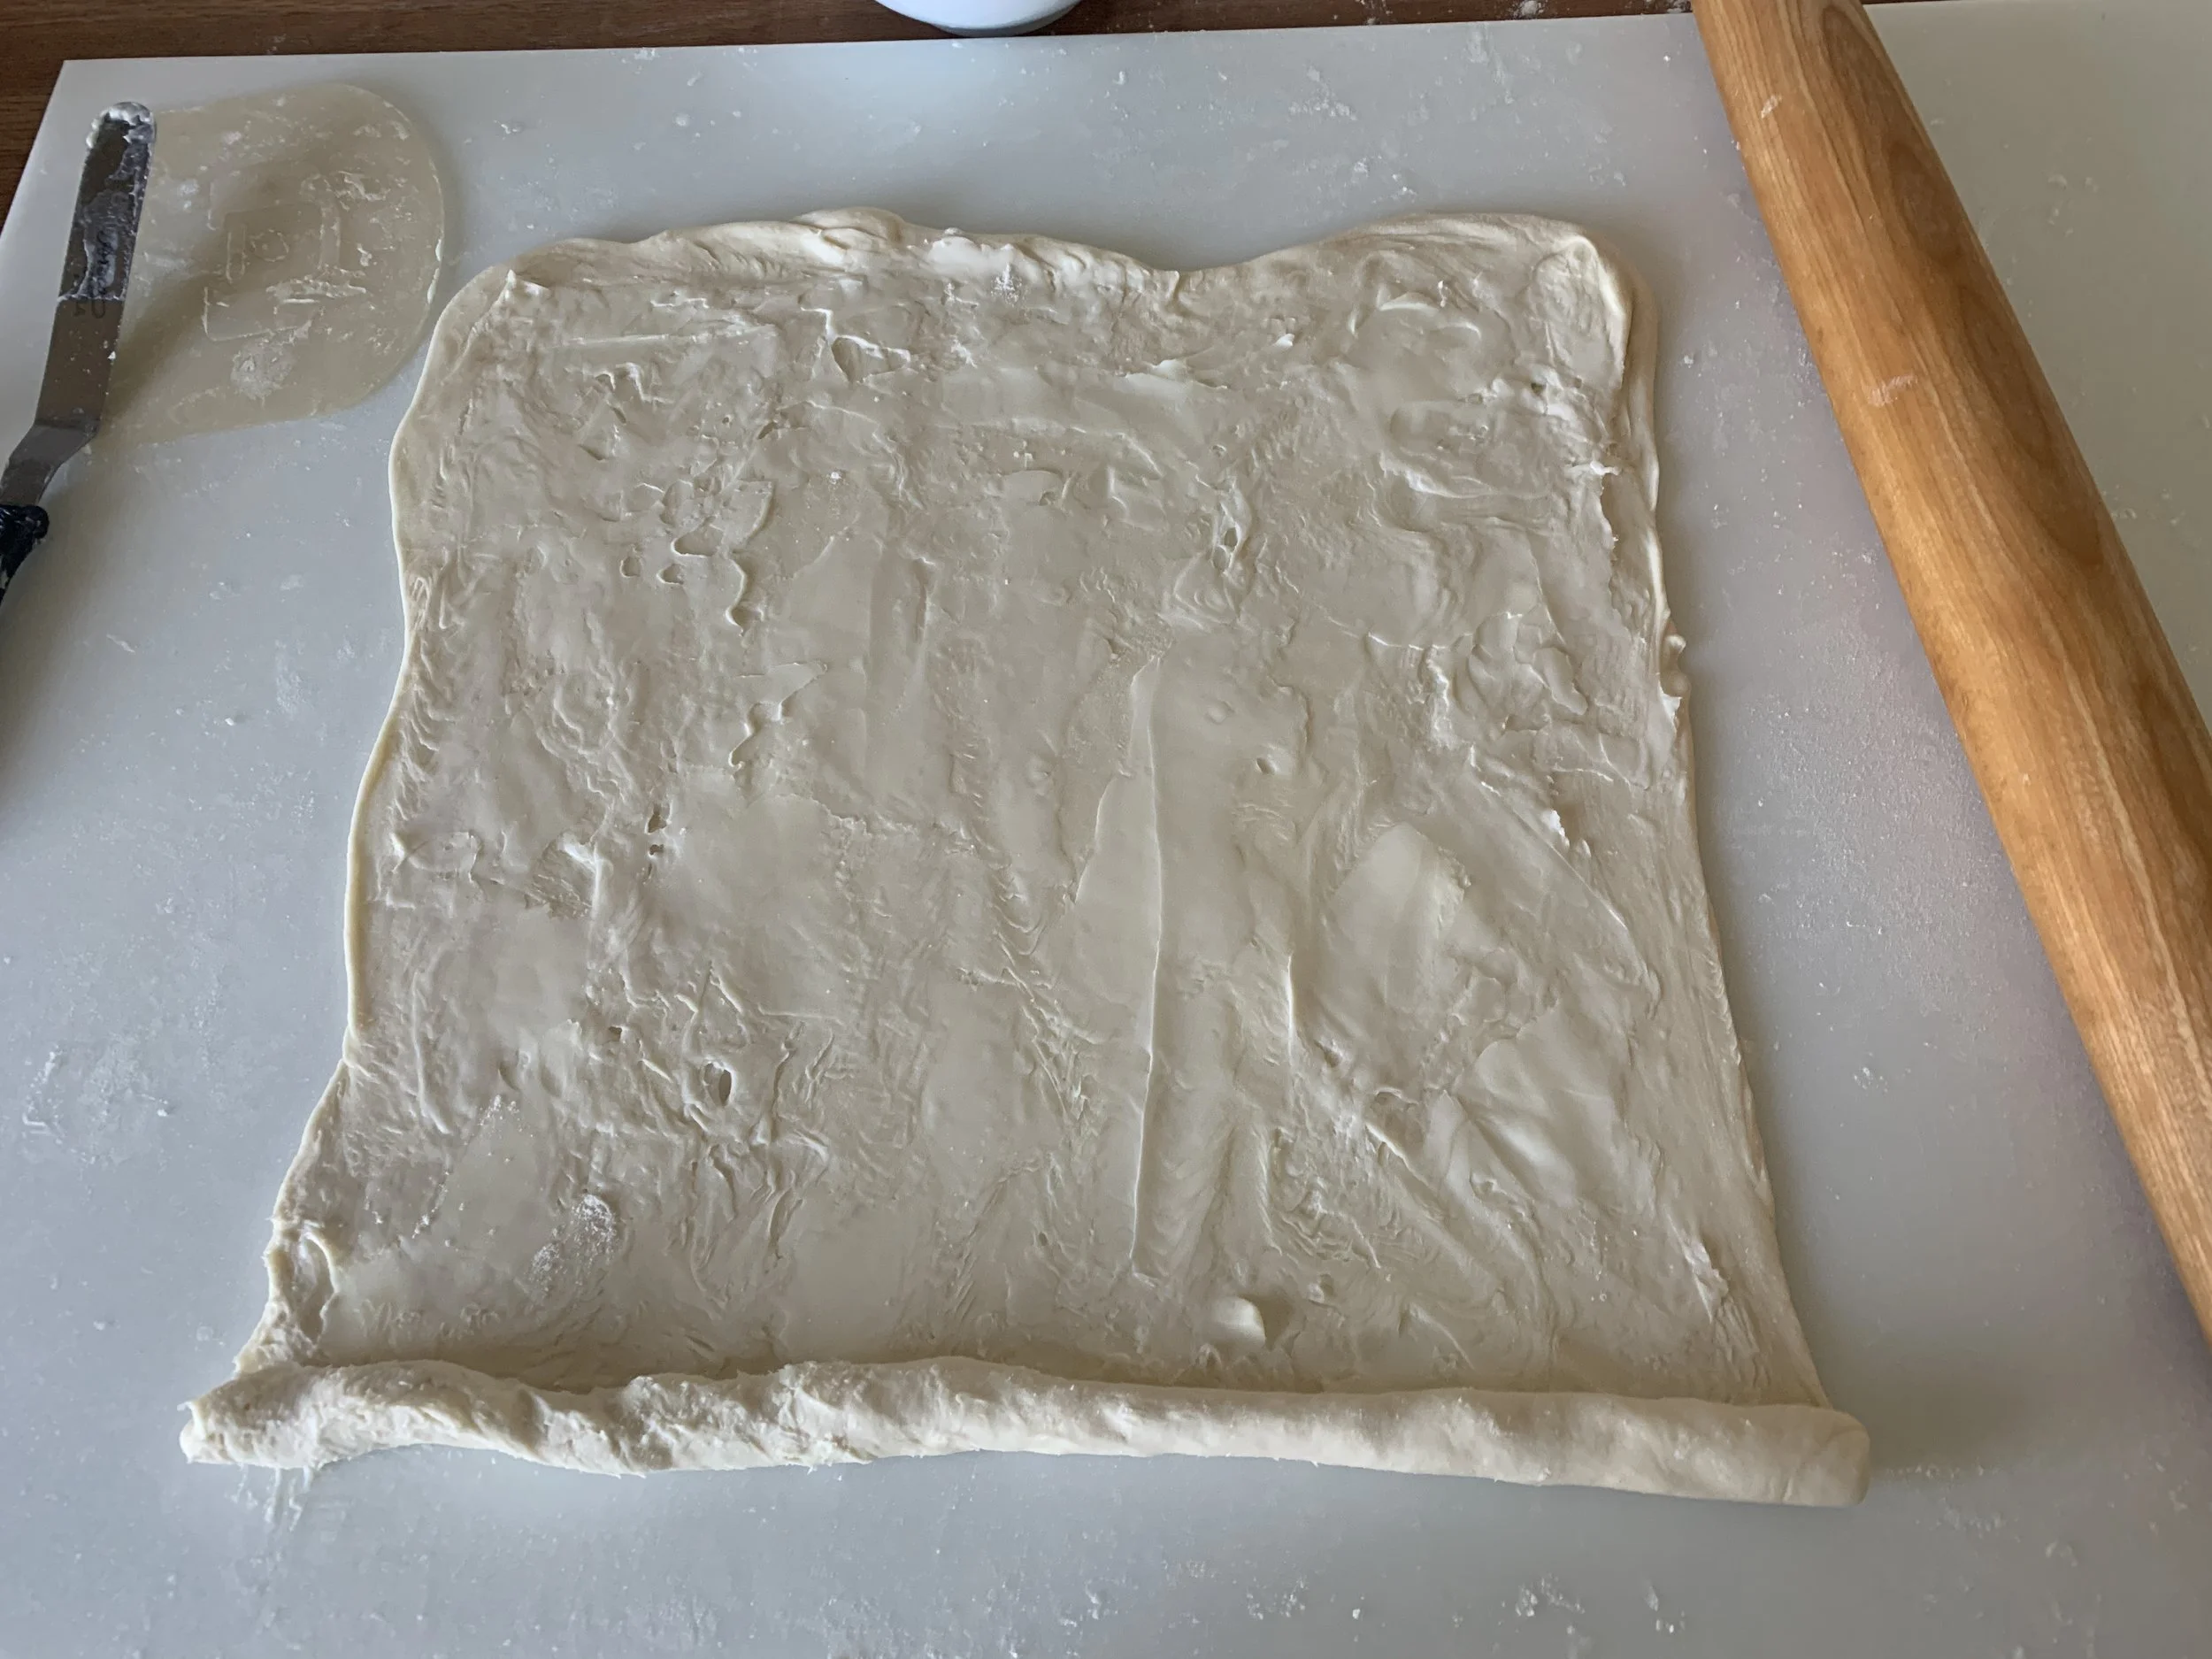
The image below gives you a sense. Butter spread over two thirds, the left third gets folded over the middle then the right third over that for the first 3-fold. He completes that process one more time.
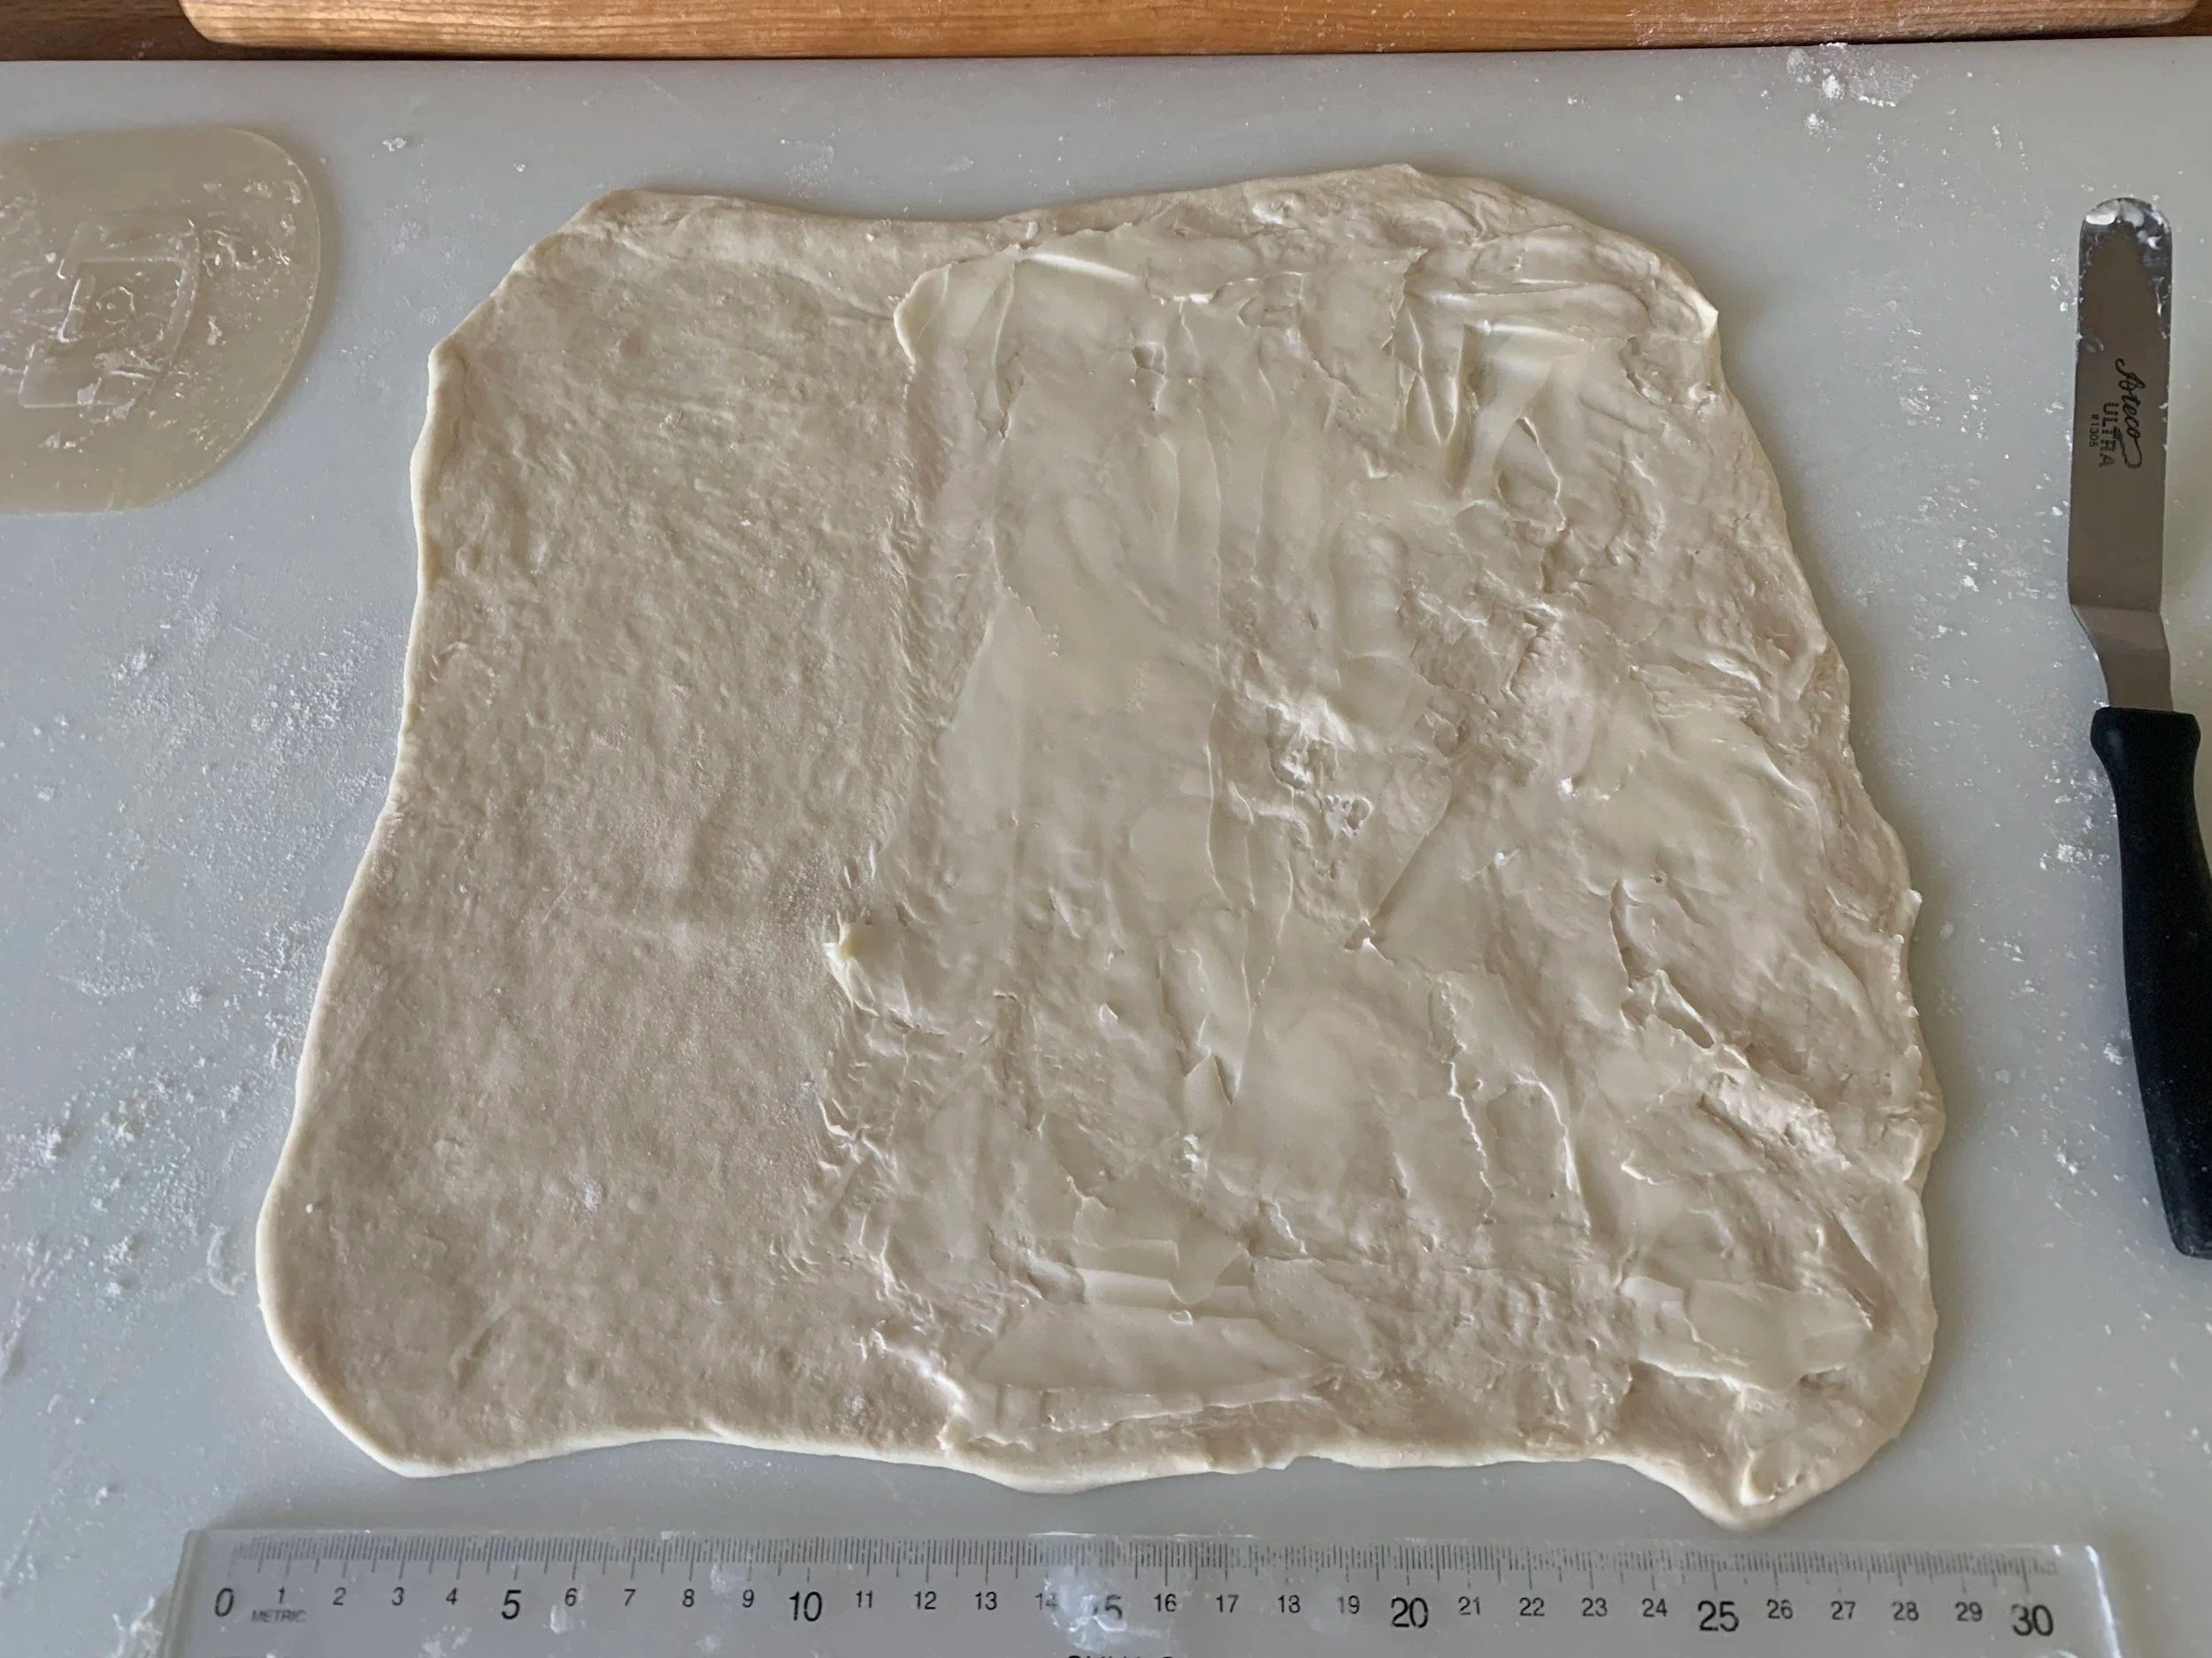
It’s thin! Ready for the first fold
The last step is rolling the dough into a rectangle and spreading butter over the entire surface of the dough before doing the final rolling into a log. Quite a process. Here’s the fully folded/buttered dough ready to log roll.
rollin’, rollin’, rollin’
Leite also uses a different approach to making the custard by cooking a sugar syrup to 220ºF/104ºC which is then whisked into a milk/flour mixture and cooked to thicken then cooled until warm.
Vanilla and egg yolks are whisked in and the mixture is then strained and allowed to cool to room temperature. As I’m learning, the addition of the yolks when the mixture is not piping hot yields a more creamy custard texture. The custard keeps in the fridge for a couple of days as well.
Remember - you can check out his recipe here.
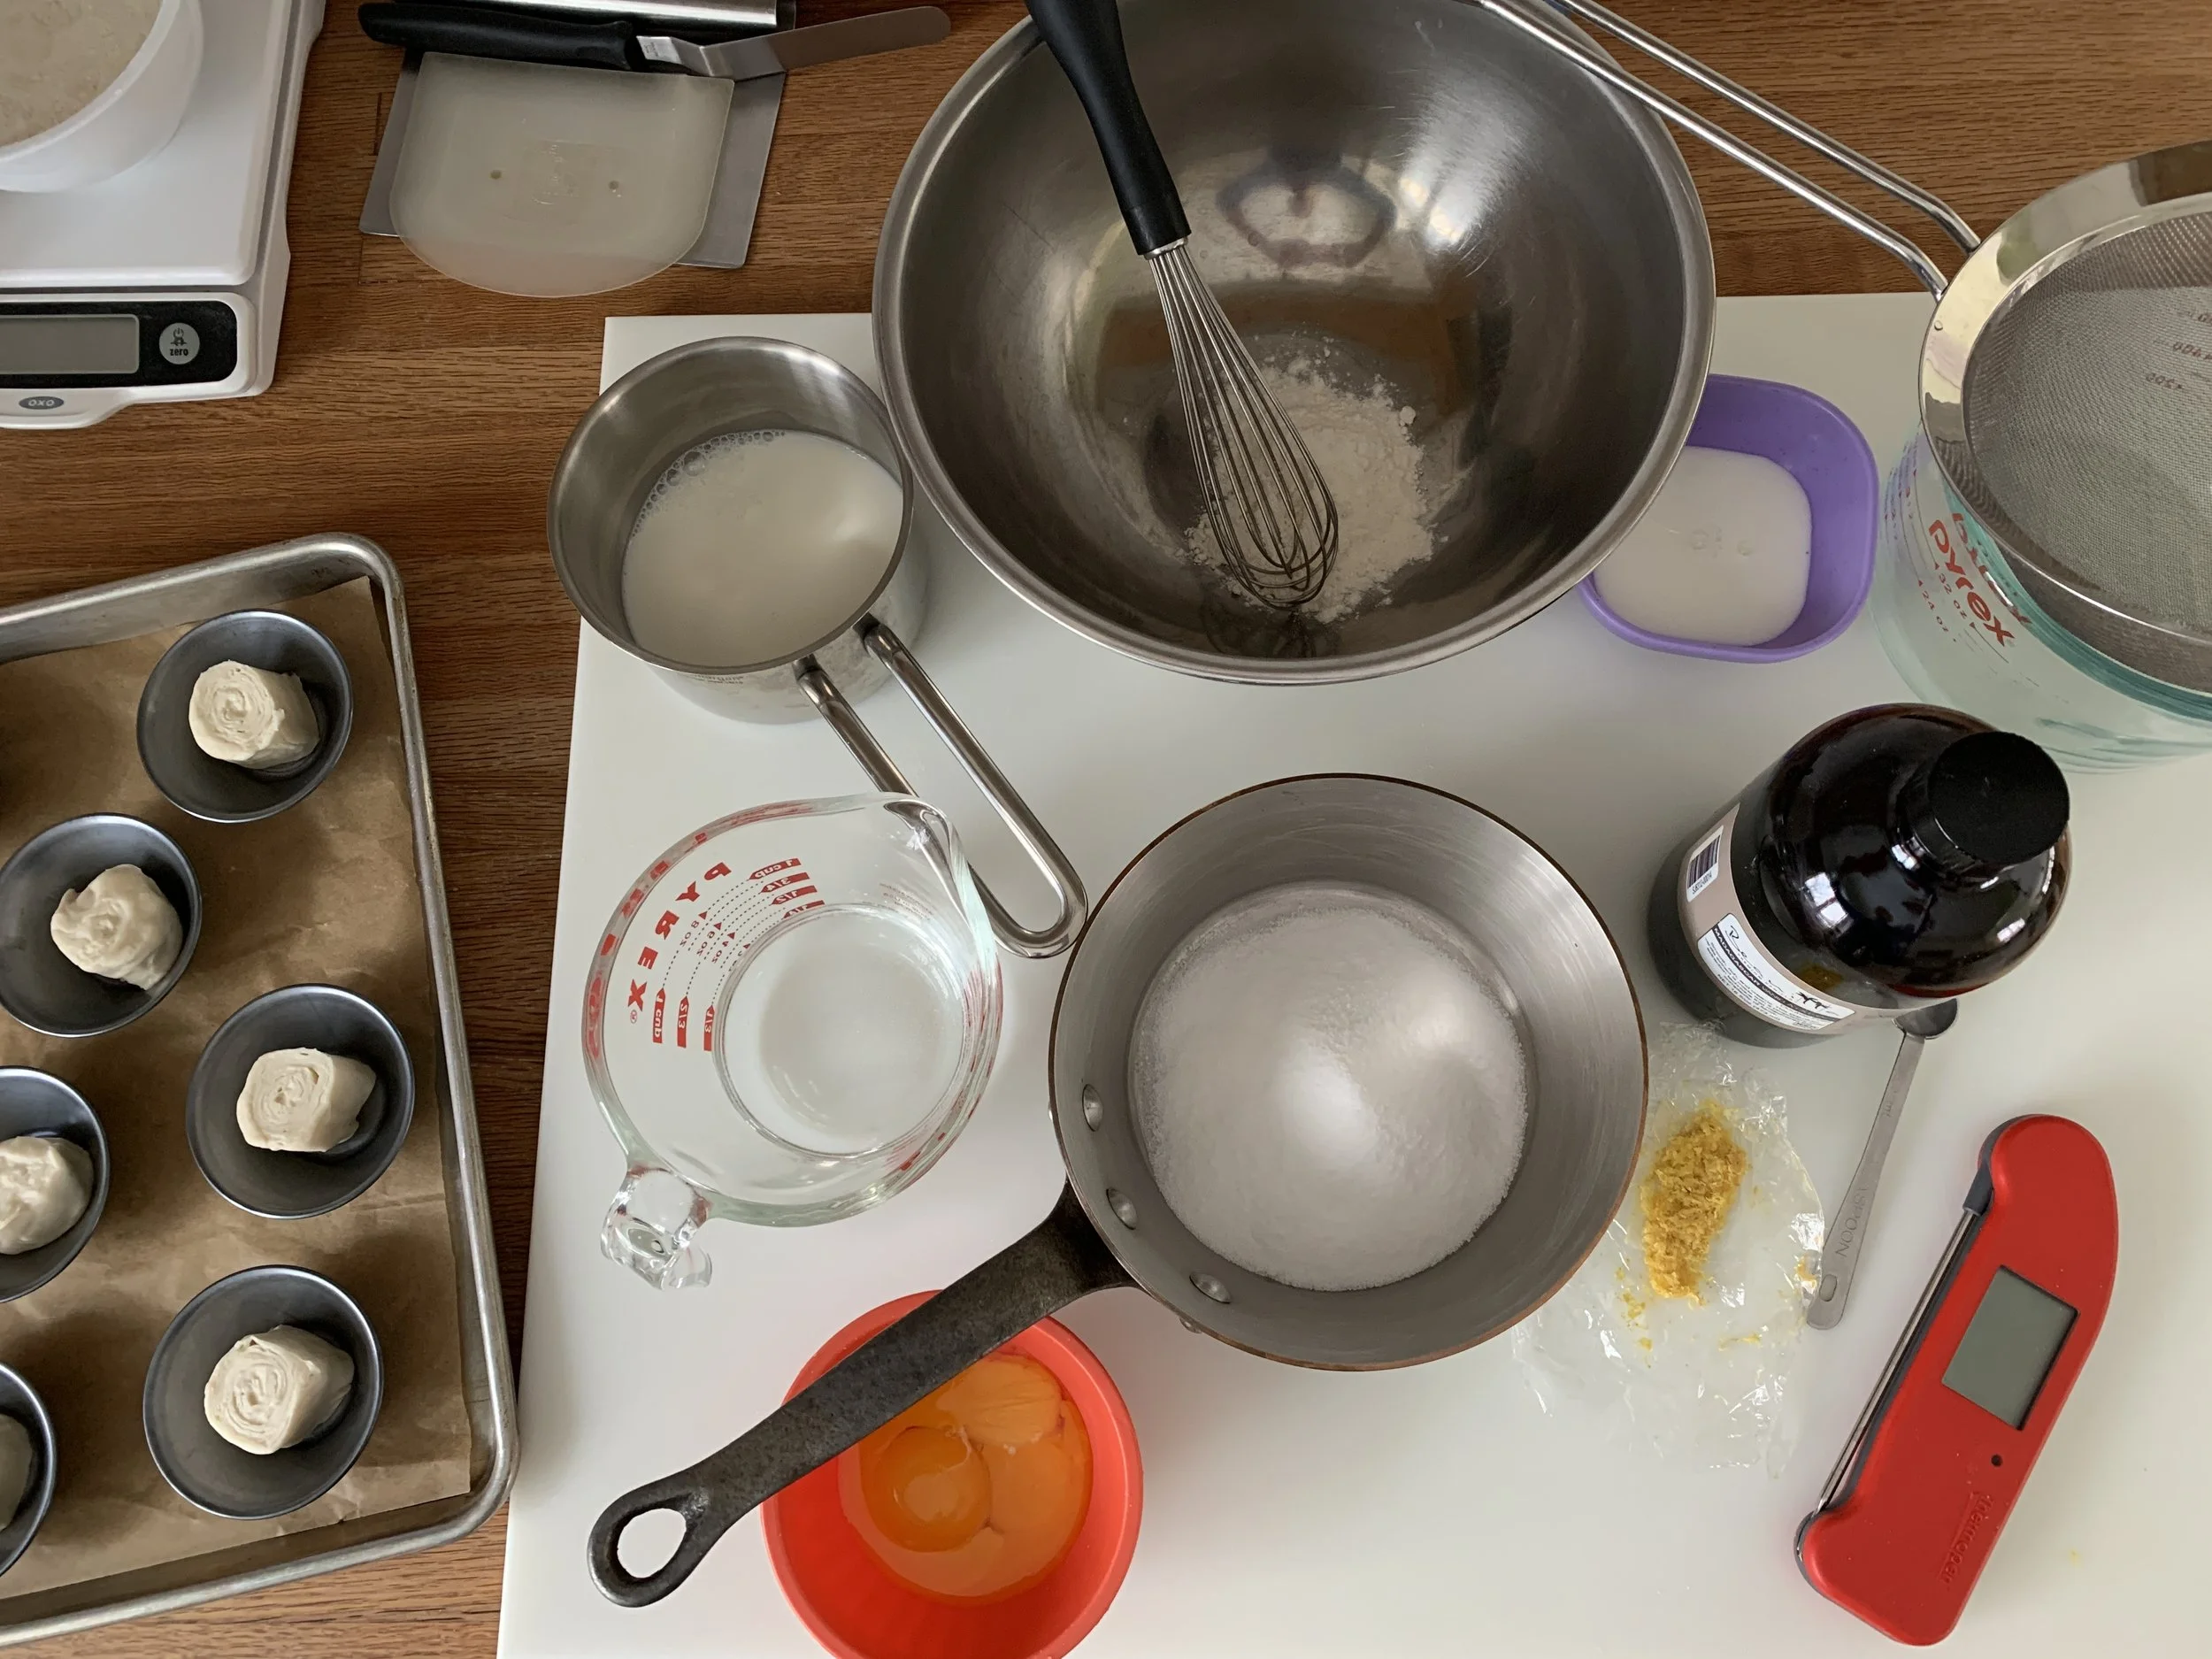
Set up for custard - more pans required
Leite bakes his natas at 550º (I did 525º). I had seasoned my tins so I thought a light oiling or buttering wasn’t needed. I was wrong.
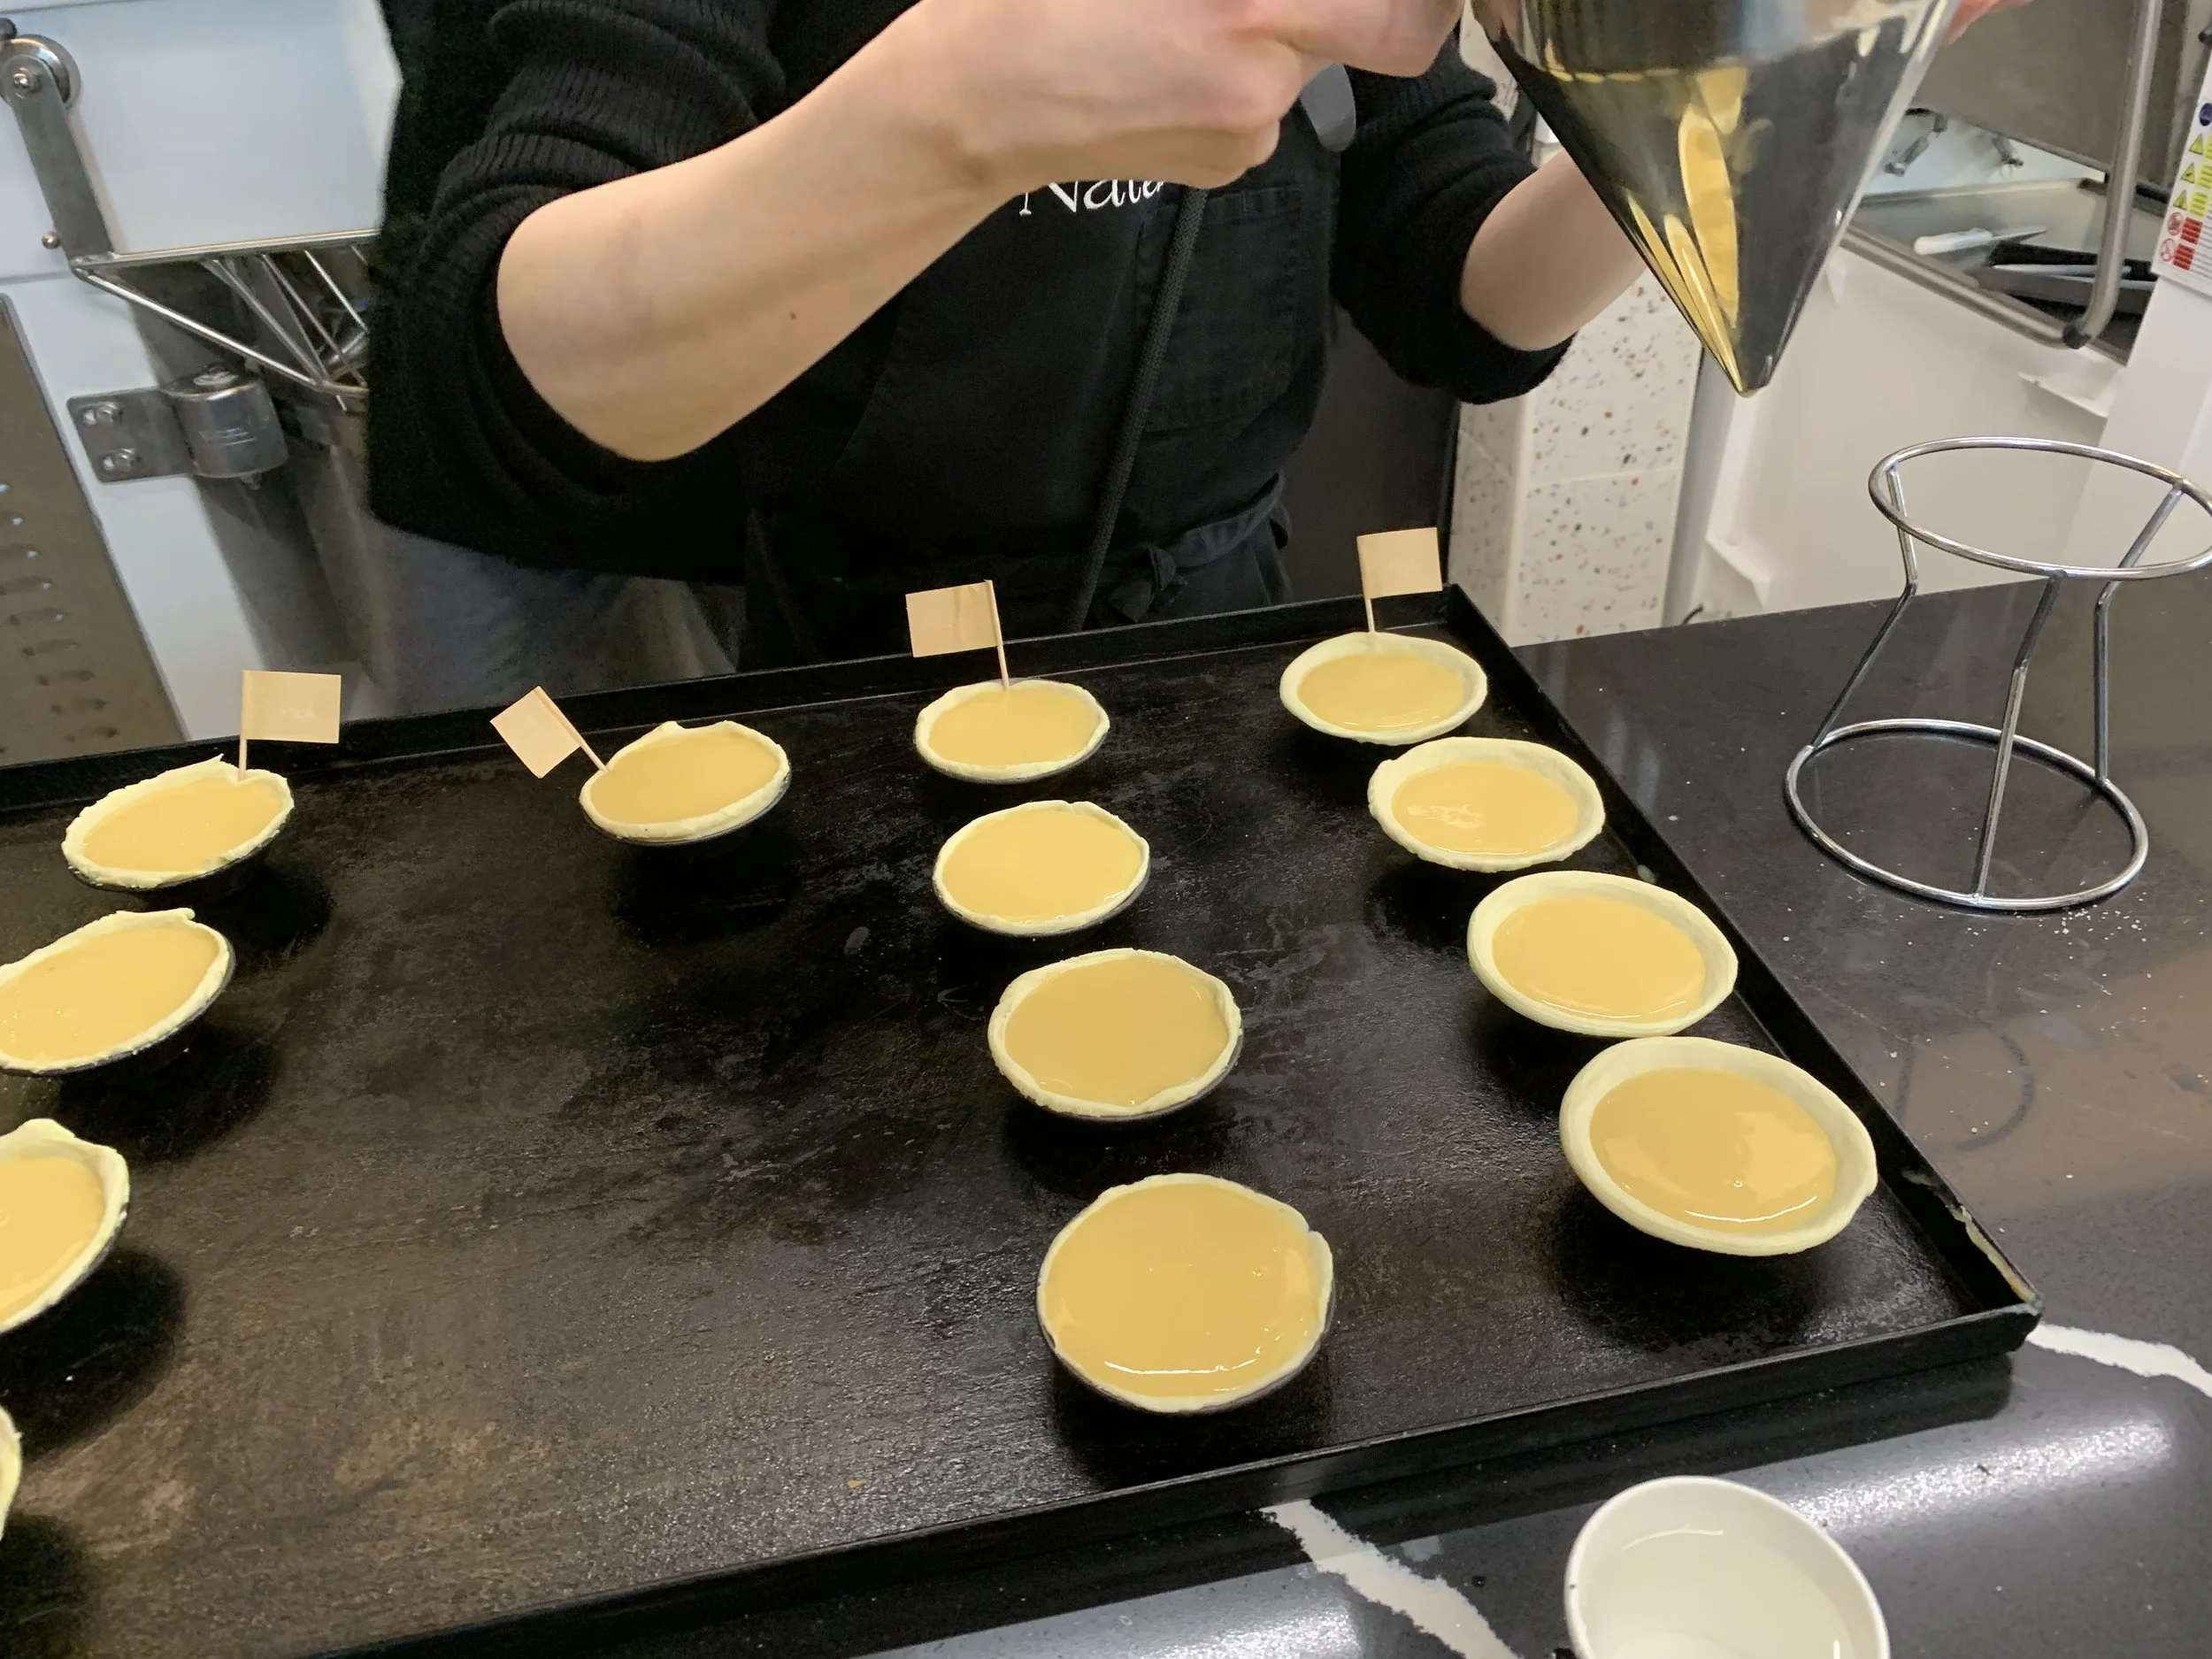
Here are the tins lined with dough; filling recommendation about 3/4 full. I went a little too full.


ready for the oven
General baking time is about 12-15 minutes, rotating the tray half way through the bake. Tops classically have browned spots and the custard shouldn’t be jiggly.
I admit (and regret!) that I forgot to take pictures of the tray just out of the oven. I was side tracked by the mess - custard spilled over the edges and onto the parchment. I had to carefully pry the tarts out with a paring knife and offset spatula and was left with stuck on crust particles in the tins. Whoa!
But the good news is they were delicious! Fortunately I was able to preserve the bulk of each one even after prying them out.

A little rough around the edges
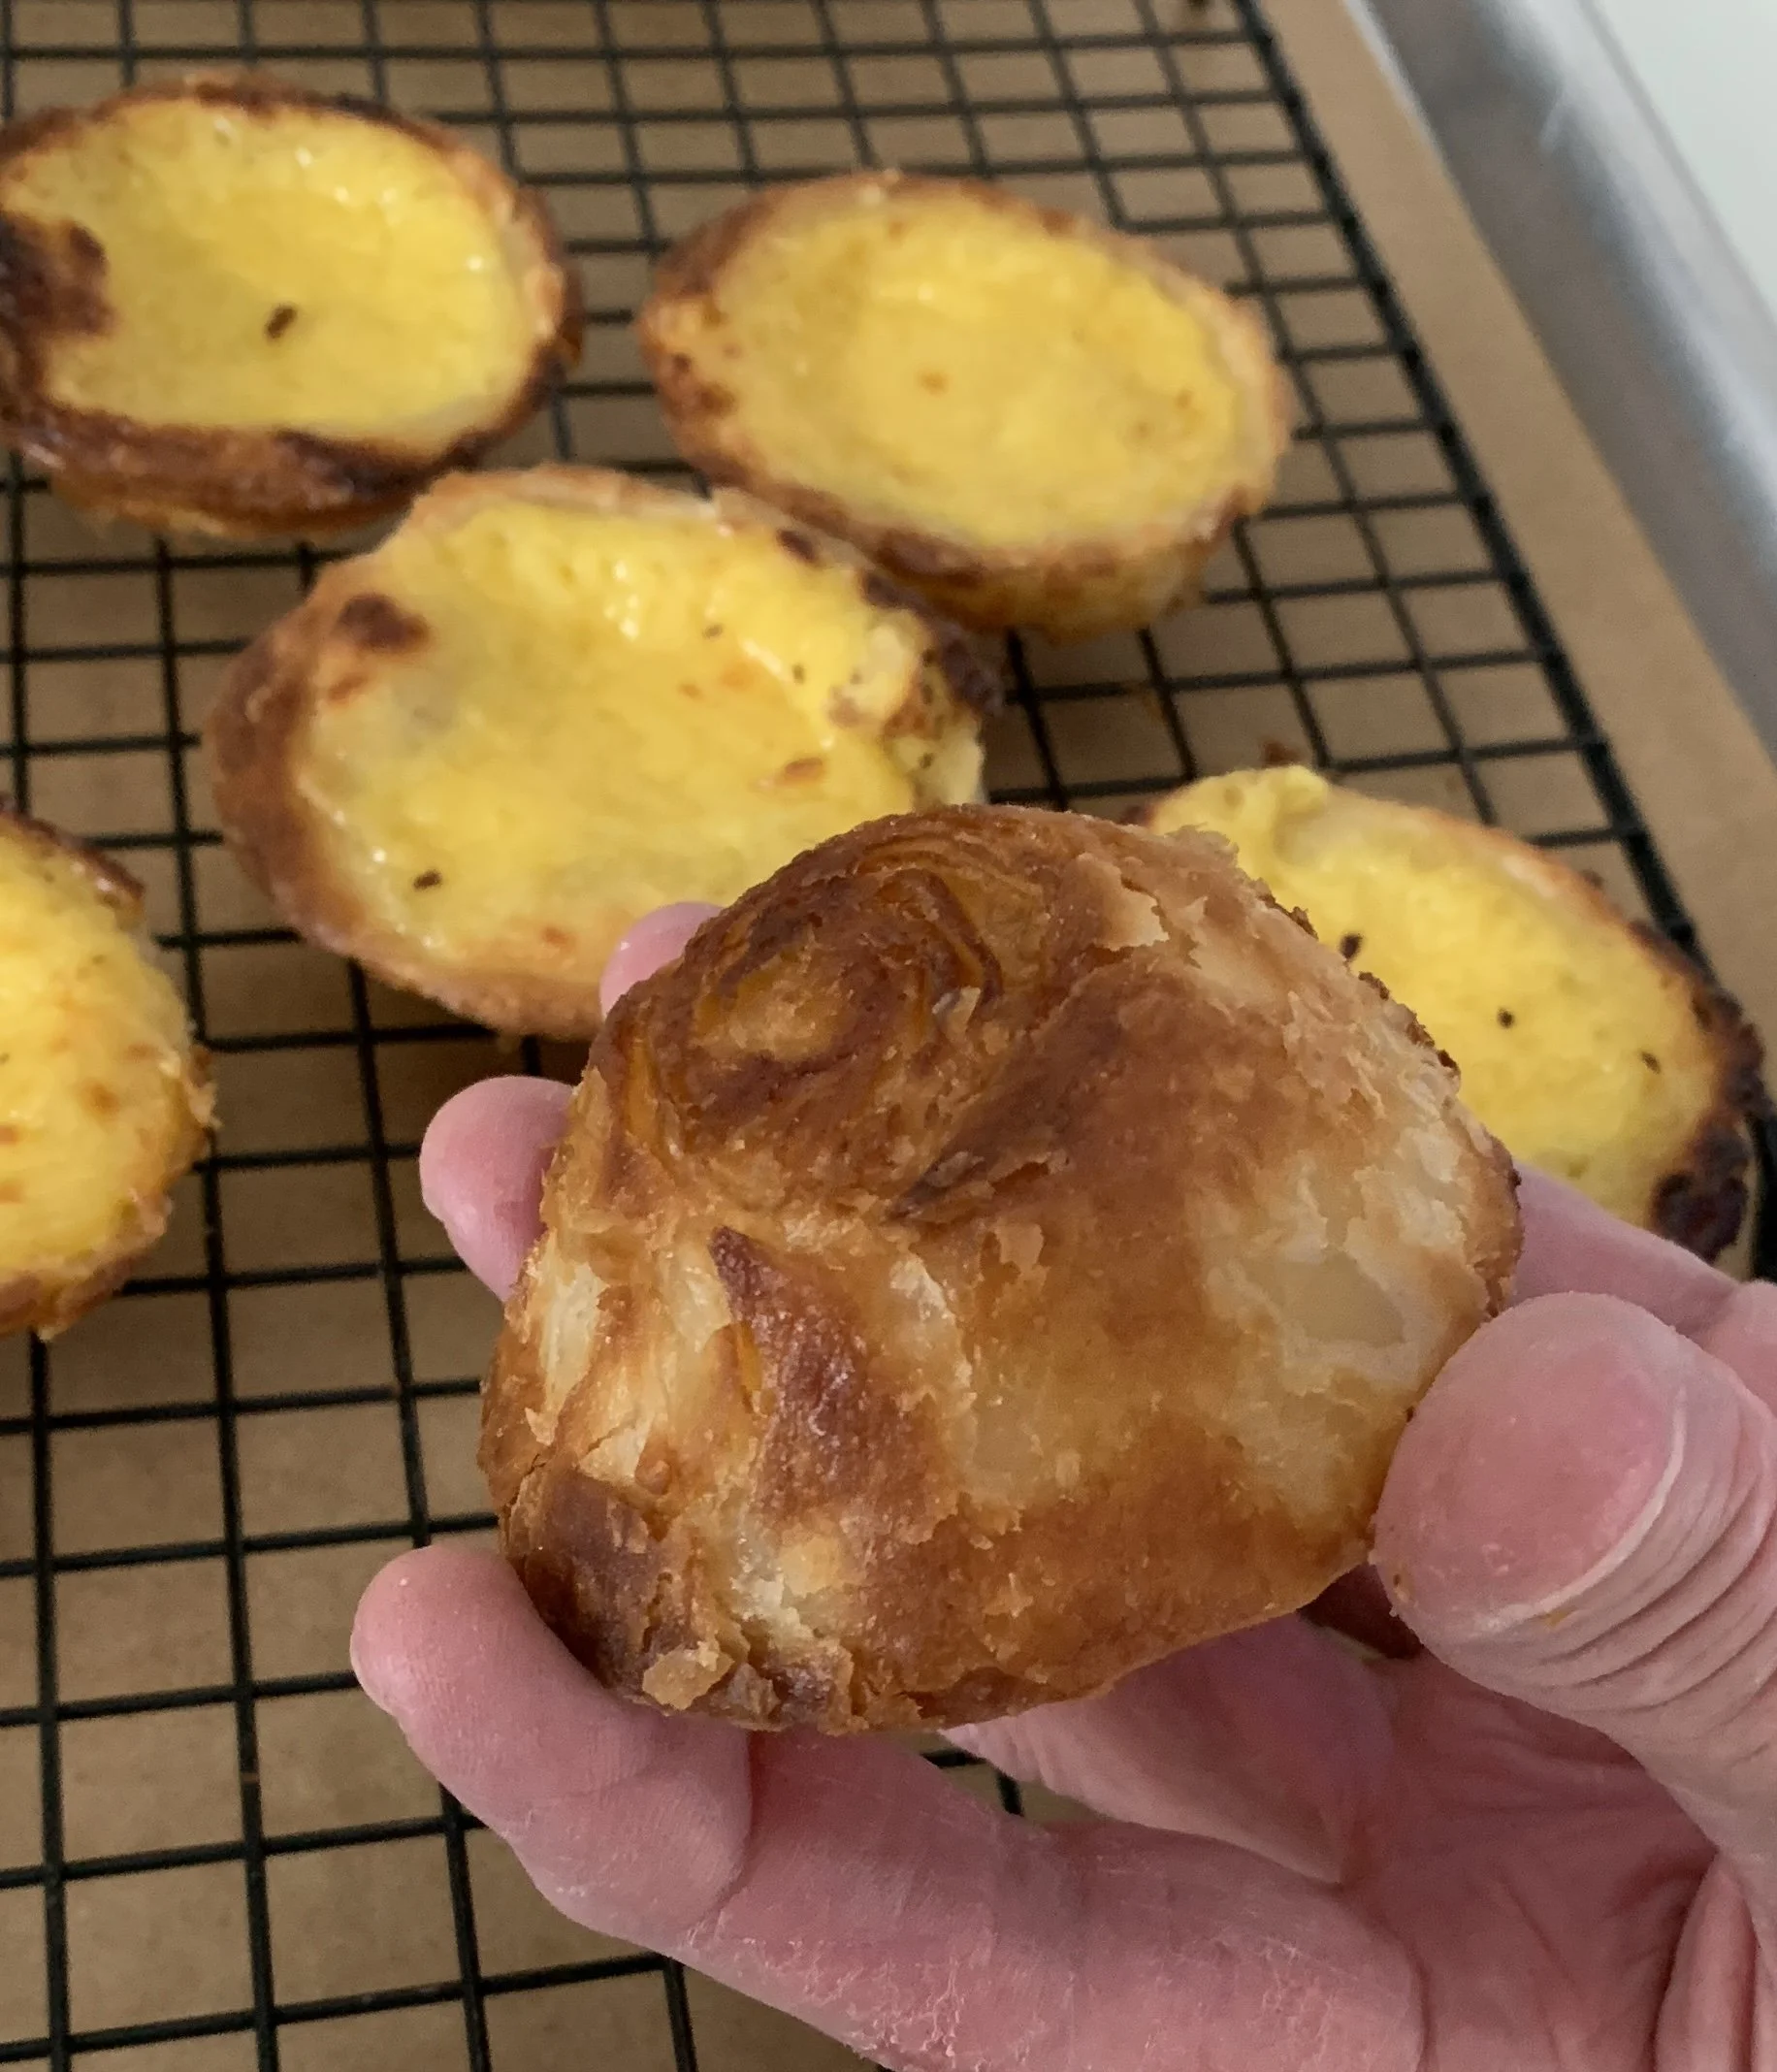
Check out that crispy crust!
They had that shattering crispness with a lovely creamy filling.
I soaked the tins and was able to get them clean - popped them back into the hot oven to dry. No harm done.
My third round: OK. Take a deep breath. We’re almost there. Remember - I share all of this for your benefit, but also so I can remember what I did!
This time I made the dough with the recipe I’m sharing with you - one batch with butter and one with margarine. I lightly oiled (use a neutral oil) most of the tins but left two of them un-oiled (one for butter and one for margarine). So I shaped six of each, five of each going into oiled tins (let’s call it paranoia) and one of each into un-oiled.
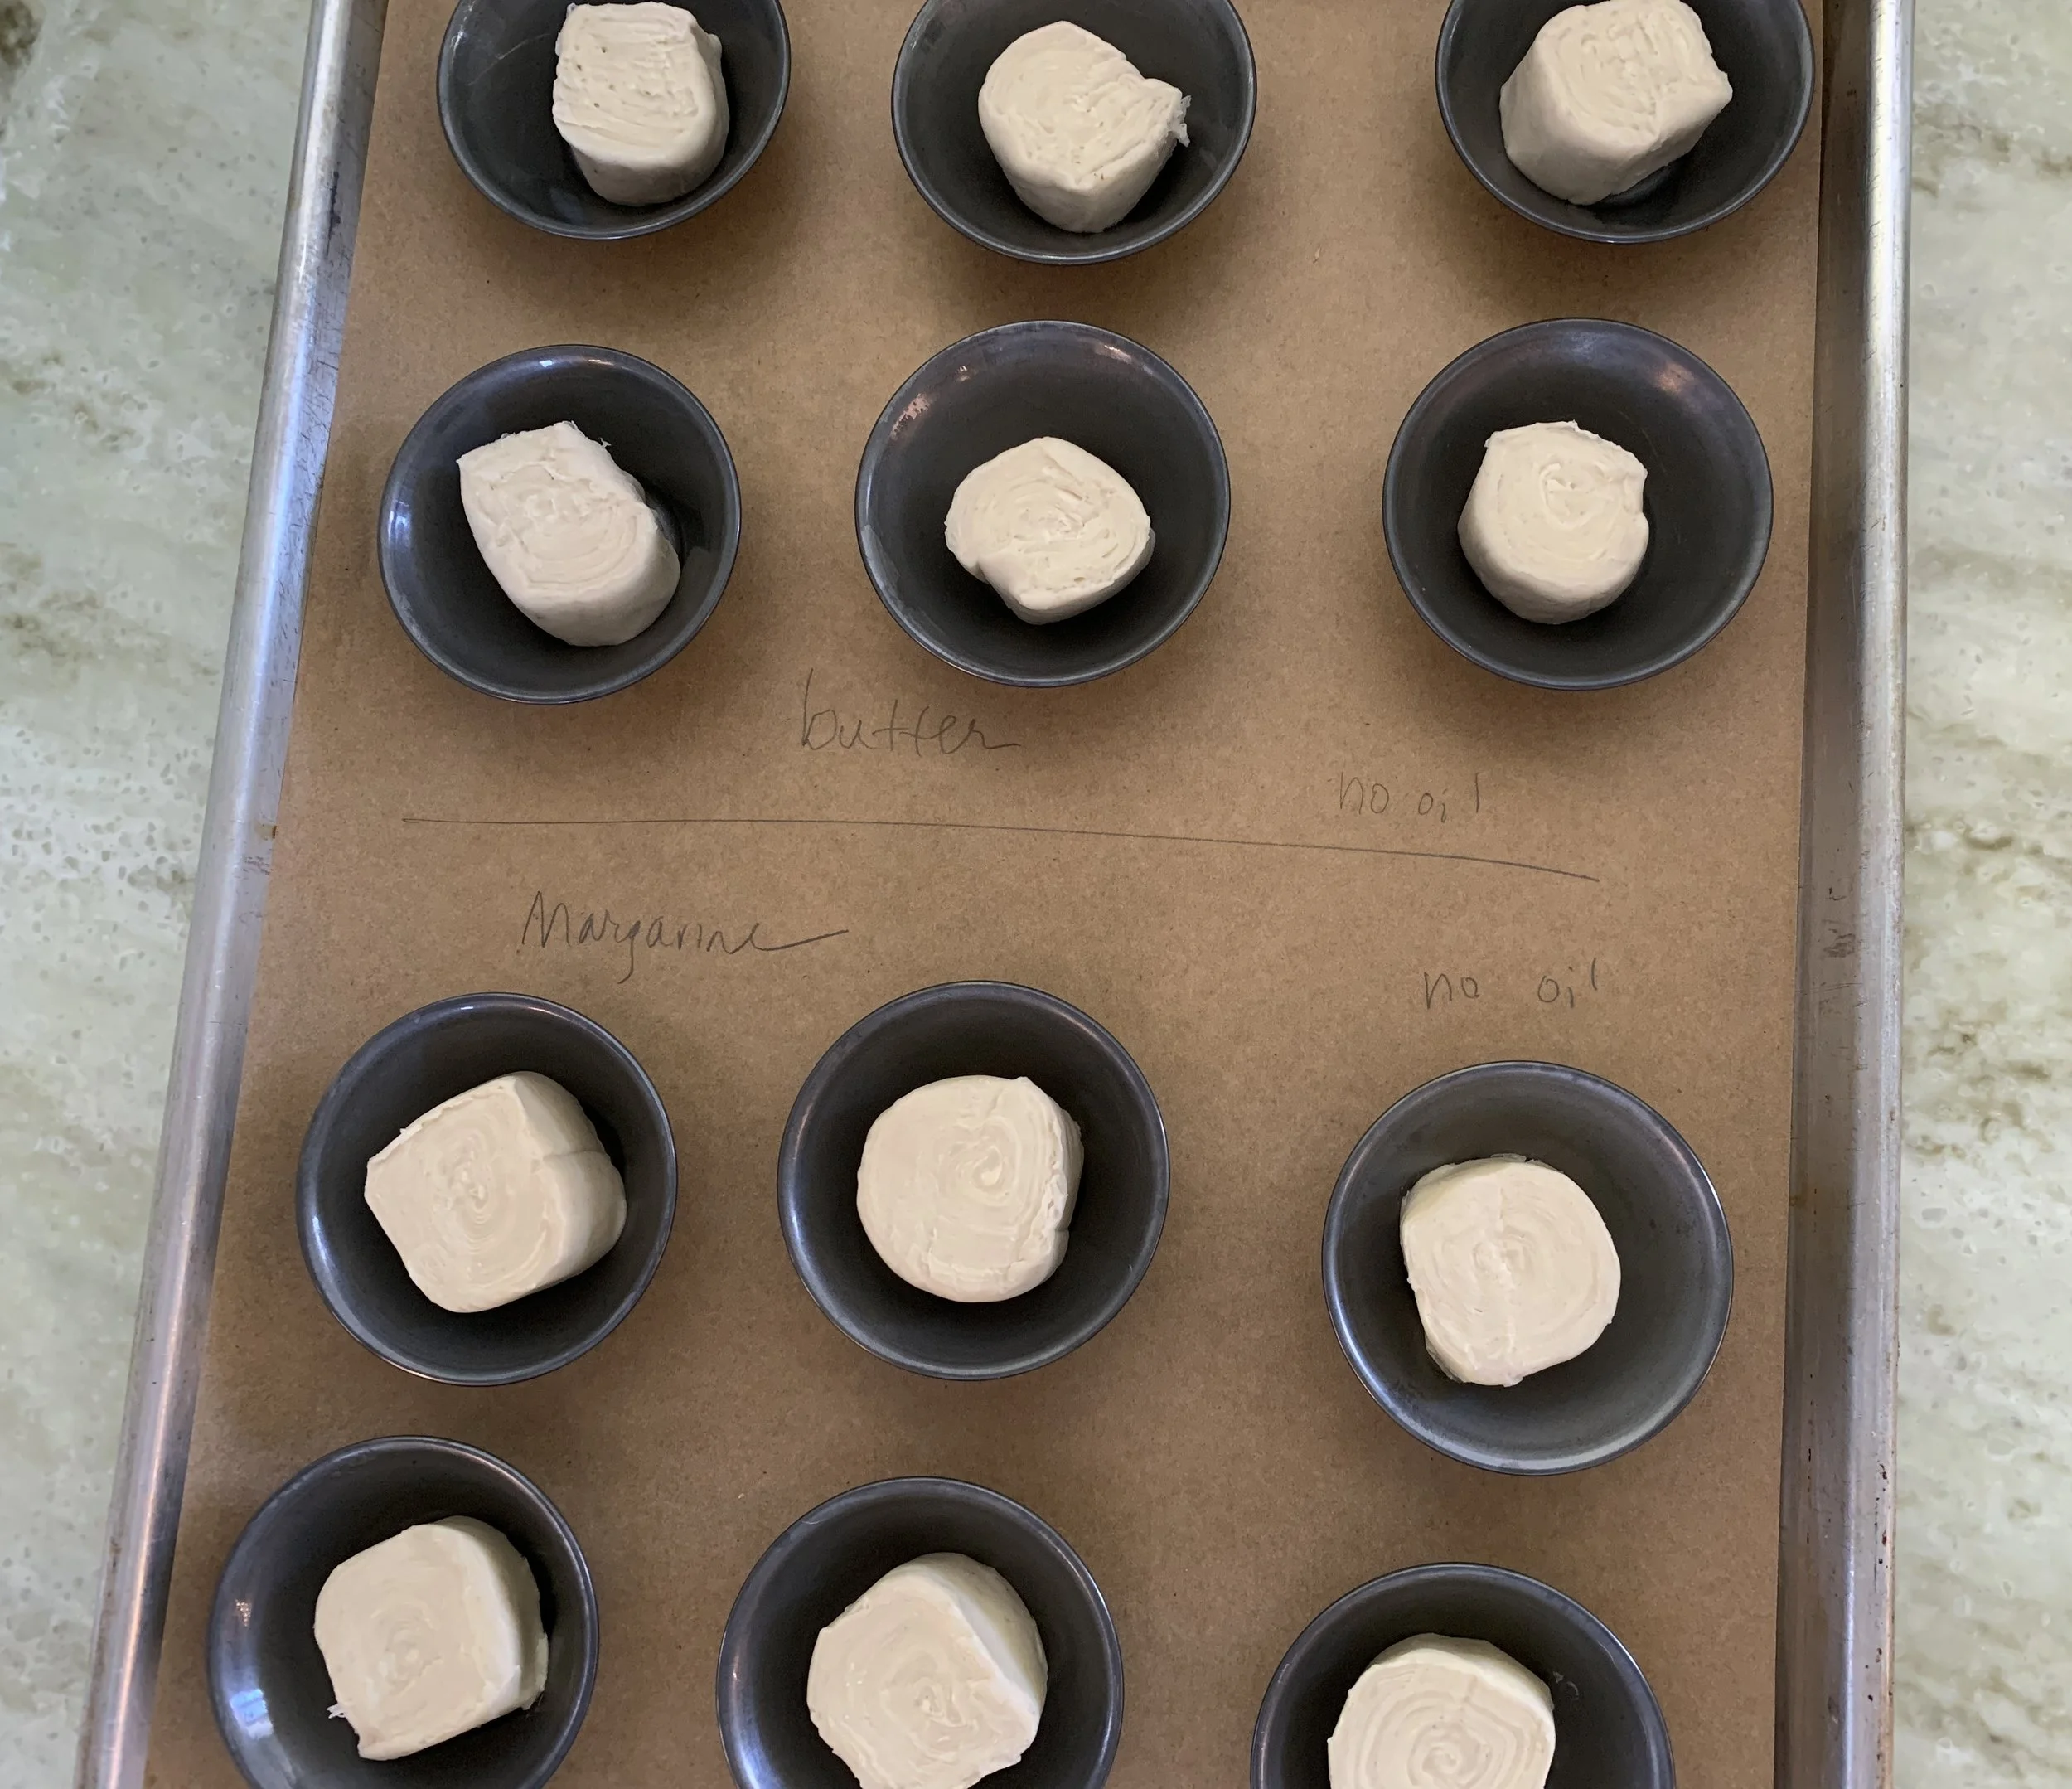
The two center right are un-oiled
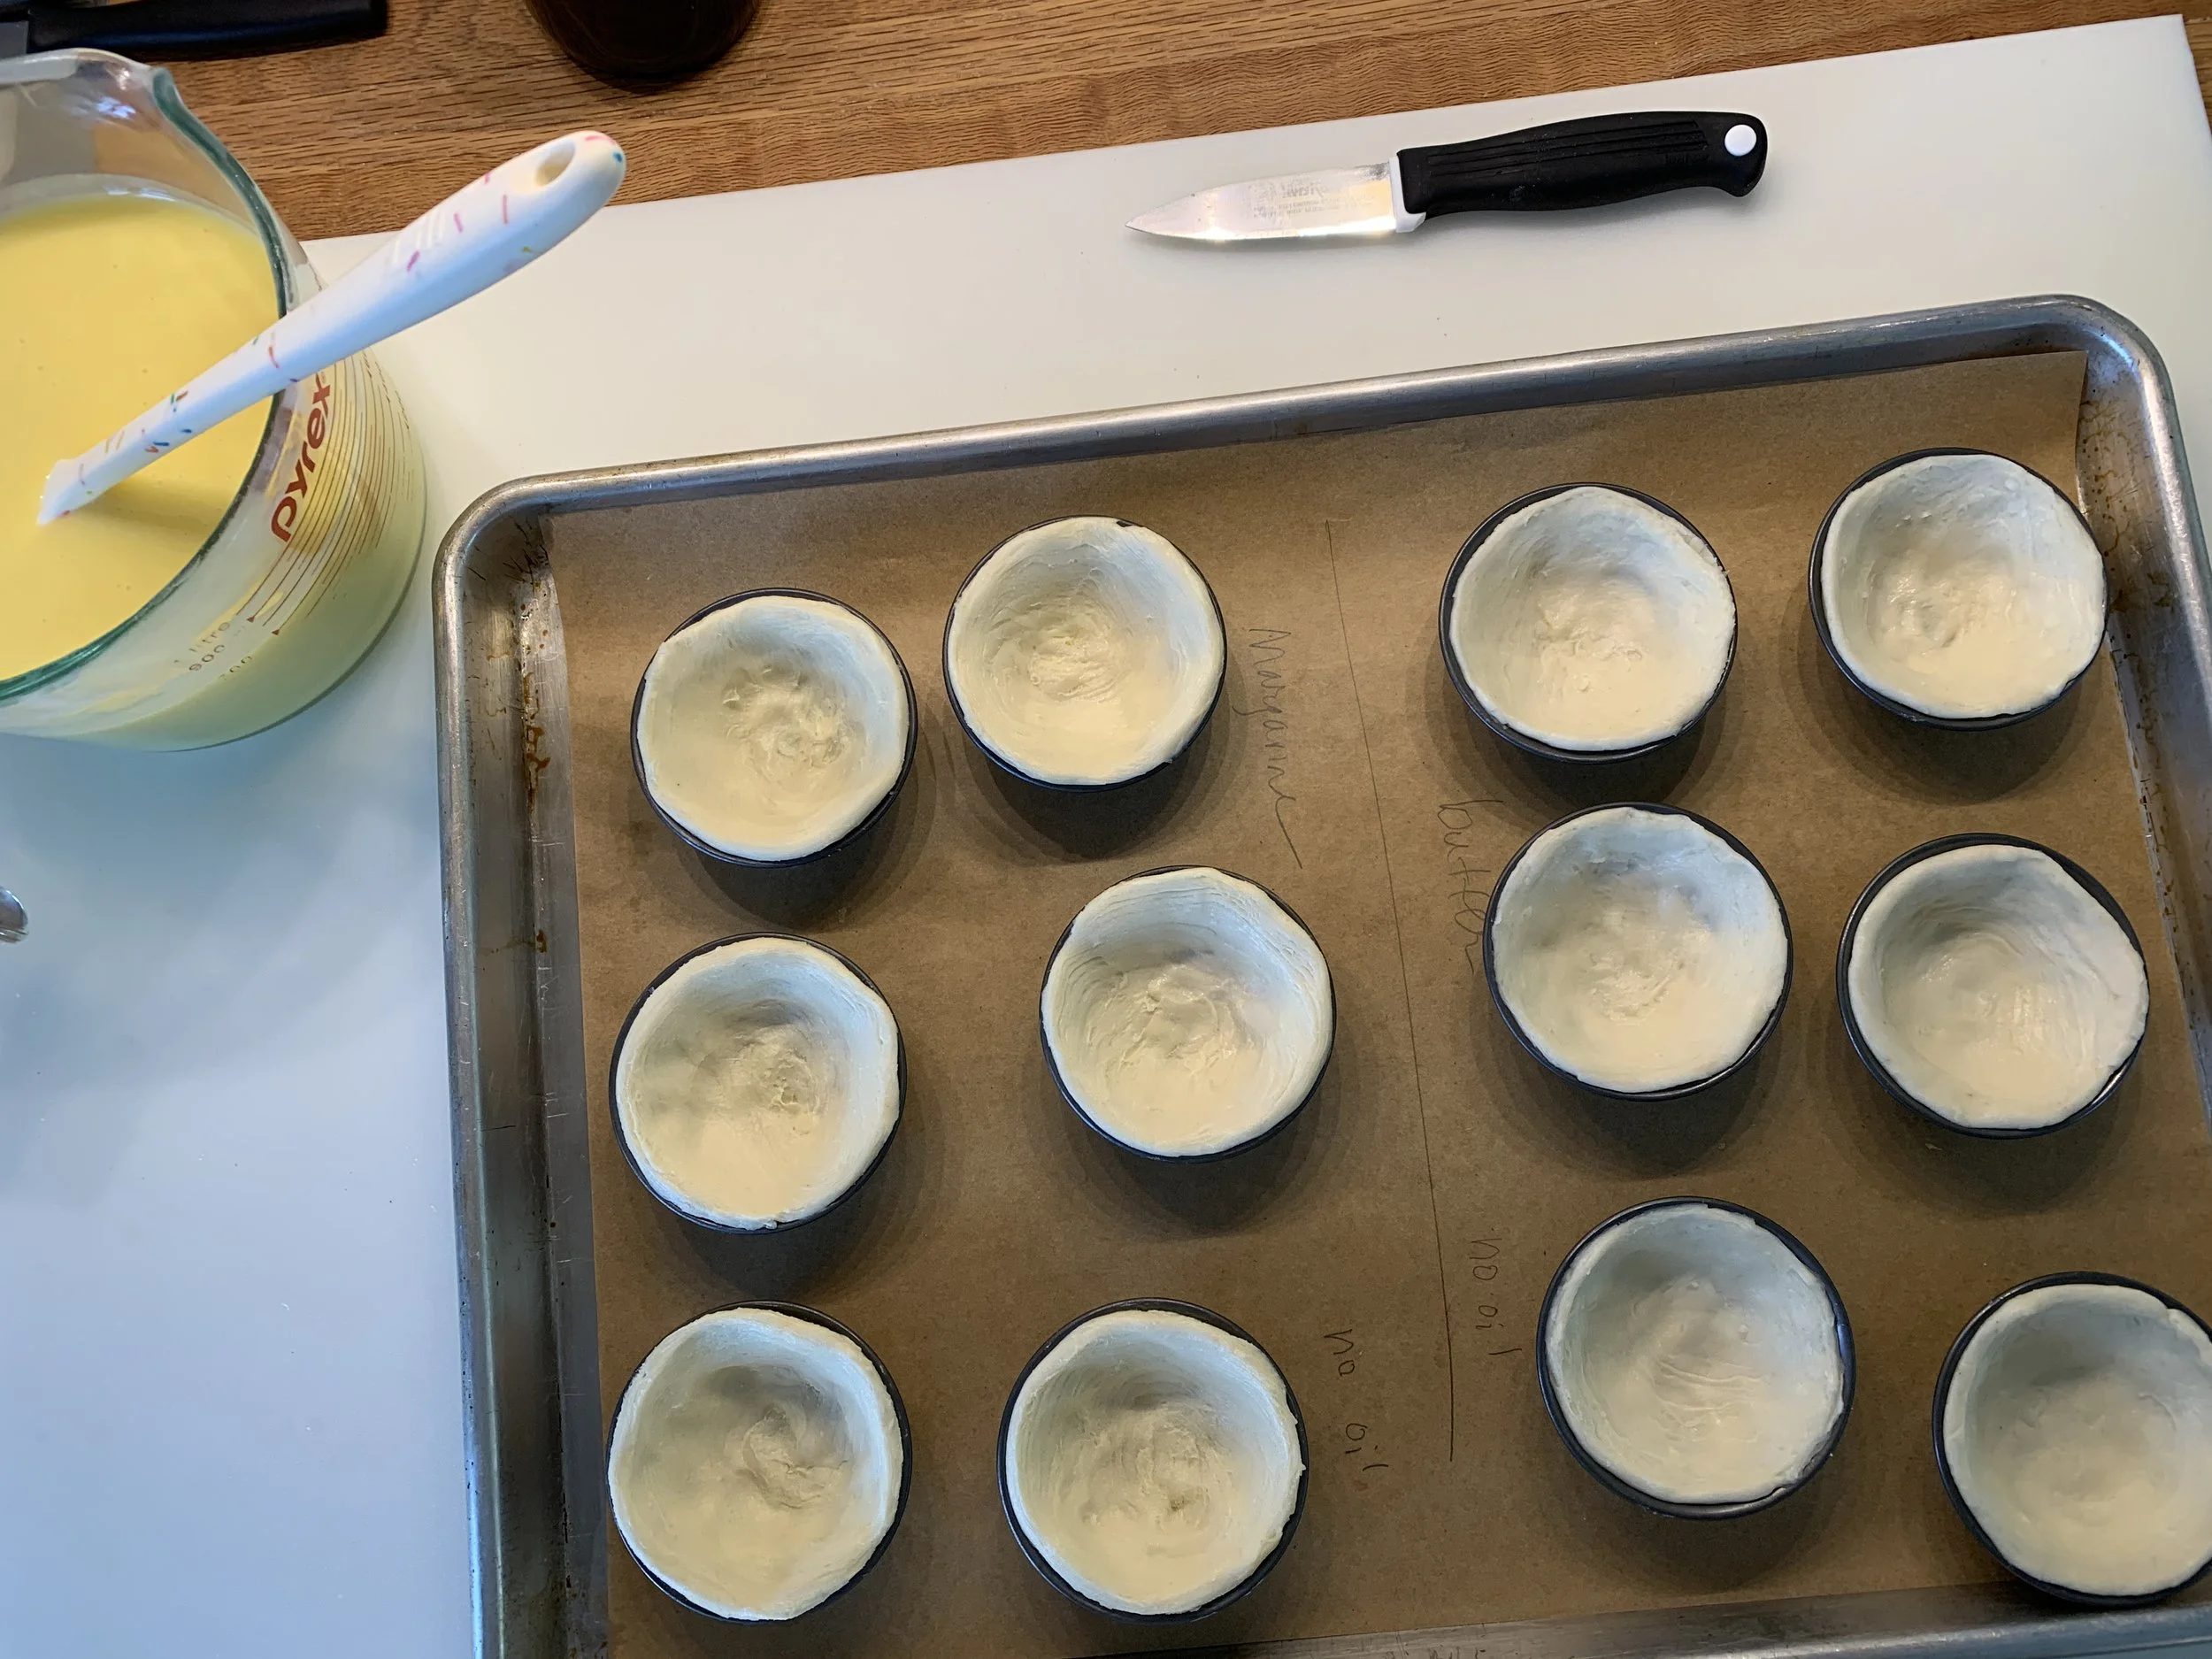
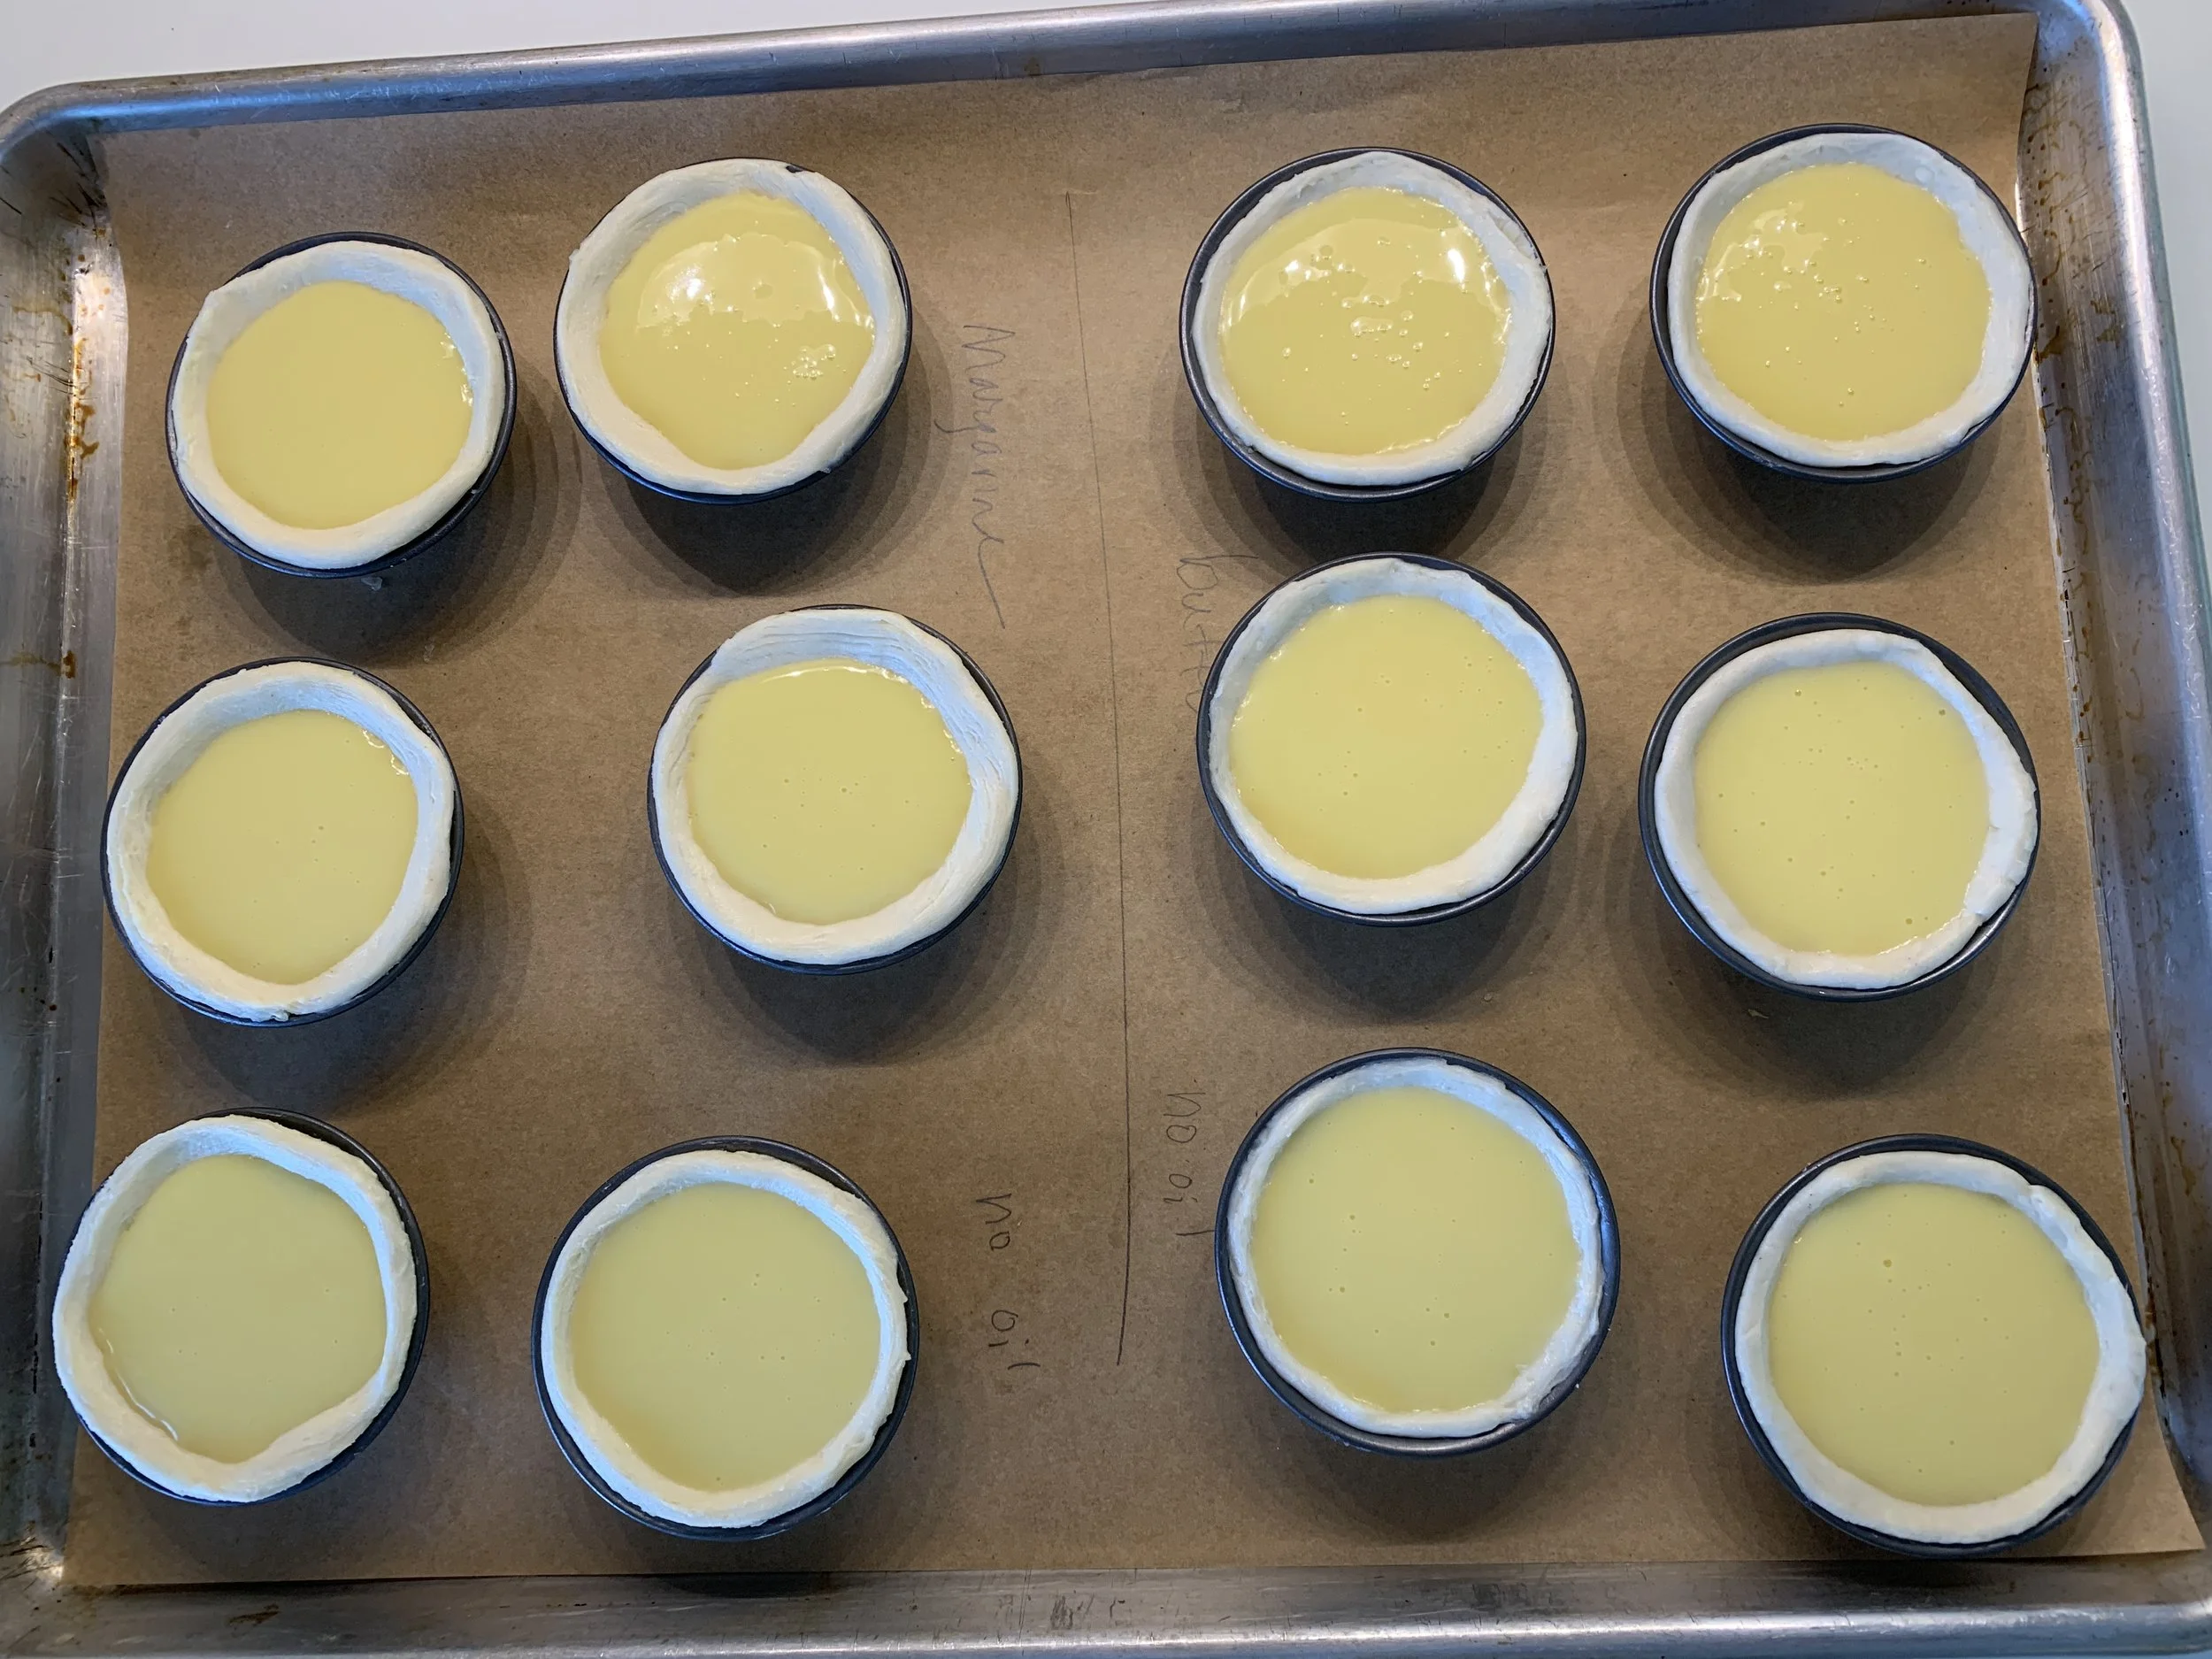
Fill just below the rim
Baked at 500º - convection this time. I’ll add here that the recipes I reviewed didn’t specify conventional or convection but our chef teacher at Nat’elier mentioned a more even bake with convection.
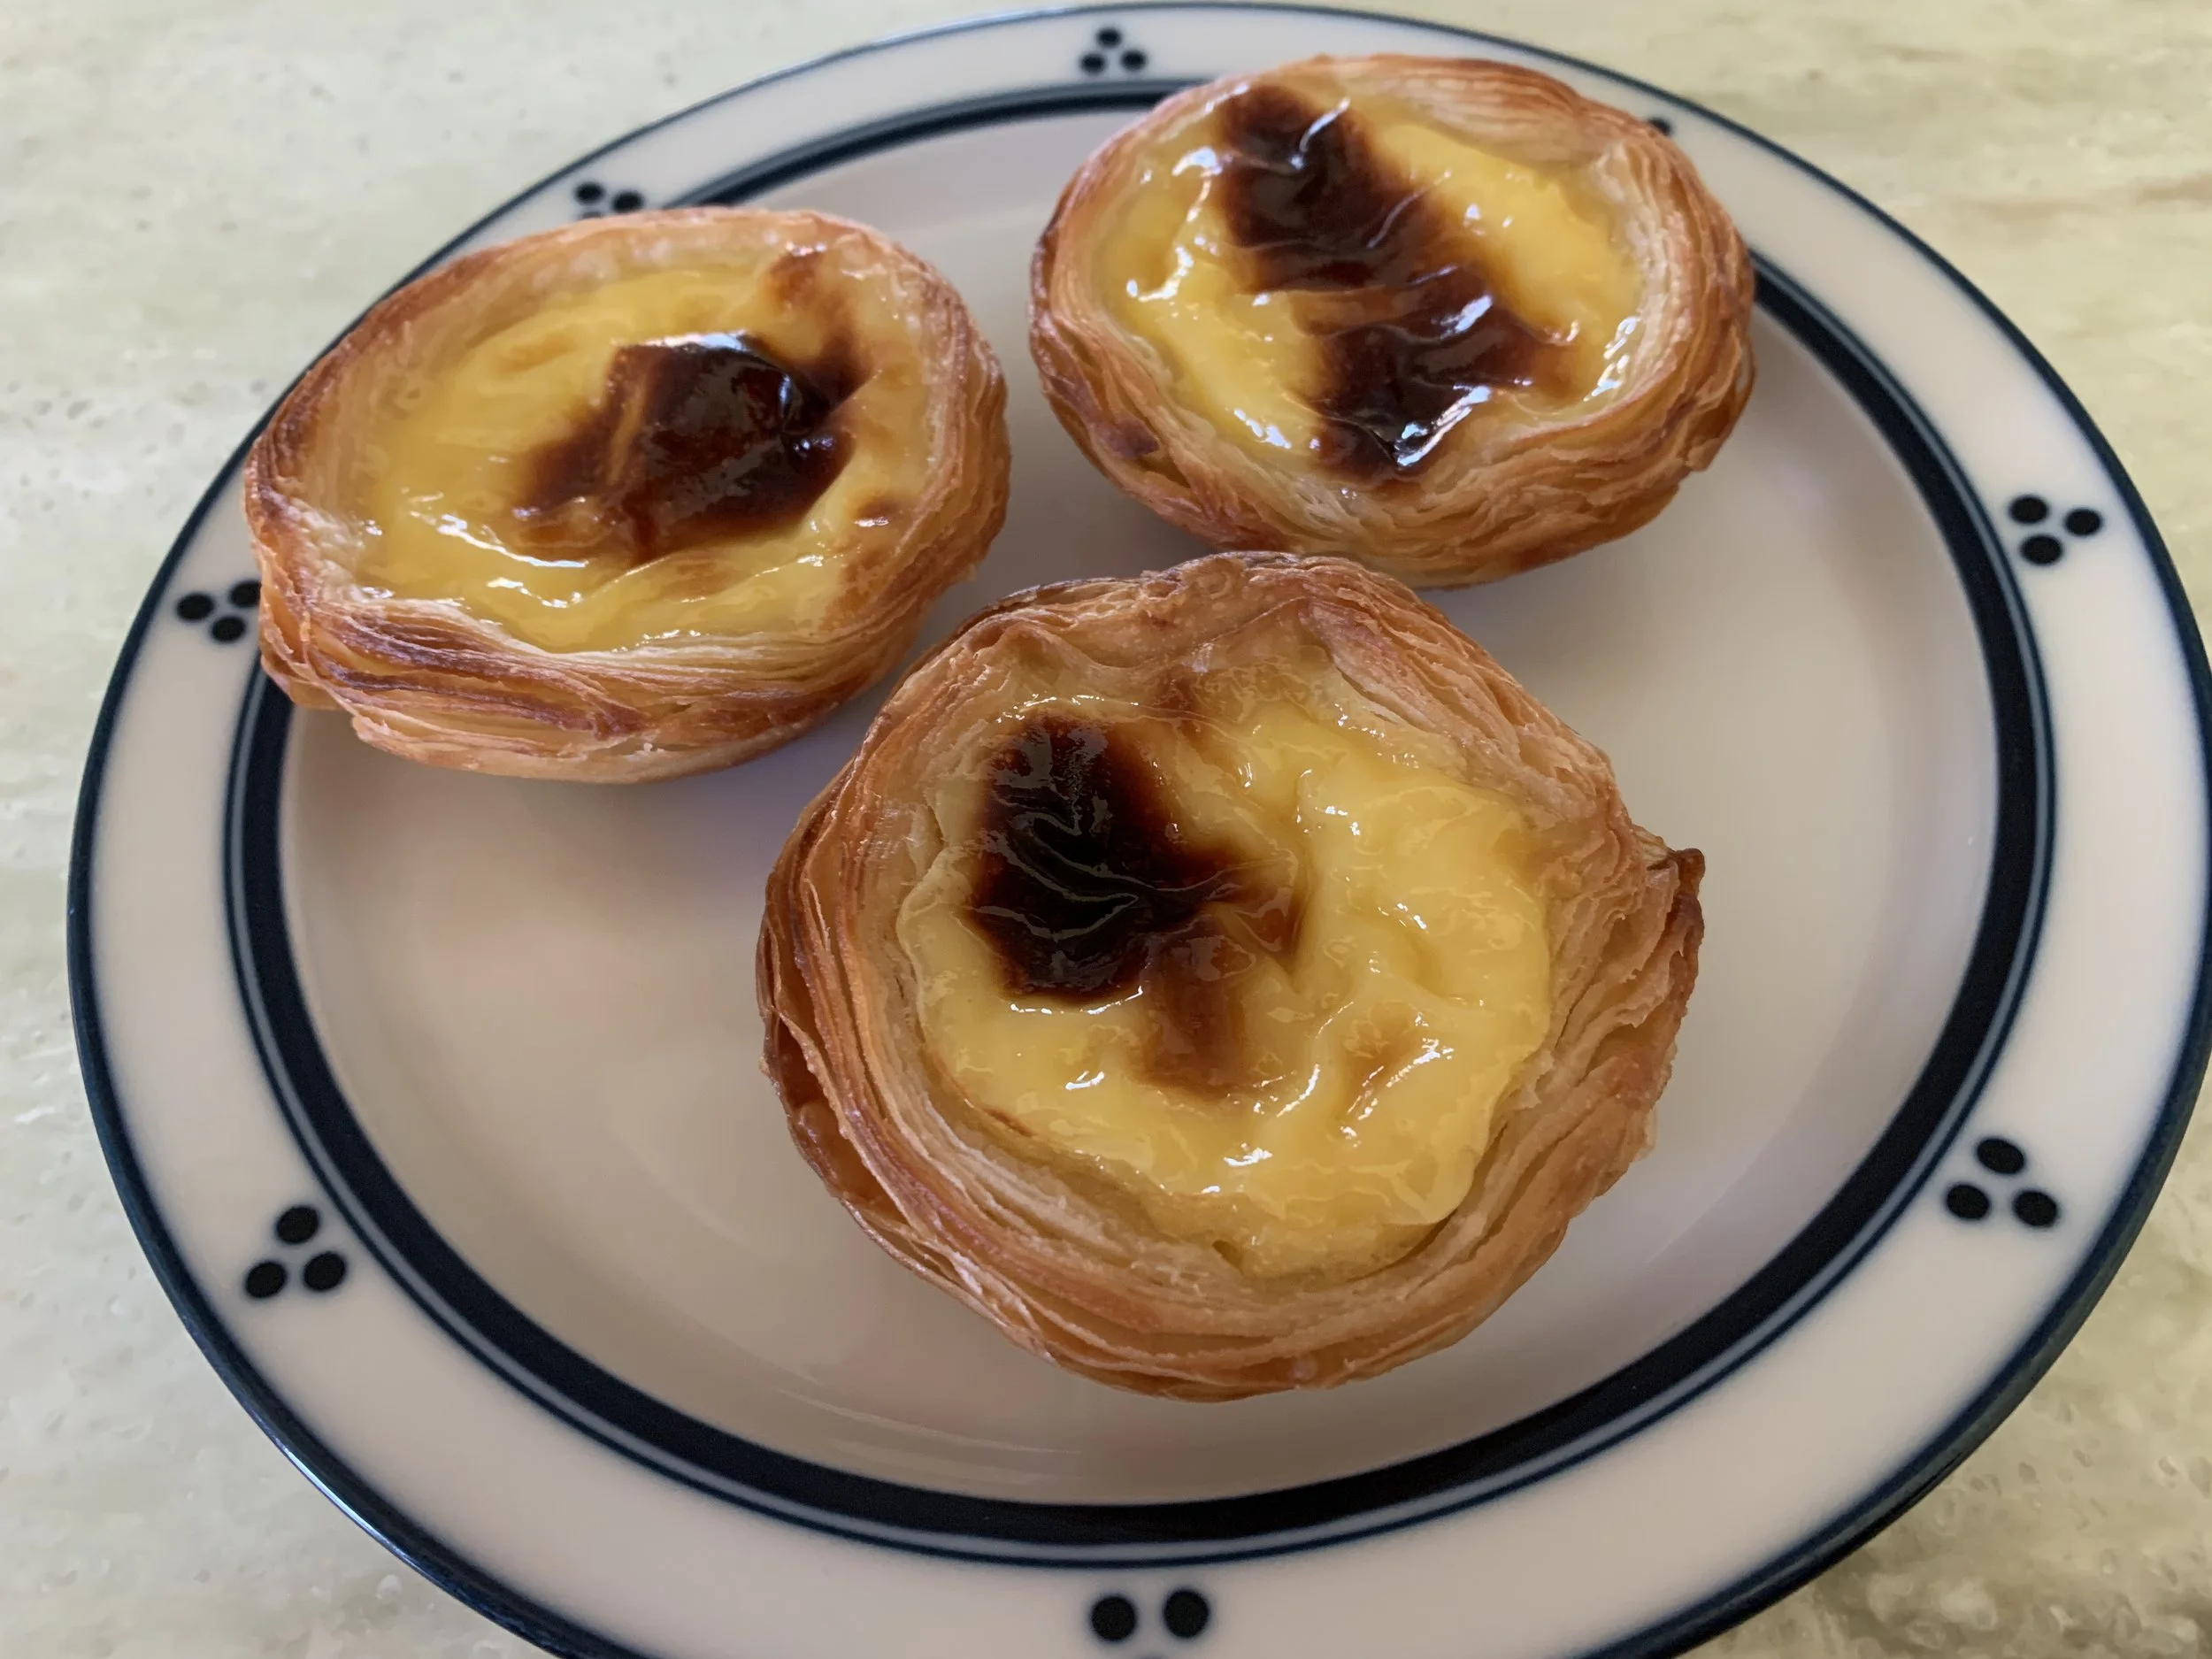
Six minutes, rotate, six more minutes then 2 minutes more to finish. Voila!

Oh yeah!
Notice the margarine versions (on the right in the image above) baked up more generously with more obvious layers of the puff.
Good news - they ALL released easily from the tins so I think the seasoning has reached the proper stage. It should only continue to improve with ongoing use. Hurray!
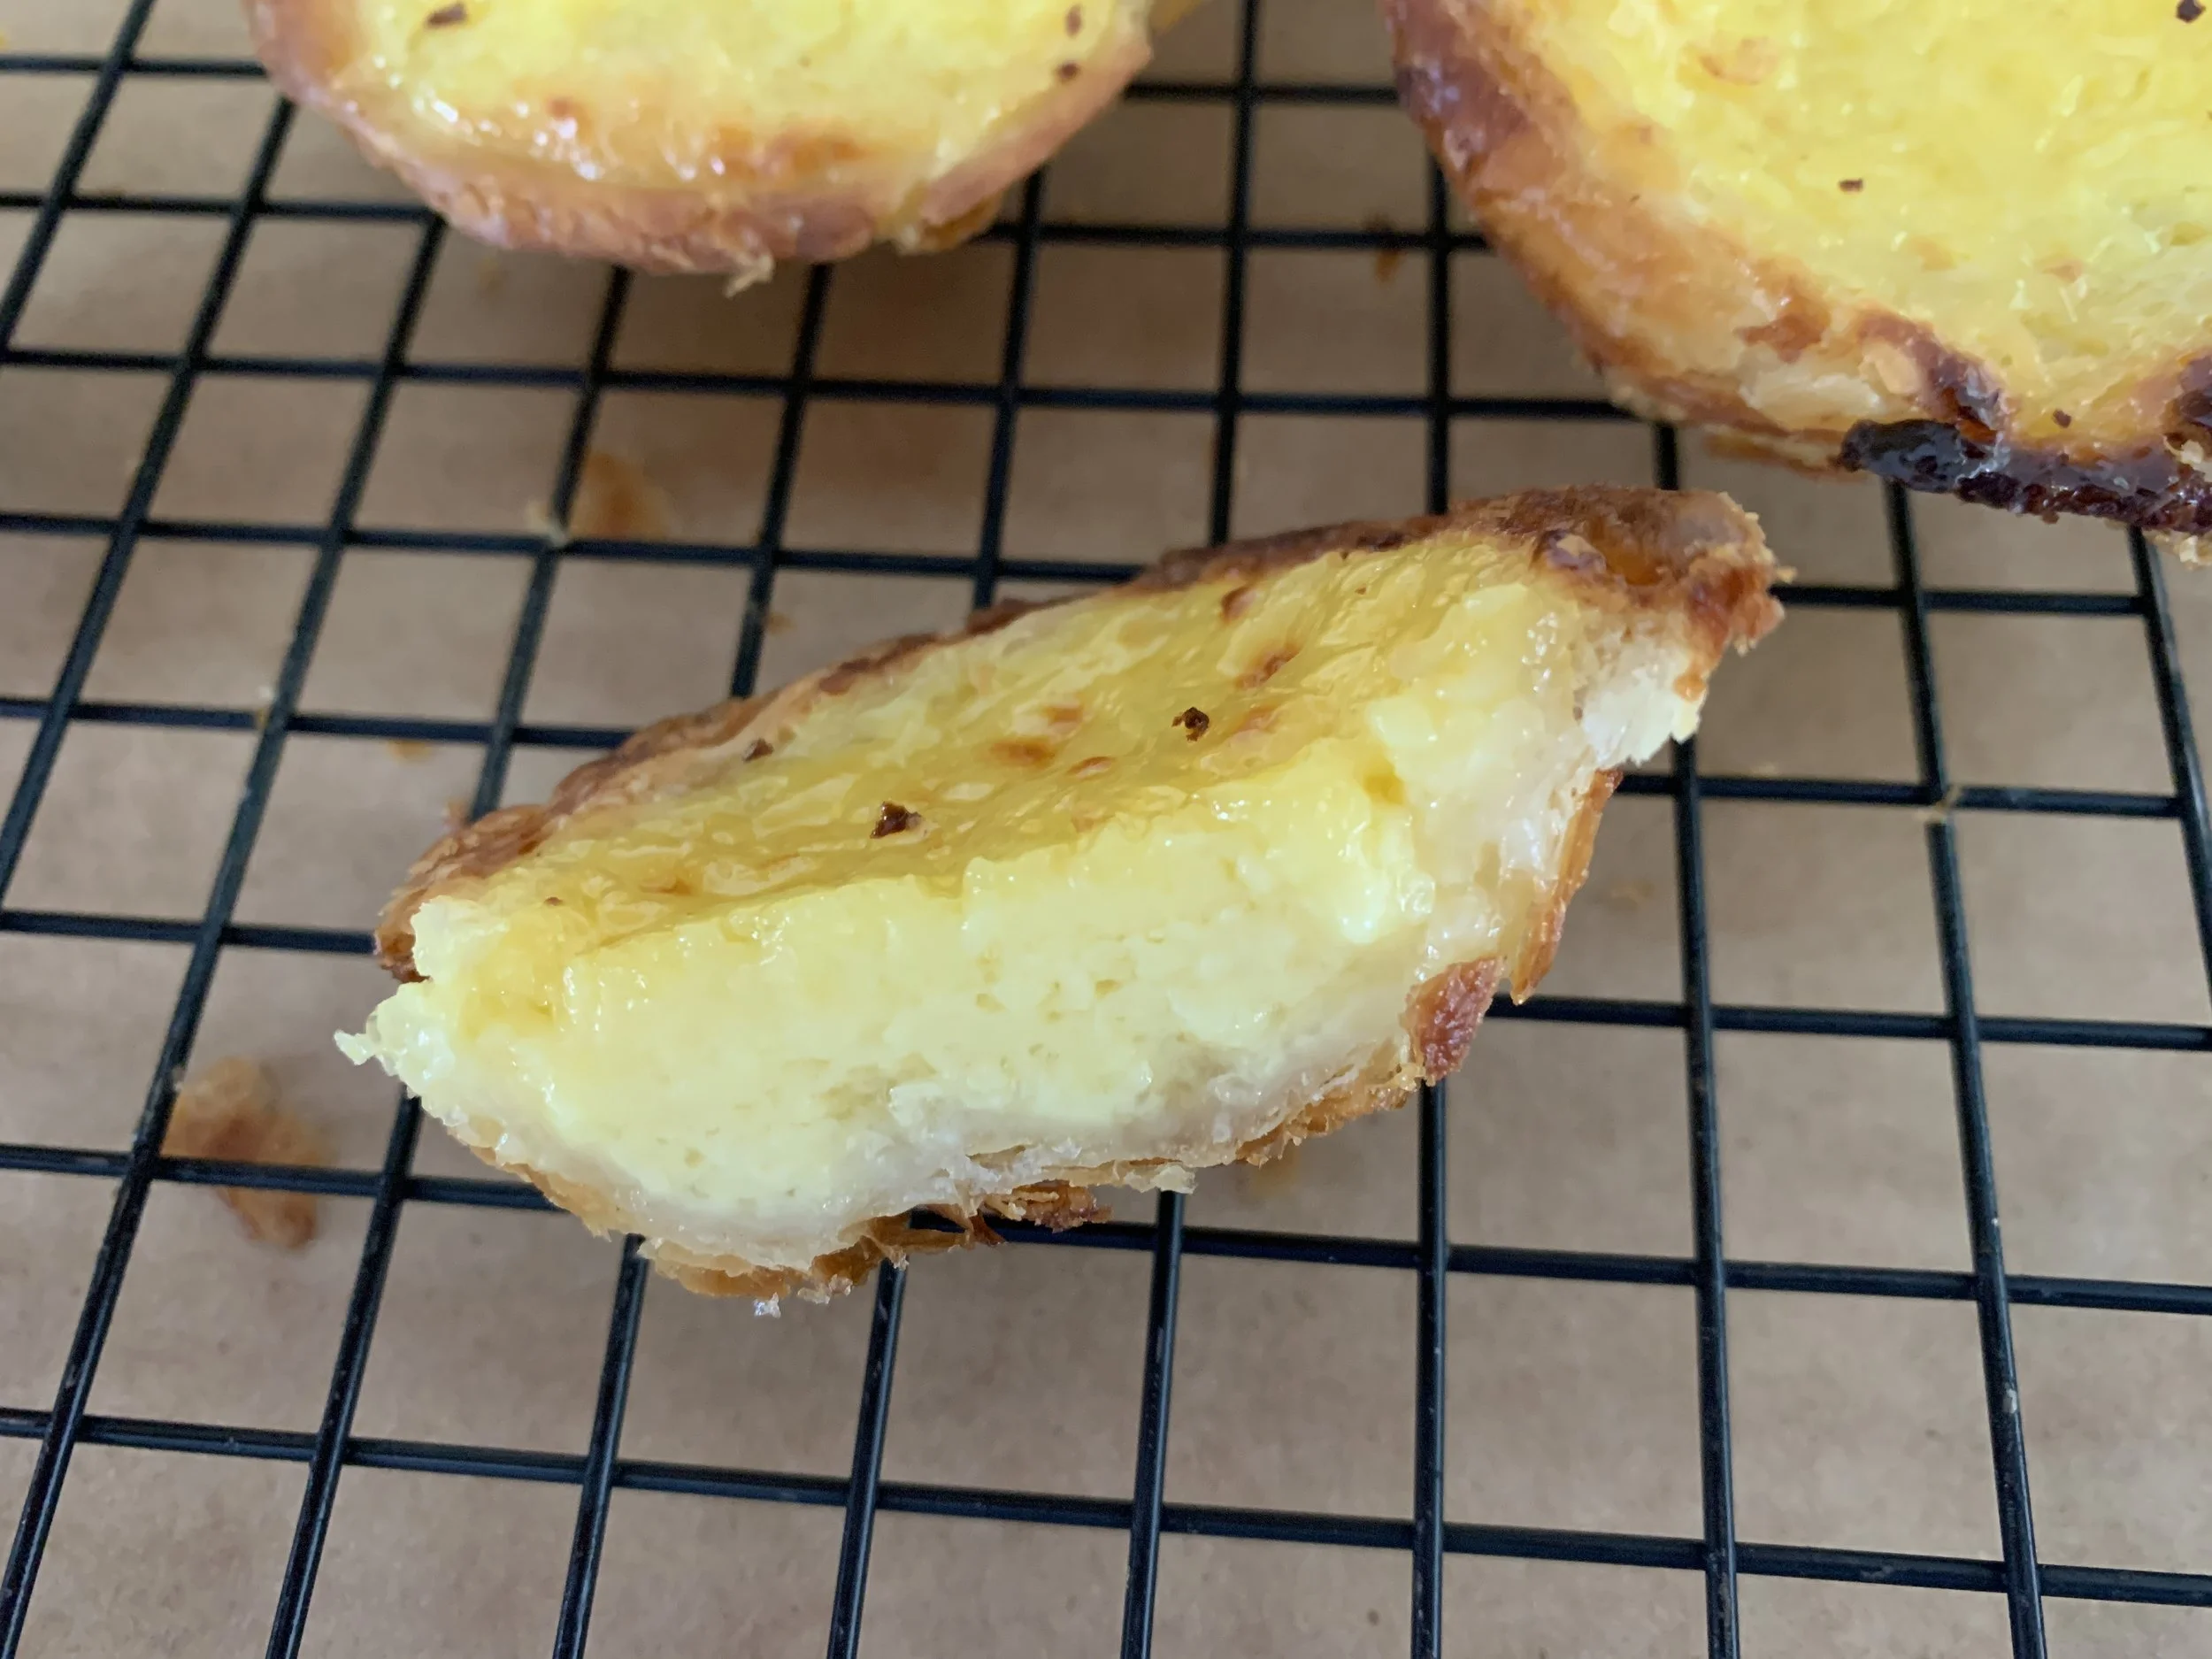
Here’s a cross section of a butter and a margarine version showing a more ample bake with the margarine one.

Do I have a scientific reason for that? It turns out that margarine has a higher melting point, is more stable and less likely to melt out of the layers during the bake, resulting in more consistent and dramatic layers. OK I get it!
I also discovered (had NO idea) that there exists a “puff or pastry margarine” that has a higher fat content. I used a basic Land O’Lakes margarine and found those results to yield a crisp, shattering crust. Wonder how much better the “puff margarine” might be?
They were both delicious yet I lean more toward the butter version for the flavor. It’s clear that one can reheat these the following day and they’re still pretty good, but I notice the pastry does become less tender and develops a hint of “toughness” or chew to it. That was the same with both butter and margarine.
Yum!
The final word? I’ll use the recipe I’m sharing with you and will most likely stick with butter as my fat of choice. I typically don’t keep margarine on hand but I do have 3 sticks left from the pound of Land O’Lakes I bought so . . . . why not use it up, eh?
Here’s to hints of spring (my tulips have started coming up!) and happy baking.

Along my walking route