Chocolate tahini tartelettes
/
My oh my these are tasty. (Remember those pistachio tahini shortbread I wrote about in August?) Here’s another recipe from Yotam Ottolenghi’s book “Sweet” in which the filling incorporates flavors that marry so deliciously - dark chocolate, tahini and honey.
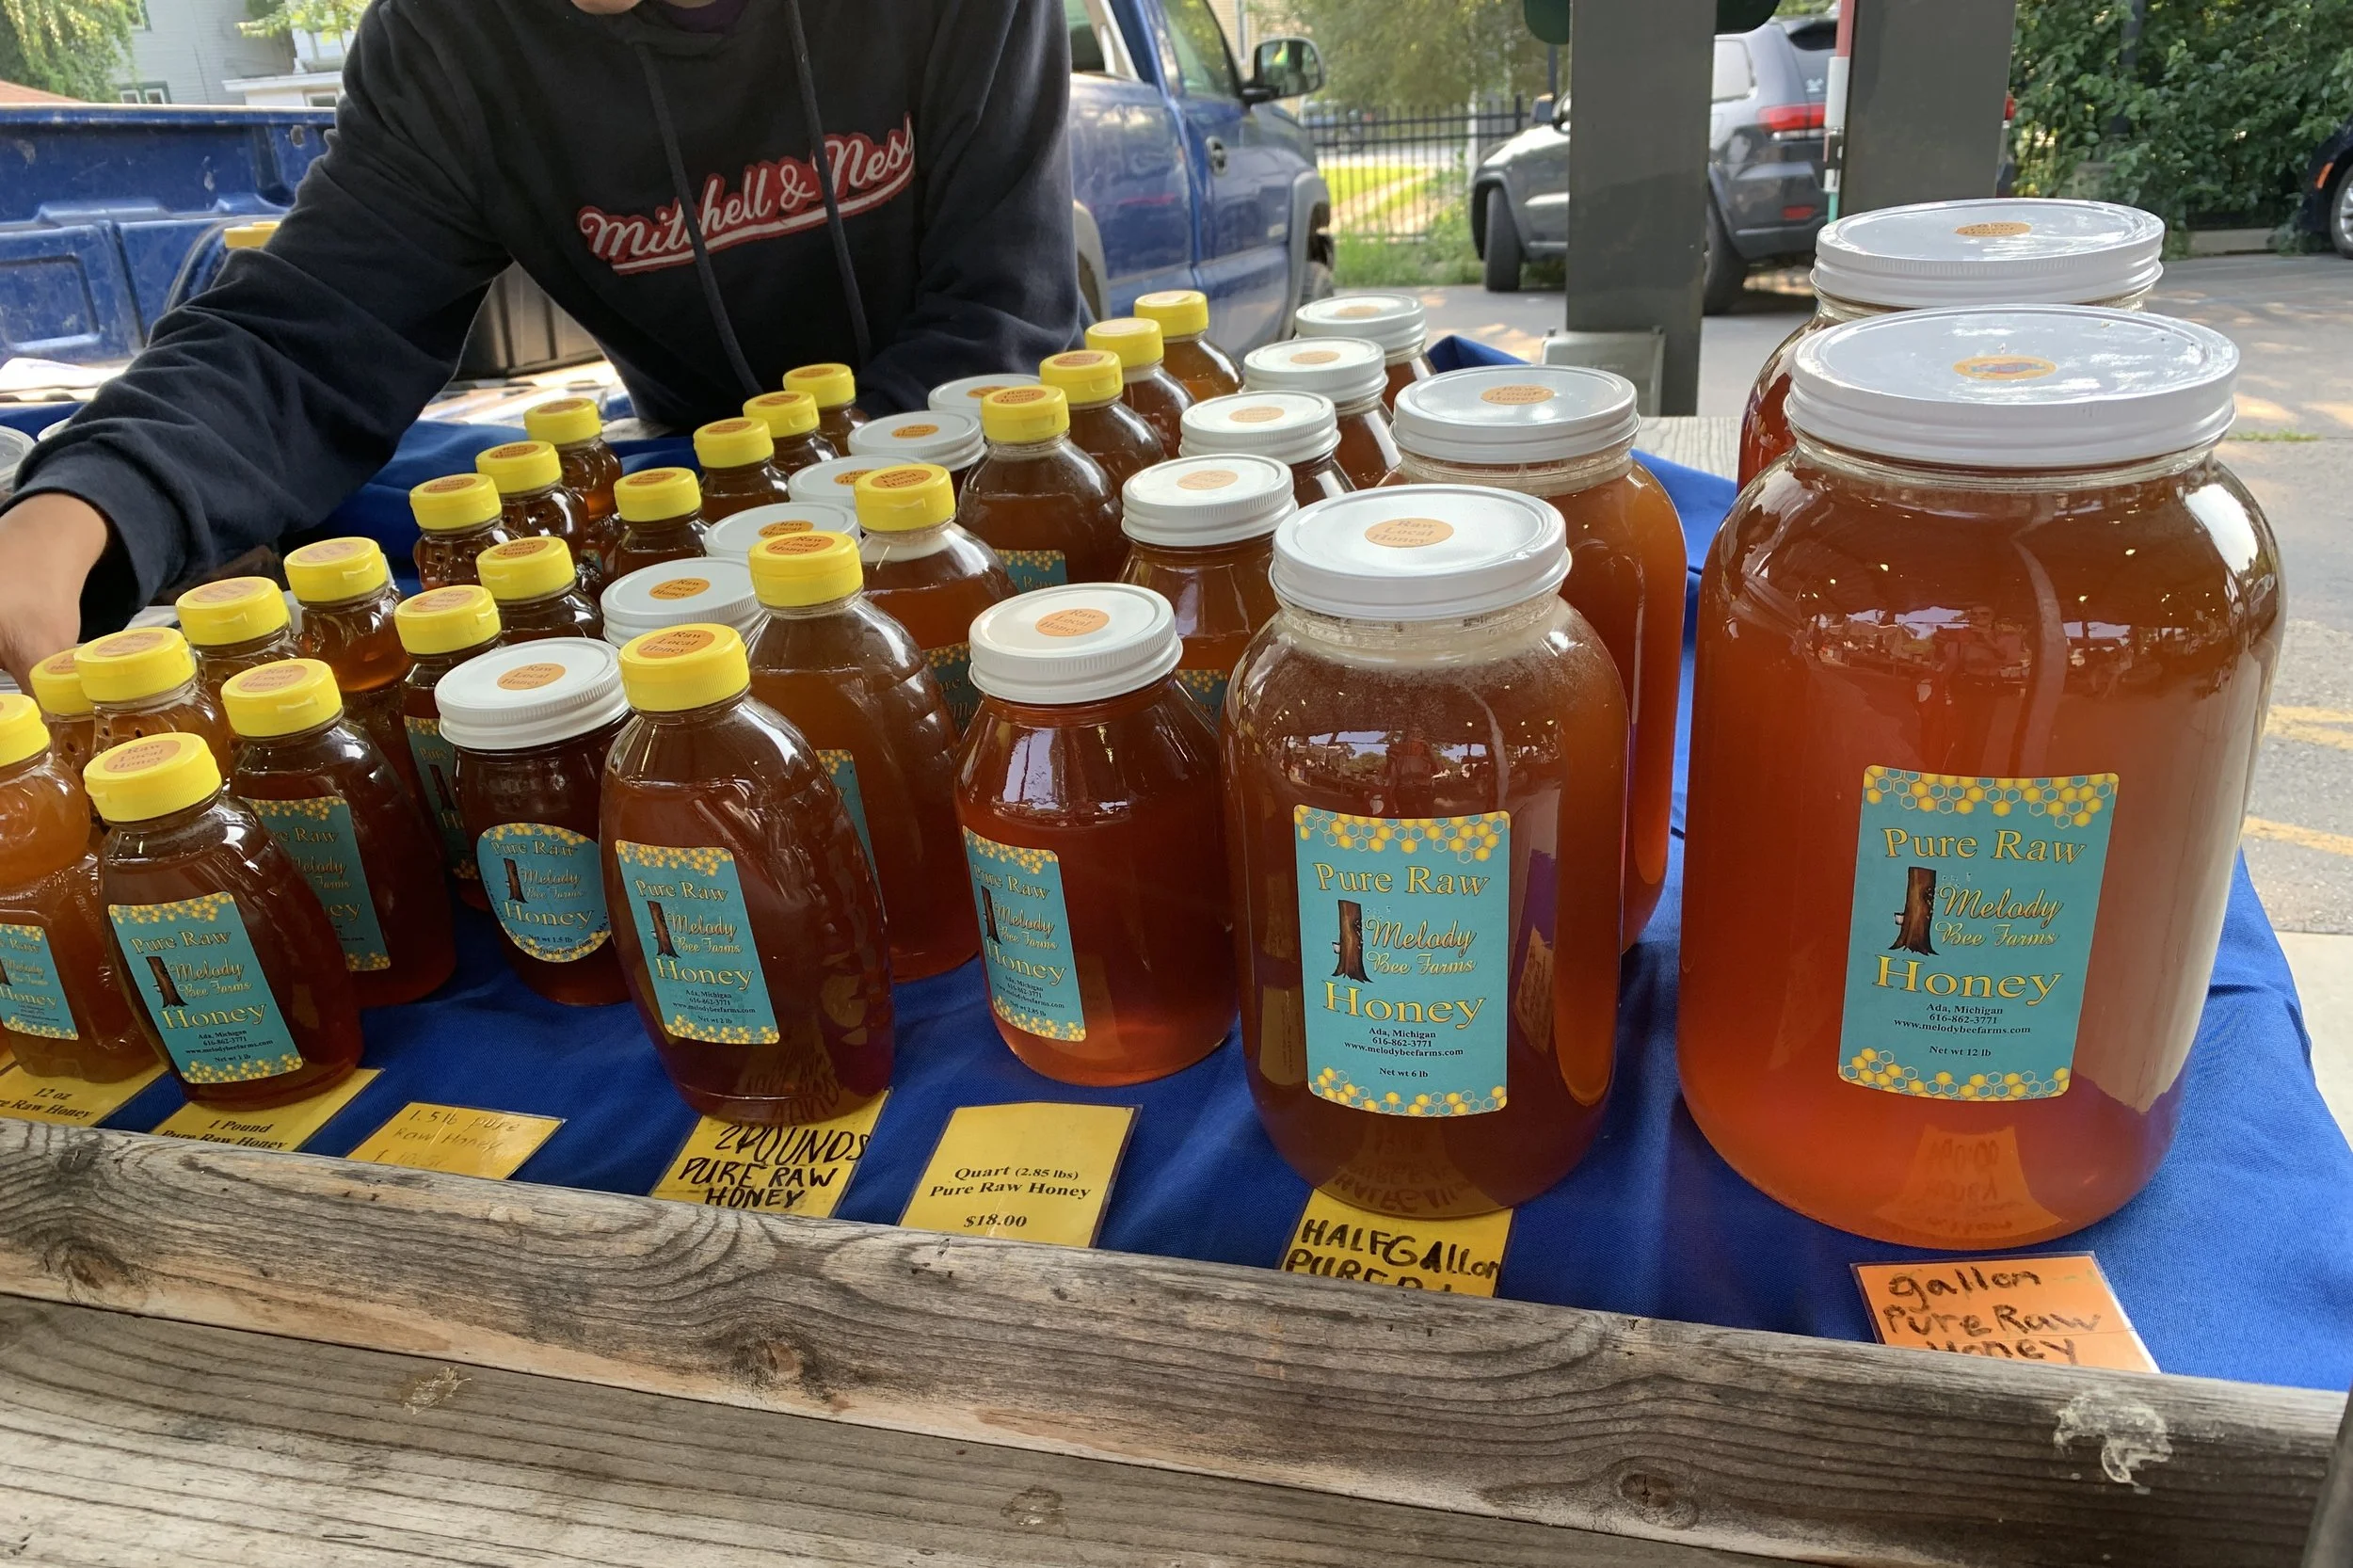
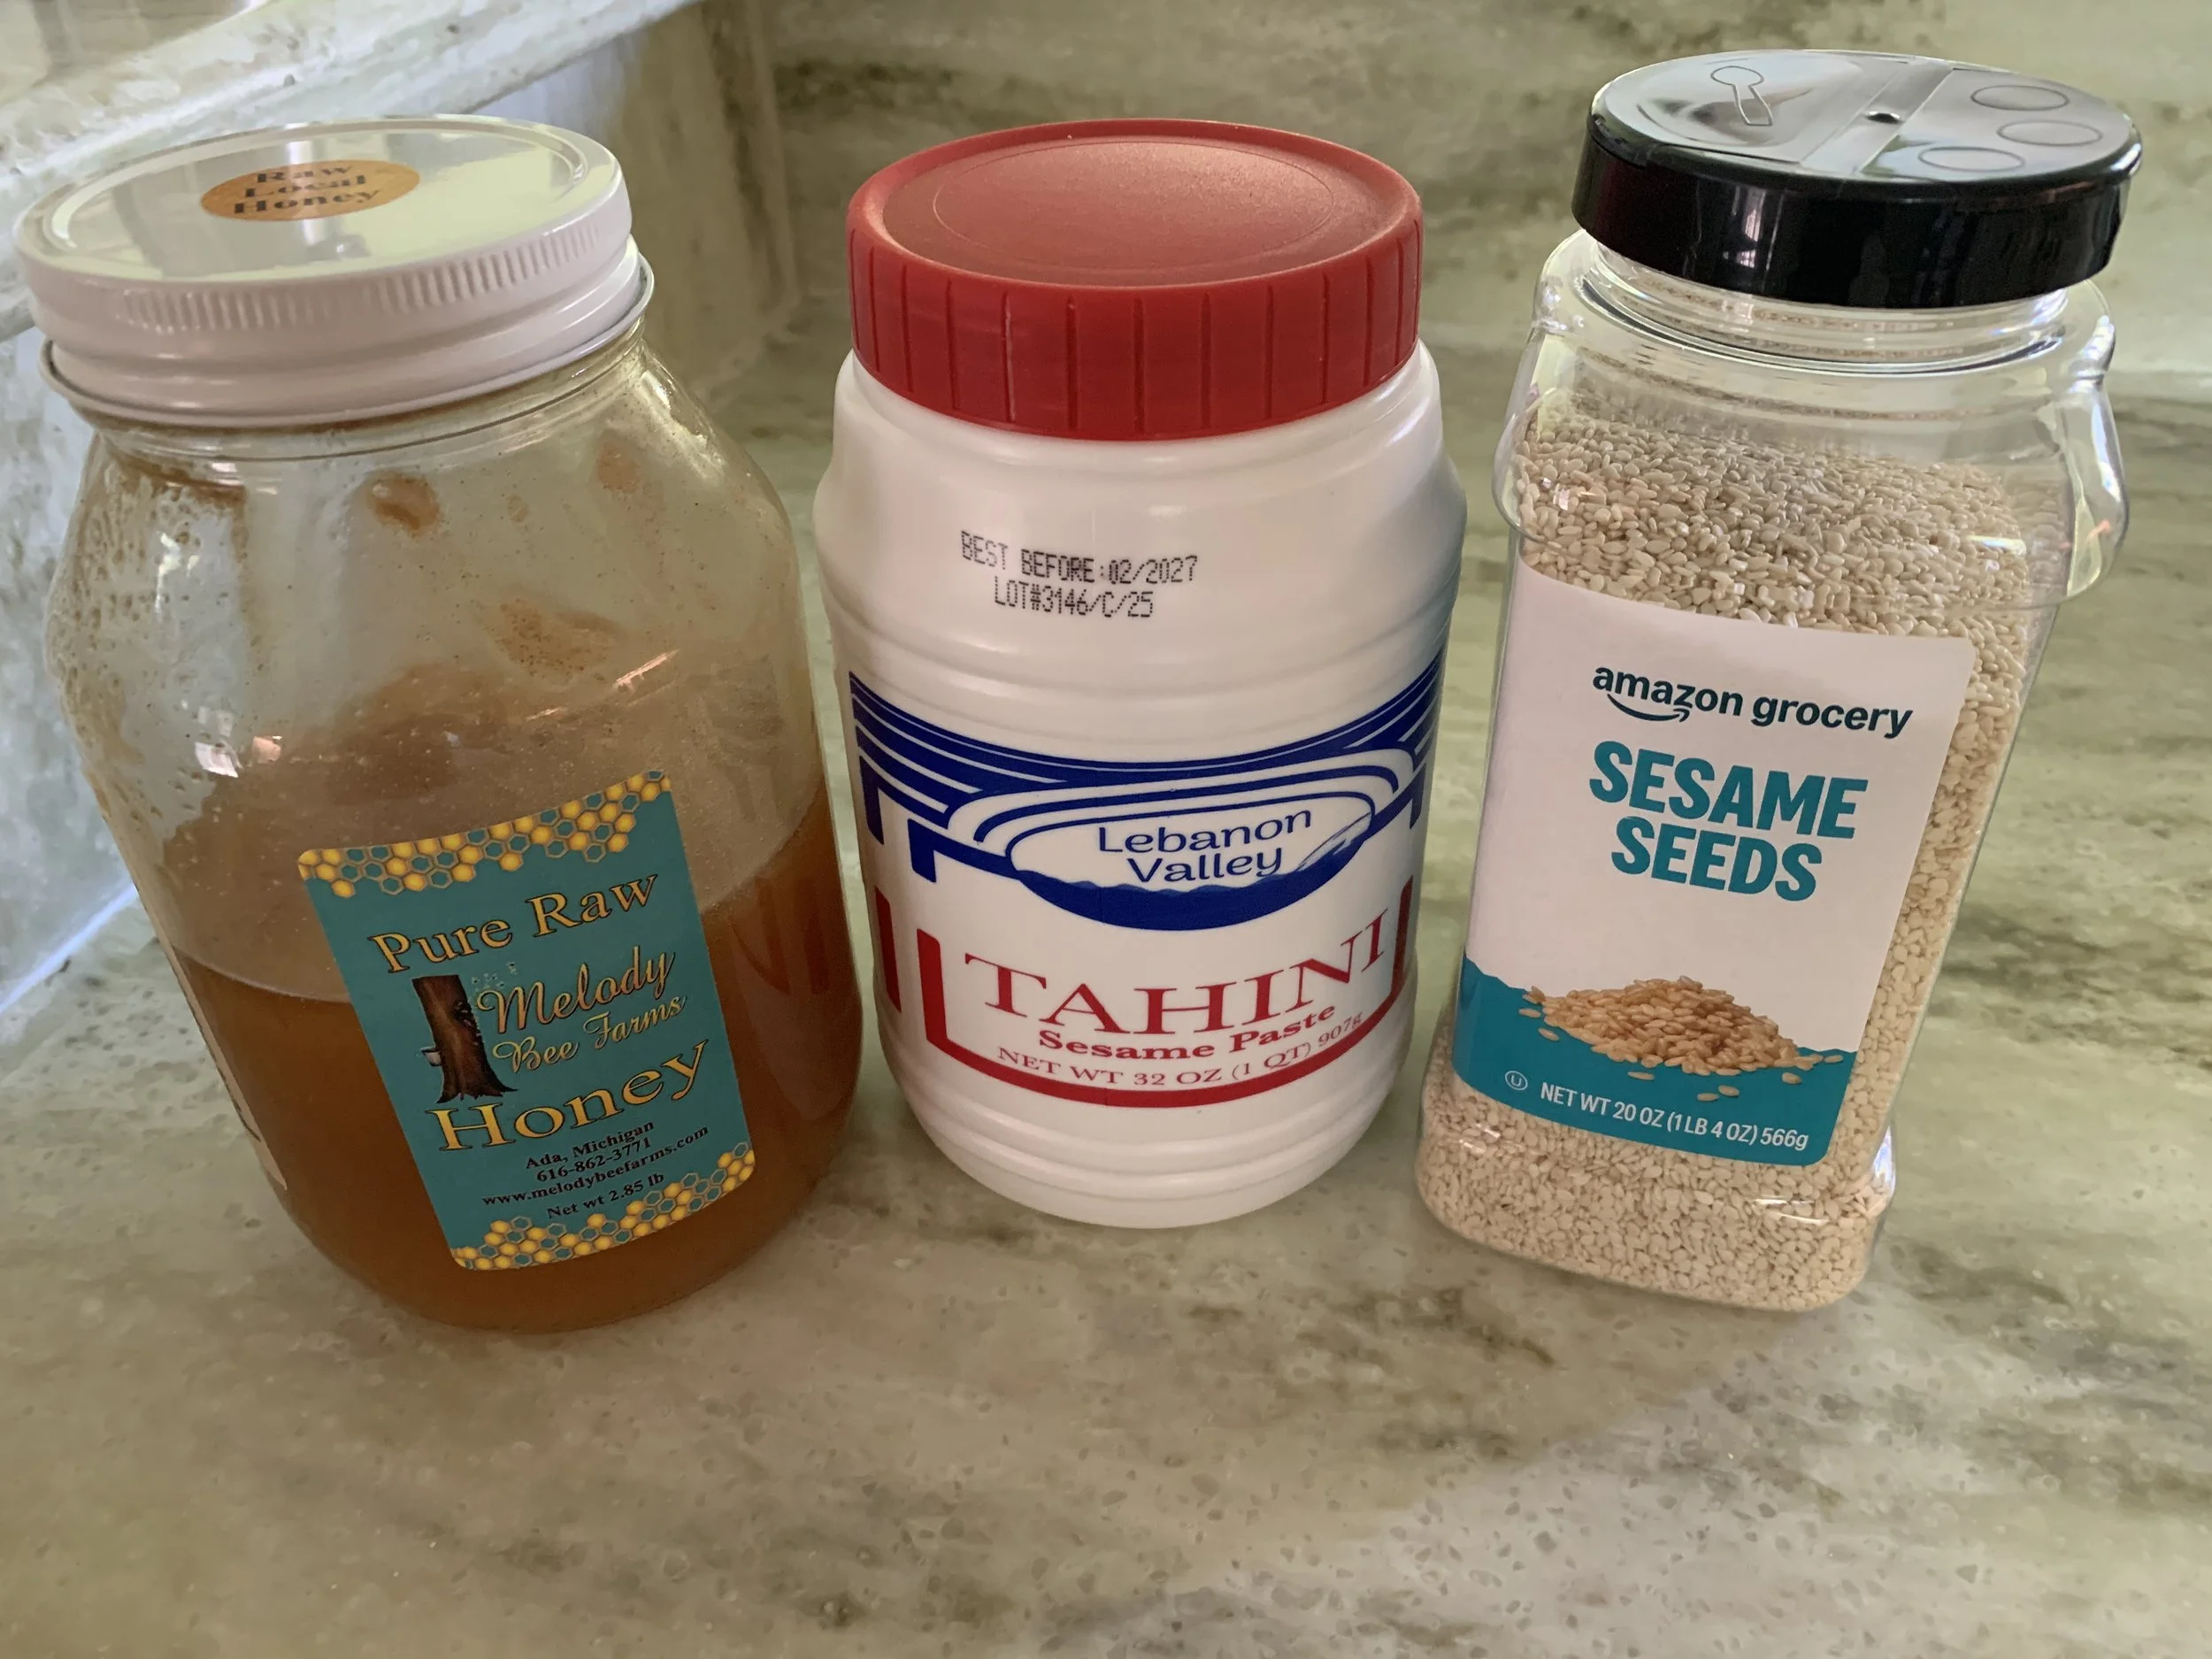
Invariably at this time of year (baking season!), I go through my supplies and ingredients with an eye to using some that often sit patiently waiting in the cabinet. As it turns out, this summer I had just refreshed my larder with the likes of sesame seeds and tahini as well as a fresh jar of local raw honey from Melody Bee Farms. Even though their shelf life is great, it’s good to start thinking of the delicious treats that might ensue.
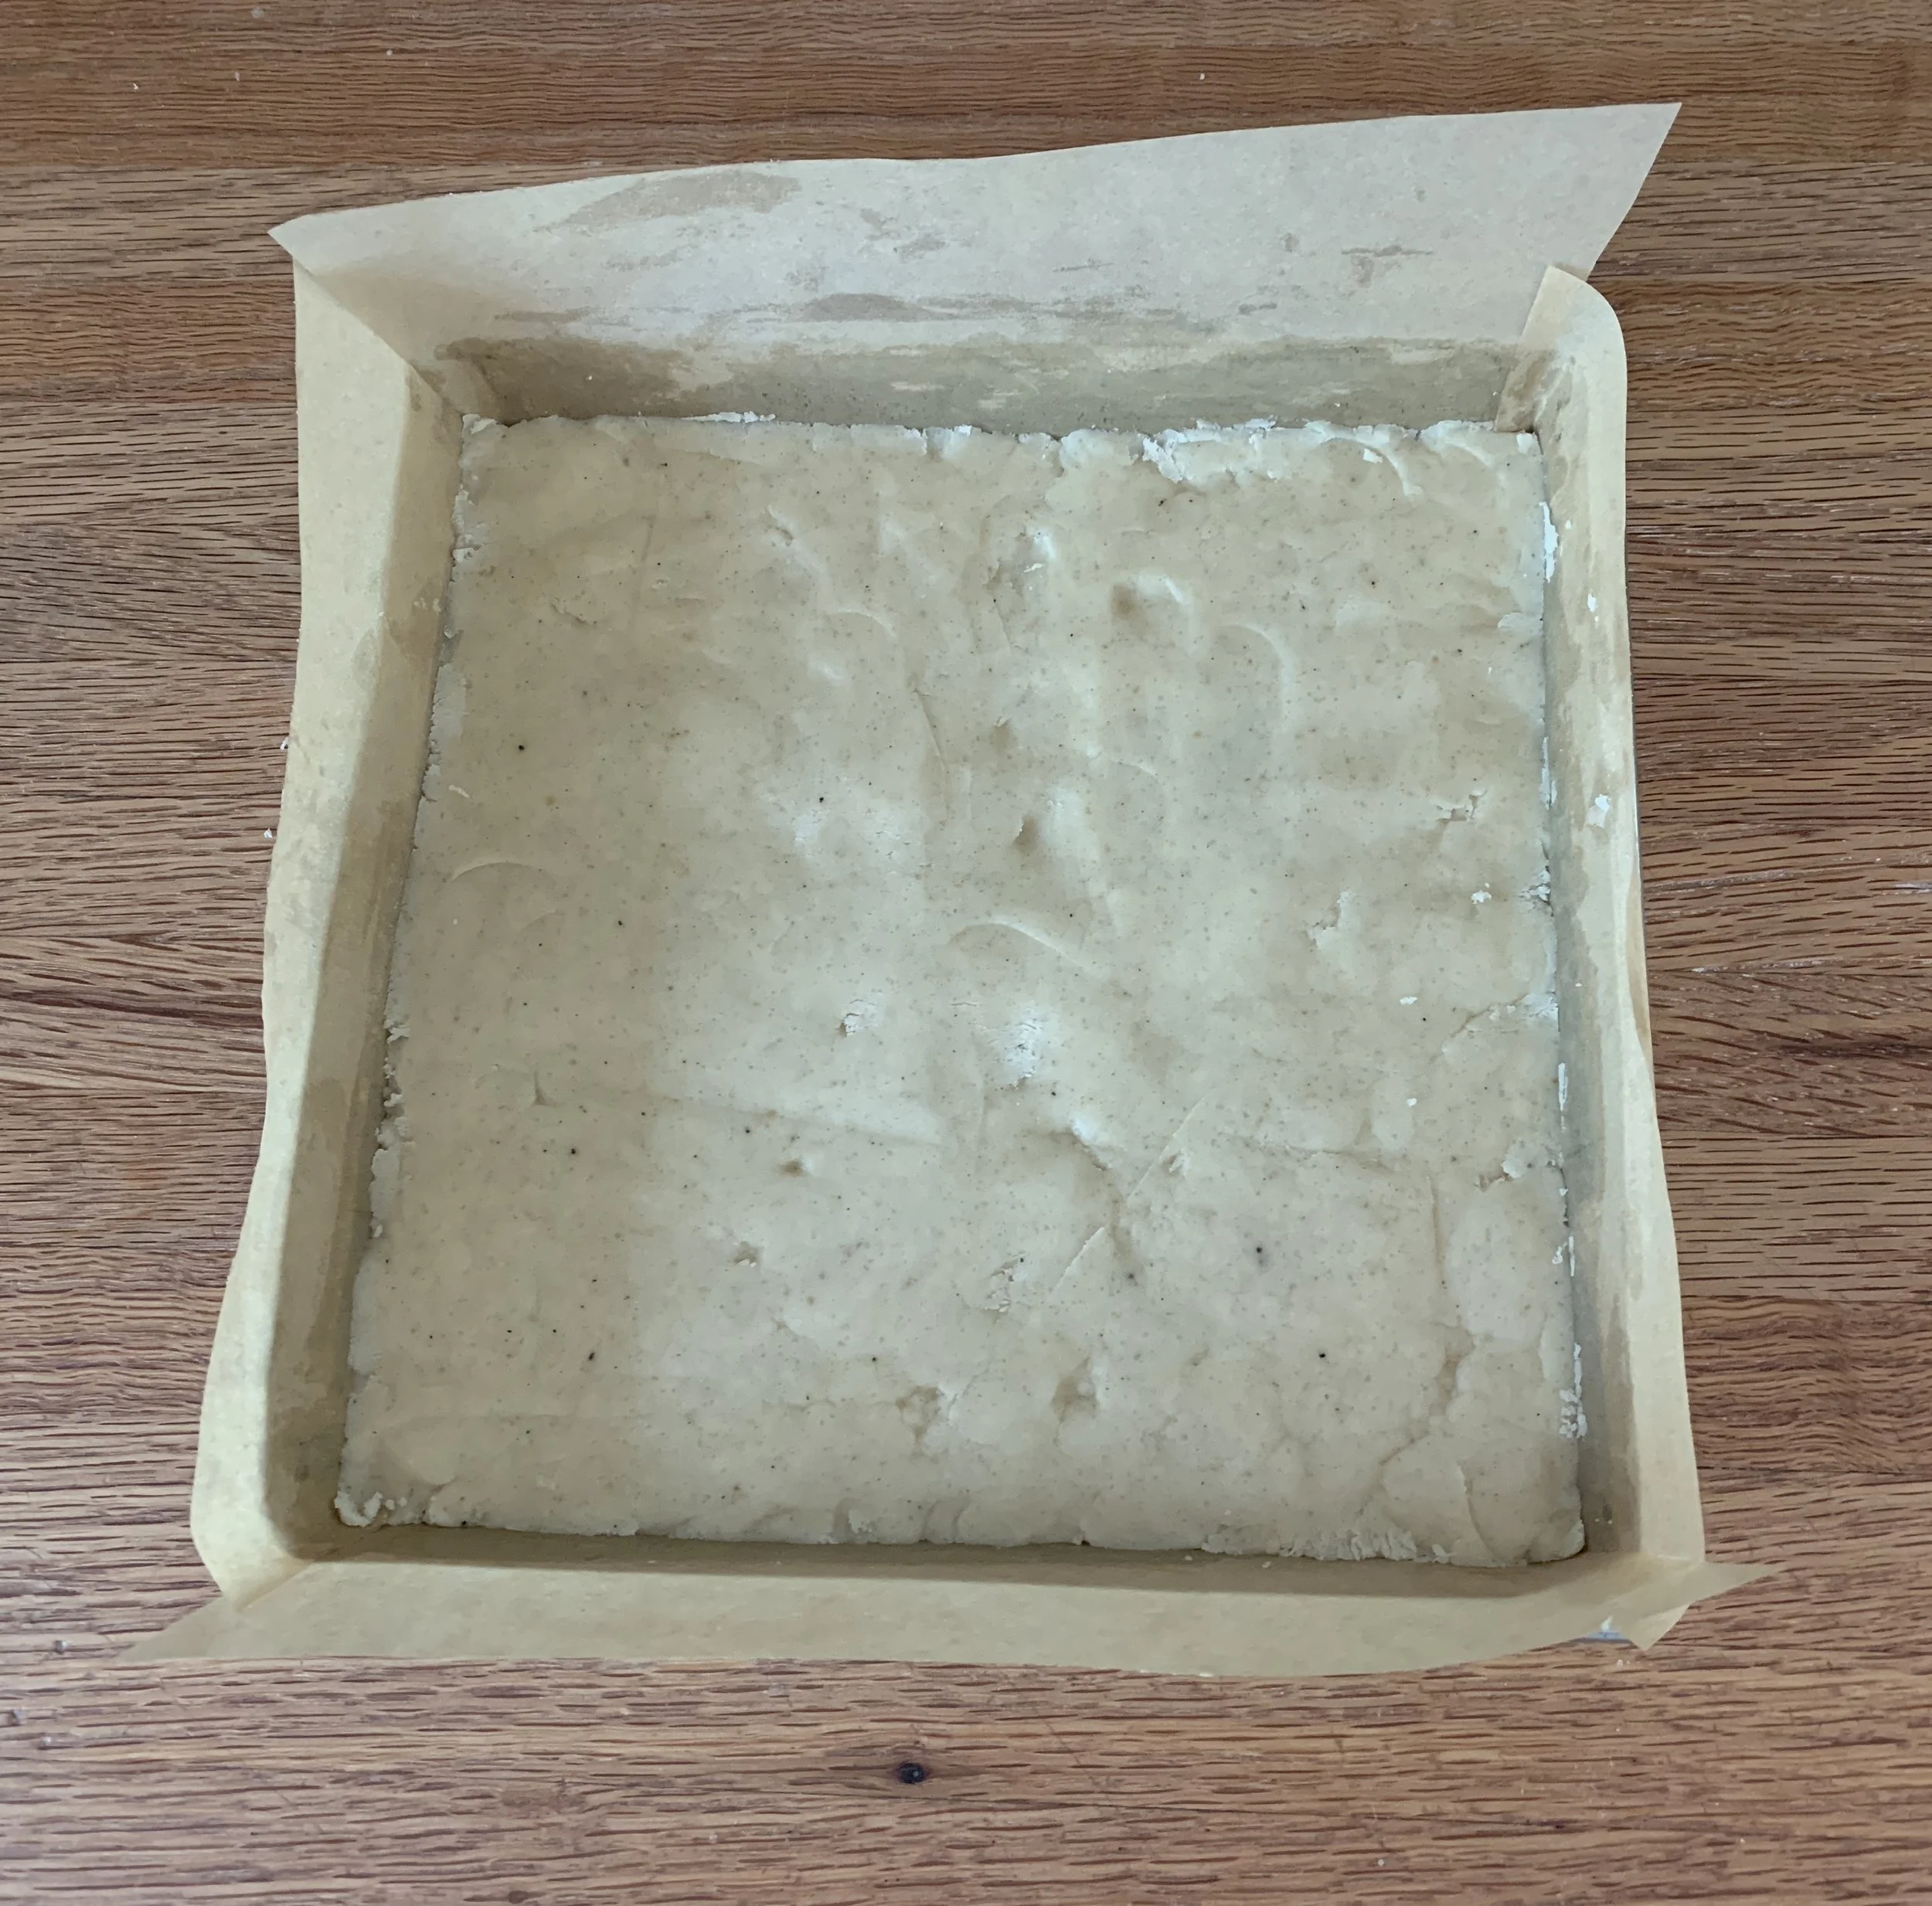
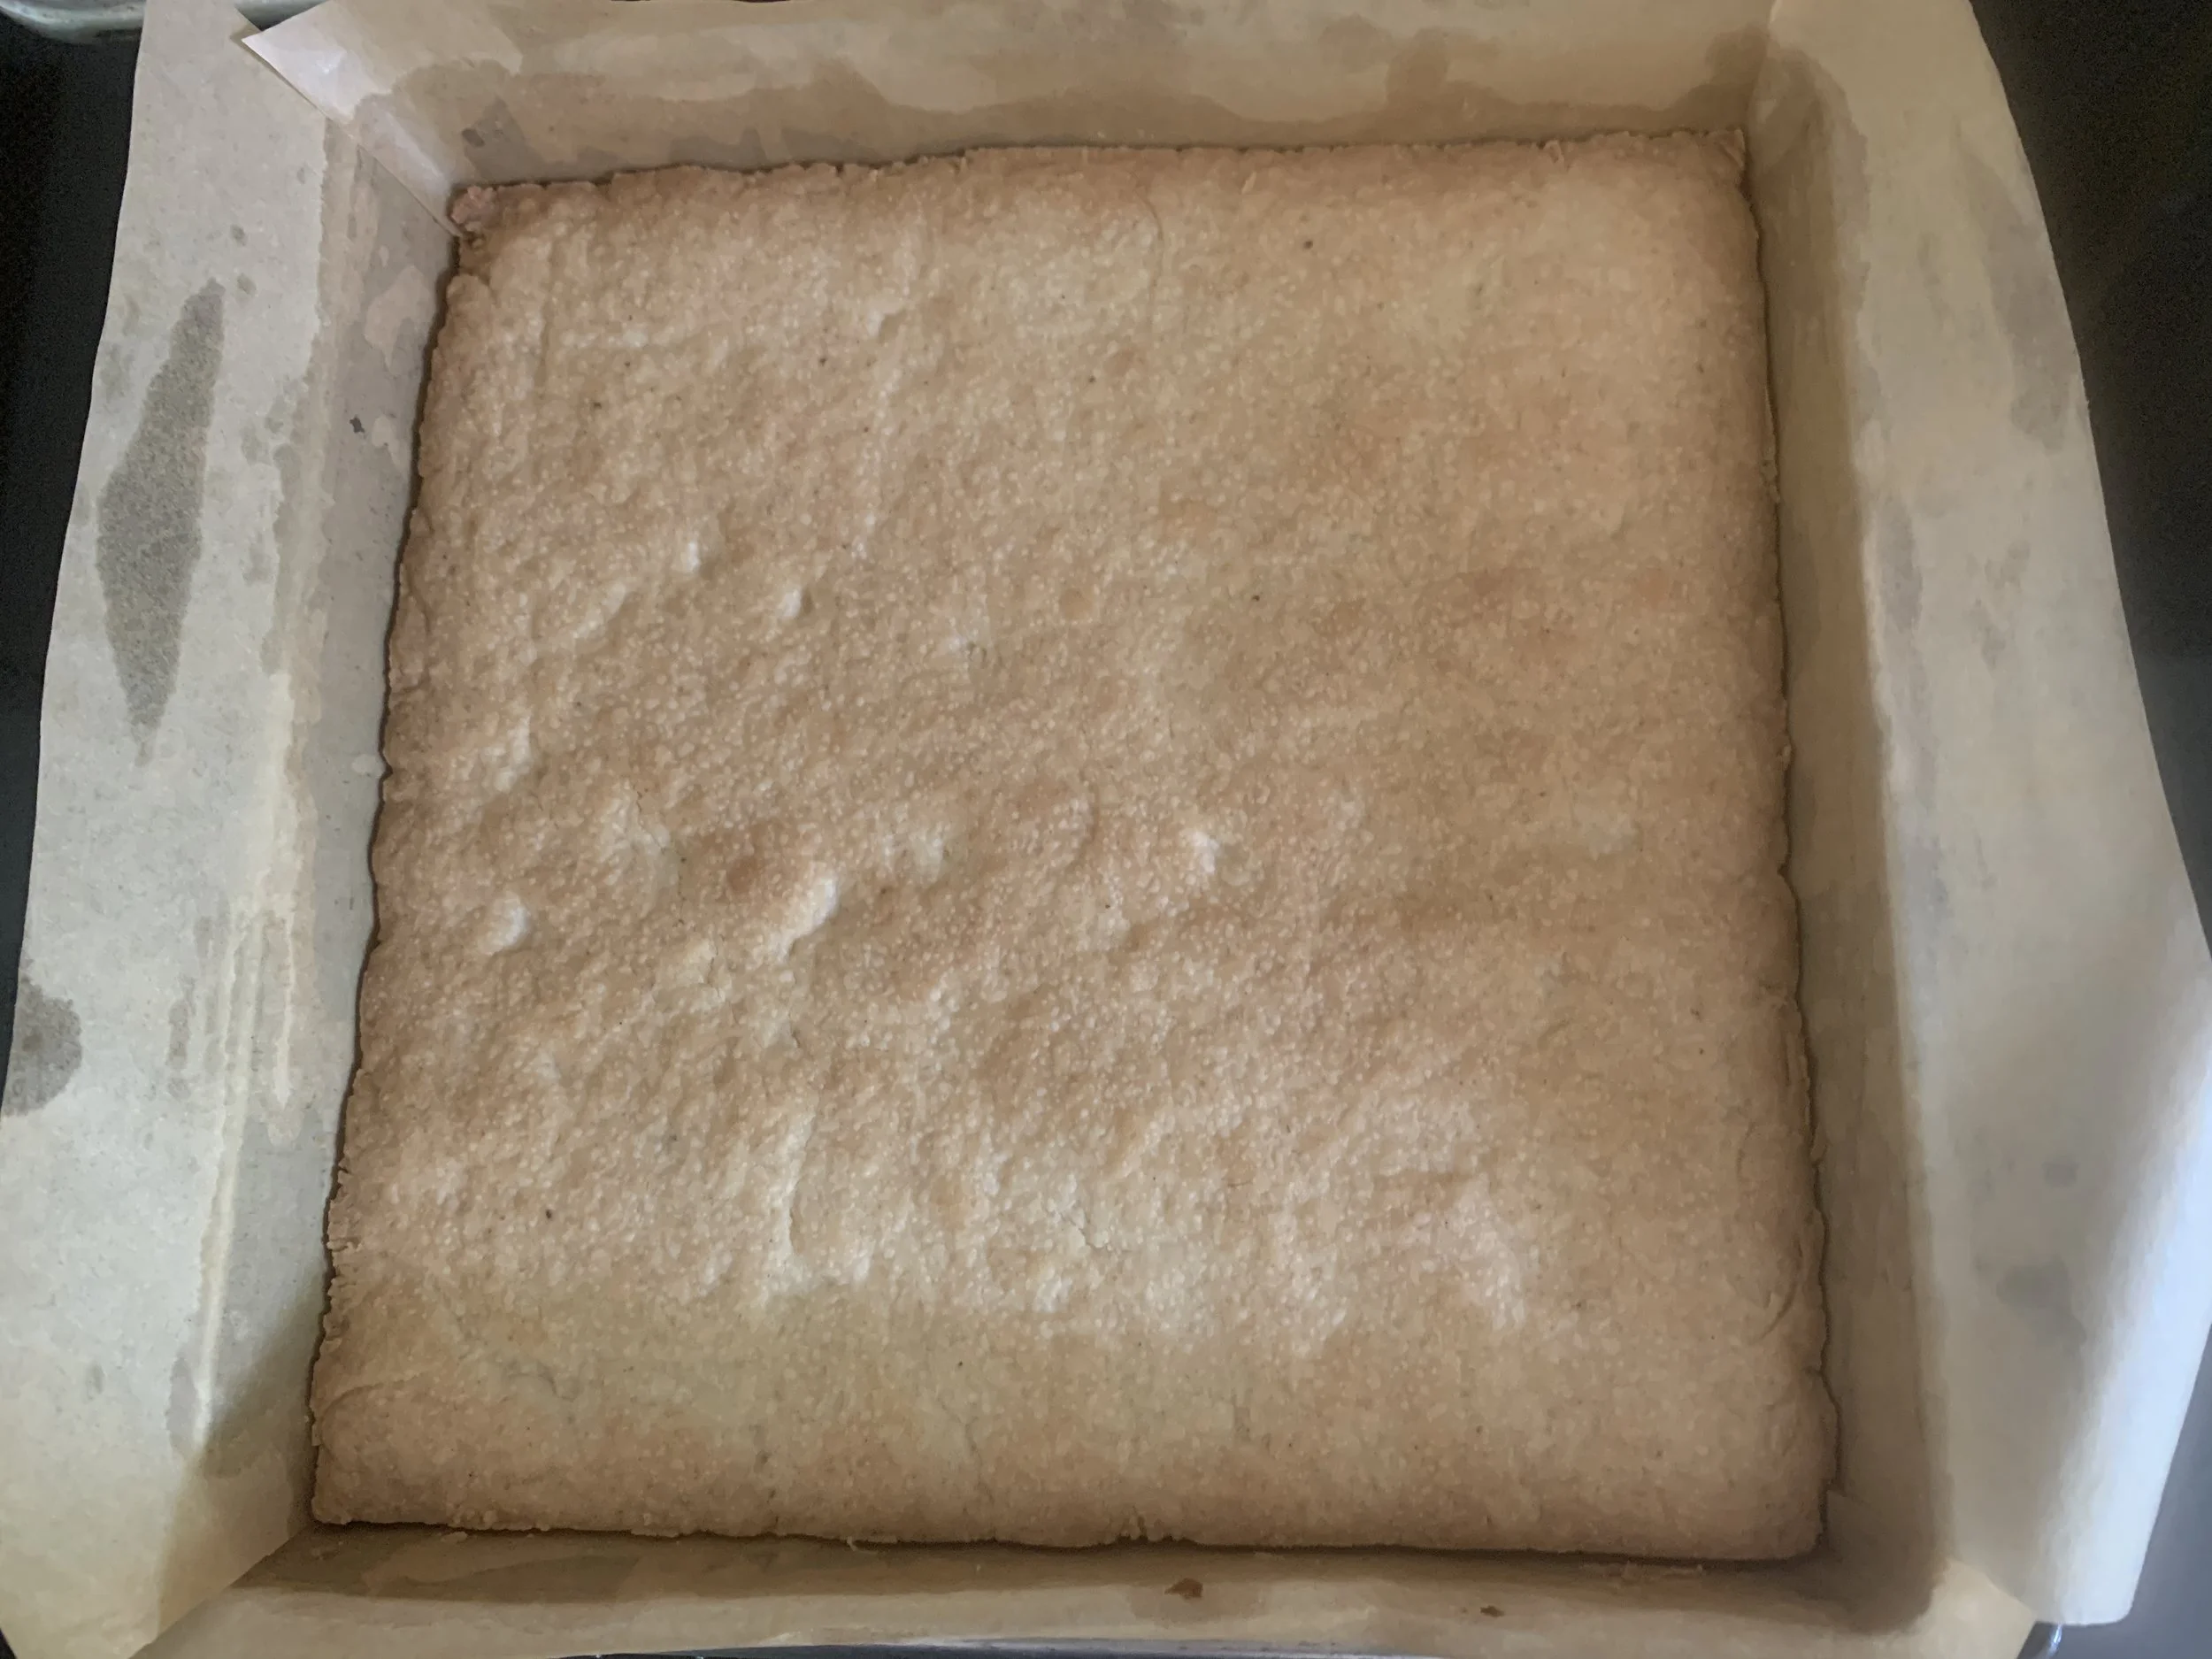
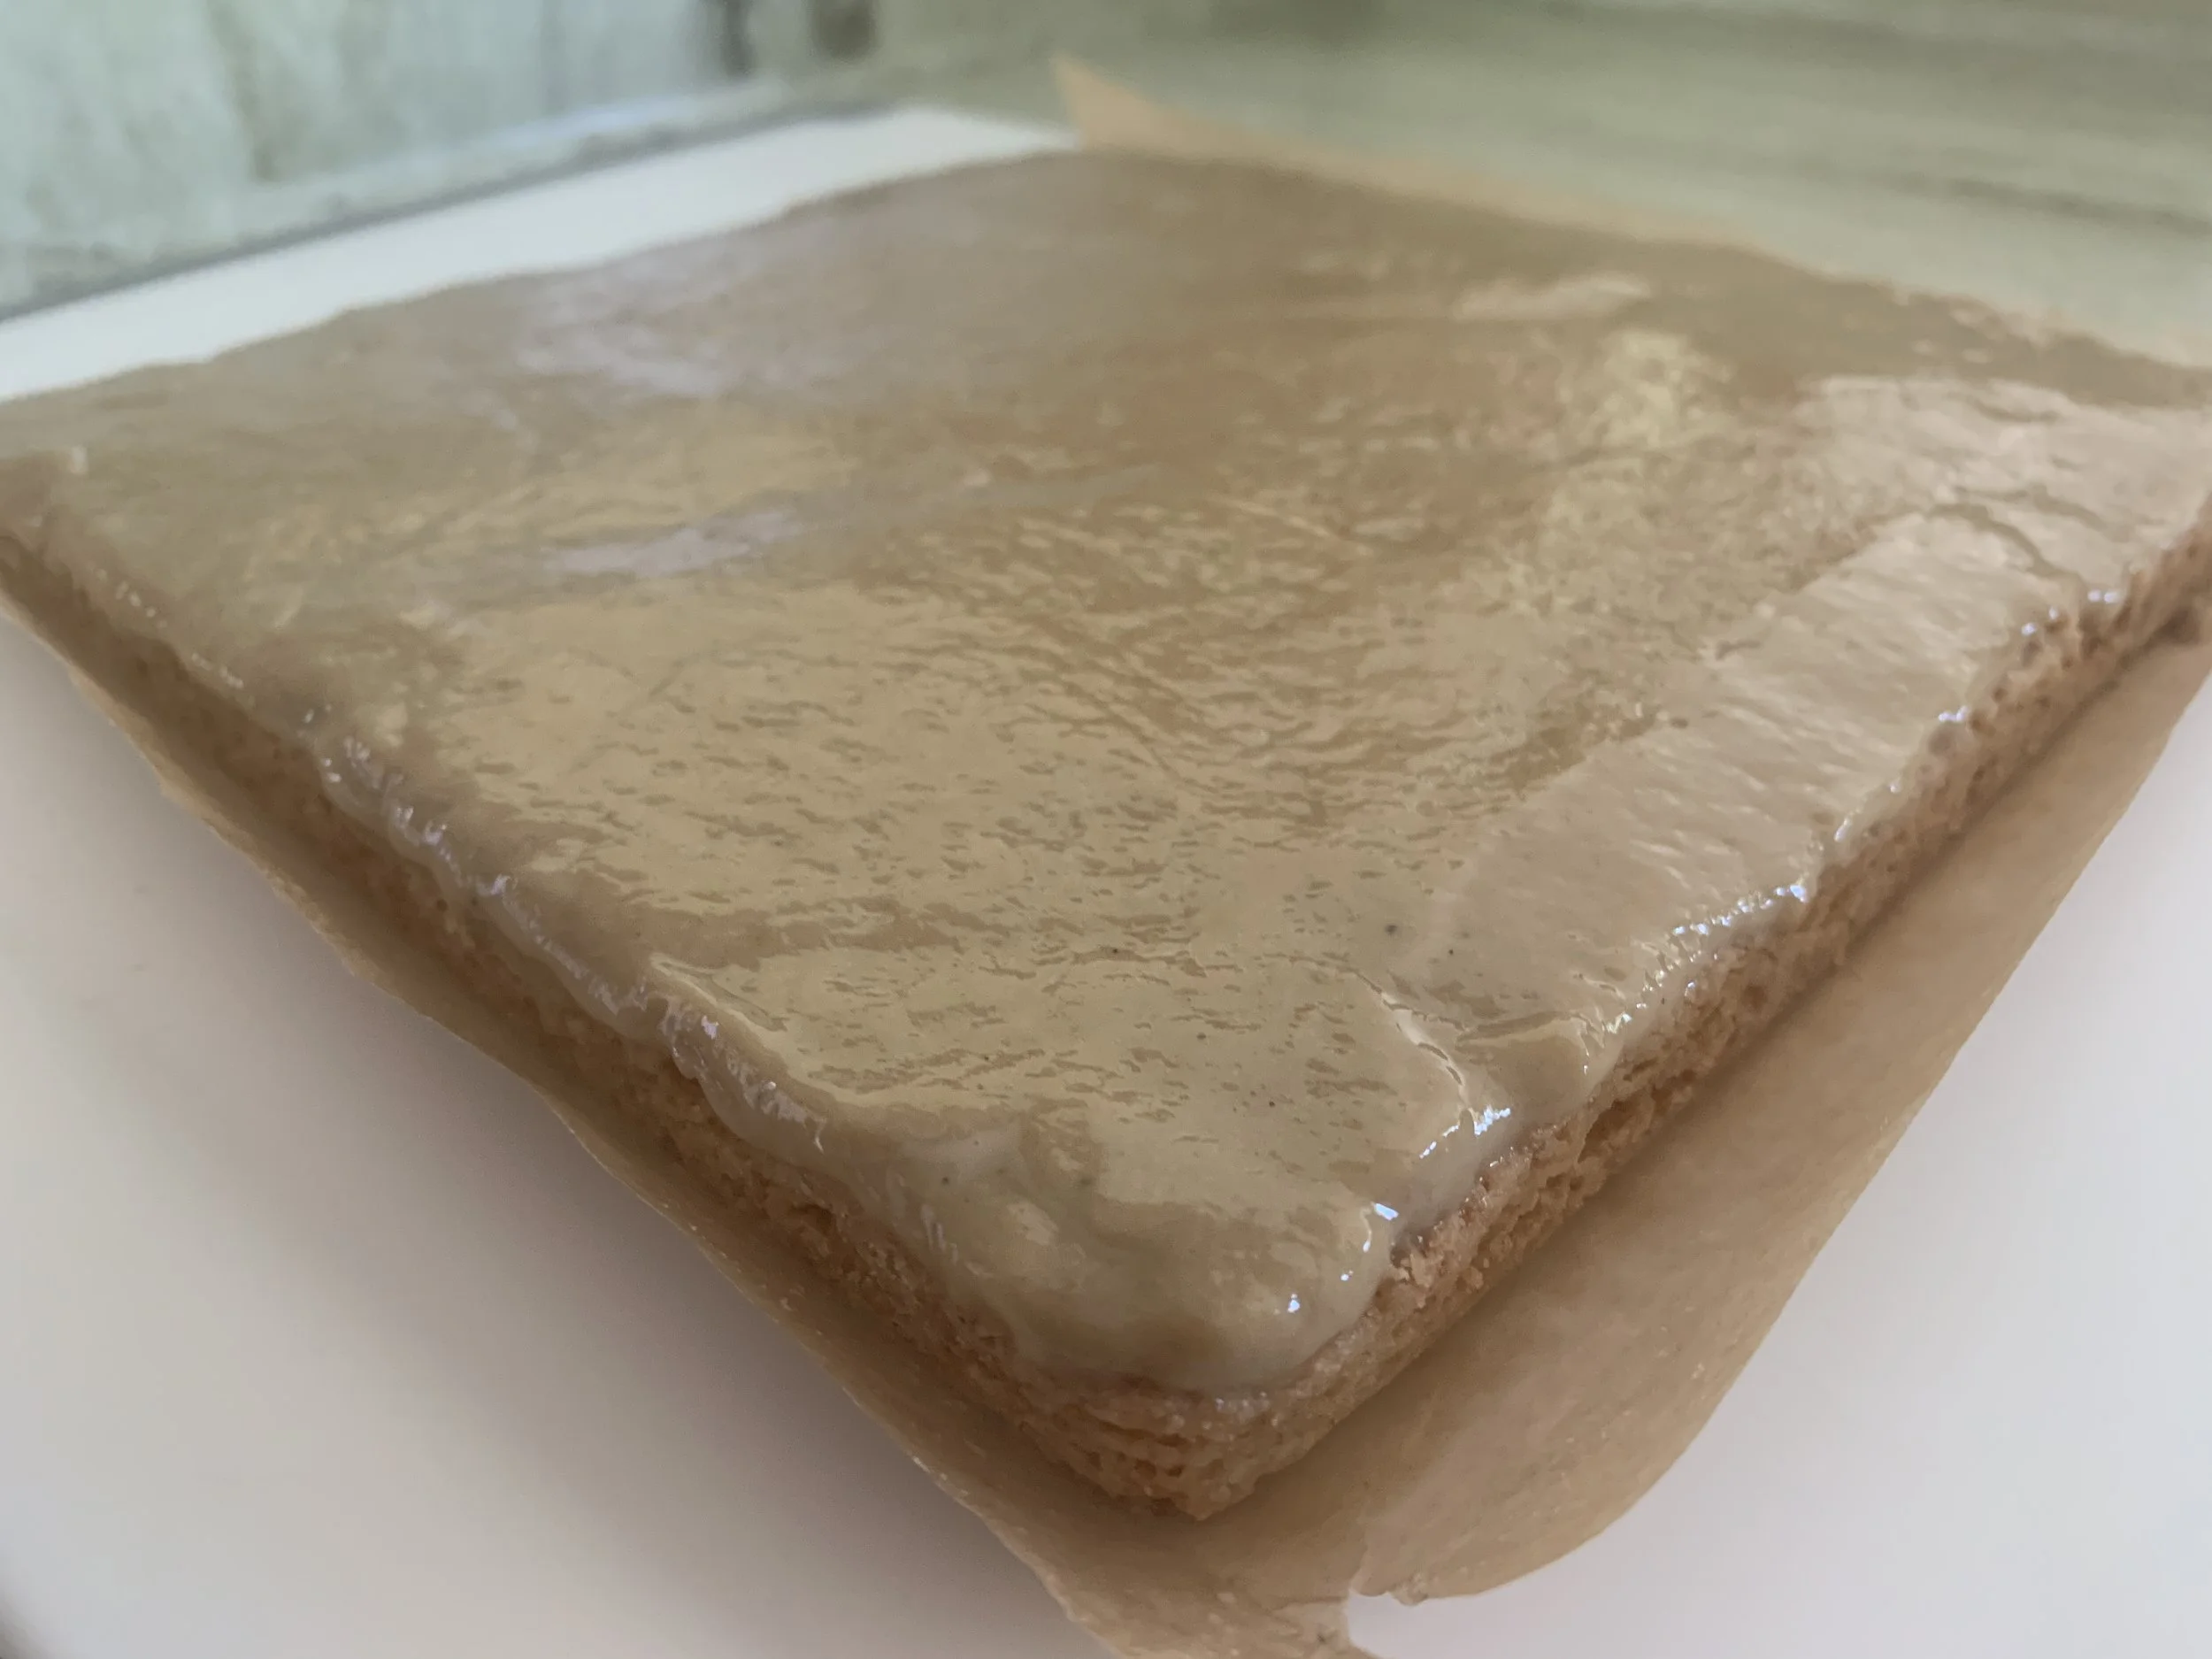
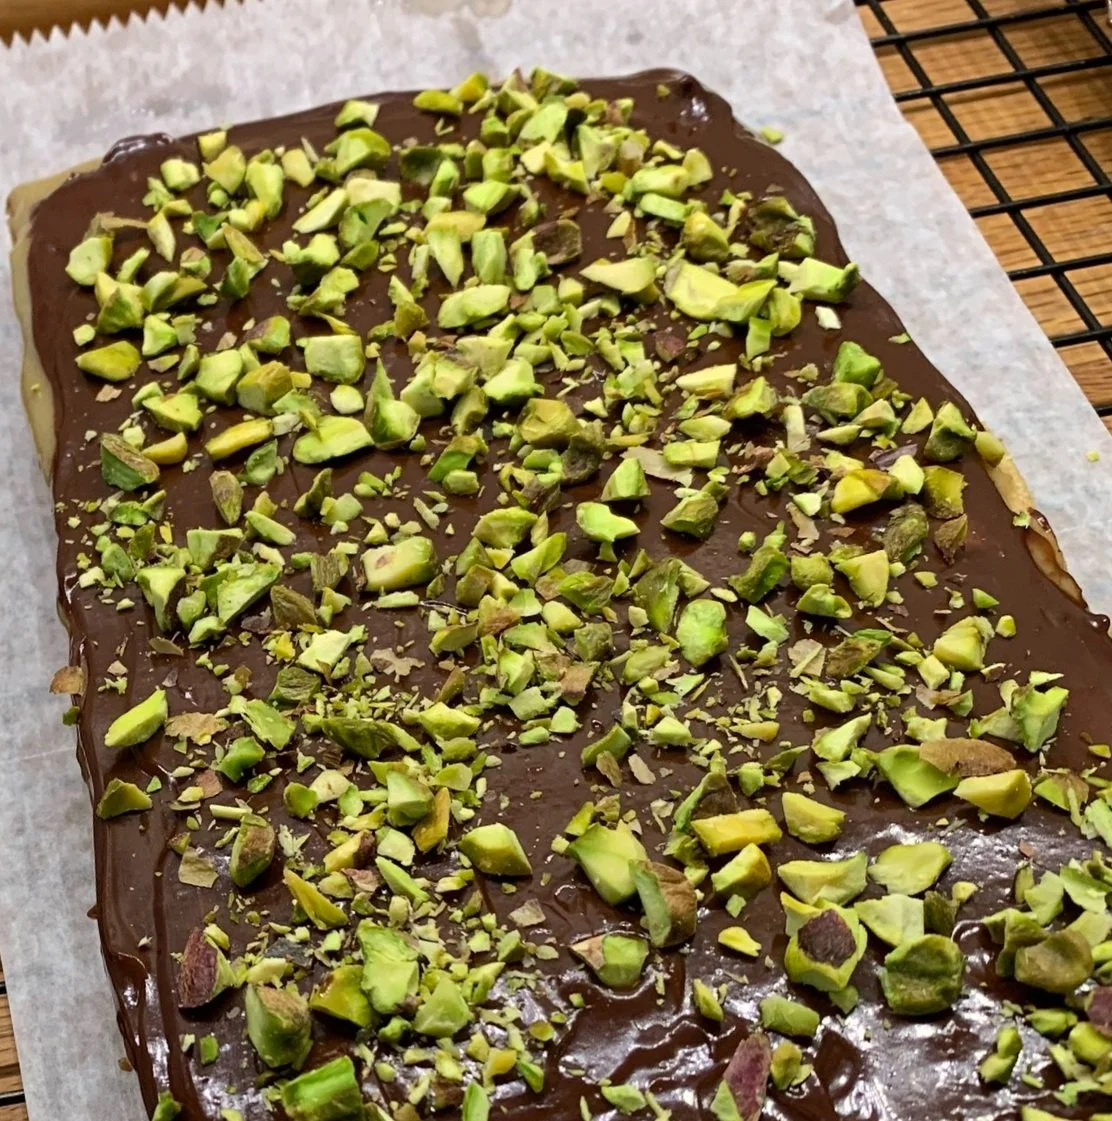
This is a three component project (not including garnish) - a classic pâte sucrée crust, blind baked, then a dollop of tahini-honey topped by a lovely chocolate mousse filling baked in the shells. For garnish I whipped up a caramel mascarpone cream and sprinkled on some toasted sesame seeds and a few chocolate pearls.
For planning purposes, you can make the pâte sucrée ahead, line your chosen rings or tins and hold them in the fridge a couple of days or in the freezer for several weeks before blind baking and proceeding with the fillings. It’s all about making things a bit easier folks!
When you’re ready for the full project, blind bake the shells at 350ºF.
Here’s the full recipe PDF. NOTE: for this trial I used 2/3 recipe of the chocolate mousse filling since I was making a smaller number of tarts. The full recipe calls for 3 eggs so don’t let the 2 eggs in the photo below confuse you.
My house chocolate is Guittard’s 61% Lever du soleil in disc form so, since the recipe here calls for a darker chocolate, I picked up some 70% Lindt at our local supermarket. It’s pretty good and worked well here.
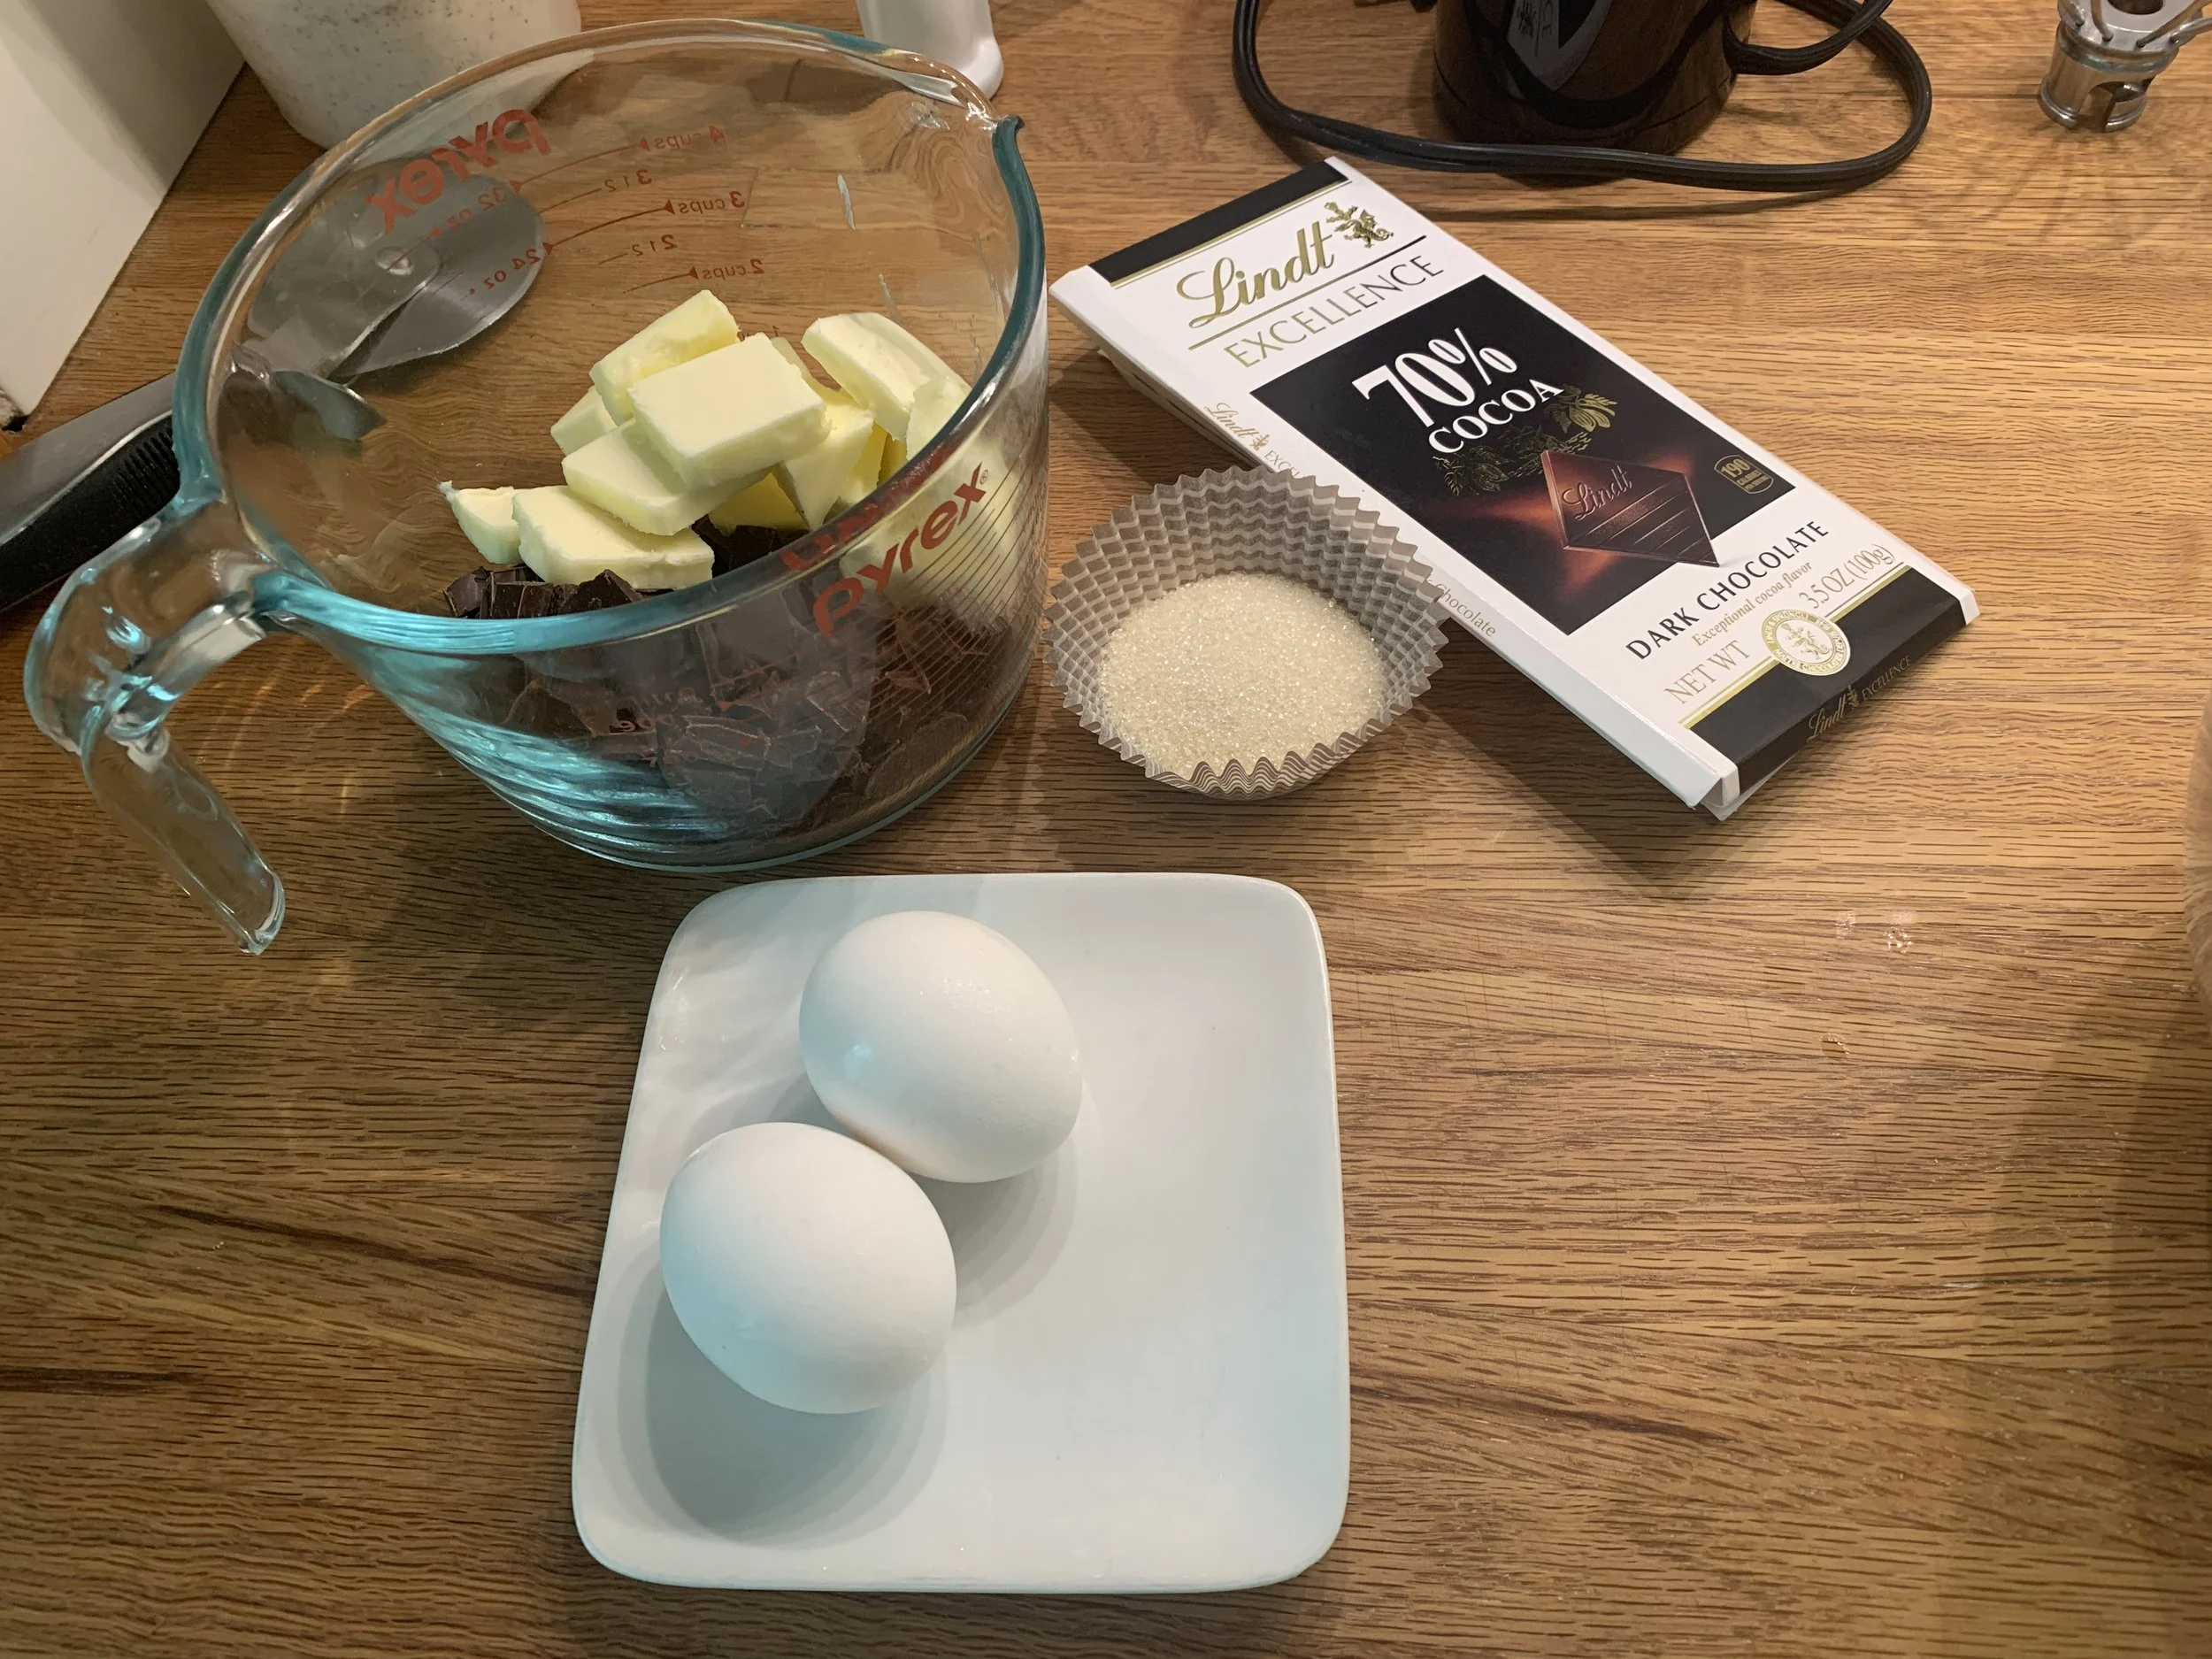
The mousse filling is four simple ingredients - chocolate, butter, sugar and eggs. Voila!
I melted my butter and chocolate in a 4 quart Pyrex in the microwave using bursts of medium power and stirring until melted. You can also place the two in a heat proof bowl over a water bath and slowly melt. Let the mixture cool while you whip the eggs and sugar on high speed for 10 minutes until nice and pale, foamy and tripled in volume.
Then fold the whipped egg/sugar gently into the chocolate/butter mixture in two additions until well combined. My 4 quart Pyrex was able to accommodate the volume (remember I made a 2/3 recipe mixture here).
Beat the tahini and honey about 3 minutes to thicken. Here’s the full recipe again.
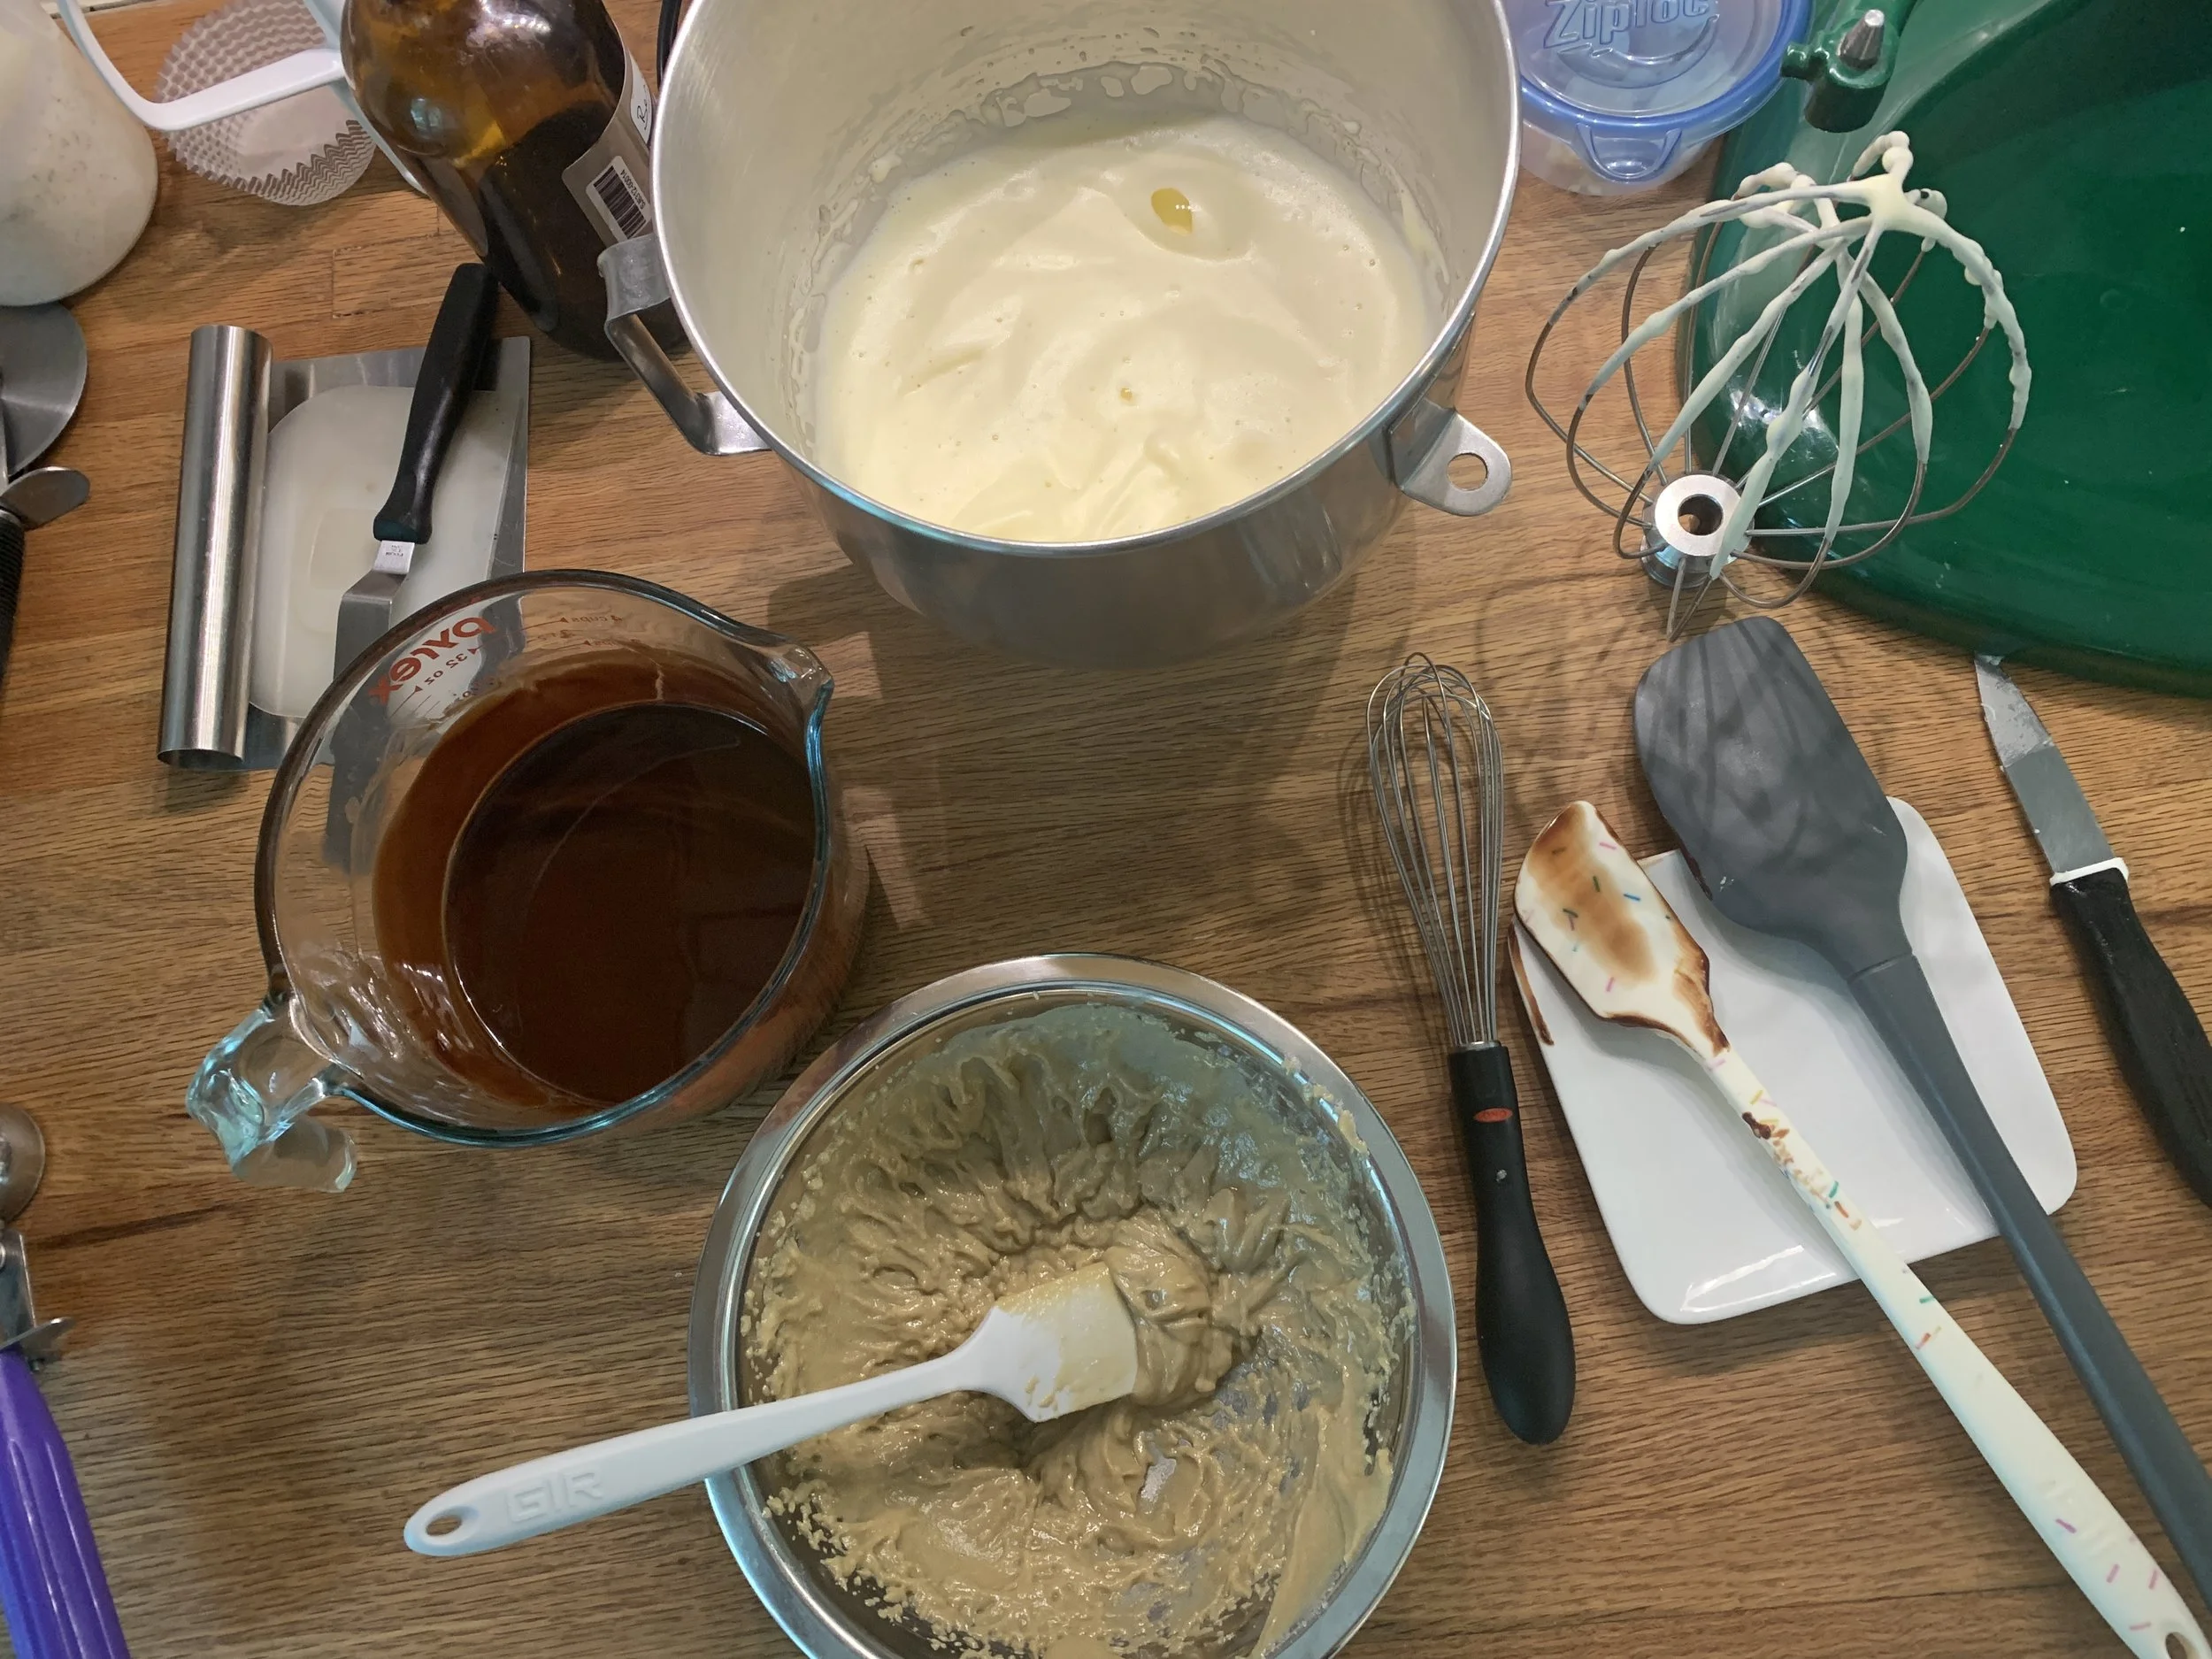
Chocolate/butter and egg/sugar Waiting to be combined plus tahini/honey at the ready
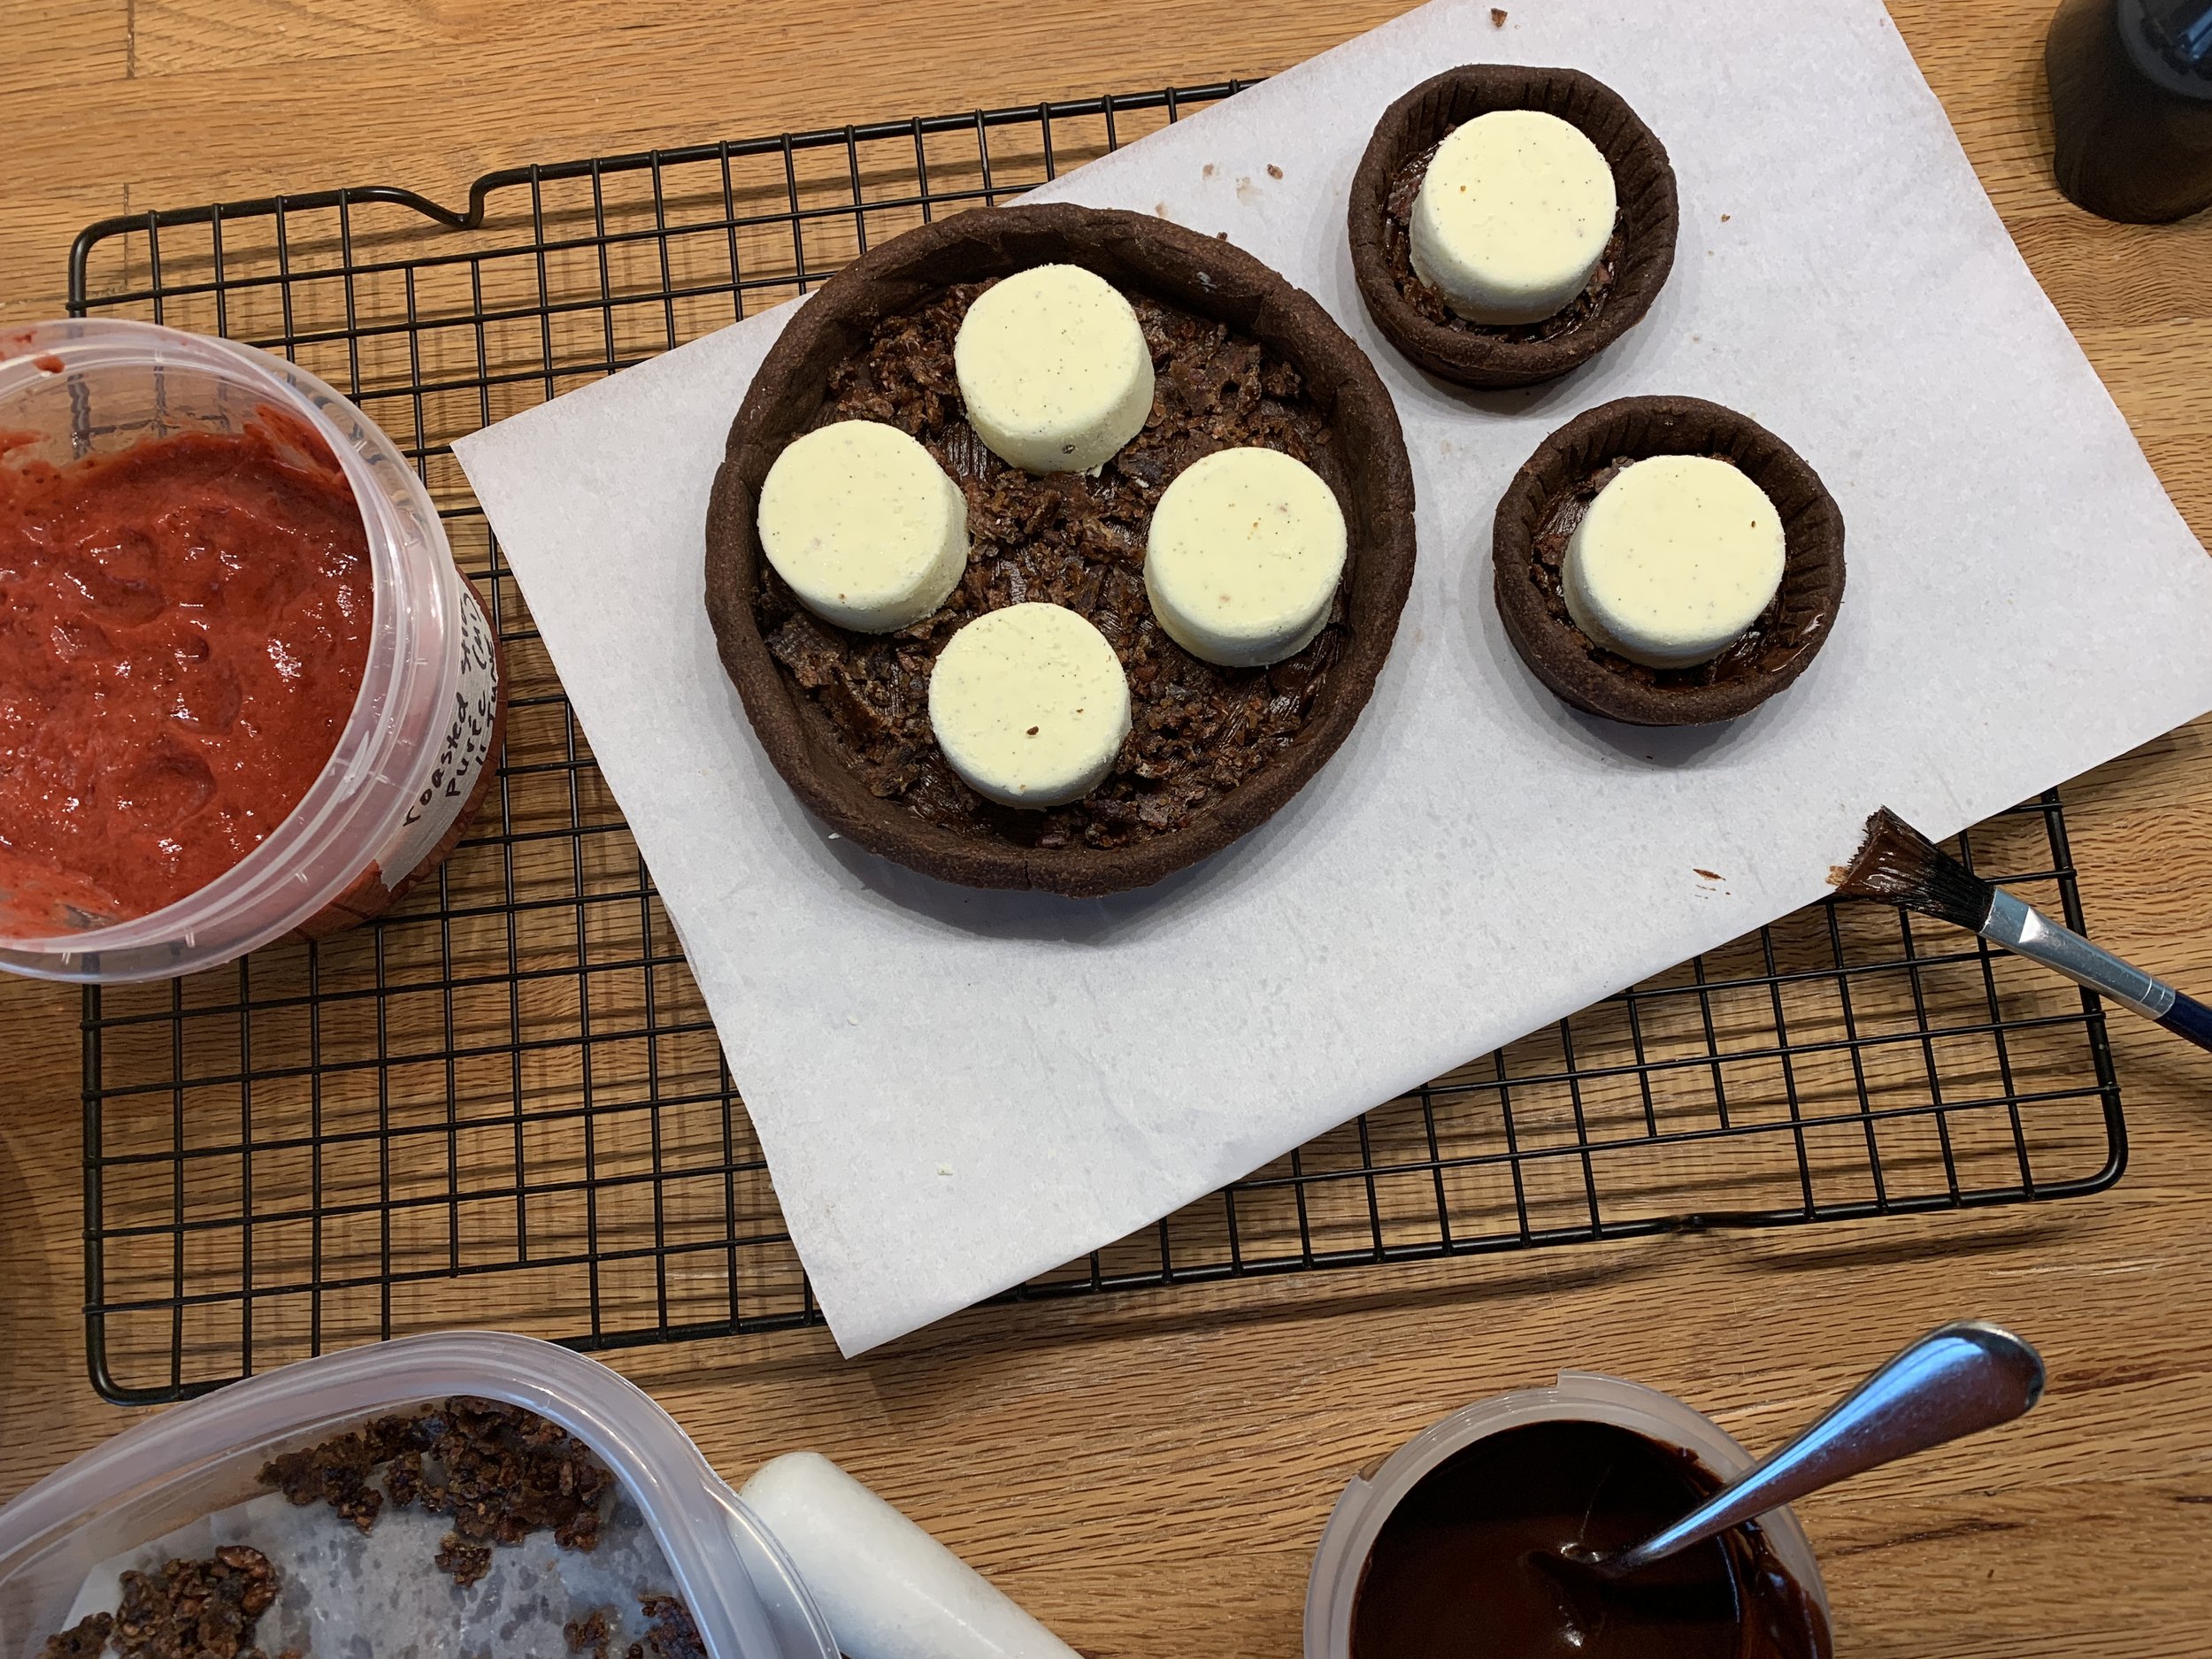
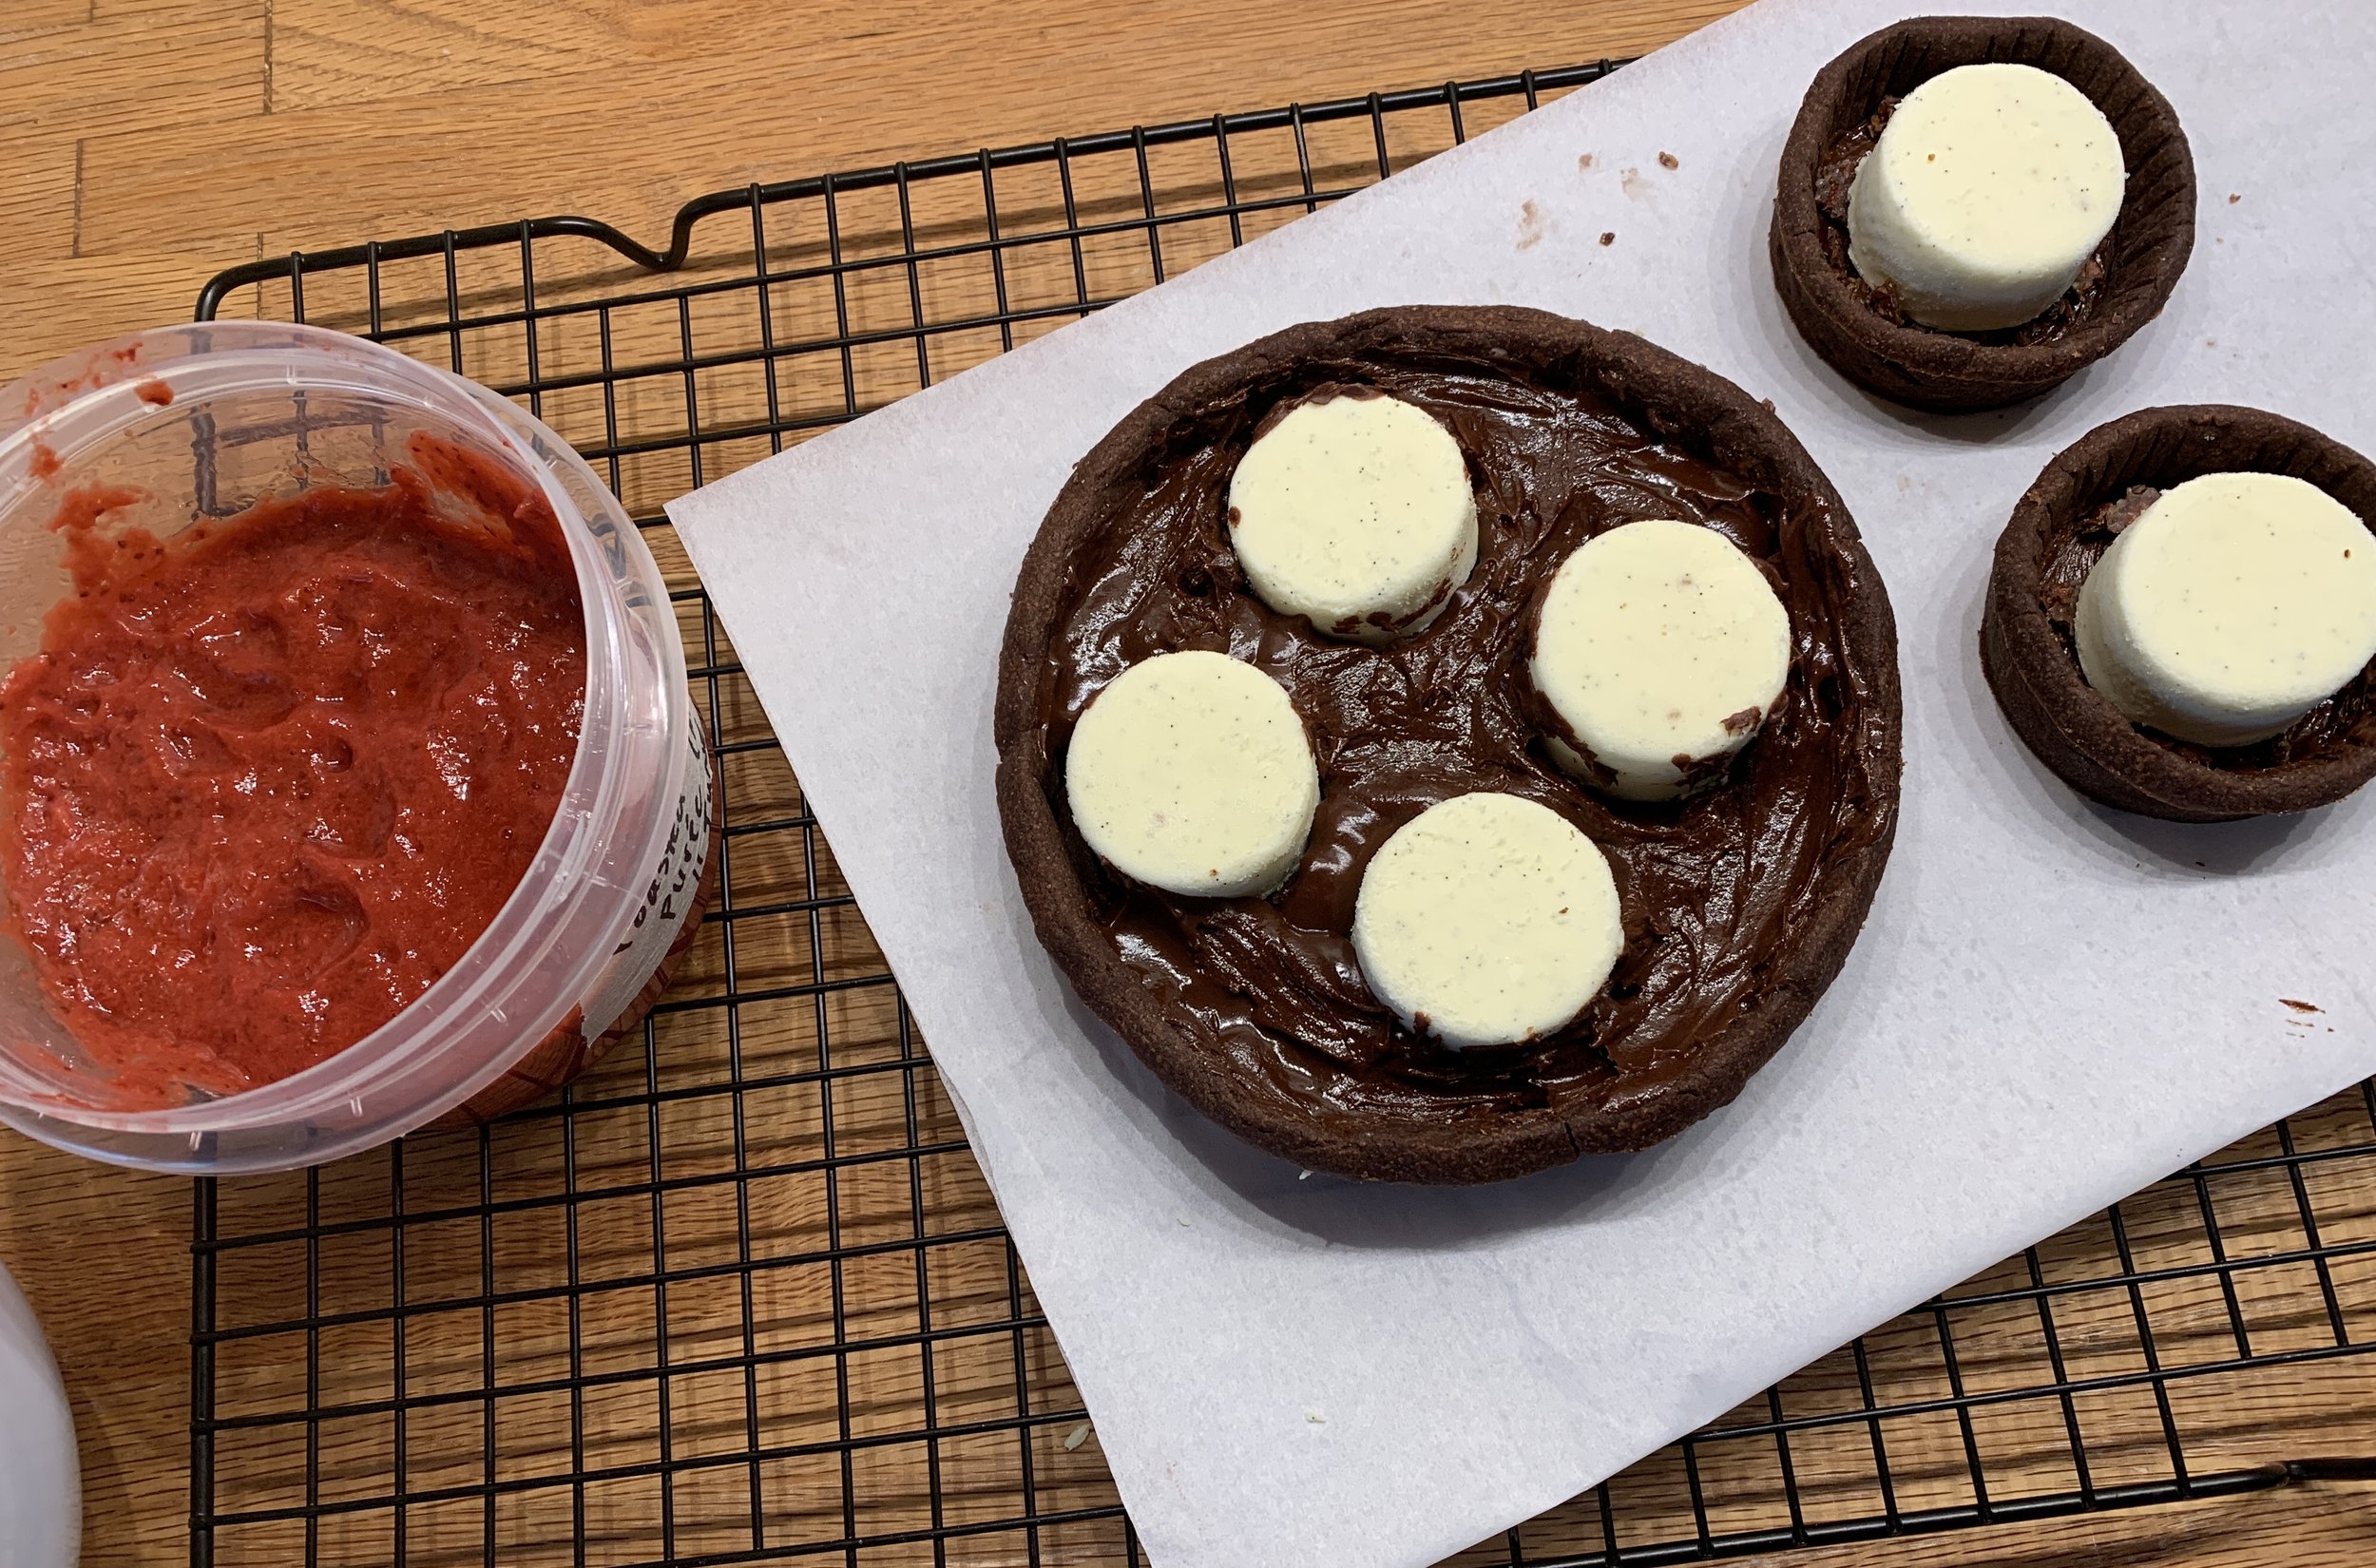
Have your cooled shells standing by and increase the oven temp to 400ºF. Place a tablespoon of the tahini mixture in the bottom then either pipe or spoon in a generous mound of mousse. You want them to bake up puffy (they will deflate once cooled as is true for most baked mousse fillings).
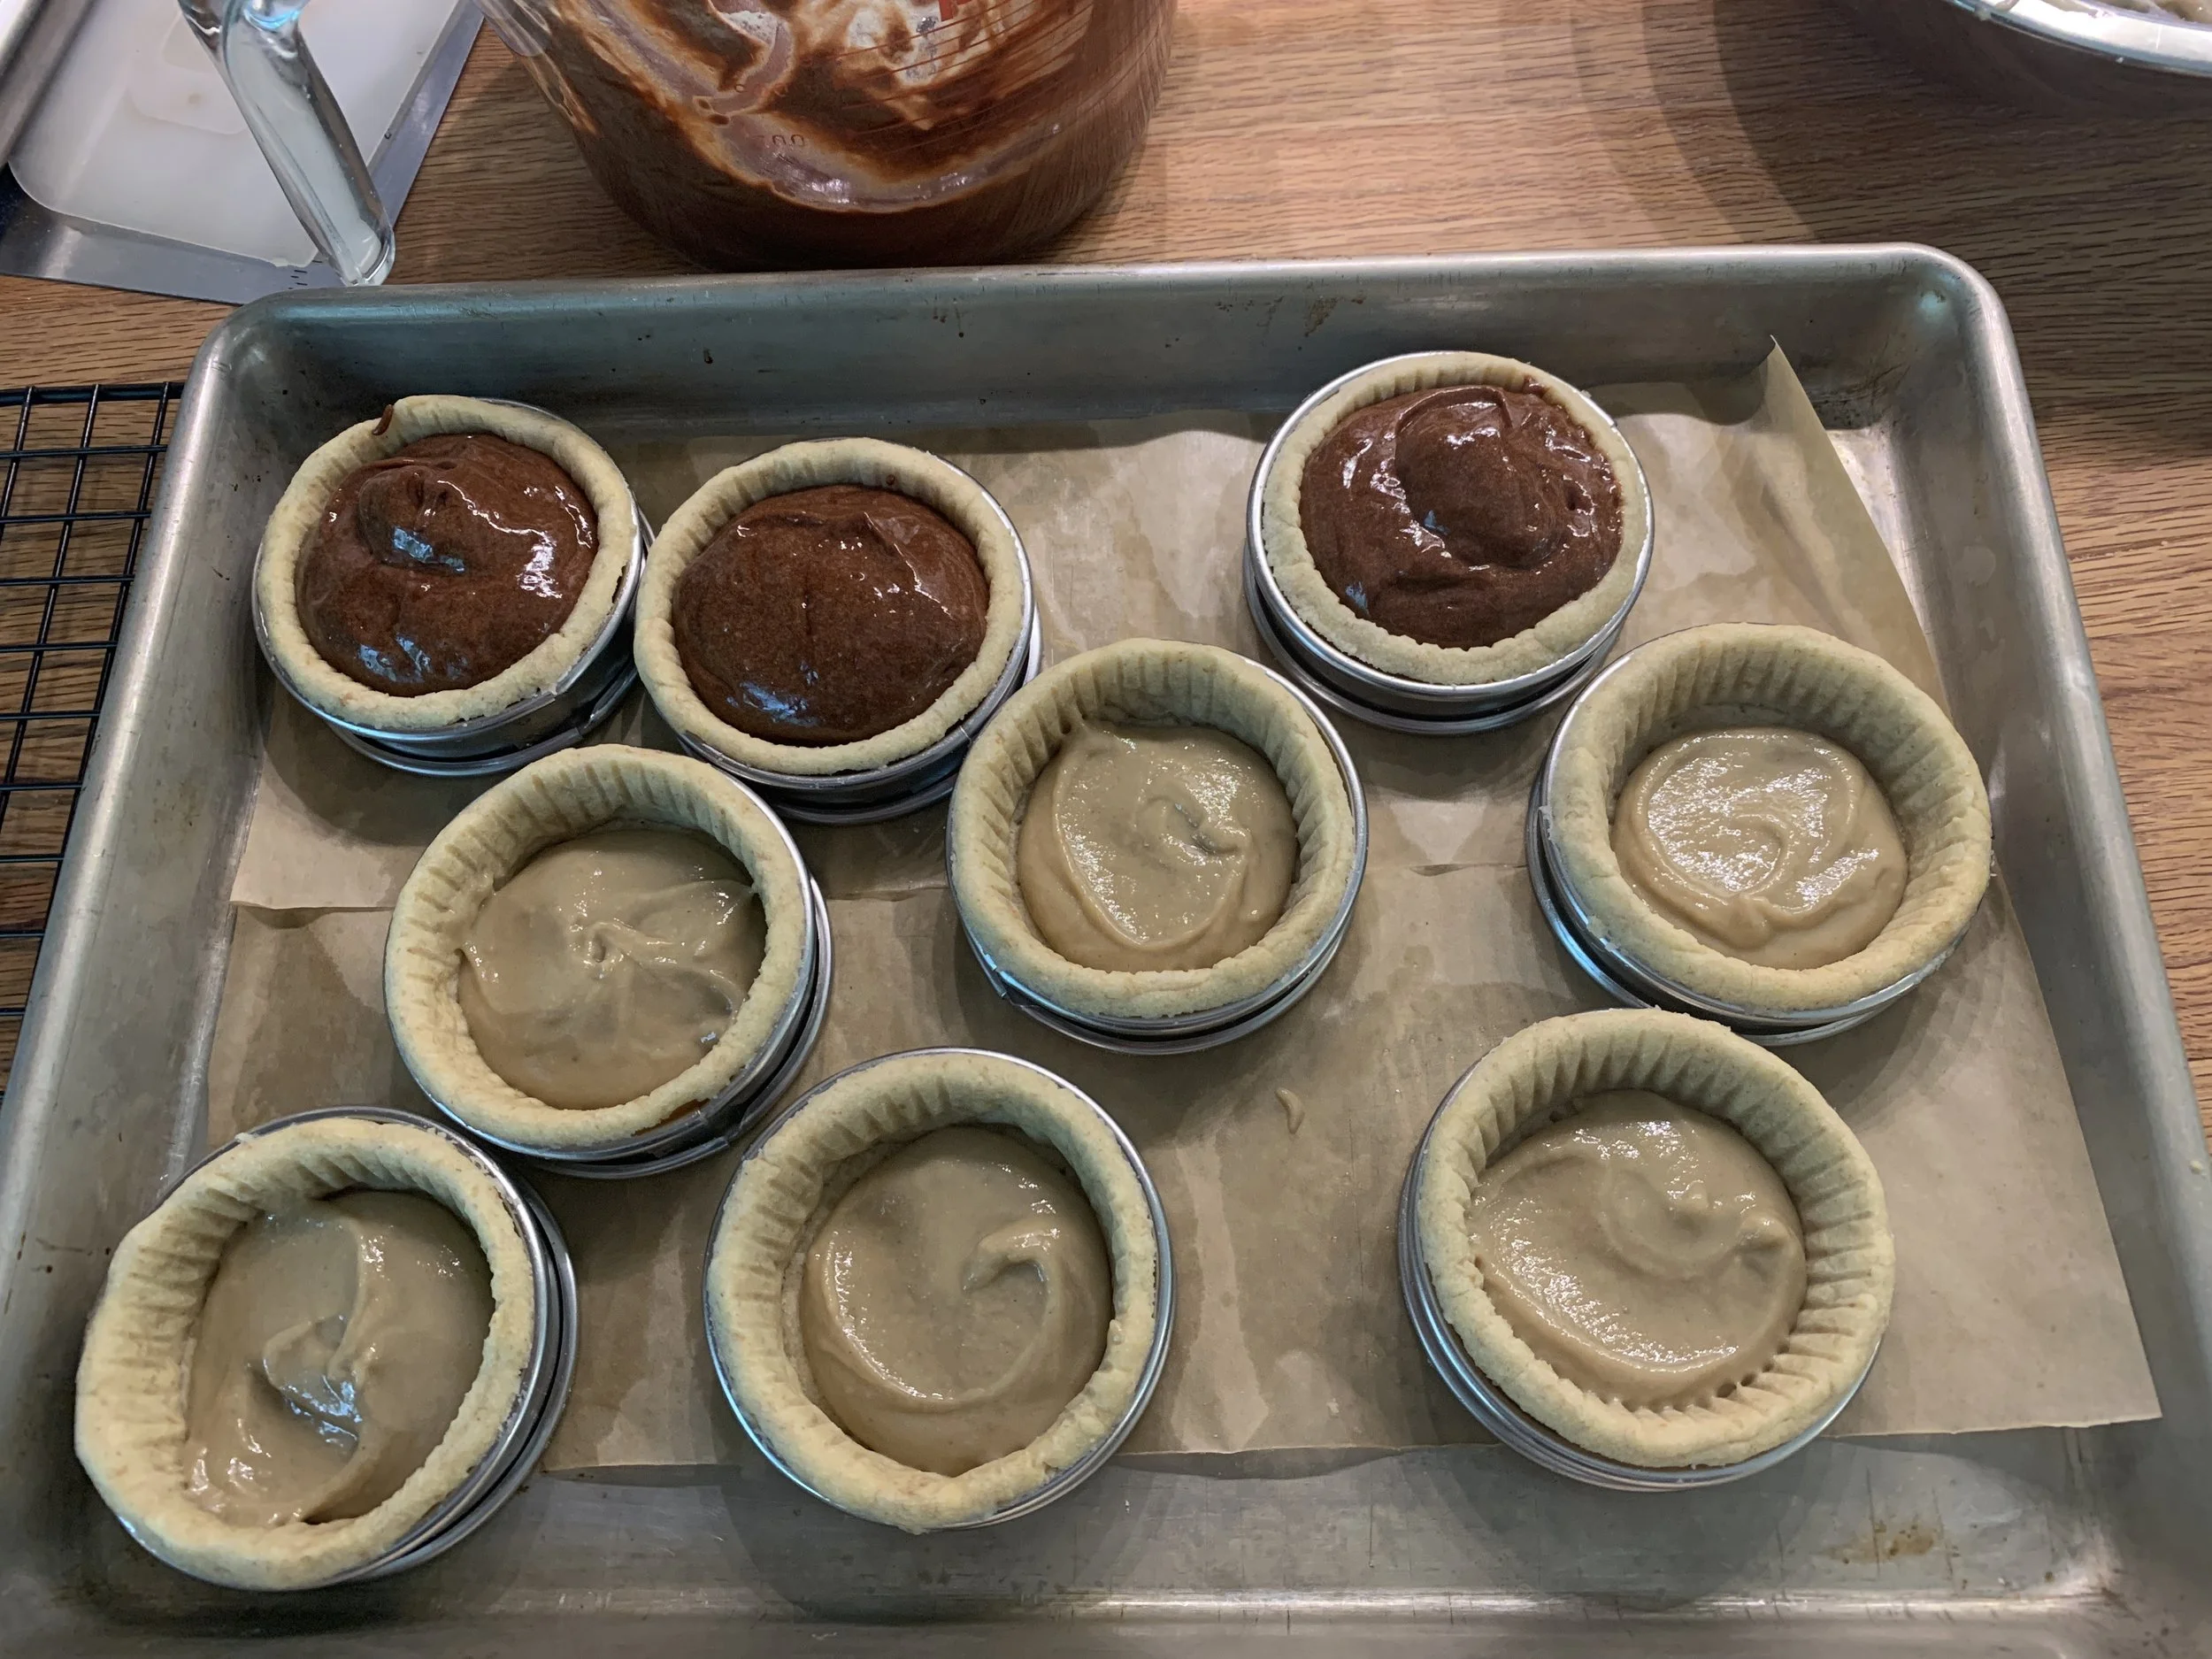
Ready for the oven
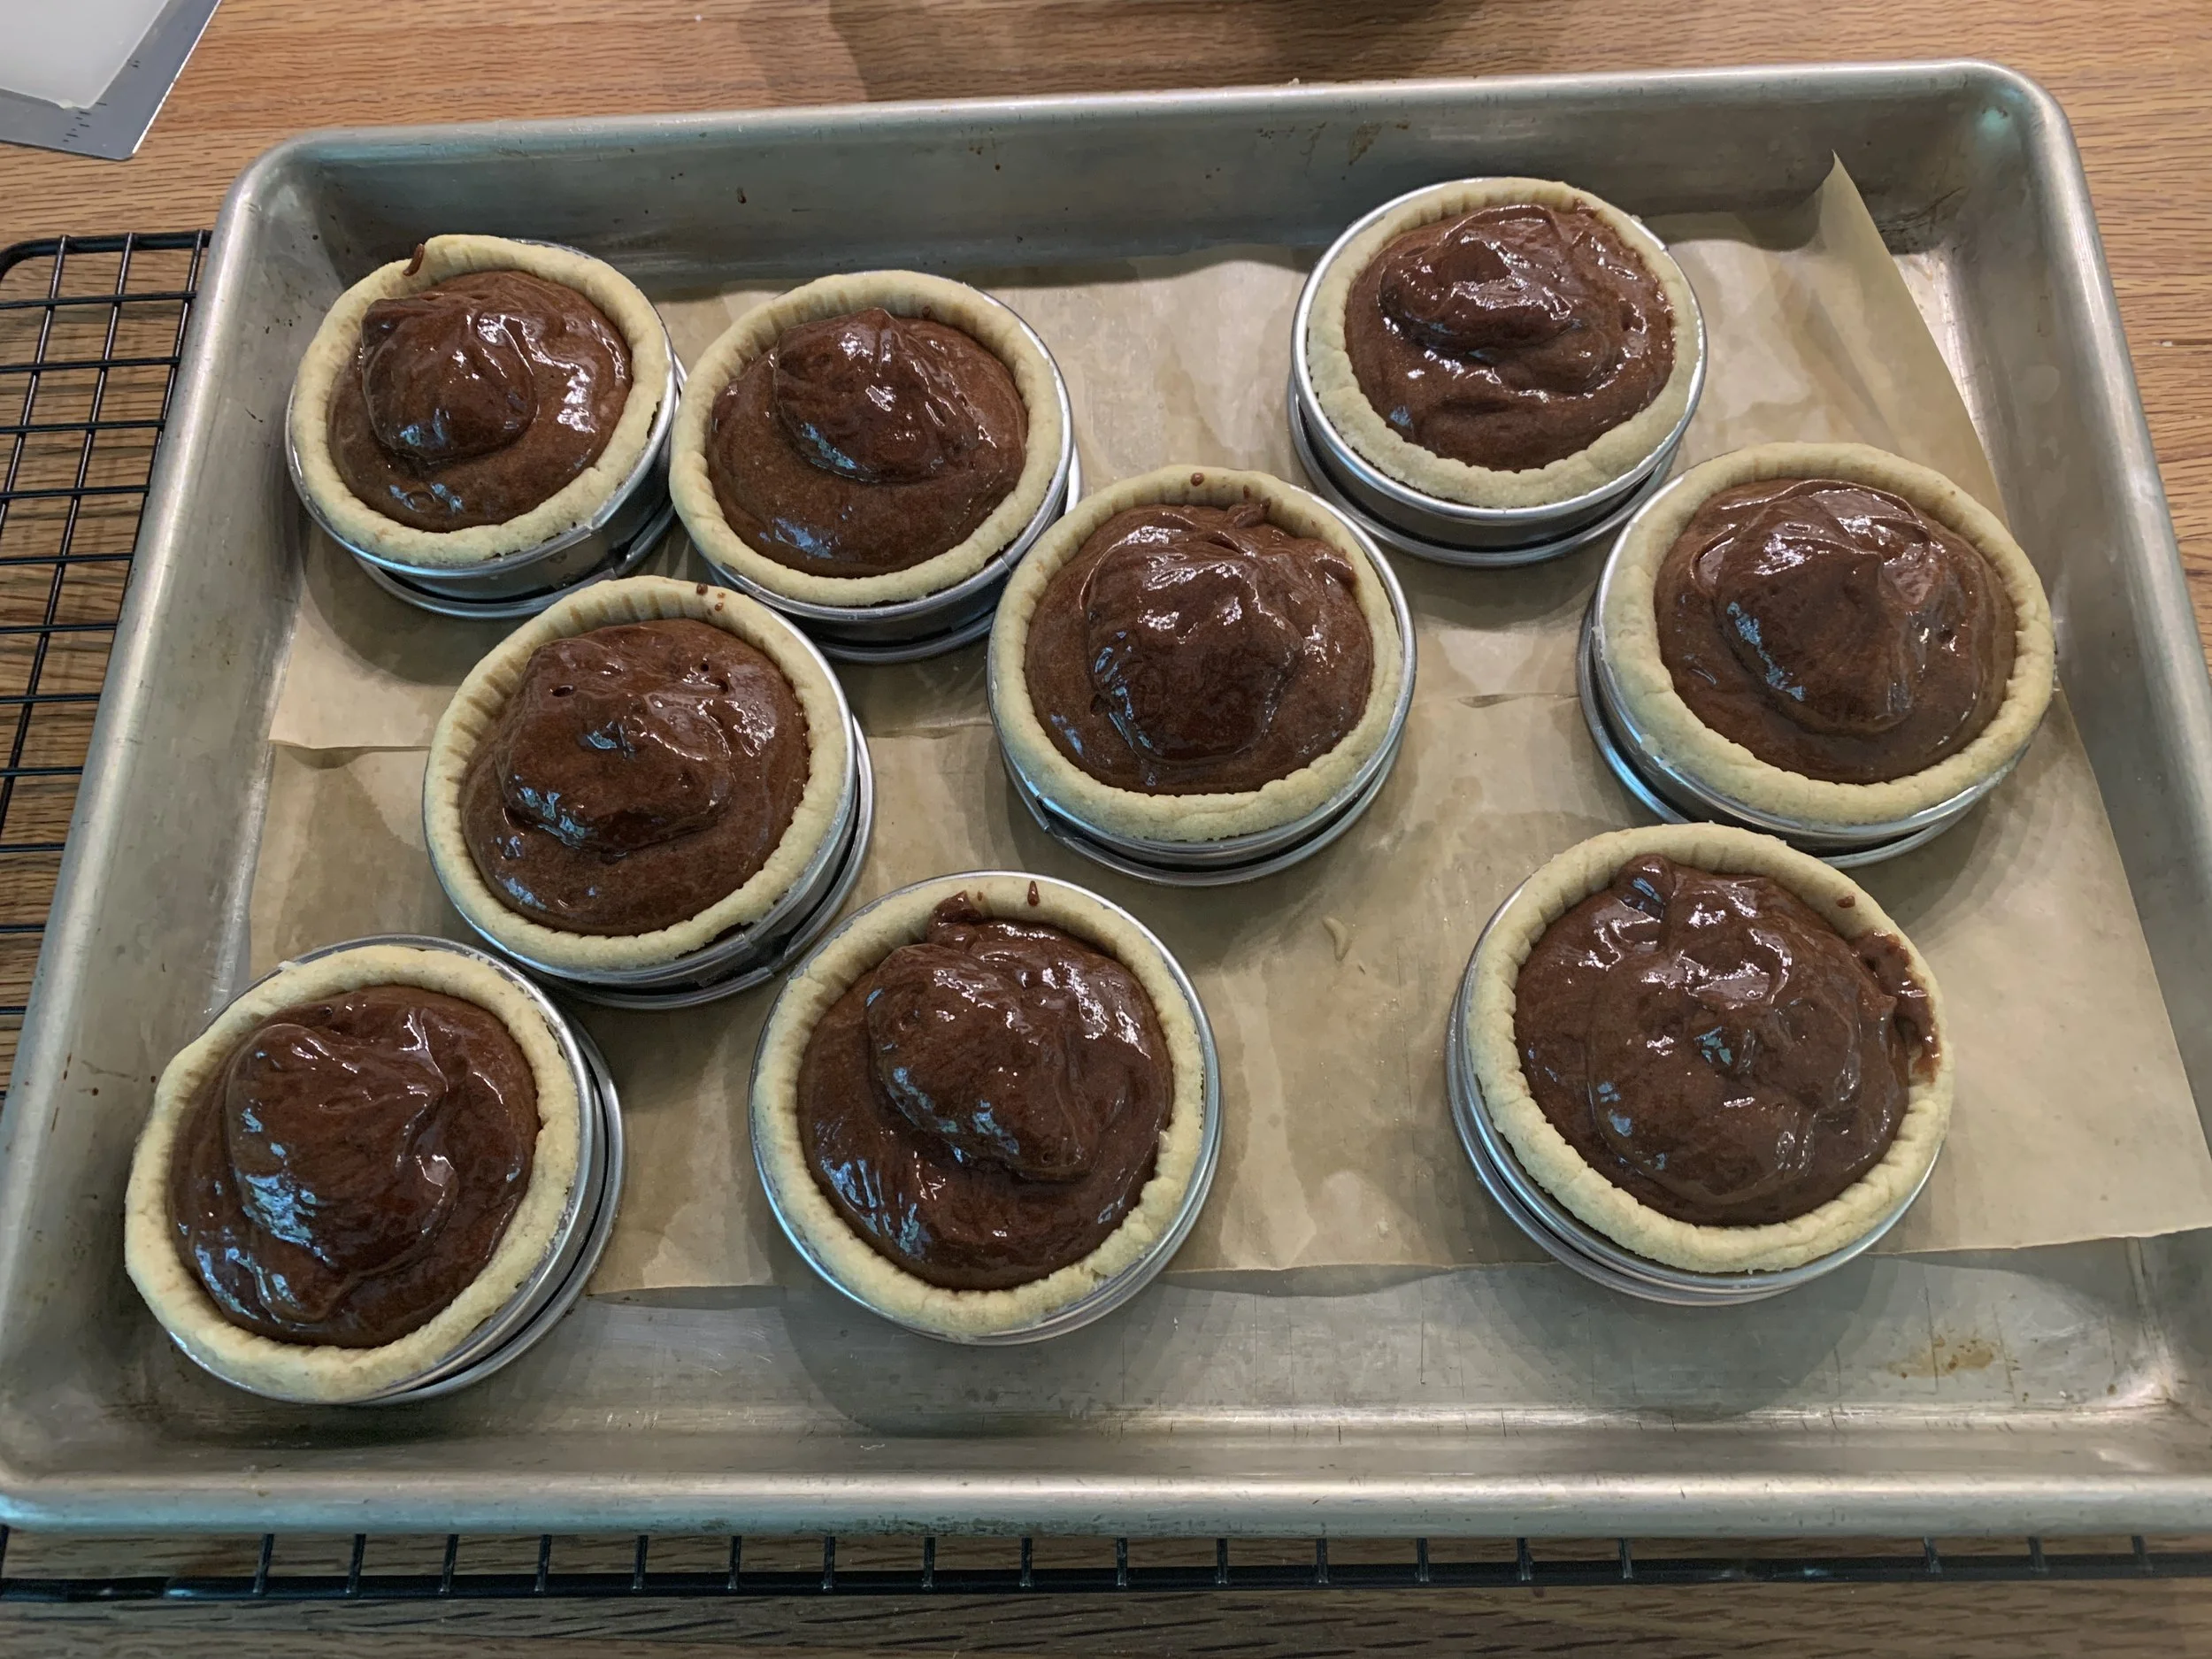
Bake about 9-10 minutes until the top looks matte (not shiny) and a crust has formed. The center should still be gooey.
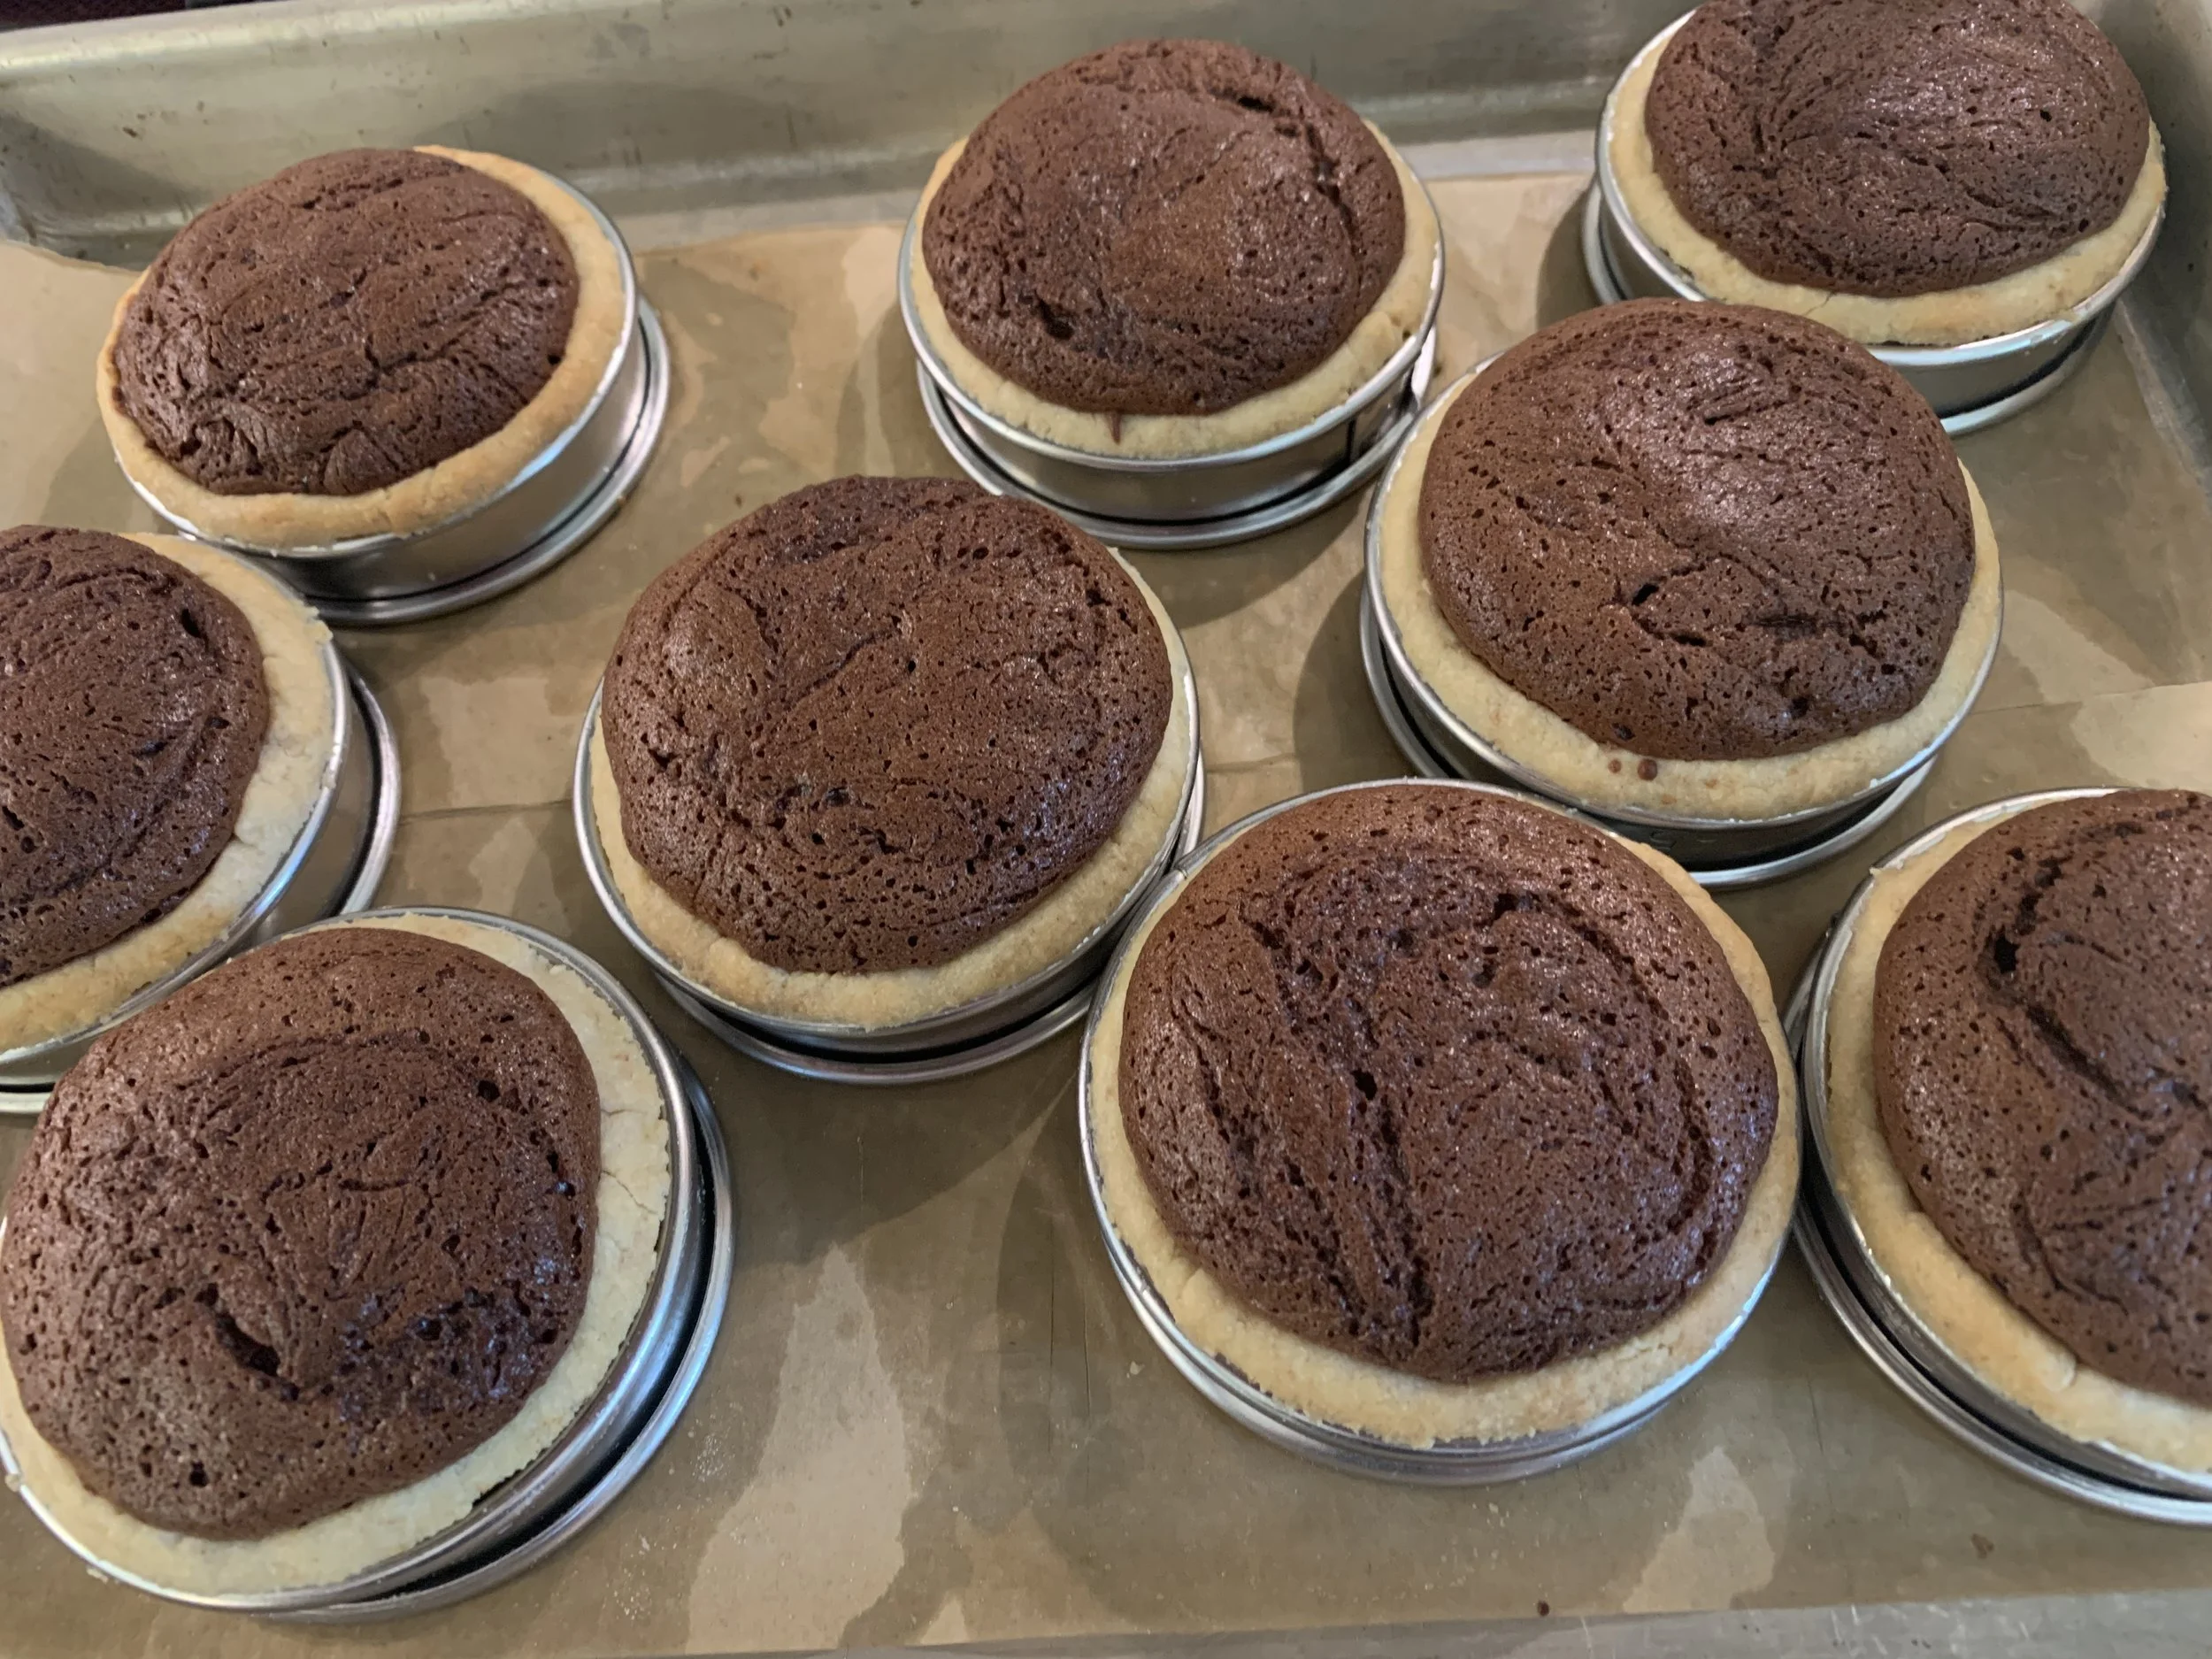
Let the tartelettes cool completely then gently remove from the rings. Note the deflated filling below.
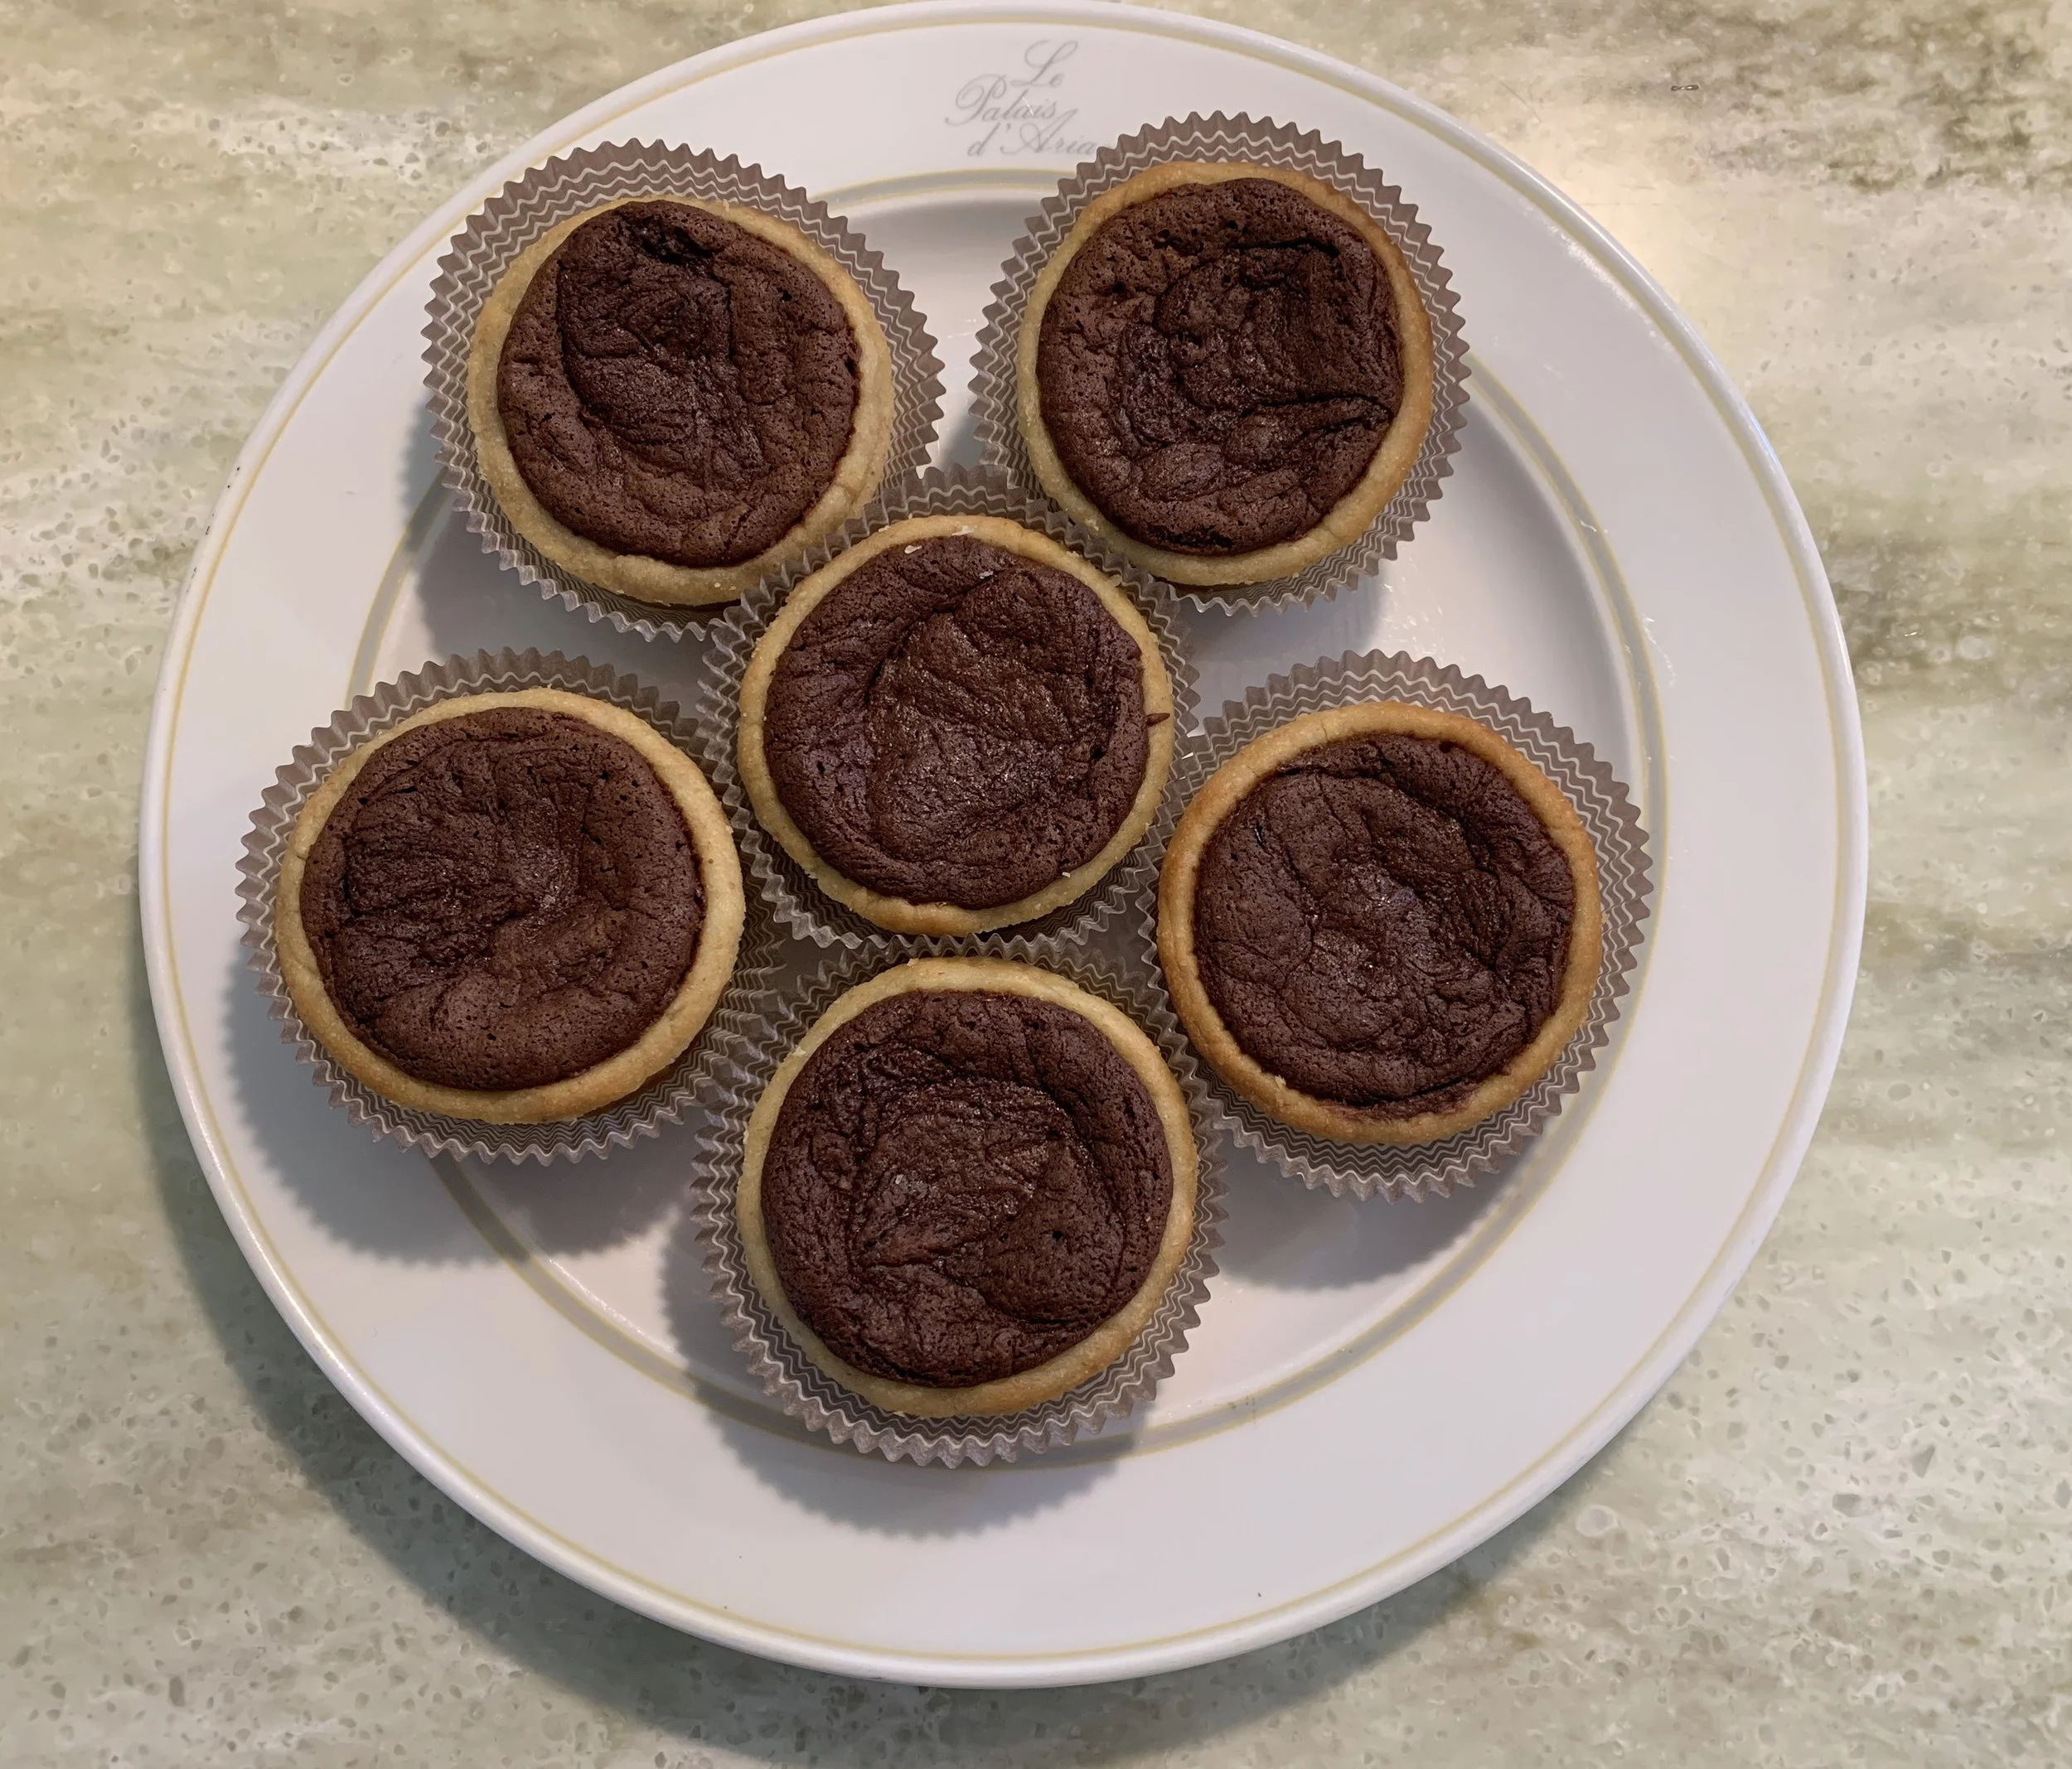
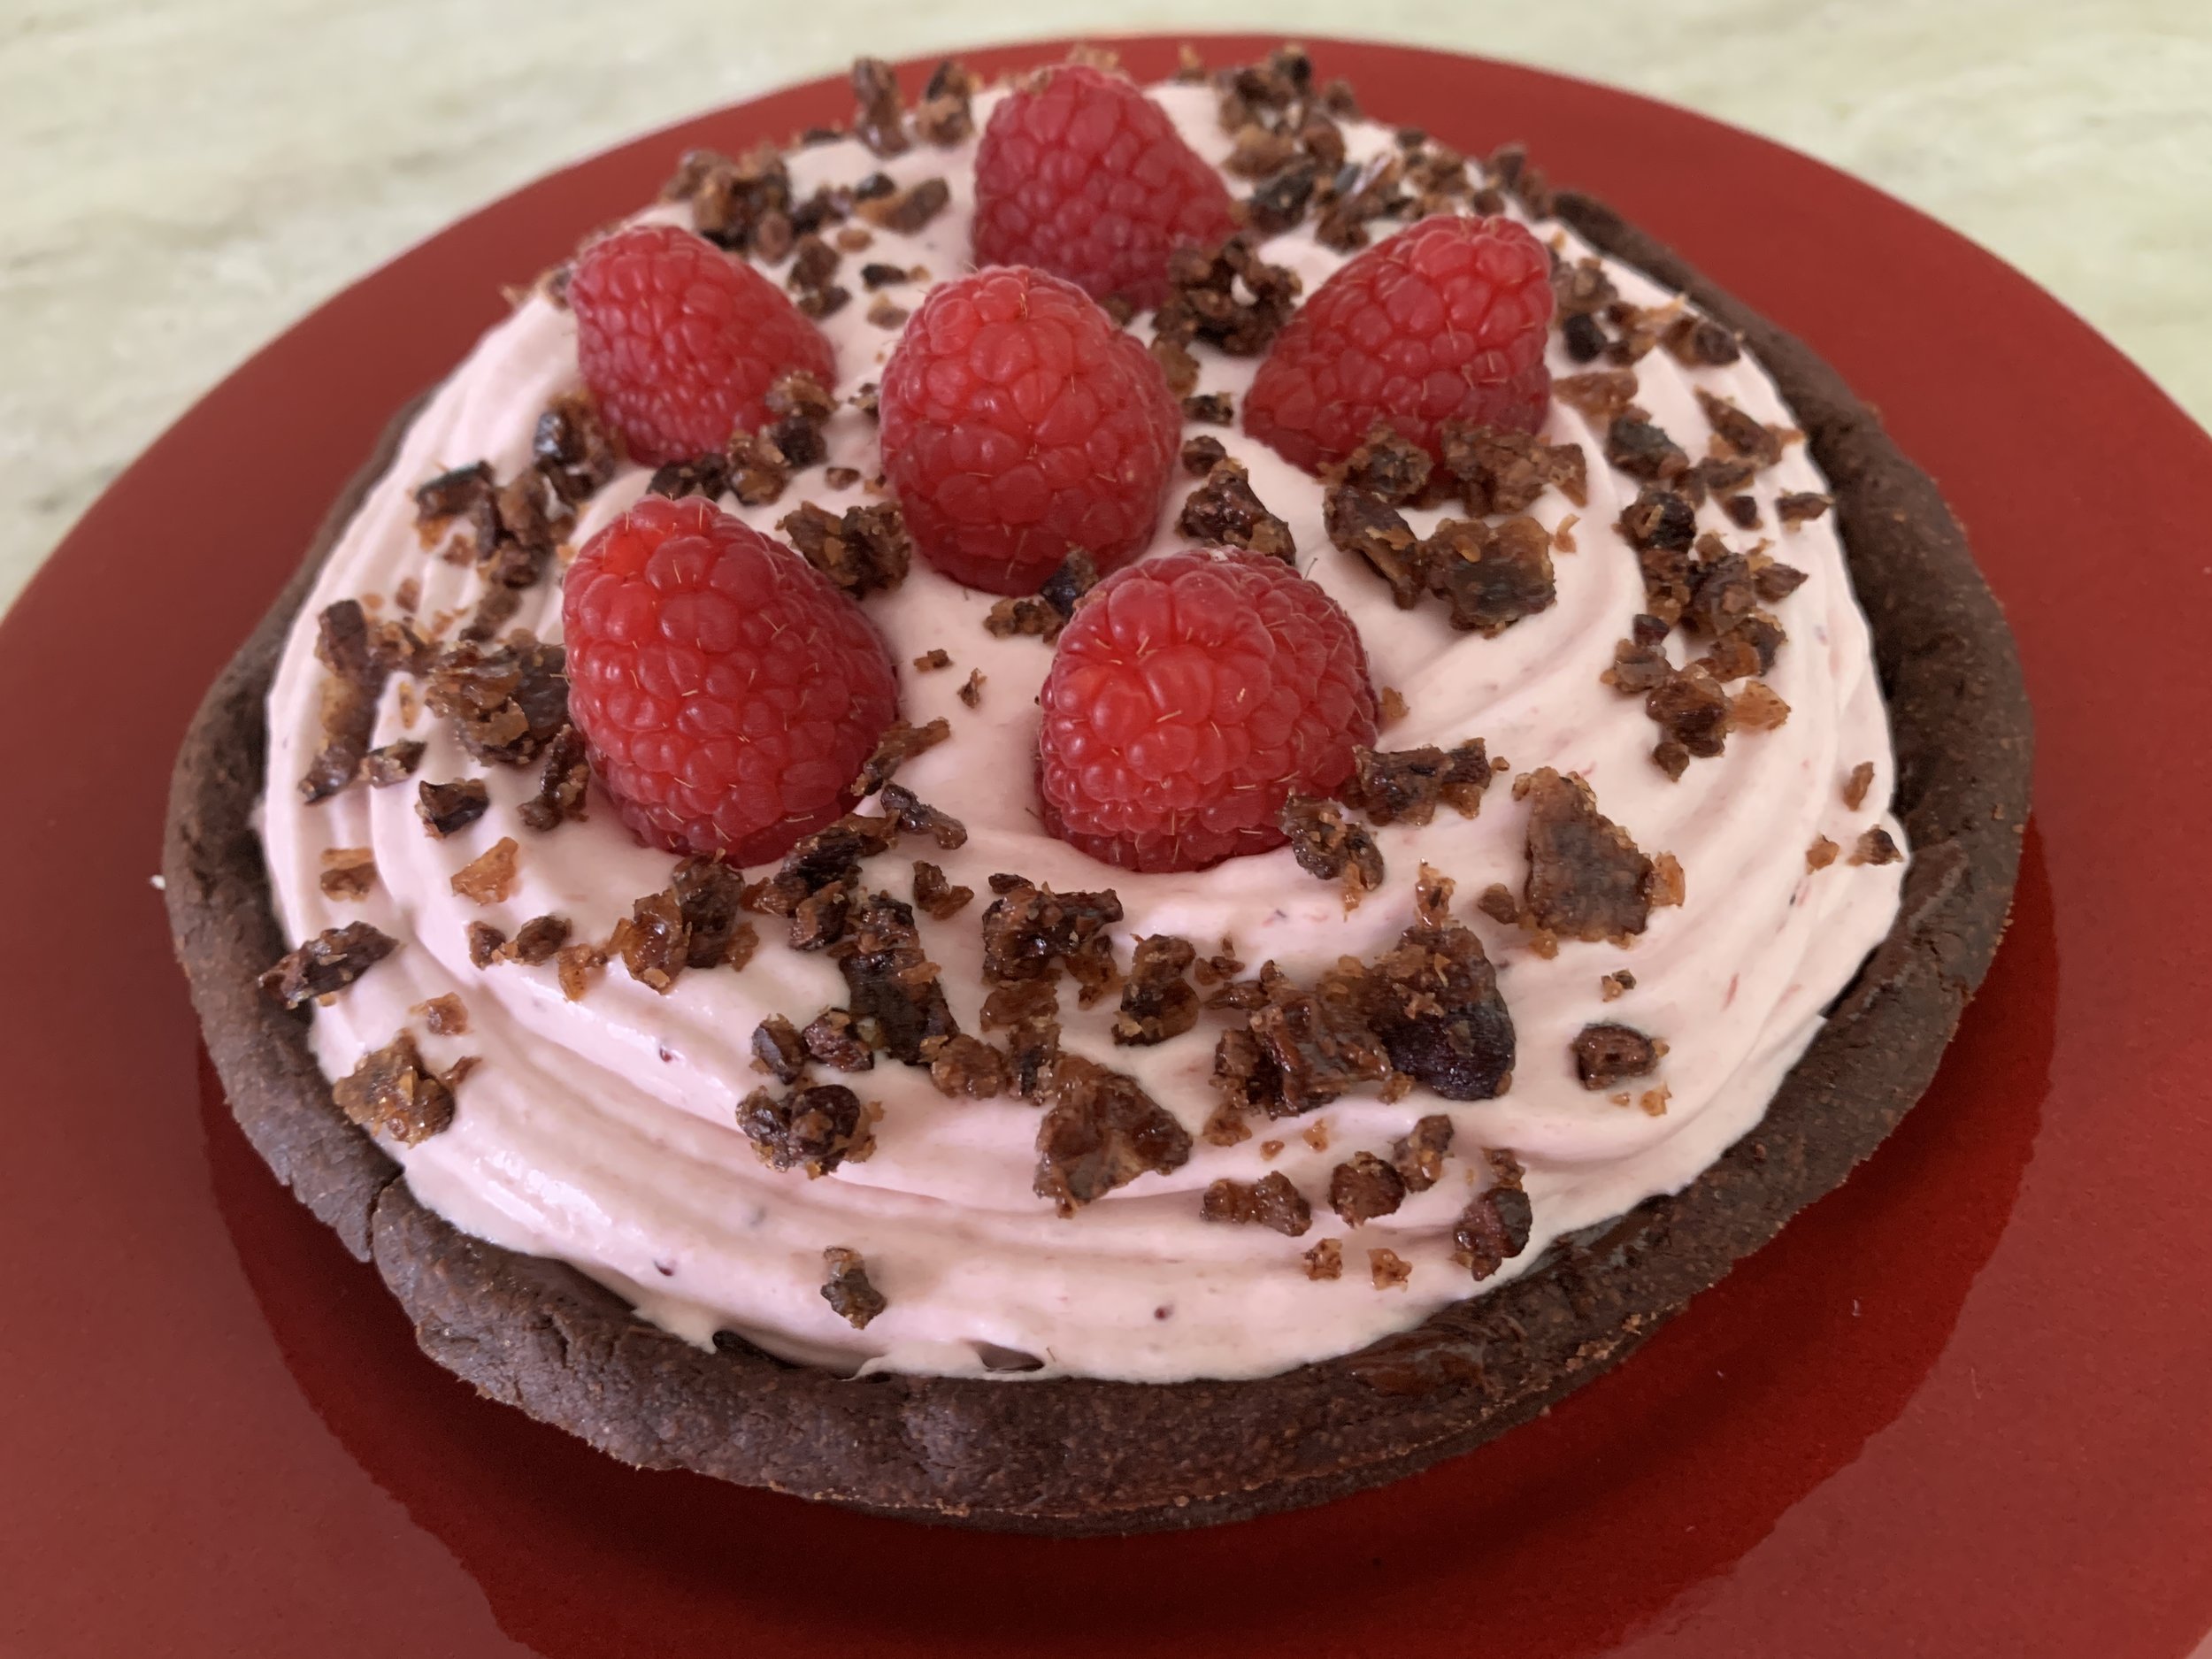
A nice swirl of caramel mascarpone, a sprinkle of toasted sesame seeds and a few chocolate pearls did the trick.

Yum!
Of course Steve and I enjoyed a taste test and saved a couple in the fridge for another day. A few friendly folks were on the receiving end of the remaining treats. We can’t eat everything can we??
We’re finally seeing some brilliant autumn color - it’s hit or miss but the hits are gorgeous. Even a few simple fallen leaves on the walking path offer a rustic artful display.


I love it so!
Hmmm . . . . . what’s next?