Macaron musings

True confessions - I’ve had a love-hate relationship with French macarons over the past 17 years. When I first tasted these popular delights in Paris in 2006, I found them way too sweet for my taste. No thanks.

However, as is often the case in life, things changed. Having finished my pastry schooling in 2007, I began working at Gracie’s in Providence RI and was asked to start making these little cookies that were, still are and will probably continue to be, all the rage. I generally had the best results with my chocolate version filled with a basic chocolate ganache, but there were times, boy oh boy, when they came out mottled or too sticky or cracked or whatever. Frustration!

After leaving Gracie’s I taught some well received macaron classes in my shop at Hope Artiste Village in Pawtucket RI. Yet once I turned that business over in anticipation of our move to Michigan, I put macarons aside to focus on my true loves - tarts, puff, croissants, brioche, shortbread, choux and financiers/teacakes just to name a few. My heart simply wasn’t pining to make les macarons.

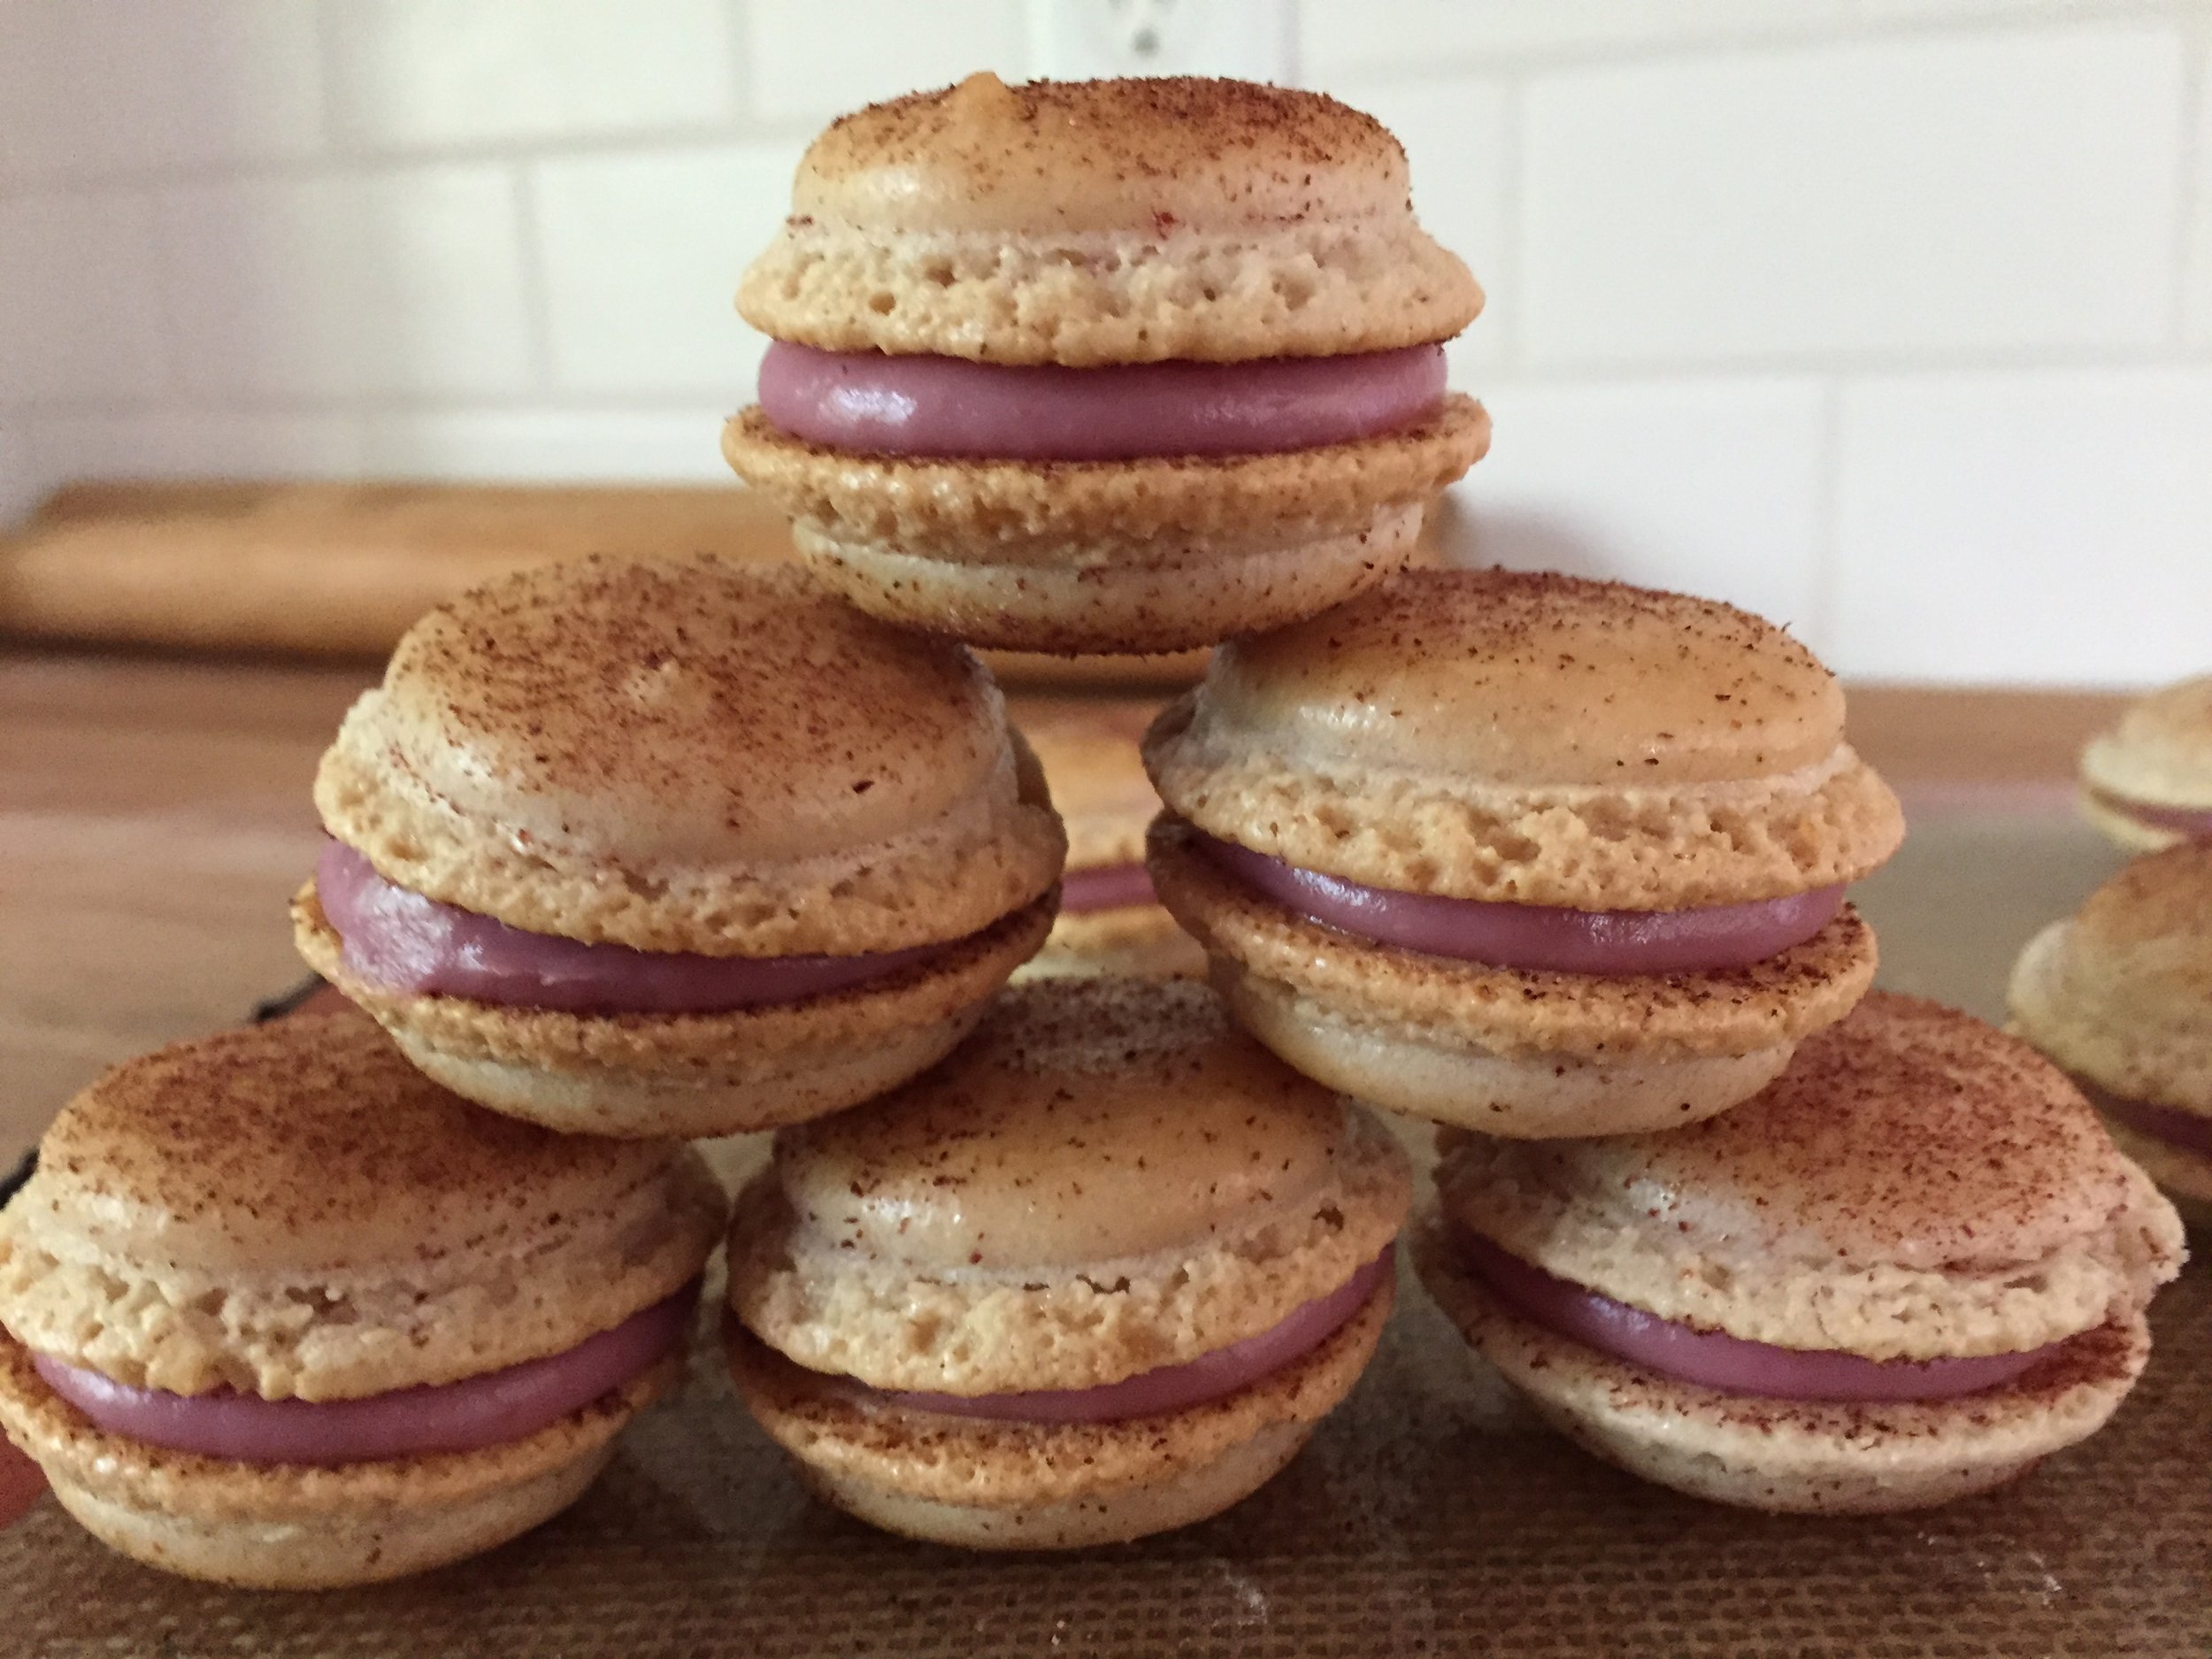
raspberrry white chocolate ganache filled

Fast forward a few years later - Steve and I had settled back in Grand Rapids and I started teaching pastry classes at the newly opened Sur La Table (sadly closed after the early months of the pandemic - bummer!). Wouldn’t you know one of the most popular class offerings was les macarons!! And so I taught many classes on these babies - sometimes they turned out beautifully and sometimes not so. The questions were always the same - what went wrong??

And so began another period of research, recipe comparisons, trials and macaron making. I even wrote a couple of blog posts about the different types of macarons out there, hoping to open peoples’ eyes to how easy some of the varieties are to make.

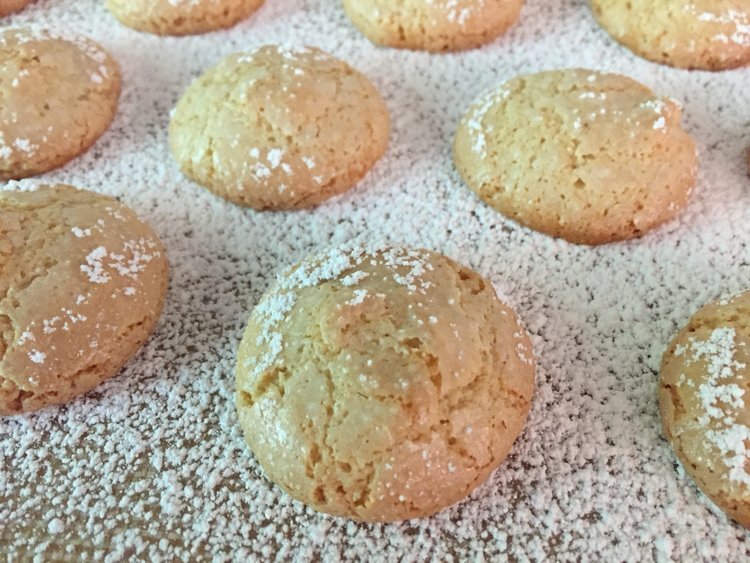
macarons de nancy

Yet the so called “jewels” of the pastry case remain on most budding and seasoned bakers’ minds.

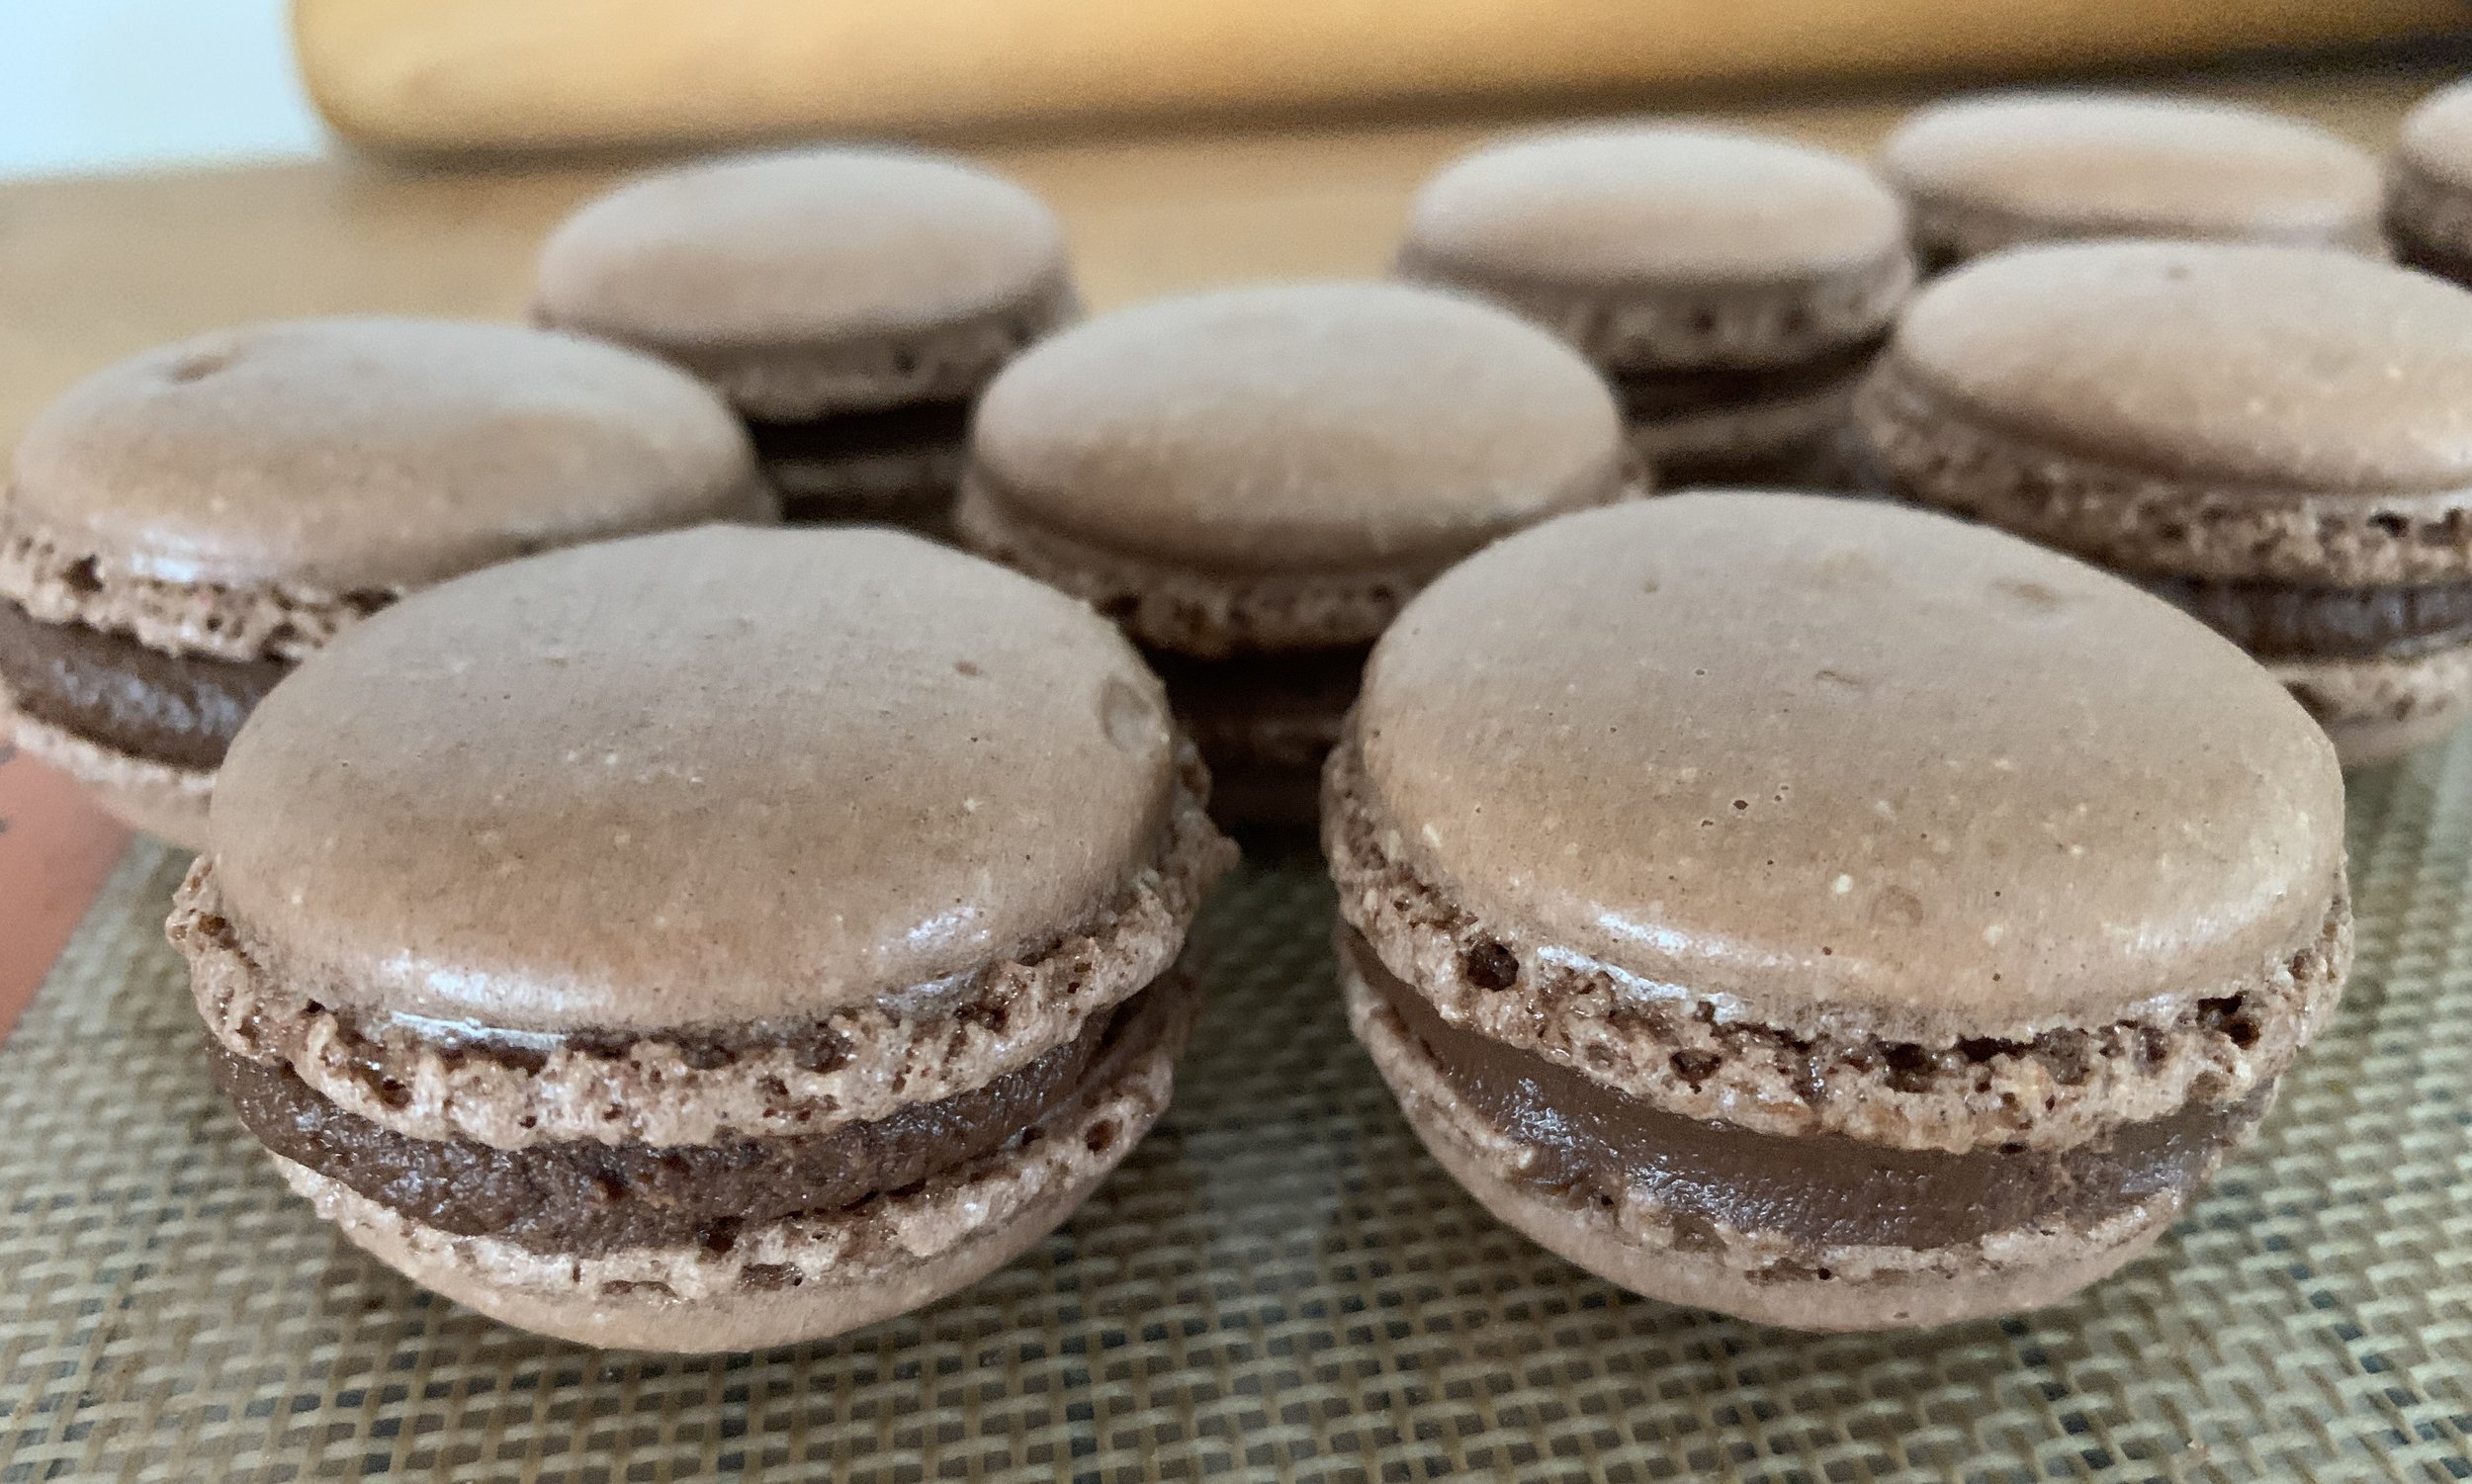
chocolate all the way around!

After a number of tests and tweaking the weights of the confectioner’s and granulated sugars, I’ve finally landed on a recipe that’s been working well for me. I’ve always made macarons using the French meringue method as opposed to what I view as the more fussy Italian version, and I continue to be most comfortable with that approach.

Multitudes have written about macaron making, citing factors like low humidity, aged/room temperature egg whites, freshly opened almond flour and blitzing/sifting the almond flour/confectioner’s sugar as all being important to success. I take all of that into consideration for sure, but for me what stands out is the actual process - making the meringue, then the macaronage and finally the macaroner.

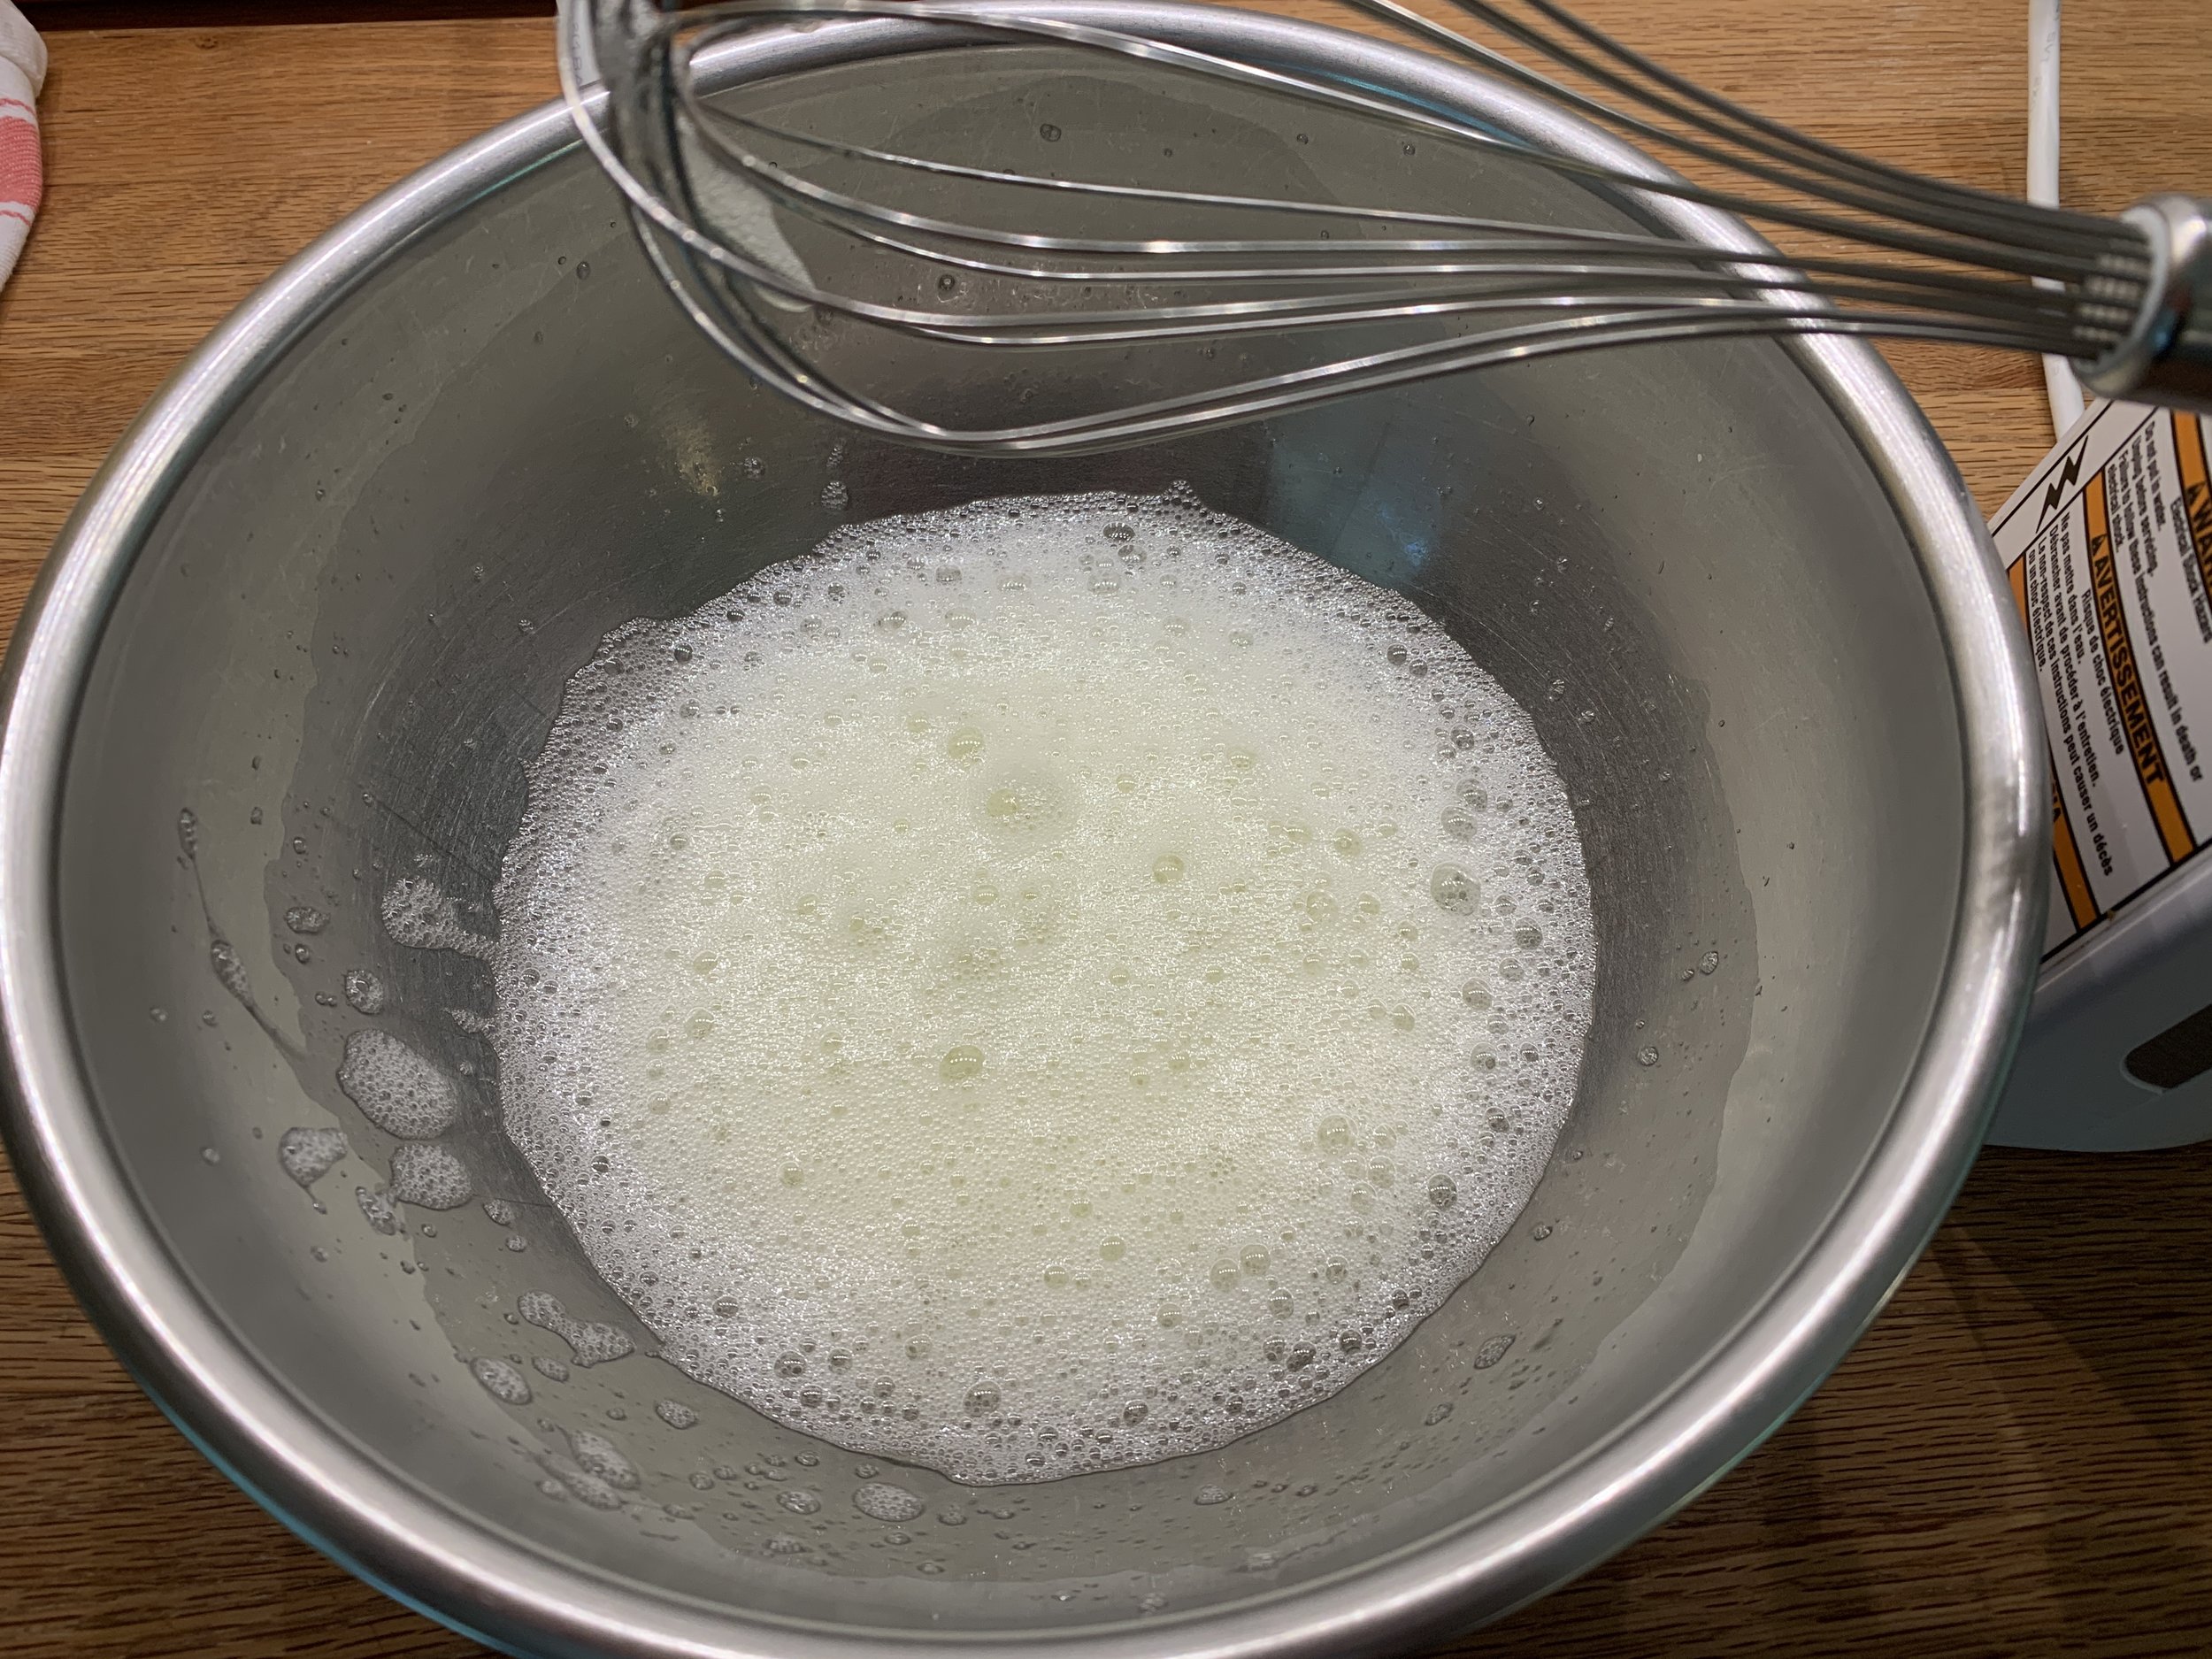
In a squeaky clean bowl (I give mine a quick wipe with vinegar or lemon juice) start whisking room temperature egg whites and a pinch of salt on low to medium-low speed until the mixture changes from a straw color to more white with foamy bubbles. Then gradually shower in the sugar over a couple of minutes - the egg whites accept the sugar more readily that way.

here’s where you start adding the sugar

The next important step is whisking the meringue to the proper stiffness (think bec d’oiseau or bird’s beak). Once the sugar is fully added to the whites, increase to medium speed, allowing some time to watch the lovely shiny, stiff meringue develop. It may be 3-4 minutes before you see some thickening and then a few minutes more to reach your goal. Remember always check sooner than later!

In days past I used to amp up the mixer to full speed right away, but I have since adopted this lower and slower approach - breath deeply.

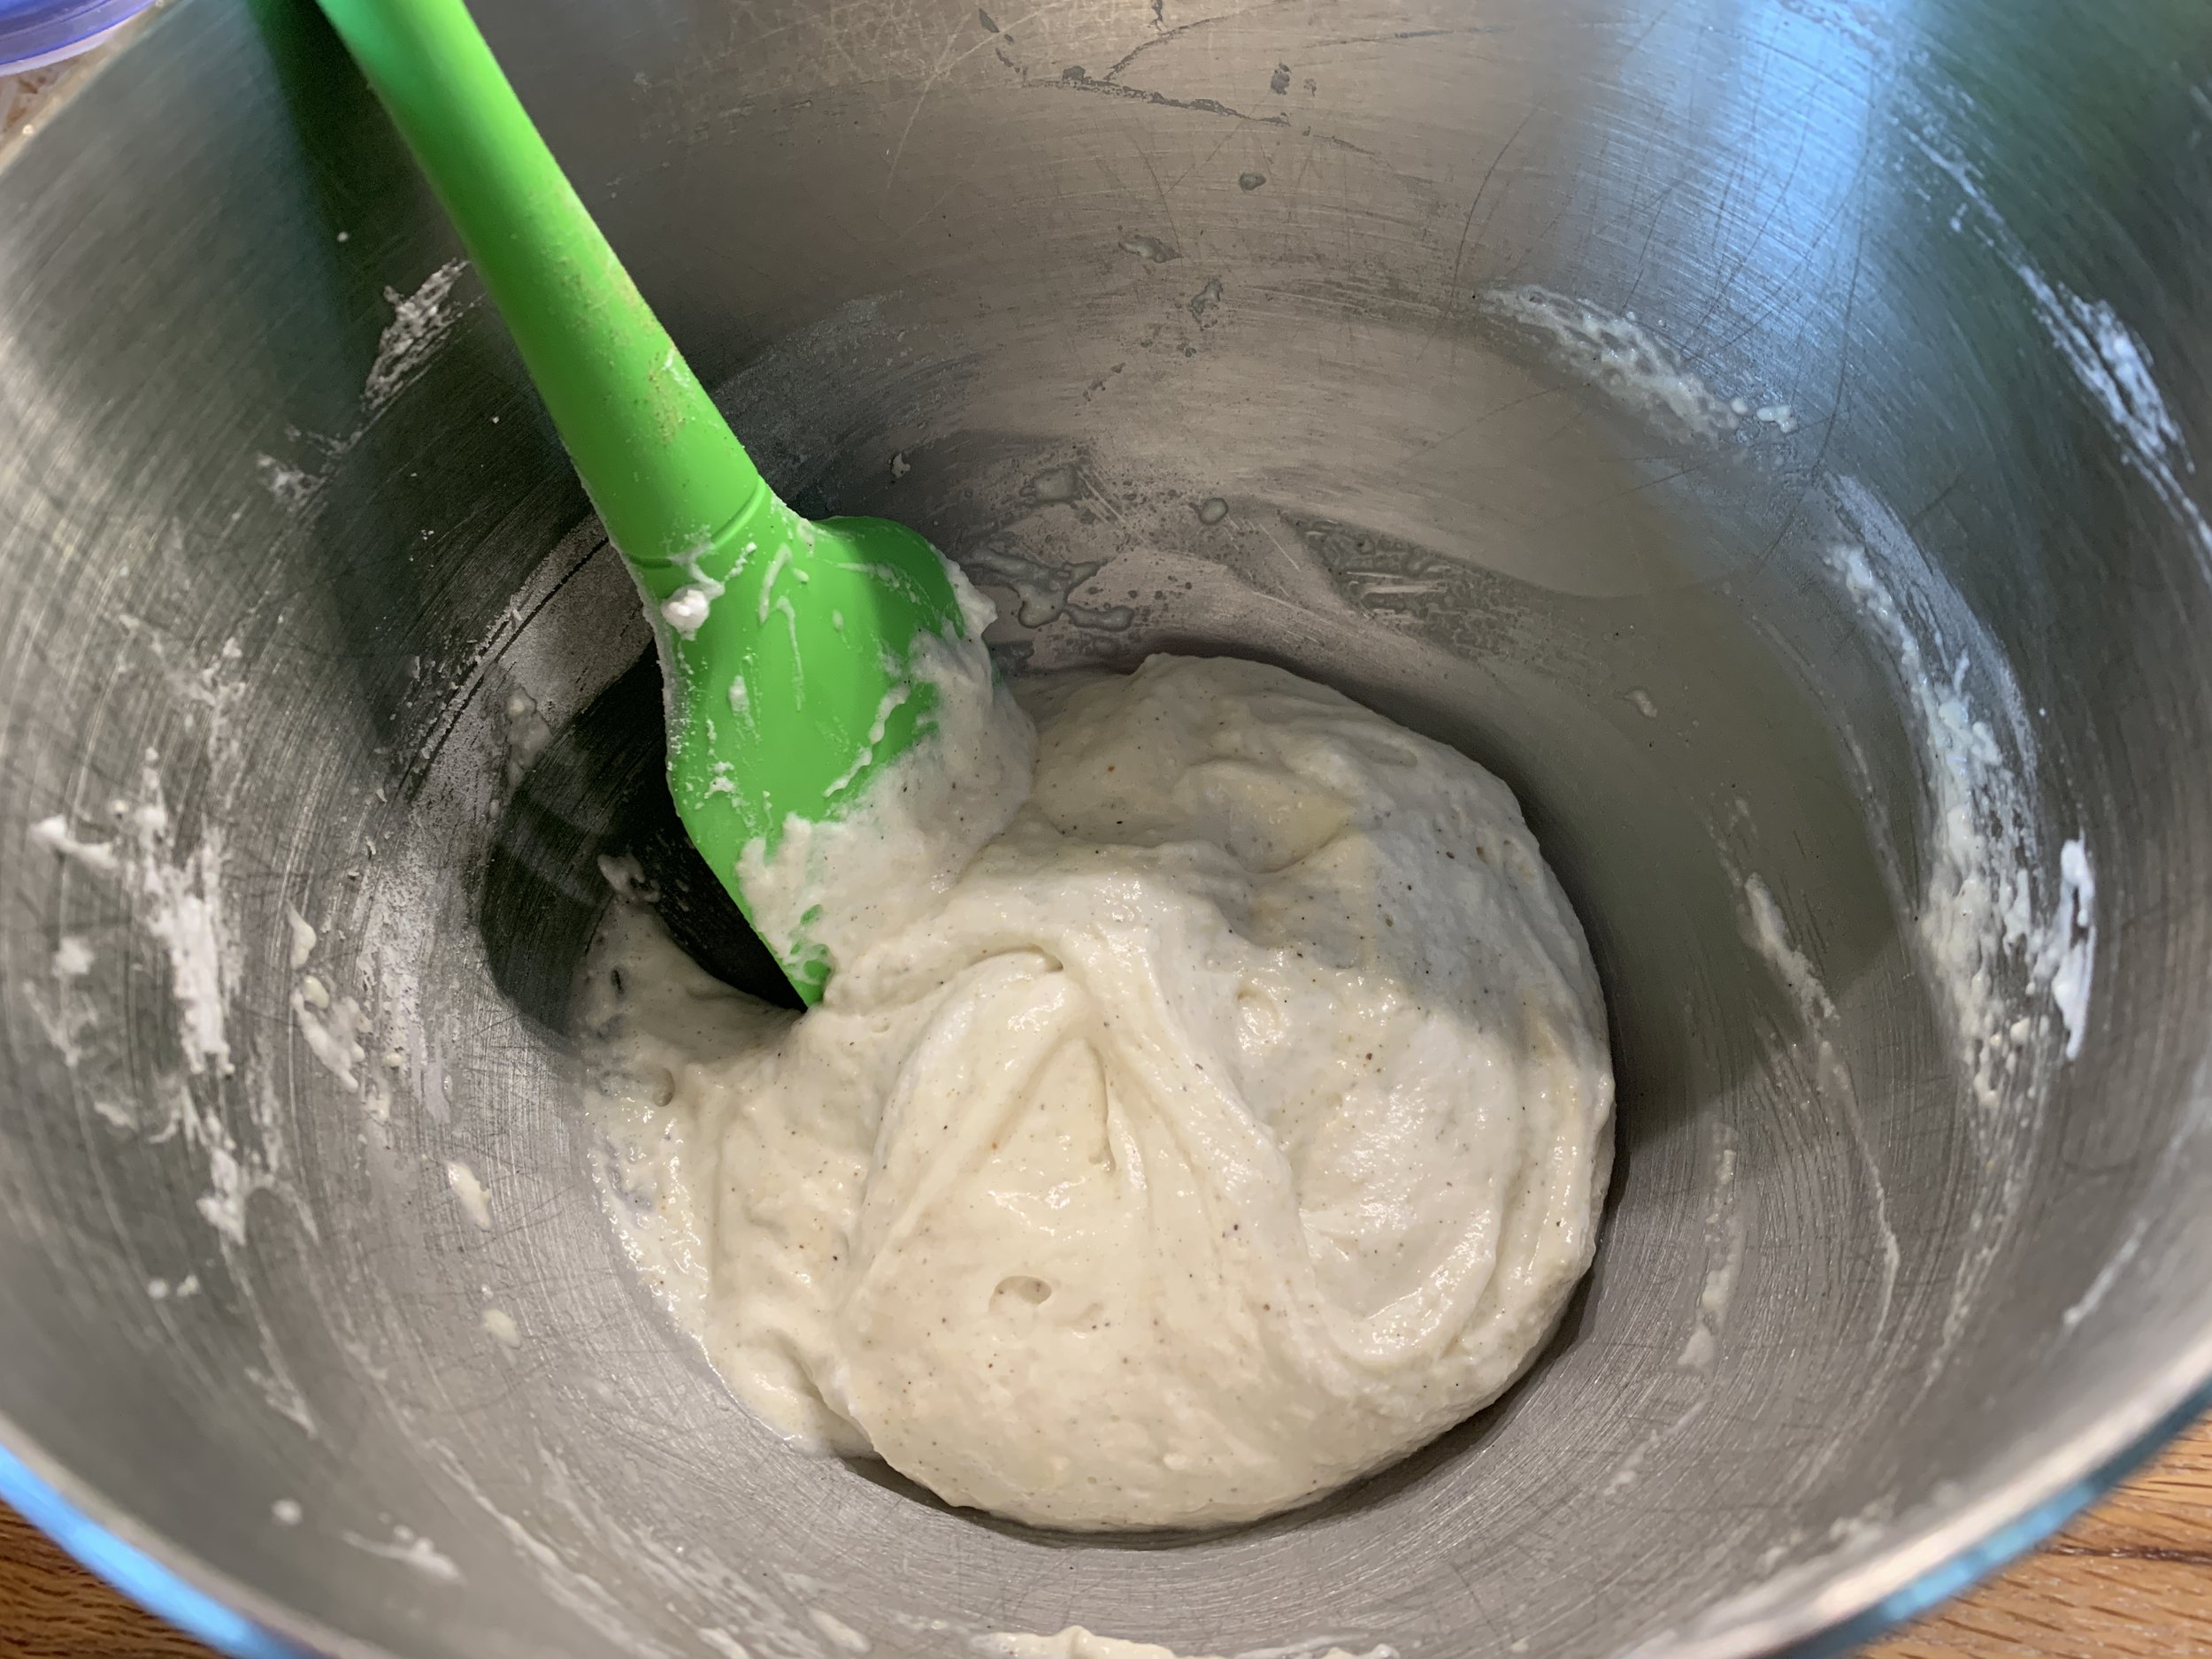
Now the macaronage - with a spatula blend the dry ingredients into the meringue in three additions - it should look thick and a bit rough . . .

then work the mixture to the lava like stage (macaroner) during which it becomes smooth and glossy, ribboning off the bowl scraper or spatula. Here it’s important not to take it too far. Too loose and things will spread in a way that will make you unhappy.

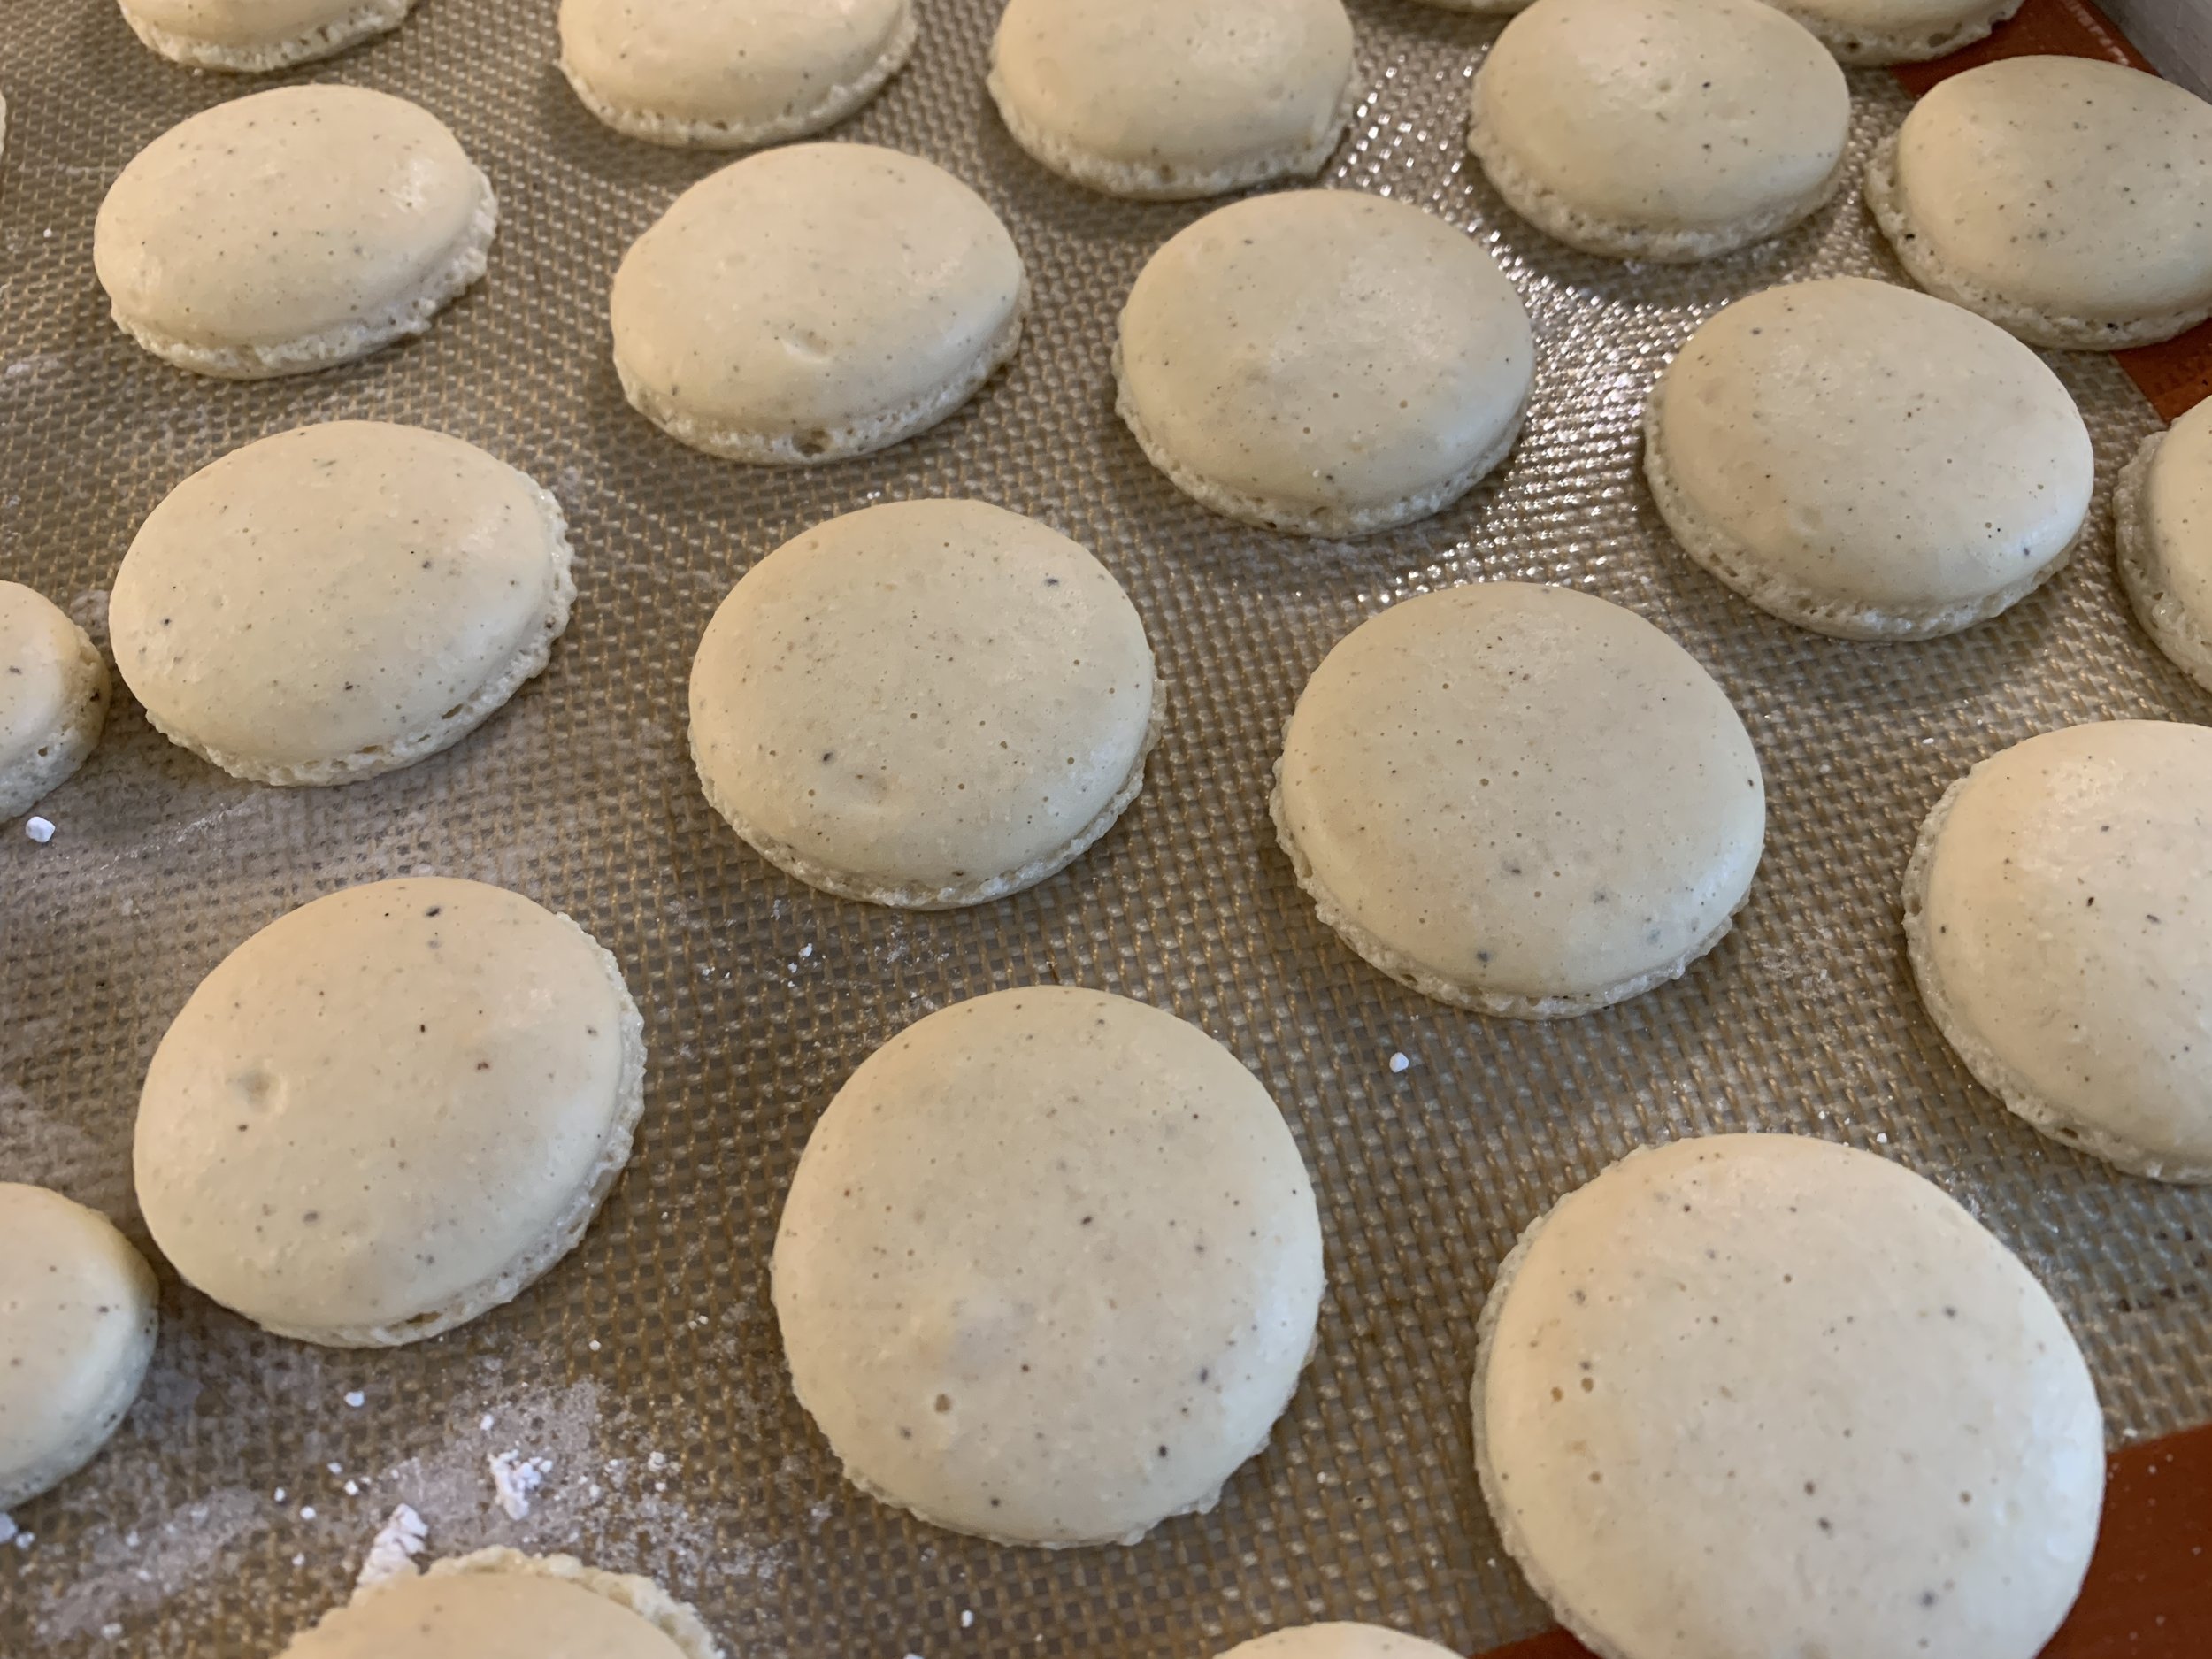
Pipe evenly in circles of about 1.25”, leaving room for the mixture to settle. If you pipe too much, the mixture will spread more than you’d like. In other words, smaller footprint, less spreading, better result.

vanilla speckled

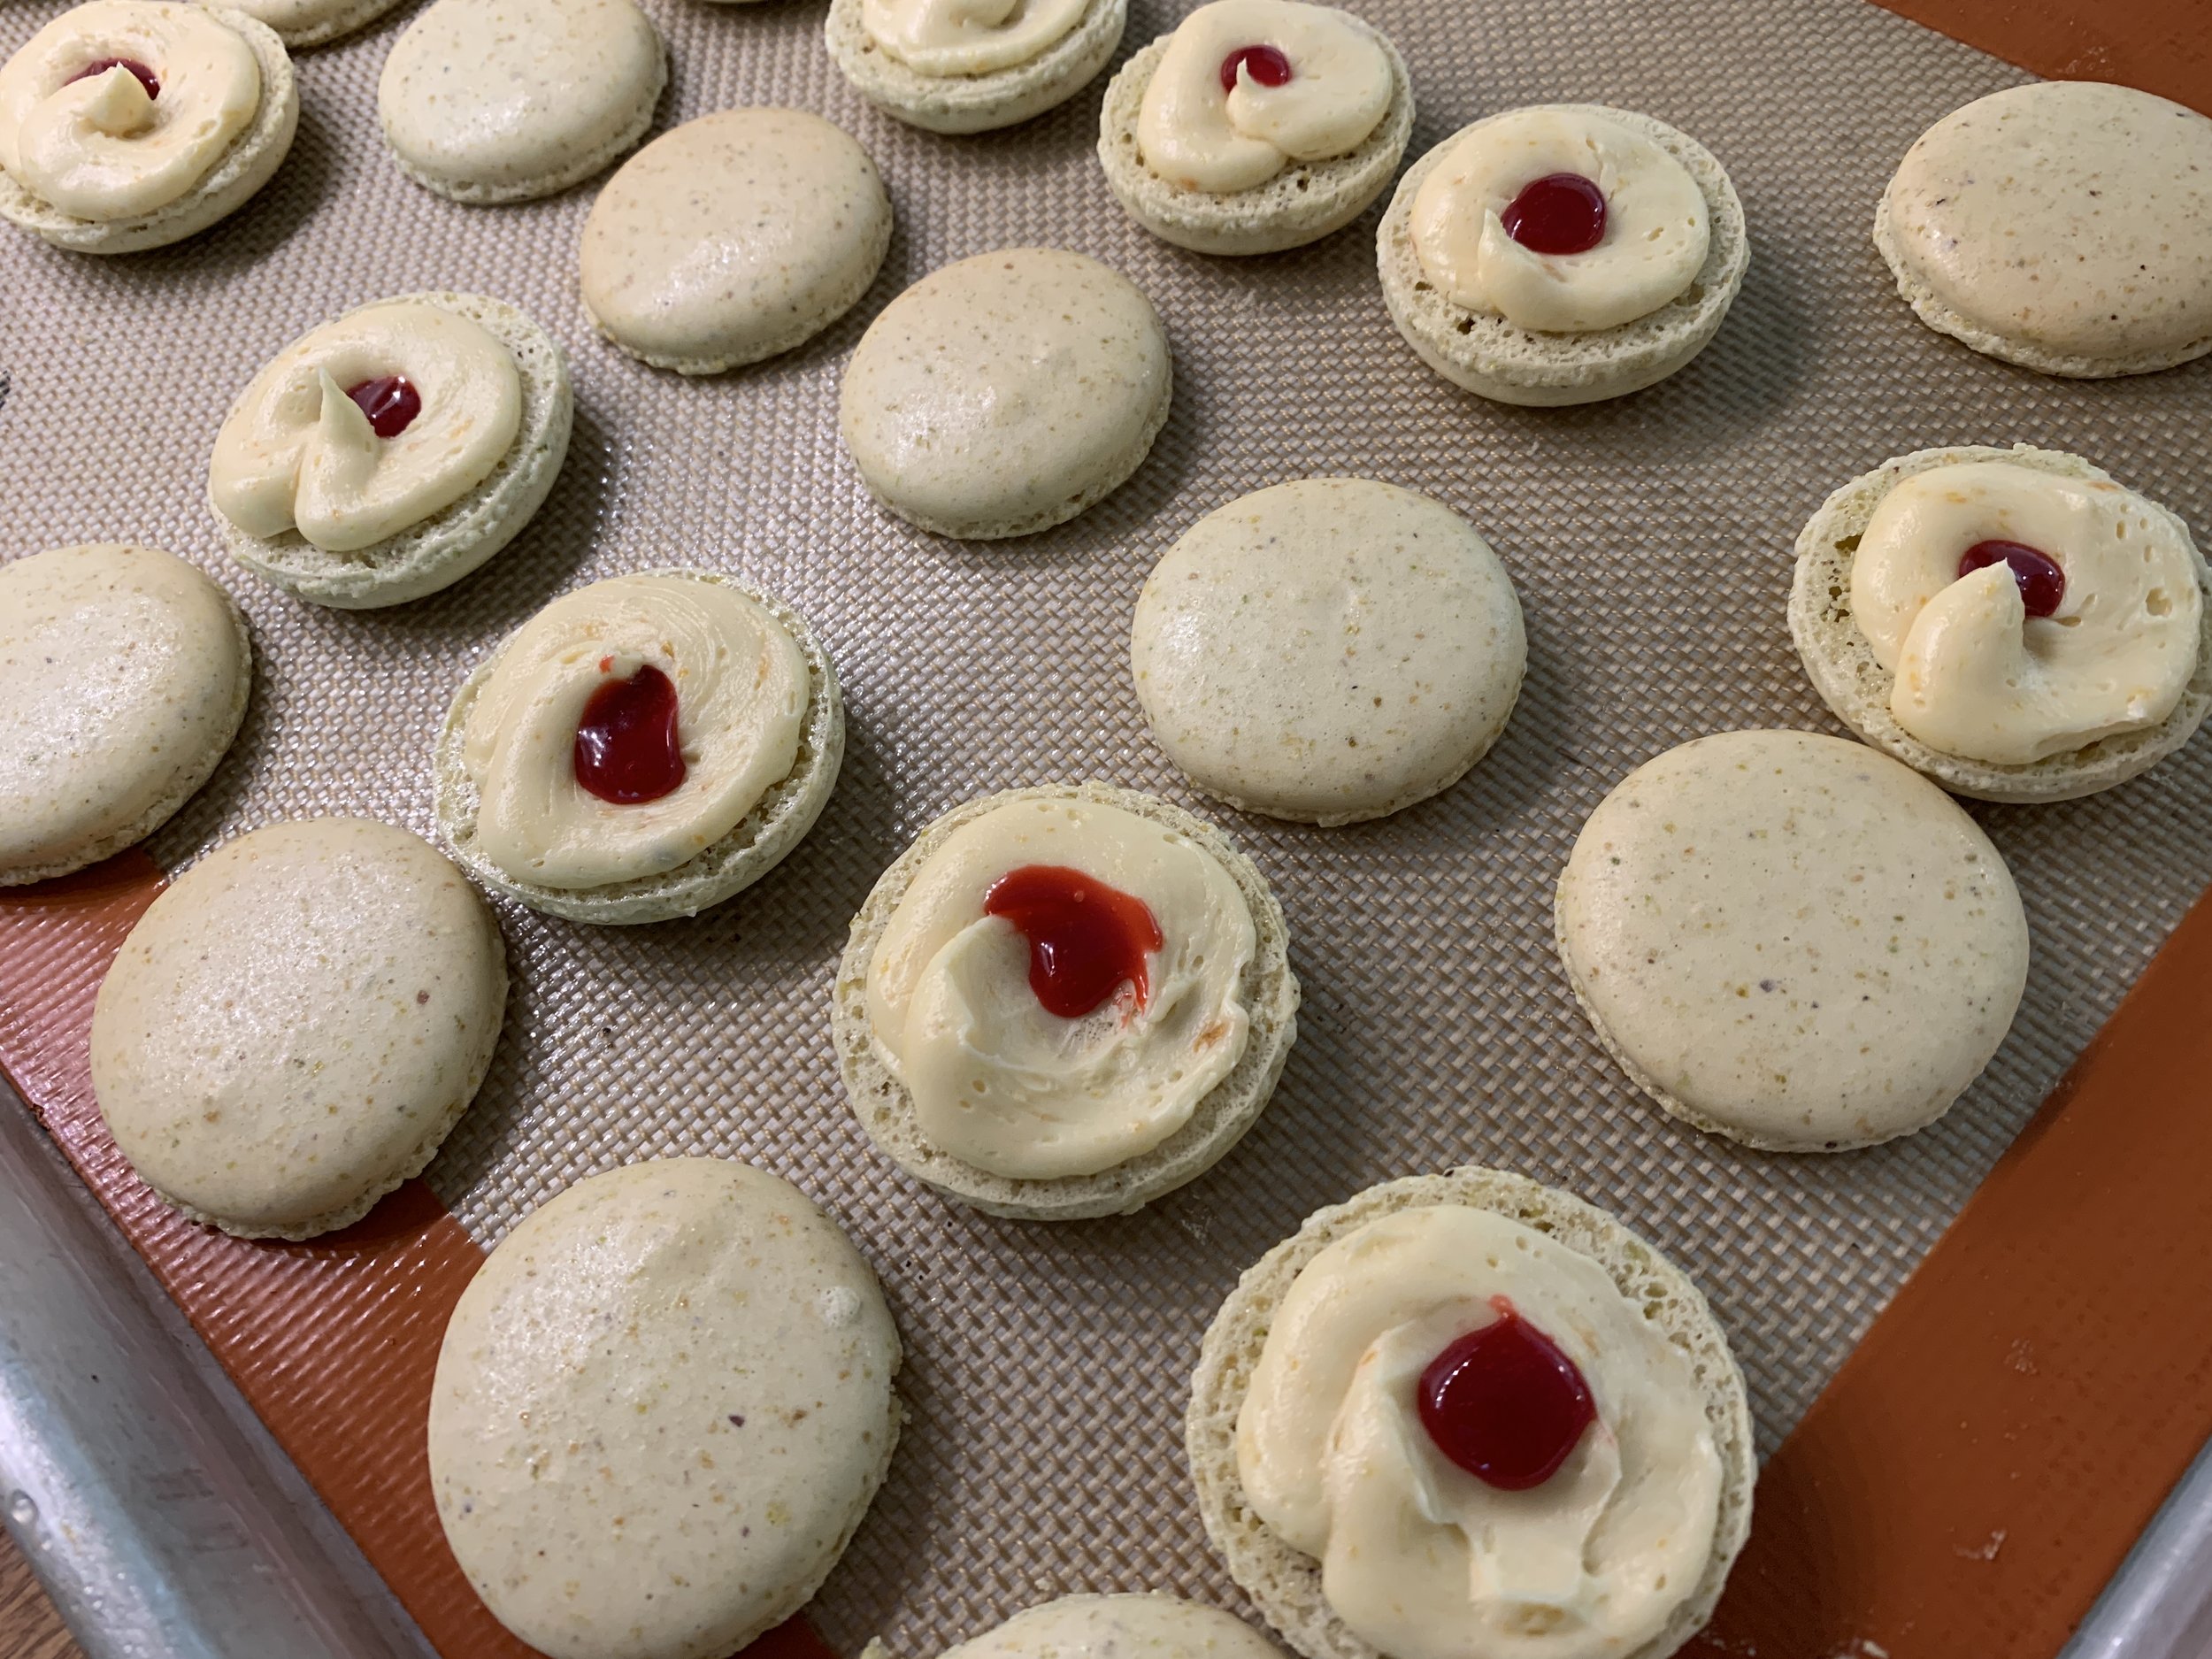
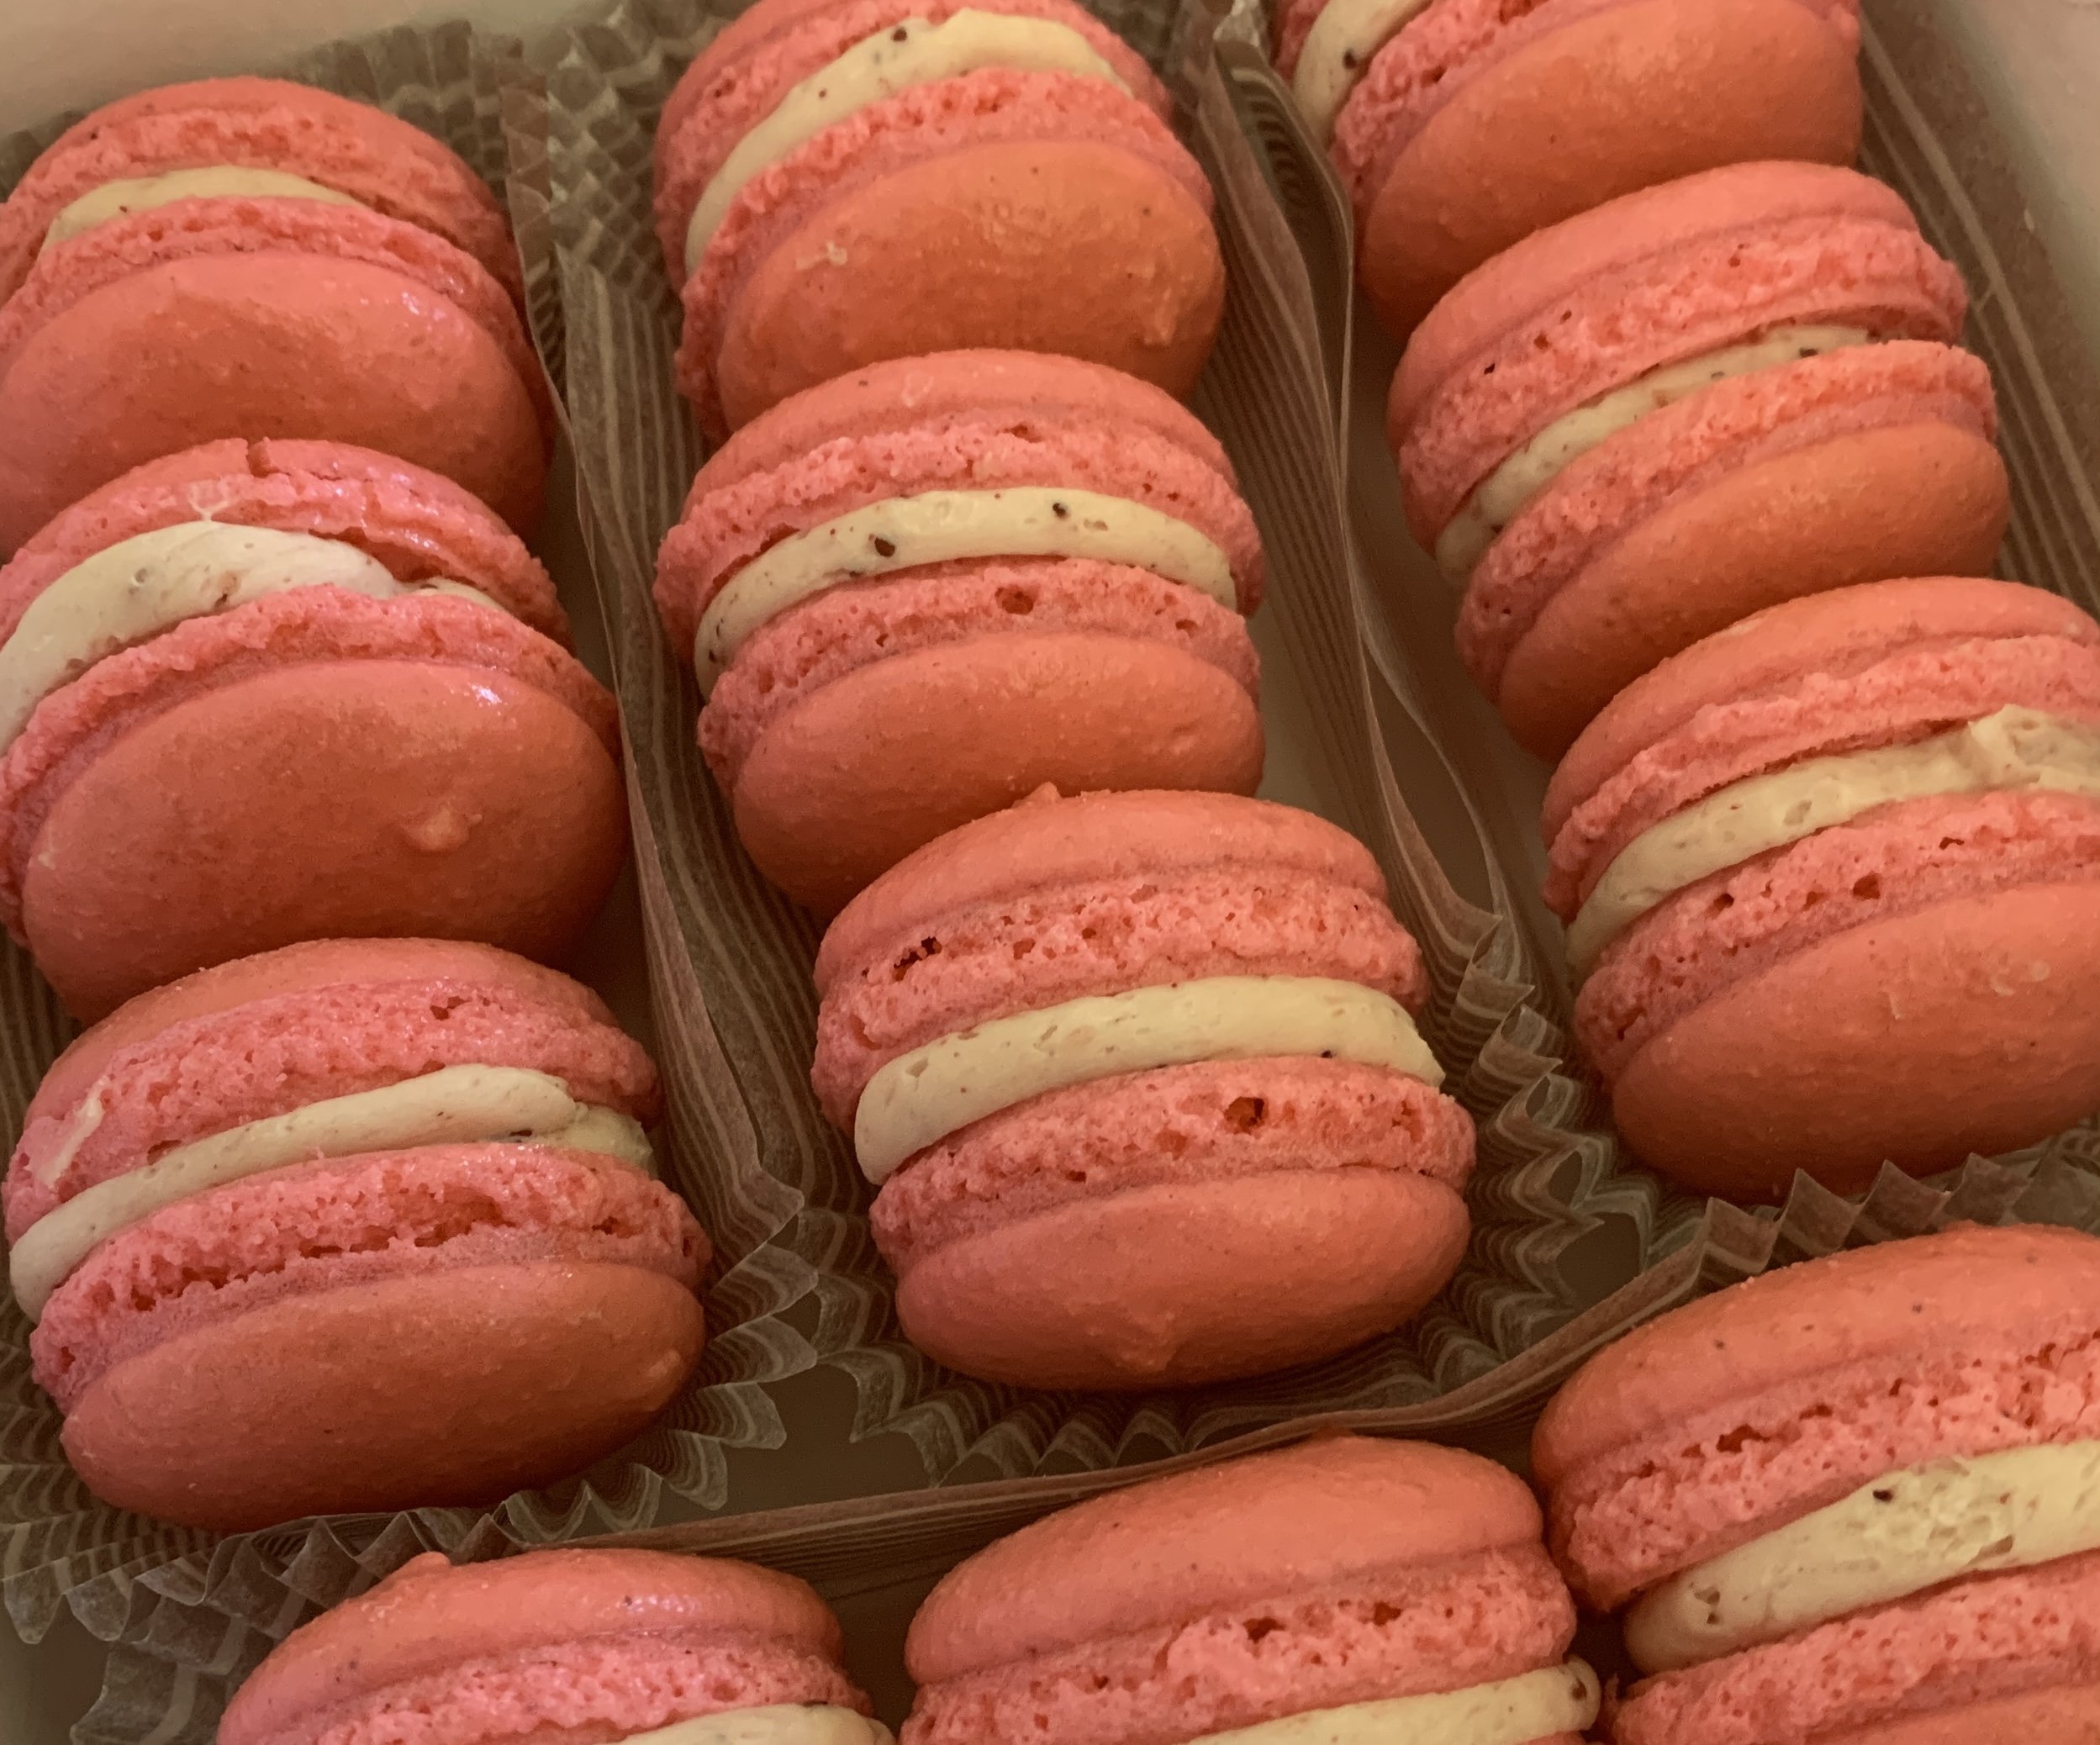
You’ll find fillings ranging from confitures (too sweet for me) to almond paste/butter/flavor mixtures to ganache but frankly, what I’ve really gotten into is Swiss meringue buttercreams paired with ganache to fill the macaron shells. So many choices. One of my faves is a chocolate ganache center ringed by roasted strawberry SMBC. Oh so good.

BTW - notice the plain shells below. I like my shells au naturel, preferring to avoid the use of artificial colorants. Not to worry - there are ways to work around that.

roasted strawberry SMBC/Ganache center

You can dress ‘em up with a dusting of strawberry powder for some color. Fruit powders are available from various online sources, but you can also find freeze dried strawberries and raspberries at Trader Joes. It works well to crush them through a fine strainer/sieve as you dust away.

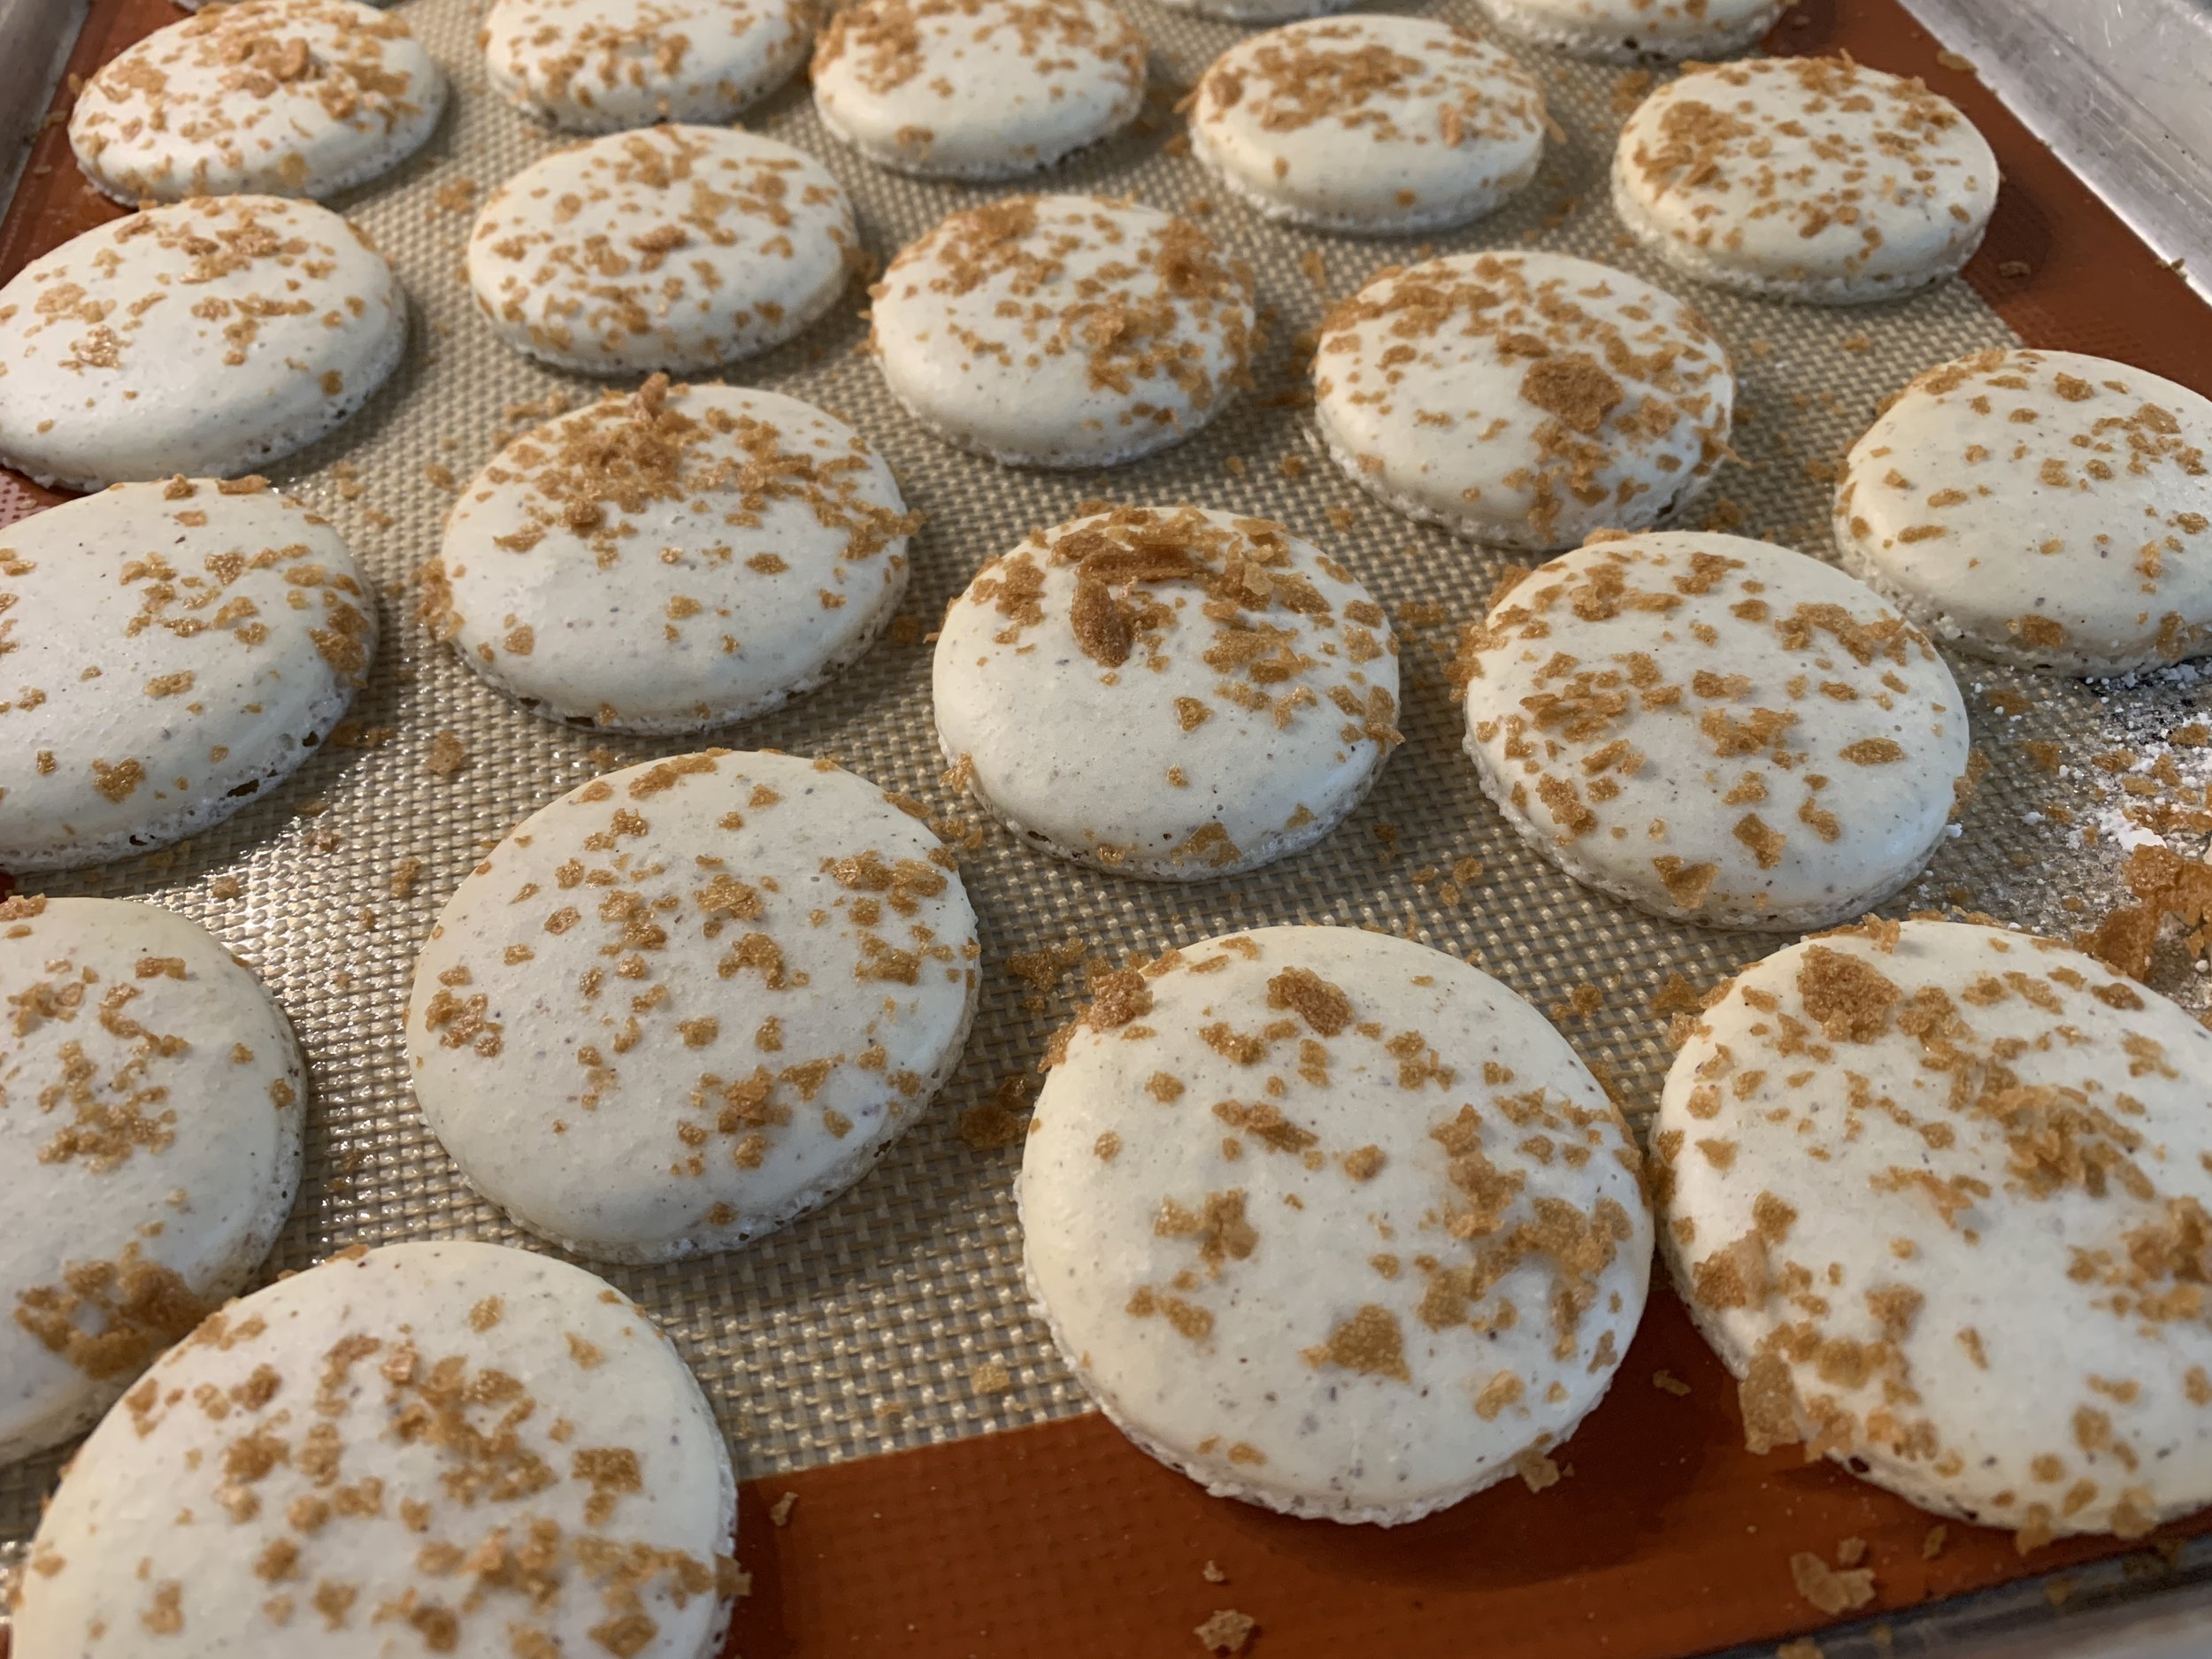
A few other ways to add some color - use ground pistachios or hazelnuts in place of half of the almond flour for a a nice speckled look. Use espresso, cocoa or fruit powders like raspberry with the dry ingredients to add some color. Add in a bit of spice (cinnamon or coriander anyone?) or ground tea whisked in with the dry ingredients. Top the piped shells with finely chopped nuts, ground cocoa nibs, fine coconut or crushed gavotte crêpe crumbs before allowing the shells to dry before the bake.

pistachio speckled with apricot honey SMBC/raspberry coulis center

chocolate shells/white chocolate sesame pistachio ganache

I admit these next shells are kind of messy - it was harder then I expected to sprinkle some crushed gavotte crêpes evenly but what the heck, eh? Hmmm . . . I wonder if crushed corn or rice chex would work? Great with something blueberry me thinks.

gavotte crêpe topping

I do keep a few concentrated gel colors on hand mainly for class purposes, and on occasion I’ll use a schmear to fit the project. I recently made a batch with lemon-lime SMBC/ toasted coconut and did tinge the shells with a bit of yellow. Looks pretty nice- and tastes good too!

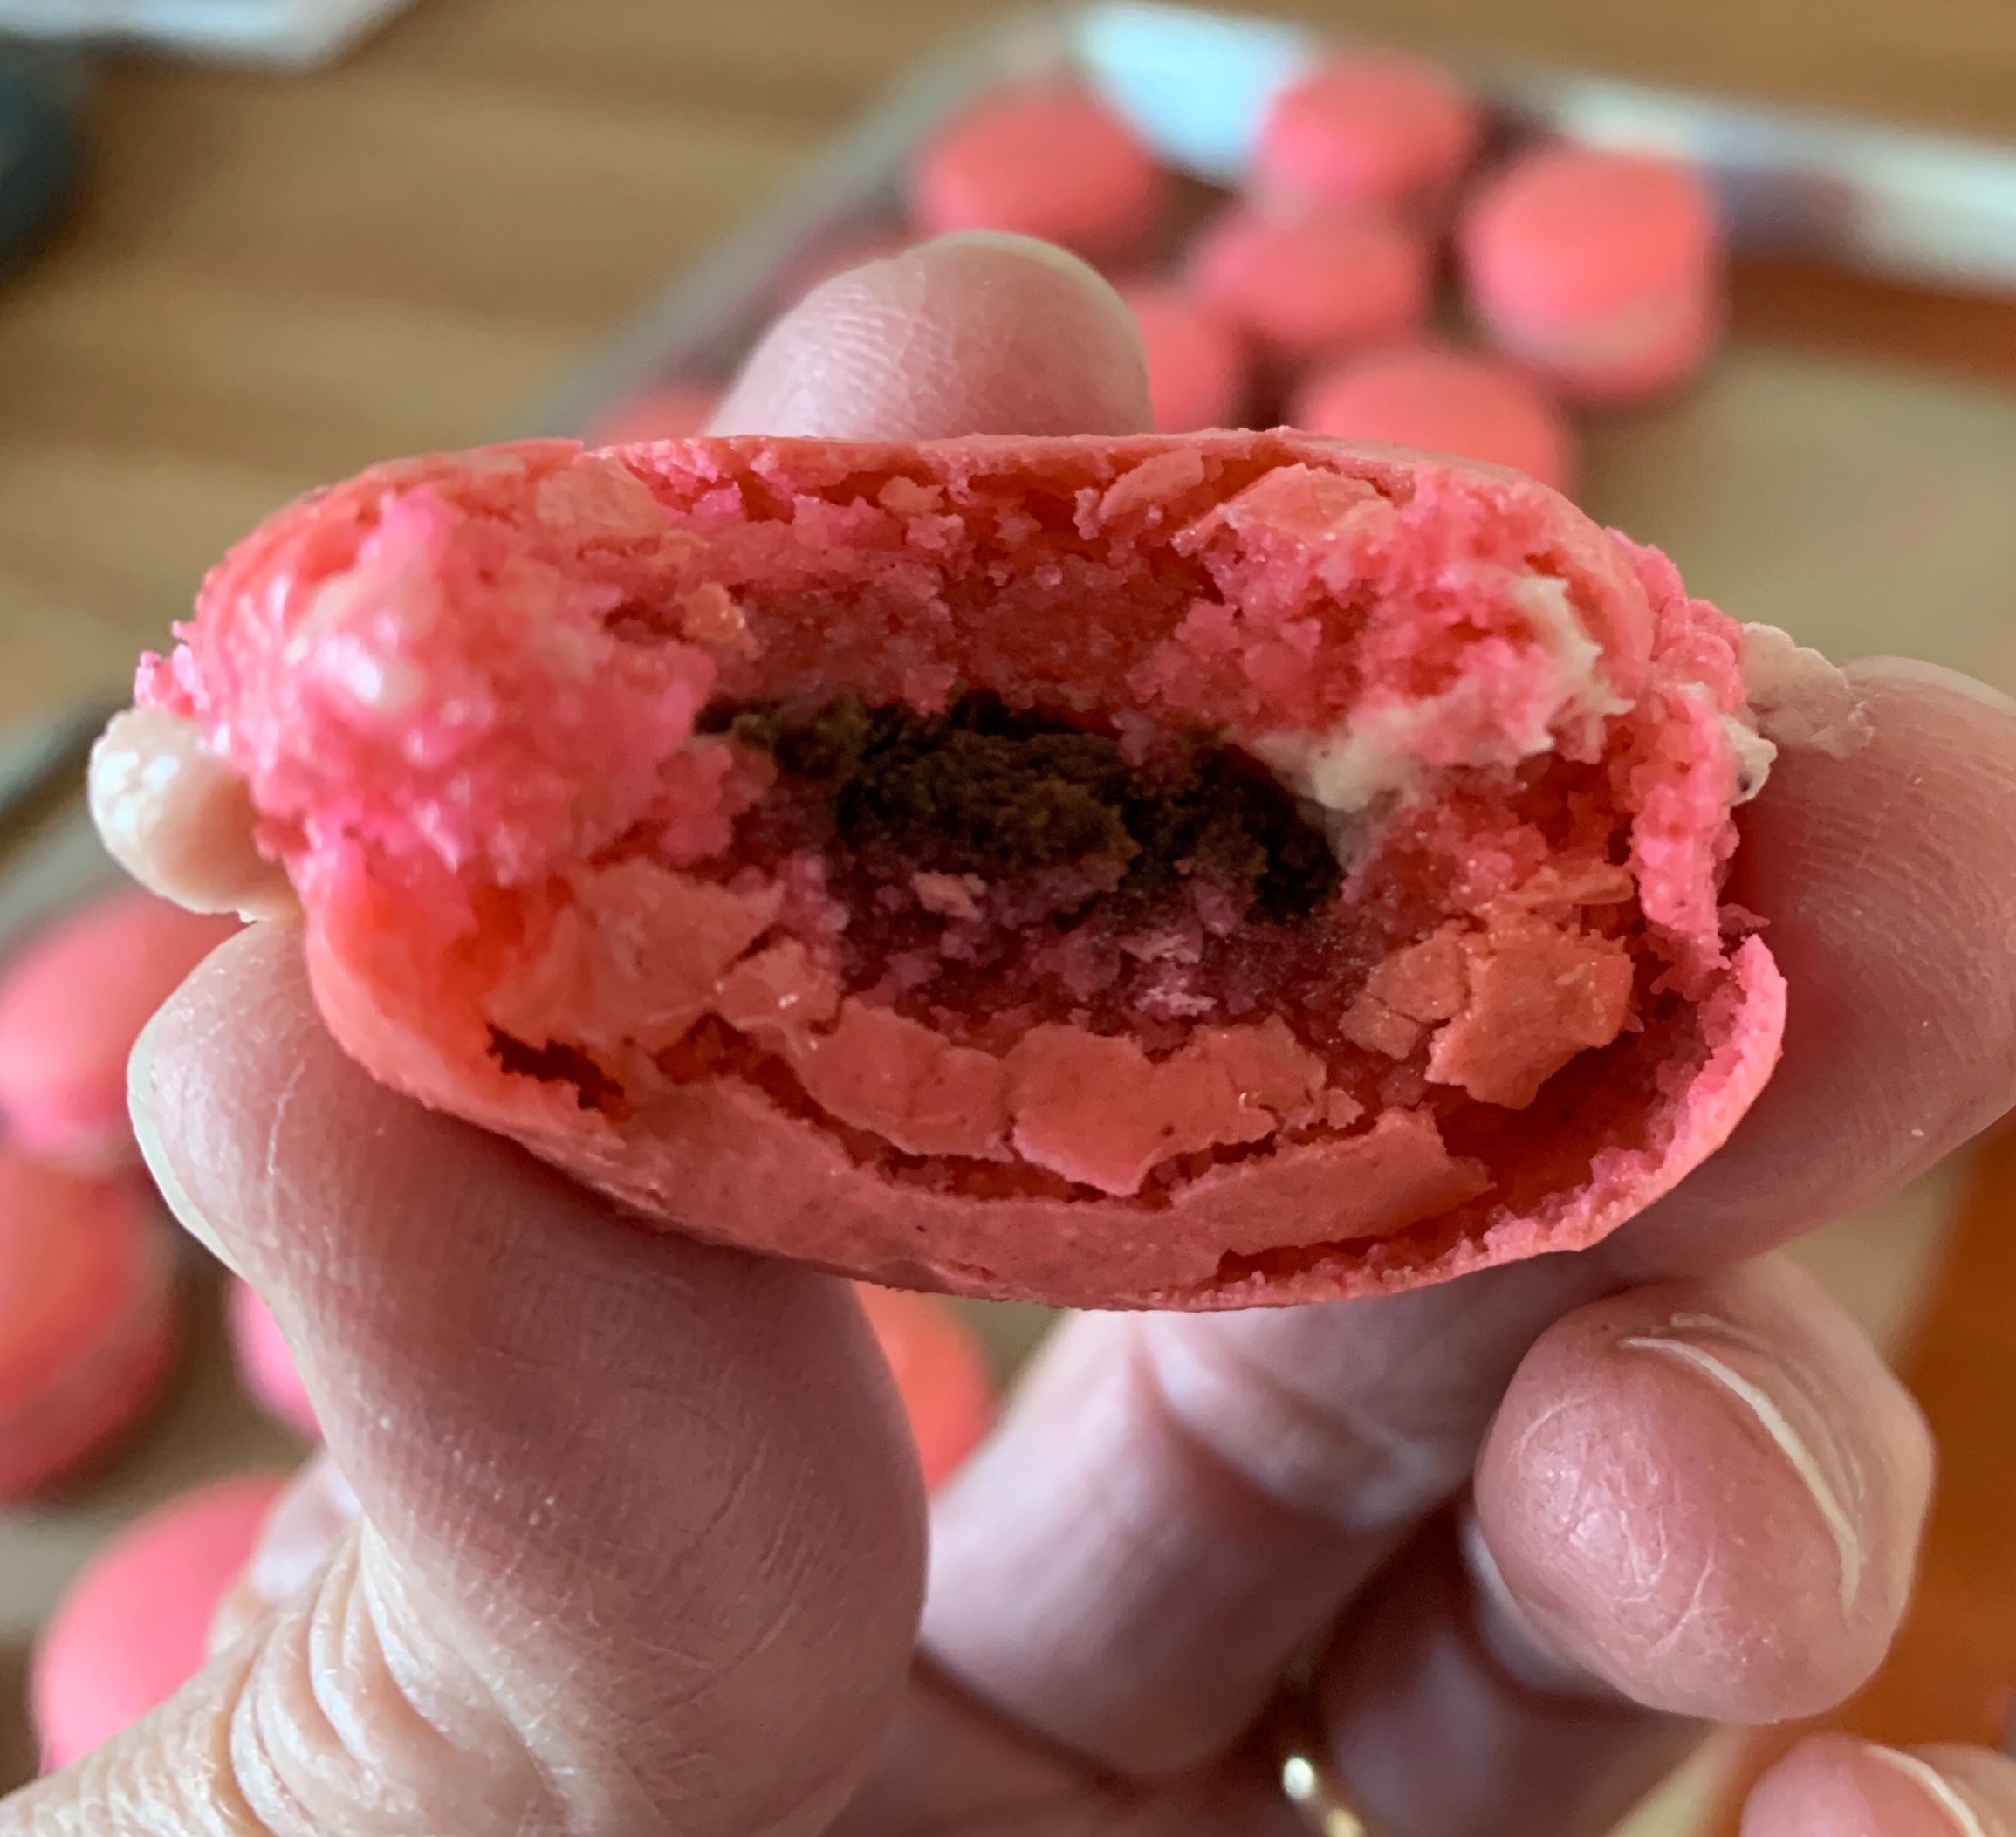
When using concentrated colors, go small - you can always add more. Here’s one instance where I got more heavy handed than I intended but the recipient of these strawberry macs reportedly said “These would make a dead man get up and speak French”.

more roasted strawberry smbc/ganache center

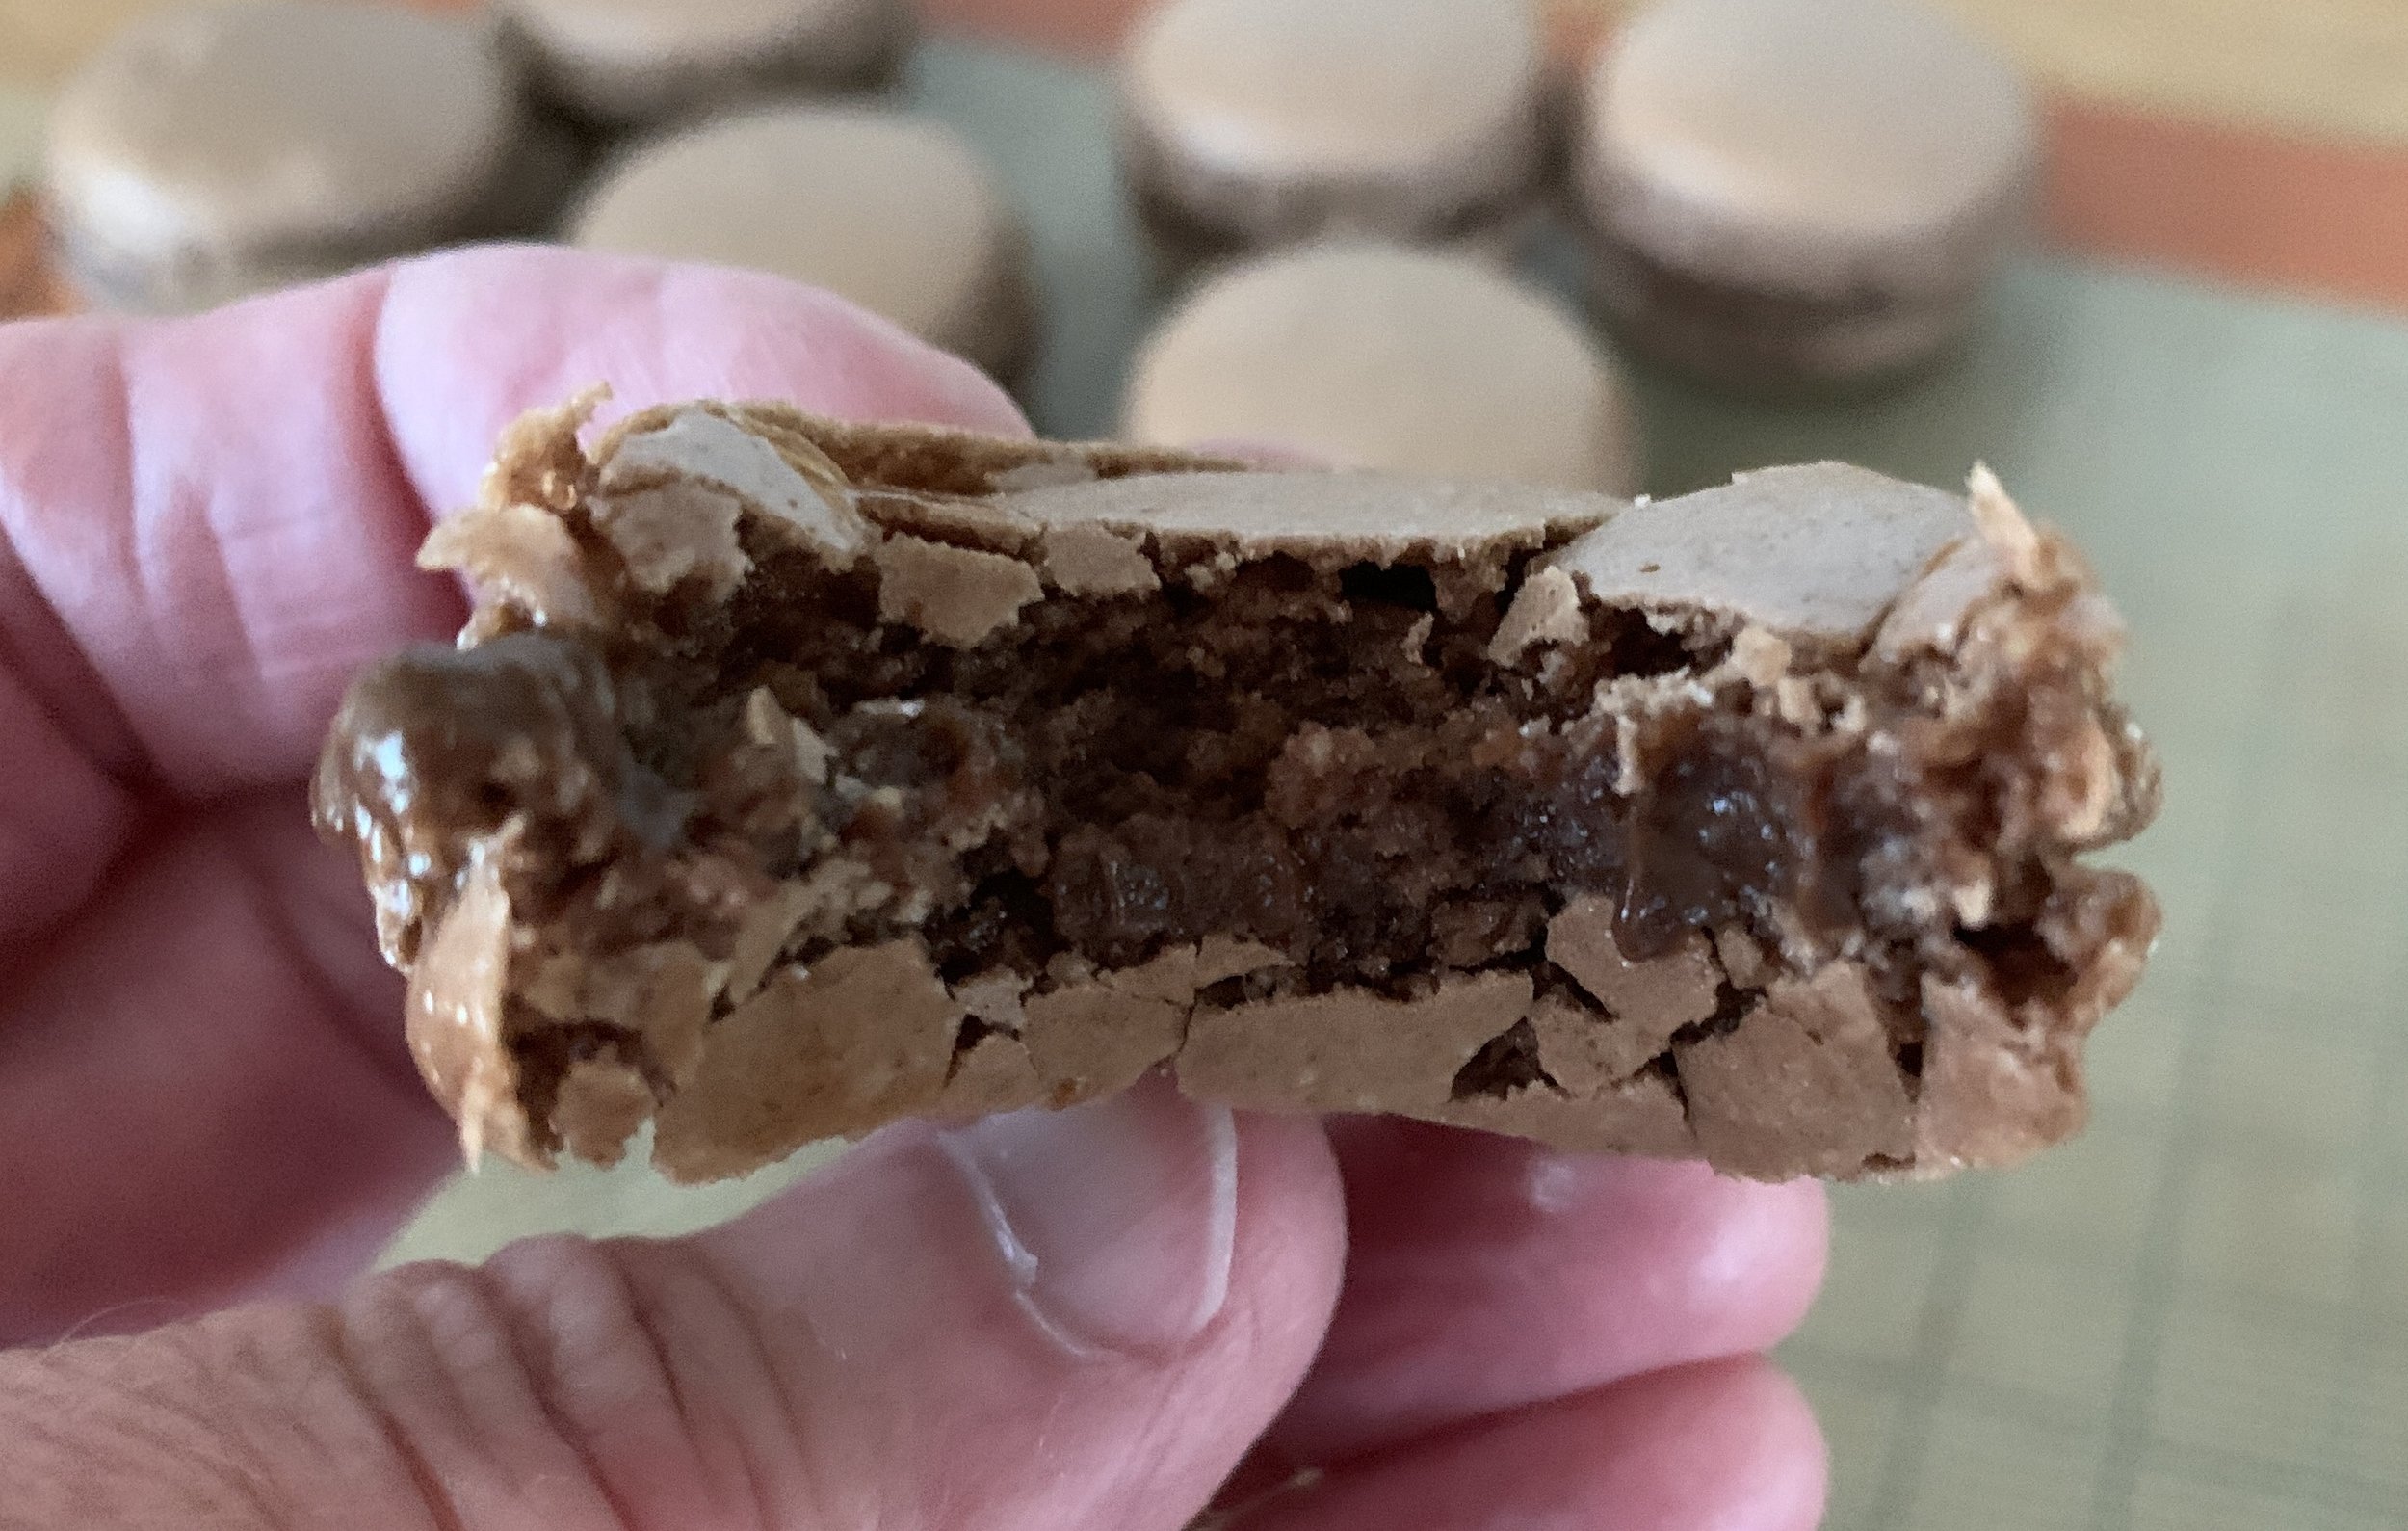
I’ve also taken to heart the importance of letting the filled macarons sit in the fridge for a day or two before enjoying (although many find that difficult!). It’s amazing what that cool rest can do for the texture of this little cookie.

I usually store the baked shells in the freezer, especially if they seem a bit sticky when attempting release from the Silpat. Once frozen they lift off nicely. Then I can fill them when I’m ready.

Even after filling, the freezer is my go to for storage where the texture continues to improve. You can move them into the fridge a day or two before enjoying or give them just a few minutes out of the freezer and enjoy right then and there. It works.

These days, as I look back, I’m a firm believer that attitude and being zen with it all makes a big difference. Ahhh . . . . the pastry gods can look favorably upon us.

It’s tulip time!

Mille-feuille aux fraises

B6313D36-DA81-4EFE-813D-0CE12676FA61.jpg

It’s great fun to revisit a classic every now and then. It takes me back to 2006-7 to those pastry school/stage days in Paris. Chef Pascal of Pâtisserie Pascal Pinaud in the 5th arr. would offer a lemon-raspberry version only on Sundays as a special weekend treat. It’s best eaten soon after being assembled so it’s not one of those goodies that can linger in the pastry case for a few days. You want that puff flaky and fresh!!

Mille-feuille (often referred to as vanilla slice in Britain and Napoleon in the US) is truly one of those classics. Crispy, buttery, flaky pâte feuilletée layered with vanilla crème pâtissière is the usual combo but one has the option to change up the cream flavor or switch to something like a light whipped ganache or whipped mascarpone cream and add fresh fruit into the mix. Think chocolate raspberry or coconut mango and you’re off to the races to create your own version.

My project came about as the result of a request for a strawberry vanilla option for a small birthday gathering. Being pleased to accept, I opted for a crème légère au vanille (essentially pastry cream with a bit of gelatin to set and whipped cream to lighten). I had puff pastry in my freezer and kept a keen eye out at various markets around town for decent looking strawberries as the day approached.

731C61B7-B211-4B6F-B684-1E569ACD0841.jpg

If you aren’t up for making your own puff (rough or quick puff can also be used here), you can find decent all butter versions in most frozen food sections of well stocked grocery stores. Dufour is a popular brand.

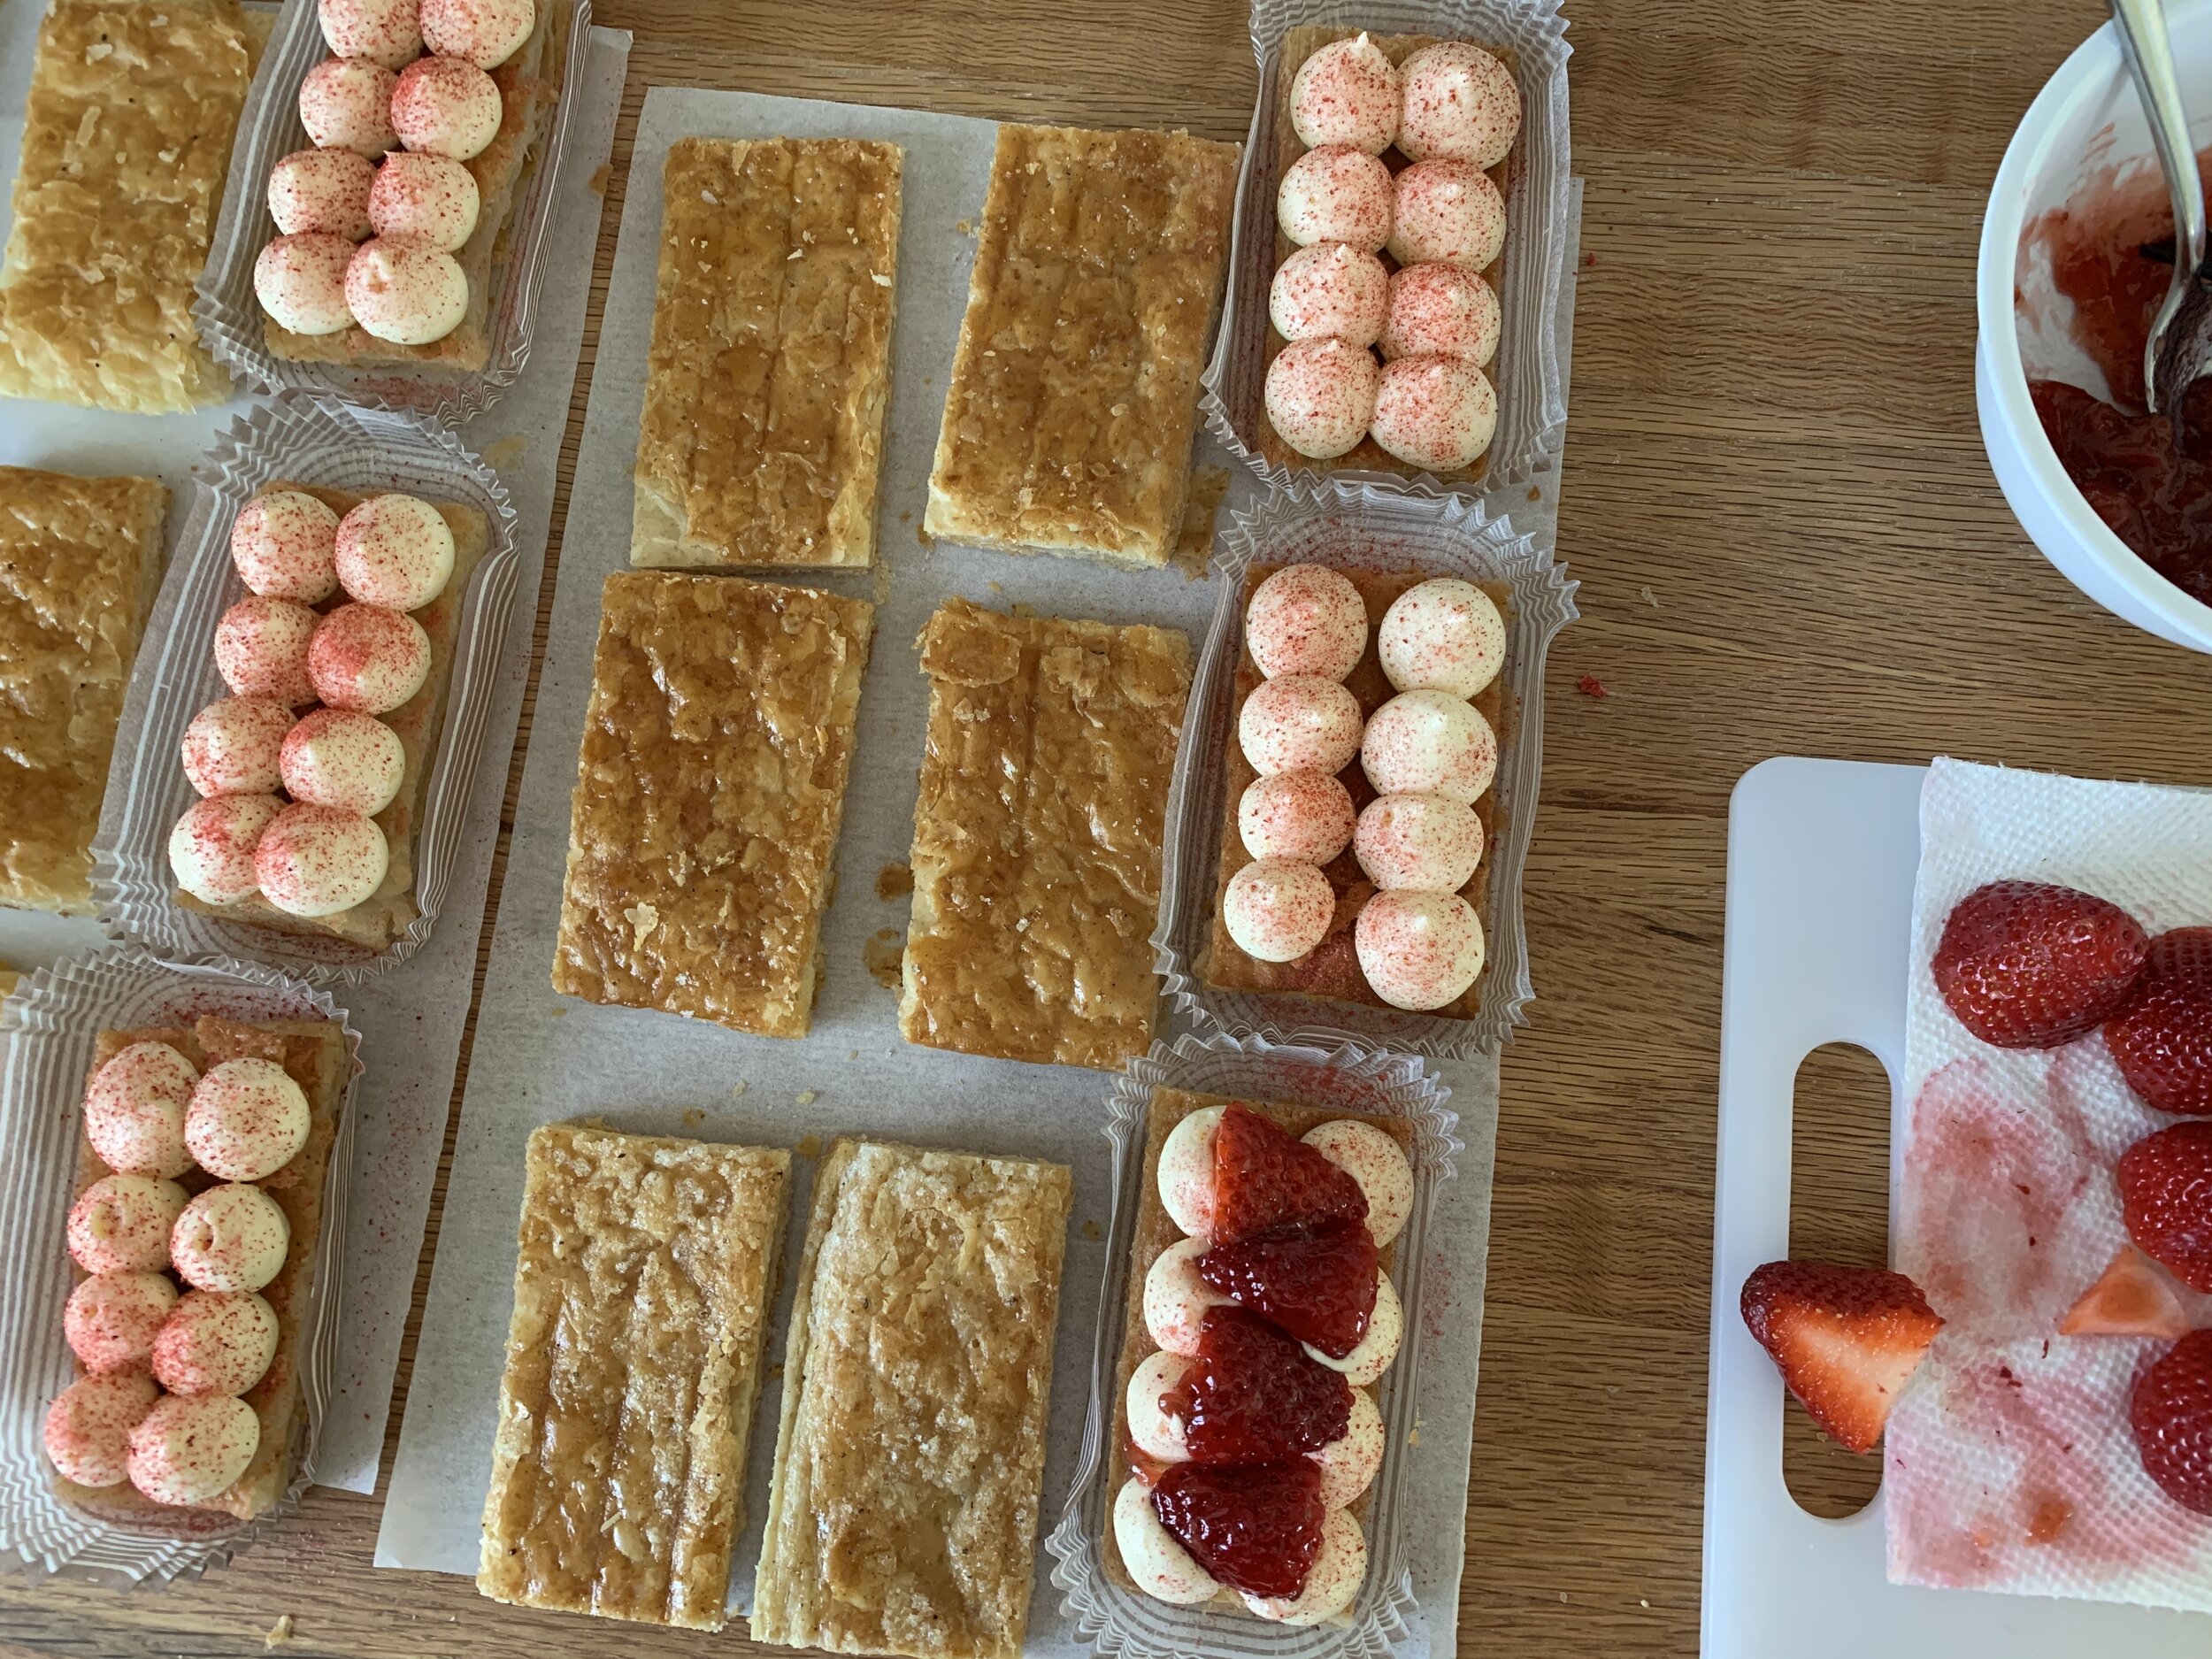
The beauty of creating this dessert is the make-ahead-ability of the components. I baked my puff and cut my ~2”x4” rectangles 1-2 days ahead, then held them layered between parchment paper in the freezer until the day of assembly. I made the cream a day ahead as well. On assembly day it’s a matter of prepping fruit and having your puff layers and cream at the ready. It’s all about being organized. Not bad at all!

A few tips when working with puff: always work cool; roll the dough out close to your desired size then give the dough a “lift and fluff” to help it relax. Cover with plastic wrap and give it a 10 minute rest (at room temp if your kitchen is cool otherwise in the fridge) before a final roll out to desired size. Then place on a parchment lined sheet pan and pop into the freezer while you heat your oven. That helps relax the dough and reduce the amount of shrinkage that might occur during the bake.

palmierrollout.jpg

For mille-feuille I recommend baking puff in larger sheets and then cut to your desired sizes - that compensates for some shrinkage of the dough during baking and gives you the ability to cut neat edges. That also gives you the option to cut longer strips to stack that will then be cut into individual portions vs. cutting individual rectangles like I did.

I used about a pound / 454 g of puff rolled a scant 1/4” thick for a half sheet pan, baked two of those and had plenty for some test cases and tasting. Yup.

B8F1816D-482A-4A61-96CC-99FF074106BB.jpeg

I typically bake my puff at 425ºF to start. Most recipes you might see for millefeuille instruct you to place a layer of parchment paper or foil on the chilled rolled out puff and top it with another sheet pan or two to weight it and prevent it from rising too much in the oven. I’ve even added a couple of loaf pans on top to add to the weight, but . . . . . . . . .

I’m here to tell you that even with those measures, the puff will puff anyway! Since I want it nicely browned, I weigh it down for the first 10-15 minutes, pull off the extra sheet pan and parchment (or foil) and continue to bake with a wire cooling grid overturned across the sheet pan to allow the puff to bake/puff more evenly. It needs at least another 10-15 minutes to reach a beautiful golden brown-ess (which is difficult to achieve when it’s covered with foil). Don’t forget to keep an eye on it and turn the oven down as needed.

Once cool I gently press it down to flatten as I cut my rectangles. It works!

Then it’s a simple matter of matching up three pieces that seem to stack nicely together and identifying the one you prefer to be the top. In my case, since I decided to dust the tops, their surface appearance didn’t really matter. Some will coat their chosen top pieces with confectioner’s sugar and pop ‘em under the broiler to caramelize for a nice sheen.

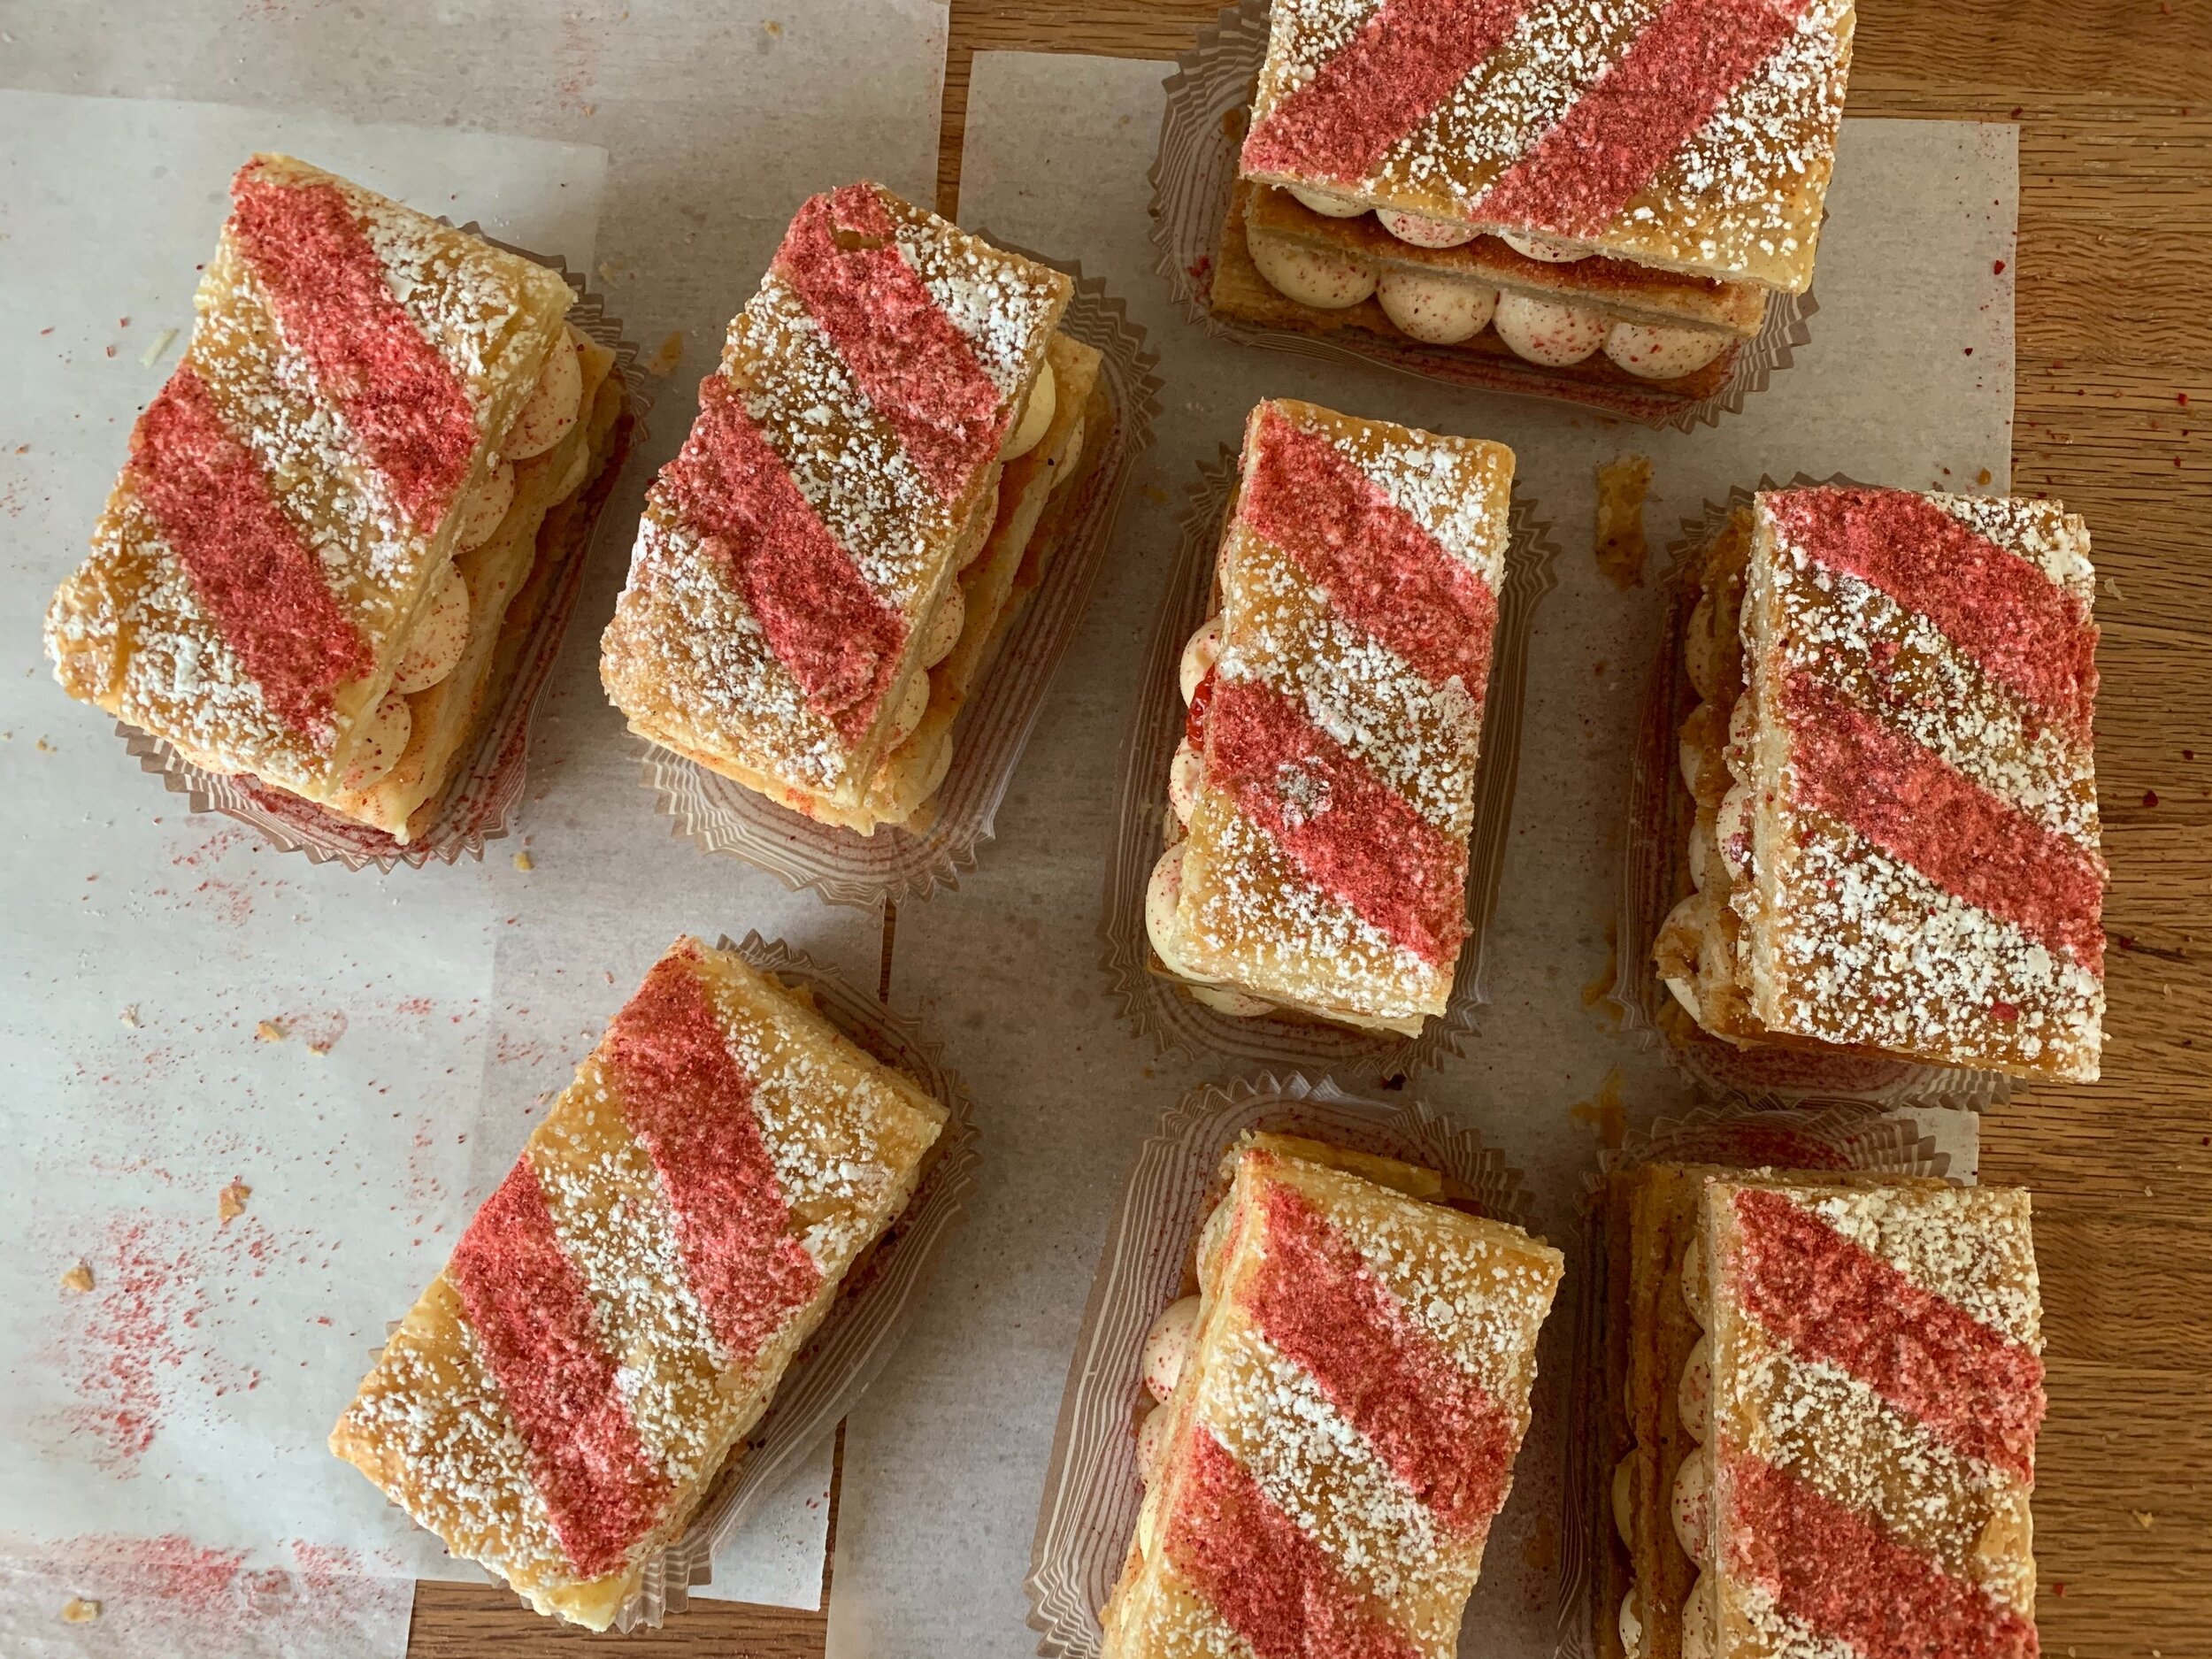
I went for simple piped rounds of pastry cream and dusted them with freeze dried strawberry powder to add an additional hint of strawberry flavor.

14CE98F6-72A1-473F-BFBE-70DB0C349F82.jpeg

I was fortunate to find fairly decent strawberries at one our our local grocers, sliced ‘em up and coated them with a bit of strawberry jam for another flavor booster.

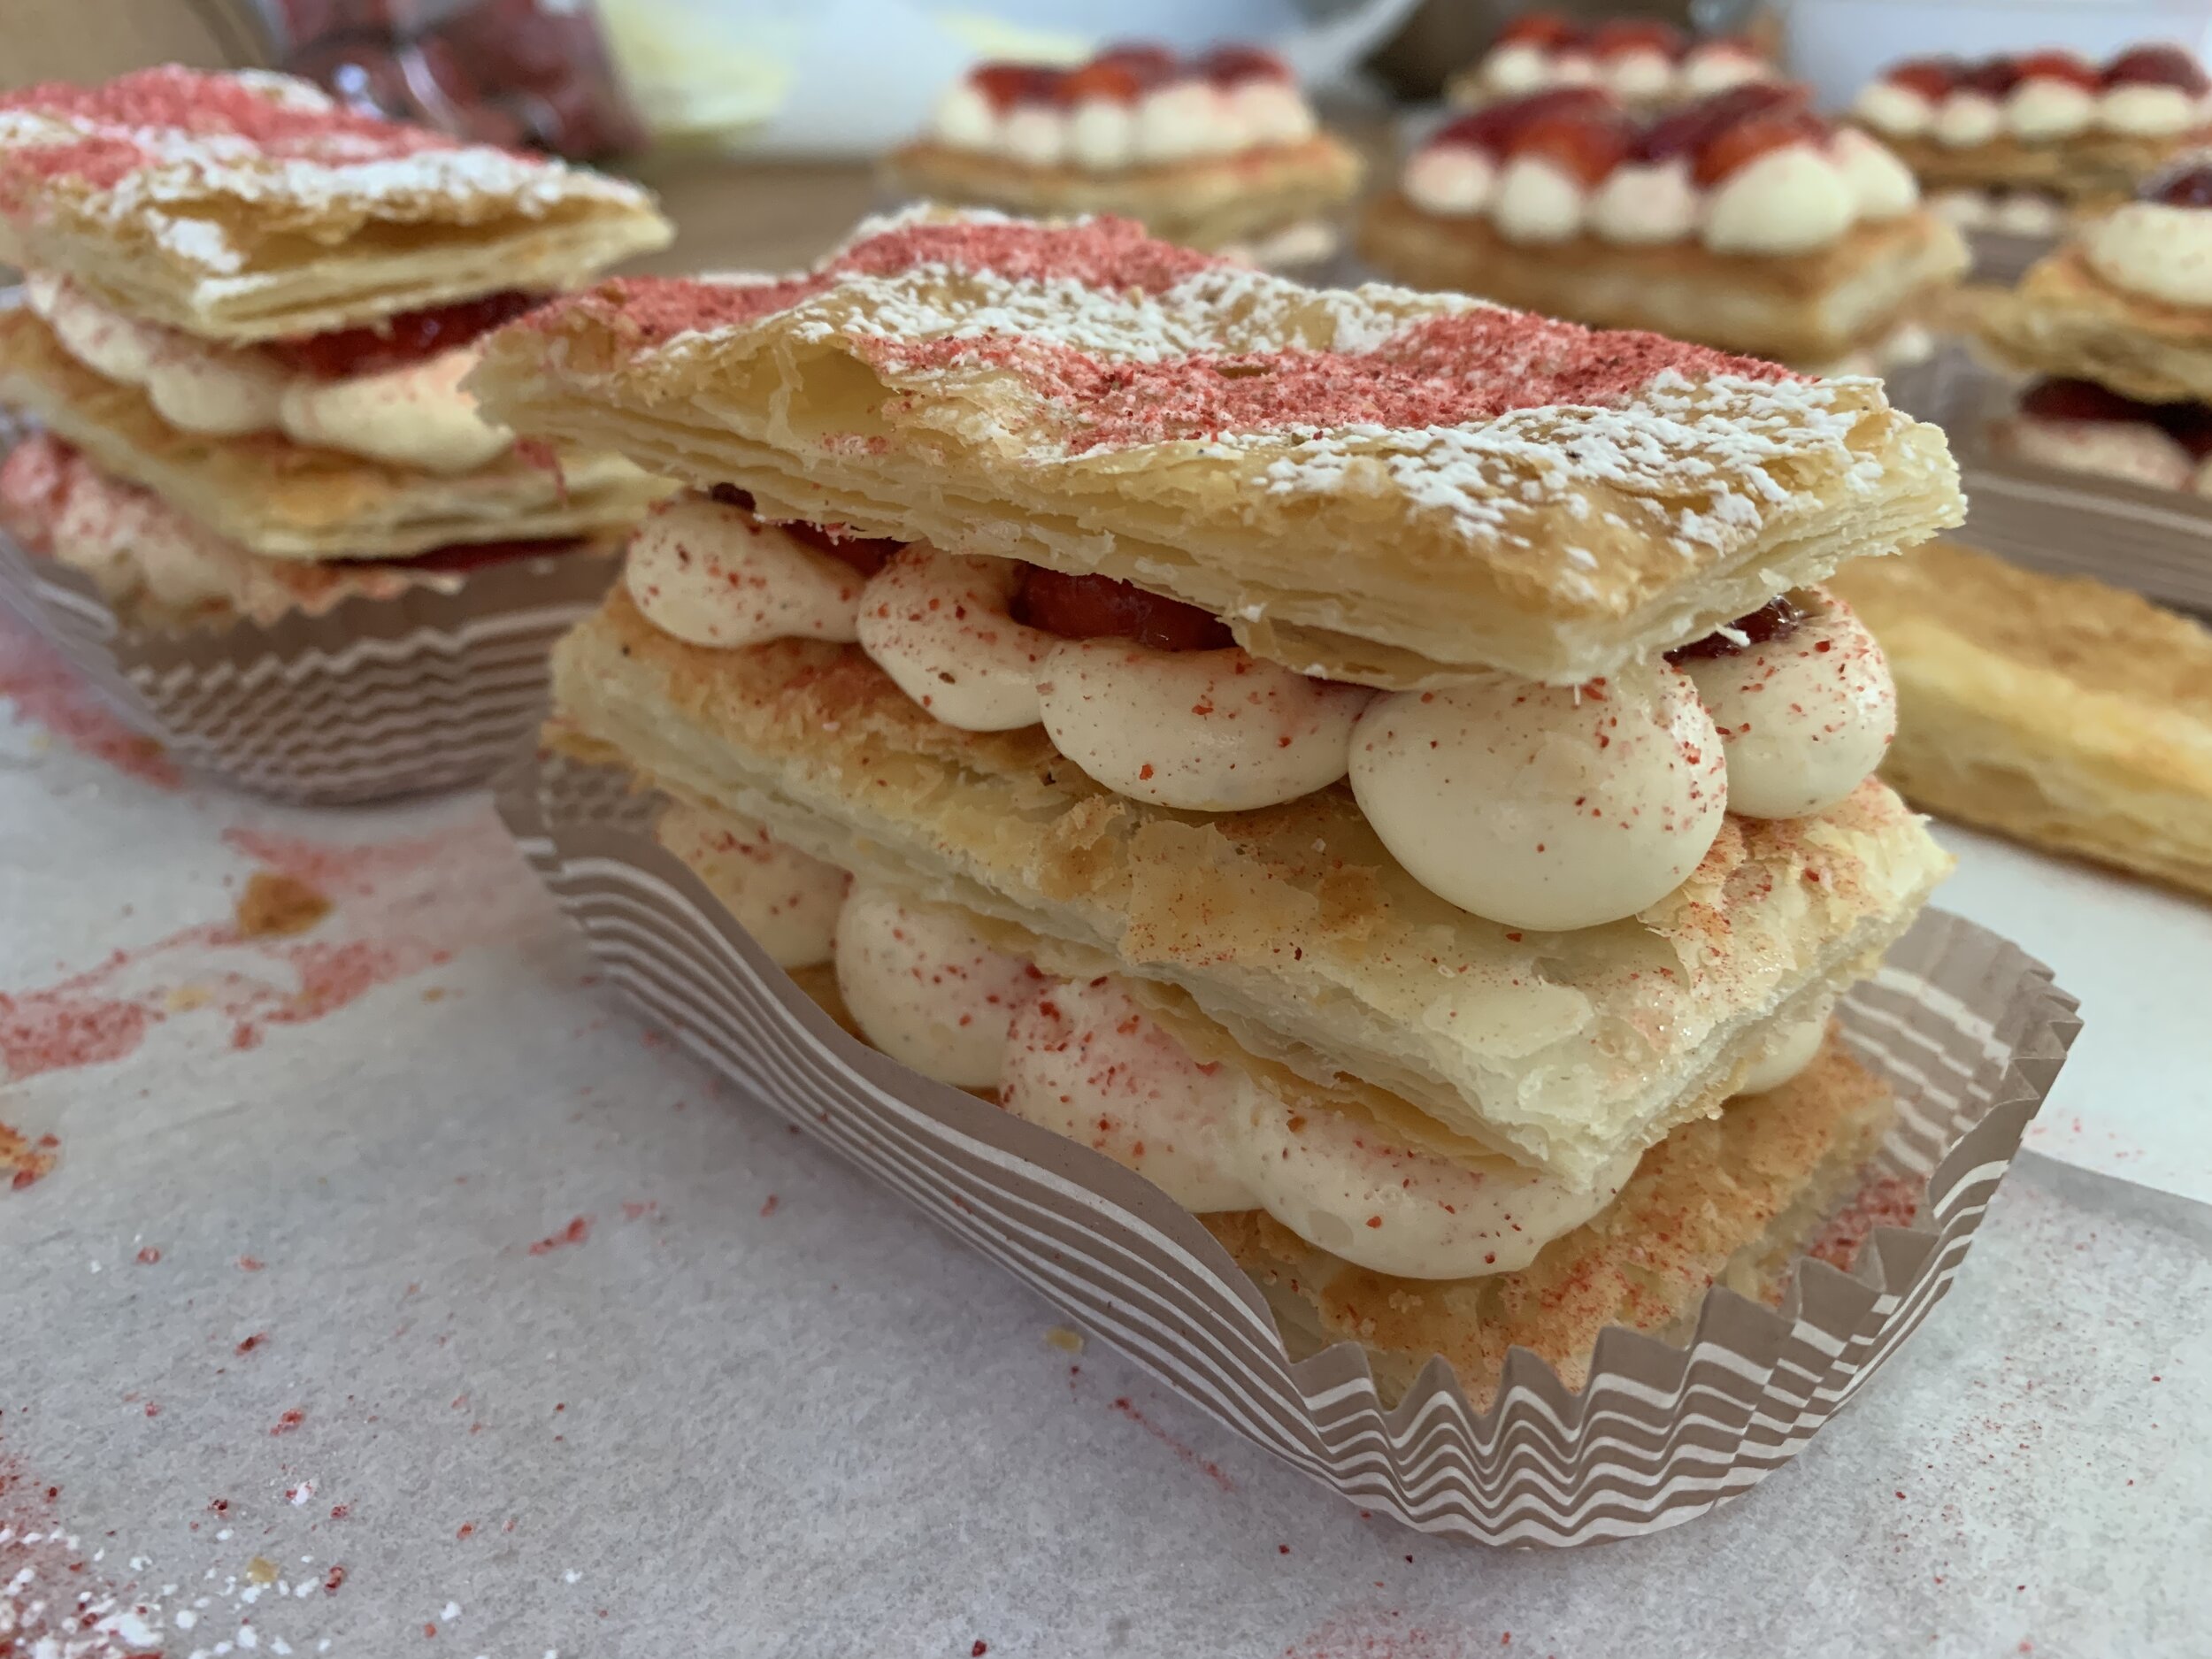
Let the layering begin. Puff/cream/strawberries/puff/cream/strawberries/puff. That’s it.

14CE98F6-72A1-473F-BFBE-70DB0C349F82.jpeg

For the top layer pieces I made a simple template so I could dust them with confectioner’s sugar then lines of strawberry powder. I buy freeze dried strawberries at Trader Joe’s and crush/sift them over whatever I want to dust.

B2B1F227-45AB-4210-8C45-0A105C9EDAB6.jpeg
2DDA6611-30B3-448B-8BEF-9CAC0DD76AD7.jpeg

Of course I made some test portions so Steve and I could give them a try. Yum! I even let one sit in the fridge for a day just to see how it would handle that down time. Not bad at all!!! The puff still had some crispy flakiness and the flavor remained delicious.

BCD5A579-484E-4A7E-B9F1-EBD5D99A2726.jpeg

Now that spring is pretty much here, start thinking about your own version of millefeuille. So many options. You can do it!

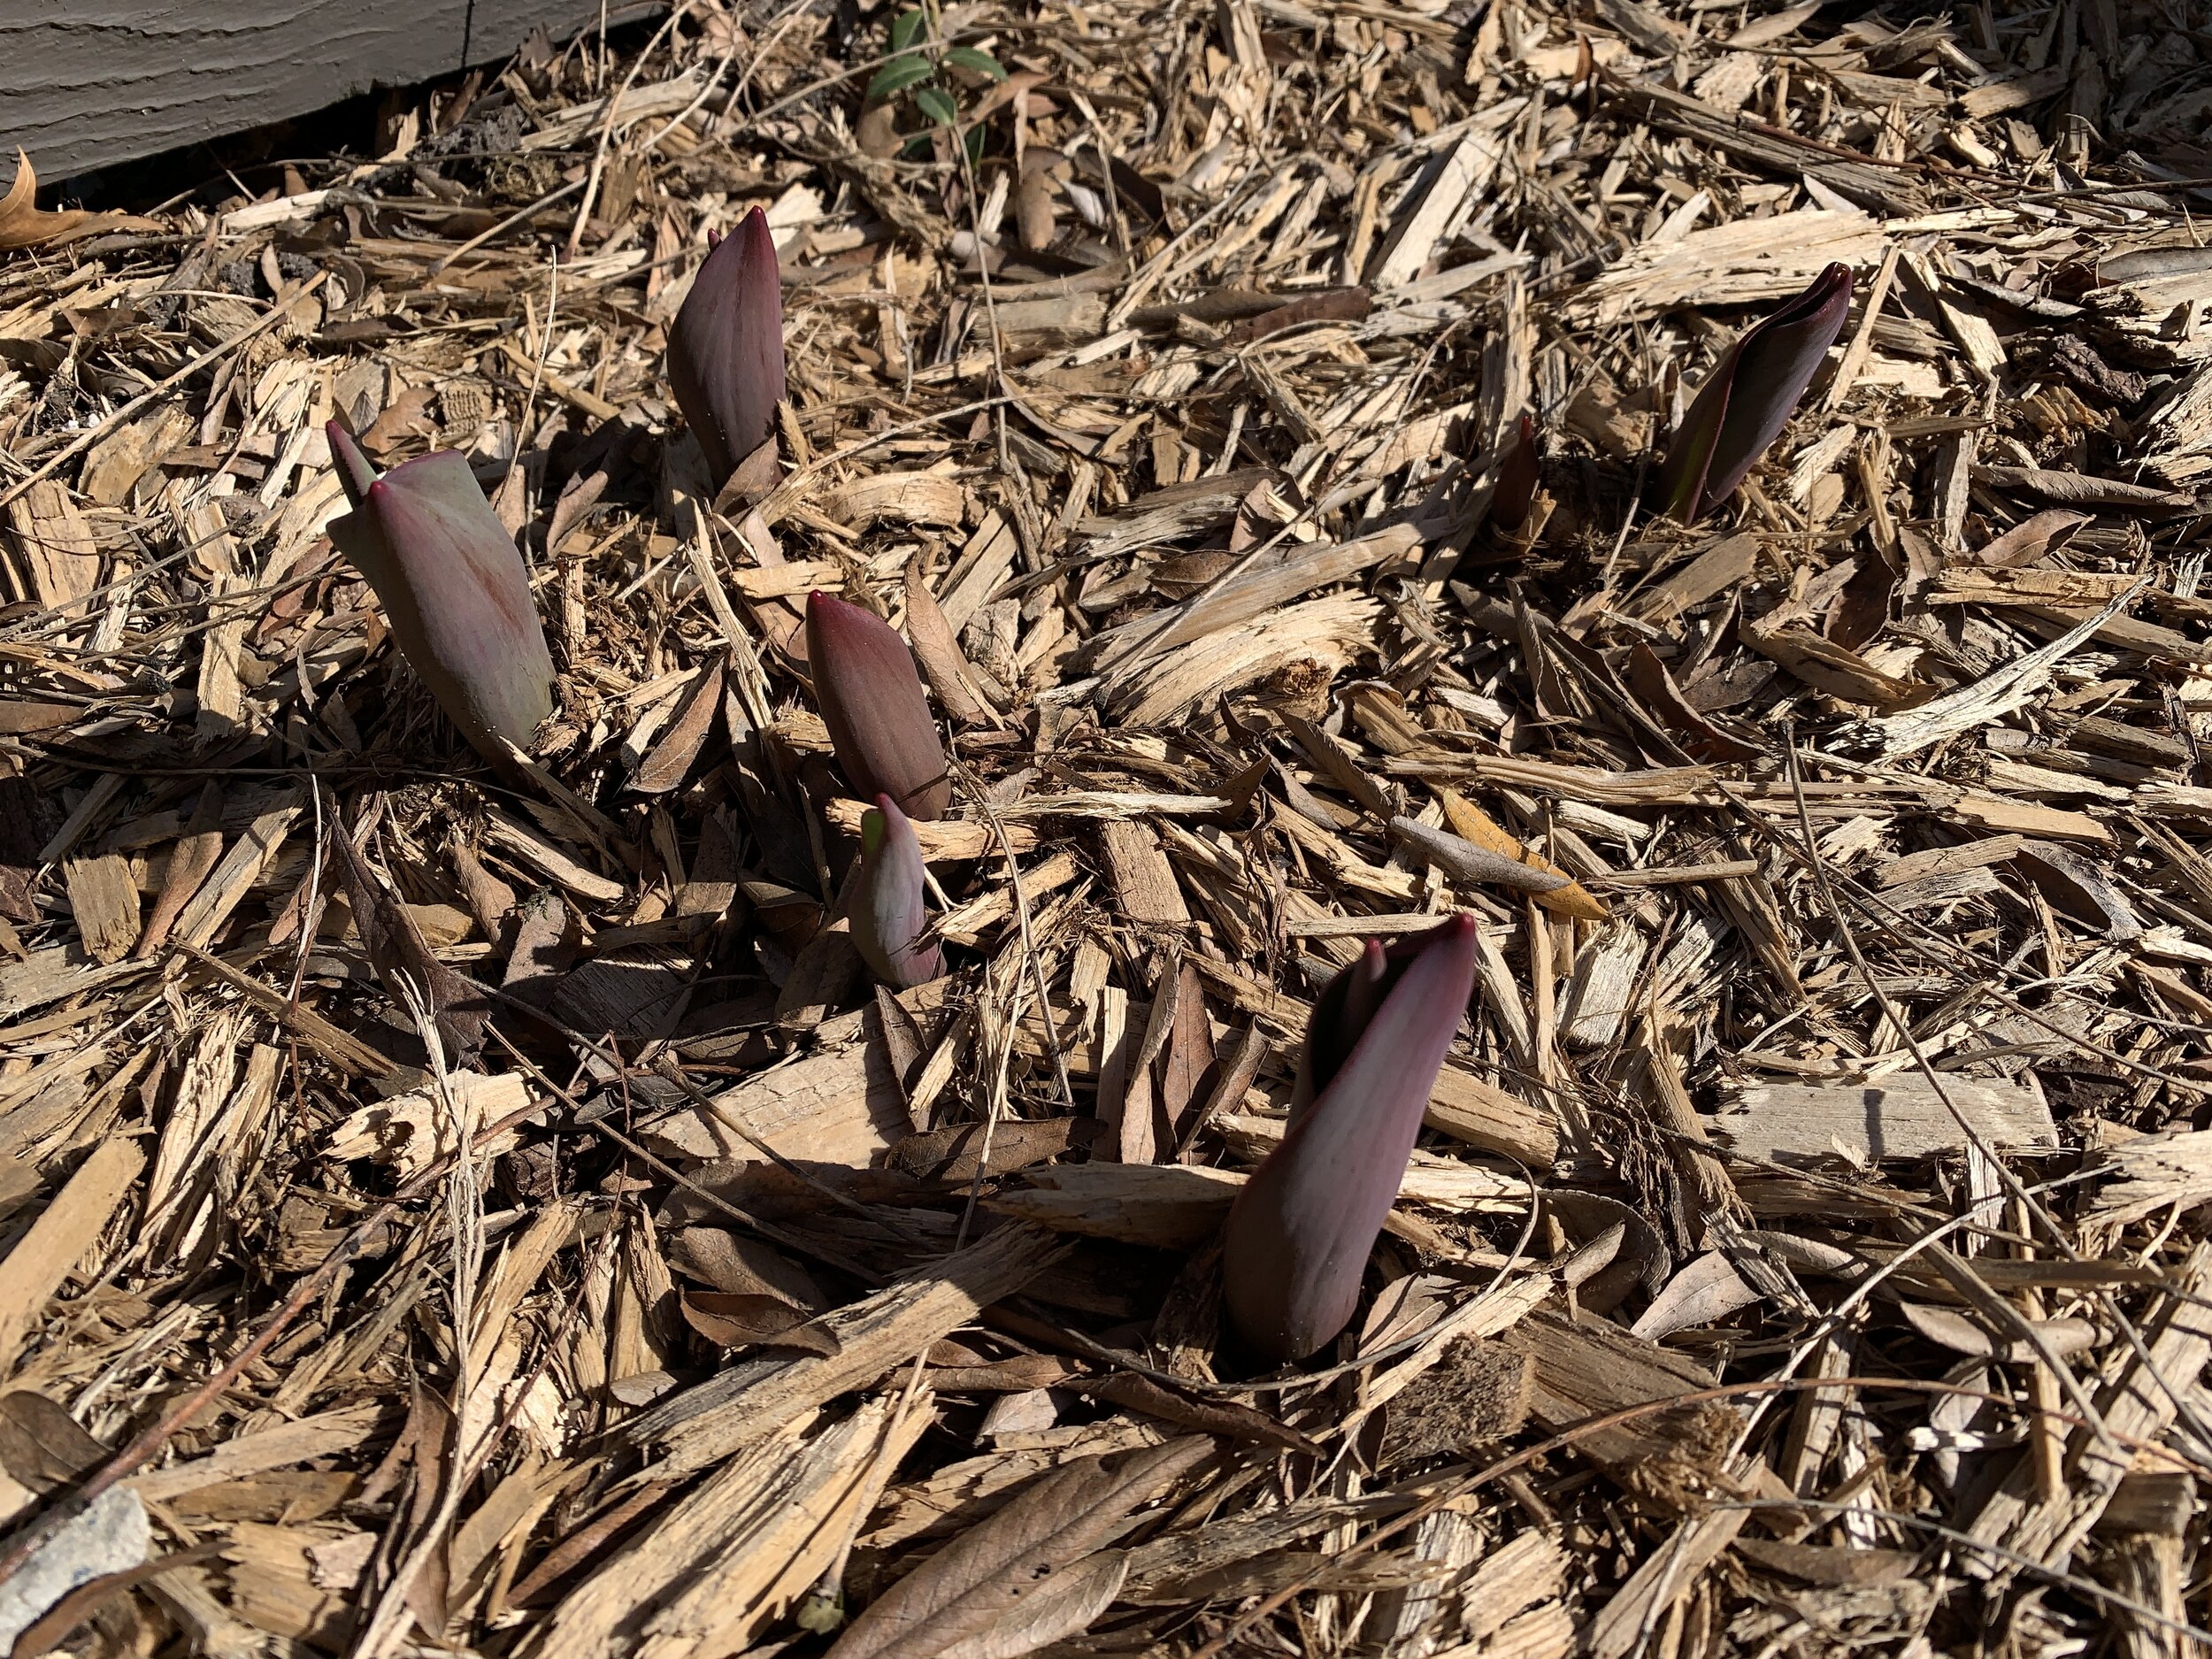
Meanwhile, Steve and I look forward to our second vaccine dose in a handful of days and . . . . . . my tulips are coming up!!! Yay!!

4CED9D9E-1D4E-41AB-AA89-1FDAA9962D7B.jpeg

Roasted strawberry ice cream and ginger shortcakes

IMG_1009.jpg

This is strawberry shortcake at it’s best! Roasted balsamic strawberries churned into a deelish ice cream, paired with fresh strawberries and ginger scones. Oh boy!

Recently I was perusing Rose Levy Beranbaum’s “The Bread Bible” (I can’t remember exactly why!) when I came across “Rich and Creamy Ginger Scones”. I had forgotten that she includes a section on quick breads, muffins, biscuits and scones in this wonderful bread tome of hers.

Never one to deny myself a new scone experience, since I had crystallized ginger in my cupboard (still working through the pantry!) and heavy cream in my fridge, I definitely wanted to give these a try.

IMG_0878.jpg

It also just so happened that I had purchased some strawberries at our local Meijer supermarket that wouldn’t necessarily be considered primo, if you get my drift. I decided to roast them up, purée em and make strawberry ice cream. The strawberry ginger shortcake idea was born.

IMG_1011.jpg

When you hear the terms scones, shortcakes and biscuits, one can’t help but ask “What’s the diff?” They’re pretty similar all-in-all although some have egg, some not; some heavy cream, some buttermilk or other dairy like yogurt or even ricotta; some softer self-rising flour like Lily White (i.e. biscuits) and some with a flour twist like replacing a portion of all purpose flour with spelt or whole wheat pastry flour. LOTS of options.

Most shortcake recipes I’ve used or reviewed contain flour, sugar, baking powder, salt, cold butter chunks and cream, all put together with a light touch. The word short refers to the fact that the butter coats the flour to prevent gluten strands from lengthening (hence short), keeping the product flaky, light, crispy and delicious all rolled into one!

Let’s make the principal players.

IMG_0879.jpg

To roast the berries hull and chunk up about a pound of strawberries, toss them with a tablespoon of good quality balsamic vinegar, a tablespoon of brown sugar (light or dark, it’s up to you) and 1/4 teaspoon freshly ground pepper. I used a Silpat but parchment is fine too. Roast them at 375ºF for about 20 minutes until dark and syrupy, stirring them a couple of times. Note to self - punch up the balsamic and pepper next time.

IMG_0880.JPG

Let the berries cool then either mash them with a potato masher or purée them if you’d like them a bit more refined. I made my usual ice cream base and blended in the berry mash while chilling the base over an ice bath. I let the strawberry blended base mature in the fridge for a couple of days before processing and freezing.

On to the ginger scones. The primary difference in this recipe from the one I normally use is more butter (170 g vs 113 g), twice as much sugar, no egg, same amount of cream (but whipped!), a teaspoon of ground ginger, zest of a lemon and the addition of 113 g finely diced crystallized ginger.

To get ready, whip the 180 g/3/4 cup cold heavy cream to soft peaks and cube the cold 170 g/6 ounces of butter - hold both in the fridge. The mixing steps are the same as for your typical scone, biscuit or shortcake: blend in a medium mixing bowl 260 g/2 cups all purpose flour, 66 g/1/3 cup turbinado sugar, 14 g/1 tablespoon baking powder, 1 teaspoon ground ginger, zest of a lemon and 1/8 teaspoon salt; rub and flatten the cold butter pieces into the dry ingredients to a mix of coarse crumbs and visible pieces of butter; add in the crystallized ginger; fold in the whipped cream. You got it!

Remember the key to scone mixing is cool, quick, decisive - don’t over handle the dough. Turn it out onto a lightly floured surface and give a few quick kneads to bring it together.

I like the way RLB divides the dough in half, forms 2 six-inch rounds about 3/4” thick, then cuts them in either 6 or 8 pieces depending on the size one prefers.

IMG_0881.JPG

Heat the oven to 400ºF with either a baking stone or a sheet pan on the middle rack. The scones go onto a second sheet pan, parchment lined, brushed with cream and sprinkled with raw sugar then placed in the freezer for 15 minutes or so to firm them up and keep that butter COLD!

Don’t forget that you can take it to this step and freeze them for baking another time. I love plan ahead projects.

IMG_0883.jpg

Pop the baking sheet onto the heated sheet pan and bake for 15-20 minutes. I usually give them 10 minutes, rotate the tray and check again in about 8 minutes. If they seem to be browning too quickly I turn the oven down to 375ºF.

IMG_0885.JPG
IMG_0888.JPG

These have an ethereal quality -crispy outside, light and flaky inside, just the right amount of ginger and oh so good.

I’m a firm believer in eating scones, shortcakes and biscuits the day they’re made, otherwise freezing them the day they’re baked to preserve their like-fresh quality. This time I did a little test: I took 4 baked scones out of the freezer, loosely wrapped them in parchment paper, left them at room temp and the next morning gave one a 5-8 minute warm up in a 300º oven. Still SO GOOD. Crisp out and light in, a match made in heaven.

I repeated this over the following 2 days and found they continued to offer that just baked enjoyment. For THREE days, they sat wrapped in parchment at room temperature and did not disappoint. Amazing.

Steve and I enjoyed the combo of roasted strawberry ice cream, great quality fresh berries that we happened upon at Kingma’s market and of course the perfect ginger scones. Thanks Rose.

IMG_1010.jpg

The Queen of Hearts she made some tarts . . . .

IMG_4426.JPG

Mind you, I’m not equating myself with the Queen of Hearts from Alice in Wonderland (described as a foul tempered monarch), however I do love making tartes - and I can promise that Steve did NOT steal any of them!!

Above is a collection of fresh fruit tartes I created for a recent Alice-themed fund raising event here in Grand Rapids. The chess board seemed like just the right backdrop for these luscious treats.

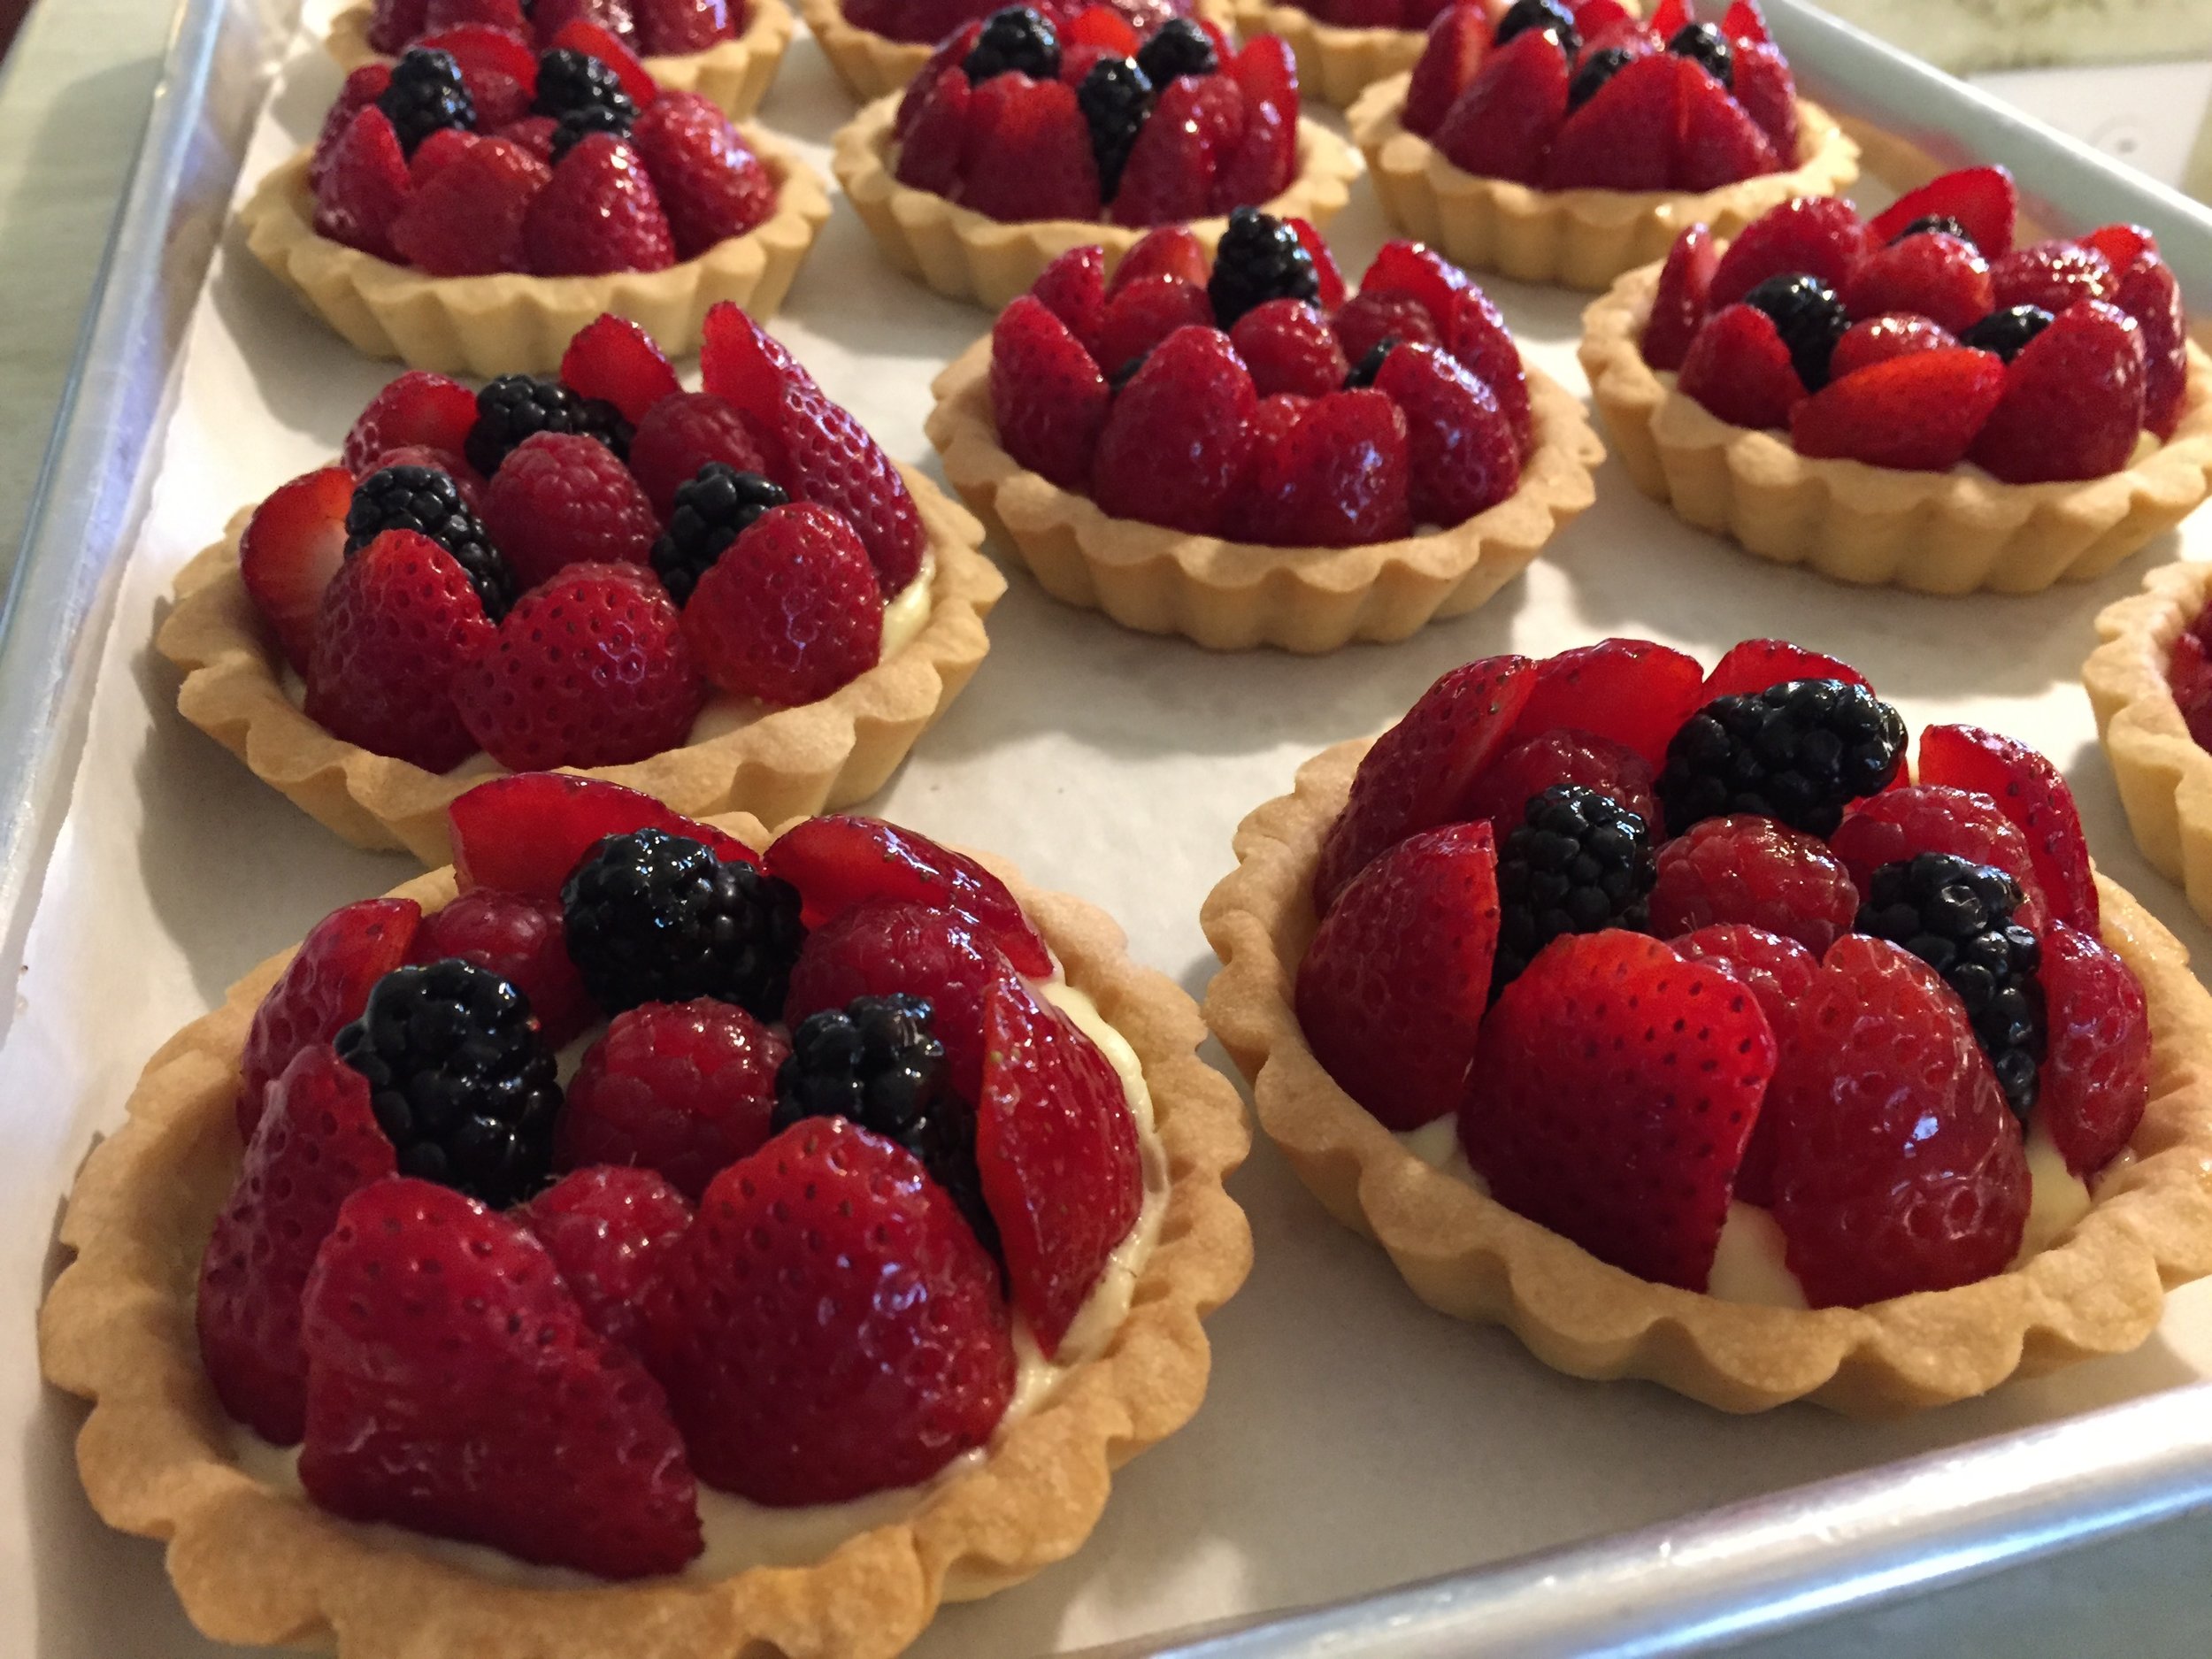
We have blueberry/lemon, raspberry cream, strawberry/lime mascarpone and blackberry citrus/Earl Grey ganache. Delightful!!

When creating your own fruit tartes remember to start with your favorite pâte sucrée, blind baked, then fill with classic crème pâtissiére or a fruity whipped mascarpone or your own version of a citrus or tea infused ganache (white chocolate works well with fresh berries). It’s lots of fun to mix and match to your heart’s content. Hop on over to the recipes page to find some of my favorite base recipes.

IMG_4418.jpg

Here are just a few of the other tartes I’ve done in recent months (including some late summer reminiscing!).

Fresh blueberry

Fresh blueberry

Peach custard

Peach custard

Apple blackberry

Apple blackberry

Classic pear almond

Classic pear almond

As we are ever fast approaching Thanksgiving and the whirlwind of the holiday season, I wish all of you many “all is calm, all is bright” nights.

Happy tarte baking!

Fresh fruit tarts

Four Inch Tartes individuelles

Four Inch Tartes individuelles

West Michigan is known for it’s grey skies and lack of sunny days during the winter months, but lately I’ve been making a variety of fresh fruit tarts which simply add their own version of sunshine and brightness to the seemingly dreary weather. The good news is when we do have a sunny day, it’s a beauty! And some of our sunsets are absolutely gorgeous. Ahhhh . . . . there’s something about a Michigan sky.

Tartelettes Petits Fours

Tartelettes Petits Fours

While I’d prefer to use fresh local summer berries and stone fruits for my fresh fruit tarts, we’re fortunate to have pretty decent berries coming to us from California as well as citrus and all manner of tropical fruits from various parts of the country and the world. It’s interesting that most requests I receive for fresh fruit tarts happen during the winter months. I guess it’s just that desire for something colorful and delicious, and there’s nothing wrong with that!

TWO and a half inch Tartes individuelles

TWO and a half inch Tartes individuelles

I love the pinkish-orange of the Cara-Cara variant of the navel orange - just like one of our beautiful Michigan sunsets, especially when paired with the brilliant red of raspberries. And the blackberries lean more toward the end-of-sunset dusk when things start darkening into the deep purple hues of the night sky.

Nine inch Tarte

Nine inch Tarte

The nuts and bolts of this type of tart include a standard pâte sucrée crust, a classic crème pâtissiére and, of course, an assortment of fresh fruit. Whatever suits your fancy.

Especially when I’m assembling a large tart, I like to do a mock up of my fruit lay out before actually placing the fruit on top of the crème. Here I’m using raspberries, blackberries, strawberries and Cara-Cara citrus. You might notice the pomegranate seeds at the top - I didn’t end up using them for my own aesthetic reasons (artistic license, right?).

Working on the layout

Working on the layout

Assembly in process

Assembly in process

I must say that finishing a fresh fruit tart gives one quite a sense of satisfaction. And, of course, one hopes that the recipients will be just as satisfied!

Merry Christmas and Happy New Year everyone. Here’s to many more baking adventures! And may you enjoy your own sunsets wherever you are.

IMG_3454.JPG

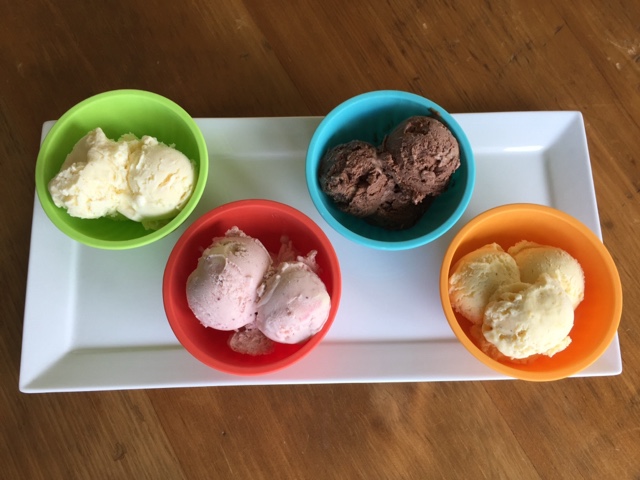
Ice cream! Glace aux pêches, chocolat-amande, framboise-fraise, noix de coco-citron vert

Summer has certainly been in full swing and what better way to enjoy the season than to make some homemade ice cream. Absolutely!

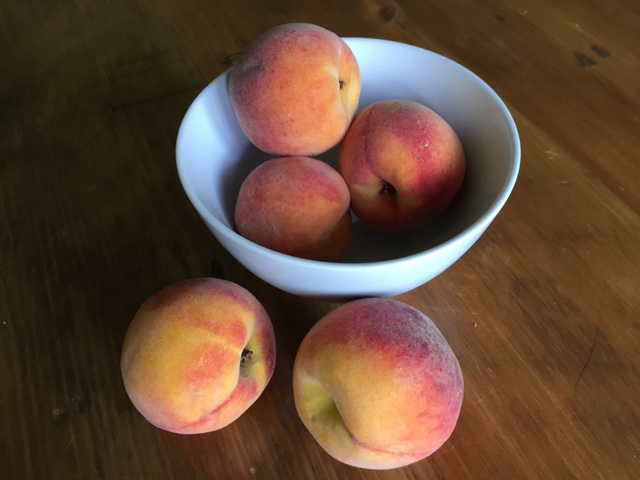
I was on a major roll with this project, that's for sure. Part of it was spurred on by the fresh peaches and berries available at our favorite Fulton Farmer's Market.

Another part of it was the realization that family was coming to visit for my mom's 90th birthday celebration. Having several flavors of ice cream in the freezer seemed like just the thing for any impromptu dessert needs.

I've mentioned in previous posts that I've been using an ice cream base recipe from David Lebovitz for many years now. It's so straight forward and allows one to come up with all sorts of flavor options. He talks about infusing flavors, add-ins before the churning step and mix-ins at the end. SO GOOD.

The base contains 2 cups cream, 1 cup milk, 5 large egg yolks, 155 g sugar and a pinch of salt. The preparation method is that of a basic crème anglaise, cooled over an ice bath and then refrigerated for some hours or over night until ready to process. I love making the bases a day or two ahead so they can cure and thicken in the fridge, plus I have two canisters for my Cuisinart ice cream maker always at the ready in my freezer. Bring it on!

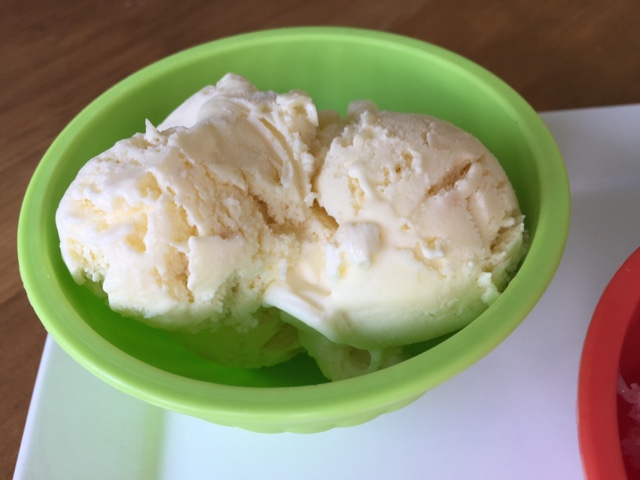
Peach was definitely at the top of the hit list.

When incorporating certain fruits in ice cream there's the possibility that the end result may be a bit icy. David suggests peeling and slicing the peaches, cooking them until they're nice and soft then puréeing them. I added just a whiff of sugar and a splash of lemon juice to what started out as a pound-and-a-half of peaches (before the peeling/pitting and slicing) and was very happy with the end result. Once my chilled base was ready to process, I blended in the cooled peach purée and churned away.

The peach flavor comes through nicely in this creamy, fresh summery treat. I served this one with my from-scratch angel food cake (YUM!) and some sliced fresh peaches. How can one go wrong with that combo?!

Of course it's great on it's own, one luscious spoonful at a time.

Now for chocolate almond, two of the most lovely flavors that one might put together, whether it's in ice cream or some other delectable baked good or chocolate confection.

This version took a little more time since the warmed dairy is first infused for an hour or so with a cup and a half of coarsely chopped toasted almonds. The only downside is that the almonds are discarded after the dairy is strained. Kind of sad.

BUT!! There's hope after all. Next time I'll rinse 'em, soak 'em in water overnight and make my own NUT MILK! I've been dying to try it. And an even more beautiful thing is once the almonds and water are ground and the milk is strained through cheese cloth, the almond meal can be spread out on a baking sheet, dried in the oven and used in baked goods. Now THAT'S a good deal all the way around.

In this case, once the ice cream base is cooked to the anglaise stage, 4 ounces of chopped and melted bittersweet chocolate (at least 60% is recommended) and 1/4 cup Dutch process cocoa are added to the warm mixture before cooling.

In addition, after the ice cream was processed, I mixed in coarsely chopped Ghiradelli 60% chocolate chips and some of my ground almond nougatine.

Now THAT made for a delicious finished version of creamy, chunky delight.

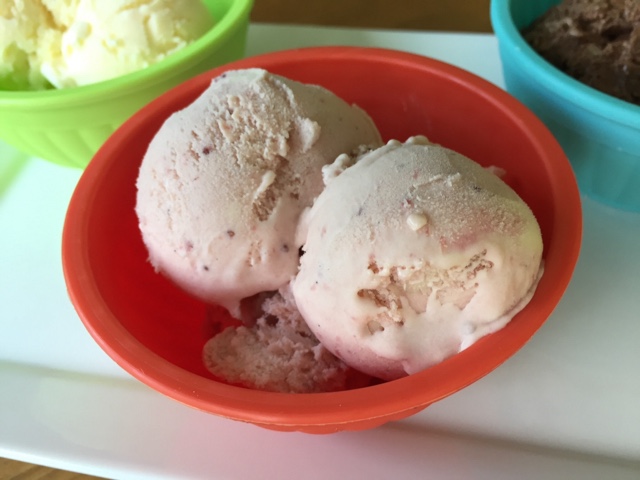
Next up - framboise-fraise!

With this version I prepared the strawberries in a similar fashion to the peaches mentioned above. Hull and cut up about 3/4 pound strawberries, add a couple of tablespoons of sugar and a splash of lemon juice and cook them on the stove top until somewhat thickened and jam-like. Then purée them and chill.

Since I was going for a strawberry-raspberry combo, I also puréed and strained about 8 ounces of fresh raspberries and added them in to the chilled base along with the strawberry purée. Then it's simply a matter of processing to a shear perfection of summery, berry goodness. YES.

Last, but not least, (although this was Steve's least favorite of the bunch, don't ya know!) is coconut lime.

For this version I infused the dairy with 170 grams of toasted coconut and the zest of two limes. After straining, proceed with the usual base prep, chill it over the ice bath and blend in 1/4 cup of freshly squeezed, strained lime juice. 

After churning, this one also got a mix-in of additional crushed toasted coconut to add another dimension to the mouth-feel experience. Quite frankly, in spite of Steve's lack of excitement, I found it nicely lime-y and coconut-y. I gave it a thumbs up.

There's just nothing like homemade ice cream! Now YOU come up with your own favorite flavor combos. You can do it!

Happy summer everyone!