
More than you'll ever want to know about shortbread
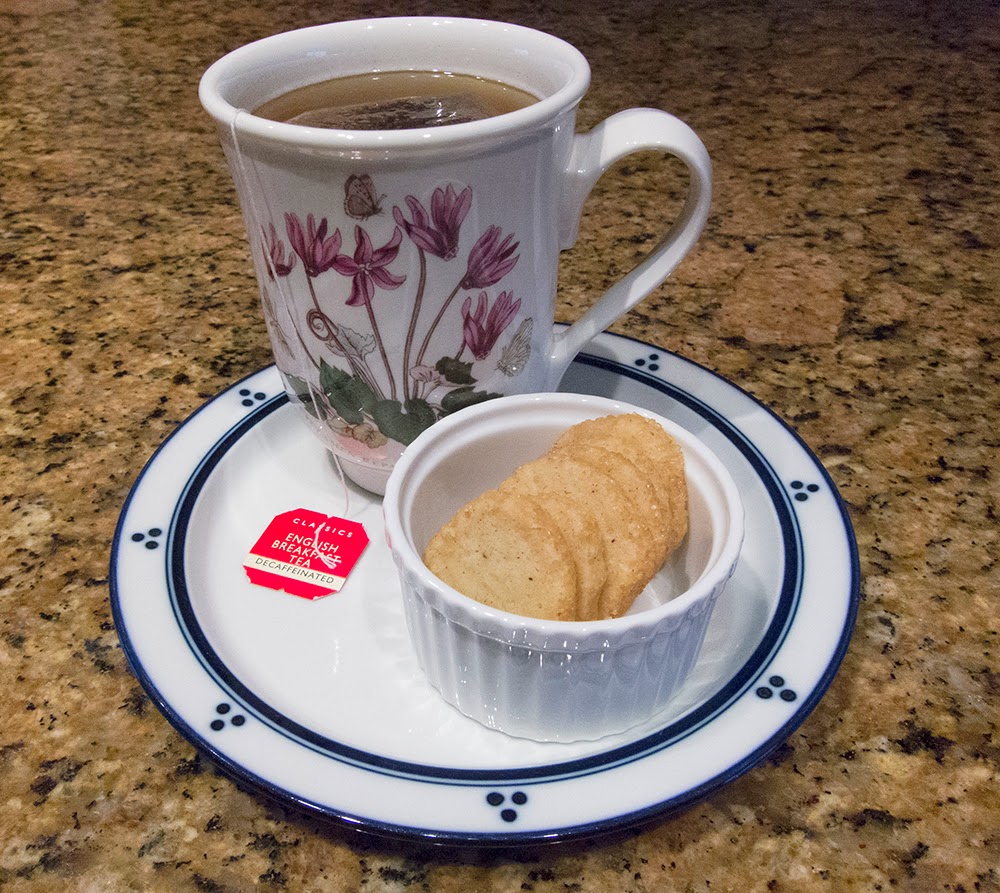
/When asked what my favorite baked good is, my thoughts usually turn to a lovely, buttery shortbread. There is something so genteel about a cup of tea with a delicious crisp cookie along side.
The basic dough for classic shortbread is 1-2-3 dough, or 1 part sugar, 2 parts butter and 3 parts flour (by weight). The word short refers to the high fat content of the dough as well as the limited mixing, which prevents long gluten strands from forming and keeps the dough tender.
In French the word sablé (sand) is used to describe this type of dough, and the sablage process involves simply mixing flour and sugar together, then blending (or "sanding") in diced, cool butter with your finger tips until a coarse, sandy texture is reached. At that point the dough can be pressed firmly into a pan and baked.
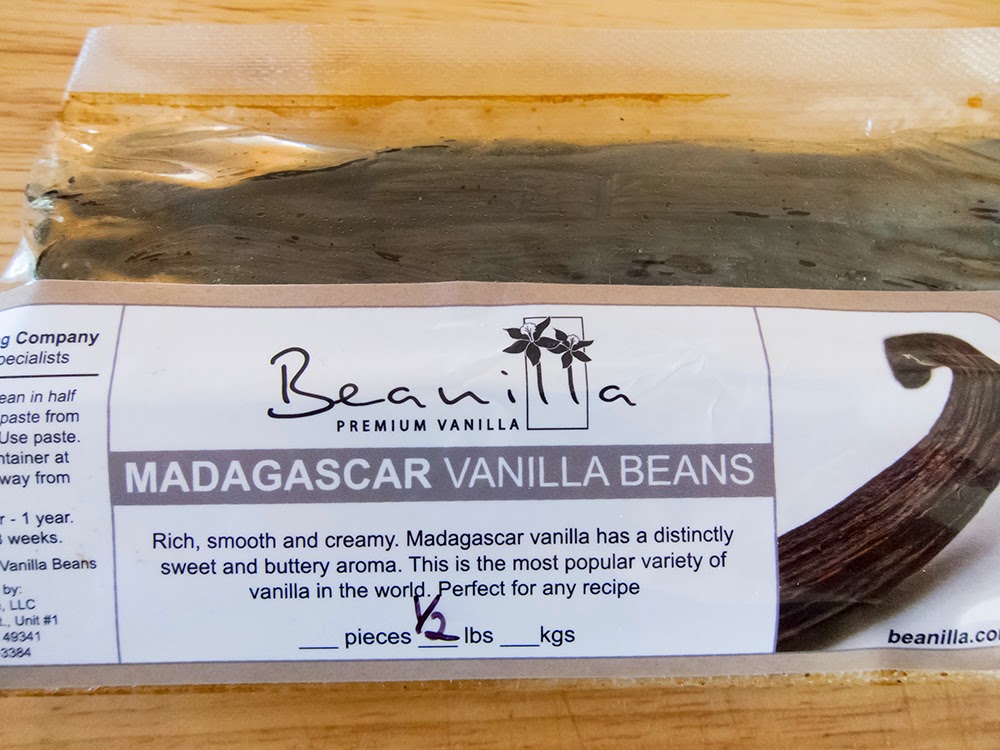
That's the method I use when I have a craving for fresh shortbread and want to make it quickly. I line an 8 or 9" square pan with parchment and weigh out 75 gm sugar, 150 gm butter and 225 gm flour. I dice the cool butter and sand it by hand into the flour and sugar until crumbly. I like to add the seeds scraped from one vanilla bean too - love to see those little brown specks! (I buy my beans in bulk from Beanilla).
Once the dough is pressed into the pan I bake at 300º convection, usually about 20-25 minutes. I like it lightly browned and well baked so it has a tender crumb but is still crispy too. With this approach it's important to cut the shortbread in the pan soon after it comes out of the oven. If you wait until it's completely cooled, it will tend to crack and won't cut evenly. But don't worry, it will still taste great!
You can also take the sablage a step further until the dough actually comes together, although it's easier with a mixer, especially if you're making a larger batch. Just put your flour and sugar into the mixing bowl, throw in your diced butter and mix with the paddle on low speed. It usually takes about 5 minutes before it starts to form a cohesive ball. Then stop and don't over mix.
This allows you to shape the dough into a round, square or even triangular log or simply wrap and chill it for later rolling and cutting into desired shapes. It's the best approach when you're planning ahead and want to have a variety of flavors of dough ready in your fridge or freezer.
Some of my shortbread are made using another common mixing method - that of first blending soft butter with sugar and THEN adding the flour. Please note that this is NOT the traditional creaming of butter and sugar that is meant to aerate and lighten, as one might do for a cake. You don't want to introduce air into the shortbread dough, just blend the butter and sugar together.
By now you're probably wondering why all this talk about mixing methods for such a simple cookie? It's the world of baking and pastry! And why might I use one method over another? It's really based on the various recipes I've discovered and adapted over the years. The results are all still delicious no matter what method you use, so have fun with it!
I found the following recipe some years ago on Clotilde Dusoulier's blog, "Chocolate and Zucchini". She attributes it to Parisian chef Yves Camdeborde of Le Comptoir du Relais in the 5th arrondissement.
It varies a bit from the strict 1-2-3, using 90 gm coarsely ground raw sugar (gives it a great crunch!), 200 gm soft butter, and 250 gm flour (along with those important vanilla bean seeds). The higher ratio of butter and lower ratio of flour give these cookies a nice crispy texture.
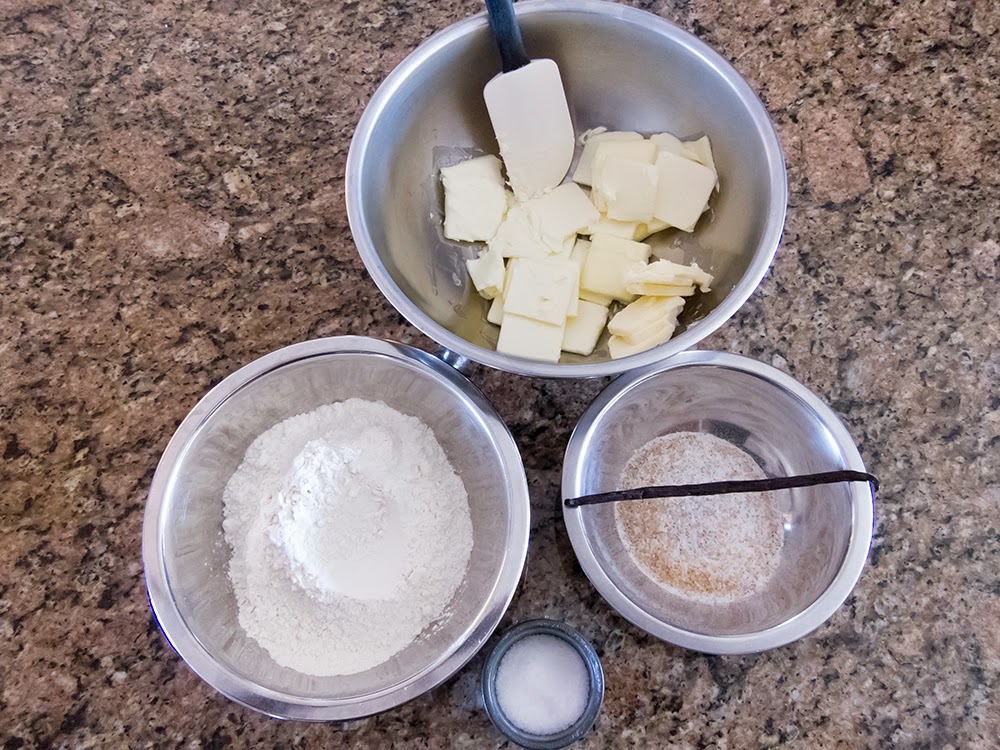
First I smear the butter with my trusty spatula until smooth, then blend in the sugar (that's a mixture of vanilla sugar and coarse raw sugar above on the right). I scrape my vanilla seeds into the mix, throw in a pinch of salt and then add the flour by cutting it in with a bowl scraper and gently blending it by hand until it comes together. You can see it still looks rough but holds together.
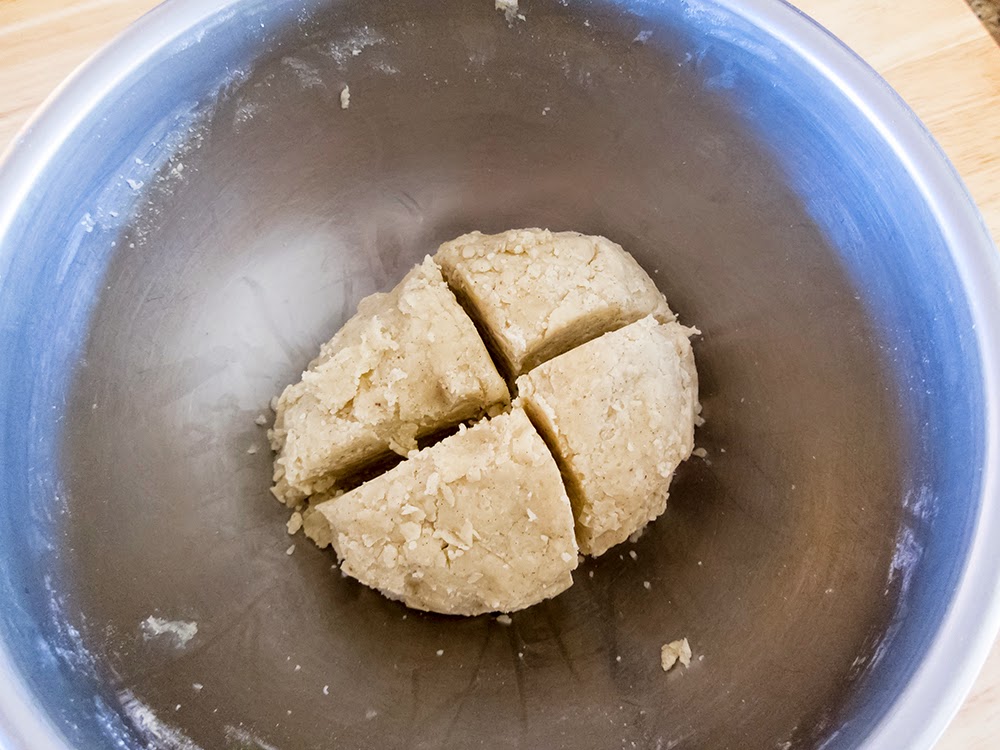
Divide the dough in quarters in preparation for log shaping. I first shape roughly . . .
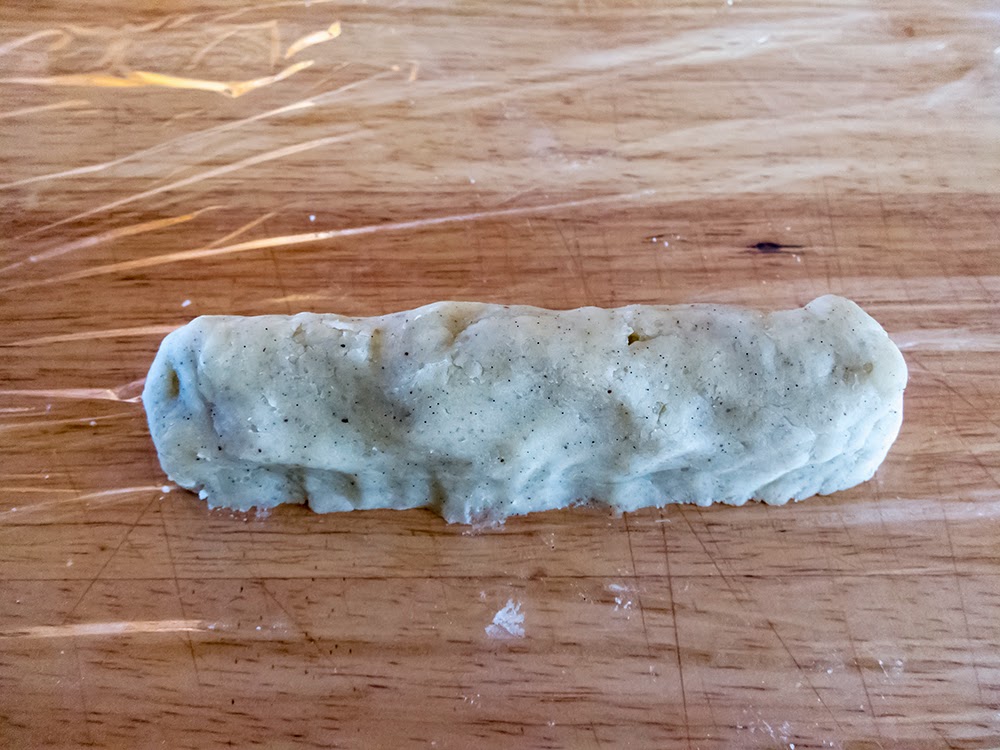
and then do the final shaping with the dough wrapped in plastic.
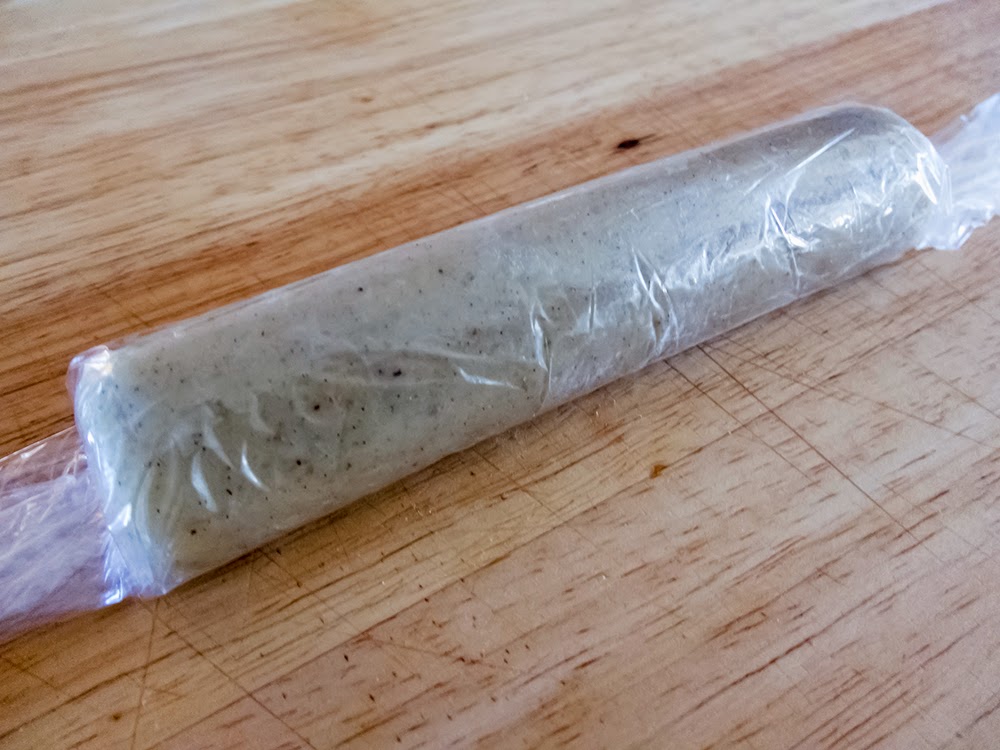
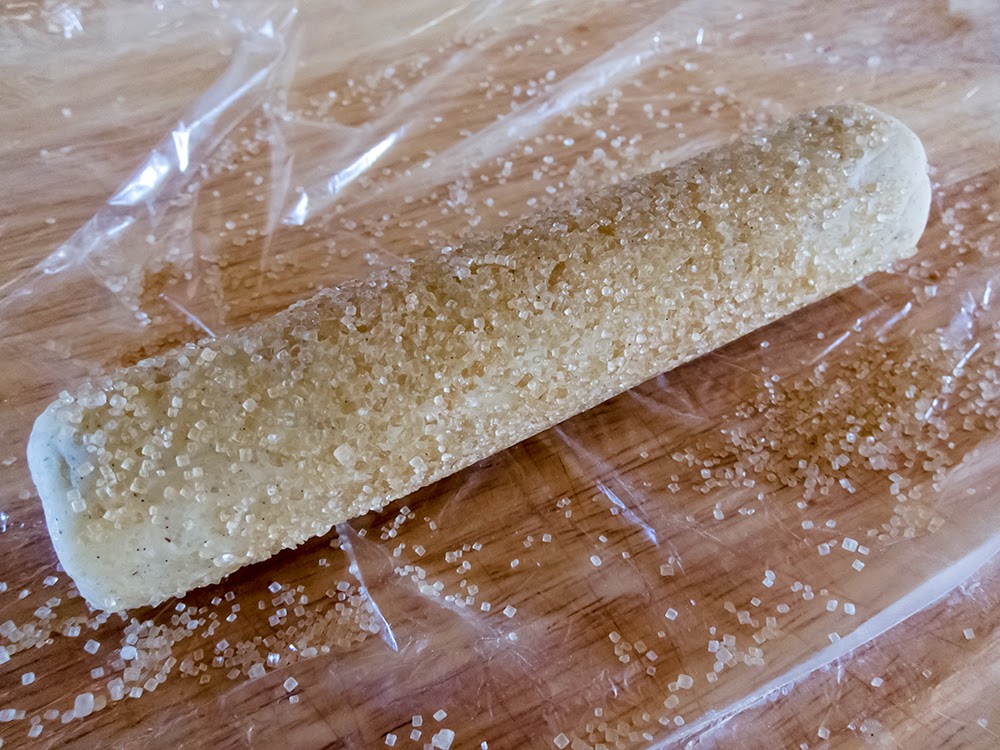
Place the wrapped logs in the fridge for a good 1-2 hour (or overnight) chill. Once the dough has chilled, and you're ready to bake, heat your oven to 300ºF convection. With this particular recipe I roll the logs in raw sugar before slicing, then space the cookies out on parchment lined sheets.
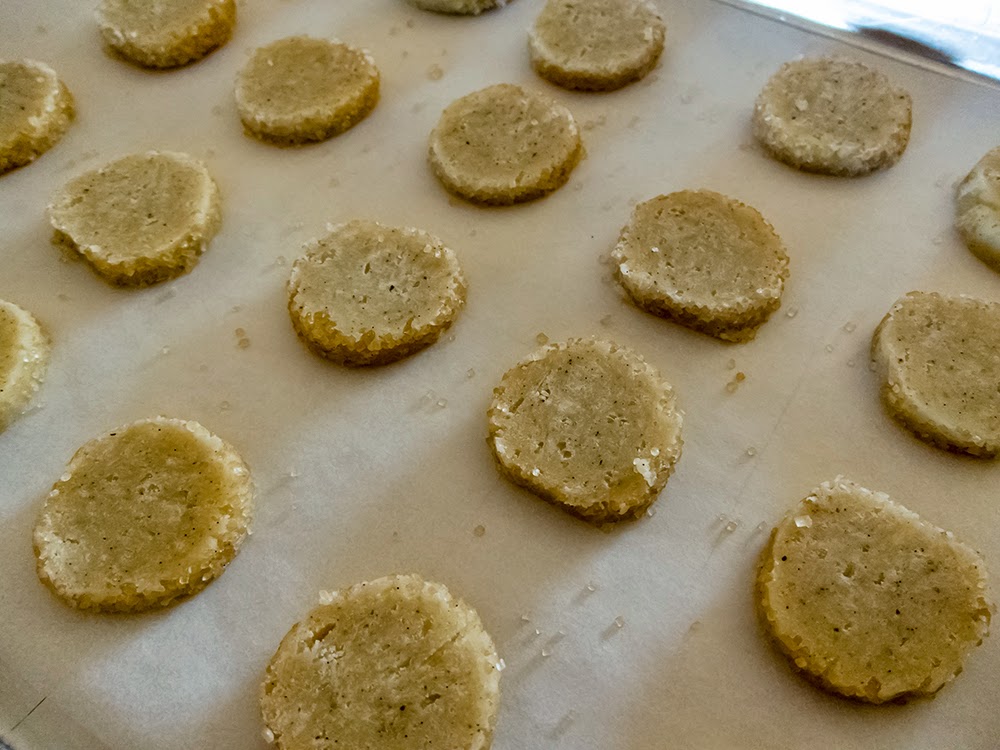
I've gotten into the habit of freezing the cookies on the sheet pans for 10-15 minutes before baking. It keeps the butter firm and helps maintain the shape during baking. Depending on your oven these may bake anywhere from 20 to 25 minutes - pay attention to what's happening in there, and don't forget to rotate and change shelf positions of your sheet pans about half way through.
Let's talk a bit about flavors. Once you have a base recipe down, use your imagination to create your own variations.
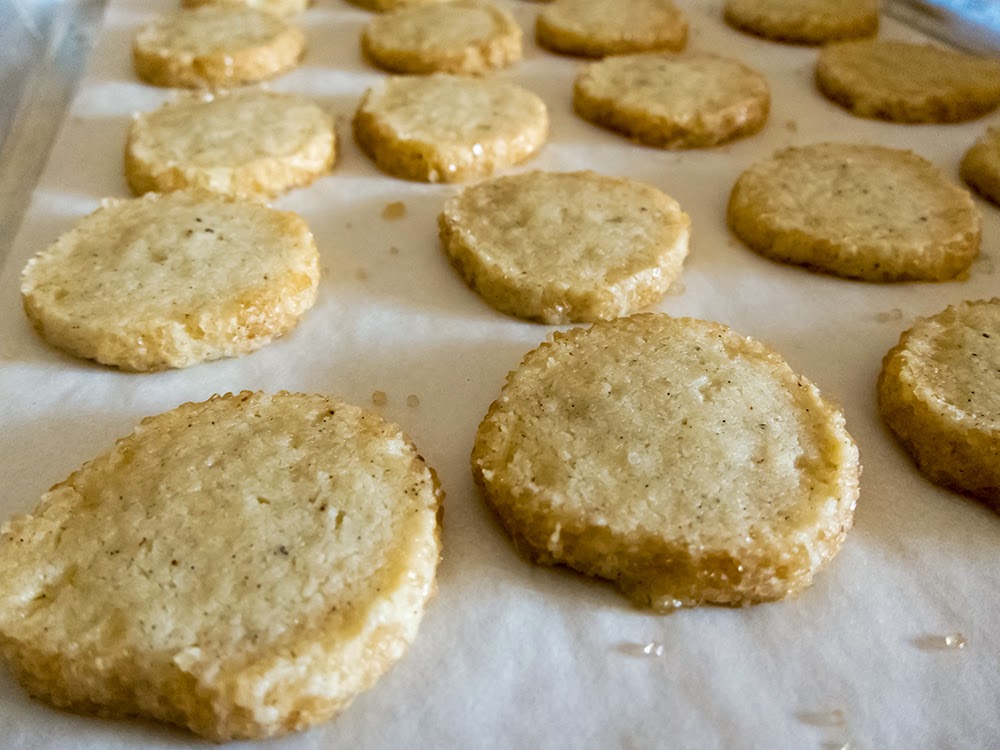
One of my favorites is to brush the just baked cookies with my homemade caramel sauce, sprinkle them with sea salt and pop 'em back in the oven for 2-3 minutes to set the caramel. Deeelish!
Or brush with honey and sprinkle with herbes de provence (Steve's idea!) and sea salt.
You can add citrus zest and a squeeze of fresh citrus juice as you're mixing . . . or mix some chopped crystallized ginger, dried tart cherries or cranberries into your dough . . . or add chopped, toasted nuts and your favorite spice like cinnamon, ginger or nutmeg . . . or replace 1/4 of your flour with ground nuts or cornmeal for varied textures . . . or dip your finished cookie in melted chocolate.
You get the idea.
One of the most popular offerings during market days at my pastry studio in Pawtucket RI was the shortbread bar - 12 different flavors, mix and match, pop 'em in a bag and go!
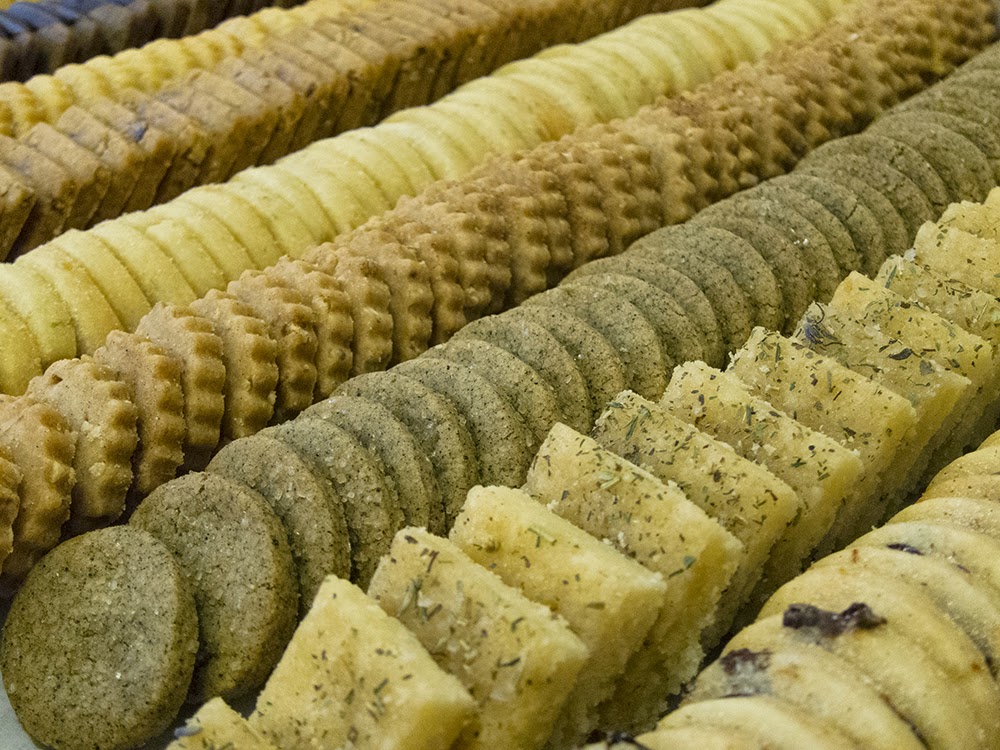
Mmmmmm - what an enticing array!
Now it’s your turn to create your own version of delicious buttery shortbread cookies! Have a ball!!
