Chocolate and pistachio (a match made in heaven): Caramel pistachio ganache tarte plus one more
/
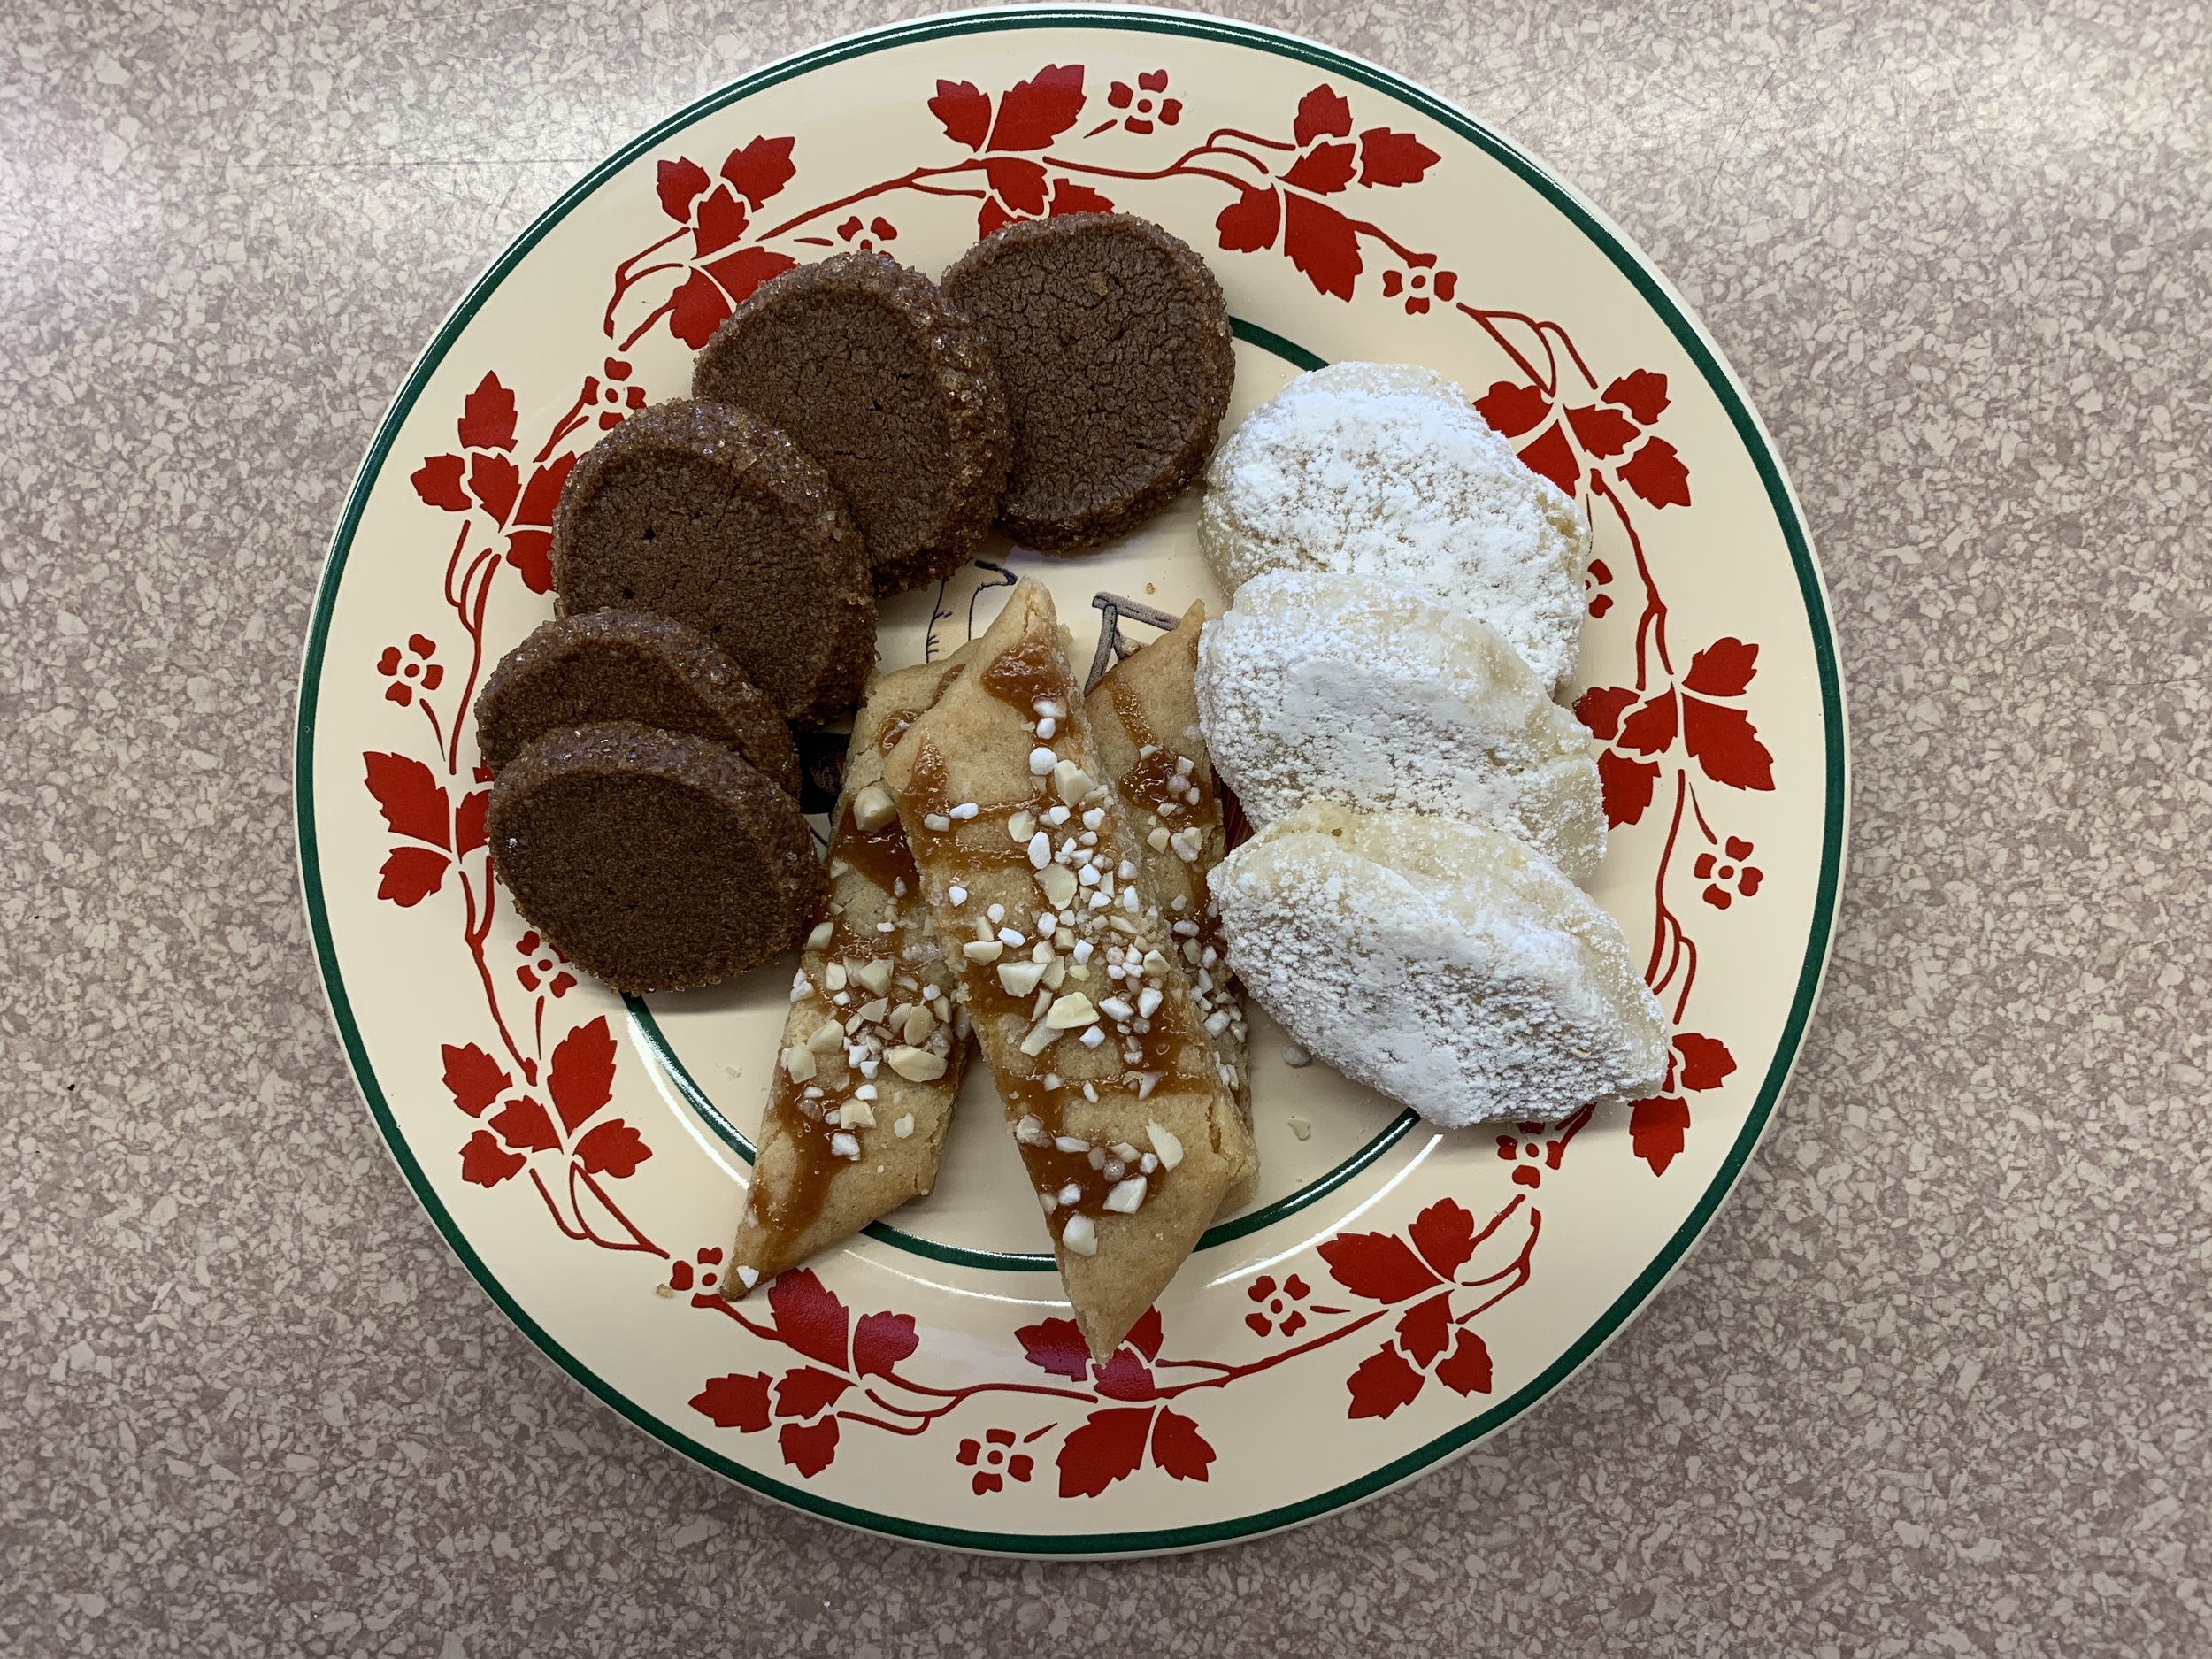
I admit I’ve been on a bit of a pistachio kick lately. Pistachio millionaire’s shortbread and pistachio amaretti just to name two. I’ve made the amaretti a few more times lately - so, so delicious and pretty straight forward to boot. And the best thing is they hold beautifully in the freezer!
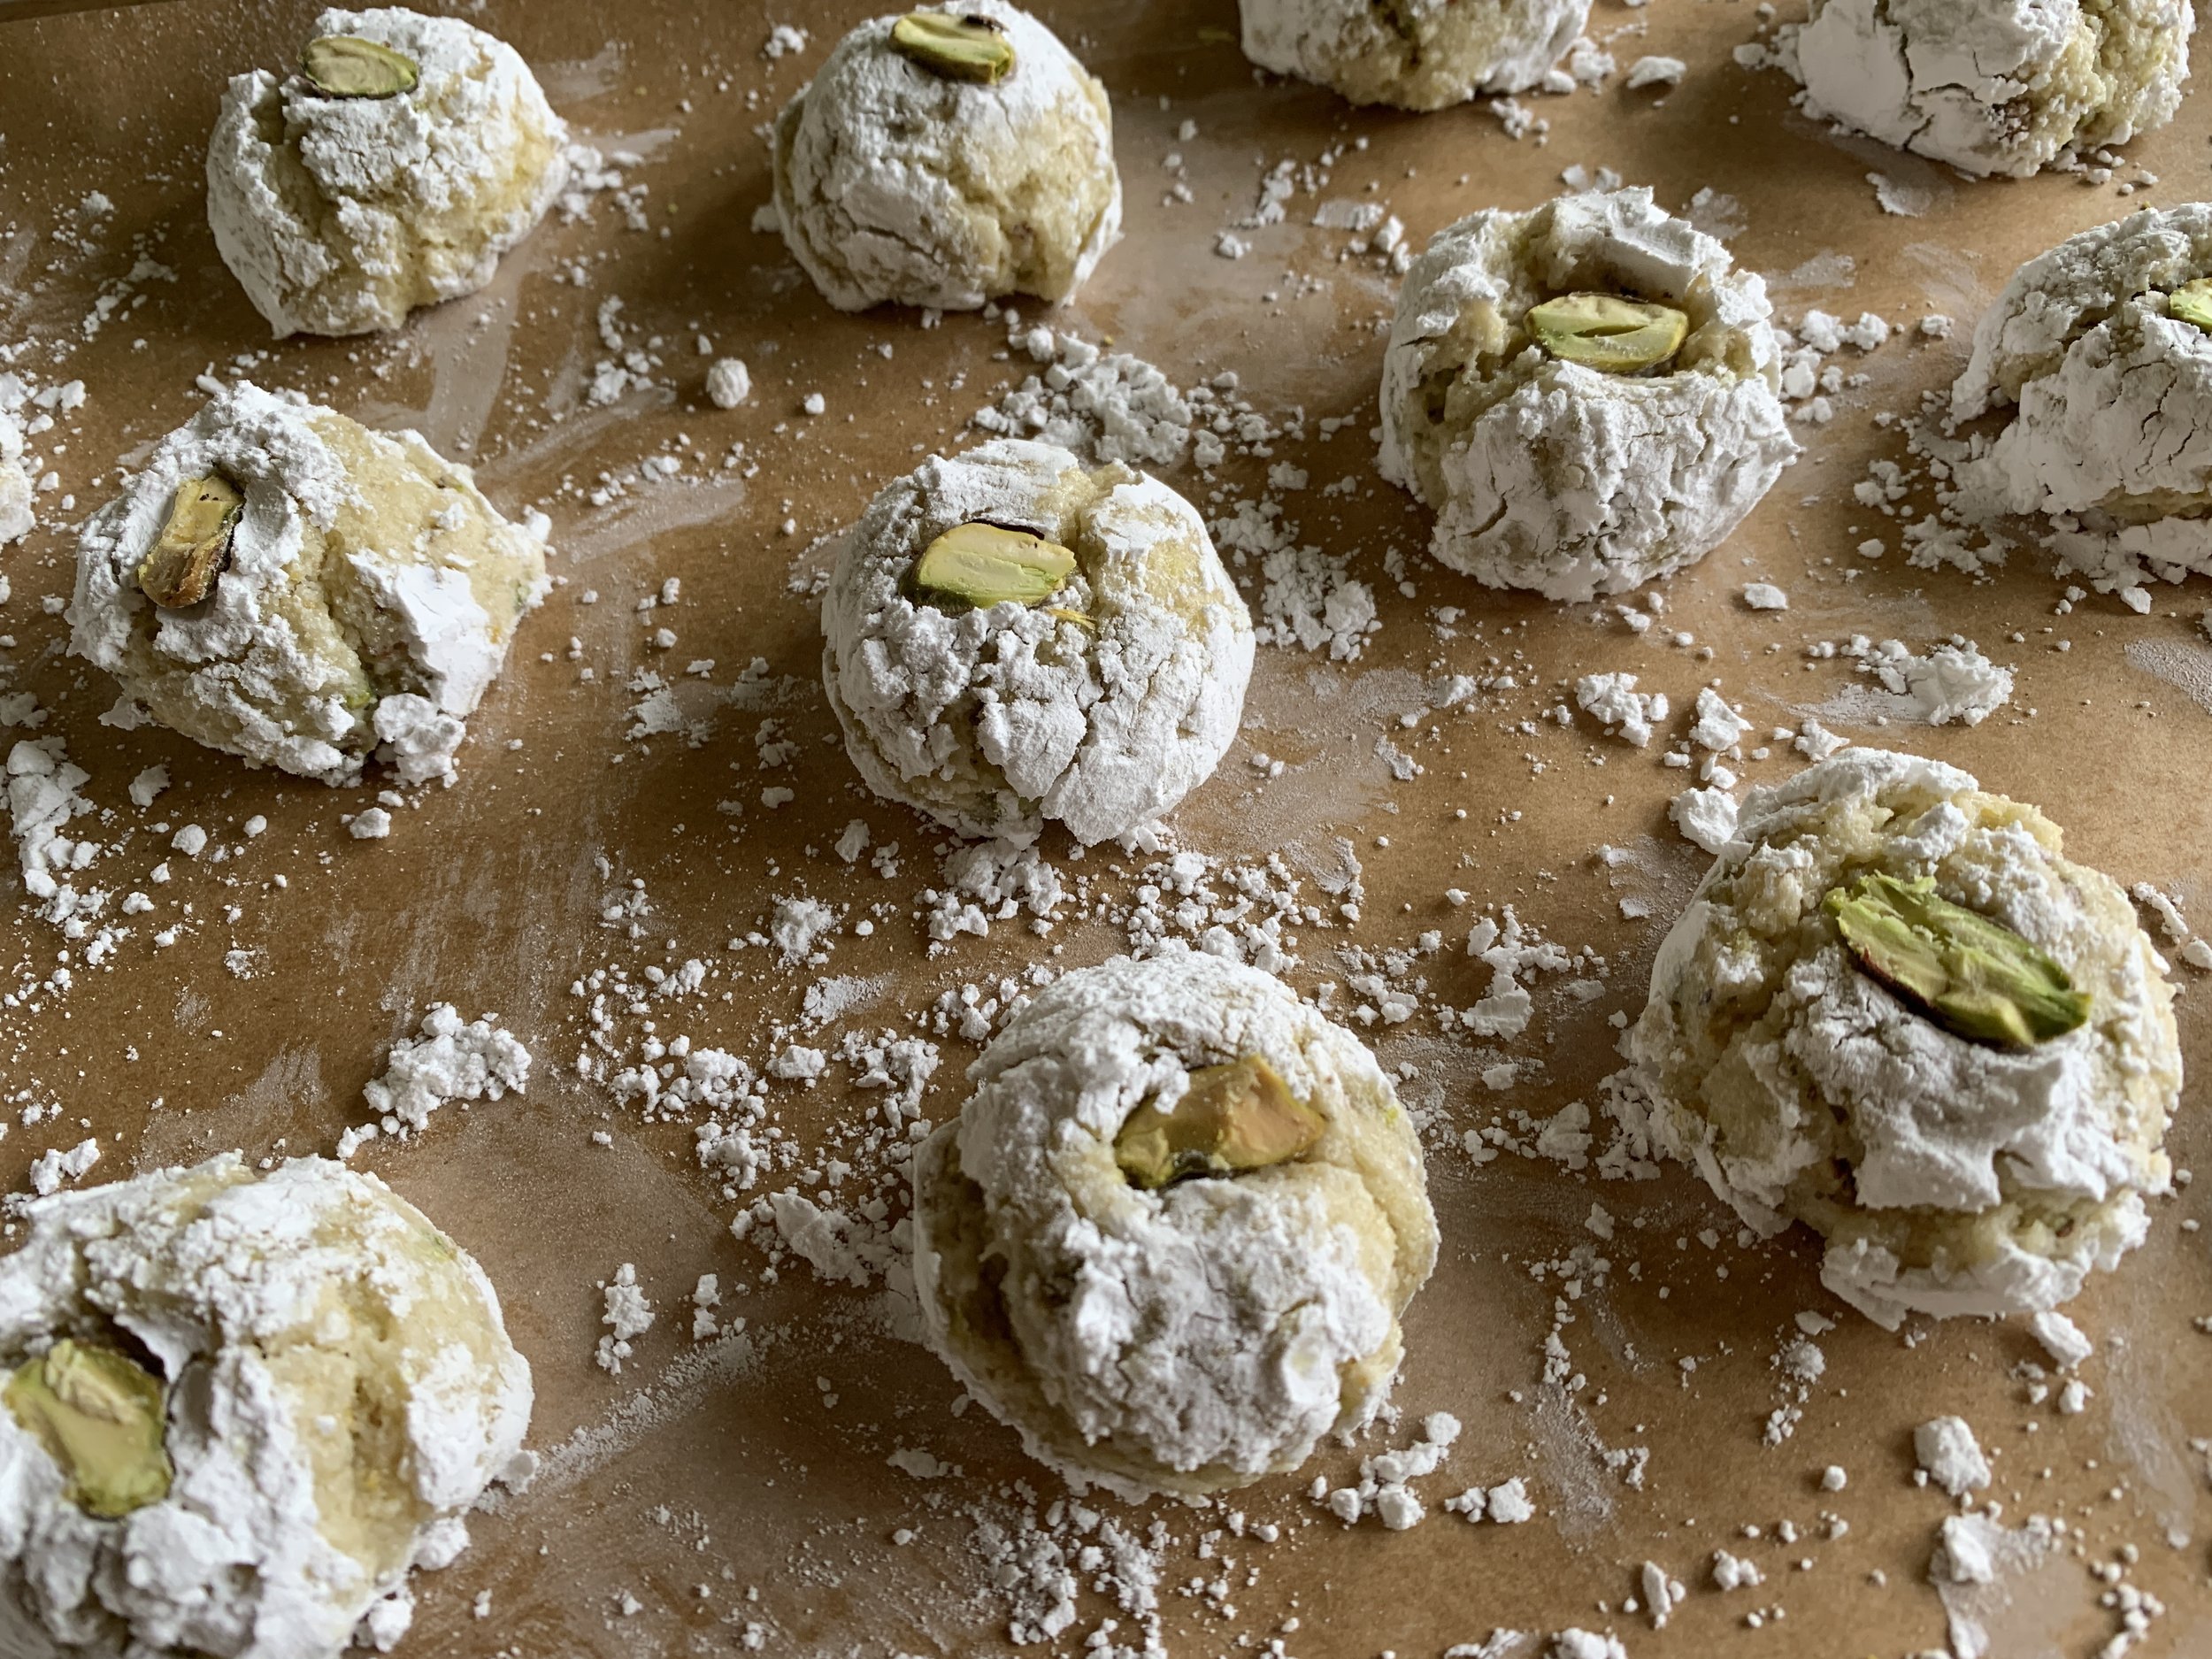
Pistachio amaretti
When I contemplate dessert ideas for a dinner gathering with friends (thanks Shirley!), a tarte (of course) is usually at the top of my list. How about caramel pistachio chocolate ganache - well that was easy!
First - a quick aside, health wise. Nuts are a favorite of mine, and I keep a stash of lightly seasoned, toasted mixed nuts on hand, usually walnuts, pecans and/or almonds. Along with my morning latte, I can jump start my day with fresh fruit, a small bowl of said nuts, some cubes of cheese and a small energy bite (almond butter, honey, toasted old fashioned oats and finely chopped dark chocolate). What a great way to fuel up for my mid morning exercise classes at our local fitness club - they lift my spirits every day!
OK - let’s get to work. This caramel-y, nutty, chocolate-y tarte is an amped up version of the chocolate ganache tarte which I have oft mentioned over the years. I posted specifically about the pristine all-ganache version on November 25, 2023 (click on the post in the right sidebar if you’d like to read about it.)
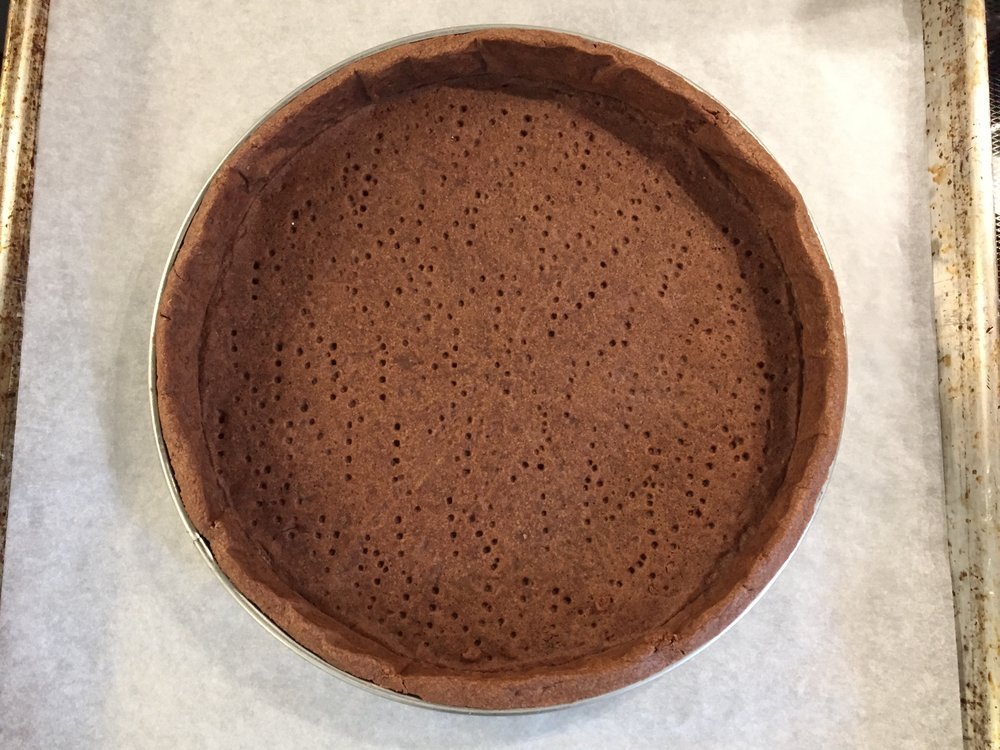
It’s a great dessert basic which comes together in a straight forward fashion. I keep it au naturel most of the time but when I want to add something to the flavor profile, bring in some crunch and dress it up, I go with a bottom layer of caramel and nuts in a blind baked pâte sucrée au chocolat shell (or choose a basic pâte sucrée). The ganache is then poured over and chilled to set then garnished with a little Chantilly cream and additional candied nuts (or however you might like to add your own touches).
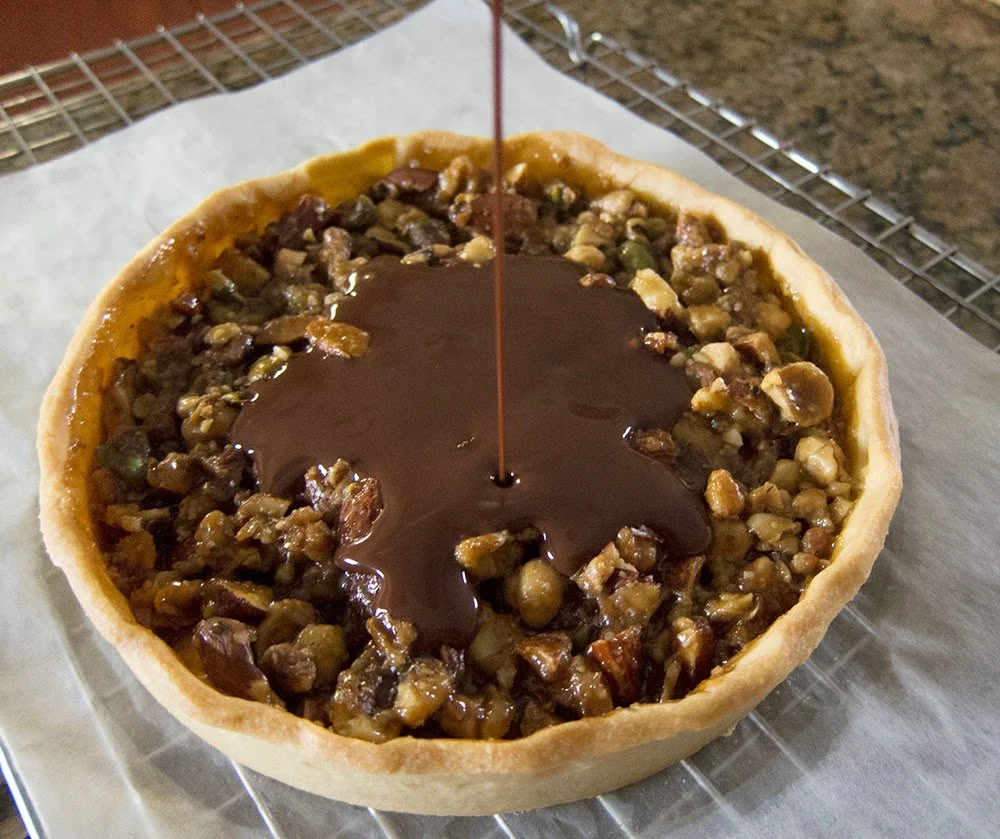
Pouring the ganache - this one’s from a few years back with mixed nuts/caramel in a pâte sucrée crust
I’ve created a PDF for you which includes recipes for the chocolate dough, the ganache filling, my base caramel recipe plus guidelines for quantities of the components for different sized tartes. It’s all there for you.
For planning ahead, you can blind bake your tarte shell even a couple of days ahead and hold it in the freezer until you’re ready to proceed. I always have my house made caramel sauce in the fridge so I’m set there, but you can opt to use a decent store bought version. Have your choice of lightly toasted nuts ready - do that ahead as well since, once toasted, they’ll be fine in a covered container at room temp for several weeks.
On a caramel note - if I’ve EVER purchased store caramel, it’s been a long, long, long time! I did a quick look for highly recommended brands and it looks like Coop’s, Williams Sonoma and Trader Joe’s do a pretty good job. You definitely want something that isn’t too runny and those three are touted as thicker than many others. Look for good ingredients like cane sugar, cream, butter, maybe vanilla, a little sea salt. I avoid high fructose corn syrup at all costs.
Moving on . . . . fill the tarte shell early in the day of your event.
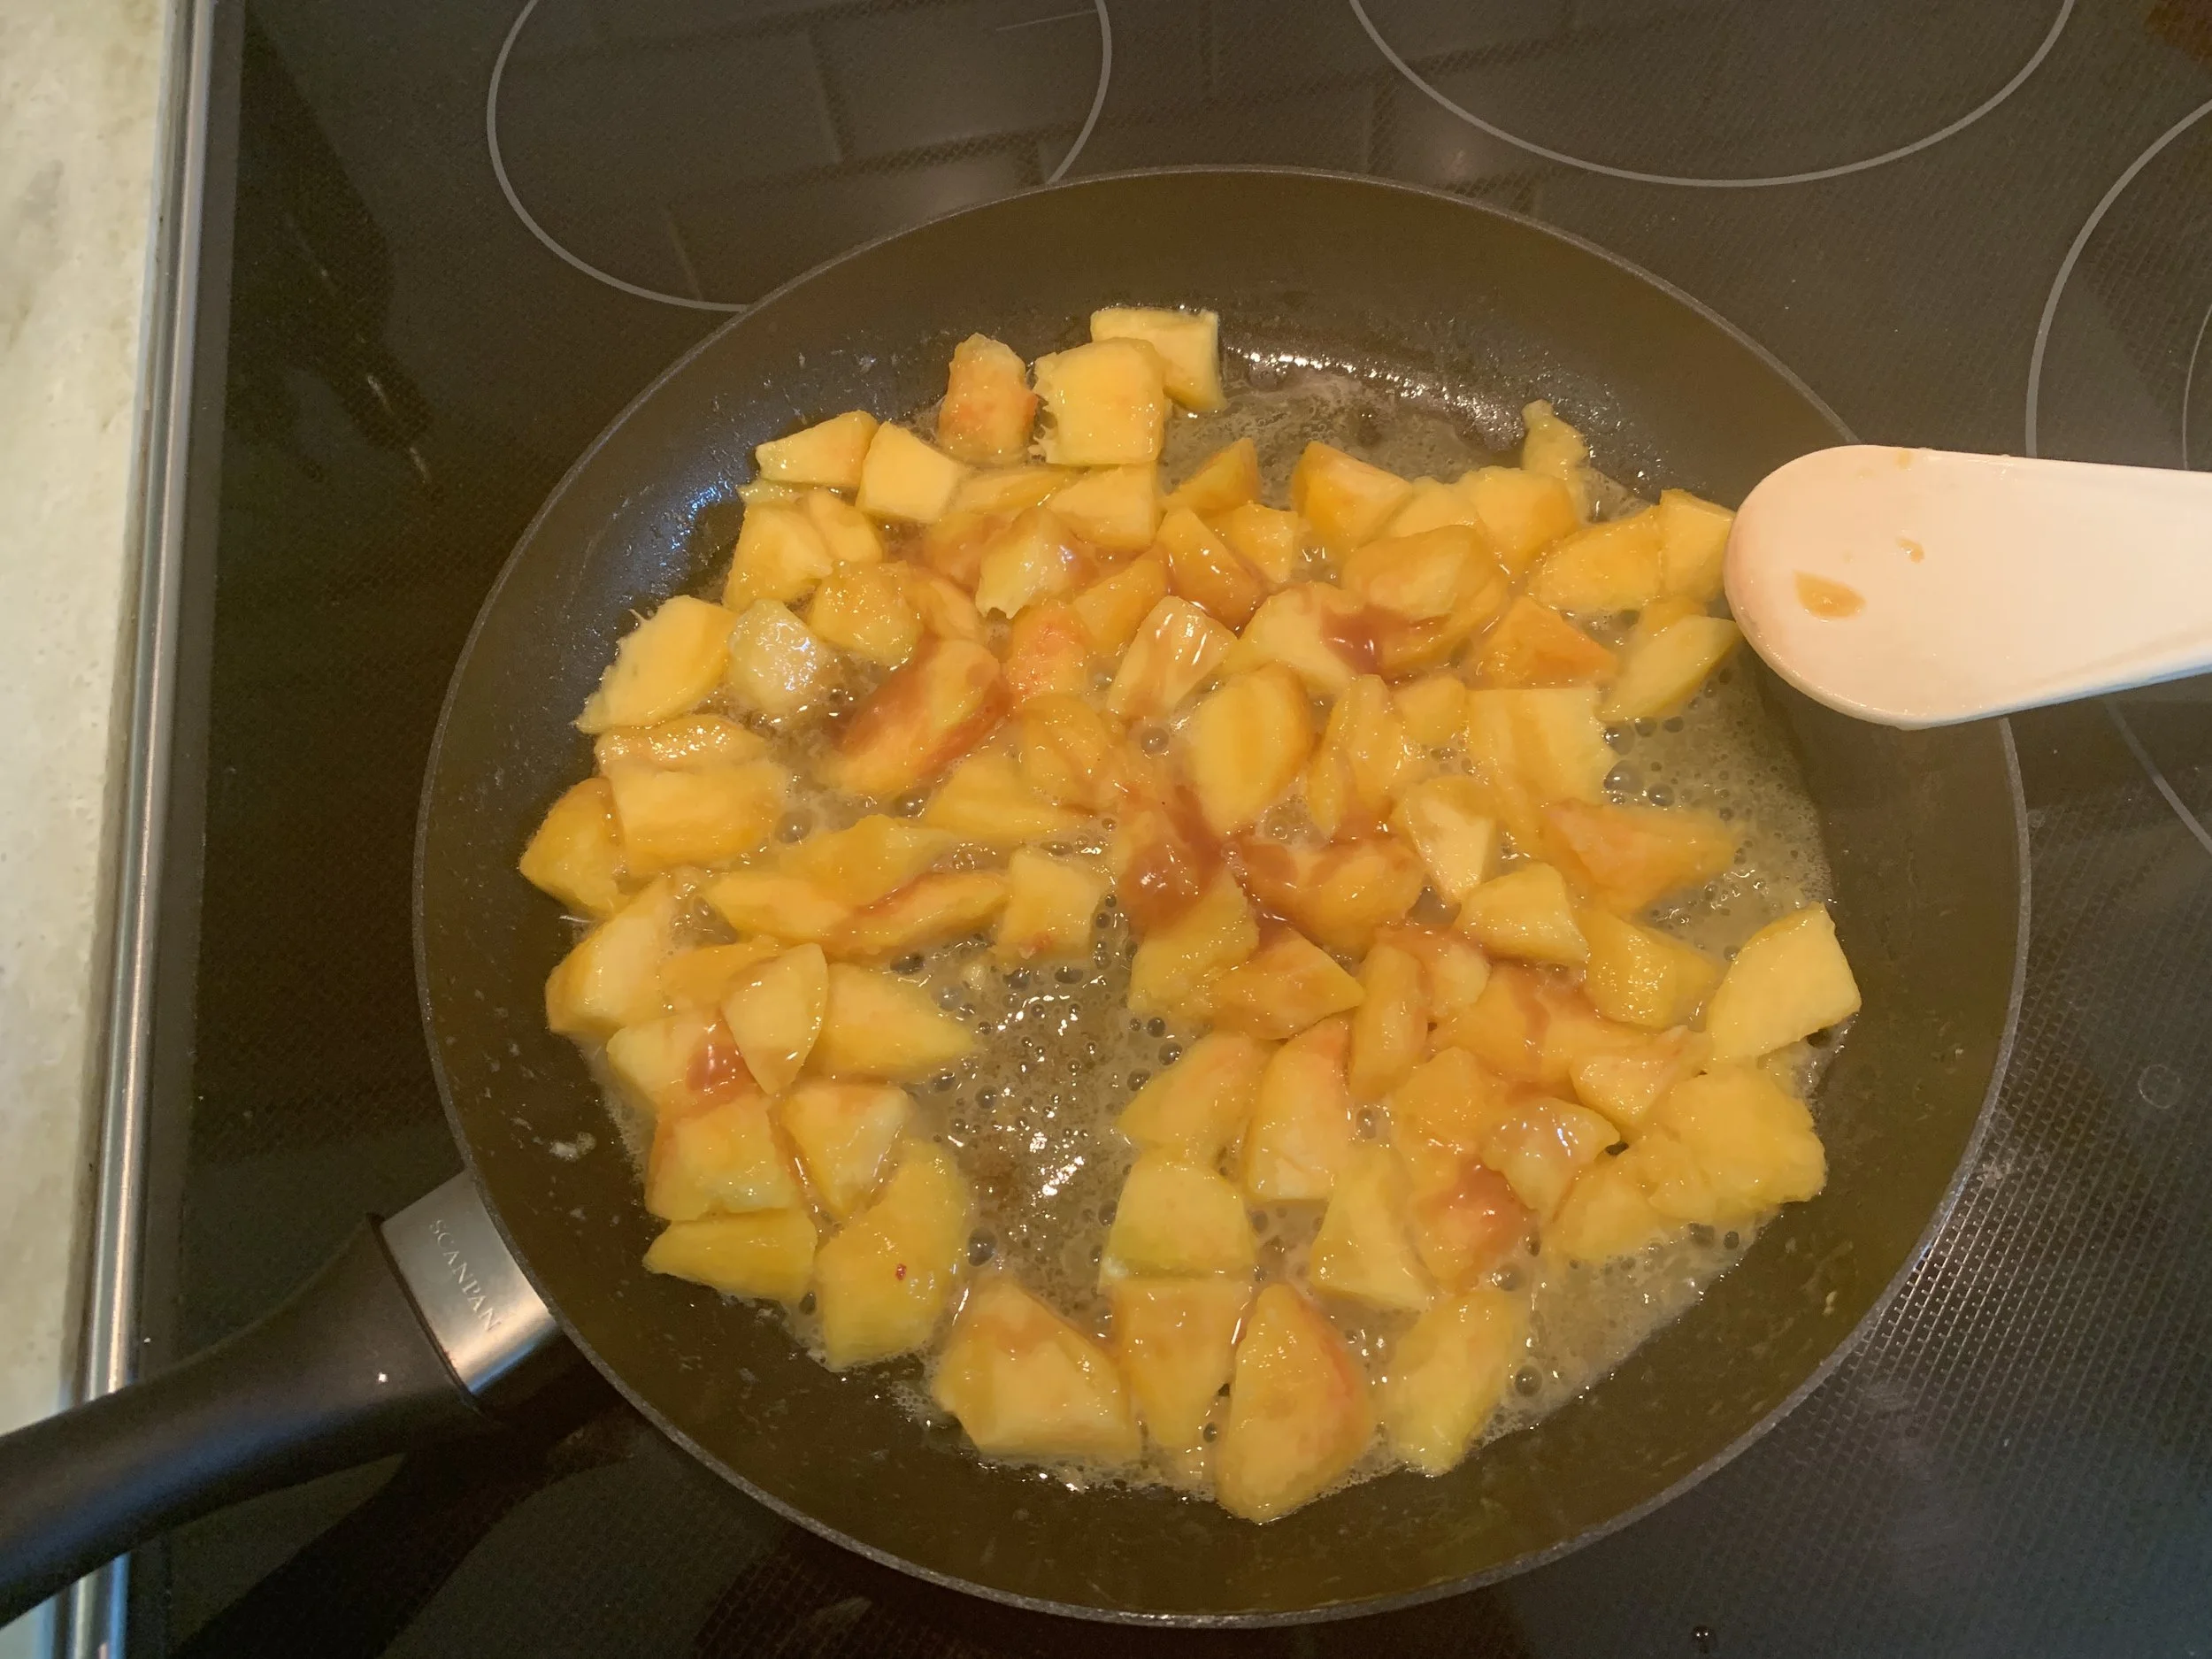
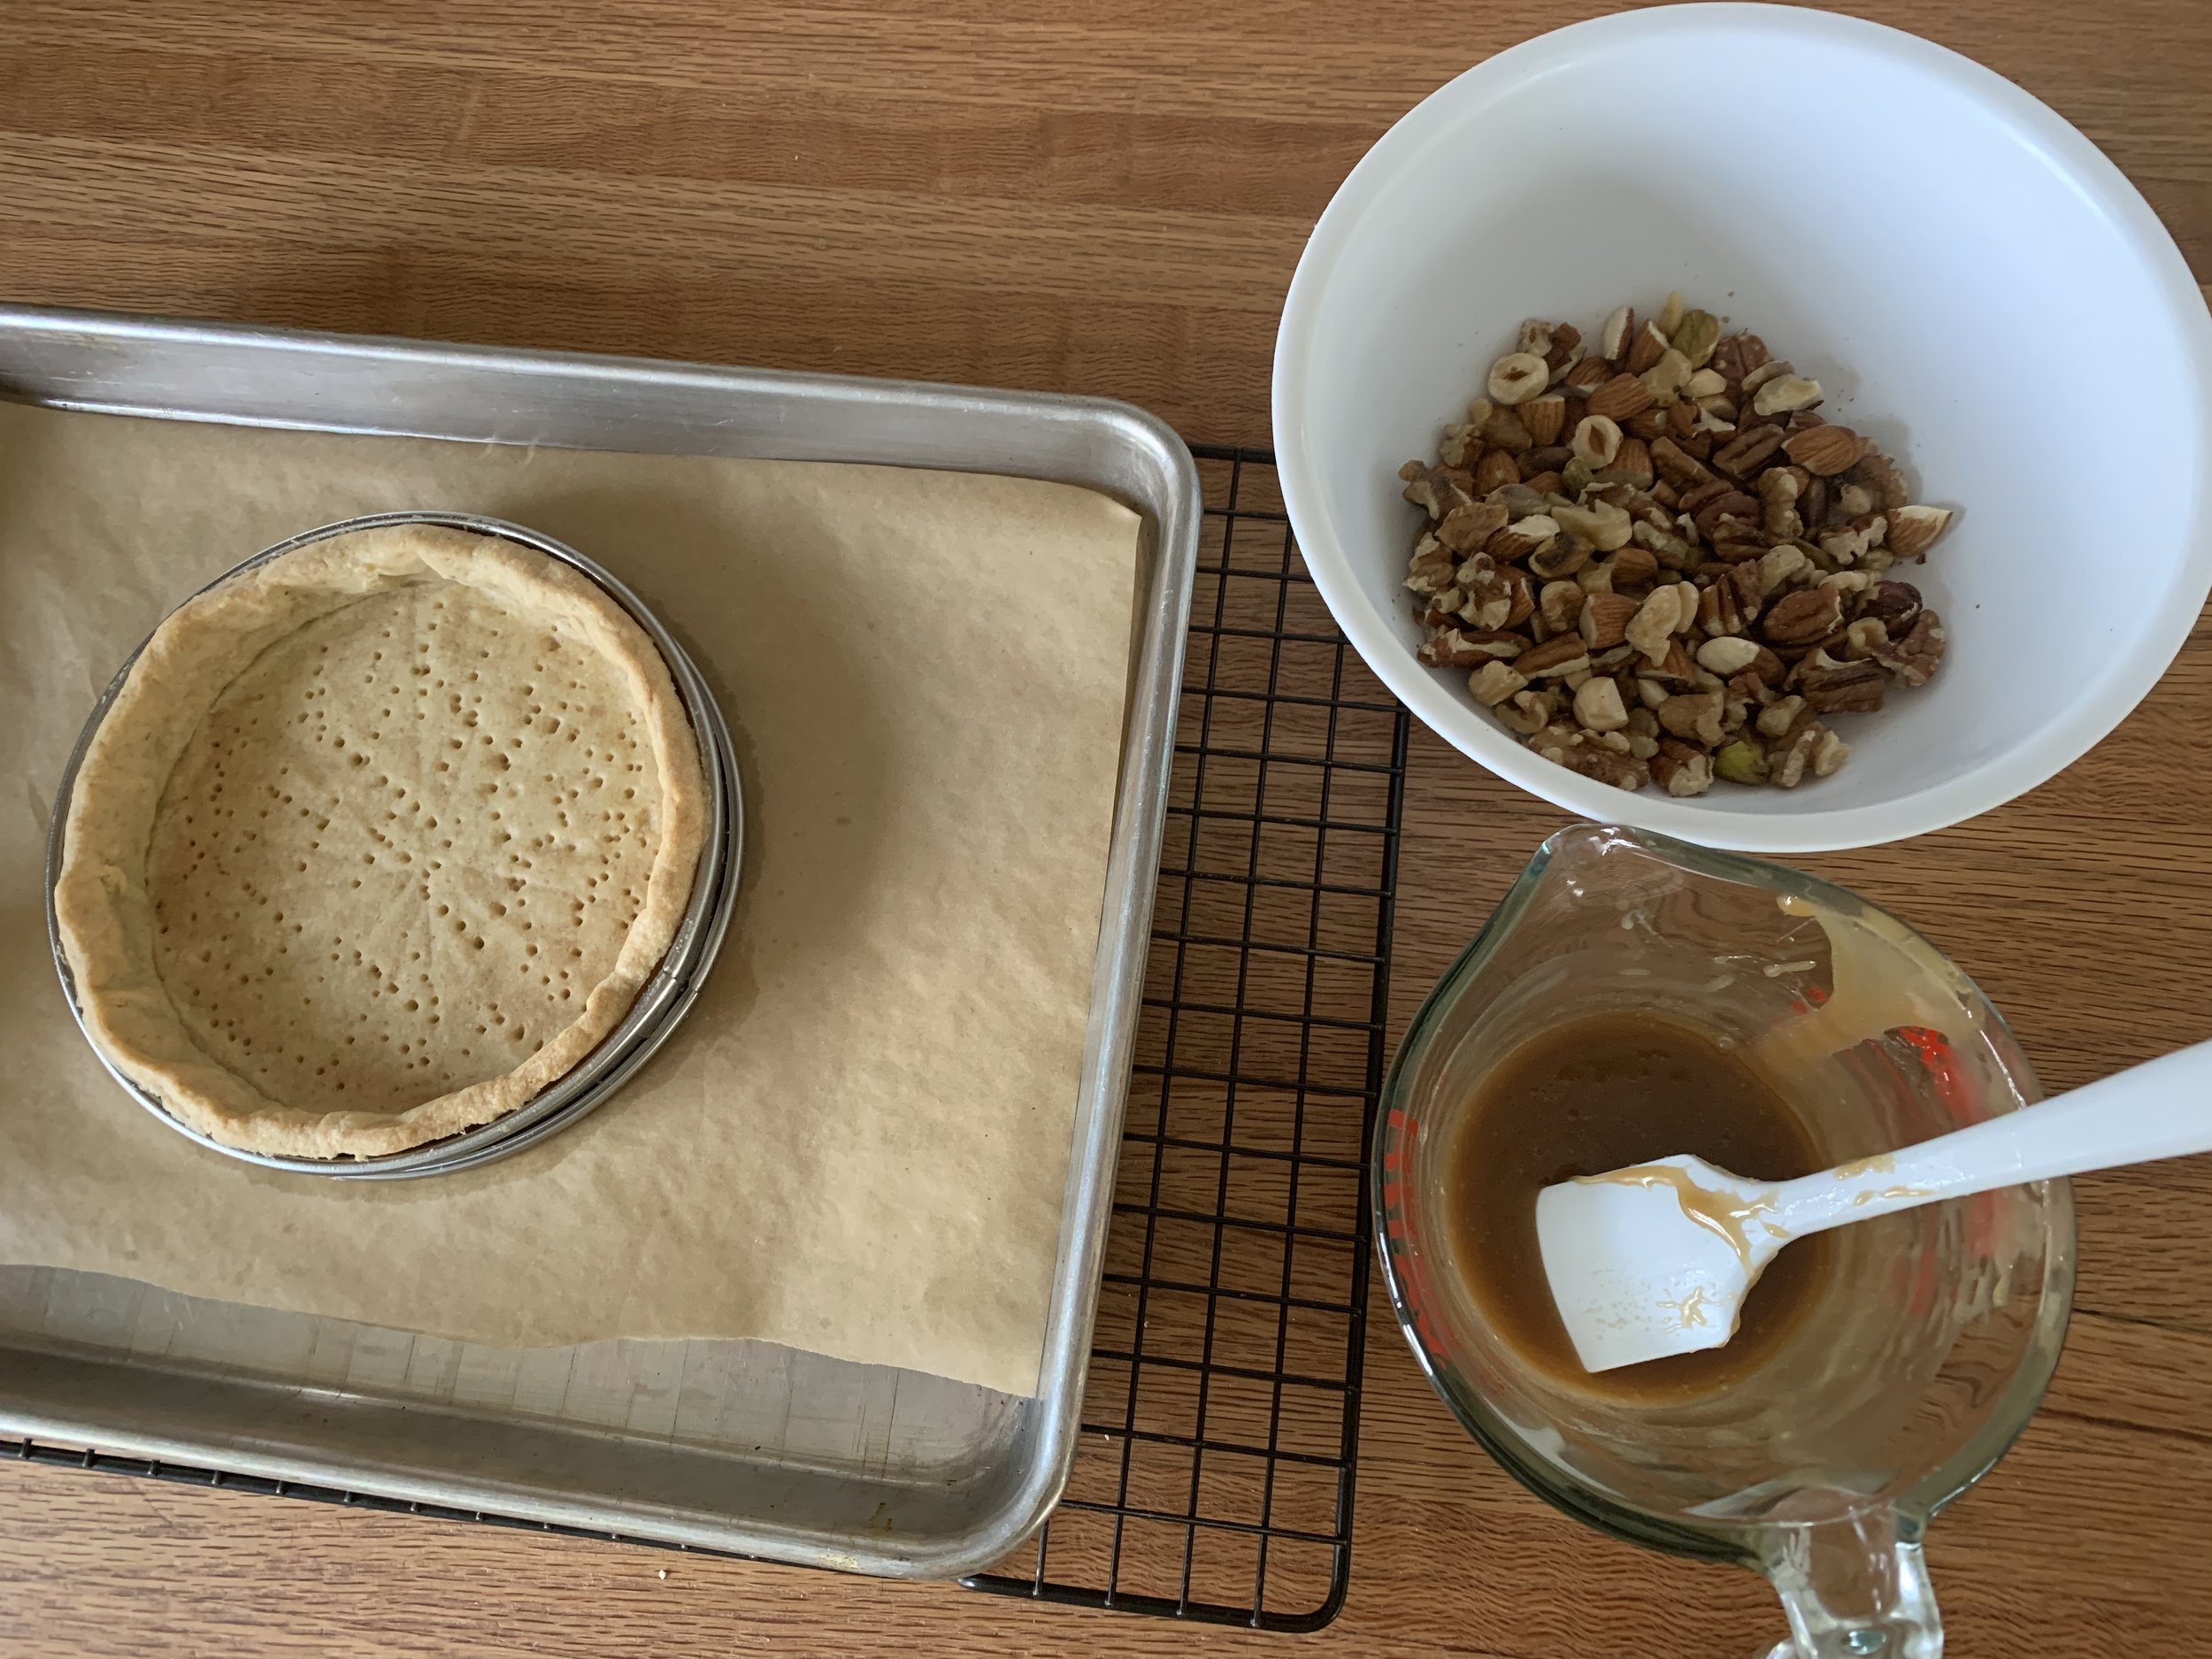
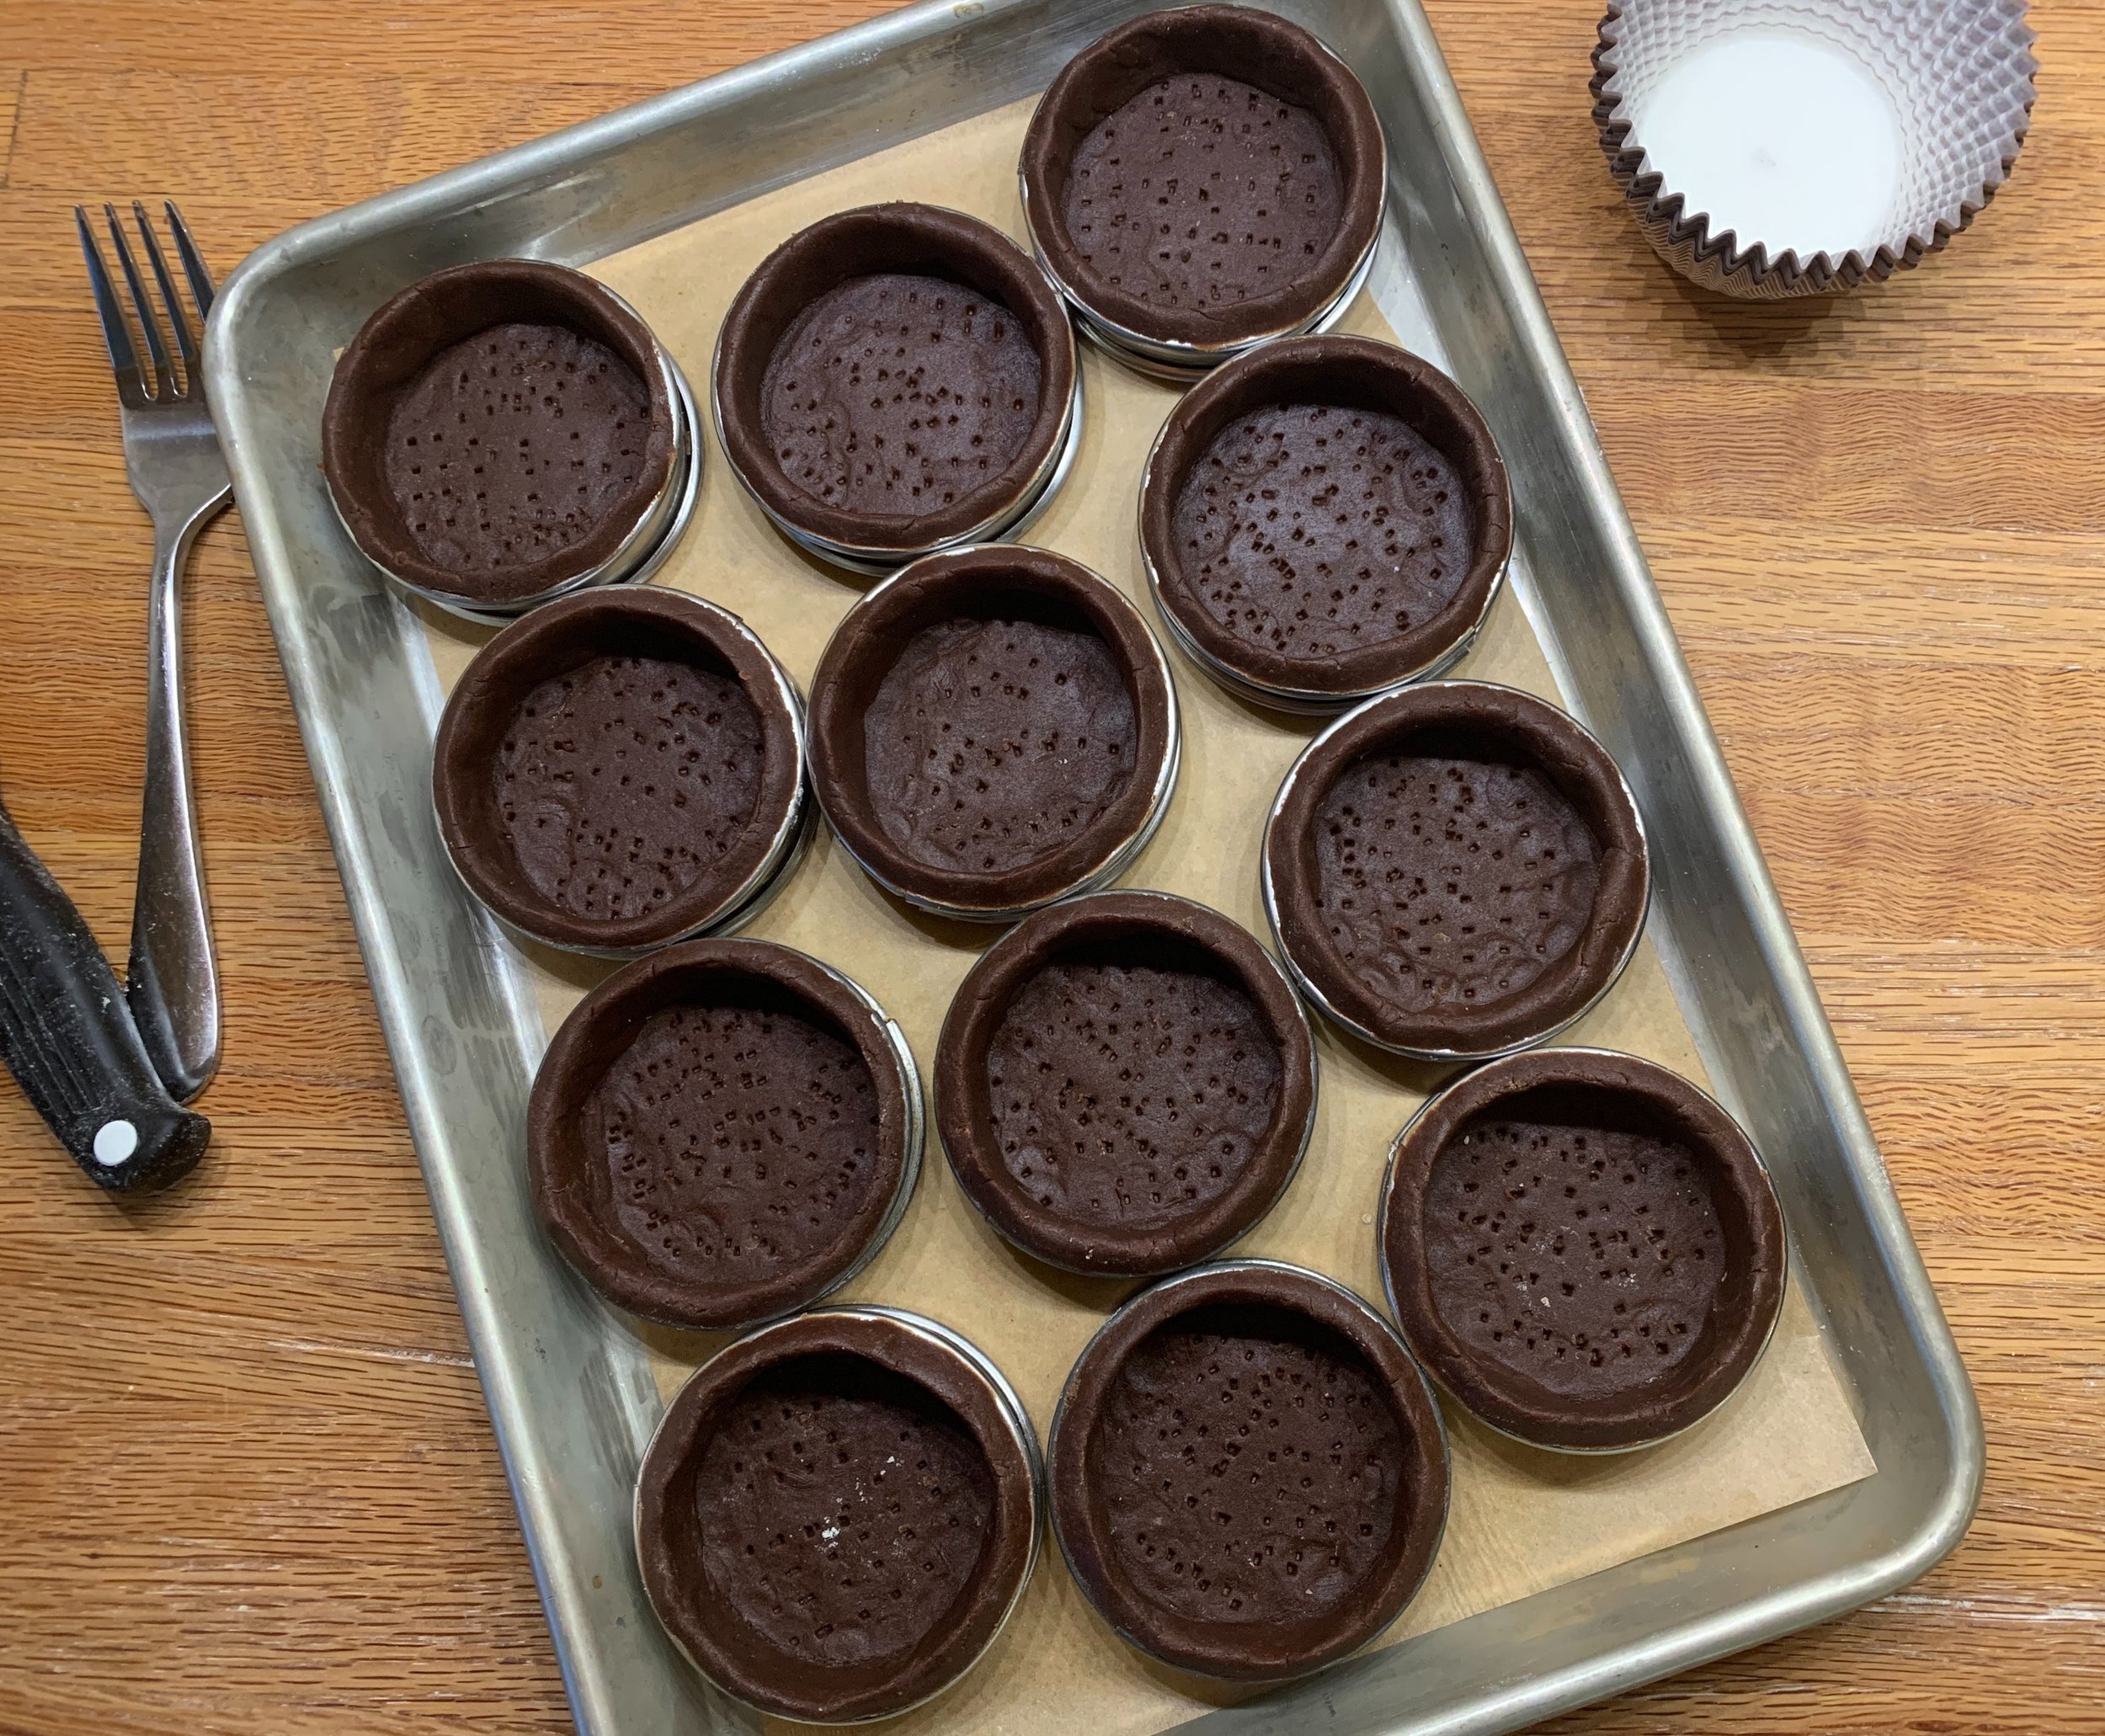
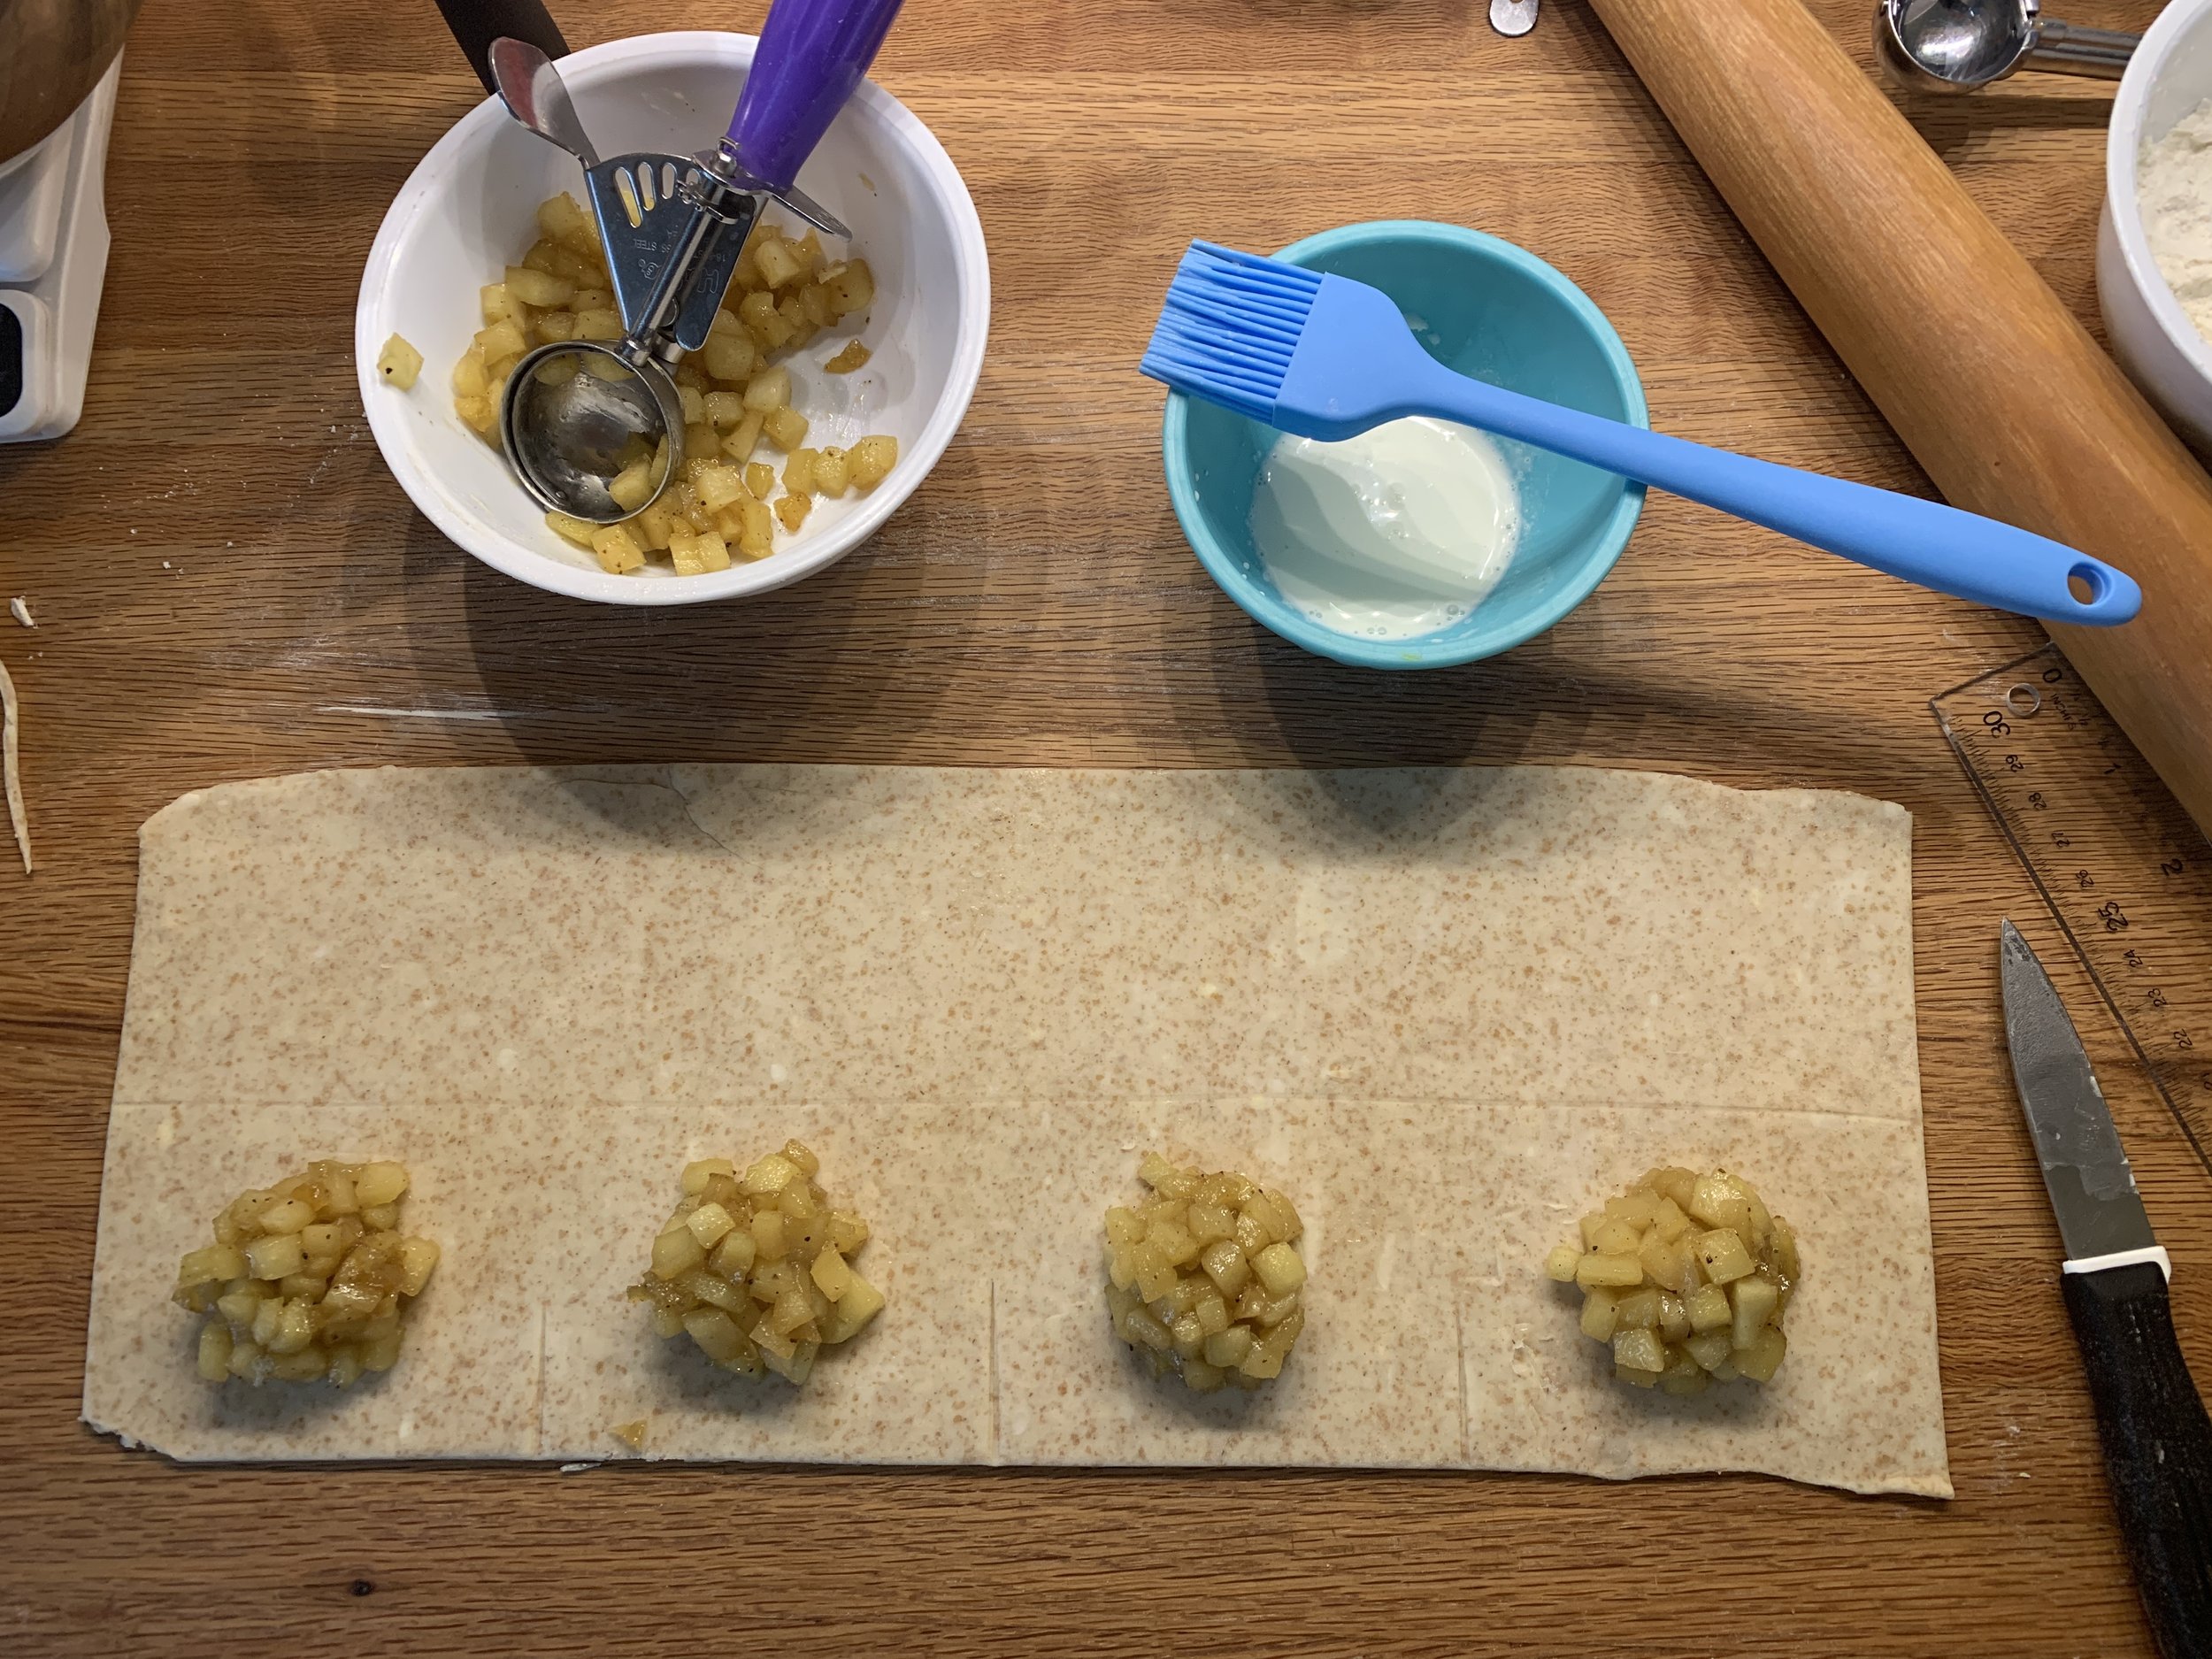
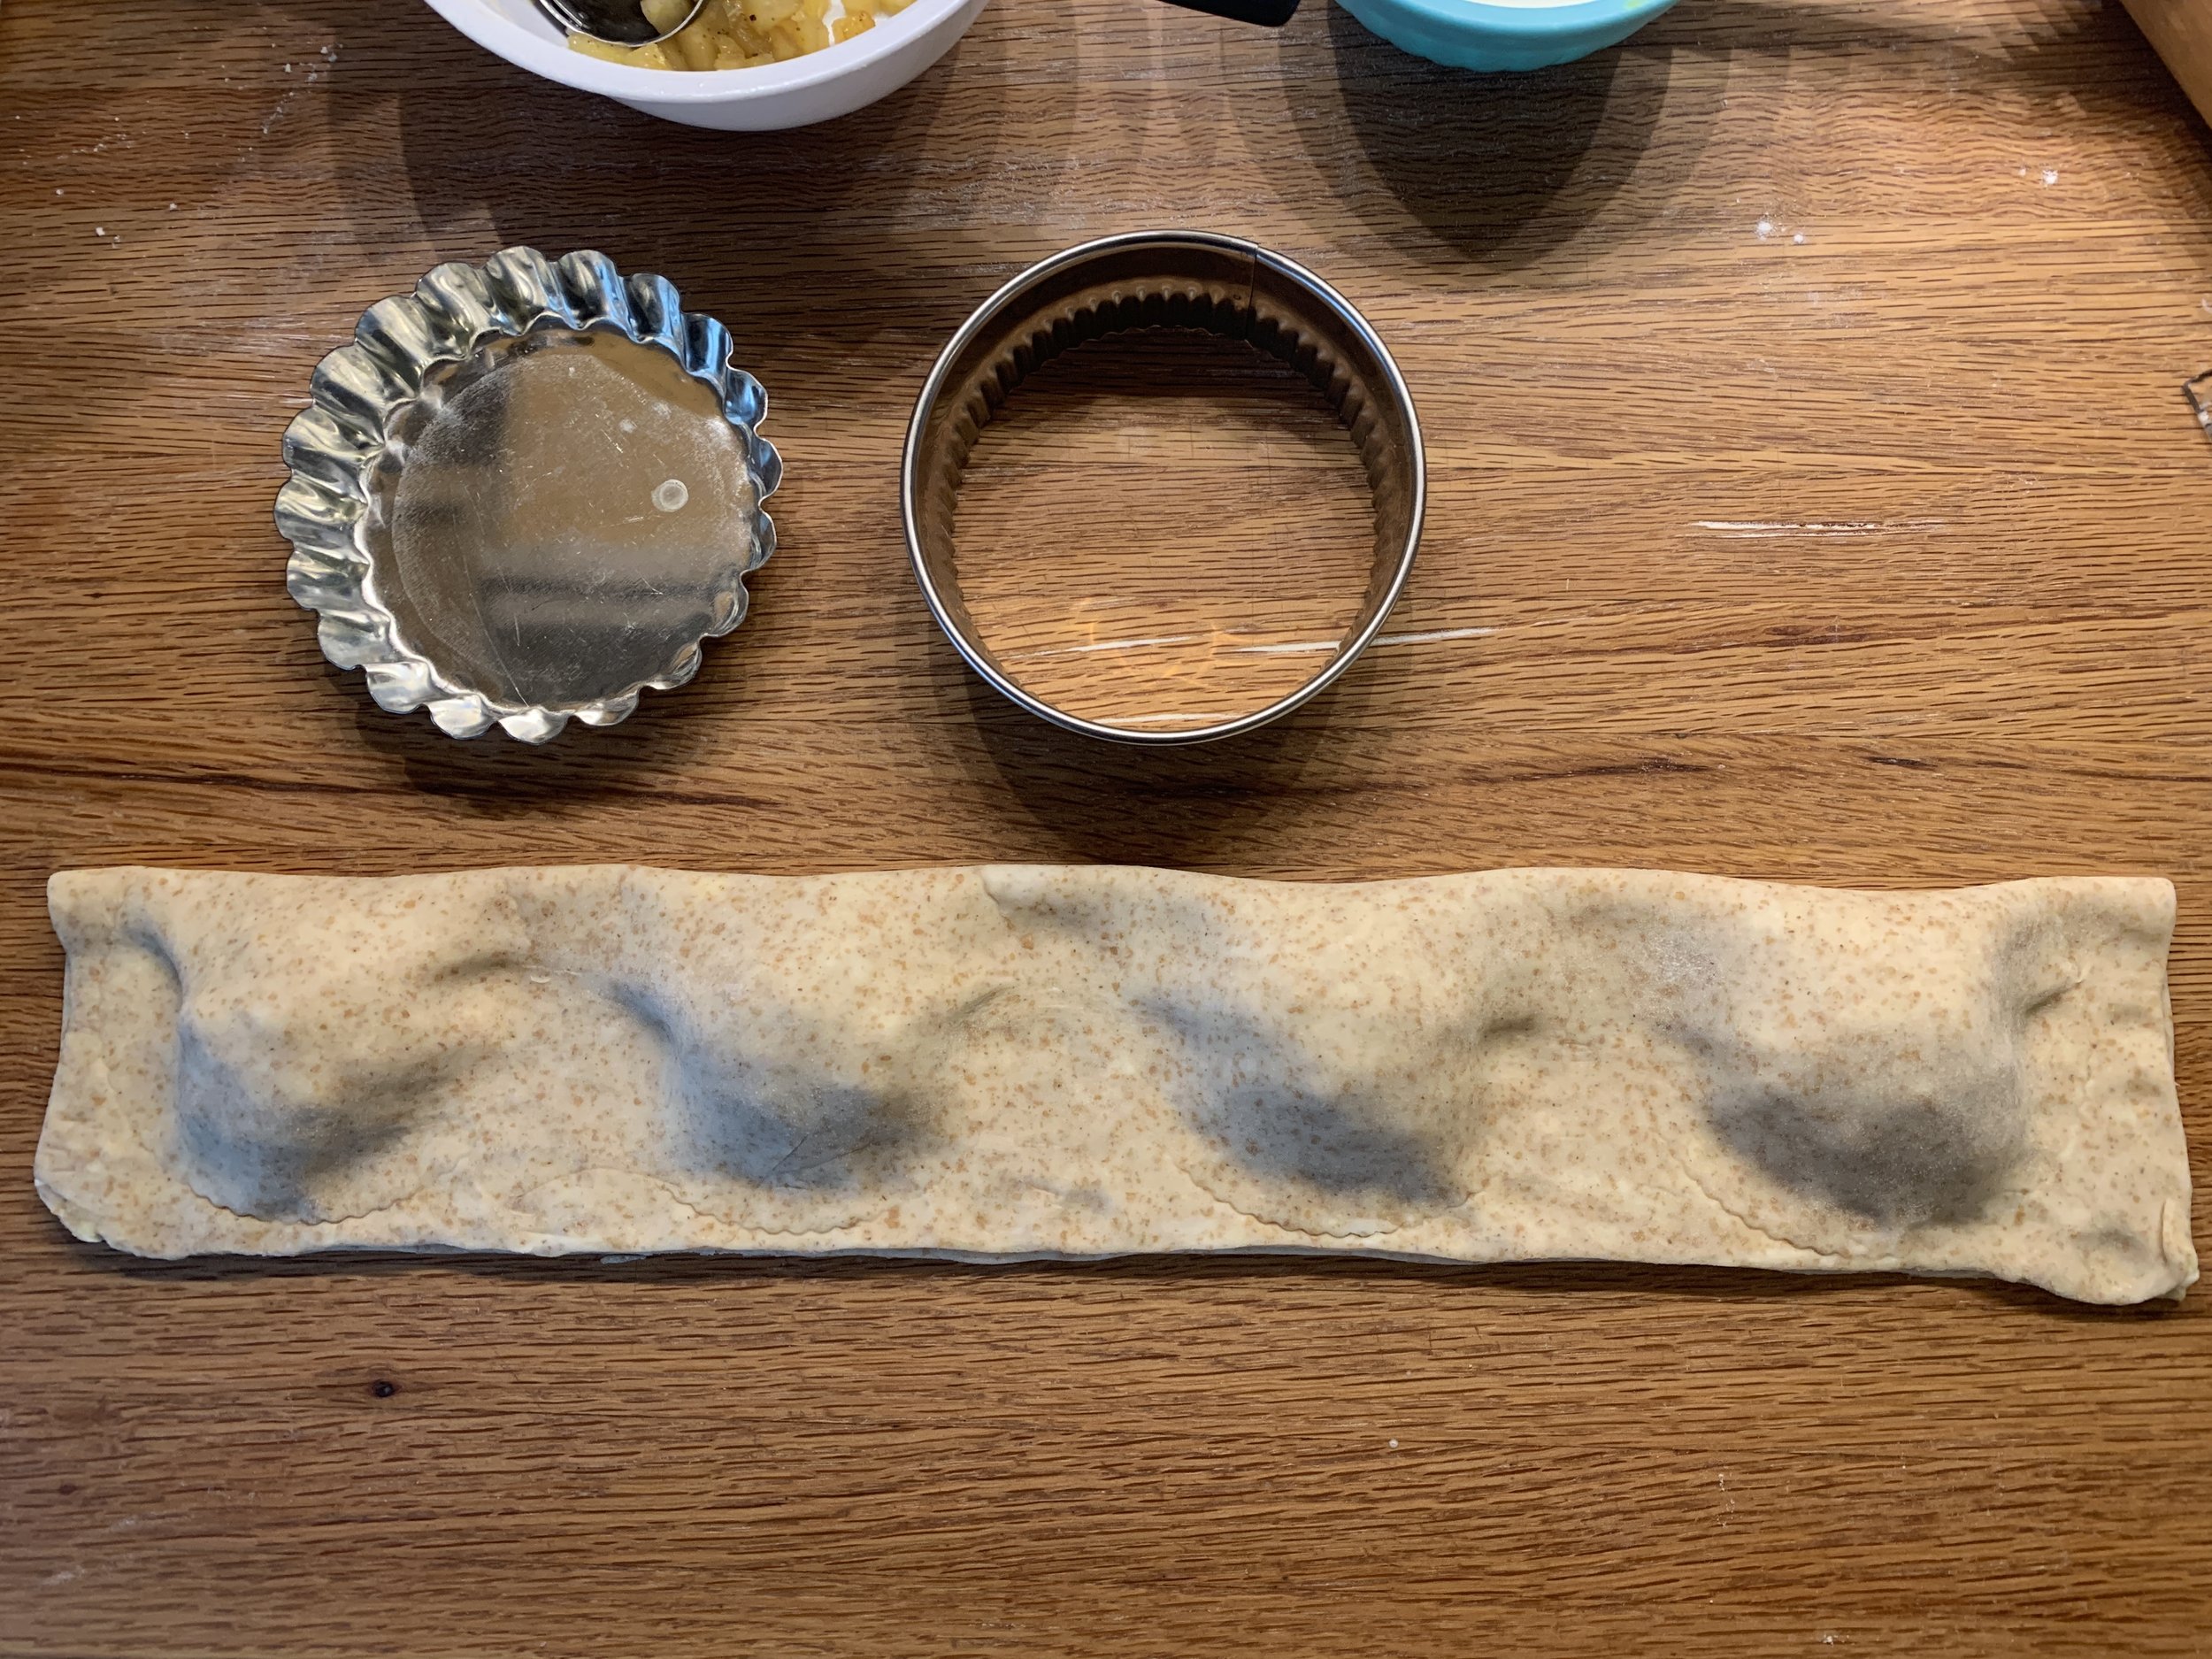
Below are an 8” tarte (used my 200 mm ring) with a couple small 65 mm / 2.5” ones on the side (extra for Steve and myself!). The caramel pistachio layer is spread in the baked tart shells with the mise for the ganache in the foreground.
For this I used a scant cup of toasted pistachios and a scant 3/4 cup caramel which works for either an 8” or 9” tarte. Here I simply kept a small amount aside for the two minis.
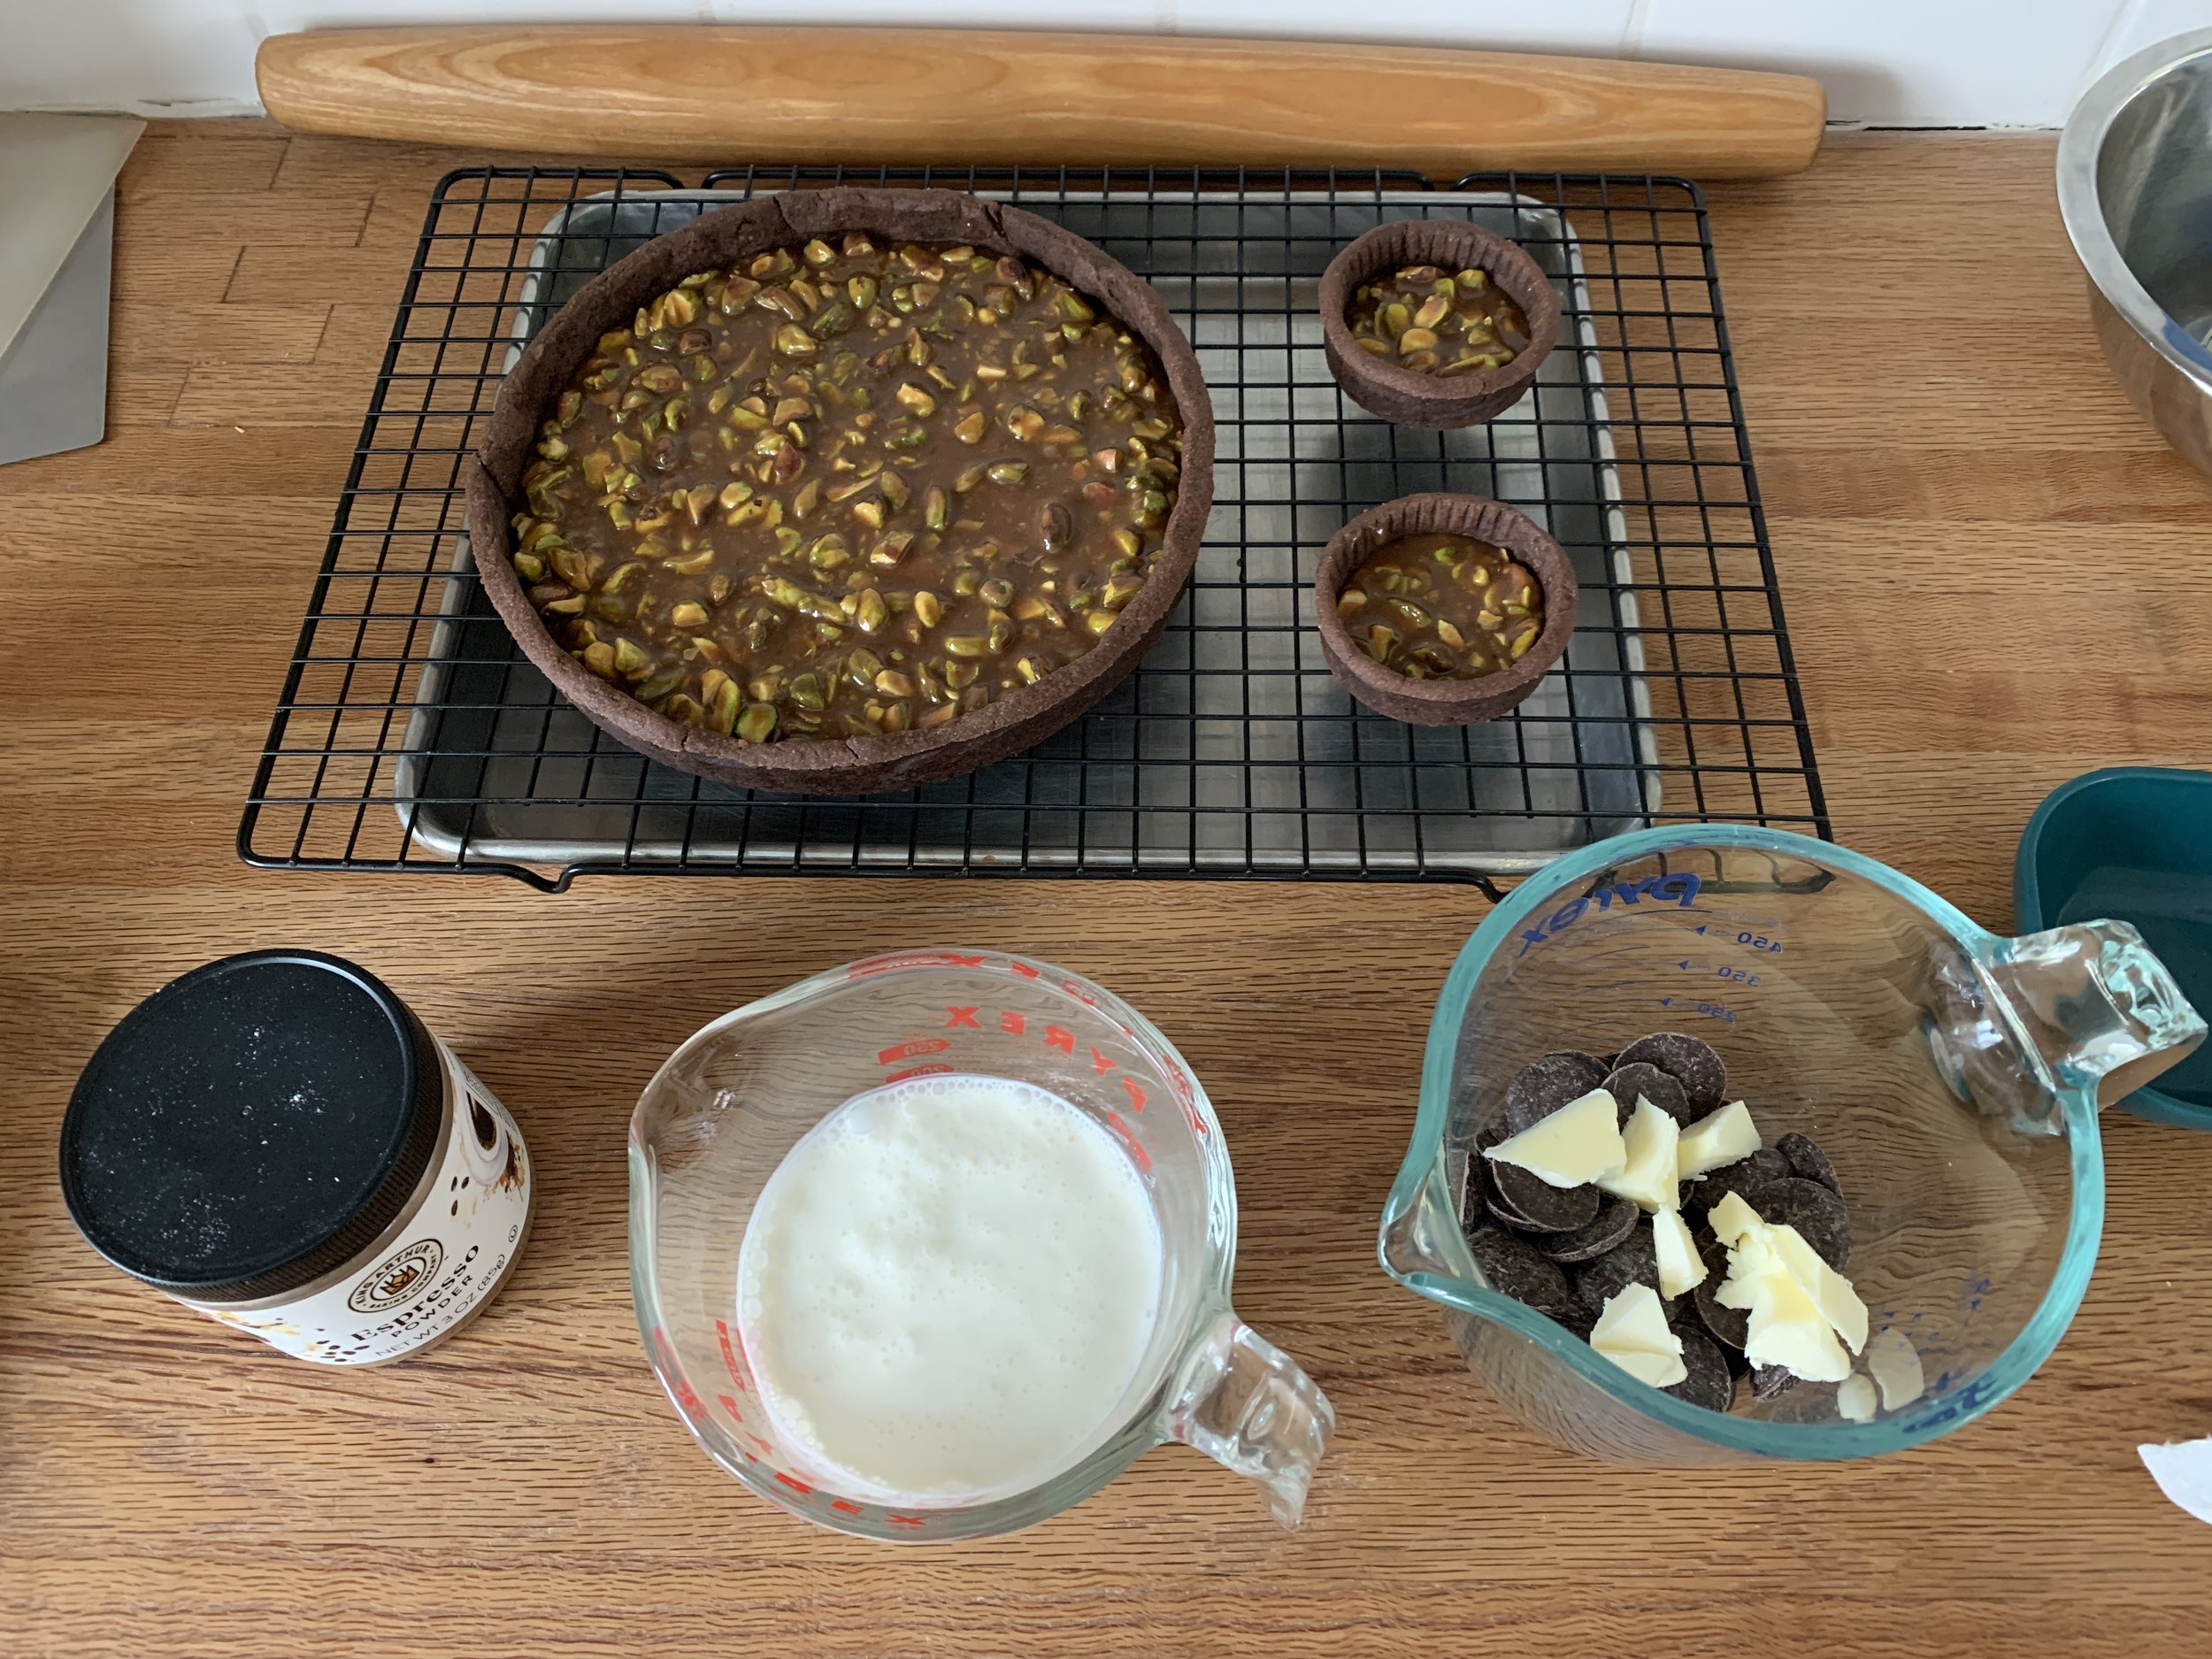
For the ganache heat the cream to a boil, pour over the chocolate and butter and blend. Blend in a teaspoon of espresso powder dissolved in 2 tablespoons hot water. Remember the recipe here.
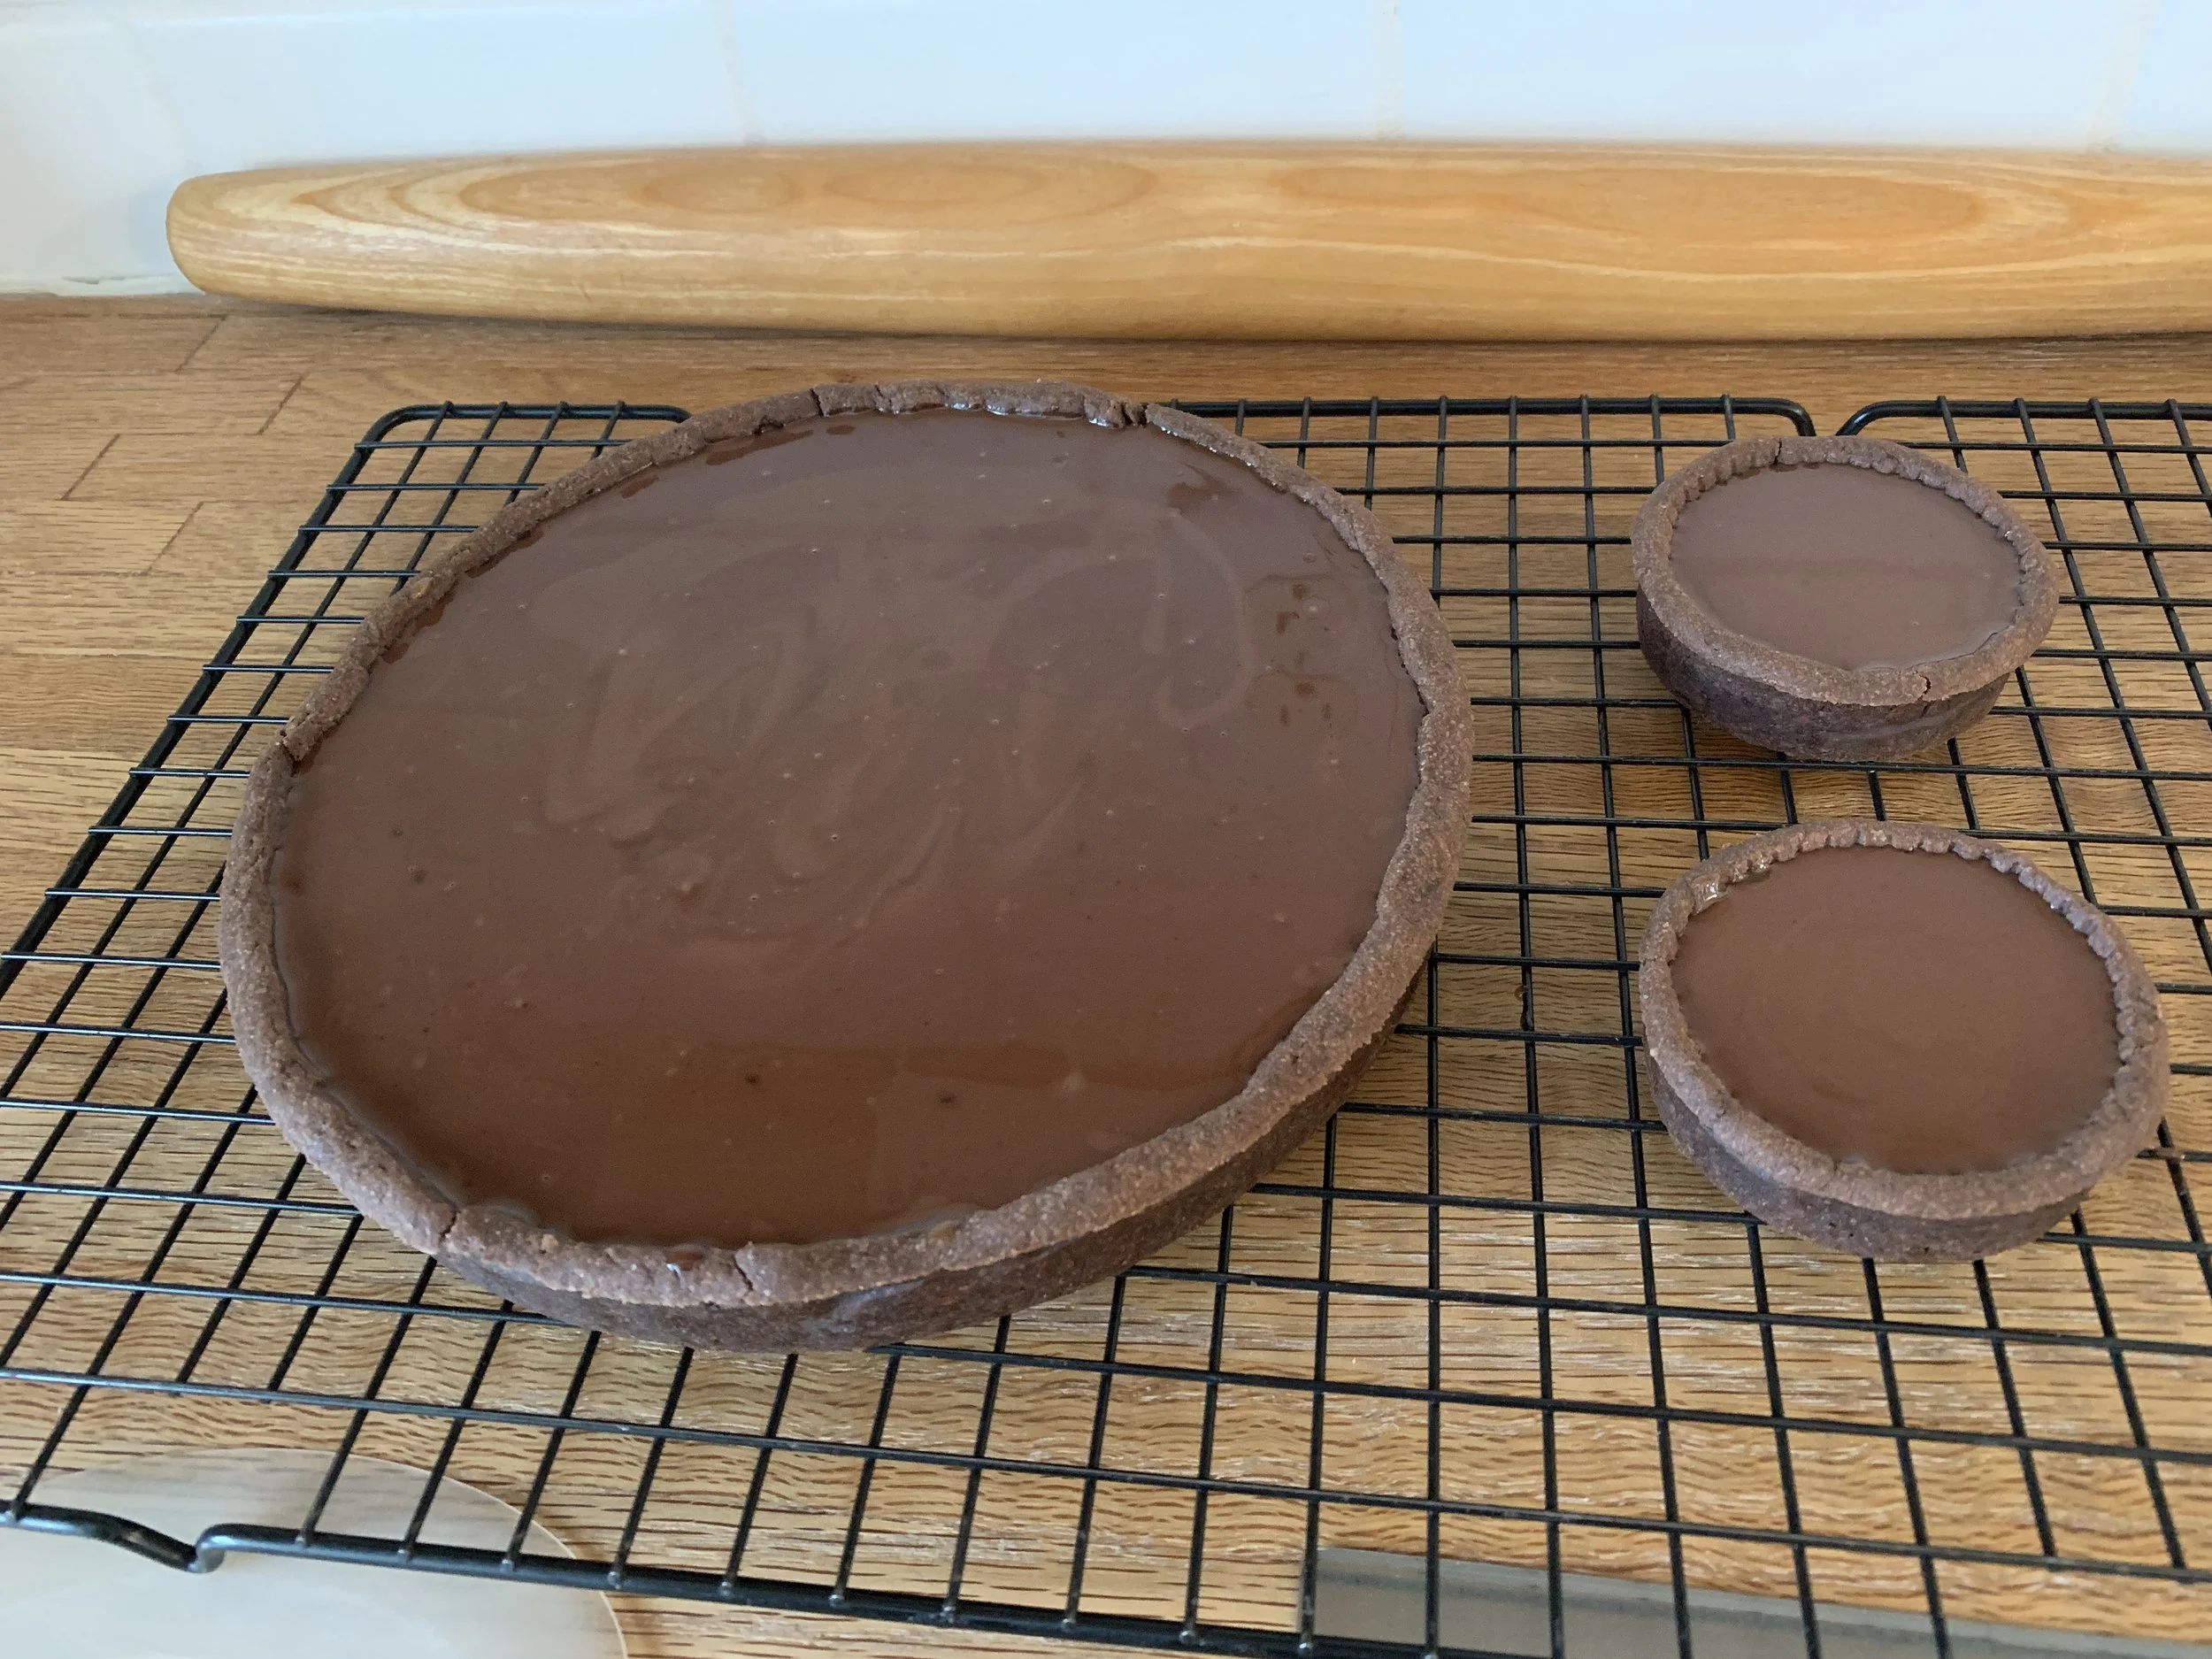
Pour somewhat slowly as to avoid air bubbles. If they do happen, I pop them with the tip of a sharp knife. Let cool at room temperature for an hour or so. You don’t want to refrigerate immediately when the filling is still pretty warm - you’ll get unwanted moisture droplets forming on the surface. Not good. Then refrigerate for at least an hour to fully set the ganache. You can let it be in the fridge for several hours if needed before doing your final garnish.
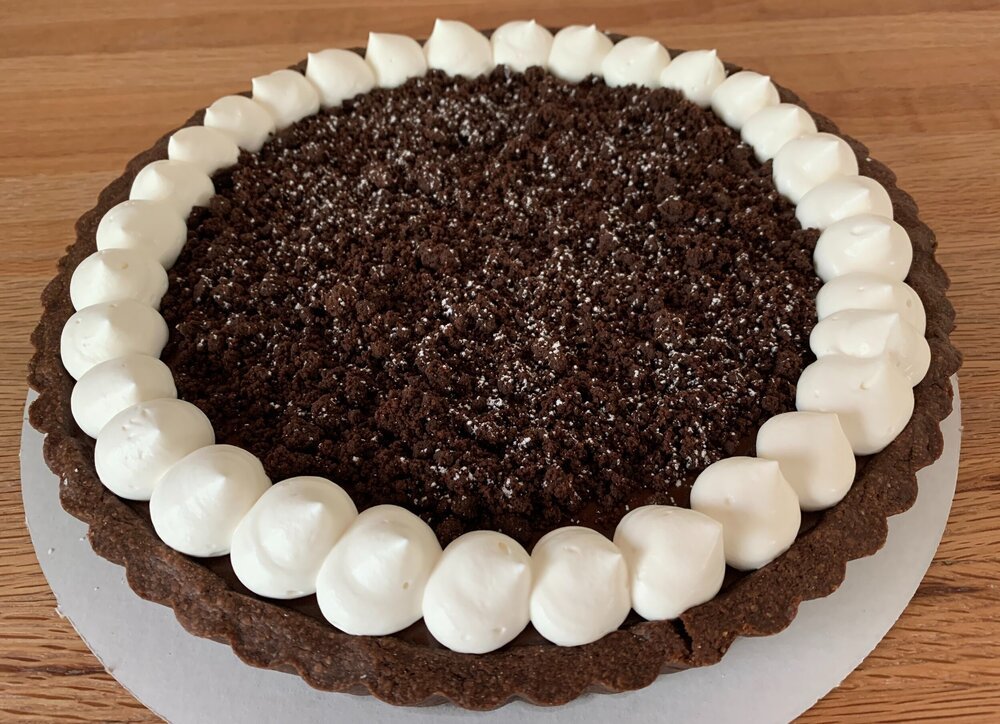
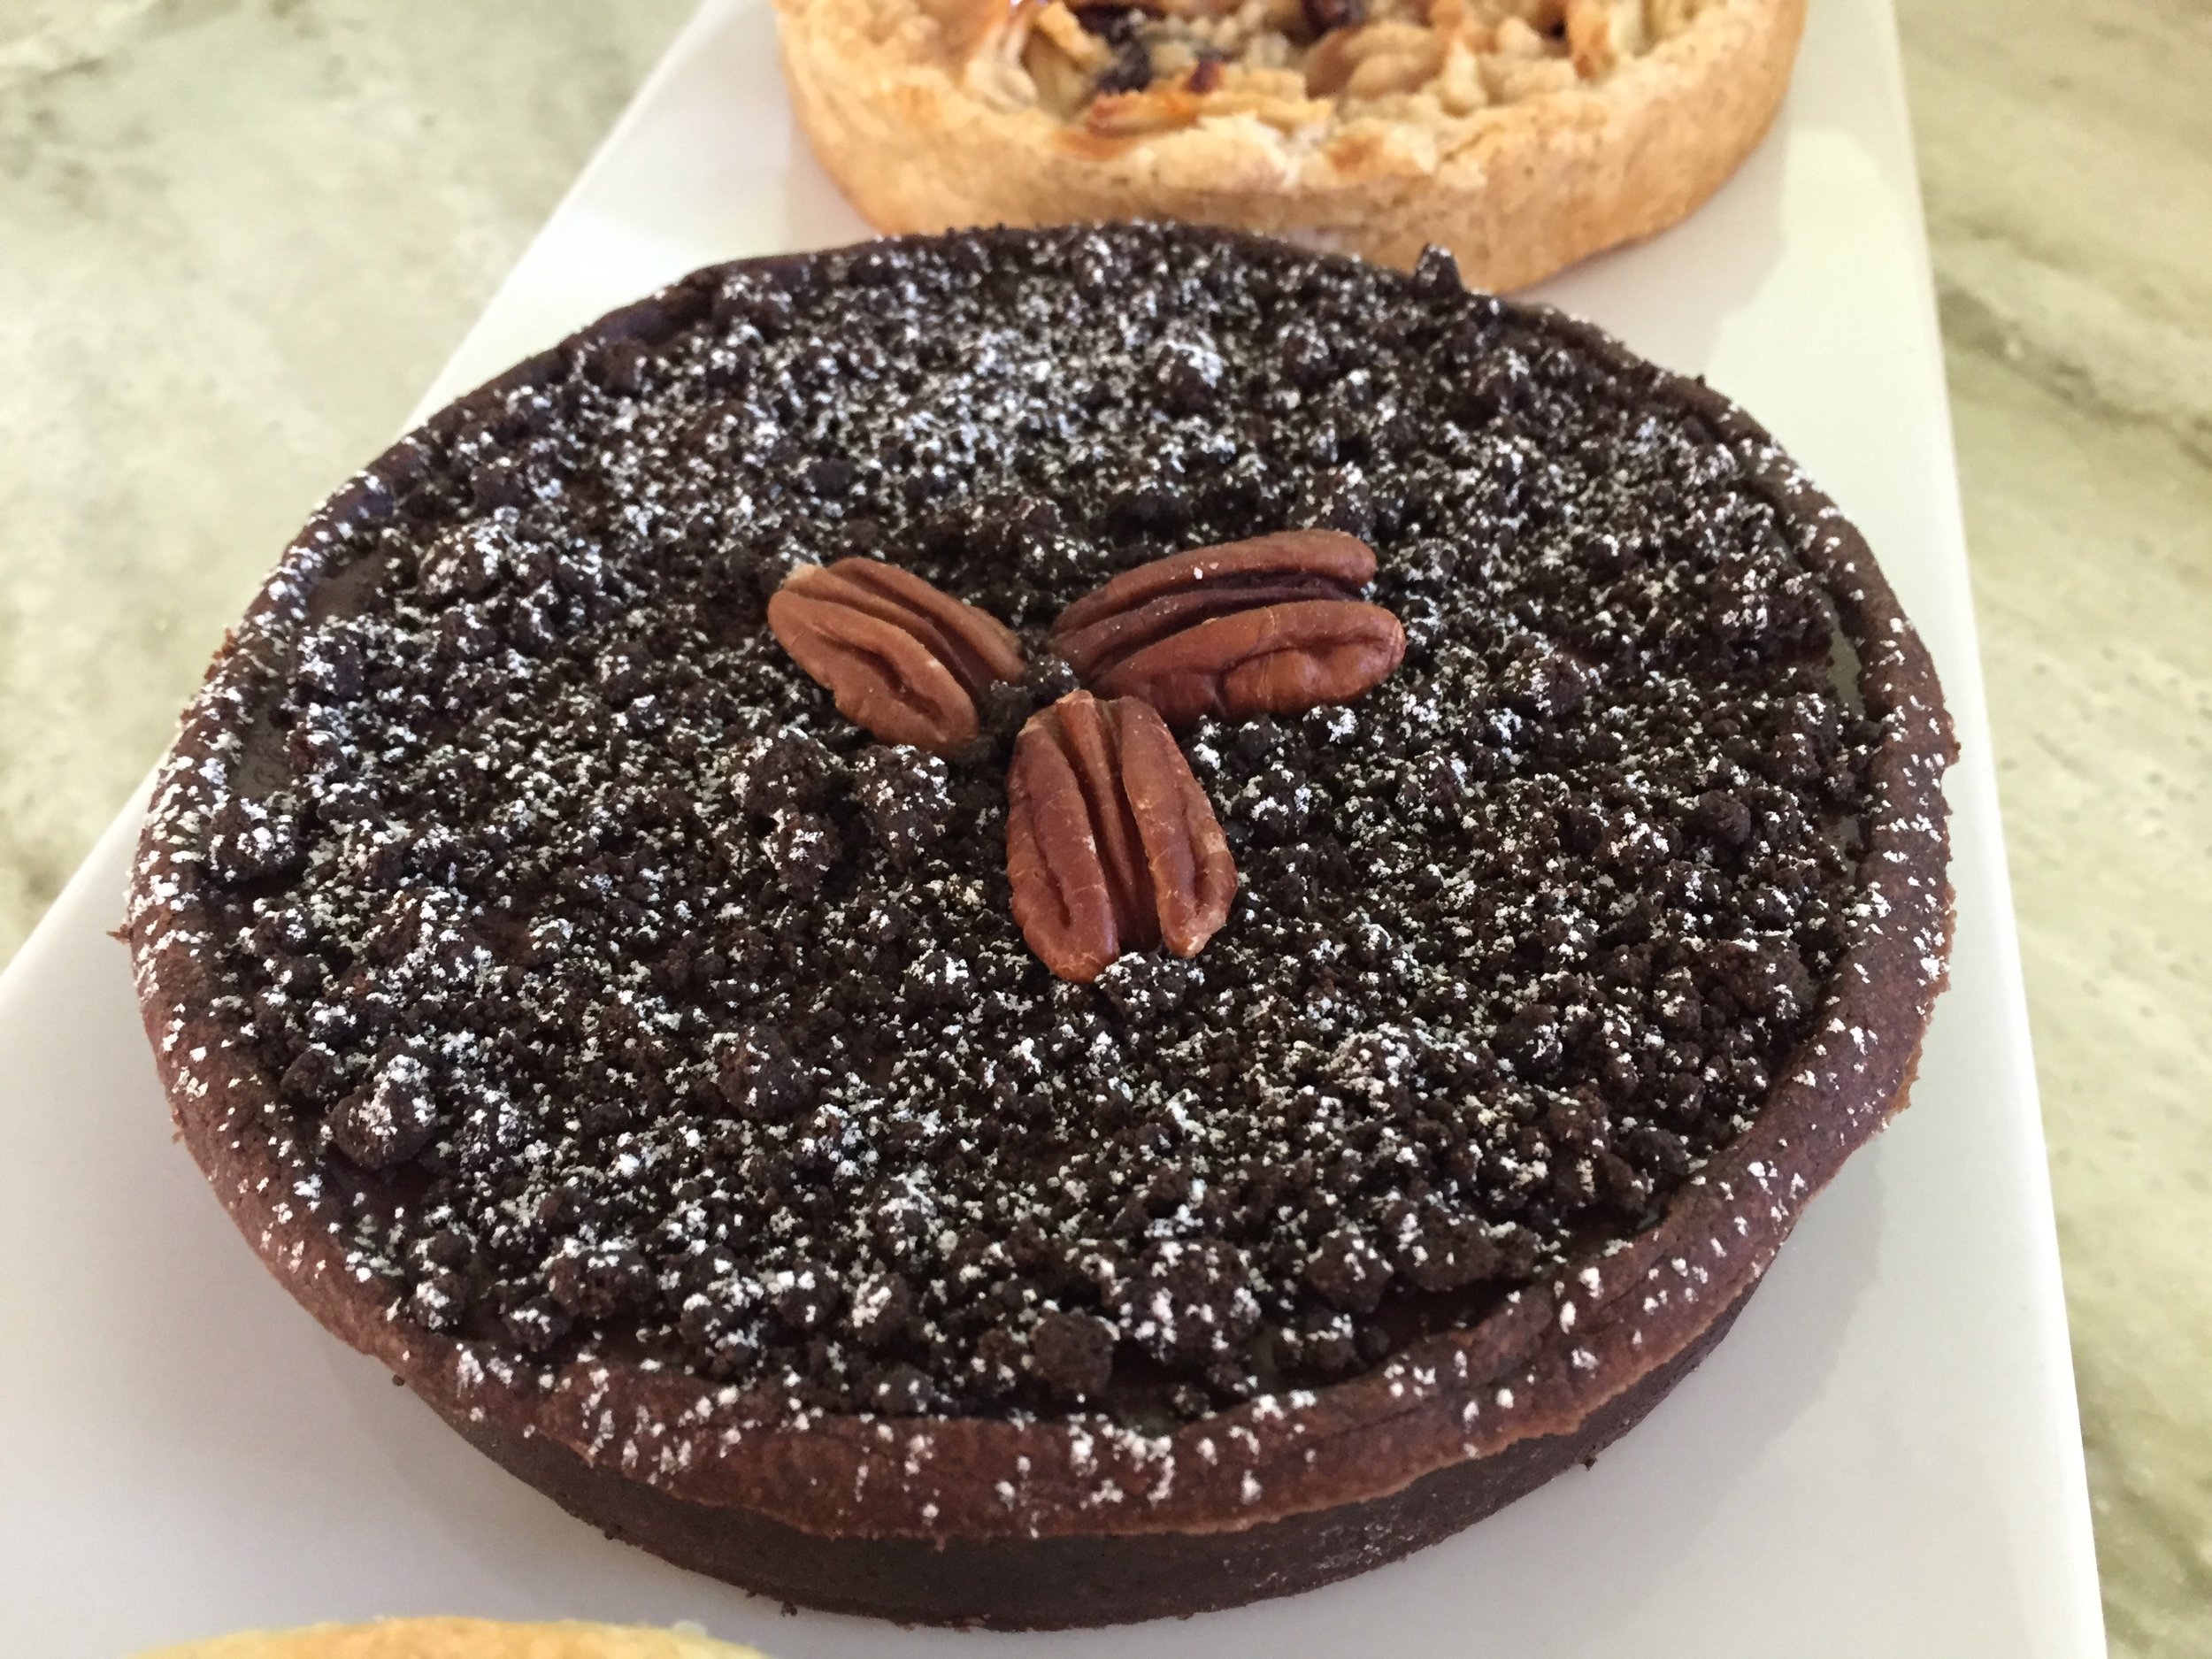
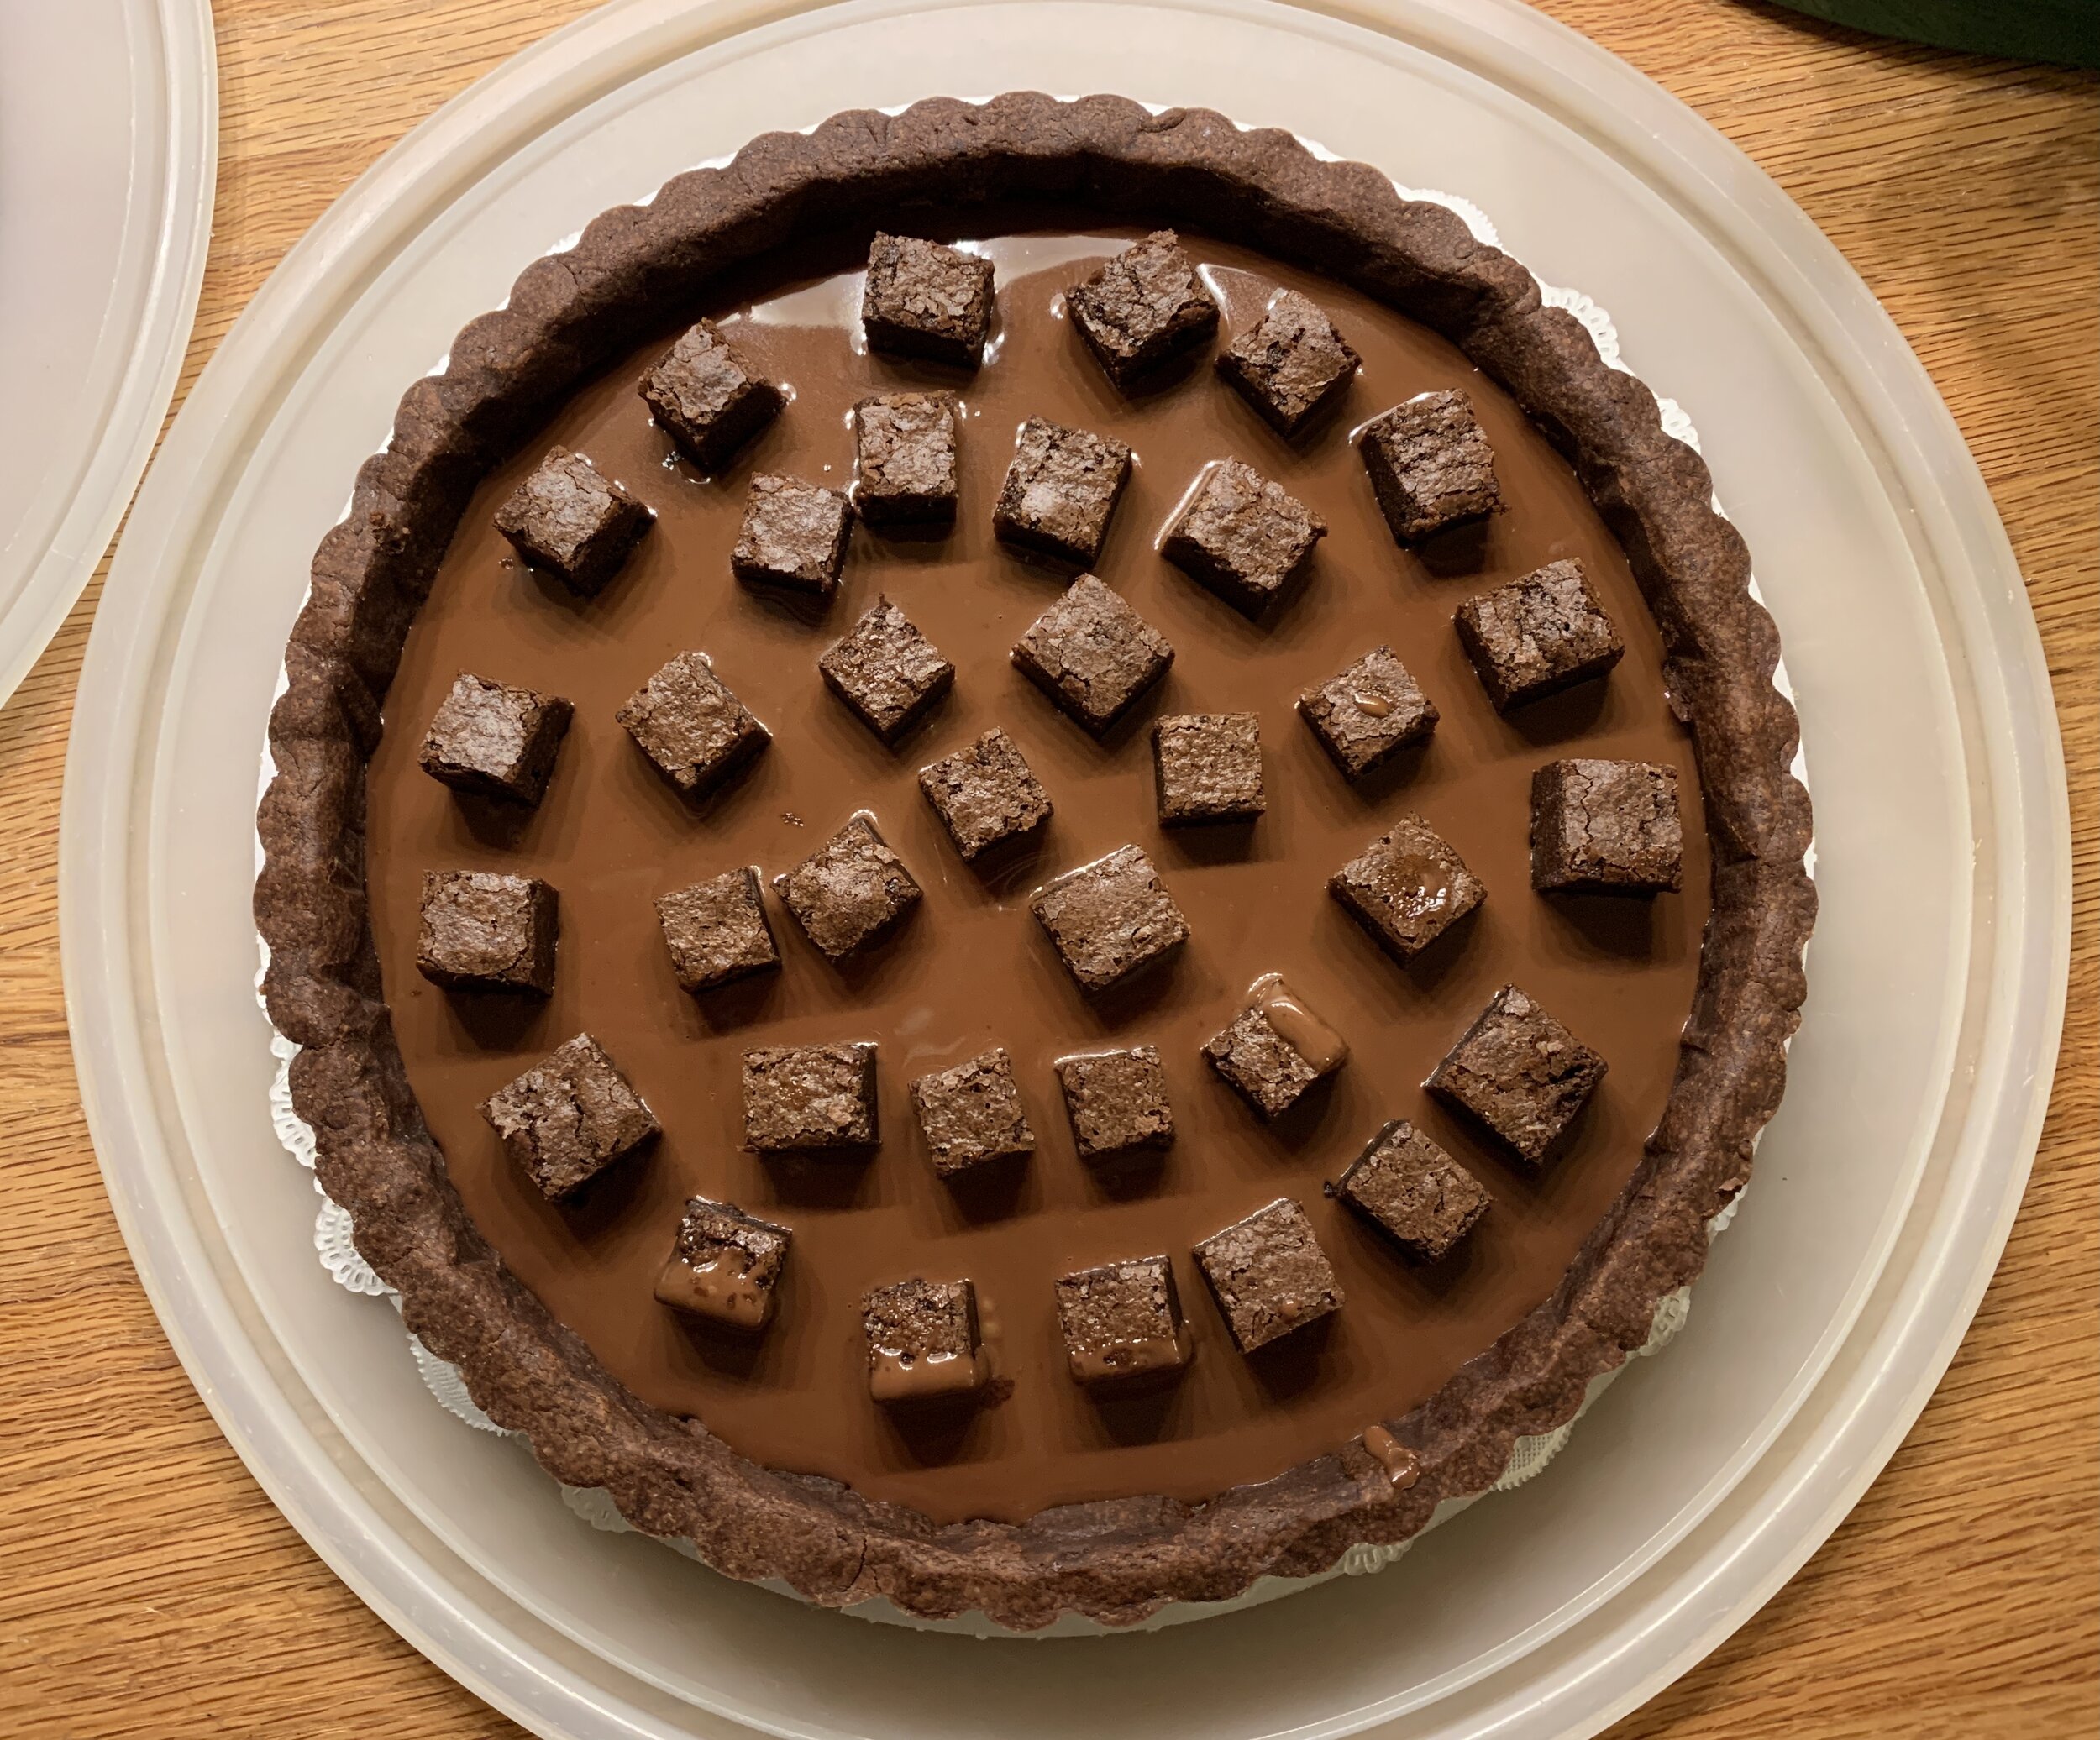
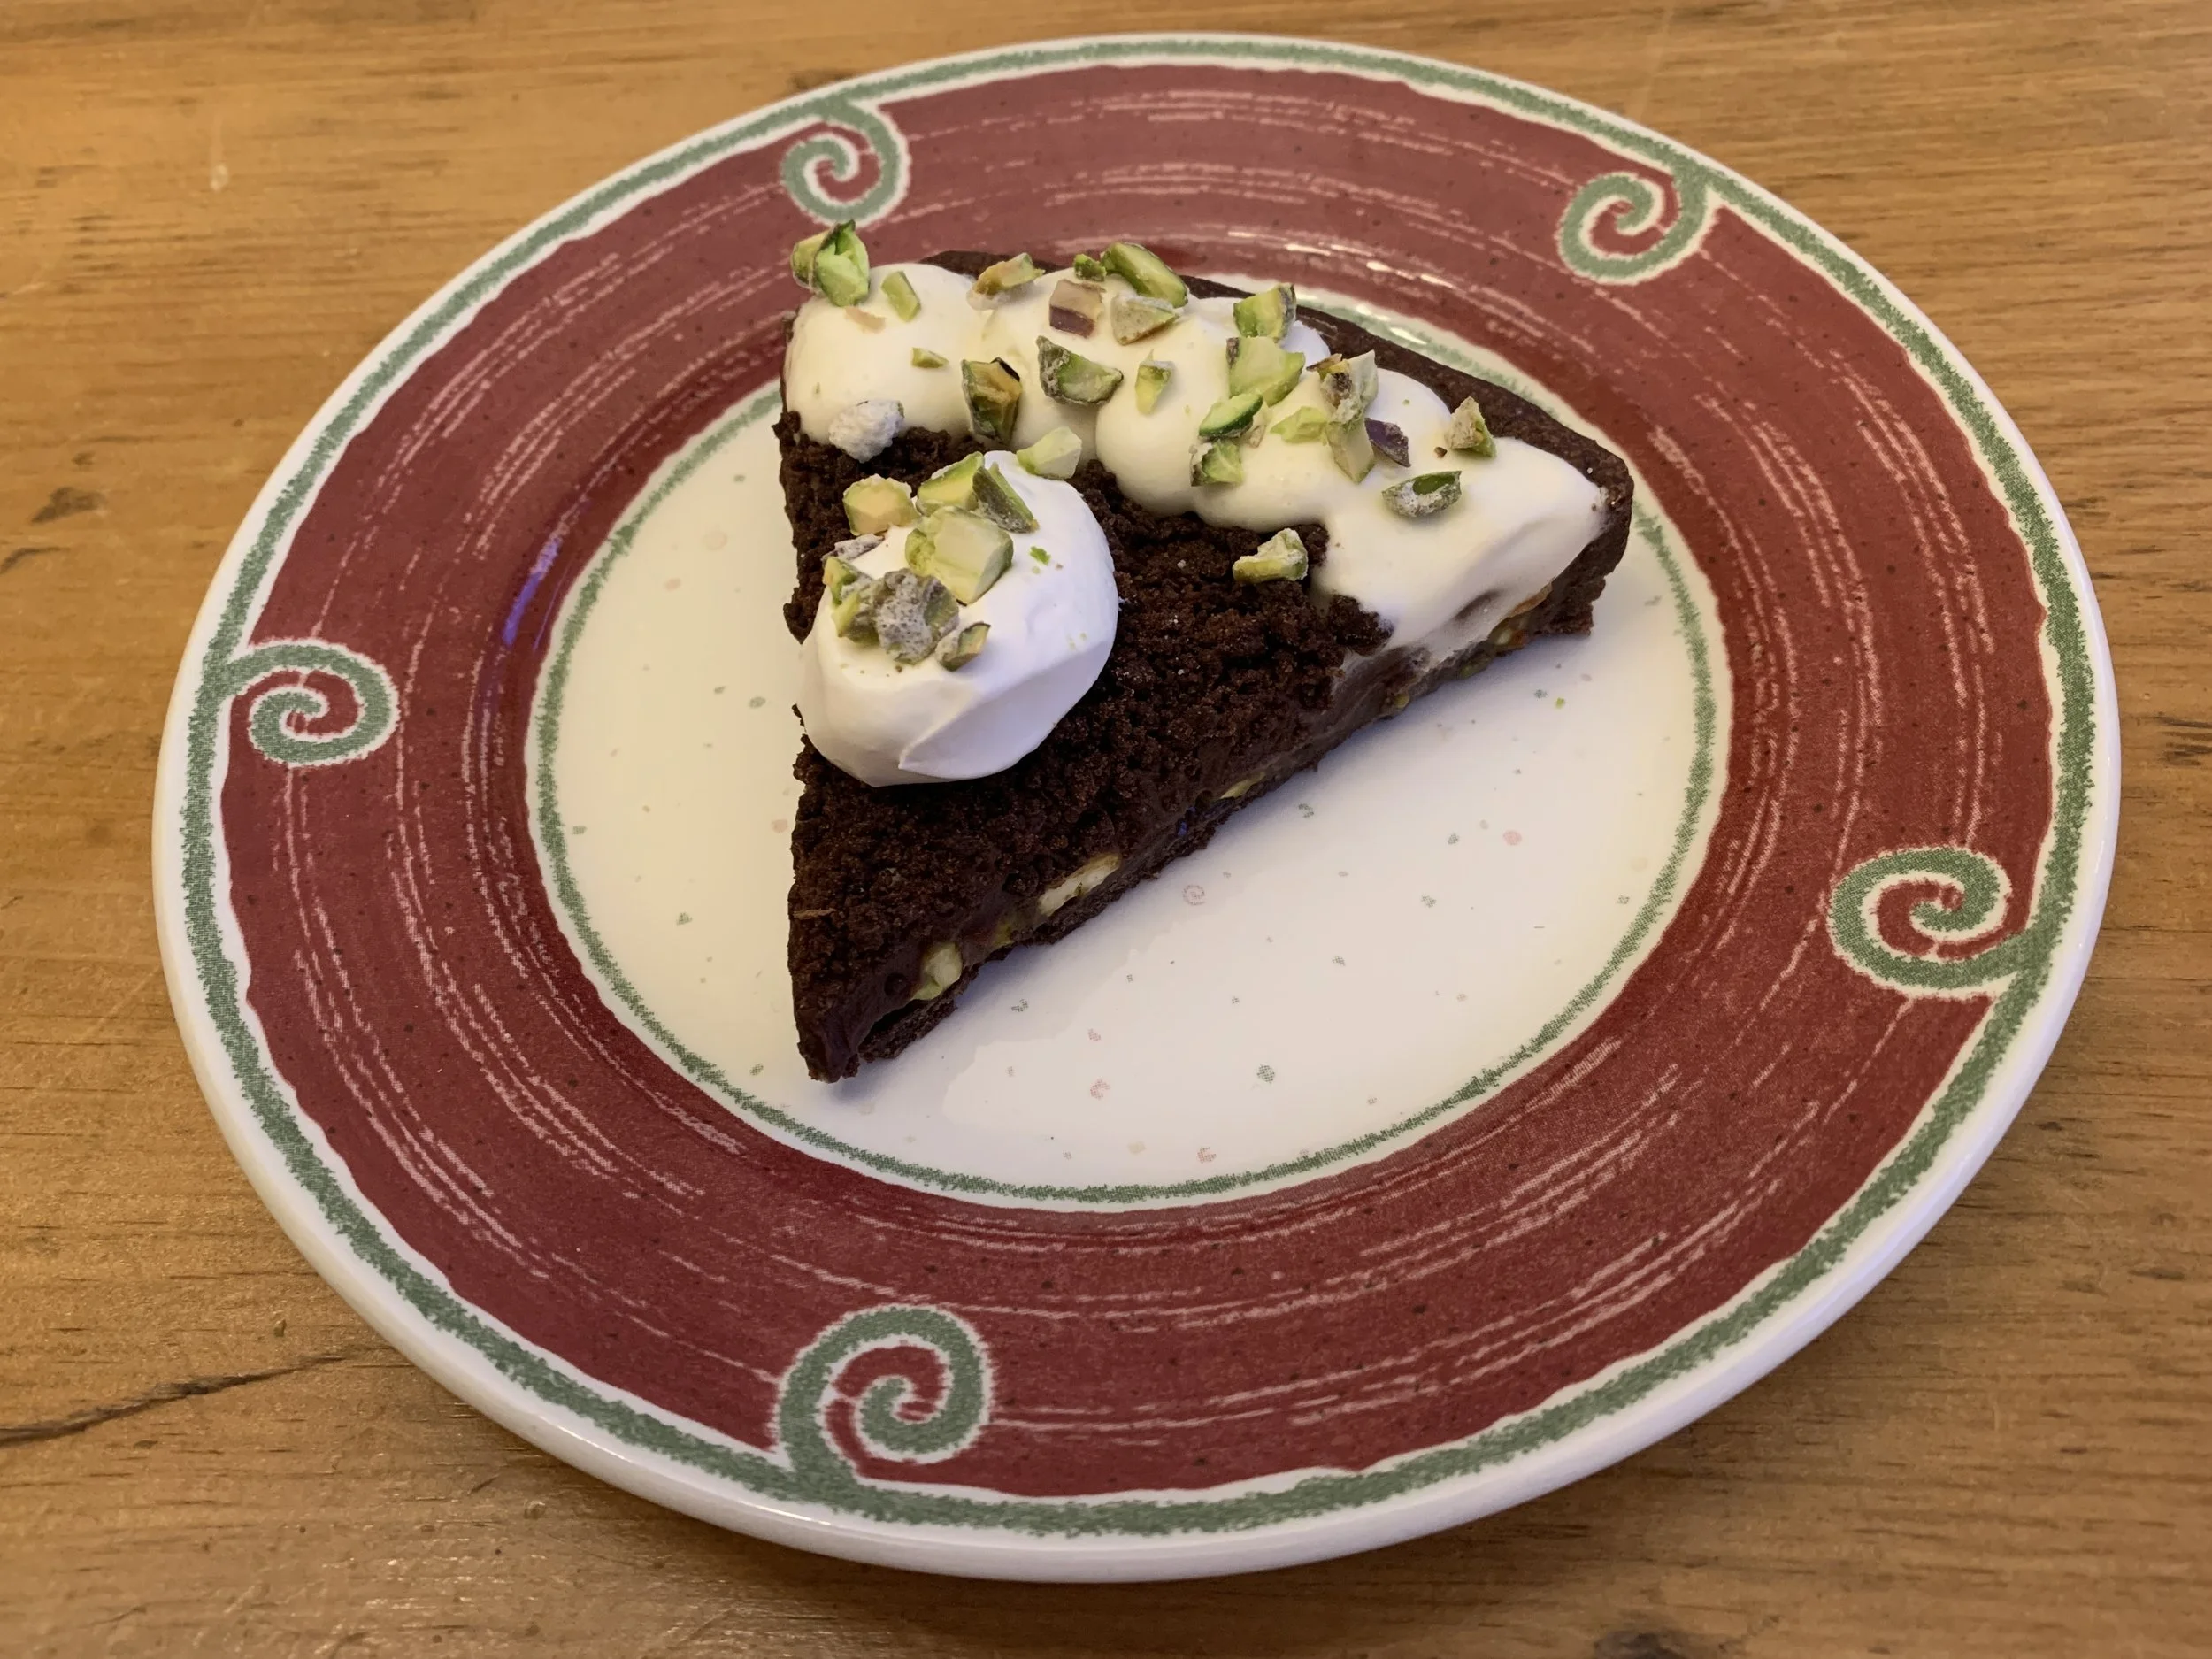
As in this case, when preparing for a dinner gathering, I garnish the tarte an hour or two ahead - sprinkle on some chocolate crumbs leaving a bare edge for a nice piped ring of Chantilly. Lightly dust the crumbs with confectioner’s sugar for a light snowfall look. Hold in the fridge until 20 or so minutes before serving.
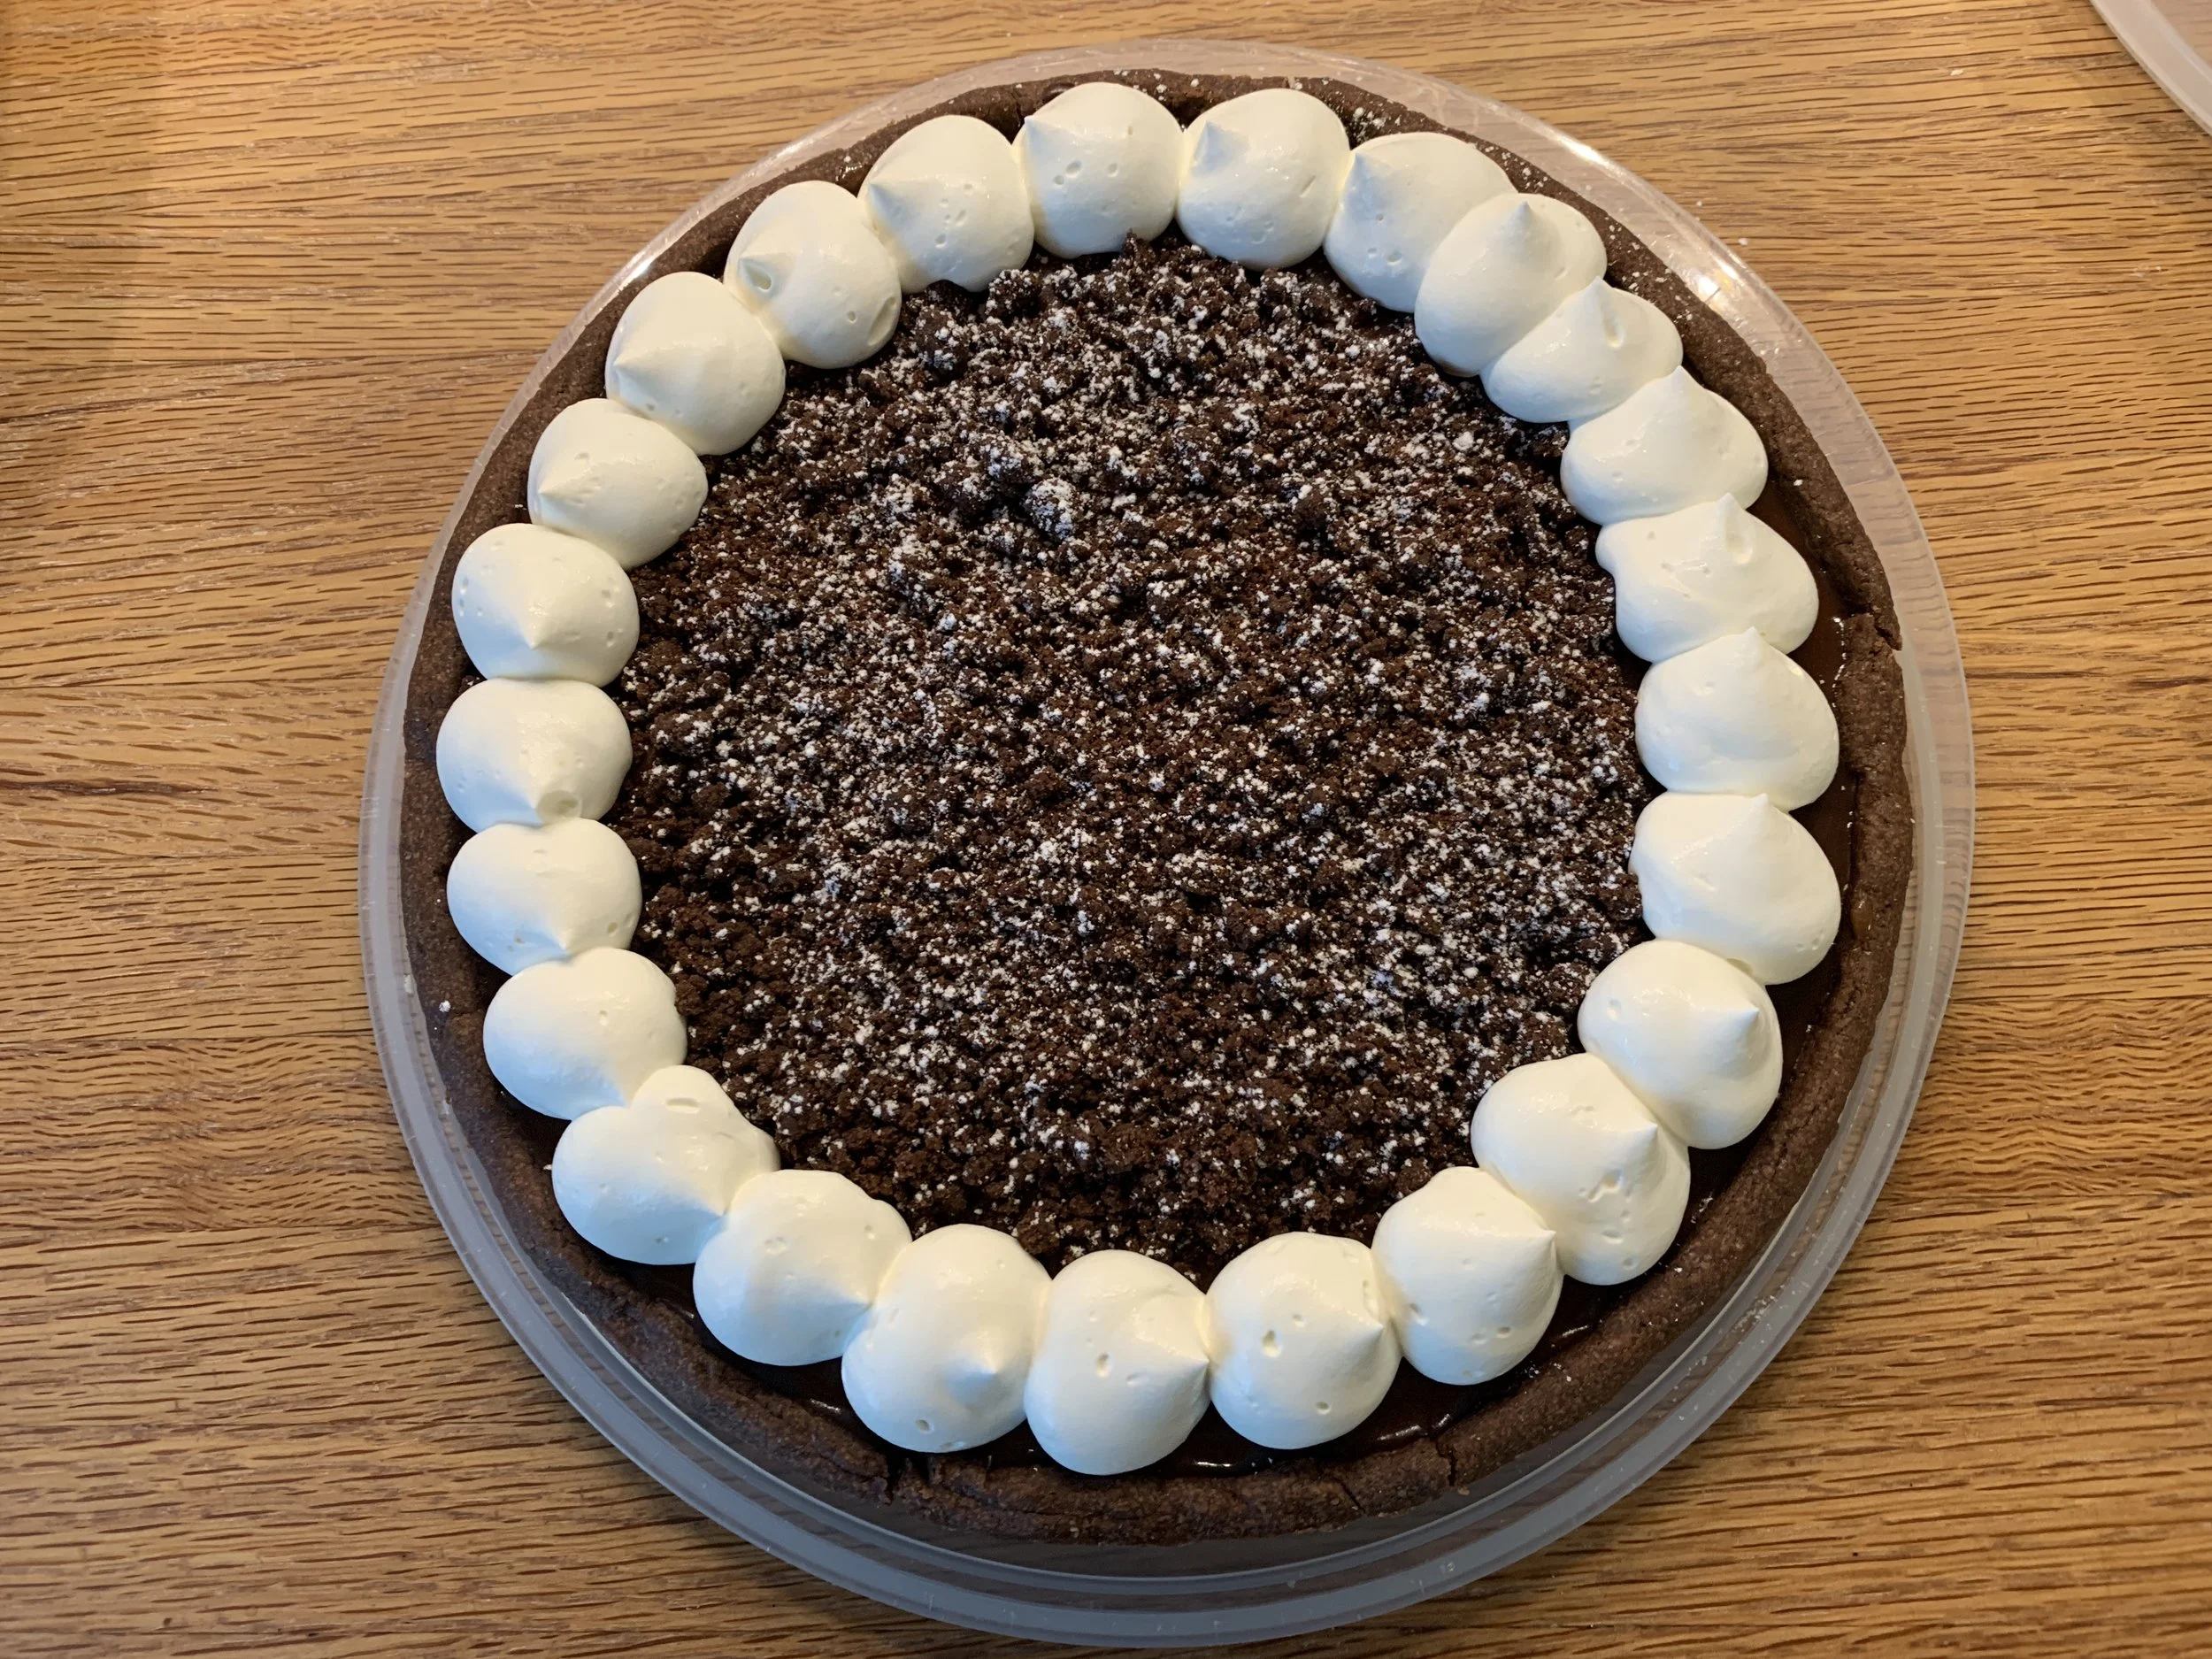
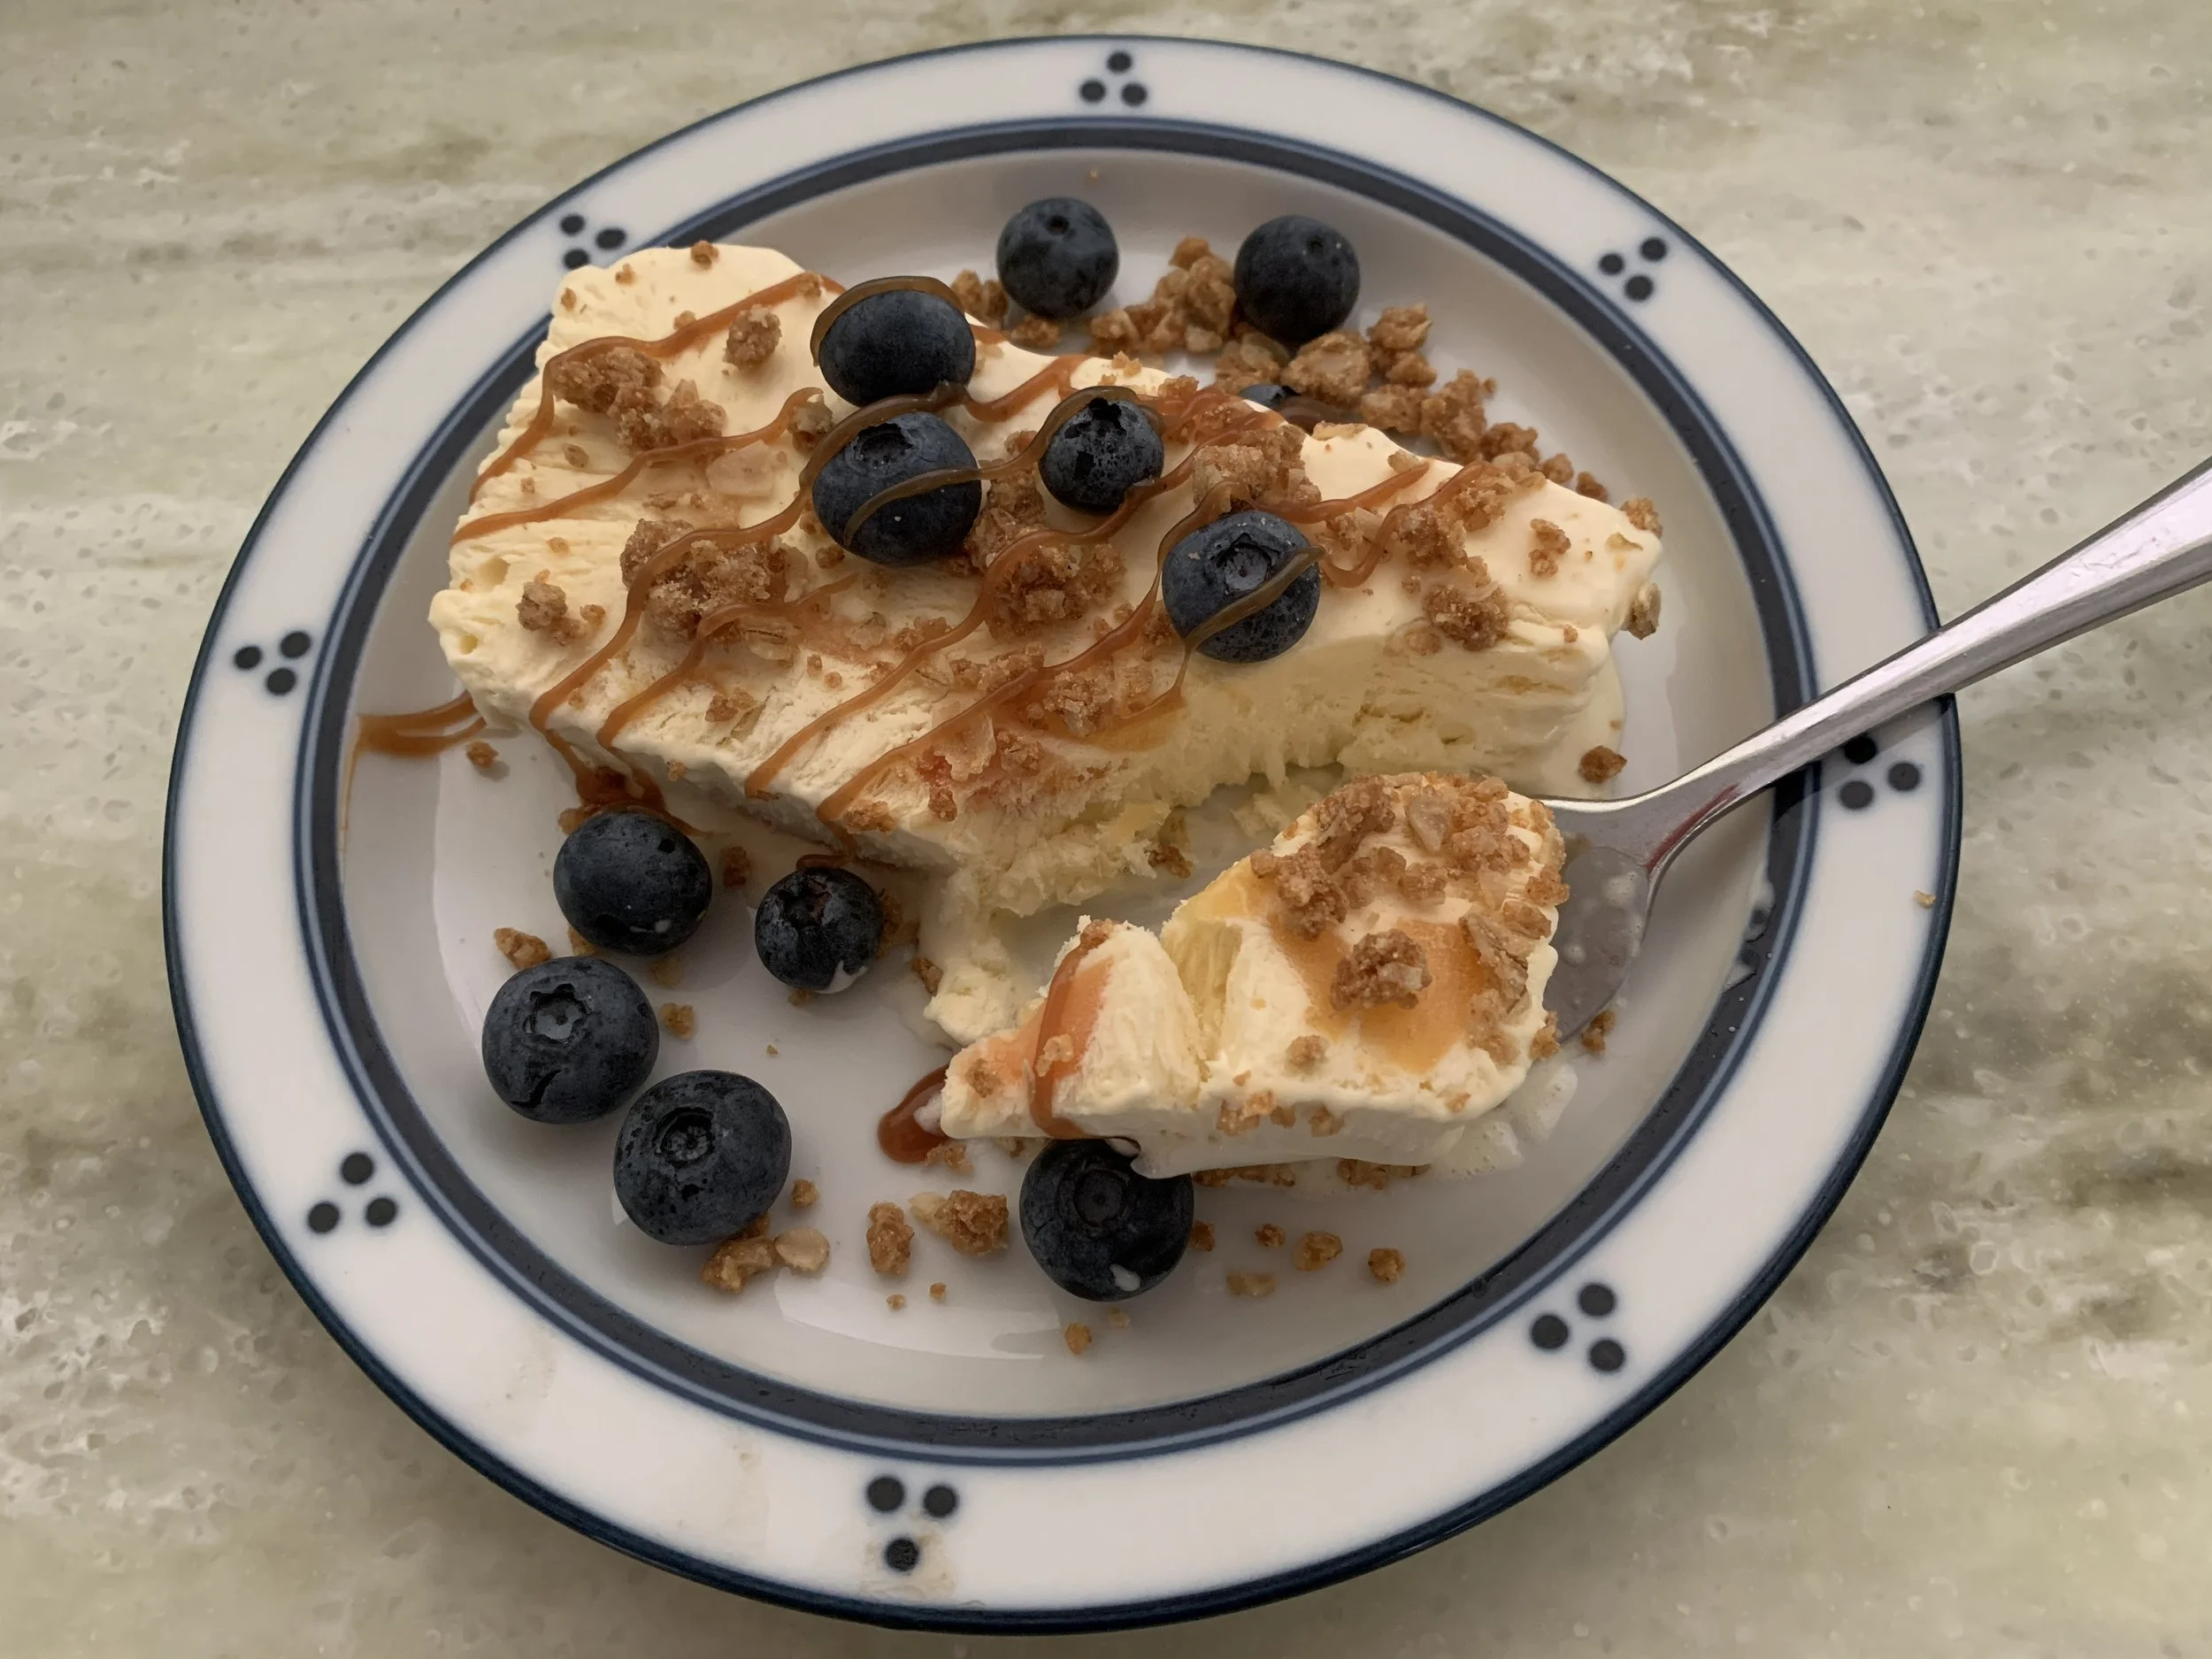
Once sliced, top each serving with an additional dollop of Chantilly and some lightly candied, chopped pistachios. So good.
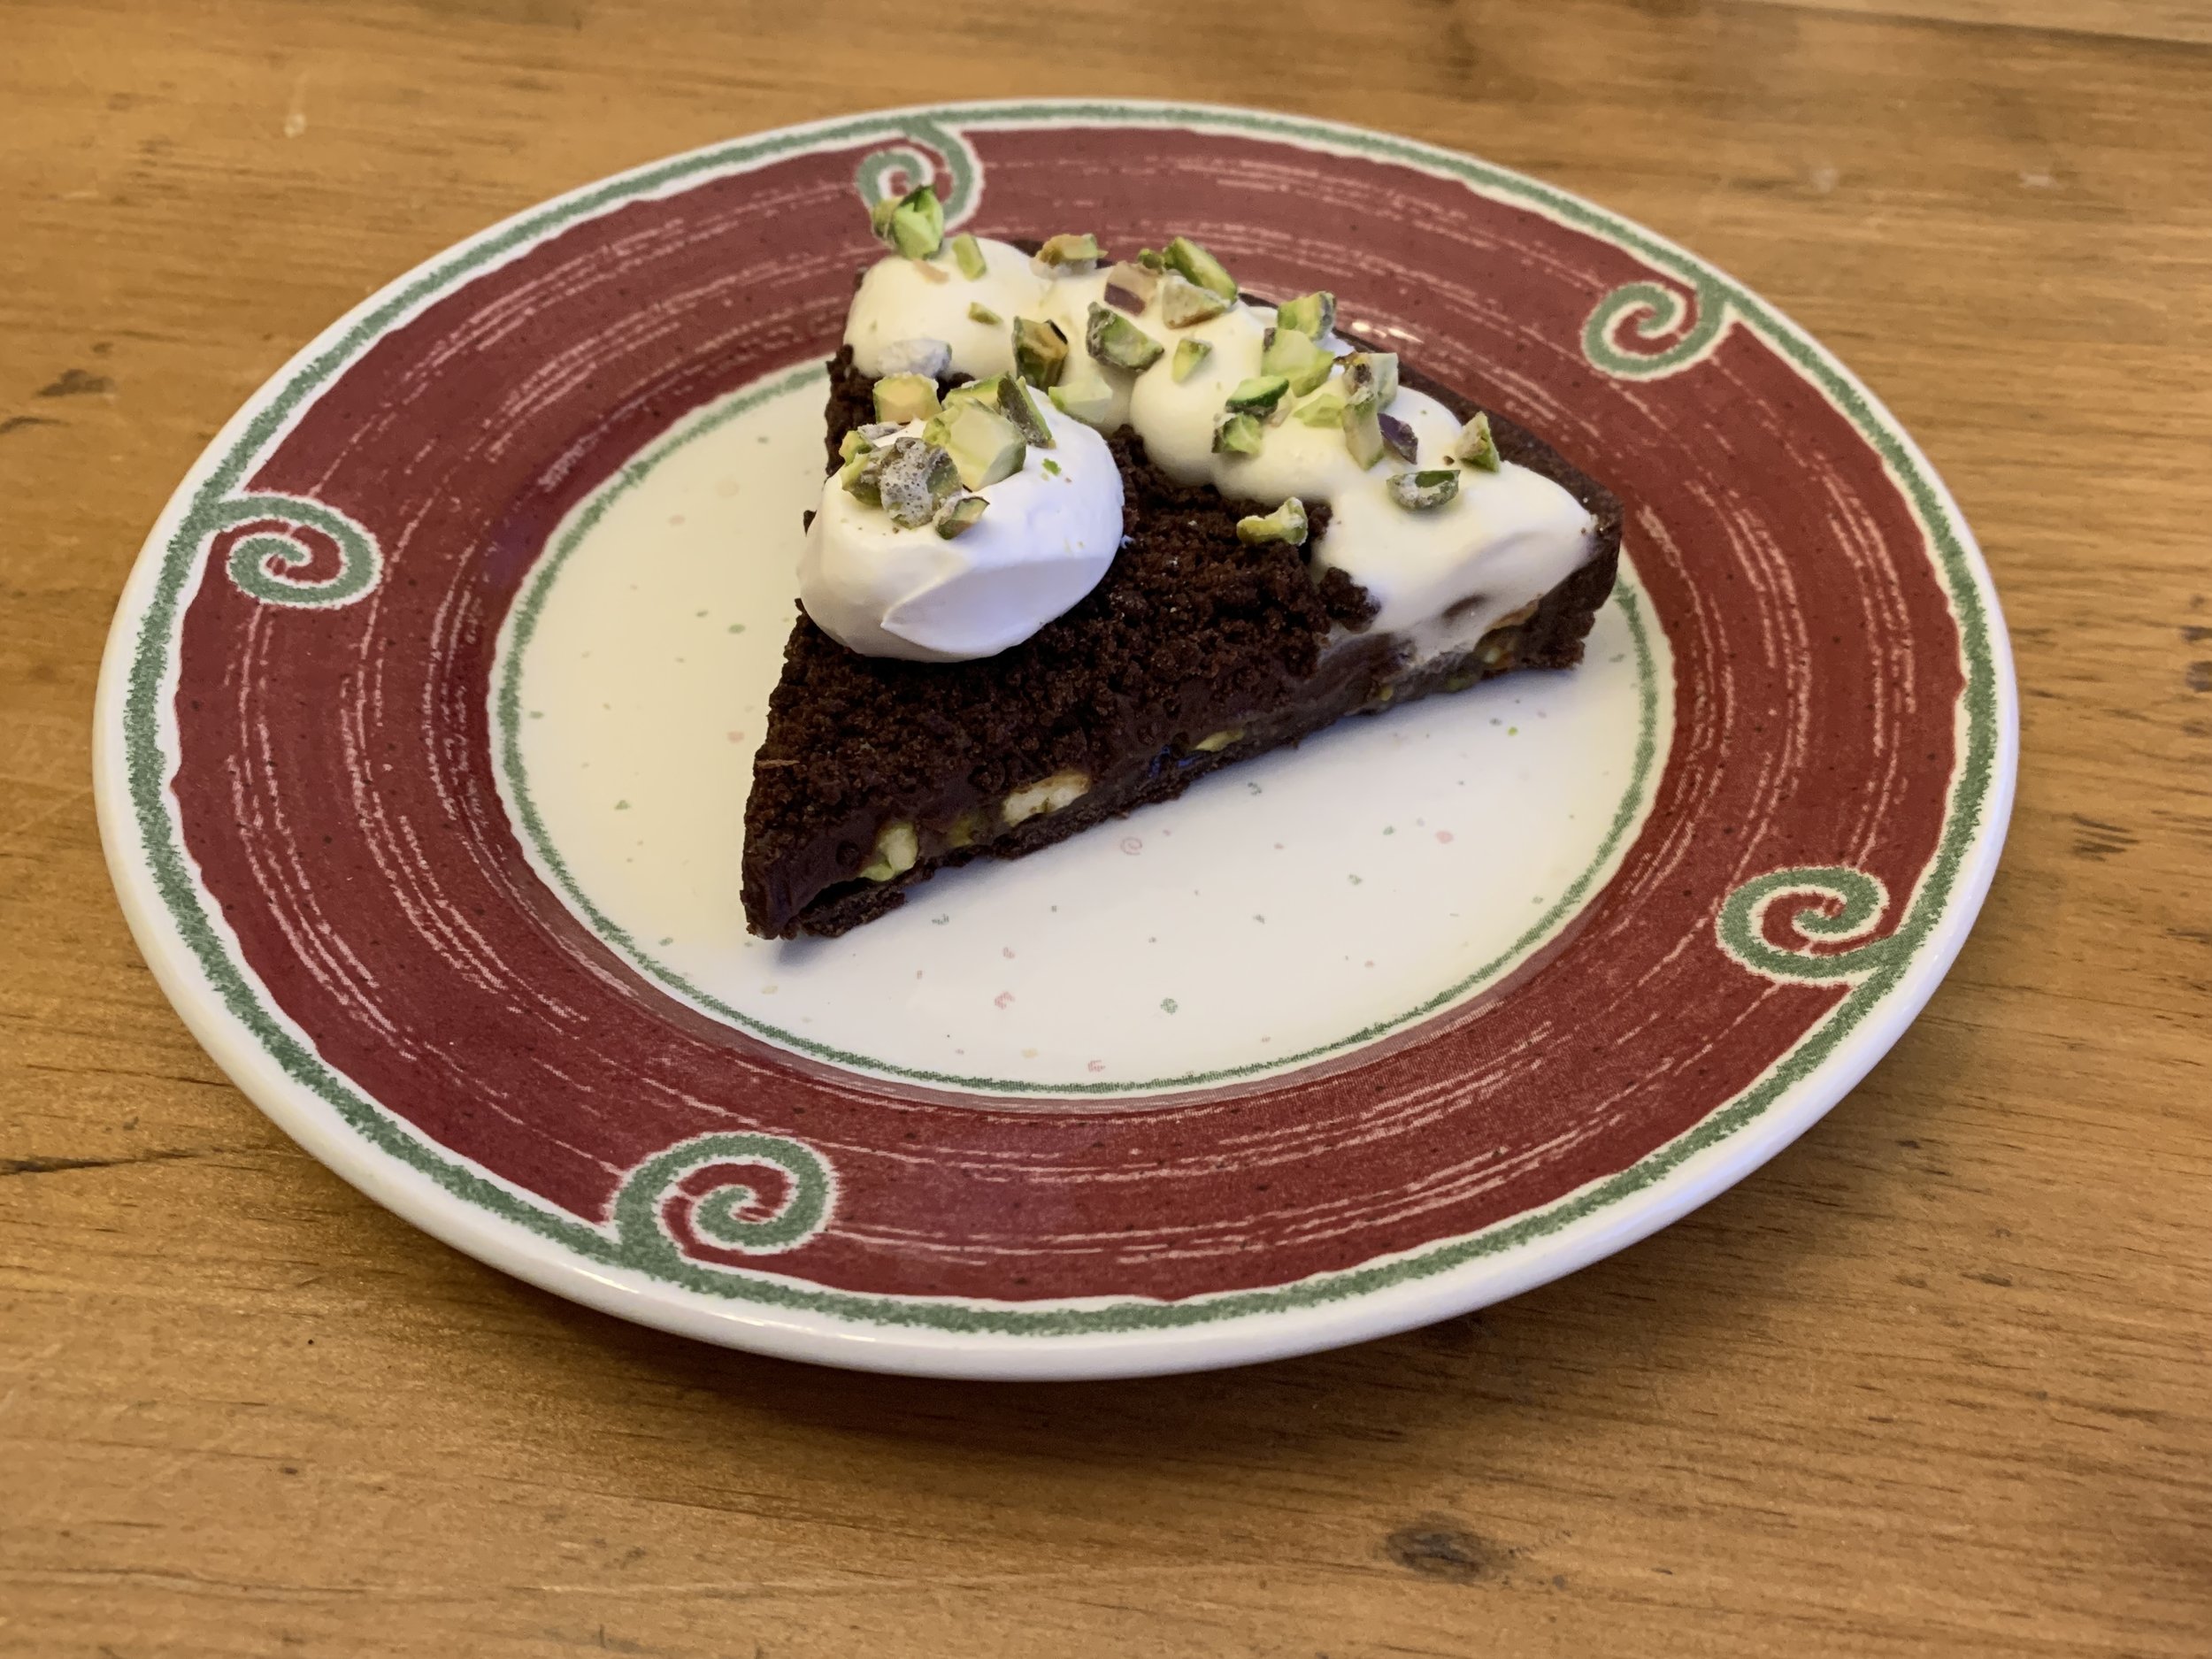
The diners loved it!! It was a perfect end to Shirley’s “shrimp in purgatory” served over pasta along with a lovely side salad.
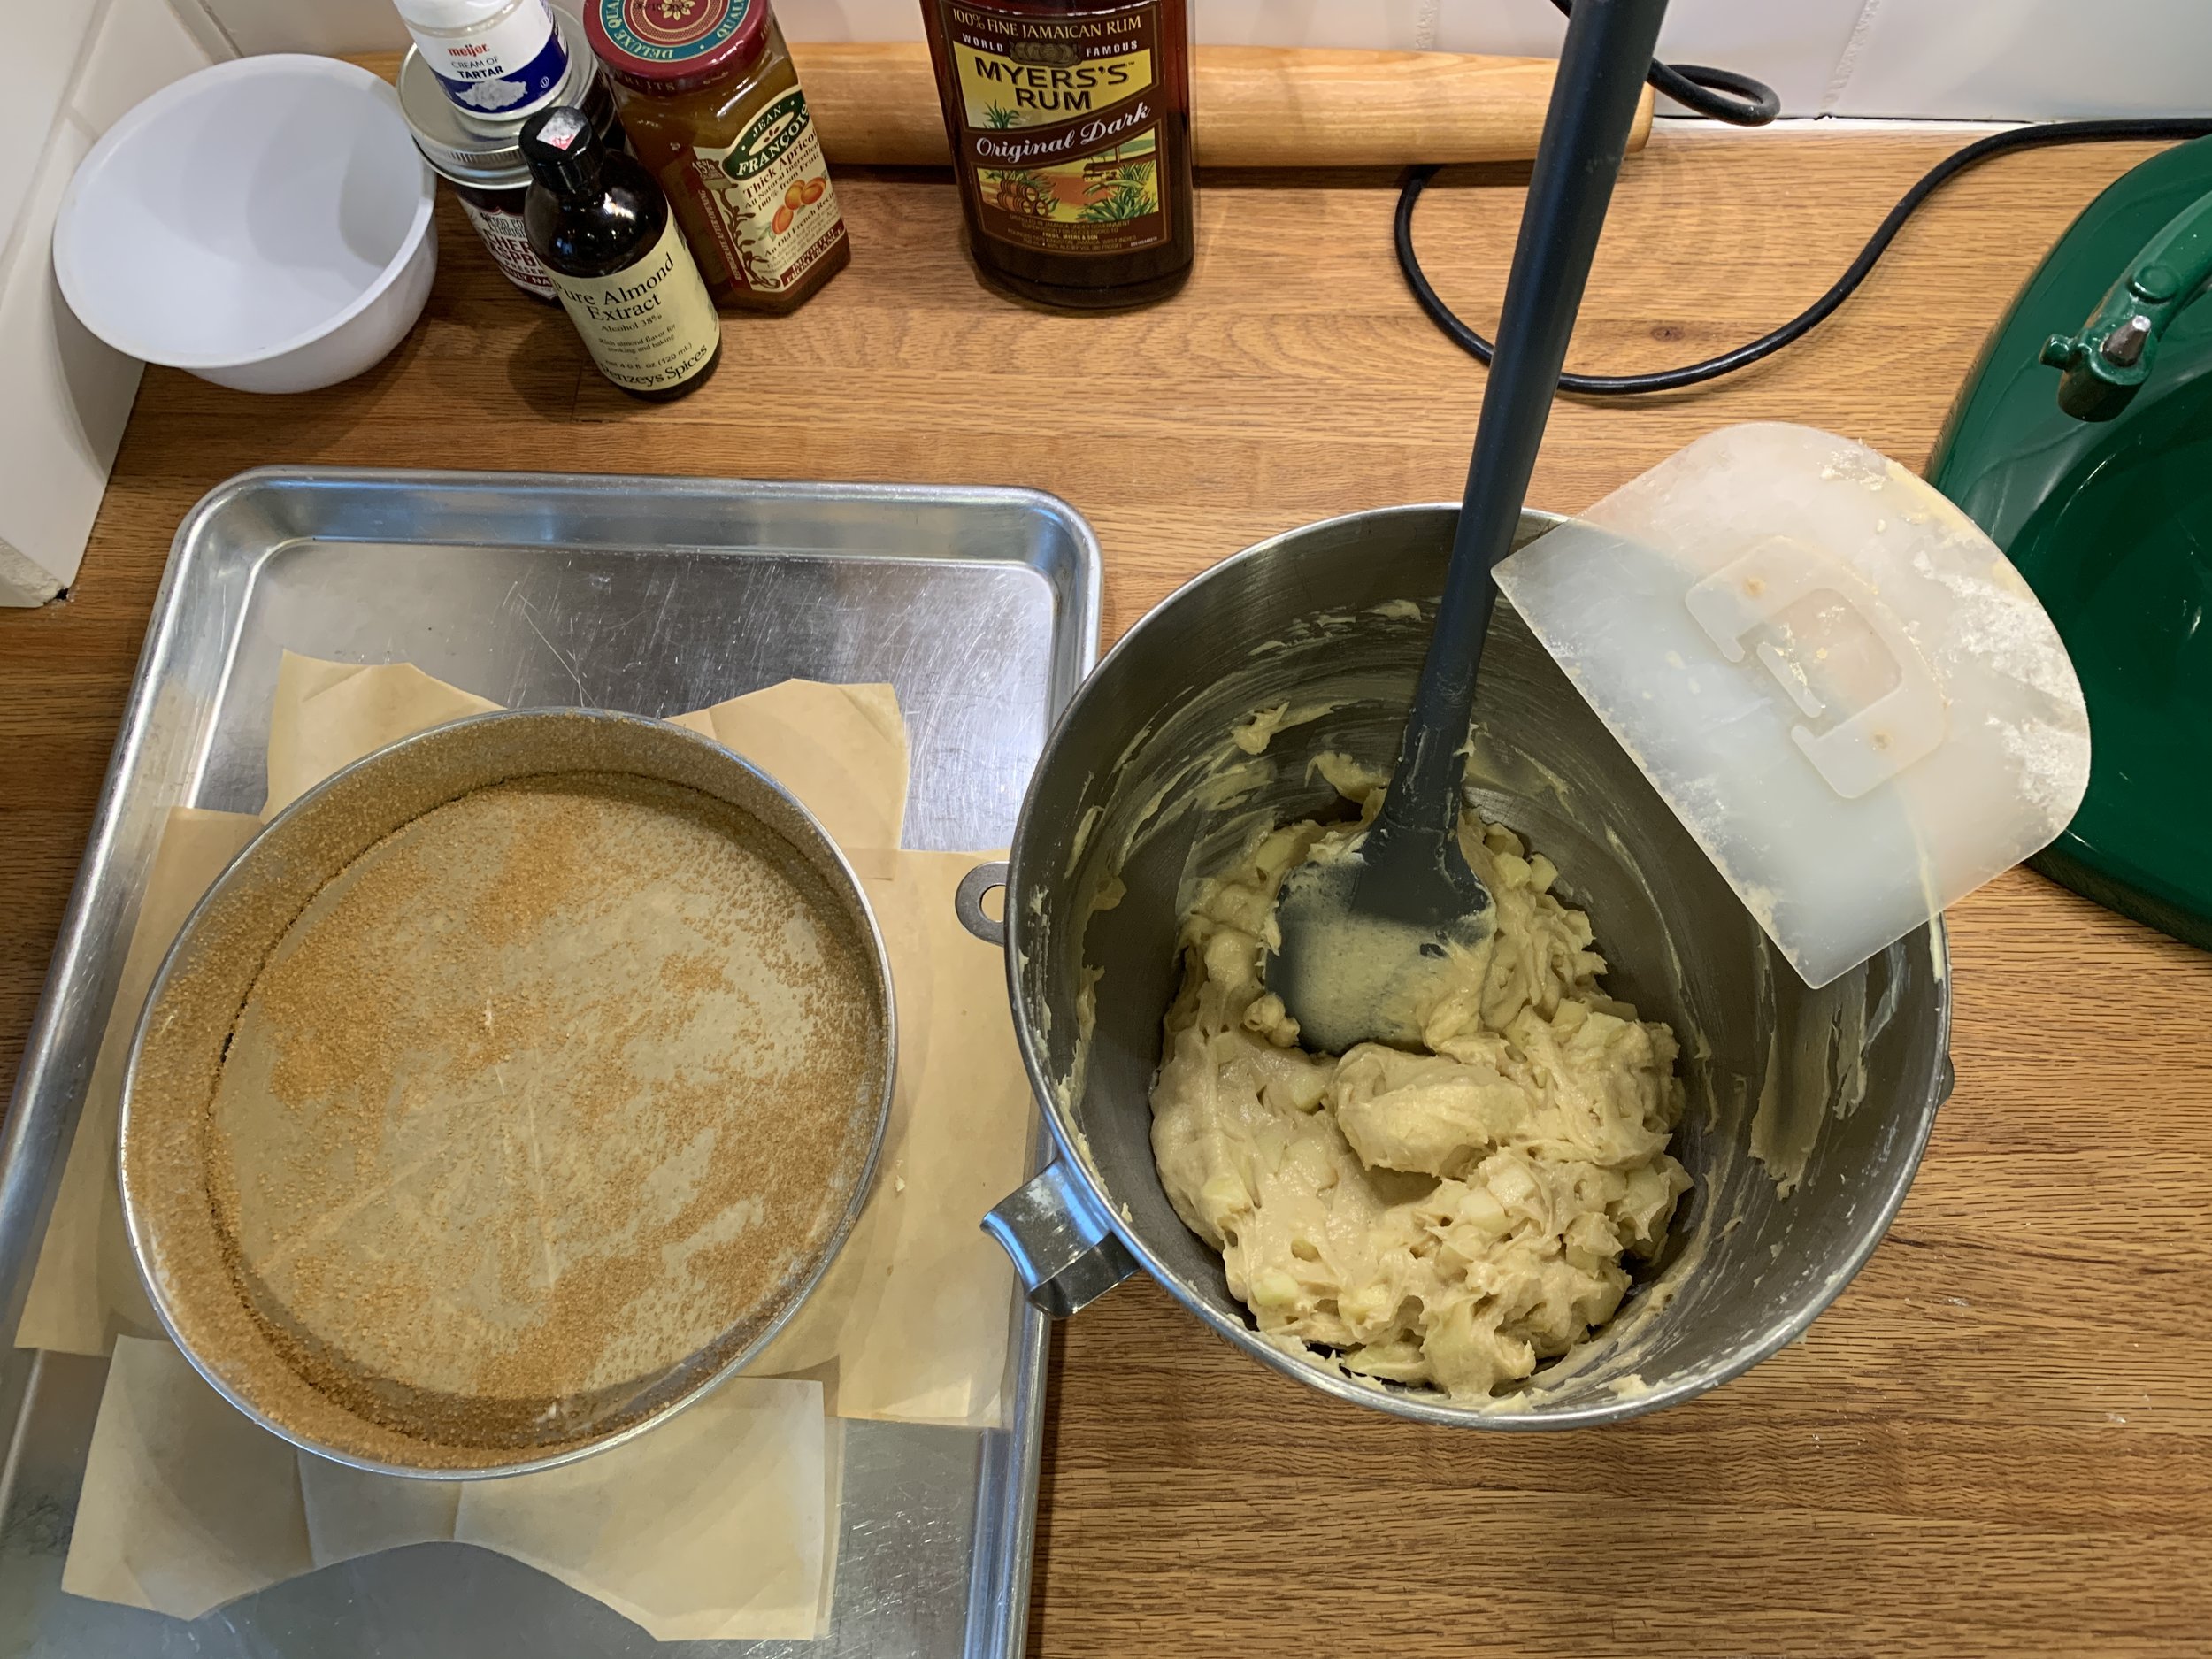
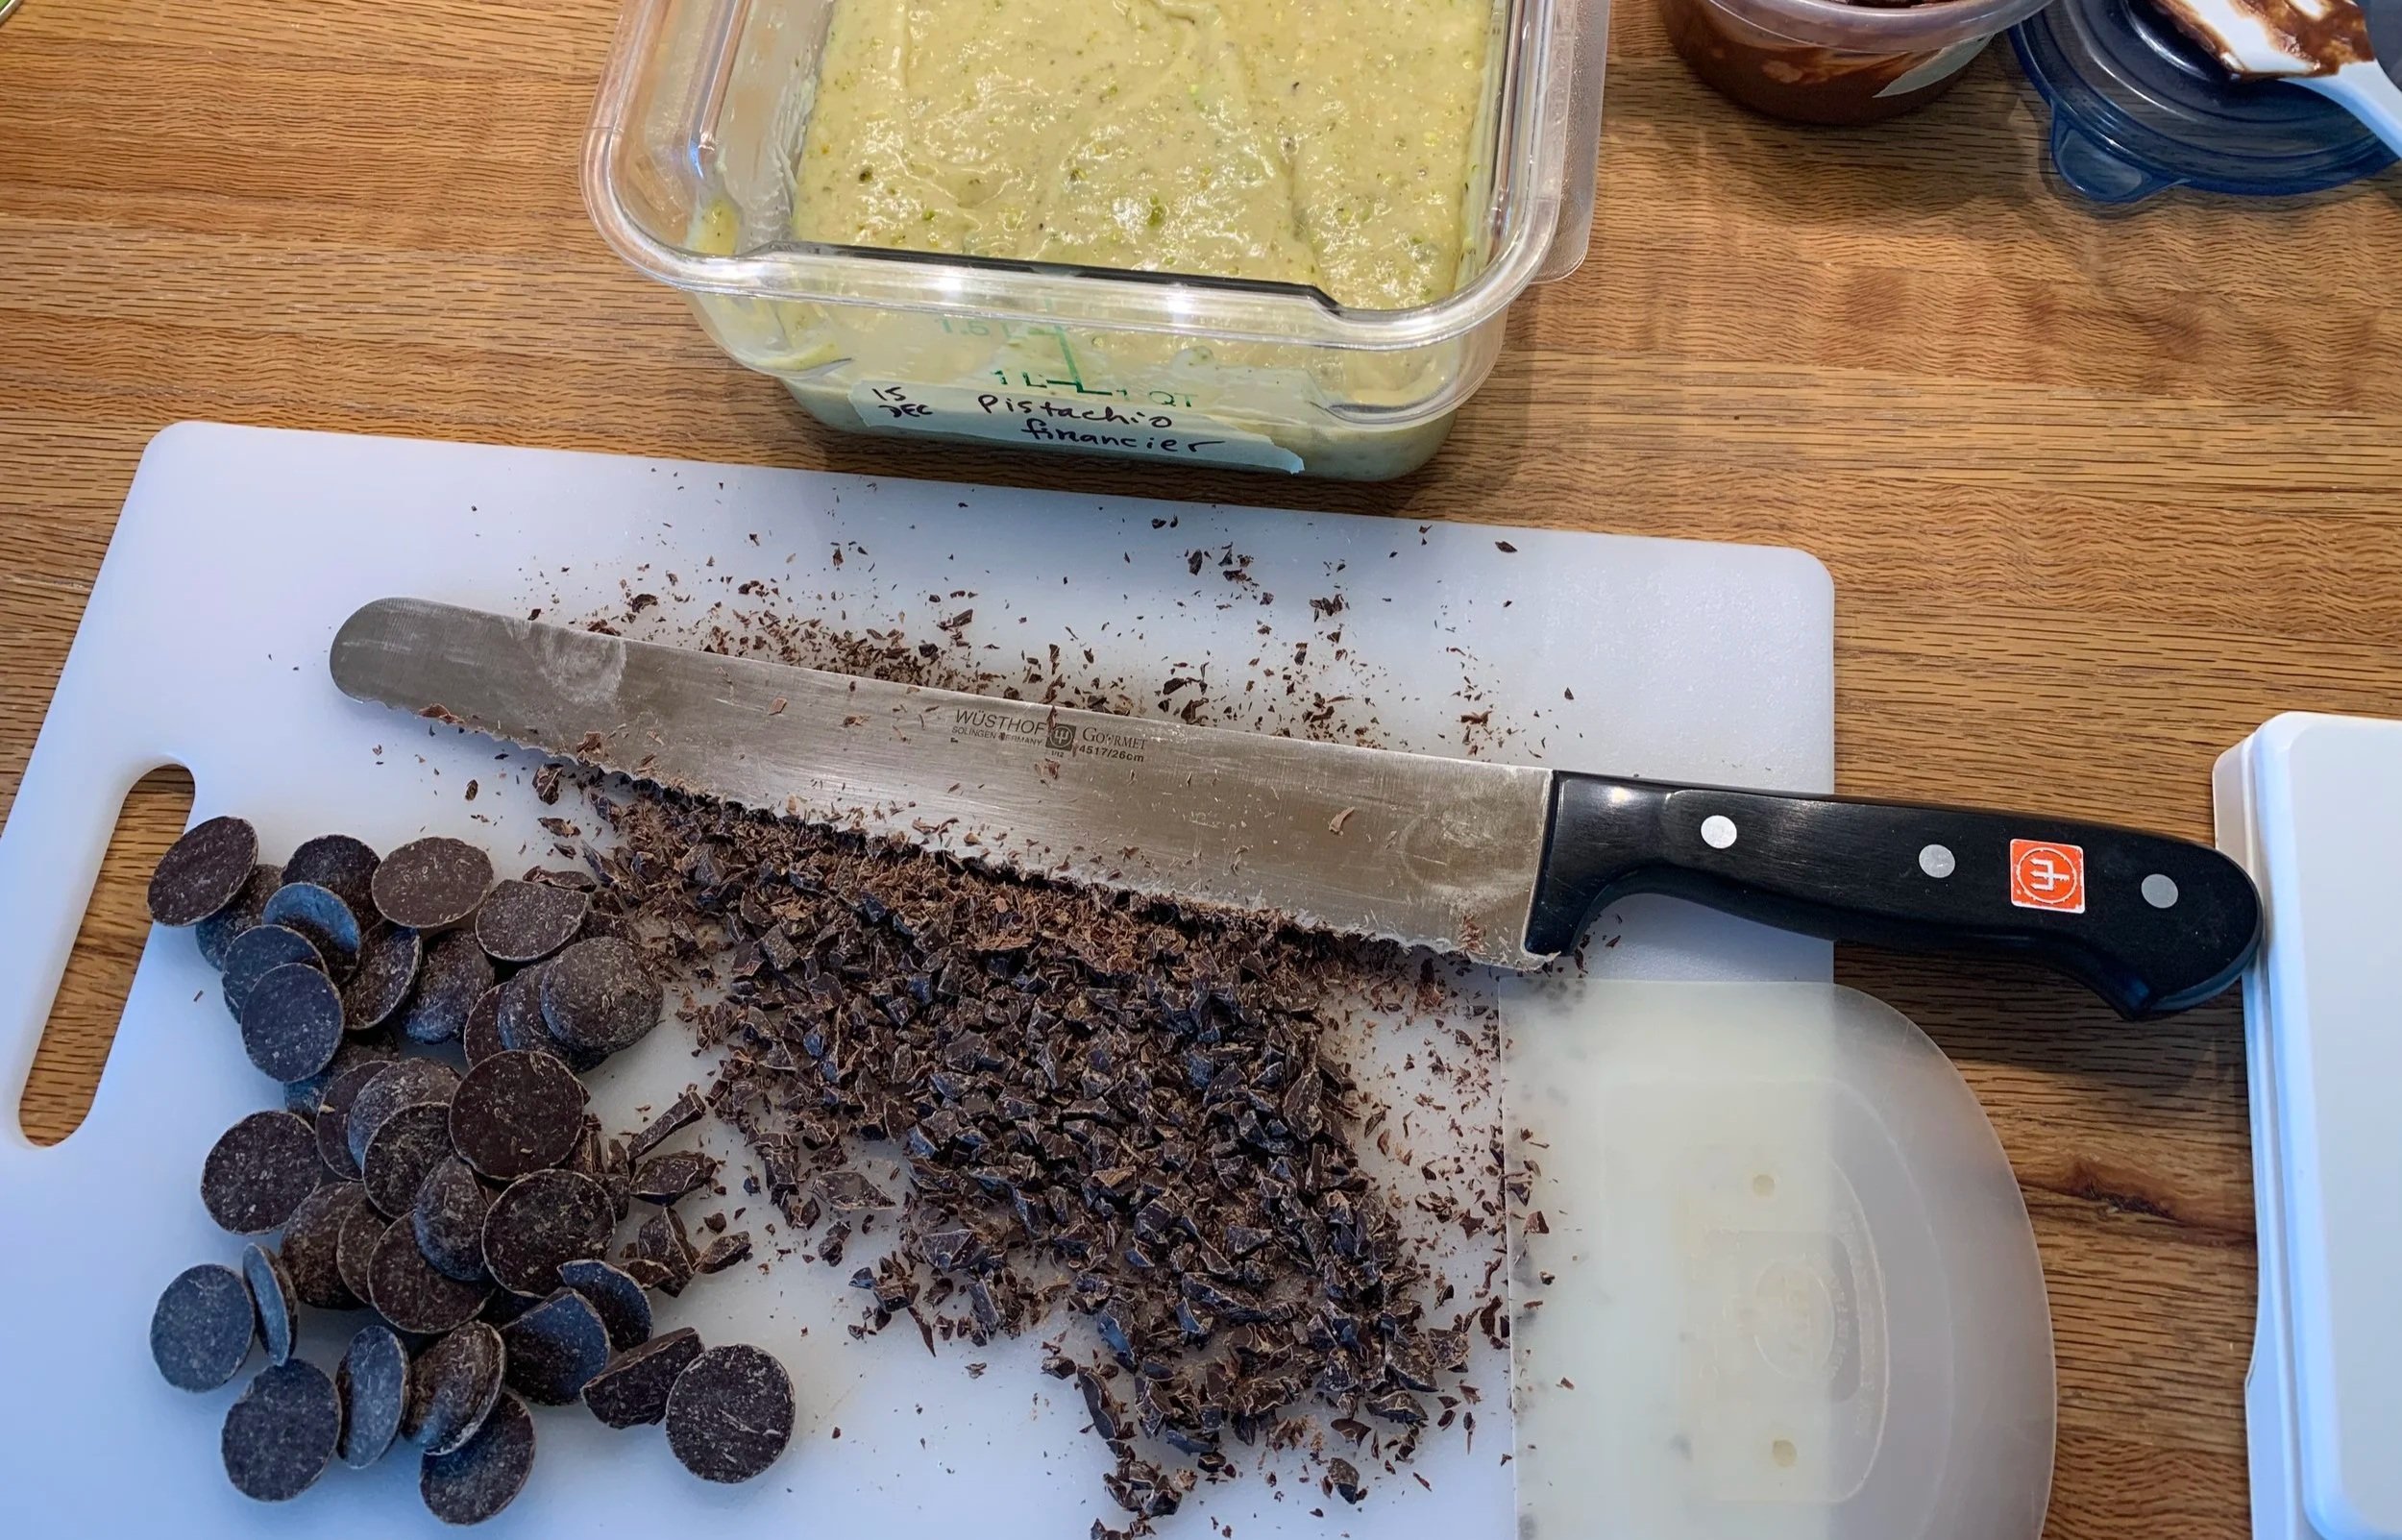
But . . . . . . before I go, one more chocolate pistachio creation. Using my go-to financier recipe, I subbed ground pistachios for half of the almond flour, made the base mixture and refrigerated it overnight. When it was time to bake, I finely chopped ~120 g 61% Guittard chocolate discs and blended them into the batter.
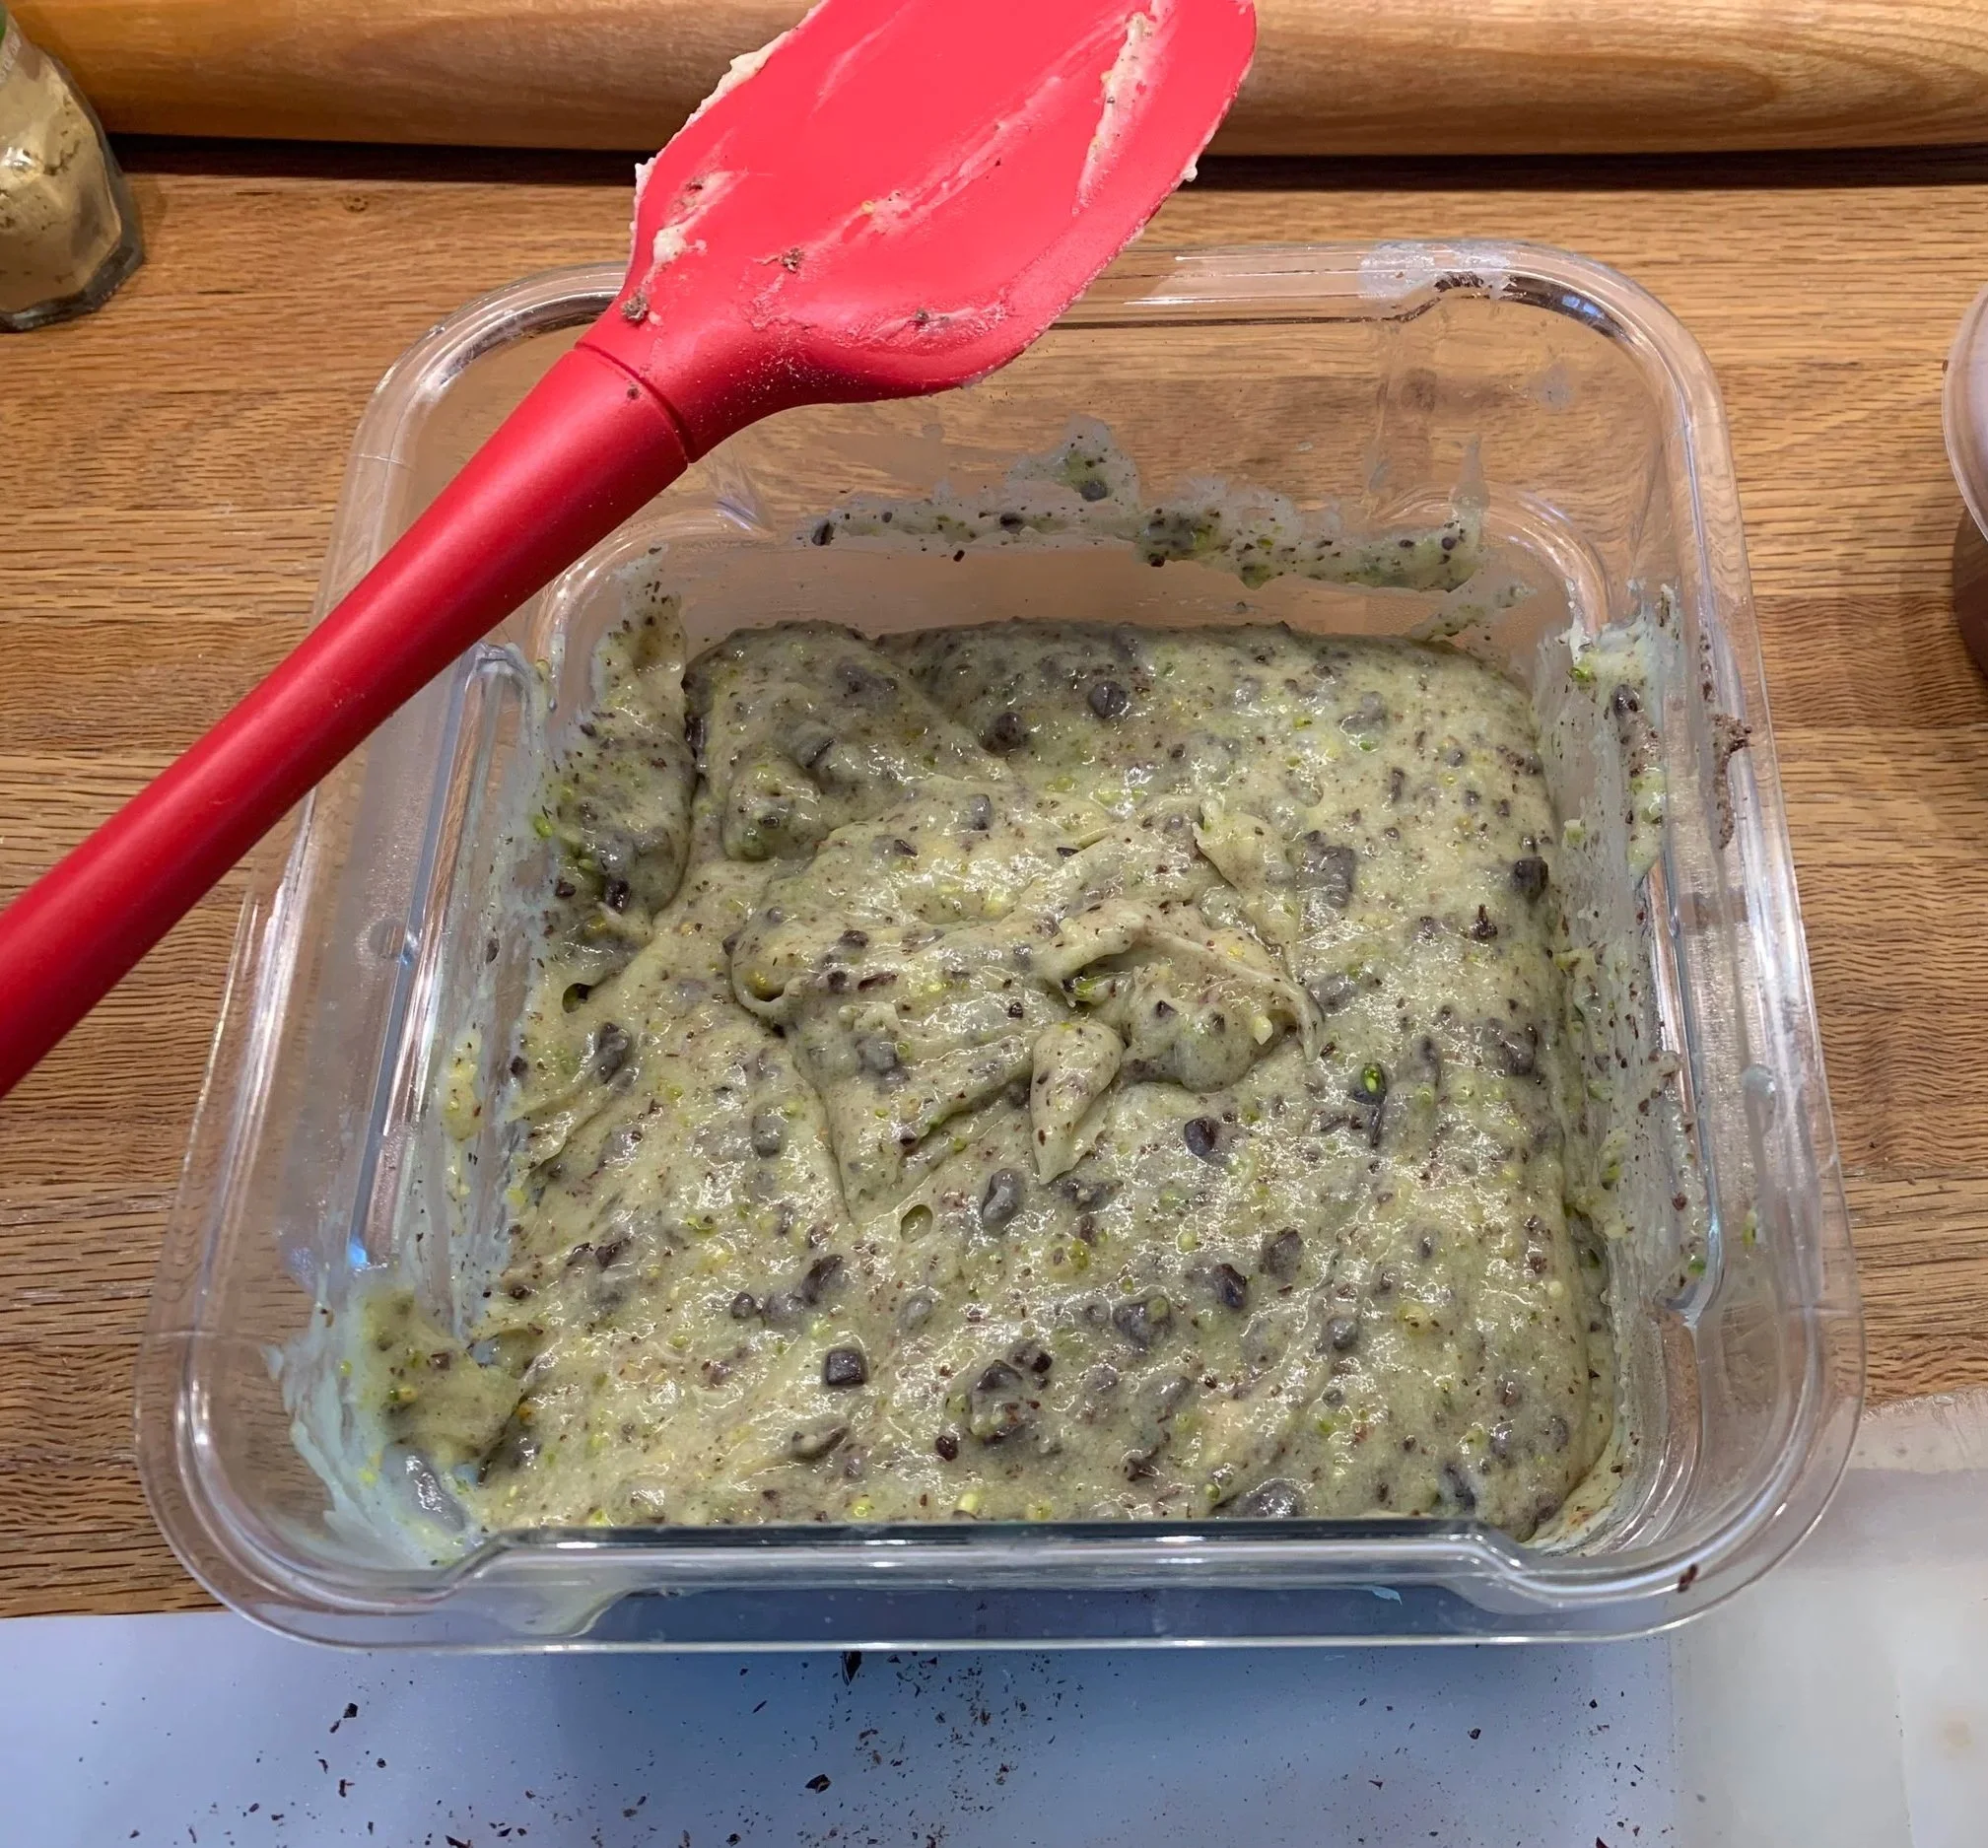
Blended and ready to pipe
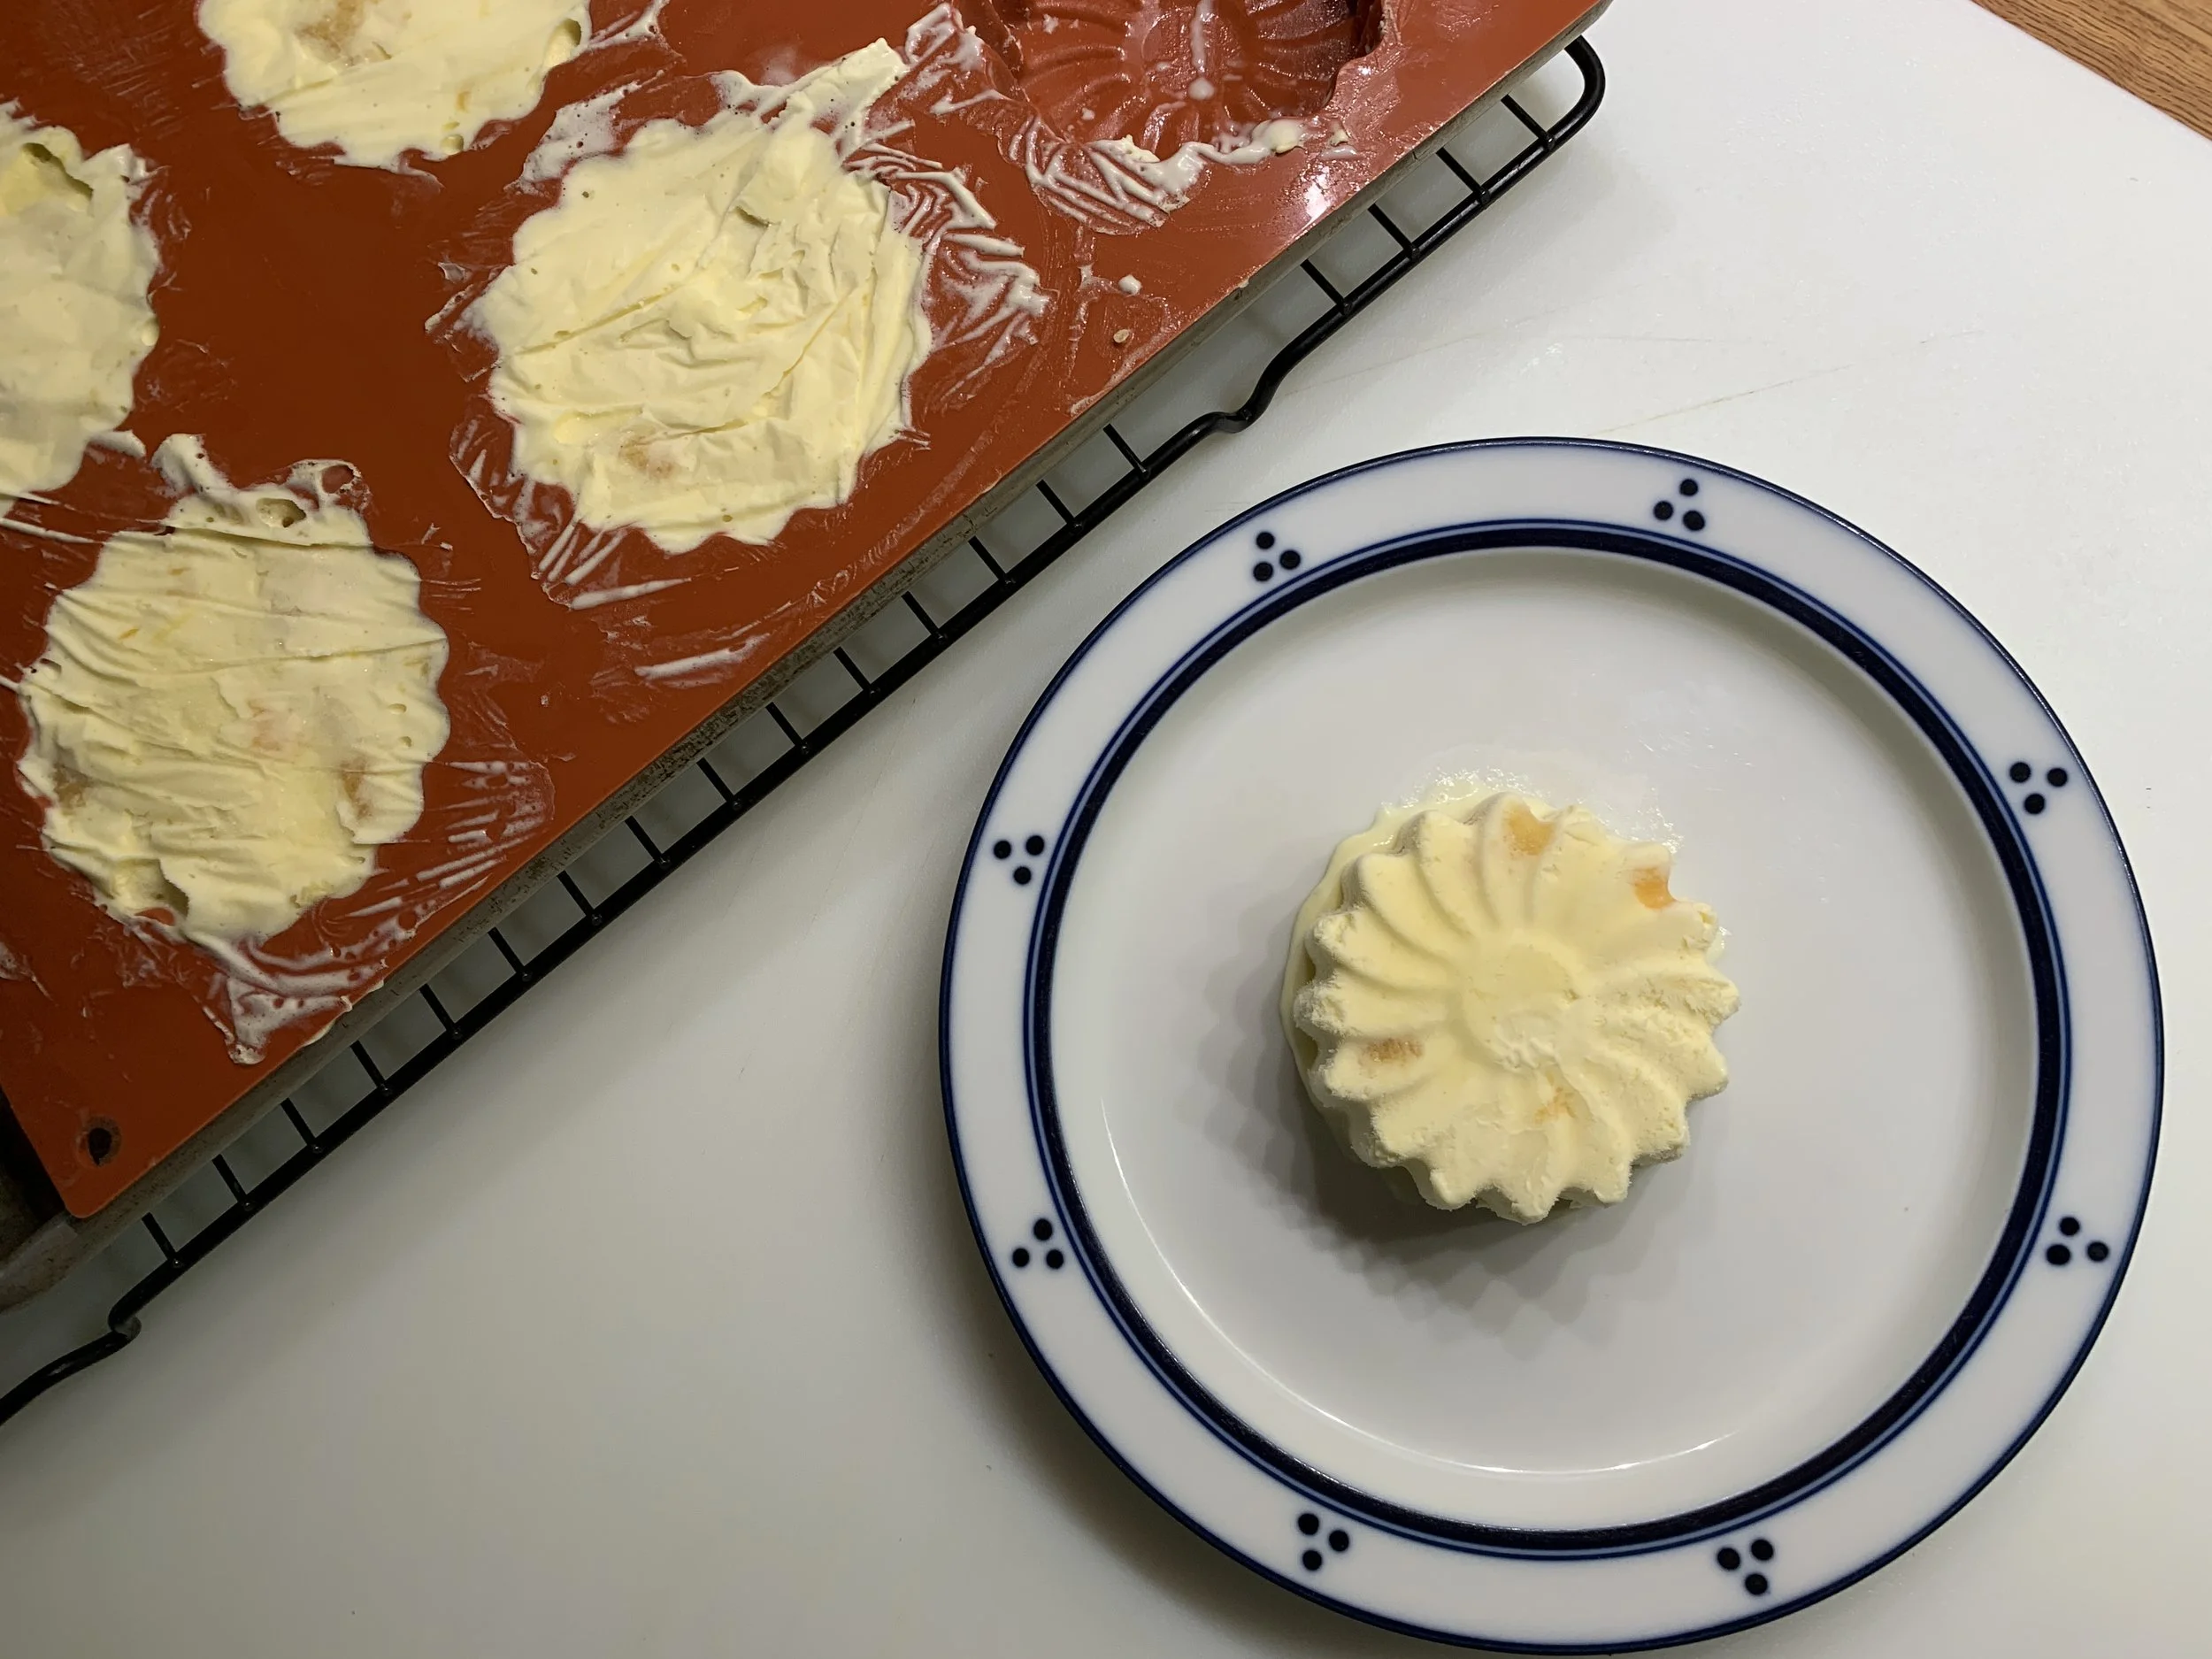
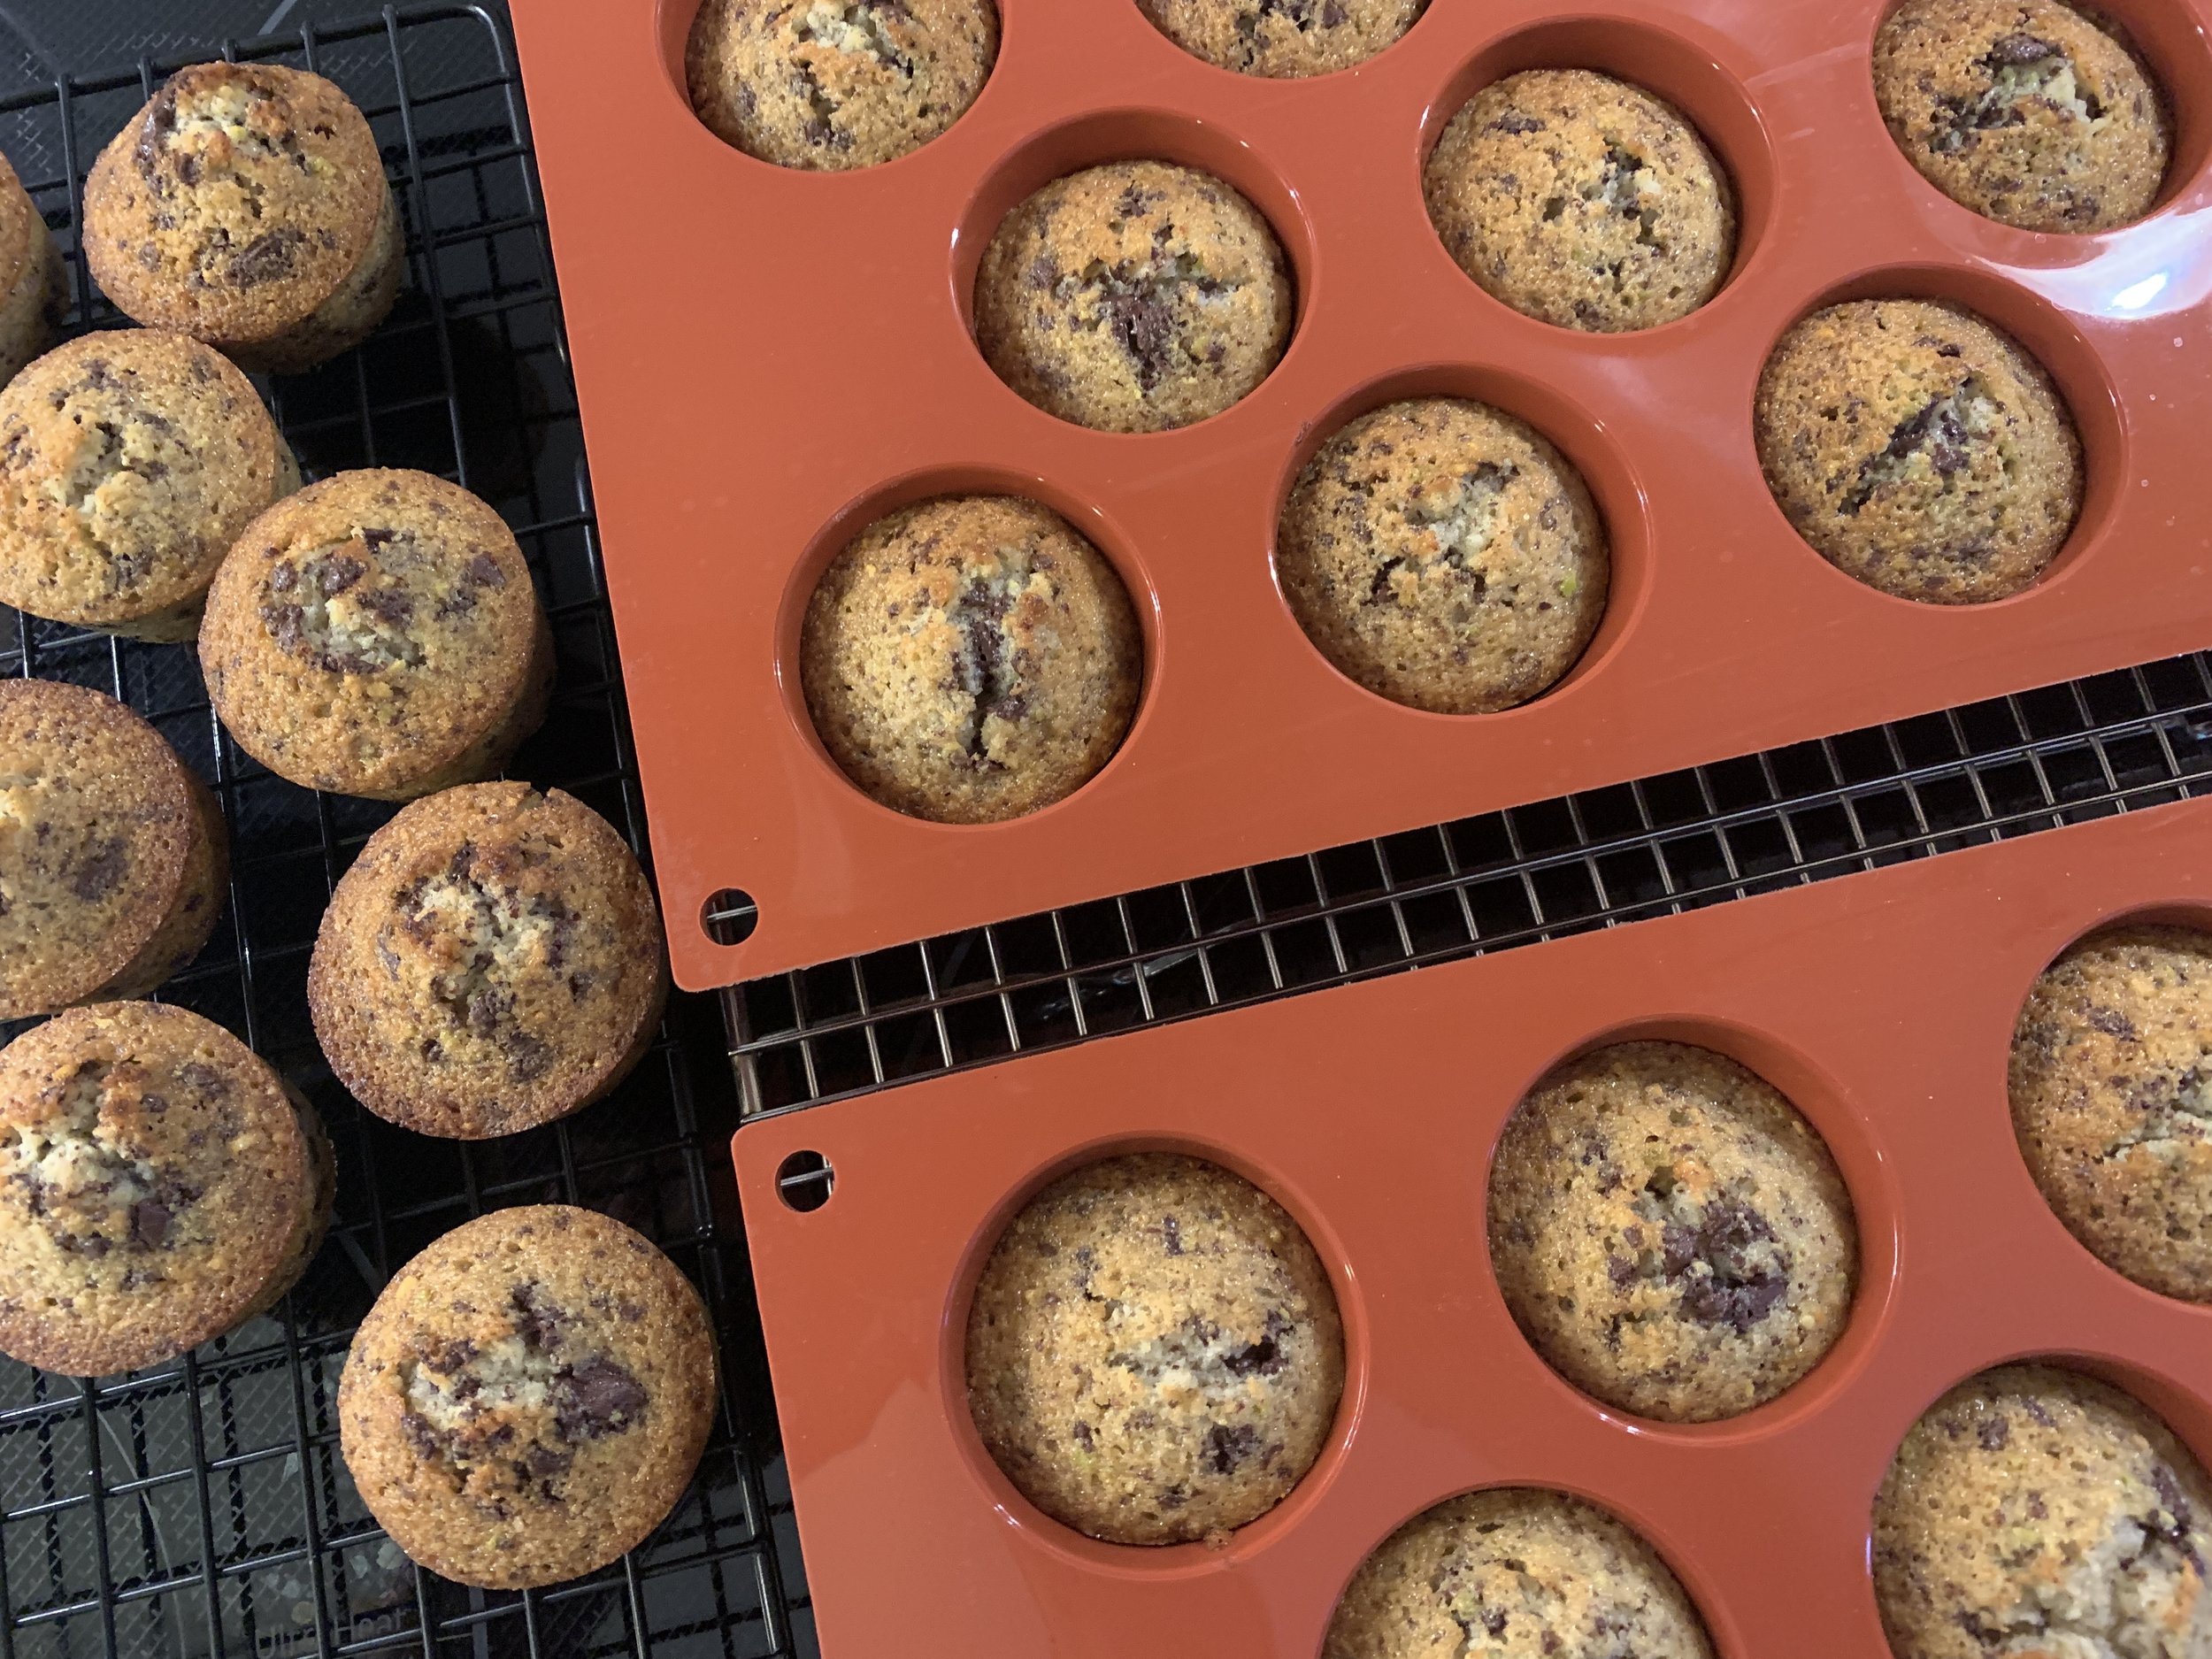
You see my favorite mini muffin sized silicone molds below, filled about 2/3 - 3/4 full.

Bake at 375º 15-18 minutes. Let rest a few minutes then turn out of the molds and let cool.
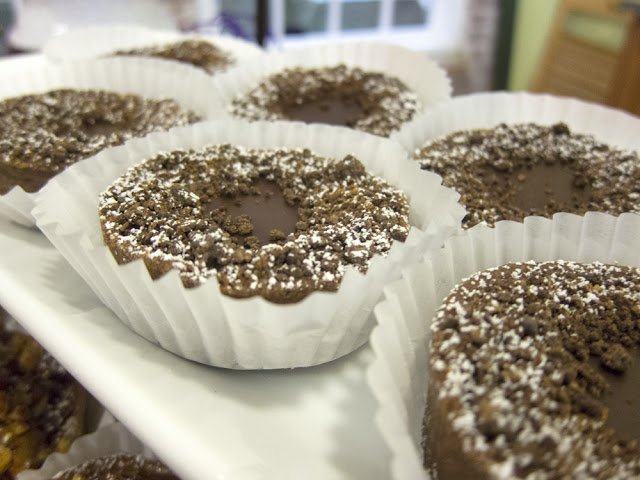
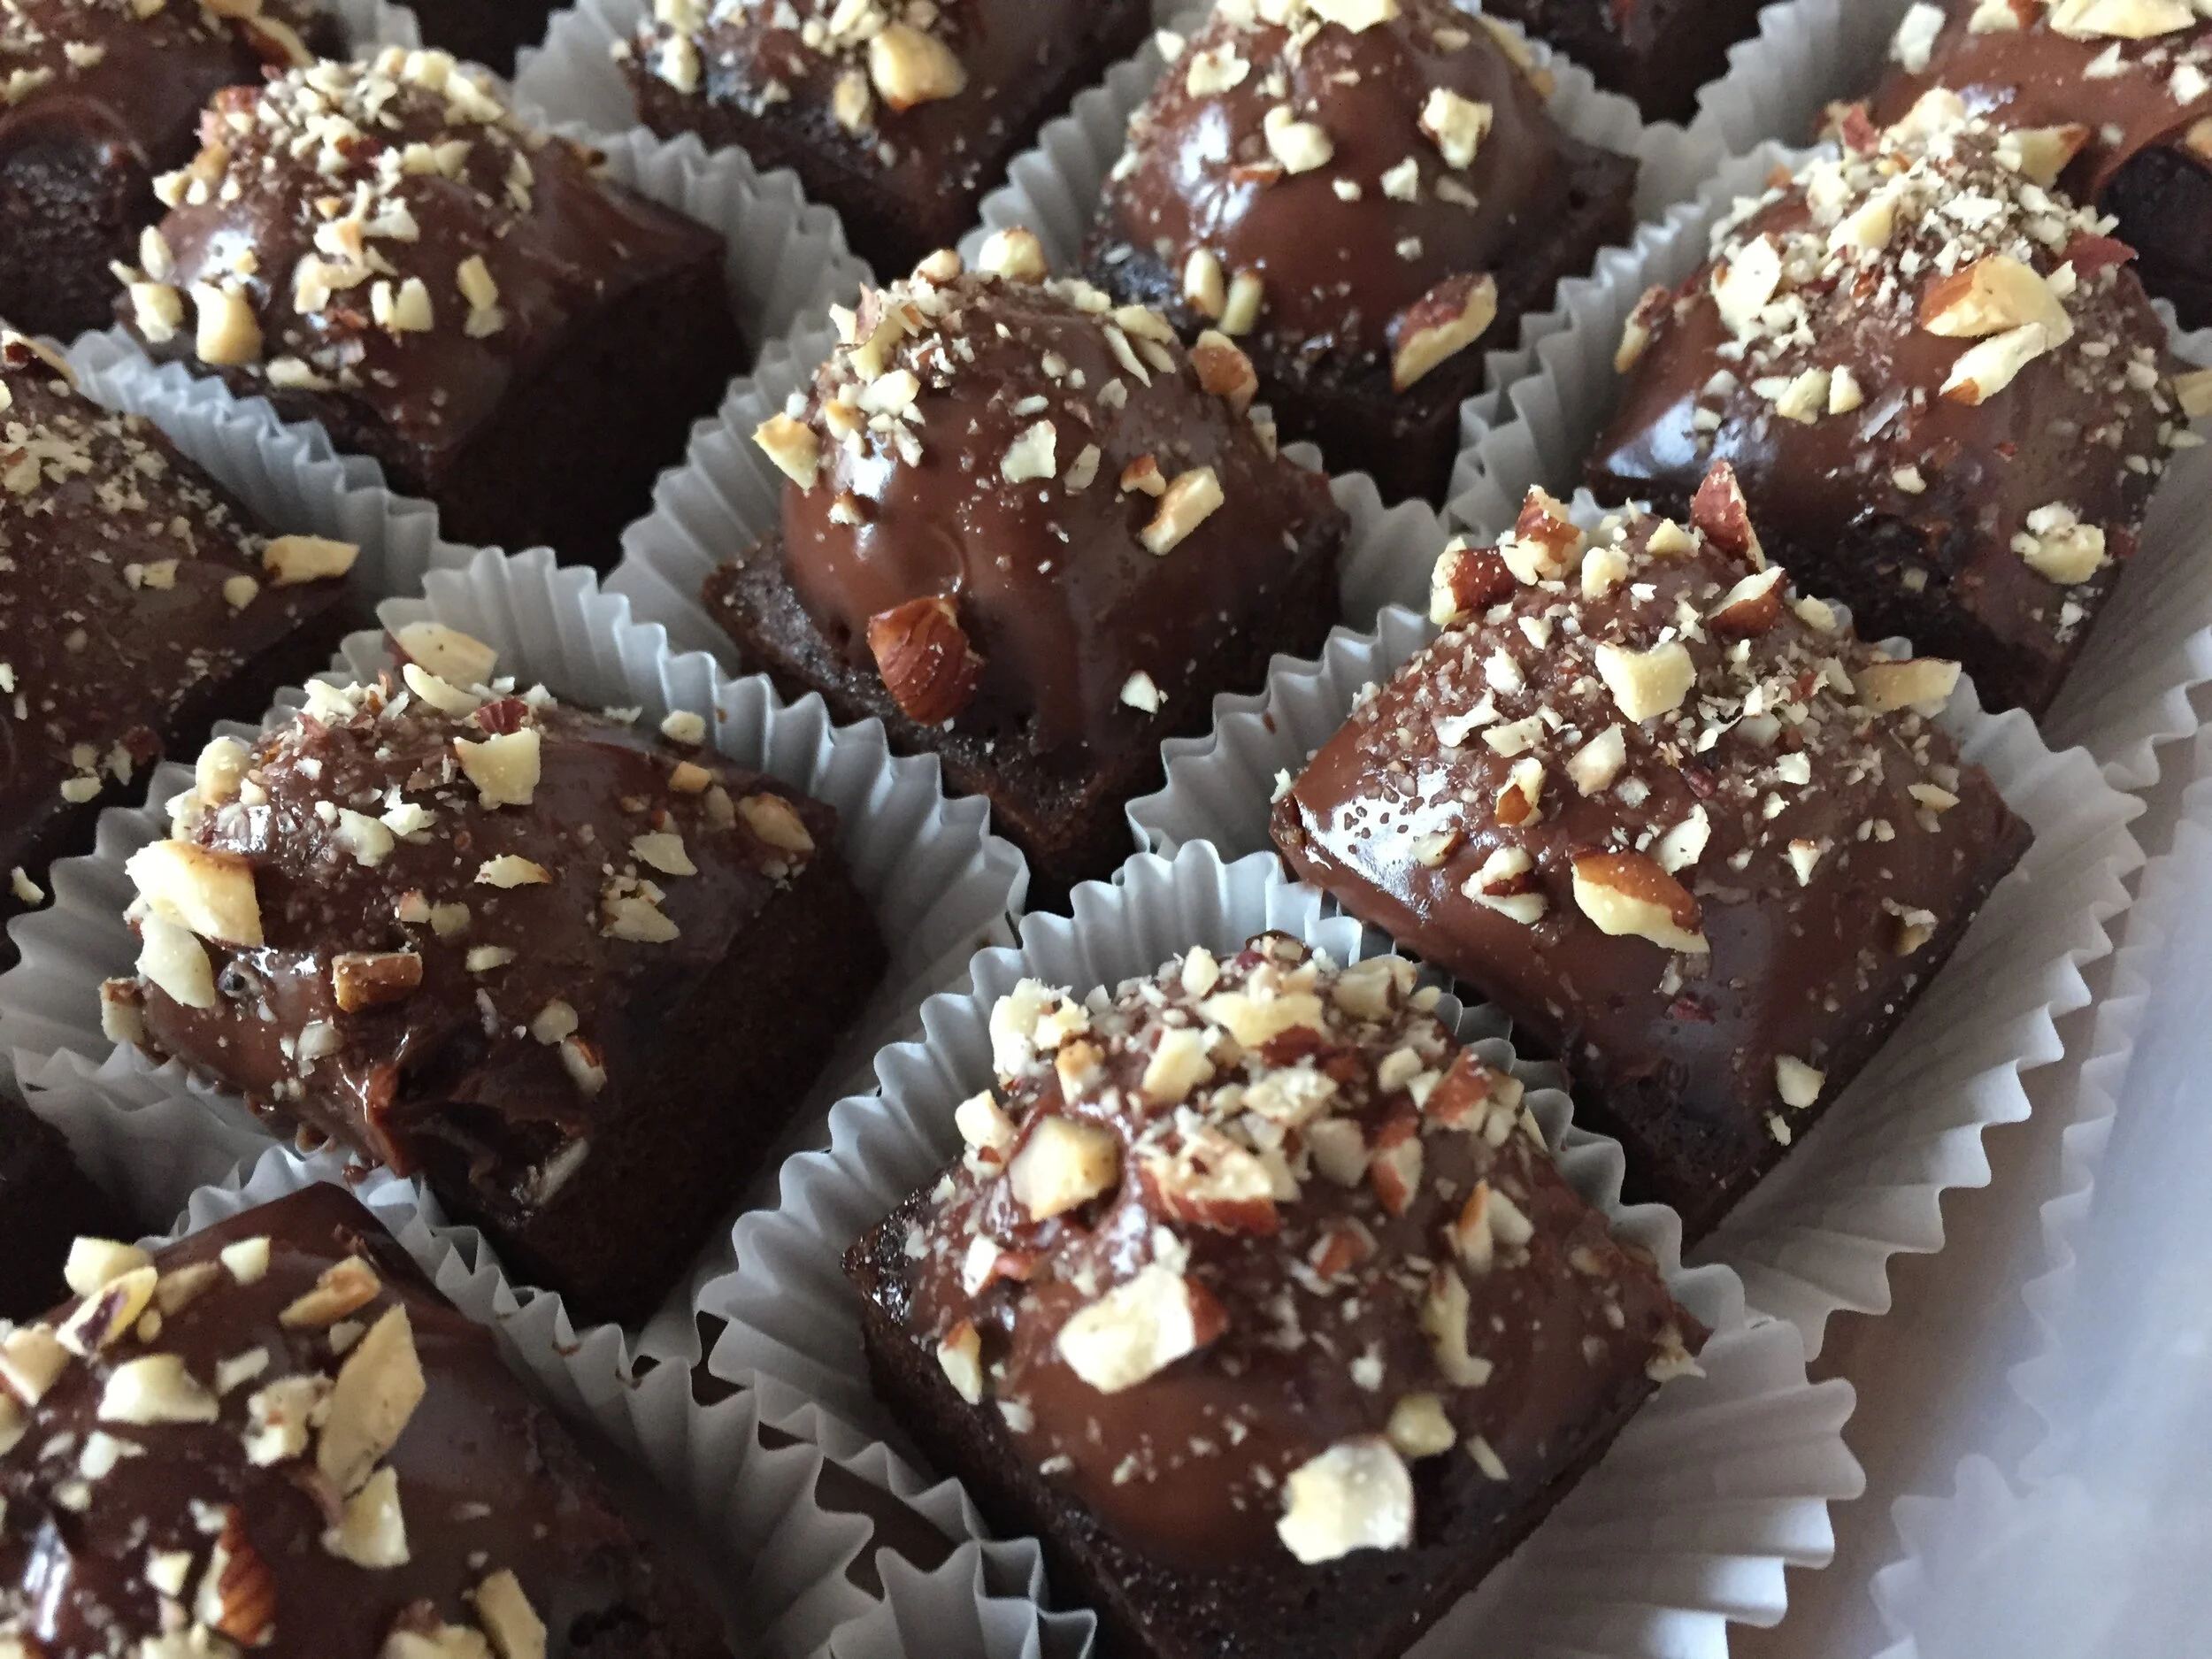
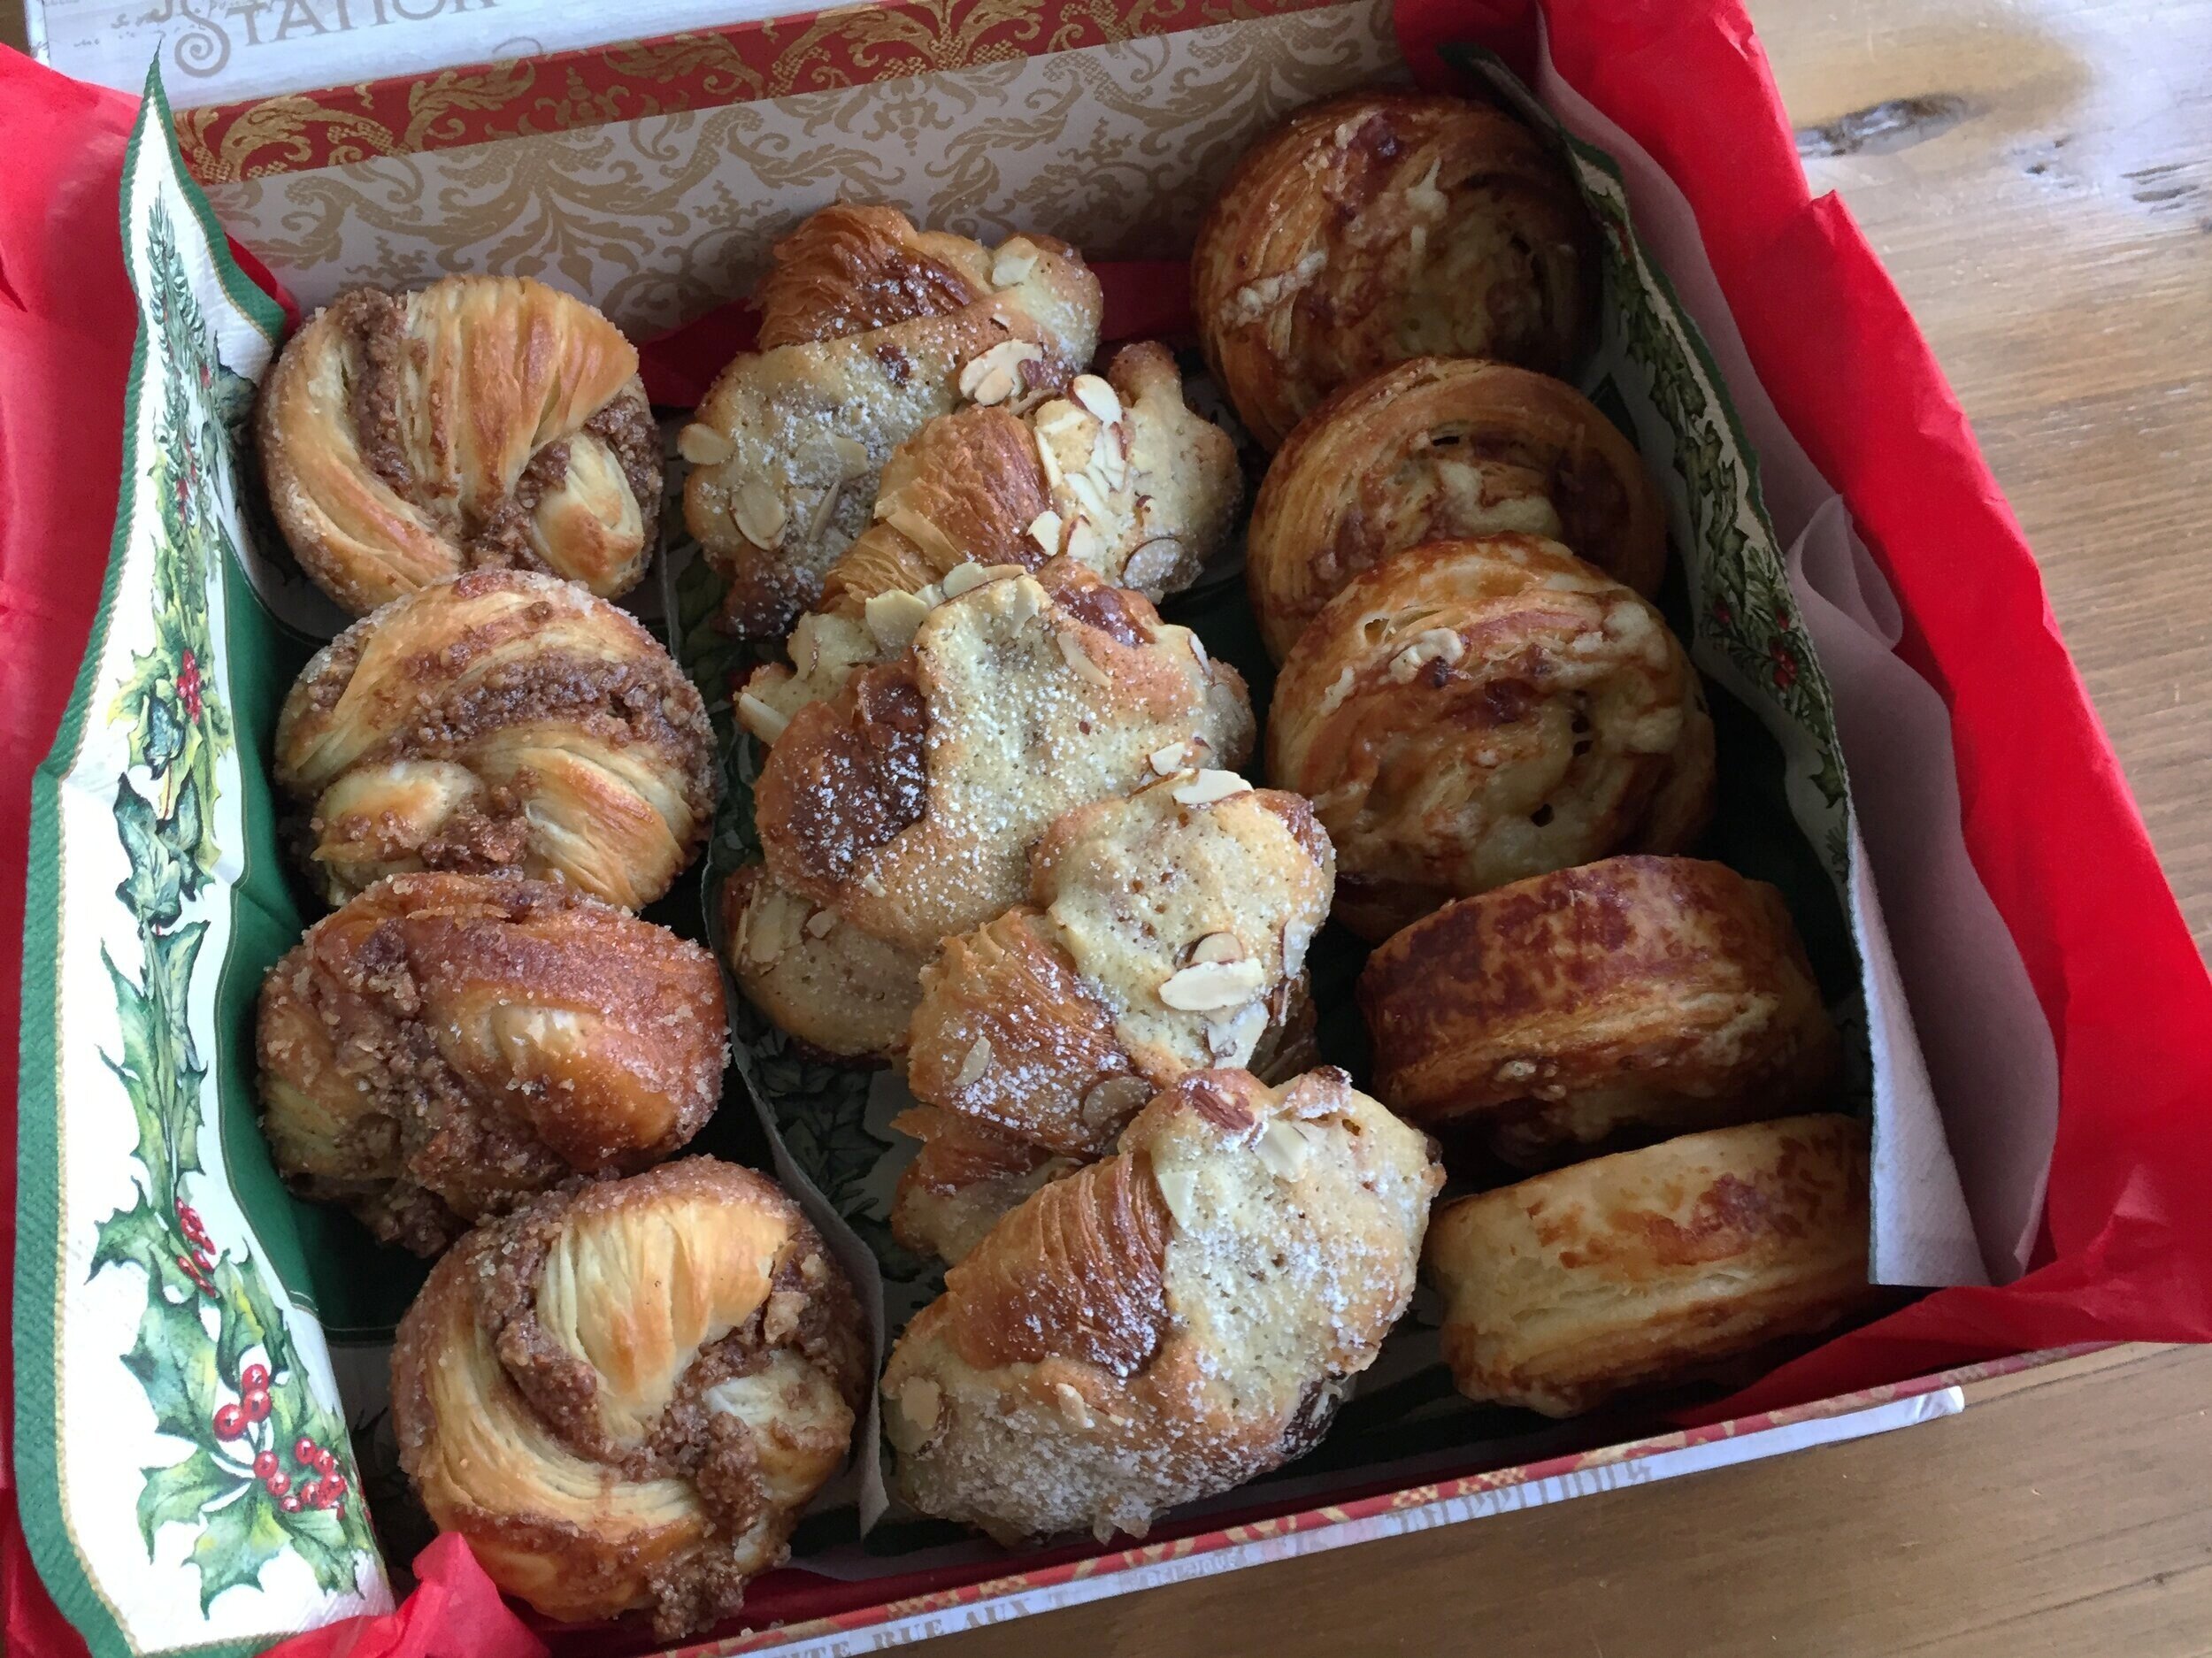
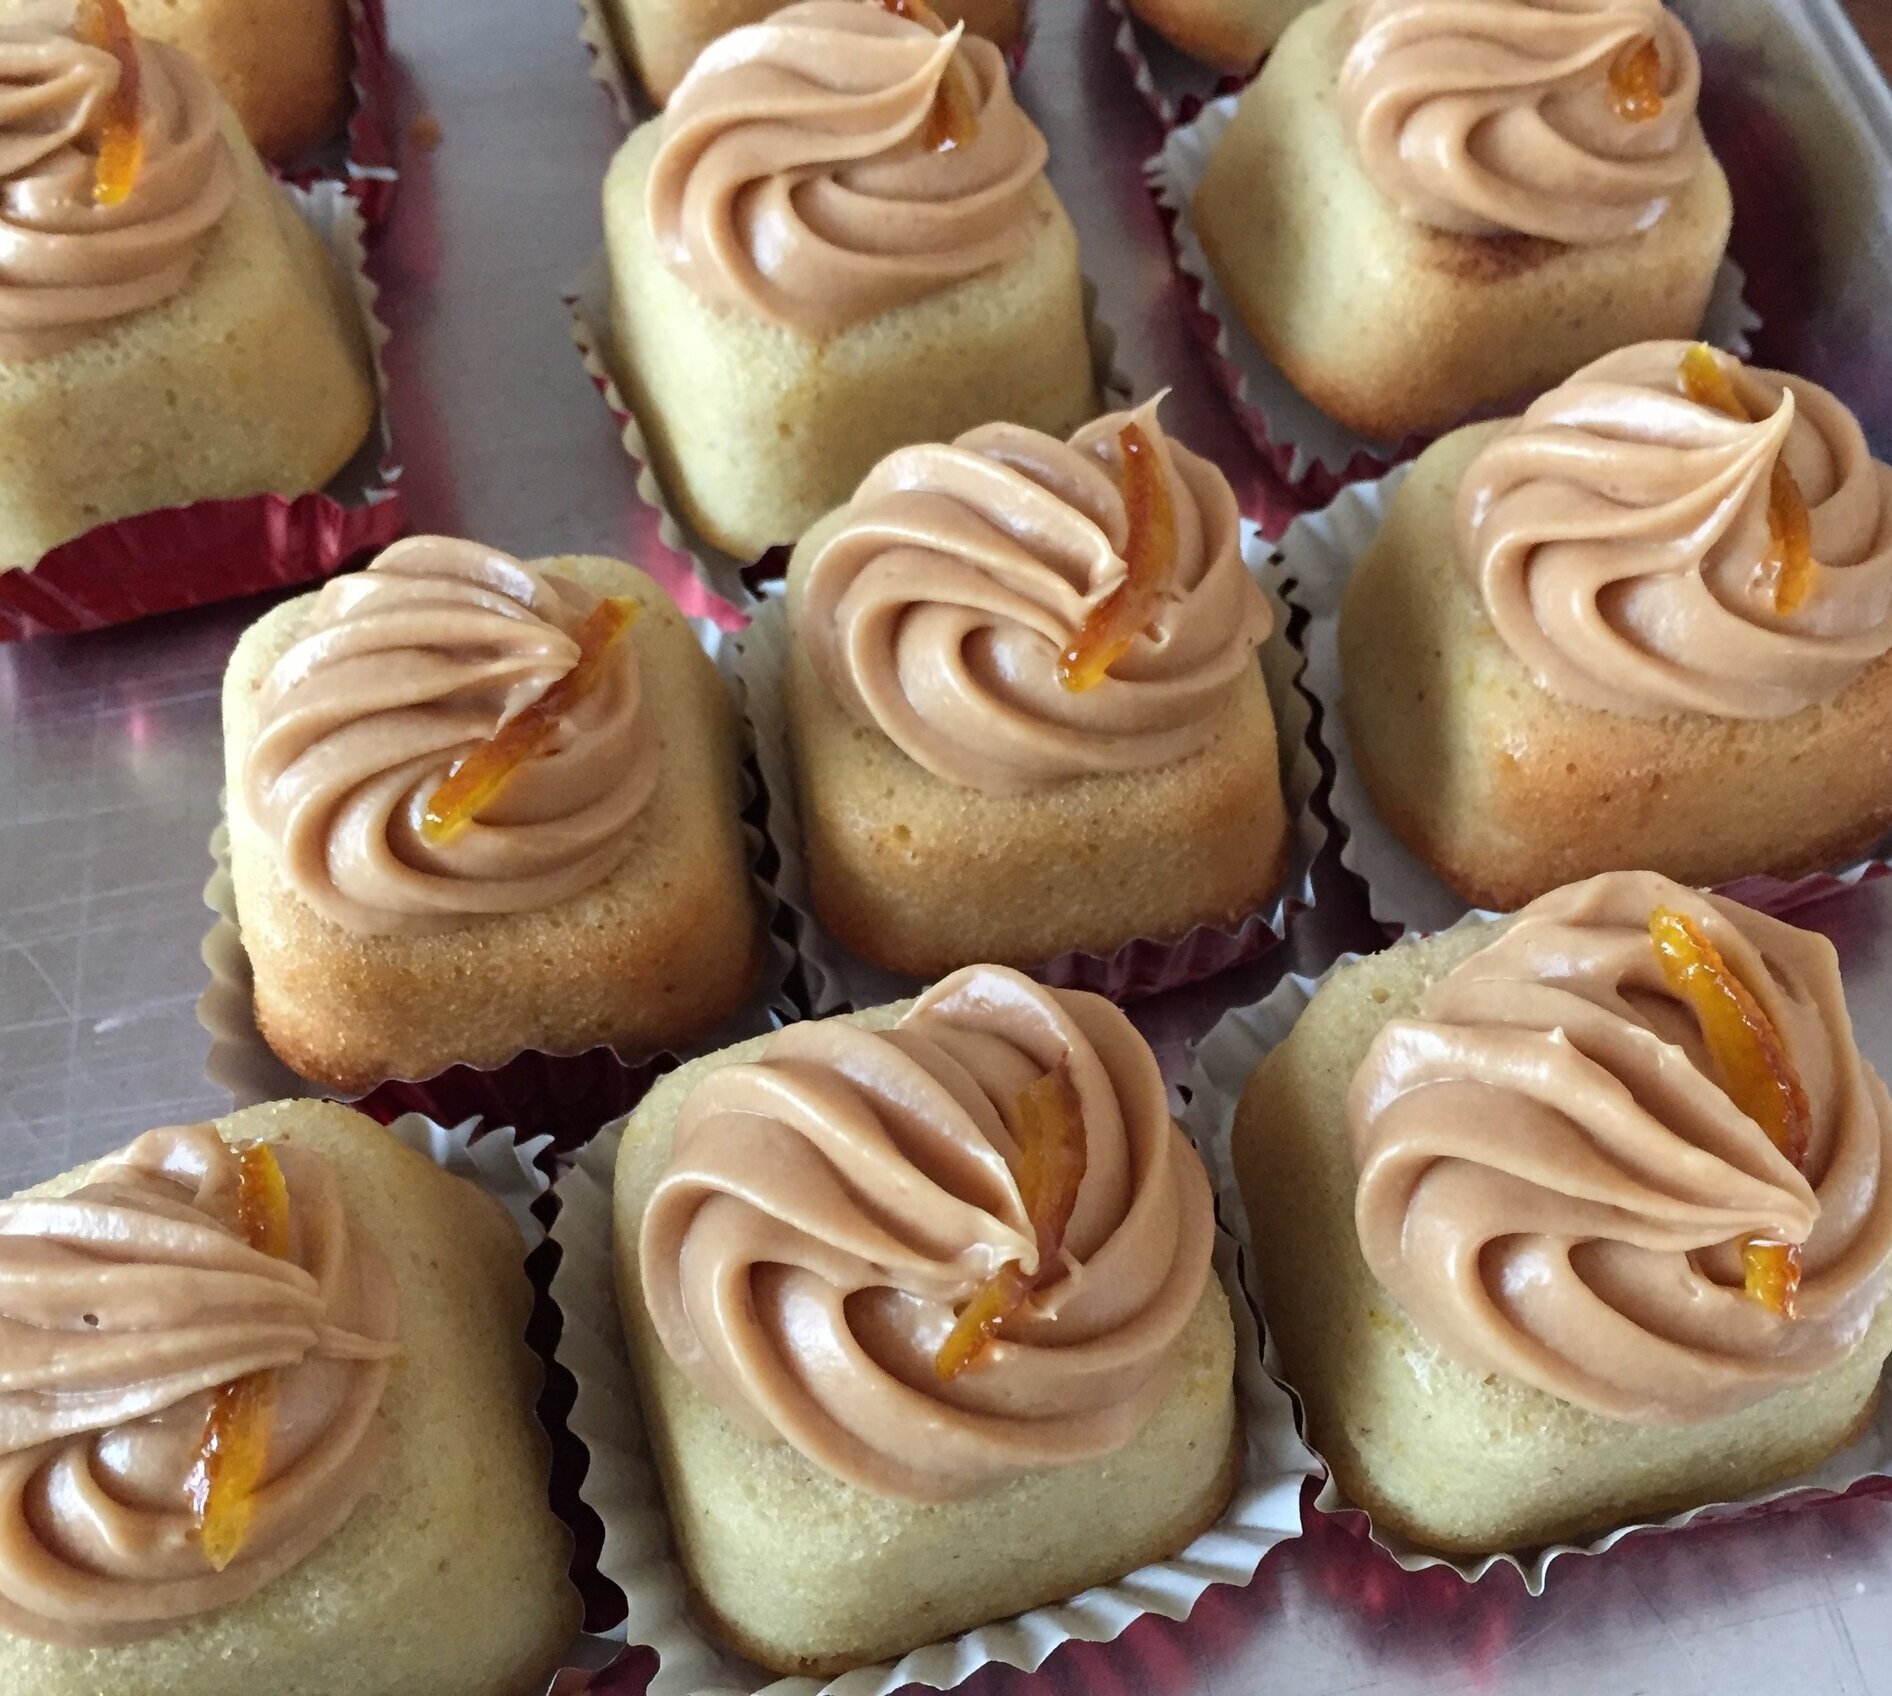
I froze some for later enjoyment - I do that a lot - then garnished a half dozen with dark chocolate ganache and a fine sprinkle of pistachio crumbs. Steve and enjoyed two and the remainder went to accompany some vanilla-buttercream-topped pear almond teacakes as a gift for friend Kim S.
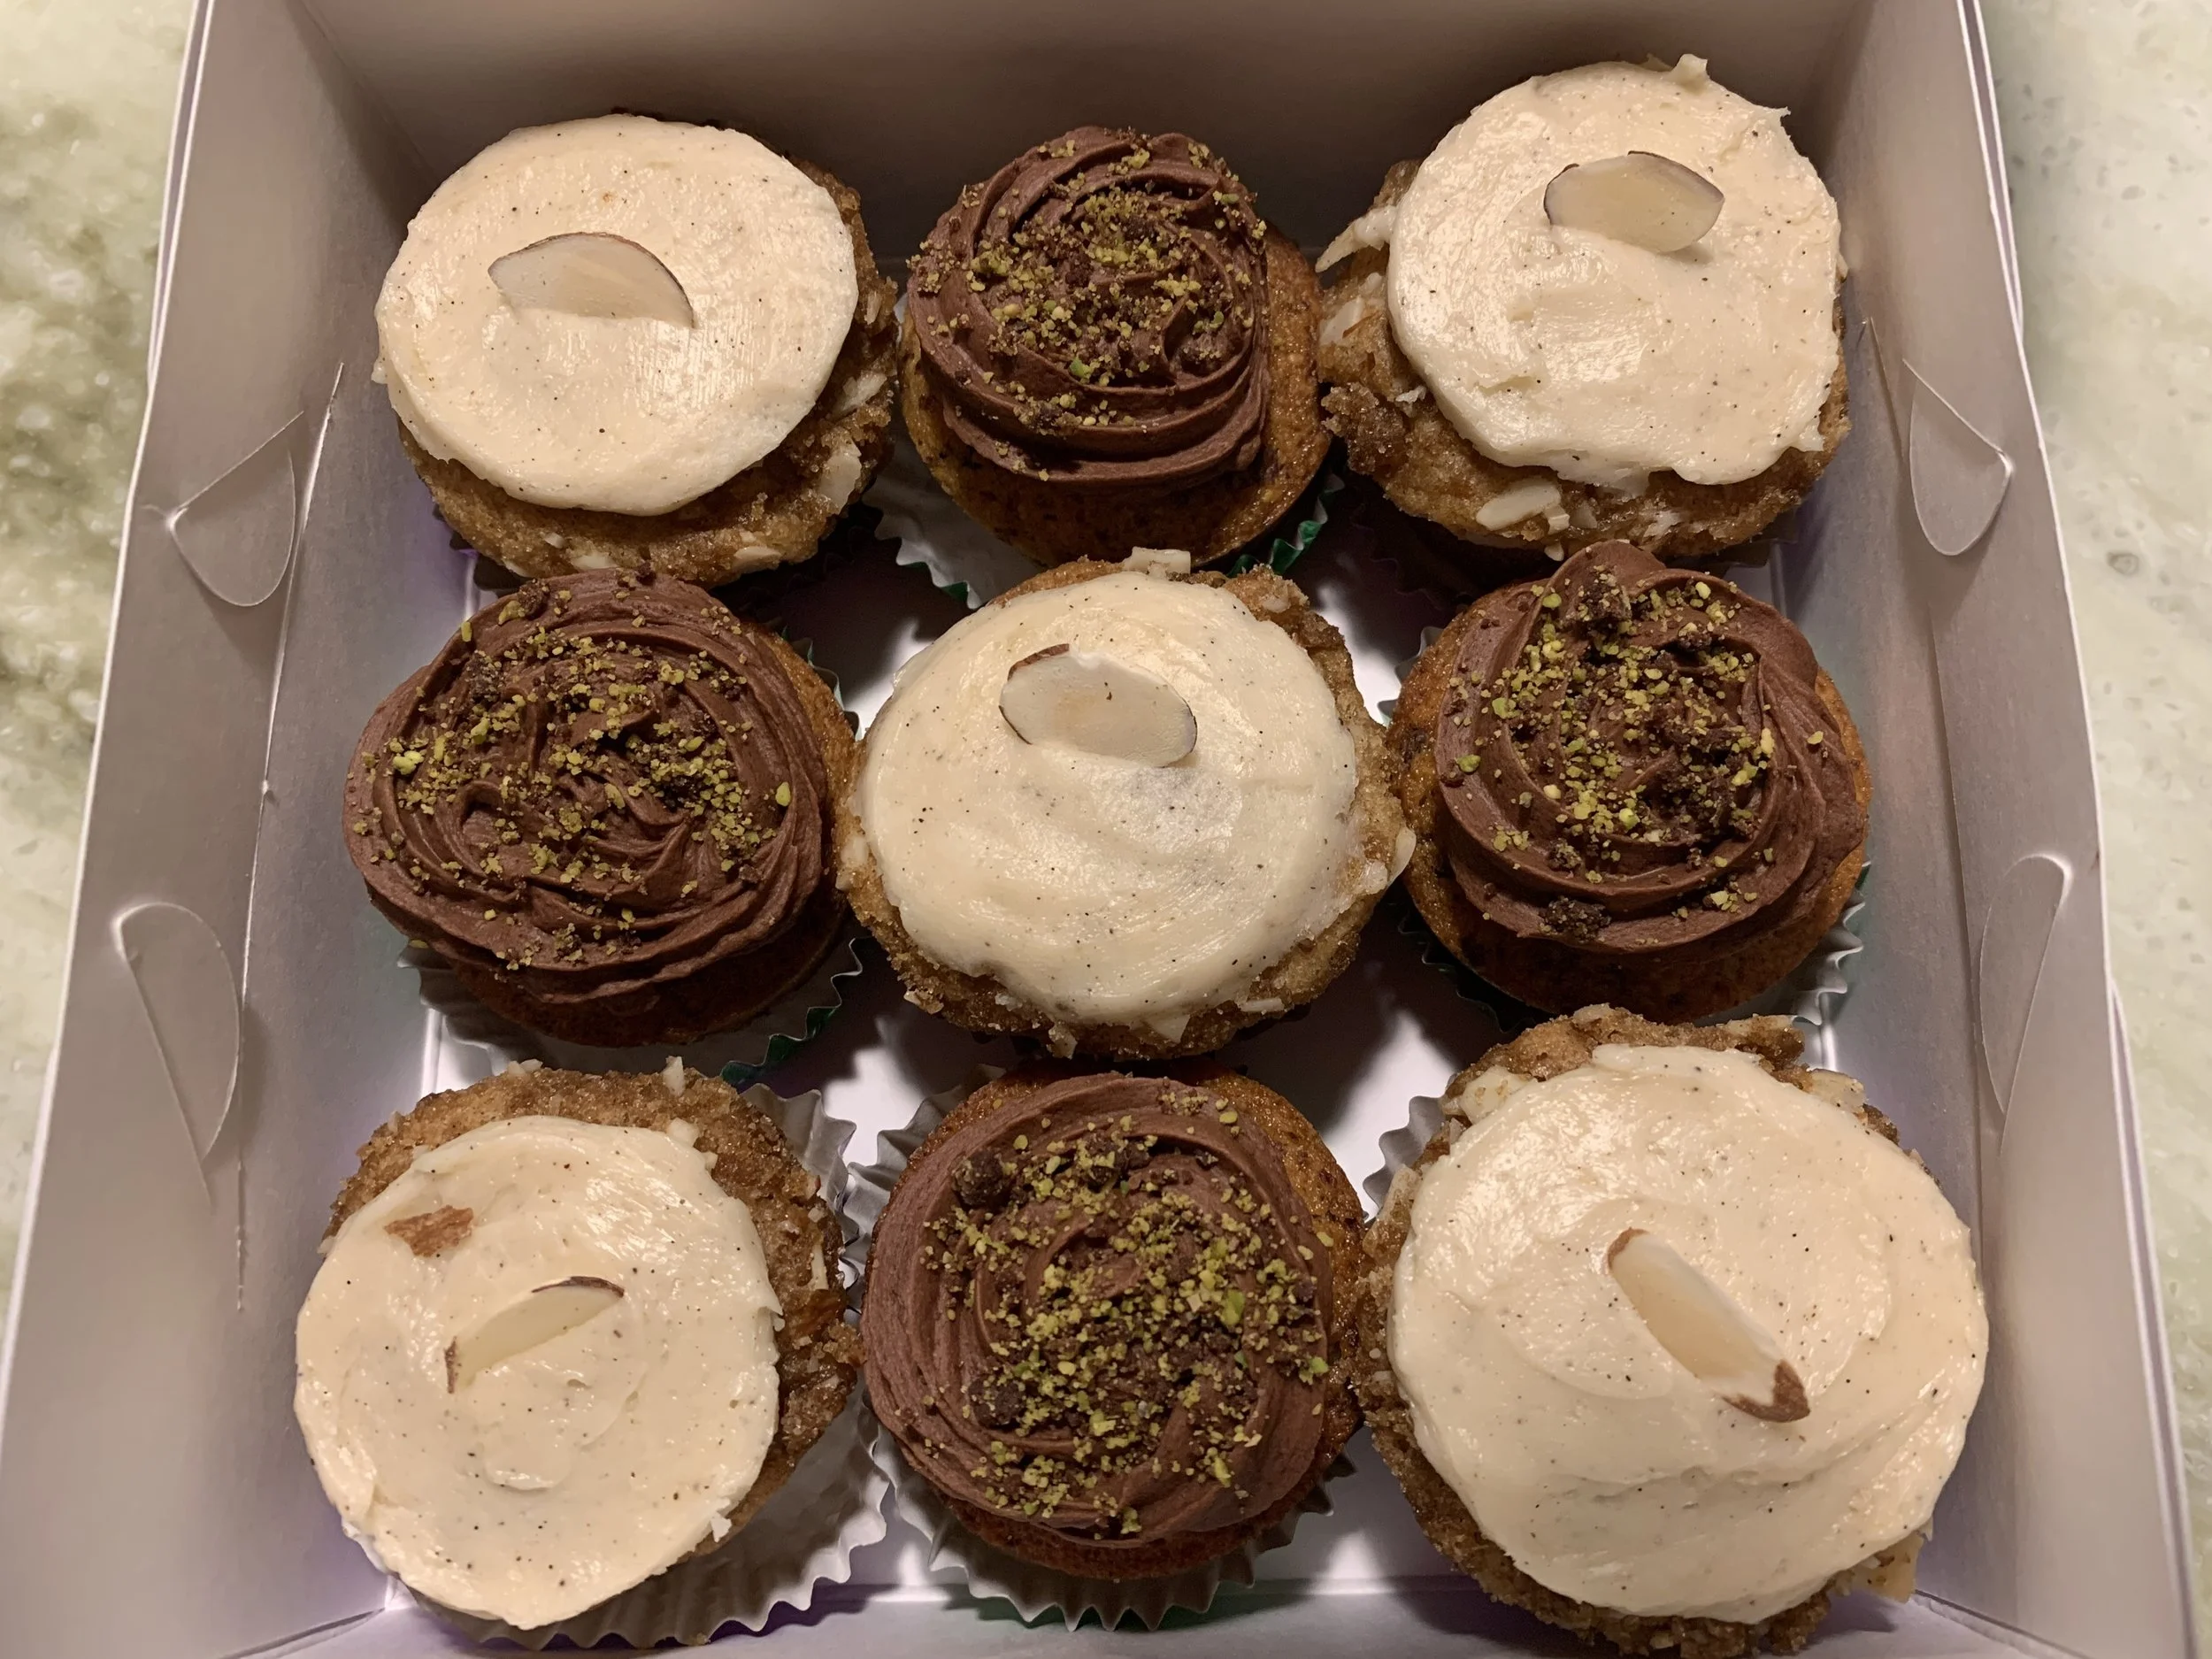
May 2026 bring peace, joy and quietude - and plenty of baked treats for those you love!