Cocoa spelt cake

As promised in my recent season greetings post, I’m delving more deeply into this cake that comes from Aleksandra Crapanzano’s book “Gâteau”. Made with spelt and almond flours, Dutch process cocoa, Greek yogurt and brewed espresso along with the usual sugar, butter, egg, baking soda, salt, its intriguing blend of flavors got my attention. Plus, this was the chance to use up some ingredients on hand after all the autumn and holiday baking projects.

Let’s pause a moment. You’re probably wondering “How many chocolate cake recipes does one really need?” (particularly when there are literally TONS of them out there). I already have a number of delicious versions in my repertoire, but it’s also about the discovery and trying something a little bit new, isn’t it.

My first attempt, all puckered up and sunken. Ouch!

My first attempt was NOT a resounding success although it tasted pretty darn good. I even served it for a Christmas dessert with an orange mascarpone custard (which I ultimately thought too heavy for the cake), topped with hazelnut crumble and ganache drizzle. Just a little whipped cream next time perhaps?

Hmmmmm . . . . lets call this one rustic

After that first attempt this project ended up as more of a tutorial on pan sizes and capacities than on the actual recipe! Bear with me - numbers and math coming up - I understand if your eyes glaze over! Just scroll on down to the ingredients image for more on actually making/baking the batter.

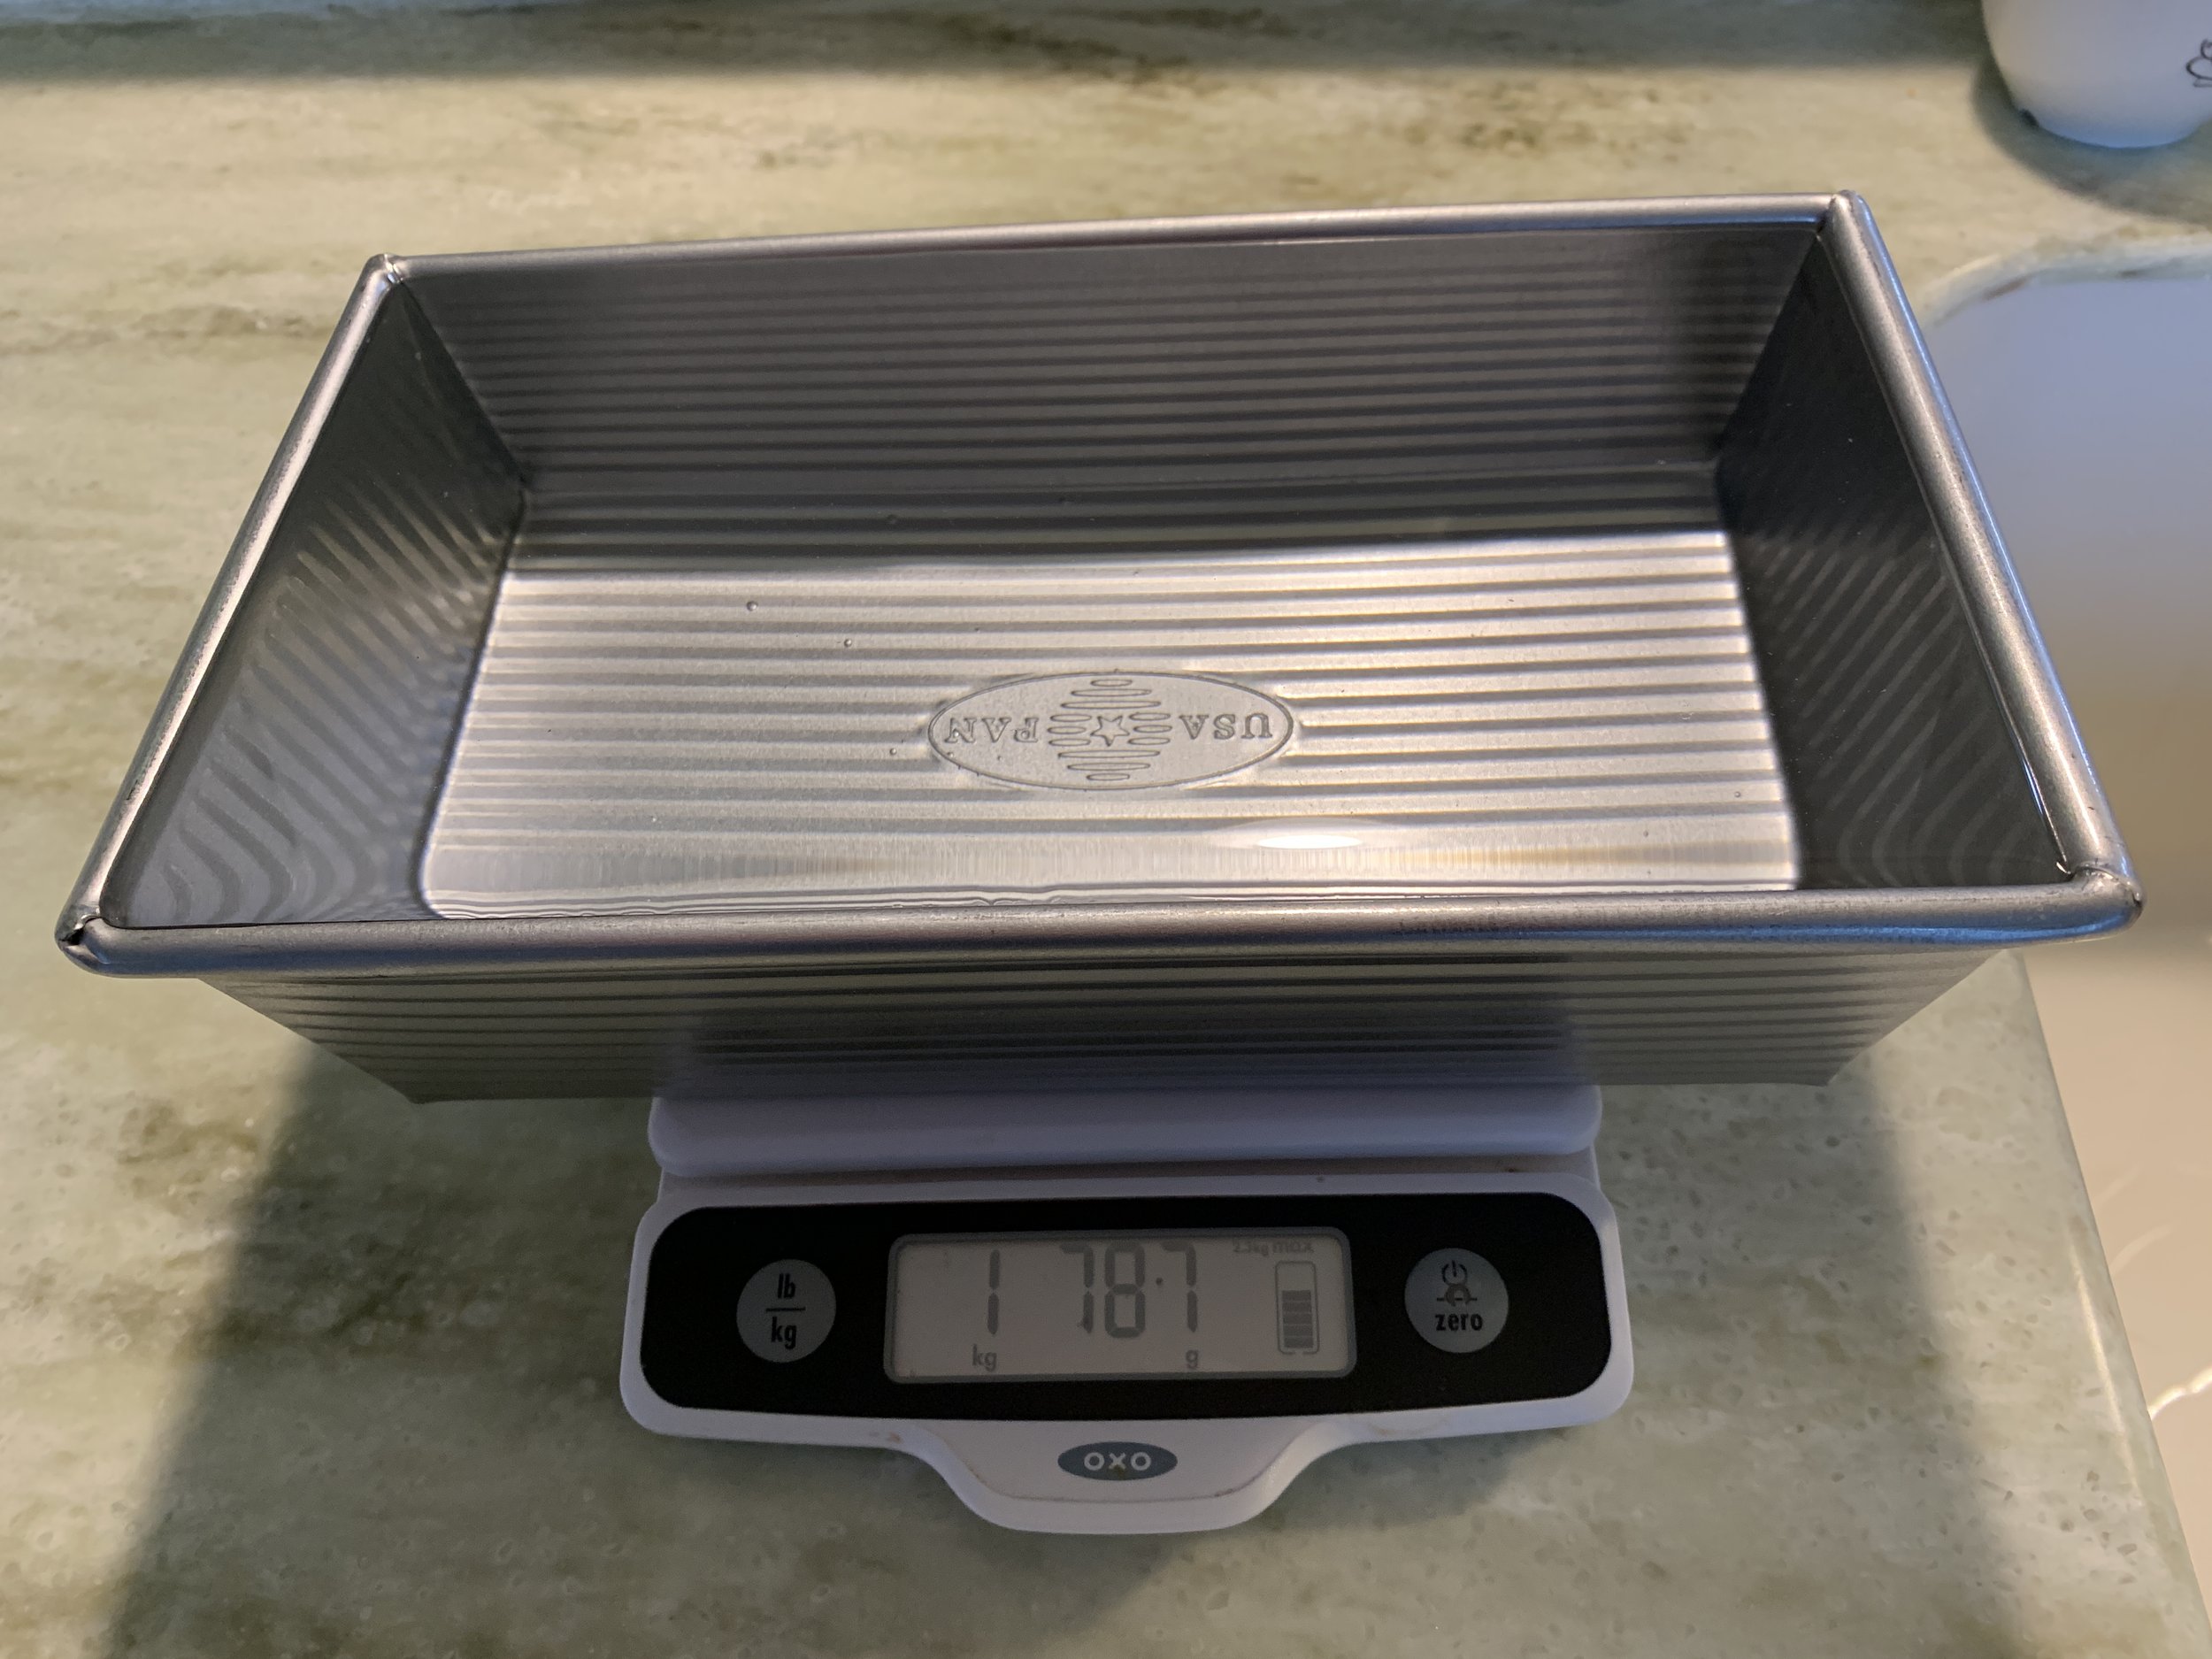
For frequent cake bakers (or even not so frequent), the general rule as to how much batter goes into different size pans or molds is typically 2/3 to 3/4 full. To determine your pan’s capacity, place it on a zeroed scale, fill it with water and record the gram weight completely FULL. Then add up the weight of your recipe ingredients, divide that by the full pan weight and you’ll figure out pretty quickly if the batter will work in your chosen pan.

Aleksandra’s recipe calls for a 9 x 5 loaf pan which is typically touted as having a capacity of 1900 g or 8 cups. Over the years I’ve used the slightly smaller 8 1/2 x 4 1/2 pan (holds about 1400 g / 6 cups) or my longer, narrower tea loaf pan (about 5.5 cups) for things like basic recipes for quick breads, pound cakes etc with good results. BUT what I hadn’t done this time was to figure it out FIRST!

In this case the total ingredient weight for the batter comes to about 1310 g (5.5 cups); divided by 1575 g capacity of my tea loaf pan = 0.83 (~7/8!). WAY over the fill-to-2/3-to-3/4 rule for that particular pan.

What I did do the first go around was blithely plunge ahead, make the batter, fill the pan and realize it was WAY too full! So much so that I had to scoop some batter out early in the bake to reduce overflow. I should know better.

The First BAtch

Life is full of lessons, eh?

Anyhoo - always determined, I went through two more rounds of baking this batter, one with a larger loaf pan and one with my favorite muffin size silicone molds.

I got my hands on a pan that was billed as 9 x 5 x 2 1/2” deep but was barely 2 1/4”. I did my water fill/weighing test and found the capacity to be 1600 g, very close to my tea loaf pan - far too small for this batter.

Shallow 9 x 5 pan


Next up - a 9 x 5 x 2.75 USA brand loaf pan which weighed in (water filled) at about 1787 g. Hmmm . . . . this might work after all. That comes to about 0.72 filled, just in between that 2/3 to 3/4 fill guideline.

I went for it! While a 5 quart mixer works, I had learned from the first attempt that the amount of batter was a bit much for mine, so I switched to my 6 quart for further batches. Much easier to work with.

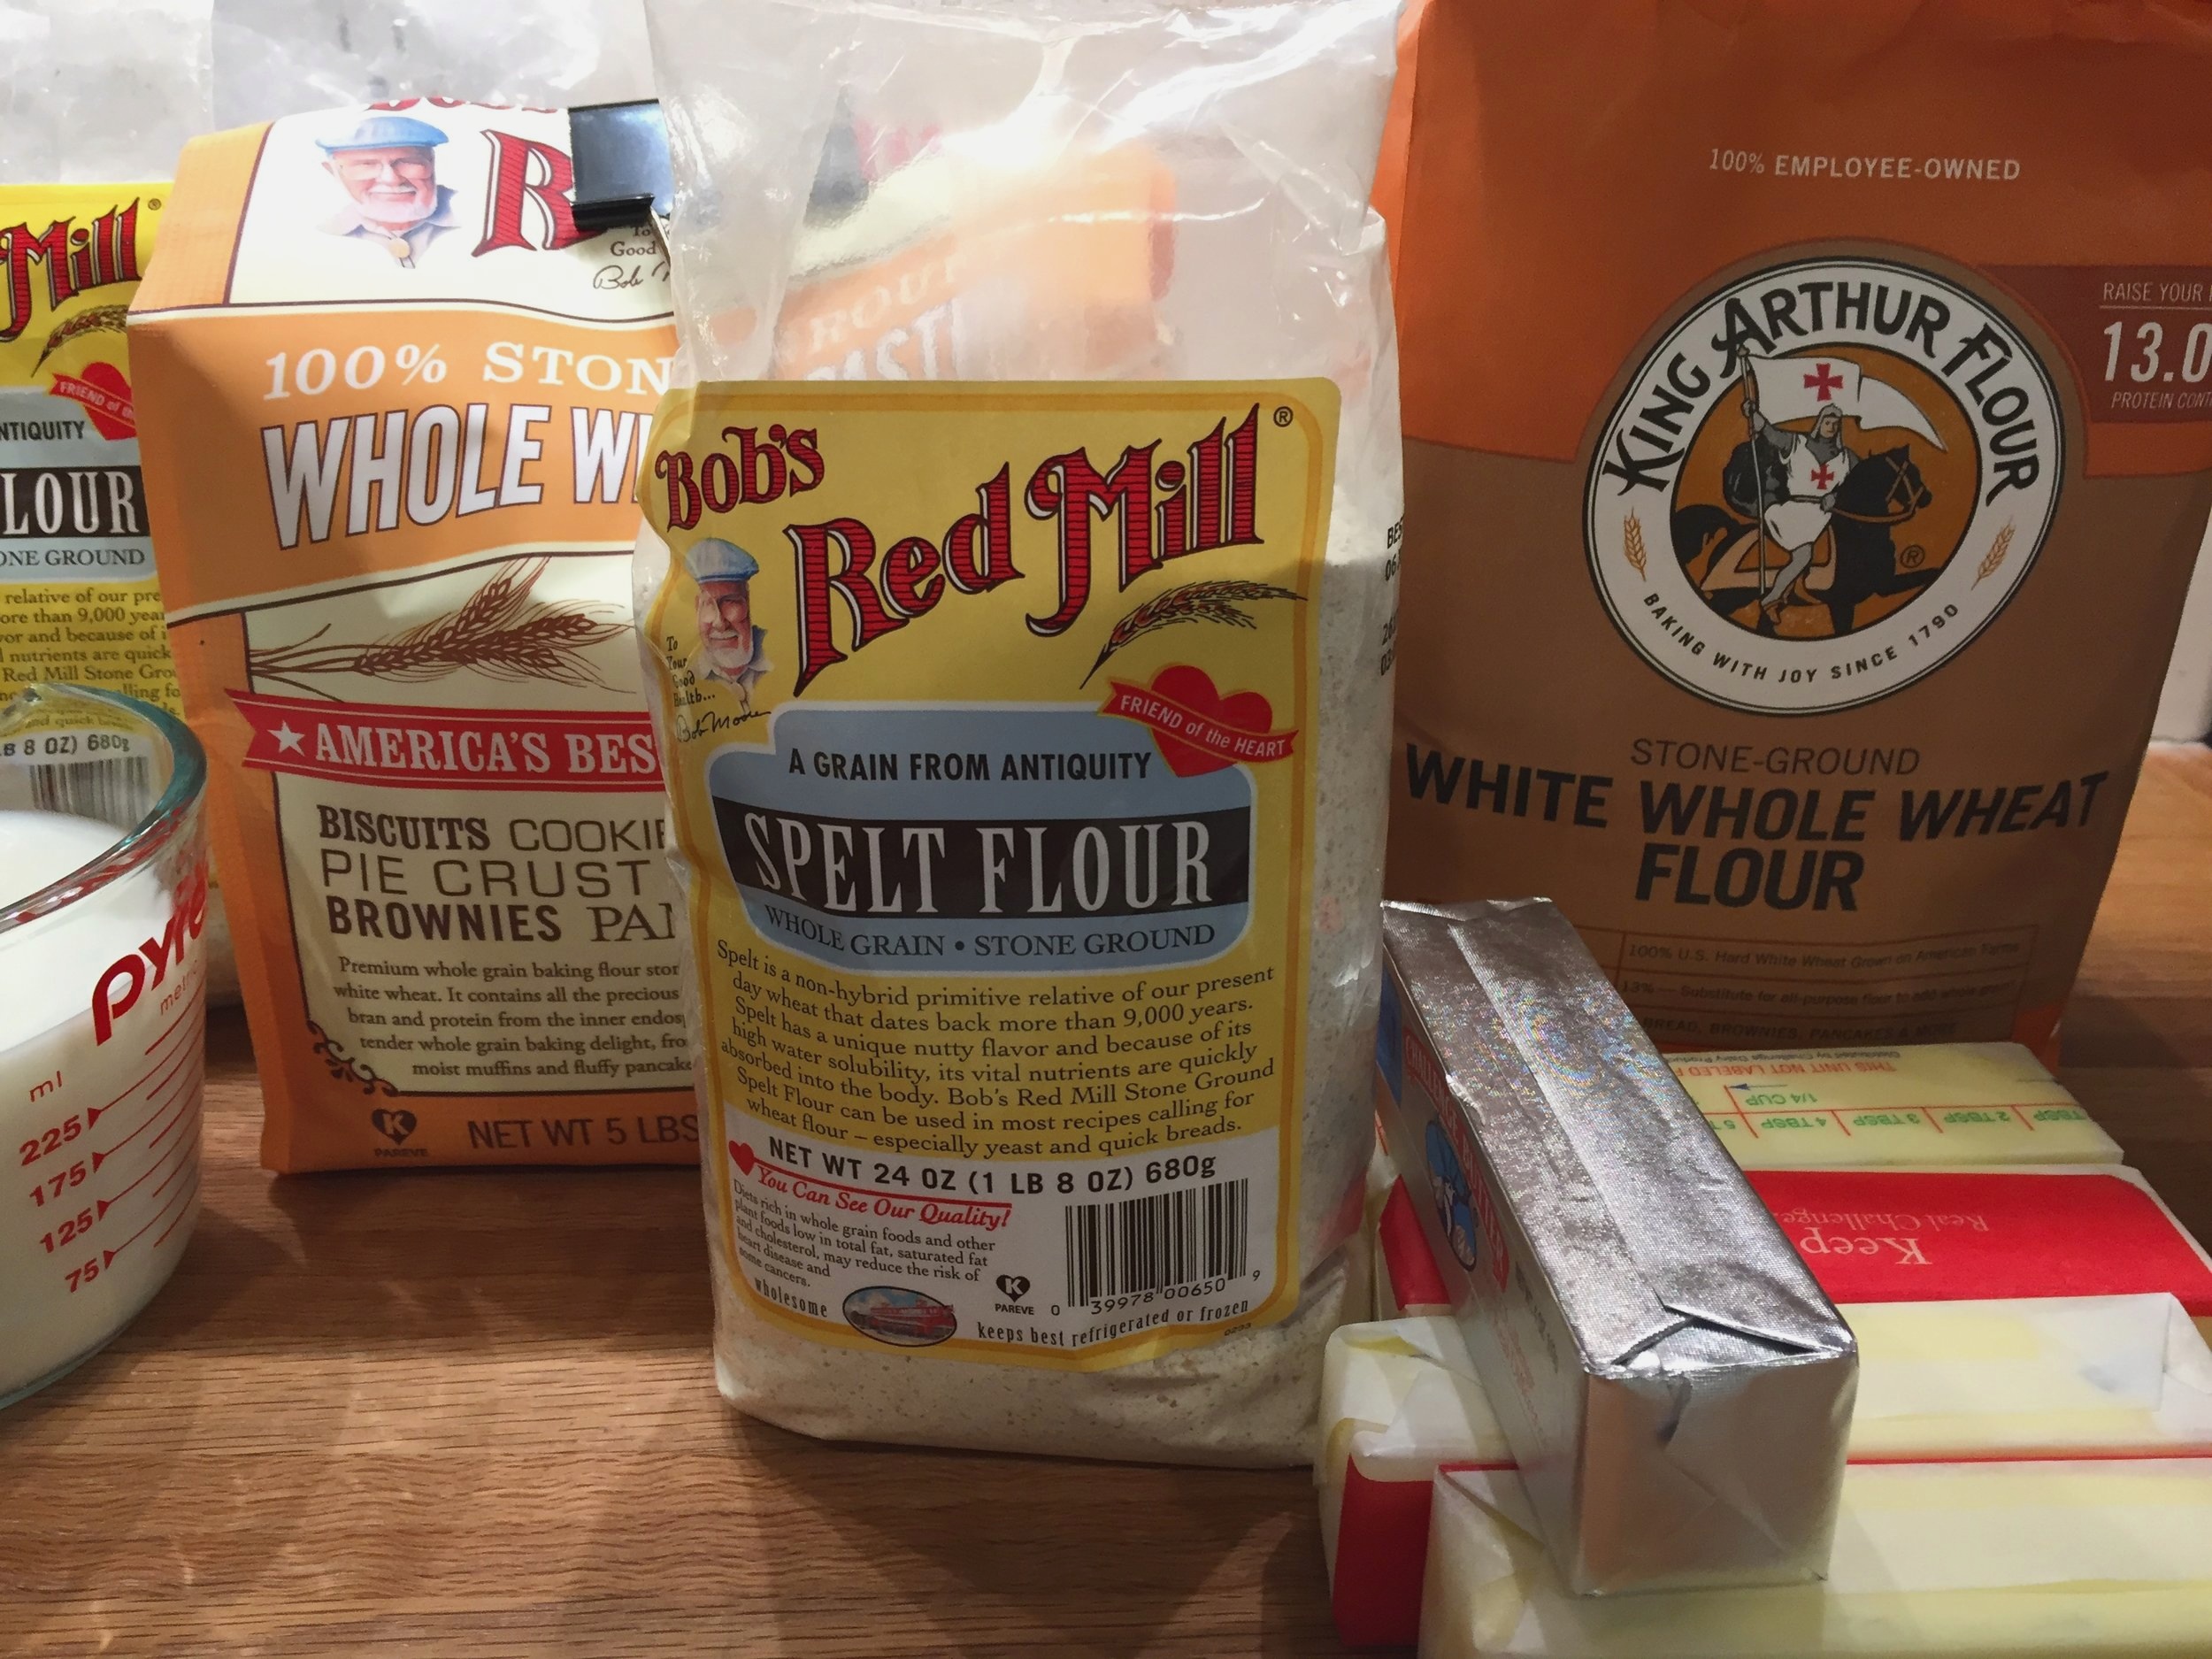
Let’s make this! Here’s the printable recipe PDF for you. You’ll note some ingredient variation options.

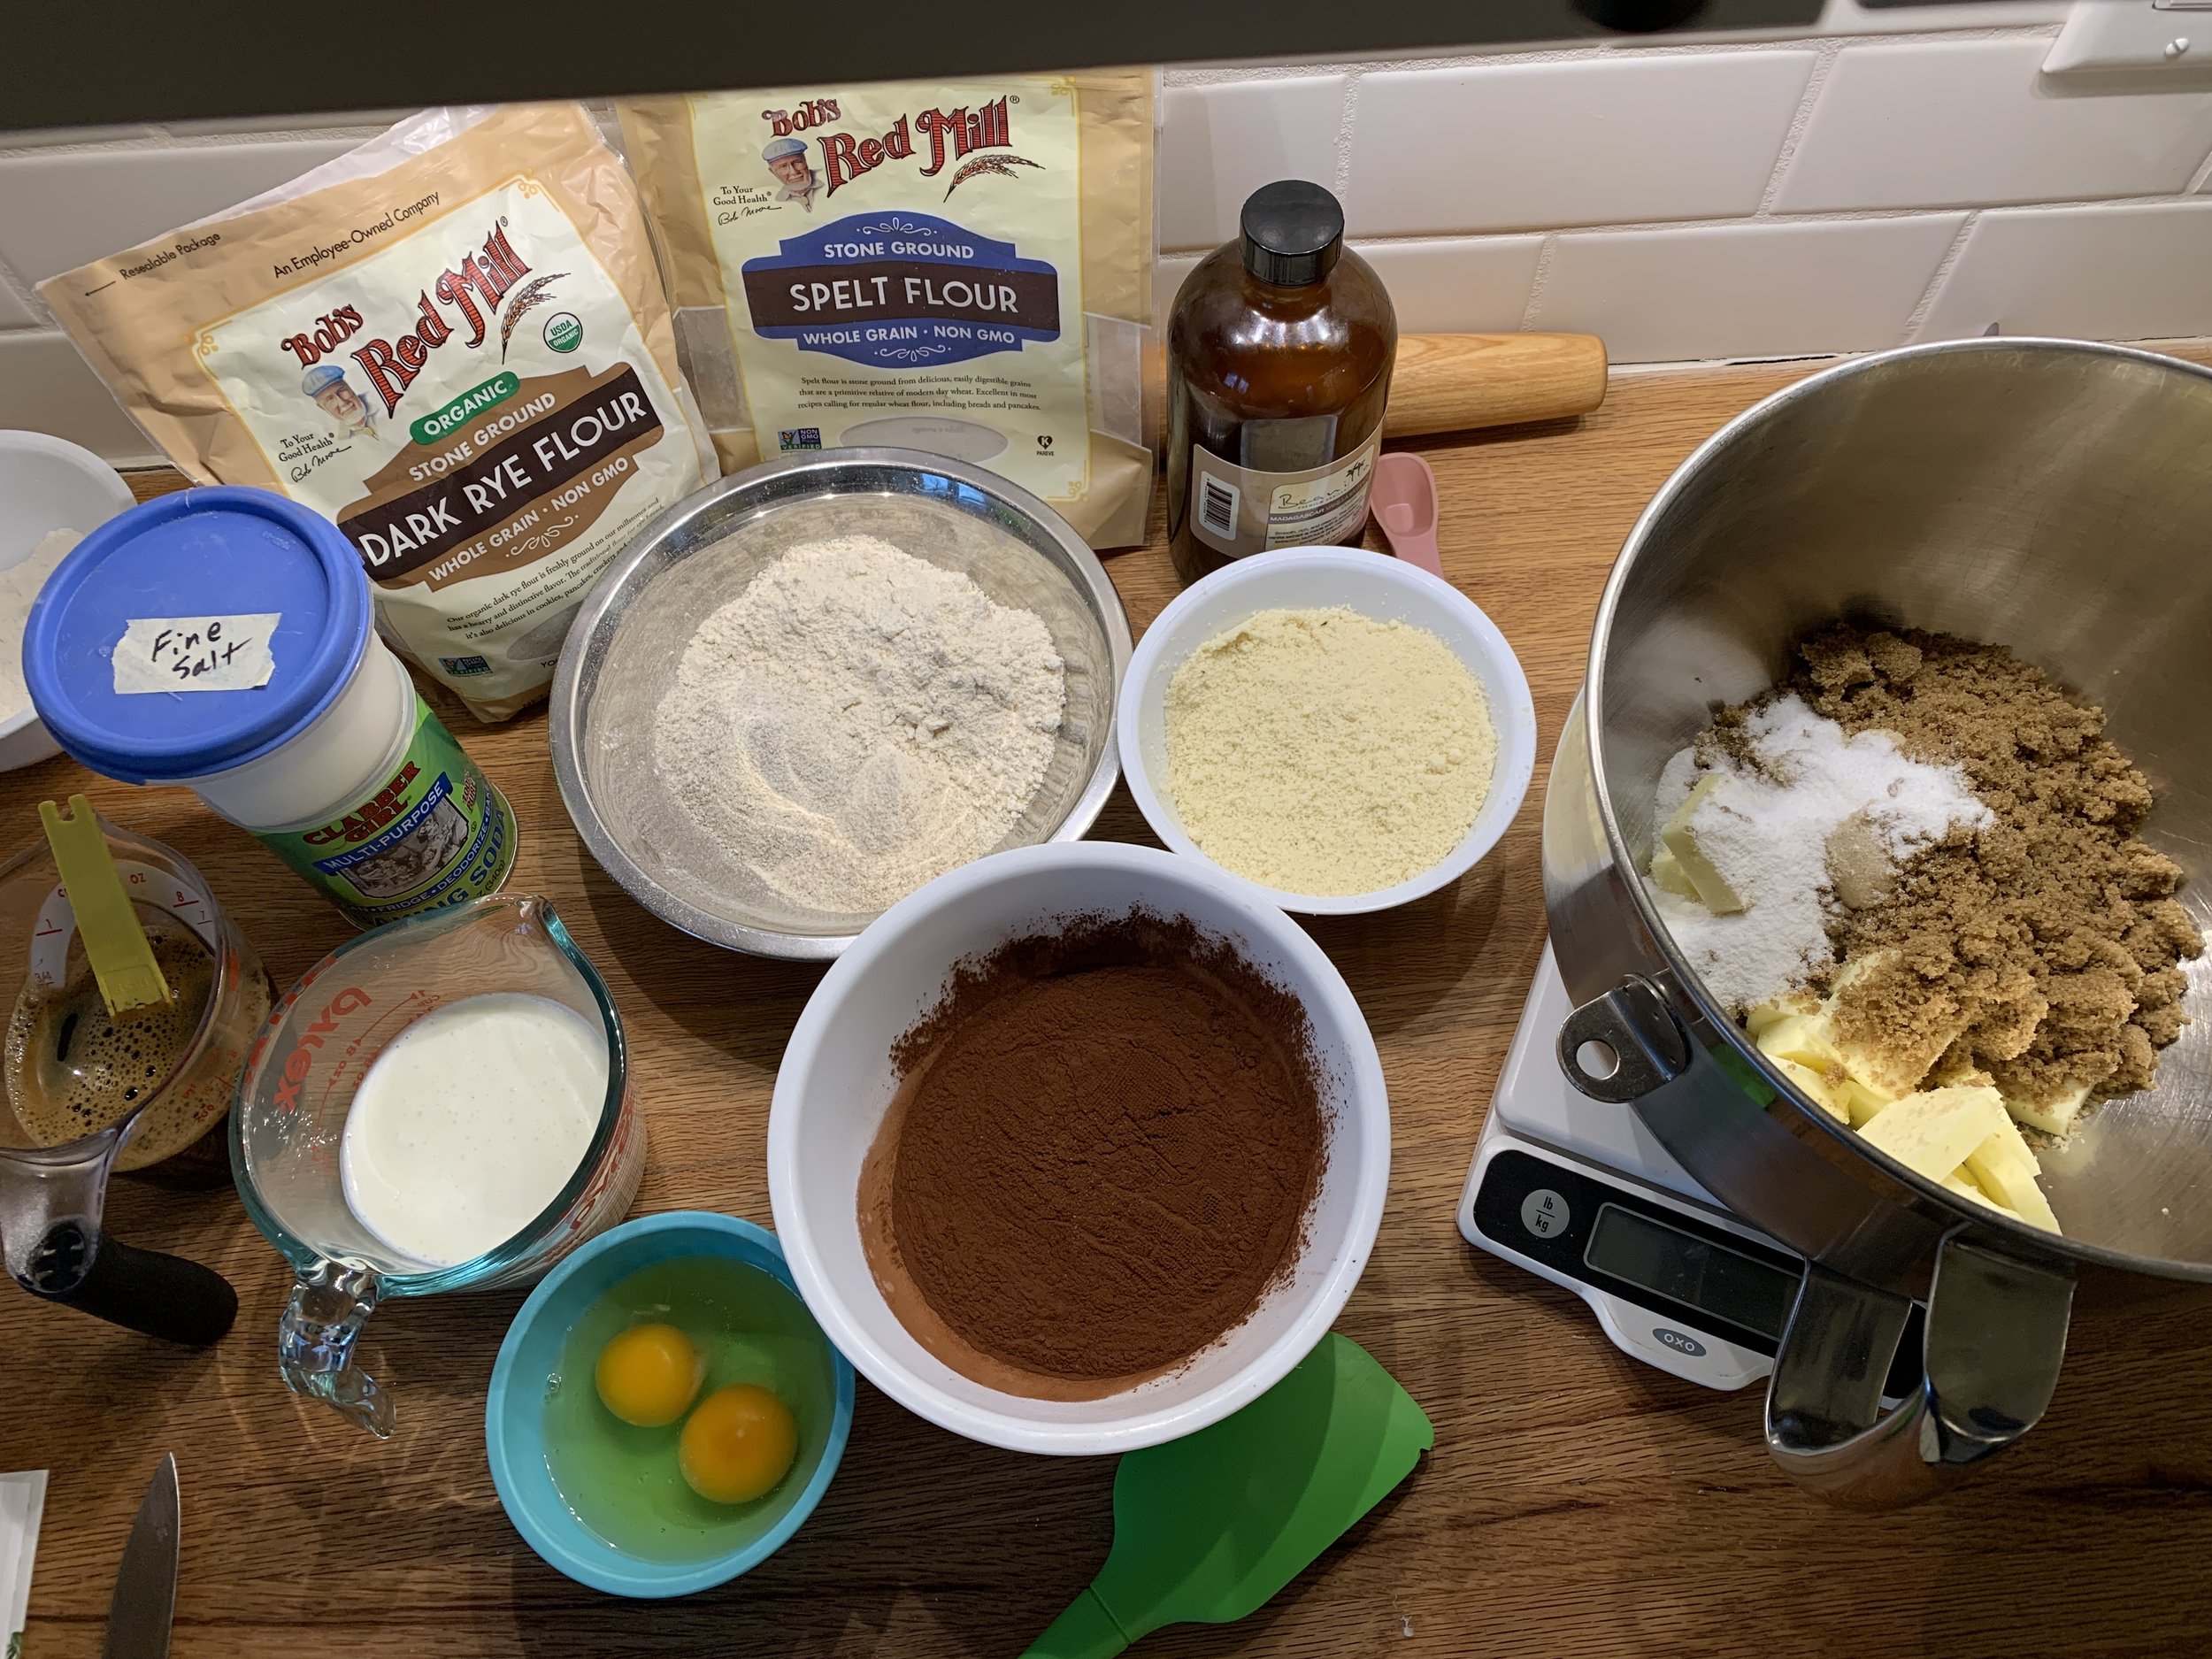
As always, read the recipe and do your mise en place with particular attention to ingredients that should be at room temperature (butter and eggs in this case).

A.C.’s recipe calls for Greek yogurt although for my first, not so great batch, I used crème frâiche; then Greek yogurt for the second loaf and full fat buttermilk for the tea cakes. It doesn’t seem to matter which you use - all good!

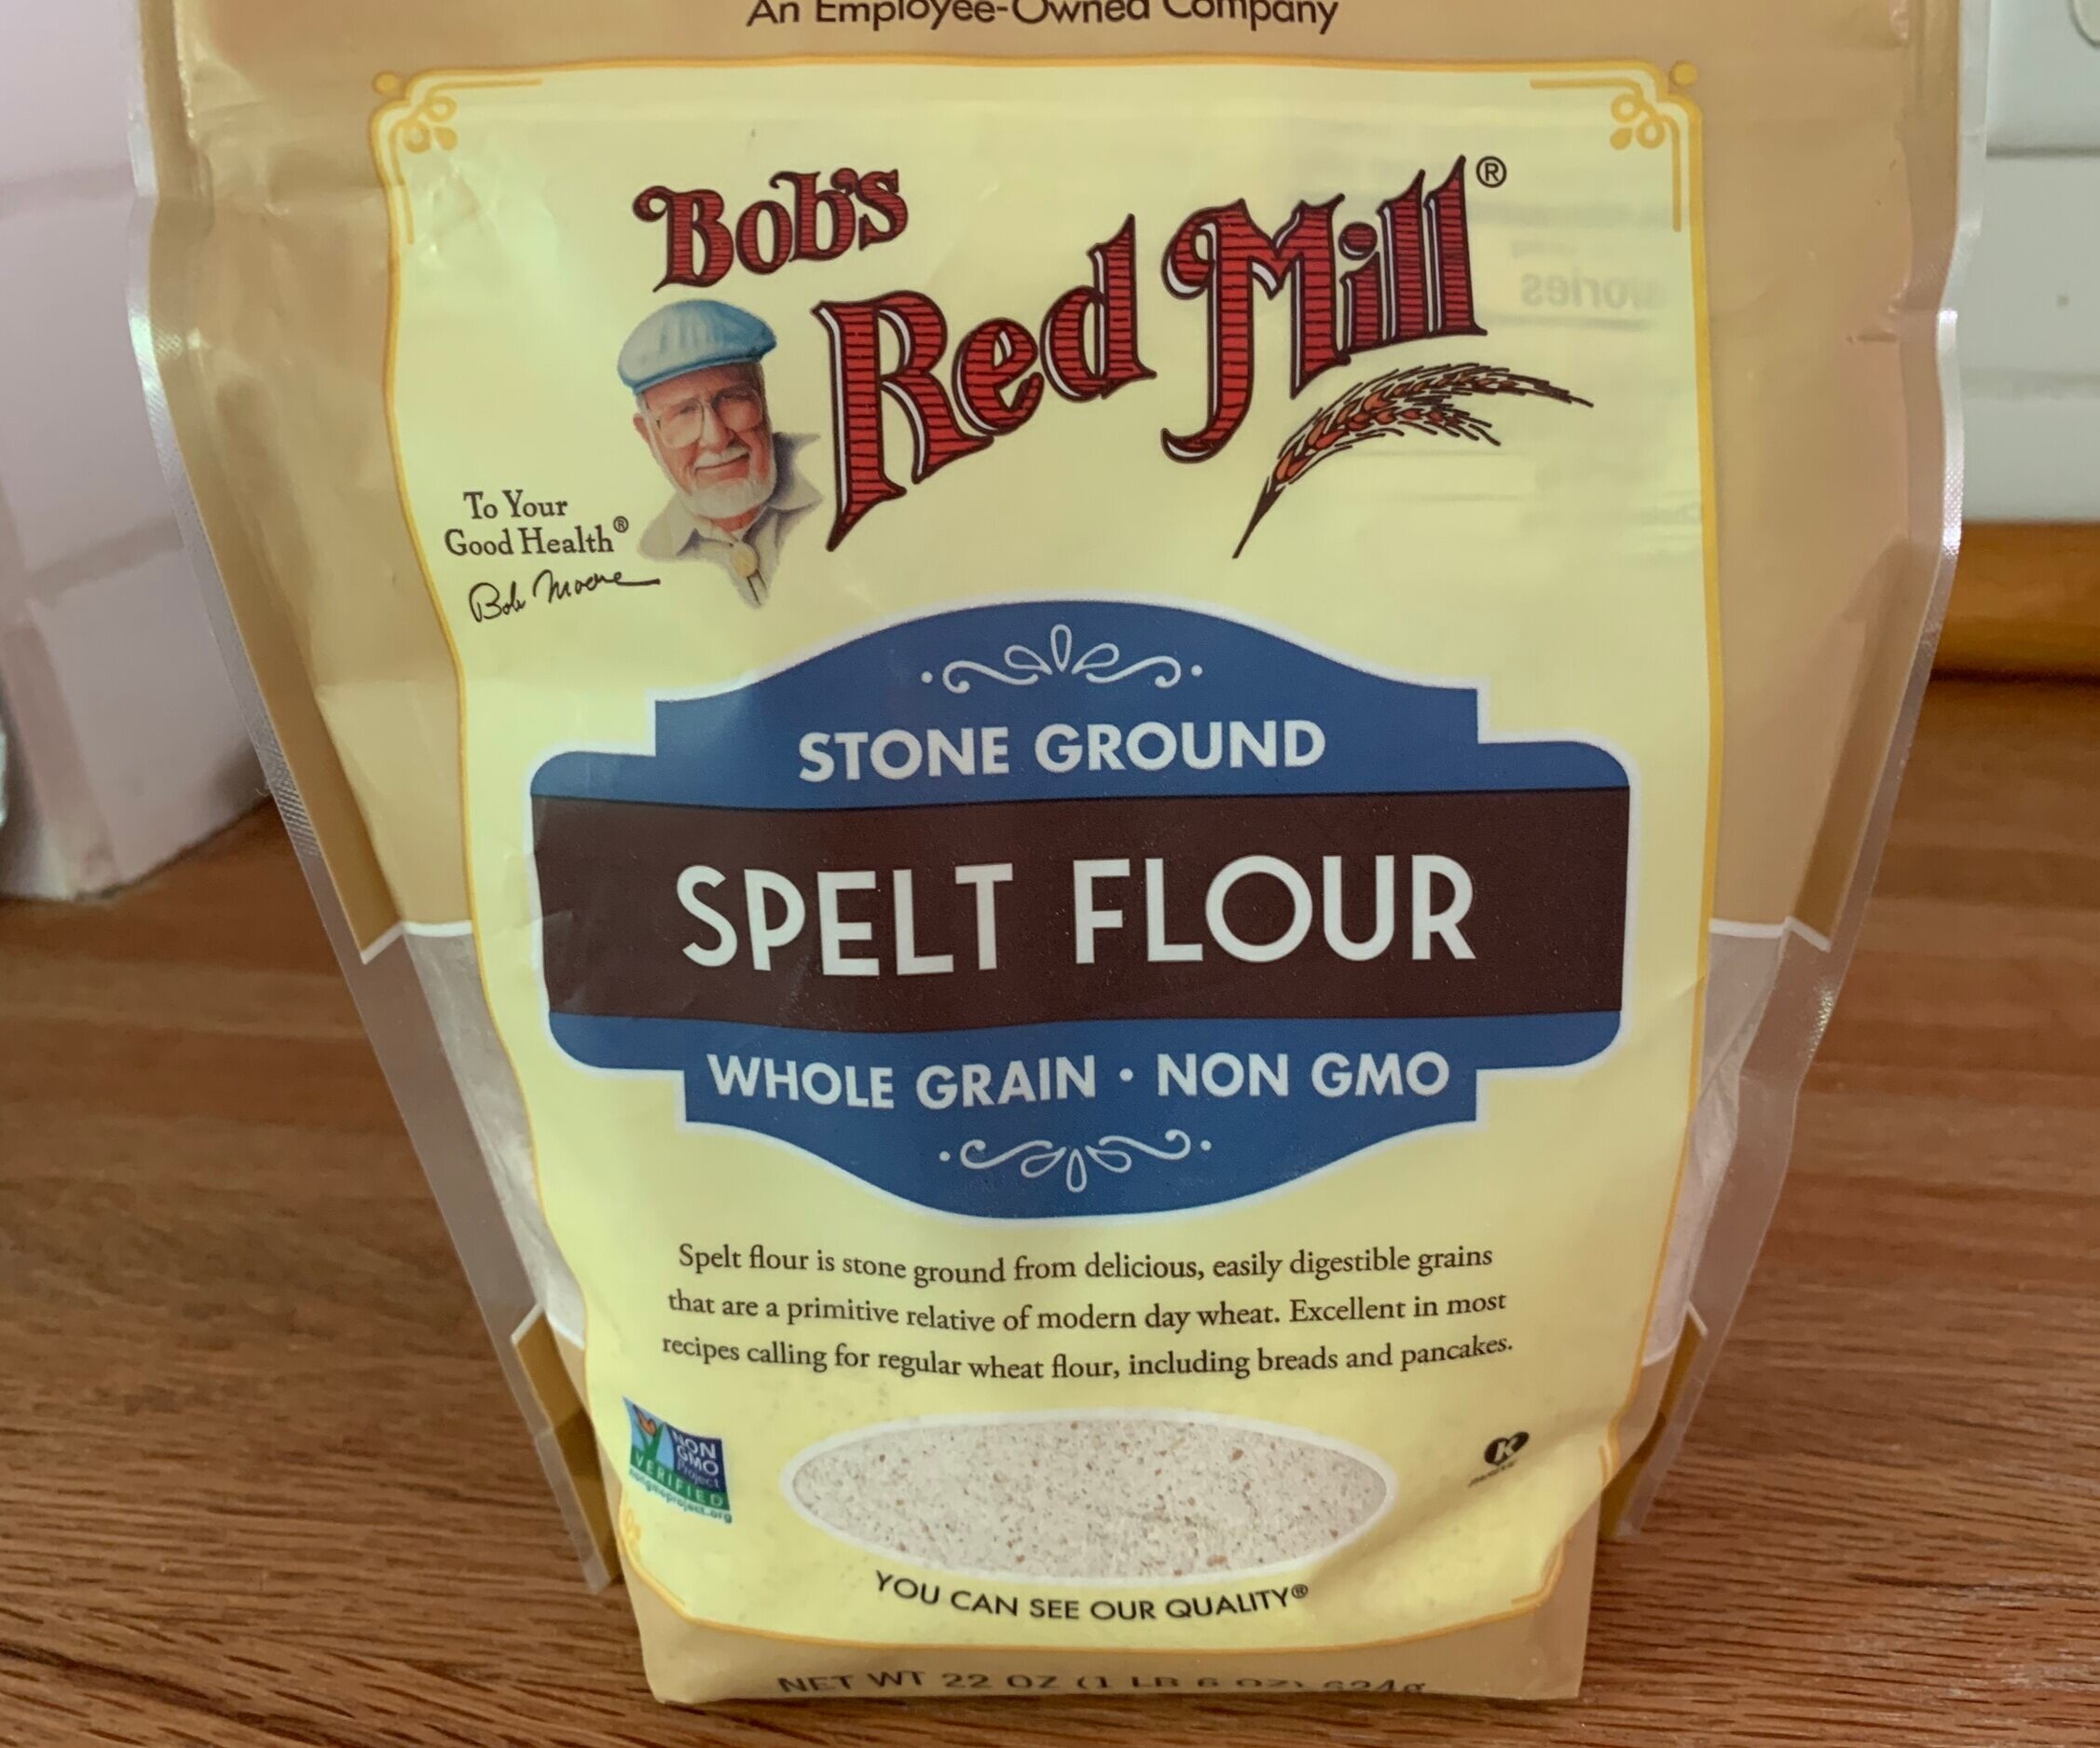
You can also alter the amount of spelt flour by creating a blend of spelt, medium rye and whole wheat pastry flour. Or replace the almond flour with a different nut flour like hazelnut or pistachio - they go so well with chocolate and coffee flavors.

The process is much like many cakes - cream butter and sugar, add eggs and vanilla, alternate dry and wet ingredients and, in this case, warm espresso is blended in at the very end.

Following are images of the steps.

Creamed butter and sugar

Even when eggs are at room temperature, it’s not unusual for the mixture to have a bit of a curdled look once the eggs are added. You should be able to appreciate that below. Don’t worry - it’s not an issue.

Eggs and Vanilla added


Dry and wet all blended in

Warm espresso goes in last - I will say it made me a bit nervous to add 3/4 cup of warm liquid but, with blending, it turned into a smooth and creamy mixture. Ahhhh. . . .

Final batter

Heat oven to 350ºF. I’m using the 9 x 5 USA pan below. Butter the bottom and sides of the pan (helps the parchment stay in place), line with parchment, lightly butter again and dust with cocoa powder (eliminates the chance of a white flour-y residue on the outside of the finished cake). You could also dust with raw sugar for a lovely hint of exterior crunch :-)).

You might think this buttering/lining thing is over kill, but I’ve had a few frustrating experiences with cakes not releasing from pans, so I tend to err on the side of caution. Having the parchment allows you to grab it and lift the cake out easily when the time comes.


I filled the pan, weighing the batter as I went. The final amount was a bit less than my calculated 1310 g based on ingredient weights, but let’s remember that egg weights will vary a bit and not every little scrap of batter ends up in the pan. Not enough to fuss about.

This should work!

Bake time is recommended as 50 minutes, rotating the pan about half way through. At my half point rotation things were looking OK with a still pretty jiggly center, and it looked like some edge overflow was about to happen. In another 10-15 minutes, this is what I found. Oh NO! Foiled again.


I scraped away the ooze and cleaned the edge up a bit. It took a good 20 minutes longer before I was happy that the cake had set and my tester came out clean. I even popped my digital probe into the oven and found my oven temps were pretty much on track.

Lesson learned (again) - recipe bake times are guidelines, every oven is different and always check sooner than later!!

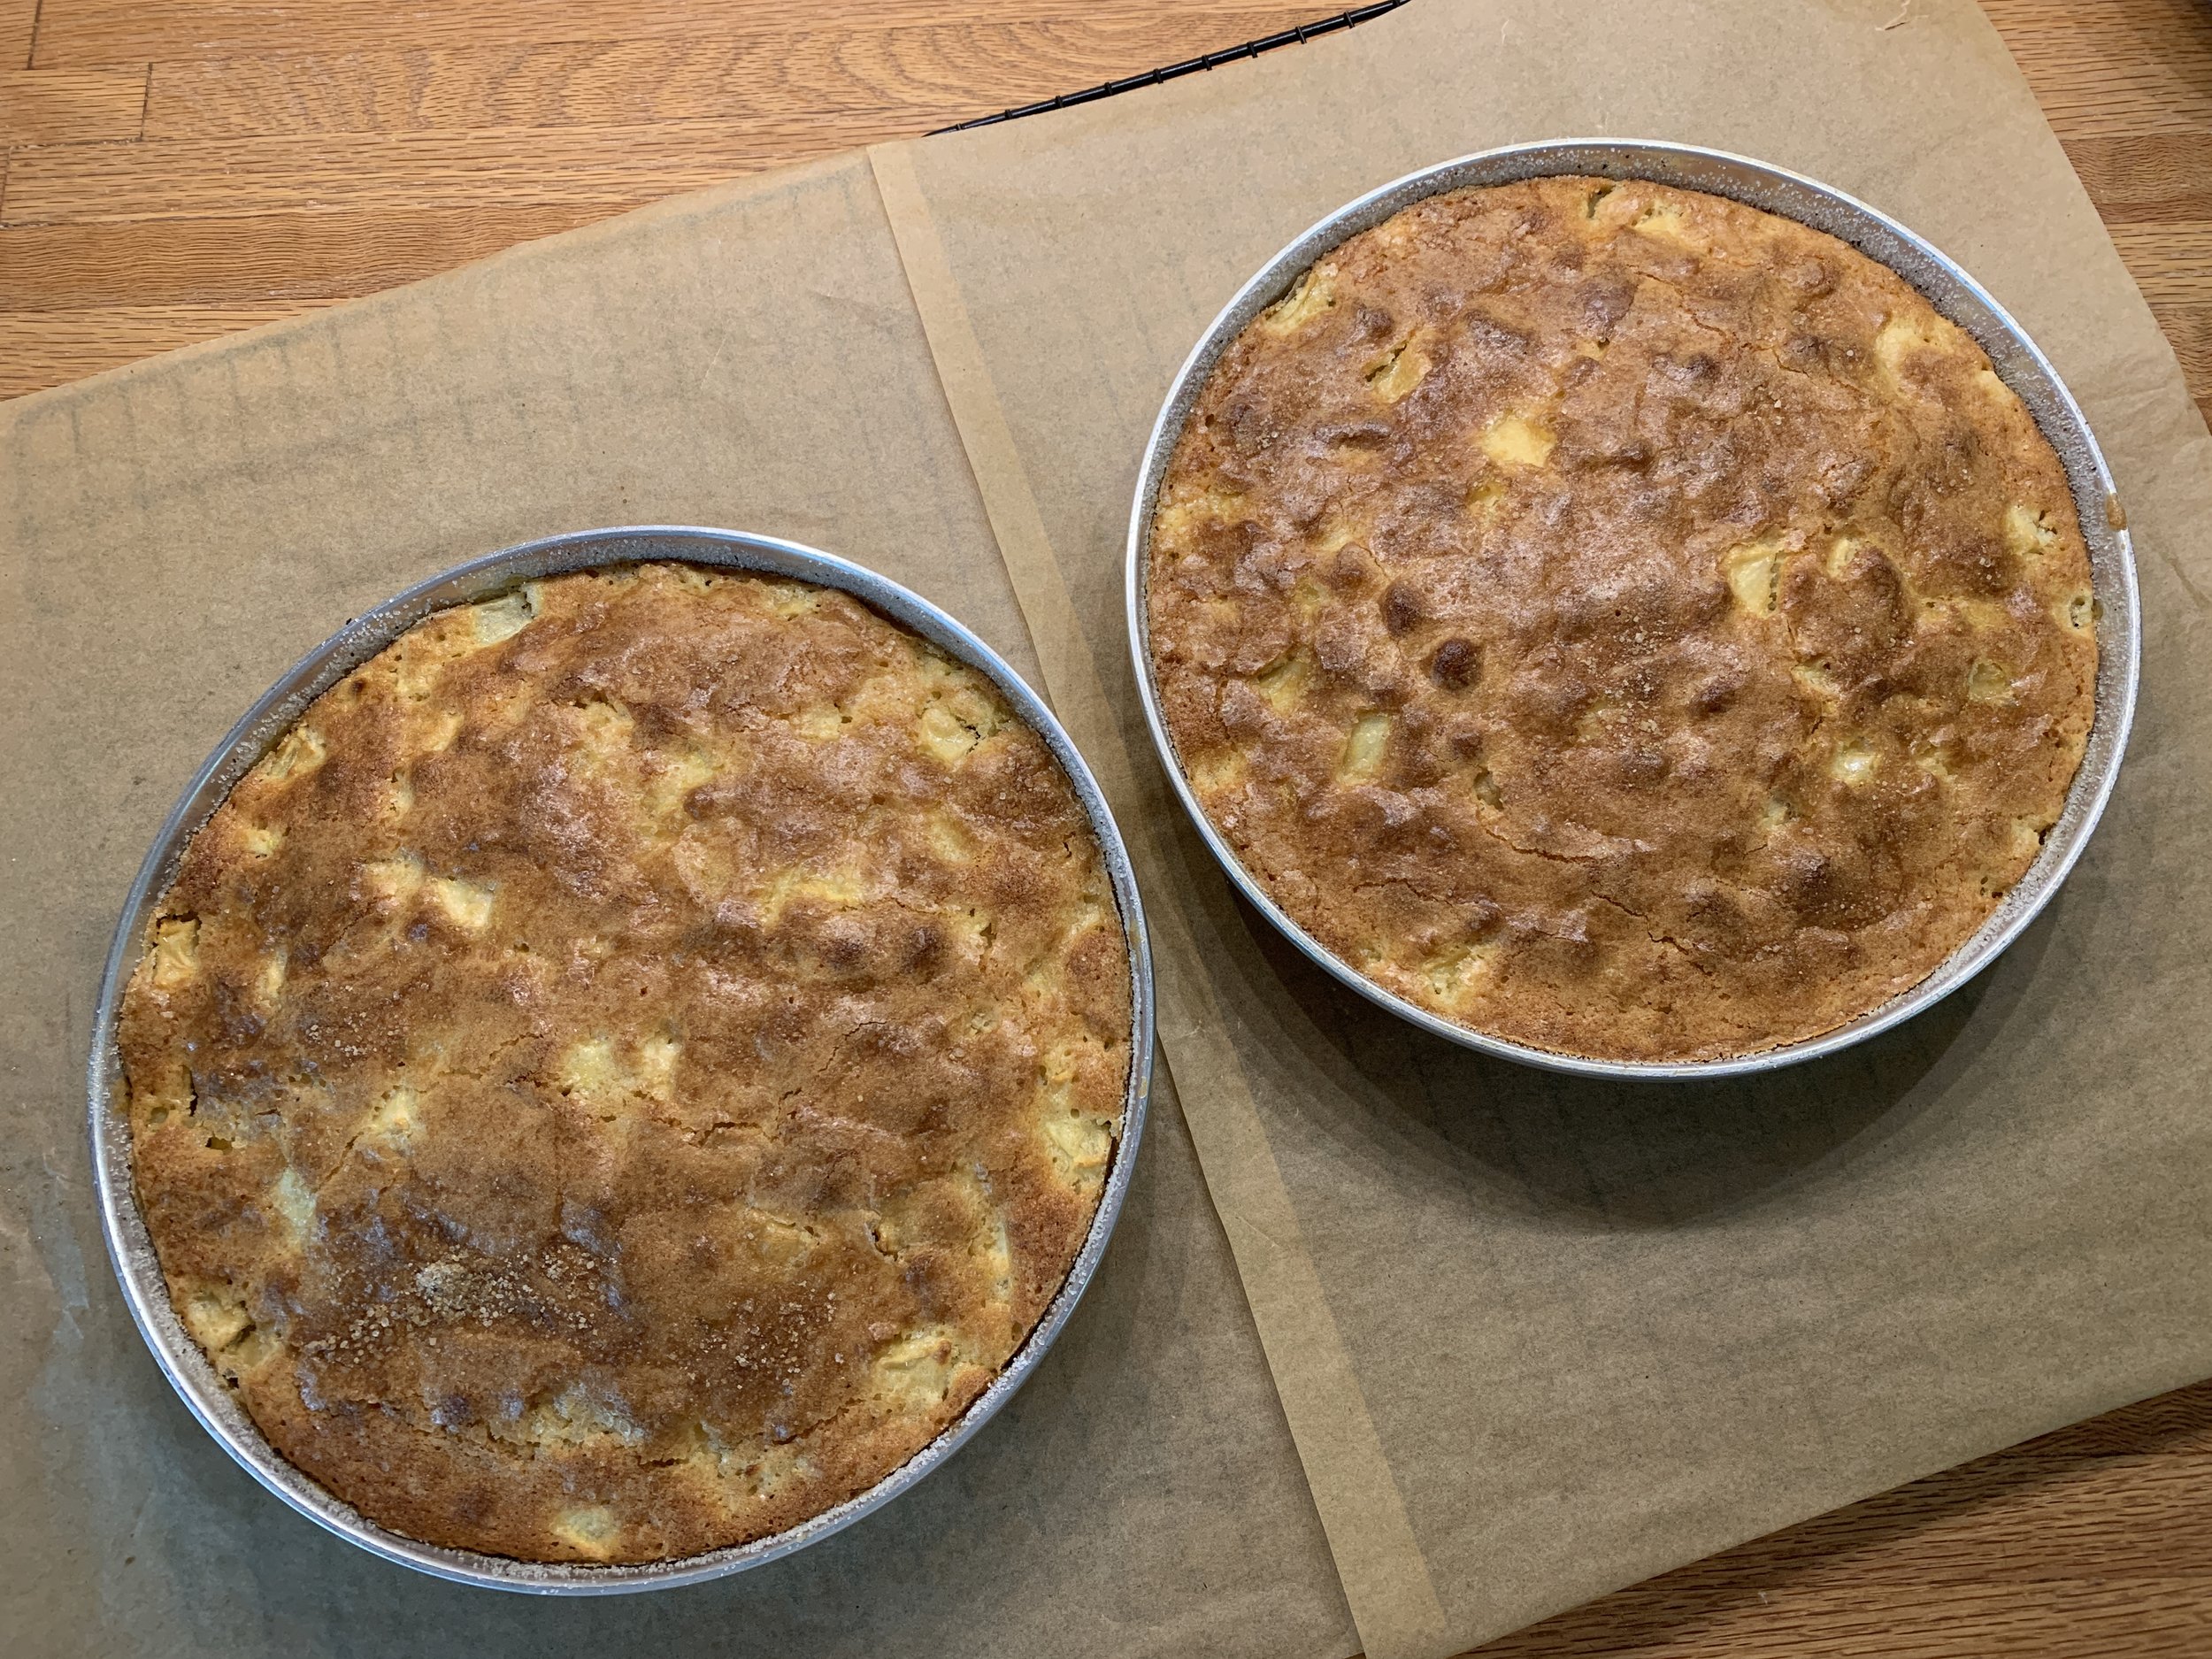
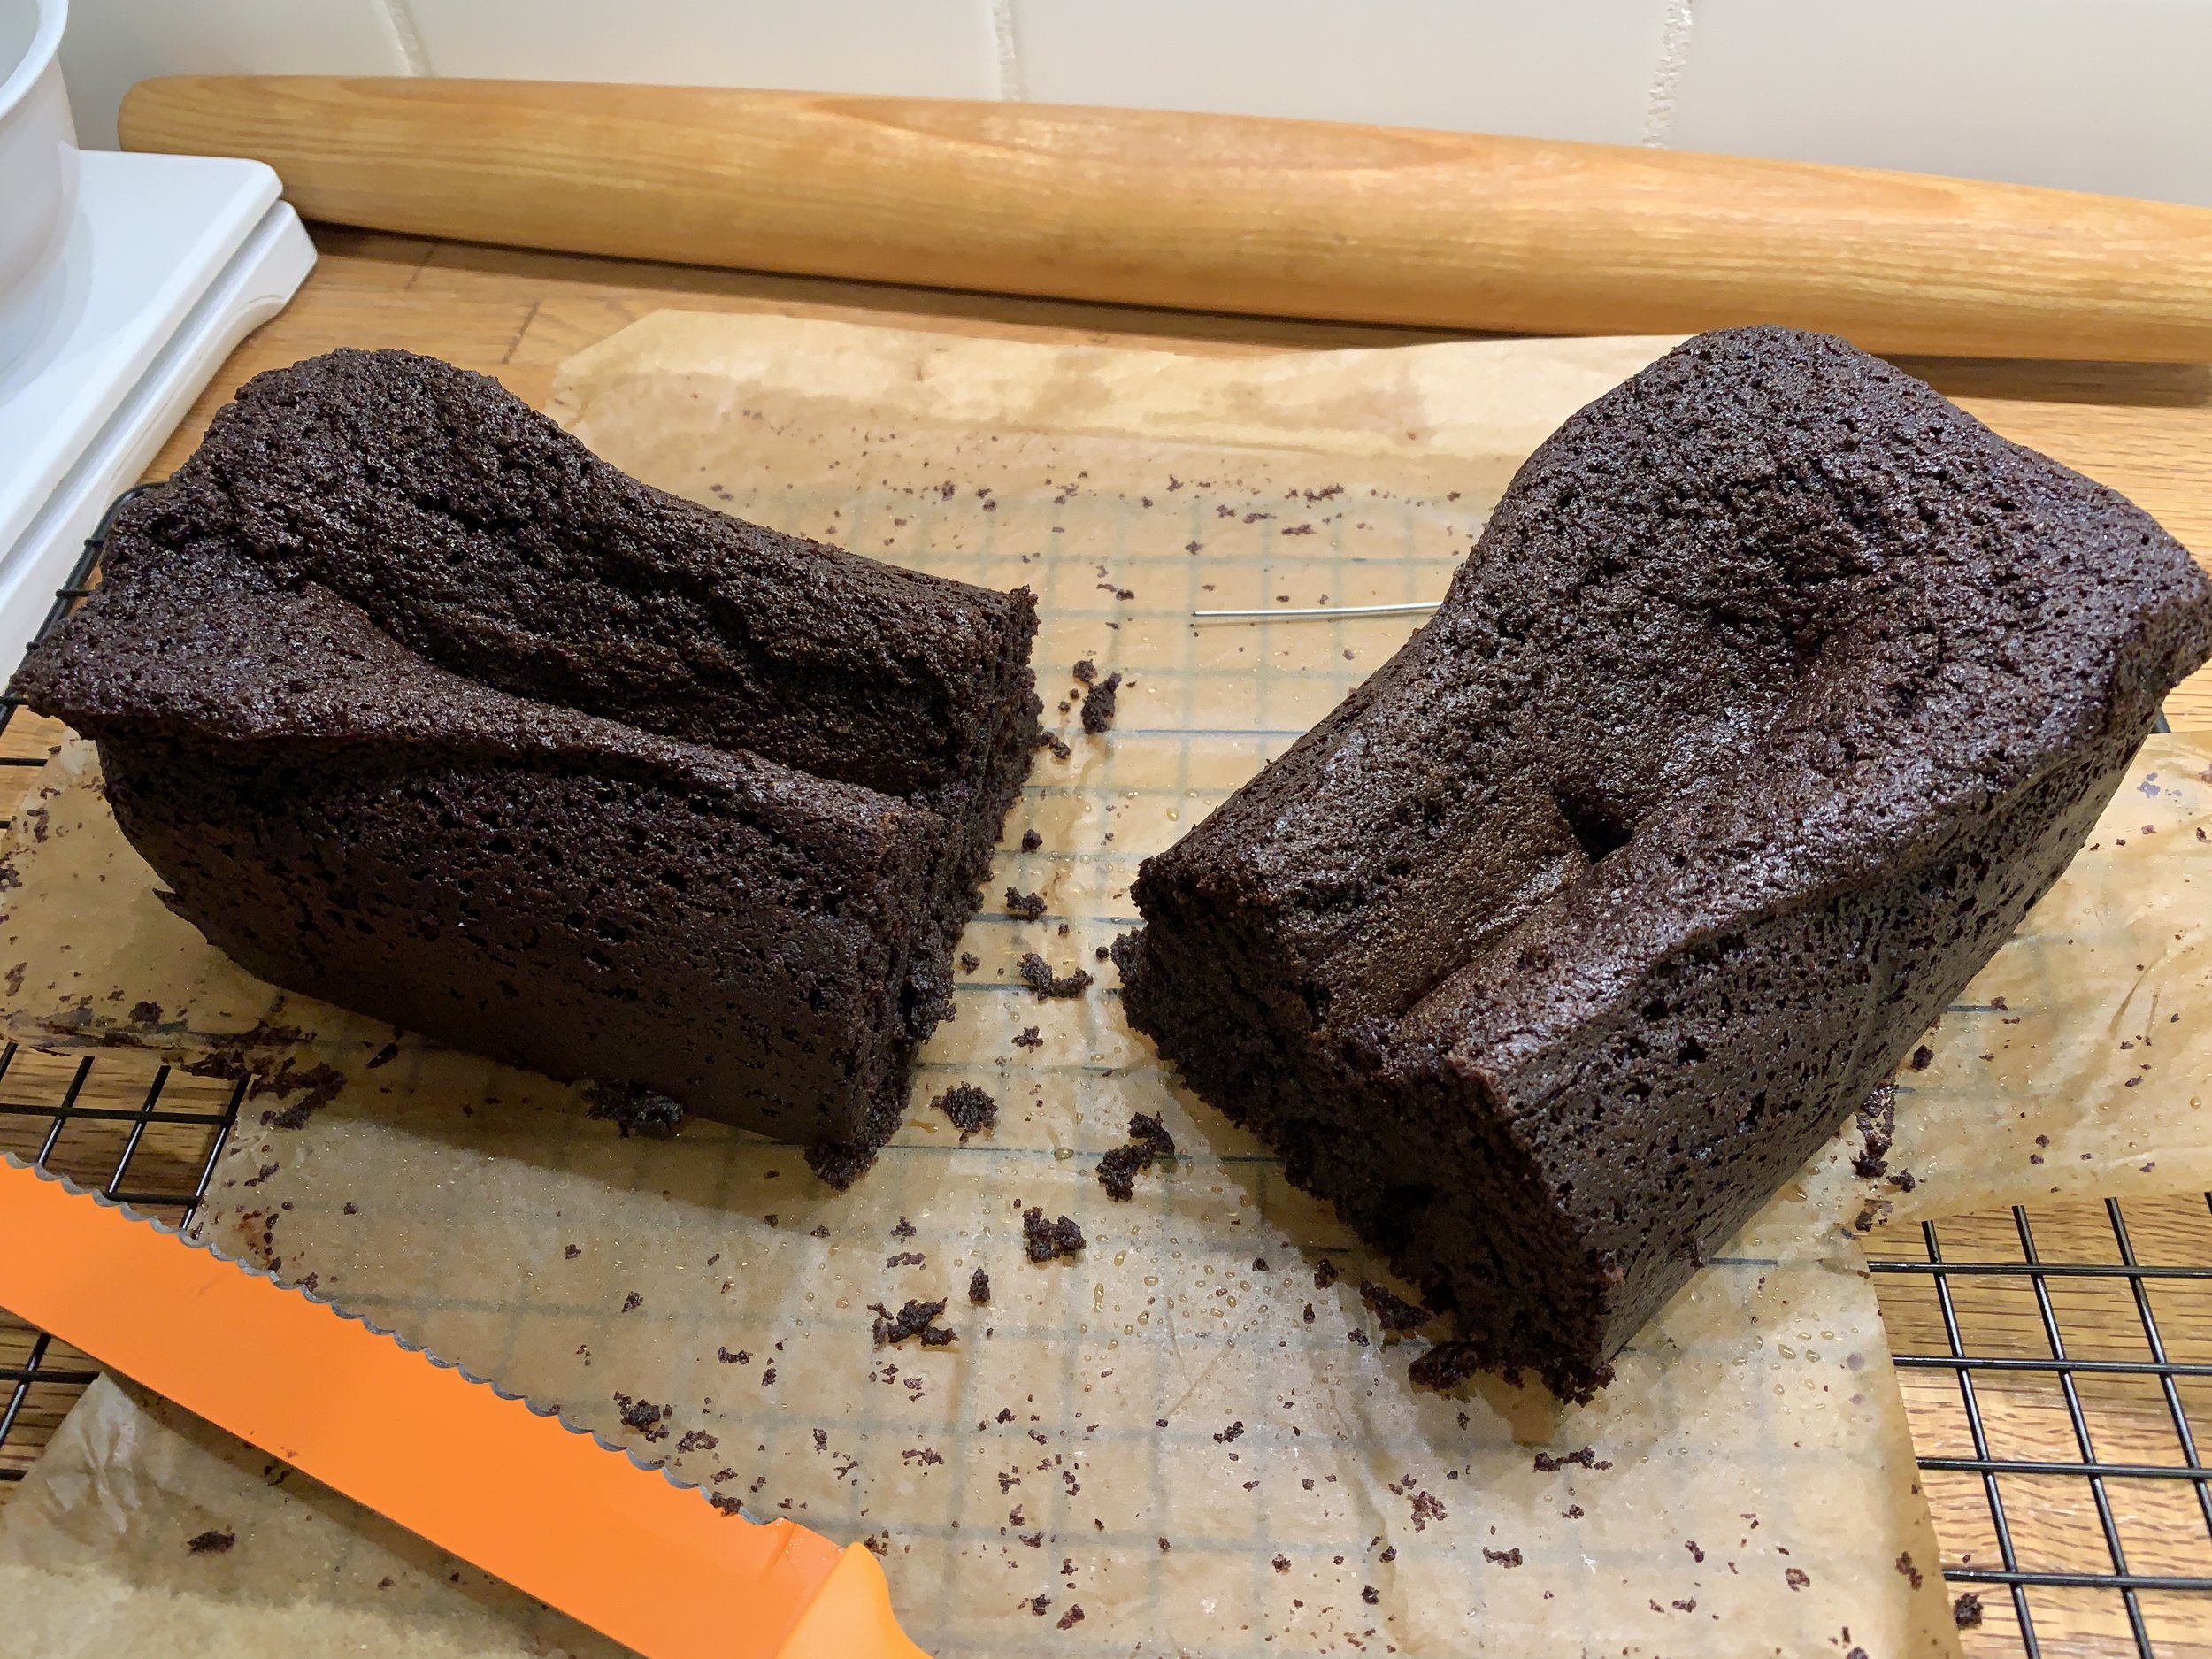
Here it is! Sunken but not quite as much as the first loaf.

All baked up

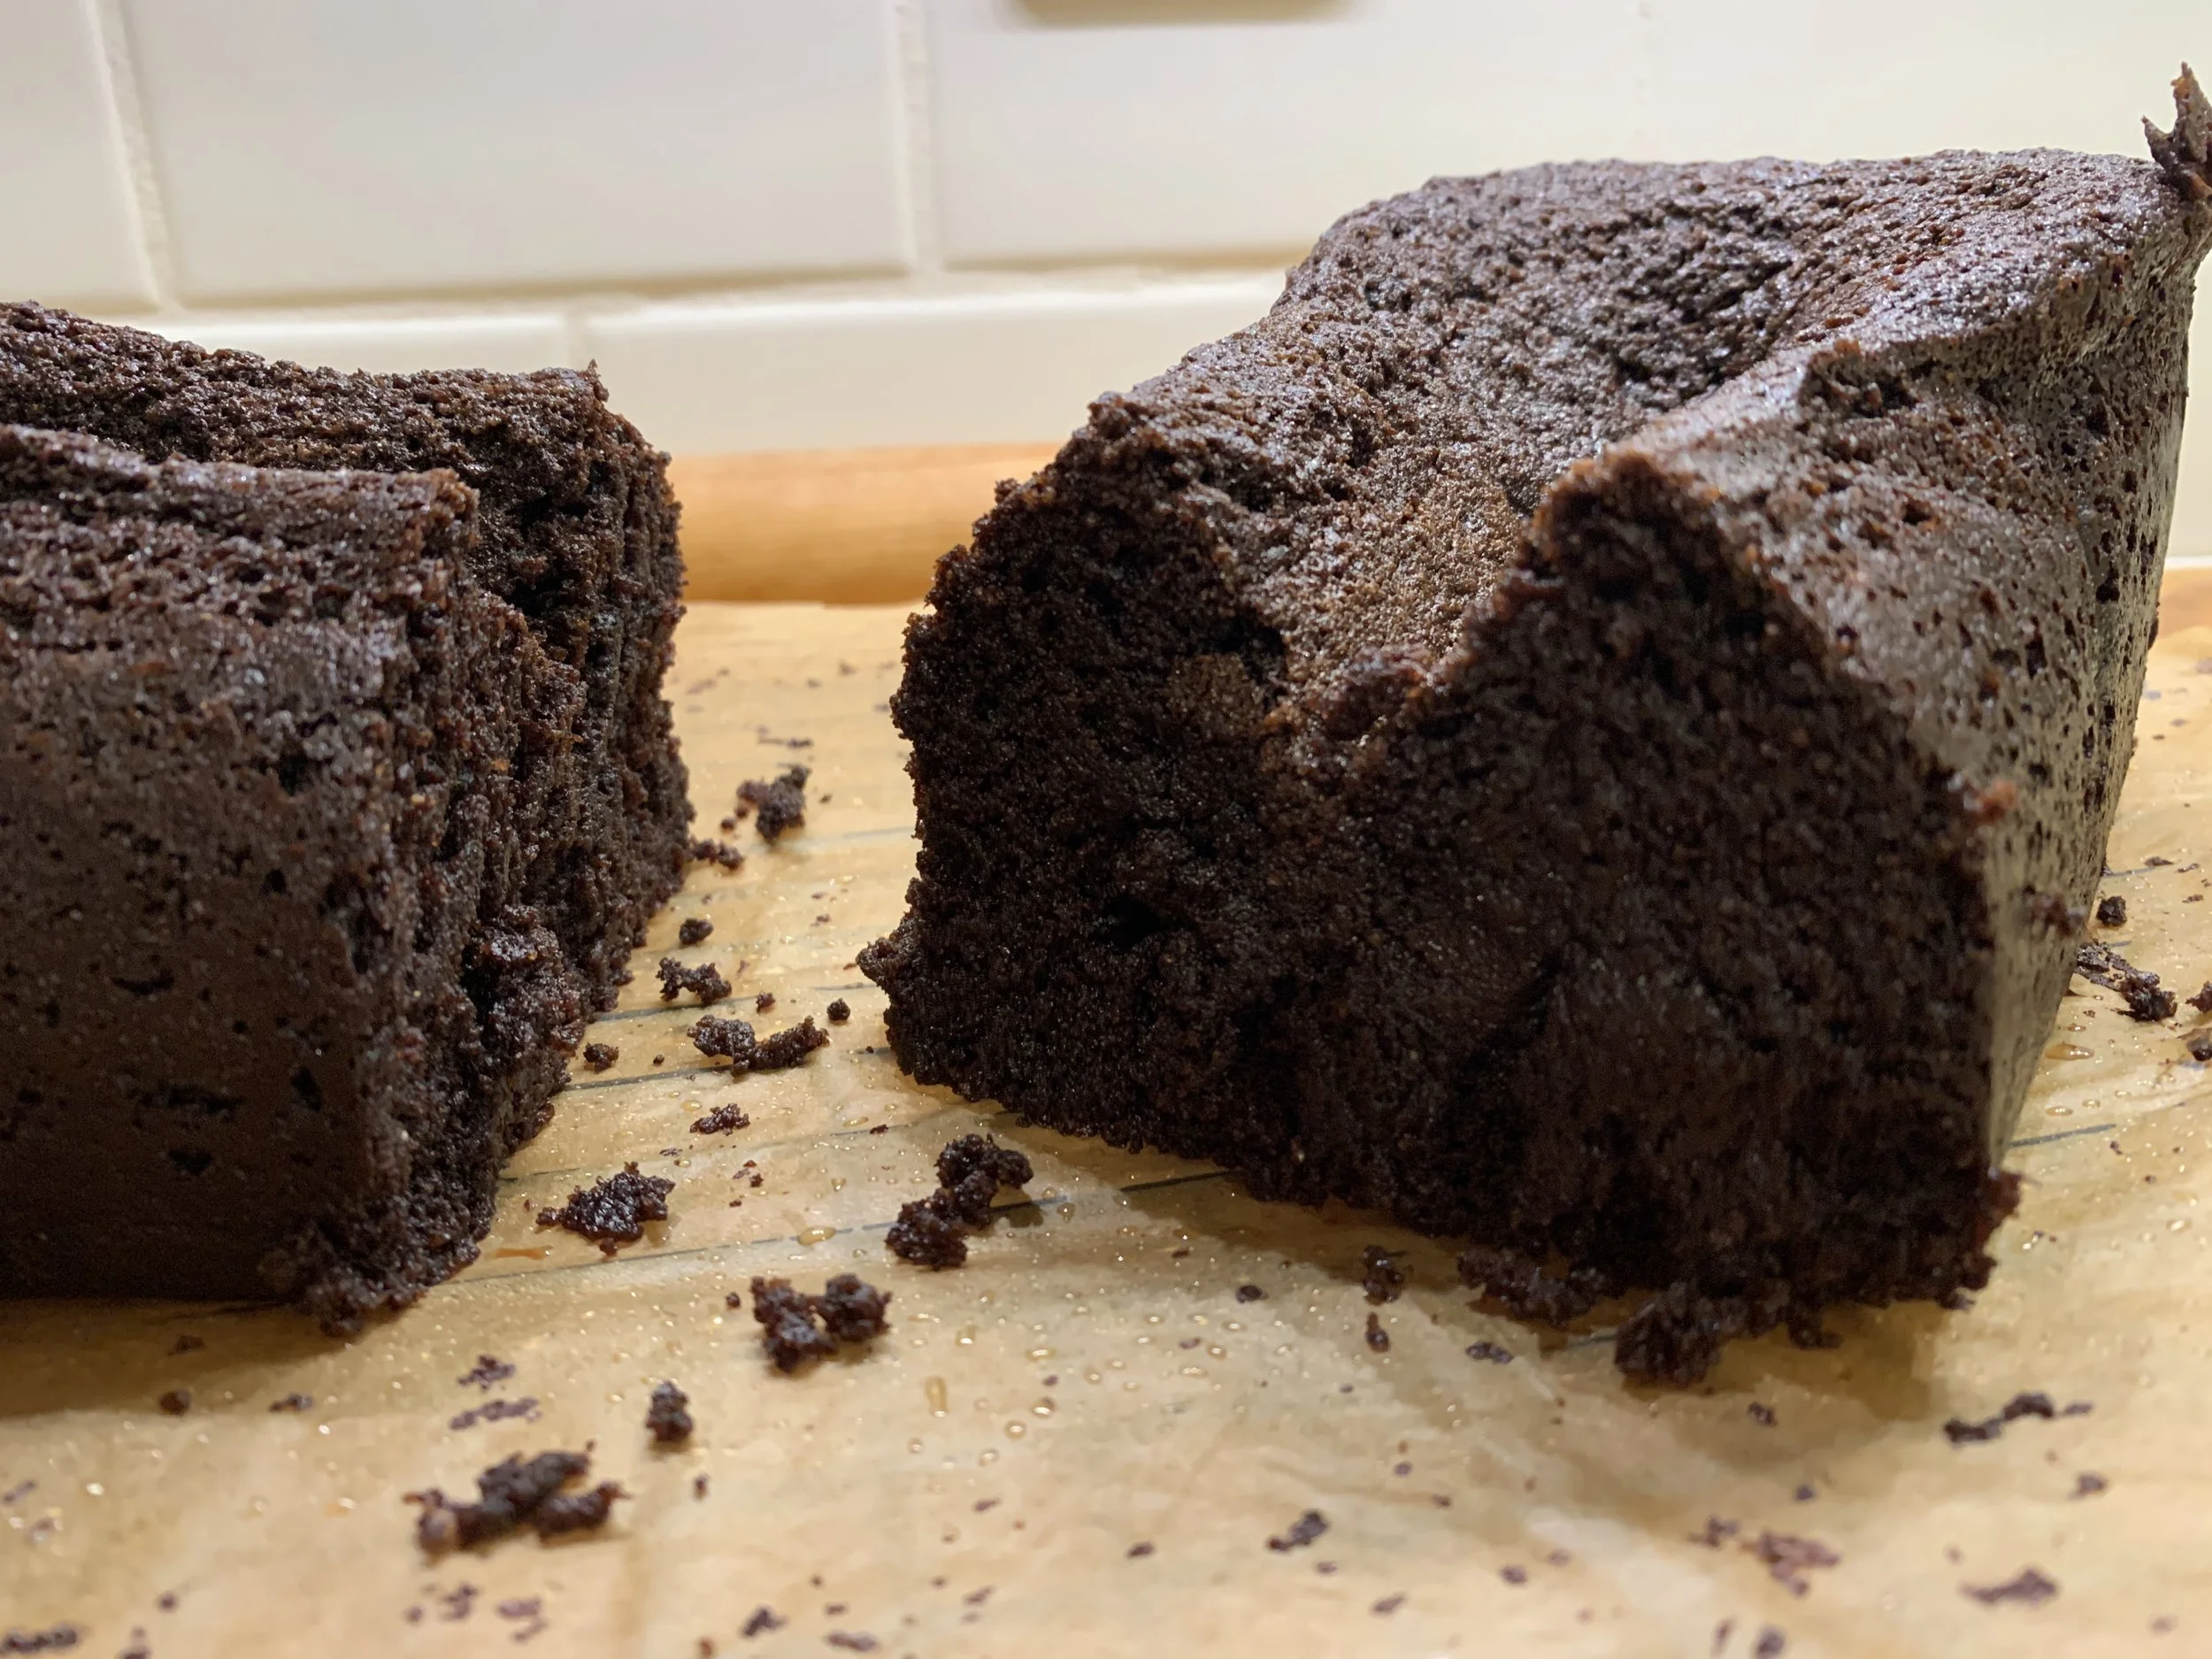
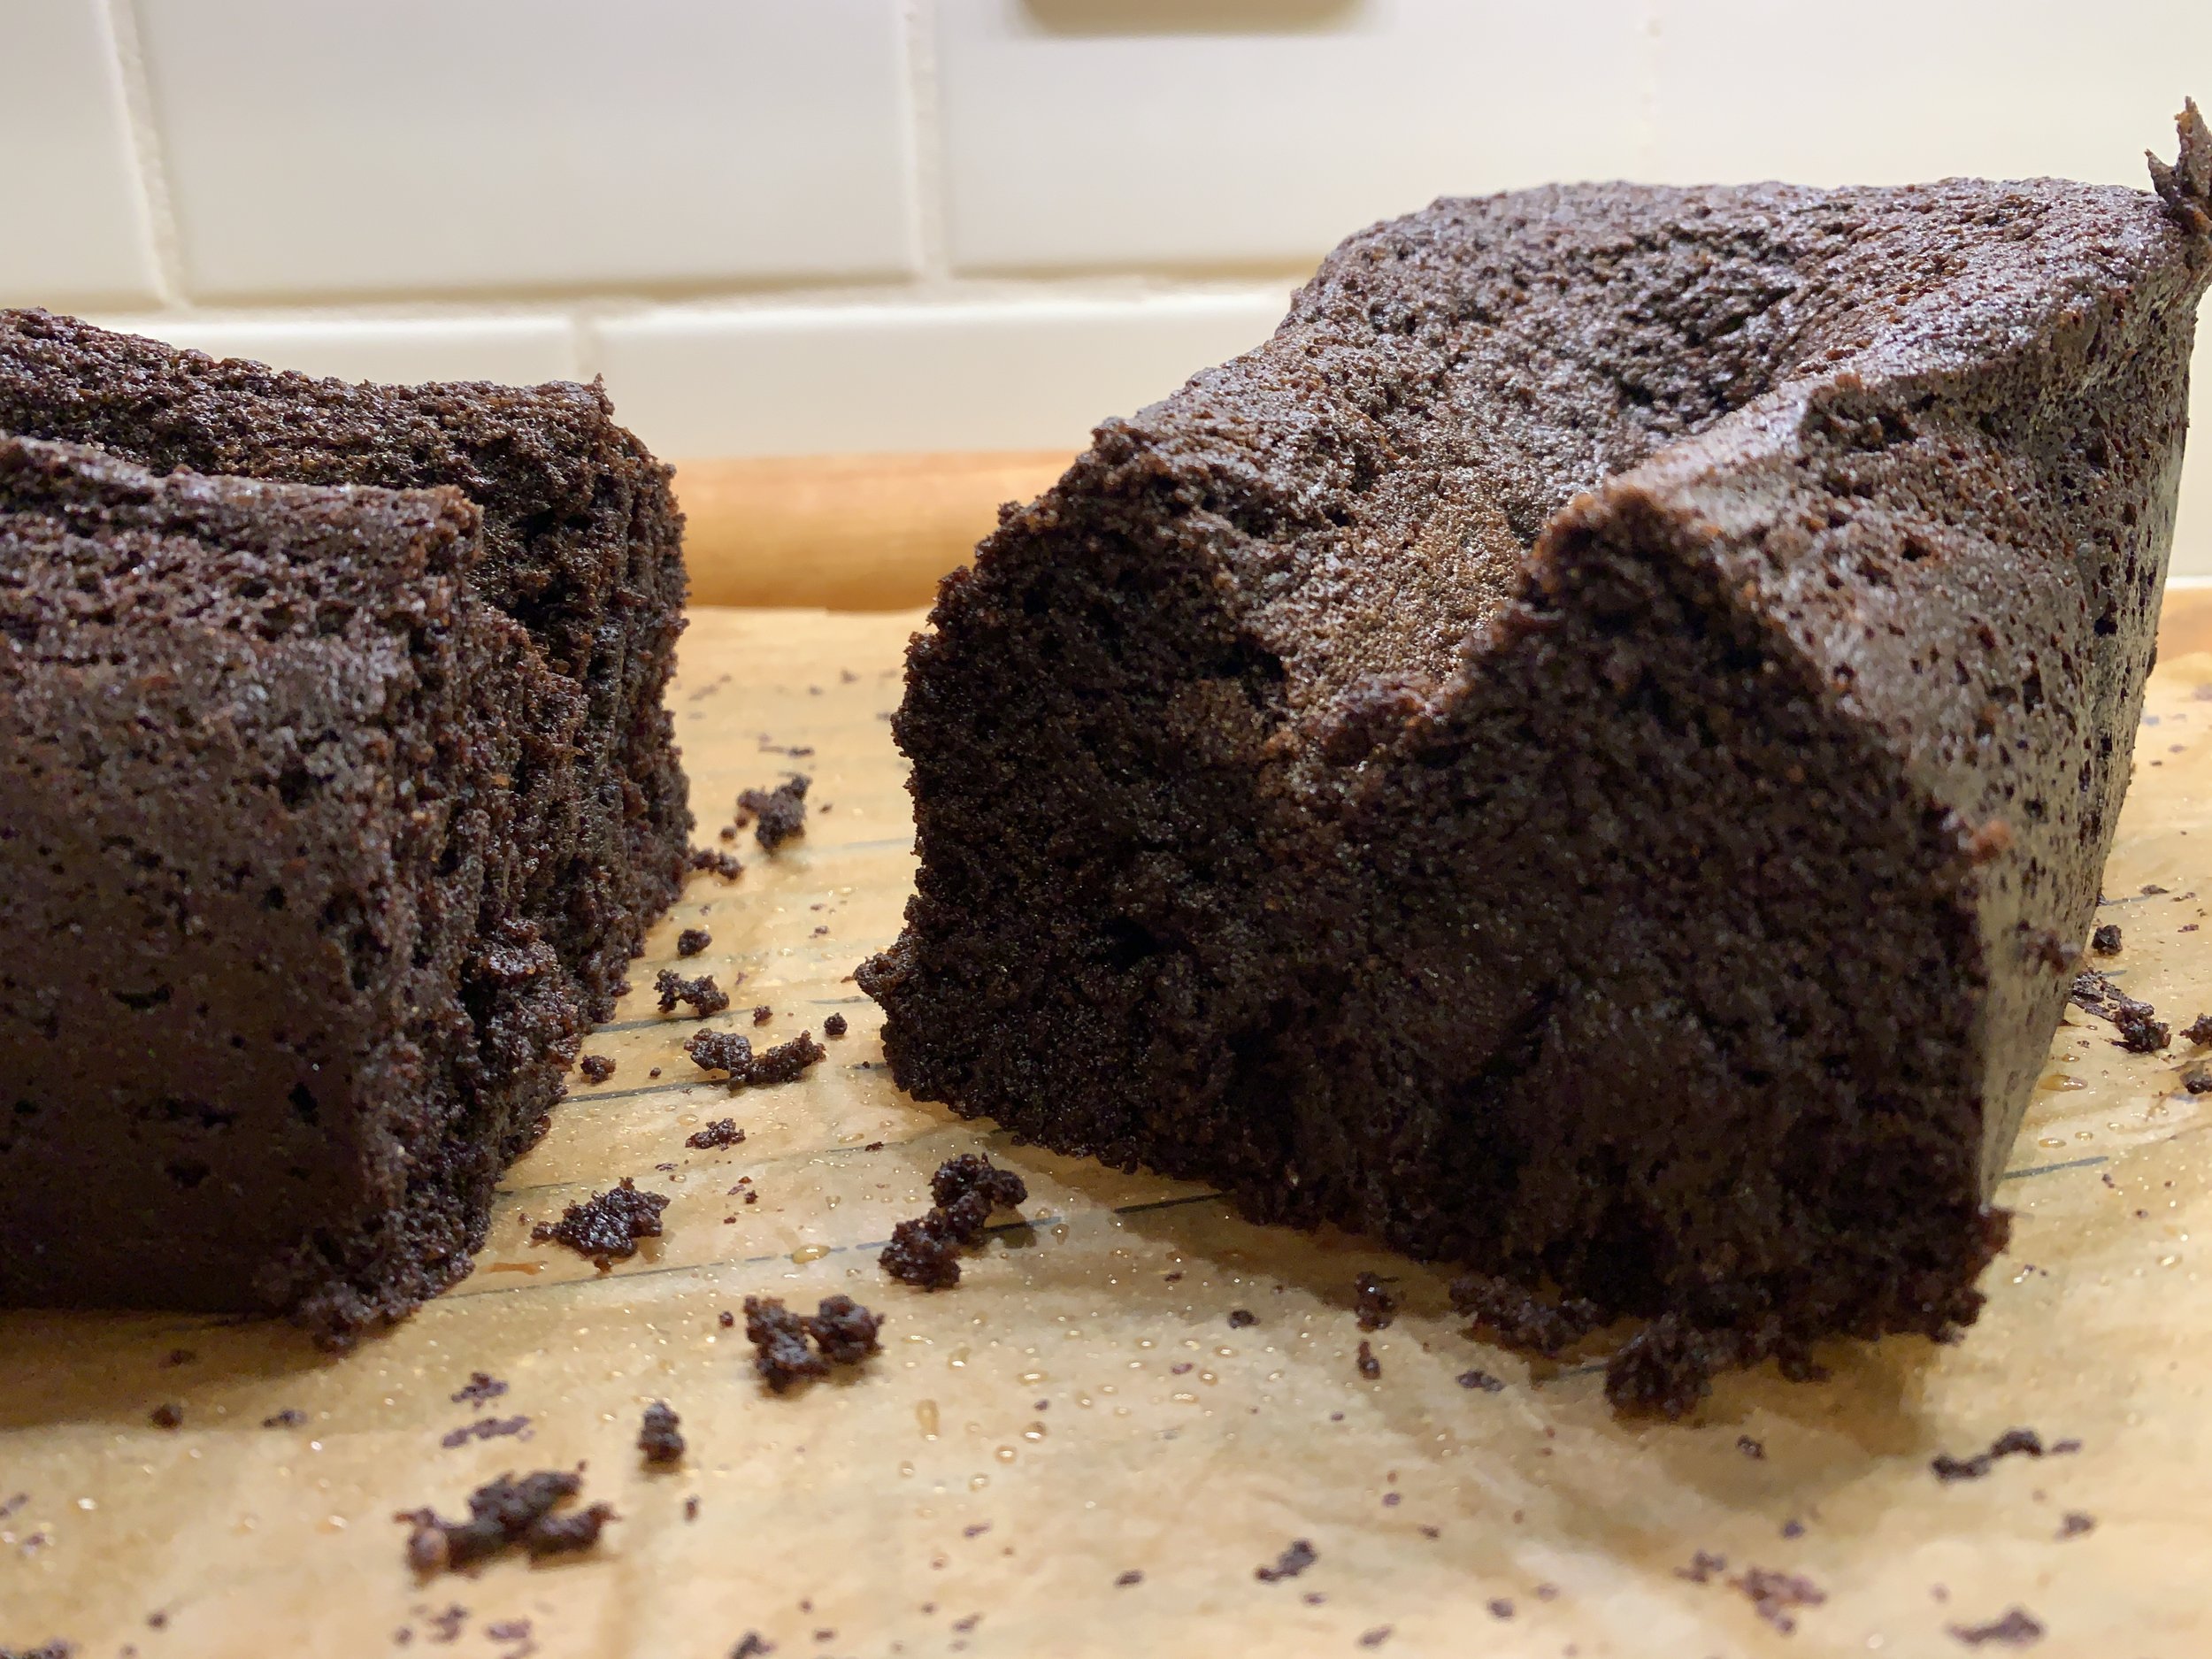
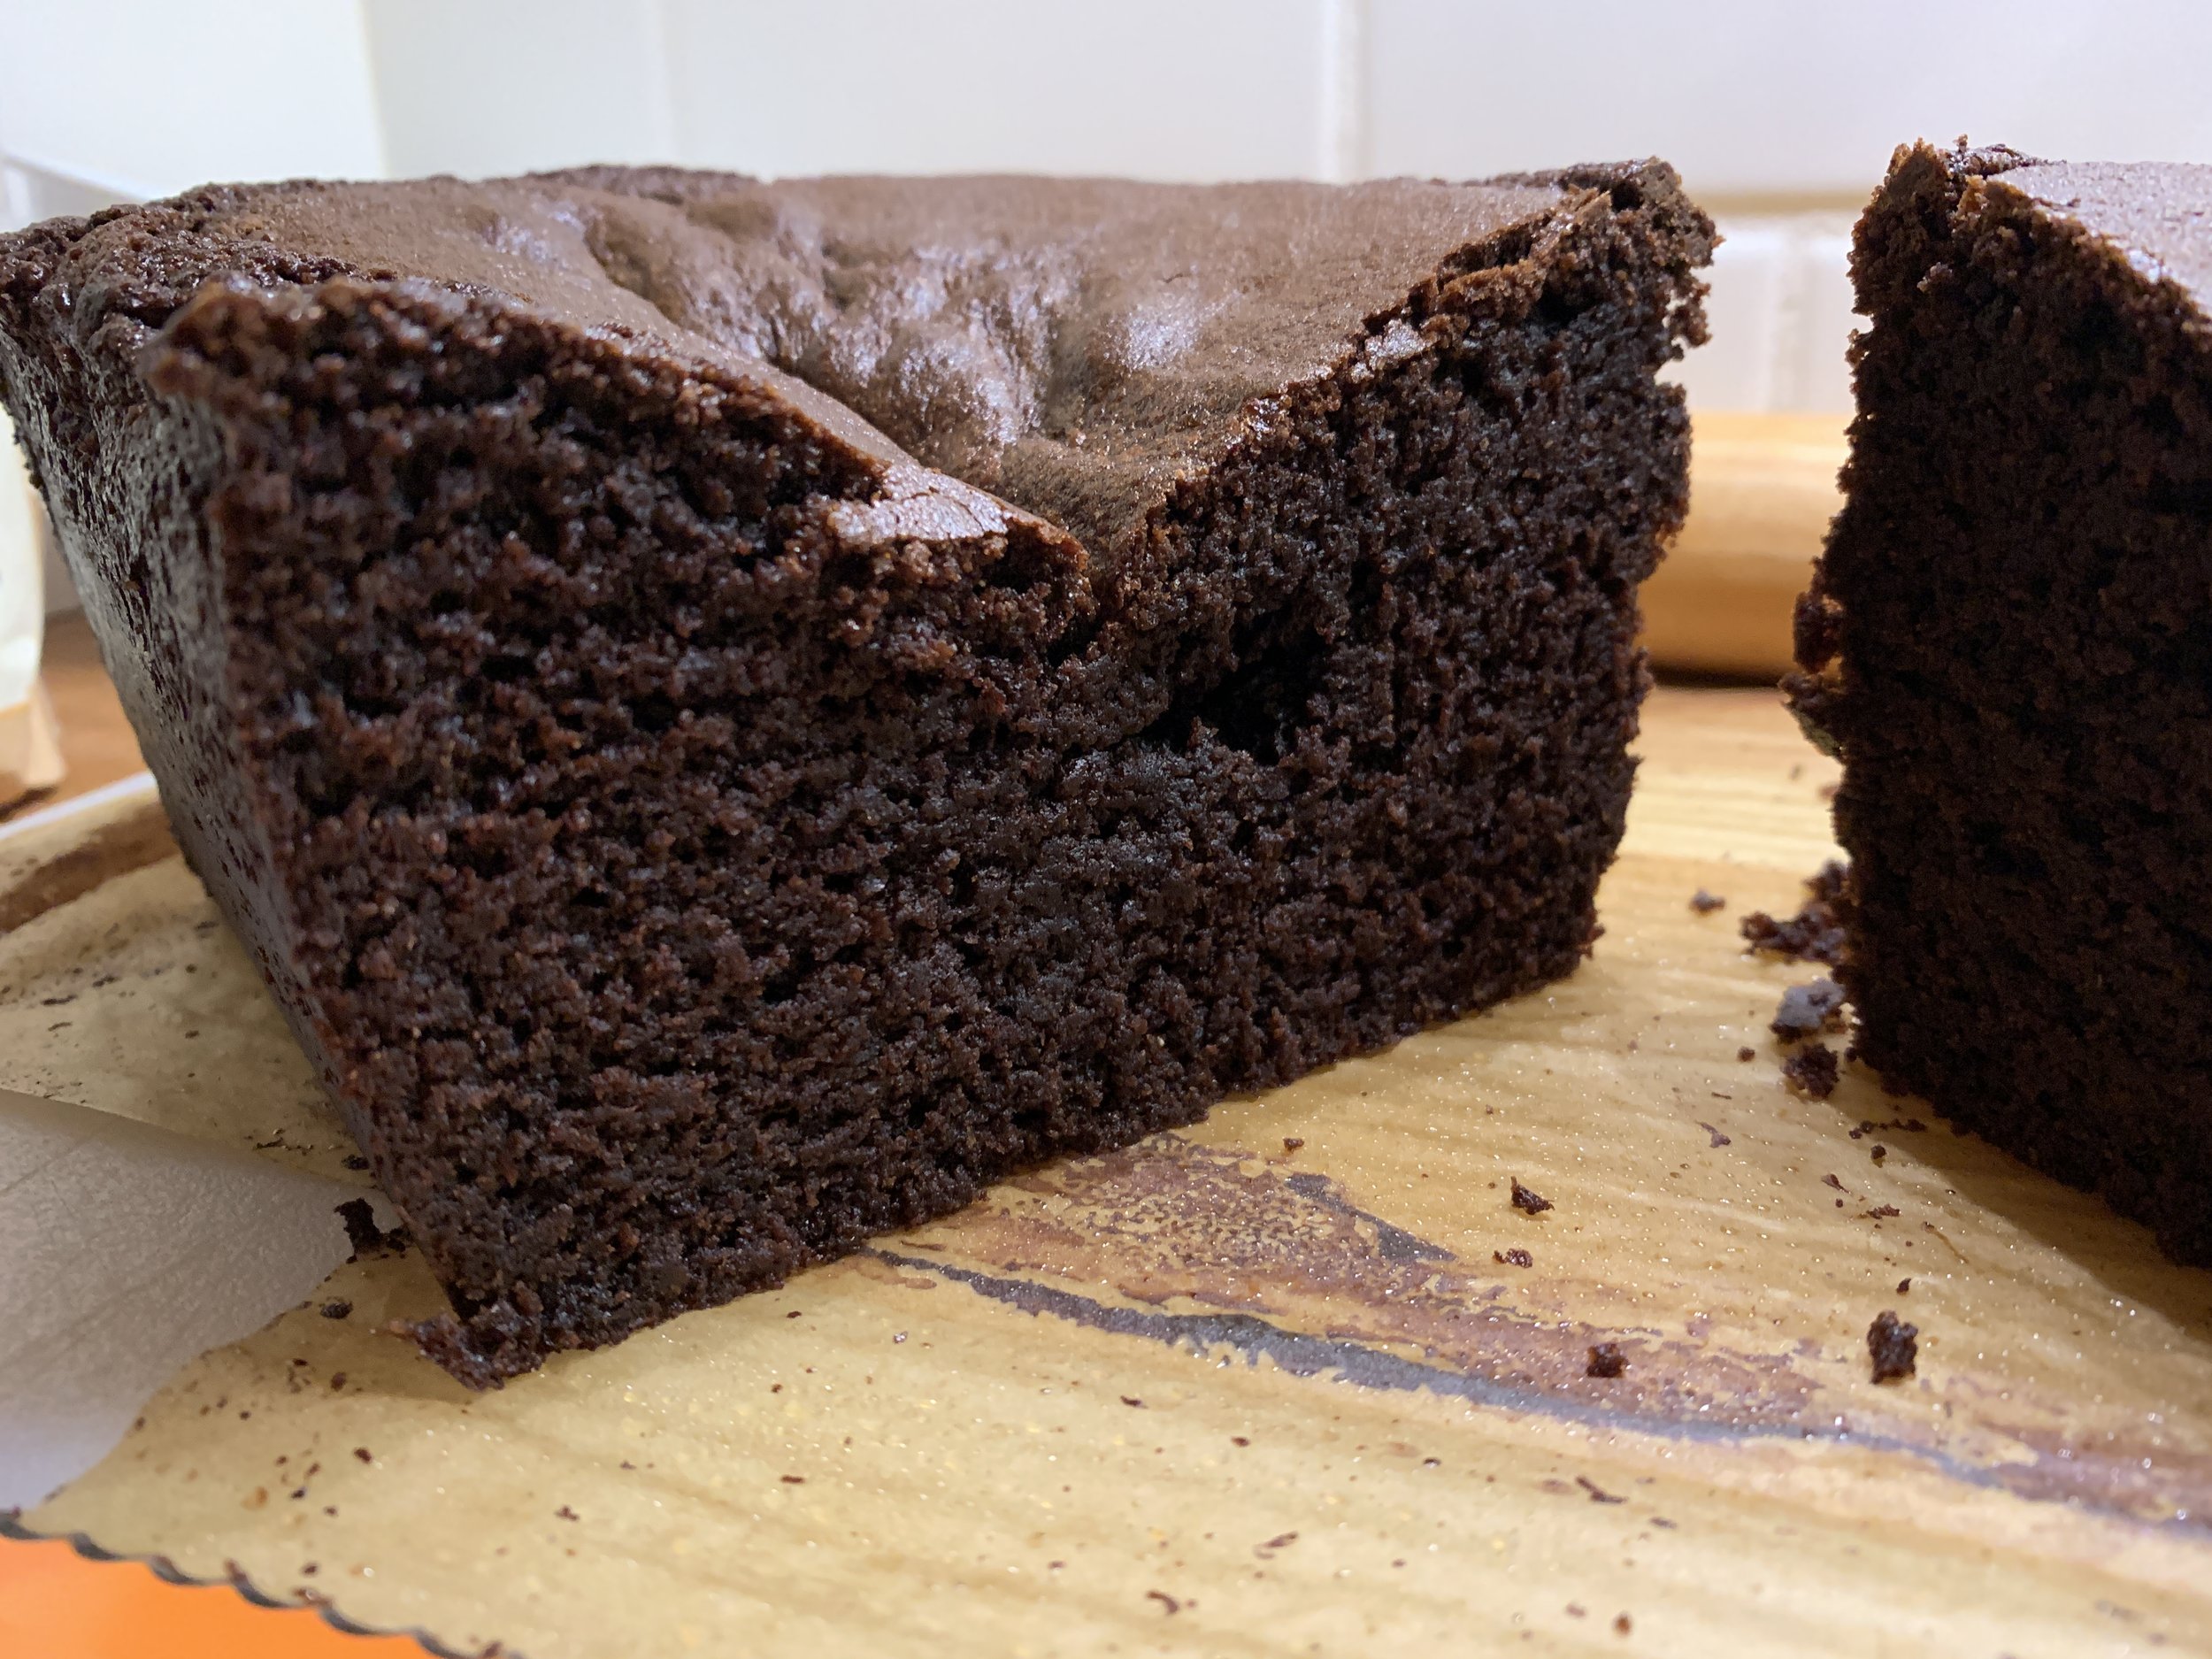
It lifted neatly out of the pan and, once cooled, sliced easily to reveal a dense crumb and moist center.


In spite of these trials and tribulations, this cake is absolutely delicious! For my third attempt I went for small cakes, my avowed favorites when it comes to cakes of almost any kind.

Here I’m using an 8 well muffin style Silikomart mold SF028. Full capacity is 85 g / 3 ounces; if filling 2/3 to 3/4 full, you can figure 56 to 64 g per well (average it at 60 g - it’s easier). Take ~1300 g batch weight, divide by 60 g and you should have a yield of about 21 cakes.

Place silicone molds on a wire grid set into a half sheet pan. Pipe batter into wells, about 2/3 full. As opposed to scooping and spooning, piping is a much neater and easier way to dispense similar quantities of batter into the wells.

Here are some of the tea cakes, going in and coming out.
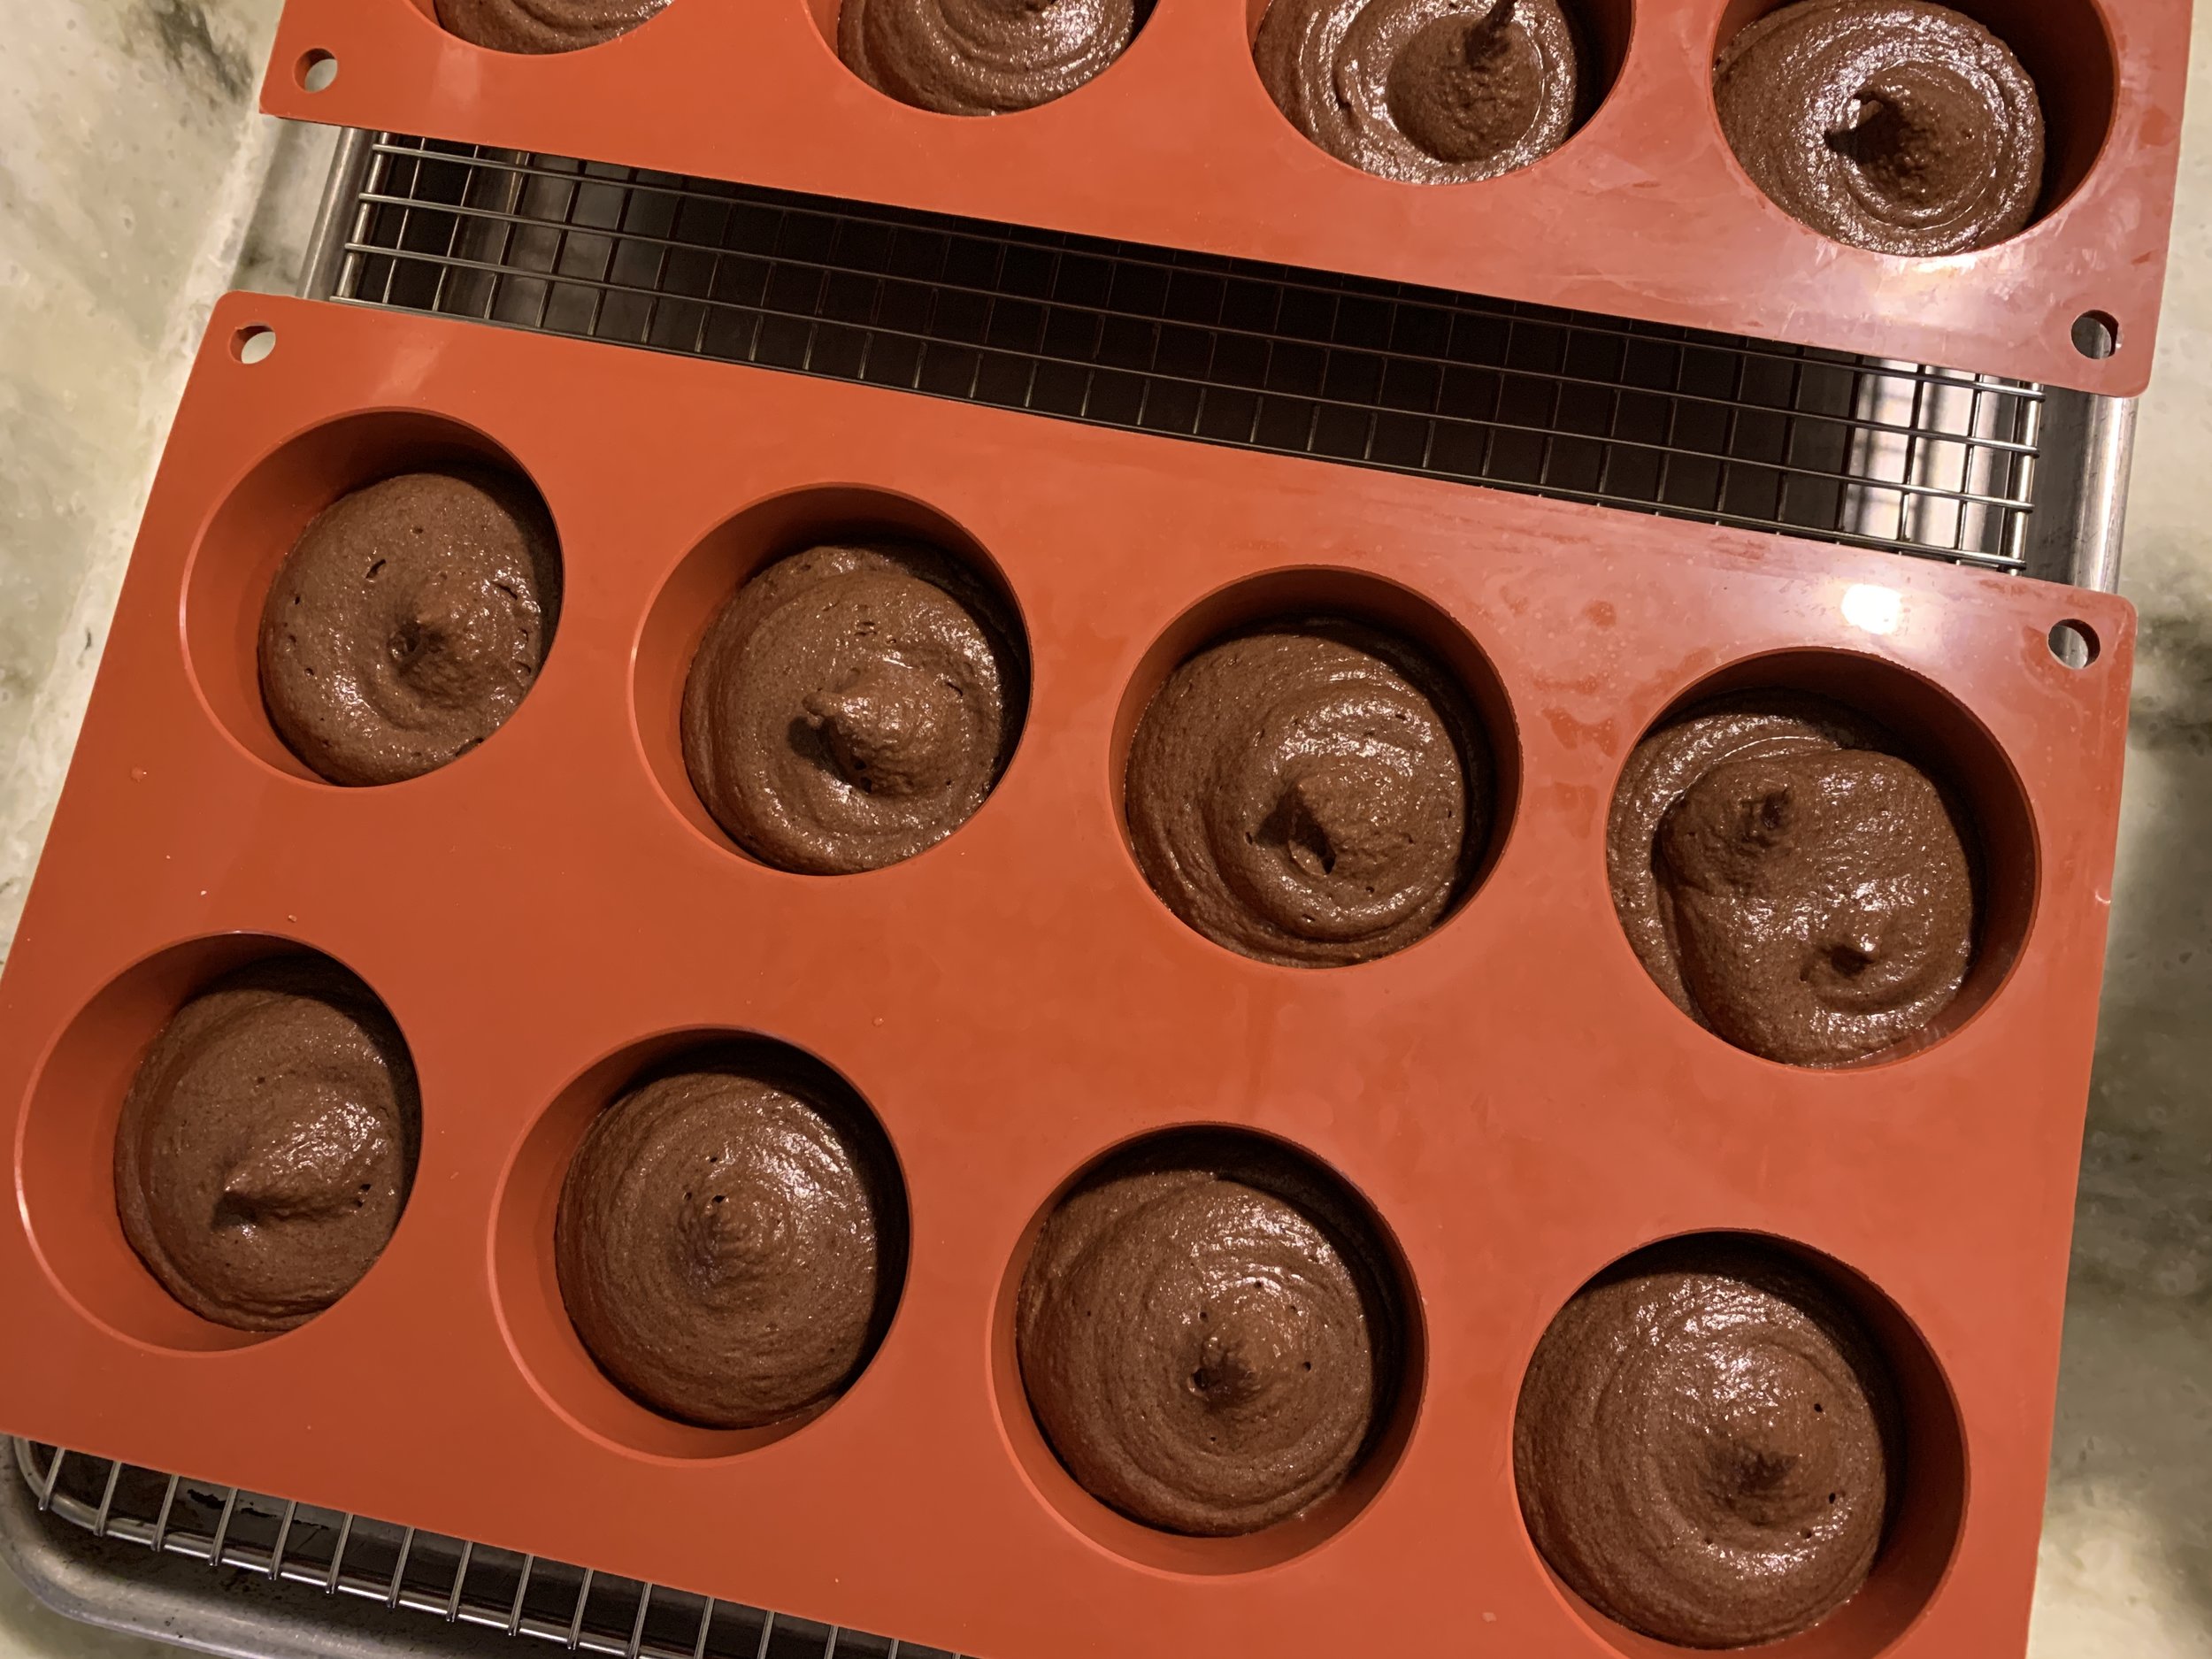
Ready for the oven


These bake around 20-25 minutes. You’re looking for tops to be dry with some cracking and a tester coming out clean.

All baked up

Let them cool in the molds about 10-15 minutes then gently turn out onto a wire rack. I decided to put some up and some down for you - different looks. If you’re going to dip them in ganache, I like the flatter bottom side up for a smoother finish, but either way works if you’re covering with a nice swirl of Swiss meringue buttercream or whipped mascarpone.

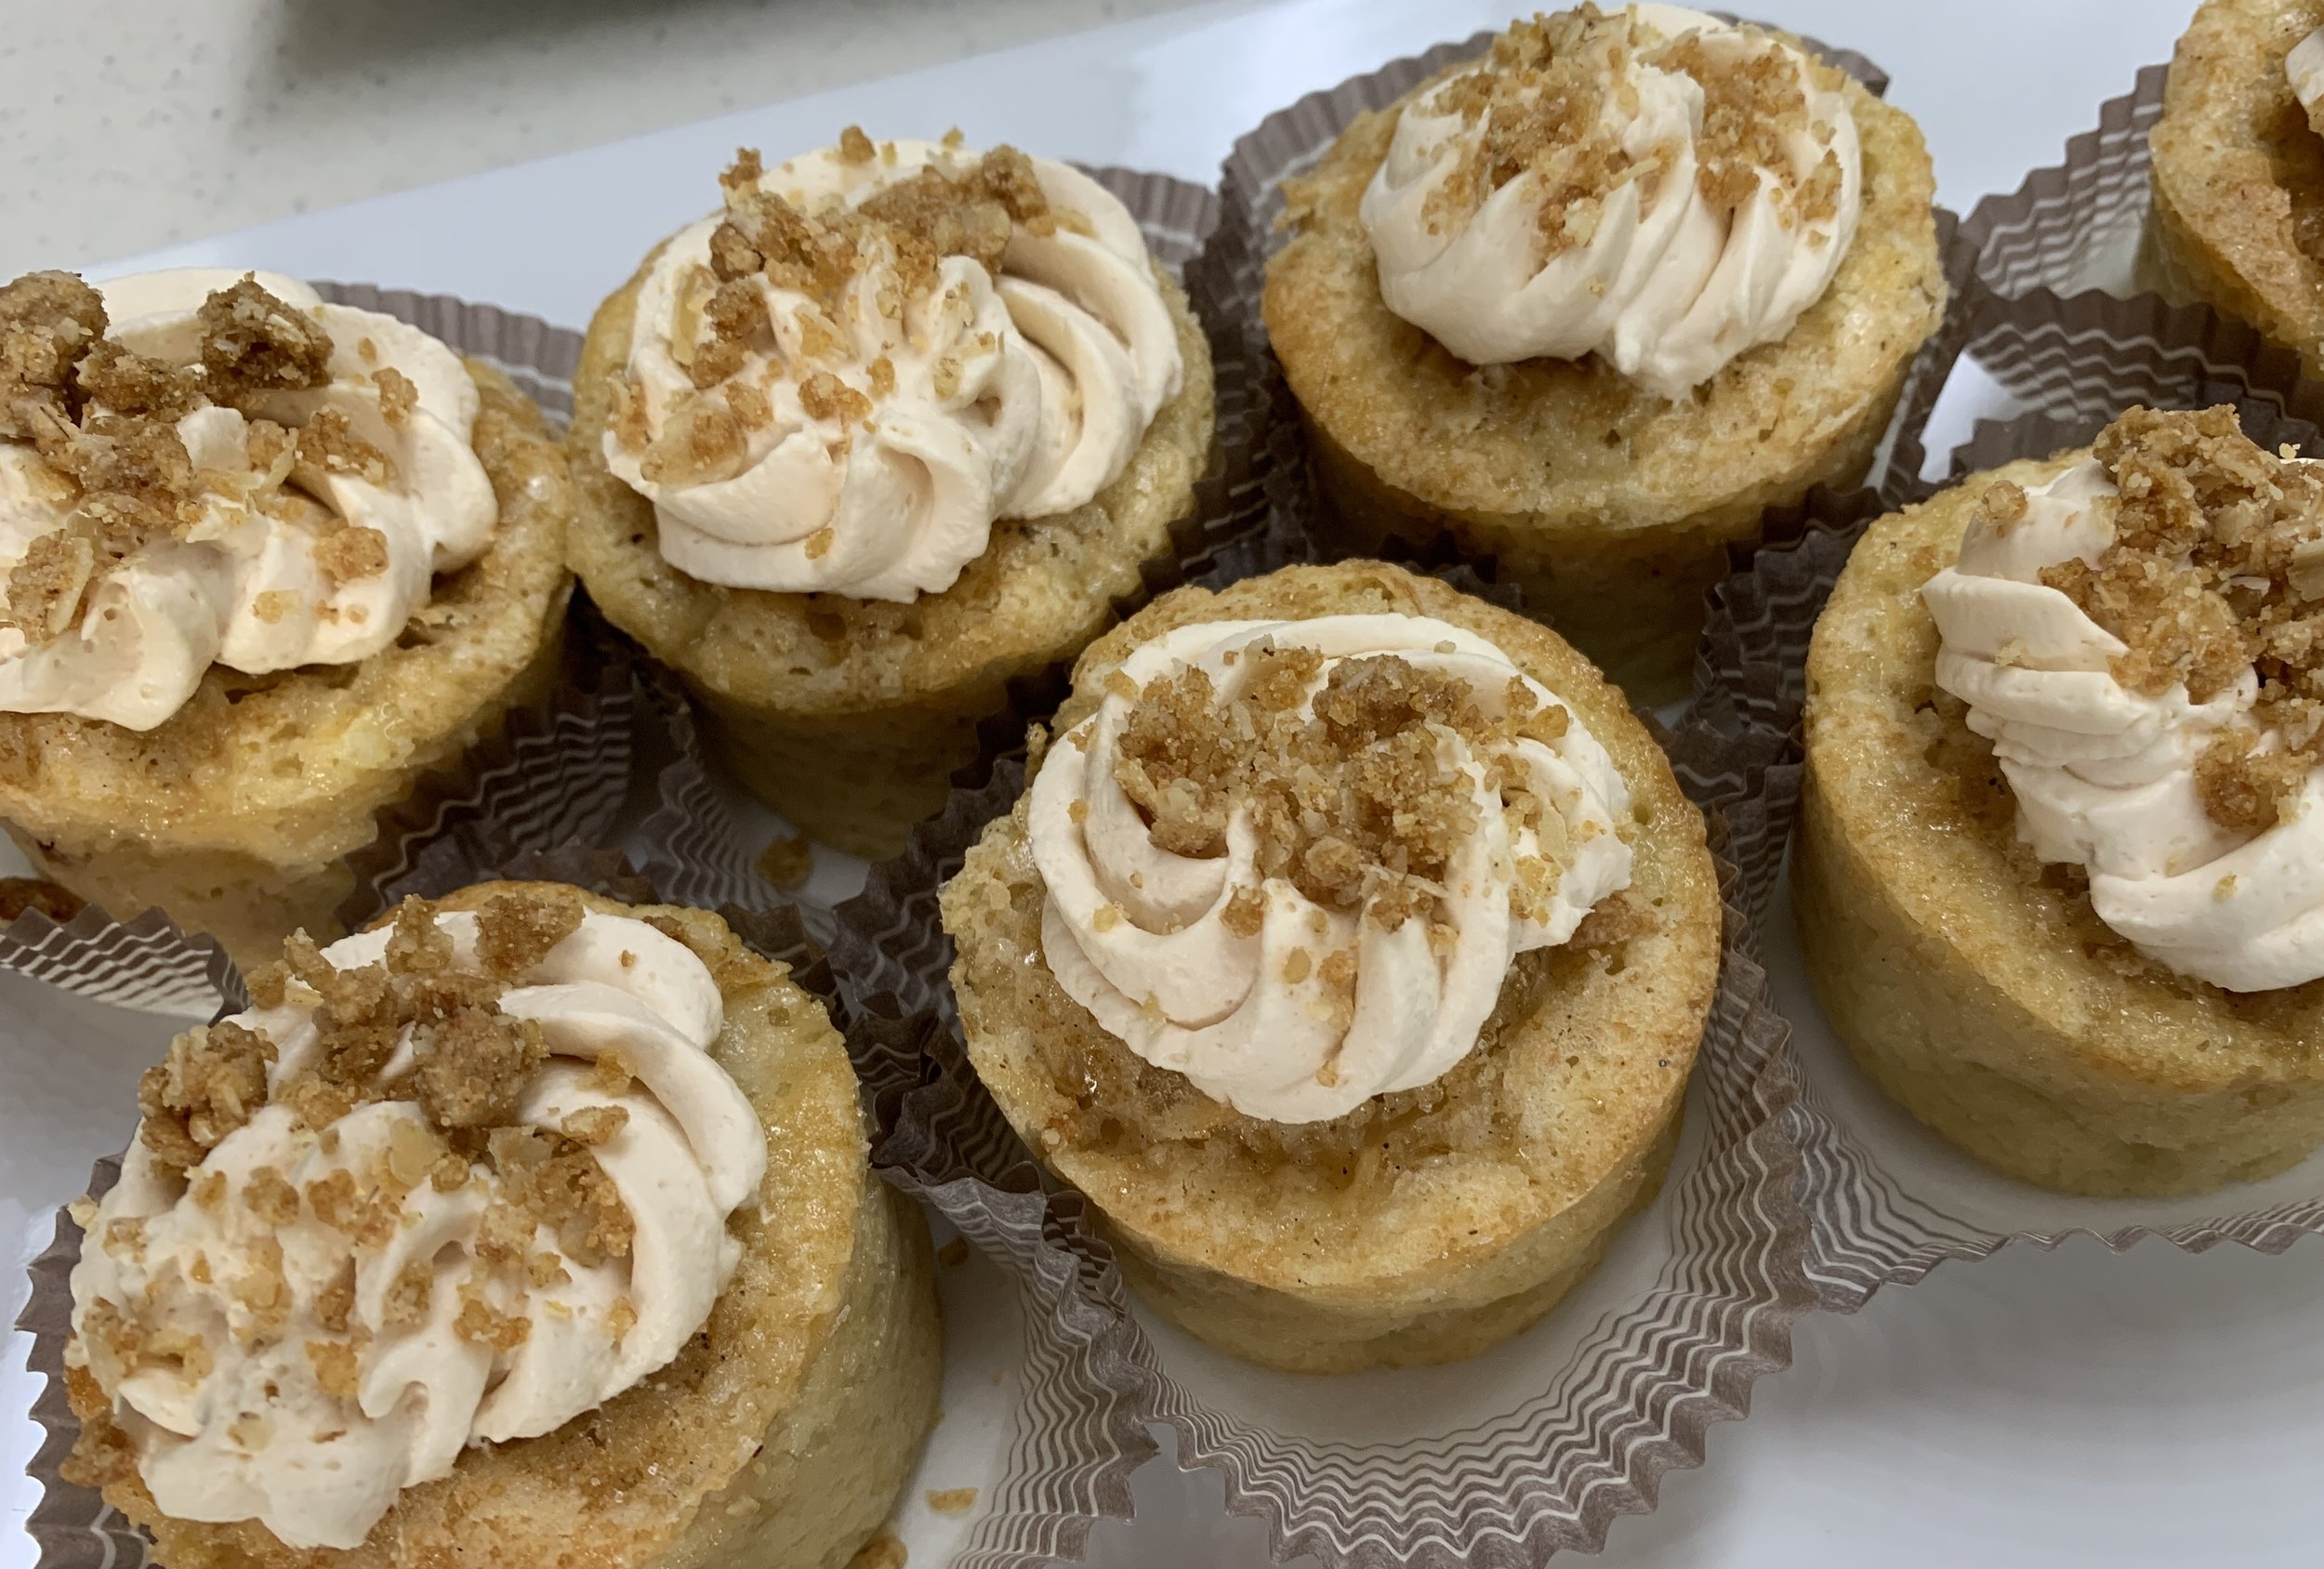
REady for dressing up!

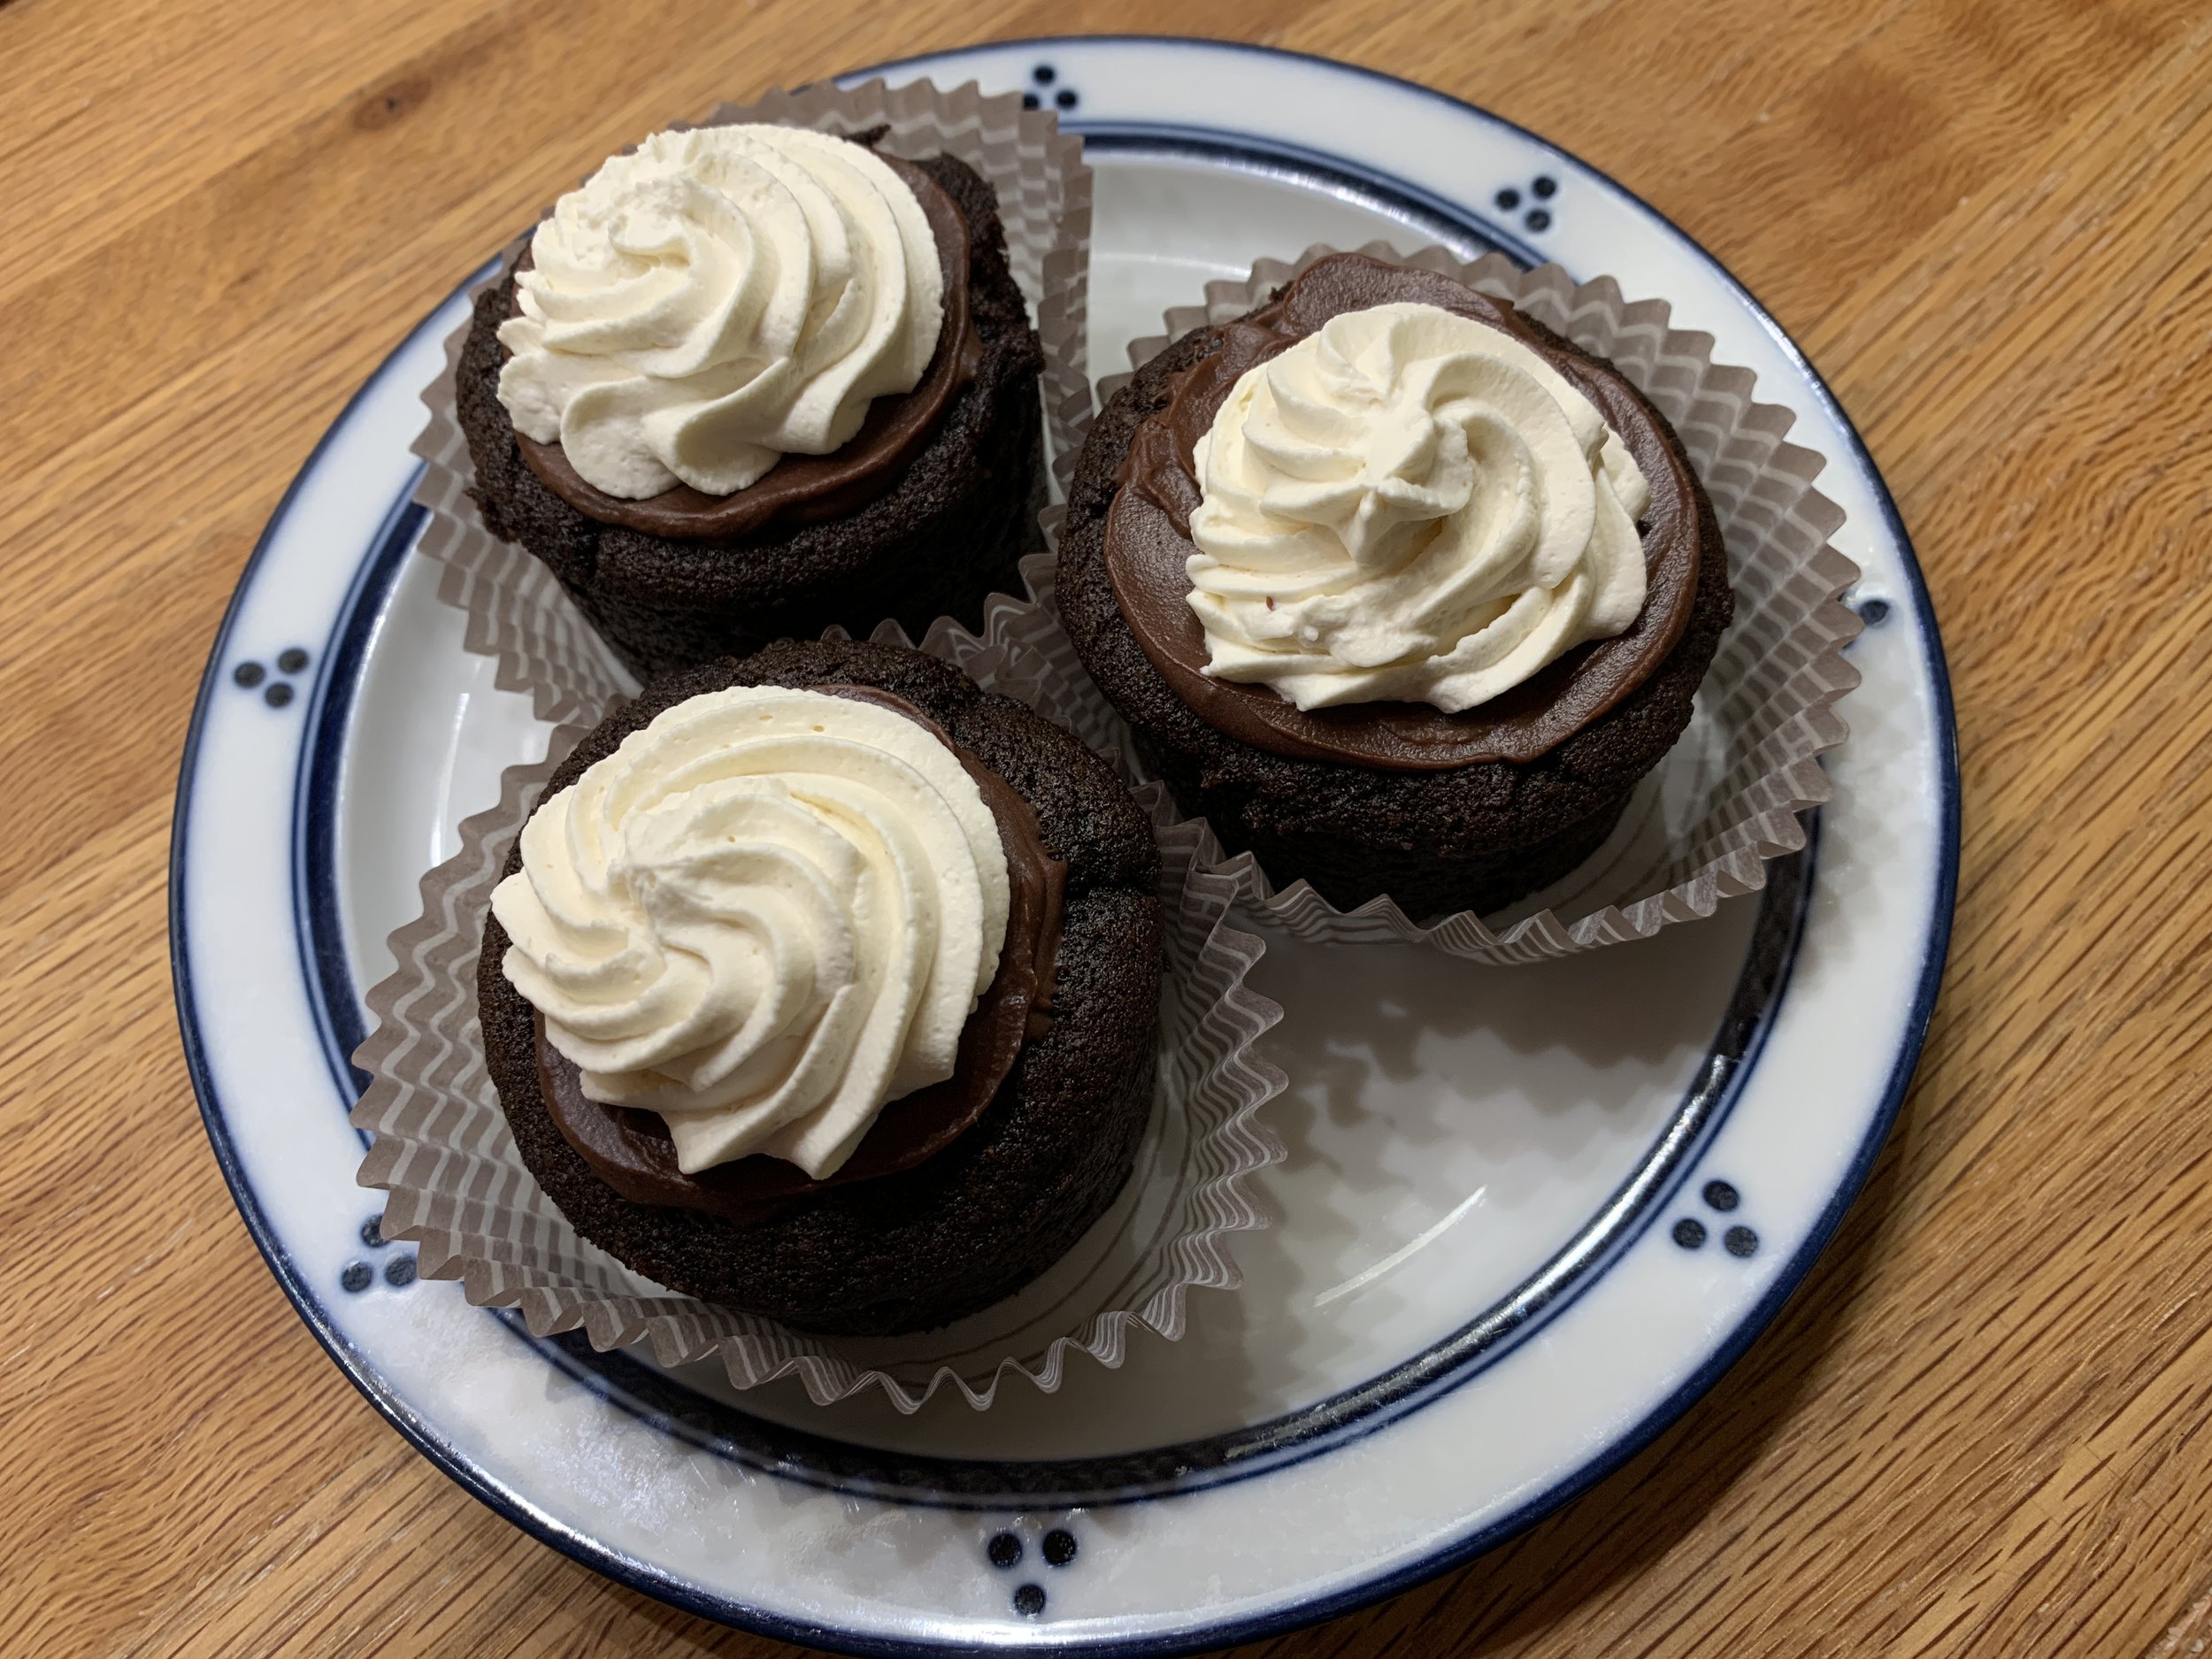
For some I went with a spread of ganache on top followed by a swirl of caramel mascarpone cream and shared them with the neighbors for the New Year.


For New Year’s Eve Steve and I enjoyed a comparison bowl, each with a small piece of the second sunken loaf and half of a small ungarnished tea cake topped with vanilla ice cream, caramel drizzle and a favorite crumble. Both delicious but the small cakes edged out the slices with a slightly less dense texture and a lighter crumb.


What have I learned from all this?? I still love baking. Recipes/baking times are guidelines, ovens are not the same and everyone’s experience will be a little different. Even when you pay attention, things may not turn out as you think. Perhaps half the batter in a 8 x 4 pan would be perfect - maybe I’ll try it some day.

If I could be a fly on the wall in Ms. Crapanzano’s kitchen, maybe I’d learn a trick or two. Perhaps a 10” x 5” loaf pan is the solution? Or just bake small.

But the BEST thing is that this cake is delicious no matter how you cut it! Going forward I’ll stick with my individual tea cake versions since I can divide the batter into as many molds as it will give me. The cakes freeze well. They’re great with ice cream or whipped cream, a drizzle of caramel and/or ganache and a crunchy topping like crumble or toasted chopped nuts.

You can’t beat that. Happy baking!

Oh - and winter has finally arrived in west Michigan!


Have a cheery, peaceful and happy holiday season!

Holiday shortbread all boxed up

It’s been a busy time these past few weeks and blogging has taken a back seat. BUT . . . . I’ve tried a couple of new cakes from Aleksandra Crapanzano’s book “Gâteau” which I hope to share with you in the upcoming weeks.

One is a classic French apple rum-scented cake which I’ve made several times now. The first time around was for a demo I did back in October at a nearby assisted living facility during which I made two 6” smaller cakes. The time frame required a shorter bake than for a full 9” cake and it worked out just fine. The residents LOVED it!

six inch french apple cakes

I’ve also made both standard “muffin” sizes (seen below at another assisted living gig) and petite teacake versions topped with whipped caramel mascarpone and oat crumble. Yum!


The other day I made a chocolate, spelt, crème frâiche, coffee enhanced loaf that I will definitely try again. The recipe calls for a 9”x5” loaf pan, but I used my mom’s Mirro pan that’s longer and more narrow than a standard loaf. I’ve done that a number of times with other cake recipes that call for a standard loaf but this time the batter was WAY too much for the pan, spilling over the ends like lava. I ended up scooping some of the batter out early on in the bake and then let it finish. Boy did I have my doubts.

Not a pretty picture - sunken right down the middle like a trough. All puckered up! Just goes to show ya that things don’t always end up as you might hope.


But wouldn’t you know it - it’s delicious! Deep cocoa flavor, moist crumb with just the right level of coffee flavor.


I’ll let you know how the Christmas dessert I hope to serve comes out. Slices and/or chunks of this cake with a vanilla/orange scented ricotta custard, some chocolate ganache and something crunchy to set it off. Maybe a nutty crumble or chopped candied hazelnuts or walnuts. Mmmmmm . . . sounds good!

Cheers and good wishes to all! Catch you later.

My vermont memories window display (No white christmas here!)

Favorite garnishes, the end: crumbles

Banana rye cakes with hazelnut crumble (and a bit of chocolate tucked underneath)

Ready to bake mixed berry crisp with pistachio crumble

Time for the garnish finale in what has become a 4 parter on some favorite ways to dress up and enhance your baked goods.

Crumbles are easy, ever so adaptable, perfect for layering or topping and they keep either unbaked or baked in the freezer for many weeks. What a great way to be ready for any garnish occasion. Yes!

If you plan to make some crumble, feel free to double, triple or quadruple the recipe for future projects. Simply mix equal weights of flour and sugar in a medium bowl then sand in the same weight of cool, diced butter with your fingertips, work it to smallish coarse crumbs and voilà, that’s it!

A basic starter quantity is 60 g each of flour, sugar and butter which easily tops a dozen muffin size teacakes, a 9” fruit tart or a 9”x9” pan of fruit crisp.

Ready for sanding

If you’re not using it right away, either spread it out on a sheet pan to bake ahead (350ºF for 15 to 20 minutes, stirring occasionally until golden brown), cool and bag up for the freezer OR store unbaked in a zip-top bag until ready to use.

Tray ready to bake/bag going into the freezer

All baked up

You can change up your crumble by subbing in spelt, whole wheat pastry or rye flour for all purpose (or do a mix) and swap out granulated sugar for raw or dark brown. Make it more nutty by adding an equal weight of nut flour or finely ground toasted nuts. Or simply add in chopped nuts (use anywhere from half to equal the weight of the other ingredients) for more texture and crunch. Add in your favorite spice(s) and/or some citrus zest. Create!

For an alternate crumble approach I use my favorite chocolate shortbread dough (recipe compliments of Thomas Keller’s “Bouchon Bakery”) and rather than bake it as cookies I just crumble up the dough in a single layer on a sheet pan and bake it up. There’s always a bag of the stuff in my freezer. Steve and I love it on ice cream, and I use it to top teacakes garnished with Swiss meringue buttercream or my favorite chocolate ganache tart.

Black gold!

Dark chocolate ganache and caramel apple teacakes

Chocolate ganache tart

You can do the same with your favorite crispy gingersnap dough or basic shortbread dough. I love making my own graham crackers too, both for crumb crusts as well as crushing them up for a garnish.

There’s nothing like the crispy crunch of crumble married with juicy, baked fruit, layered with luscious cream or as a topping for citrus curd or ganache - the list goes on. Just go for it and have fun.

Cheers until next time.

Hazelnut ricotta berry entremet layered and topped with almond/hazelnut crumble

Caramel apple (or pear) streusel cakes

0724C3FB-64B0-4148-846A-A1D300905C13.jpeg

Isn’t it great when you come across a recipe to which you add your own touches, make many times over and never seem to tire of? This is one of those.

This recipe is my take on an apple sour cream cake from Genius Kitchen, a recipe I came across a couple of years ago. It’s not unlike a blueberry muffin recipe I used to make in days of yore. I’ve made it as the apple version a number of times and it’s always a pleaser but then I thought - hey, how about pear?? Why sure!

4D86E29B-E1E3-40AF-8469-A15C7064620D.jpeg

Heat the oven to 350ºF. Grease a 9x13 pan OR line muffin tins with papers OR have ready small silicone molds of choice. As some of you know, I’m a huge fan of smaller portions so the latter two options appeal to me.

For the base recipe, prep 2 cups apples or ripe pears (about 2 large) by peeling, coring and chopping them. I often have Fujis around for general eating so I’ll use those but I also like Jonamacs, Jonagolds, Galas or Golden Delicious for this type of baking. Bosc is my go to pear.

In a separate medium bowl blend 260 g/2 cups all purpose flour (you can replace 20-25% of that with whole wheat pastry flour or spelt) with one teaspoon baking soda, one teaspoon baking powder and 1/4 teaspoon salt. You can add cinnamon or spices as well, although I usually save my spice for the streusel.

In the bowl of a stand mixer fitted with the paddle, cream 113 g/4 ounces unsalted, room temperature butter with 175 g sugar (I like a mix of 75 g dark brown sugar and 100 g granulated cane sugar or ground raw sugar) for 2-3 minutes. Scrape down the bowl and add 1 teaspoon vanilla, 2 teaspoons boiled cider (optional) and 2 large eggs. Blend and beat well to lighten the mixture.

Add the dry ingredients in three additions, alternating with one cup sour cream (or crème fraiche or full fat yogurt), beginning and ending with the dry ingredients and mixing just until combined. Stir in the chopped apples or pears.

You have the option for a streusel topping by mixing 1/2 cup toasted and chopped nuts of choice (pecans, walnuts, almonds or hazelnuts are all good in my book!) with a teaspoon of cinnamon or spice mix of choice, 1/2 cup light or dark brown sugar and 2 teaspoons melted unsalted butter - once blended, sprinkle it over the cakes.

Portion the batter into your chosen pan or mold. I made two different sizes in my flexis.

Bake about 20-25 minutes (for small cakes) or 35-40 minutes if making a 9x13 size.

6A7CD1CE-B5D1-4E67-BCB3-0BDB7D6D9A3F.jpeg

Give them a 5-10 minute cool before gently removing them from the molds, then set them on a wire grid to cool. I often drizzle some caramel on top once out of the oven.

5A1590E9-FBE5-4FAC-B869-940596789070.jpg

You can leave off the streusel if you plan to garnish the small cakes with your favorite Swiss meringue buttercream like caramel apple cider or a simple whipped caramel mascarpone cream. Yum. Truth be told, I’ve combined a streusel and buttercream garnish and love the combo of the light creamy SMBC with the bit of crunch in the streusel. Yup.

Happy baking. Stay safe, stay healthy and be at peace.

Summer fruits galette/spelt pâte brisée

IMG_1249.JPG

This time of year when the farmer’s markets are teeming with fresh fruits and produce, a rustic galette is just the ticket for a delicious summer dessert. Think cherries, peaches, plums, berries (red, blue and black), and currants too! Steve and I love our local Fulton Farmers Market and make at least a weekly visit for our favorite seasonal goods.

IMG_1251.JPG
IMG_1253.jpg

Even though our socializing has been curtailed and we’ve been at home for the majority of our time in the last five months, every now and then we get out to Clear Lake to see cousin Jen and her family. What a beautiful spot to enjoy an outdoor meal and of course each other’s company. We provided grilled chicken, fresh green beans and corn while Jen had some deelish nibbles, crusty rolls, followed by vanilla ice cream to accompany the fruit galette. Yum indeed. Thanks Jen, Scott and Claire!

IMG_1238.jpg

In France a fruit galette (crostata in Italia) is a rustic tart - no tart pan or ring, just a rolled out round of dough topped with a mound of fresh fruit then baked to golden crust perfection. I’ve written about galettes before but it’s always fun to revisit an old friend.

Planning ahead, you can certainly make your dough days or even weeks before, wrap it well and freeze it until you need it. Think about that when, before you know it, the fall and winter holidays will be upon us. What better way to be prepared for the pies or tarts you hope to serve for Thanksgiving dinner or holiday suppers/gatherings than to have your dough already made. Yippee!

For this one I used my favorite pâte brisée recipe but substituted 60 g of spelt flour for 60 g of all purpose flour. What a buttery, flaky, edge-of-nuttiness and melt-in-your mouth dough this is!

I’m a big fan of Bob’s Red Mill specialty flours. While I use King Arthur flour for my all purpose, bread and general whole wheat needs, the wonderful array of BRM’s offerings available on my local grocery store shelves allows me easy access to some of my faves like whole wheat pastry flour (sadly hard to find during this pandemic!), spelt, and semolina, plus non-wheat options like rye, cornmeal, rice and oat flour, potato and tapioca starch just to name a few.

IMG_1256.jpg

For this galette I used about 300 g of dough for a finished size of about 9 inches. On a lightly floured surface roll the dough into a rough ~ 12-inch round about 1/8 inch thick. Check out the butter marbled throughout and the speckling of spelt in the photo below - I love that.

Remember to work with your dough cool - if it becomes warm and the butter squishy, it’s time to pop it into the fridge or freezer for 10-15 minutes to firm things up. You’ll be happy you did. Once your dough is rolled out to your satisfaction, place it on a parchment lined sheet pan and hold it in the fridge while prepping your fruit.

Heat the oven to 425ºF.

IMG_1231.JPG

I used a total of 5 cups of fruit including sliced peaches and yellow bubblegum plums, blue/red/blackberries tossed with about 1/3 cup sugar, 2 to 2.5 tablespoons flour, a squeeze of fresh lemon juice and a pinch of salt. I follow that ASAP with assembly so my fruit mixture doesn’t get too juicy.

To provide a bit of anti-soggy protection to the crust I blend a tablespoon or so each of either all purpose or almond flour and sugar. Sprinkle that over the crust, leaving about a 2-inch border. Have at the ready a couple tablespoons unsalted, diced butter to dot on top of the fruit and some milk or cream and raw sugar for the edges.

IMG_1232.jpg

Now mound that pile of fruit in the center, again leaving about a 2-inch border. Notice I’m doing my assembly ON the parchment lined sheet pan rather than my work counter so as to avoid having to lift the filled/shaped galette onto the sheet pan. Yup, it’s all in the details folks.

IMG_1233.jpg

Pleat the dough up over the fruit and, once you’ve made it all the way around, cup your hands around the edges and give everything a firm squeeze to set your dough in place. Dot with butter, brush milk on the dough edges and sprinkle with raw sugar.

Pop the whole pan into the freezer for 10-15 minutes to firm up the butter and set the dough even more.

IMG_1234.jpg

Bake on the bottom rack for 10 minutes, turn the oven down to 400ºF and give it another 10 minutes. Move the sheet pan up to the middle rack, decrease the oven temp to 375ºF and bake another 15 minutes, periodically checking for the degree of browning. You want to see the fruit bubbly and the edges golden brown. If needed, go another 5-10 minutes. All in all I usually plan on a total baking time of 40-45 minutes for this size galette. Remember - in your oven it may be a bit more or less.

IMG_1236.JPG

Have fun creating your own mixture of fresh fruity goodness for a delicious summer fruits galette - you can do it. Absolutely!


Whole wheat croissants

IMG_3564.JPG

As I experiment more and more with whole grain flours, I just had to do a trial of croissant dough with a couple of variations on using whole wheat flour. Just can’t get enough of the laminated dough thing, or so it seems. Oh well, there are worse things to be fixated on, don’t you think?

IMG_3515.jpg

The first version adjusts my base recipe from 450 g all purpose flour and 50 g bread flour (recipe coming at the end, I promise!) to a mixture of 300 g spelt flour and 200 g whole wheat pastry flour, both from Bob’s Red Mill. The spelt I used is a coarse grind and gave my dough a speckled look. I was hoping that my choice of those two flours would sort of balance each other out in terms of gluten content, giving me something closer to all purpose but with the nutritional benefits of using whole grain flours. Kinda winging it here.

The second version uses a mixture of 300 g white whole wheat flour from King Arthur (a finer grind than the spelt and a softer flour from soft white wheat) and 200 g whole wheat pastry flour from Bob’s Red Mill (another softer flour), yielding a smoother appearance with less speckling. Again - wingin’ it.

I normally use whole milk for my liquid but this time I replaced about a third of the milk with water, thinking that the final, slightly less enriched, nutty-wheaty croissants would lend themselves to more savory uses like ham/cheese or chicken salad sandwiches. I know, I know - this isn’t a very scientific study since I’m changing a number of variables, but why not play around? It’s what I love.

My two dough versions and butter blocks ready to go

My two dough versions and butter blocks ready to go

I put both versions through the usual steps of beurrage followed by three business letter folds (or 3-folds) and a final rest in the fridge before rolling out. I divided each batch into halves so I could create two different pastries with each version.

The spelt dough rolled nicely but when it came time to cut and shape the croissants, the dough felt drier and was not quite as sturdy, tending to tear when being stretched a bit.

Shaping the spelt croissants

Shaping the spelt croissants

With the second half of the spelt dough I did a savory spiral - rolled it out into a 10”x12” rectangle, brushed it with egg wash and sprinkled on mixed Italian herbs and grated gruyère cheese . . . .

IMG_3534.jpg

rolled it up into a log and sliced ~1 inch slices.

IMG_3535.JPG

The slices went into buttered 80 mm rings to proof.

IMG_3551.JPG

The white whole wheat version also rolled out easily and was less inclined to tear when being stretched and shaped.

IMG_3540.jpg

The second half of this dough became cherry-almond spirals - same idea as the cheese/herb spirals above - spread on a mixture of almond flour, egg white and brown sugar and topped it with cherry preserves and sliced almonds.

IMG_3545.jpg

Rolled up and sliced, these went into buttered muffin tins to proof.

IMG_3546.jpg

I gave the croissants a good 2-2.5 hours to proof and the spirals a bit less. Then on to the bake!

Proofed spelt version

Proofed spelt version

Out of the oven

Out of the oven

I gave the proofed cheese spirals a sprinkling of more cheese . . . .

IMG_3553.JPG

and here they are all baked up!

IMG_3557.JPG

I gave half of the egg washed white whole wheat croissants a sprinkling of KAF’s Artisan bread topping, a delicious mixture of sesame, flax, sunflower, black caraway, poppy and anise seeds.

Proofed

Proofed

all baked up

all baked up

Cherry almond here we come! A sprinkling of raw sugar and into the oven.

IMG_3567.JPG

Once baked I rolled them in some vanilla sugar for the pièce de résistance.

IMG_3575.JPG

Steve and I did a thorough sampling of all four versions. We thought the flavor was deelish and the texture pretty decent. Personally I love the nuttiness and whole grain sense of these doughs and would definitely make whole wheat croissant dough again.

I froze a good portion of the baked and cooled end results, and we were able to enjoy the croissants and cheesy spirals thawed and oven warmed with a delicious chili Steve made for a family supper out at cousin Jen’s. Everyone enjoyed them immensely. Who says you can’t have a croissant for supper eh?

So what did I learn from all of this? Truth be told, I had done some reading before the project but had neglected to consider the need for some increased hydration when using all whole wheat flour. Duh. Hence I did a thorough read through of very helpful tips and suggestions from the Whole Grain Council/KAF - so much information out there kids!

Going forward I now know to add an additional 2 teaspoons of liquid per cup of whole wheat flour used. It’s also important to work the dough more gently and shape more loosely since the germ and bran in the whole wheat flour can actually shred the gluten strands in the dough, weakening it (it was very clear to me with the spelt version that it was drier and much more prone to tearing).

Whole wheat doughs generally ferment a bit faster (more nutritive stuff in them for the yeast to munch on) but don’t achieve quite as much volume. I did give my dough the same amount of rising time that I normally give my regular croissants but did note that the rise didn’t appear quite as full. Yet I was very happy with how they baked and tasted in the end. YES indeed.

IMG_3563.JPG

Here’s my standard base croissant recipe with adjustments for whole wheat:

450 g all purpose flour + 50 g bread flour (option 300 g white whole wheat flour/200 g whole wheat pastry flour)
44 g sugar
10 g salt
50 g soft unsalted butter
8 g instant yeast
317 g whole milk, can be cold or room temp (add 35 g additional liquid if using whole wheat flour - may be a mix of water and milk)
283 g unsalted butter for the butter block

  1. Blend flours, sugar, salt and yeast in the bowl of a stand mixer.

  2. Stir in milk (milk/water if using) with a rubber spatula or dough whisk to roughly combine. If using whole wheat flour let the mixture sit for 20 minutes to hydrate before proceeding.

  3. Mix with the dough hook on “stir”, adding the 50 g soft butter to incorporate.

  4. Increase to speed 2 and knead for 3-4 minutes (2-3 minutes if using whole wheat flour).

  5. Place on a lightly floured work surface, cover with plastic wrap and let the dough rest for 30-40 minutes.

  6. Shape into a ball, wrap tightly in plastic wrap and place in the refrigerator for at least 8 hours or overnight.

  7. Shape the 283 g butter into a 4-5 inch square (I do this between two layers of plastic wrap). The butter should be cool and malleable for the beurrage.

  8. Perform the beurrage followed by three business letter folds, resting the dough 30 minutes between each fold. Let the finished dough rest at least 2 hours or up to 12 hours before final shaping.

It’s not my intention here to review all the steps and nuances of making laminated dough, proofing and baking croissants but primarily to share the dough recipe. Now it’s time for you to experiment on your own. Go for it! You can do it.

IMG_3576.JPG