Pistachio tahini millionaire’s shortbread
/
I have always and will forever continue to love shortbread cookies. Back in my childhood days the Lorna Doone brand was a fave, but, as I look at the ingredients today, I won’t go near them (say NO to high fructose corn syrup!).
Here I’m taking the opportunity to try an amped up spin on a delicious cookie base, and I’m going for it!
This is another delight in a line of inspirations from Yotam Ottolenghi’s “Sweet”. It’s my take on his middle Eastern twist on millionaire’s shortbread. Millionaire’s is traditionally created with a baked and cooled shortbread base topped with a layer of caramel which is then spread with melted chocolate. A quick search tells me that this three layered treat is believed to have originated in Scotland and, due to it’s sweet richness, someone dubbed it “millionaire’s”. I reviewed a number of recipes, many of which use sweetened condensed milk to create the caramel layer. Finding that particular canned product WAY too sweet for my tastes, I looked for other ways to create a not-too-over-the-top tasty caramel-like component.
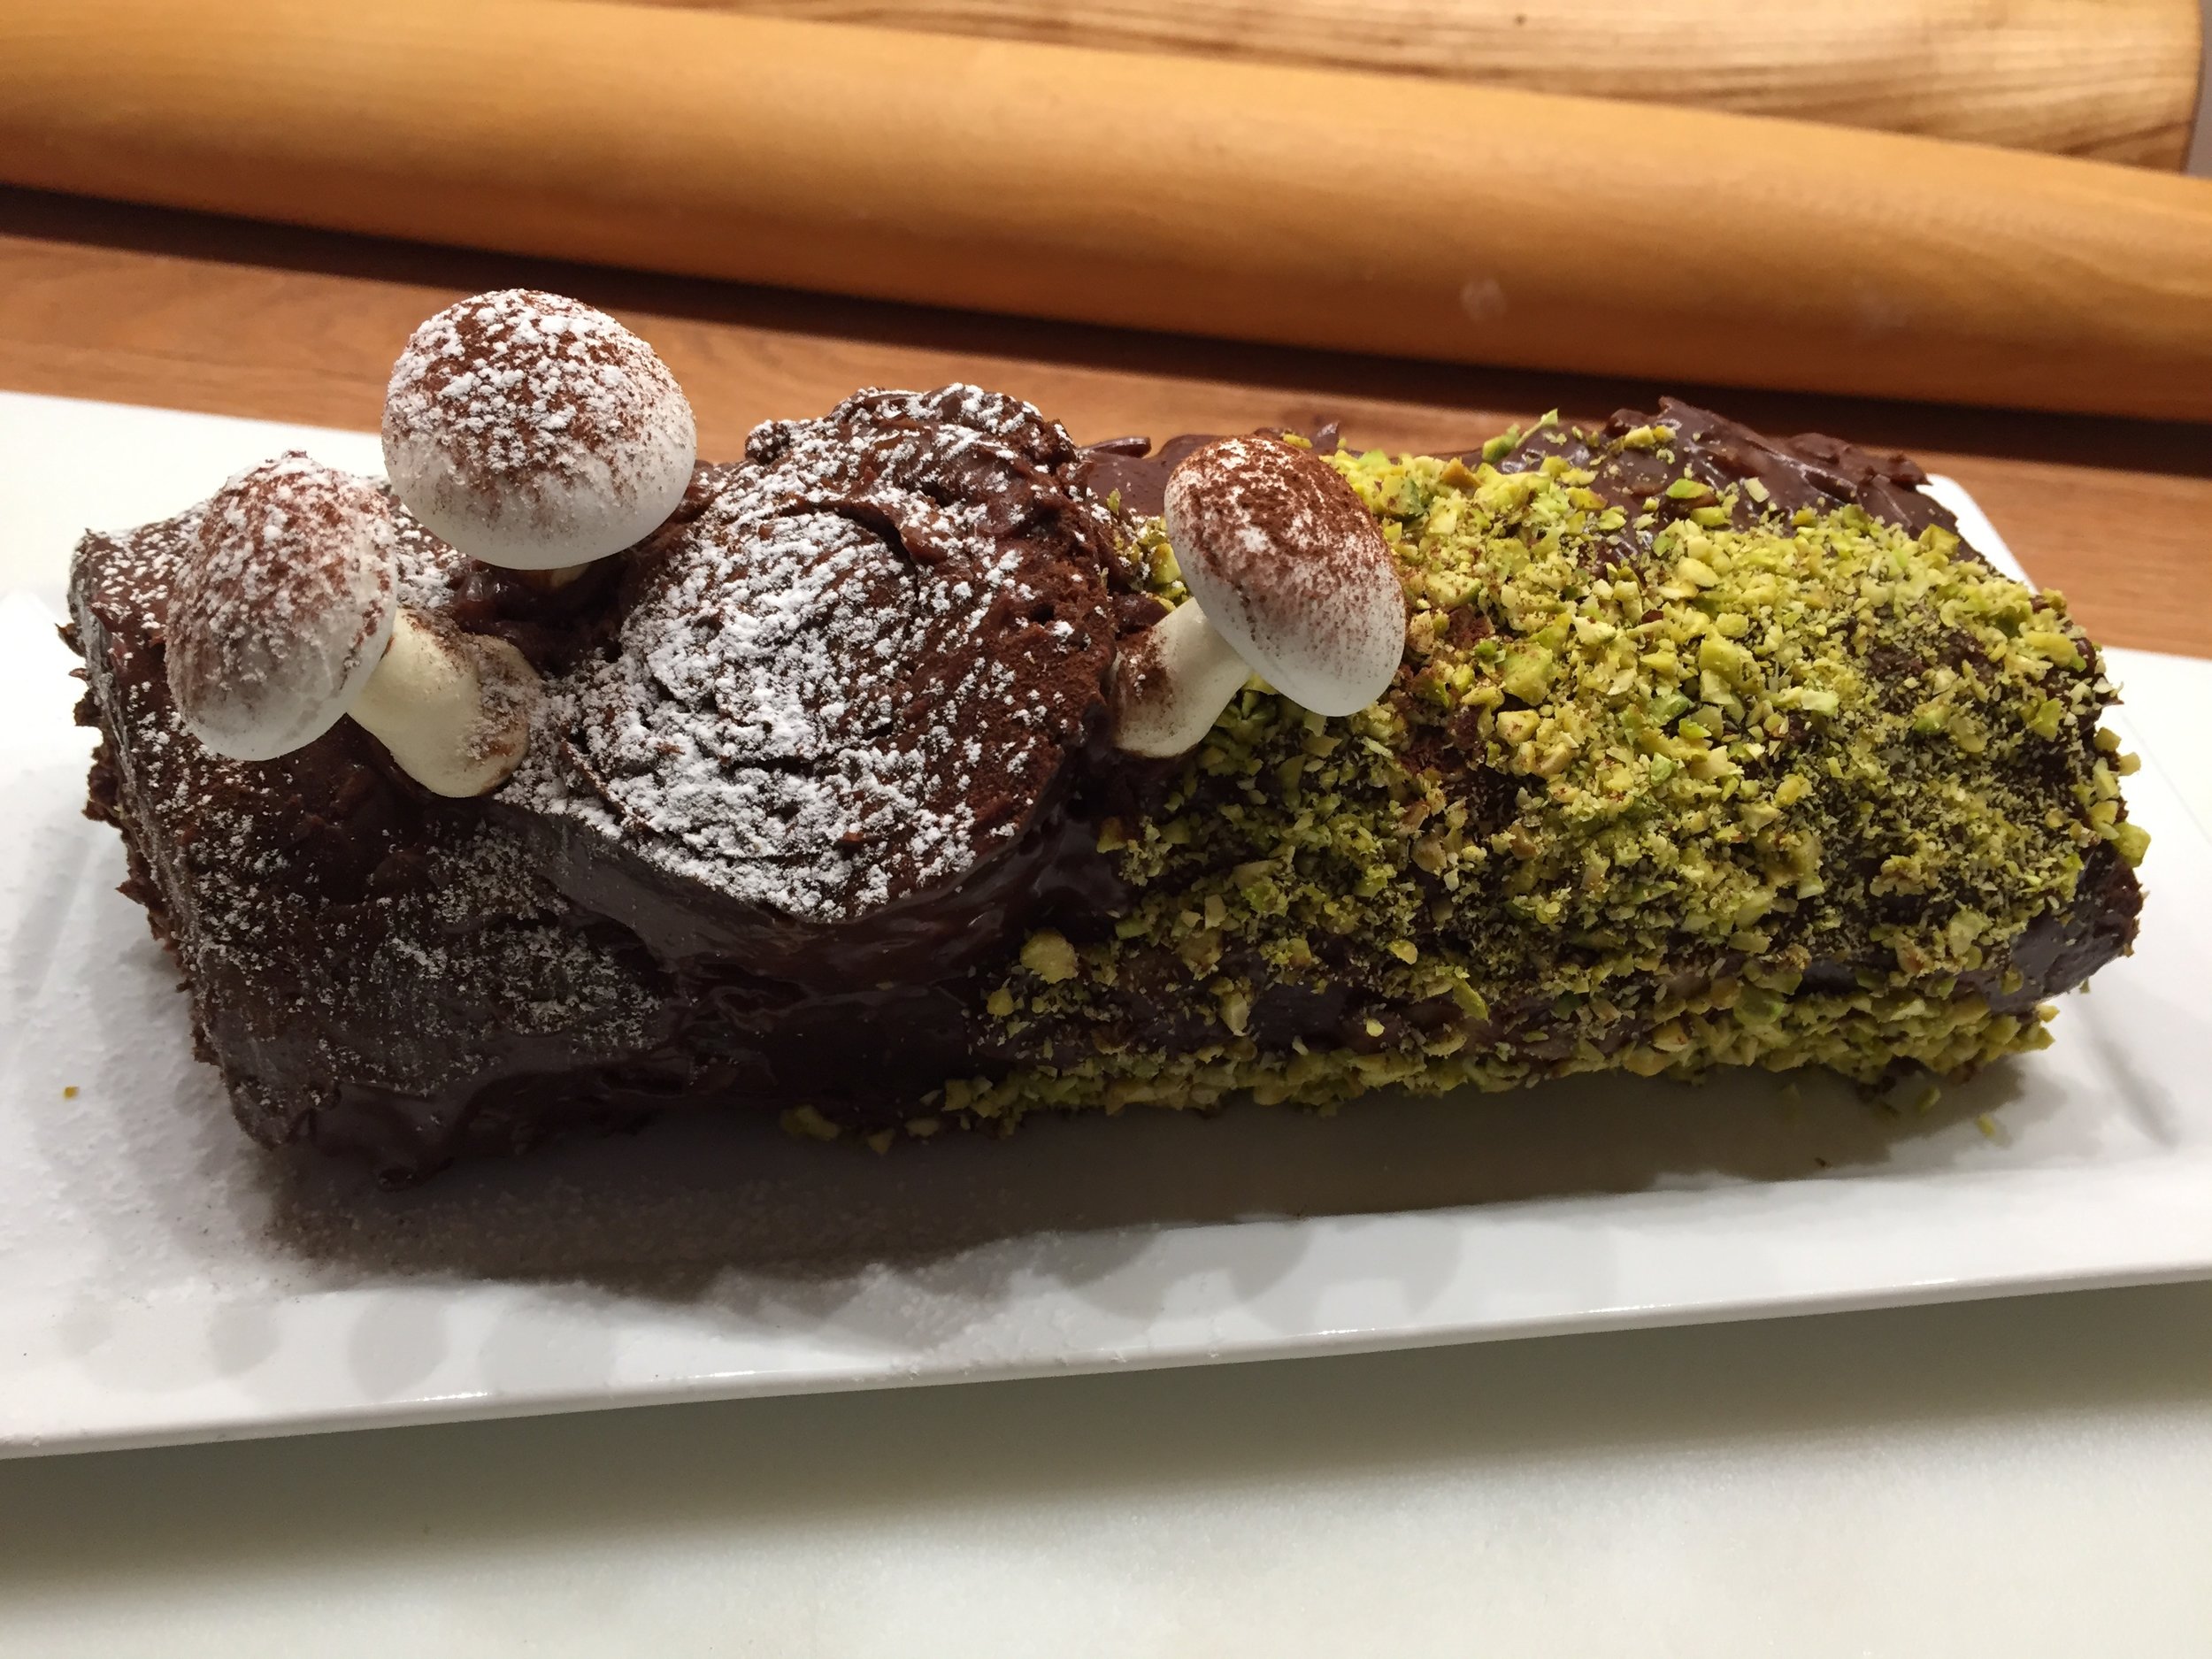
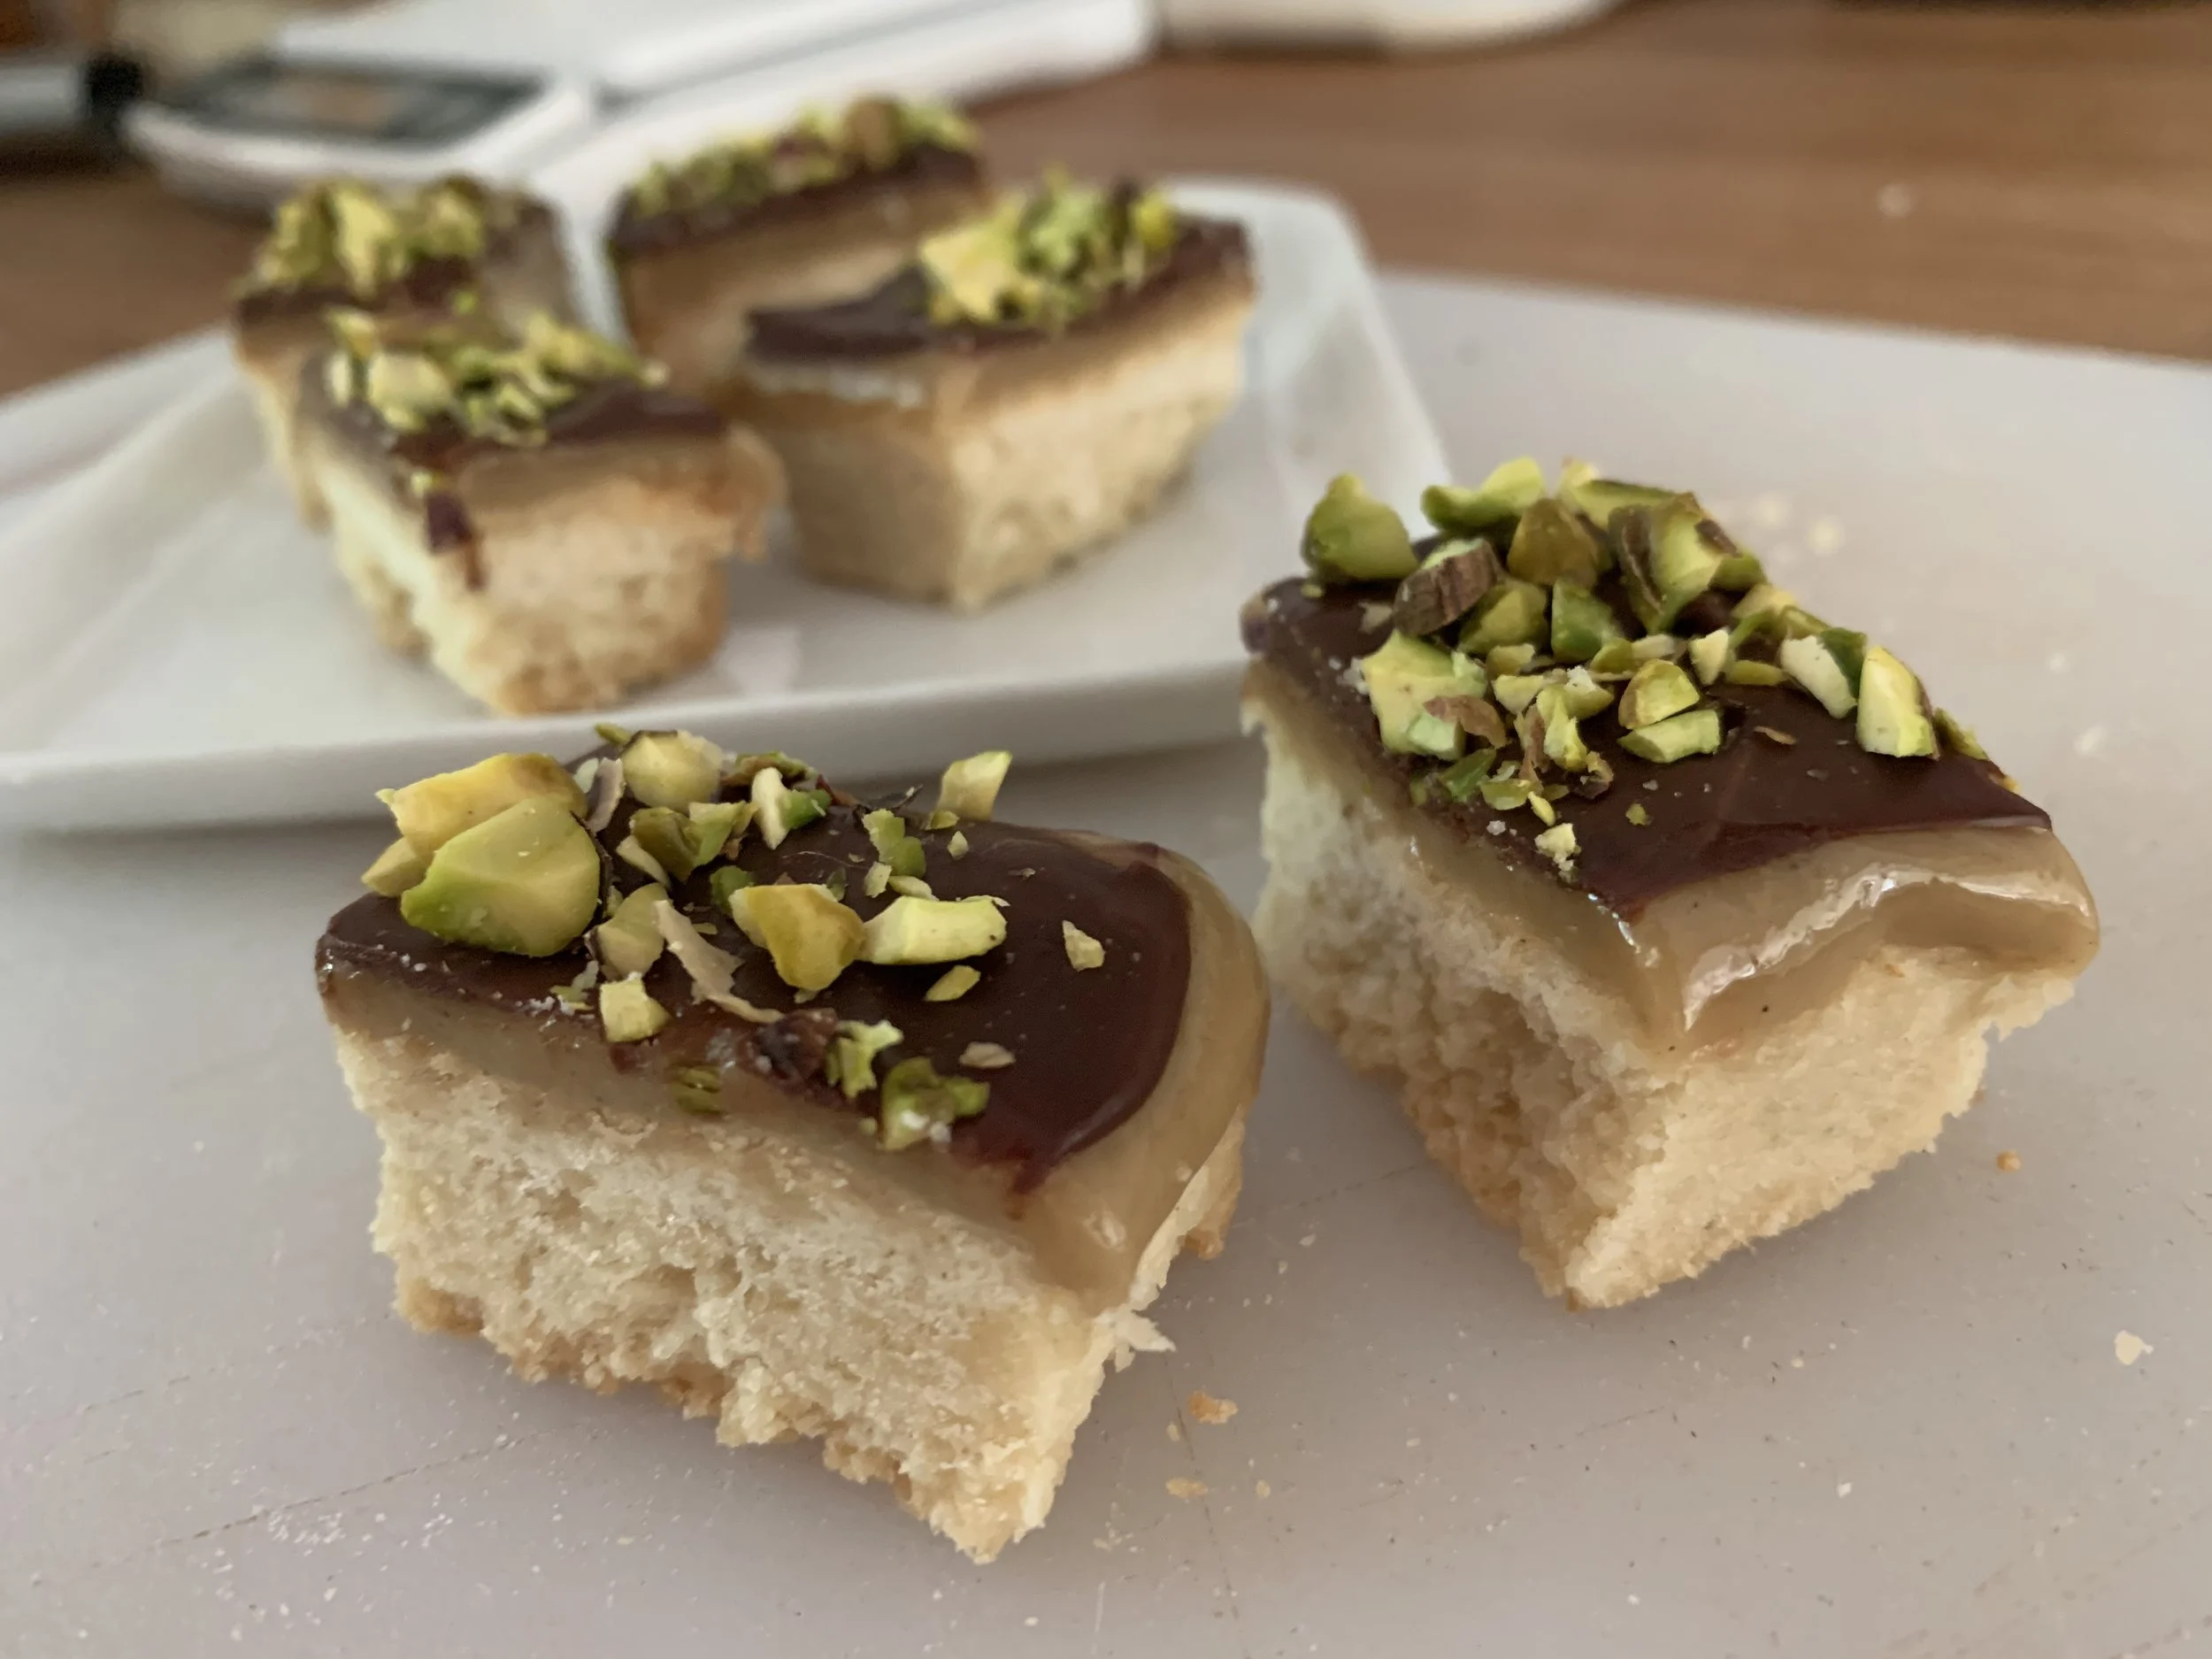
Here’s where Ottolenghi comes in - he omits chocolate and combines a layer of halva (a Middle Eastern tahini based confection) topped with tahini caramel to set off his cookie base. I went for my own mish-mash - O’s base (to which I added coriander sugar) and a homemade tahini halva layer made with honey rather than granulated sugar. I then topped it with a thin layer of dark chocolate ganache and sprinkled with chopped pistachios. Yup.
Right here is my recipe PDF which also includes a second shortbread base option (I used that one on my second trial of the recipe). I’m giving you the ingredients with weights in the narrative below. Go ahead and skip all of that if you want to go directly to the recipe.
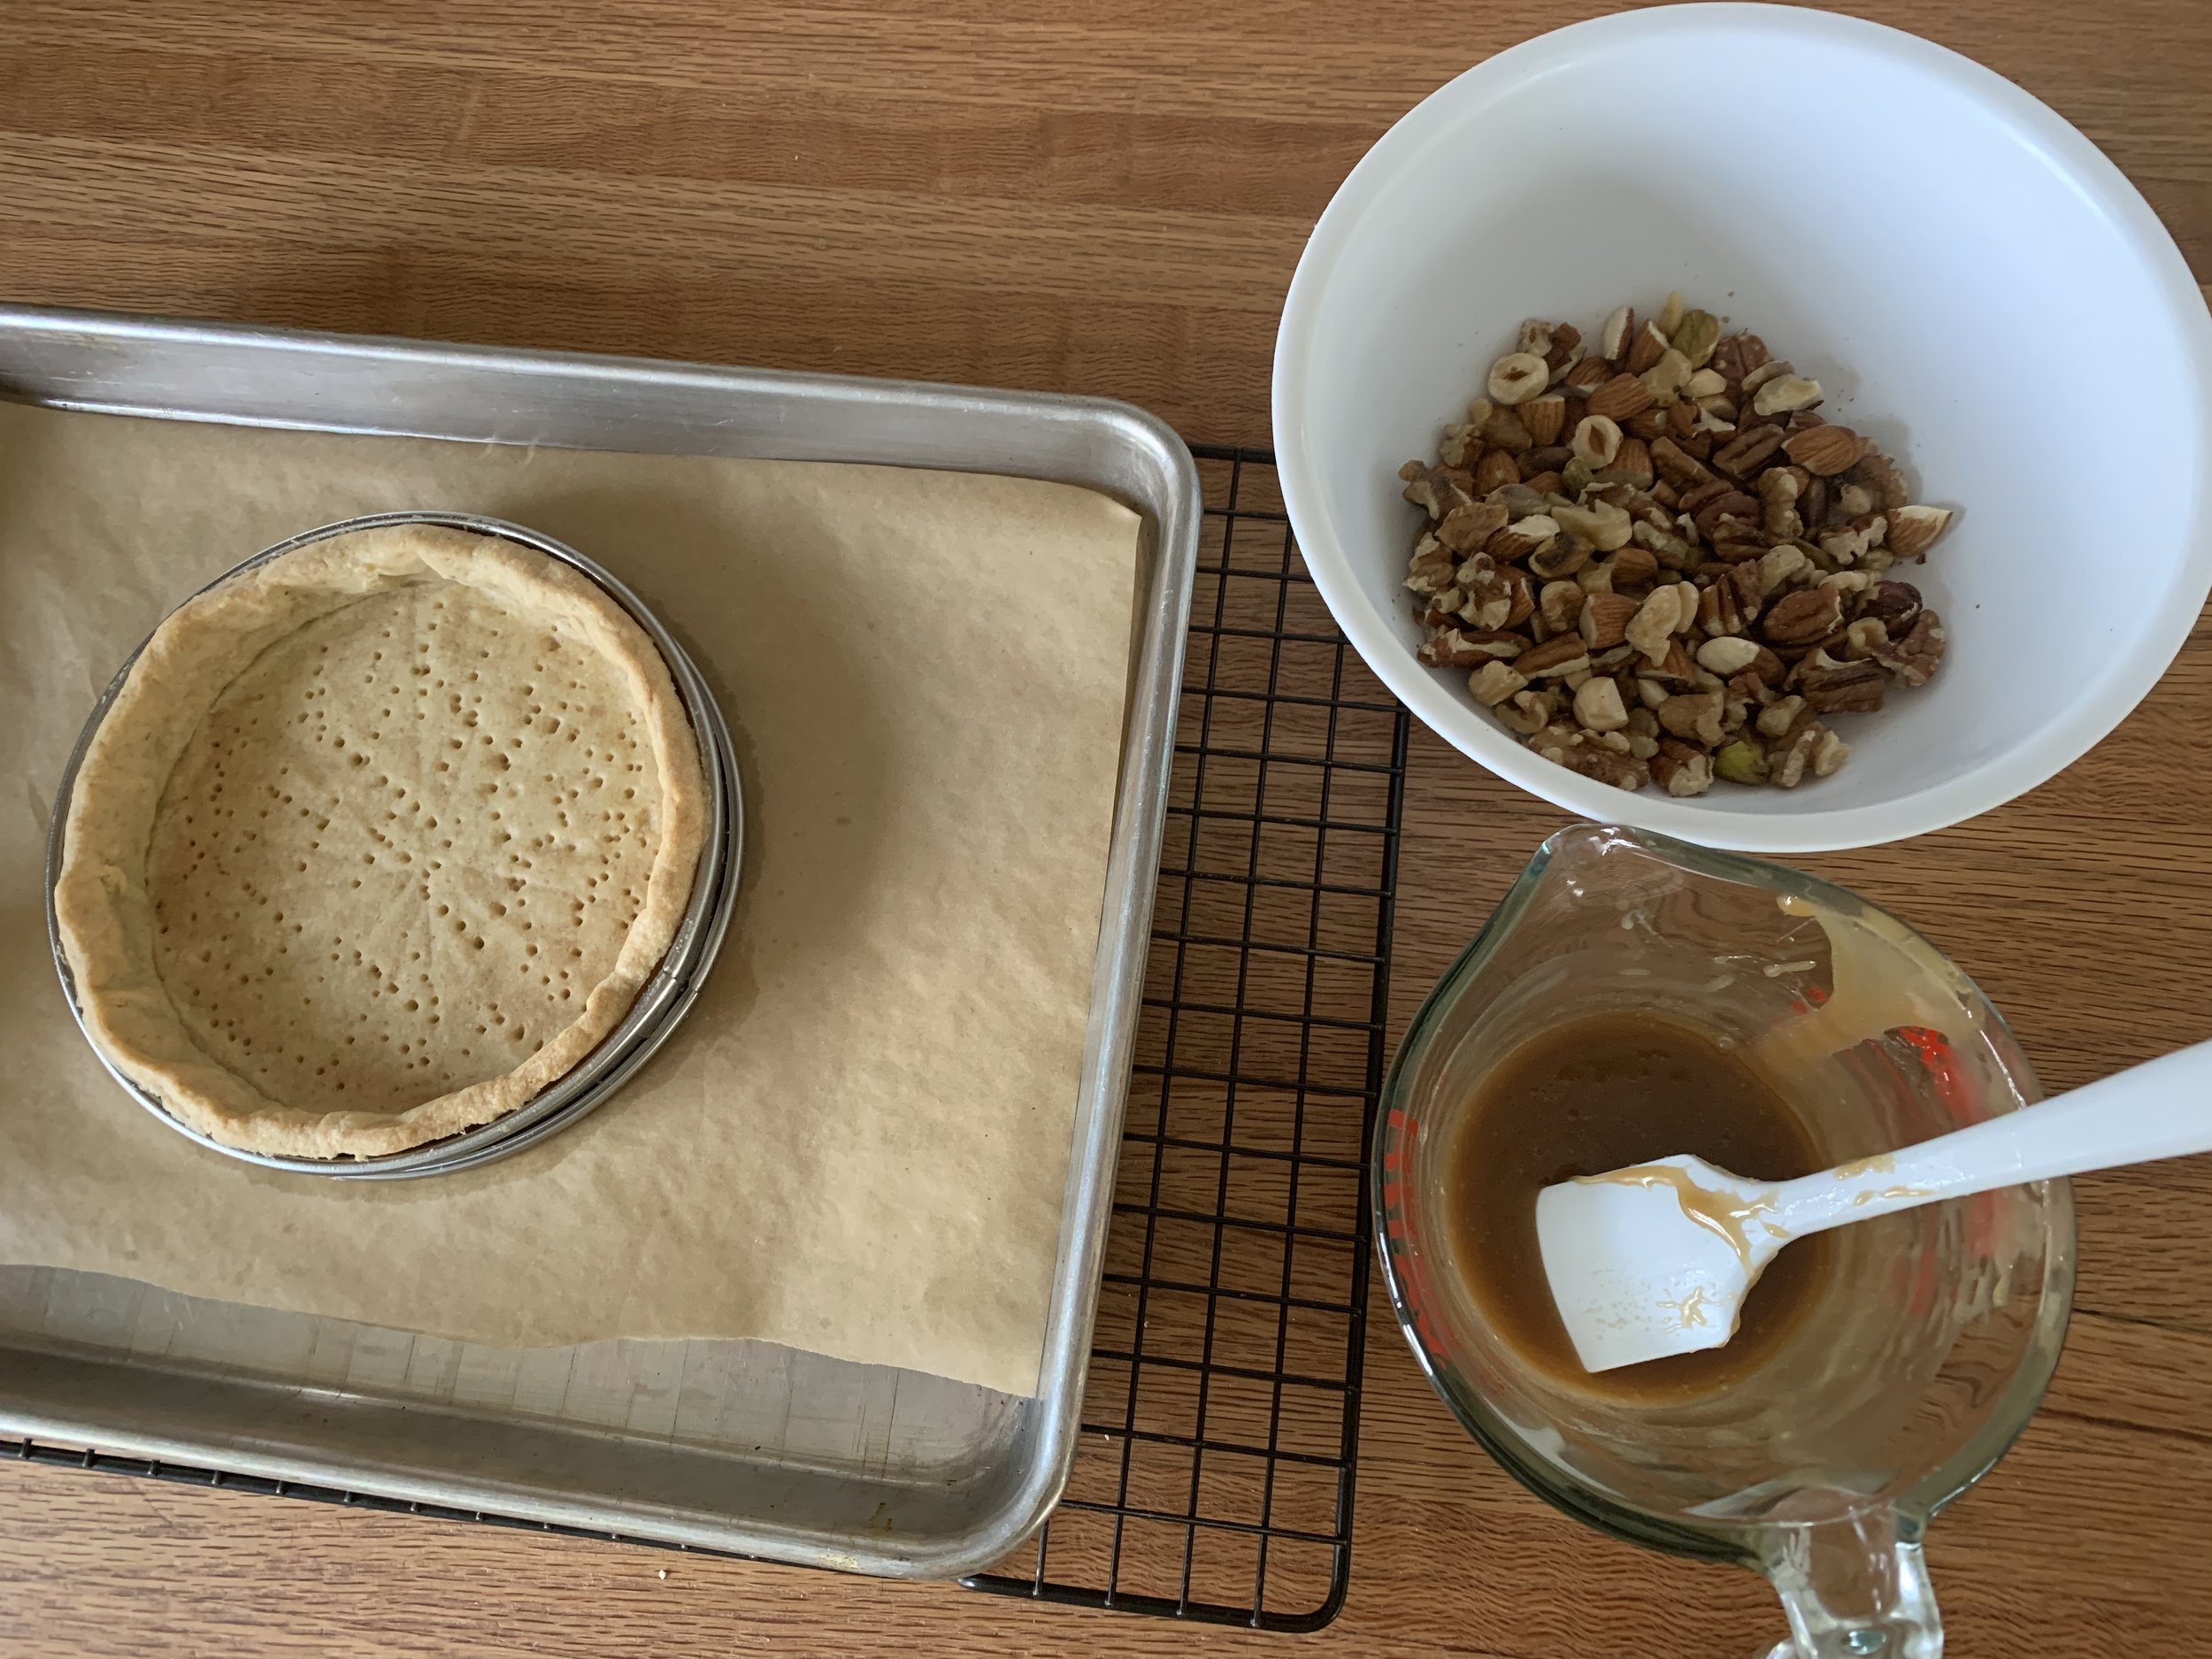
First up - the base. For those of you in the know, a basic shortbread recipe is classically 1 part sugar/2 parts butter/3 parts flour by weight e.g. 75 g sugar, 150 g butter, 225 g flour. That’s what I used to make at Gracie’s back in the day. Sand diced cool butter into the sugar and flour then press into a 8”x8” pan. Once baked, I’d sprinkle some raw or sparkling sugar on top and cut it into short batons to accompany a chocolate pot de crème or post dinner coffee. A tasty, tender end result.
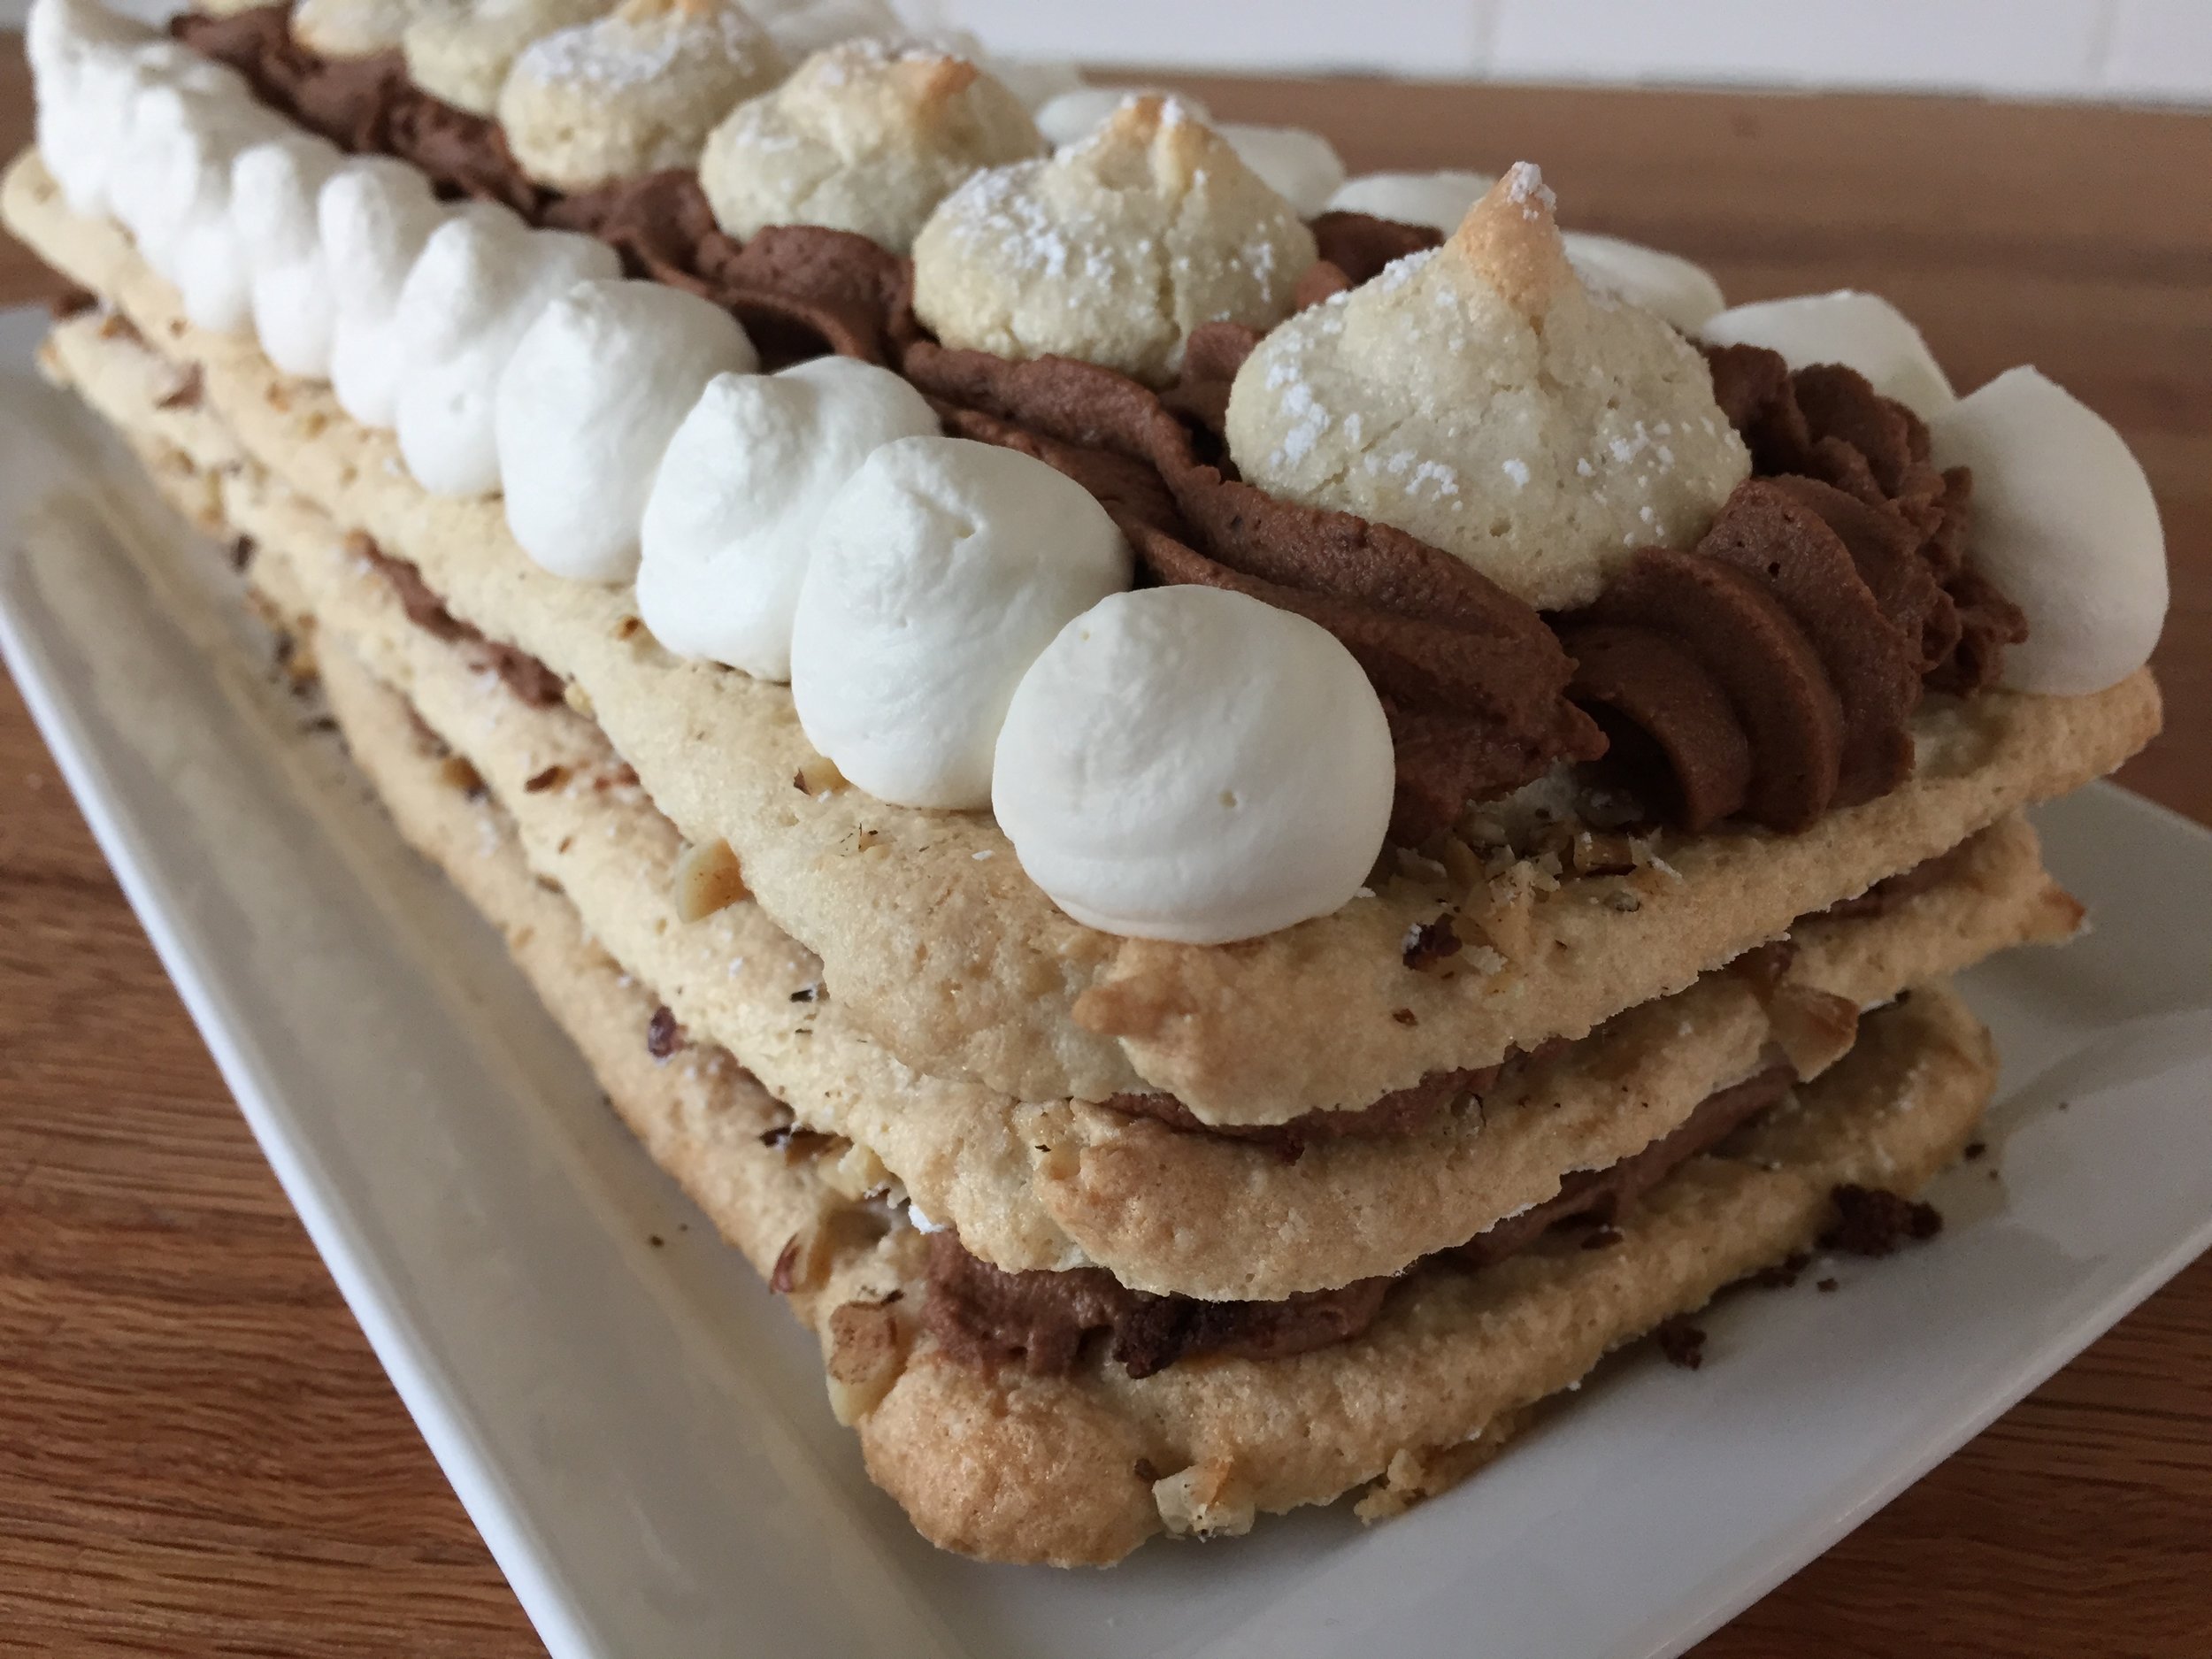
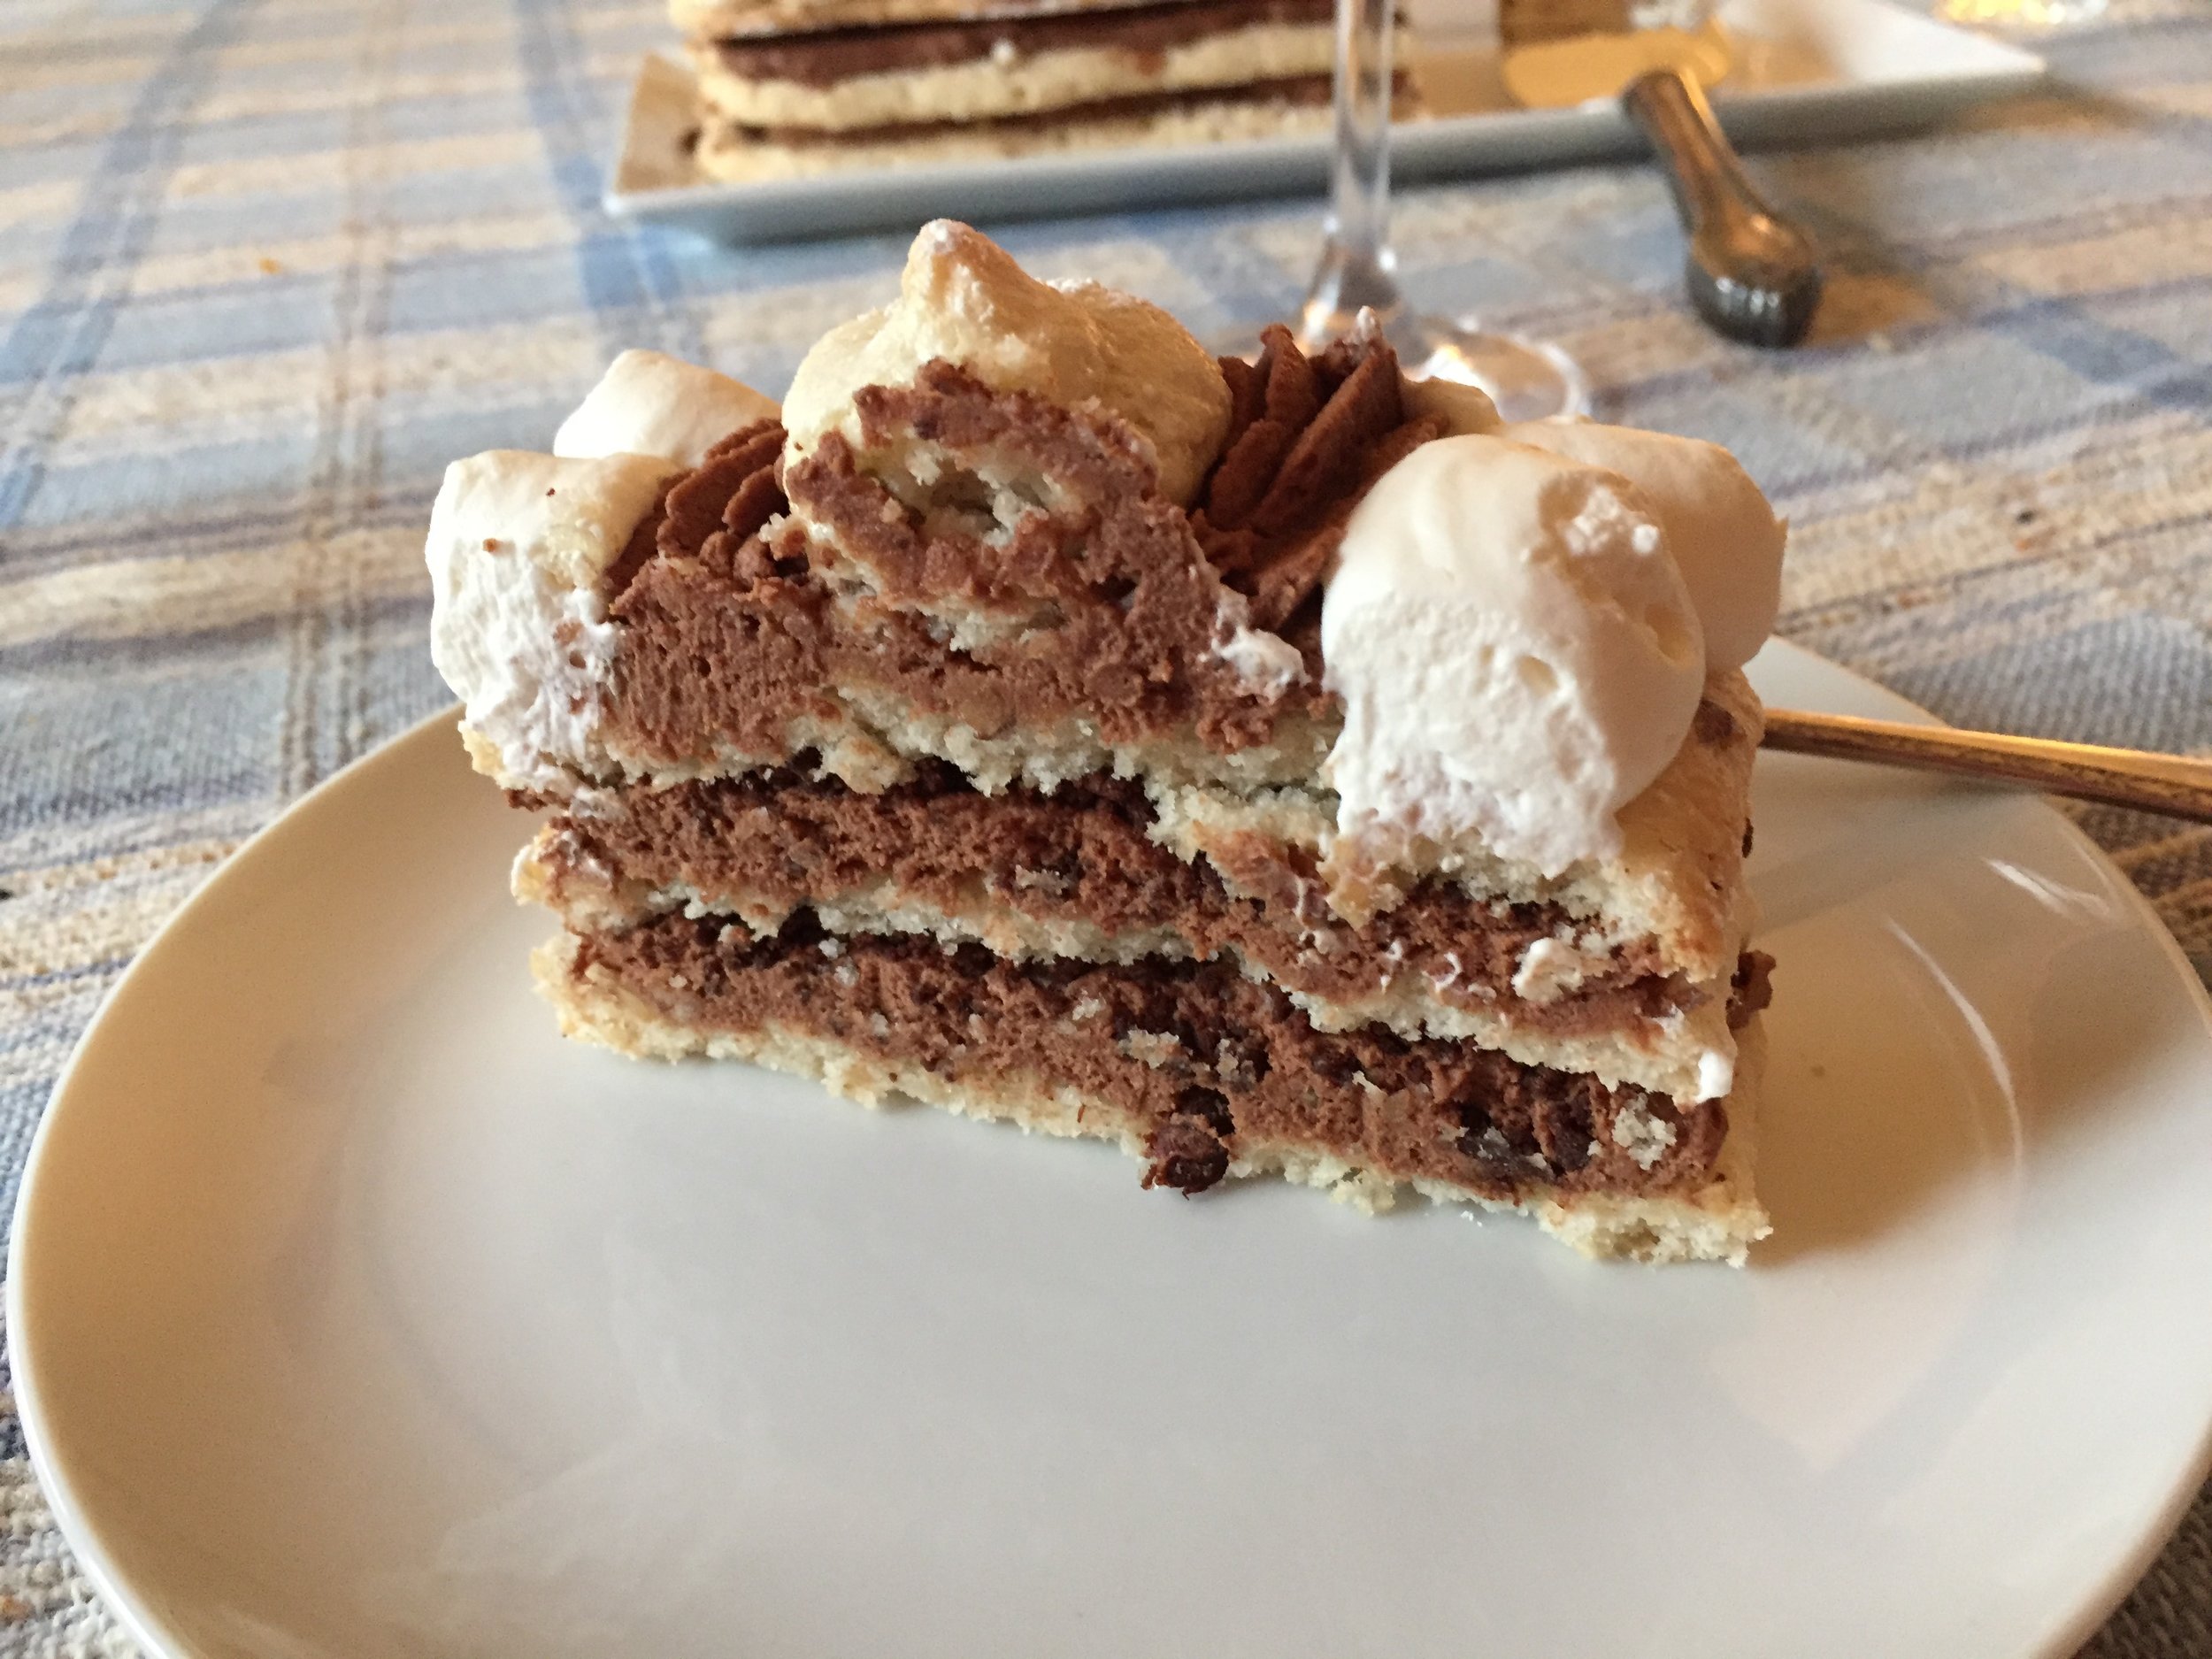
There are many shortbread variations out there - here’s my mini shortbread primer to give you a sense of some of them. They’re all delicious, each offering a slightly different texture and taste.
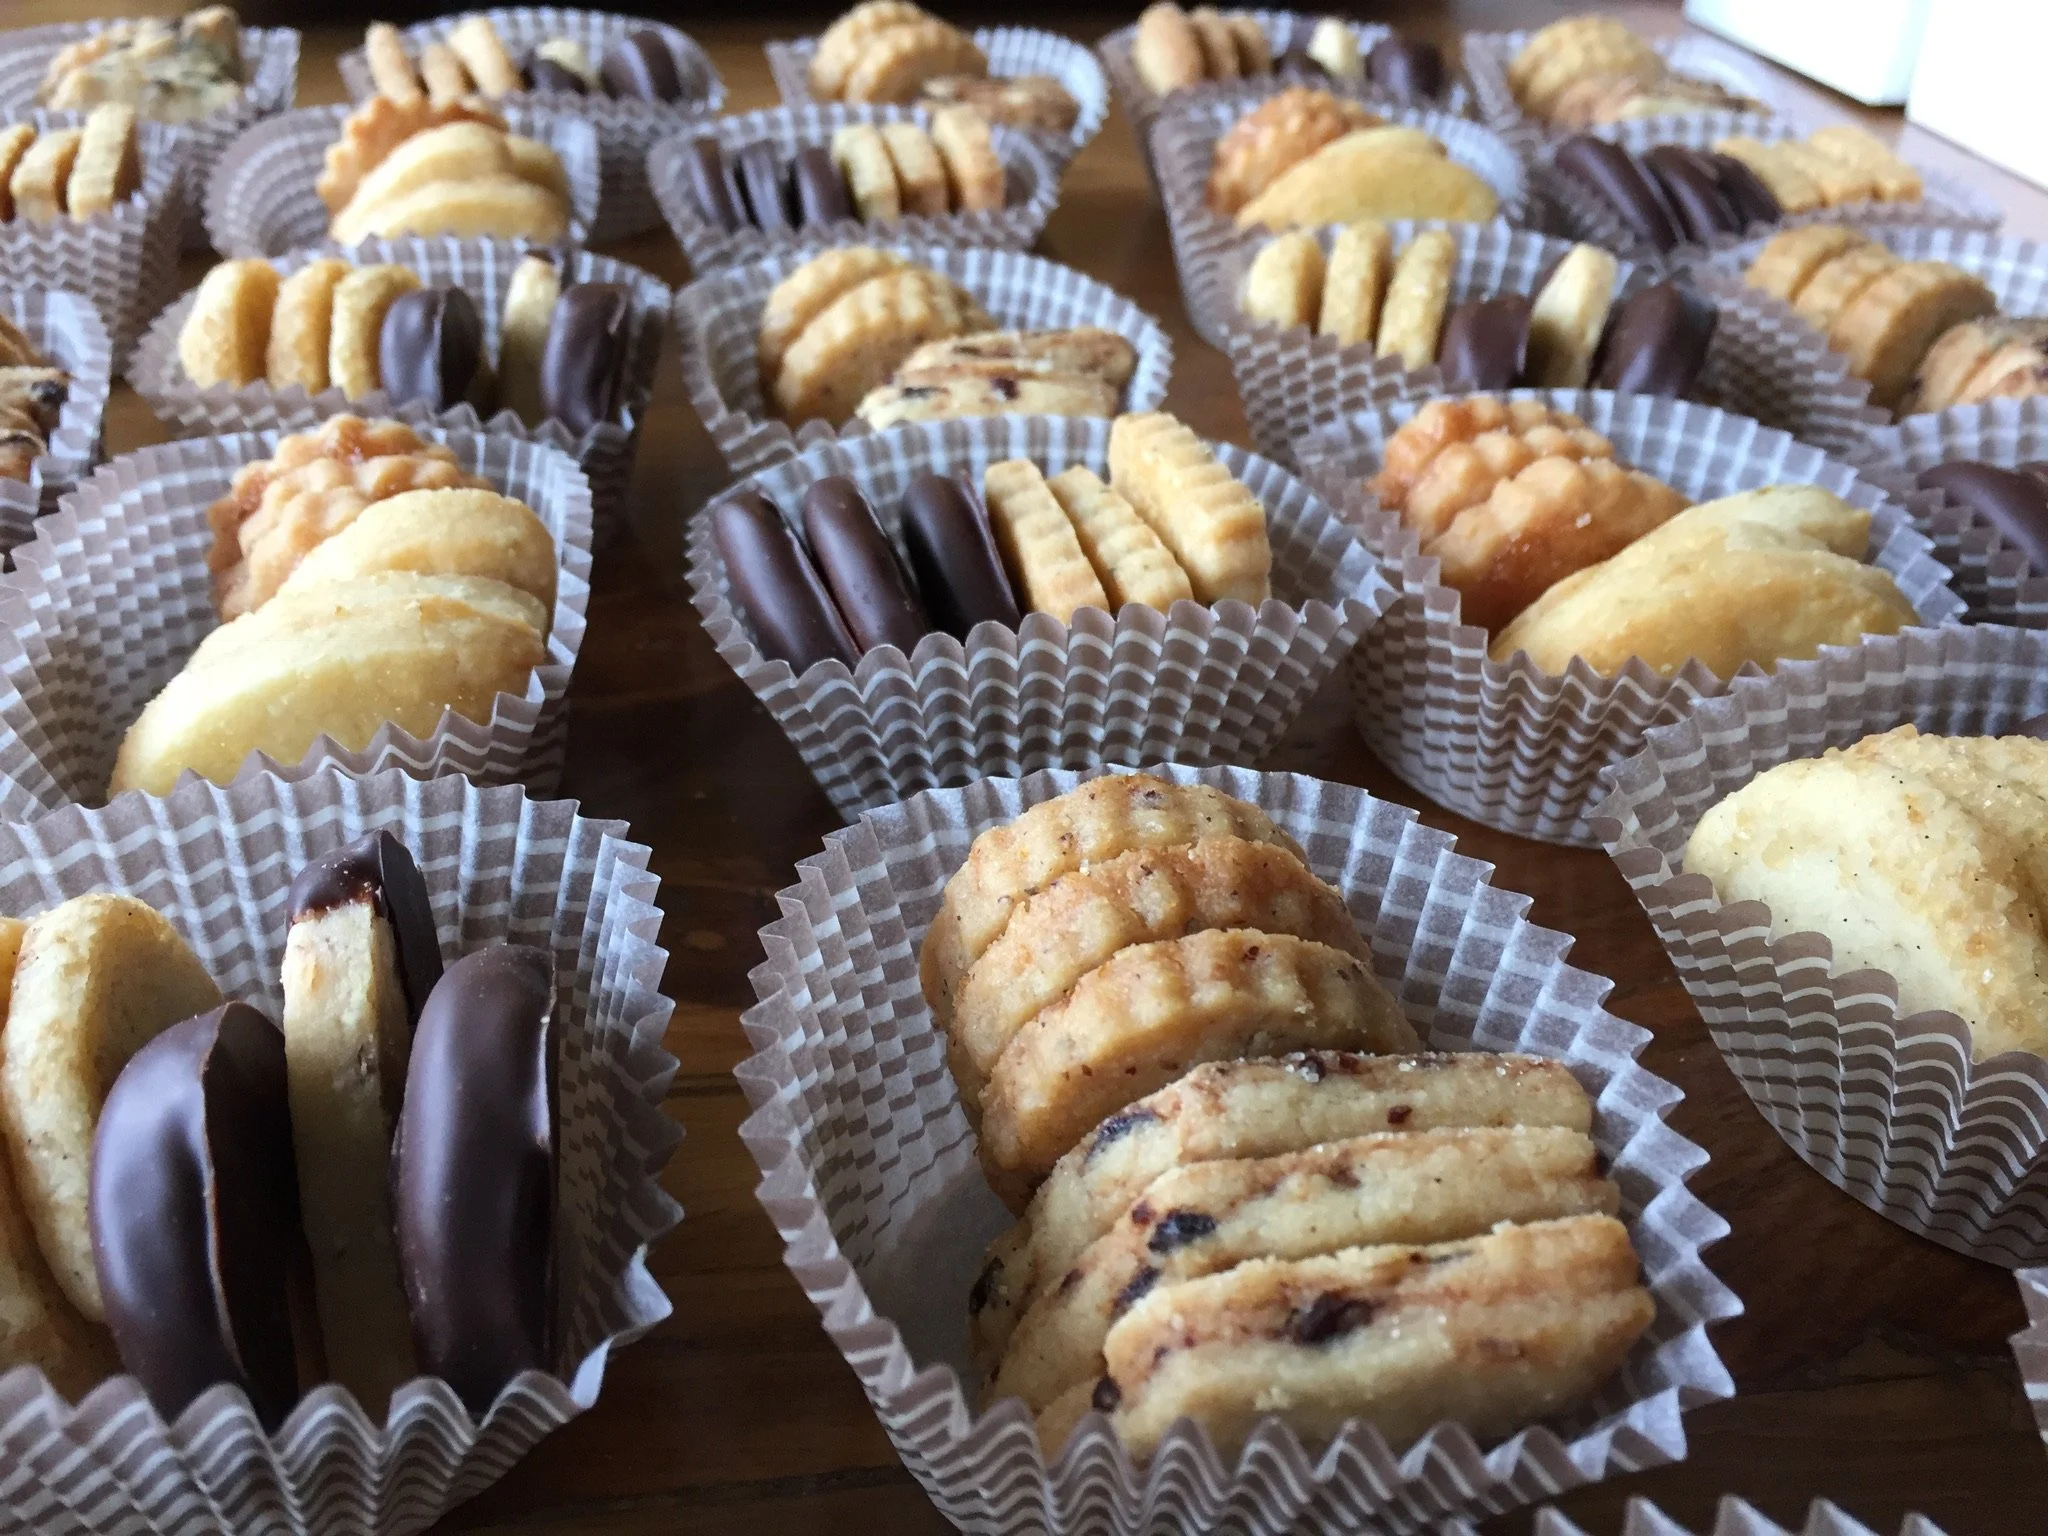
the French Tarte’s shortbread assortments
Naturally I HAD to try “Sweets” recipe in which the big difference is melting and cooling the butter a bit before mixing. The beauty of a shortbread recipe is the option to make it ahead - you can store it in the fridge covered for several days or freeze well wrapped for a couple of weeks before proceeding with the additional layers.
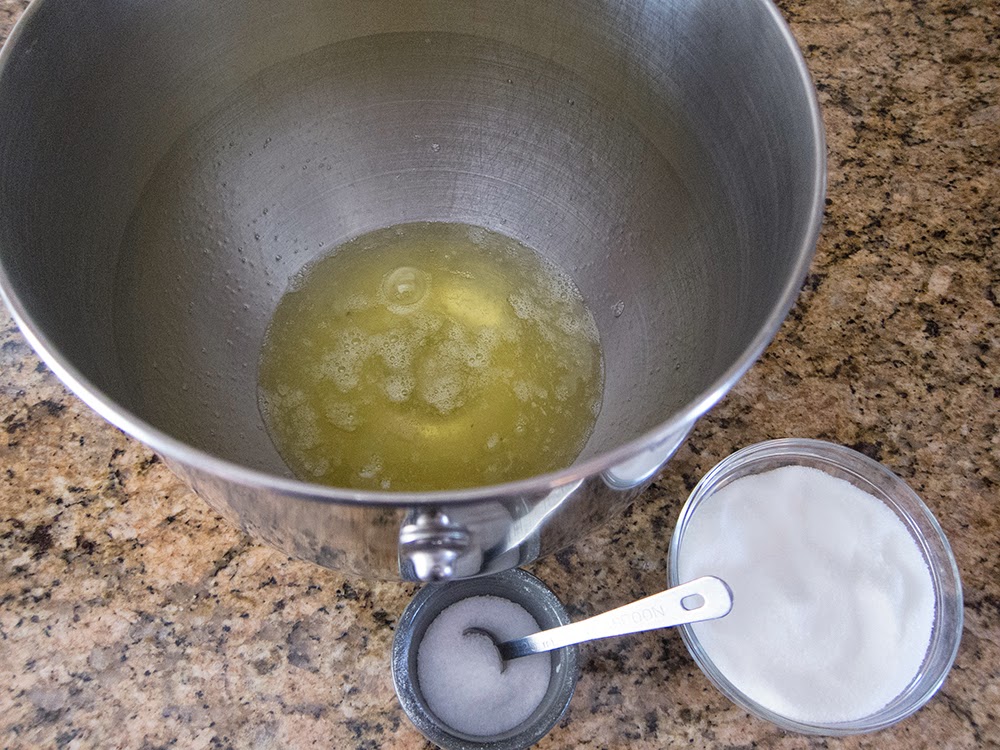
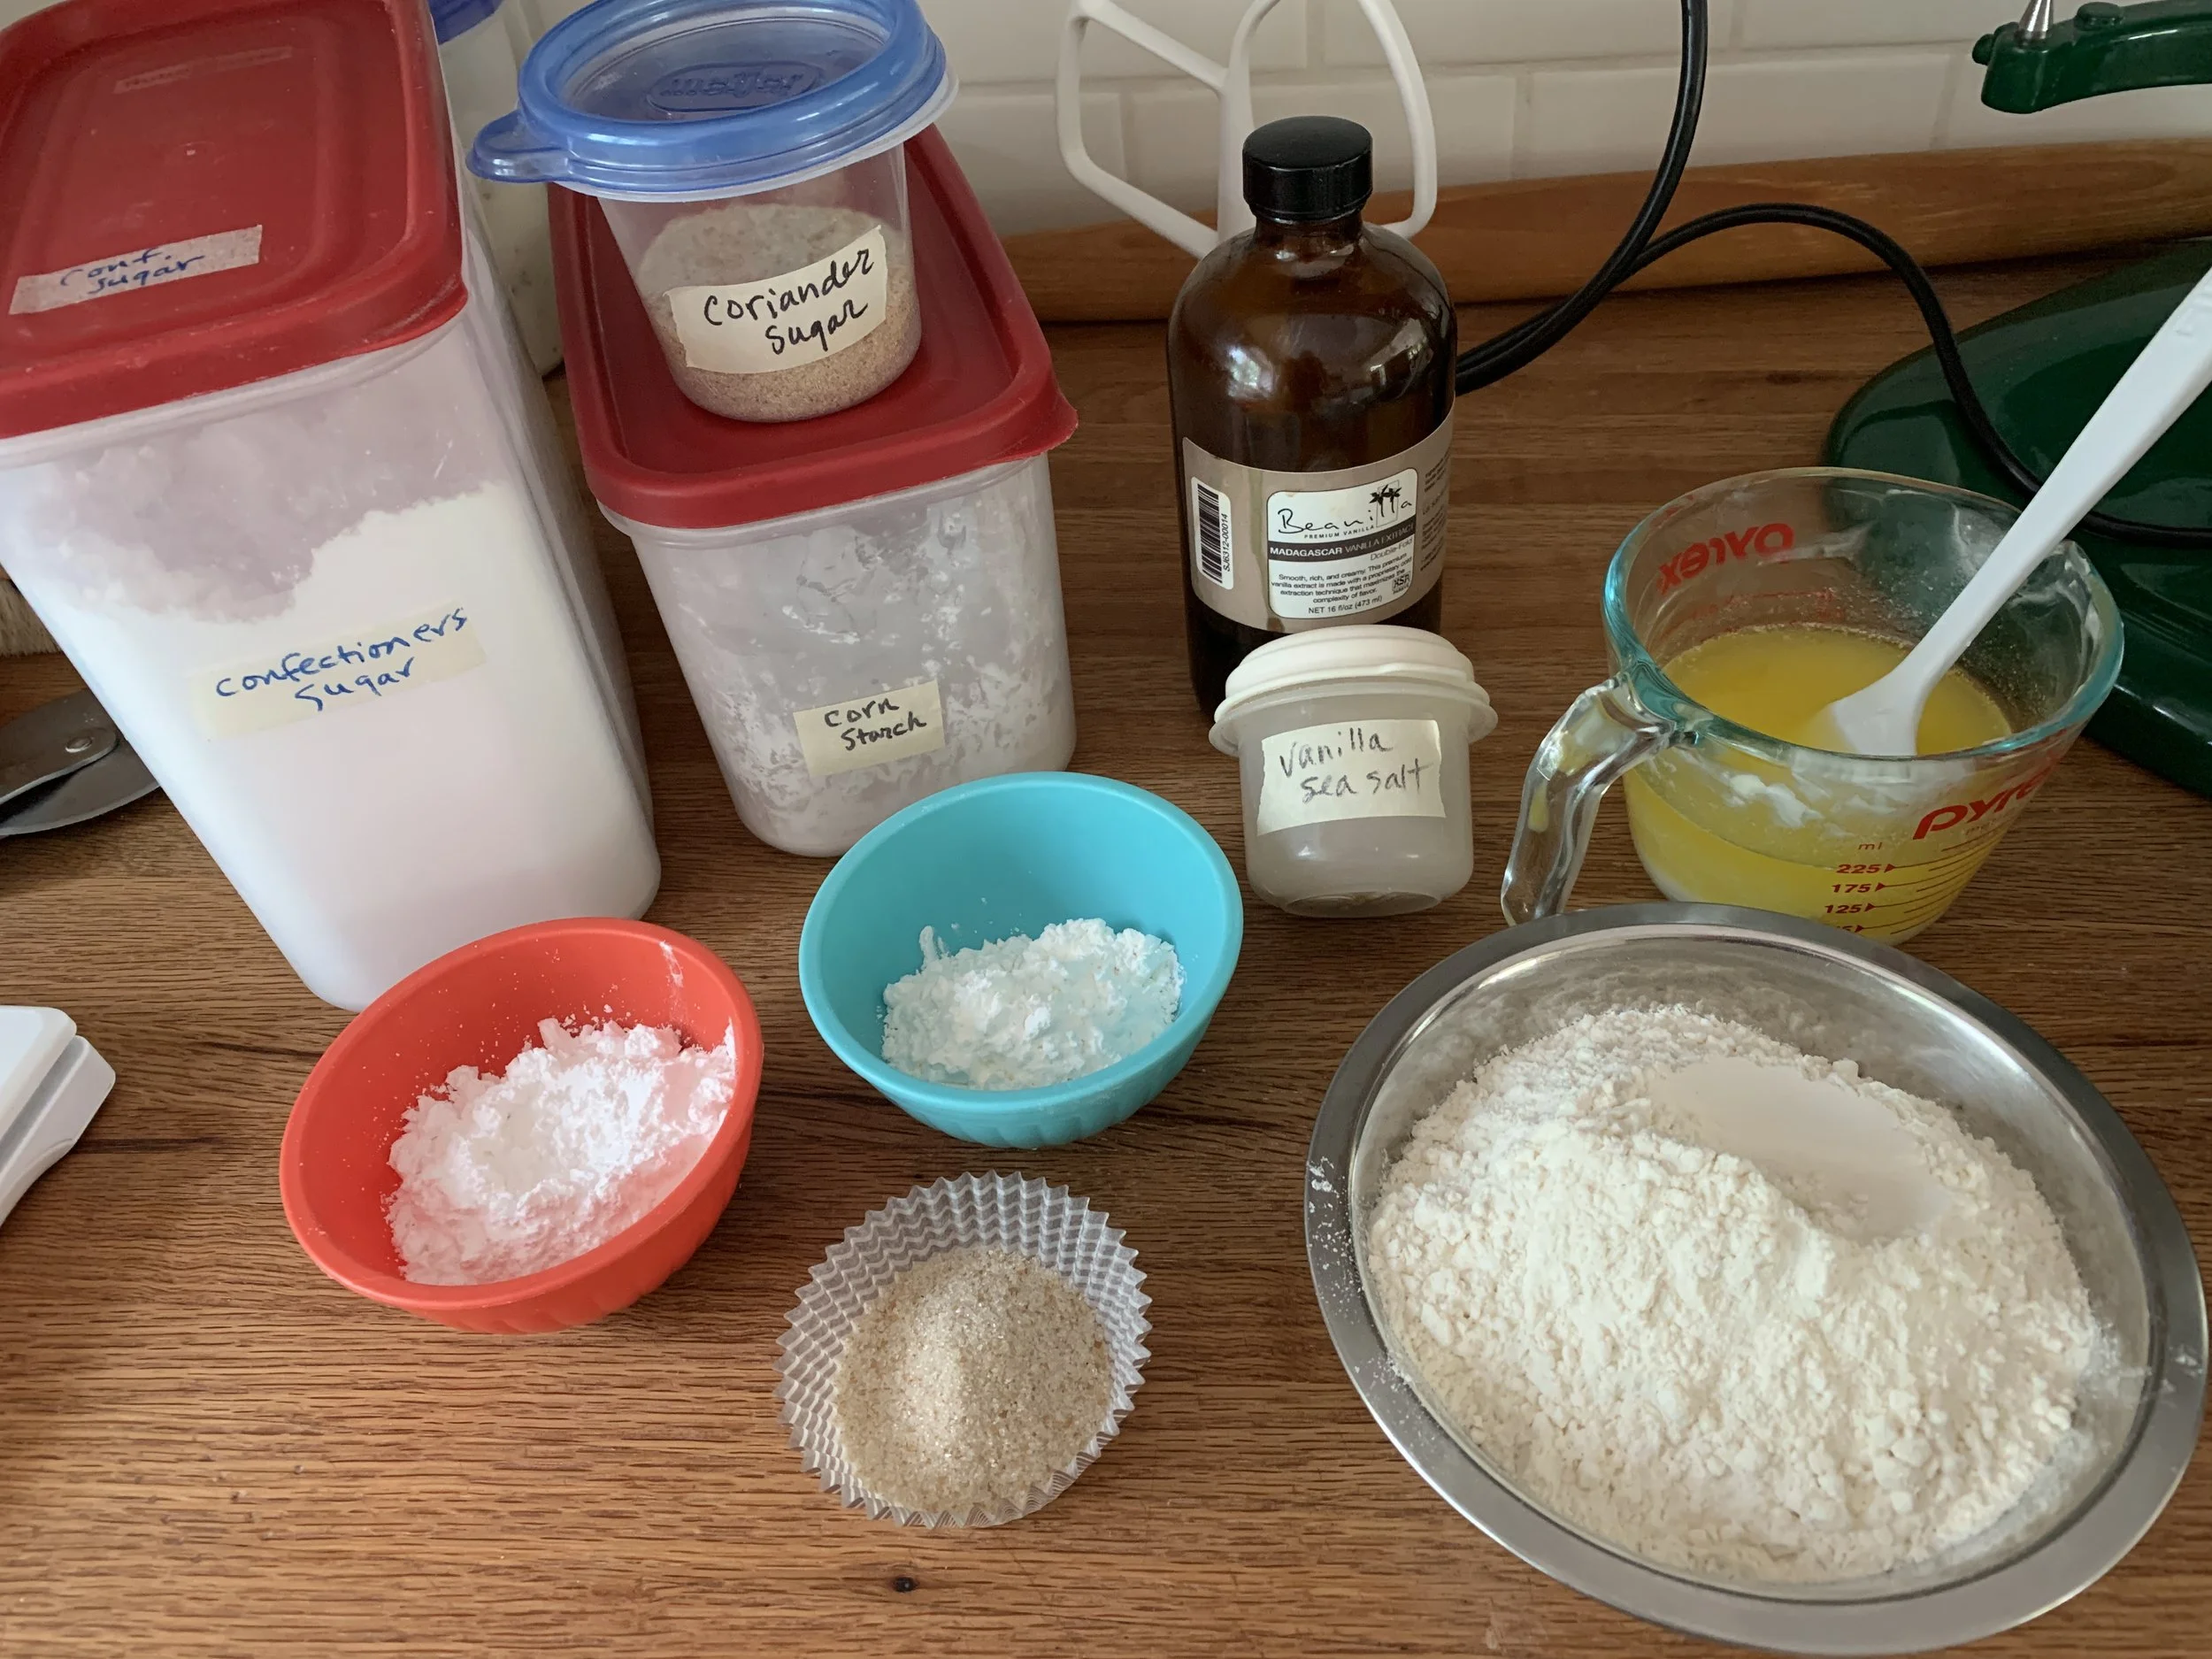
The recipe calls for 40 g each of confectioners and granulated sugars (80 g total); 35 g cornstarch; 170 g unsalted butter, melted and cooled slightly; 1/2 teaspoon vanilla; 1/8 teaspoon salt; 255 g flour. The cornstarch and confectioner’s sugar help to create a tender end result. In place of the plain granulated sugar I used a mix of coarse raw sugar and golden cane sugar mixed with coriander. I used a Danish lightly salted butter and added 1/2 teaspoon ground vanilla bean.
Line an 8” square pan with parchment (enough to let it extend over the edges). Heat oven to 400ºF (this temperature caught my eye - much higher than my usual 300-325ºF baking temp for shortbread).
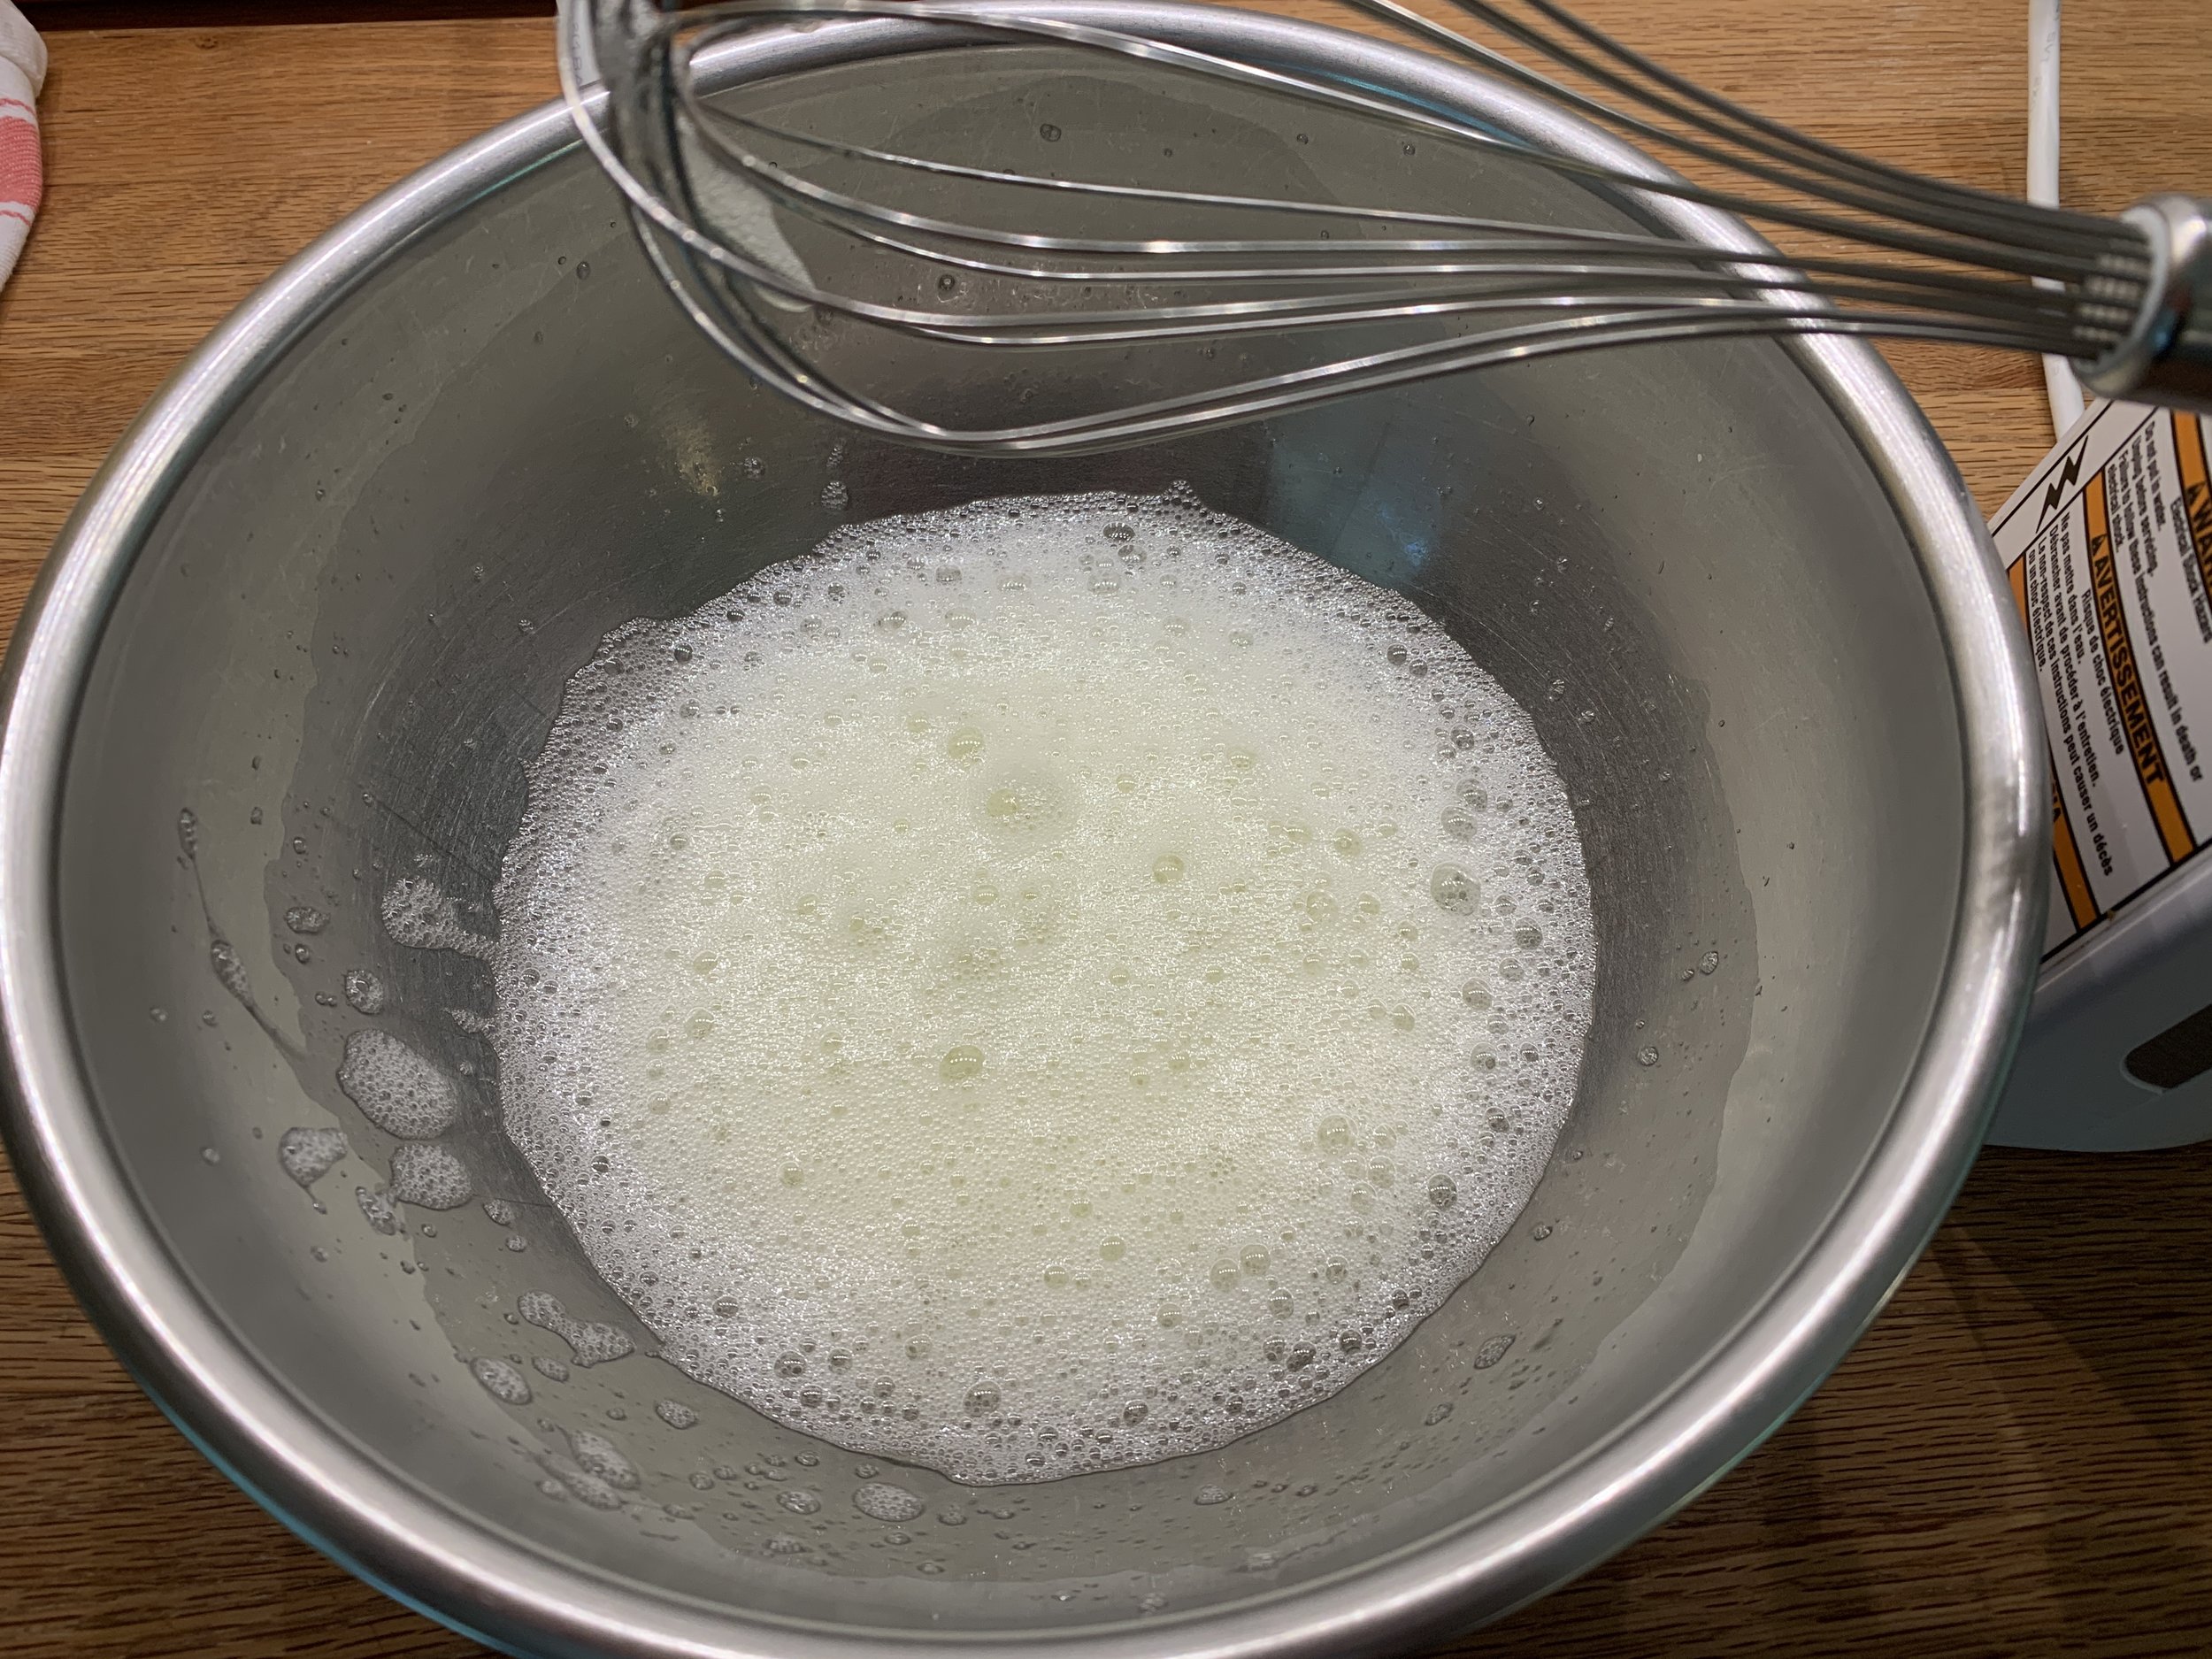
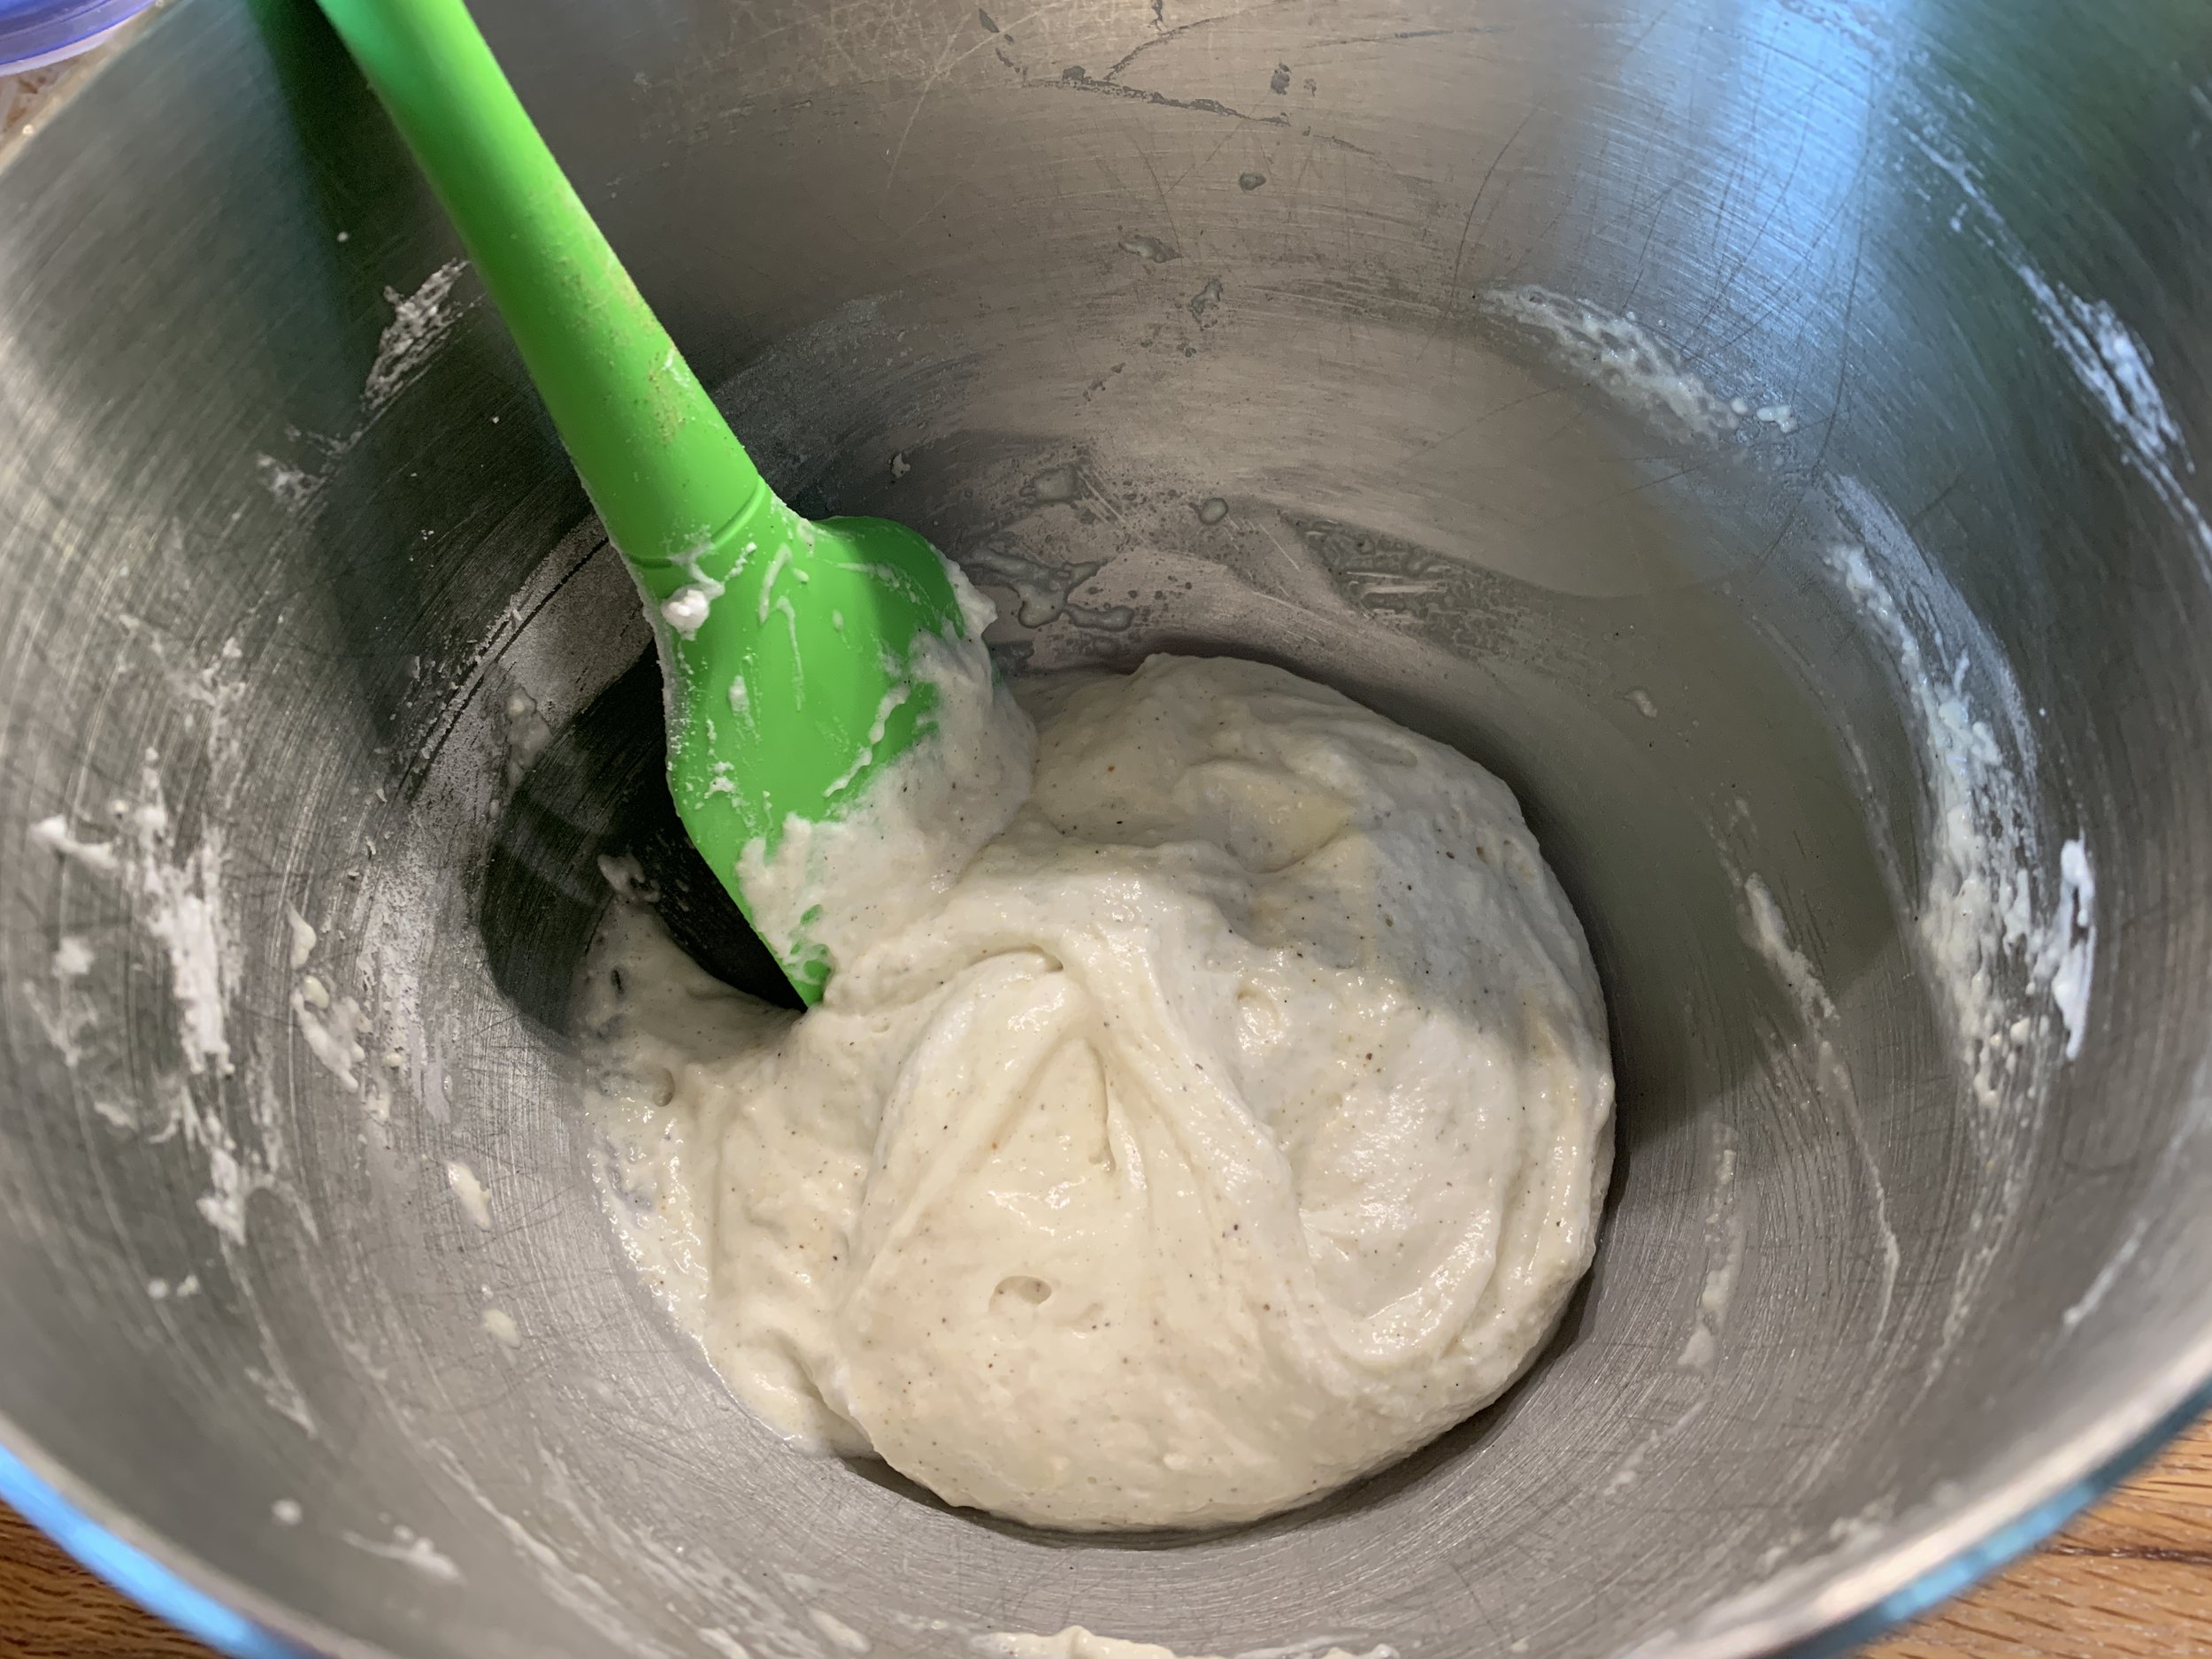
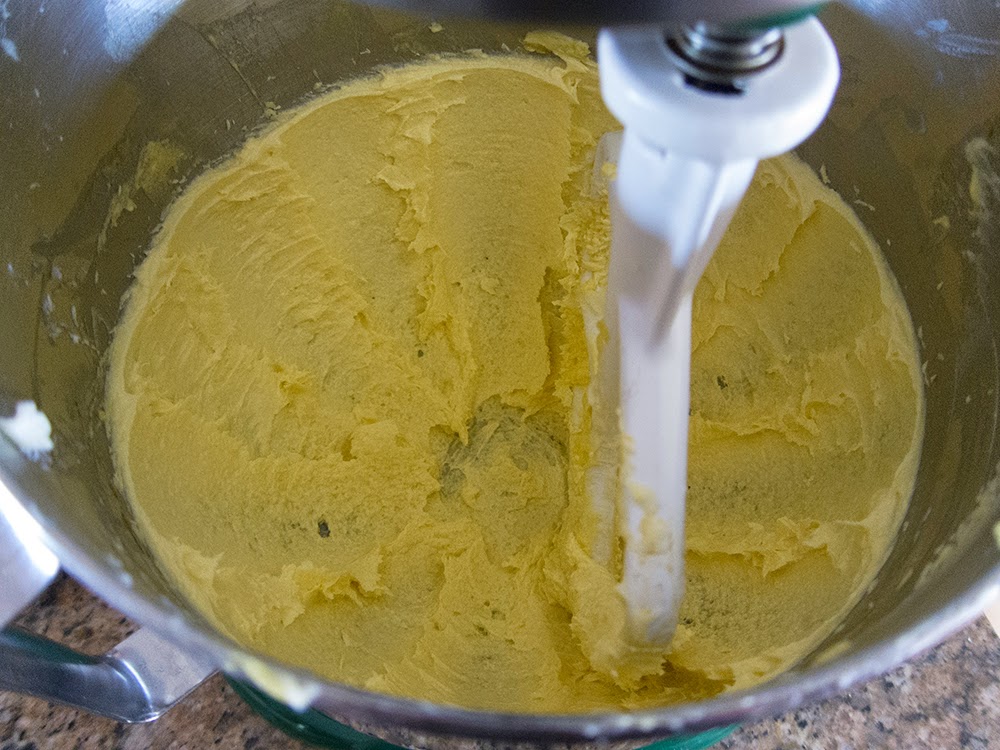
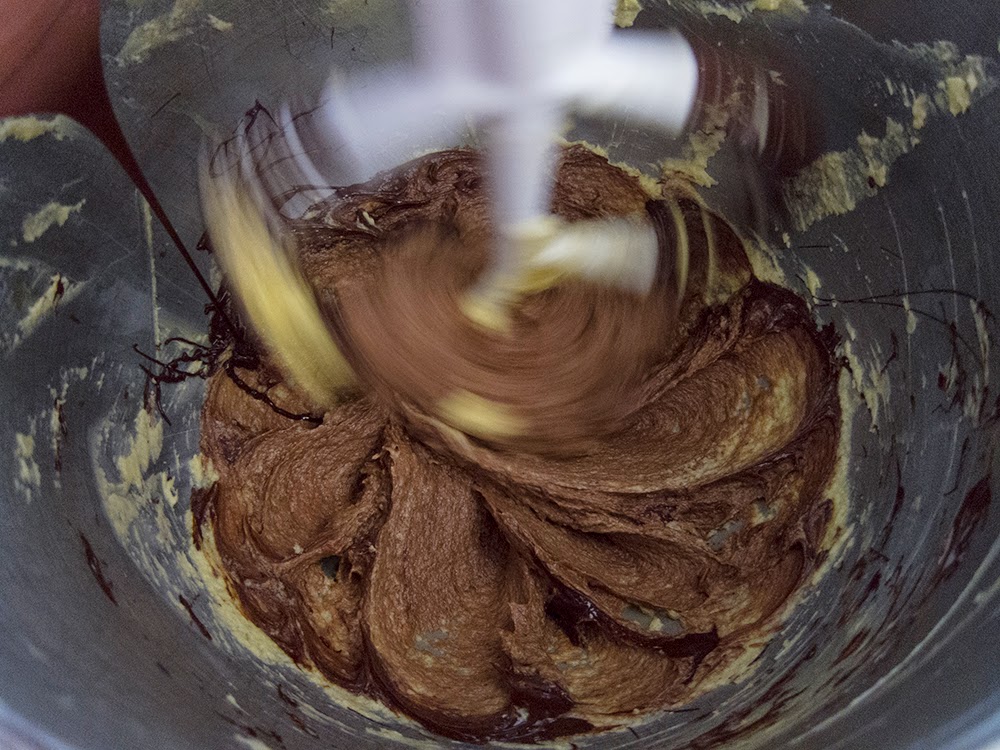
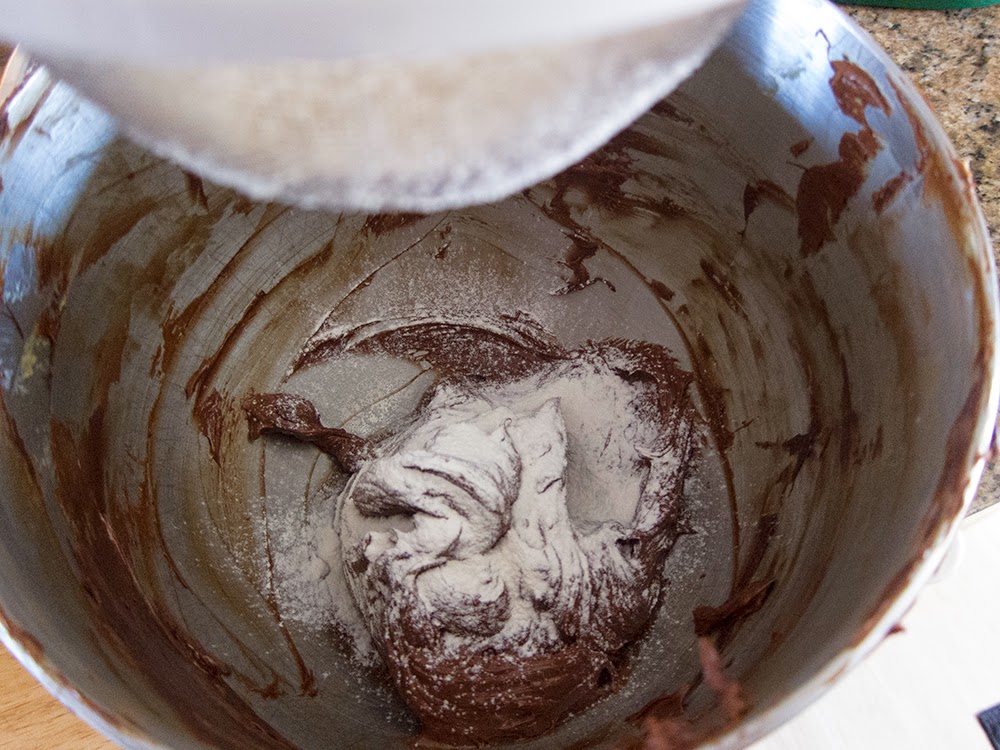
In the bowl of a stand mixer, briefly hand whisk the sugars and cornstarch together then, using the paddle on low, drizzle in the melted butter to combine. Blend in 1/2 teaspoon vanilla, 1/4 teaspoon ground vanilla bean (OPT), the flour, a large pinch of salt and mix until the dough comes together.
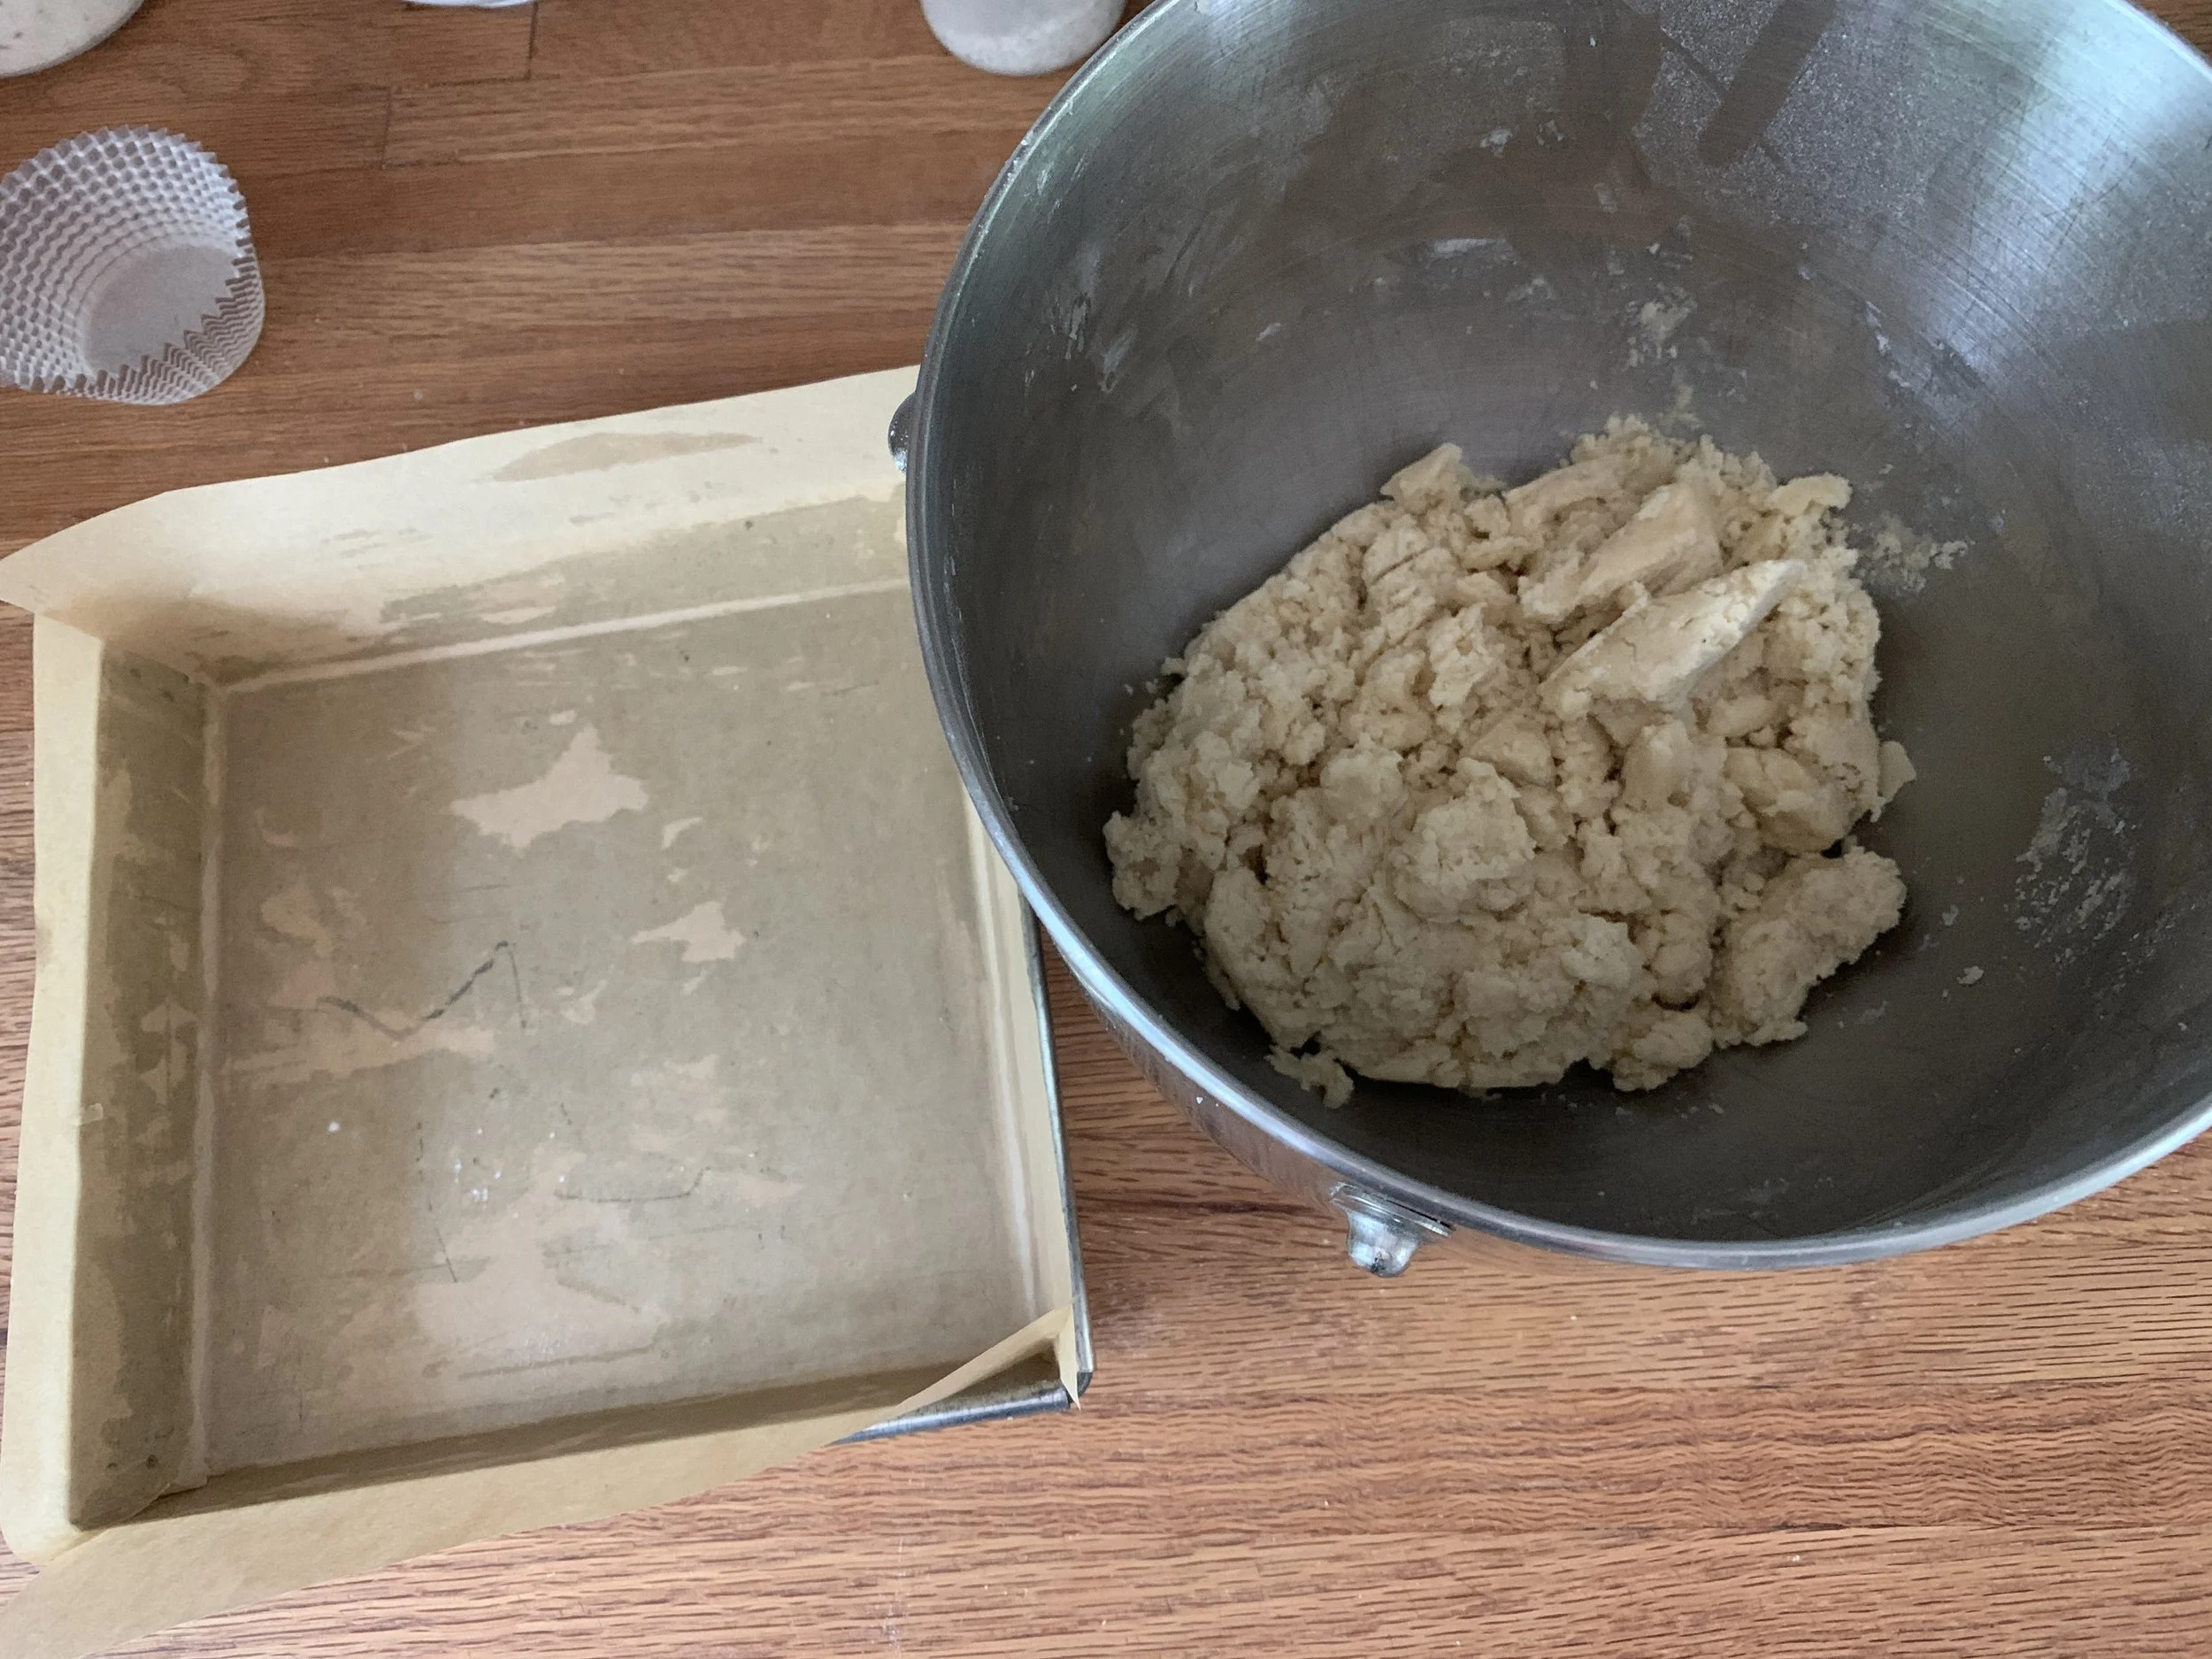
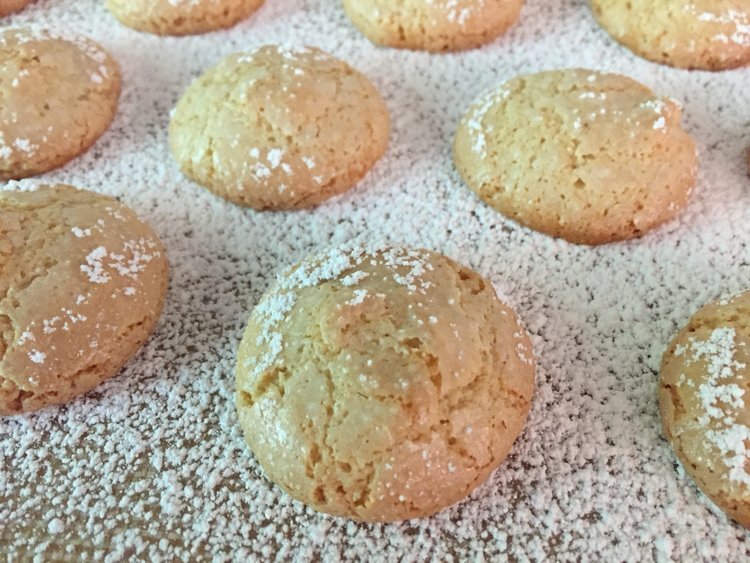
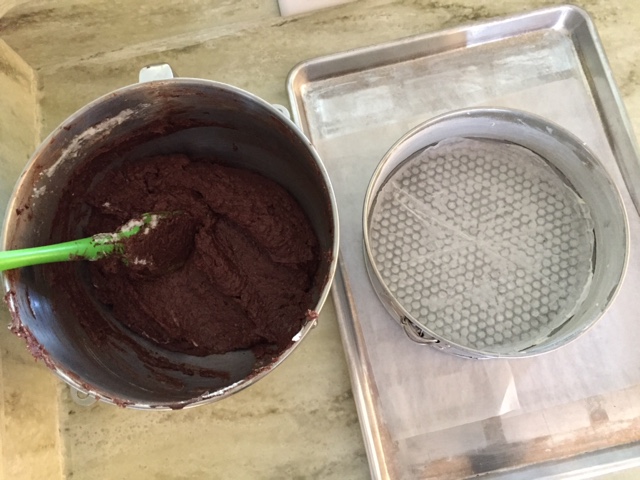
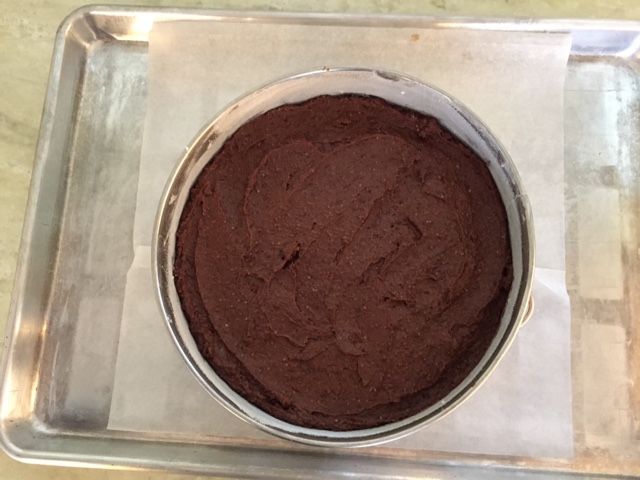
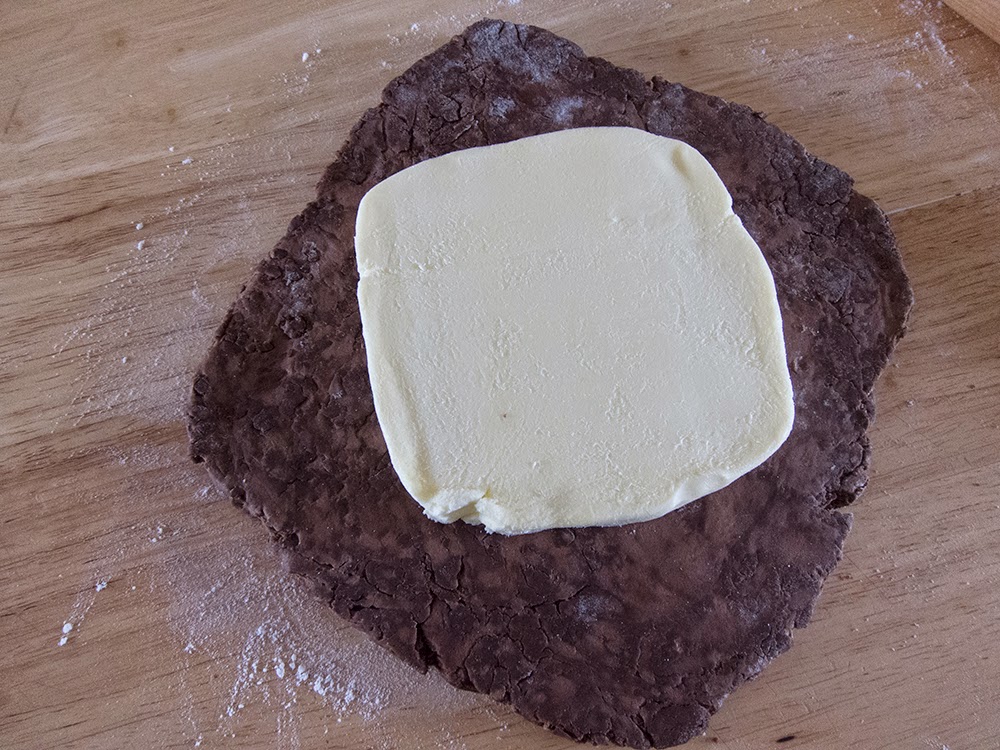
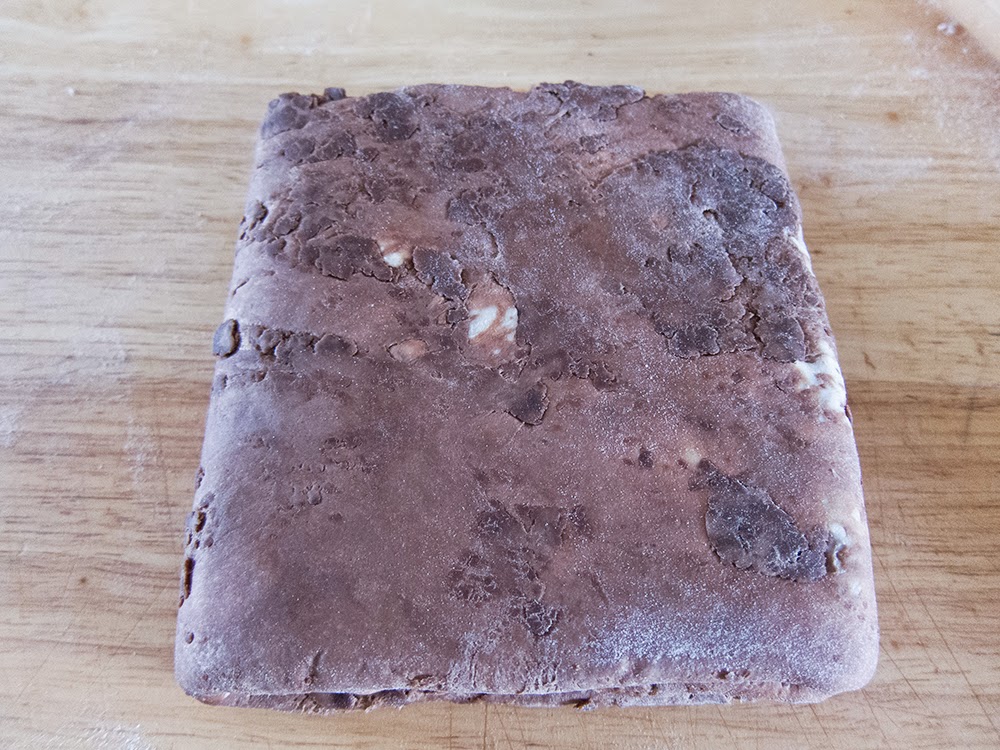
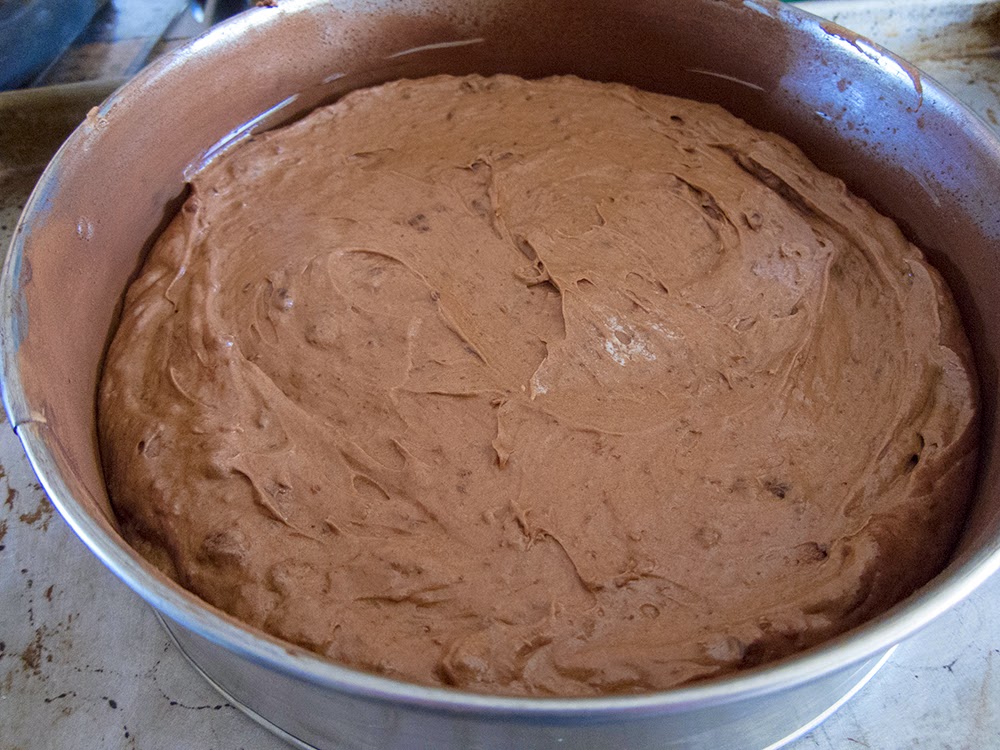
Press dough into the prepared pan and smooth the top.
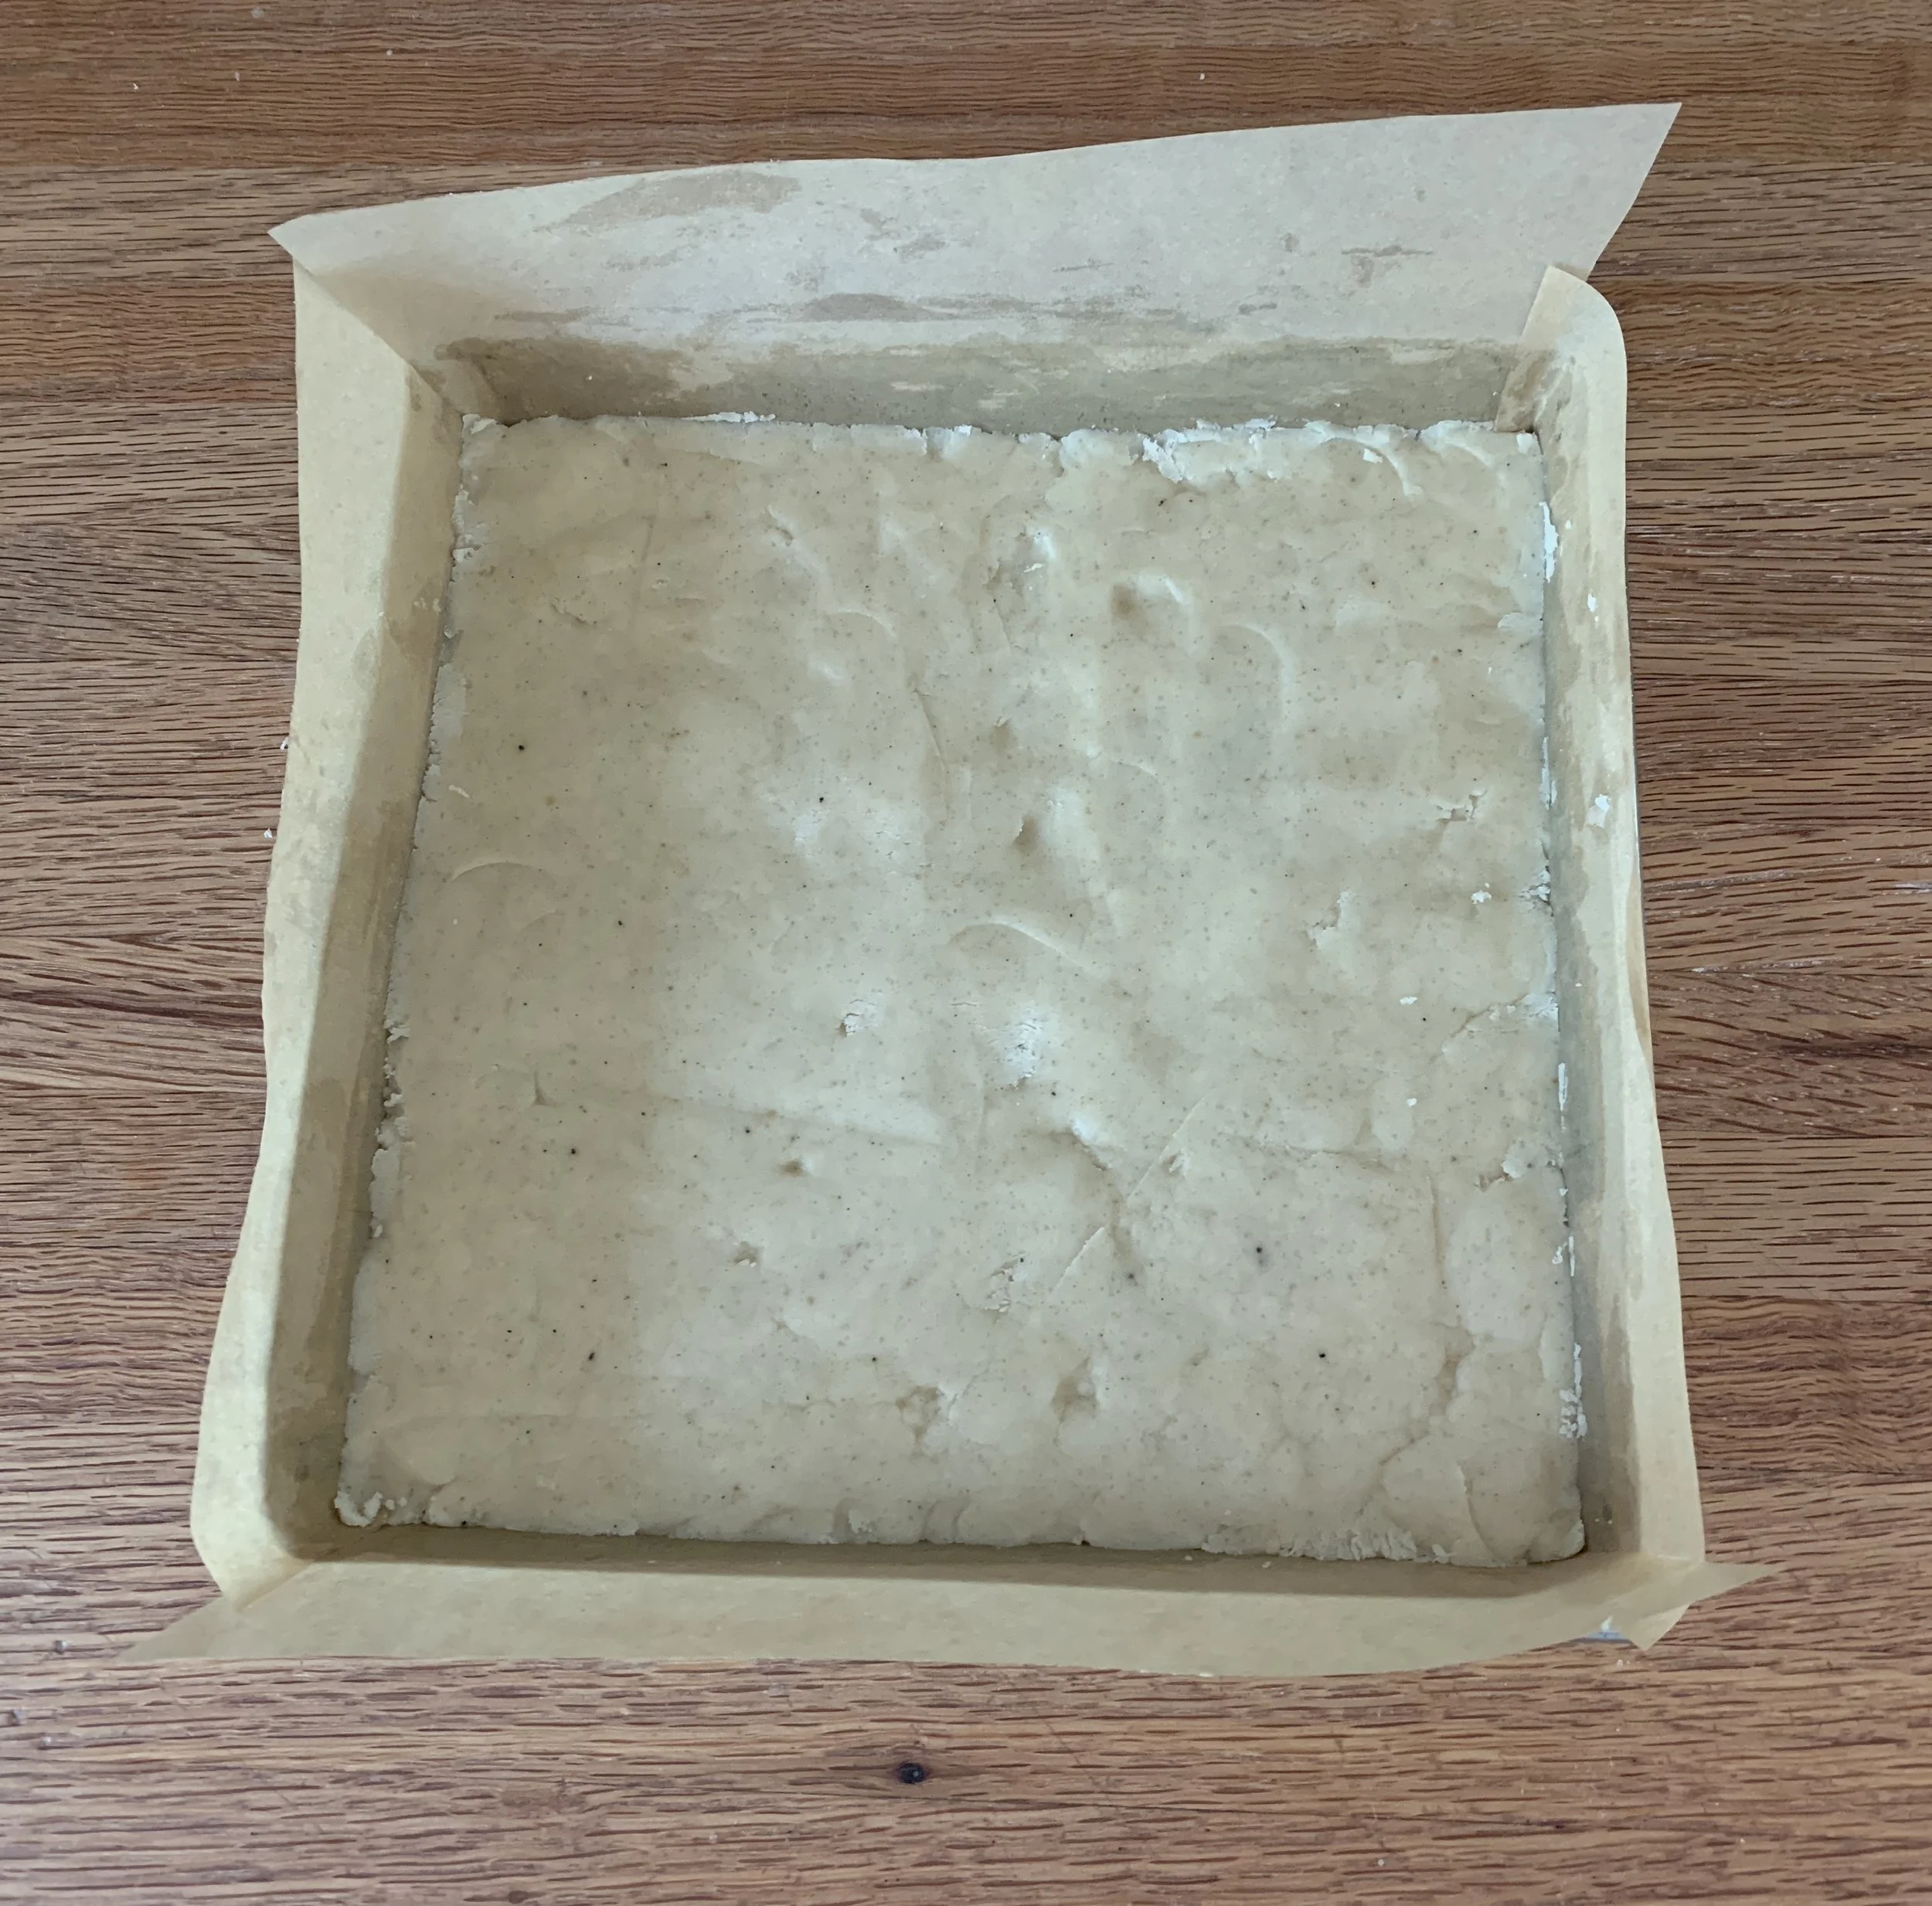
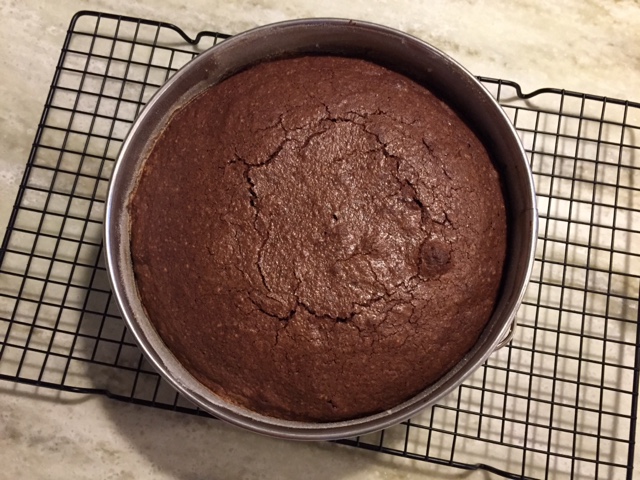
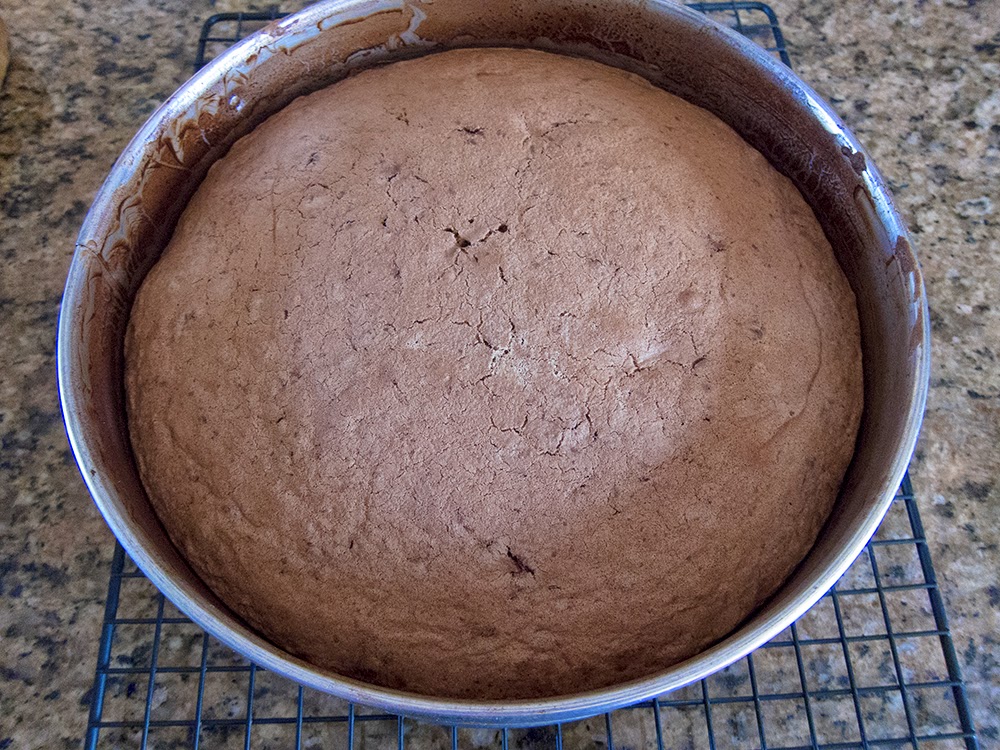
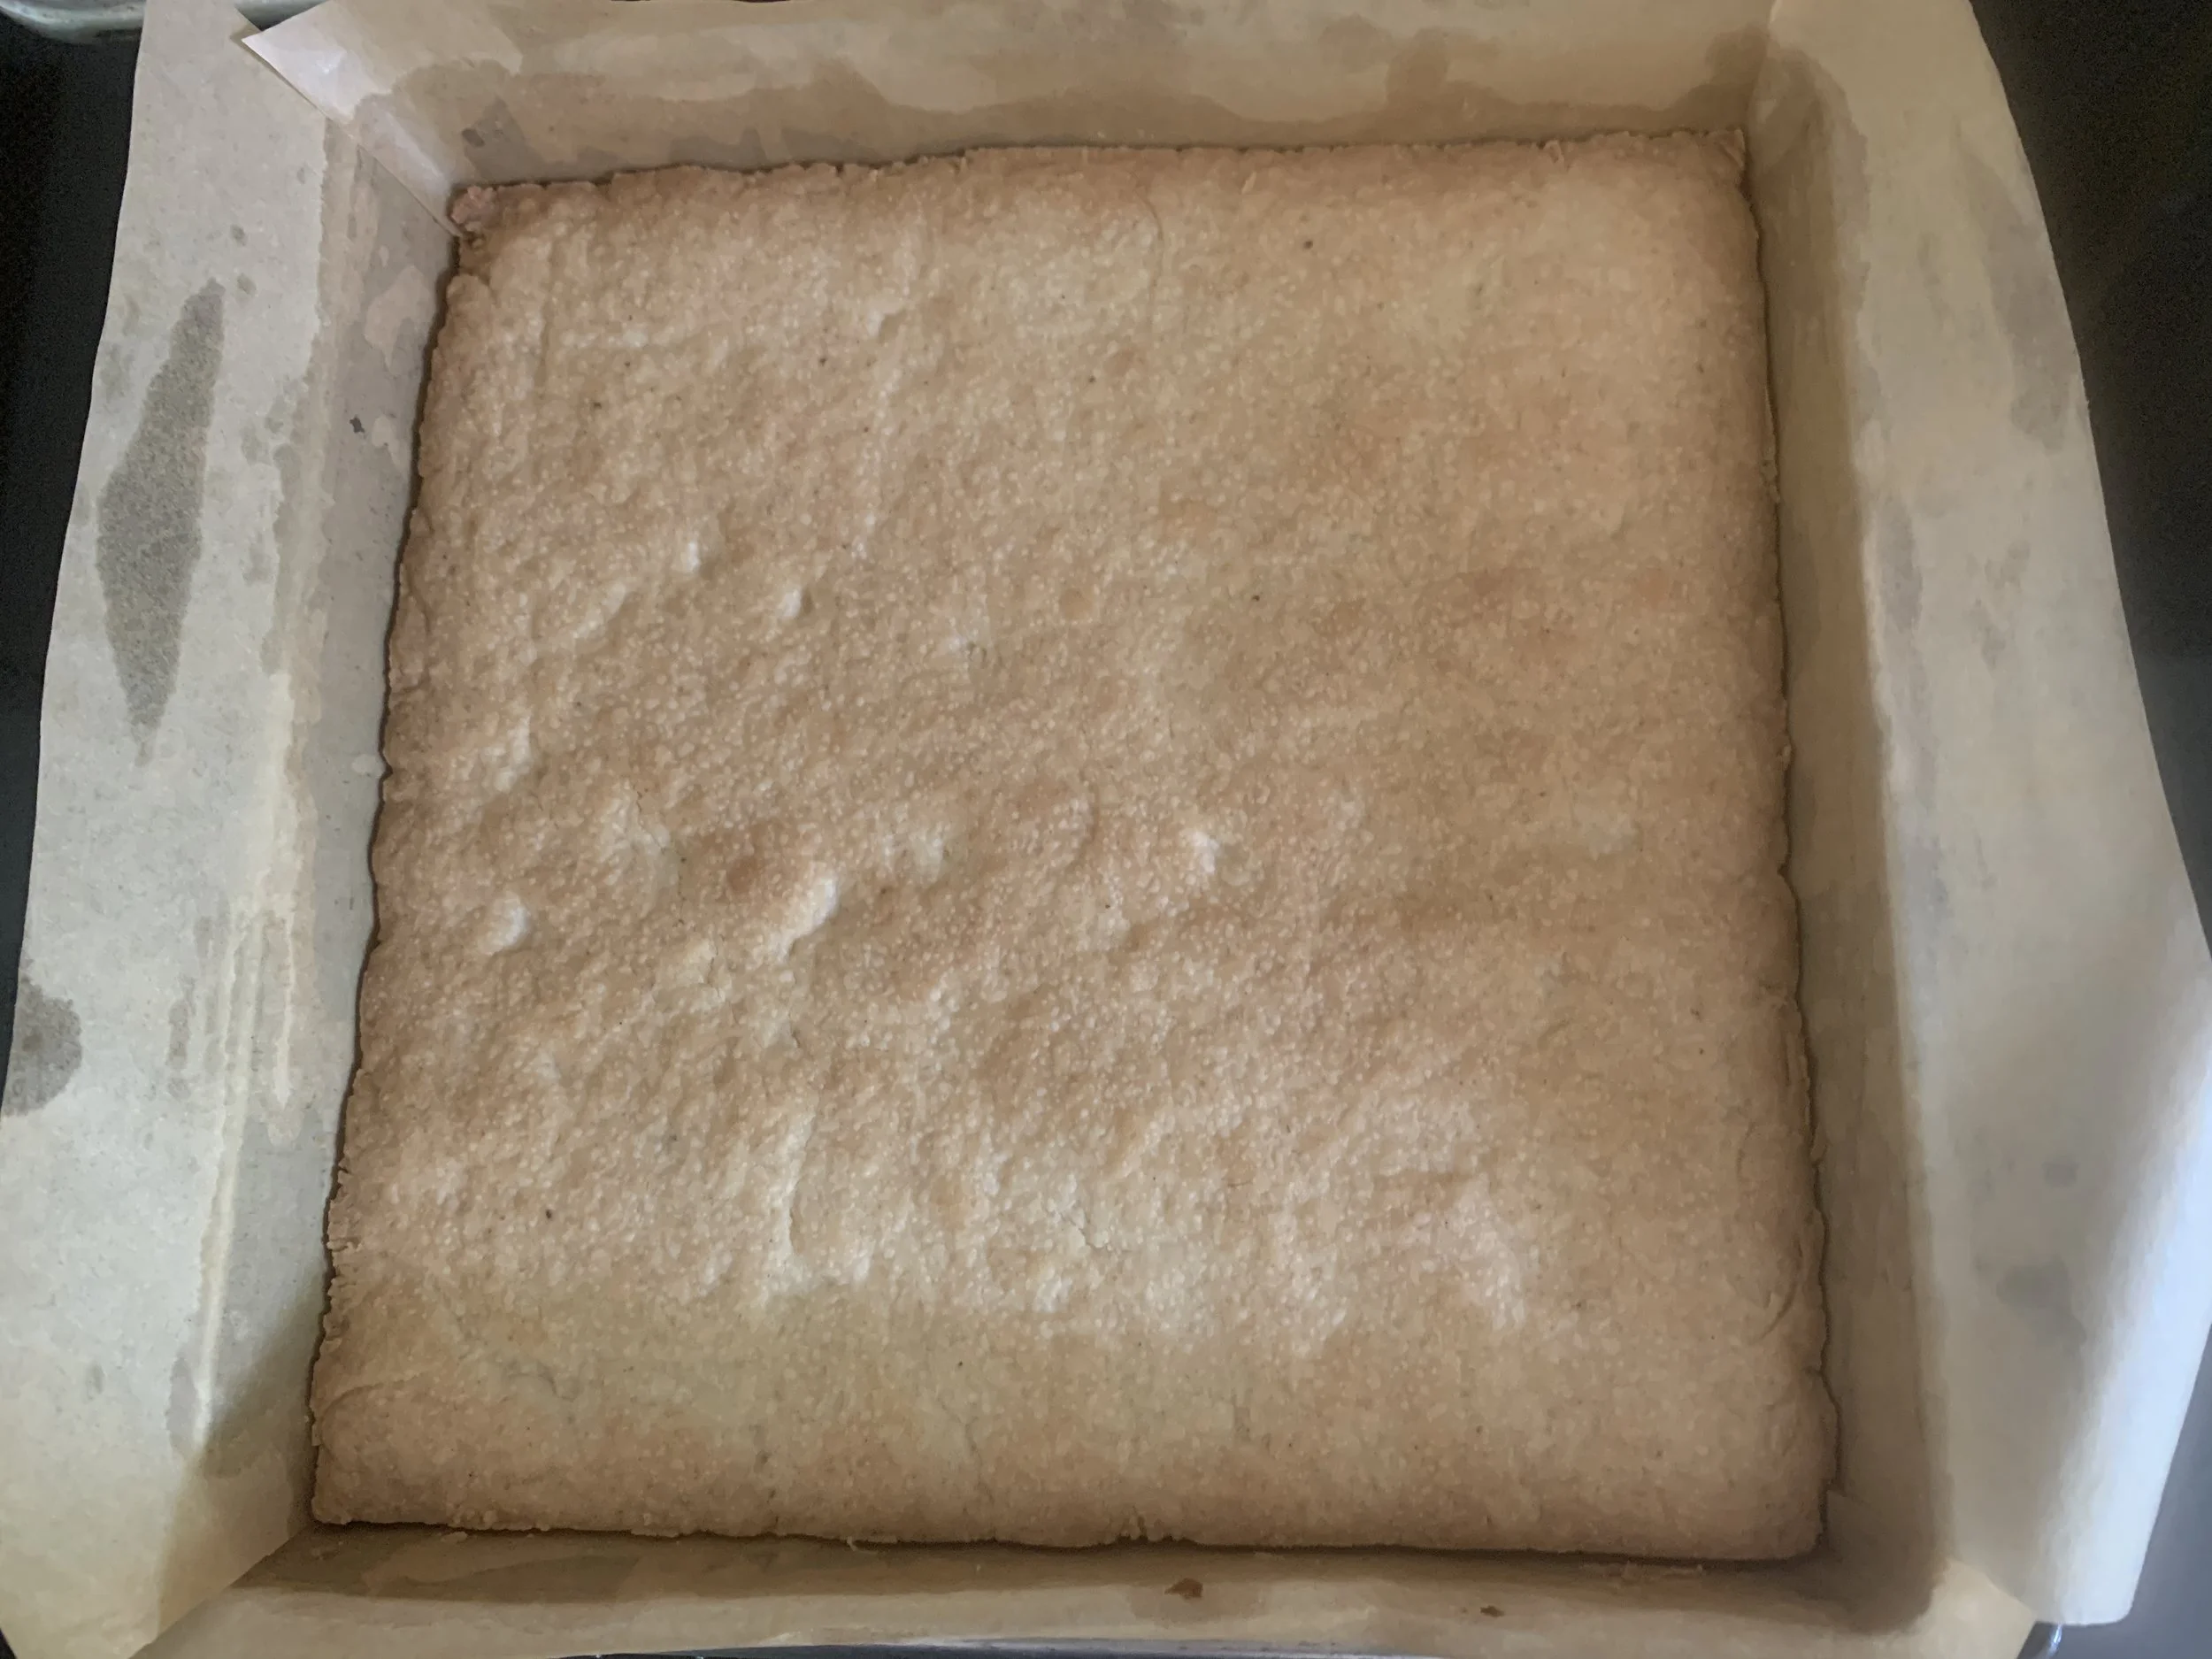
Bake at 400ºF and bake for 25 minutes until golden brown. Cool completely before proceeding.
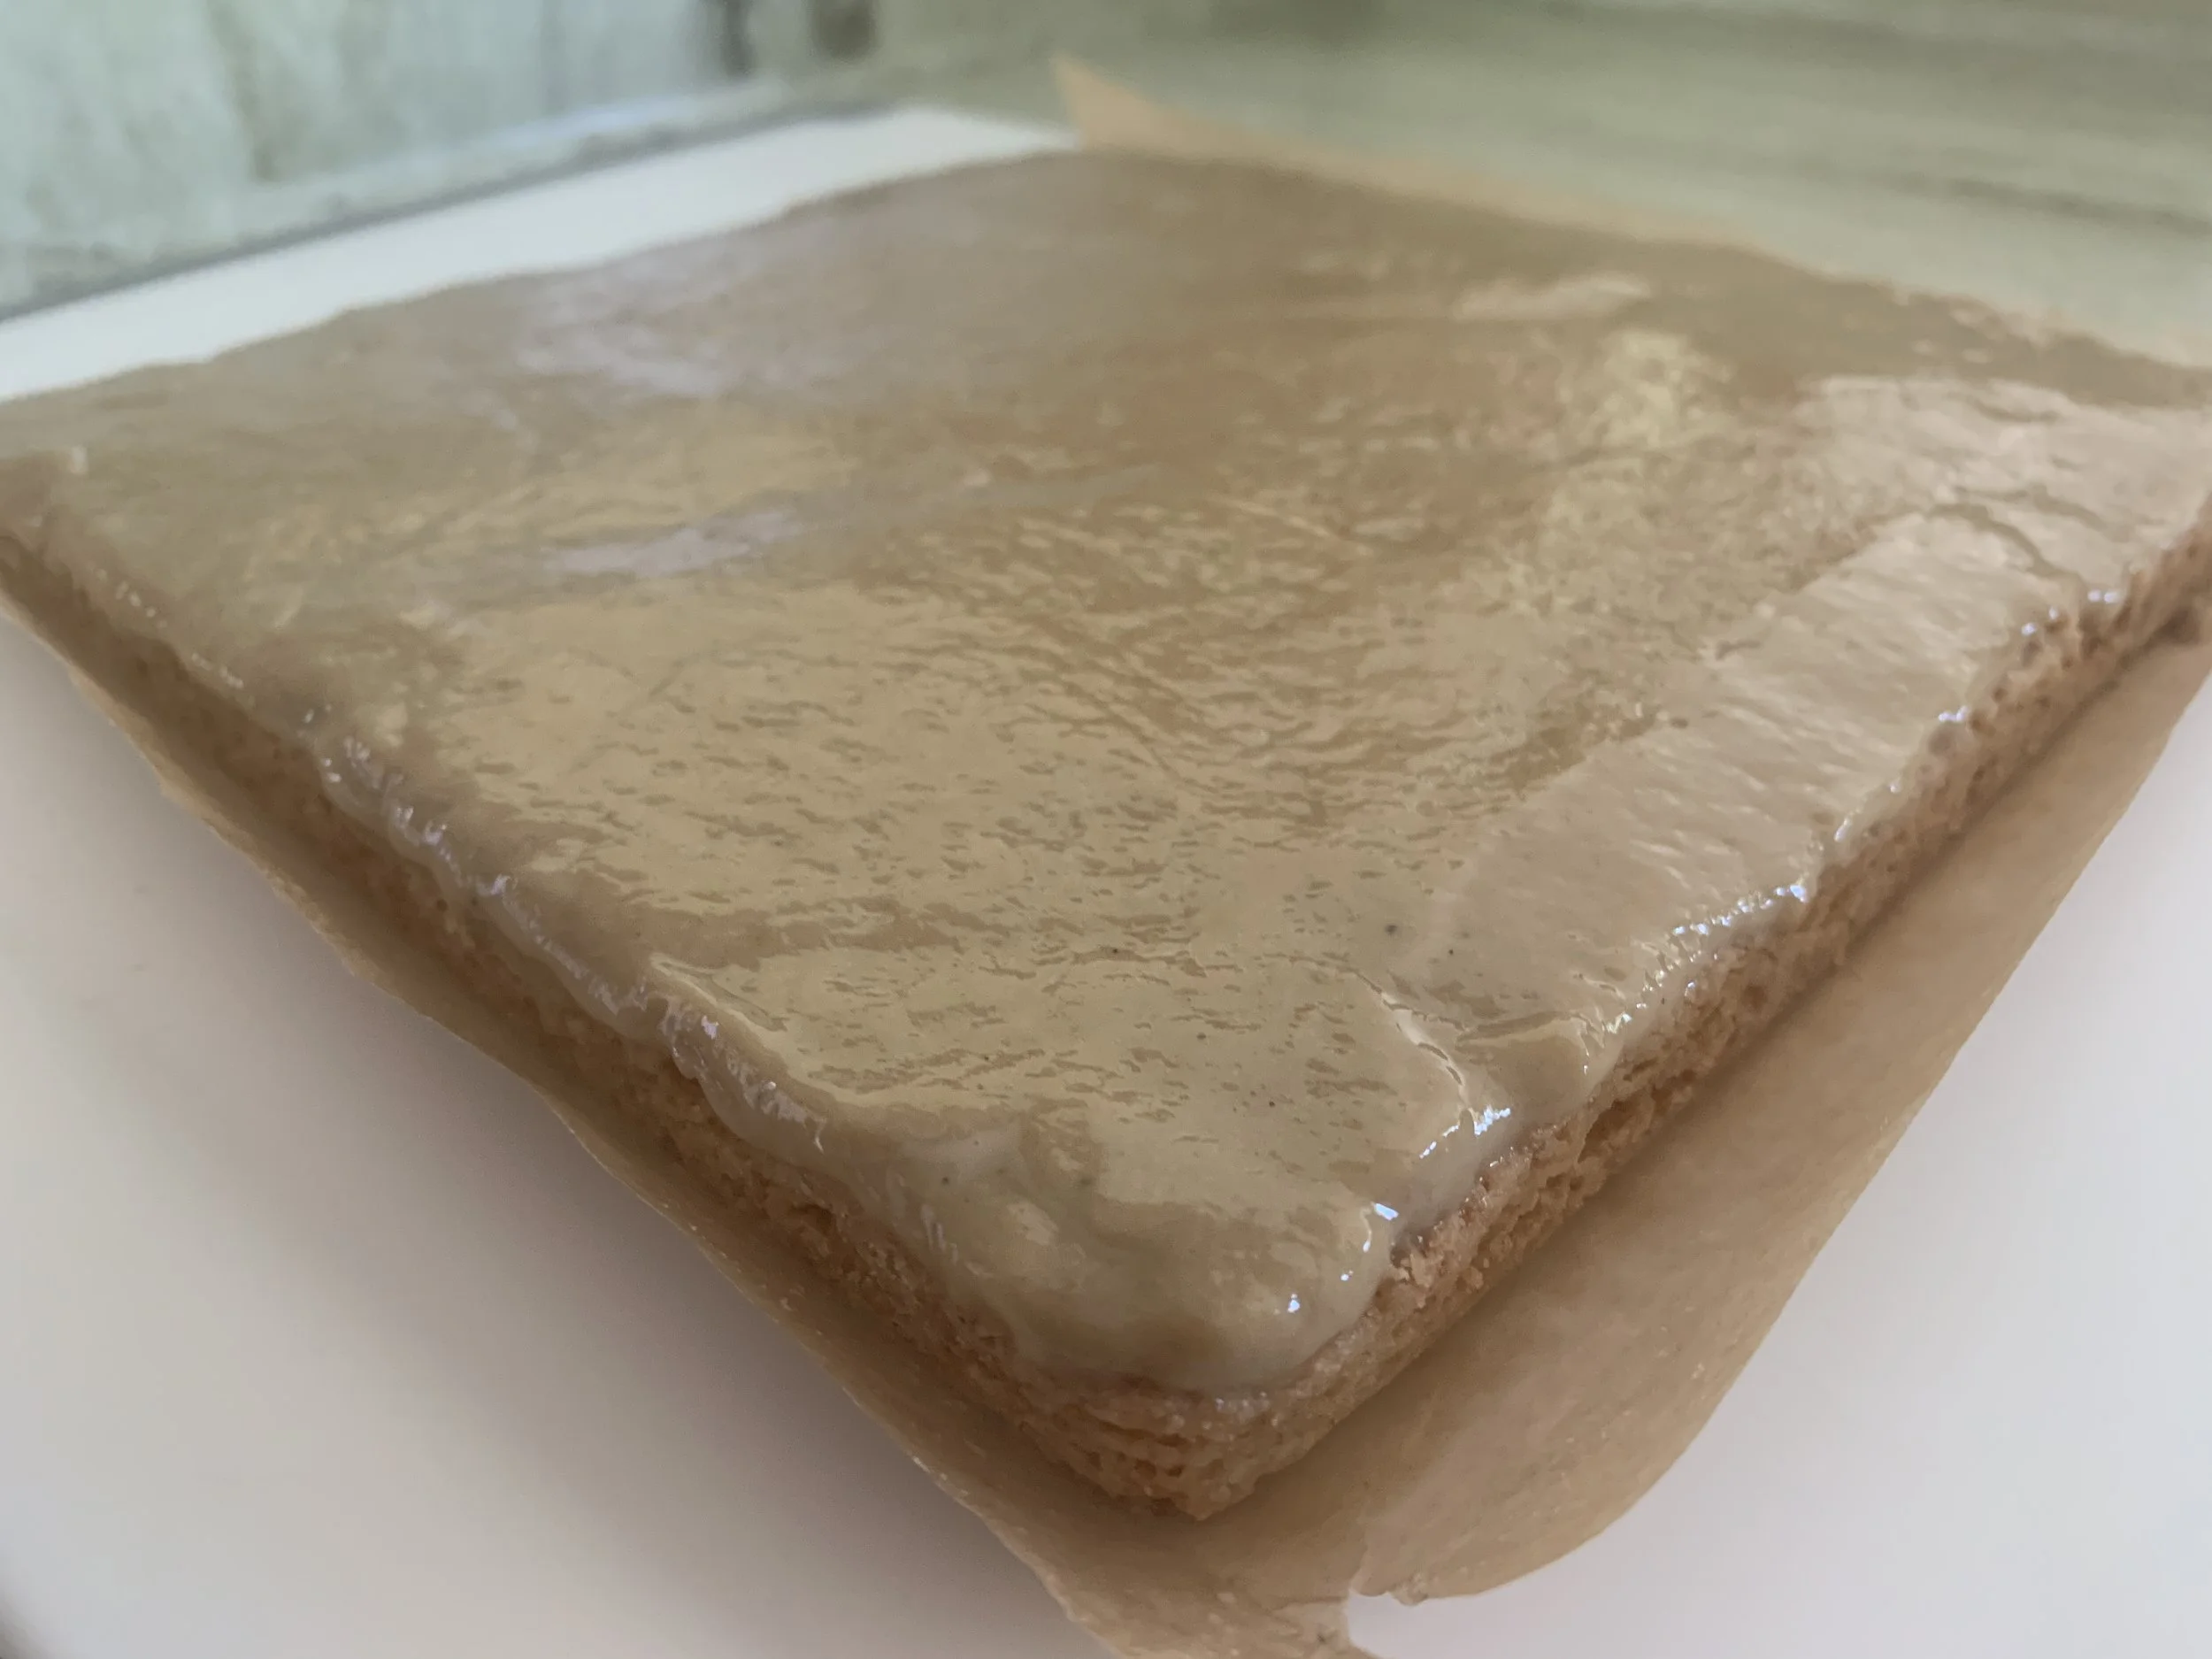
For my second layer I checked out a few make-it-yourself halva recipes rather than purchasing a mass produced version. Halva is a fudge like confection made with sesame paste (tahini) and sugar. I opted to use honey in place of sugar since it offers a bit more in the “healthy” department - it’s a simple sugar (fructose) and tends to have a slightly lower glycemic index (doesn’t amp up you blood sugar quite as much as cane sugar). Plus it contains a mix of amino acids, minerals, iron and zinc. But let’s be clear - it is still sweet. Check out the recipe PDF for the halva process.
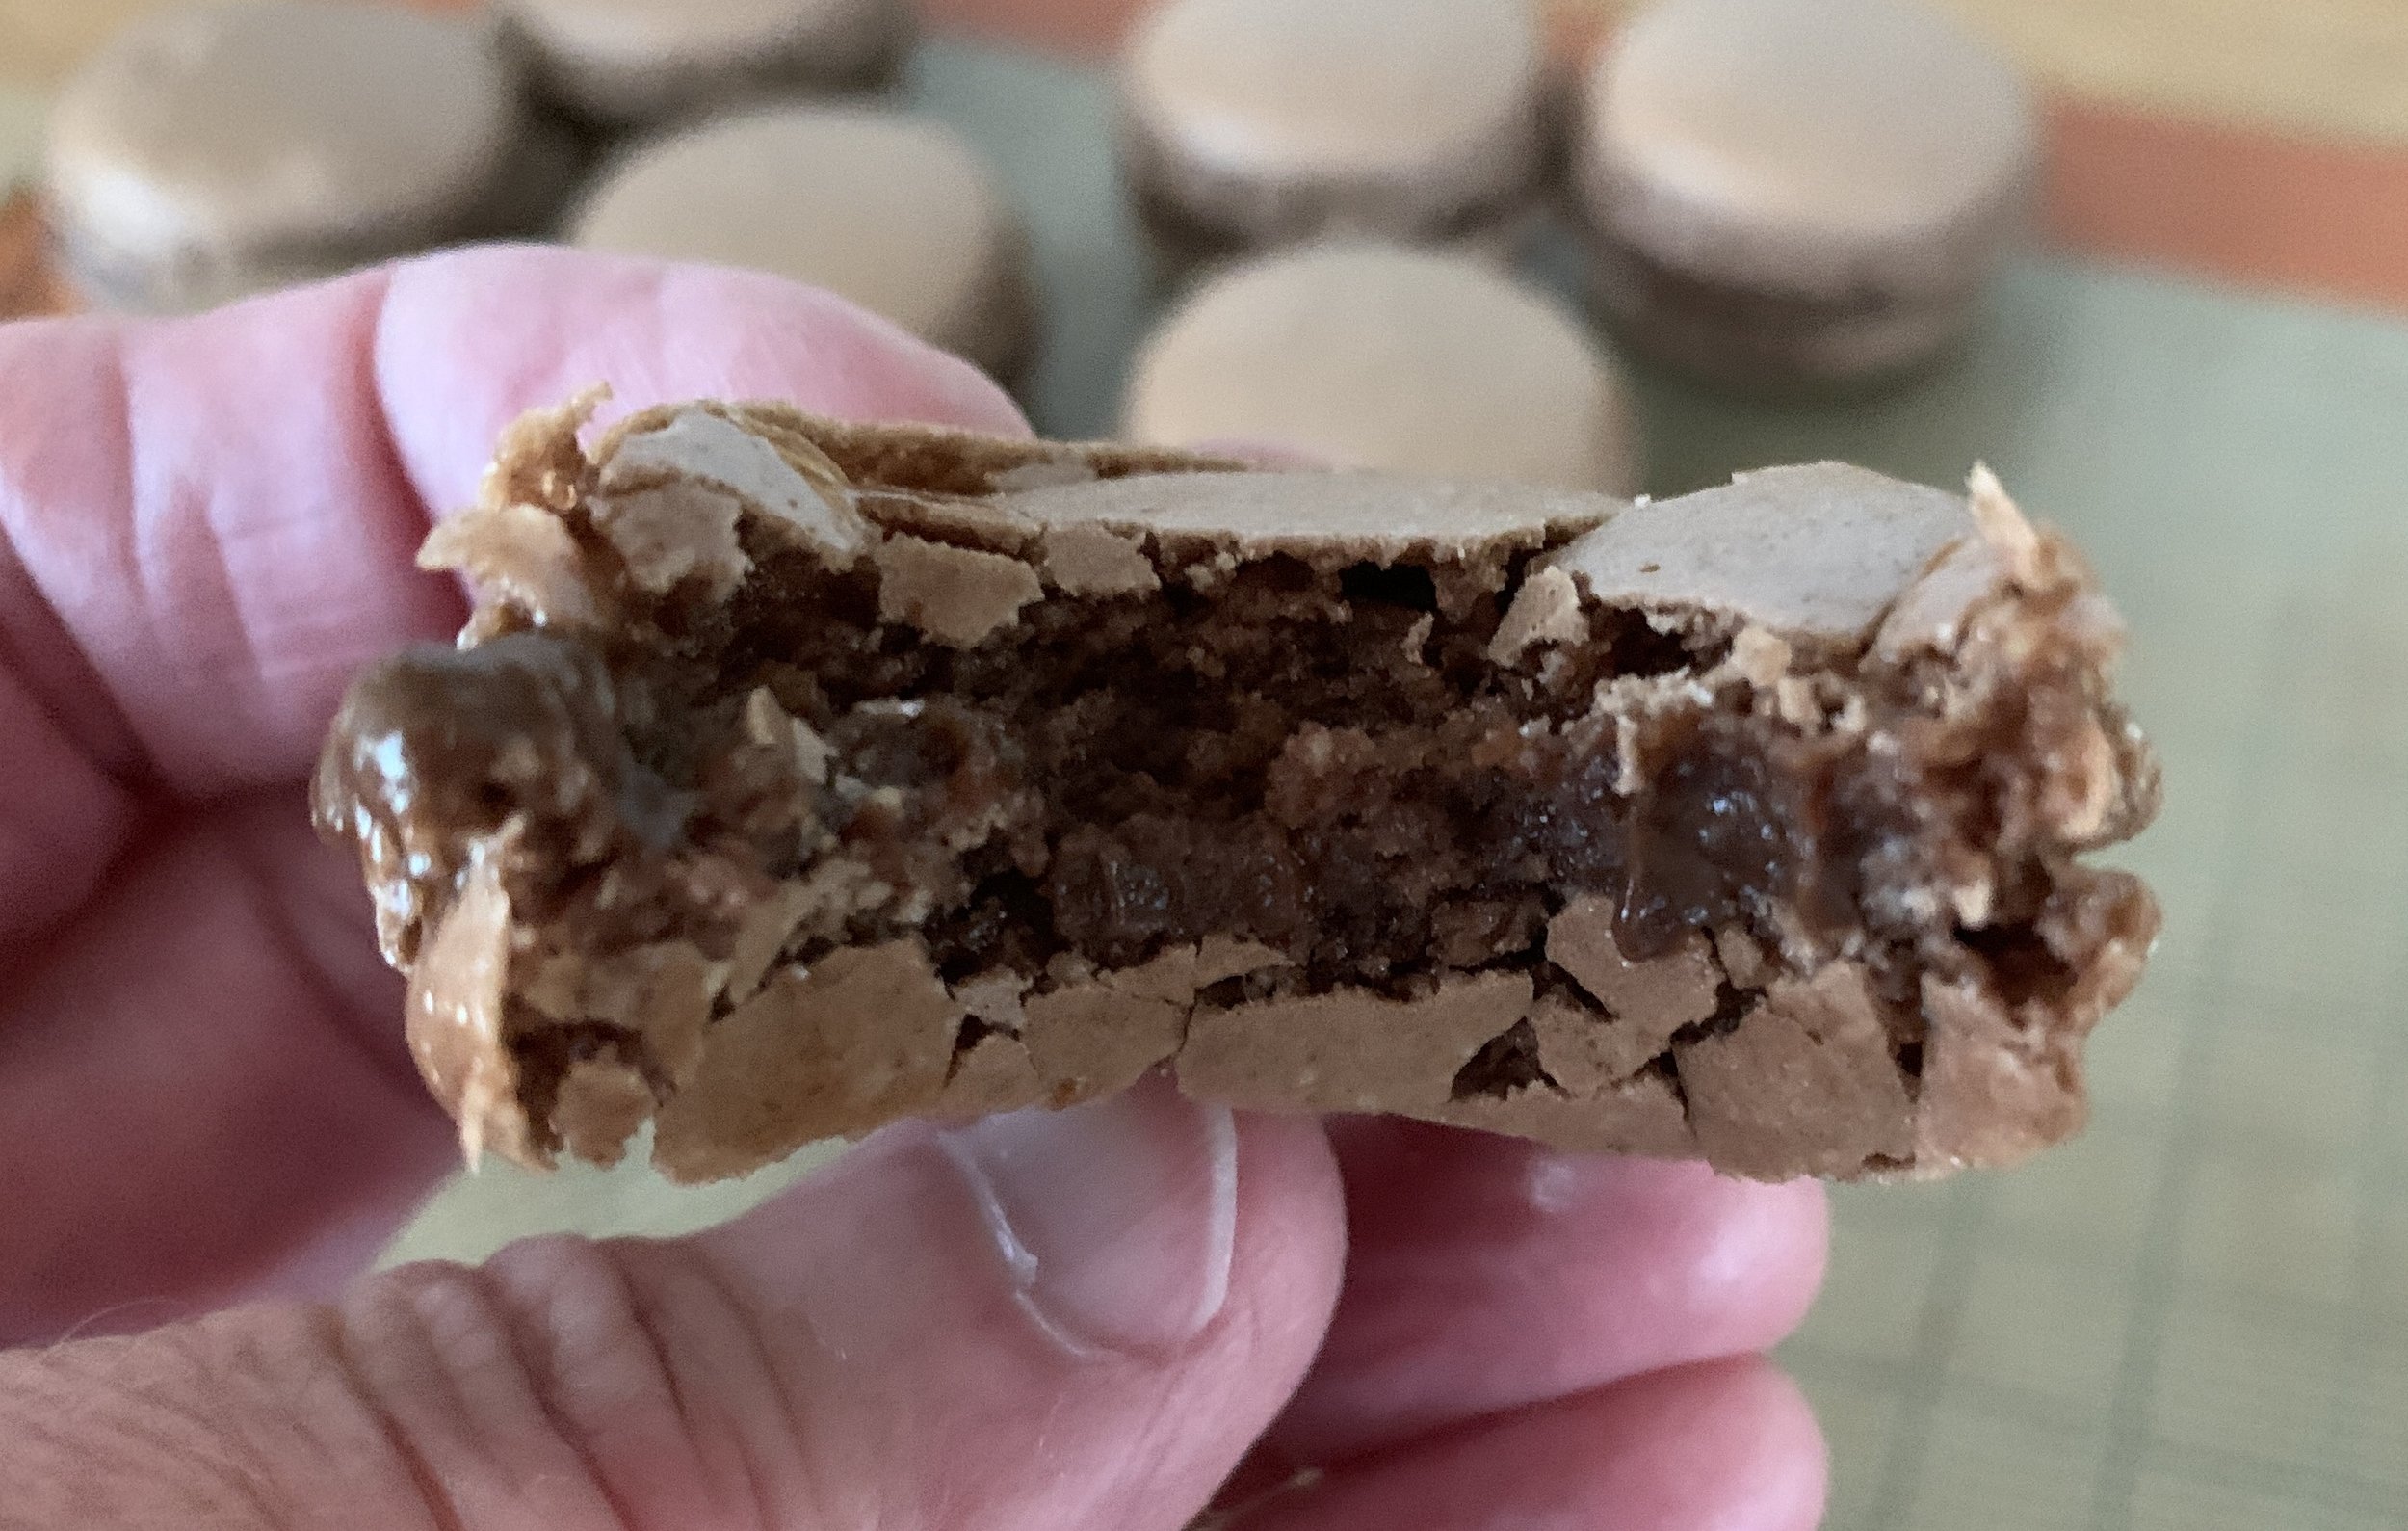
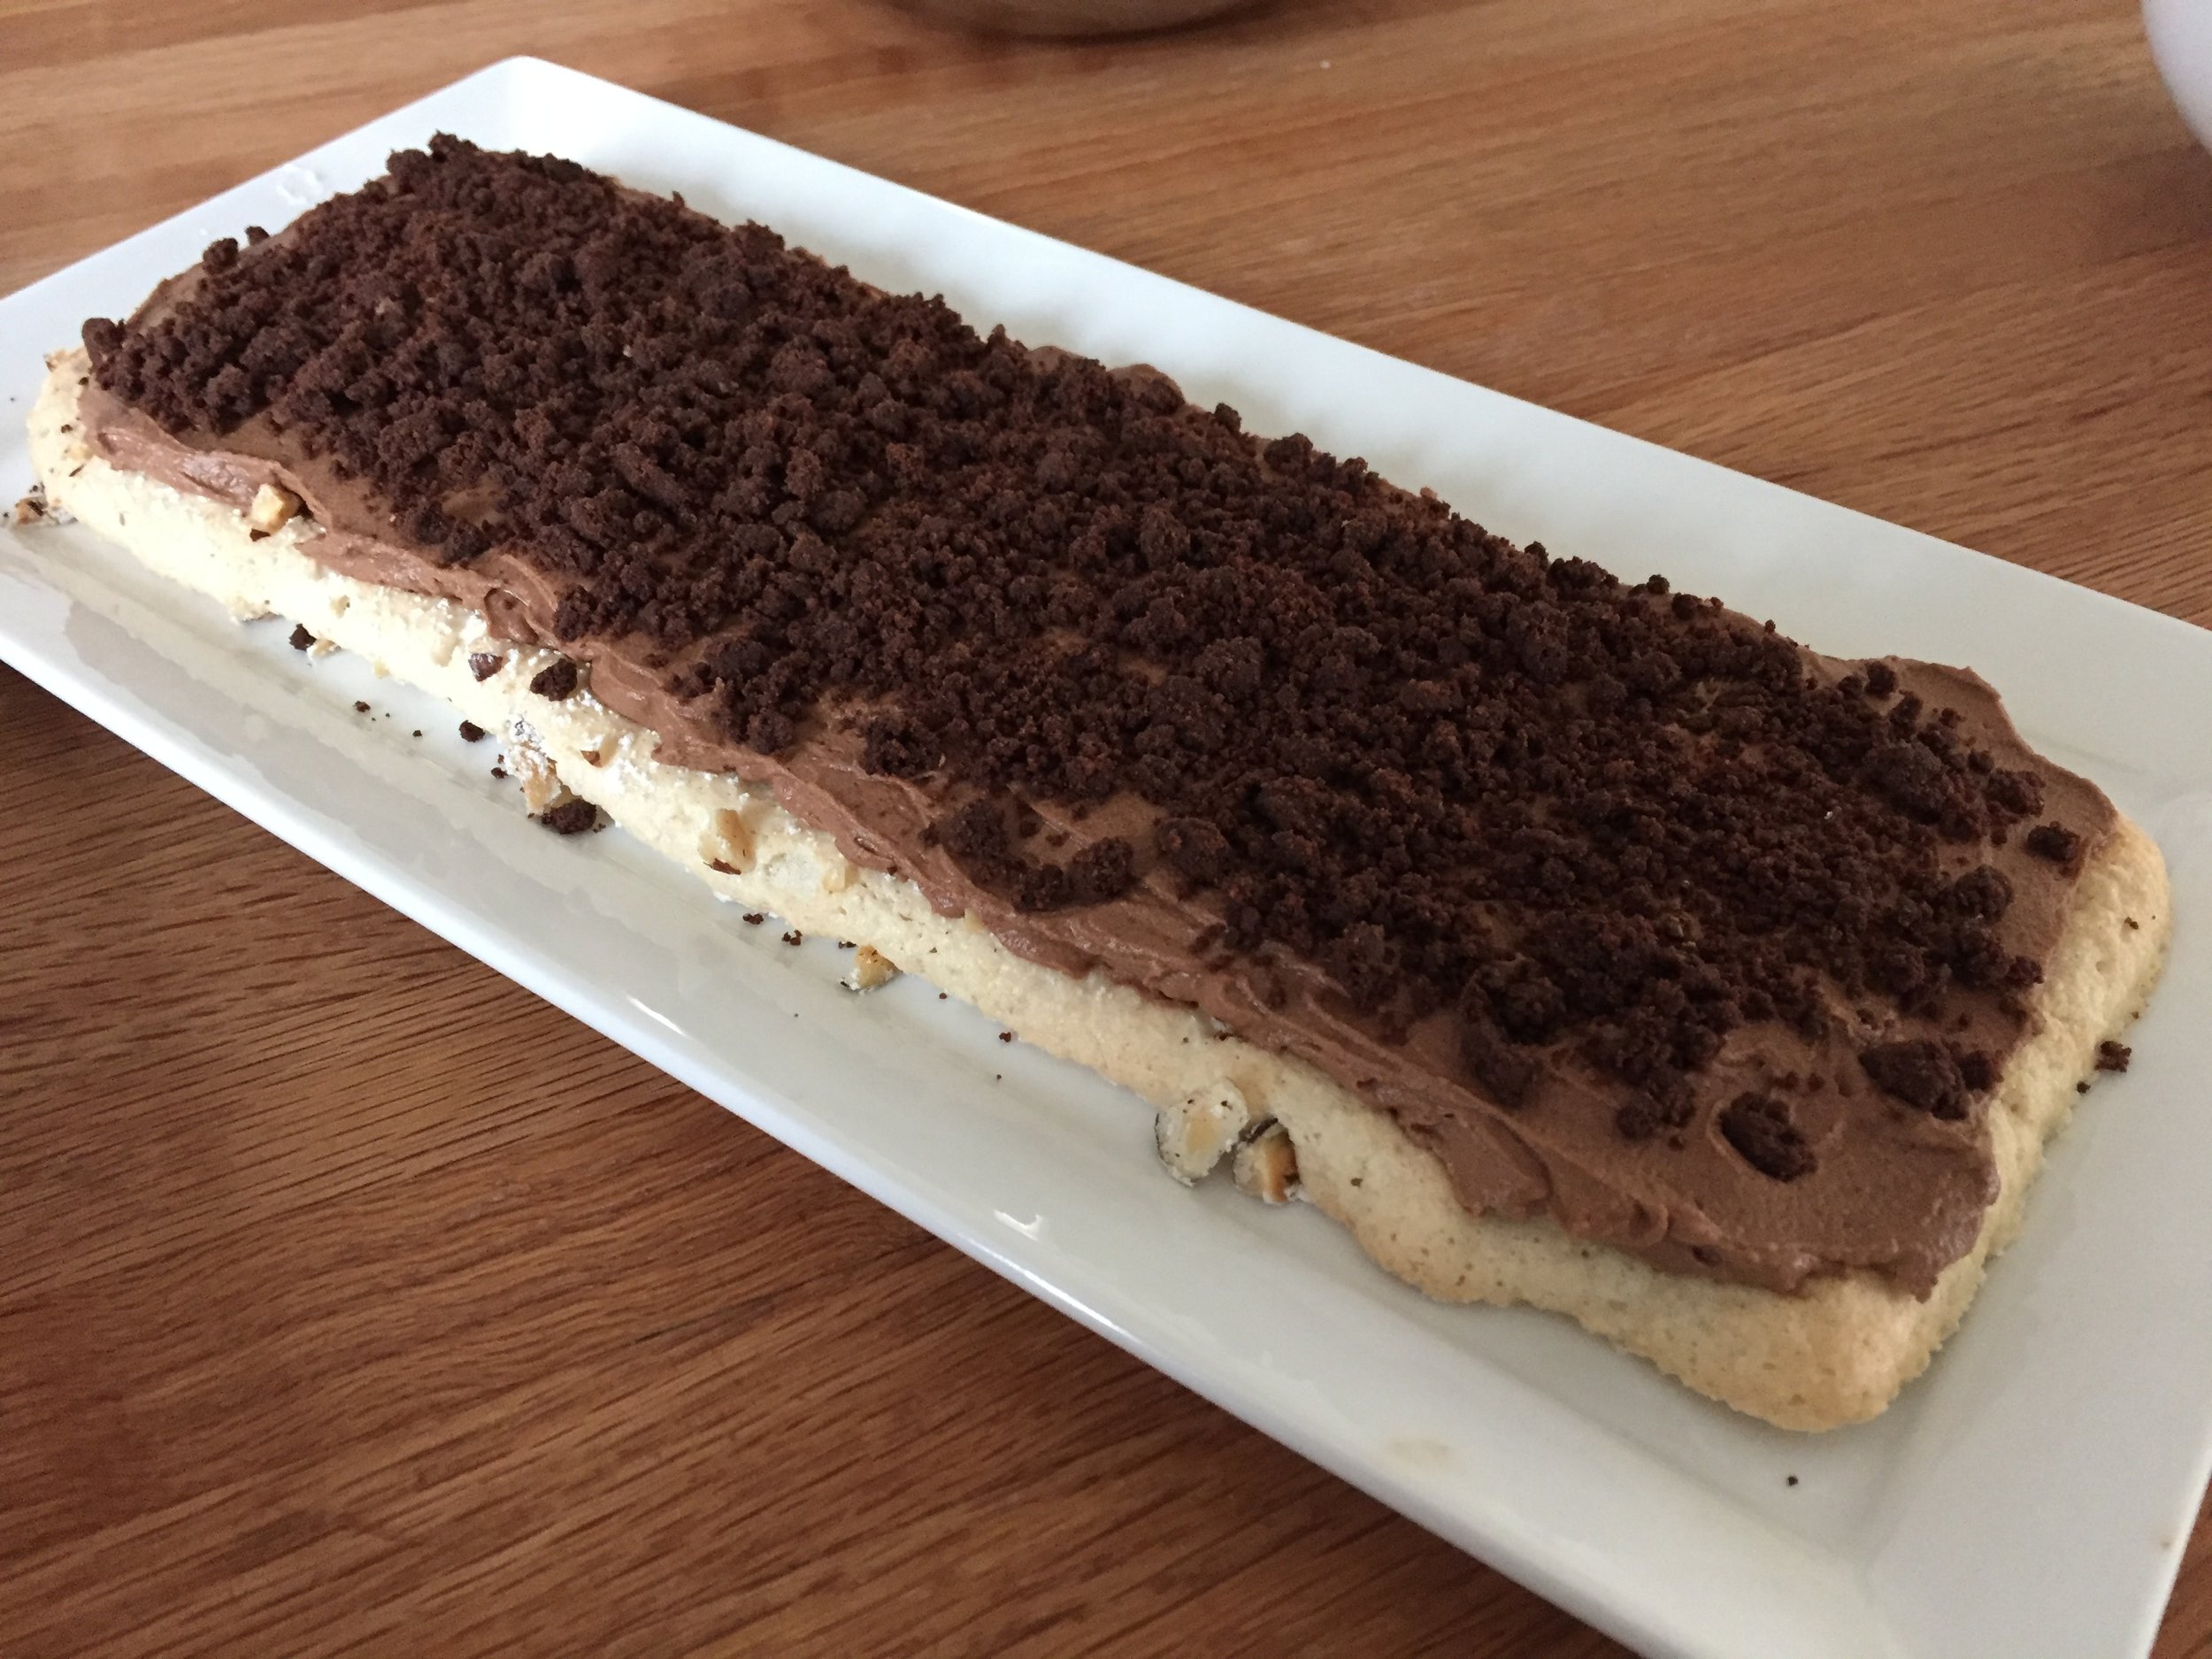
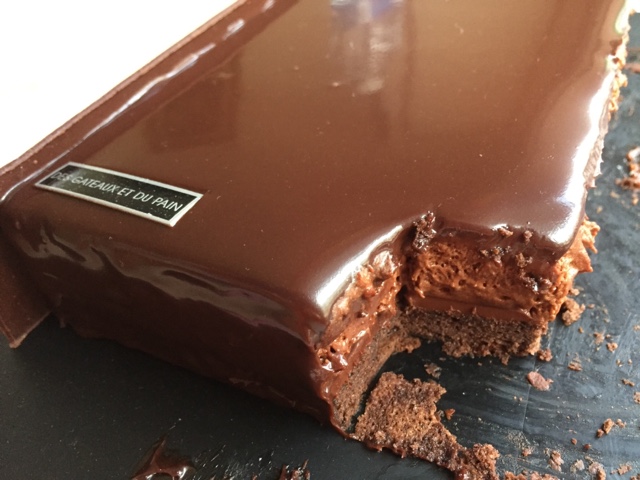
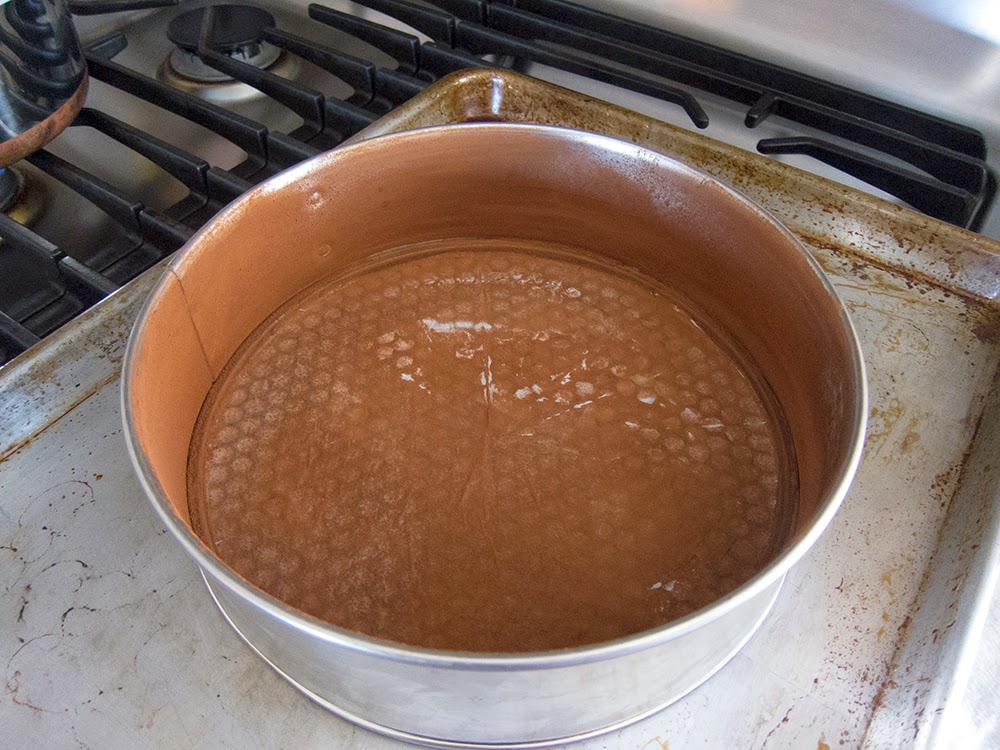
Spread a thin layer over the cooled shortbread. Chill for an hour or so. The image below is my second trial using my standard shortbread base recipe (except using melted rather than cold, diced butter) in a 9”x9” pan for a slightly thinner base.
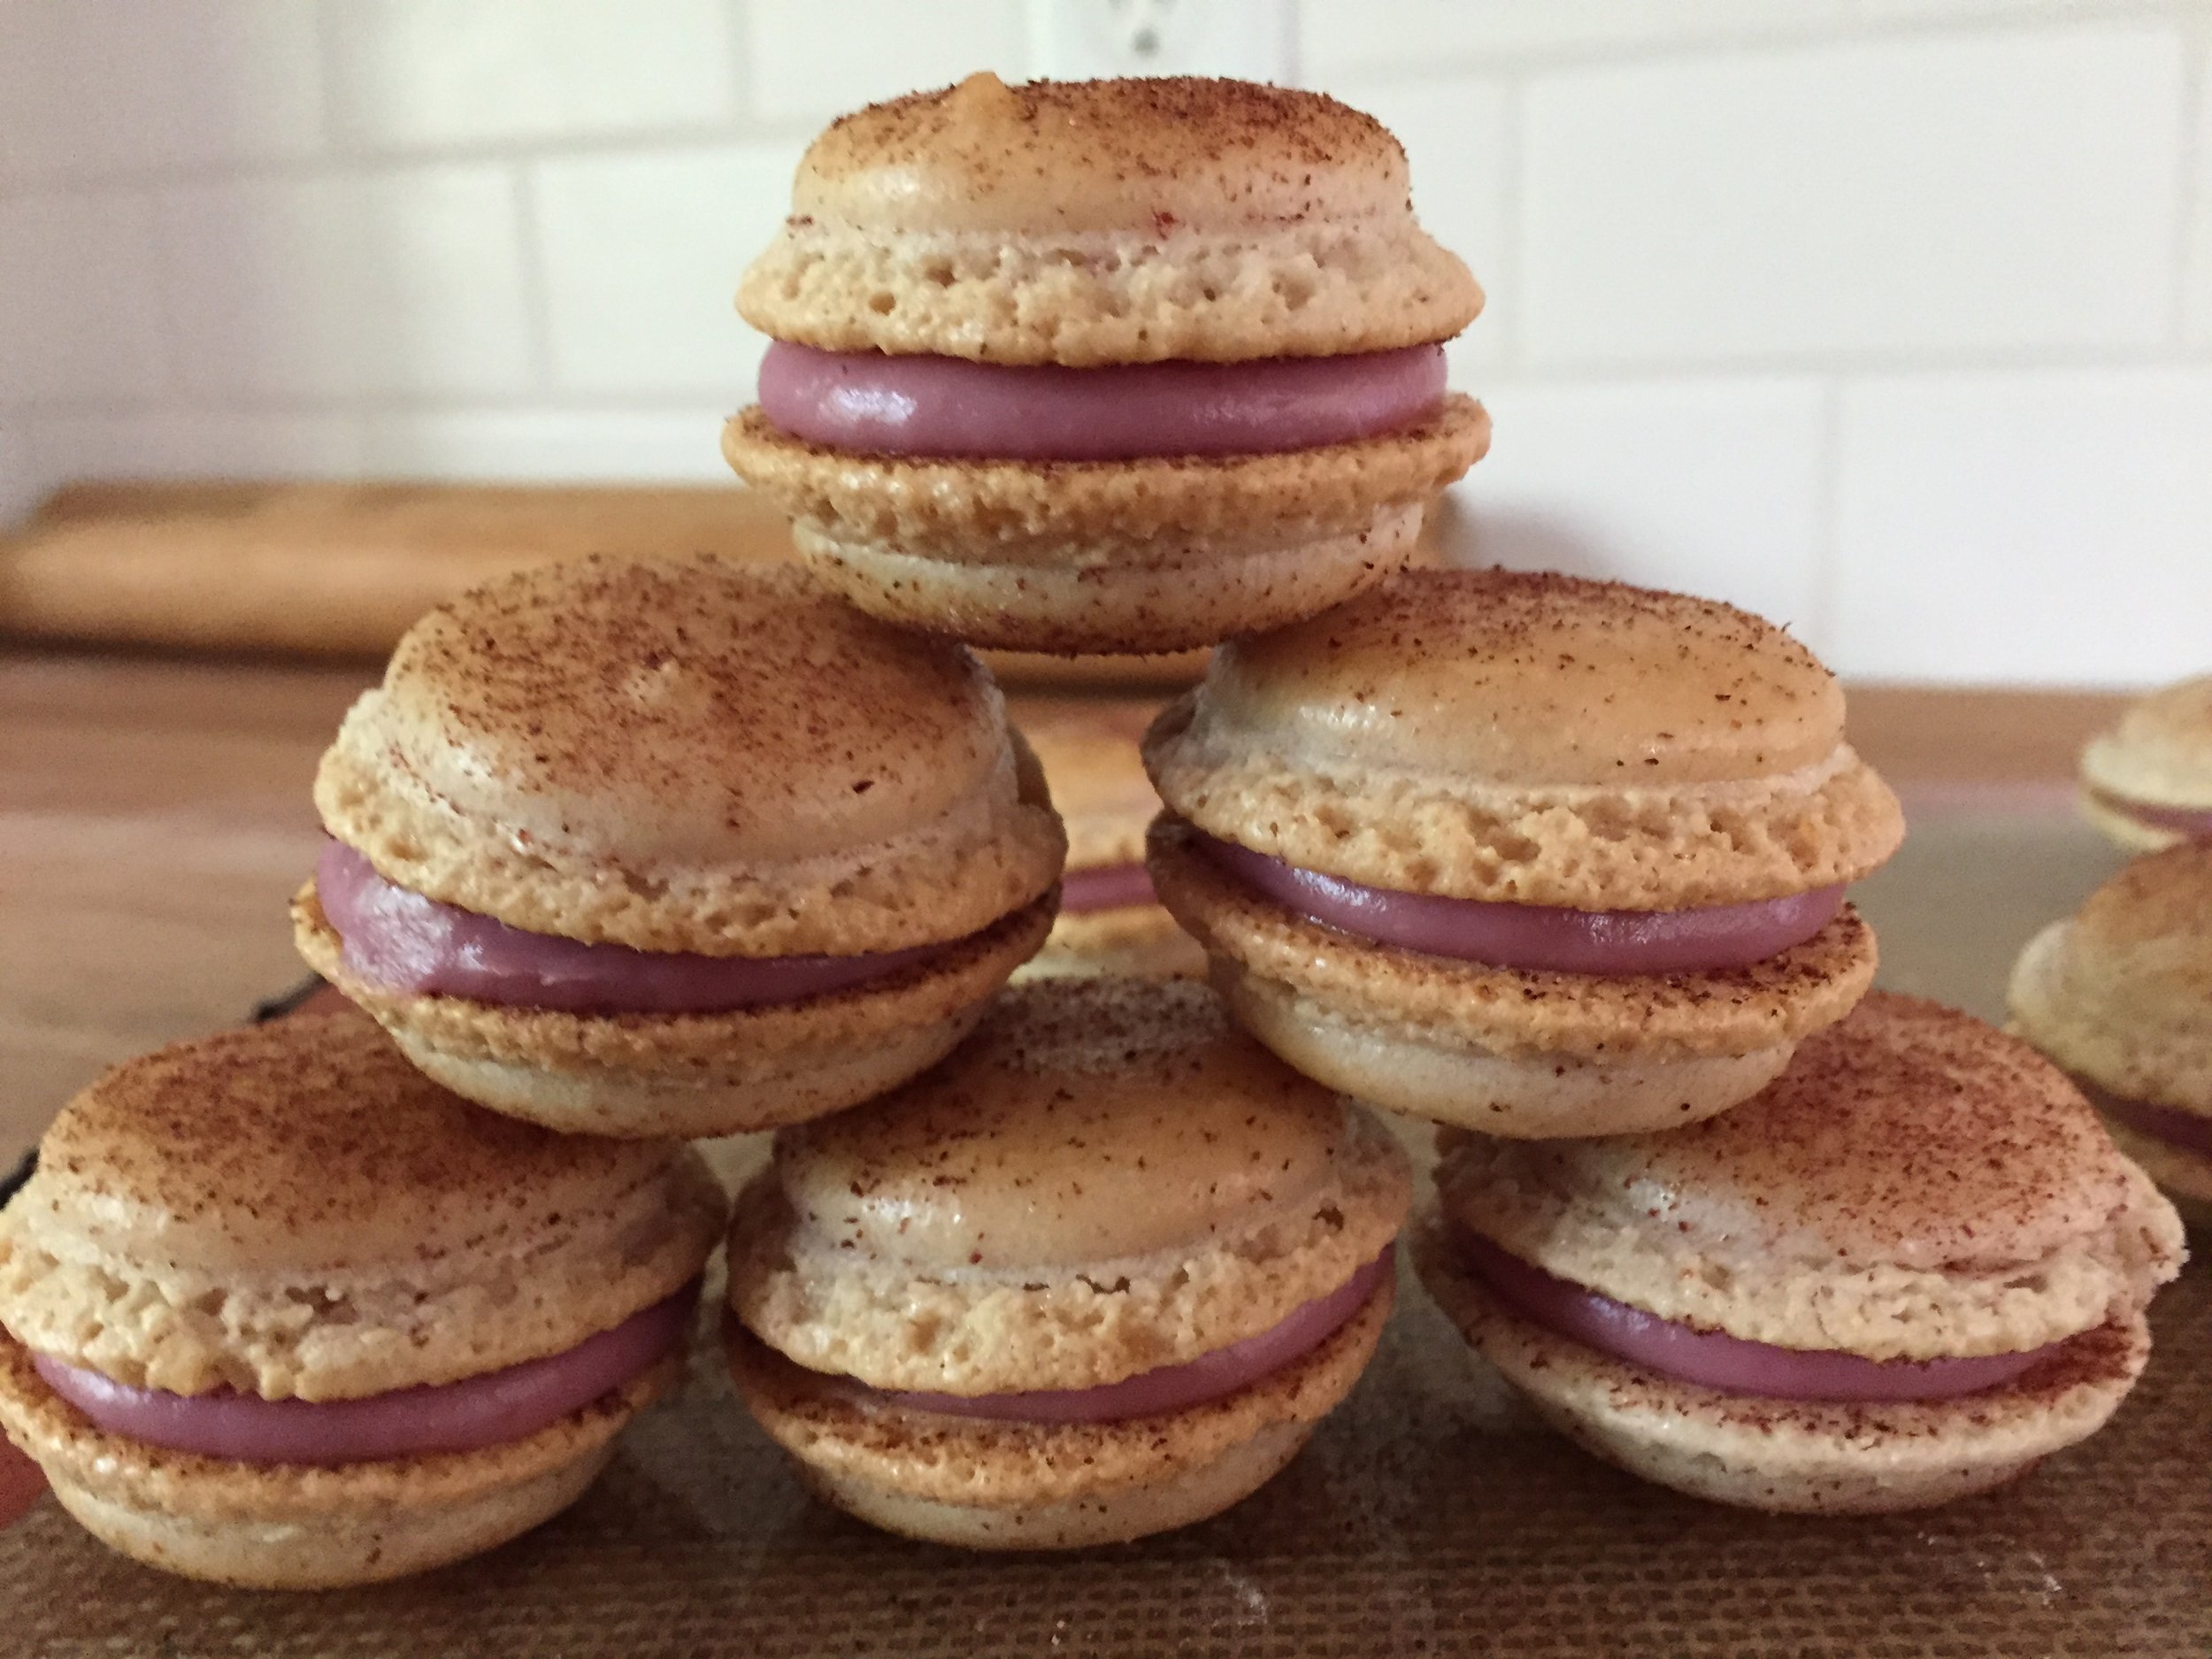
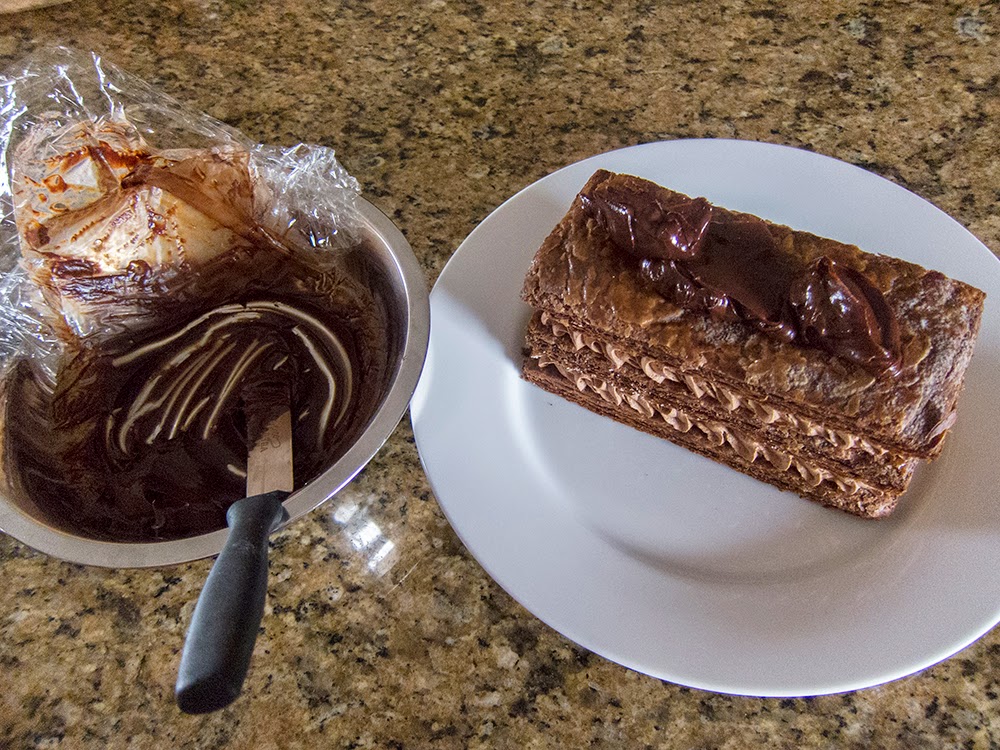
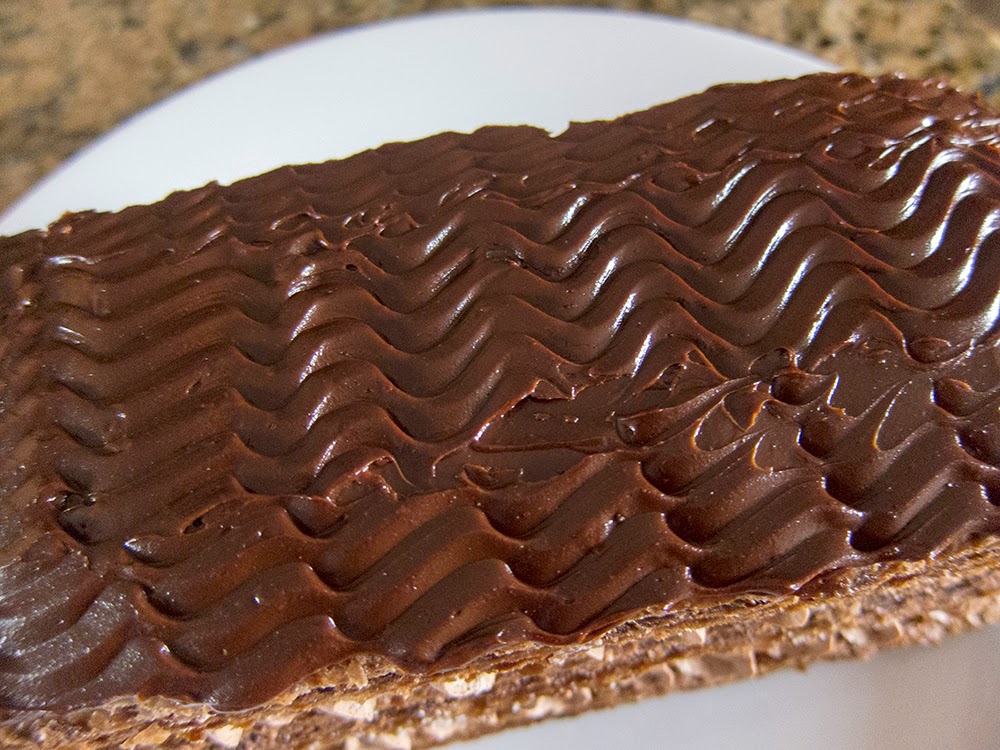
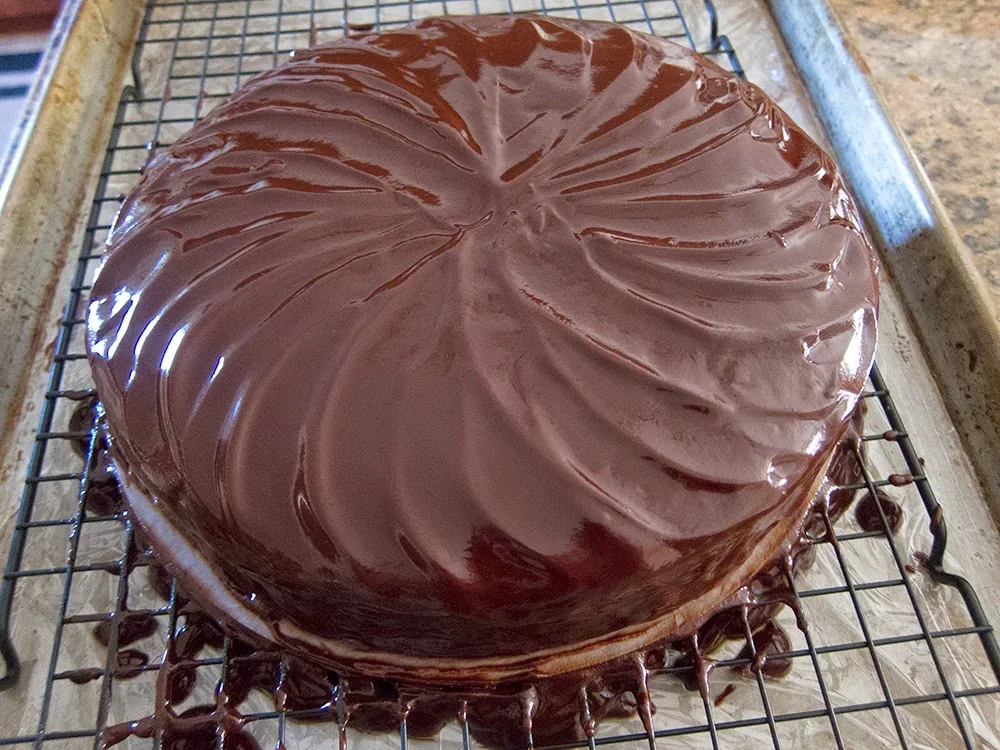
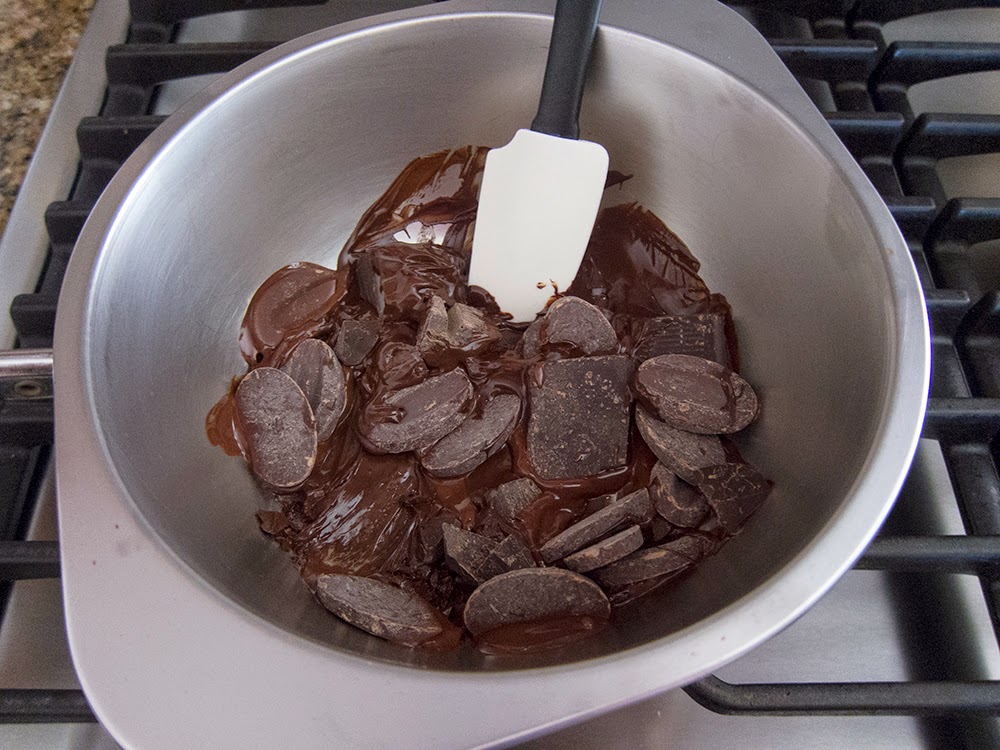
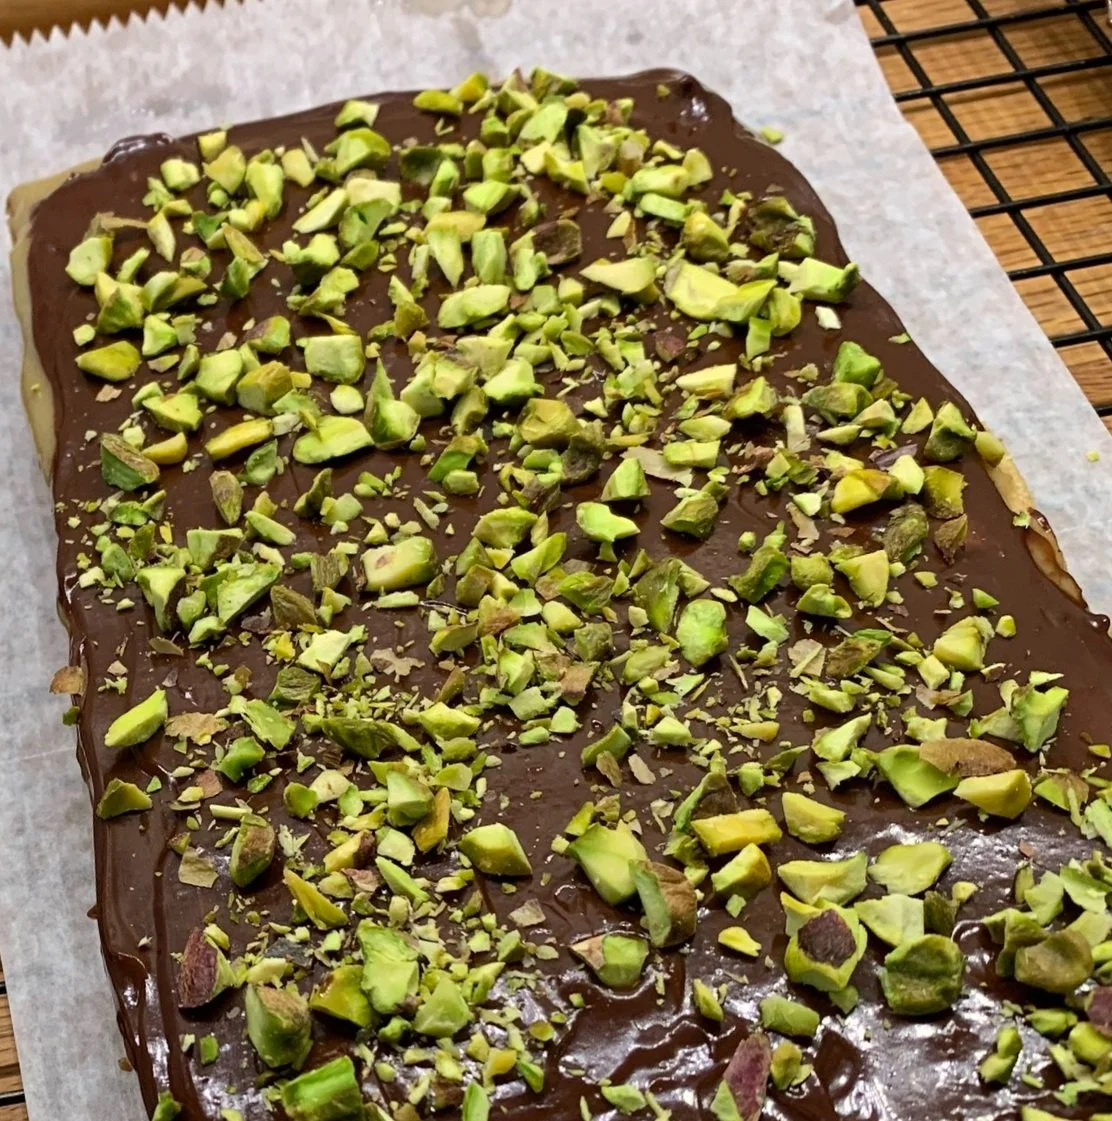
Spread a thin layer of ganache over the tahini layer and sprinkle with lightly toasted chopped pistachios. Chill to set the ganache.
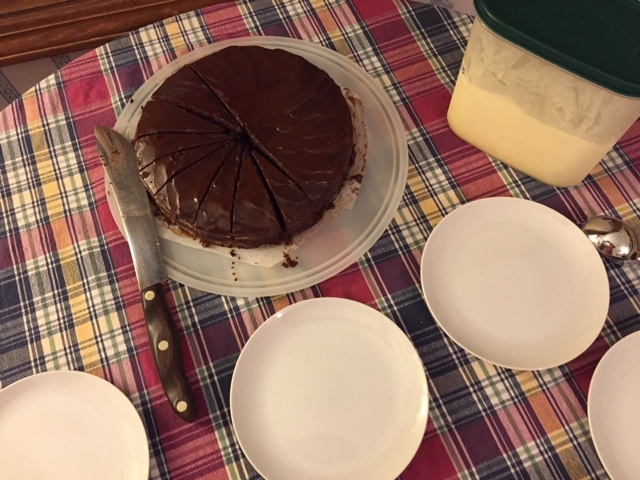
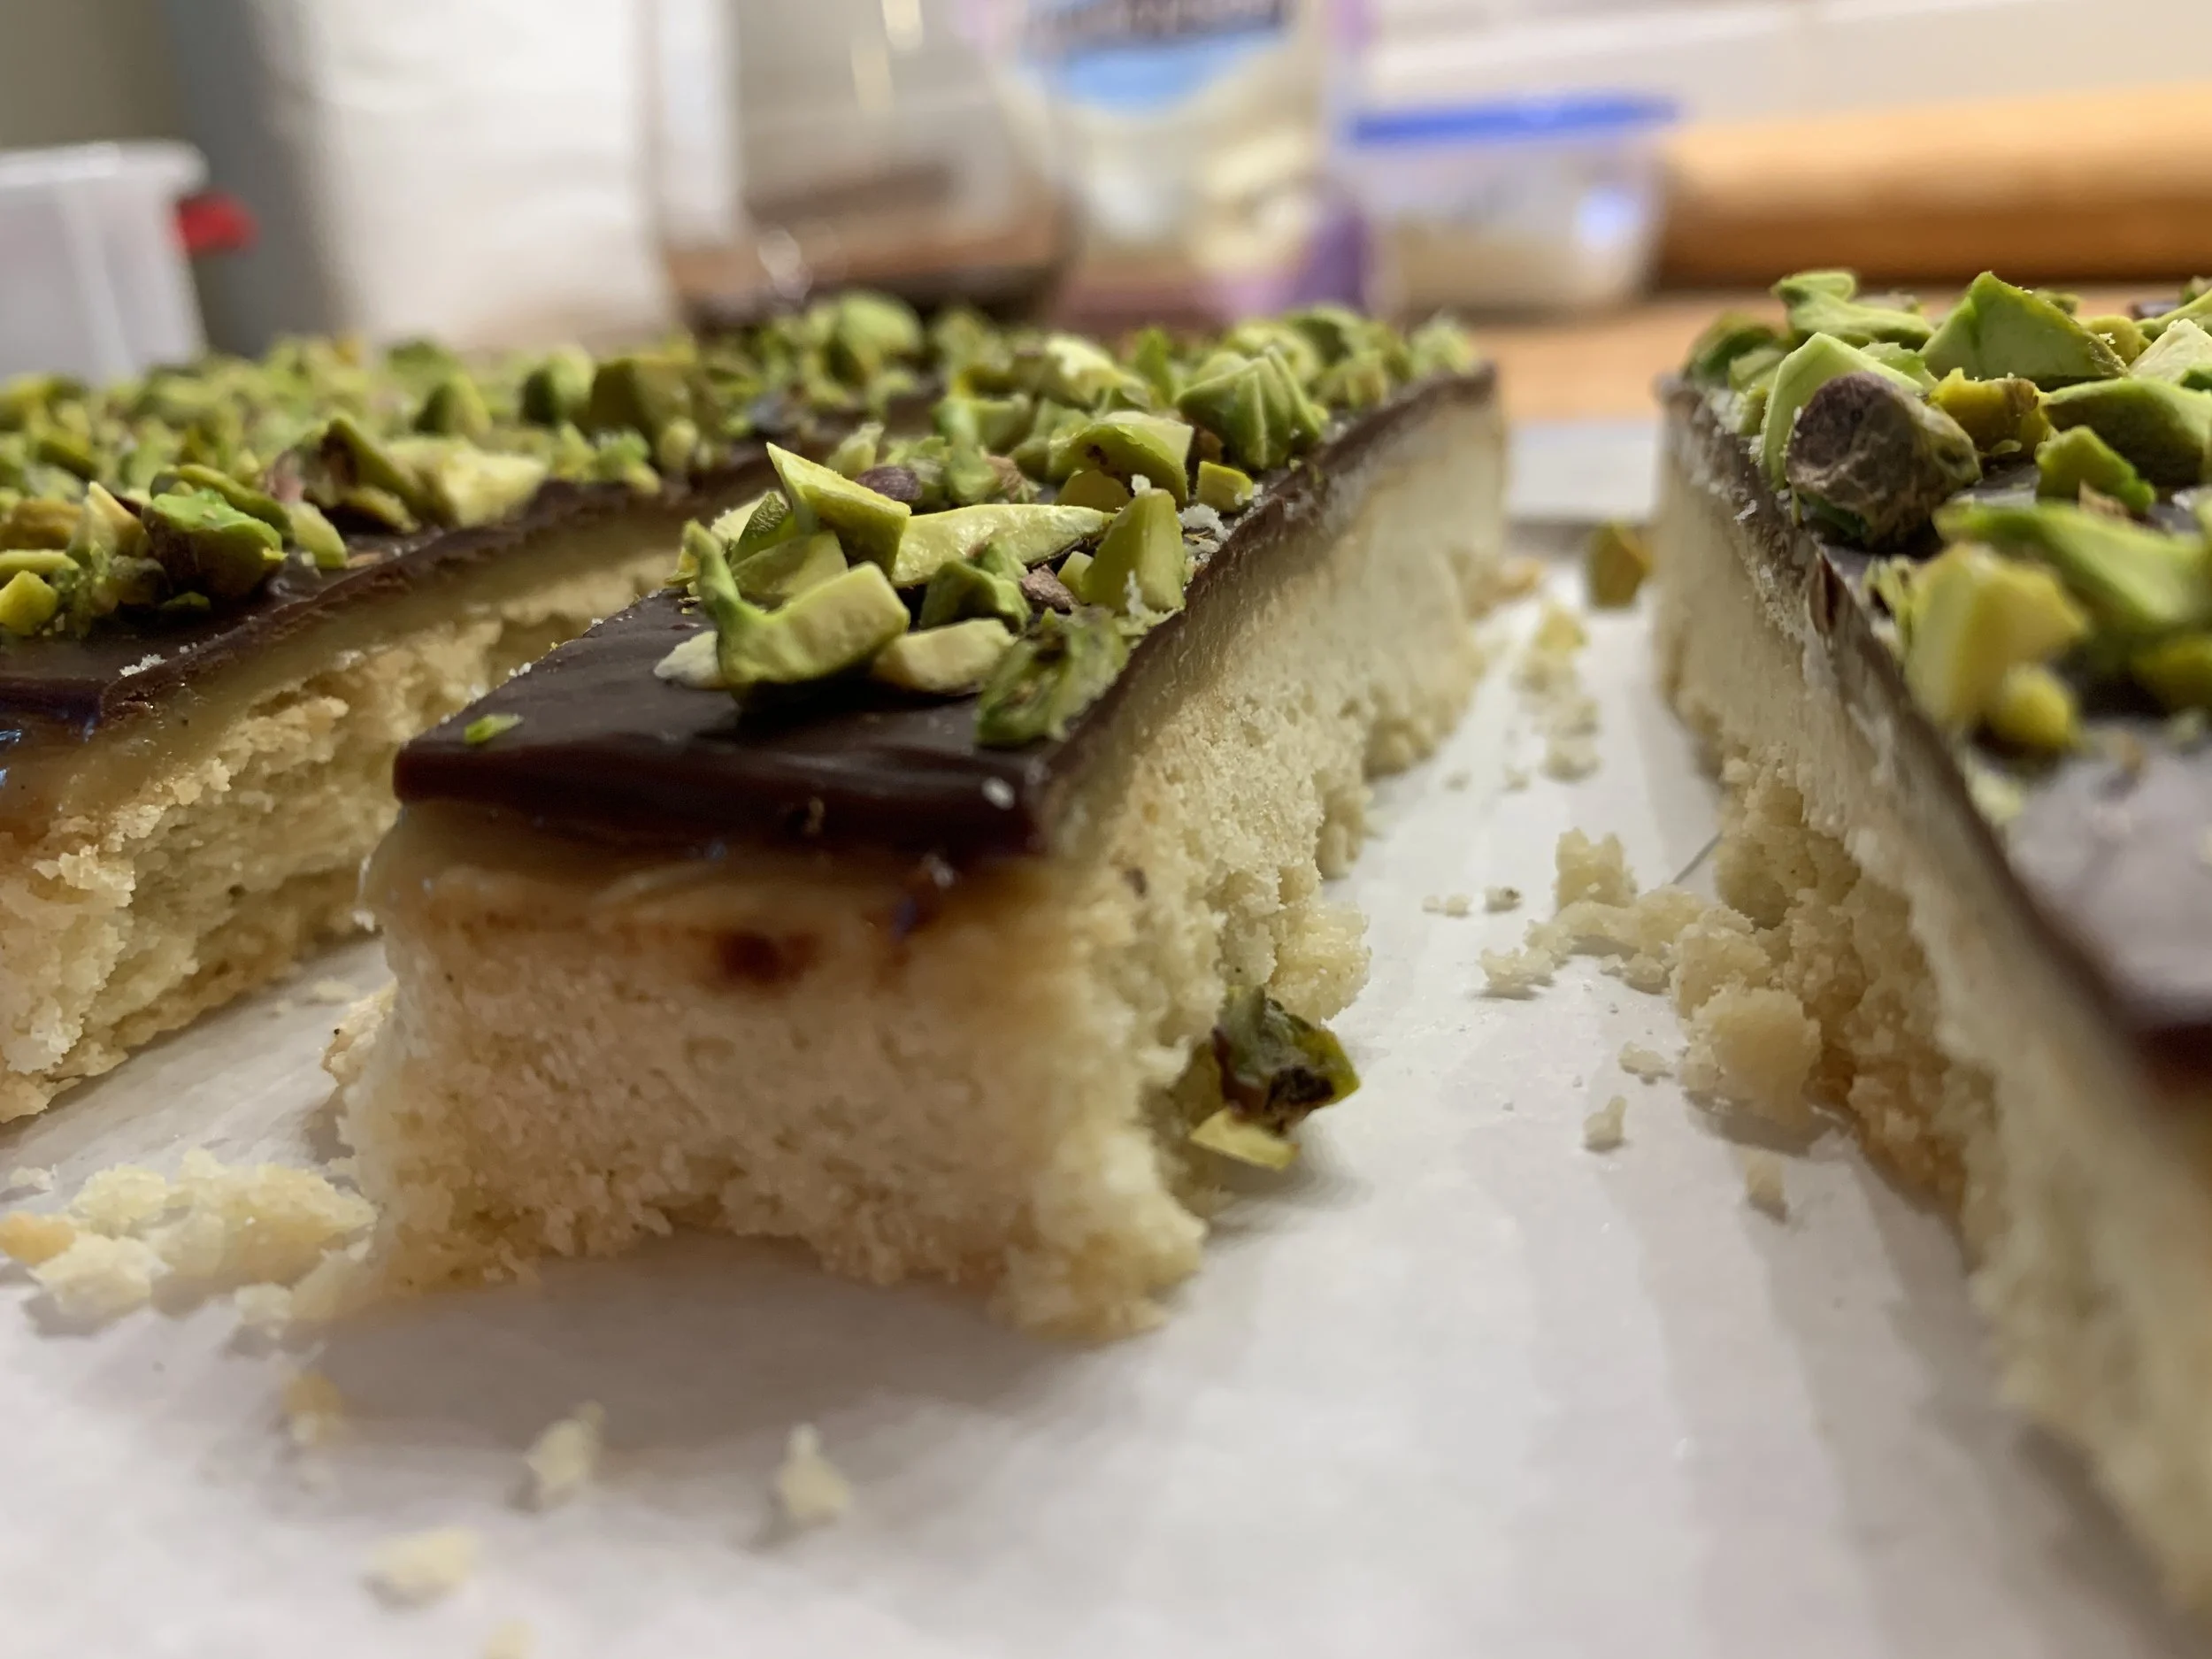
Slice into squares or batons or whatever shape you’d like. These keep extremely well in a covered container in the fridge over 1 to 2 weeks. The tahini layer does tend to “ooze” a bit at the edges but it certainly doesn’t detract from the wonderful flavors and textures.
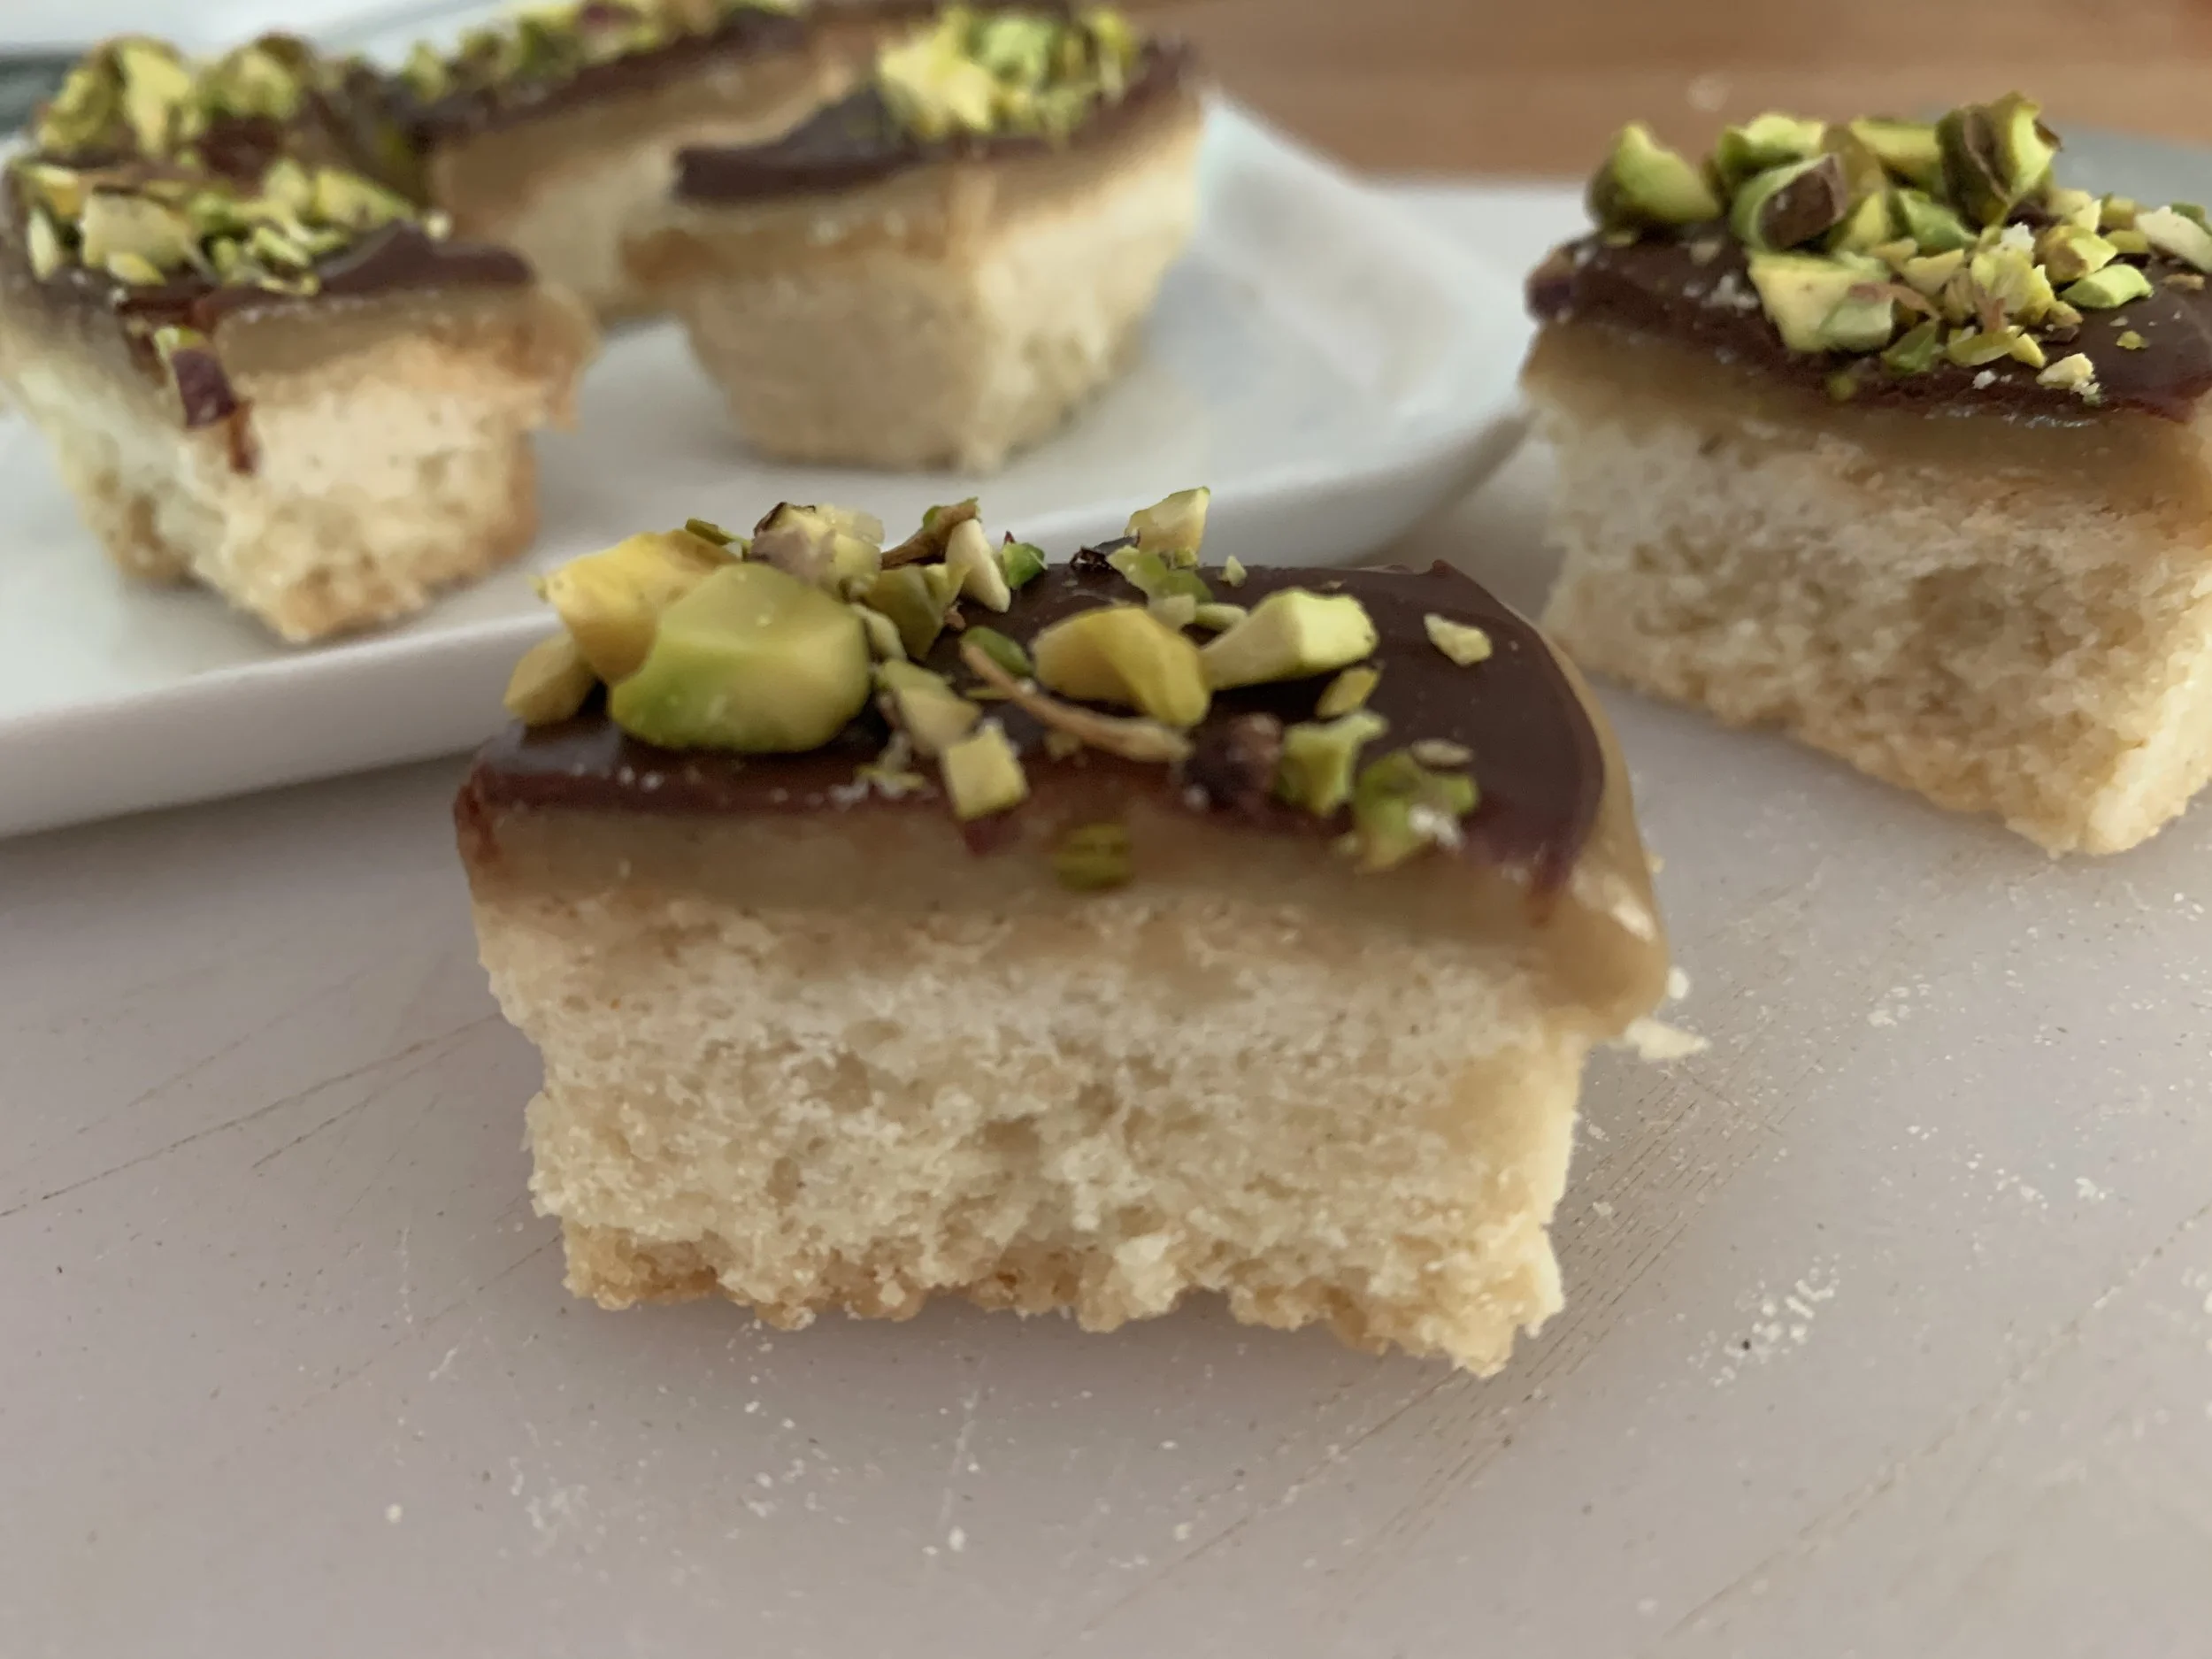
Give ‘em a try - it’s worth it!
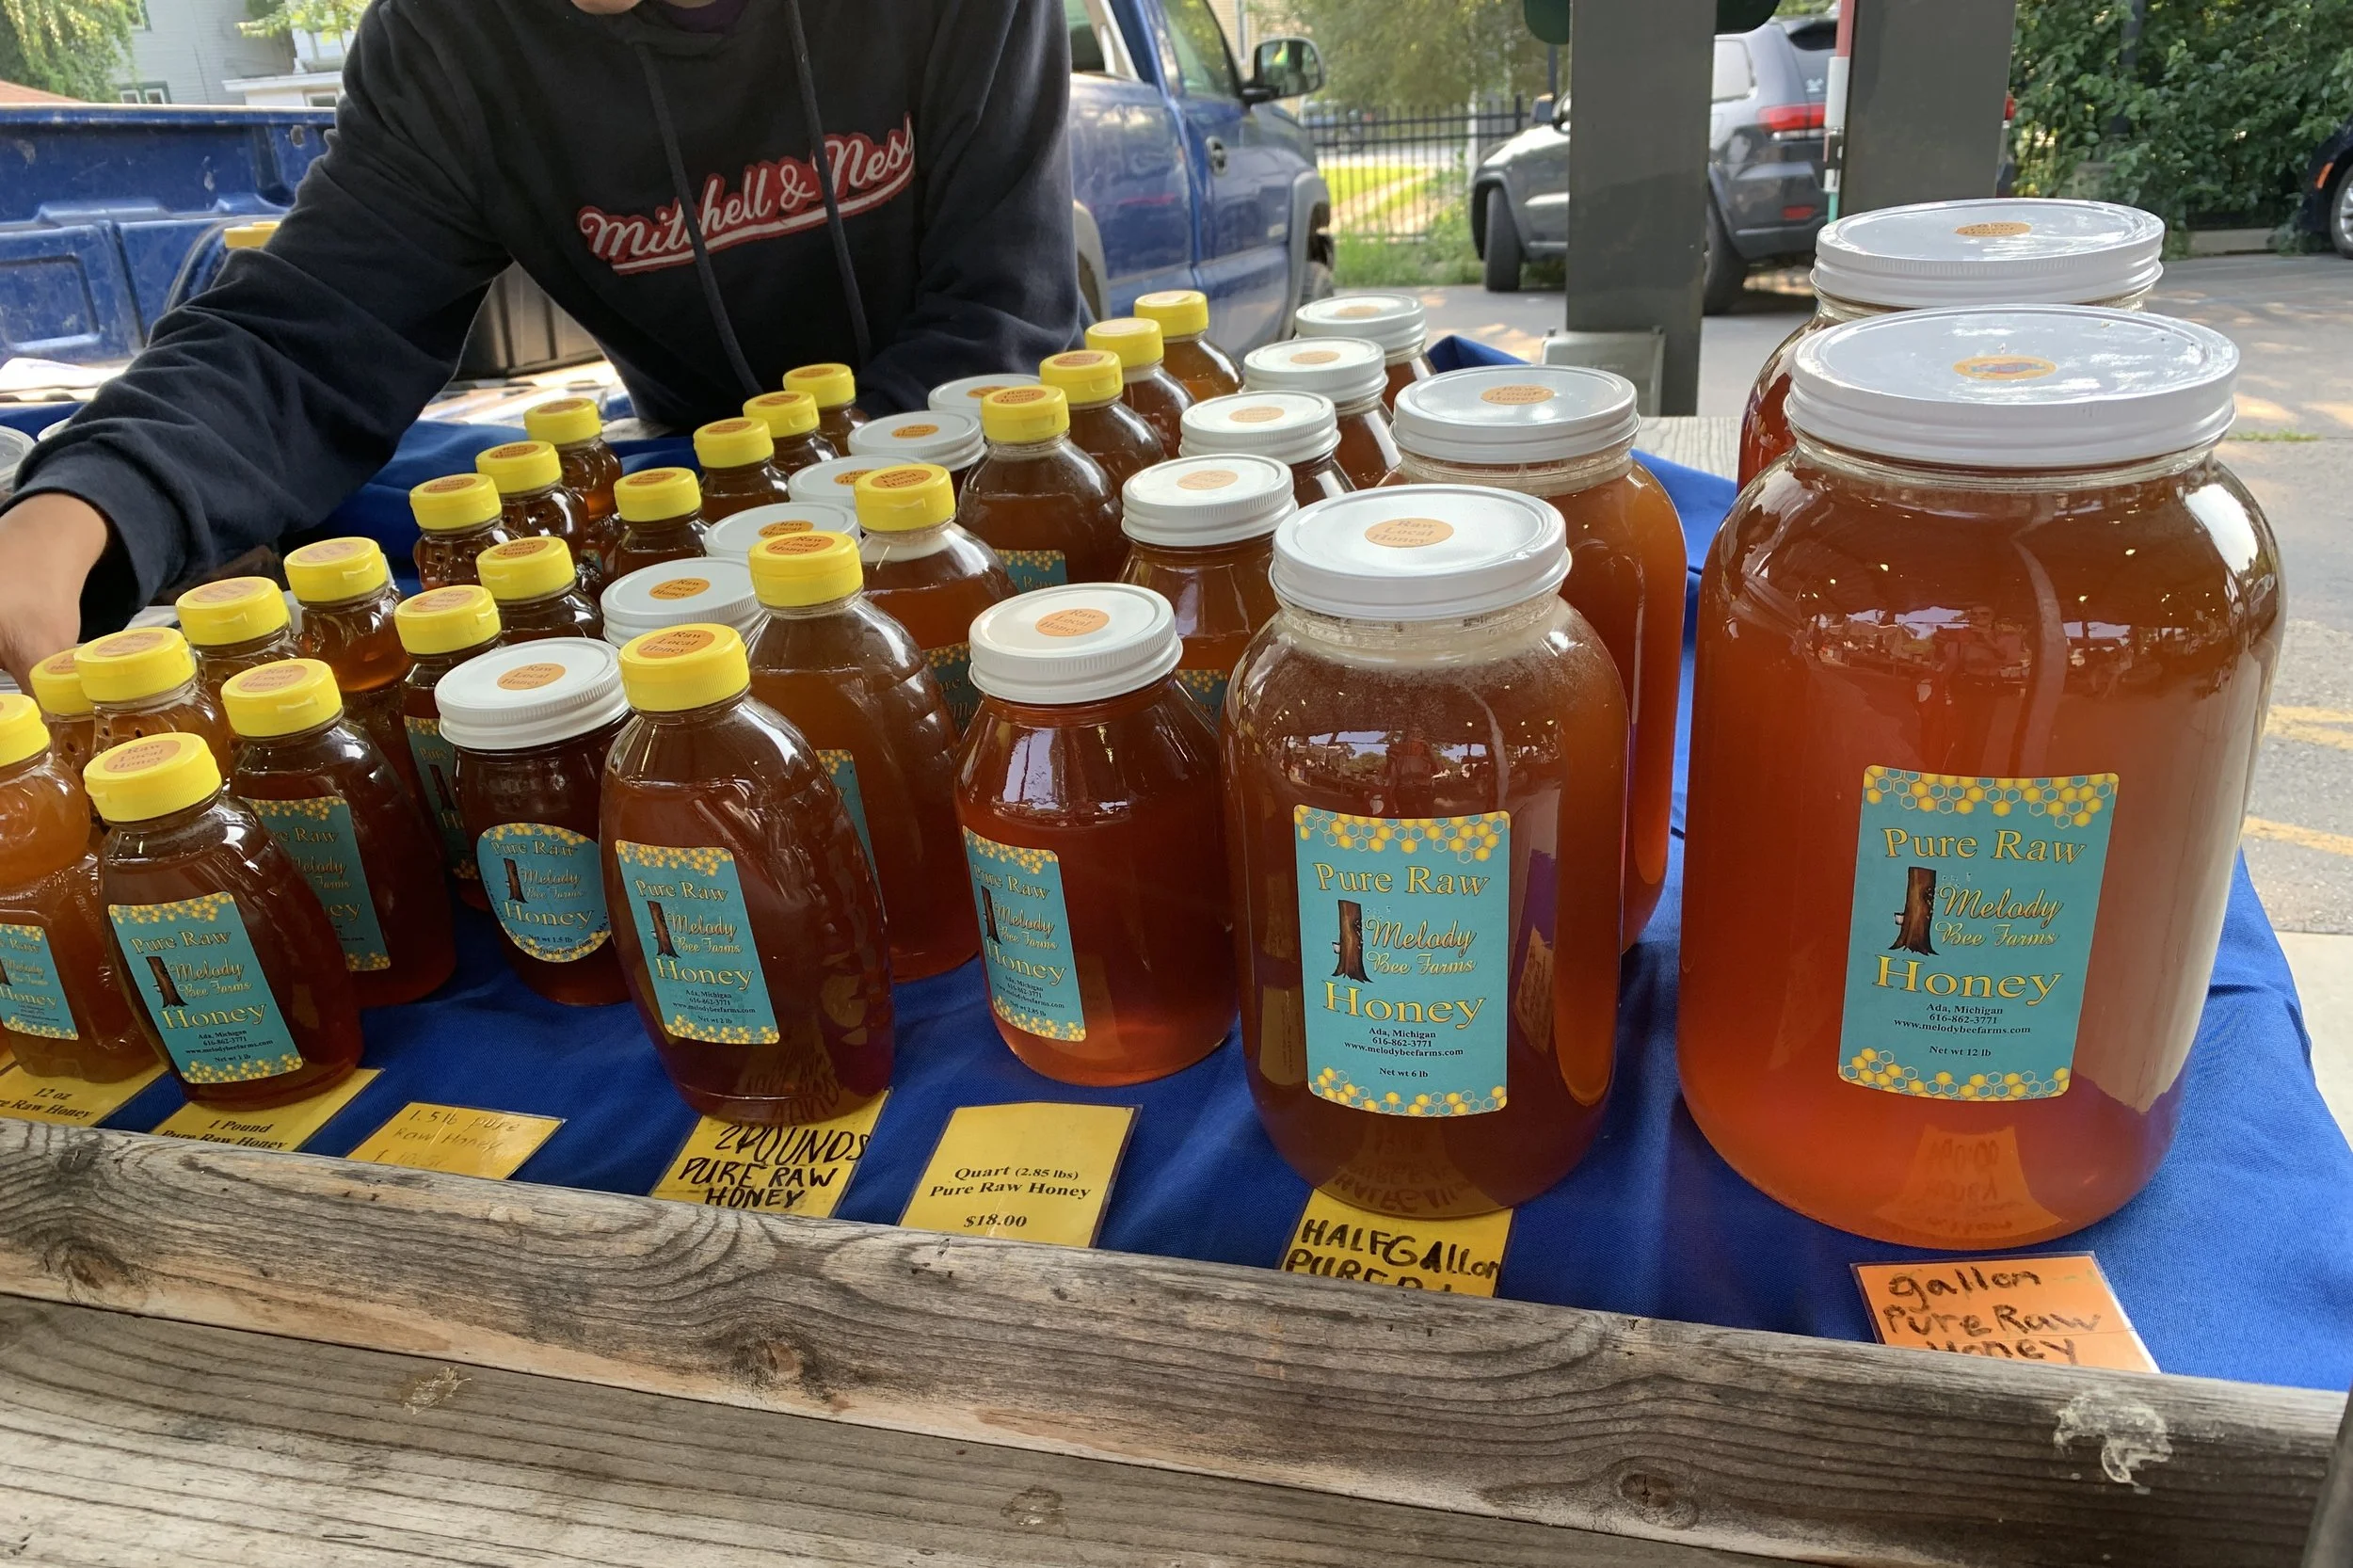
My go-to honey vendor at our Fulton Farmers Market
Enjoy what’s left of summer - it may go on longer than we think!