Baking with Dutch process cocoa powder

Ganache dipped, Swiss meringue swirled cocoa cakes

Ganache dipped, Swiss meringue swirled cocoa cakes

Dutch process cocoa powder is one of my standby ingredients, always on hand and at the ready. I’ve been using it for years, not only for my standard brownies that are perennially available for the Steve-meister for his regular evening treat, but for MOST recipes calling for unsweetened cocoa powder. Such wonderful flavor.

NOTE: I say “most” because there are some guidelines for using natural vs Dutch processed that have to do with acid/alkali and using chemical leaveners (baking soda, baking powder). Here’s a great summary for you from Serious Eats (a great resource by the way!).

Dutch process you ask? It’s all thanks to Dutch chemist and chocolatier Conrad van Houten (1801-1887) who figured out how to alkalize the acids in cocoa powder to create a more mellow taste experience. I’ve been using Bensdorf high fat Dutch process cocoa powder for some years now (I am of Dutch heritage after all!) and find the end results so tasty. It’s available through a variety of sources which you can easily find online.

Many say that the decision to use natural cocoa powder vs Dutch process is purely personal and indeed a matter of taste. While the natural version may offer a more enhanced and complex chocolate flavor, the “dutched” version is smoother and, in my estimation, more delicious.
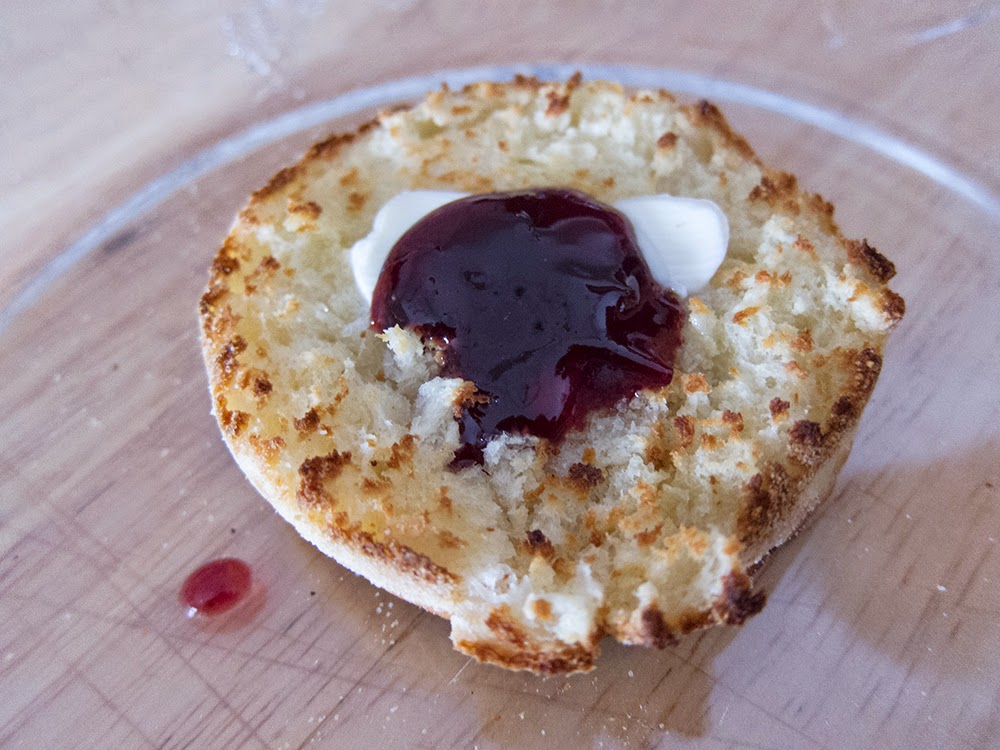
French Tarte “O”s

French Tarte “O”s

As I review the things I generally bake with cocoa powder (brownies, financier, shortbread, meringues, fudge cookies, flourless sponge and more), I realize that, at least in my current armamentarium, the only one that contains a chemical leavener is Bouchon’s version of that popular chocolate sandwich cookie lining grocery store shelves. I did a bit of research to try and figure out why one would add baking soda to a shortbread cookie since they don’t typically rise like, let’s say, a classic chocolate chip cookie. From the scientific standpoint, the alkaline baking soda seems to contribute to a more even bake, tenderness and even enhances color and flavor.

OK - enough science. Let’s look at some more ways to use Dutch process cocoa powder. along with a couple of straight forward recipes for you.
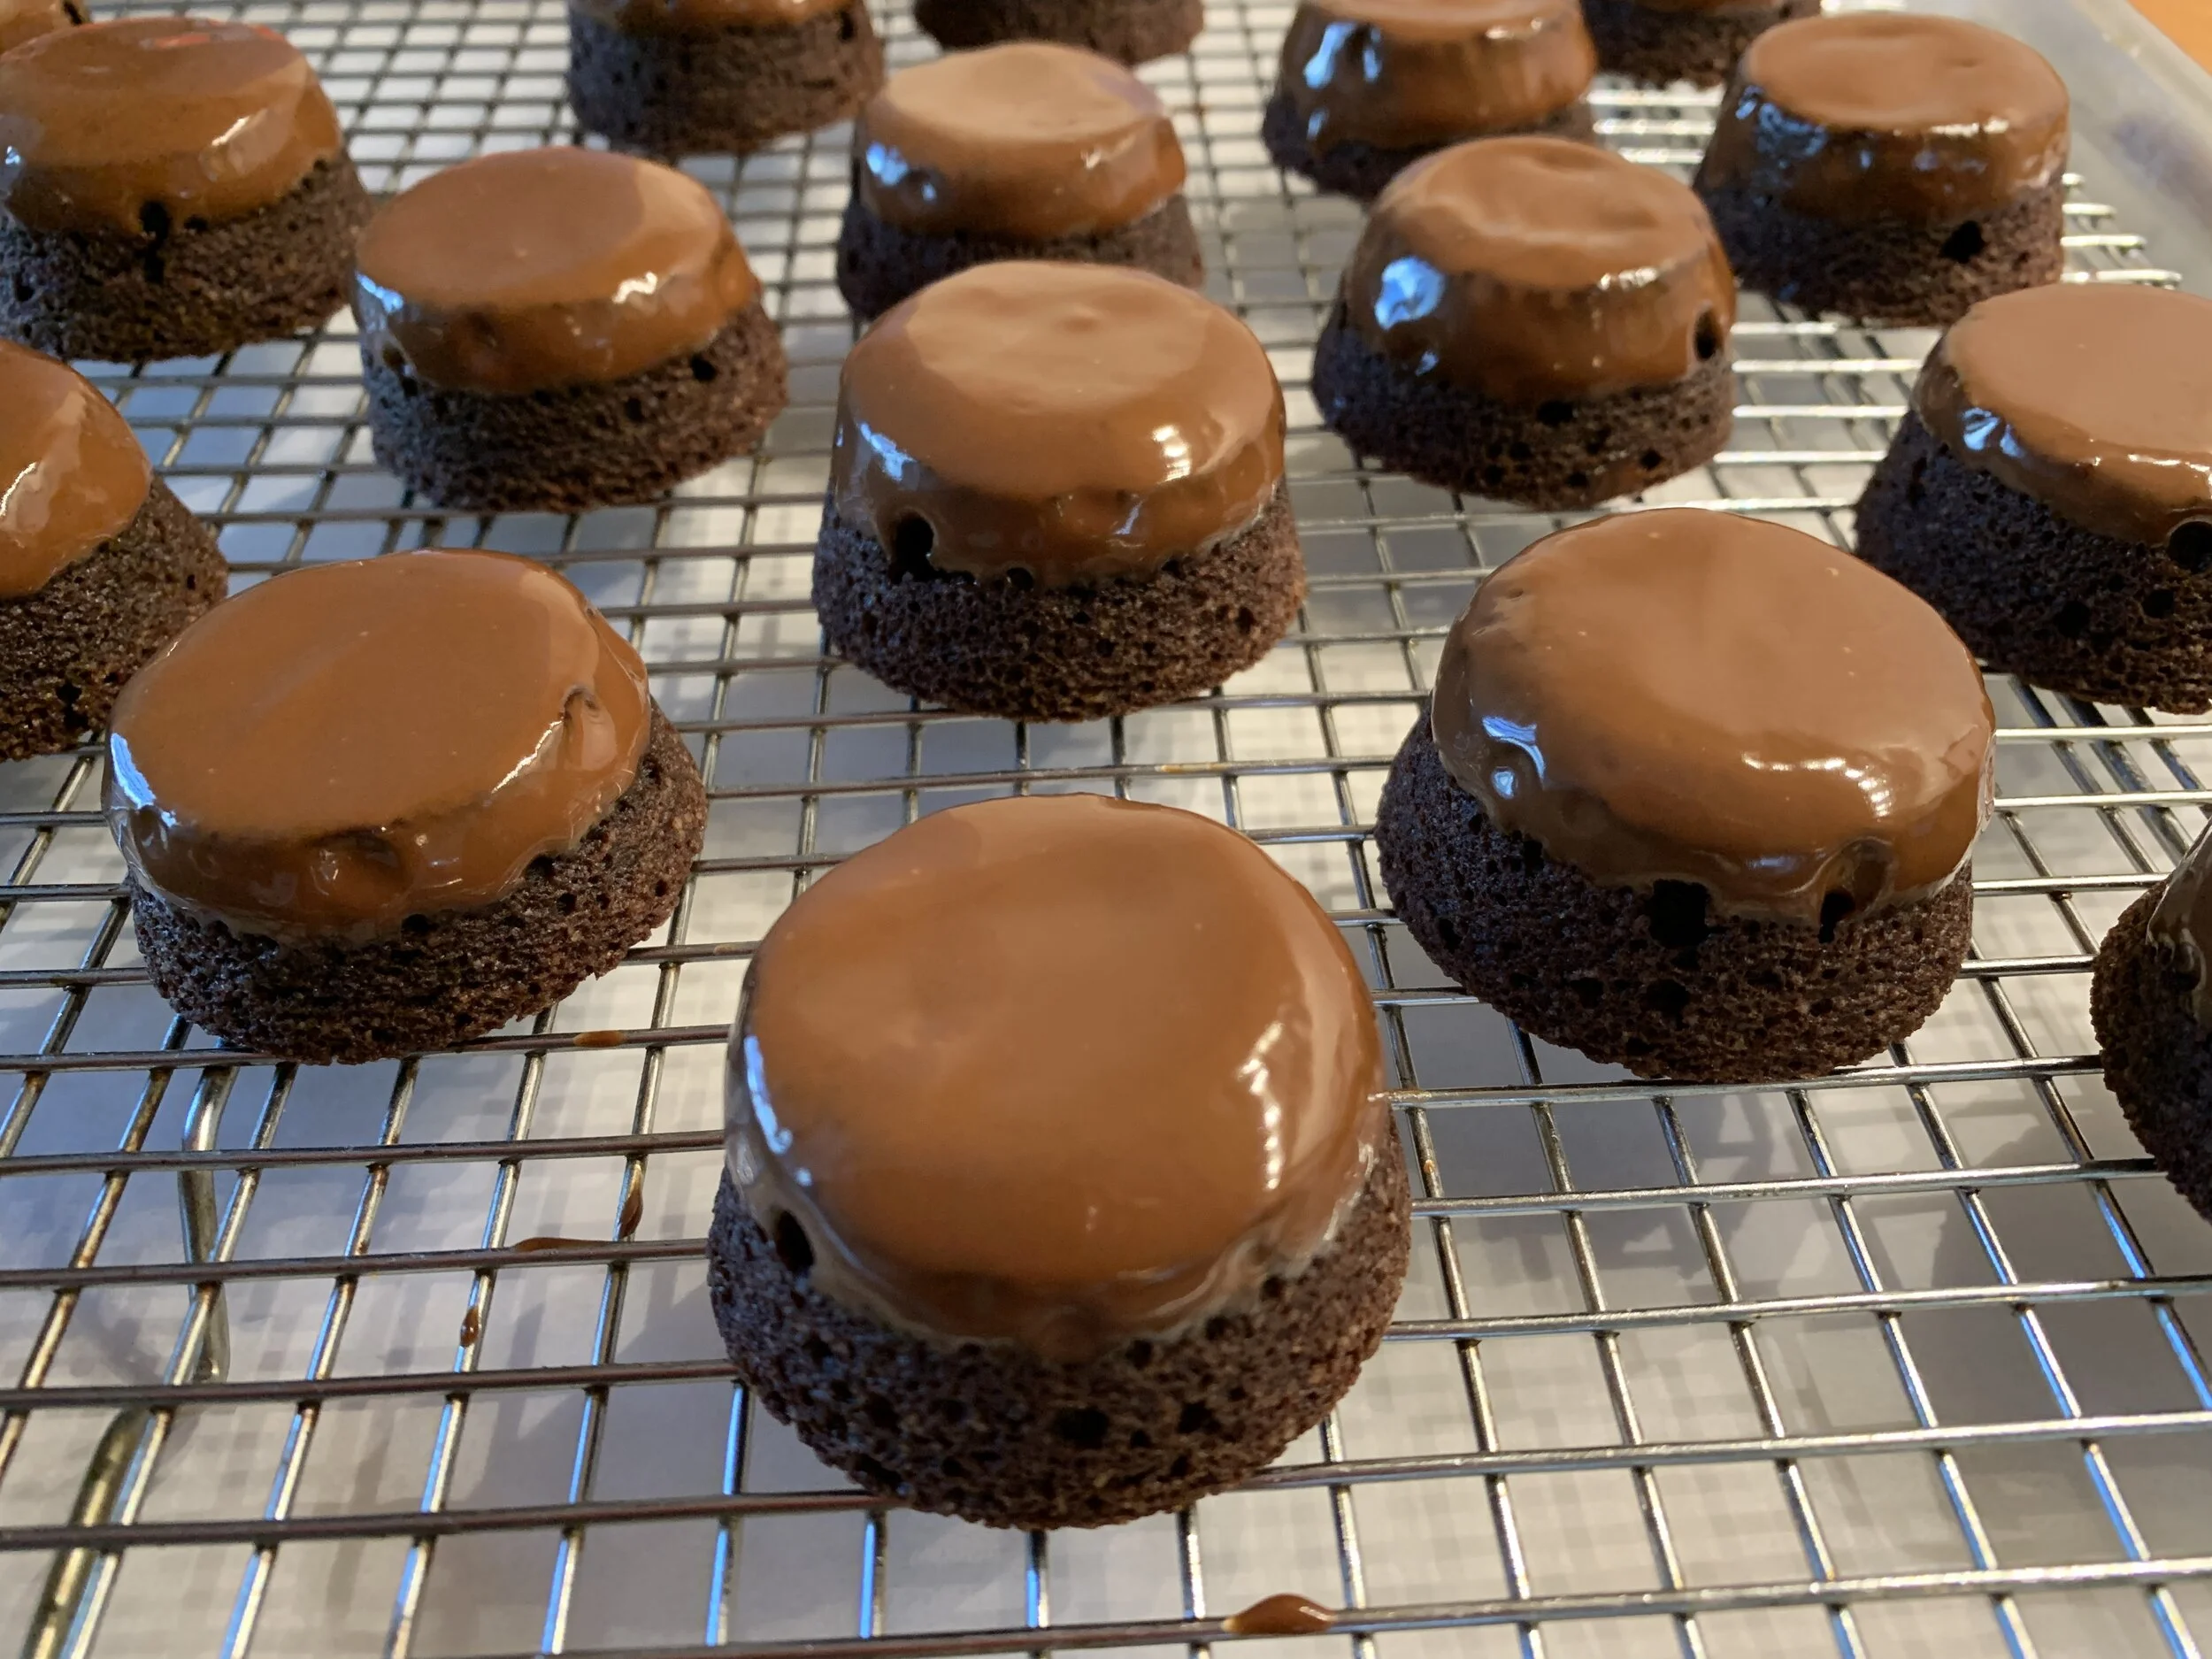
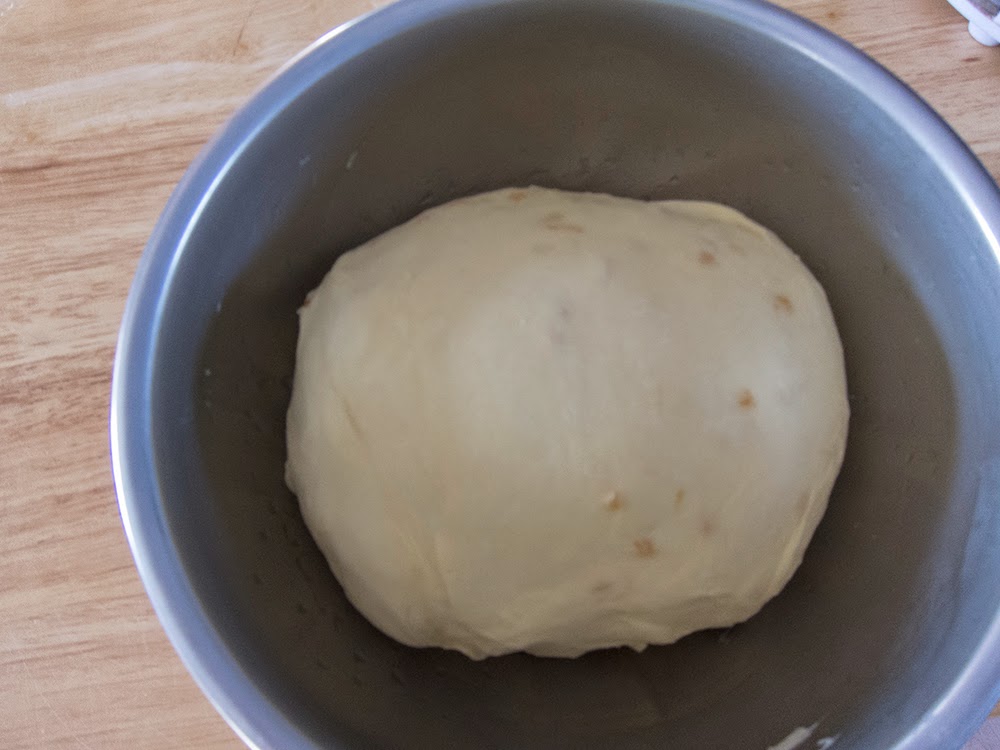
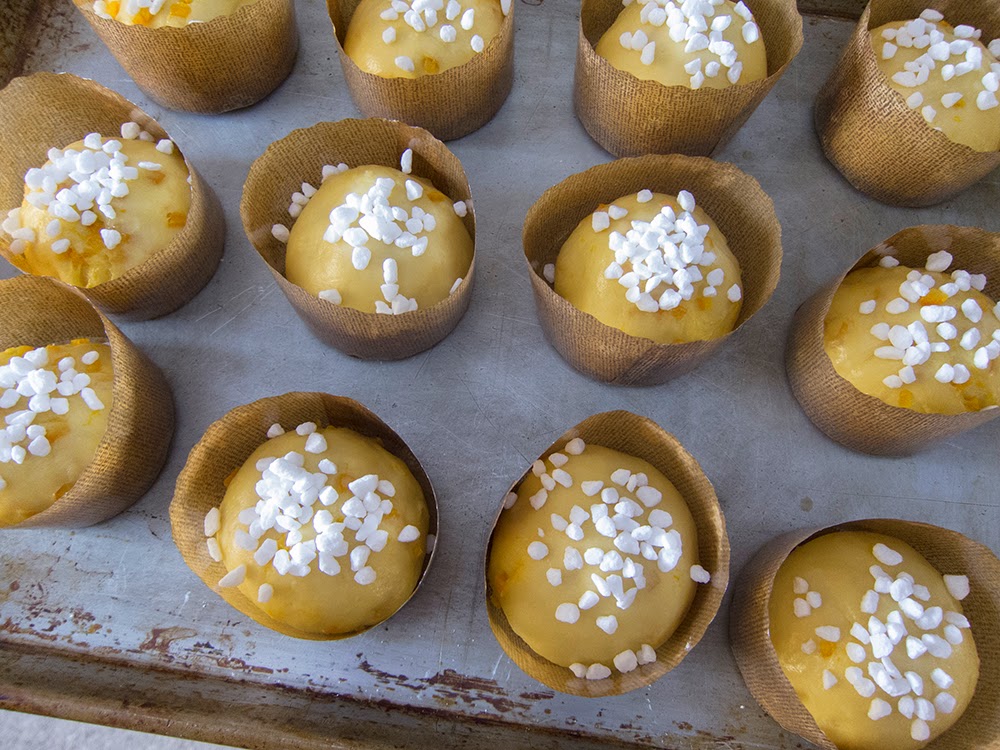
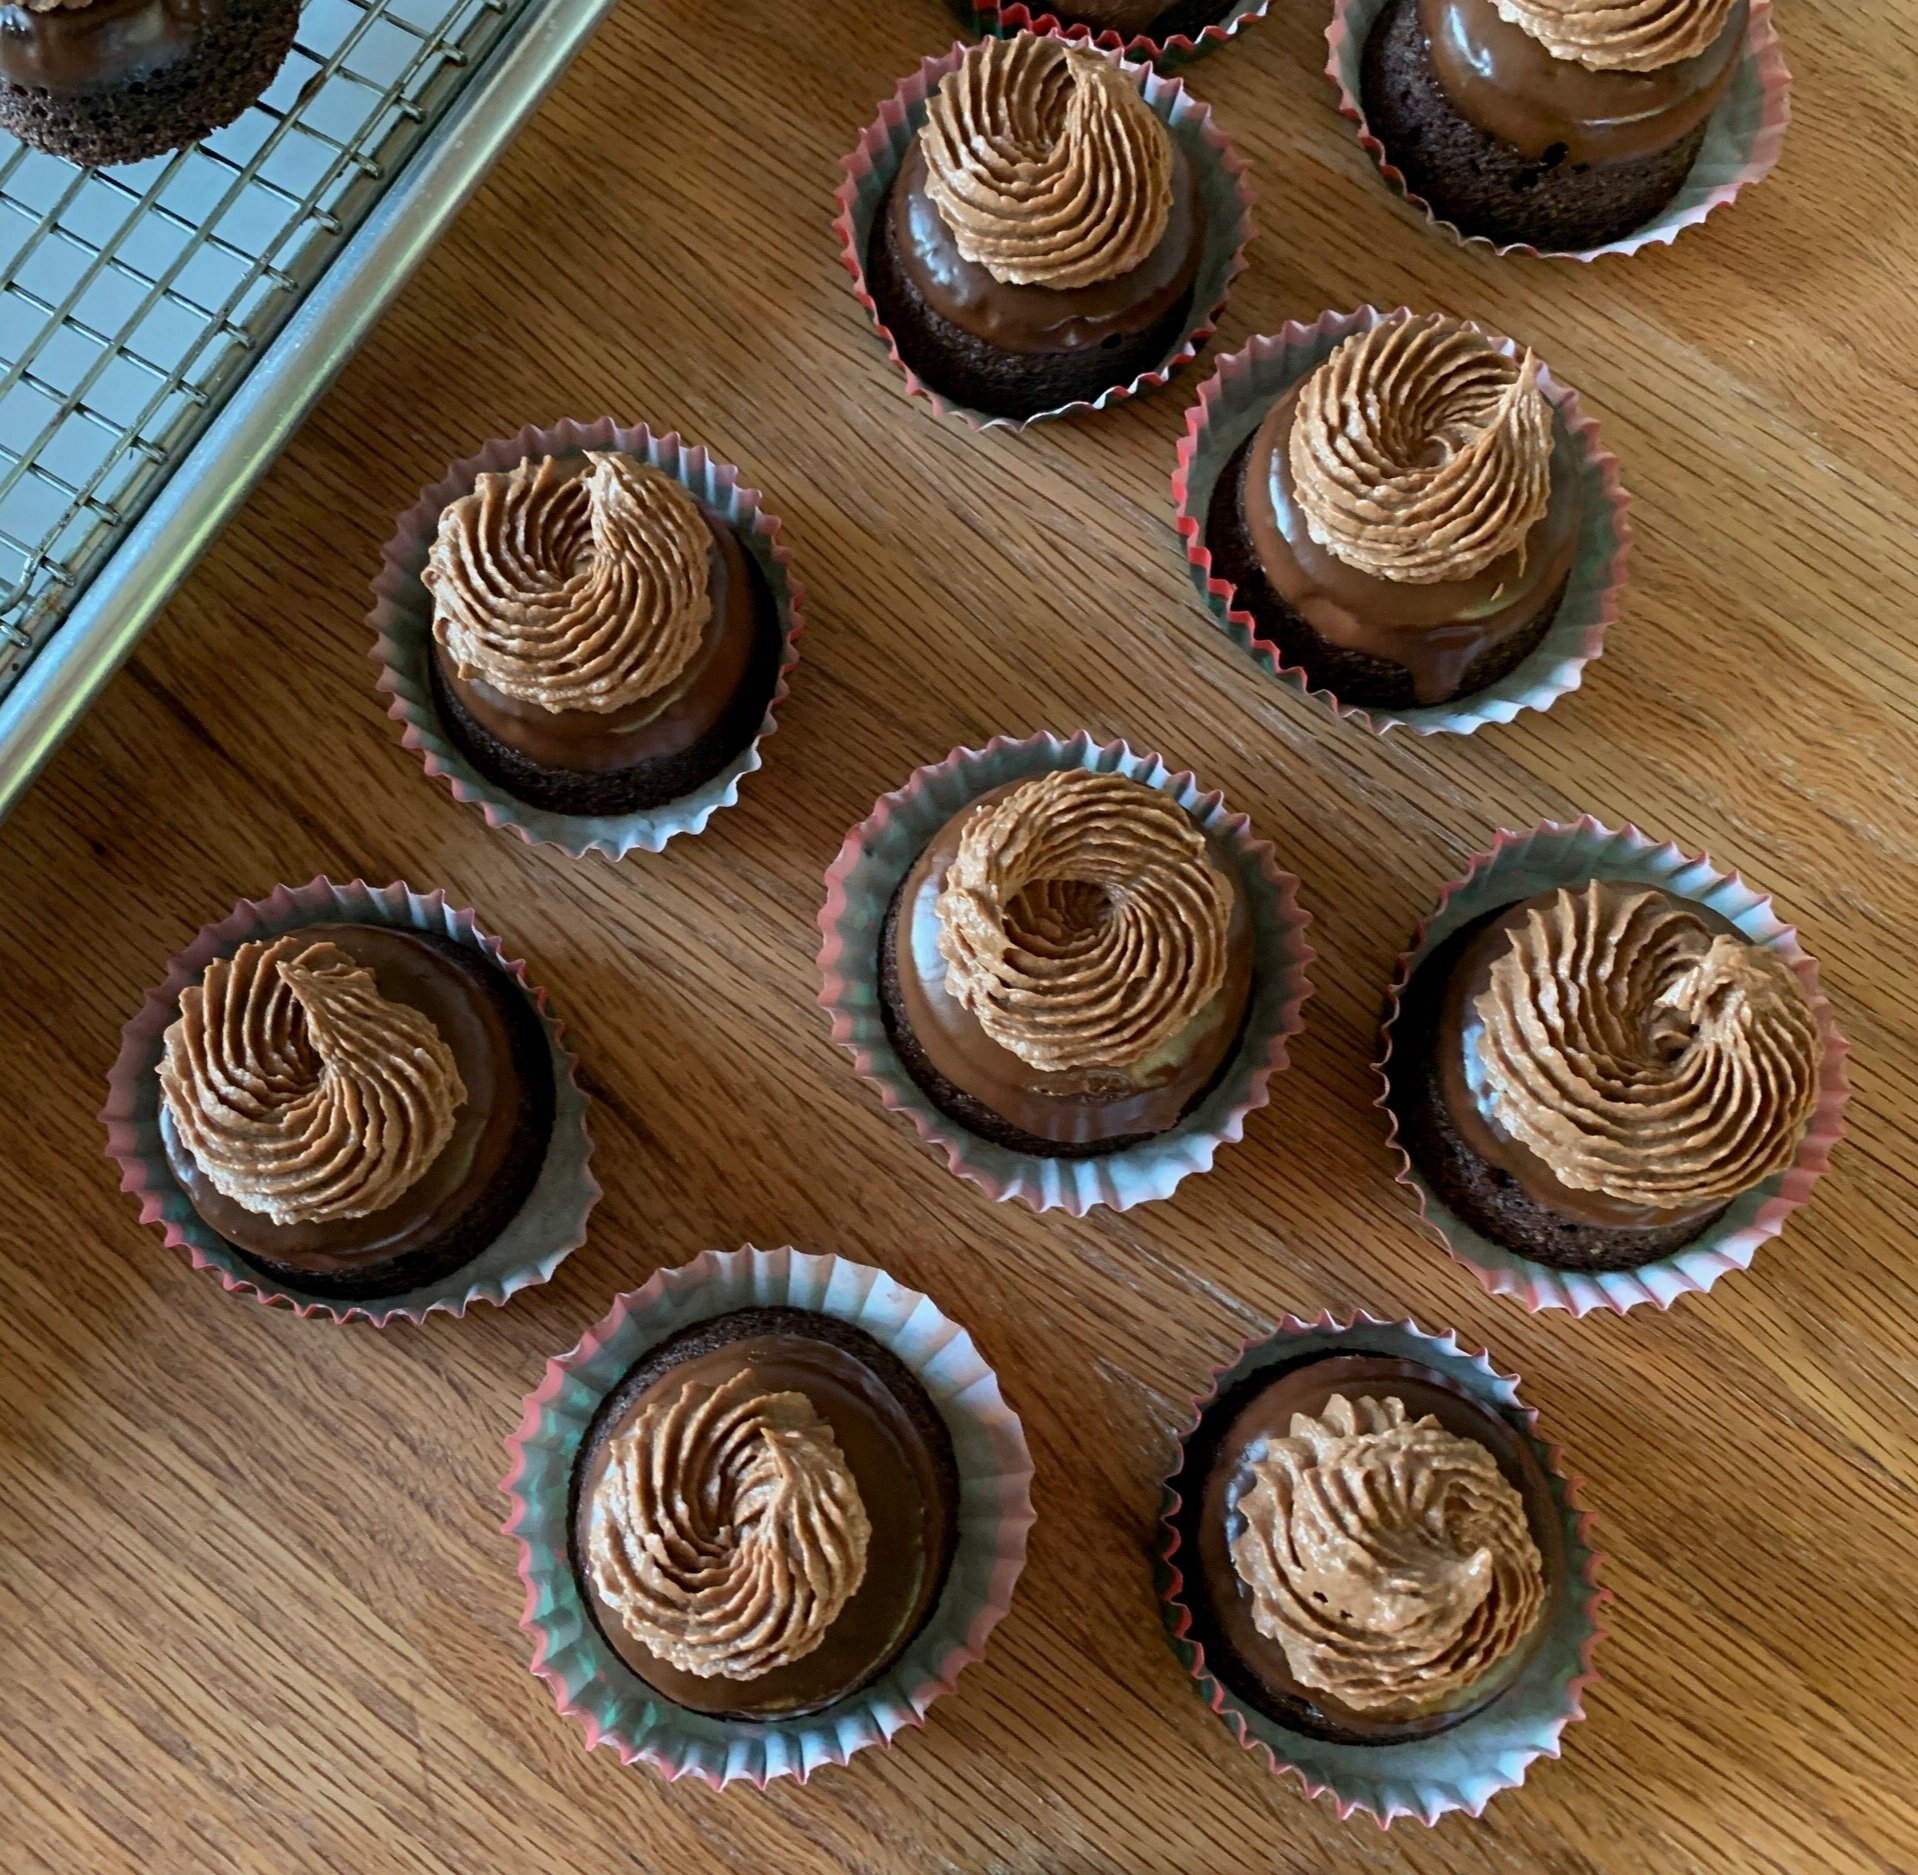
Cocoa cakes

Cocoa cakes

This tasty babies are from Yotam Ottolenghi and Helen Goh’s book “Sweet”. Not unlike financier, the batter is made with similar ingredients but doesn’t involve browning the butter which one would normally do for financier. They are a dream to put together and bake so nicely in individual silicone molds from very mini to larger “muffin” sizes, depending on your mood.

This Silikomart mold (SF022) is one of my favorite ones for simple small cakes - just the right size to enjoy a few bites without feeling you’ve overdone it. Remember - everything in moderations folks!

The wells each hold about 48 g/1.7 ounces (if full) - I get about 15 cakes out of the recipe below. You can easily double the recipe for more!

3FD69FD3-253A-4E5B-99BD-9274B99024E7.jpg

Heat the oven to 375ºF. If not using silicone molds, buttered mini or regular muffin tins work well. Yield will vary depending on the mold/pan you use.

Melt 140 g/5 ounces unsalted butter (I use a pyrex glass cup on medium power in the micro) and have it at the ready.

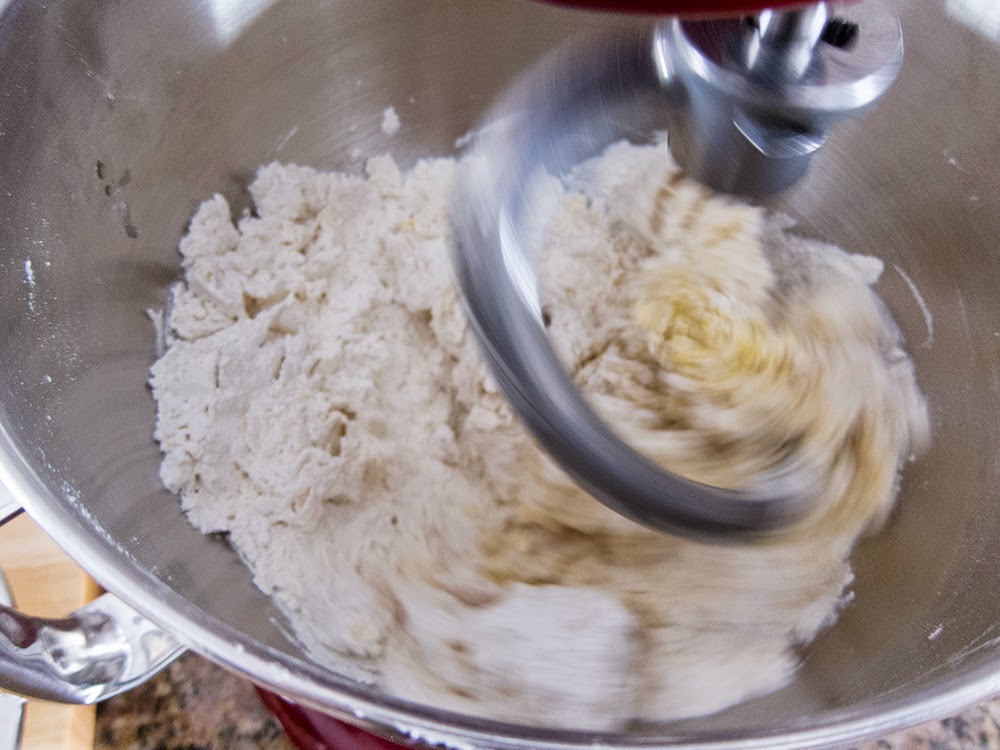
In a separate bowl, sift together 40 g all purpose flour, 40 g almond flour and 50 g Dutch process cocoa powder.

Place 120 g (4 large) egg whites in the bowl of a stand mixer fitted with the whisk attachment along with 160 g granulated cane sugar and beat on medium-high for a couple of minutes until thickened and glossy.

Continue on the same speed and drizzle the melted butter down the side of the bowl, beating until combined. Scrape down the sides.

On low speed blend in the dry ingredients. I usually take the bowl off the mixer and finish the blending by hand - you want to make sure none of the dry stuff is sitting on the bottom.

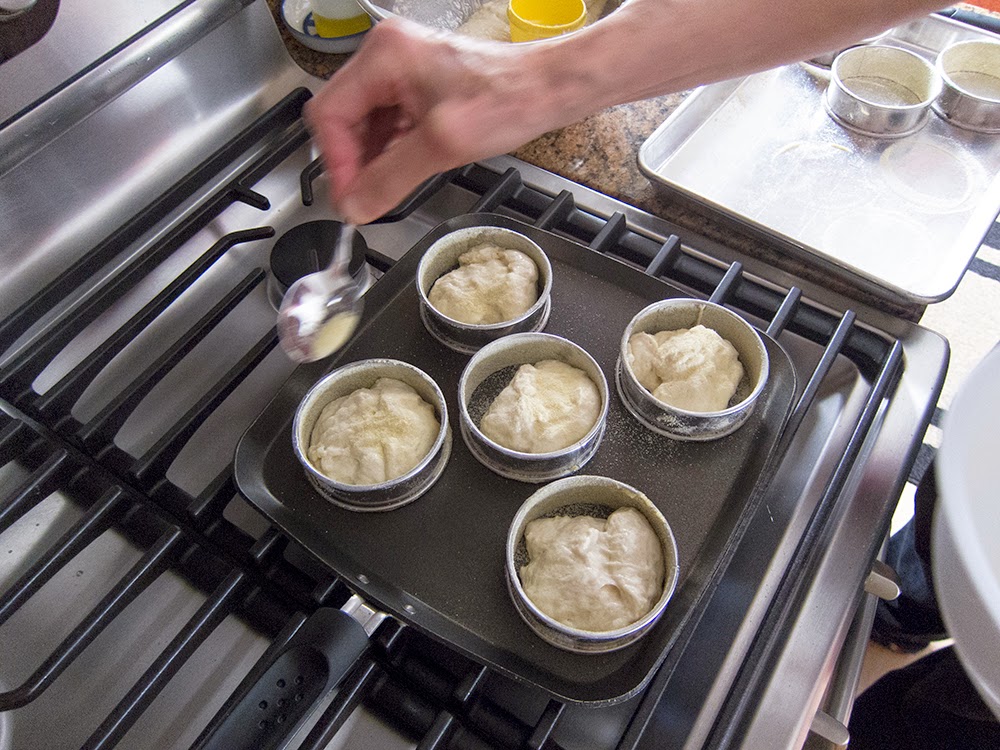
Fill molds about 3/4 full (you can scoop but I prefer piping for more equal portions and less muss) and bake about 15 minutes or until center looks set and springs back when touched. Baking time varies depending on mold size.

Let cool in molds about 10 minutes then turn out onto wire rack to finish cooling.

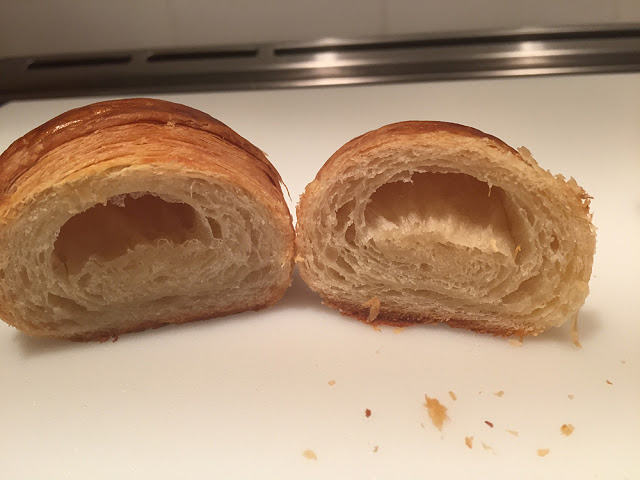
Once cooled I dipped the tops in ganache (seen above), popped them in the fridge to set the ganache, then gave them a nice swirl of dark chocolate Swiss meringue buttercream. Yum. Steve loves these!

2FB91D89-DB9C-4230-881F-948D02AD6A07.jpg

Next up - flourless walnut fudge cookies, a François Payard recipe from FOOD52’s “Genius Desserts”. This is an eye opener folks. Plus you can change up the nut choice as you wish - pistachio, pecan, macadamia and more. Nuts and chocolate are a marriage made in heaven if you ask me.

FBD11C1C-0A02-47B6-BF33-0DD79A7E4C0D.jpeg

Heat your oven to 350ºF. Line two 1/2 sheet pans with parchment or silicone mats. Place 4 large egg whites in a bowl and allow to come to room temperature (place the bowl in a slightly larger bowl of warm water to speed it up).

Toast 275 g / ~2.75 cups walnuts or nuts of choice on a parchment lined sheet pan for about 10 minutes. You’ll smell the aroma and you’ll know. Let them cool, then chop ‘em up.

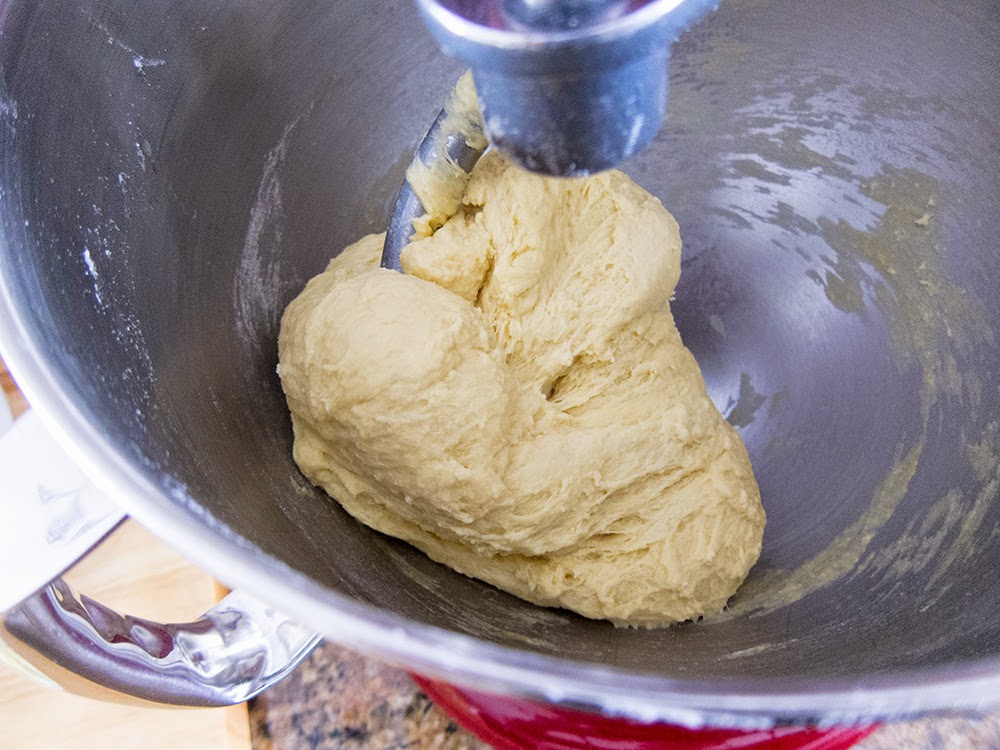
Mix together 350 g confectioners sugar, 70 g Dutch process cocoa powder, 1/4 teaspoon salt and the chopped nuts in the bowl of a stand mixer with the paddle. Give a quick low speed mix to combine then add the egg whites and a tablespoon vanilla extract with the mixer running. Mix on medium about 3 minutes to thicken.

I prefer smaller cookies so I used my tablespoon scoop to portion the dough out. Place pans into the oven then reduce the temp to 325ºF and bake about 15 minutes until tops lightly crack. Rotate your pans half way through the bake.

Slide cookies with the parchment onto cooling racks. Remove from parchment once cooled (tip - if sticking, lift parchment up and gently peel it off cookies from the bottom OR brush a little water on the undersurface of the parchment and the moisture makes for easier release.)

B01478A5-C16E-4379-A9E3-C88F73F88F86.jpg

Mmmmmm - what a delightful chew, wonderful nutty flavor and all around tasty experience. Thanks to François Payard and FOOD52!

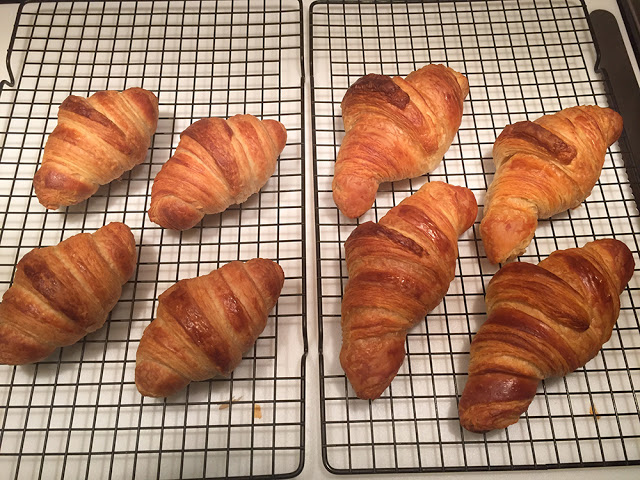
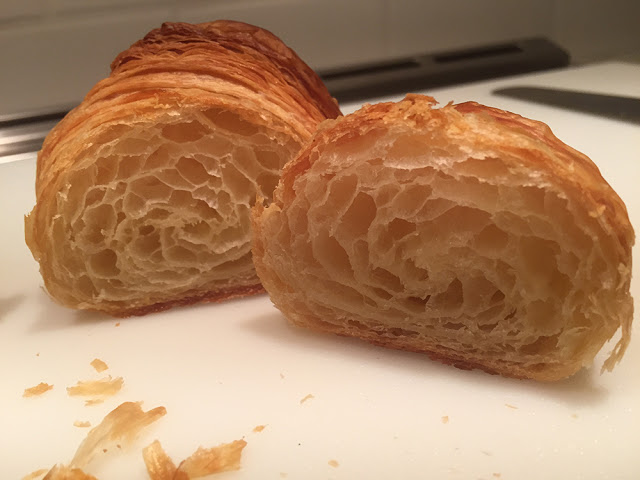
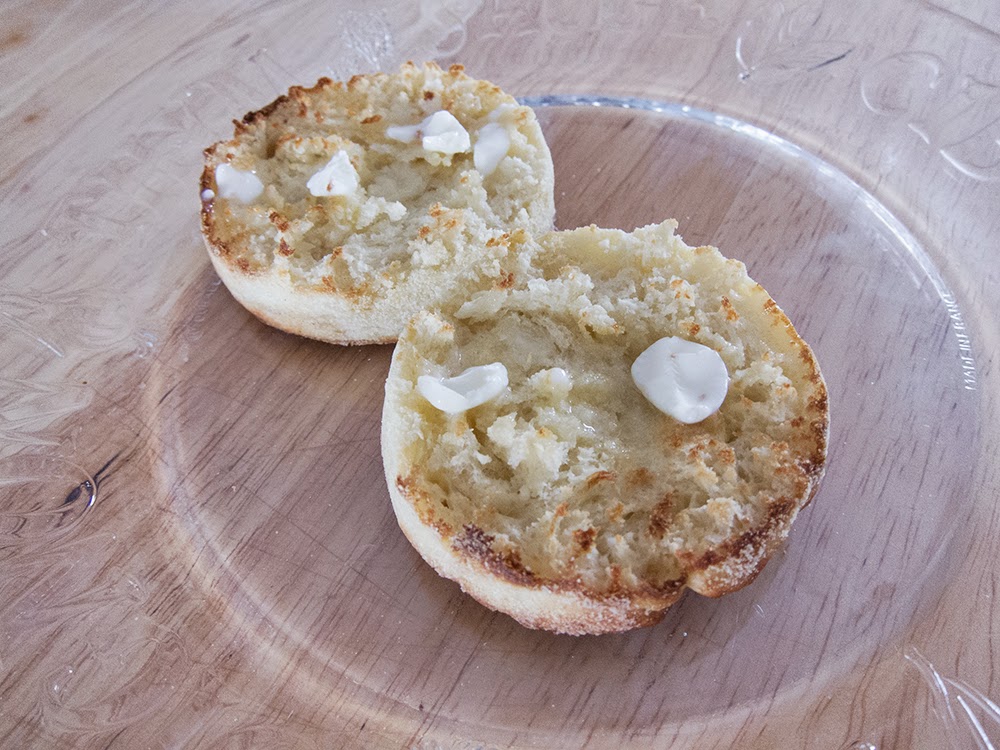
To wrap it up, I want to share one more way I’ve used Dutch process cocoa in recent weeks. I often speak of twice baked croissant aux amandes, one of Steve’s and my favorite treats (and a lot of other people too, let me tell you).

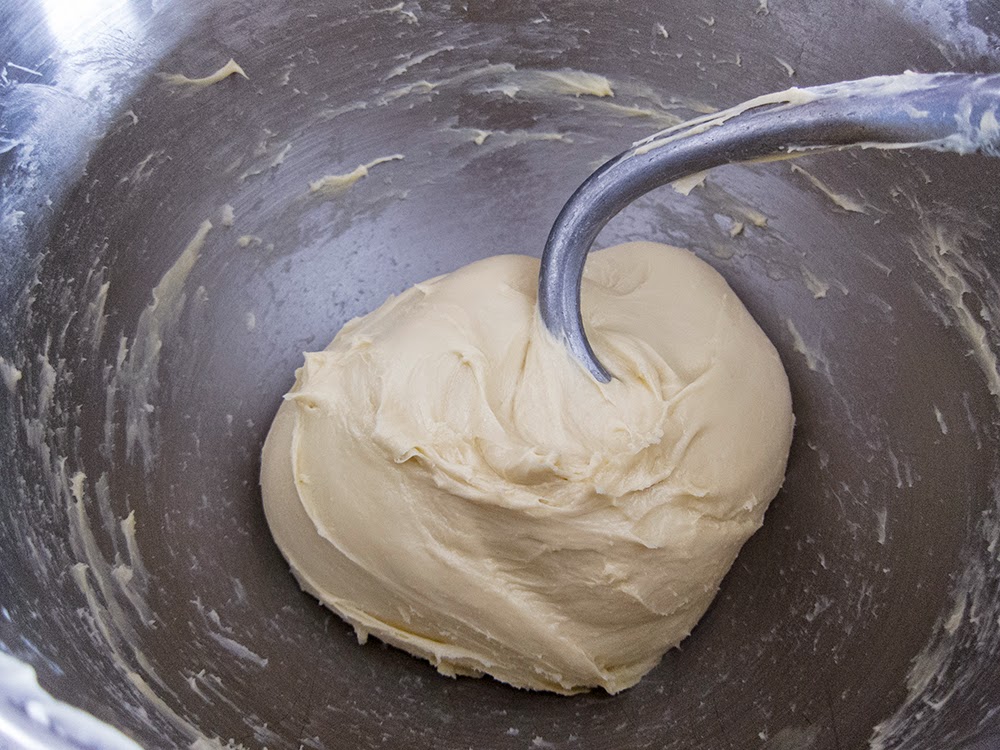
I made a chocolate hazelnut version by replacing the almond flour in my basic crème d’amandes with hazelnut flour, left the all purpose flour out and added a hefty tablespoon of Dutch process you-know-what.

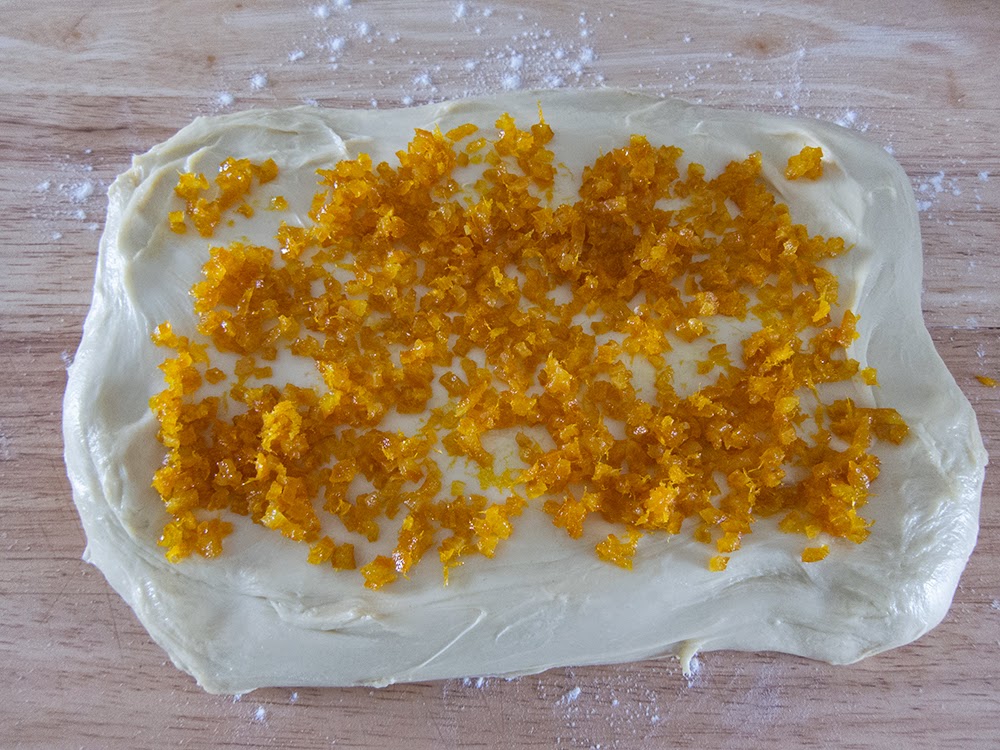
It goes like this: take croissants a day or two old; slice them as though you’re going to make a sandwich; dip the whole thing in vanilla simple syrup to moisten and give it a squeeze (don’t worry, it’s great fun!) to get rid of excess.

Now open the croissant, pipe a line of hazelnut-cocoa cream, throw a few chunks of chopped chocolate (something in the 60-ish % ballpark) on the cream, then close the sandwich and pipe another line of cream on top. You can add a sprinkling of chopped hazelnuts too.

I usually assemble my twice baked croissants and hold them in the freezer until baking. Heat the oven to 325ºF (I use convection) and put them in right outta the freezer. Bake about 20-25 minutes - you want the cream nicely golden and set. Cool and enjoy. A nice dusting of confectioners sugar gives them that certain je ne sais quoi.

A0397812-0A1D-4DE1-BAB4-CF31411DD0DA.jpg

Our taste test was so enjoyable! The inside had just the right amount of chocolate to accompany the hazelnut cream. Of course we tried one while still slightly warm which only enhanced the experience. Yum. Yum. Yum. And just as good the next day. Yes!

294398A8-0ADC-4030-8F16-A50BF53D9750.jpeg

Have fun creating your own chocolate goodies. Until next time - stay safe, stay healthy and get vaccinated when you can!

Croissants revisited

Always eager to try a new technique or two when it comes to croissant making, I opted to give Thomas Keller and Sebastien Rouxel’s recipe from “Bouchon Bakery” a try. With its decidedly French flair and way of doing things I figured what could be bad about that, eh?

I haven't made croissants in some months, and, now that our kitchen remodel is finished (a much improved and fantastic work space!), it was definitely time.

I looked back to my October, 2014 croissant post written soon after I first started this blog.  At that time I compared my usual method with Philippe Conticini's of Pâtisserie des Rêves and found his sorely lacking, both in process and in final product.

This time I compared Keller/Rouxel's method with the one that I had developed for myself some years ago.

WARNING!  Technical stuff coming up!!

Here are just a few things in the Bouchon recipe that vary from my usual method:  a pre-ferment (poolish) that sits for 12-15 hours; water instead of milk; higher butter:flour ratio; slightly higher in sugar; long kneading time (20 minutes!); different technique to envelop the butter; freezing the dough for 20 minutes in between all steps; different shaping technique; lower oven baking temperature - whew, that's a lot!

This post is geared to those of you who are familiar with the steps of croissant making.  If you've never made croissants, there are tons of resources available that will help you understand the process.

Let's go through some of the steps in pictures.  Once past the poolish steps I show comparisons between Bouchon's dough and mine.

Bouchon poolish

poolish after a 15 hour overnight

lengthy knead of Bouchon dough

smooth, tight Bouchon dough vs. my more lax and open structured dough

Below are two commonly used ways of enveloping the butter - what I like to think of as rectangle vs "baseball diamond".  They both work, so you choose.

ready to envelop the butter

packages ready to roll

first turn completed

second turn completed

The Bouchon dough on the left is smoother and tighter than mine, however rolling it was a more arduous task since it was more elastic and required more rolling pressure.

Freezing the Bouchon dough for 20 minutes in between each step didn't seem detrimental, but I must admit that I prefer my usual method of resting the dough in the fridge as opposed to the freezer. For me the primary issue is that the butter be cool yet malleable and not too cold and hard to break apart during the rolling.

Once all turns were completed I divided each dough into two in preparation for final rolling and shaping.  Check out the layers below.

The Bouchon dough is tighter and the laminations look more precise . . . .

Bouchon dough

whereas my dough looks more rough.

my dough

Once the doughs were rolled out and cut into triangles, I shaped them using the approaches below.  I had never seen the Bouchon method of turning the corners IN before rolling the croissant.  Interesting.

Here are the rolled up end results.

I egg washed and proofed . . . .

ready for the oven

then egg washed again and baked just a few of each (the remainder of the shaped and unbaked croissants went into my freezer).

Unusual for me was the 325ºF oven temp recommended for the Bouchon version, whereas I bake my croissants at 400ºF.  I was taught that the hotter oven temp helps the initial oven rise when baking laminated dough.

The Bouchon version required 40-45 minutes before I was happy with the degree of browning.  Mine looked good after the usual 20 minutes or so.

Bouchon on left, mine on right

The size difference is due to the fact that Bouchon's recipe is a slightly larger amount of dough cut into 16 portions, whereas mine is cut into 12 portions, yielding larger croissants.

Once cooled it was time for cutting and tasting.  The Bouchon croissants felt heavy.  What a disappointment when I found the interior to be doughy with flat layering and a vacant space in the center!

Bouchon version

My version felt light to the touch and exhibited a honeycombed, airy interior.  While I would like to see more distinct laminated layers, the appearance still beat Bouchon's.

my version

While the Bouchon version had a crisp, shard producing exterior and a decent flavor with a hint of sweetness, the texture was doughy and unpleasant, and the croissant left a greasiness on my fingertips and lips that suggested too much butter for my taste.

Bouchon version

My version had some decent crisp exterior shards, although not as impressive as Bouchon's.

my version

When all was said and done, it was clear to me that I should stick with what I know.  I'd still consider tweaking my approach with perhaps a slightly longer kneading time, but otherwise I'll move forward with my standard recipe and technique.

I always love experimenting - it's one of the best ways to learn!!

And remember - there's never an end to the story.

Craquelins - a Belgian brioche treat from Thomas Keller

I've been salivating over Thomas Keller's Bouchon Bakery book that's been sitting on my pastry library bookshelf for several months now.  Thus far I've made a few of the shortbread recipes and have read through a good deal of the book, soaking in the advice and tips from Sebastien Rouxel, the head patissier.  His way of presenting things is right up my alley and is so in line with how I've come to view my own approach to pastry and the French way of doing things.

His energy, passion and attention to detail come through loud and clear, especially on the heels of my ever growing disillusionment with Philippe Conticini's La Pâtisserie des Rêves book, it's imprecision and sloppy editing.

The craquelins recipe was calling my name, and, as usual, I did some research on this enriched dough treat.  It is classically a Belgian specialty made by mixing citrus zest and sugar cubes into brioche dough.  Lemon is most commonly used, but some versions use orange and add some orange liqueur as well.


The method that is described in a number or recipes involves mixing sugar cubes into brioche dough and then covering and enclosing the shaped dough balls with a smaller disc of brioche dough.  This apparently acts as a seal to keep the sugar cubes from popping through during baking.

Bouchon's version calls for candied orange rind, orange zest and orange liqueur, and I figured I'd follow their lead on this one.

First I made my candied orange rind, which can be done ahead and kept in the fridge for several weeks.  It's a straightforward process with the fussiest part being the separating of the rind from as much of the white pith as possible.

I typically slice the rind off the orange, then remove any remaining pith before cutting the rind into narrow strips.


Make a simple syrup and set it aside.  Place the rind in cold water in a separate sauce pan, bring it to a boil, then strain it.  Do that two more times (this helps reduce the bitterness of the rind),


boiling the rind

then place the rind into the simple syrup and simmer until translucent (that might take 20-30 minutes).


the candied rind

Let the rind cool to room temp before refrigerating it in its syrup until you're ready to use it.

Time to make the brioche!  Every time I make this enriched dough I am amazed at the transformation that occurs.  What begins as a somewhat dry, firm dough develops into a satiny, shiny, buttery mass of goodness.  Whoa baby!

This recipe has a starter made with 60 gm whole milk, 8 gm instant yeast and 90 gm all purpose flour.  It's dry and not terribly attractive.


Mix it, cover with plastic wrap and let it sit for an hour.

starter

Meanwhile, get the orange rind mixture ready:  finely chop the candied orange rind, mix with orange zest and liqueur.  The recipe calls for 150 gm candied rind, 15 gm orange zest and 1.5 tsp orange liqueur.  I used 80 gm rind, 10 gm zest and 1.5 tsp hazelnut liqueur, since that's what I had on hand.


Proceed with the mise en place for the remaining dough.


all the ingredients

Place 390 gm all purpose flour, 52 gm granulated sugar and 12 gm kosher salt (see side note below) in the mixer bowl.  Give it a quick whisk, then mix in the starter dough and blend for 30 seconds or so.

Side note:  in the book 12 gm of kosher salt is equated to 4 teaspoons; however my 12 gm was closer to 2-2.5 tsp; remember - not all kosher salts are created equal!!  And that, folks, is just one example of why weighing trumps measuring!

Add 225 gm eggs in three additions,


starting to add the egg

. . .  then mix on low speed for 15 minutes to develop the gluten.


The dough at this point feels kind of tough and not at all satiny smooth.

Start adding the butter, several pieces at a time, incorporating each addition before adding more.


Once all the butter is added, mix for a couple more minutes . . .


and voila!  What a beautiful piece of dough!!

At this point it's time to turn the dough out onto a lightly floured surface and shape a rough rectangle, onto which you place the orange rind/zest mixture.


Knead the orange mixture into the dough and then pat into a rectangle again.


Do a fold-over of the dough, side to side . . .


then top to bottom . . .


then flip it over, form a ball and place in an oiled bowl.


Cover the bowl with plastic wrap and let the dough sit at room temp for an hour.

Turn it out onto a lightly floured surface, pat it into a rectangle and repeat the side-to-side/top-to-bottom stretching and folding process.  Place the dough, seam side down, in the bowl, cover and refrigerate over night.

Here's the dough after its overnight chill . . .

ready for shaping

Turn the chilled dough onto a lightly floured work surface, shape it into a rough log . . .


getting ready to divide

and divide it into 12 approximately 100 gm portions.  Have 12 sugar cubes at the ready.


all weighed out

Now form each portion into a ball . . .


then push one sugar cube into the bottom of each.


Turn them back over and re-roll to push the sugar cube more centrally into the dough.


Now place them in lightly oiled paper baking molds on a sheet pan and brush with egg wash.


Cover loosely with plastic wrap and let proof for 1.5 to 2 hours.  I turn the proofing setting in my oven on at 85º for just a few minutes and then turn it off.  It makes for a nice proofing environment (I think about 75º is ideal).  Of course, if it's summer and your kitchen is nice and warm, just proof at room temp!

With brioche it can be difficult to appreciate a dramatic rise due to the quantity of butter which tends to weigh the dough down.  However I think you can see in the photo below that the dough has indeed filled out in the baking cups compared to the photo above.

After proofing brush again with egg wash and sprinkle each with pearl sugar.


ready for the oven

Bake at 325º convection for about 20-25 minutes - and don't forget to watch what's happening in that oven!

c'est fini!

 These rose beautifully and baked to a lovely golden color - and the aroma - oh la la!


like little moonlit nuggets

Once they had cooled I simply had to try one.  I didn't feel too guilty since I'd already had my morning oatmeal and berries - and it was lunch time, after all.


The crumb is moist and soft, the crunchy sugar a treat like none other and the orange rind and zest adds the perfect note.  I can't wait to try these with lemon.

And, of course, Steve liked them too.

Yes indeed!  Thanks Bouchon Bakery!!

My first English muffins!

Not long ago Steve and I had lunch at one of our favorite local haunts (Nick's on Broadway) where Steve ordered a fish sandwich served on the house-made English muffin.  Boy was it good!  Nothing at all like the store-bought varieties - thicker, flavorful and a wonderful vehicle for sandwich fixins.

I decided it was time to try my hand at making some, and what better day than when we were expecting (and ultimately getting) a blizzard here in Providence.


only the beginning

lots more comin'

Whenever I'm making something new, I enjoy reading and reviewing a number of recipes for whatever that something new might be.  I checked out Rose Levy Beranbaum, Bouchon Bakery, Peter Reinhardt and King Arthur Flour and settled on Peter Reinhardt's recipe as my initiation into English muffin making.


Little did I know that English muffins are "baked" on the stove top - I had no idea!  Plus I find it so intriguing to compare techniques and processes - Rose's uses a poolish (dough starter), Bouchon bakery uses a liquid levain (another version of a starter), whereas the one I chose to follow is a straight forward direct dough that is as easy as pie to put together and can sit in the fridge for up to four days!  I like that.  Thanks Peter!

On to the recipe.

ingredients

Whisk 14 gm (2 teaspoons) honey and 14 gm (1 tablespoon) olive oil into 1.5 cups (340 gm) of lukewarm milk.  In a separate bowl whisk together 340 gm (2 2/3 cups) unbleached flour, 1 1/4 teaspoons kosher salt and 6 gm (2 teaspoons) instant yeast.

the dry and the wet

Now blend the wet into the dry, mixing for a minute or so to moisten all the flour.  Scrape down the bowl and mix the batter for a few more seconds.


ready to cover and refrigerate

Cover tightly with plastic wrap and refrigerate overnight or up to 4 days.

On the day you plan to bake the muffins remove the dough from the fridge a good 2 hours ahead of time.  I chose to bake the following day, so my dough had an overnight rest in the fridge.


just out of the fridge after an overnight rest

After a couple of hours you should see that the dough has bubbled a bit.  It's subtle, but it's there.


can you see the difference?

Now it's time to dissolve 1/4 teaspoon of baking soda in 3 tablespoons of warm water and fold that gently into the dough.


Let the dough rest for 5-10 minutes.  In the meantime prepare your English muffin rings (in my case I used my 7/8" high, 80 mm tart rings) by oiling them and coating the insides with corn meal (I used semolina).


Heat a flat griddle or cast iron skillet over medium heat and place the prepared rings on the cooking surface.  I'm using a non-stick flat griddle, but if you're using a classic cast iron "stick" pan or griddle, mist or coat it with oil first.


Sprinkle cornmeal in the rings . . . .


Lightly oil a 1/3 measuring cup and use it to scoop the dough into the prepared rings.


The dough is a bit sticky but just go for it - scoop away!  Sprinkle a little more cornmeal on top . . .


and cook the muffins for about 12 minutes over low-medium heat - the dough will start to rise and fill the rings.


away we go!

Then it's time to flip them over, rings and all . . . .


all flipped

You want them to be golden on the bottom before the flip, and then you cook them for another 12 minutes or so to achieve the same golden-ness on the flip side.  You can peek underneath to check for the degree of browning, and they should also feel springy to the touch.

At that point remove them from the pan, let them cool a couple of minutes and then remove the rings.

Based on some of the techniques I gleaned from reading different recipes, I decided to pop them into a 325 oven for 5-10 minutes to finish them off.  Since I haven't made these before, I wasn't sure how they should feel when they're done, and there's nothing worse than an under baked end result.  Think of it as "baking insurance"!


the finished goods


After a good 30 minute cool down Steve and I simply had to do a taste test.  I performed a "fork-split" and found the interior to have that quintessential "nooks and crannies" appearance that one hopes for in an English muffin . . . .


First we toasted one and topped it with a little butter . . .


and then a second one with butter and cherry jam . . . .


yup - that's good!

So the English muffin test was a success.  Crispy outside yet tender with an almost custard like interior, a medium-coarse crumb and a just right taste.

Yes, I would make these again!