Les macarons (part 2)
/
Welcome to part 2 of les macarons!
As we continue to look at some of the other versions of les macarons, next up are those of Montmorillon located in the Viennes department in the region of Nouvelle-Aquitaine (previously Aquitaine, Limousin and Poitou-Charente) in central-western France. They are a complete change-up from the classic macaron lisse - rather than the smooth, somewhat glossy, gently rounded cookie with the frilly pied, these are craggy, rustic mounds typically piped in a swirl using a star or channeled type of tip. They sport no particular garnish or sandwich filling and are meant to be enjoyed in their simple glory.
I actually did two different batches of these, the first using a narrower open star type tip with this result - kinda sea urchin like, eh?

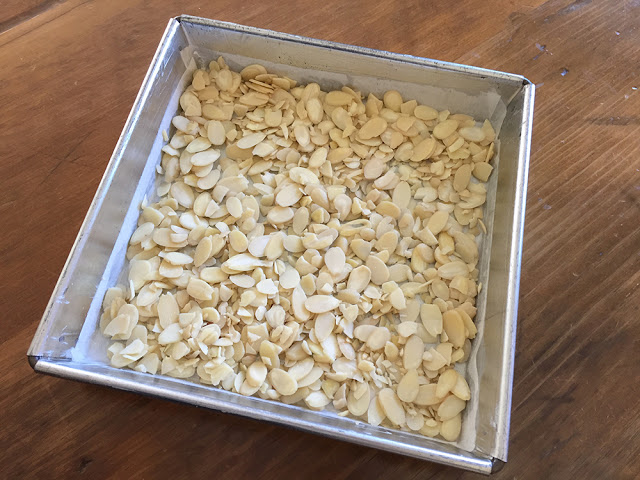
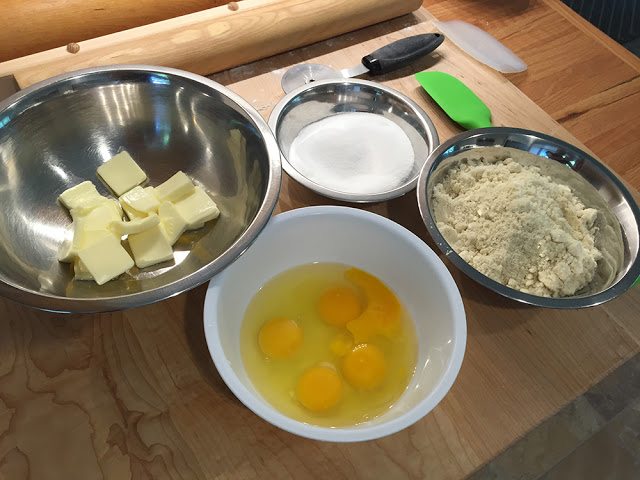
The process is straight forward, starting with toasting 150 g blanched almond flour for 10-15 minutes in a 300ºF oven (à la Mercotte). Cool the almond flour then blend 100 g granulated sugar with it. Neither processing nor sifting for this one folks!
Then whip 70 g egg whites (a bit over 2 large whites) with 25 g sugar to stiff peaks, add a few drops of almond extract and fold the dry ingredients into the whipped whites. Not bad at all.
Pipe the mixture onto Silpat lined sheet pan(s) using a more narrow open star tip or wider large star tip. Depending on your piped size, you should get a least a couple of dozen cookies out of the recipe. You can easily double the recipe for more!
Let them rest at room temperature for 2 hours.

Heat the oven to 375ºF. As soon as you place your pans in the oven reduce the temperature to 350ºF. Bake for 3 minutes then reduce again to 320ºF and bake an additional 15-17 minutes until lightly browned.

What a wonderful chew with a great almond flavor and freezing made them even better (which is true of pretty much all macarons if you ask me!).
Eat them au naturel or dip them in some dark chocolate (which, according to Mister Steve, never hurts anything). Yum.
Next up - macaron craquelé au chocolat.
Another of Stephane Glacier’s recipes, this chocolate number varies from the classic Mercotte version with the amount of confectioner’s sugar reduced by about a third and the almond flour by half. The egg white/granulated sugar ratio remains the same. In addition there’s a bit of all purpose flour and unsweetened cocoa powder in the mix. All of this makes for a softer, lighter cookie with less chew.
Note: For gluten free baking it shouldn’t be a problem to omit the all purpose flour. You can easily double the amounts below to increase your yield from one half sheet pan to two. Depending on the size you pipe, you should get about 30 sandwiches from a doubled recipe.
Here’s the process (single recipe). Whisk together 75 g confectioner’s sugar, 63 g almond flour, 1/2 tablespoon all purpose flour and 1/2 tablespoon unsweetened cocoa powder.
In a clean mixing bowl using the whisk attachment whip 90 g (about 3 large) room temperature egg whites and a pinch of salt on medium-low until white and foamy. Shower in 25 g granulated sugar and, once incorporated, increase speed to high and whip to stiff peaks.
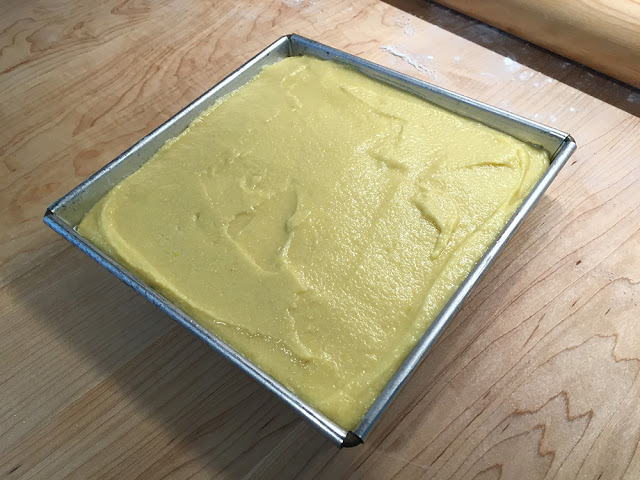
Fold the dry ingredients into the whipped egg whites in three additions then work the mixture with a spatula or bowl scraper until supple and smooth (think about flowing lava!).
Pipe rounds onto Silpat lined sheet pans and let rest at room temperature for 20 minutes.

Meanwhile heat the oven to 335ºF.
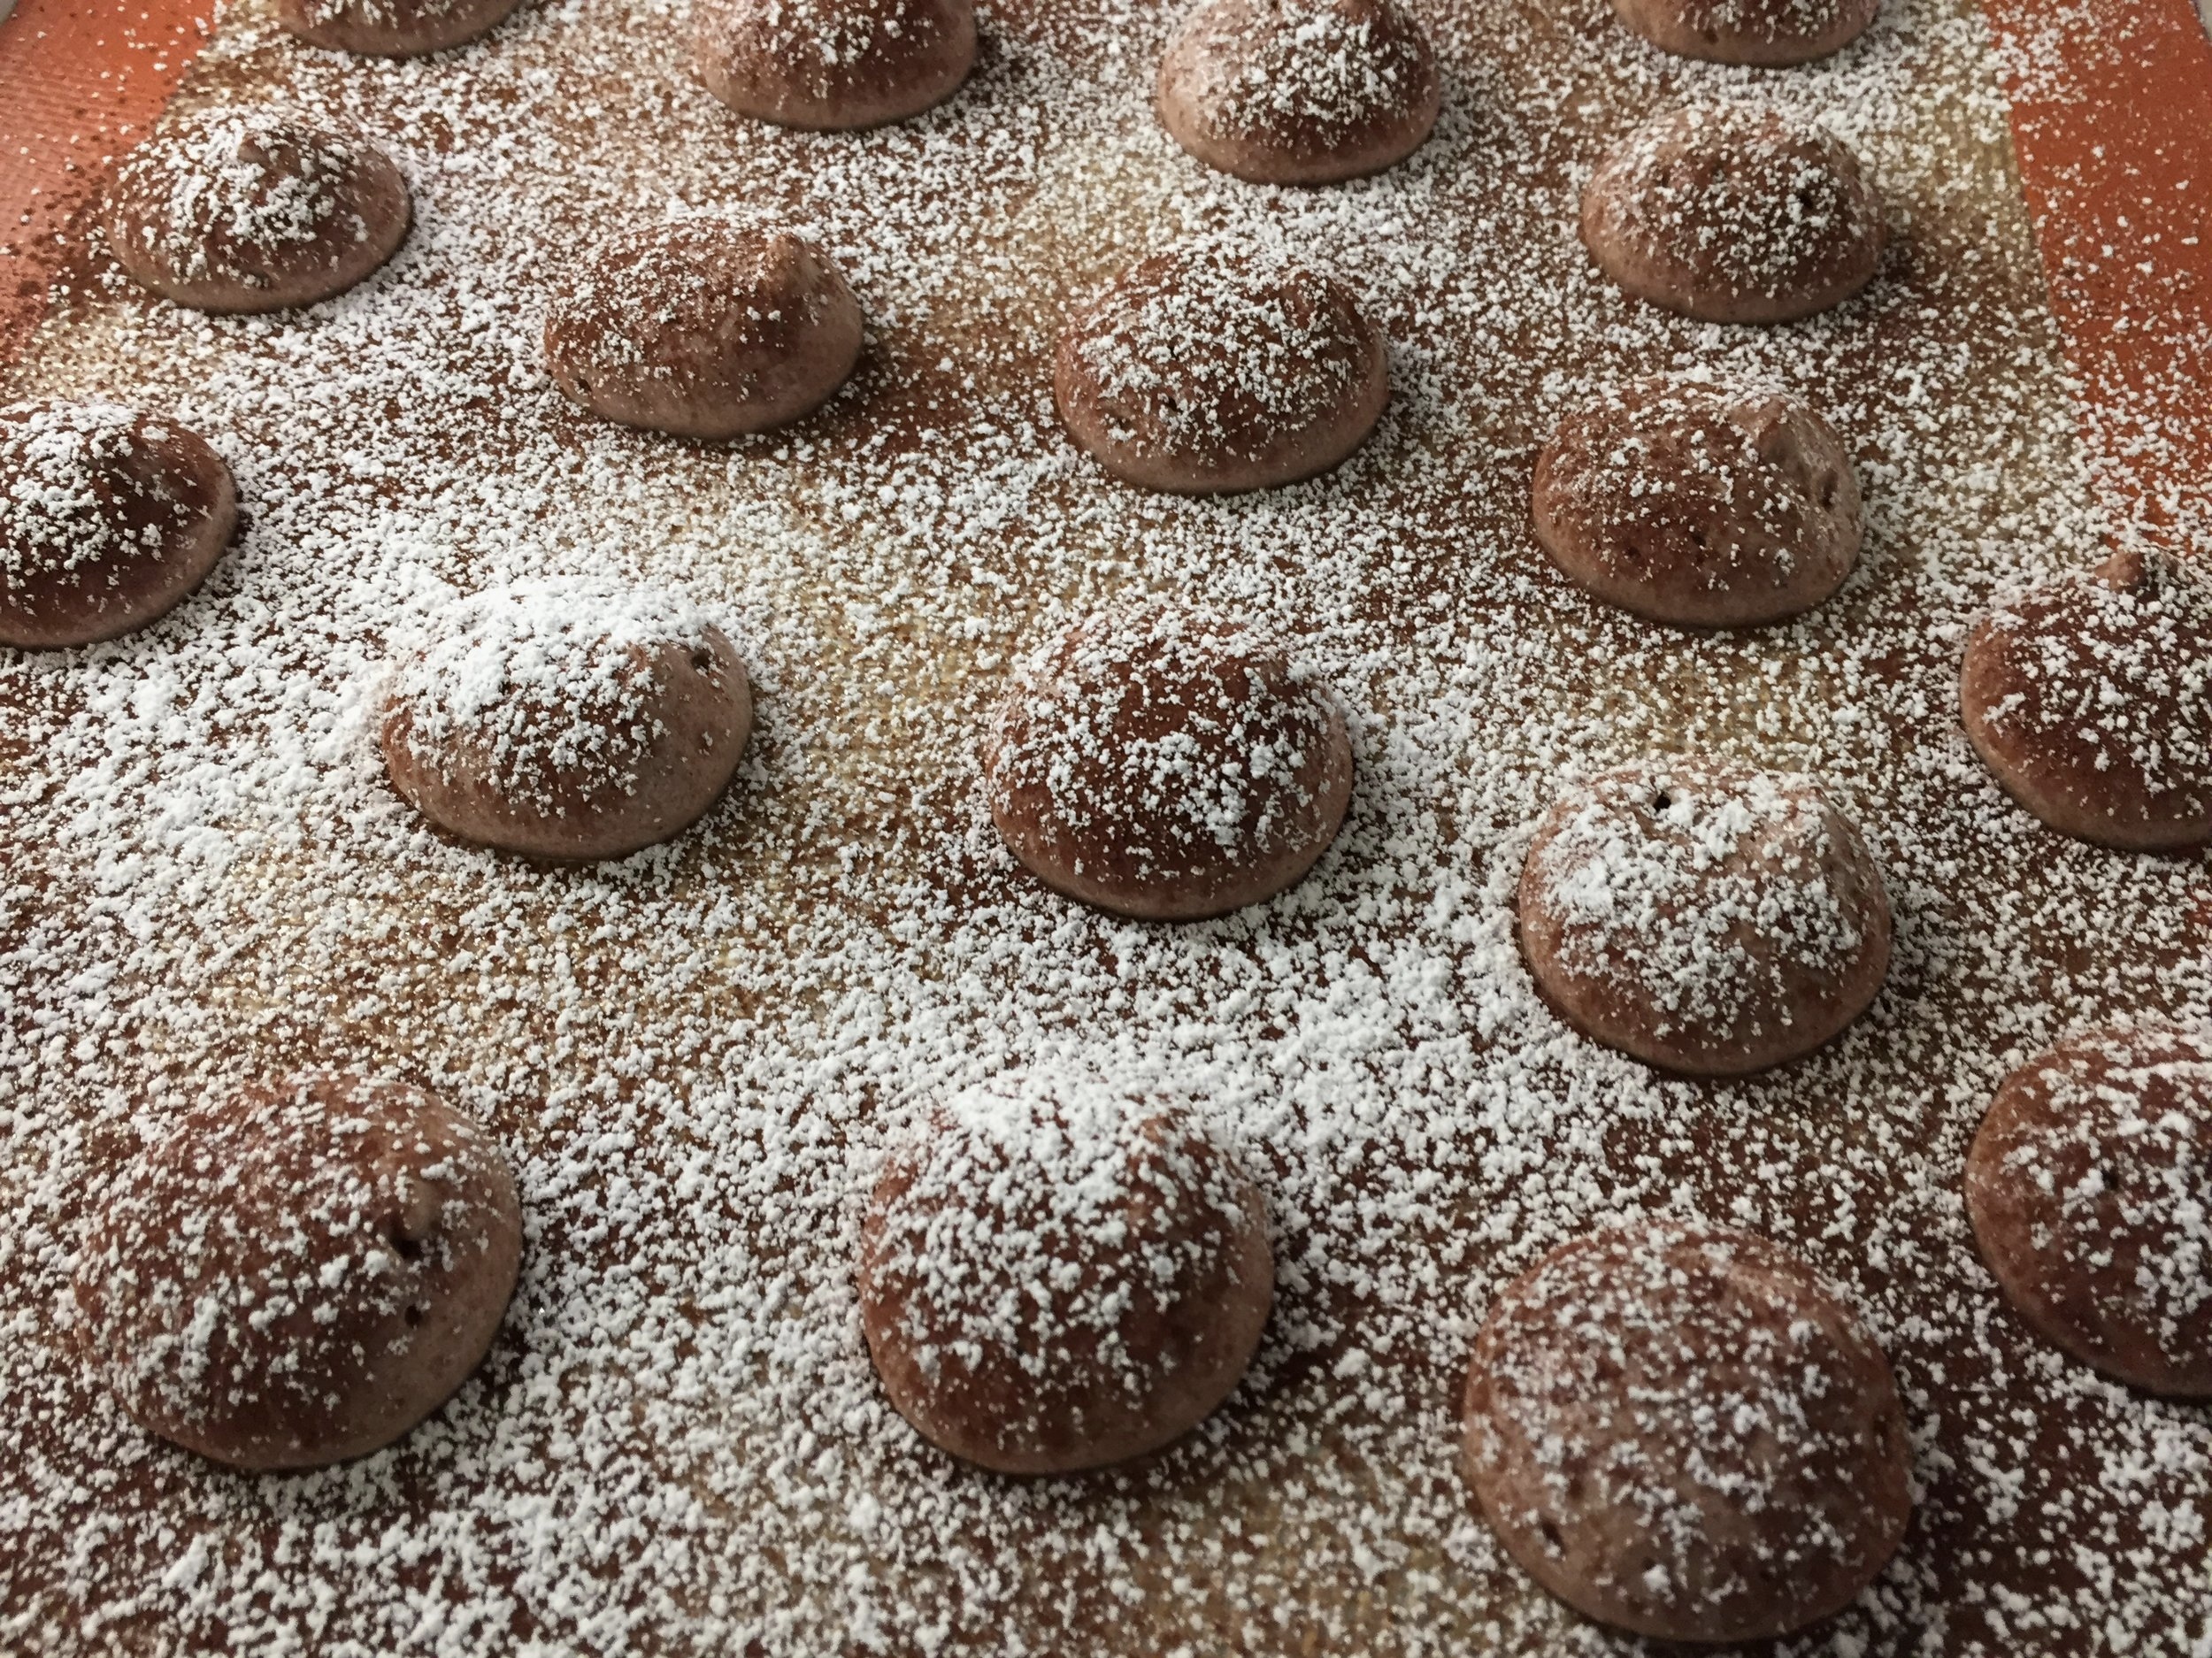
Dust with a mix of 1 tablespoon powdered sugar and 1 tablespoon unsweetened cocoa powder and bake about 12 minutes. Cool.
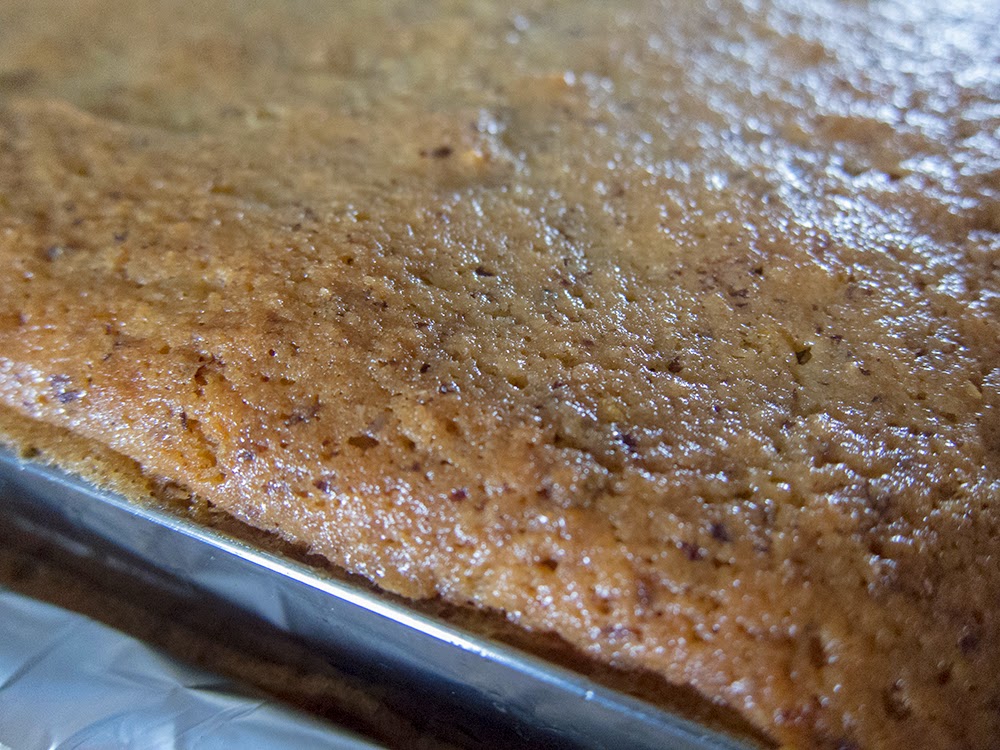
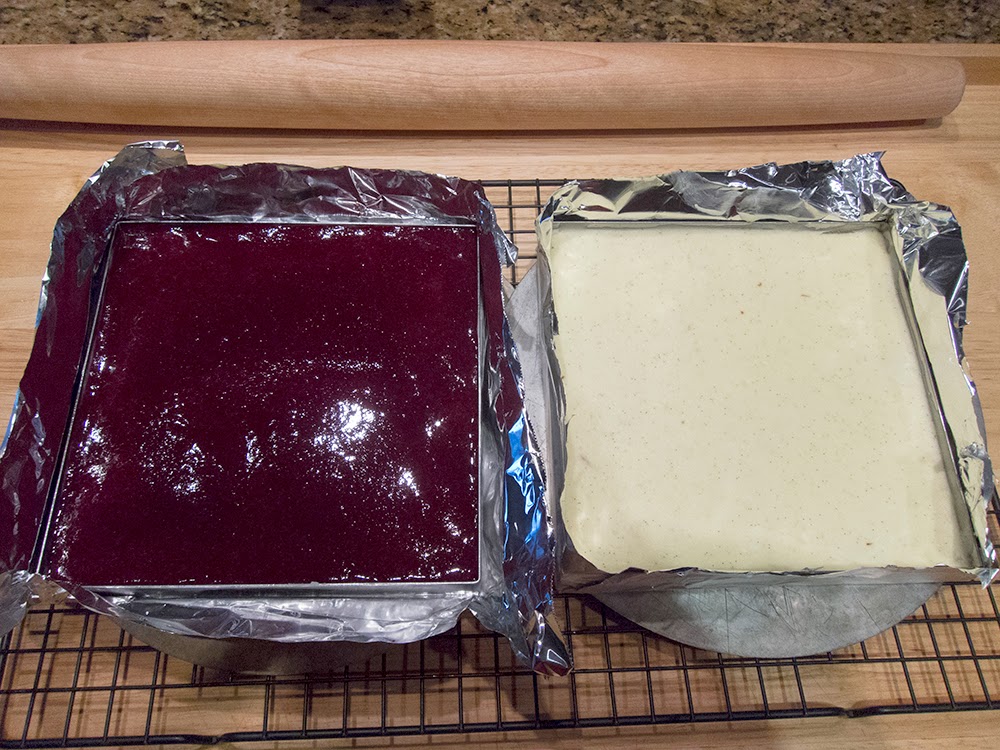
Before the oven

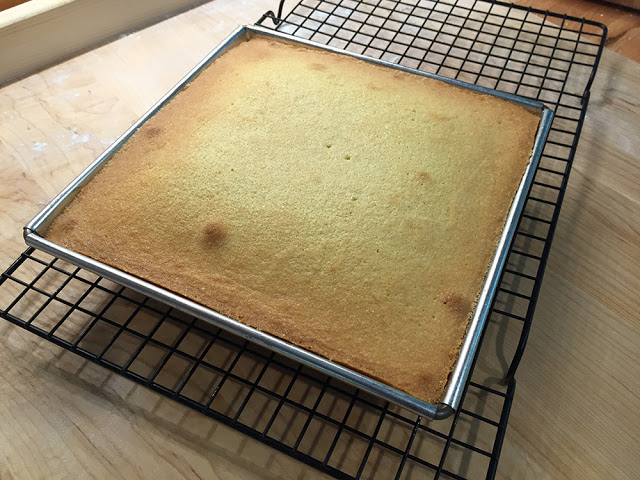
Out of the oven
While these pictures make things look like dirty snow and it’s difficult to see the surfaces, the after oven cookies are drier with some cracks on top. Notice that these do not form the pied!
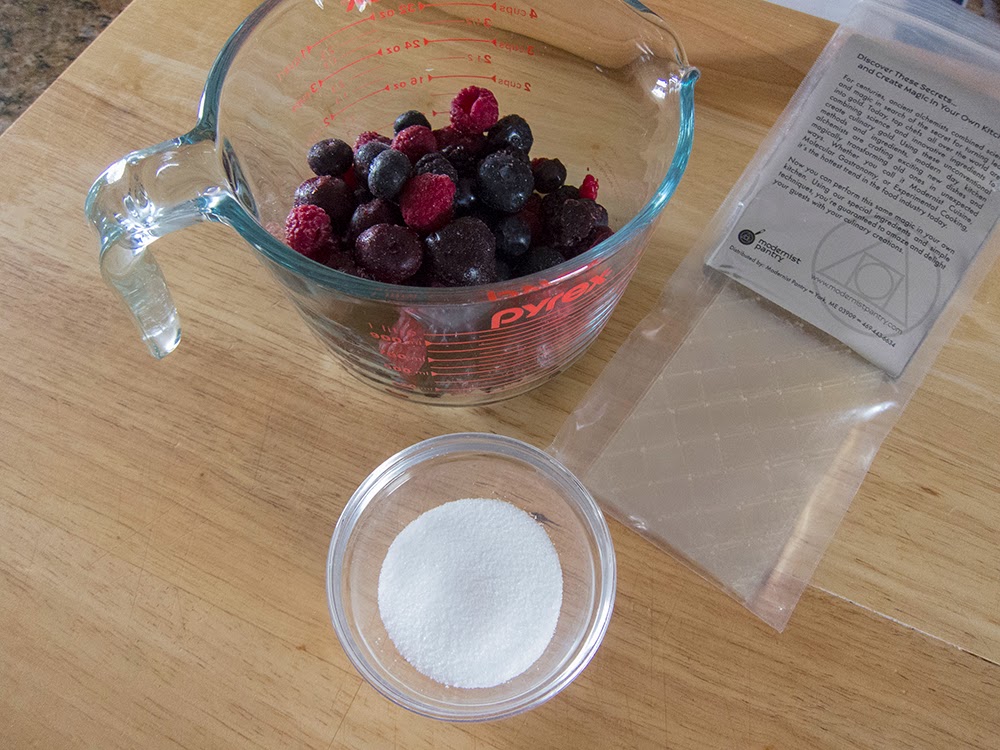
For the filling I made a simple chocolate ganache with the addition of some honey. Glacier points out that the honey adds a certain unctuousness to the ganache - he’s absolutely right!
Have 130 g chopped chocolate (60-64% recommended) ready in a heat proof bowl. In a small saucepan bring 150 ml heavy cream and 1 tablespoon honey to a boil, pour it over the chocolate and blend until smooth. Cool it to proper piping consistency.
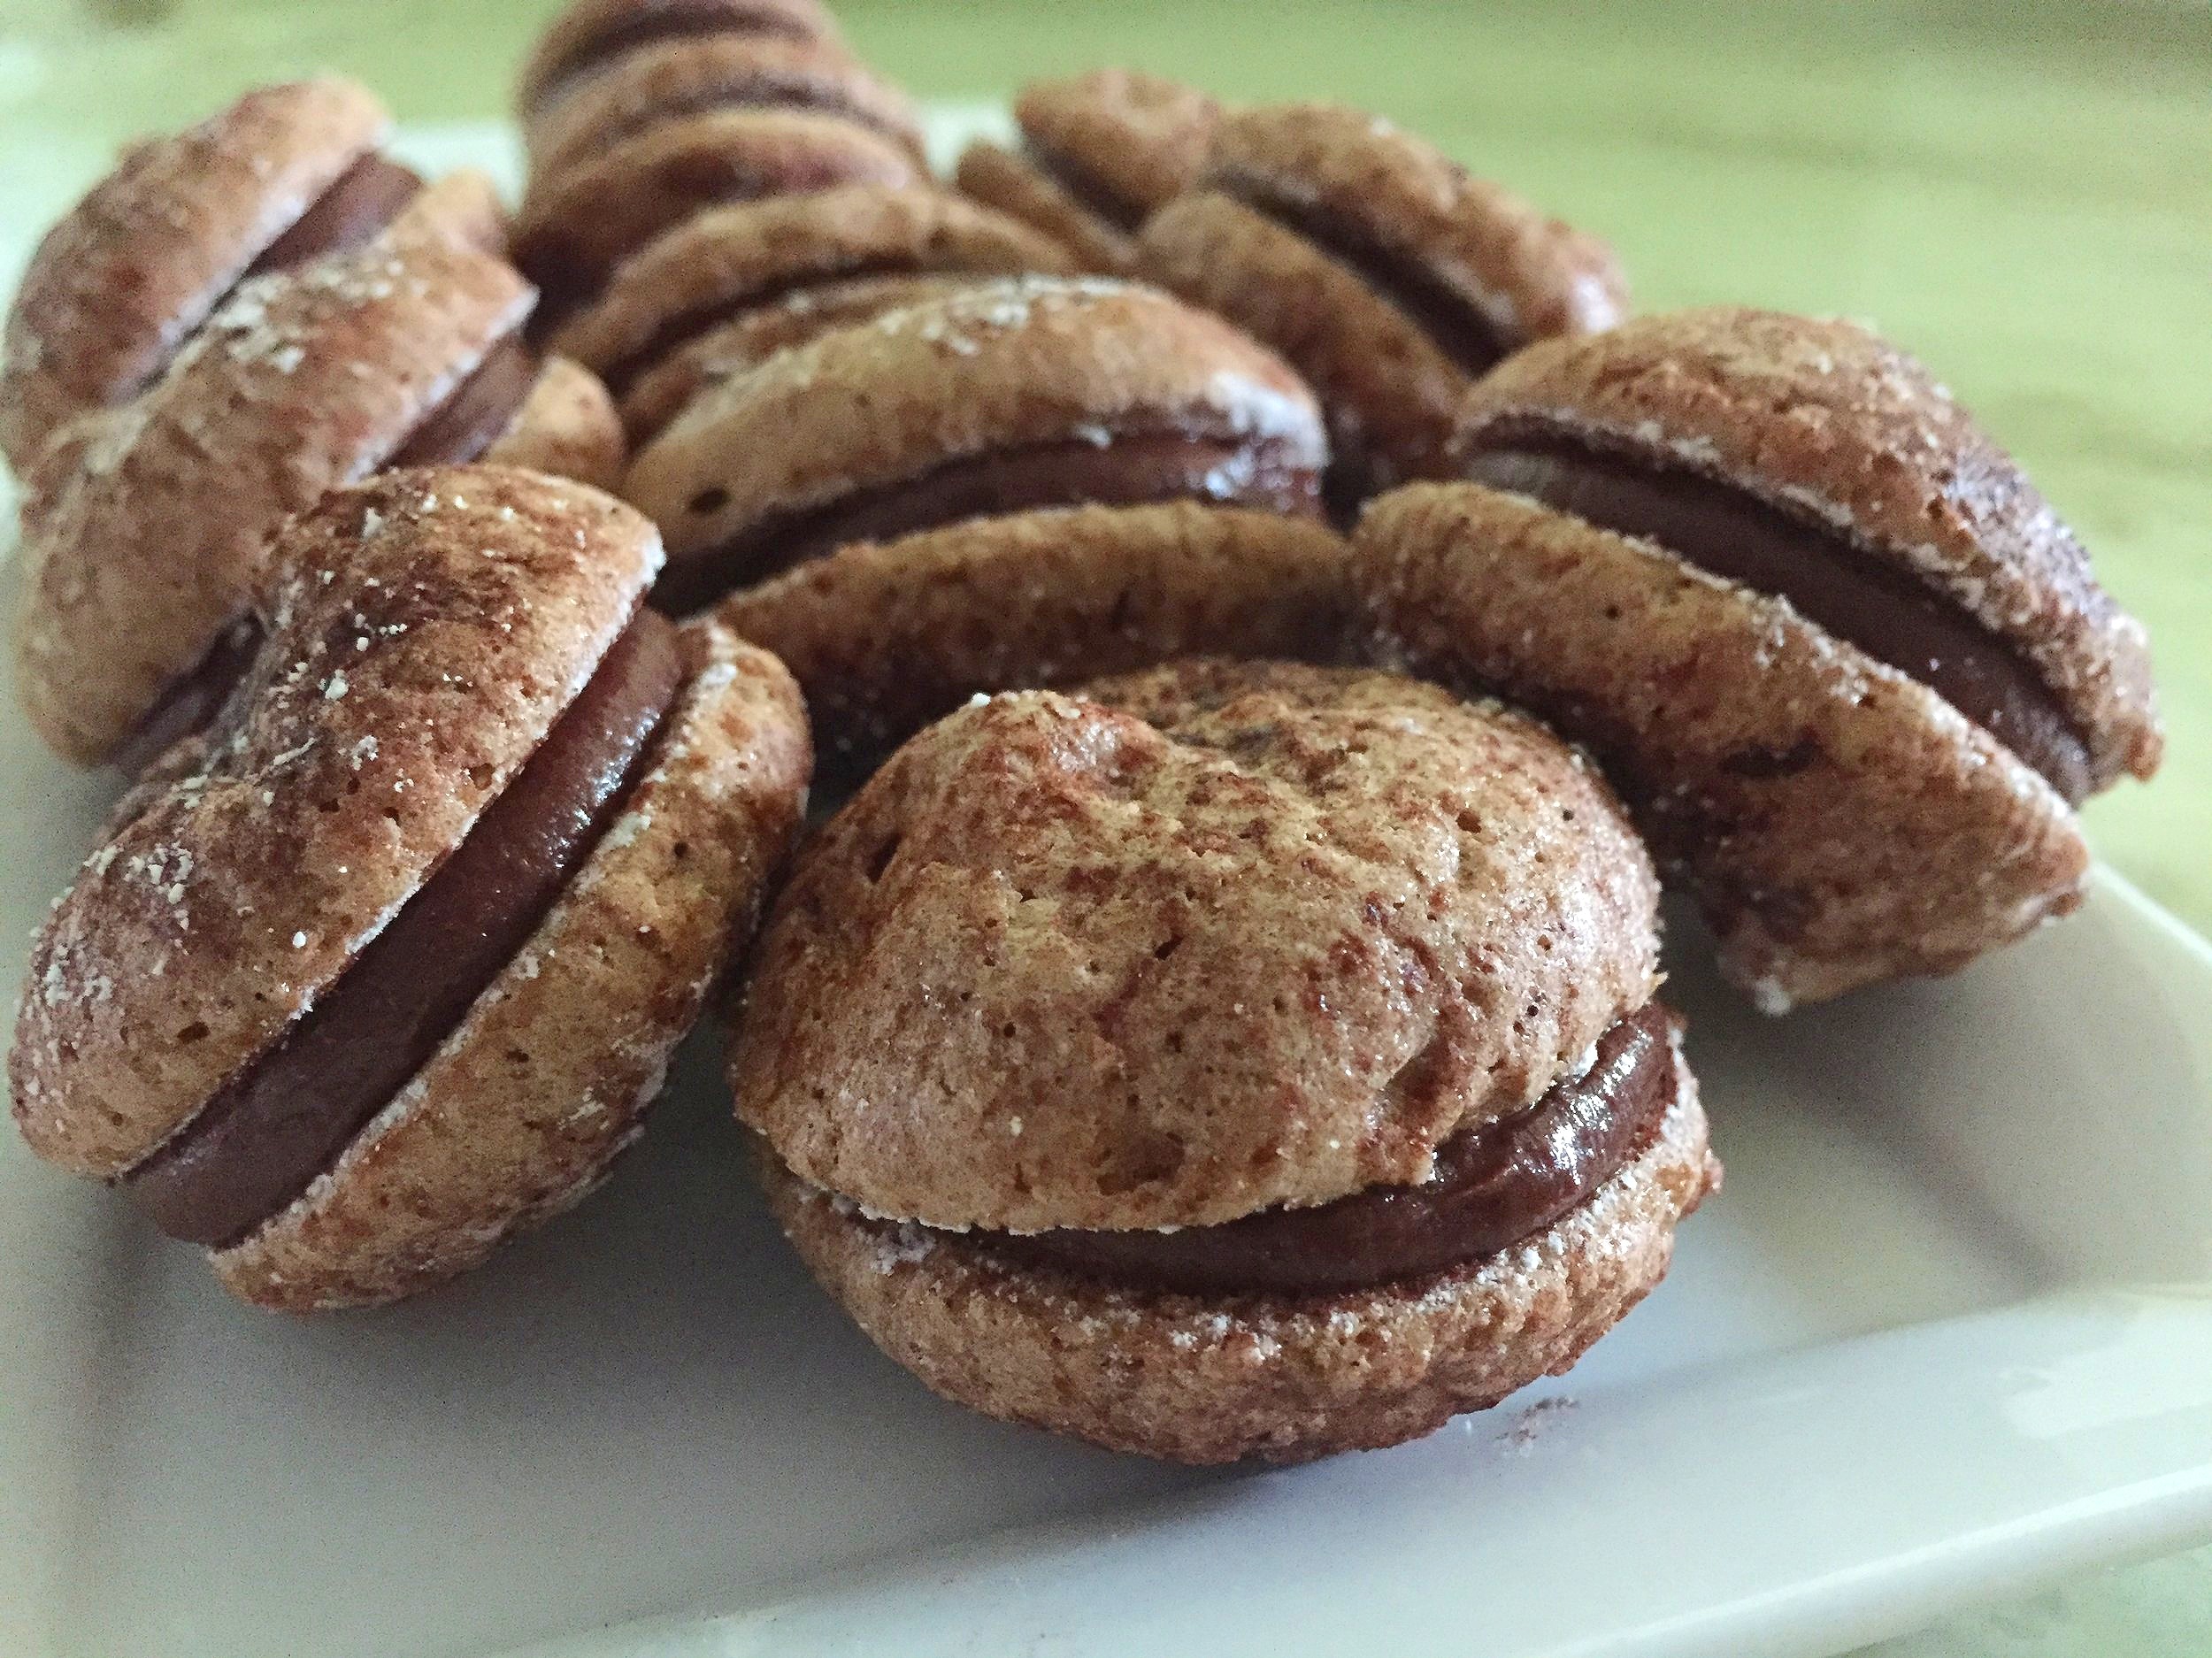
Match up your macarons size-wise, pipe a dollop of ganache on one half and sandwich ‘em up.

These offer a lovely soft texture that marries so nicely with the smooth ganache. And don’t forget - they get even better in the freezer!

I’ve only scratched the surface of the macaron world. There are so many variations out there, so do some investigating and testing of your own and have fun! That’s what it’s all about.