Ricciarelli
/
A classic Sienese almond meringue cookie, these gluten free treats are delicious and straight forward in their preparation. Some say the name comes from the fact that the cookies are shaped to resemble grains of rice (riso in Italian), although I’ve also read it comes from the Italian word riccio which translates to hedgehog. Who knows!?
Historically made for the Christmas holiday season, over time they have become so popular that they can be found year round. Steve and I first discovered them on a trip to Italy back in the late 90s and not only loved their flavor and texture but their shelf life as well.
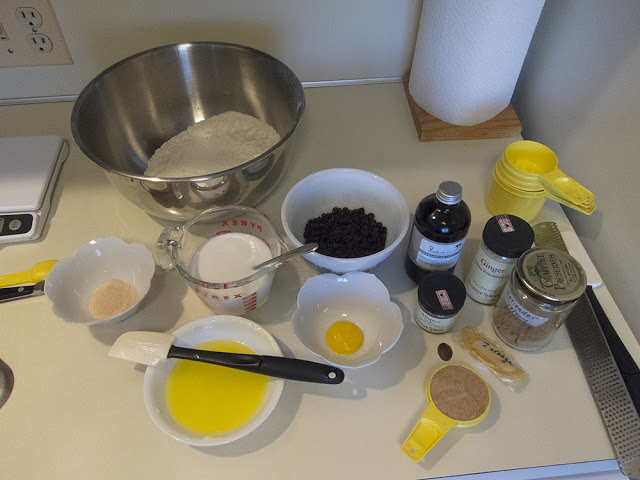
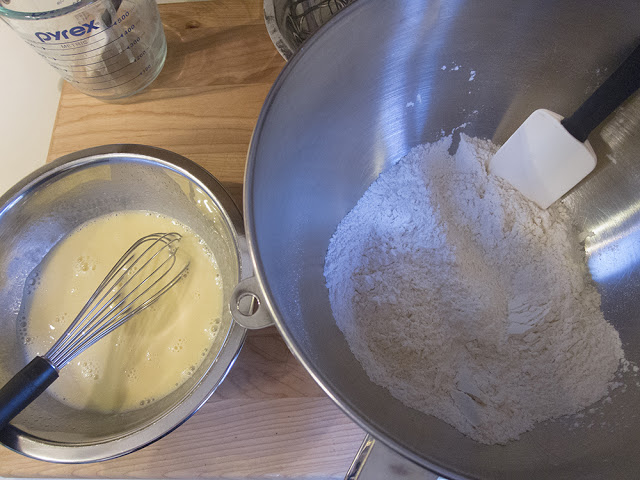
Made with almond flour, confectioners sugar, egg whites, cream of tartar, lemon or orange zest and vanilla and almond extracts, they require just a couple of bowls, a hand mixer with whisk (or stand mixer if you prefer), spatula, bowl scraper and your hands. Have the egg whites at room temperature - they whip better that way.
Here’s the recipe. I use a large bowl to blend together 250 g almond flour, 250 confectioner’s sugar and the zest of one orange (or two lemons, or a mix!). Place 85 g / about 3 large egg whites in a medium bowl along with 1/8 teaspoon of cream of tartar. Start whipping on low-medium speed until they get foamy, add a teaspoon of vanilla extract and 1/2 teaspoon almond extract then increase speed and whip to stiff peaks (kind of like that dacquoise I showed you recently).

Stiff peaks!
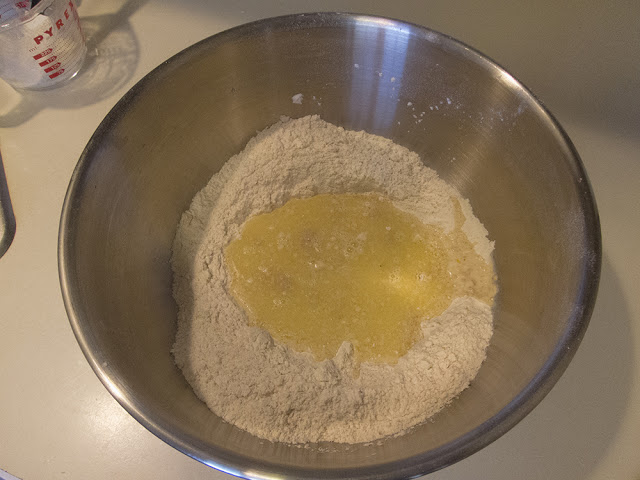
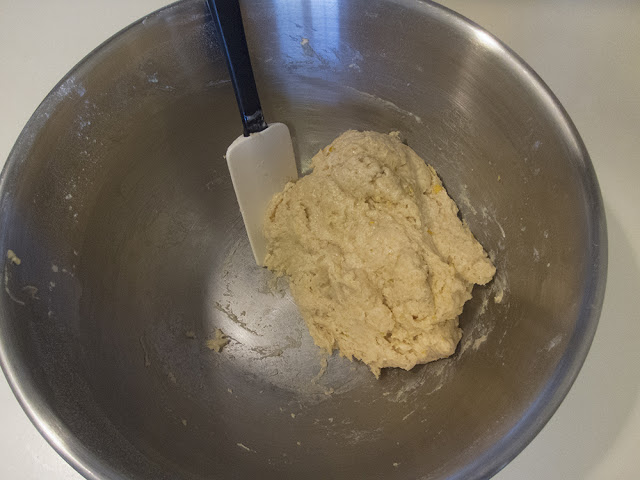
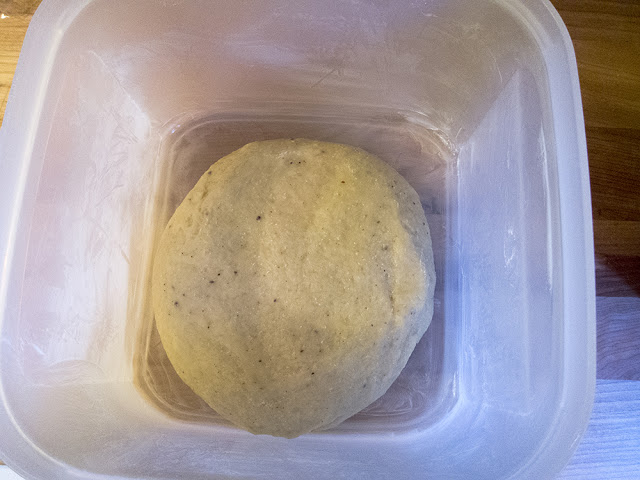
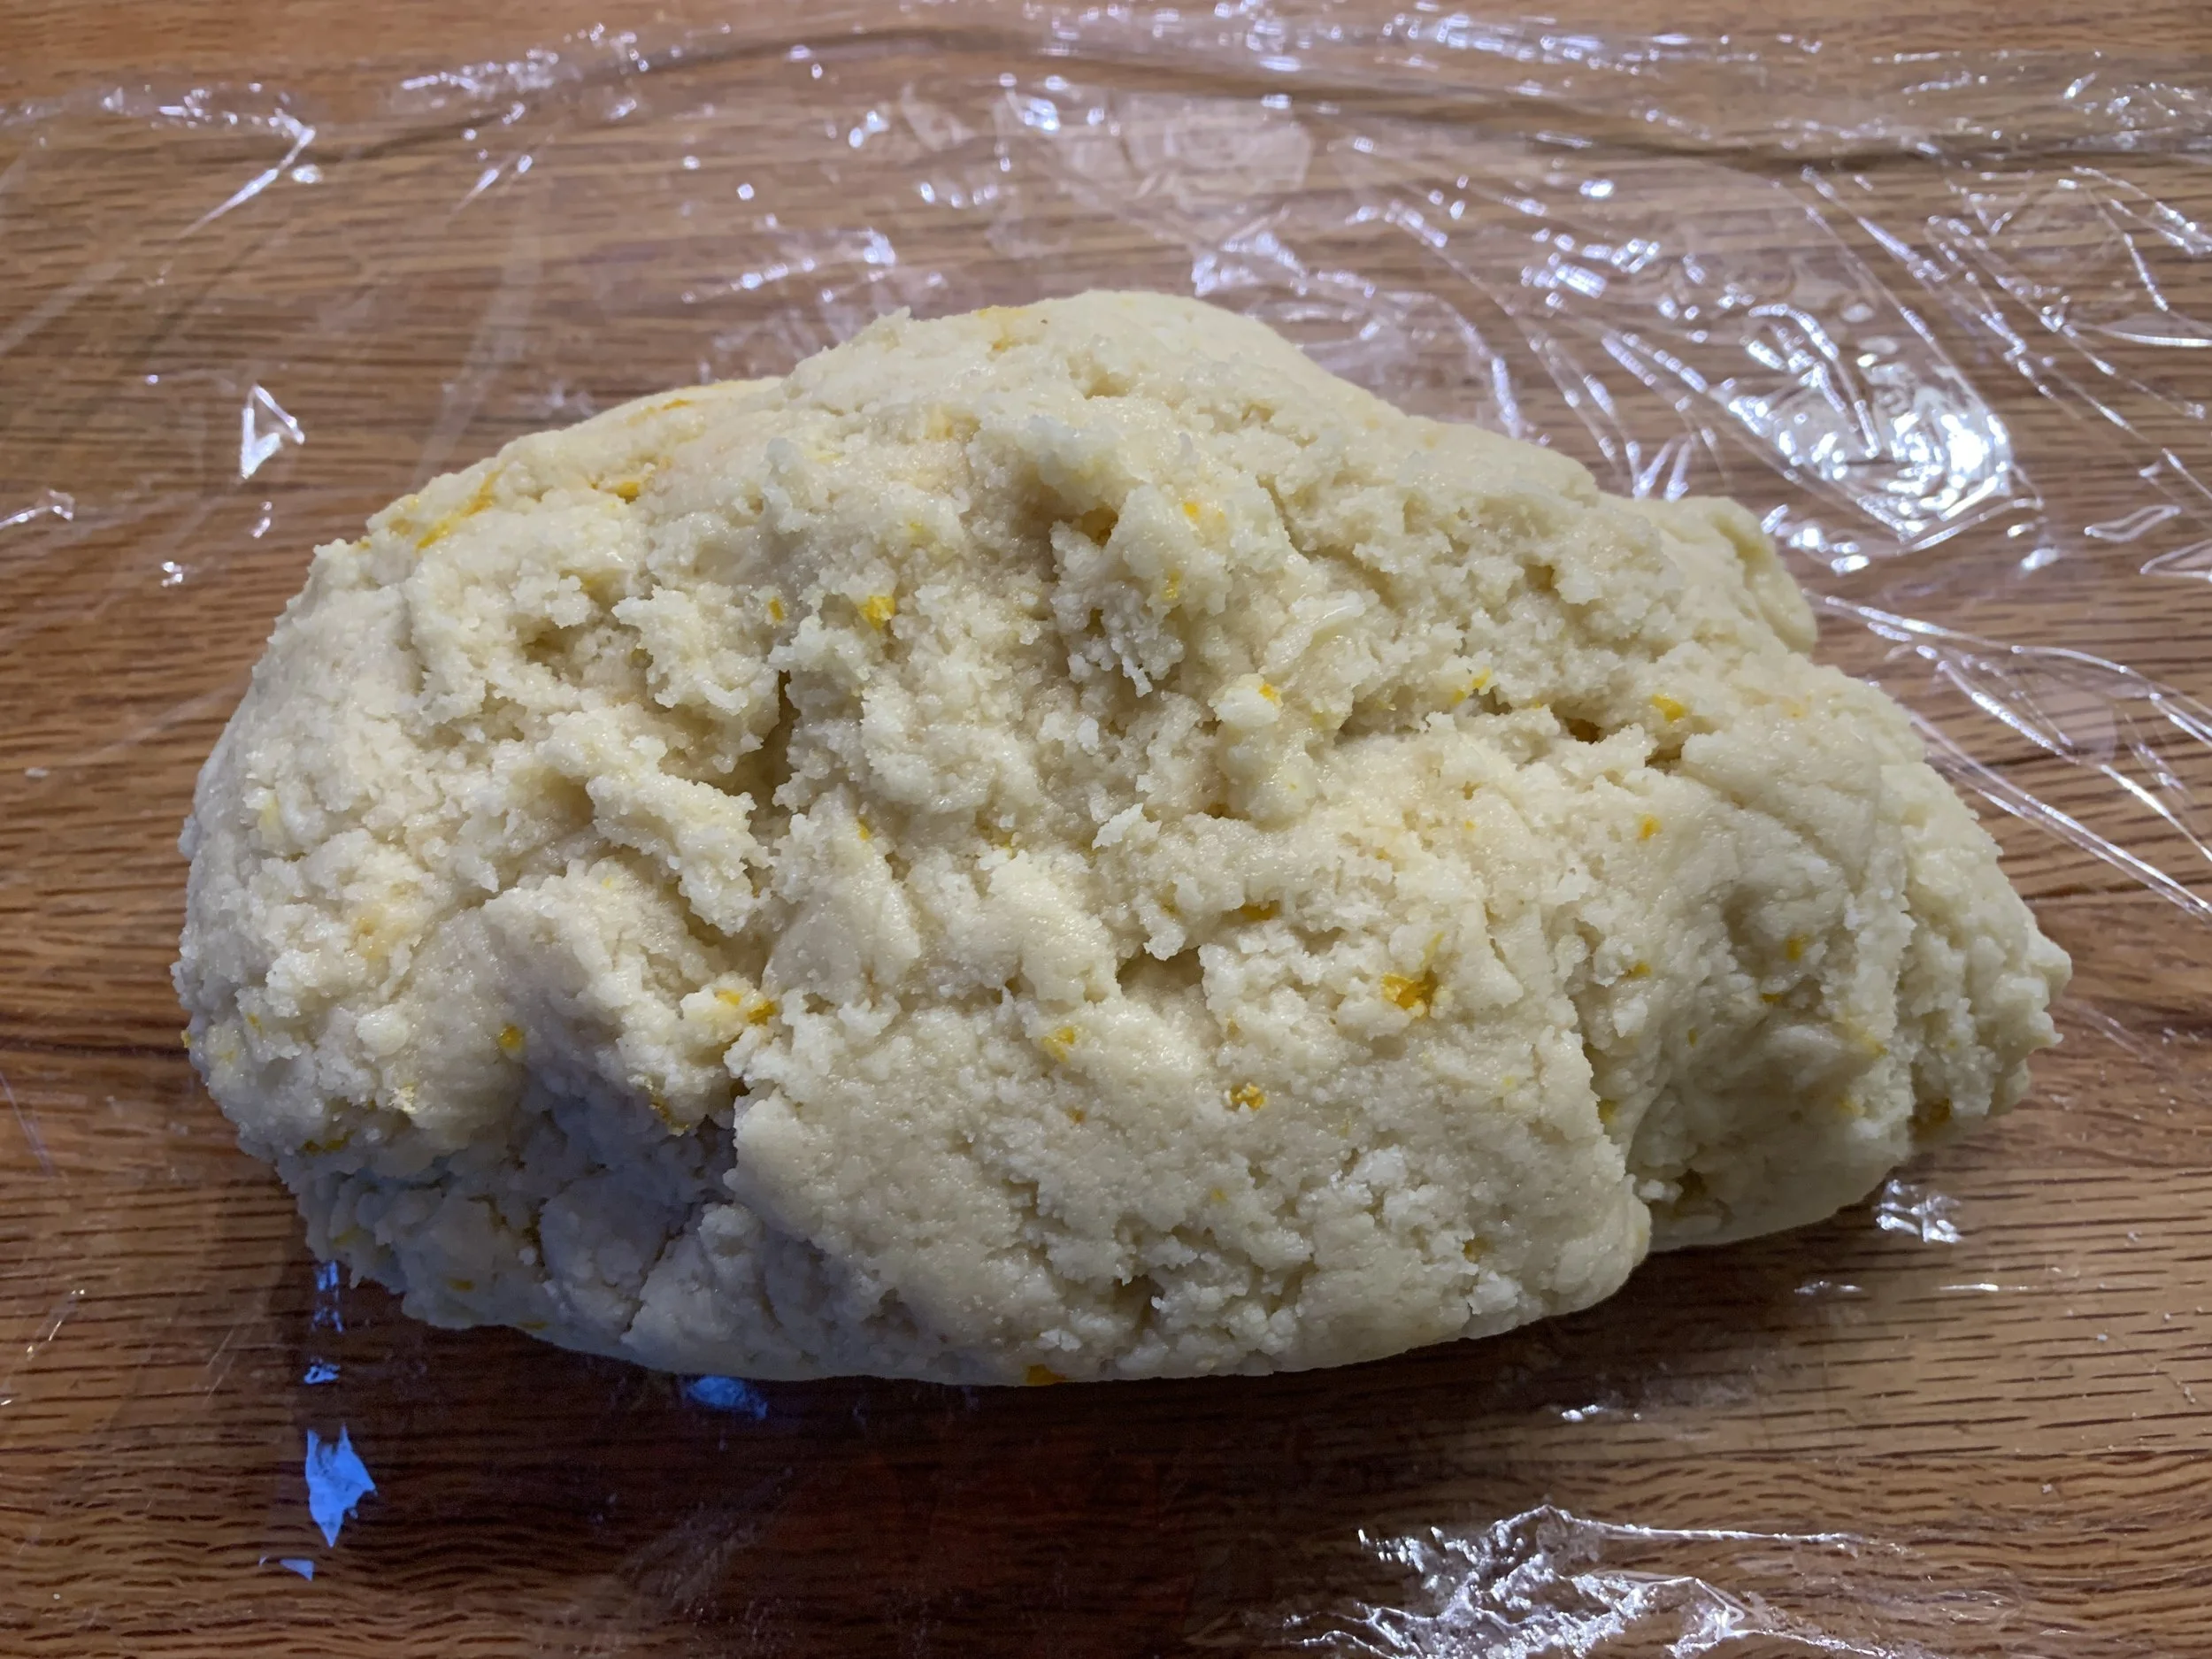
Now blend the whipped whites into the almond flour/confectioners sugar mix. You’ll be knocking the air out of the meringue - that’s OK. It will be like a paste. Once blended, form a rough oblong and wrap with plastic wrap. Refrigerate over night.
The next day, when ready to proceed, remove the paste from the fridge; dust your work surface generously with confectioner’s sugar and roll the paste into a 5 cm (~2 inch) diameter log.
I made a double batch of paste for an upcoming demo so what you see below are two single quantities of paste. Make sure the log is well coated with confectioner’s sugar.
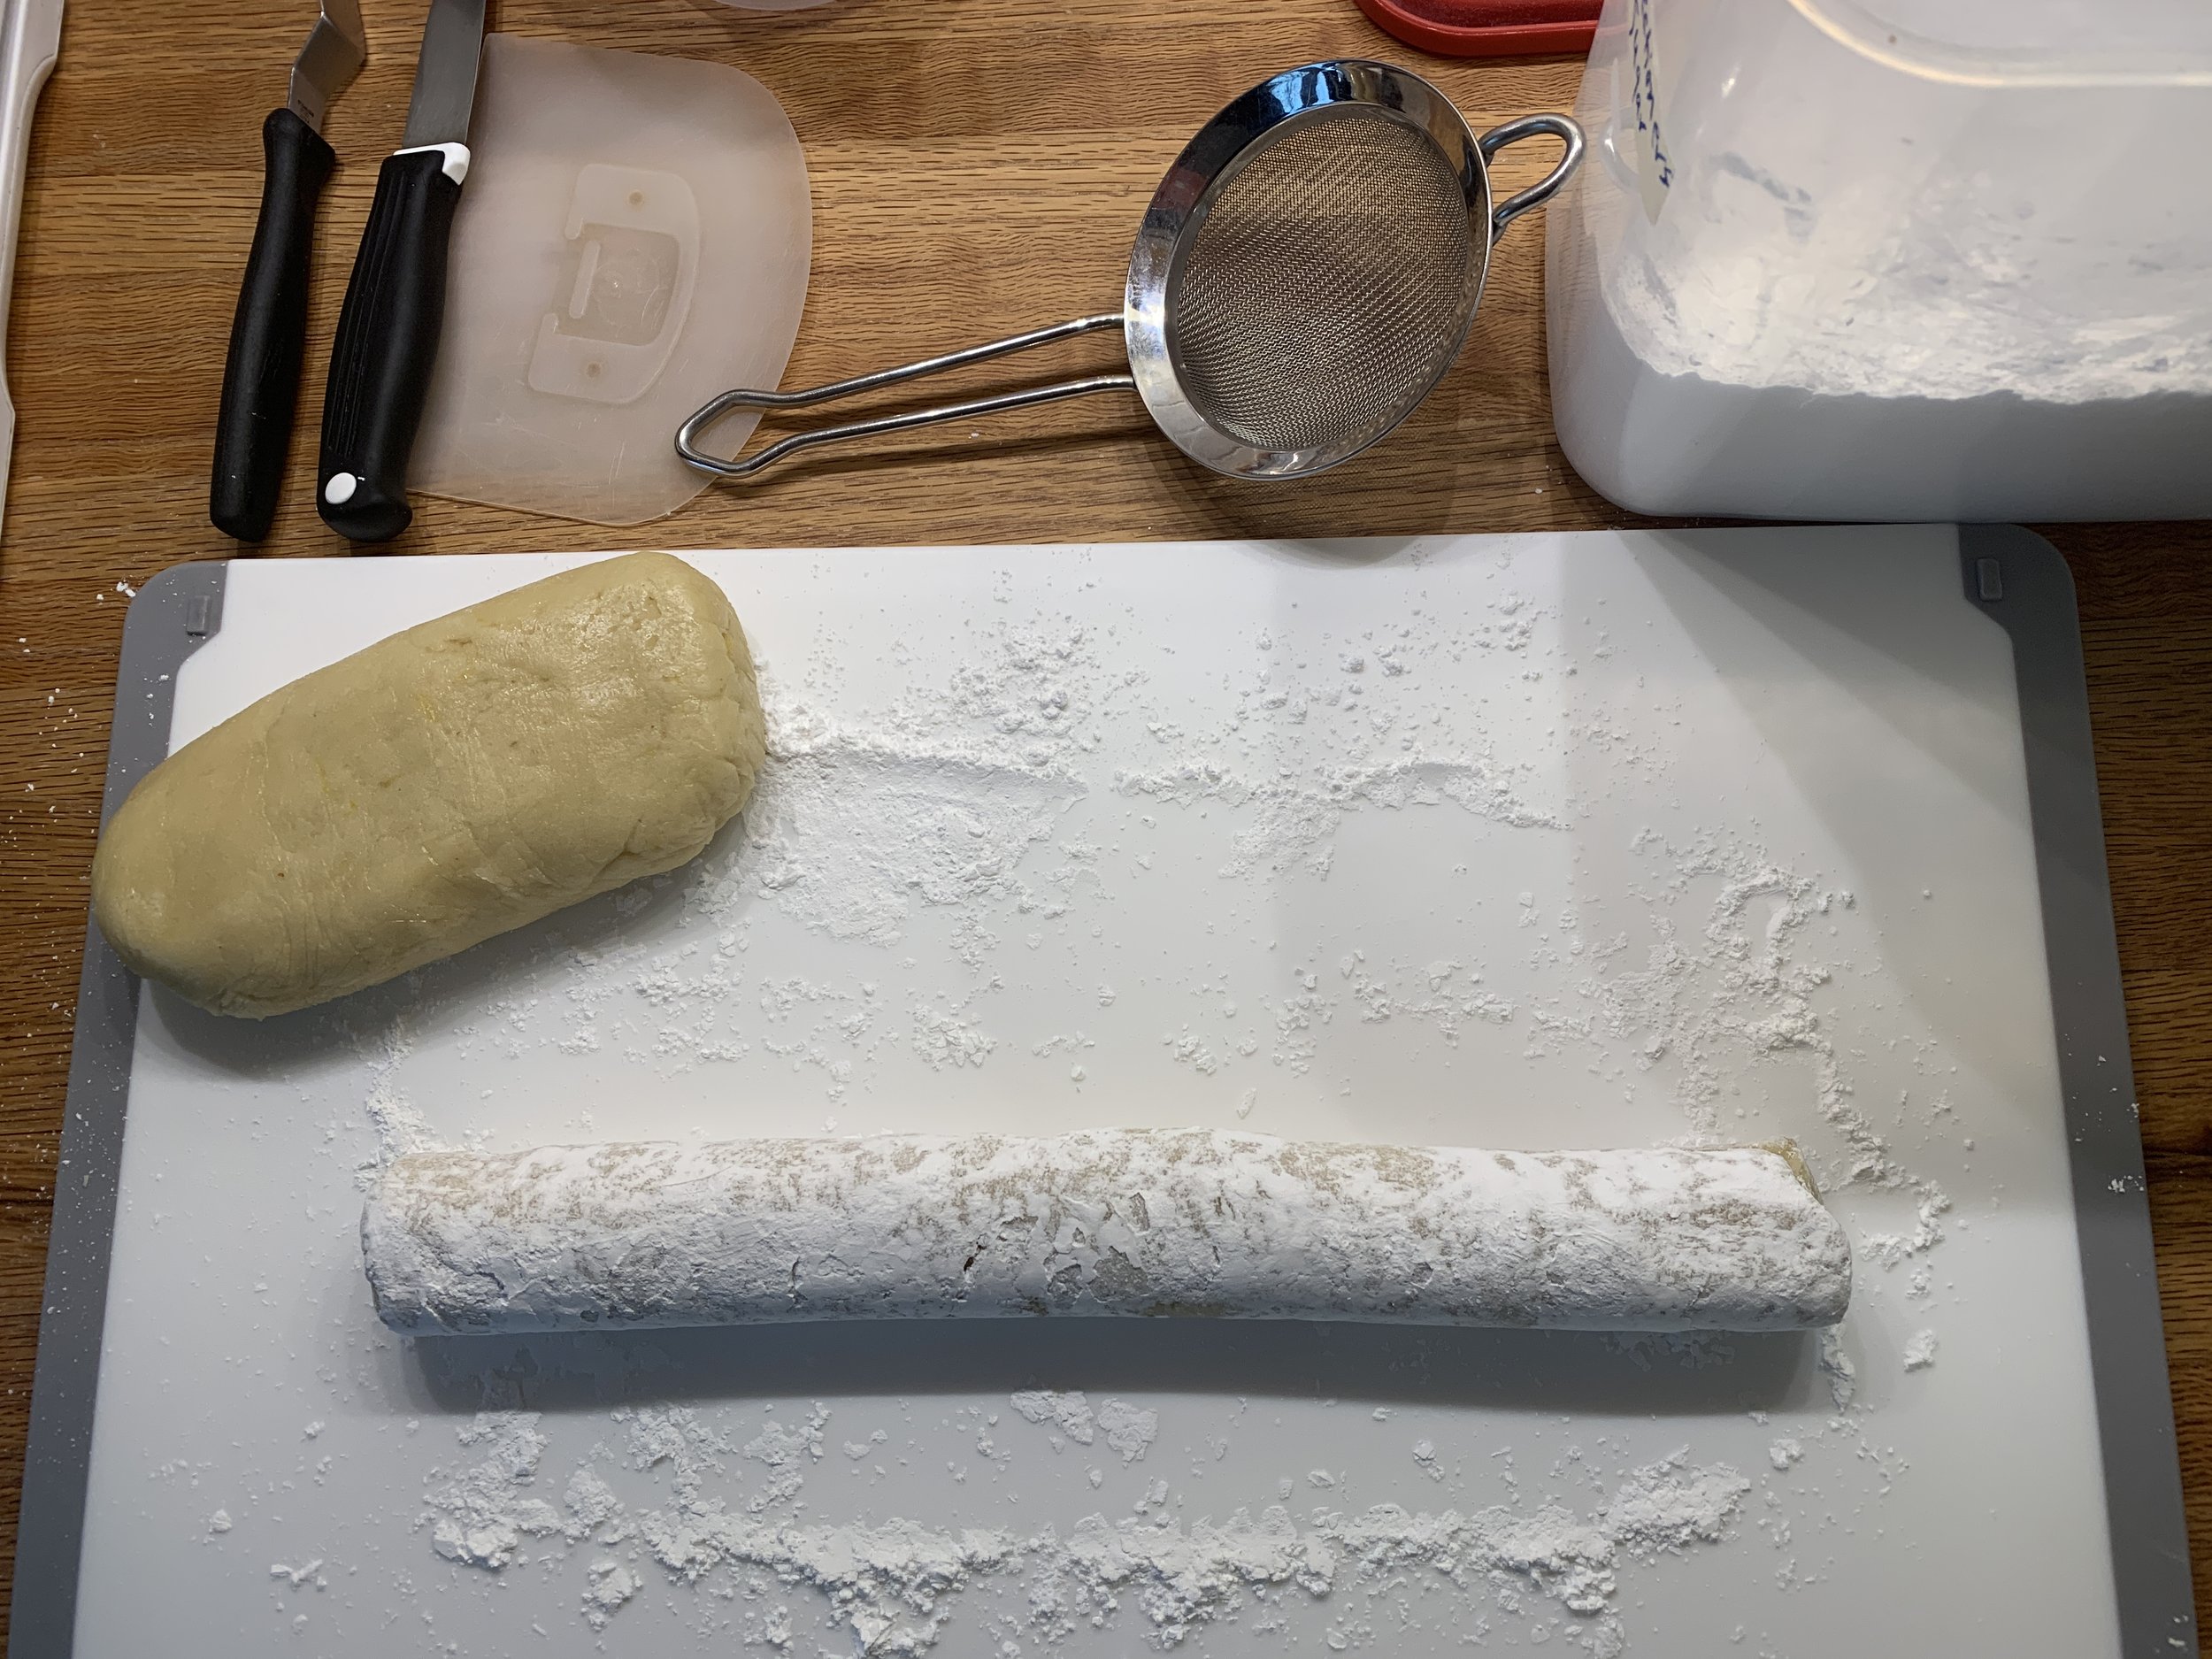
Slice the log into 12 cm (1 inch) wide discs, continuing to dust with confectioners sugar to prevent sticking. Form each disc into a sort of rice grain shape and place them on parchment lined sheet pans.

Dust with more confectioner’s sugar then set the pan(s) aside and let the cookies dry for 1-2 hours, uncovered and at room temperature.

Heat your oven to 300ºF. They’re ready to bake when you push on the edge with your fingertip and feel some resistance with the paste starting to crack.

Dried
Bake for 5 minutes, increase the oven temp to 350ºF and bake an additional 10 minutes. The cookies should crack during baking, showing golden cracks amongst the powdered sugared surfaces.

Let cool fully on the sheet pans then store in a covered container for up to a week.
Try ‘em, you’ll love ‘em!