One great bread a few different ways
/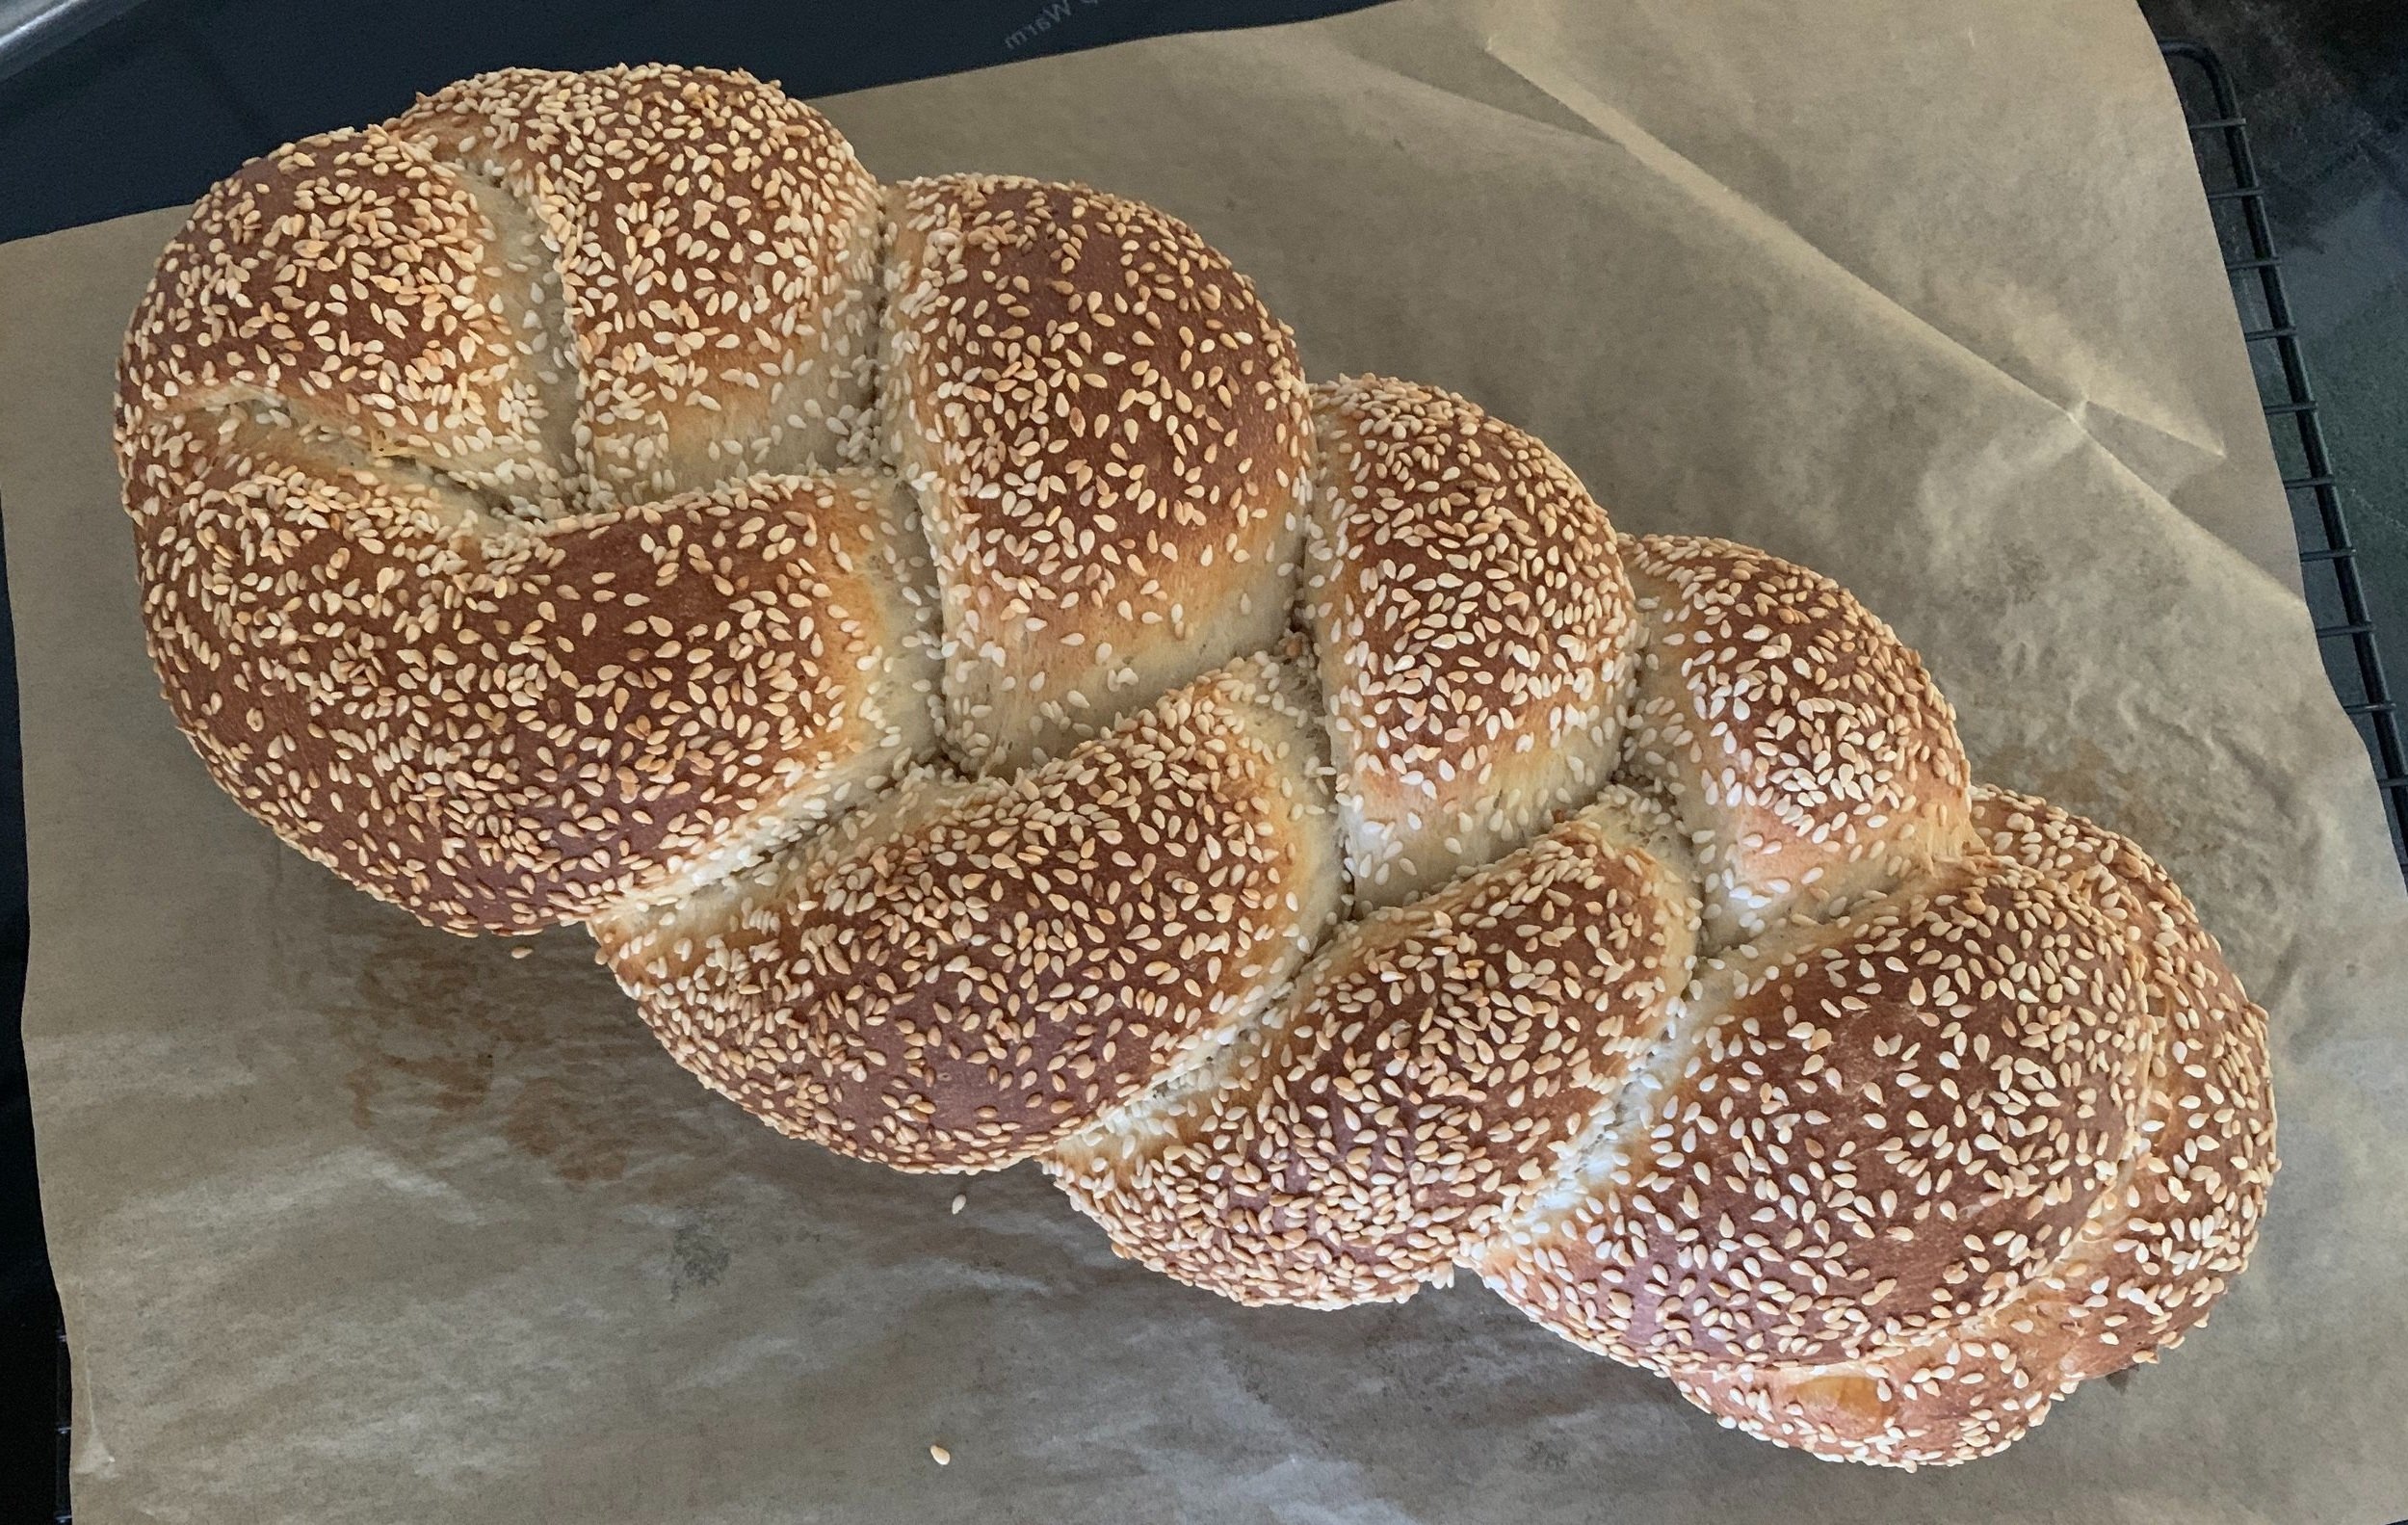
Sesame braid
Hi all. I gave you a sneak peek at this one awhile ago. My how time flies - seems like eons! I packed a lot into this post so get ready.
I LOVE this dough! It calls for an overnight preferment, a process that not only lends itself to planning ahead but also to a stellar end result.
This is my adaptation of scali bread from King Arthur Baking Company. I first came across it in the spring 2017 issue of SIFT magazine (now defunct -awwww!) and made it for the first time back in April of 2022. It’s said to be a staple in Boston’s North End, and, as is the case with the internet, I found a bunch of references/posts about it on line. Meatball sandwiches anyone?
Classically made as a three strand braid coated in sesame seeds, I started with KA’s base recipe for one braid but then doubled it and created my own recipe, subbing in some rye and white whole wheat flour. I’ve tried several different approaches - braid it, twist it, torpedo it, loaf it, herb it, cheese it, seed it - they’re all good!
Let’s take a look at the steps. Make the preferment the evening before. Please note - the dough/proofing images are for my recipe which would make TWO braids. I’m showing the shaping steps for ONE braid.

Give it 13-15 hours at room temperature after which it should be actively fermenting. It’s more stiff than let’s say a typical poolish which is equal weights flour and water.

Mix the preferment with the other dough ingredients and knead to a nice smooth end result.

Give it a 90 minute rise until nice and pouf-y.

That’s what I call a rise folks!
Proceed with your desired shaping. Here are the steps for one sesame coated braid using HALF of the above dough.
Deflate the dough gently, divide in three equal pieces (each should be about 230 g or so). On a lightly oiled surface roll each piece into a rough log and let rest 10-15 minutes.
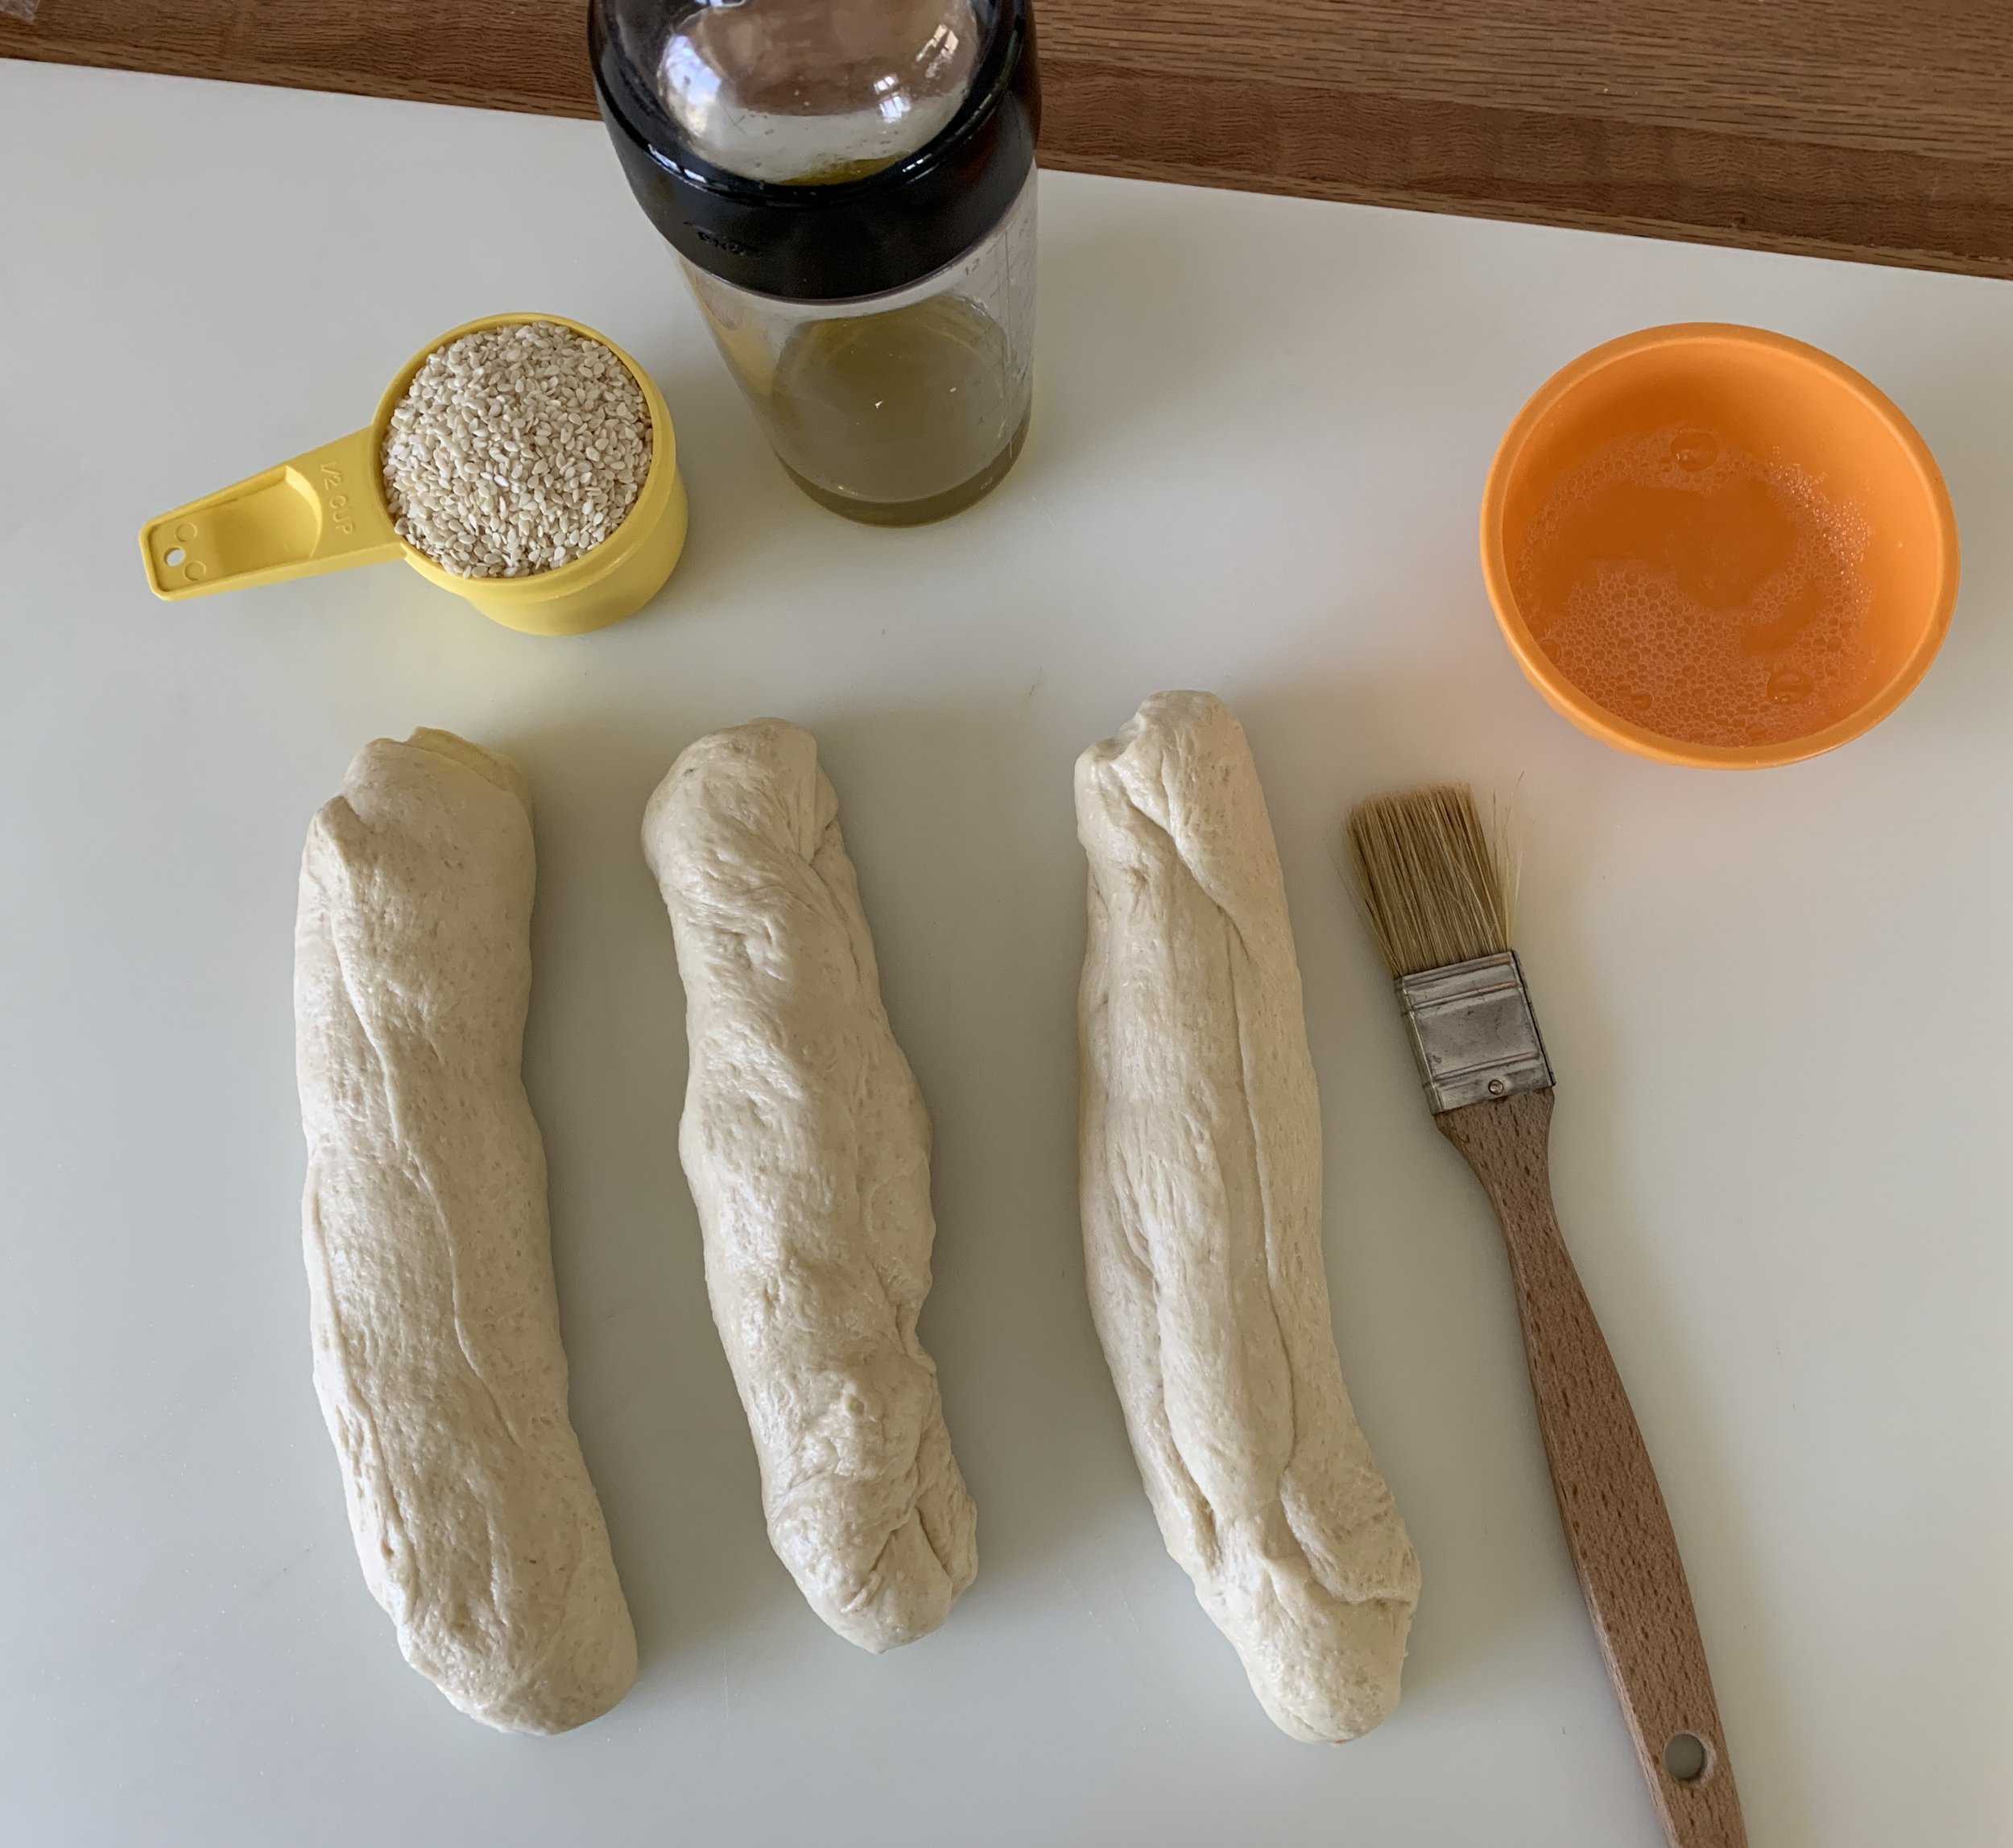
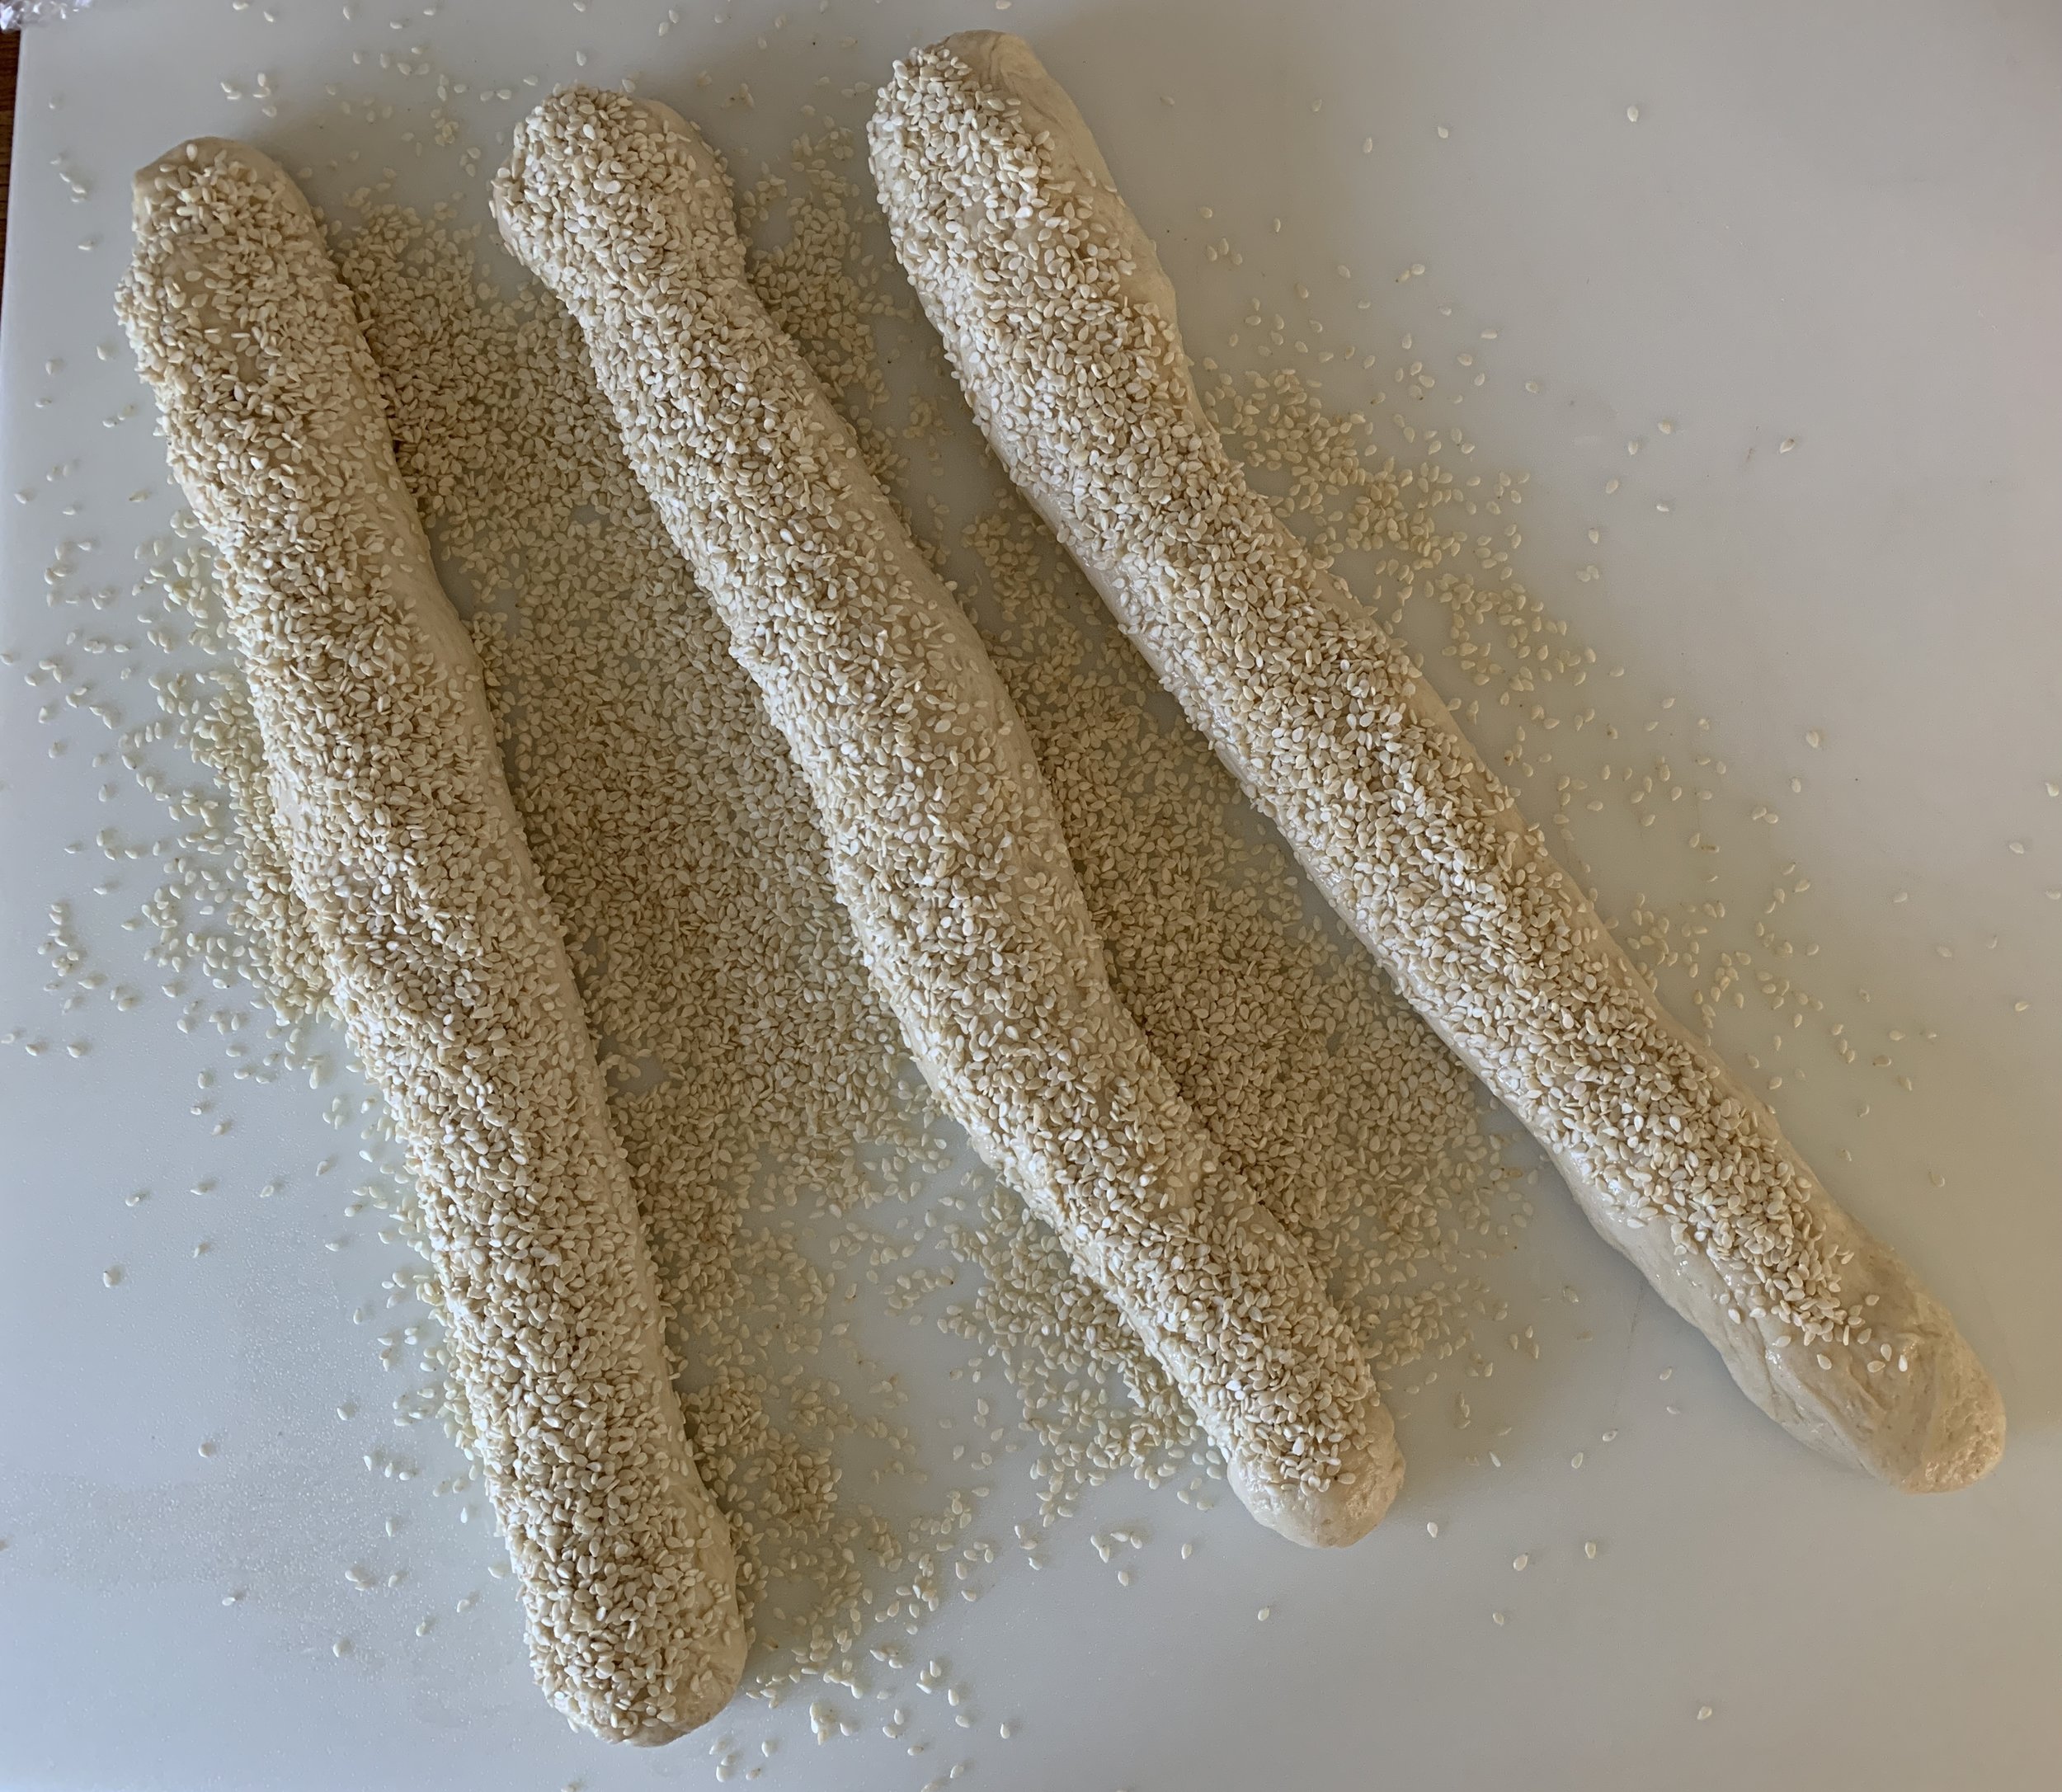
Now roll each log out to a 10-12” length then brush each with egg white and coat thoroughly in sesame seeds.
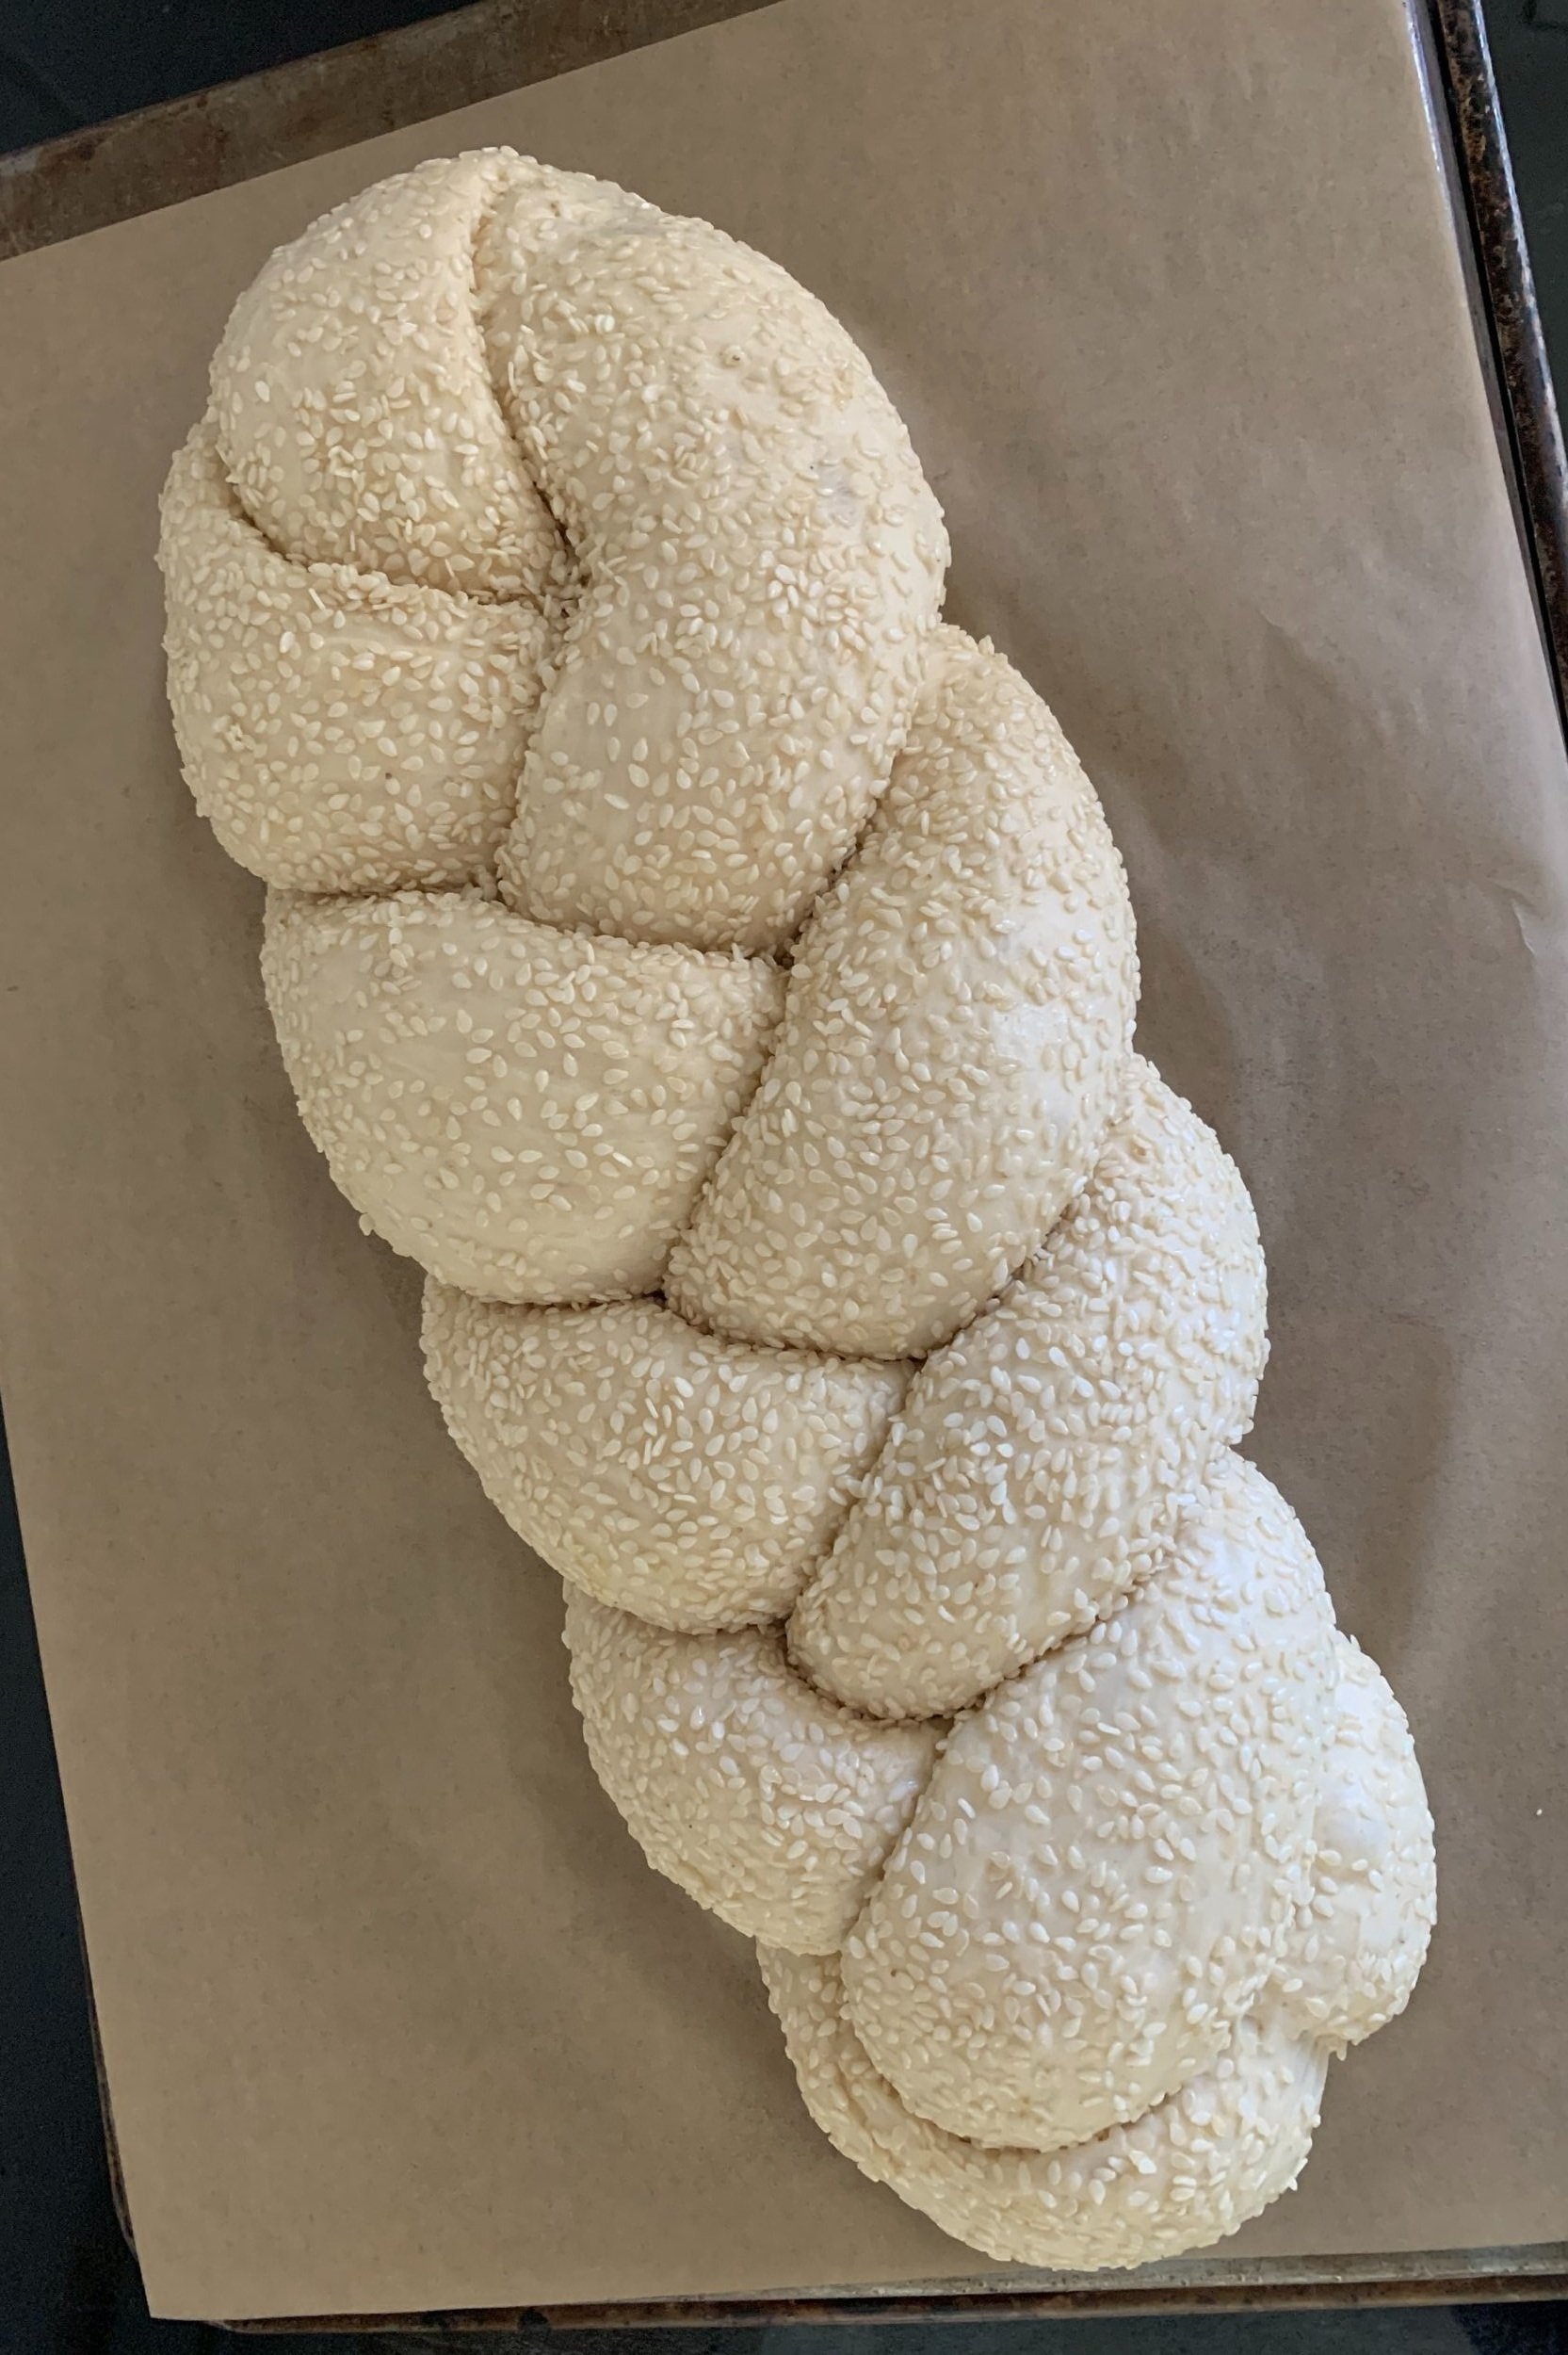
Pinch top ends together and do a typical three strand braid. Tuck the ends under to neaten things up. I placed mine on parchment on an overturned sheet pan in preparation for sliding it onto my heated baking stone.

Cover with lightly oiled film wrap and let rise about 90 minutes until pouf-y.
Toward the end of the rise, heat the oven to 425ºF (400º convection) with your baking stone if using.
Bake 25-35 minutes until golden brown.

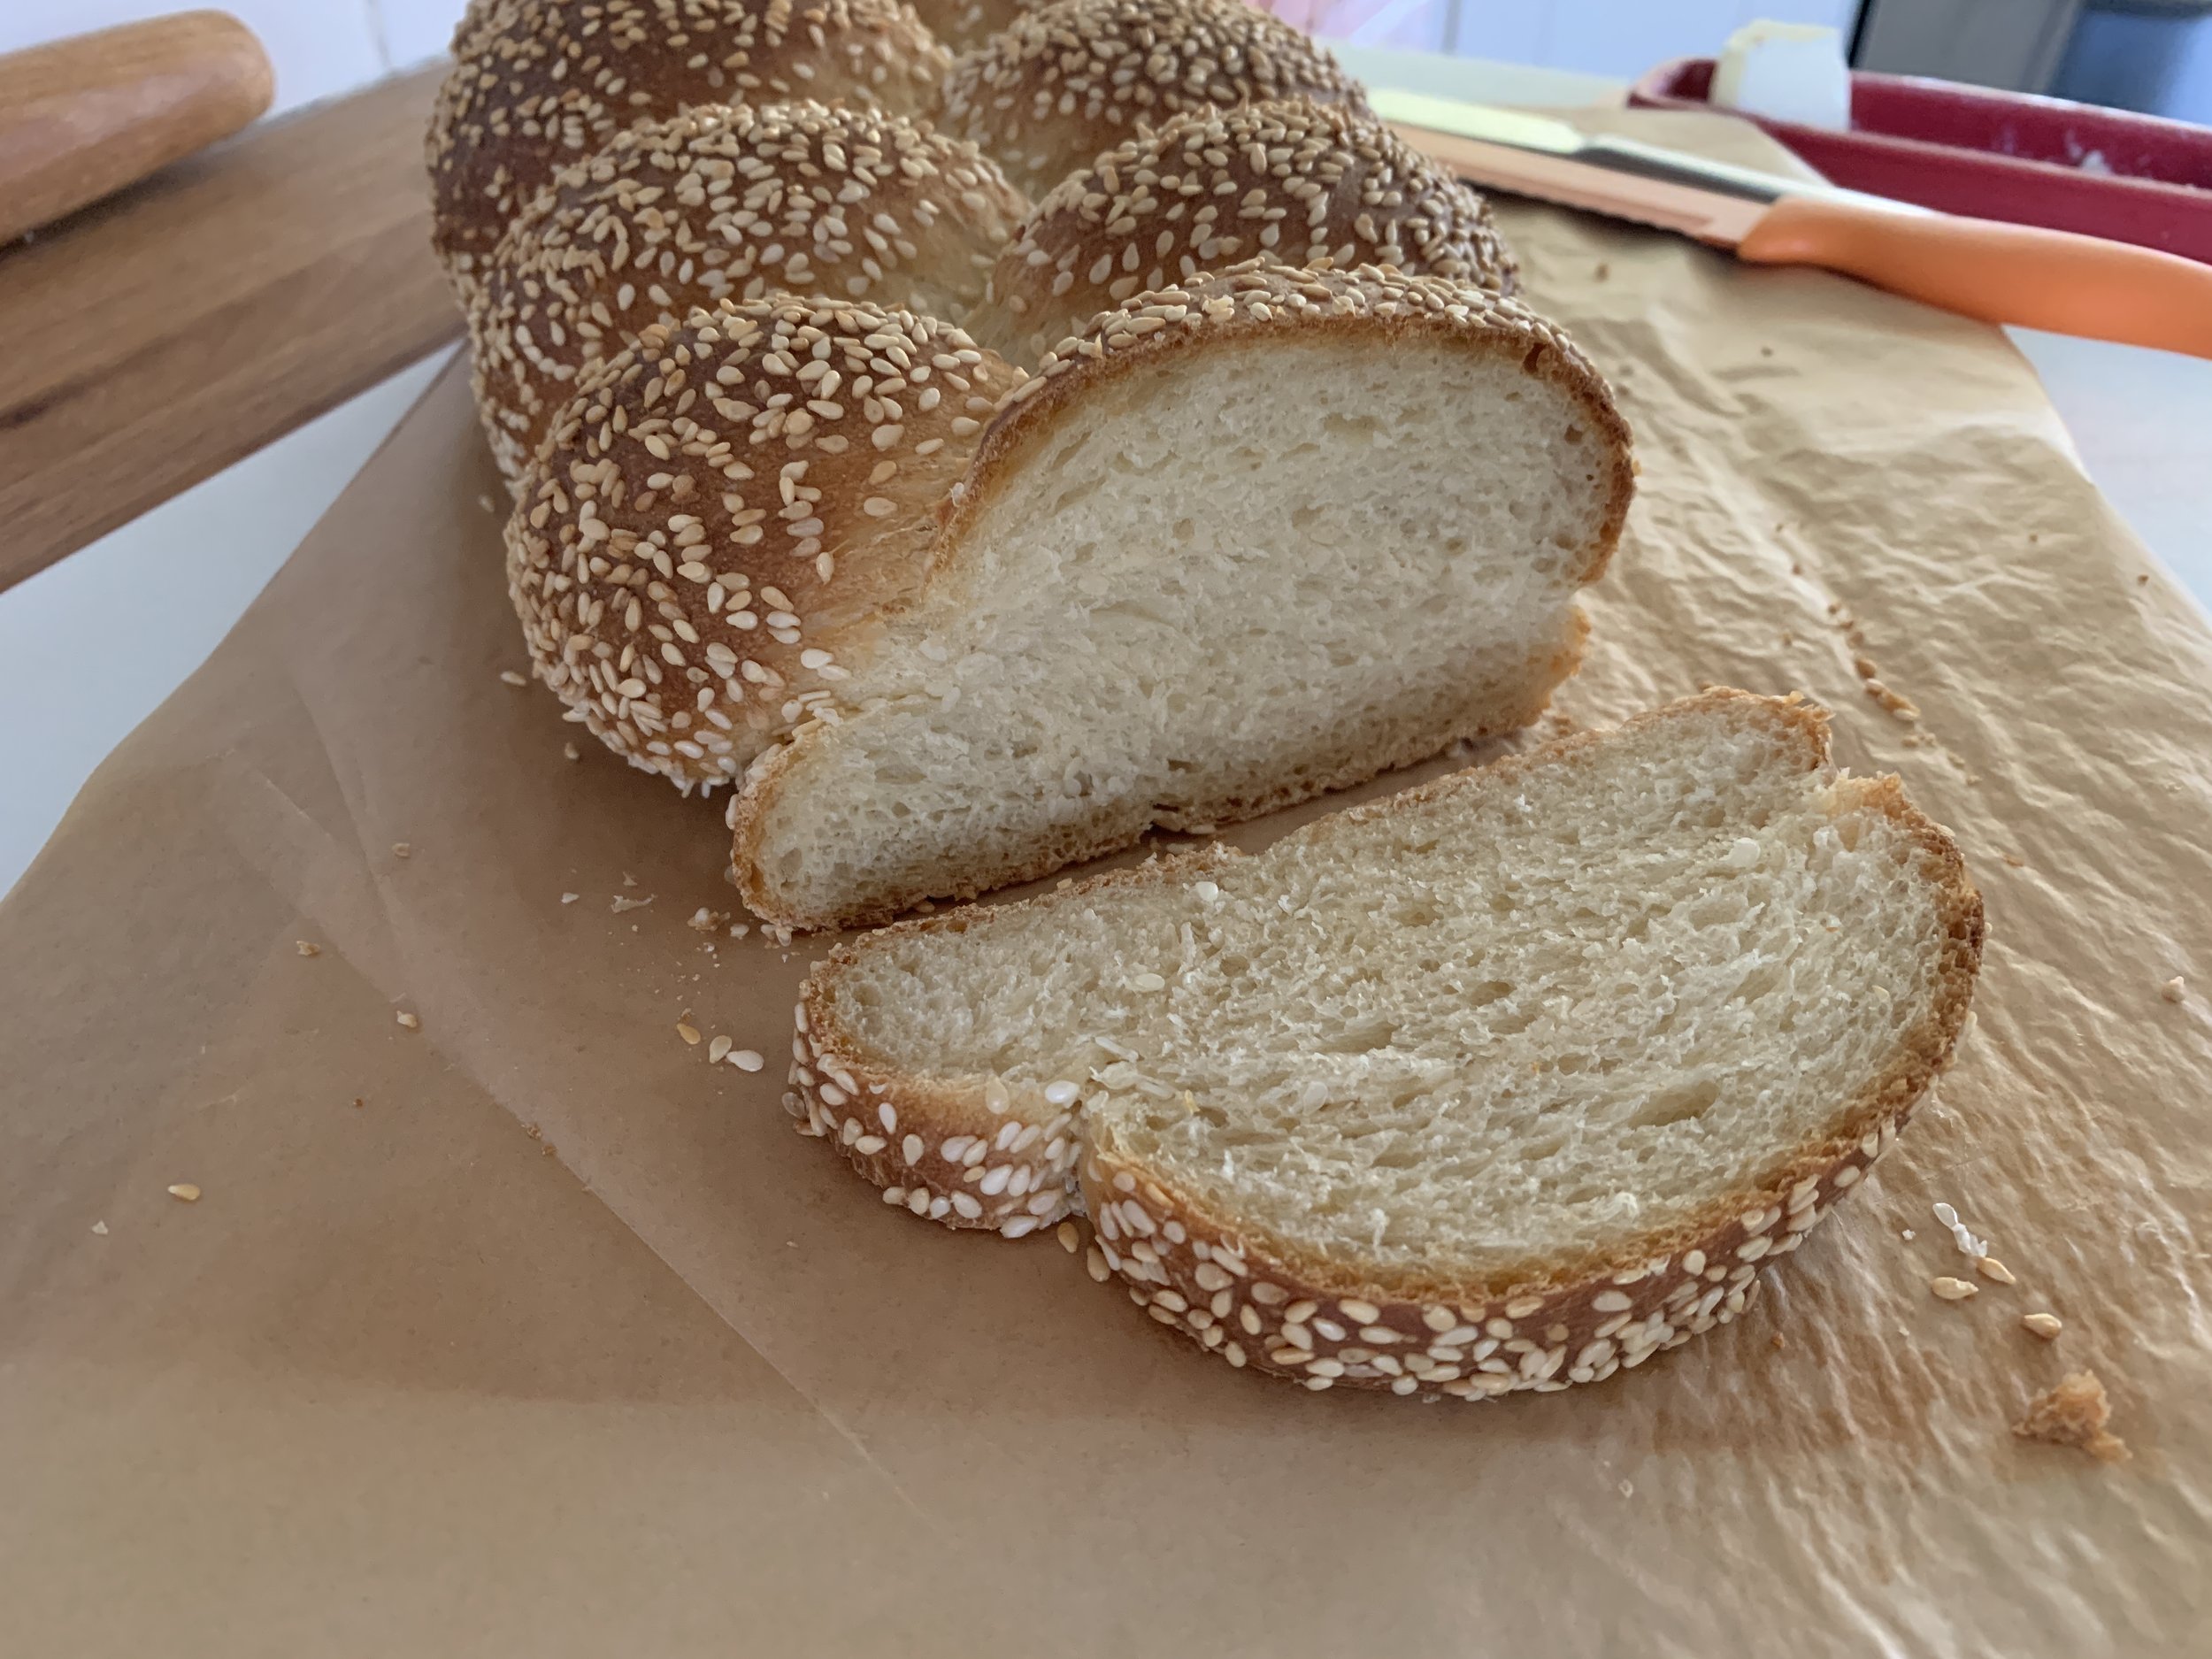
Cooled, sliced, buttered - oh so good!

Here are a few other things I made with my full batch recipe. Two basic loaves, one braided and one slashed before baking.
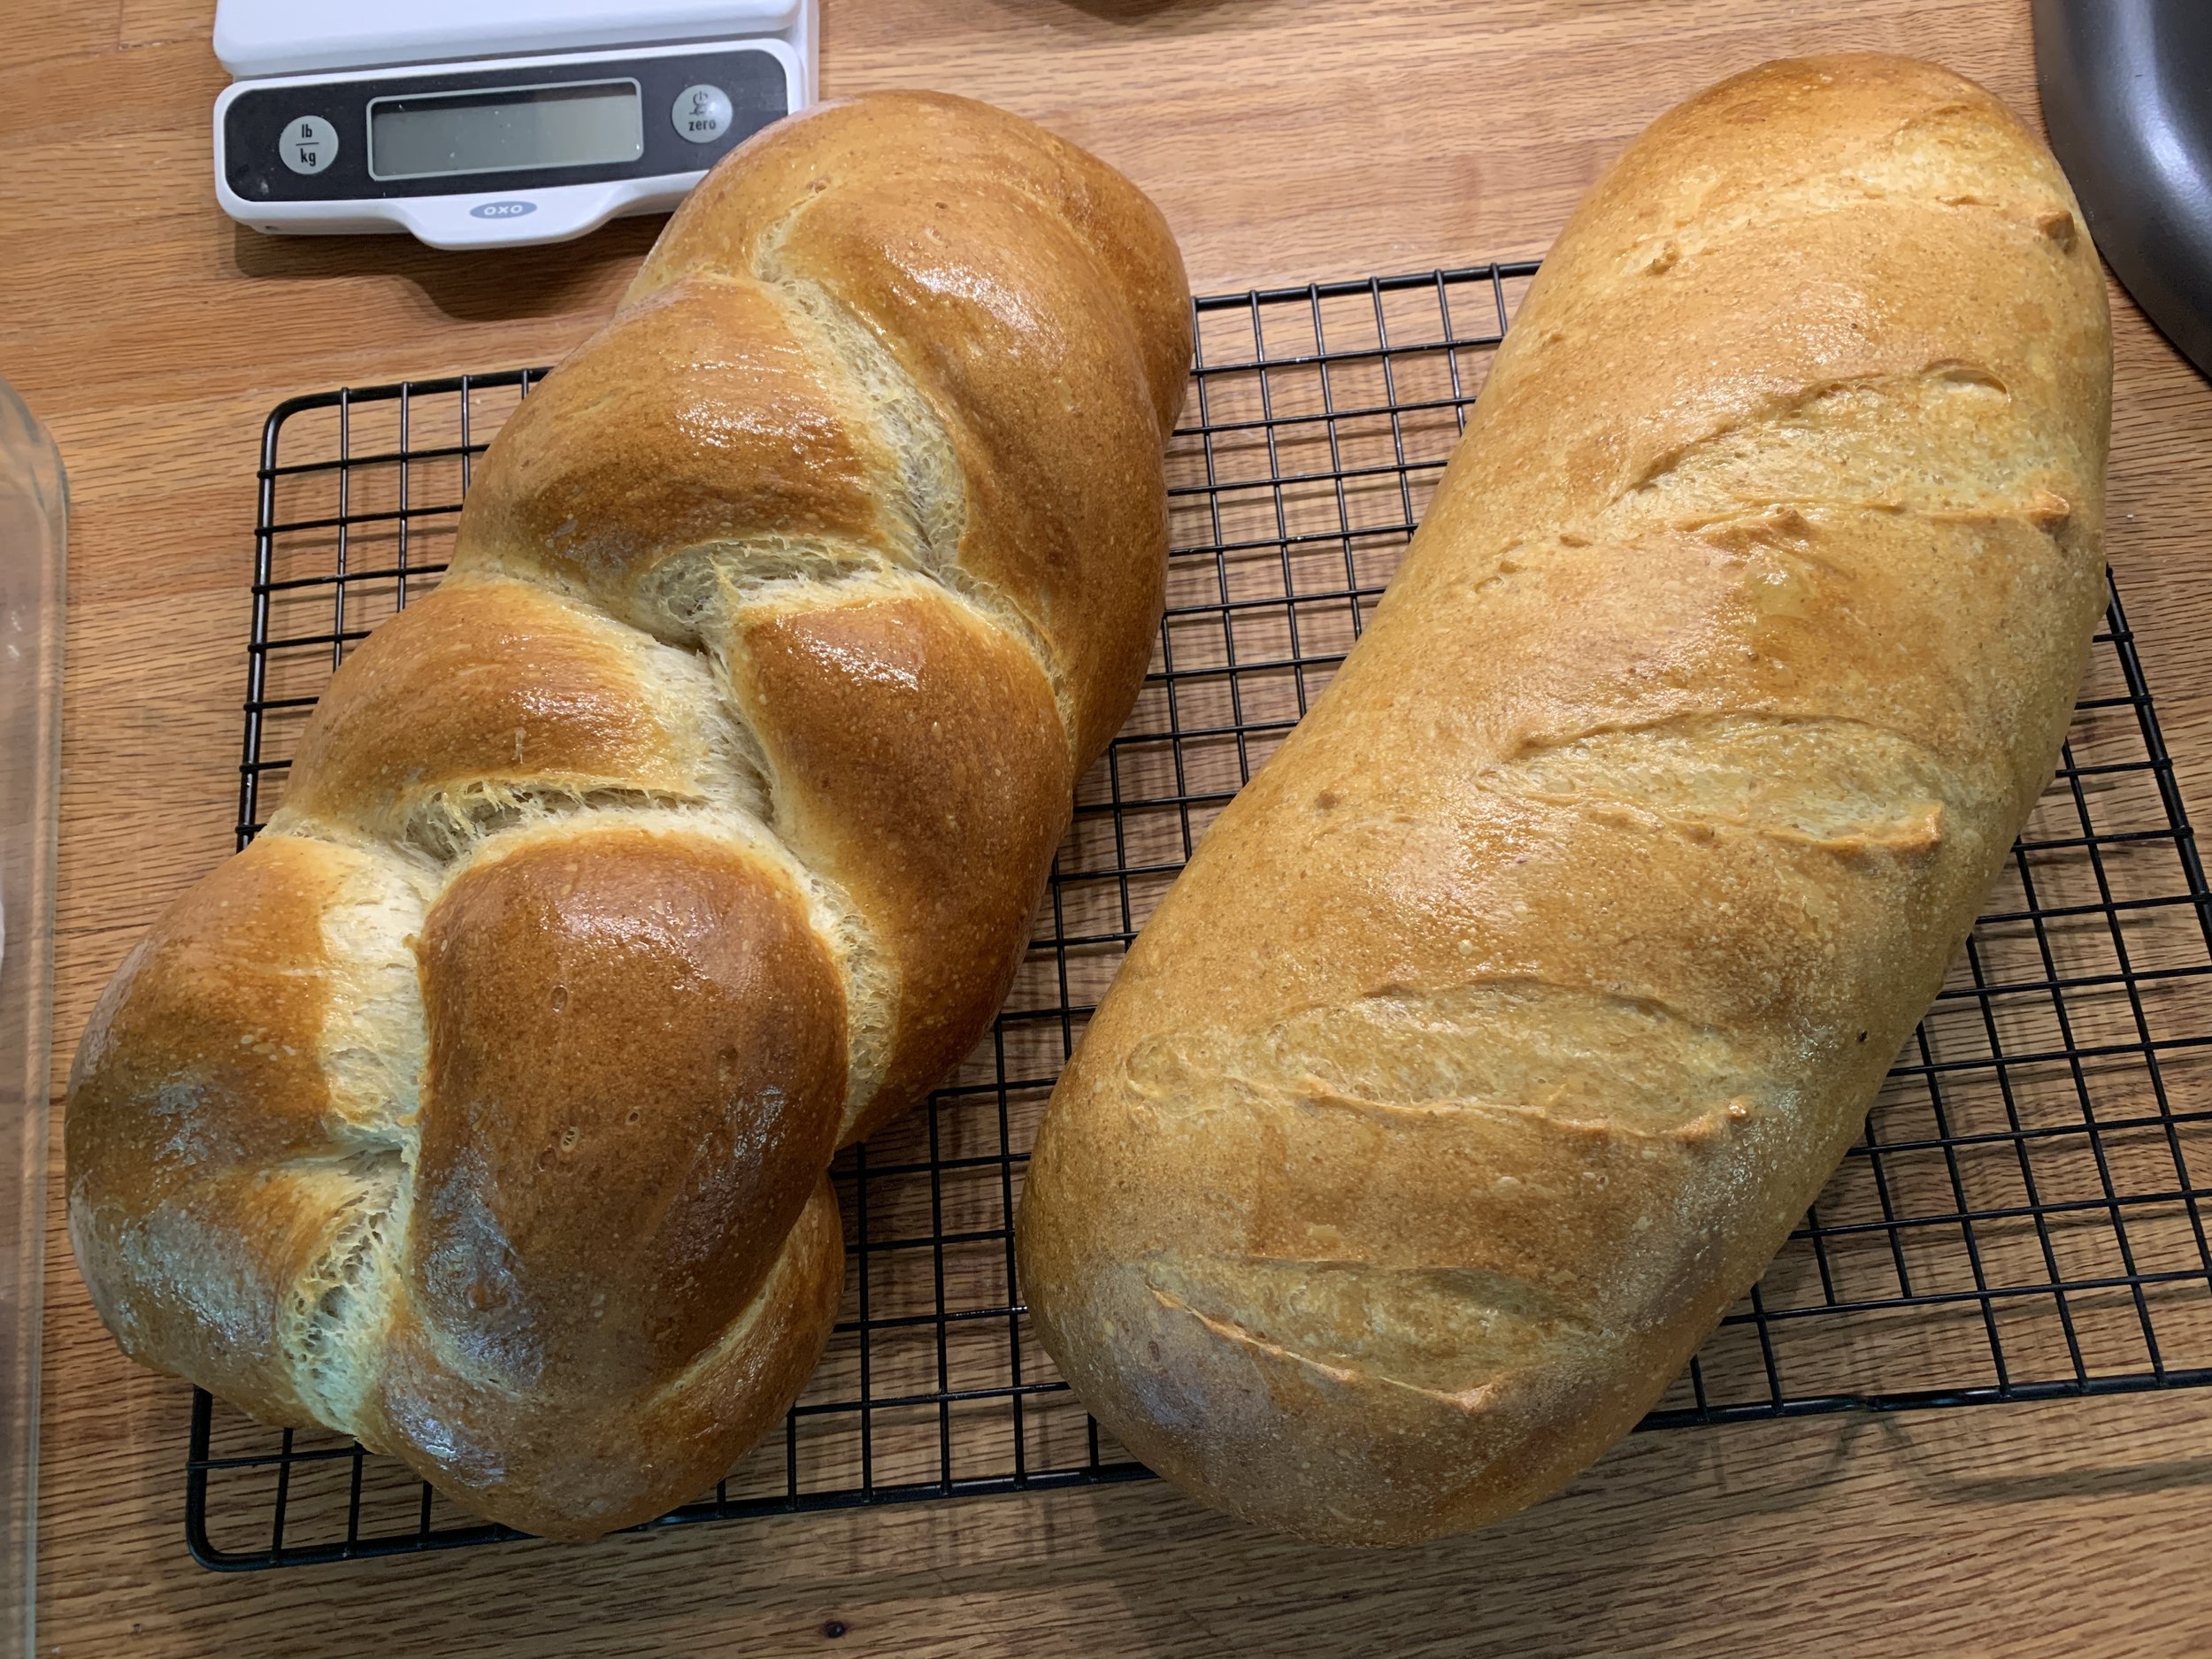
Butter basted braid and a simple loaf
Another full recipe went into making a couple versions of rolls and a cheesy braid.
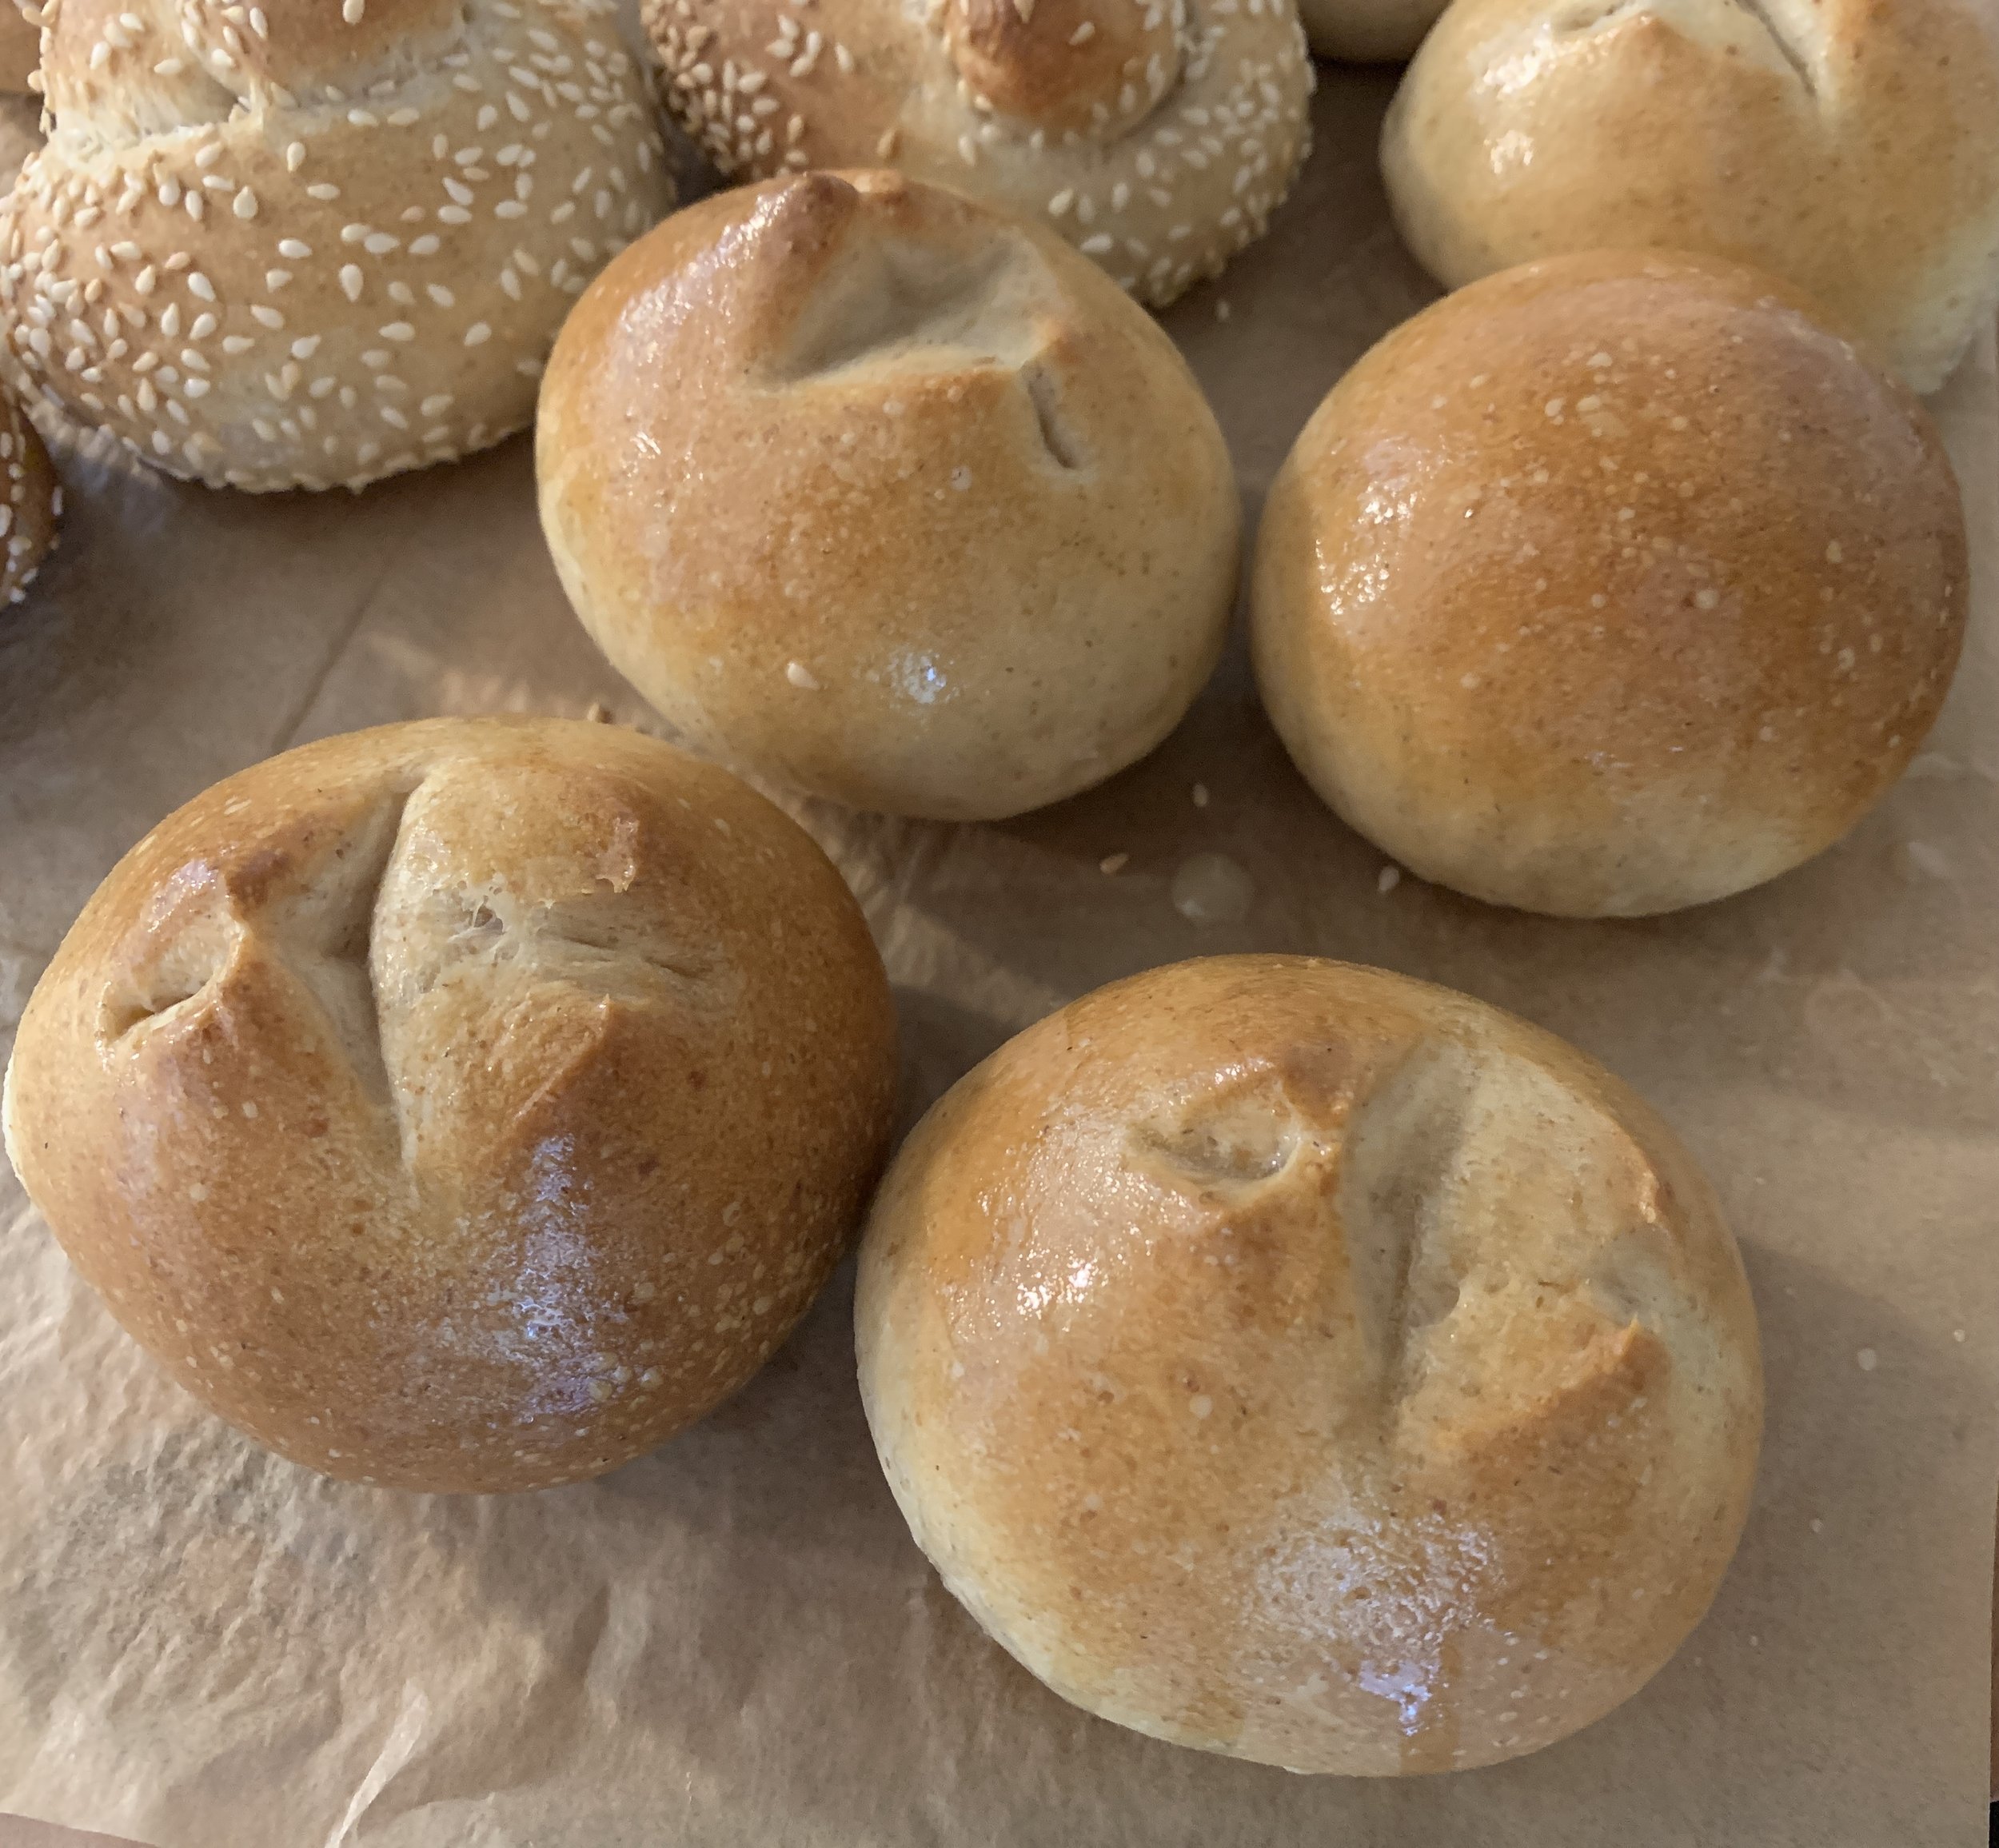
For the rolls I used a tad less than half the recipe to make fifteen 45 g rolls - 8 as sesame knots and 7 as butter basted. The rest became the cheese loaf.
I formed eight “logs” that I rolled in sesame and knotted up and left the other seven as standard round rolls (with a top snip before baking).

shape, shape, shaping!
The rolls enjoyed a nice long rise of ~100 minutes.

REady to bake, Before the snip!
Oops! Forgot one snip!!

Sesame knots and butter basted dinner rolls
This cheesy braid is just like the sesame approach except I coated the ropes in grated cheese the quantity of which I eye-balled. I used sharp Cheddar but gruyère, emmental (or a mix of your faves can all work) and topped with more cheese. I’d use more next time. You could add herbs if you wish. Mmmm good.

Cheesy braid
Had enough yet?? Almost there, I promise.
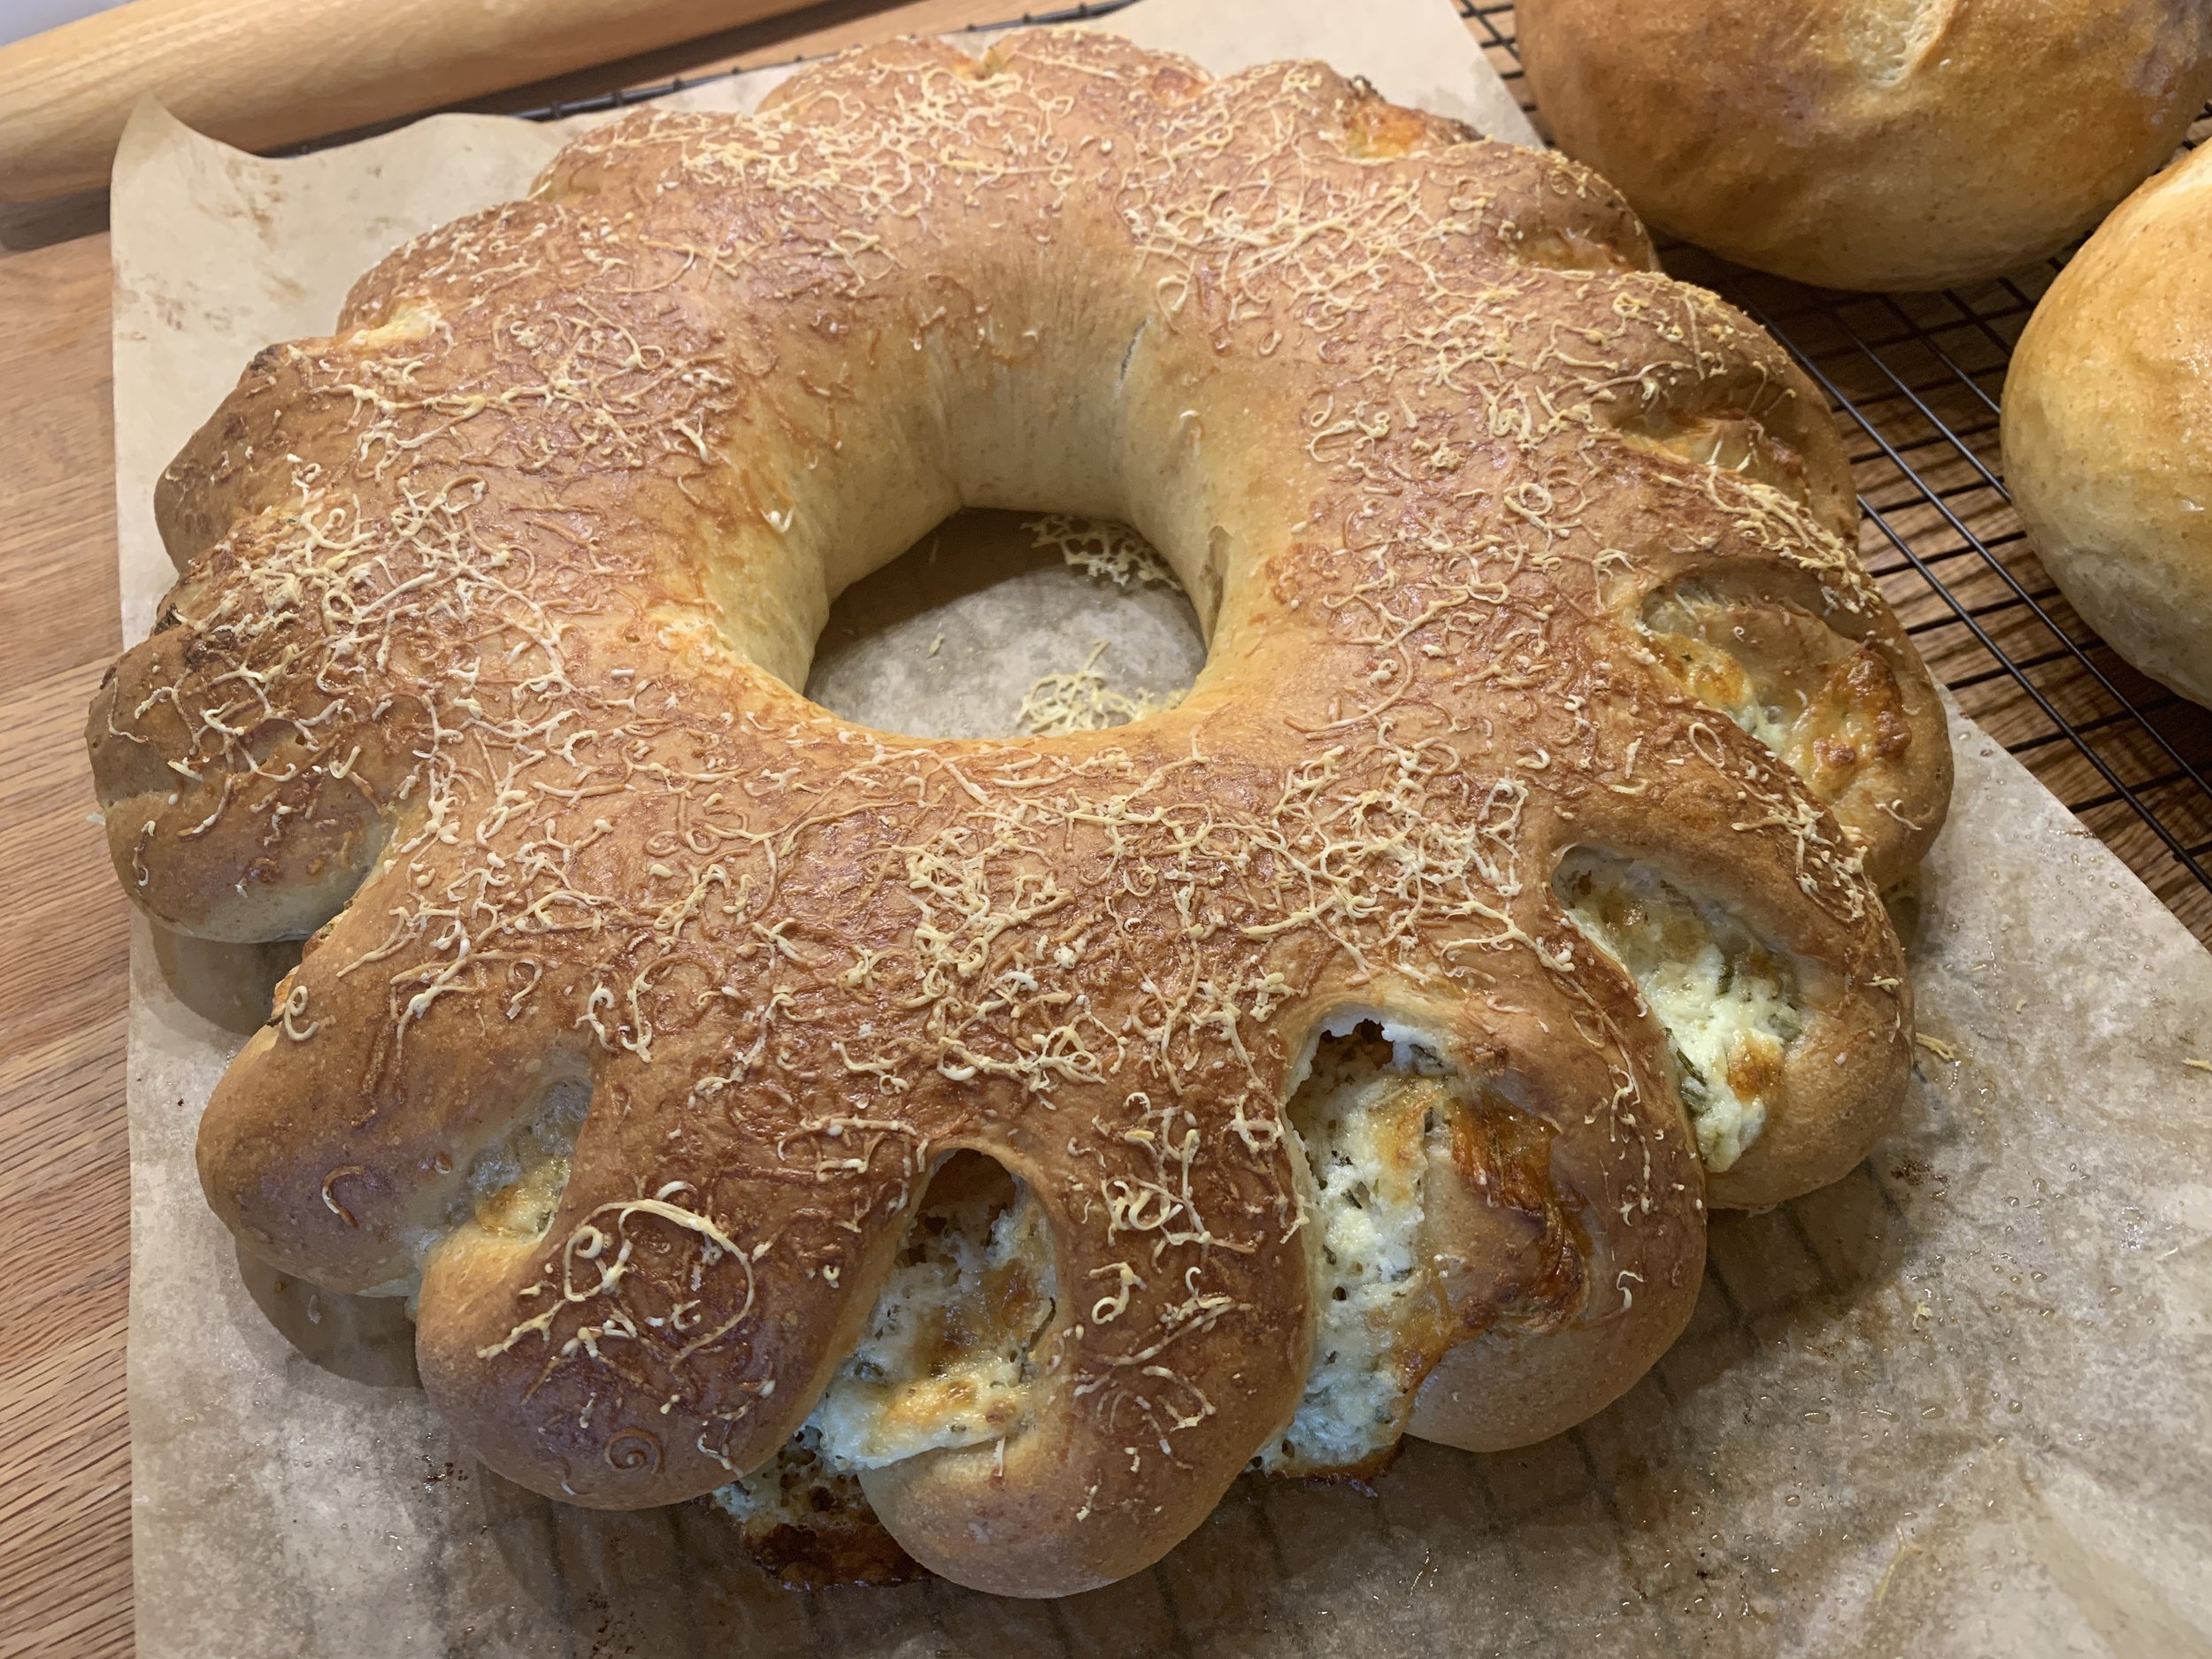
I wanted to try a filled wreath, using half a recipe (~700 g) for that and dividing the rest into two for a couple of simple boules.

Ricotta herb wreath and two small boules
For the filling I mixed 3/4 cup whole milk ricotta, 1/4 cup cream cheese, a few pinches of dried oregano and herbes de provence plus ~2 tablespoons chopped fresh rosemary, one grated clove garlic and 4 ounces of grated sharp provolone which I ultimately thought too over powering - too much!. Live and learn, eh? Next time . . . . .

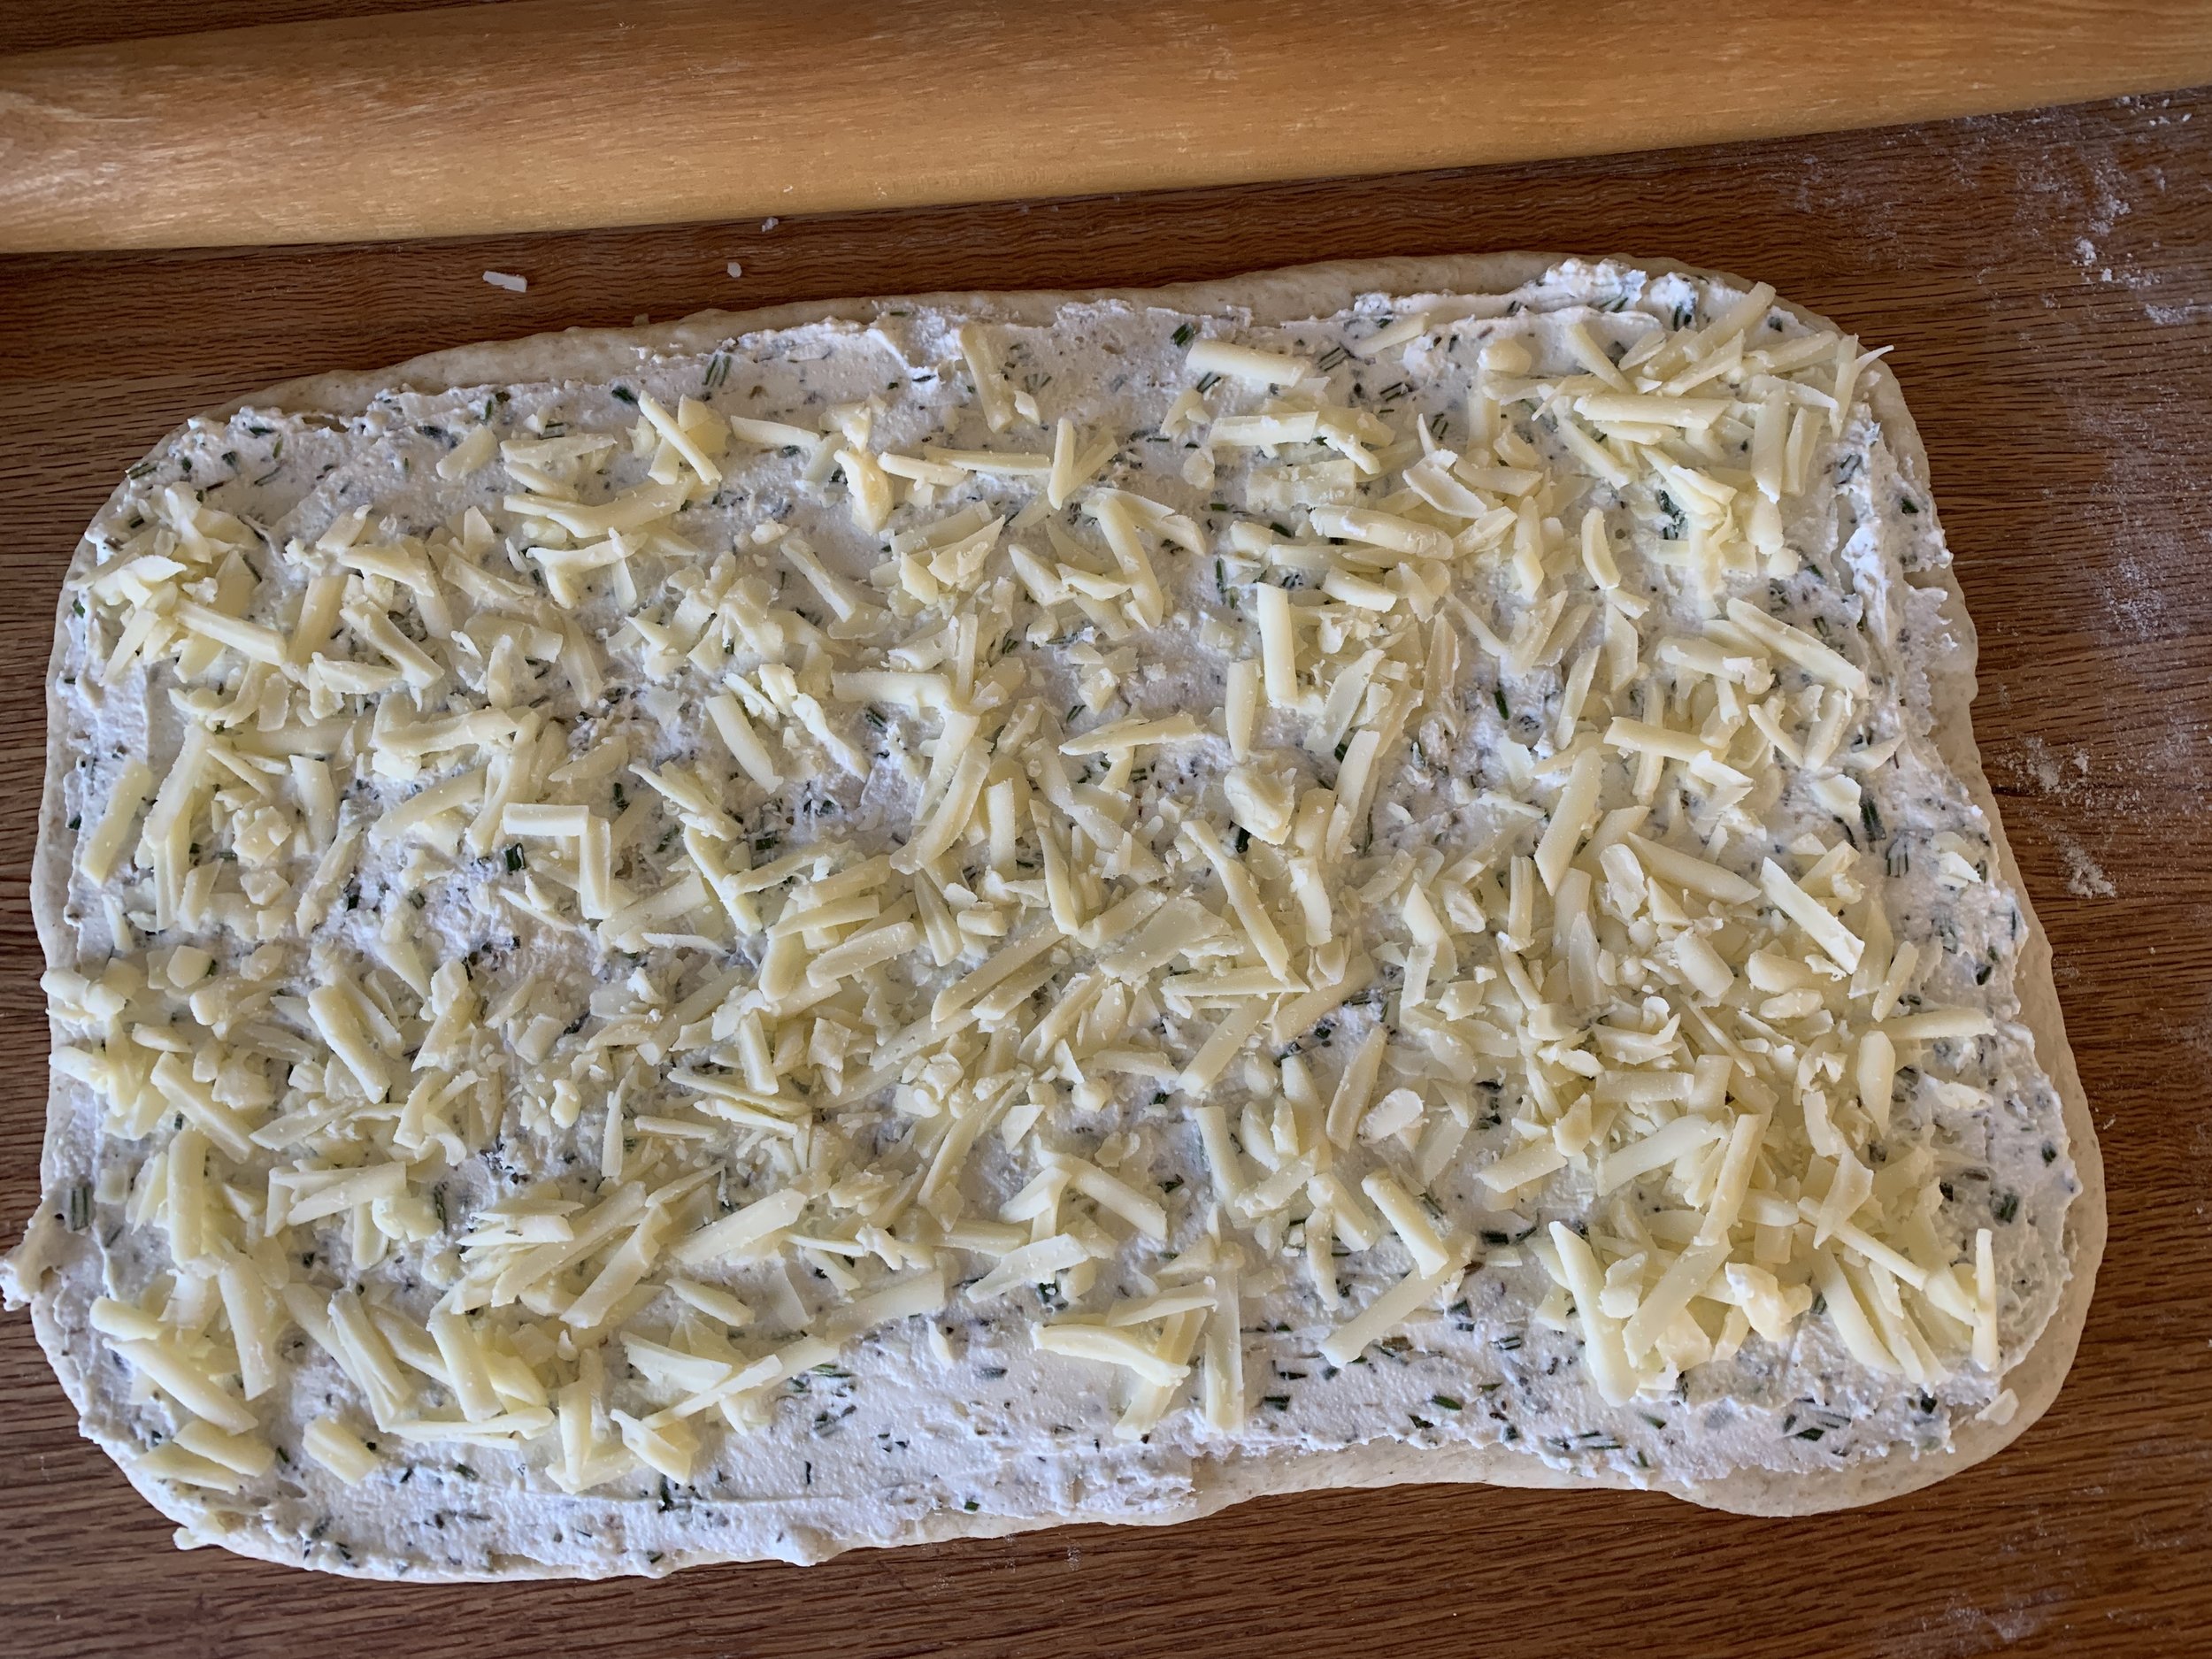
Roll the dough out to a rectangle of 8-ish by 16-ish inches.

Spread the ricotta filling over the dough and top it with the grated cheese. Press it down lightly.
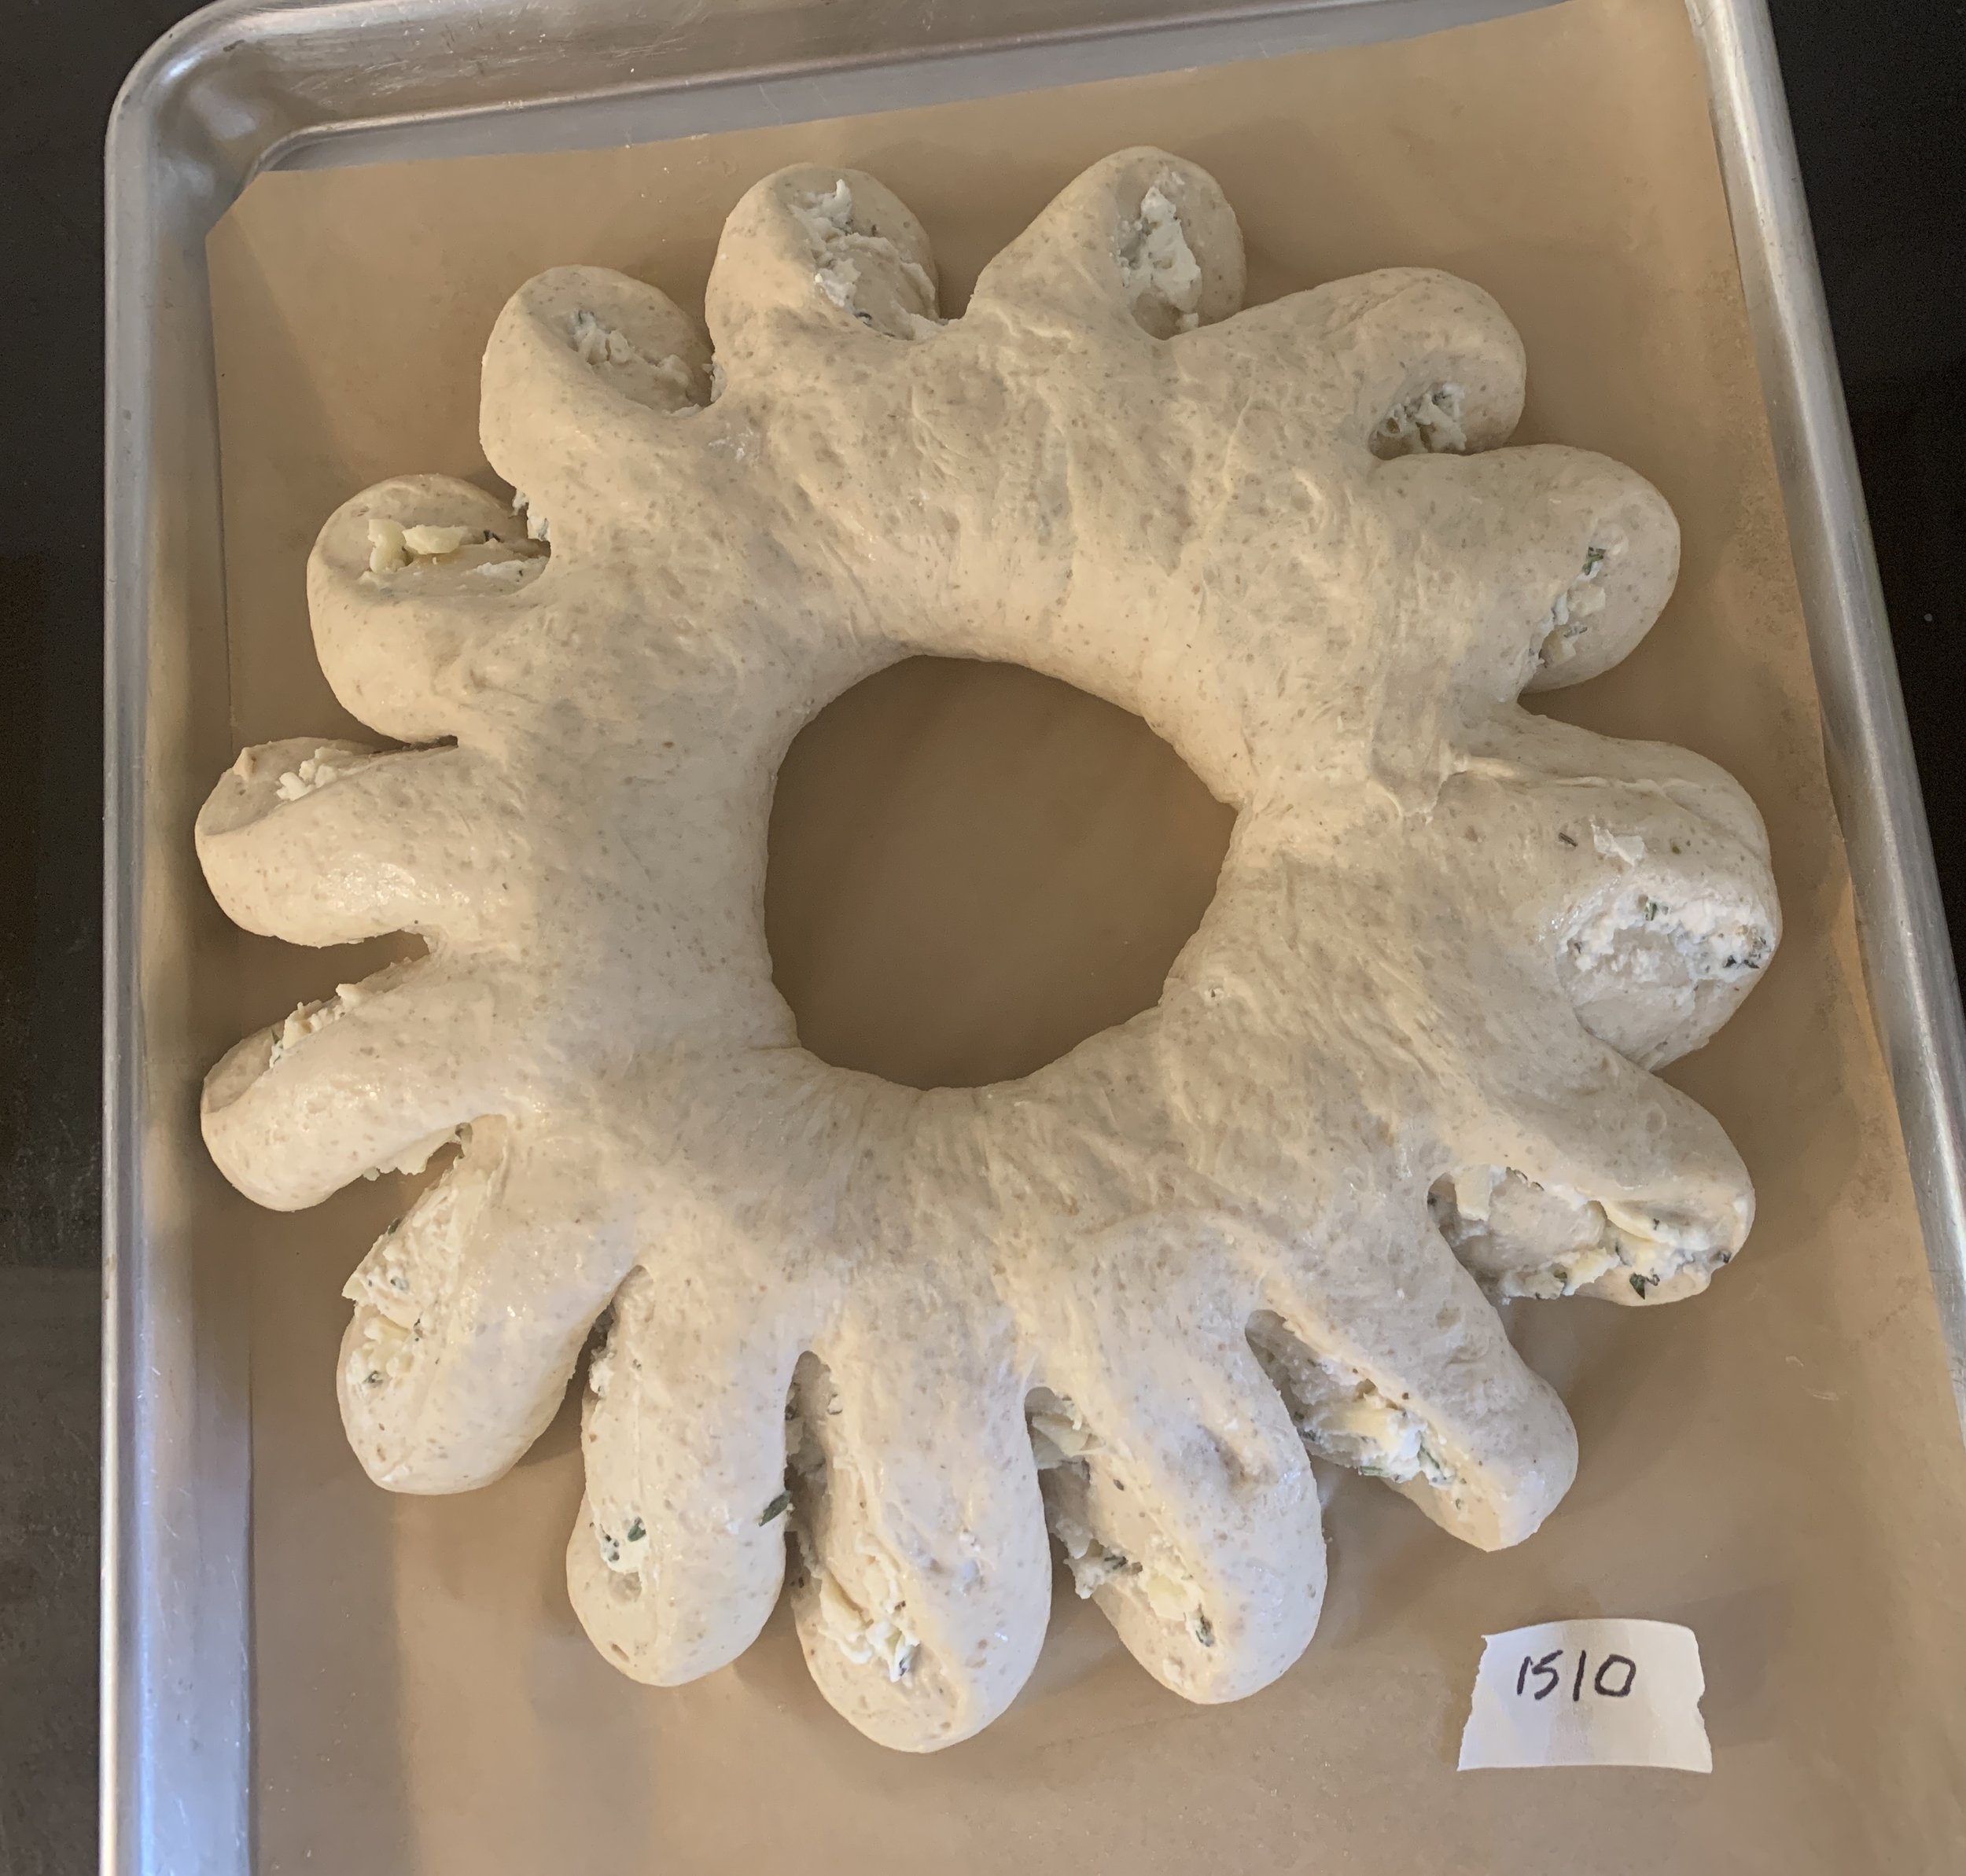
Log roll it up and cut slits along one side every inch of so, half way through.

Form it into a wreath and pinch the ends together. Separate and twist the sections out a bit. Hmmm . . . looks like some sort of sea creature.

Cover lightly with oiled plastic wrap and let rise about 90 minutes.
Lightly brush top with egg white or water and grate more cheese on top - parmesan or locatelli work well.
Bake 25-30 minutes, let cool and enjoy.
Whew! The end. It’s a good dough to work with and so tasty no matter how you choose to bake it. Have fun!