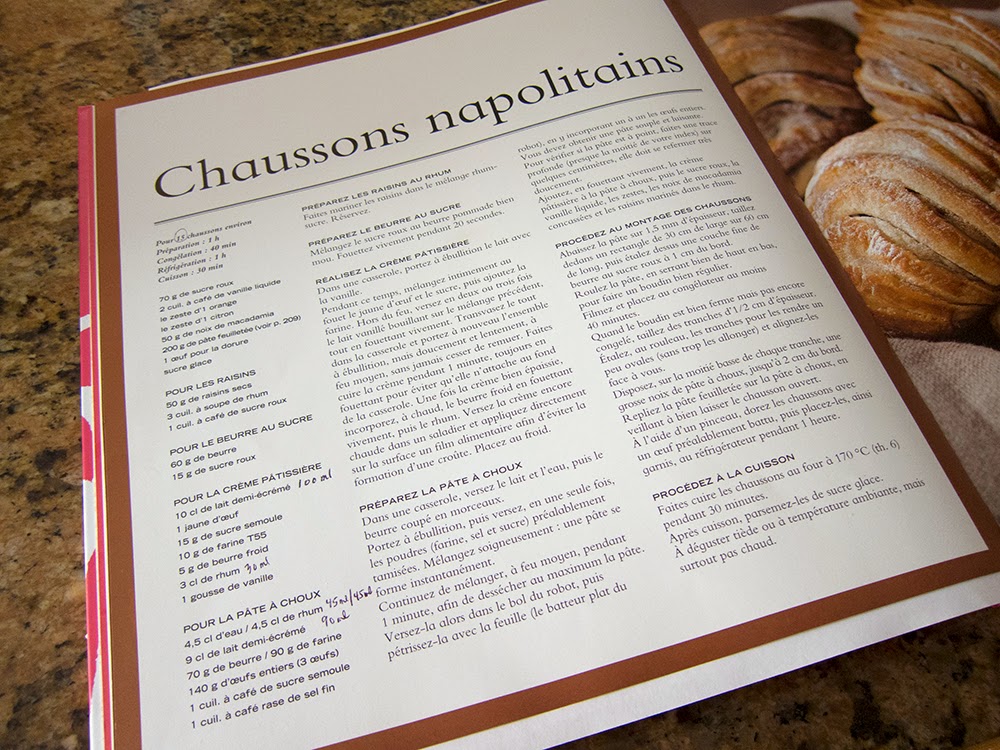
Mille-feuille aux fraises

B6313D36-DA81-4EFE-813D-0CE12676FA61.jpg

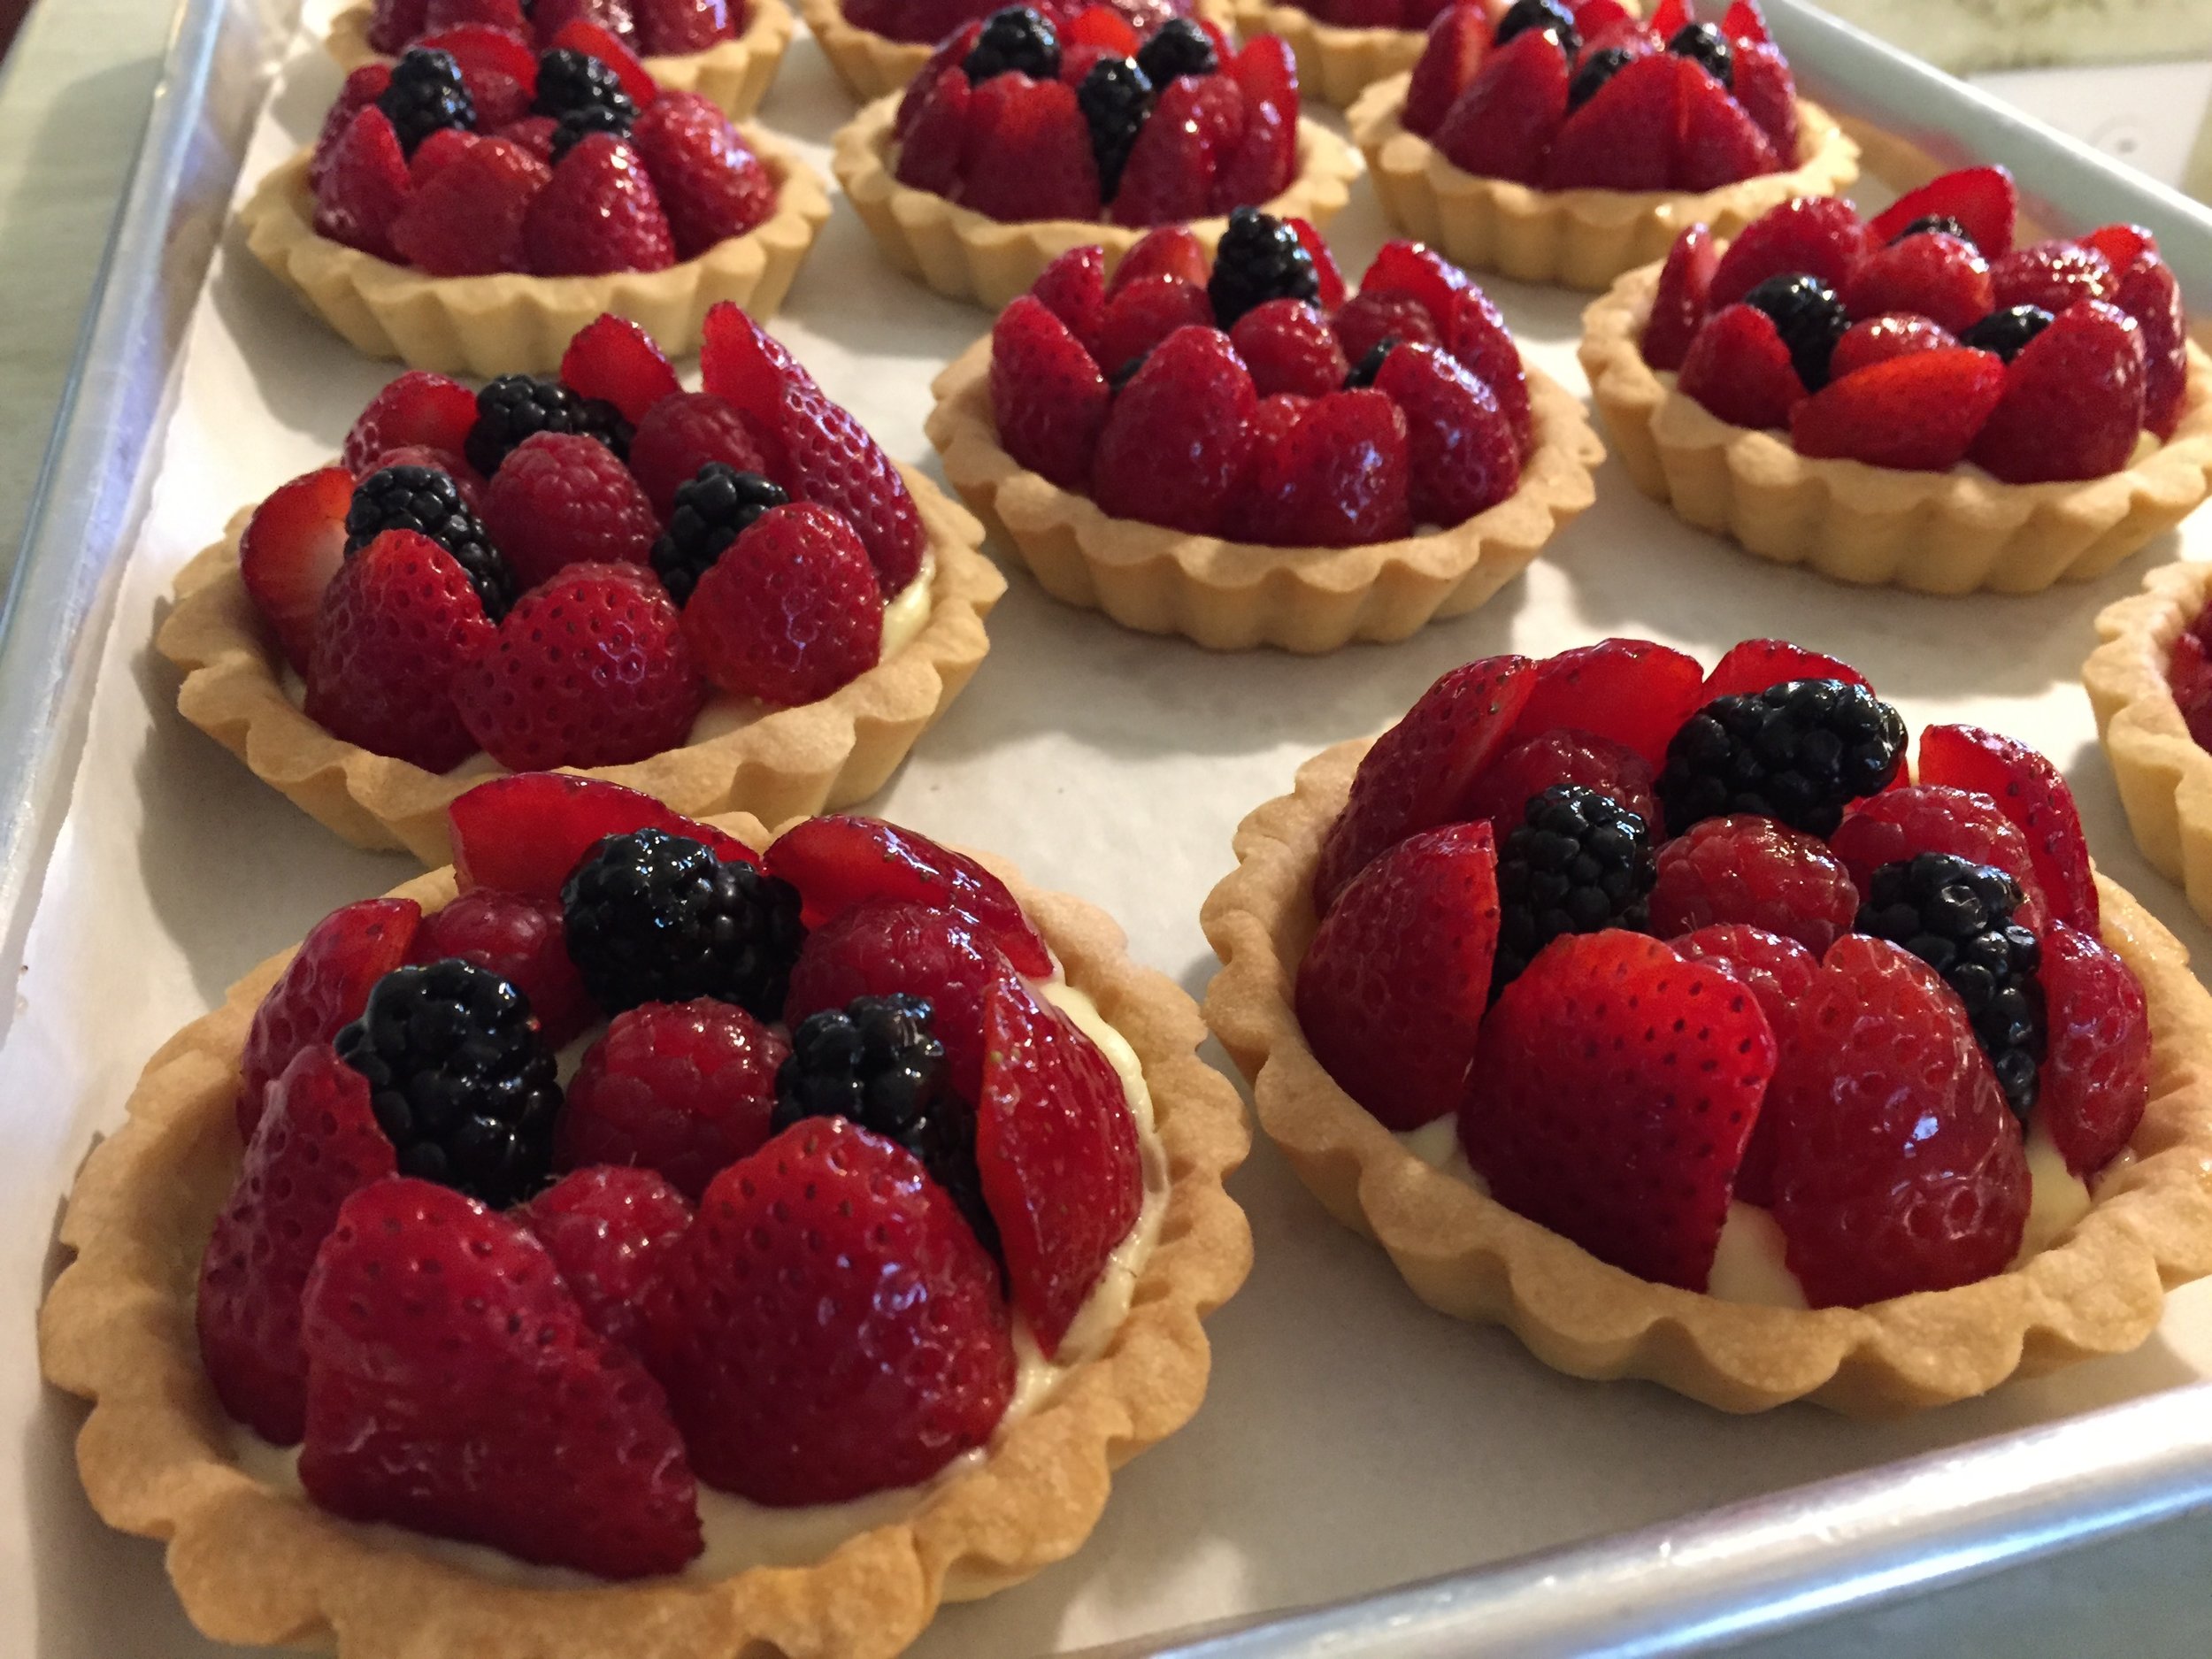
It’s great fun to revisit a classic every now and then. It takes me back to 2006-7 to those pastry school/stage days in Paris. Chef Pascal of Pâtisserie Pascal Pinaud in the 5th arr. would offer a lemon-raspberry version only on Sundays as a special weekend treat. It’s best eaten soon after being assembled so it’s not one of those goodies that can linger in the pastry case for a few days. You want that puff flaky and fresh!!

Mille-feuille (often referred to as vanilla slice in Britain and Napoleon in the US) is truly one of those classics. Crispy, buttery, flaky pâte feuilletée layered with vanilla crème pâtissière is the usual combo but one has the option to change up the cream flavor or switch to something like a light whipped ganache or whipped mascarpone cream and add fresh fruit into the mix. Think chocolate raspberry or coconut mango and you’re off to the races to create your own version.

My project came about as the result of a request for a strawberry vanilla option for a small birthday gathering. Being pleased to accept, I opted for a crème légère au vanille (essentially pastry cream with a bit of gelatin to set and whipped cream to lighten). I had puff pastry in my freezer and kept a keen eye out at various markets around town for decent looking strawberries as the day approached.

731C61B7-B211-4B6F-B684-1E569ACD0841.jpg

If you aren’t up for making your own puff (rough or quick puff can also be used here), you can find decent all butter versions in most frozen food sections of well stocked grocery stores. Dufour is a popular brand.

The beauty of creating this dessert is the make-ahead-ability of the components. I baked my puff and cut my ~2”x4” rectangles 1-2 days ahead, then held them layered between parchment paper in the freezer until the day of assembly. I made the cream a day ahead as well. On assembly day it’s a matter of prepping fruit and having your puff layers and cream at the ready. It’s all about being organized. Not bad at all!

A few tips when working with puff: always work cool; roll the dough out close to your desired size then give the dough a “lift and fluff” to help it relax. Cover with plastic wrap and give it a 10 minute rest (at room temp if your kitchen is cool otherwise in the fridge) before a final roll out to desired size. Then place on a parchment lined sheet pan and pop into the freezer while you heat your oven. That helps relax the dough and reduce the amount of shrinkage that might occur during the bake.

palmierrollout.jpg

For mille-feuille I recommend baking puff in larger sheets and then cut to your desired sizes - that compensates for some shrinkage of the dough during baking and gives you the ability to cut neat edges. That also gives you the option to cut longer strips to stack that will then be cut into individual portions vs. cutting individual rectangles like I did.

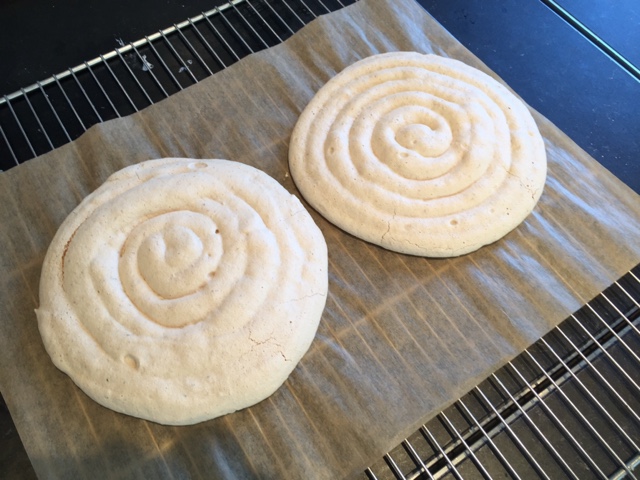
I used about a pound / 454 g of puff rolled a scant 1/4” thick for a half sheet pan, baked two of those and had plenty for some test cases and tasting. Yup.

B8F1816D-482A-4A61-96CC-99FF074106BB.jpeg

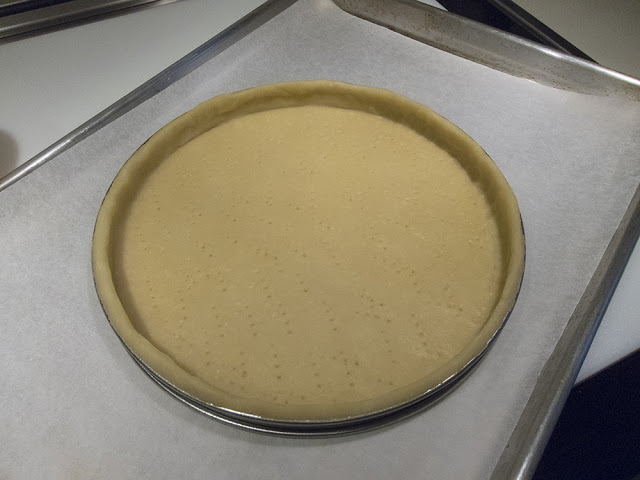
I typically bake my puff at 425ºF to start. Most recipes you might see for millefeuille instruct you to place a layer of parchment paper or foil on the chilled rolled out puff and top it with another sheet pan or two to weight it and prevent it from rising too much in the oven. I’ve even added a couple of loaf pans on top to add to the weight, but . . . . . . . . .

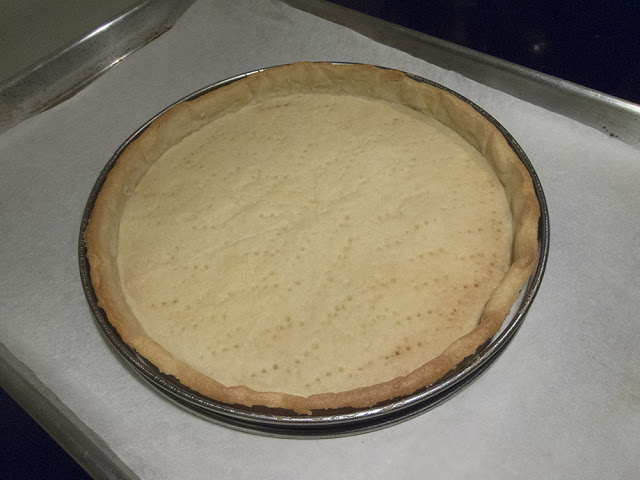
I’m here to tell you that even with those measures, the puff will puff anyway! Since I want it nicely browned, I weigh it down for the first 10-15 minutes, pull off the extra sheet pan and parchment (or foil) and continue to bake with a wire cooling grid overturned across the sheet pan to allow the puff to bake/puff more evenly. It needs at least another 10-15 minutes to reach a beautiful golden brown-ess (which is difficult to achieve when it’s covered with foil). Don’t forget to keep an eye on it and turn the oven down as needed.

Once cool I gently press it down to flatten as I cut my rectangles. It works!

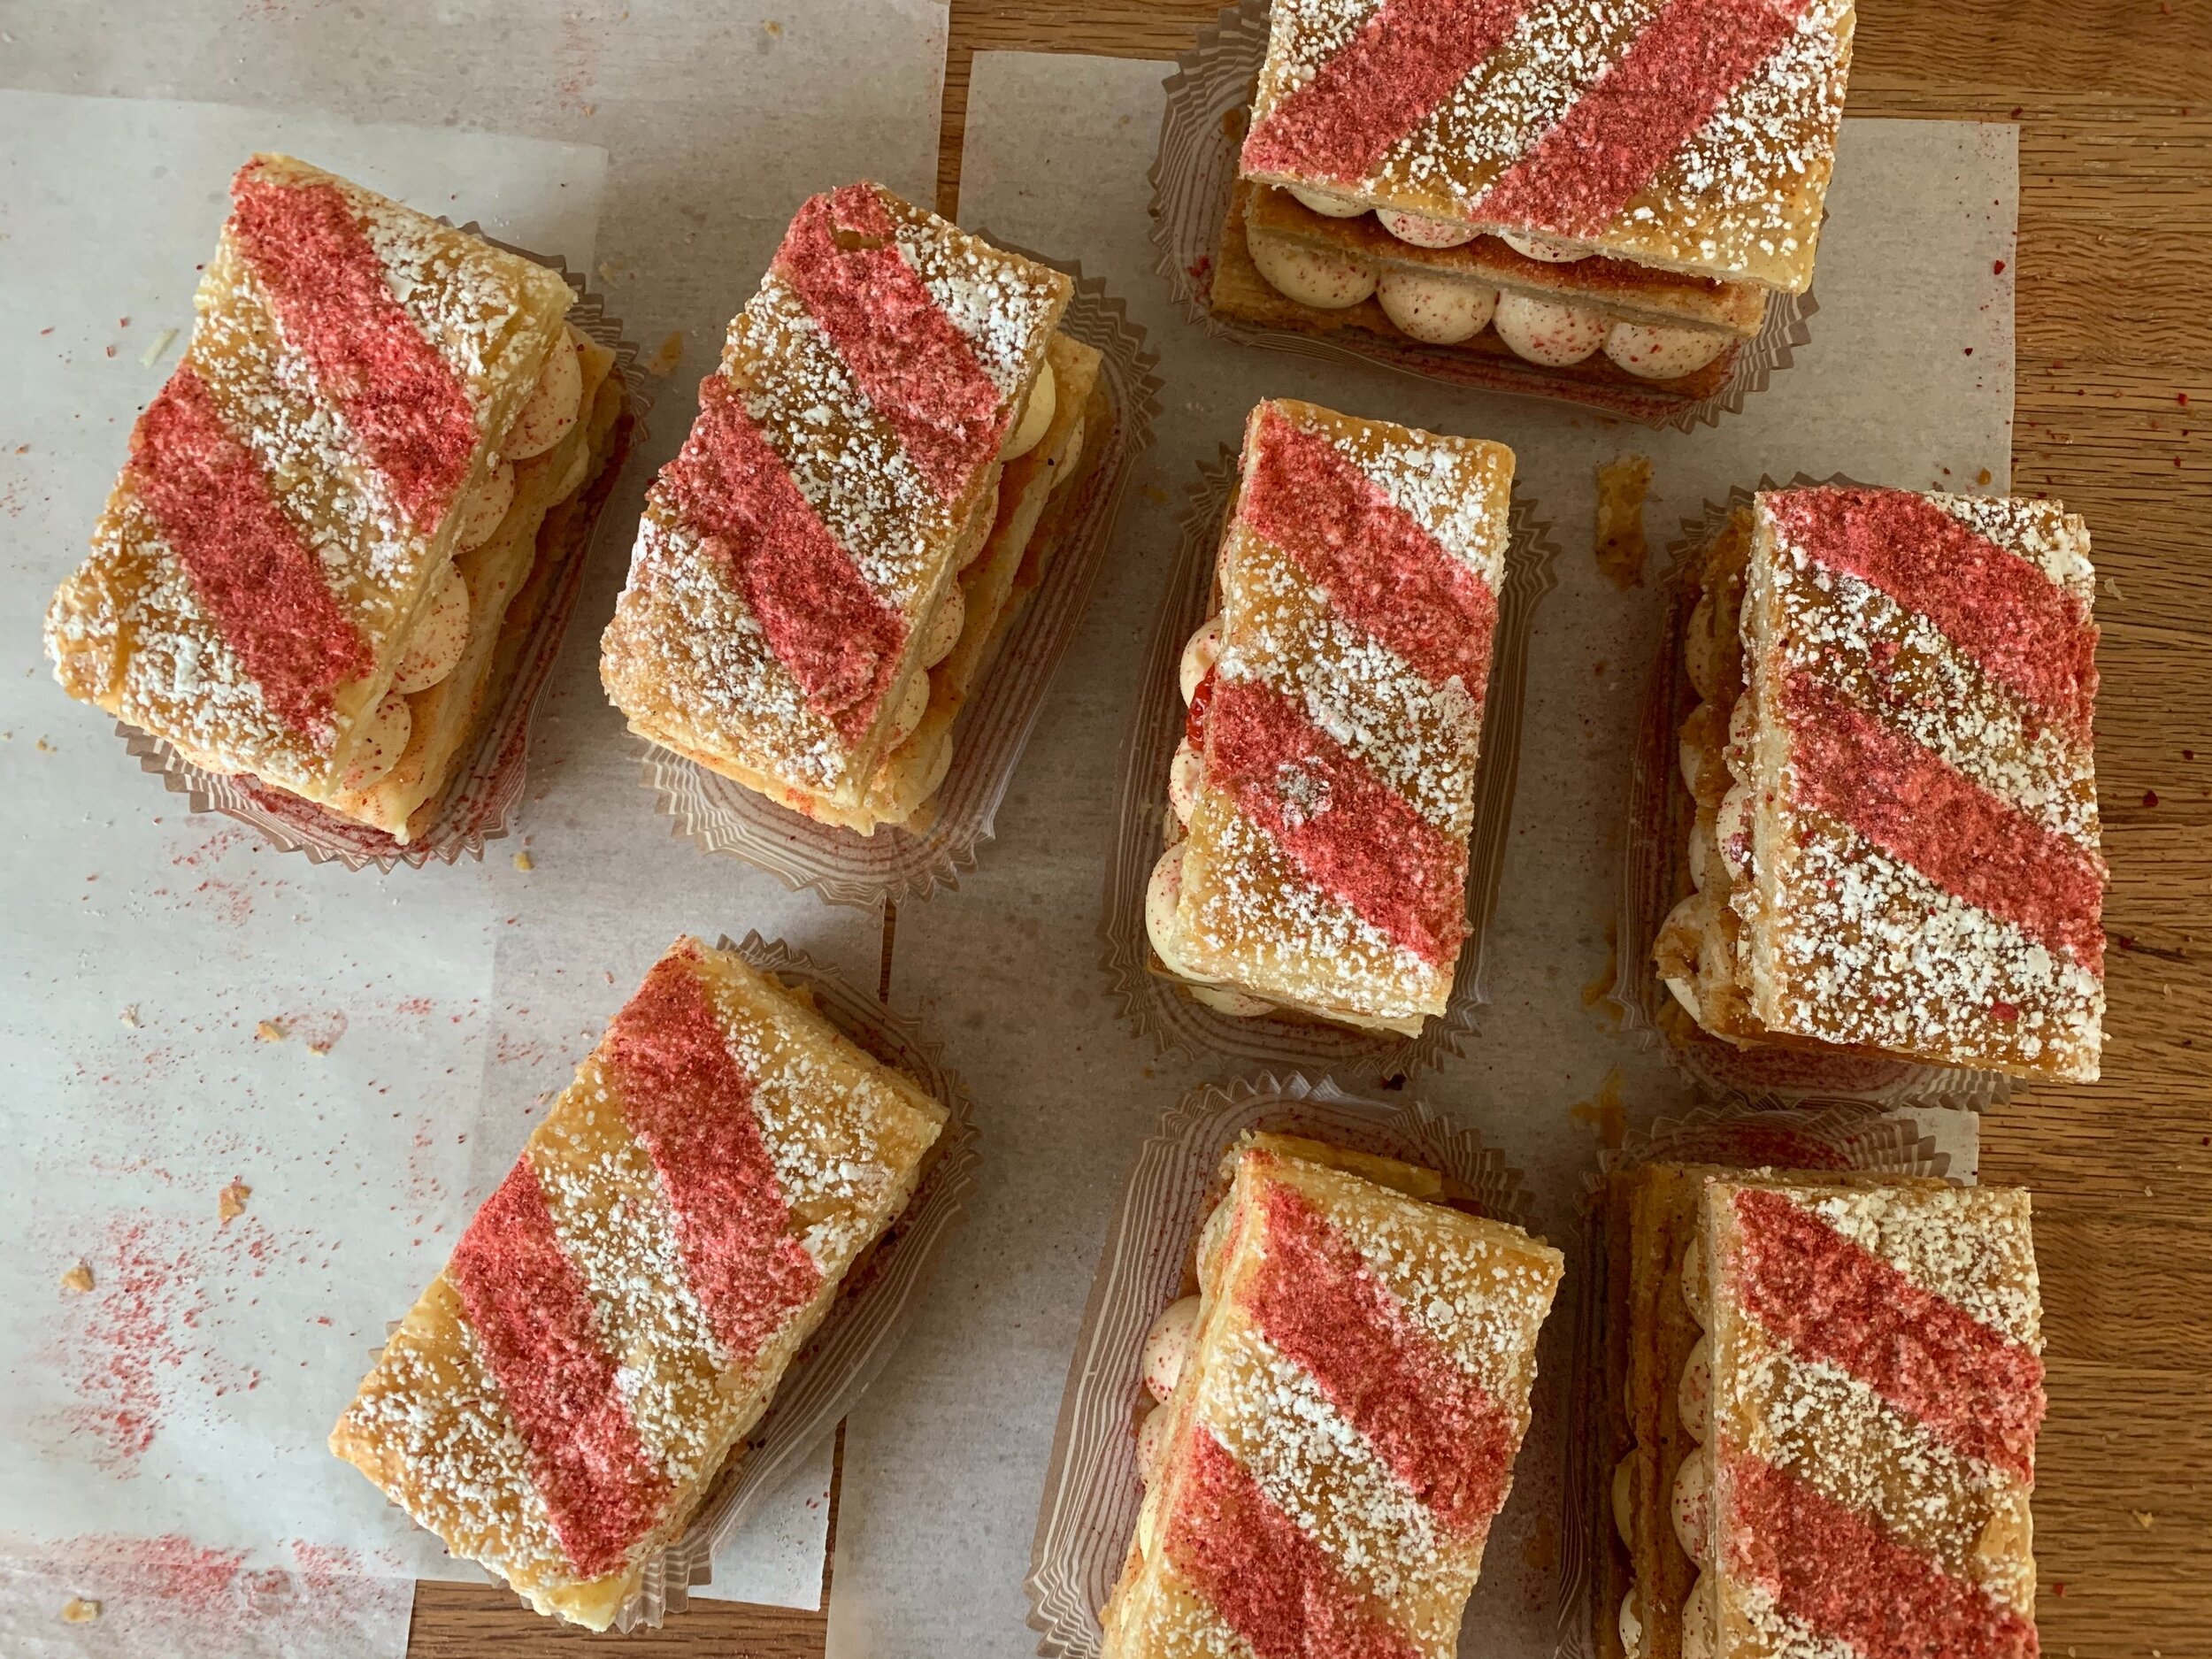
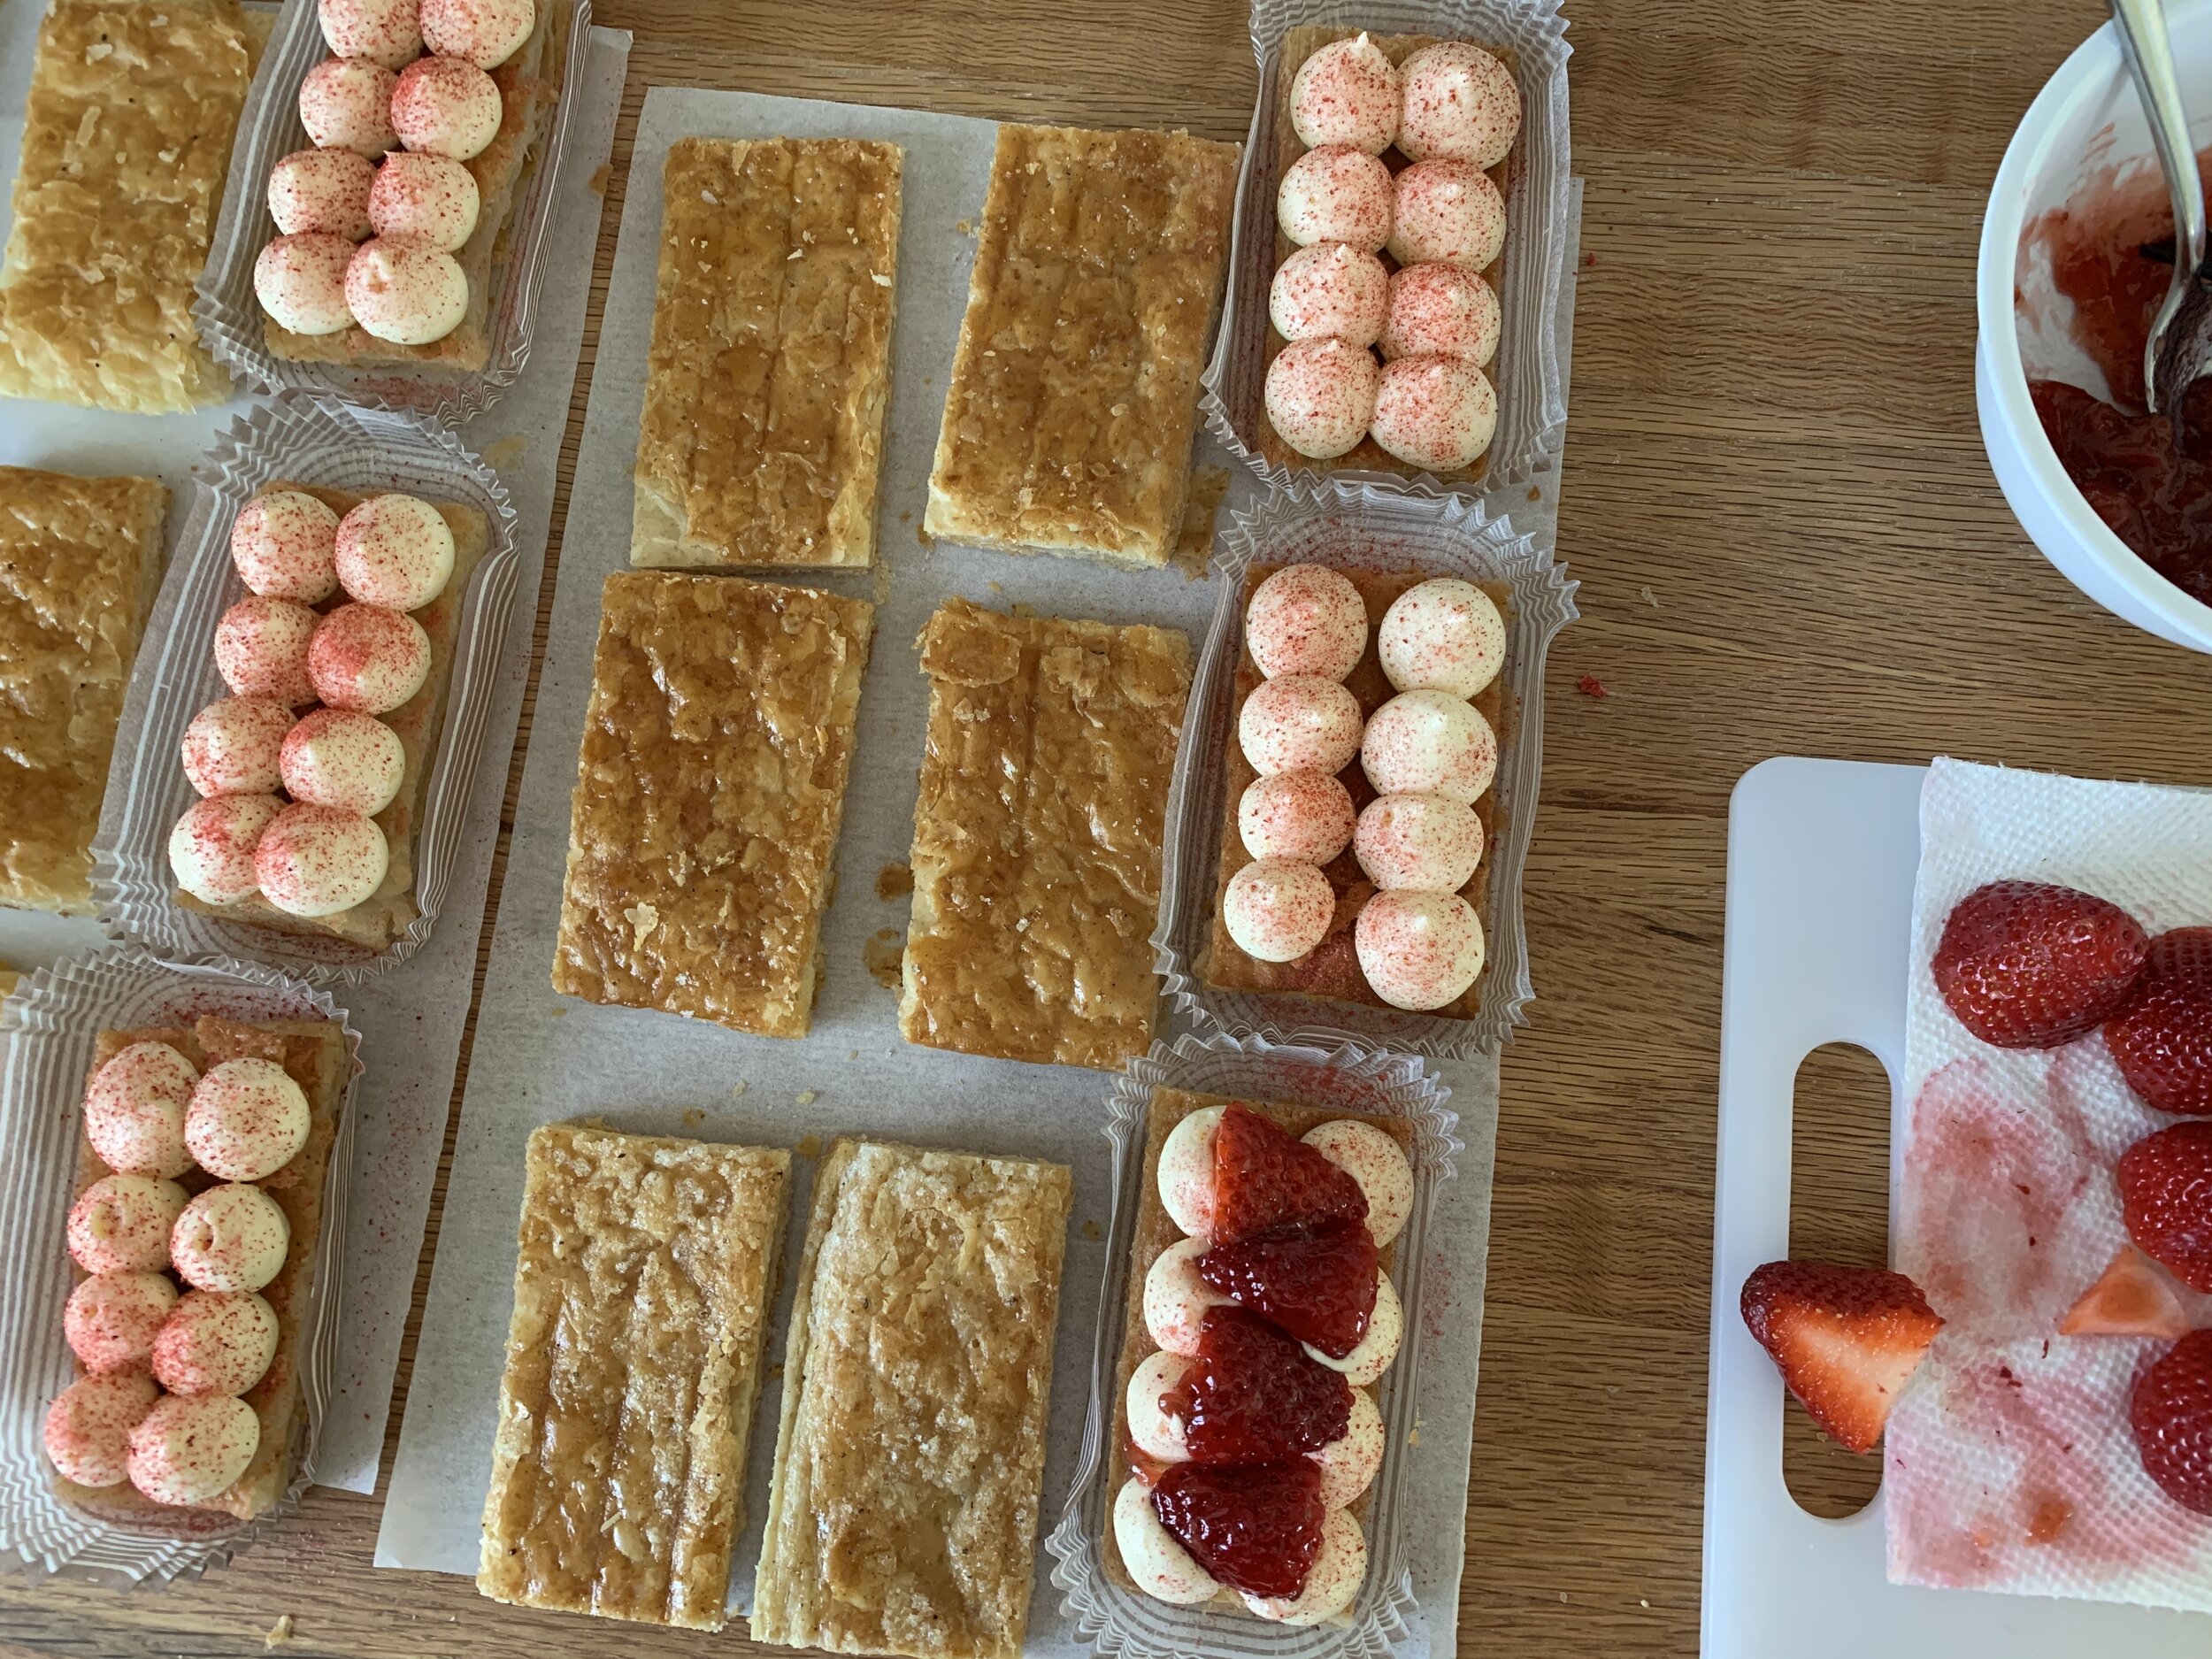
Then it’s a simple matter of matching up three pieces that seem to stack nicely together and identifying the one you prefer to be the top. In my case, since I decided to dust the tops, their surface appearance didn’t really matter. Some will coat their chosen top pieces with confectioner’s sugar and pop ‘em under the broiler to caramelize for a nice sheen.

I went for simple piped rounds of pastry cream and dusted them with freeze dried strawberry powder to add an additional hint of strawberry flavor.

14CE98F6-72A1-473F-BFBE-70DB0C349F82.jpeg

I was fortunate to find fairly decent strawberries at one our our local grocers, sliced ‘em up and coated them with a bit of strawberry jam for another flavor booster.

Let the layering begin. Puff/cream/strawberries/puff/cream/strawberries/puff. That’s it.

14CE98F6-72A1-473F-BFBE-70DB0C349F82.jpeg

For the top layer pieces I made a simple template so I could dust them with confectioner’s sugar then lines of strawberry powder. I buy freeze dried strawberries at Trader Joe’s and crush/sift them over whatever I want to dust.

B2B1F227-45AB-4210-8C45-0A105C9EDAB6.jpeg
2DDA6611-30B3-448B-8BEF-9CAC0DD76AD7.jpeg

Of course I made some test portions so Steve and I could give them a try. Yum! I even let one sit in the fridge for a day just to see how it would handle that down time. Not bad at all!!! The puff still had some crispy flakiness and the flavor remained delicious.

BCD5A579-484E-4A7E-B9F1-EBD5D99A2726.jpeg

Now that spring is pretty much here, start thinking about your own version of millefeuille. So many options. You can do it!

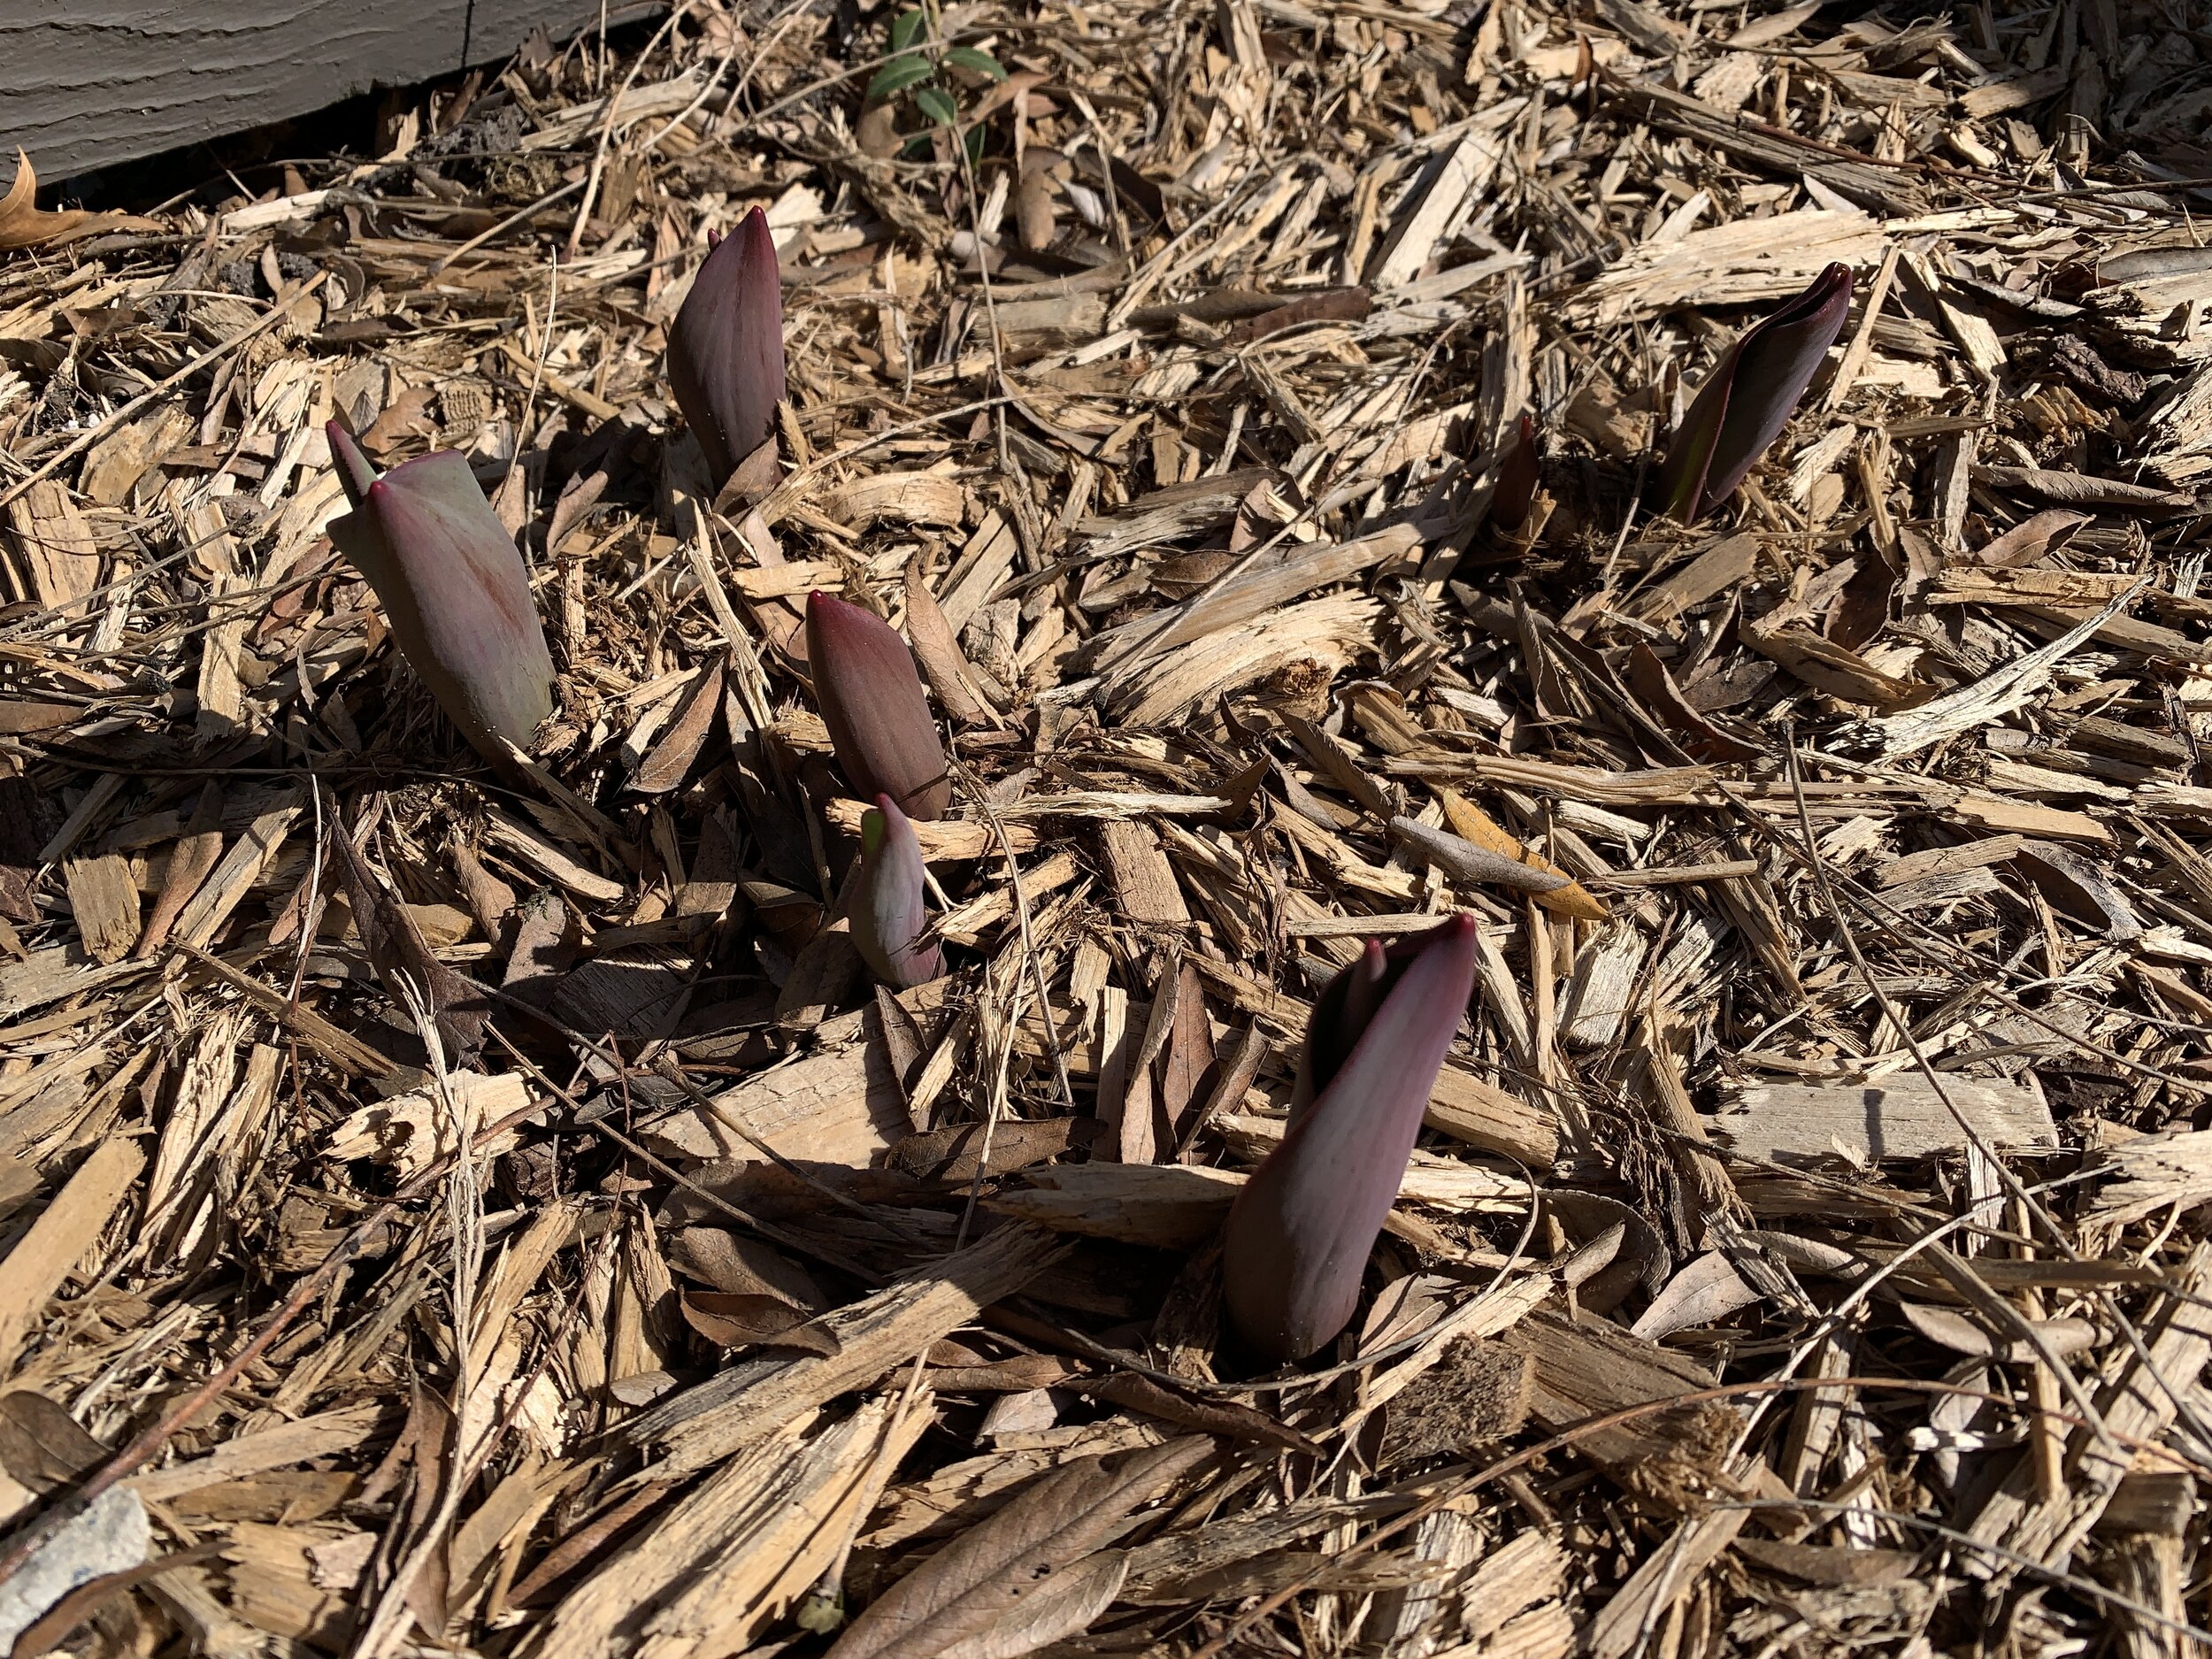
Meanwhile, Steve and I look forward to our second vaccine dose in a handful of days and . . . . . . my tulips are coming up!!! Yay!!

4CED9D9E-1D4E-41AB-AA89-1FDAA9962D7B.jpeg

Saint Angel tart

IMG_0201.jpg

Along the lines of the tarte au fromage blanc that I made during the summer of 2018 as part of my baking with cheese series, this Claudia Fleming inspired tart is reminiscent of a soufflé, using a pastry cream base to which is added triple crème cheese and a lightly whipped meringue. Yum!

In preparation for this project I returned to our favorite cheese shop, The Cheese Lady, here in Grand Rapids. Steve and I never turn down an opportunity to drop by to chat, taste and buy (and they sell some great wines to boot). Love it!

After tasting a few triple crème options I went for Saint Angel, a creamy cow’s milk cheese from the D’Affinois group. It has a lovely, slightly nutty taste with just a hint of salt - perfect for a tart just like this one.

IMG_0181.JPG

I used my favorite pâte sucrée d’amandes with the addition of ~ 60 g of toasted and coarsely chopped hazelnuts (following Claudia’s lead) for the crust. Below is the lined tart ring before blind baking.

By the way, the base dough recipe makes enough for two 9-inch tarts so I simply wrapped and froze the portion I didn’t use. Nothing wrong with that!

IMG_0182.jpg

The tart shell can be blind baked at 325ºF and set aside for several hours before filling or even frozen a few days ahead to give your project a jump start before the day you wish to serve it.

With your blind baked shell at the ready, heat your oven to 350ºF.

For the filling I prepared a HALF recipe of my basic crème pâtissière using 3 large eggs, divided - yolks for the crème and whites placed into the bowl of a stand mixer and set aside. Once the crème has cooked and thickened, blend in 283 g/10 ounces Saint Angel cheese (rind removed and cut into pieces), then strain into a large bowl and set aside.

IMG_0193.jpg

Using the whisk attachment, whip the 3 egg whites on medium-low speed until foamy then slowly shower in 150 g/3/4 cup granulated cane sugar. Once all of the sugar is added, whip on high speed until medium stiff peaks form.

Gently fold a third of the beaten whites into the triple crème mixture, then fold that mixture back into the remaining meringue in two additions.

IMG_0195.jpg

Transfer the filling into the baked tart shell . . . .

IMG_0196.jpg

and bake for 20-25 minutes until puffed and golden.

IMG_0200.JPG

You can certainly plan to serve this soon after baking, yet knowing full well that it would collapse, I opted for letting it do just that, cool down and then give it a try.

Delicious, light, creamy, a hint of salt and a sublime taste treat indeed.

IMG_0203.jpg

Thinking about accompaniments to a good triple crème cheese, I tried a dollop of cherry jam on top - not bad although Steve wasn’t a big fan. Otherwise toasted nuts, a drizzle of honey, roasted fruits/fruit compotes, berry sauces or coulis would be deelish too! Give it your own spin.

Good news! The tart held up well in the fridge (covered) for the next couple of days. Hurray!

Here’s to everyones health, safety and getting through the uncertainties in today’s world. Take care all of you.

Fresh fruit tarts

Four Inch Tartes individuelles

Four Inch Tartes individuelles

West Michigan is known for it’s grey skies and lack of sunny days during the winter months, but lately I’ve been making a variety of fresh fruit tarts which simply add their own version of sunshine and brightness to the seemingly dreary weather. The good news is when we do have a sunny day, it’s a beauty! And some of our sunsets are absolutely gorgeous. Ahhhh . . . . there’s something about a Michigan sky.

Tartelettes Petits Fours

Tartelettes Petits Fours

While I’d prefer to use fresh local summer berries and stone fruits for my fresh fruit tarts, we’re fortunate to have pretty decent berries coming to us from California as well as citrus and all manner of tropical fruits from various parts of the country and the world. It’s interesting that most requests I receive for fresh fruit tarts happen during the winter months. I guess it’s just that desire for something colorful and delicious, and there’s nothing wrong with that!

TWO and a half inch Tartes individuelles

TWO and a half inch Tartes individuelles

I love the pinkish-orange of the Cara-Cara variant of the navel orange - just like one of our beautiful Michigan sunsets, especially when paired with the brilliant red of raspberries. And the blackberries lean more toward the end-of-sunset dusk when things start darkening into the deep purple hues of the night sky.

Nine inch Tarte

Nine inch Tarte

The nuts and bolts of this type of tart include a standard pâte sucrée crust, a classic crème pâtissiére and, of course, an assortment of fresh fruit. Whatever suits your fancy.

Especially when I’m assembling a large tart, I like to do a mock up of my fruit lay out before actually placing the fruit on top of the crème. Here I’m using raspberries, blackberries, strawberries and Cara-Cara citrus. You might notice the pomegranate seeds at the top - I didn’t end up using them for my own aesthetic reasons (artistic license, right?).

Working on the layout

Working on the layout

Assembly in process

Assembly in process

I must say that finishing a fresh fruit tart gives one quite a sense of satisfaction. And, of course, one hopes that the recipients will be just as satisfied!

Merry Christmas and Happy New Year everyone. Here’s to many more baking adventures! And may you enjoy your own sunsets wherever you are.

IMG_3454.JPG

Succès class at Le Nôtre

Succès au praliné, a classic French dessert, was the subject of my third and final class at Le Nôtre Paris.  It requires some planning and make-ahead preparation, which stands one in good stead when it comes time to assemble this particular delight.

There were again three of us in the class. In addition to myself, a young 20-something Parisian woman (no English) who does a bit of baking at home and attended the class thanks to a gift certificate, plus a Japanese woman (no French) who makes pastries in Japan.  This was another interesting dynamic with the chef at times speaking English to the French woman and French to the Japanese woman - a bit confusing to say the least.

Nonetheless there were lots of smiles and head nodding going around as we worked our way through the recipe.


I recall making succès during pastry school at Le Cordon Bleu and having my crème mousseline improperly set and oozing out of the sides - not a pretty picture.

However this time the whole process felt pretty straight forward, something that 10 years of professional experience under my belt aided tremendously.

The base of this dessert is essentially a meringue made with egg whites, sugar, almond flour, powdered sugar and a bit of milk.  It's piped in two rounds and baked low and slow, resulting in a light, airy and crisp meringue.


It is filled with crème mousseline (blend of crème au beurre and crème pâtissiére) mixed with nougatine (chopped caramelized almonds).  Separate preparation is required for the various components, and it all comes together in the end.

A note on crème au beurre:  typically made with Italian meringue to which butter is added, Le Notre's recipe involves making a crème anglaise which is whipped until cool, then butter is blended in and finally the Italian meringue is added.  It makes for quite a light (believe it or not) and delicious mixture.

Below is the large bowl full of crème mousseline and the chef working on his assembly.


After the crème is sandwiched between the two rounds of meringue, the edges are coated with more crème and then covered with pralinettes (more caramelized chopped almonds - yum!).

Crème coating underway . . .   


and pralinettes going on!  Just pick up handfuls and press lightly.


We all assembled and coated our respective succès, dusted them with powdered sugar and that was that!


The amazing thing about this cream filled meringue, so full of butter, is how light in taste and texture it actually is. Incroyable!

And guess what?  Surprise, surprise, surprise - Steve loved it!


A Thanksgiving tart and moving into citrus season

Thanksgiving is now behind us, and we look ahead to the upcoming weeks of December holidays and festivities.

This time of year I start thinking about citrus - all the lovely oranges and grapefruit that come to us from warmer climes.  There's the Cara Cara orange (a lovely pink fleshed navel), the blood orange and the standard navel orange.  And let's not forget tangelos, tangerines and clementines.  Nothing like a bunch of Vitamin C, right?!

As Thanksgiving approached I debated what I wanted to make for dessert to follow the classic American turkey-and-all-the-fixins meal.  Would it be a caramel nut tart or perhaps apple-cranberry or pumpkin ginger?  No - this year I opted for something citrus!


citrus browned butter cream tart

This tart is based on a recipe from Fine Cooking magazine some years ago.  Basically a blind baked pâte sucrée crust filled with browned butter pastry cream and topped with fresh citrus.  What's not to like?

I used my favorite pâte d'amande dough for the crust (I happened to have some in the freezer which made it an all the more attractive option).


lining the tart ring

all lined and ready for blind baking

baked and cooling - just waiting for the pastry cream

The filling is a pretty standard pastry cream made with milk, sugar, egg, cornstarch and, in my case, some added orange zest and vanilla bean seeds.  Yes!  Oh - and some browned butter added at the end of cooking.


les ingredients

In general I like to lighten pastry cream with a little whipped cream, so once my pastry cream was made, I chilled it in the fridge before whipping up a little cream and folding it in.


ready to fold and fill

all filled up

I segmented navel oranges and red grapefruit . . . .


and after drying the segments on paper towel, I did a practice layout . . . .


before the final assembly.

Et voila!


all assembled and ready to transport

We had a delicious Thanksgiving feast at cousin Garrett and his wife Laurie's home in nearby Rockford MI.  We took a break after dinner for some games and chit-chat, and, when it came time for dessert, enjoyed Laurie's pecan and pumpkin pies along with the bright taste of citrus and the smooth creaminess of the vanilla-orange crème pâtissière.

All in all a great day!

Chausson Napolitain

The third recipe in Philippe Conticini’s La Pâtisserie des Reves is an interesting mix of several classic pastry bases.

While I had been aware of this particular pastry, I had never researched it and had certainly never made it. In a nutshell it’s a pâte feuilletée (puff pastry) turnover filled with a combo of crème pâtissière and pâte à choux. Interesting, eh?

The recipe also calls for rum soaked raisins (a favorite of the French), but I opted for an hazelnut/cherry version instead. I developed my plan and struck out on a new adventure.

Most of the components can be prepared the day before, each one requiring minimal time, leaving you with the pâte à choux prep, final assembly and baking for the day of. It's all about timing and planning. Three cheers for mise en place!

I should point out that there are a couple of serious errors in this recipe, requiring you to pay close attention and adjust accordingly. The 200 gm of puff pastry called for is woefully inadequate, and should be about 600 gm. It was clear that 200 gm was not enough to create a 30x60 cm piece with a 1.5-2 mm thickness.

And when slicing the rouleau, the slices should be 1.0 -1.5 cm thick NOT 1/2 cm as the printed recipe states.  Philippe, where are your recipe testers and copy editors??

As I alluded to above, I admit that I’m not a big fan of rum or raisins. During the pastry program at Le Cordon Bleu, as well as my during my stage at Pâtisserie Pascal Pinaud on rue Monge in the 5th, I was amazed at how often rum (and a lot of it) was used by the Parisians.

When a recipe calls for alcohol, I tend to replace rum with either an almond or hazelnut liqueur, or I leave it out altogether and stick with good old vanilla extract.  It's so much easier on the budget, and I don't find the liqueur to be that much of a flavor enhancer.

For this particular project I replaced any rum in the recipe with Fratello, a delicious hazelnut liqueur that Steve discovered recently, used tart dried cherries instead of raisins and replaced macadamias with hazelnuts.

So let's get going!

I soaked 50 gm of cherries in Fratello/brown sugar and my softened butter/brown sugar mixture is ready to go. I weighed out 50 gm of blanched hazelnuts and coarsely chopped them before final assembly.

I have a batch of crème pâtissière chilled in the fridge.

I roll my puff out to about a 2 mm thickness and a length of 60 cm. (Note: I typically have puff pastry in my freezer so I let it thaw overnight in the fridge before rolling it out.)

I spread on the softened butter/brown sugar mixture and rolled it up snugly (the rouleau). Note: images below

The rouleau can be wrapped and refrigerated until you are ready to assemble the chausson.  Alternatively you can form the rouleau the same day, freeze it for 40 minutes or so, and it will be ready to slice.

Wrap and chill the rouleau and on the day you plan to assemble and bake your chausson make your pâte à choux. 

Once the choux is ready, blend in the crème pâtissière, add the zests of one lemon and one orange, a splash of vanilla extract, the marinated cherries and the chopped hazelnuts.  Your filling is ready to go! 

Remove your puff roll from the fridge (or freezer) and cut cleanly into 1.0-1.5 cm thick slices.

Cool layers, don't ya think?

Now comes a bit of fussiness.

The slices are rolled out into a flat, ~2 mm thick oval, and it is very helpful if you keep the slices cool. Work with 3 or 4 at a time while keeping the others handy in the fridge.  Work quickly on a nicely floured surface to minimize the potential sticking of the butter layer. I keep a bench scraper close by to lift up the dough and re-flour the surface as I go.

Scoop a grosse noix of filling just low of center on your oval and fold it over.  Don't worry about sealing the edges - just gently place them together, since you want the chausson to be open.

Yessirree!

Now give them a coat of egg wash and chill. Philippe recommends a one hour refrigeration before baking.  I put mine in the freezer for about 30 minutes.  My practice with all things puff pastry is to freeze before baking, whether it's chausson aux pomme, palmier or simply blind baking a puff crust for a quiche or flan.  The freezing firms up the dough and re-stabilizes the butter layers before it goes into the hot oven.

Bake at ~350ºF convection for about 30-40 minutes.

Remember: every oven is different, and it is sooooo key to pay attention to what's going on in there!  Even convection ovens don't always bake uniformly, so rotate and change shelf positions of your sheet pans half way through. It works!

Et voila - c'est fini! These babies were tasty indeed. Who would’a thunk it to put puff pastry, pastry cream, choux paste all together in one pastry. Oh boy, oh boy!