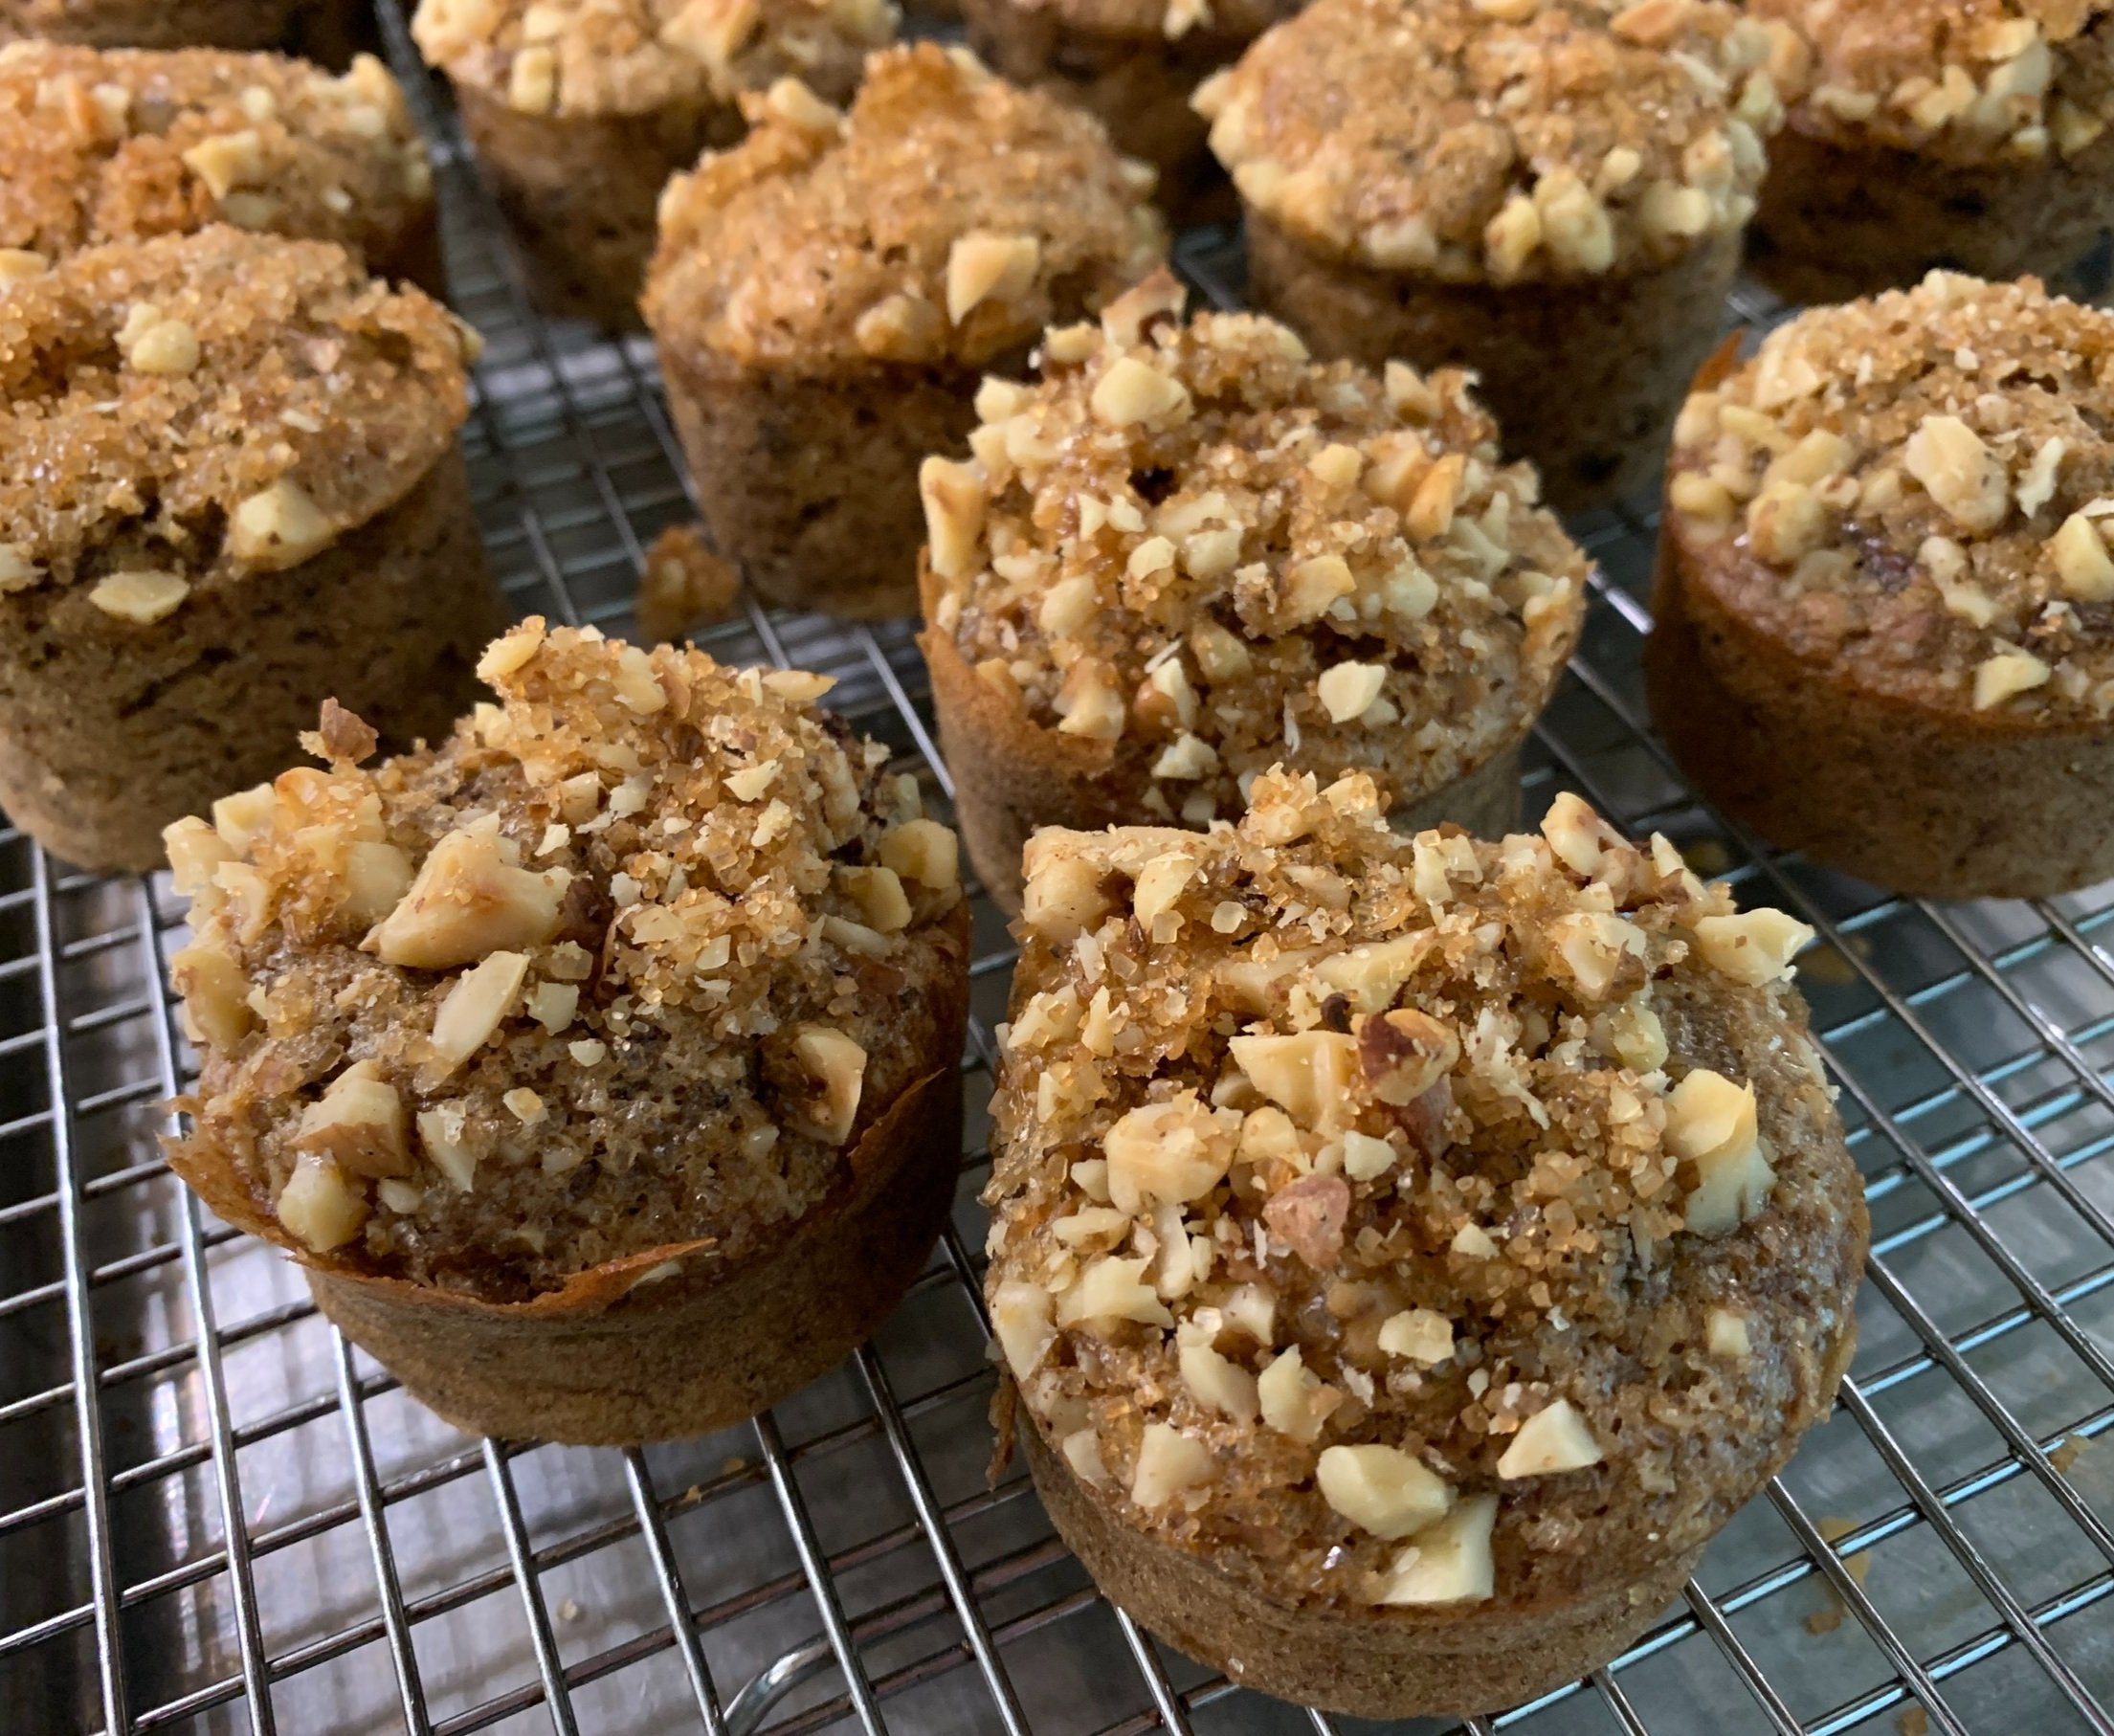
Banana rye walnut chocolate chunk cakes

I learned something about bananas some years back. Once they’re ripe and you’re not ready to eat them right then and there, peel ’em, chunk them up and freeze them! You can then use them in smoothies, cakes or quick breads where they lend a special creaminess to the batter. Yum.

This recipe calls for 4 medium bananas which I figured came to about 480 g of banana mash (~120 g per banana). I’m sure you can give or take the amount without negatively affecting the final result so don’t fuss too much as to the exact quantity of said banana.

This is my take on banana rye bread from Brontë Aurell’s book “Brontë at Home - baking from the Scandi Kitchen”. I’ve made these babies a bunch of times and realized that I’ve never written about them. I’ve done variations subbing maple sugar (thanks sister Joyce!) for some of the brown sugar, subbing ground oats and/or whole wheat pastry flour for some of the all purpose flour, adding in chopped toasted nuts like hazelnuts or walnuts, adding chocolate chunks and topping with a nutty streusel. So moist. All good.

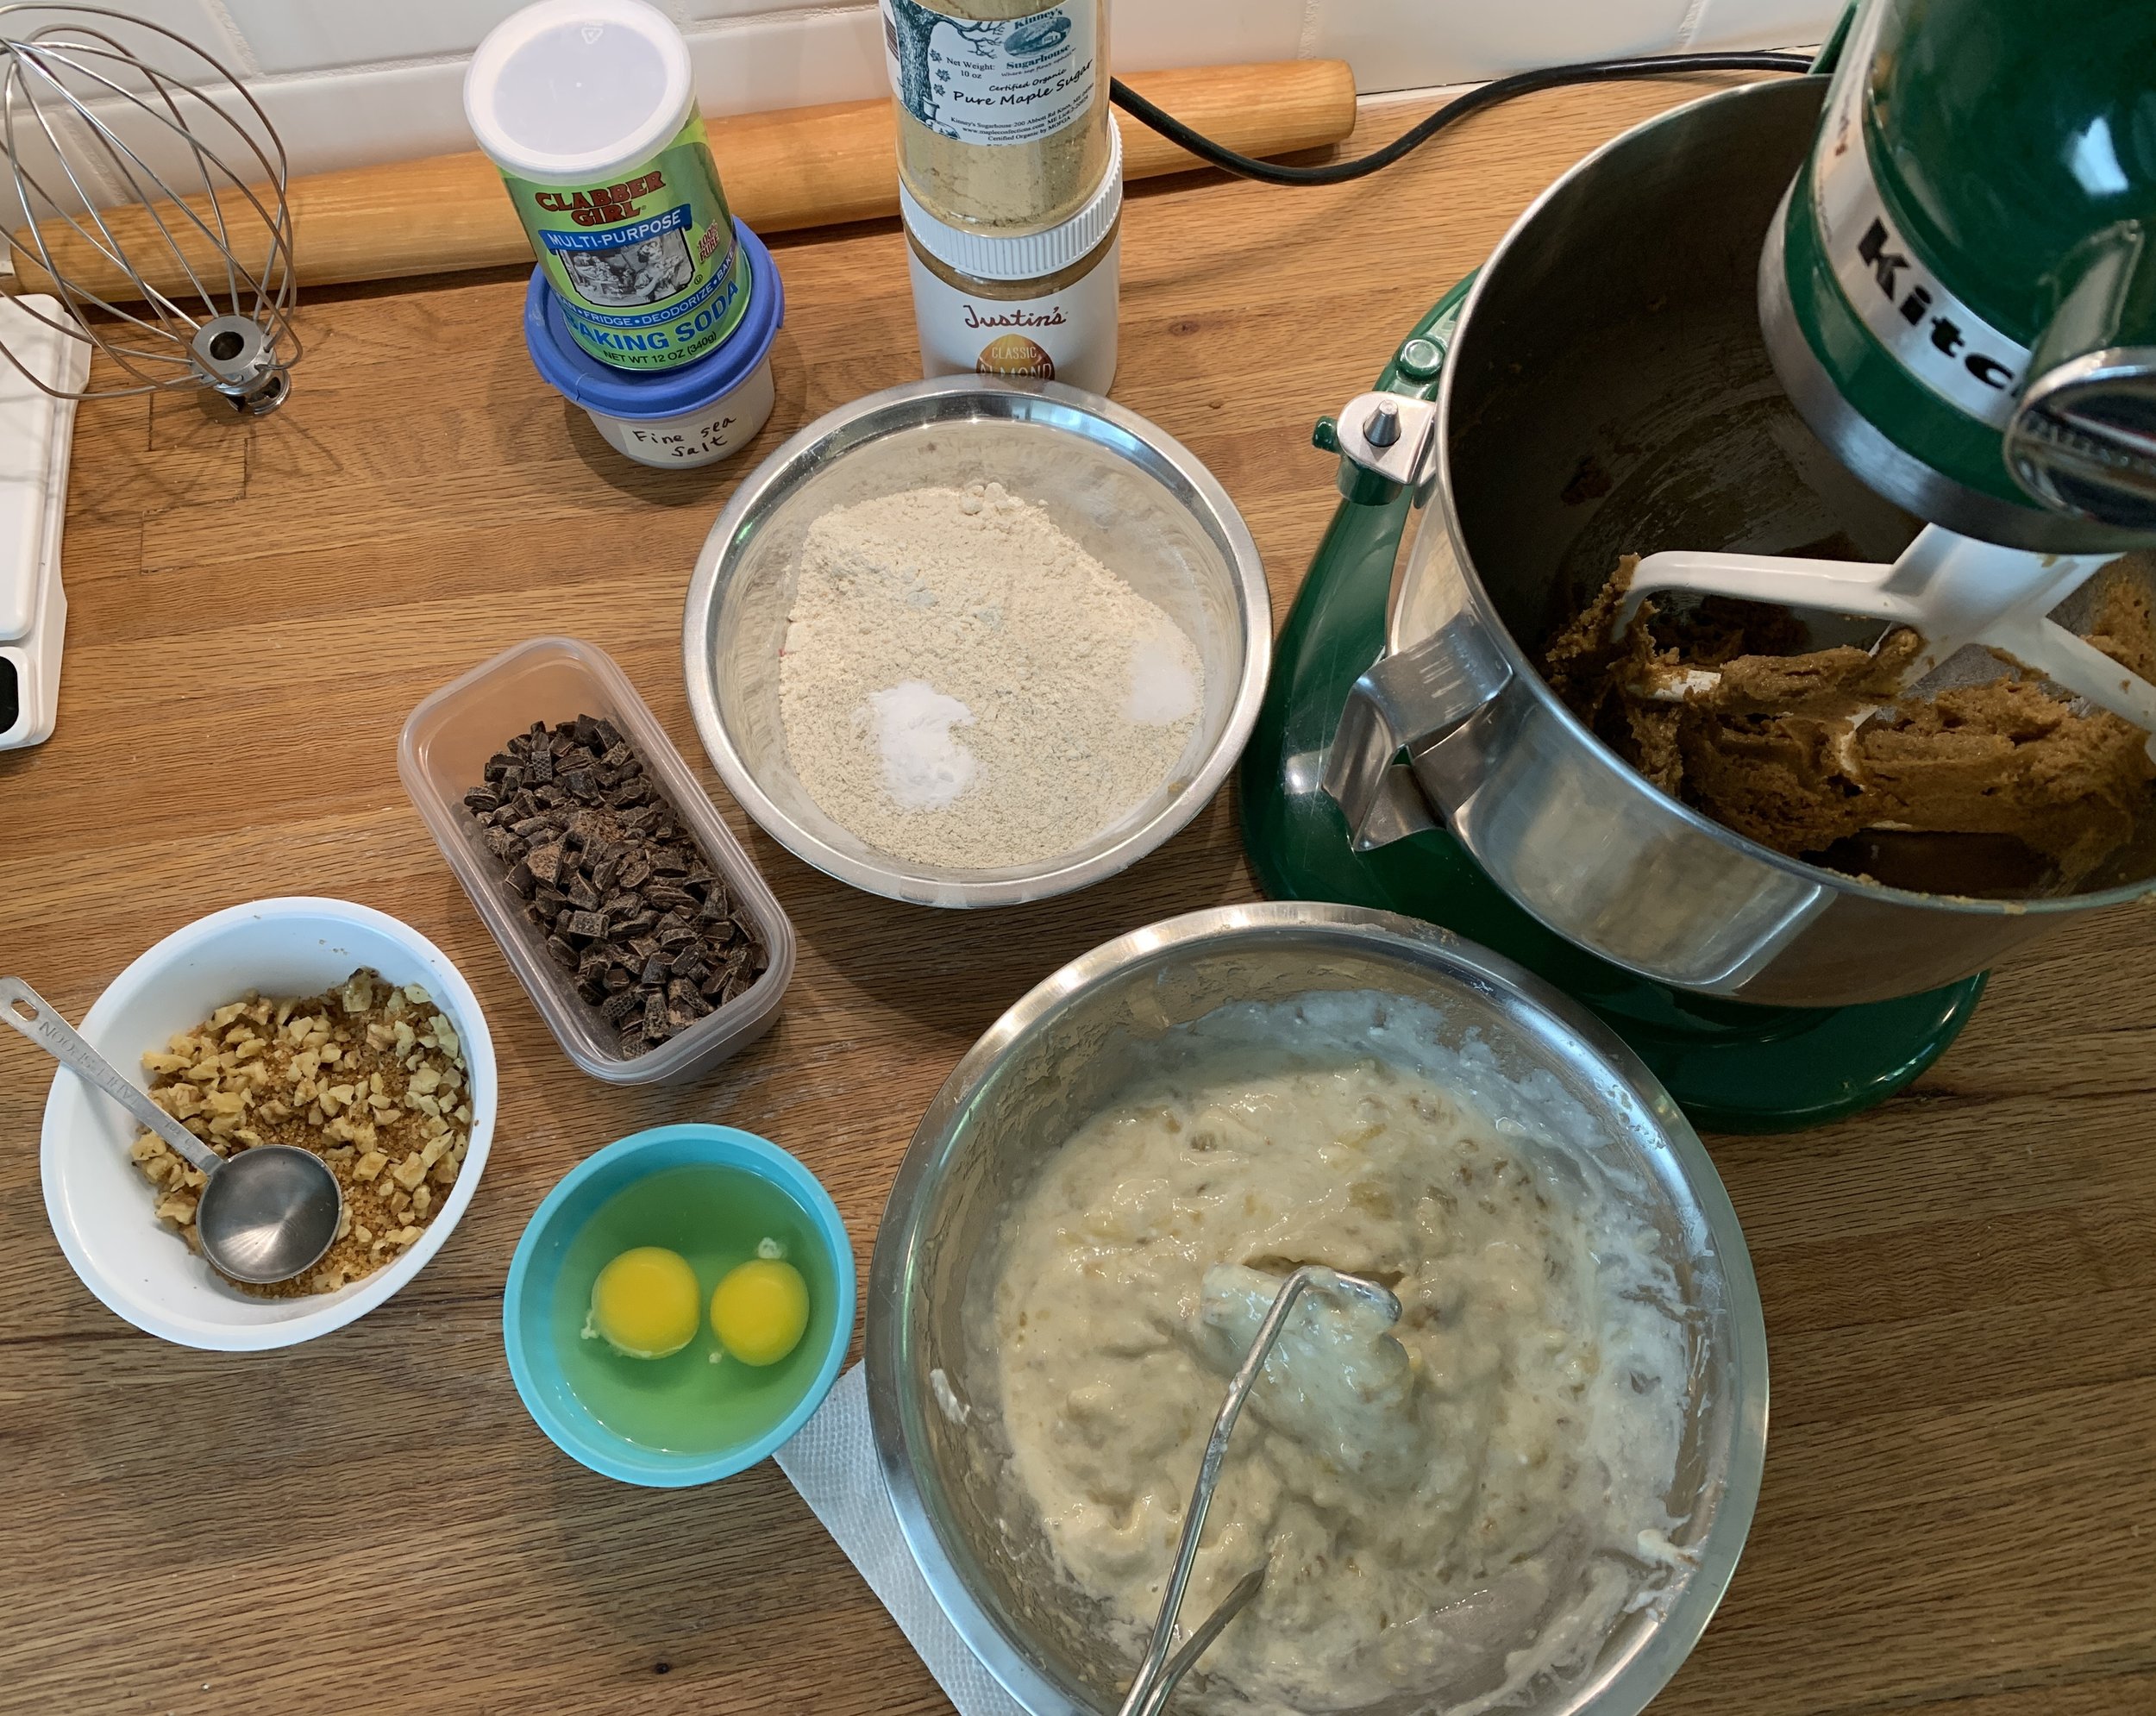
Here’s the recipe (including some of the variations I’ve made) and my mise for this version in the image below. It’s a pretty straight forward cake batter - mashed banana, yogurt, lemon juice and vanilla in a separate bowl; dry ingredients in another bowl; cream butter/sugar, add egg then add wet/dry alternating. Basic right?

In this case I’m also adding 170 g / 6 ounces chopped chocolate to the batter and topping with chopped walnuts and raw sugar for a bit of crunch.

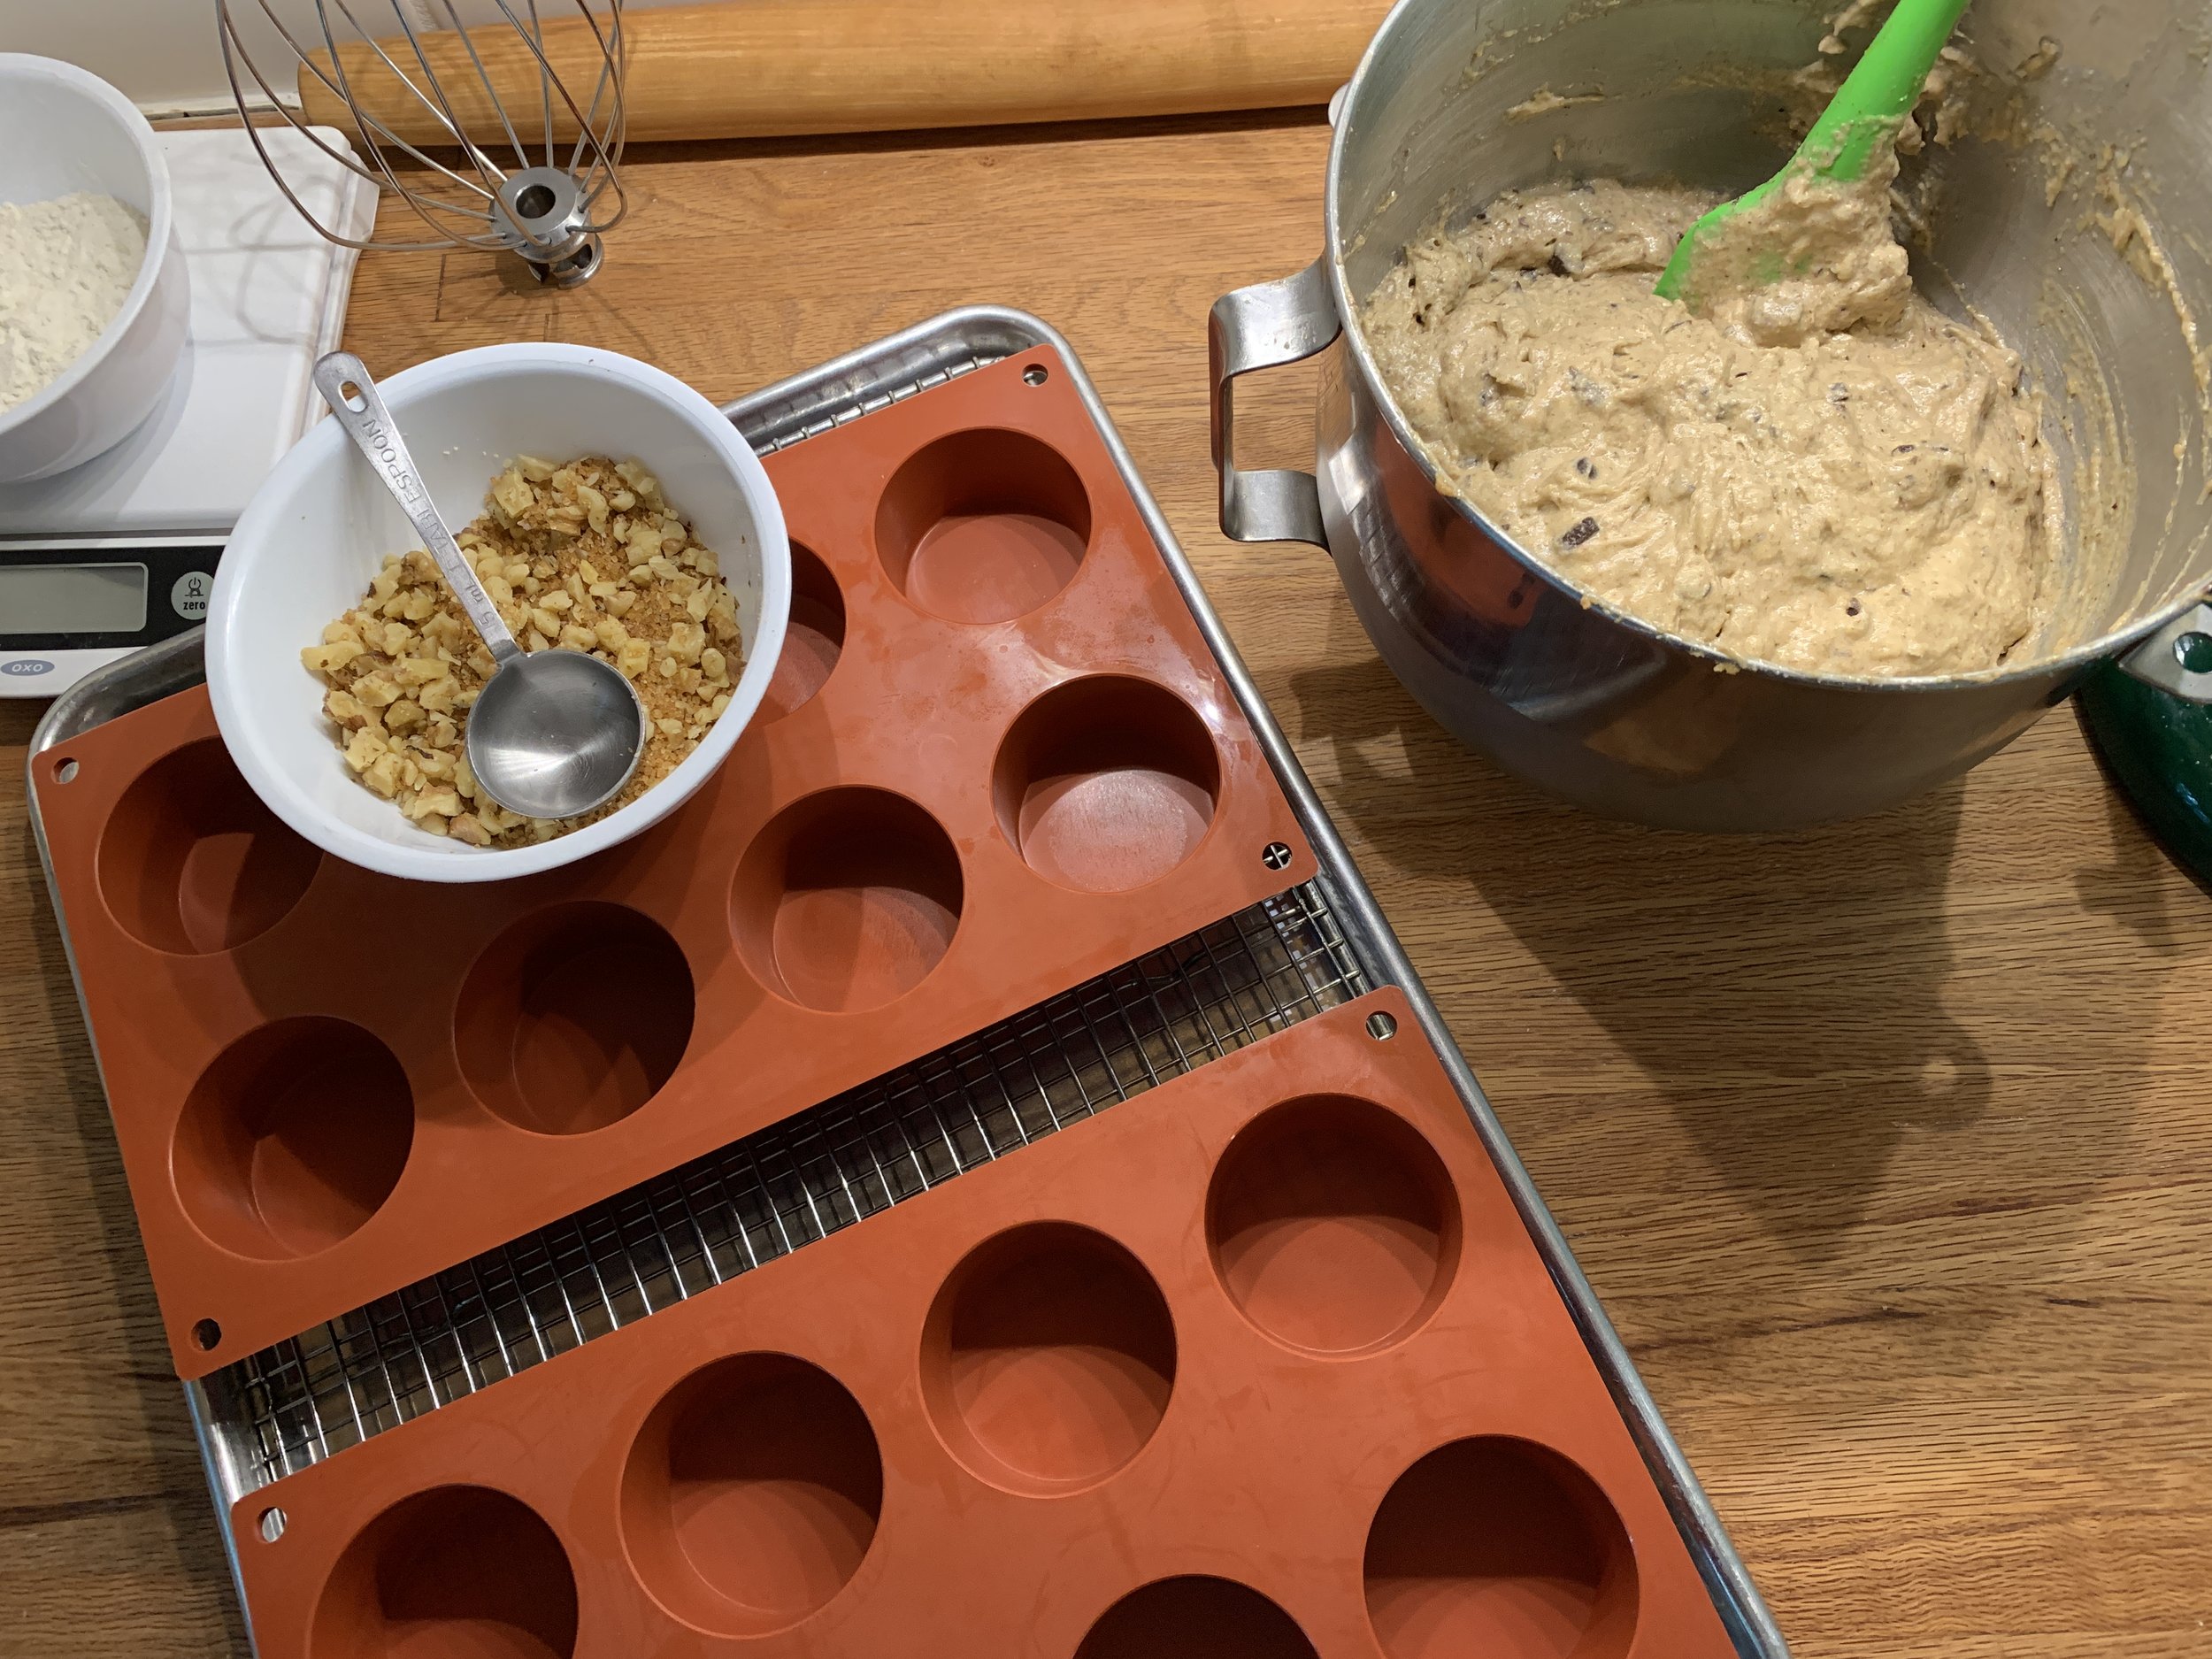
You can bake these cakes in buttered/floured muffin tins but I prefer (and love) my Silikomart silicone flexi-molds - so many different shapes and sizes. This time I’m using the 8-well SF028, rather like a standard muffin size. The recipe yield is about 20 cakes using that particular mold. I also often use the 11-well SF022 which is a tad larger than a standard mini-muffin pan - I get about 33 cakes with that mold. NOTE - I have several of each mold.

I place the molds on a wire grid on a half sheet pan - that allows for better air circulation and more even baking.

You can find a large selection of Silikomart molds at bakedeco.com. By the way - I have no affiliate links with any companies - I simply like sharing the things I find useful and fun in the baking kitchen!

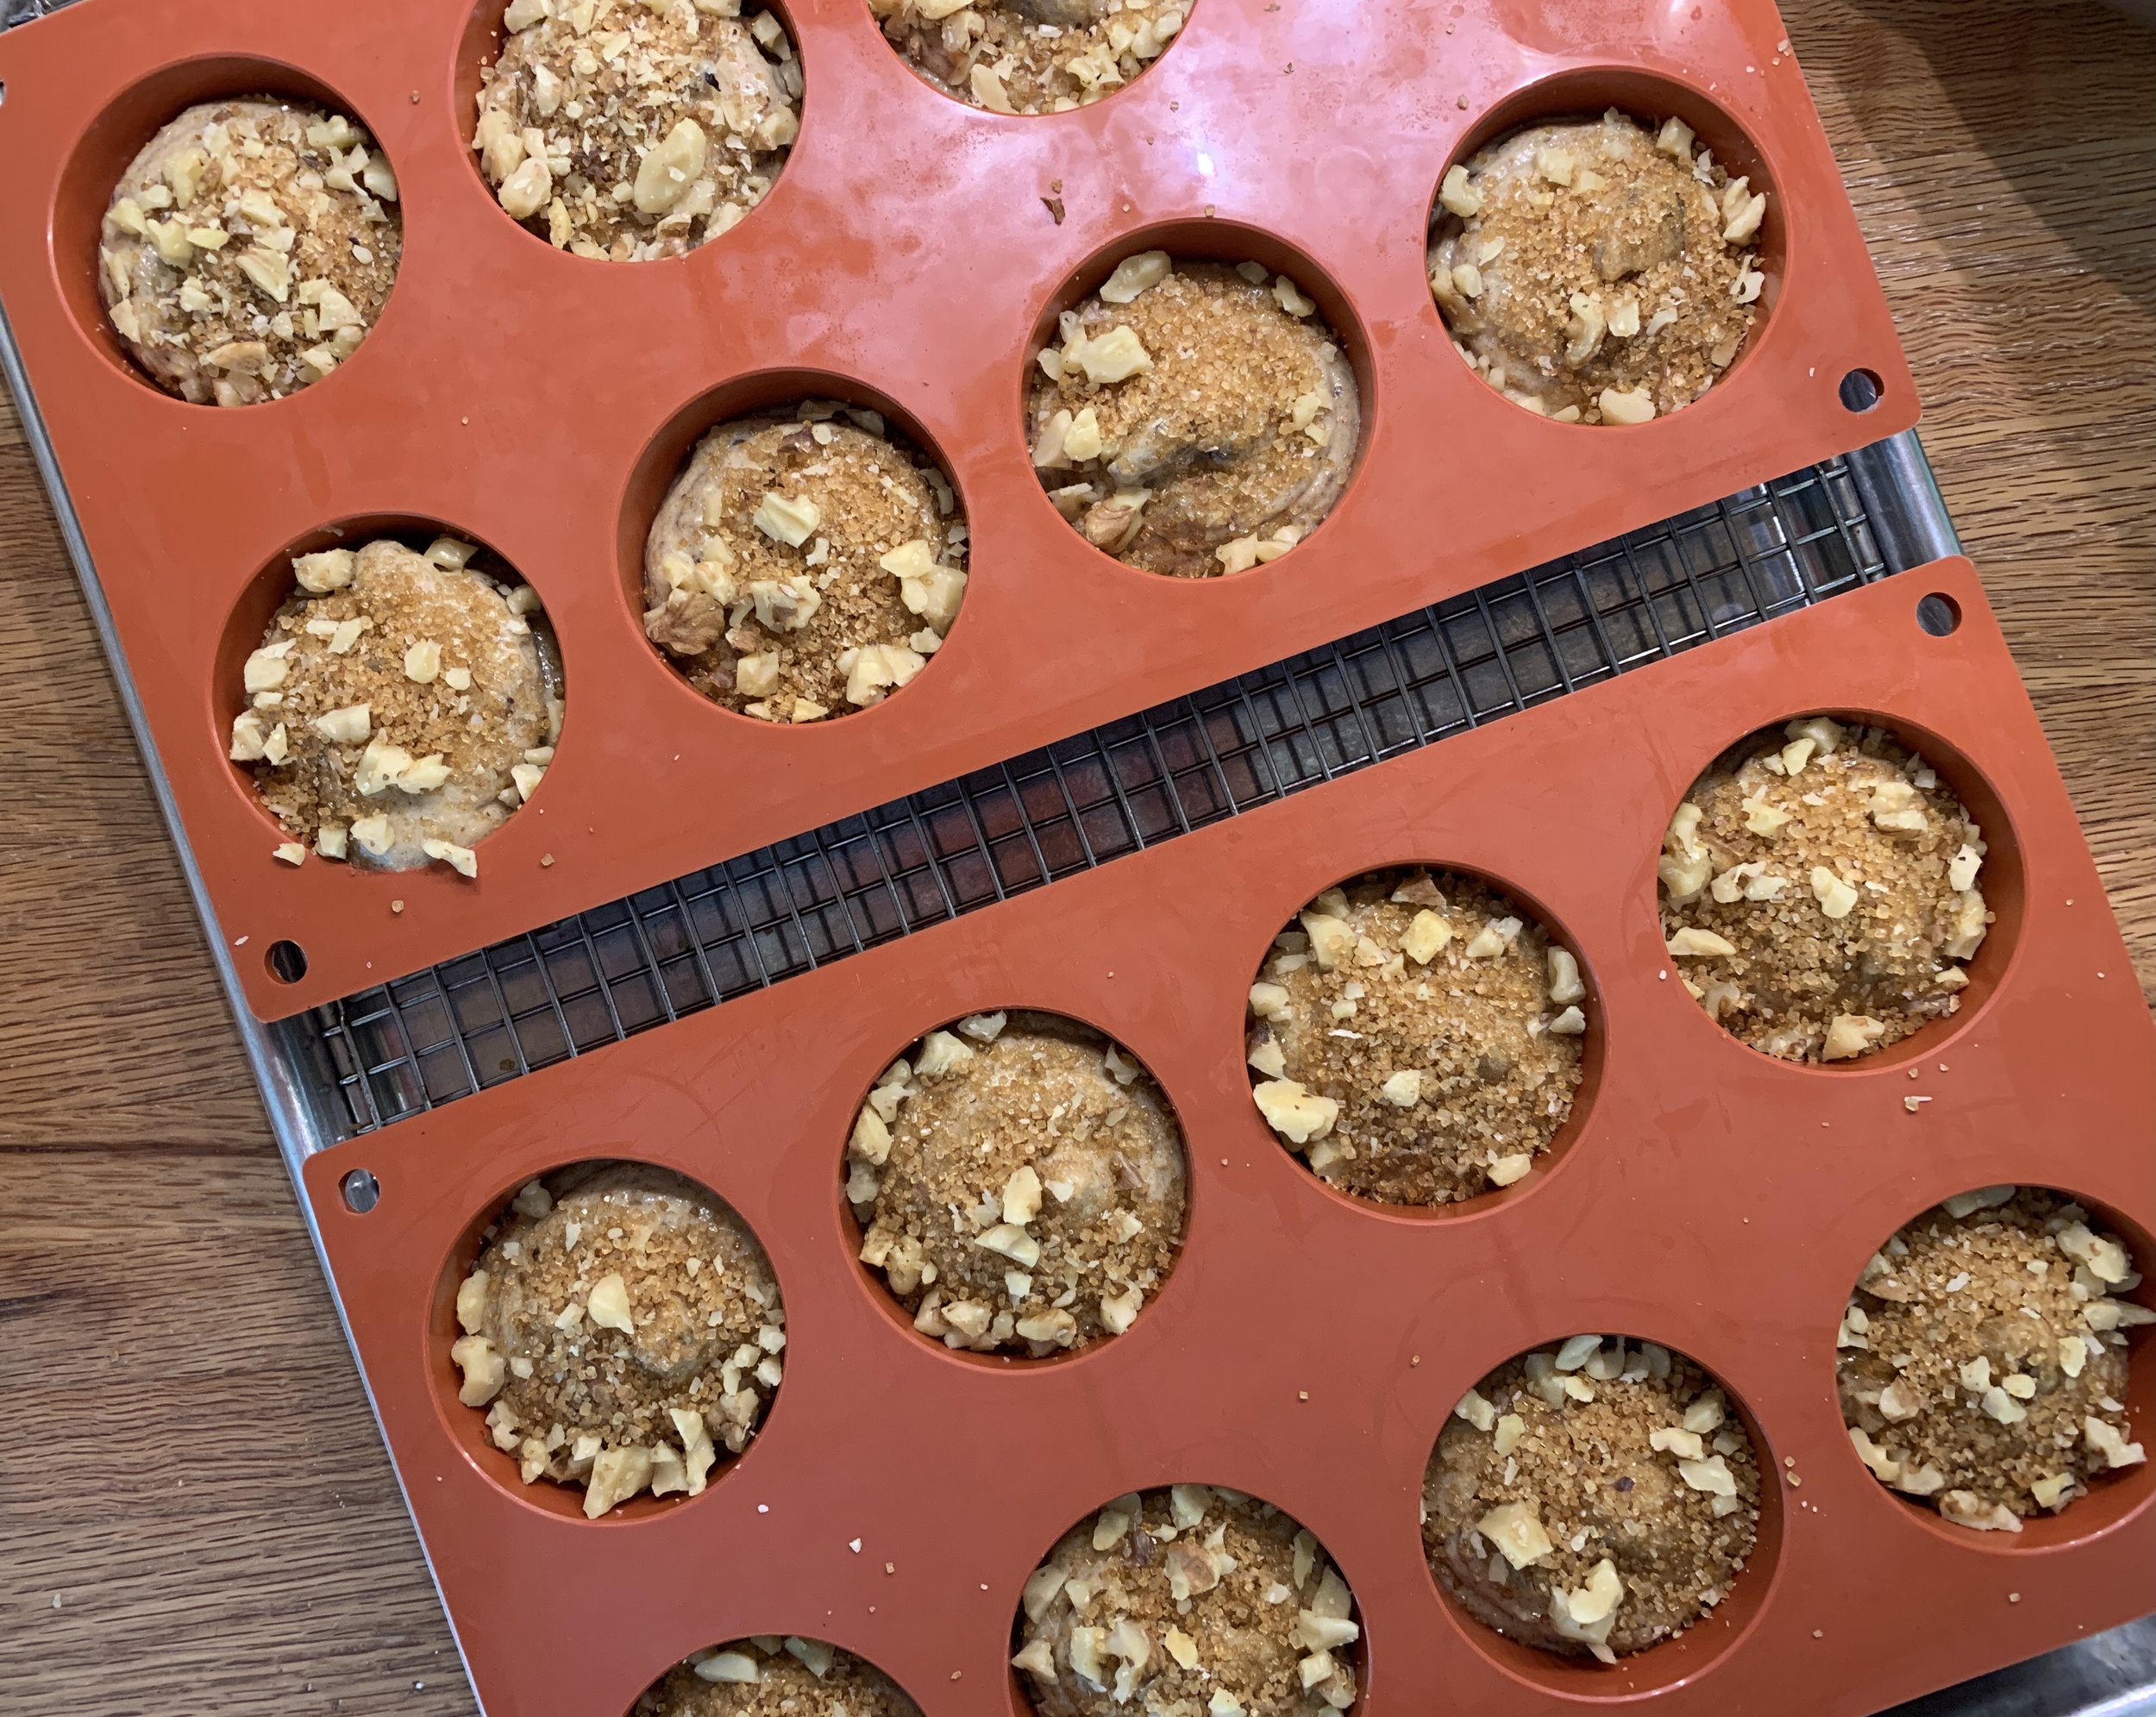
Heat the oven to 350ºF. Fill molds about 3/4 full. Sprinkle chopped walnuts and raw sugar on top.

Bake 20 minutes or so - always check about half way through. Your oven may take longer than mine. You want the center to feel set and just the barest hint of a moist crumb on a tester.

Let them rest about 10 minutes then gently turn them out onto a wire cooling rack. If you can’t wait, try one a bit warm when the chocolate will still be gooey, otherwise cool to room temp and enjoy.

These freeze well too. Even better!

Let me add my official Happy New Year to all of you. Time for new projects and, as always, staying active and keeping our collective chins up. OK.

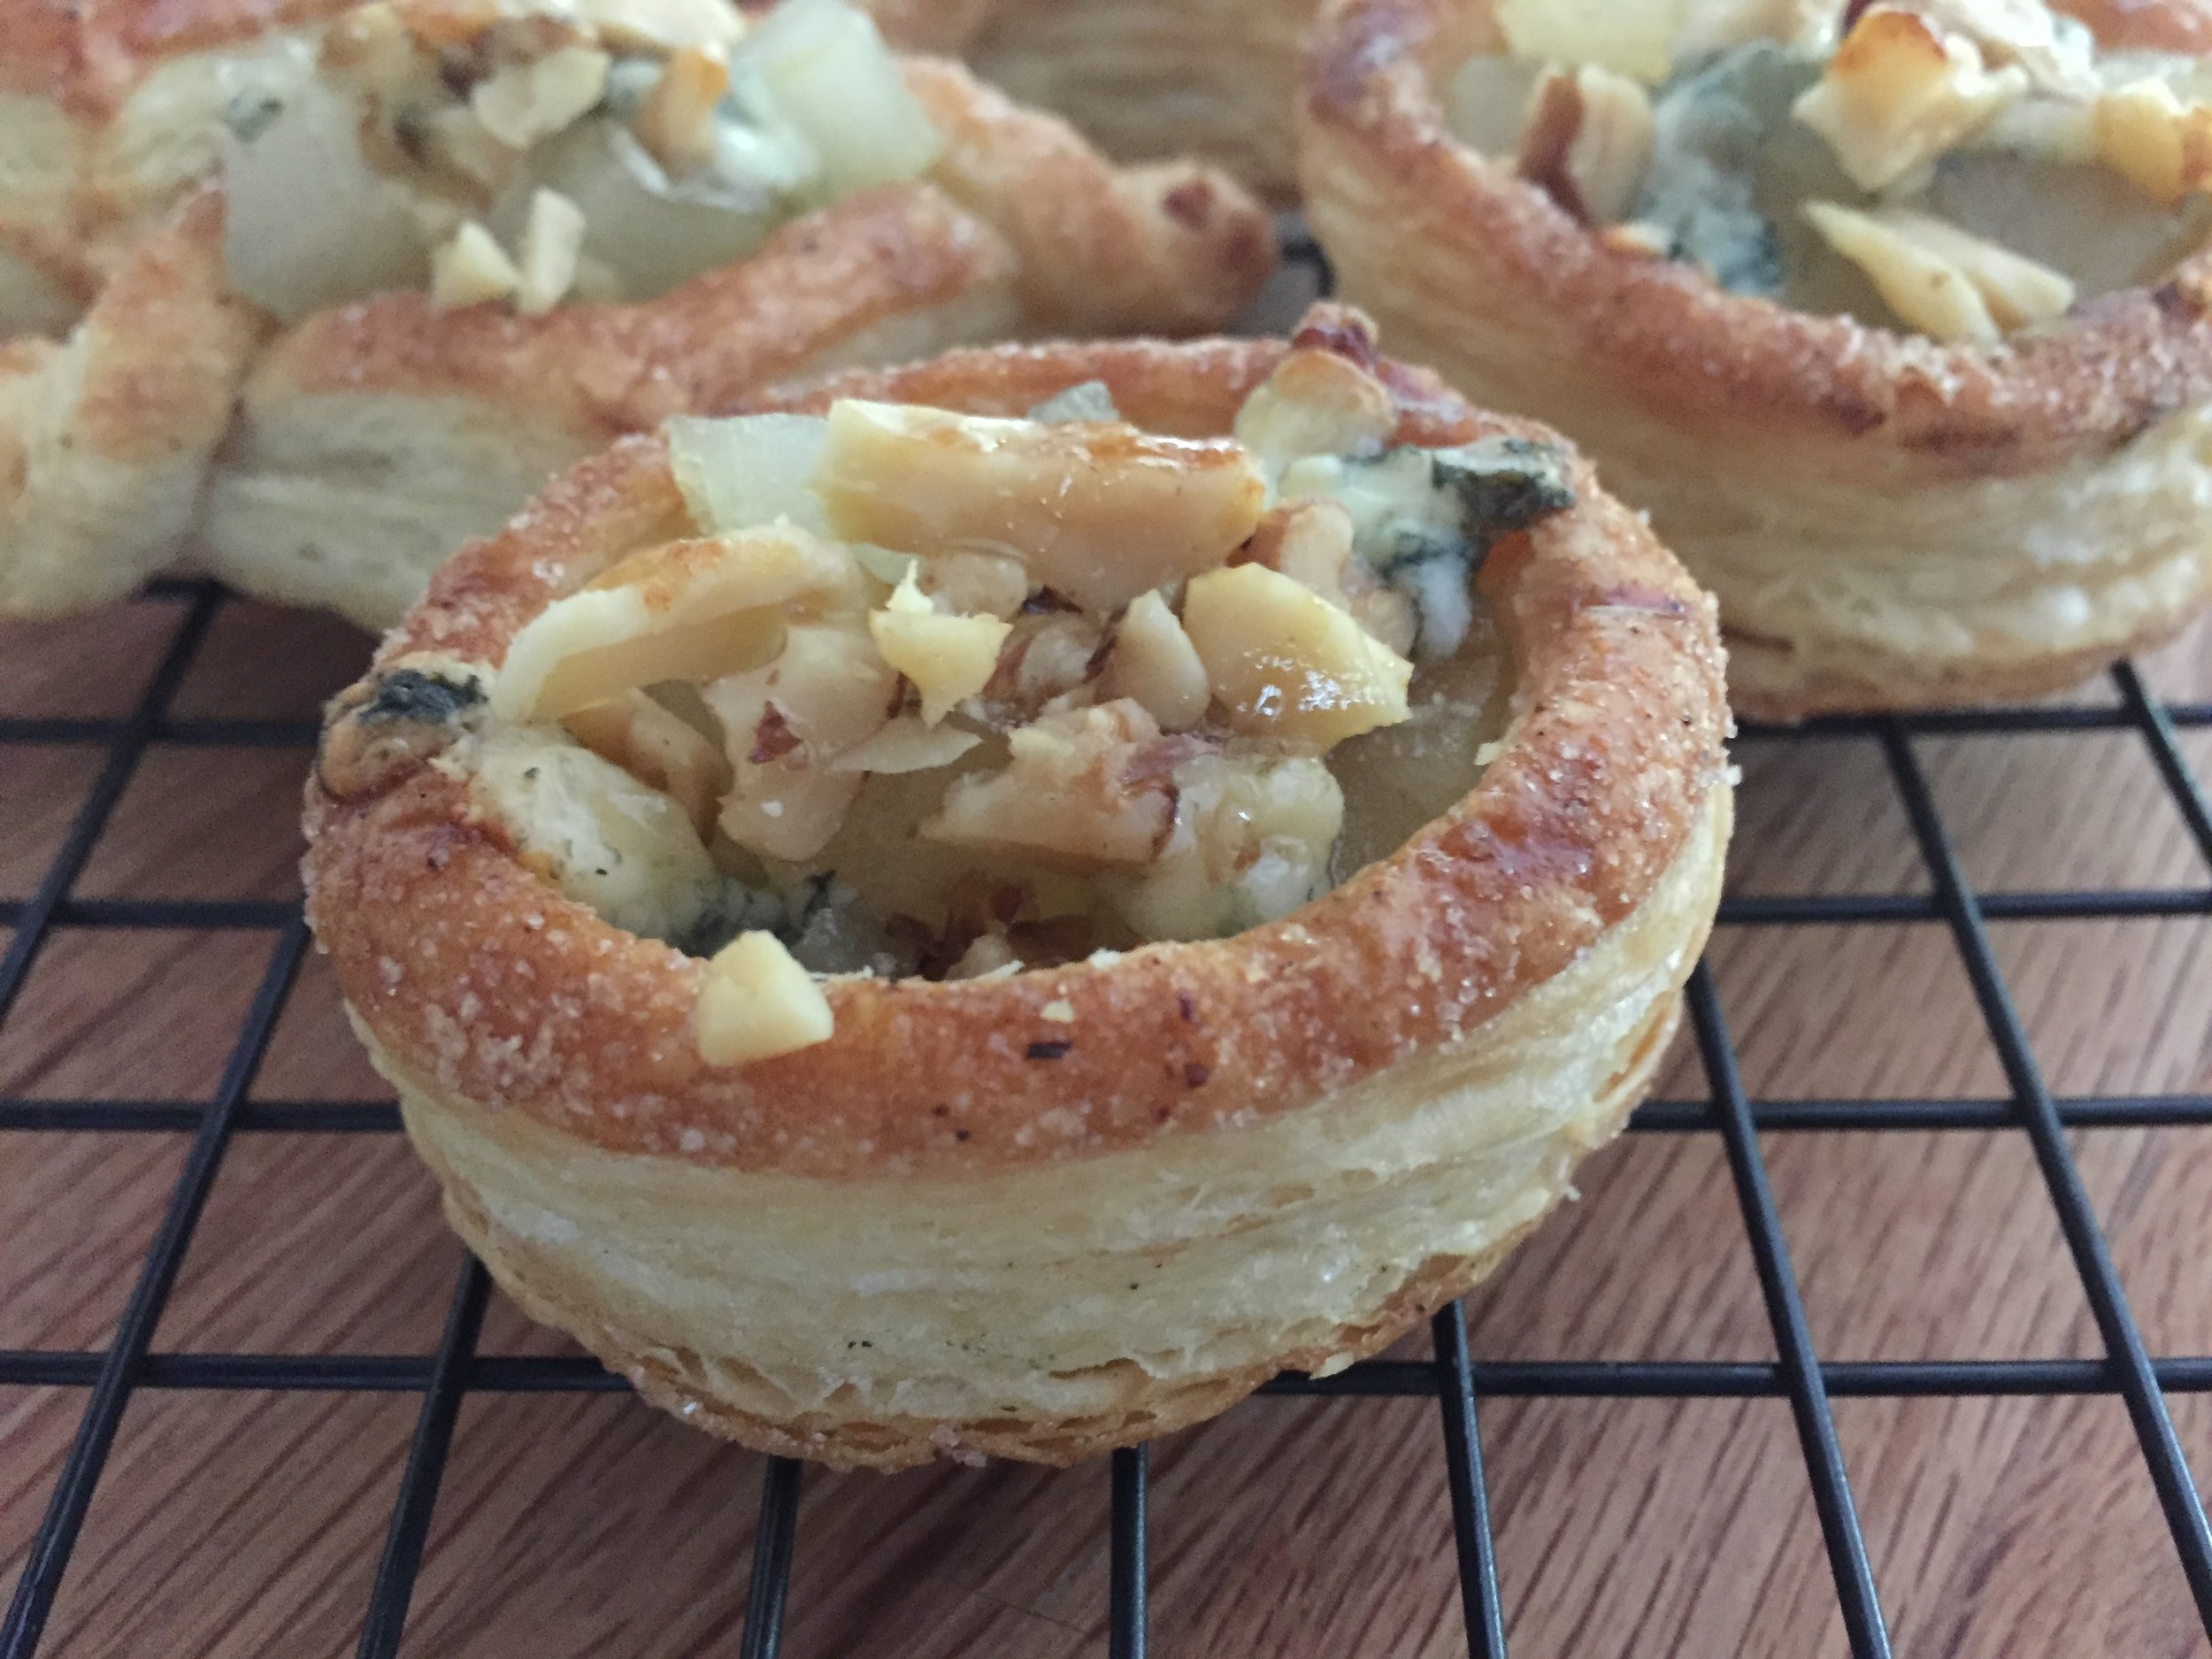
Honeyed pear/Cashel blue/walnut puffs

IMG_3195.JPG

Here’s a wonderful way to use puff pastry. Make vol au vent (puff pastry cases) in desired shapes and create your own sweet and/or savory fillings for your supper buffet or dessert table. While making your own puff pastry is a rewarding experience, the good news is you don’t have to! All butter puff pastry (Dufour is a well known brand) is available in the frozen food sections at many local supermarkets, allowing you to take one task off your holiday prep to-do list.

Before you know it, Thanksgiving and Christmas will be upon us, so start planning now.

This version of vol au vent (also referred to as feuilletée) marries sweet and savory tastes and, since I’m still on the trail of baking with cheese projects, I chose Irish Cashel blue cheese from The Cheese Lady as a lovely accompaniment to pears, walnuts and honey.

IMG_3308.JPG

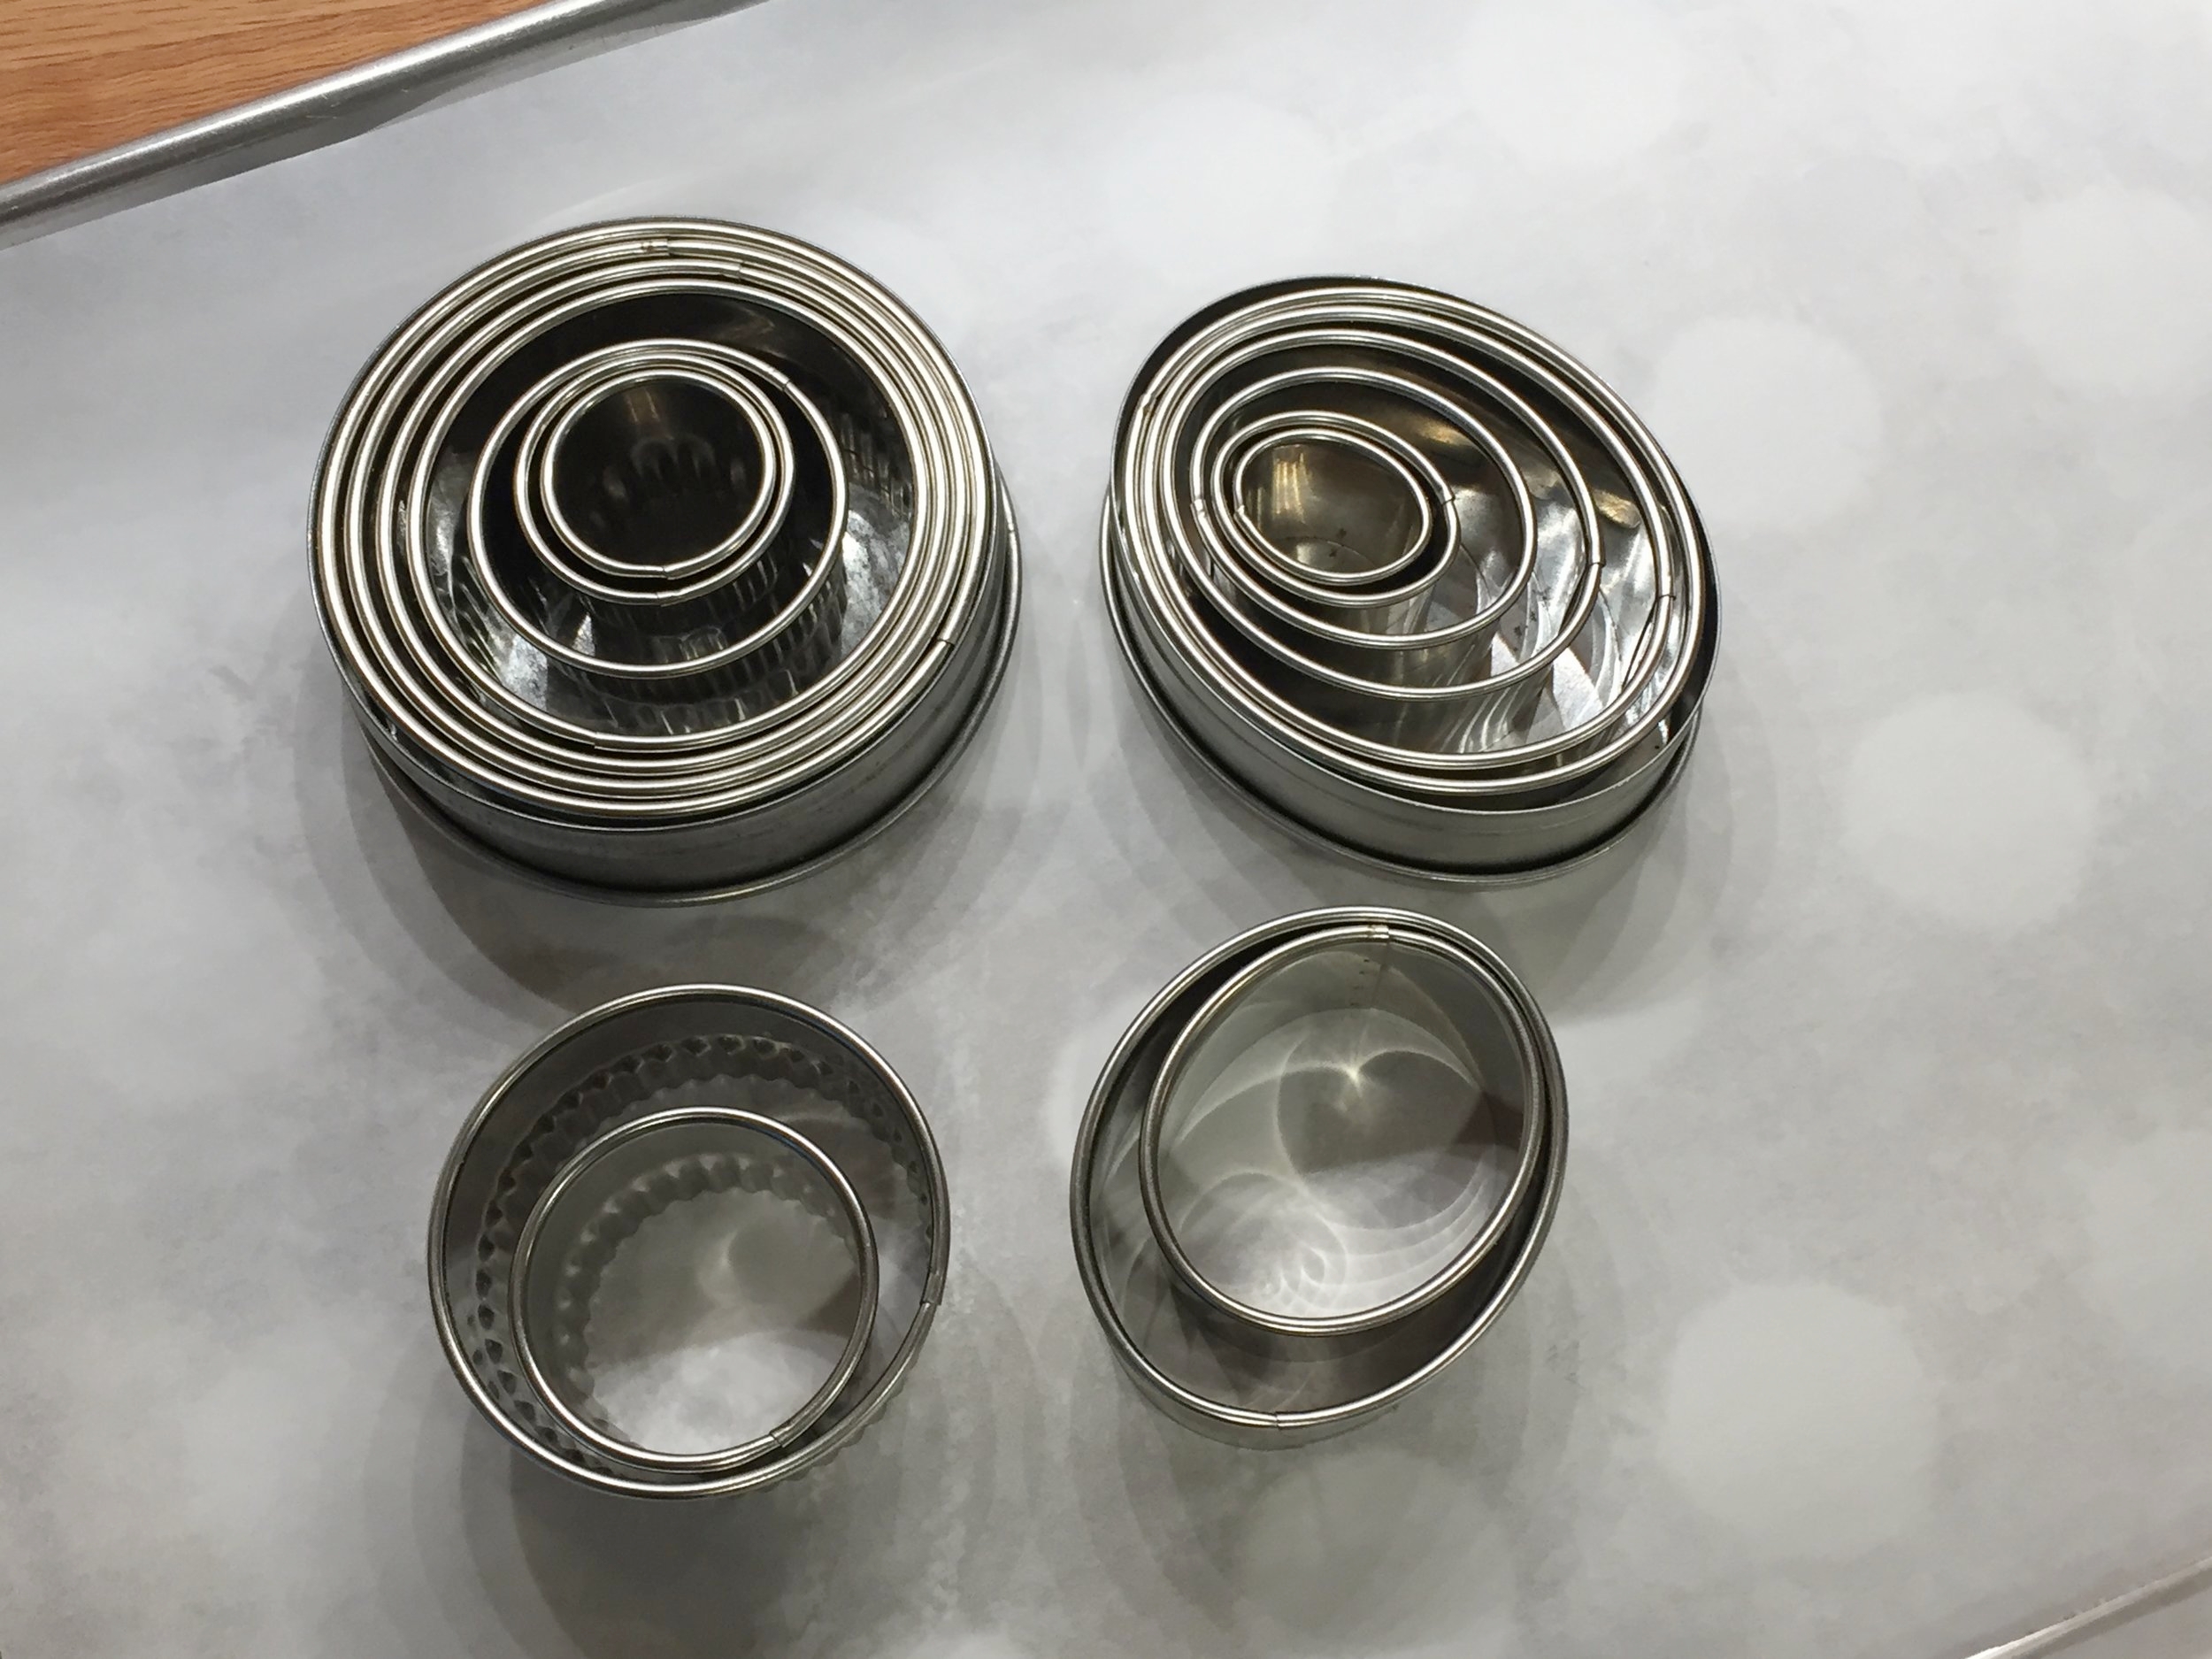
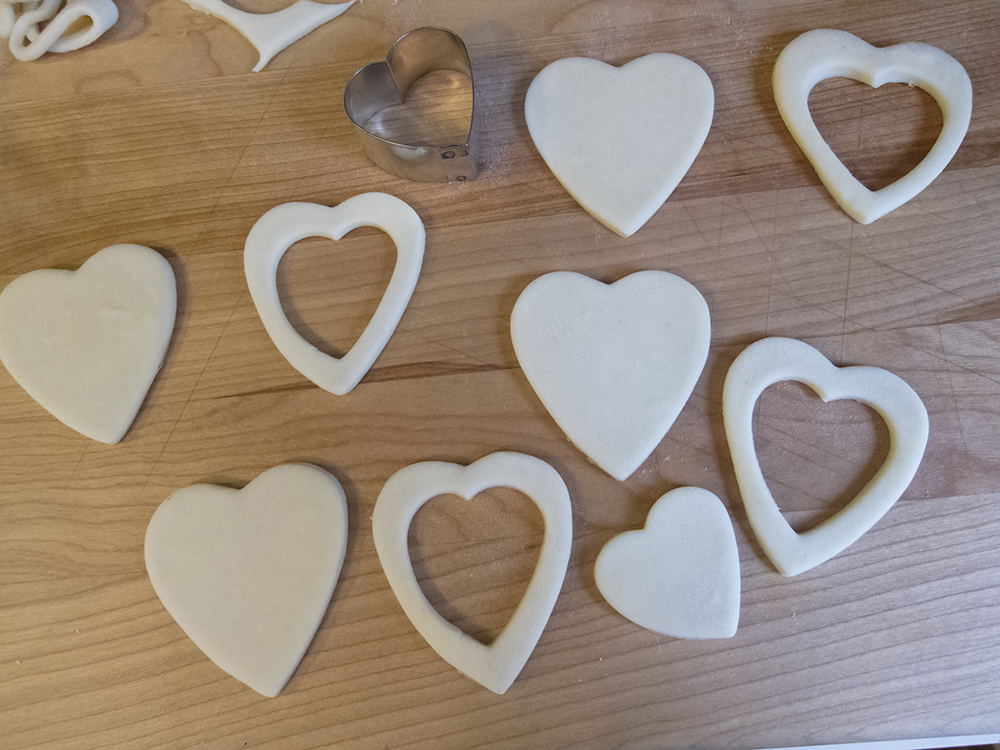
If you happen to have a stash of different shaped cutters, choose your favorite shapes (I like ovals, squares, hearts and fluted rounds) and use cutters that are two sizes apart. For each puff you’ll cut two shapes with the larger of the two and then cut the center out of one of them with the smaller. Once you do it, you’ll know what I’m talking about.

IMG_3335.JPG

Here’s a heart version which should help you visualize the process. Brush a little water along the edge of the solid shape then lay the cut out on top of it. Just press gently to stick them together.

IMG_9210.jpg
IMG_9212.jpg

The top layer serves as a border for the puffs. You can save the cut out shapes and bake them along side - they make cute “hats” on your finished creation or you can just eat them plain.

These bake at 400ºF for 15-20 minutes until golden brown. Let them cool a bit, push down the center layers that have puffed up to give yourself room for the chosen filling.

IMG_9225.jpg

NOTE: Another plan-ahead perk is you can bake your puffs a week or so ahead and freeze them. When you’re ready to start your filling project, take them out of the freezer, place them on a parchment lined sheet pan and heat the oven to 325ºF. Pop them into the heated oven for 5-10 minutes to crisp them up then set on a cooling rack while you prepare your fillings.

I’ve created these delights with poached Bosc pears on hand in the fridge, but another approach is to roast pear slices drizzled with honey for the pear portion of the program.

IMG_3332.JPG

Peel, core and slice the pears, drizzle them with honey and roast them in a 375ºF convection oven for 10-20 minutes. Stir them up a bit half way through. You want them turning golden but still holding their shape. Once the pears have cooled you can store them in a covered container in the fridge for several days.

When you’re ready to fill your puffs, cube the pears to allow them to fit in nicely. Have some toasted walnuts, crumbled up Cashel blue and honey at the ready. First put a bit of crumbled cheese in the bottom. (Note the twisted corner diamond shapes below - they’re great although difficult to explain on paper - maybe some day I’ll have a video to post to show how they’re done!)

IMG_3193.JPG

Then tuck in the pears (don’t be afraid to mound them up!) and top with a sprinkle of walnuts, more cheese and a drizzle of honey.

IMG_3194.JPG

Then pop them back into the oven to melt the cheese a bit and warm things up. They can be served warm or at room temp and are delicious as an appetizer or a dessert, particularly if you’re doing a broader cheese board for the end of your meal.

Use your imagination and fill your puffs with anything savory or sweet. Crab or chicken salad, roasted root veggies with caramelized onion, lemon curd and fresh berries, whipped chocolate ganache and candied nuts. The sky’s the limit.

Only you can decide!

Happy baking and here’s to the holidays!! More on that coming your way.

IMG_3196.JPG

Nutty apricot tea cakes

apricotcake

Some of you may realize by now that I'm always reading baking and pastry books and lately have been thinking of ways to increase my use of nuts, seeds and whole grains in my baking endeavors. Often my projects come about as a way of using up ingredients I happen to have in my fridge or cupboard. What's not to like about that, eh?

This time I was intent on some apricot purée that's been in my freezer for a few months - time to make something tasty! And, to top it off, I had some buttermilk in the fridge that simply HAD to go into something hearty, healthy and delicious.

apricotteacake

This is my take on a pretty basic tea cake recipe that turns out deliciously moist with a bit of crunch from nuts and pumpkin seeds. It actually reminds me of both date nut and Boston brown bread that we used to eat when we were kids - hard to describe the fruity side of those, but if you've eaten those particular goodies, you know what I'm talkin 'bout.

For this project I used both whole wheat pastry and all purpose flours, along with some of my favorite spices, coriander and ginger, plus a dash of cinnamon. I generally tone down or don't use cinnamon at all in my baking, since the Steve-meister holds an odd aversion to that particular spice.

It's a straight forward cake process - whisk together the dry ingredients in a separate bowl, cream the butter and sugars, add the fruit puree, add the eggs, then alternate the addition of the dry ingredients and buttermilk. Pretty basic. With this one, some of the chopped walnuts, pecans and pumpkin seeds are added to the dry ingredients and a small portion are set aside for garnish before baking.

Two of my favorite straight-sided Silikomart flexi-molds were given the honor for the baking process - one smaller/taller and one wider/shorter - both muffin style and shapes I find just so right for tea cakes.

Ready for the oven

Ready for the oven

All baked up

All baked up

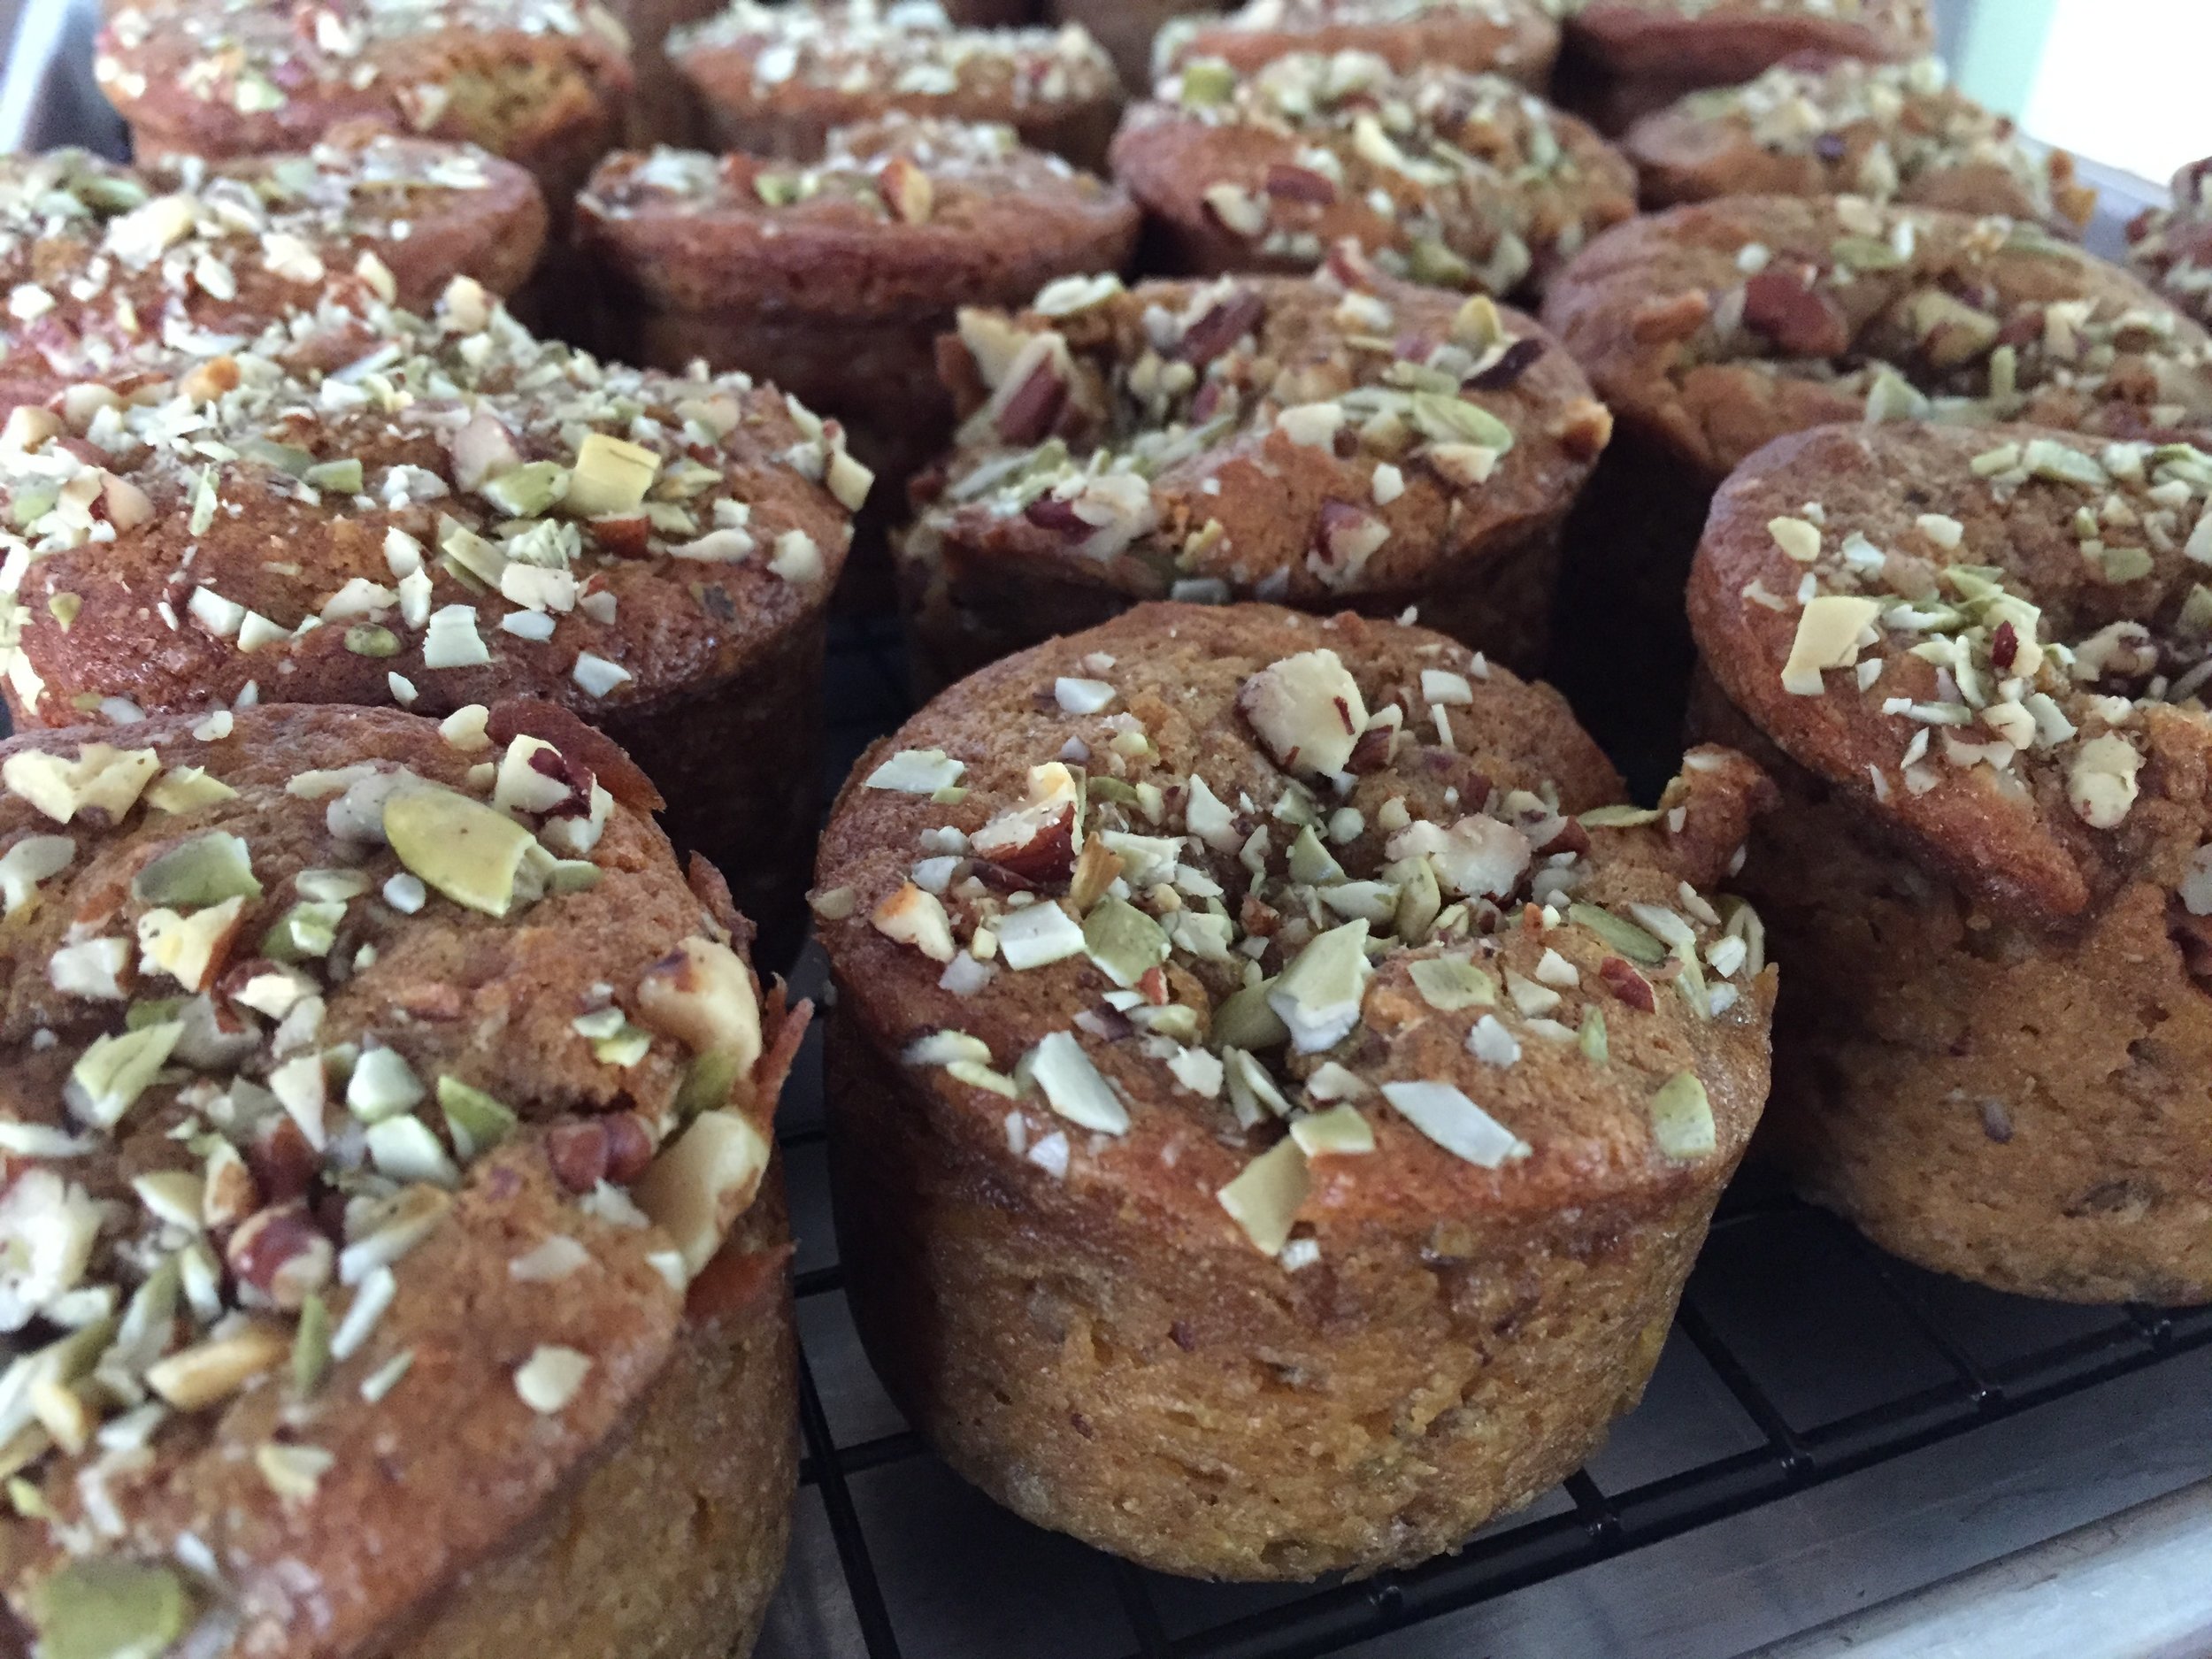
These babies baked up moist and dense from the presence of the apricot purée, and the nuts and pumpkin seeds added just the right crunch.

nuttyapricot

Here's the recipe which makes two 9"x5" loaves or many small cakes, depending on the size mold you choose. Ingredients coming right up!

  • Approximately 45 g (1/2 cup) each walnuts and pecans (or choose your own nuts)

  • 85 g (scant 3/4 cup) pumpkin seeds

  • 290 g (2 1/4 cup) all purpose flour

  • 150 g (1 1/4 cup) whole wheat pastry flour

  • 2 teaspoons baking soda

  • 2 teaspoons baking powder

  • 1 1/2 teaspoons salt

  • 1 teaspoon ground coriander

  • 1/4 teaspoon ground ginger

  • several fresh grates of nutmeg (you decide - I prefer my nutmeg on the subtle side)

  • a pinch of cinnamon (or more to your taste)

  • 227 g (8 ounces) unsalted butter, room temperature

  • 185 g (scant well packed cup) brown sugar (I used light but try dark if you'd prefer)

  • 200 g (1 cup) granulated sugar

  • Approximately 350 g (~12 ounces) apricot puree (or try pear or pumpkin!)

  • 4 large eggs, room temperature

  • 180 ml (3/4 cup) buttermilk, room temperature

1. Heat the oven to 350ºF.
2. Spread walnuts, pecans and pumpkin seeds on a sheet pan. Toast for about 10 minutes until fragrant. Once cooled, do a medium-fine chop.
3. Reduce the oven to 325ºF. Have your silicone molds at the ready (no buttering necessary), or, if using two 9"x5" loaf pans, butter and flour them.
4. In a separate bowl whisk together the two flours, baking soda, baking powder, salt and spices.  Stir in the chopped nuts and seeds but reserve a few tablespoons for garnish.
5. In the bowl of a stand mixer fitted with the paddle attachment, combine butter and sugars and mix on medium high until will blended. Scrape down the sides of the bowl.
6. Add apricot purée and mix for a couple of minutes until incorporated. Add in eggs, one at a time, mixing each until blended before adding the next.
7. Now add the flour/spice mixture alternating with buttermilk, beginning and ending with the flour. Mix until just combined and finish off by hand with a spatula.
8. Pour the batter into your chosen molds or pans, smooth tops, sprinkle reserved nuts/seeds on top and pop into the oven.
9. Bake small cakes around 20 minutes - remember - it's your job to keep an eye on things! You're looking for a tester inserted in the center to come out clean. Large loaves bake 50-60 minutes.
10. Let your cakes cool on a wire rack for 15-20 minutes before unmolding, then let cool completely before storing in an airtight container. These will keep at room temp for several days, or wrap and freeze them for up to two months.

Enjoy!

nuttyapricot