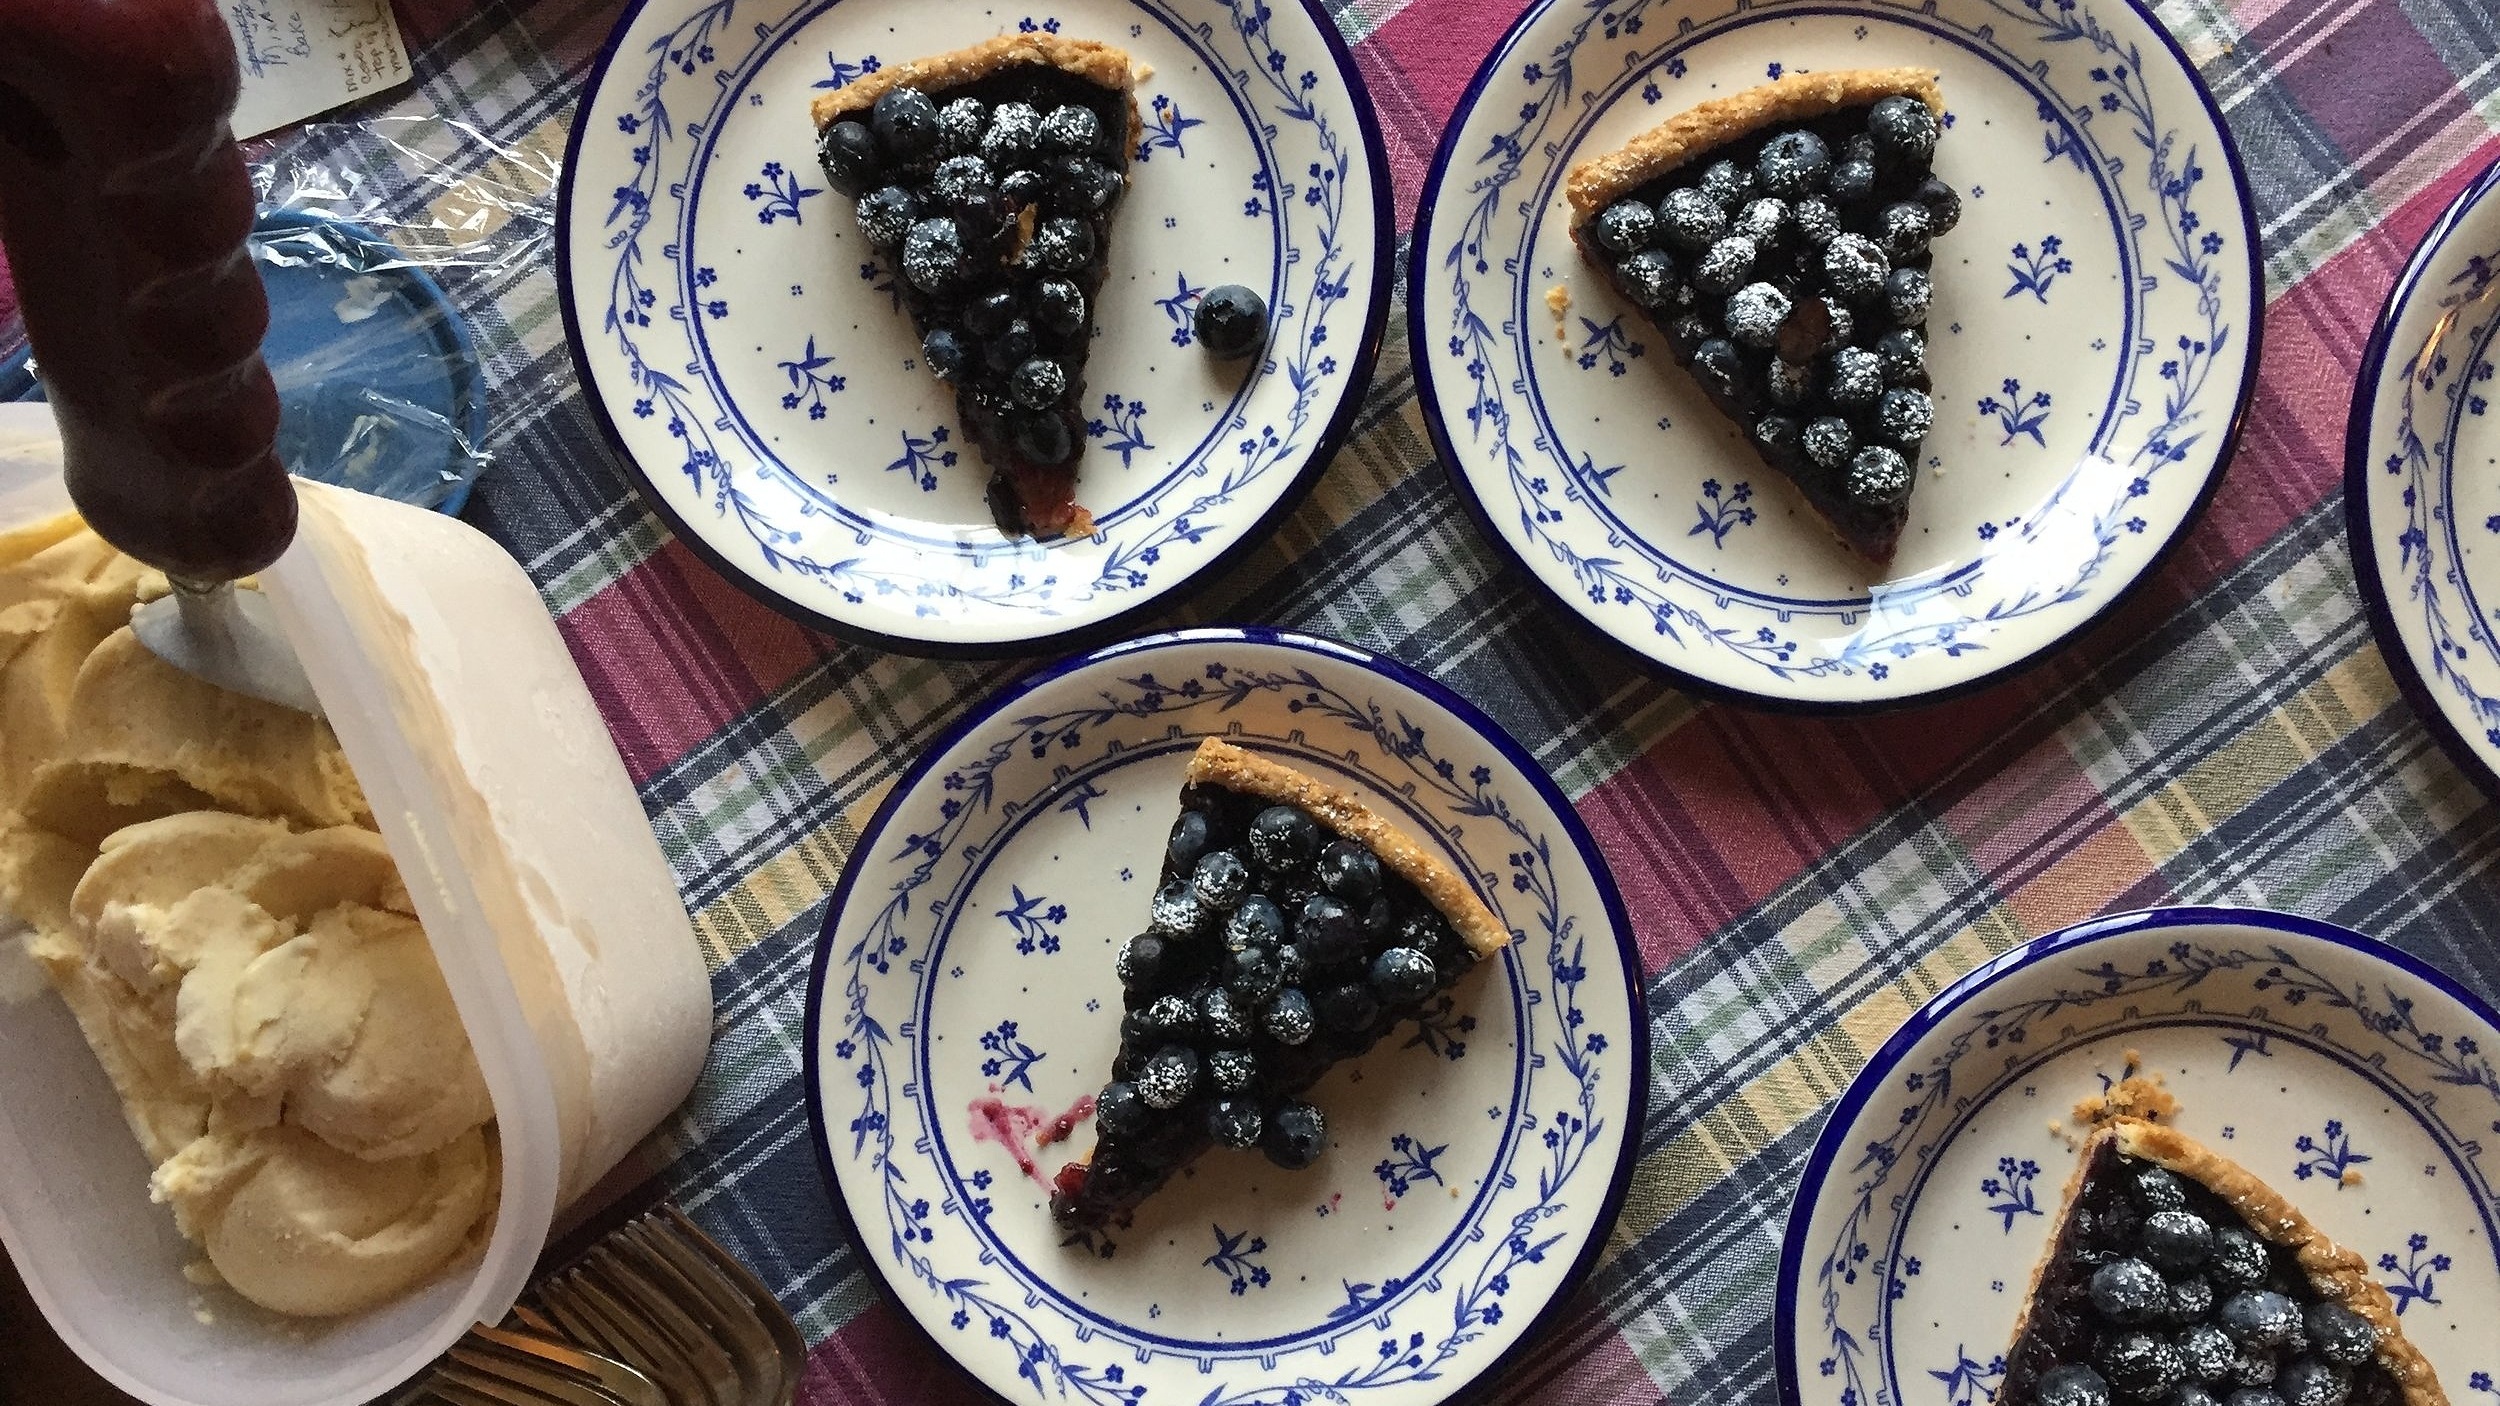
Blueberry tart with peach ice cream

IMG_4202.jpg

Even though autumn is creeping up on us, we’re still enjoying blueberry season, and it’s time for a straight forward blueberry tart. This one is based on the “Double Blueberry Tart” recipe in Food52’s “Genius Desserts” - a book I purchased a couple of months ago and find so enjoyable and illuminating. Not only does it offer so many great recipes but also tips and tricks from a number of talented baking and pastry professionals.

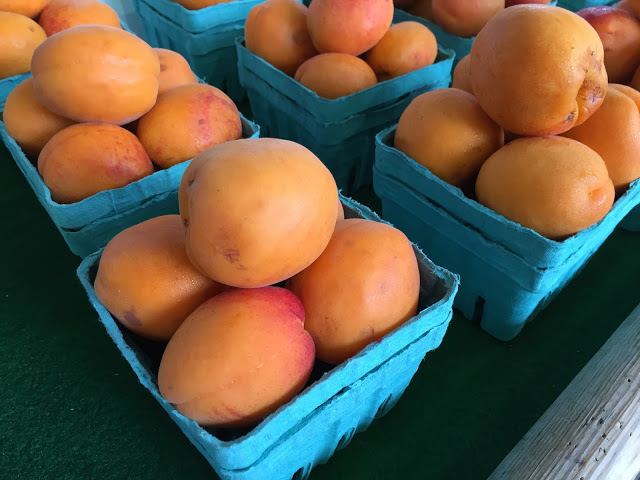
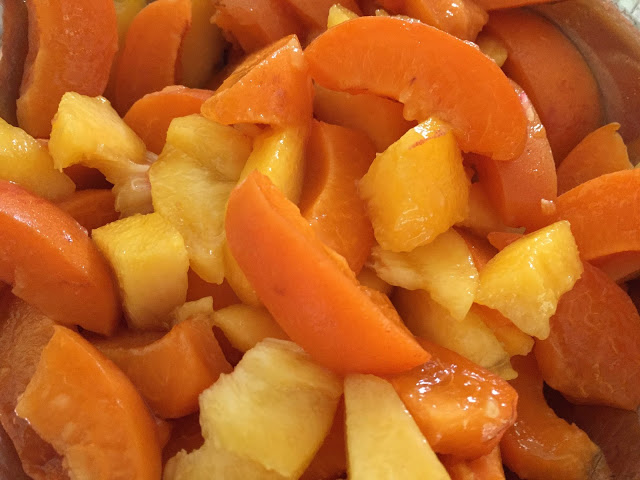
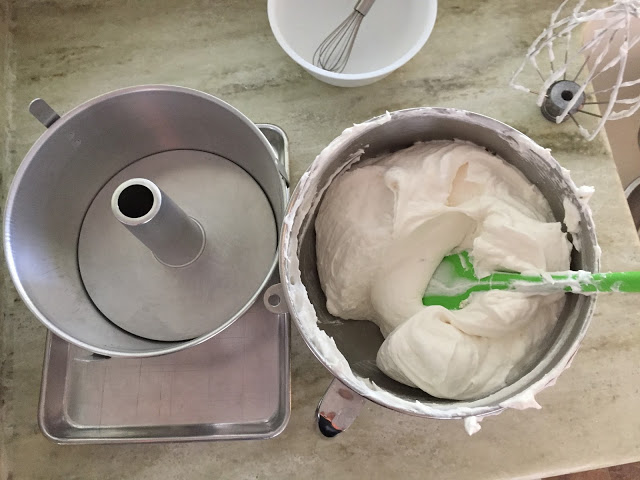
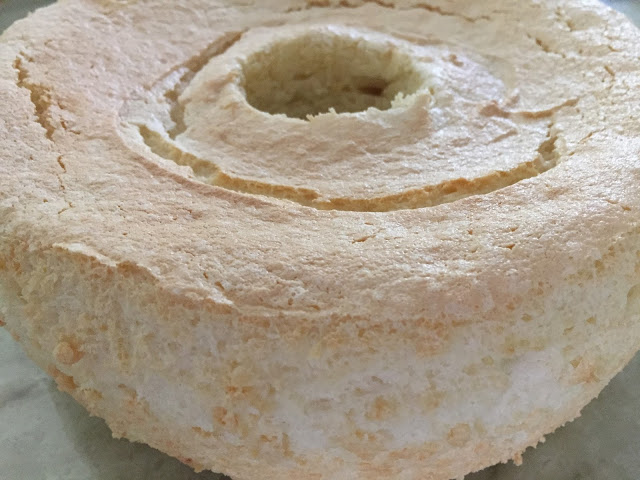
What better to pair with the tart but peach ice cream made with our delicious local west Michigan grown peaches. A match made in heaven.

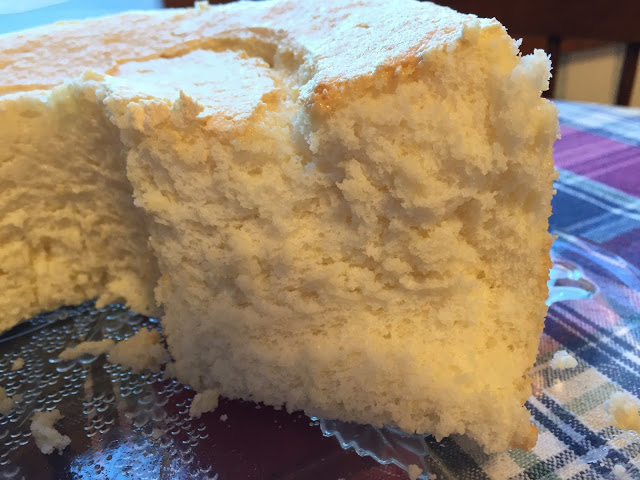
For my crust I made an oat/whole wheat version of a basic pâte brisée using the food processor method. This makes plenty for two 9” tarts.

I rolled out my chilled dough and lined my 240 mm open tart ring. I can do this ahead and hold it in the freezer for a day or two before filling and baking. Love planning ahead!

IMG_4188.jpg

The idea here is to have a jammy baked berry filling that is ultimately topped with fresh blueberries. Double whammy delight!

Heat the oven to 400ºF.

I learned this tip from my mom years ago - sprinkle a mix of equal parts flour and sugar on the bottom of the unbaked crust. It helps protect it from soggy-ness. Gotta love it.

Stir together 75 g turbinado or blond cane sugar (I use Moreno), 2 tablespoons all purpose flour, a few grates of fresh nutmeg, a large pinch of cinnamon and 1/2 teaspoon coriander. Place a scant 3 cups fresh blueberries into the lined tart shell and sprinkle the sugar mixture over them. Dot with butter.

IMG_4233.jpg

Bake for about an hour until the crust is nicely browned and the berries bubbly. Ooooh - like blueberry jam!

IMG_4191.JPG

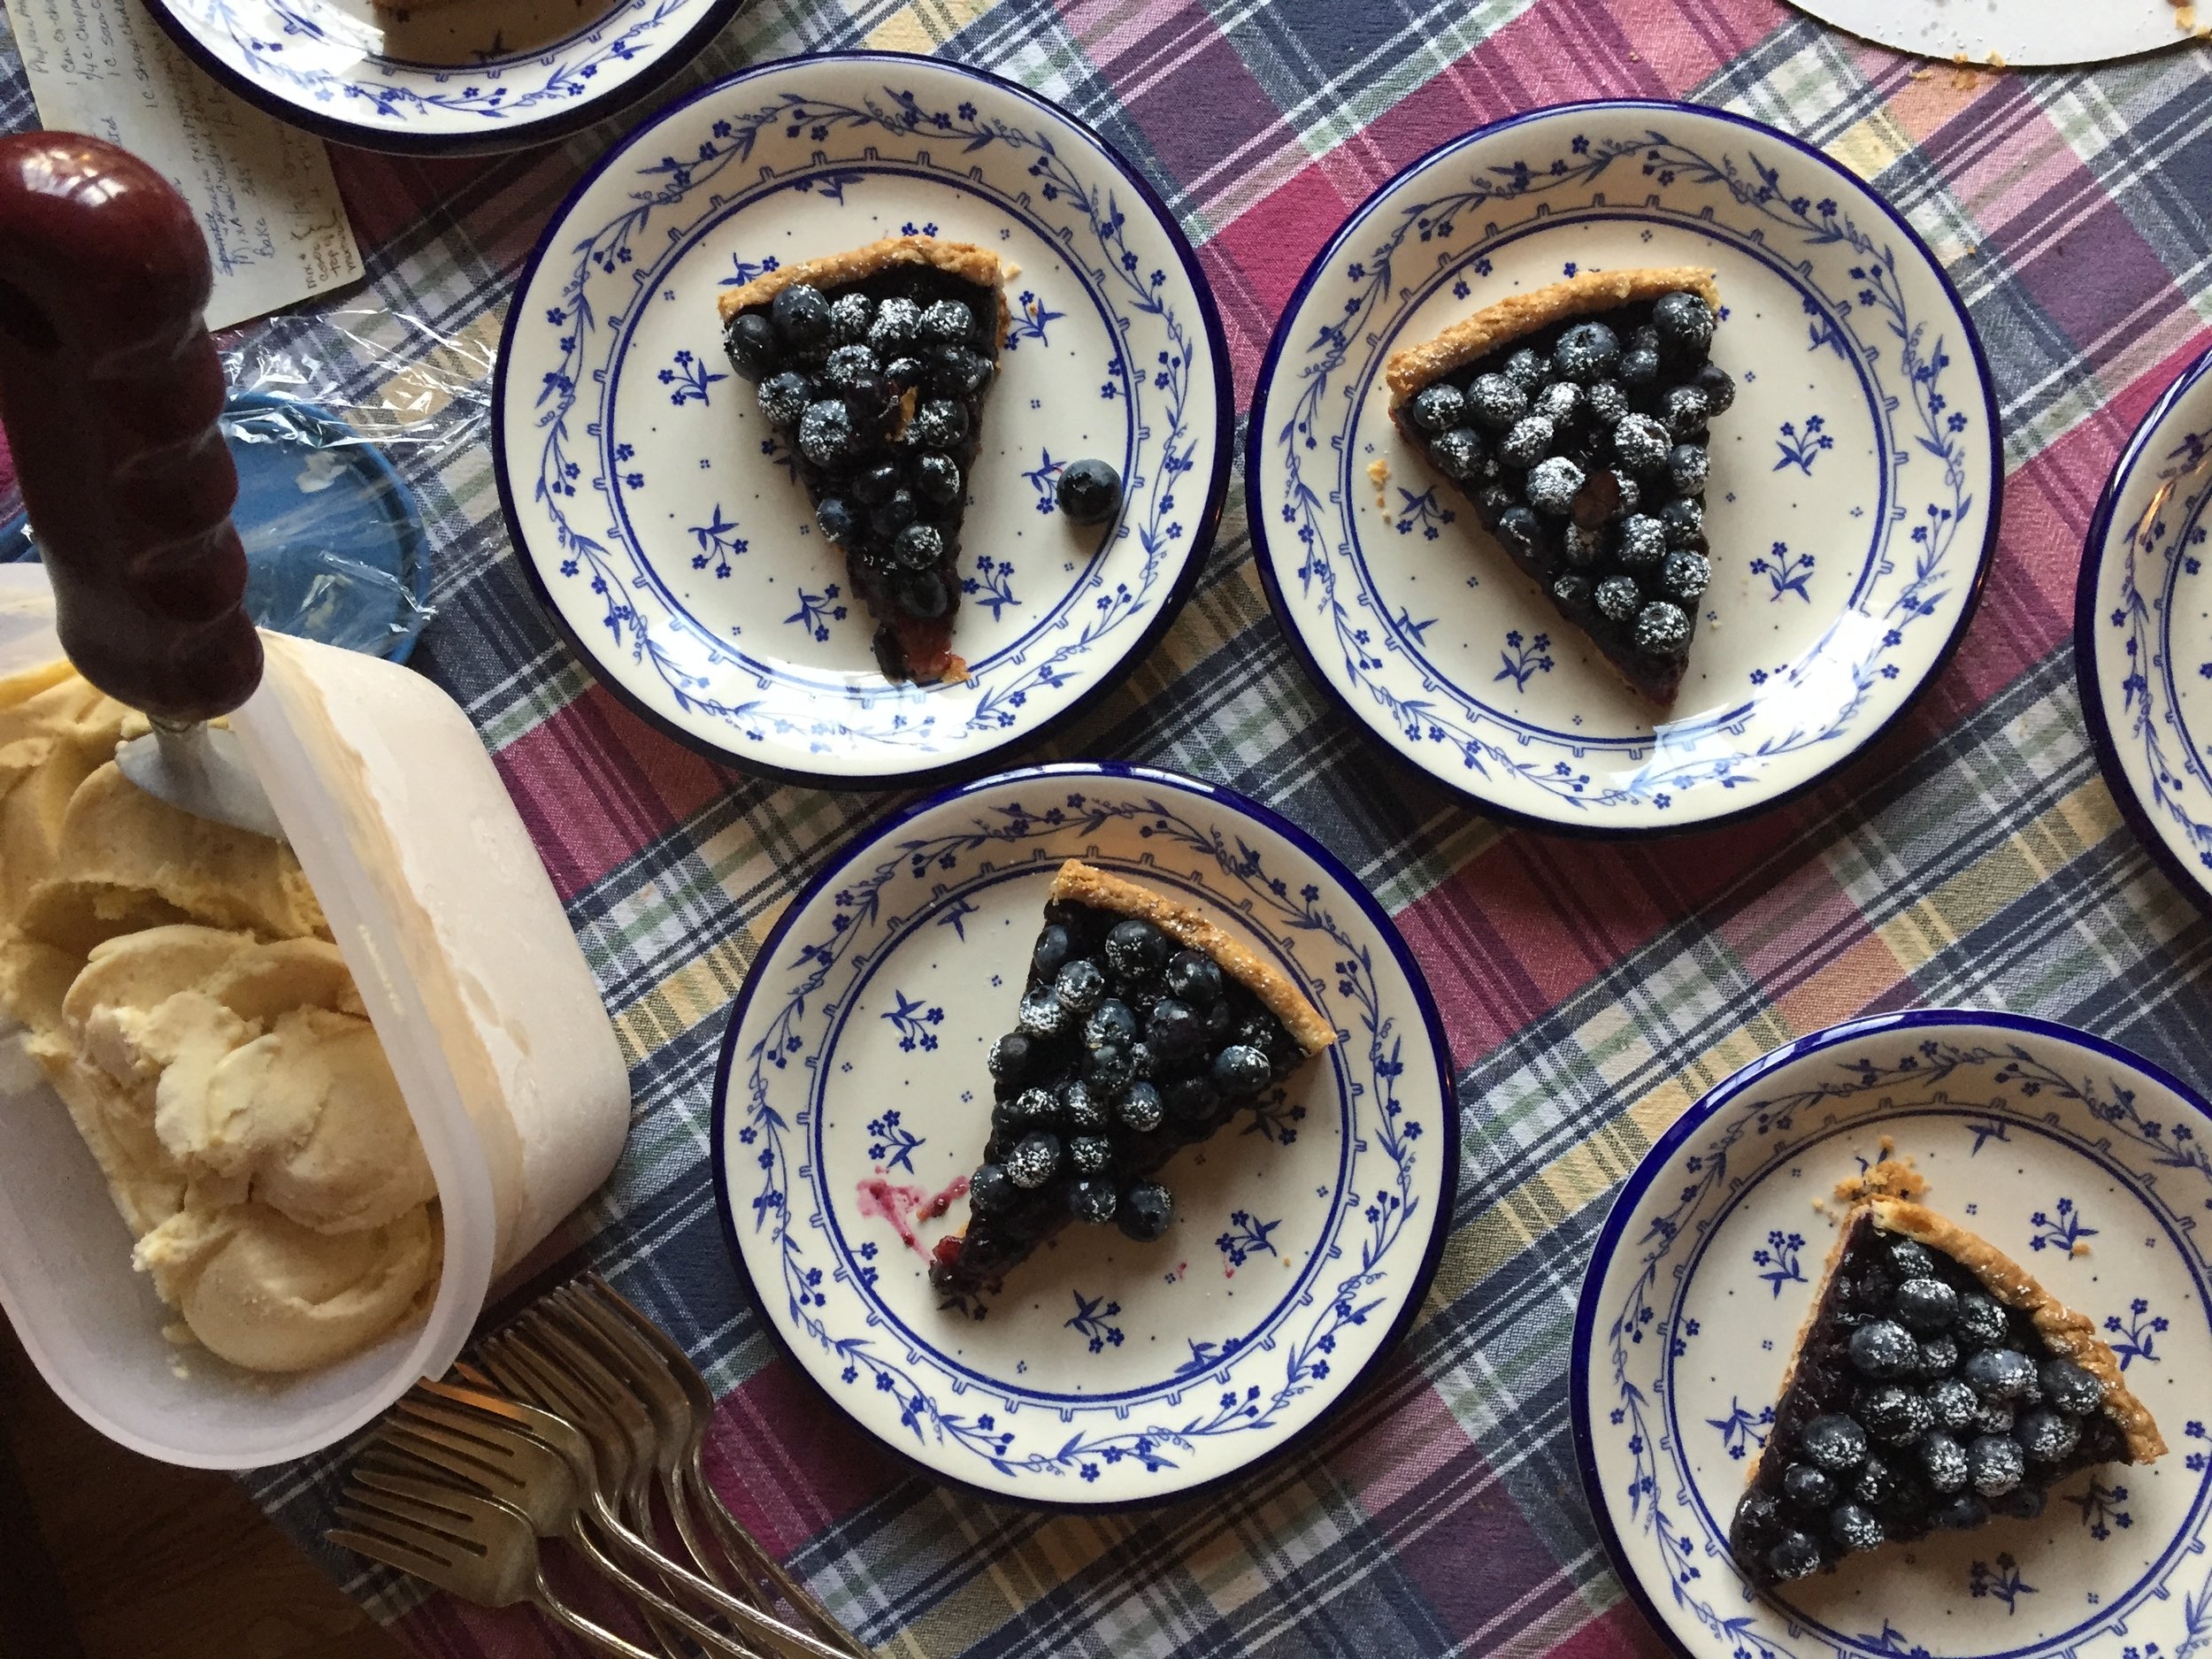
Once the tart has fully cooled, the only thing left to do is top it with 2 cups fresh blueberries and dust with confectioner’s sugar shortly before serving. Whoo-hoo!

IMG_4197.JPG

Slice it up, top with a scoop of your favorite ice cream (peach in this case) and enjoy this crispy, buttery delectable crust filled with oh-so wonderful Michigan blueberries. You can’t beat it folks!

IMG_4202.JPG


Jalousie aux abricots et pêches

Hints of fall are in the air here in West Michigan - perfect baking weather. Yes sirree.

But even though we've turned the corner into September, there are still plenty of delicious Michigan summer fruits just calling out to be baked into something wonderfully luscious. Apricots and peaches to name just two.

Jalousie is literally translated as jealousy, but, in spite of my attempts at finding out why this particular pastry carries that label, the answer eluded me. I did see one reference to it being of Provençal origin, although when I went back to review that reference, I couldn't find it again. My oh my.

There's another version known as dartois that is usually filled with crème d'amande  along with fruit, although dartois appears to be used interchangeably with jalousie. Call it what you will, it's tasty.

In a nutshell it's a puff pastry case with slatted top, filled with fruit that is usually macerated or caramelized on the stove top with a bit of butter and sugar. Apricot is a classic and that's what I went for.

I reviewed a number of recipes and came up with quantities of puff pastry and fruit that suited my vision of the final product. The fact of the matter is that you decide how large or small you'd like to make your jalousie so there isn't really a specific recipe one has to follow.

I planned to use about 800 g of fruit and, since I didn't have quite that amount in apricots, I supplemented with a couple of peaches that were just waiting in my fridge.

I pitted and sliced the apricots and peaches . . . . 

. . . then sautéed the sliced fruit in 70 g butter and 70 g vanilla sugar to caramelize it. The apricots were so ripe that they broke down and produced a lot of juice, so I ended up straining the fruit-butter-sugar liquid off and cooling the fruit on paper towel to absorb any remaining liquid. I didn't want my jalousie to be soggy.

Oh my! Now what could I do with this bowl of deliciousness? I think I'll blend some into my homemade caramel sauce and see what THAT's like. Why not, eh?

While the fruit cooled I rolled out my favorite from scratch puff pastry and cut 2 rectangles approximately 28x11 cm each. Each piece weighed about 150 g, rolled out to about 3 mm thick. 

Start with slightly more than you need so you can trim up the edges as necessary. And be sure to save any scraps - they're great for making palmiers or rolled out as a crust for quiche or flan.

This should give you some guideline to determine how much dough you might use for a larger or smaller end result. Sometimes it simply a matter of experimenting and figuring it out. 

Fold one of the pieces in half lengthwise and cut slits about an inch or so apart, leaving the edges uncut.

Unfold it and set aside.

Place the other piece of puff on a parchment lined sheet pan, sprinkle with some almond flour (to help absorb any juice and protect the bottom crust) and top with the cooled fruit, leaving about 2 cm clear around the edges.

Brush the dough edges with a little water, place the slatted top over the fruit, press the edges together to seal and crimp with a fork.

I like to brush mine with a bit of milk and top it off with a sprinkle of vanilla sugar.

Freeze it for 20 minutes or so while heating the oven to 425ºF.

Bake about 25 minutes until puffed, golden brown and the fruit is bubbly.

Serve slightly warm or at room temperature.

Steve and I enjoyed a piece with some of my homemade peach ice cream - buttery, flaky, a hint of tartness to the apricot yet married so nicely with the sweetness of the peach - SO GOOD.

I kept the rest covered lightly with parchment paper at room temperature over the next couple of days. It was still good with morning coffee, especially warmed for a few minutes in the oven.

This one's a keeper.

Angel food cake


For the week of my mother's 90th birthday she had requested angel food cake with ice cream and fresh peaches for dessert. So it was absolutely time to make my first from-scratch angel food cake, something I've been contemplating for months!

I used my mom's classic angel food tube pan that's been in her hands for I don't know how many years - at LEAST 55 is my best guess. Maybe even 60!! She even has the small glass bottle that used to hold Welch's grape juice, a favorite drink of ours when we would take our sandwiches to eat outside in the summer time.

Even though the little metal tabs around the rim of the pan allow one to perch the cooling cake upside down, the bottle has that certain je ne sais quoi that seems to go with baking an angel food cake. Right Mom?


The tradition exists in our family of being able to choose our birthday meal, including cake of course. My sisters Joyce and Mary (and perhaps ME?) used to choose confetti angel food cake with colored frosting - pink or blue were faves. Truth be told I was more of a pound cake fan and would follow Mom's lead on the necessary ice cream and peaches accompaniment when it was time for my special day. 

Back in those days the confetti creation came out of a Betty Crocker box and was all the rage. After a bit of research I learned that BC's angel food cake mix was first introduced in 1953, followed by a "one-step" version in 1960, the one I suspect my mom made fairly regularly, at least for birthday requests.


I used a recipe from Mary Berry of "The Great British Bakeoff, Master Class" series and found it very straight forward. It's basically a stiff meringue to which some flour and additional sugar is added. It's all about beating the meringue to the right stage and being gentle with the folding in of the flour and sugar.

Now THAT's a stiff meringue

Ready for the pan

The batter goes into the UNgreased tube pan, since you want the cake to cling to the sides of the pan as it bakes.

Ready for the oven

It bakes for about 45 minutes at 335ºF conventional OR 300ºF convection (or "fan" as the Brits say on the GBBO).

Out of the oven and ready to be turned upside down

The pan was a bit tippy sitting on top of that little glass bottle, but I was able to support the pan edges with a couple of upturned drinking glasses that were just the right height.

Once cooled completely, out of the pan it came.


Sliced and served with my own homemade peach ice cream and fresh sliced peaches, it was delicous. The crumb soooooo light and airy and the cake with just the right amount of sweetness. A perfect accompaniment to creamy ice cream and one of our favorite local fruits.


Here's the recipe.

Have a standard ungreased 10" tube pan at the ready.

Heat the oven to 335ºF conventional or 300ºF convection.

Do your ingredient mise en place:

  • 10 large egg whites (remember meringues beat better when the eggs are at room temp).
  • zest of 2 lemons
  • 1 teaspoon cream of tartar
  • 1/2 teaspoon salt
  • 1 tablespoon lemon freshly squeezed lemon juice
  • 200 g caster (superfine) sugar (remember you can whiz standard granulated sugar in a grinder briefly to make your own superfine version).
  • 125 g all purpose flour
  • 100 g caster sugar

Follow the steps:

  1. Place egg whites, zest, cream of tartar, salt, lemon juice and 200 g caster sugar in a mixer bowl and beat on high using the whisk attachment until frothy.
  2. In a separate bowl mix the flour and 100 g caster sugar together and gently fold into the meringue.
  3. Place the batter in the ungreased tube pan
  4. Bake approximately 45 minutes (remember all ovens are different - pay attention to what's going on in there) until golden brown.
  5. Cool upside down.
  6. Remove from pan, slice and enjoy!
Happy Birthday Mom!!


And a big THANKS to Mary Berry too!!