Toasted coconut pound cake

IMG_0404.jpg

A can of coconut milk, some unsweetened coconut chips, a lone lime in the fridge, a bottle of rum - how about toasted coconut milk pound cake and some toasted coconut ice cream to go with it? Right-o.

IMG_0584.JPG

Some months ago I had purchased a bag of Trader Joe’s unsweetened coconut chips and felt it was high time to adios that bag from my pantry cupboard. Same for a can of Thai Kitchen’s full fat coconut milk that had been destined for . . . . . hmmm, now what was I going to do with that again?

I searched my recipe files for some basic pound cakes and came up with a recipe that felt just right. I made a few of my own substitutions/additions and was ready to go.

IMG_0384.JPG

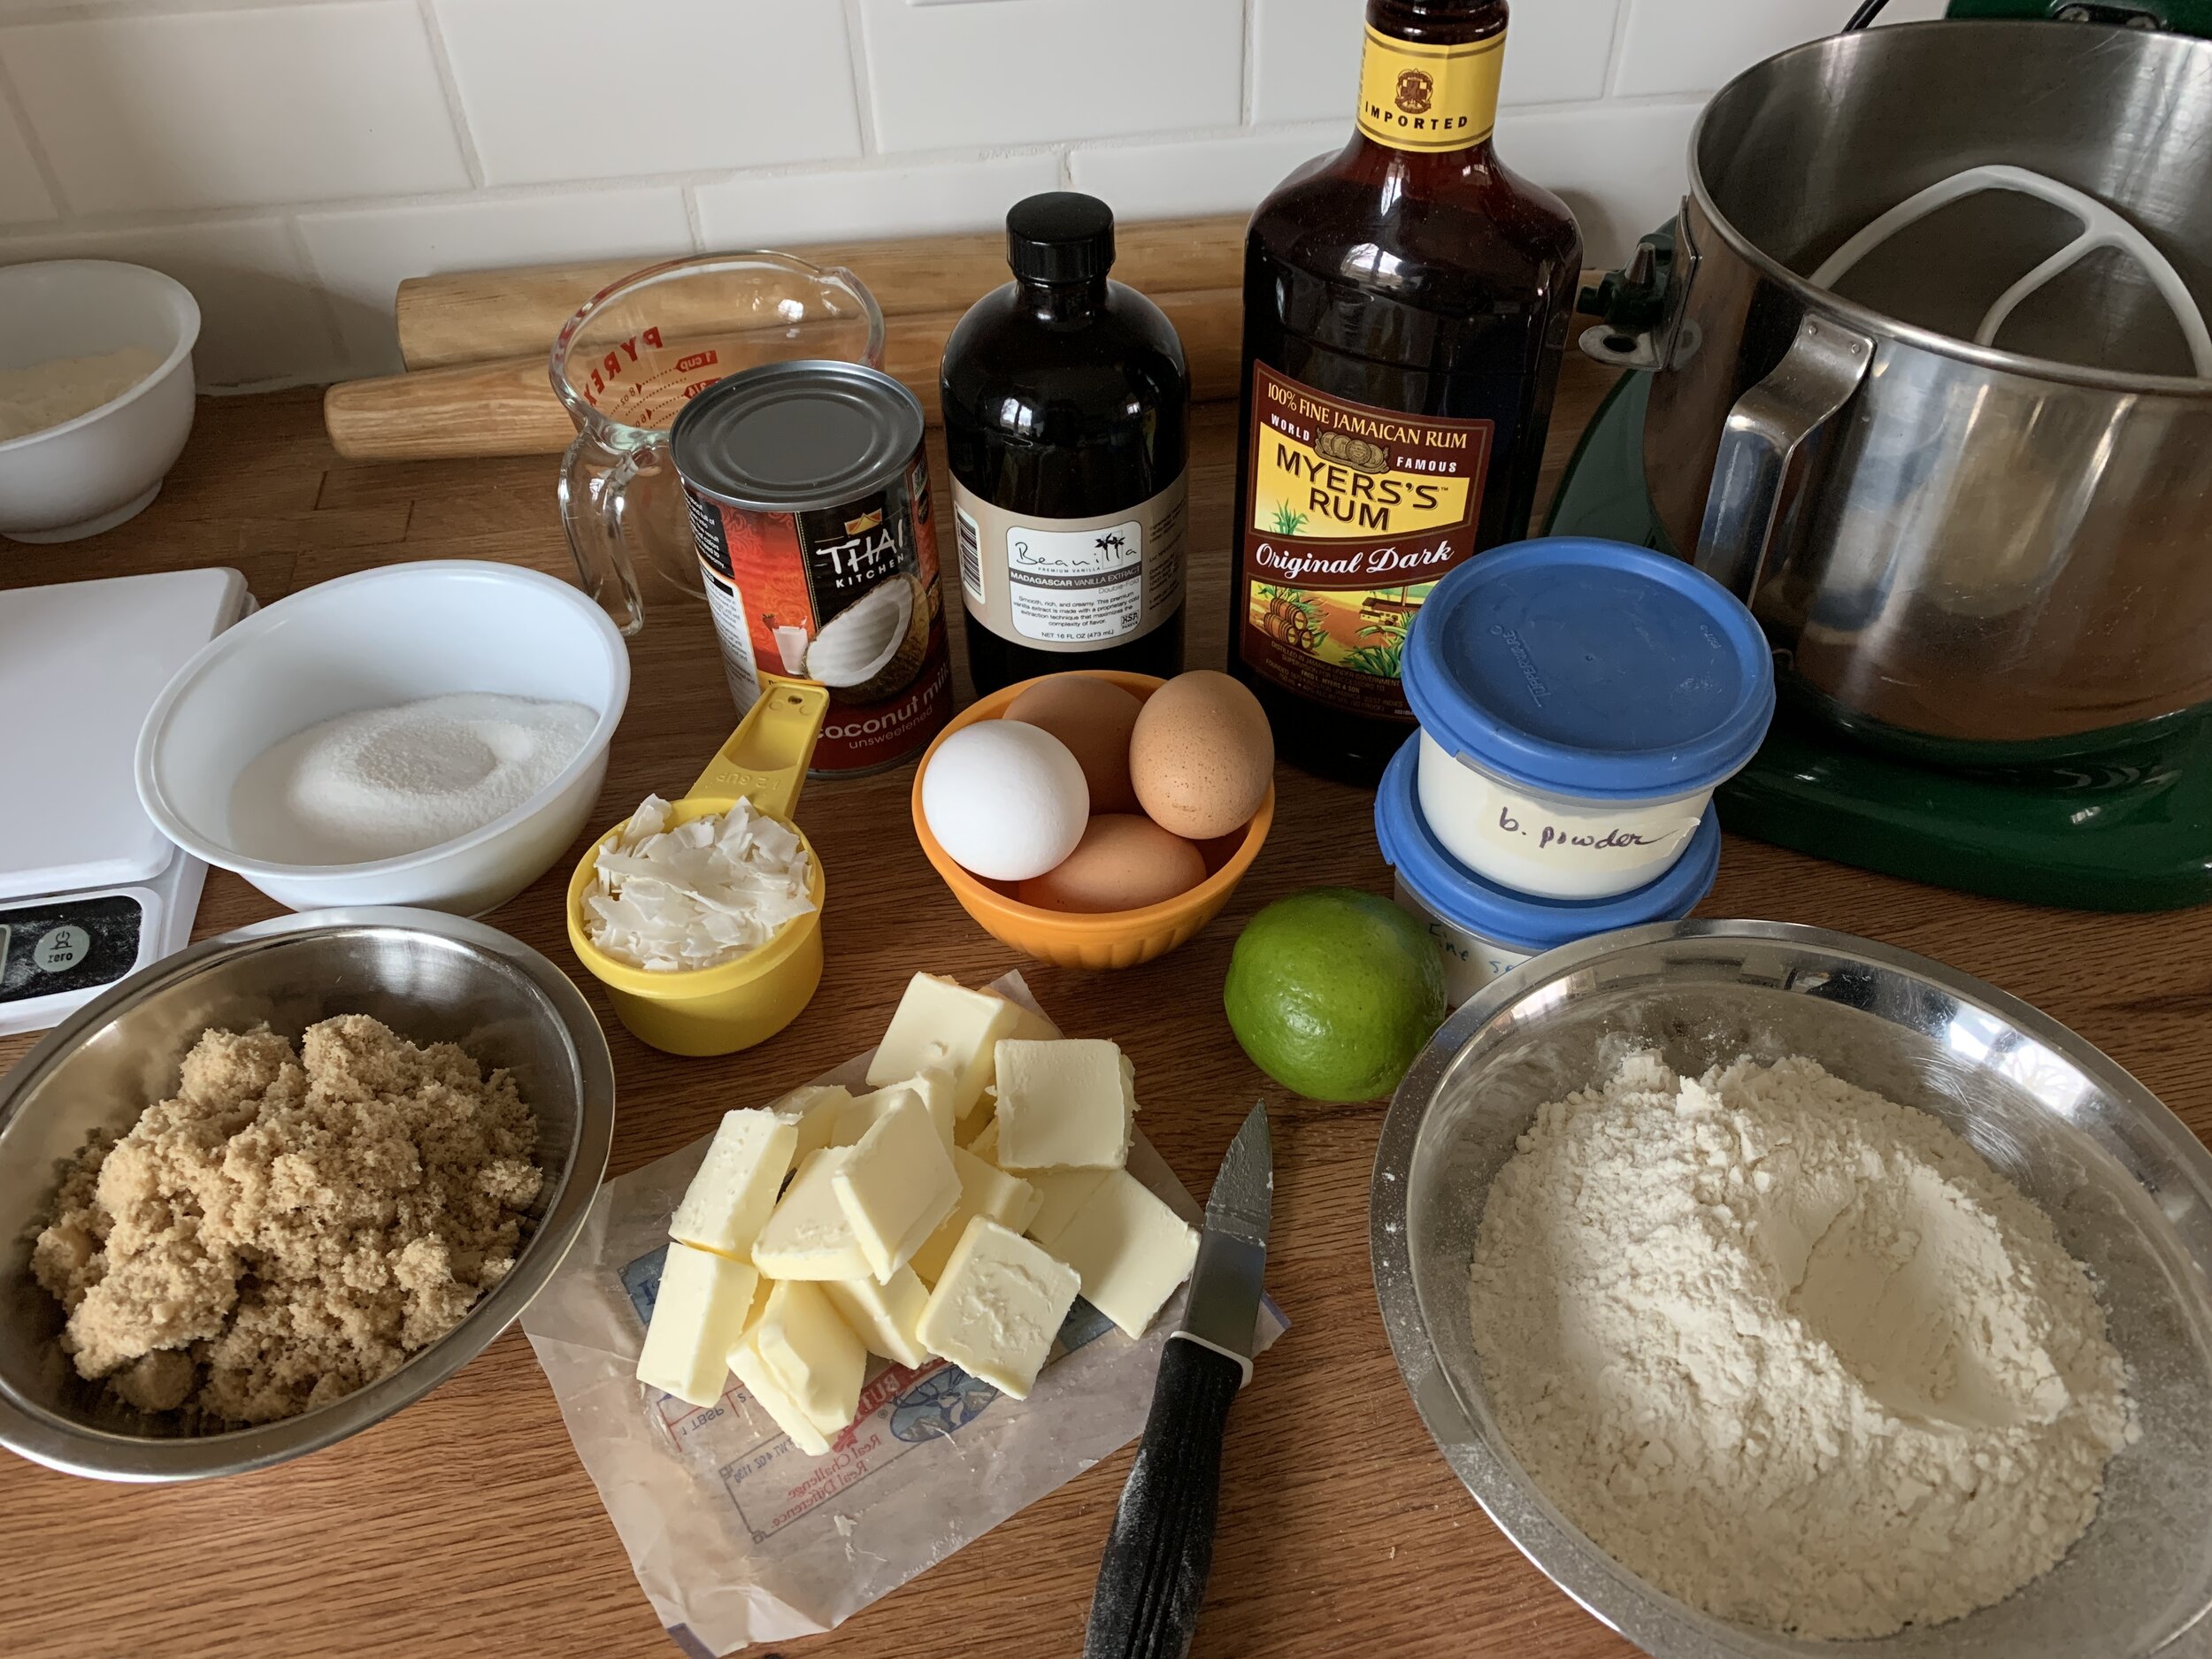
Here’s what I came up with. There’s coconut milk in both the cake and the glaze, plus I used the rest of the 13.66 fl. oz. can in my ice cream base. Good show - no leftovers!

Ingredients:
Cake
170 g / 3/4 cup unsalted butter, softened
140 g /scant 3/4 cup packed light or dark brown sugar
185 g /scant 1 cup granulated cane sugar
zest of one lime (or two if you have ‘em!)
3/4 cup full fat unsweetened coconut milk (it separates so open the can and mix it up thoroughly before measuring)
260 g / 2 cups flour (I used 60 g whole wheat pastry flour and 200 g all purpose but you can use just all purpose if you like)
3/4 teaspoon baking powder
1/4 teaspoon salt
1/2 cup shredded unsweetened coconut, toasted and cooled (I used coconut chips and simply crushed them up after toasting and cooling)
4 large eggs at room temperature
1 tablespoon vanilla extract + 1/2 tablespoon rum + 1 teaspoon lime juice

Glaze (optional)
42 g / 3 tablespoons unsalted butter
50 g / 1/4 cup brown sugar (light or dark - you decide)
1/2 teaspoon vanilla extract (plus an optional splash of rum)
1/2 cup unsweetened toasted shredded coconut
2 tablespoons coconut milk

For the cake:
Heat oven to 325ºF. Butter and flour a standard loaf pan (9'“x5”). I used my mom’s longer, narrower Mirro “teacake” pan.
Cream butter, sugars, lime zest on medium high for 2-3 minutes until light and fluffy.
Meanwhile blend flour, baking powder, salt and cooled coconut in a separate bowl.
Add eggs to butter/sugar mixture one at a time, scraping down after each addition.
Add vanilla, rum, lime juice and blend.
Add flour mixture alternating with coconut milk, beginning and ending with flour mixture. Blend just until combined.
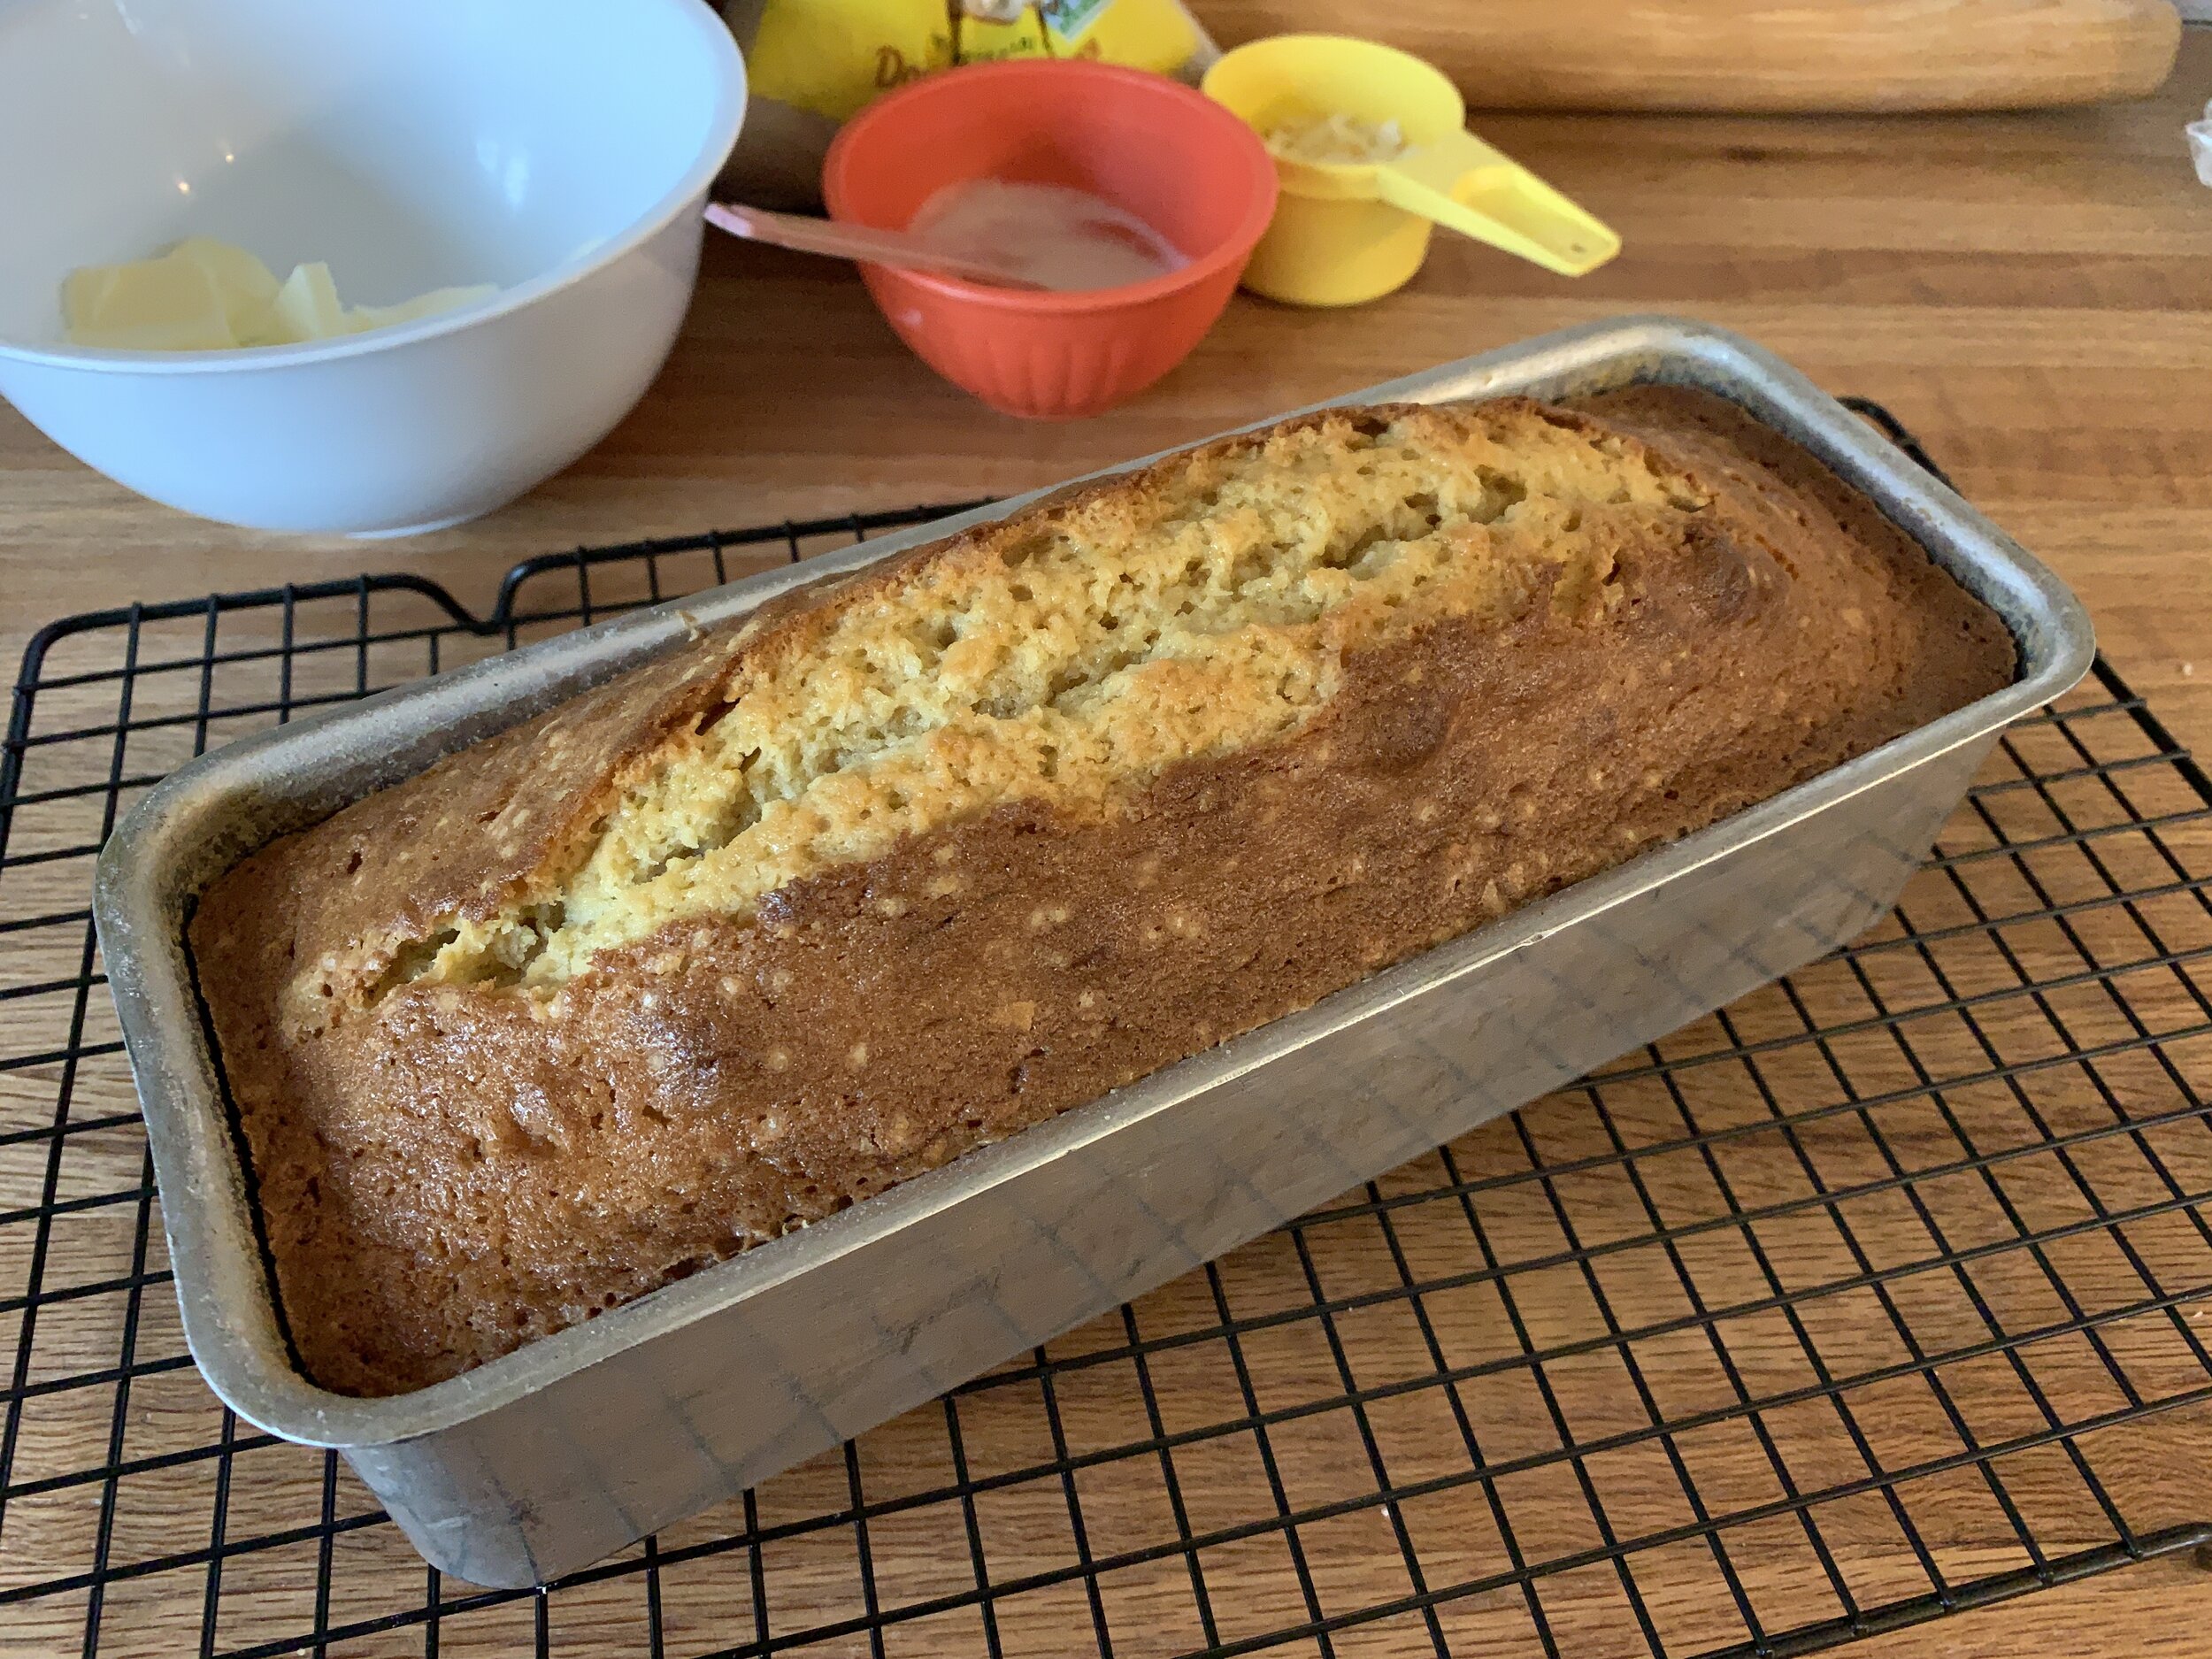
Transfer into prepared loaf pan. Bake 1 to 1 1/4 hours until nicely browned and a tester inserted in the center comes out clean.
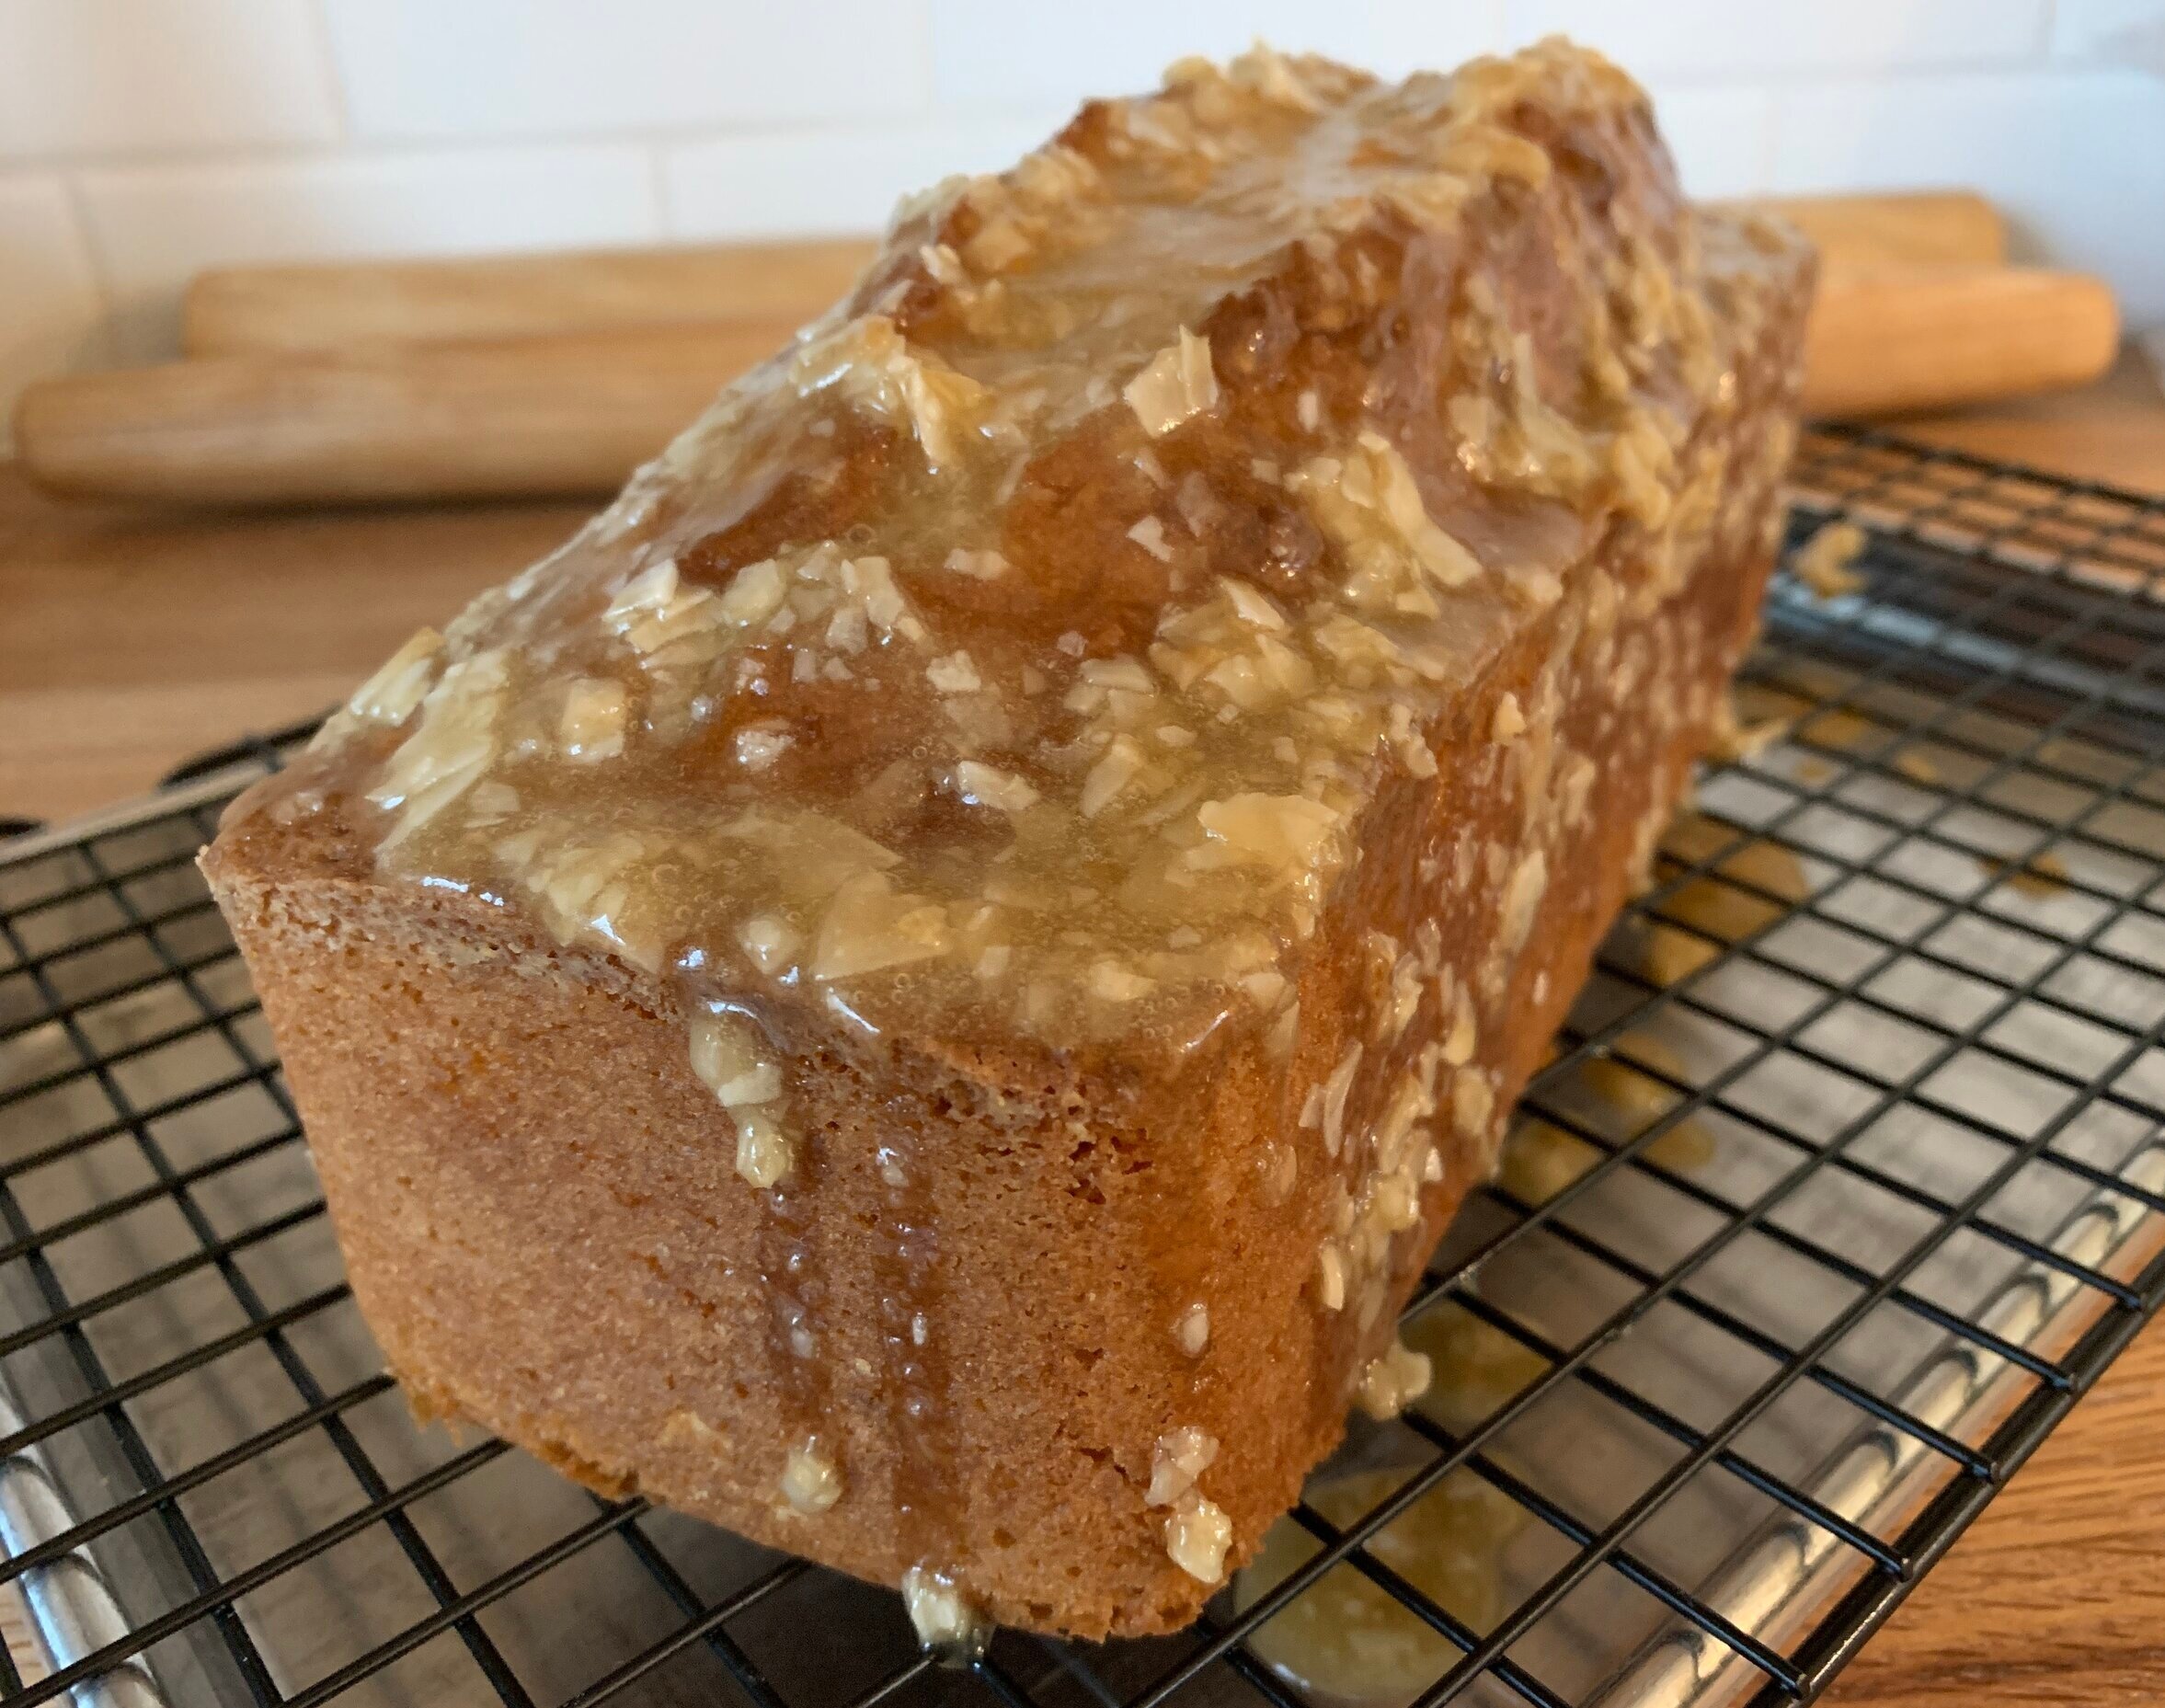
Cool in the pan for 10-15 minutes then turn out onto a wire rack set over a sheet pan. Top with glaze (if using) and cool completely.

IMG_0389.JPG
IMG_0401.JPG

If making the glaze, place the butter and brown sugar in a saucepan over medium heat until the butter has melted and brown sugar dissolved. Stir in toasted coconut, vanilla and coconut milk, let cool slightly then pour/brush over the still warm cake.

IMG_0402.JPG

Once cooled, slice and enjoy.

IMG_0405.JPG

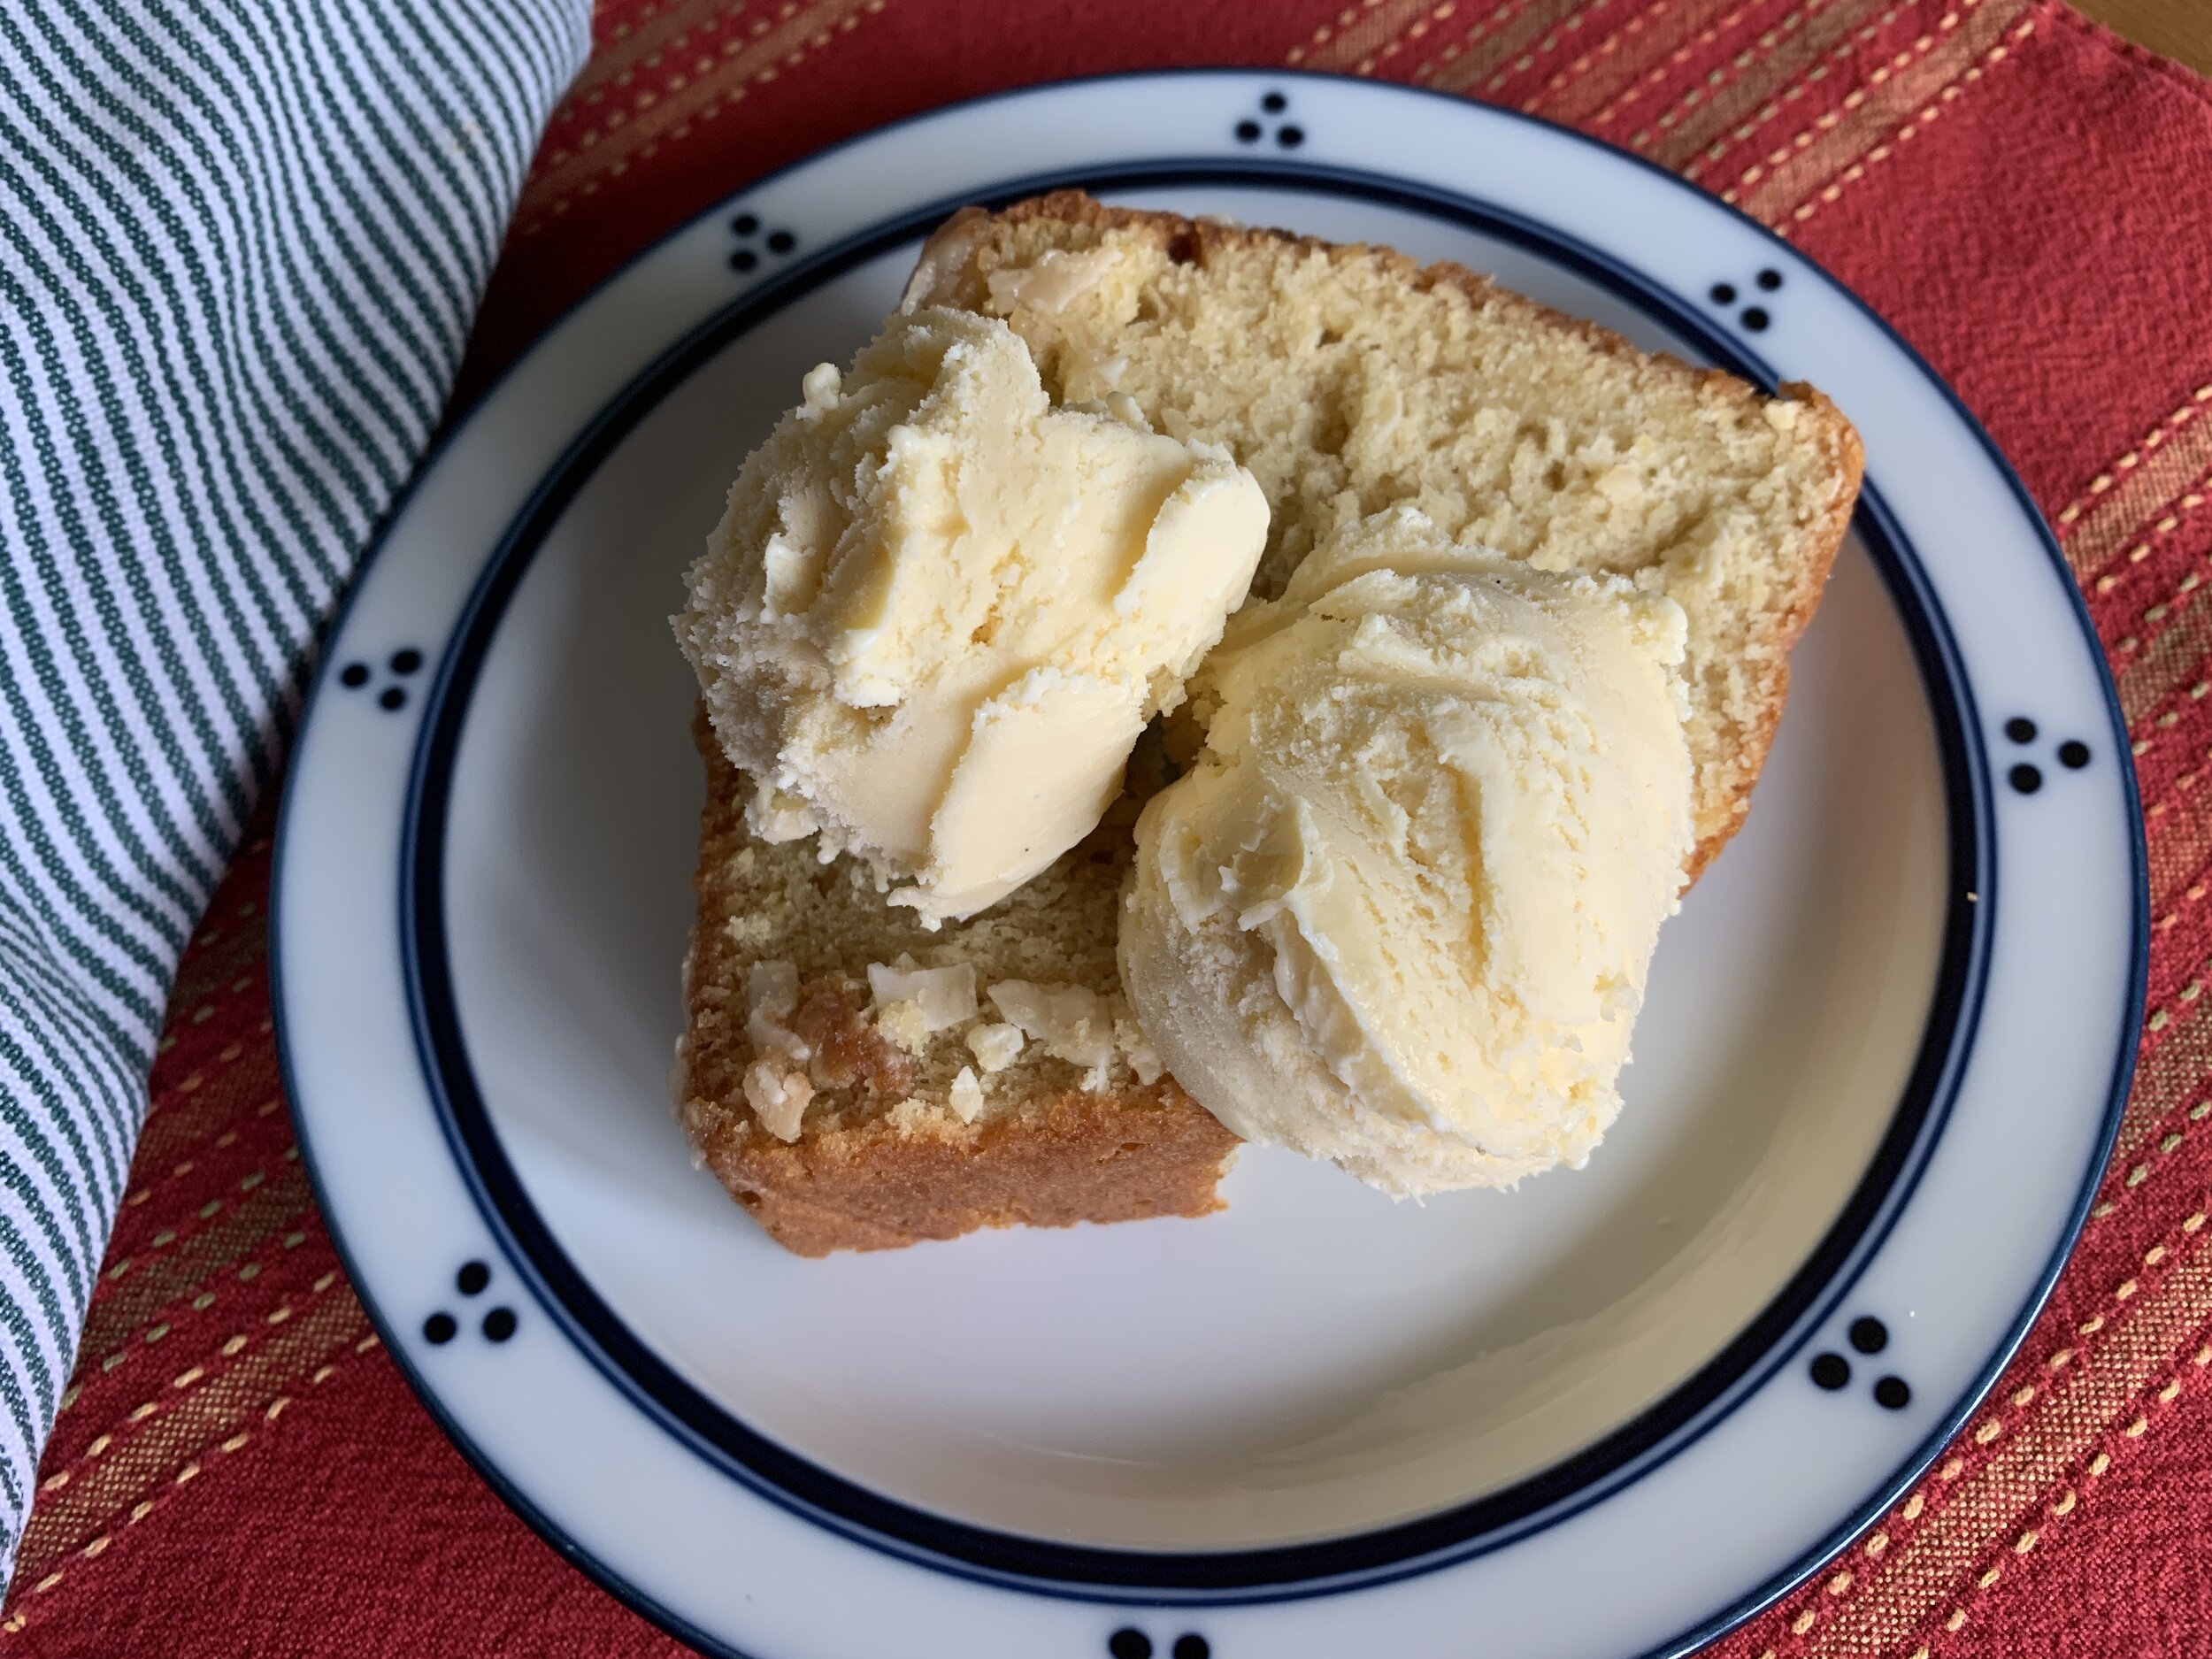
Our first taste was for an afternoon snack accompanying our coffee time. So good.

My baking goals typically focus on a balance of flavors - subtle yet playing well together. “Some” (hint, hint - Steve) say I’m often too timid with flavor additions but in this case - bam! The moisture, the toasted coconut, the caramel-y-ness from the brown sugar and rum (without being overly rummy) are deelish.

I will admit that not much, if any, lime comes through, but at least I used up the one lonely lime that was crying out to me from the fridge. Next time I won’t even bother since the other ingredients do the trick .

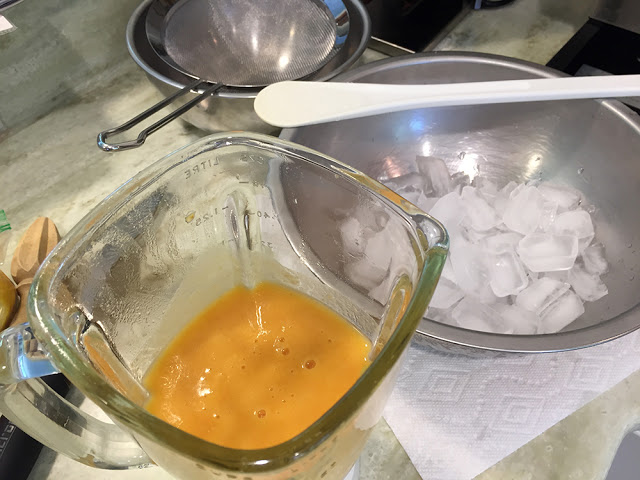
As mentioned I used the remainder of my can of coconut milk to make toasted coconut ice cream, replacing the whole milk in the recipe with coconut milk and infusing the dairy with toasted coconut before making the base. Check out this link for more on that, as well as additional ice cream making fun! Summer here we come.

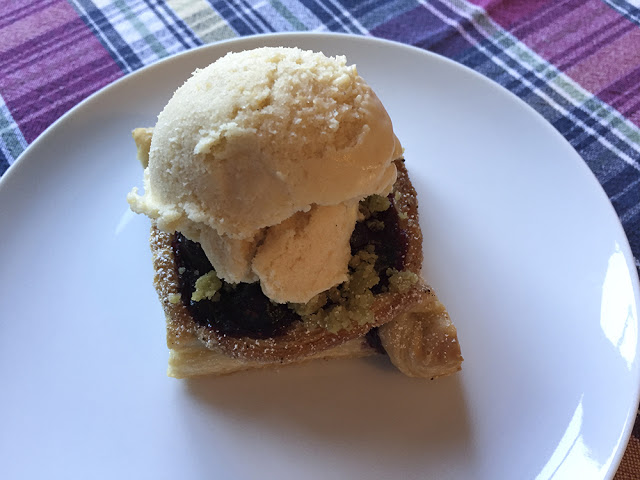
We had a very quiet Easter Sunday at home with a simple evening meal of grilled chicken salad over greens, a side of Bush’s baked beans and some oven fried potato wedges. And for dessert? Toasted coconut pound cake with luscious, creamy coconut ice cream of course!

Once again - stay home, stay safe and happy baking!

IMG_0585.JPG


Blueberry tart with peach ice cream

IMG_4202.jpg

Even though autumn is creeping up on us, we’re still enjoying blueberry season, and it’s time for a straight forward blueberry tart. This one is based on the “Double Blueberry Tart” recipe in Food52’s “Genius Desserts” - a book I purchased a couple of months ago and find so enjoyable and illuminating. Not only does it offer so many great recipes but also tips and tricks from a number of talented baking and pastry professionals.

What better to pair with the tart but peach ice cream made with our delicious local west Michigan grown peaches. A match made in heaven.

For my crust I made an oat/whole wheat version of a basic pâte brisée using the food processor method. This makes plenty for two 9” tarts.

I rolled out my chilled dough and lined my 240 mm open tart ring. I can do this ahead and hold it in the freezer for a day or two before filling and baking. Love planning ahead!

IMG_4188.jpg

The idea here is to have a jammy baked berry filling that is ultimately topped with fresh blueberries. Double whammy delight!

Heat the oven to 400ºF.

I learned this tip from my mom years ago - sprinkle a mix of equal parts flour and sugar on the bottom of the unbaked crust. It helps protect it from soggy-ness. Gotta love it.

Stir together 75 g turbinado or blond cane sugar (I use Moreno), 2 tablespoons all purpose flour, a few grates of fresh nutmeg, a large pinch of cinnamon and 1/2 teaspoon coriander. Place a scant 3 cups fresh blueberries into the lined tart shell and sprinkle the sugar mixture over them. Dot with butter.

IMG_4233.jpg

Bake for about an hour until the crust is nicely browned and the berries bubbly. Ooooh - like blueberry jam!

IMG_4191.JPG

Once the tart has fully cooled, the only thing left to do is top it with 2 cups fresh blueberries and dust with confectioner’s sugar shortly before serving. Whoo-hoo!

IMG_4197.JPG

Slice it up, top with a scoop of your favorite ice cream (peach in this case) and enjoy this crispy, buttery delectable crust filled with oh-so wonderful Michigan blueberries. You can’t beat it folks!

IMG_4202.JPG


Cherry-berry feuilleté and peach buttermilk ice cream


The summer annuals are showing off their colors here in Grand Rapids MI . . . .

lovely coleus in our little garden courtyard

and the summer peaches are out in full force!


Fresh Michigan peaches are one of my favorite fruits.  So of course I've been thinking of the many wonderful ways to use them.  This time I was inspired by a peach buttermilk ice cream recipe from "Food and Wine" magazine.


I followed the recipe for my usual ice cream base (2 cups heavy cream, 1 cup whole milk, 3/4 cup sugar, 5 large egg yolks, pinch of salt) replacing the cup of whole milk with buttermilk.  I blanched 1.5 pounds of peaches, then peeled, pitted, sliced and blender-ized them with a squeeze of lemon juice, folding the purée into the cooled base.

peach purée at the ready

ice cream base finishing its chill down

I usually chill my base in the fridge for a day or two, then process in my ice cream maker and transfer to a freezer container several hours before serving.

I also wanted to use some cherries and blueberries I had on hand to complement the peach ice cream in a dessert I was planning for a family meal.  And, to top it off, there was some reverse puff pastry in my freezer just waiting to be made into something oh-so-delicious.

The beauty of the feuilleté preparation is that I can roll, shape and bake them ahead of time and hold them either at room temperature if using the same day, or in the freezer for a number of days if planning a bit farther ahead.


When ready to fill them, I simply push down the center layers of puff to make room for the fruit mixture that will be mounded in the feuilleté.

I mixed 4 cups of fruit (cherry/blueberry combo) with a teaspoon of fresh lemon juice, 3-4 tablespoons granulated sugar (I like my fruit on the tart side) and 1 tablespoon cornstarch. I then cooked this concoction on med-low heat until bubbly and thickened.

Note:  this quantity of fruit filling was enough for 7-8 feuilletés about 3.5 inches square.

Then I scooped a mound of filling in the center of each feuilleté and baked at 350ºF for about 10-15 minutes.  Since the puff pastry is already baked and the filling already cooked, it's really just a matter of heating everything up.

Once cooled, I topped each one with previously baked matcha crumble (really more for color contrast than taste) and gave them a light powdered sugar dust.

the end result!

I know I've mentioned crumble before in this blog.  It's a great thing to have on hand and is so easy to make.  Make as much or as little as you'd like.  

Simply mix equal weights flour and sugar in a medium bowl, sand in the same weight of cool, diced butter to form coarse crumbs.  In this case I added some matcha powder with the flour and sugar (you don't need much).

Spread the crumbs out on a parchment lined sheet pan and bake at 325ºF, stirring and breaking up clumps every 5 minutes or so until lightly browned and crisp, 10-15 minutes total.  Let cool.

Store in a zip-top bag in the freezer and use at will!

For serving I simply placed a scoop of peach buttermilk ice cream atop each feuilleté (no muss, no fuss) and handed 'em out.

Mmmmmm!

While the ice cream was a bit more icy in texture than I had hoped (I suspect due to using low fat buttermilk rather than whole milk, plus the water content of the fruit purée), the contrast of the tangy peachy coolness with the tart cherry-berry filling and buttery, flakey puff was oh-so-good indeed.

Three cheers for summer fruits!  Hip hip hooray . . . .