Favorite garnishes part 2: candied citrus

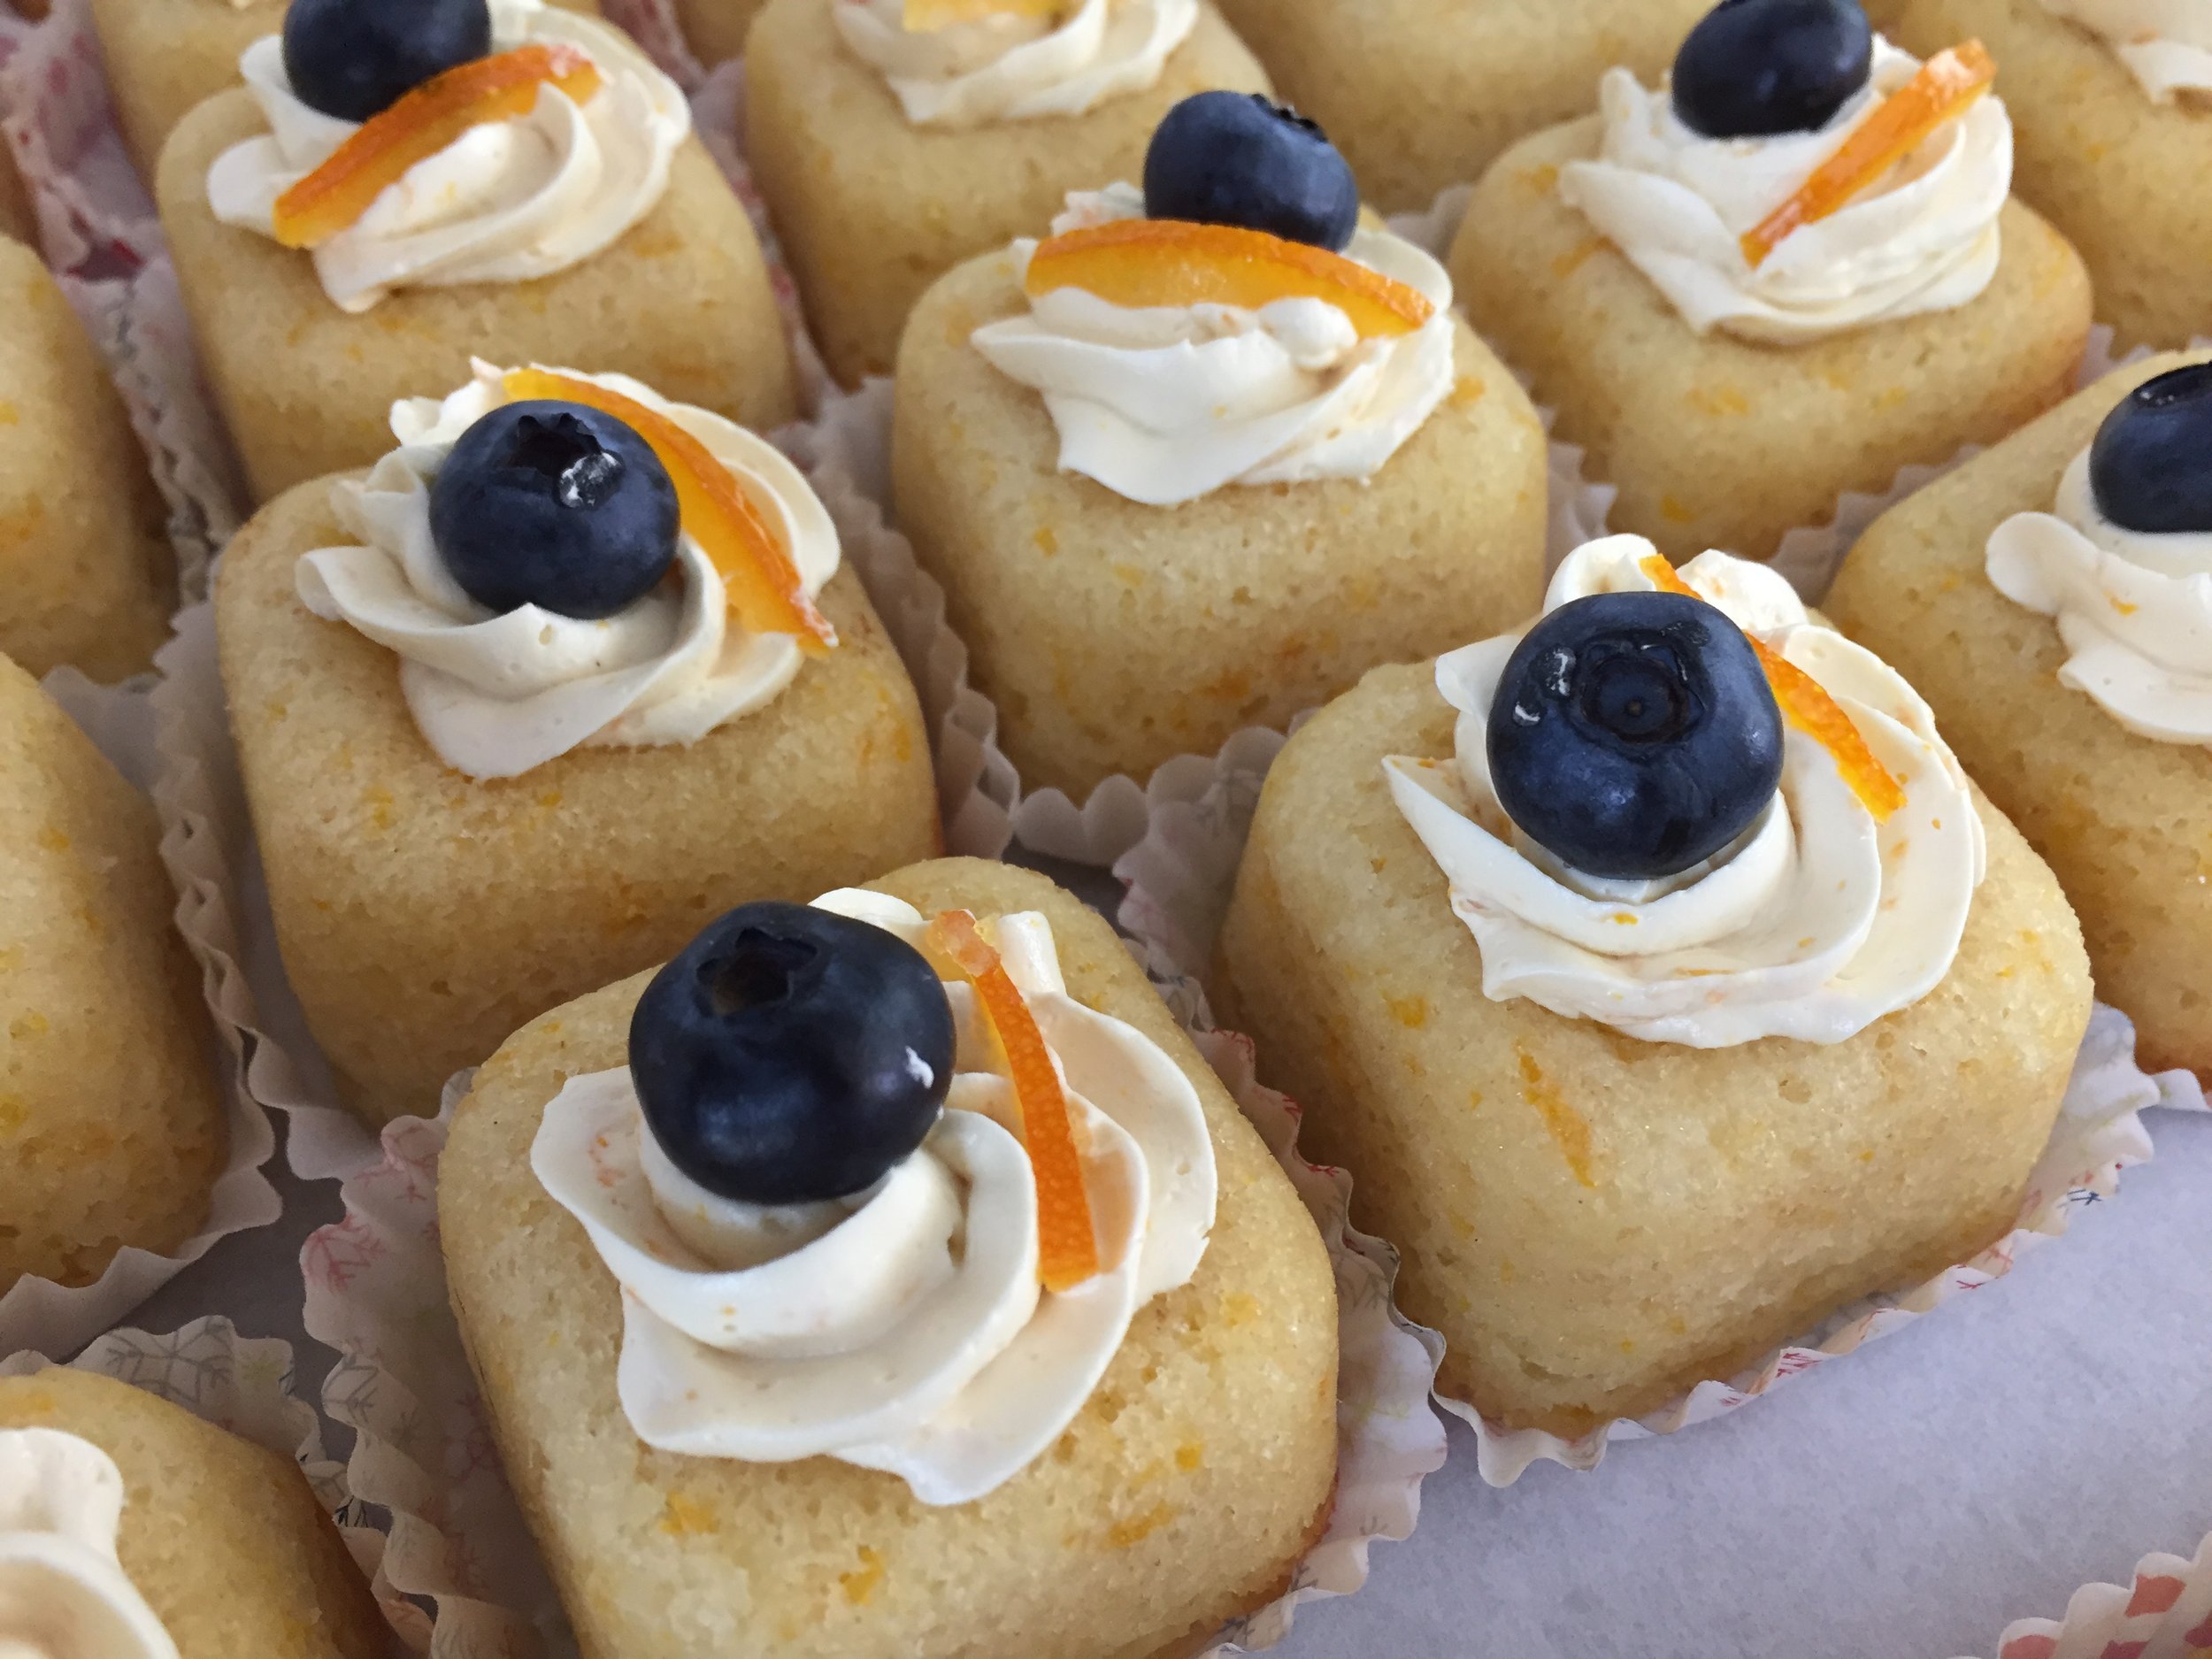
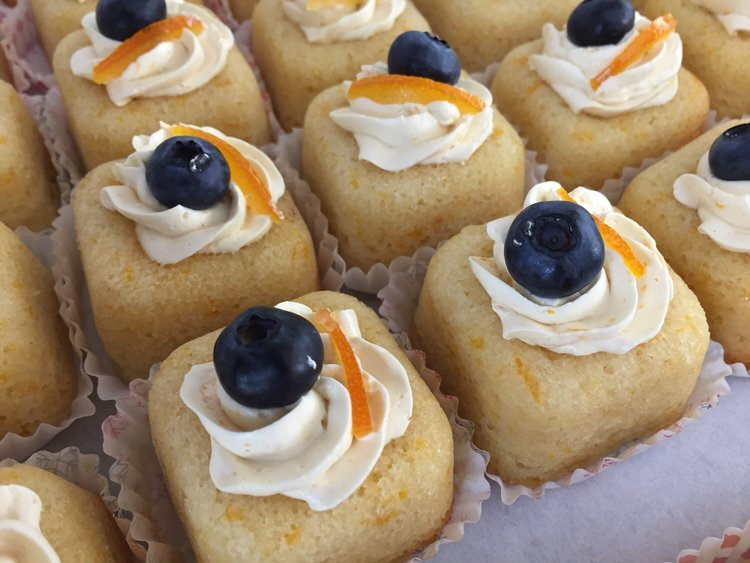
Citrus teacakes

On to part 2 of my favorite garnishes - candied citrus. It takes a bit of time but is a perfect project for a snowy winter day. Put on some music, feel a calm come over you and have fun!

Lemon, lime, grapefruit, orange, tangelo - all are fair game. Check out this post on just one way to use them.

Orange craquelin

To candy citrus peels you’ll need a couple of small to medium sized sauce pans and a medium strainer.

In one pan make a simple syrup using equal parts granulated cane sugar and water (1/2 to 3/4 cup each should be plenty), and in the other one place enough cold water in which to immerse your citrus peels.

Prep the peels by cutting the rind off the fruit, white pith and all, then trimming the pith off (there will invariably be some left) to leave the colored outer skin (the oils and flavor are here!) Cut the peel into matchsticks and place them in the pan with the cold water.

Bring to a boil, strain and rinse, refill the pan with fresh cold water then repeat the process two more times. This helps reduce the bitterness.

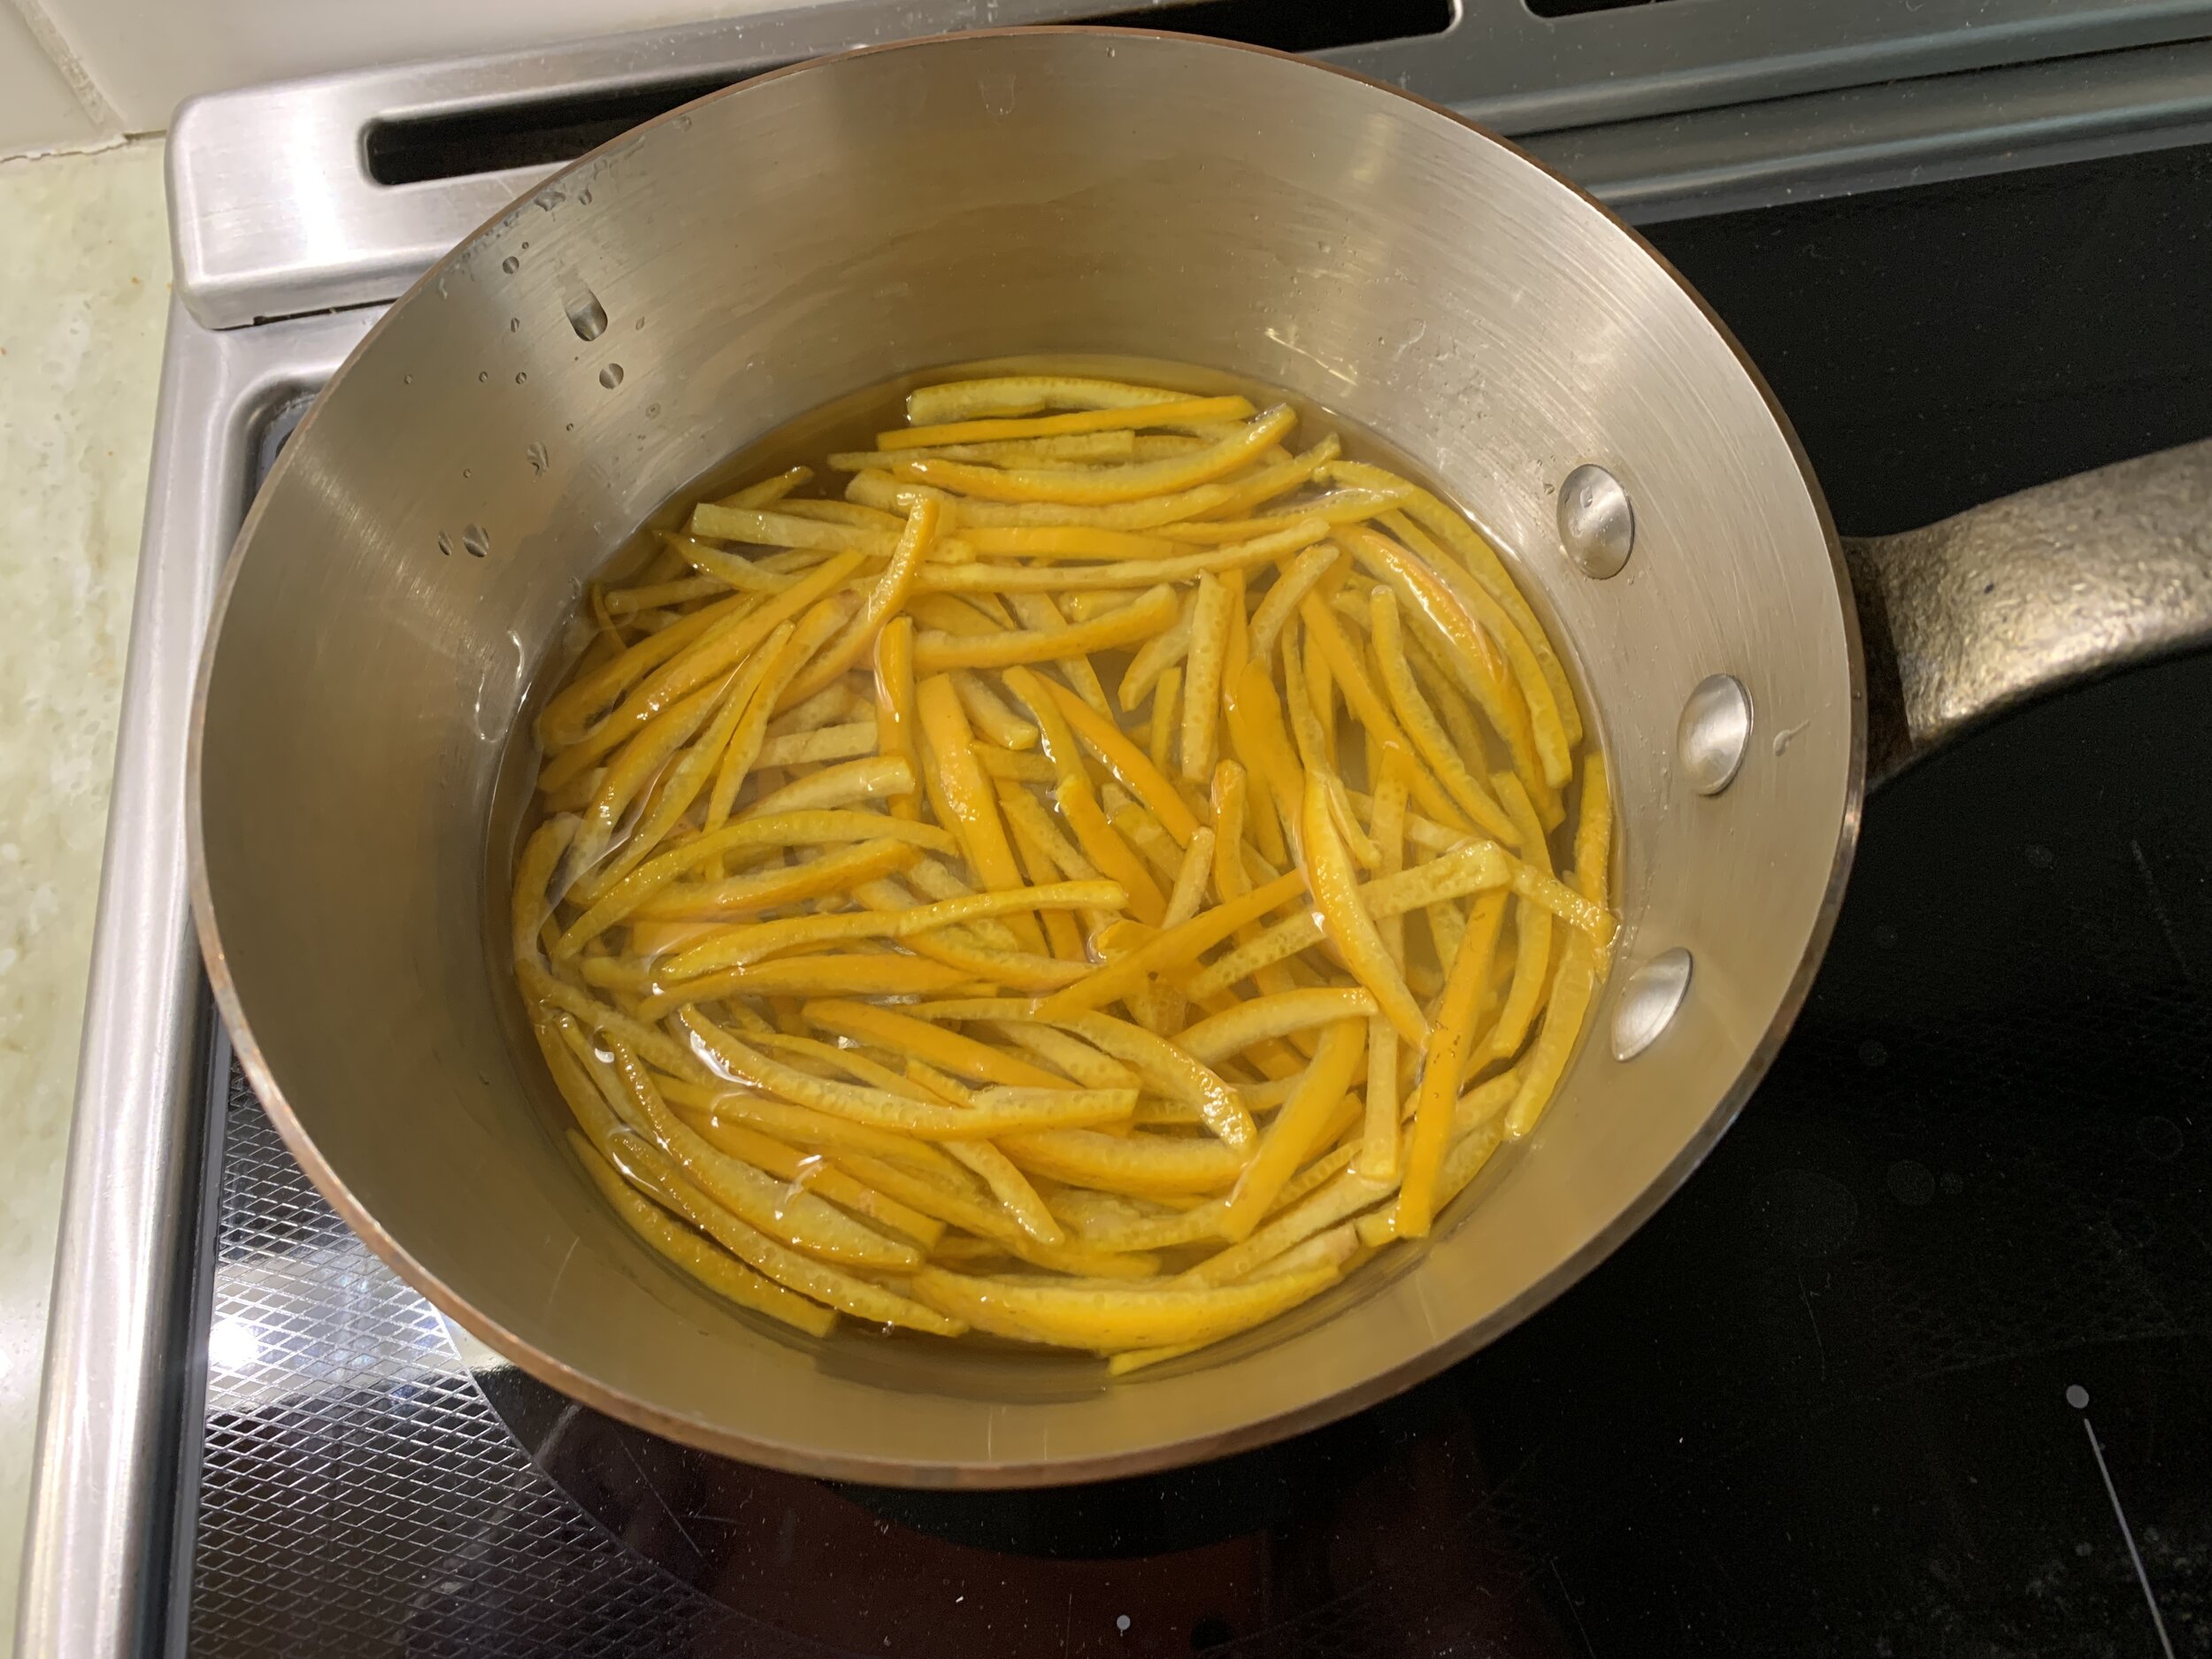
Now put the peels into the simple syrup and simmer until softened and translucent. This can take 30 minutes or so. Go ahead and busy yourself with cookie dough or pastry cream or cake batter. You’ve got time.

Starting the process

All softened up - see the difference?

Remove from the heat and let cool. At this point you can store them in the syrup in the fridge for several weeks, using as desired.

You can also separate some out, strain off the syrup and toss them in sugar.

Separate and place them on a wire grid to dry then store in a covered container at room temperature for a couple of weeks.

Either the sugared and dried rinds or the soft and refrigerated-in-syrup rinds are great for a garnish on a tartelette or teacake. Or chop them up finely and add to your cake batter, cookie or brioche dough or Swiss meringue buttercream. You be the judge.

Hint: the sugared/dried pieces are lovely with a small piece of chocolate and a few candied nuts for a satisfying after meal treat when you’re looking for just a little something.

Meanwhile, feel the calm and peace of the holiday season. We all deserve it.

My handmade angel shoes

The Queen of Hearts she made some tarts . . . .

IMG_4426.JPG

Mind you, I’m not equating myself with the Queen of Hearts from Alice in Wonderland (described as a foul tempered monarch), however I do love making tartes - and I can promise that Steve did NOT steal any of them!!

Above is a collection of fresh fruit tartes I created for a recent Alice-themed fund raising event here in Grand Rapids. The chess board seemed like just the right backdrop for these luscious treats.

We have blueberry/lemon, raspberry cream, strawberry/lime mascarpone and blackberry citrus/Earl Grey ganache. Delightful!!

When creating your own fruit tartes remember to start with your favorite pâte sucrée, blind baked, then fill with classic crème pâtissiére or a fruity whipped mascarpone or your own version of a citrus or tea infused ganache (white chocolate works well with fresh berries). It’s lots of fun to mix and match to your heart’s content. Hop on over to the recipes page to find some of my favorite base recipes.

IMG_4418.jpg

Here are just a few of the other tartes I’ve done in recent months (including some late summer reminiscing!).

Fresh blueberry

Fresh blueberry

Peach custard

Peach custard

Apple blackberry

Apple blackberry

Classic pear almond

Classic pear almond

As we are ever fast approaching Thanksgiving and the whirlwind of the holiday season, I wish all of you many “all is calm, all is bright” nights.

Happy tarte baking!

Tarte à l'orange et tarte au citron meringuée

orangetart

As winter closes its doors and spring is invited in, the taste of citrus is still very enticing to me. Lemons, limes, oranges (naval, blood, tangerine, mandarin, Valencia) and grapefruit remain quite abundant in the local supermarkets, just calling out to be used in so many different ways.

IMG_2515.JPG

Tarts are one of the mainstays of my baking (why do you think they call me The French Tarte, after all??), and there is nothing like a perfect citrus tart. Not only did I have a new version of a chocolate tart crust I wanted to try, complemented with an orange curd filling, but I was itching to do a slightly different version of the classic tarte au citron with some kind of meringue garnish - think lemon meringue pie but NOT!

The result of my plan: orange curd baked in a chocolate crust . . . .

IMG_2530.JPG

and my favorite lemon tart with crumbled crunchy raspberry white chocolate meringue as garnish.

IMG_2601.JPG

Let's start with the orange version, OK?

IMG_2558.JPG

The chocolate short dough for the tarte à l'orange is a variation on the one I've been using for years now. It has the addition of instant espresso powder to ramp up the chocolate taste, plus a slightly higher ratio of butter and cocoa powder compared to the flour.

Here's the process: in a medium bowl sift together 248 g all purpose flour, 42 g Dutch process cocoa powder and 1/2 teaspoon instant espresso powder. In a mixer bowl using the paddle attachment blend 179 g unsalted butter, 44 g light brown sugar, 44 g granulated sugar and 1/4 teaspoon vanilla extract. Add 43 g egg and 1 teaspoon heavy cream and blend in. Mix in the dry ingredients on low speed just until blended. Wrap and chill for an hour before rolling out or, if not using right away, freeze for up to 3 months. NOTE: makes plenty for 2 full size 9-10" tarts.

I blind baked the crust, let it cool and then spread a thin layer of melted chocolate over the bottom. That's just one of the ways to protect the bottom crust from "sogging" under the filling, particularly if held refrigerated over a day or three. Hmmm - looking pretty good!

IMG_2526.JPG

The orange curd is a pretty basic version made with the usual suspects - citrus juice and zest, eggs/yolks, sugar and butter. For this recipe, in a medium bowl whisk together 3 large egg yolks and 3 large eggs. In a medium saucepan bring to a simmer 3/4 cup (180 ml) orange juice (could be tangerine, Cara-Cara, navel), 1/4 cup (60 ml) lemon juice, grated zest of one orange and one lemon, 125 g sugar, 1/8 teaspoon salt and 170 g unsalted butter. Have 1/2 teaspoon vanilla extract and the zests of one more orange and one more lemon waiting on the side.

Temper the eggs with the juice/sugar/butter mixture then return the whole shebang to the pot and cook over medium heat, while whisking constantly, just until you see tiny bubbles developing around the edges of the pan, steam begins rising off and it begins to thicken. Now strain into a clean bowl and add in the vanilla and reserved zests.

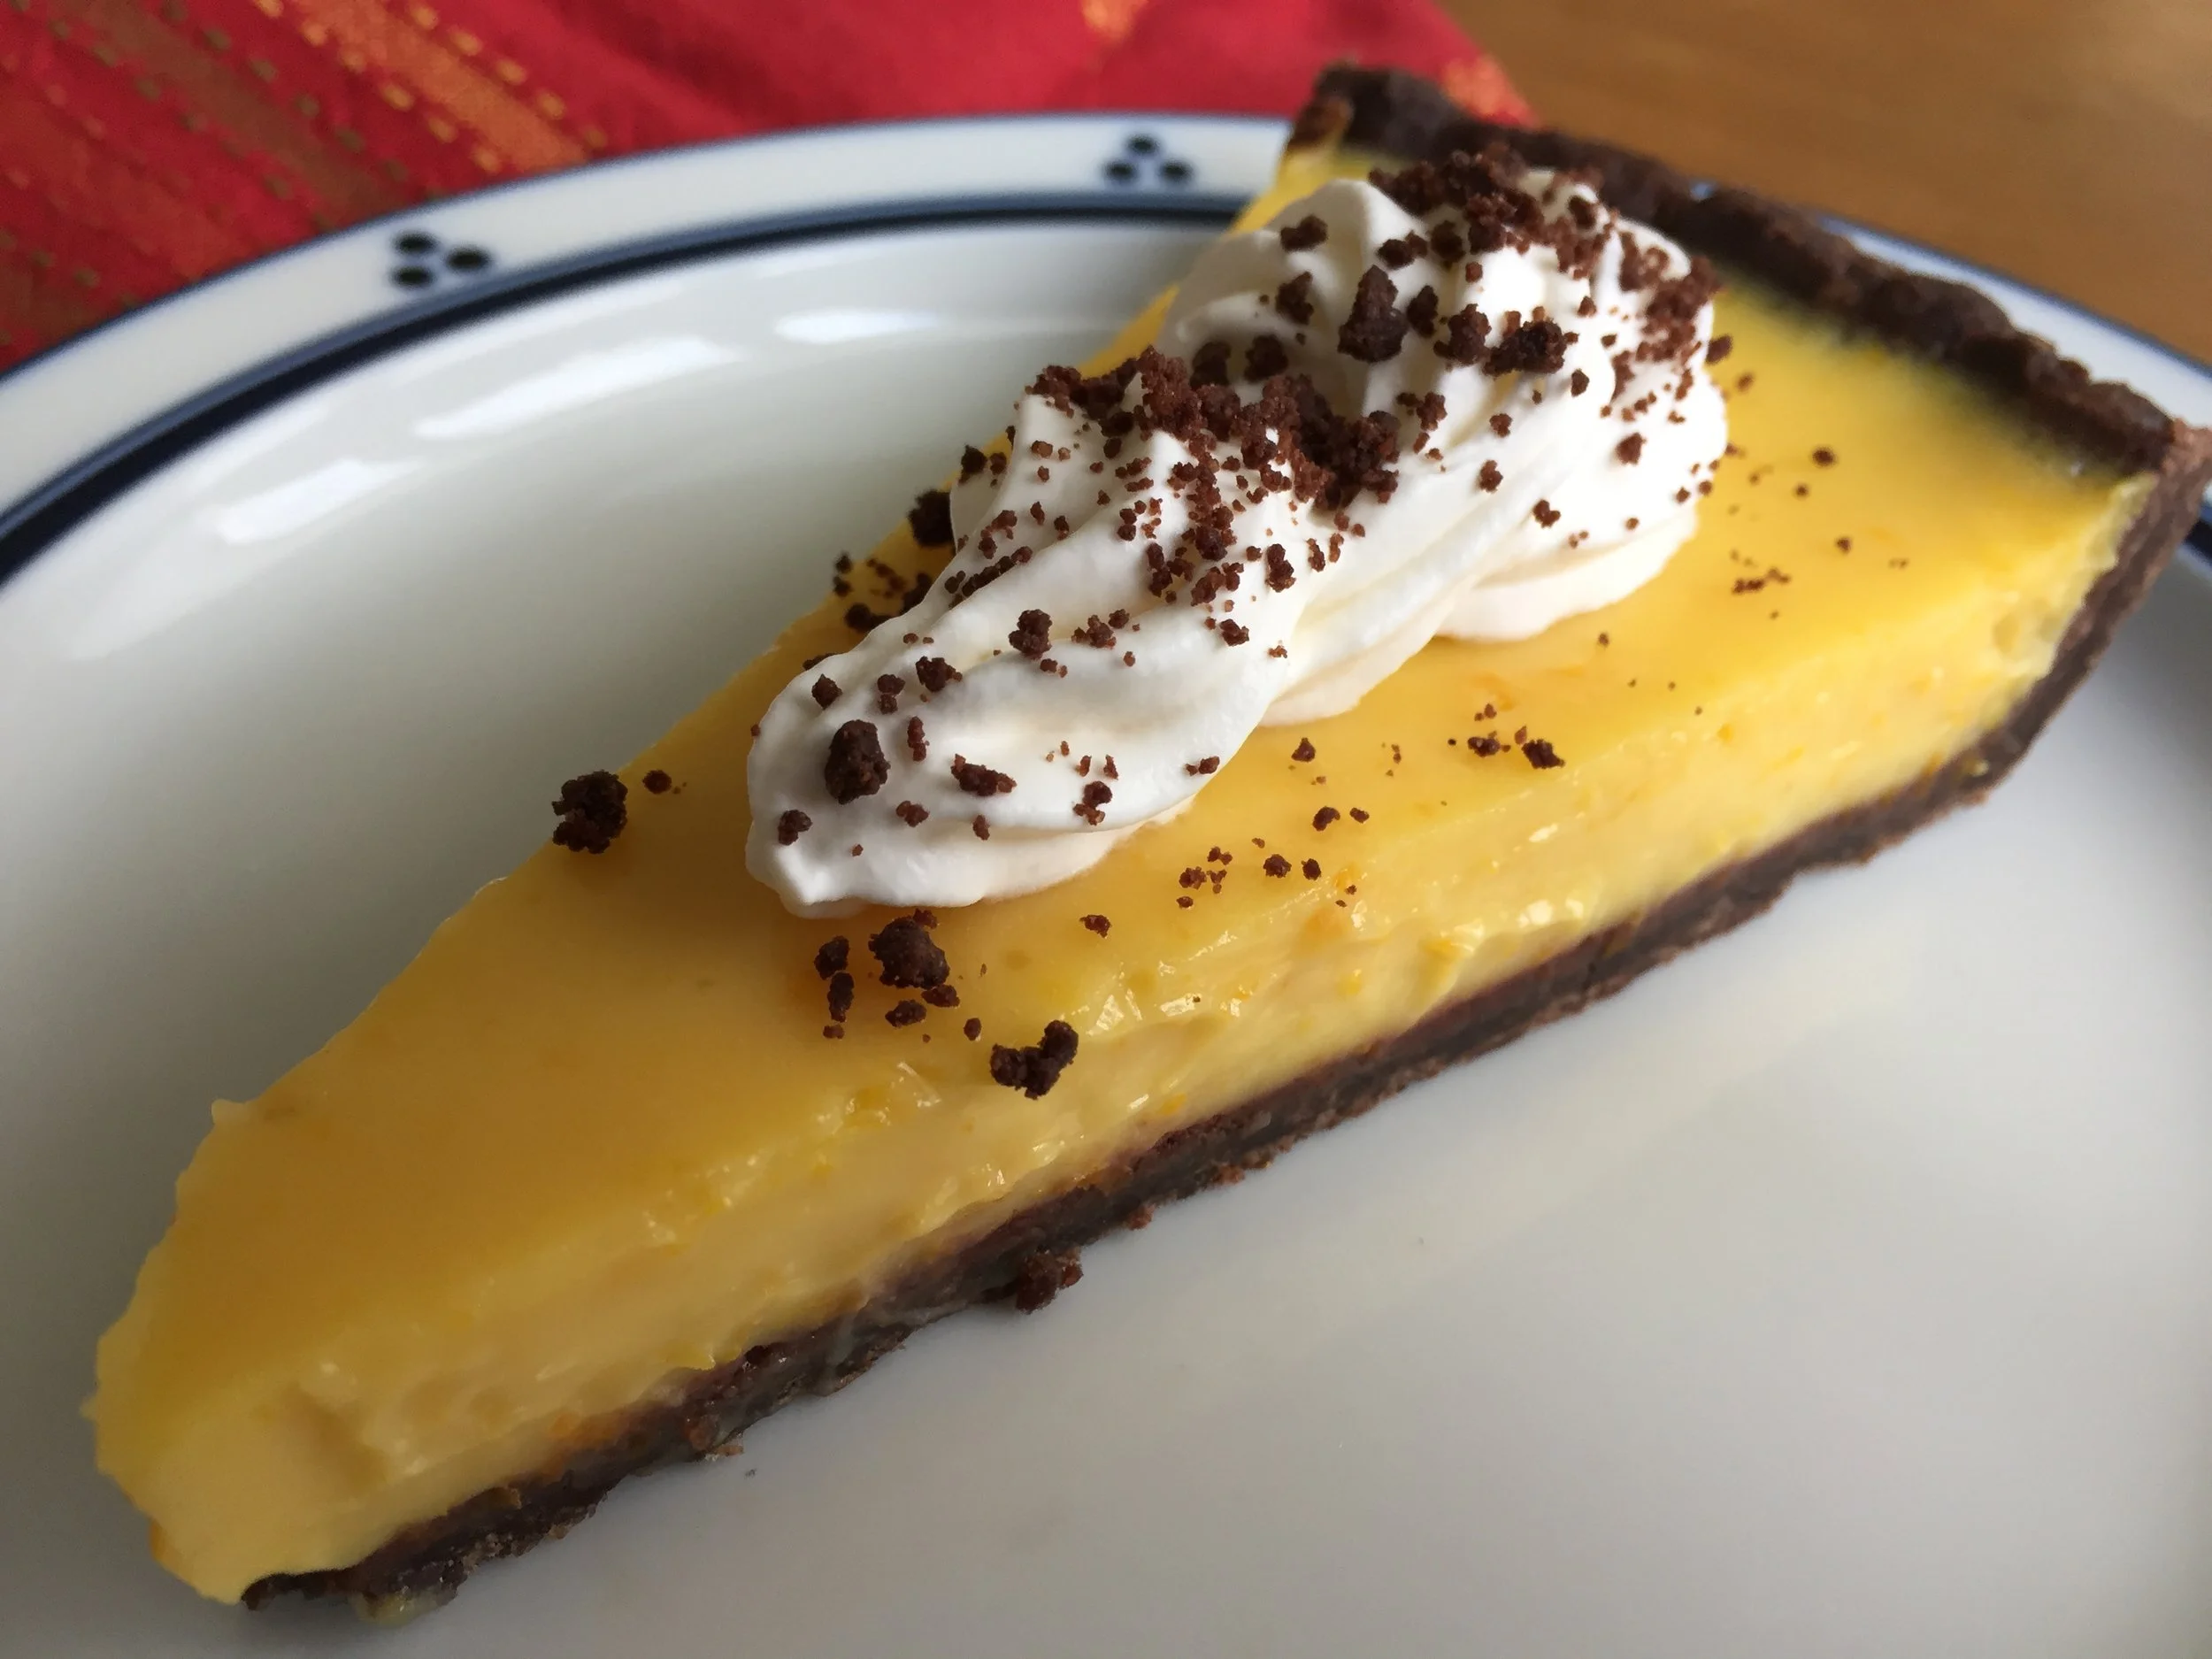
Pour the warm curd into the prepared crust and bake in a 325º oven for about 10-15 minutes until the filling is just set and you see a hint of a jiggle in the center. Let cool on a wire rack. Carefully remove from the tart pan and serve, or cover and refrigerate for 1-2 days. NOTE: always BEST the day of!!

Side note: we noticed the second day that the citrus flavor was not nearly as bright and fresh - orange doesn't seem to hold up nearly as well as lemon.

IMG_2529.JPG

The crust had just the right chocolate flavor, the filling a lovely sense of citrus-osity and the combination was deelish served with lightly sweetened Chantilly cream (my go-to garnish) and chocolate shortbread crumbs. Yup.

And guess what!? Steve liked it!! Yippee.

IMG_2556.JPG

Next up - the lemon version. Since I've written about the tarte au citron à la Jacques Genin in a previous post, I'll simply focus on the meringue garnish that I opted for this time around.

IMG_2602.JPG

I went with a basic French meringue (2 parts sugar to 1 part egg whites by weight, a pinch of cream of tartar) whipped to medium stiff peaks. I then folded in some crushed freeze dried raspberries and some finely chopped white chocolate (use your judgement on how much you'd like to add). I doled out blobs of the meringue onto silpat lined sheet pans and baked them at 200ºF for about an hour and a half to dry and crisp them up. Once cool they crumbled very nicely into just the right shards to top my tarte au citron.

Destined for a family dinner while sister Mary and niece Mallory were visiting, I served slices with a sprinkle of fresh raspberries. I've gotta tell ya - this tart held up extremely well in the fridge over several days. It served as our dessert for two days in a row and did not disappoint. Of course I LOVE the tartness and bright, fresh flavor of this one, and the crunchy meringue bits on top of the cool luscious curd gave it that special something.

Everyone enjoyed their slice, and, even though Steve tends to be a chocolate kind 'a guy, he gave this one an A+. Two for two - not too shabby.

IMG_2604.JPG
 
IMG_2605.JPG

Happy spring and happy baking!

More than you'll ever want to know about shortbread

When asked what my favorite baked good is, my thoughts usually turn to a lovely, buttery shortbread. There is something so genteel about a cup of tea with a delicious crisp cookie along side.

The basic dough for classic shortbread is 1-2-3 dough, or 1 part sugar, 2 parts butter and 3 parts flour (by weight).  The word short refers to the high fat content of the dough as well as the limited mixing, which prevents long gluten strands from forming and keeps the dough tender.

In French the word sablé (sand) is used to describe this type of dough, and the sablage process involves simply mixing flour and sugar together, then blending (or "sanding") in diced, cool butter with your finger tips until a coarse, sandy texture is reached. At that point the dough can be pressed firmly into a pan and baked.

That's the method I use when I have a craving for fresh shortbread and want to make it quickly.  I line an 8 or 9" square pan with parchment and weigh out 75 gm sugar, 150 gm butter and 225 gm flour.  I dice the cool butter and sand it by hand into the flour and sugar until crumbly. I like to add the seeds scraped from one vanilla bean too - love to see those little brown specks! (I buy my beans in bulk from Beanilla).

Once the dough is pressed into the pan I bake at 300º convection, usually about 20-25 minutes. I like it lightly browned and well baked so it has a tender crumb but is still crispy too. With this approach it's important to cut the shortbread in the pan soon after it comes out of the oven. If you wait until it's completely cooled, it will tend to crack and won't cut evenly. But don't worry, it will still taste great!

You can also take the sablage a step further until the dough actually comes together, although it's easier with a mixer, especially if you're making a larger batch.  Just put your flour and sugar into the mixing bowl, throw in your diced butter and mix with the paddle on low speed. It usually takes about 5 minutes before it starts to form a cohesive ball. Then stop and don't over mix.

This allows you to shape the dough into a round, square or even triangular log or simply wrap and chill it for later rolling and cutting into desired shapes. It's the best approach when you're planning ahead and want to have a variety of flavors of dough ready in your fridge or freezer.

Some of my shortbread are made using another common mixing method - that of first blending soft butter with sugar and THEN adding the flour.  Please note that this is NOT the traditional creaming of butter and sugar that is meant to aerate and lighten, as one might do for a cake. You don't want to introduce air into the shortbread dough, just blend the butter and sugar together.

By now you're probably wondering why all this talk about mixing methods for such a simple cookie? It's the world of baking and pastry! And why might I use one method over another? It's really based on the various recipes I've discovered and adapted over the years. The results are all still delicious no matter what method you use, so have fun with it!

I found the following recipe some years ago on Clotilde Dusoulier's blog, "Chocolate and Zucchini".  She attributes it to Parisian chef Yves Camdeborde of Le Comptoir du Relais in the 5th arrondissement.

It varies a bit from the strict 1-2-3, using 90 gm coarsely ground raw sugar (gives it a great crunch!), 200 gm soft butter, and 250 gm flour (along with those important vanilla bean seeds). The higher ratio of butter and lower ratio of flour give these cookies a nice crispy texture.

First I smear the butter with my trusty spatula until smooth, then blend in the sugar (that's a mixture of vanilla sugar and coarse raw sugar above on the right).  I scrape my vanilla seeds into the mix, throw in a pinch of salt and then add the flour by cutting it in with a bowl scraper and gently blending it by hand until it comes together. You can see it still looks rough but holds together.

Divide the dough in quarters in preparation for log shaping. I first shape roughly . . .

and then do the final shaping with the dough wrapped in plastic.

Place the wrapped logs in the fridge for a good 1-2 hour (or overnight) chill. Once the dough has chilled, and you're ready to bake, heat your oven to 300ºF convection. With this particular recipe I roll the logs in raw sugar before slicing, then space the cookies out on parchment lined sheets.

I've gotten into the habit of freezing the cookies on the sheet pans for 10-15 minutes before baking.  It keeps the butter firm and helps maintain the shape during baking. Depending on your oven these may bake anywhere from 20 to 25 minutes - pay attention to what's happening in there, and don't forget to rotate and change shelf positions of your sheet pans about half way through.

Let's talk a bit about flavors.  Once you have a base recipe down, use your imagination to create your own variations.

One of my favorites is to brush the just baked cookies with my homemade caramel sauce, sprinkle them with sea salt and pop 'em back in the oven for 2-3 minutes to set the caramel.  Deeelish!

Or brush with honey and sprinkle with herbes de provence (Steve's idea!) and sea salt.

You can add citrus zest and a squeeze of fresh citrus juice as you're mixing . . . or mix some chopped crystallized ginger, dried tart cherries or cranberries into your dough . . . or add chopped, toasted nuts and your favorite spice like cinnamon, ginger or nutmeg . . . or replace 1/4 of your flour with ground nuts or cornmeal for varied textures . . . or dip your finished cookie in melted chocolate.

You get the idea.

One of the most popular offerings during market days at my pastry studio in Pawtucket RI was the shortbread bar - 12 different flavors, mix and match, pop 'em in a bag and go!

Mmmmmm - what an enticing array!

Now it’s your turn to create your own version of delicious buttery shortbread cookies! Have a ball!!