Ficelle (a.k.a. skinny baguette)

IMG_2822.JPG

I thought I'd take a few moments on this cloudy, off again-on again rainy afternoon and share my latest bread baking adventure, compliments of Weekend Bakery.  I discovered the website some months ago while reviewing croissant methods (and theirs is right on par with mine - yes!!). Written by a couple in the Netherlands who bake at home during the weekends, it is a plethora of bread baking tips, techniques, recipes, videos and overall great information for all of you avid bread bakers out there. You can choose English or Dutch and you should definitely check it out!

Since I was preparing to teach my own bread baking class to Lisa and Jerry (AVID bread bakers for sure), I was perusing various posts and recipes and decided I needed a little test project to get me in the mood. Ficelle here we come.

The word is literally translated as string, and the bread is basically a thinner version of a baguette. This one happens to be made with a combo of bread flour and semolina, an ingredient I enjoy immensely in my pizza dough. Must be good, right?

The WB version is a sourdough ficelle using the so called hybrid method with a sourdough poolish which is then incorporated into the final dough which contains added instant yeast.  They are thoughtful in giving one the option to use all instant yeast, which is especially helpful for those of us who have yet to jump on the natural starter band wagon - maybe one of these days folks.

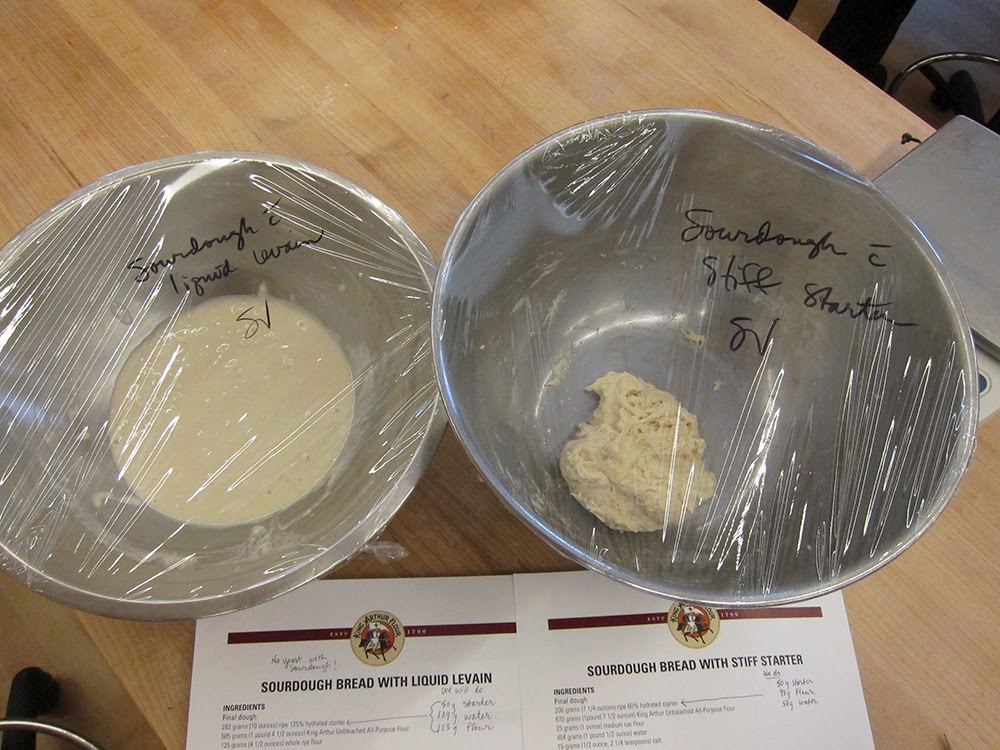
A poolish is a starter dough made with equal weights flour and water plus a small amount of yeast (or sourdough starter if you're going that route). For this recipe mix 200 g bread flour with 200 g water plus 1/4 teaspoon instant yeast OR 30 g active sourdough culture.

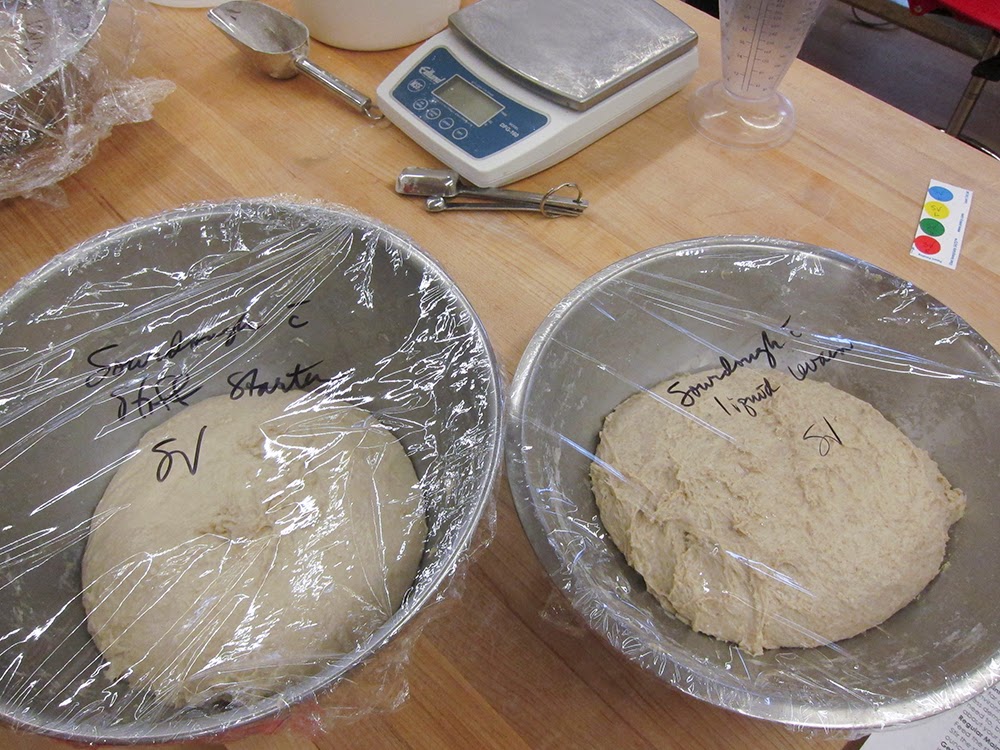
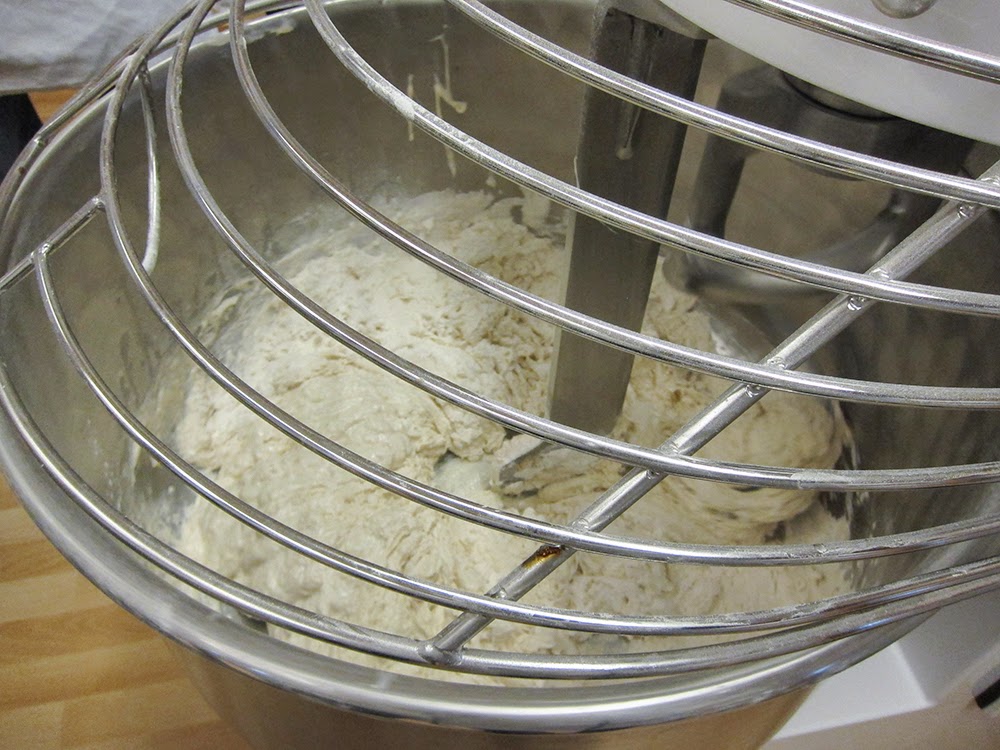
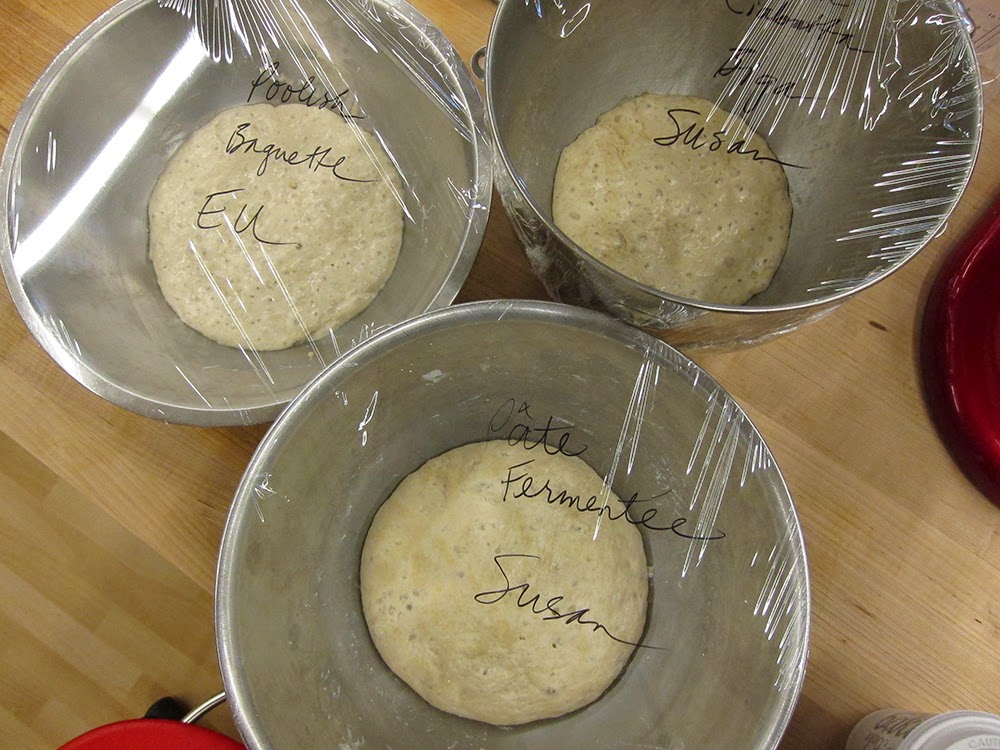
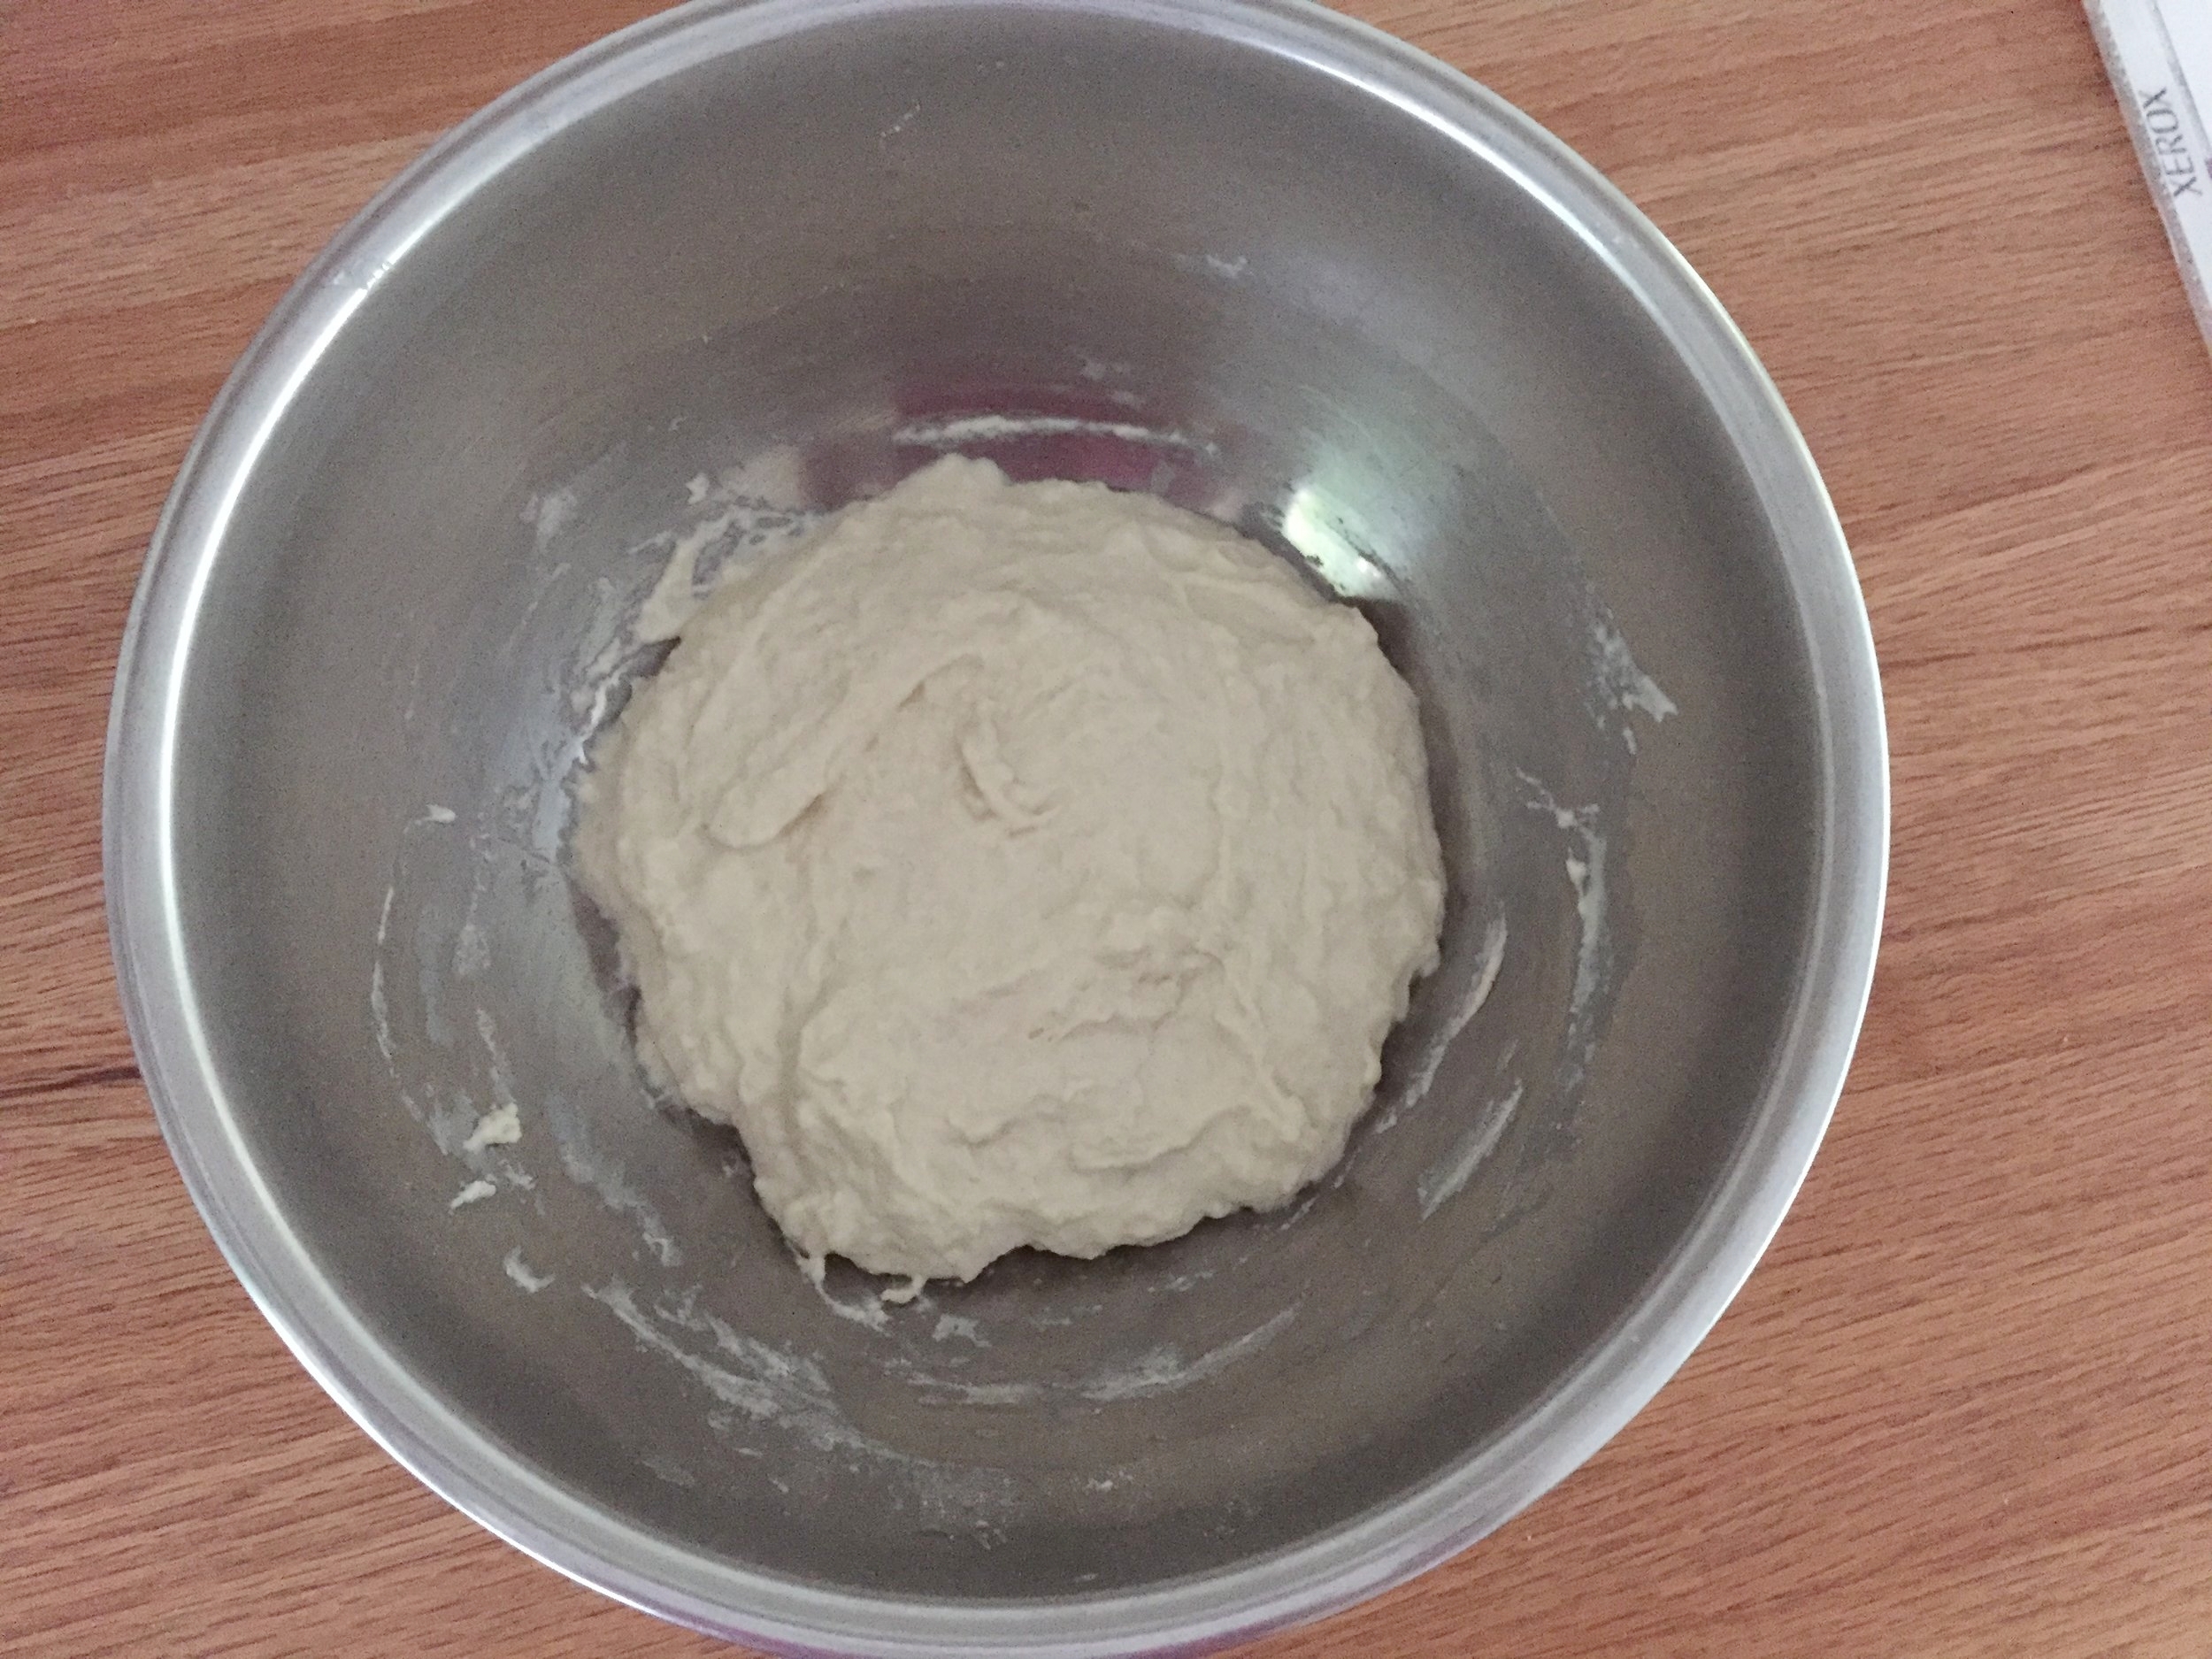
Below is the starter just after it's mixed. Generally the poolish is allowed to sit, covered, for some hours, either at room temperature or in the fridge depending on the time frame of your recipe. This one is a six hour, room temp wait, so it's easy to plan to accomplish it in one day.

IMG_2809.JPG

Here it is after a six hour preferment. Nice and light and bubbly. And you know what? It smells good too!

IMG_2810.JPG

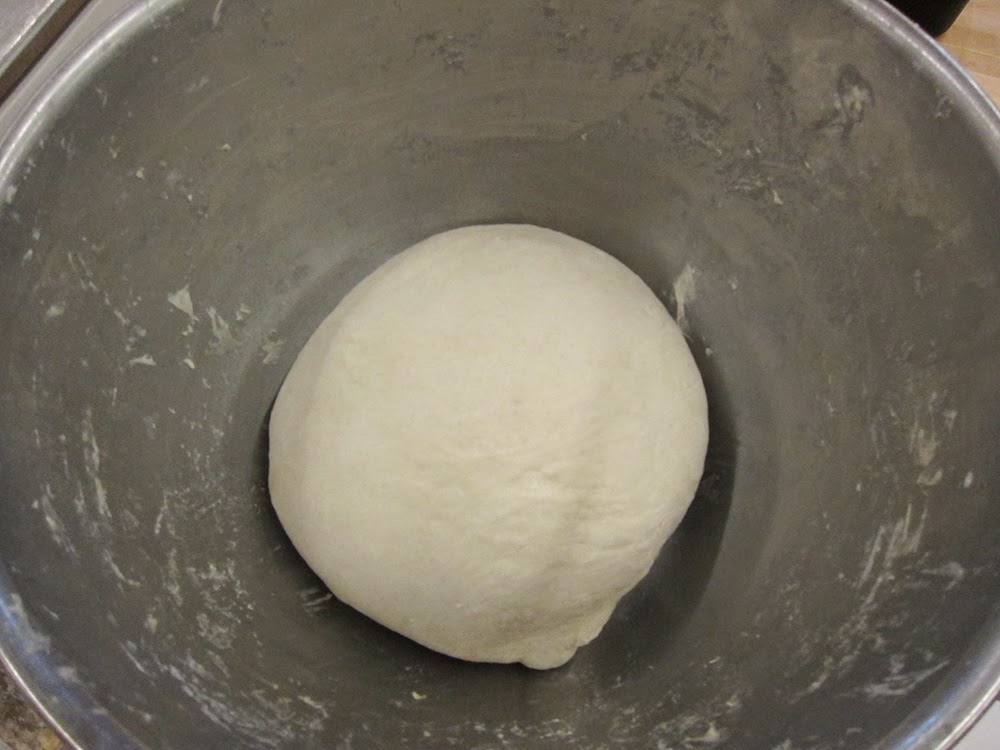
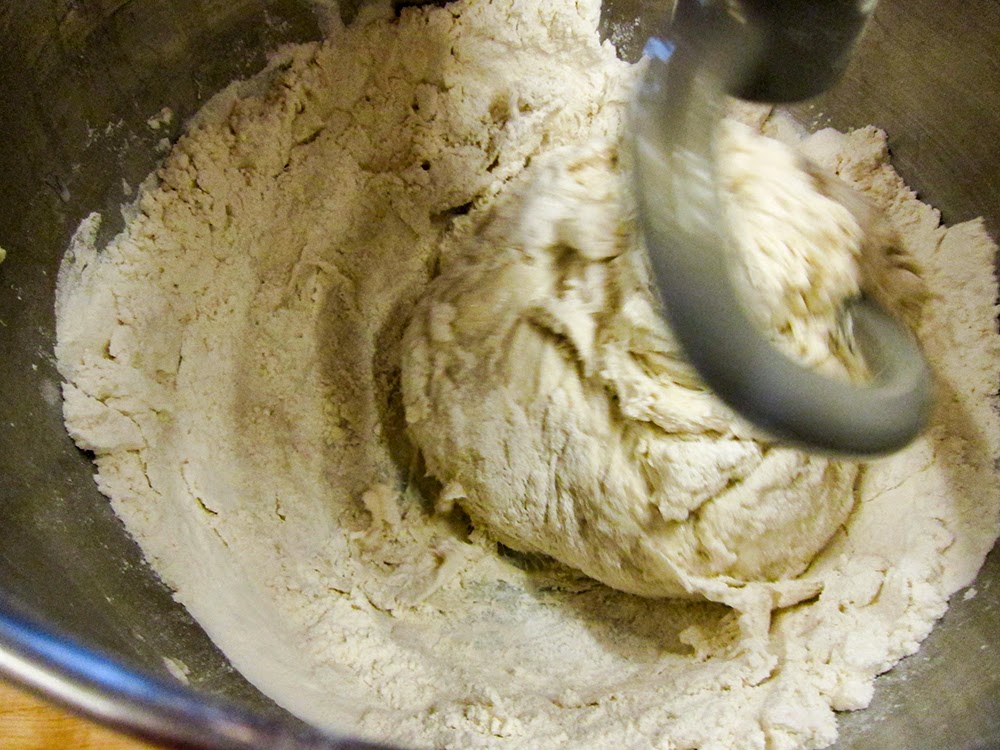
For the final dough, in the bowl of your stand mixture fitted with the dough hook, combine the above poolish with 200 g bread flour, 100 g semolina, 110 g water, 8 g sea salt and 5 g instant yeast. Knead on low speed (2 on a Kitchenaid) for 7 minutes then cover it and let it rest for 30 minutes.

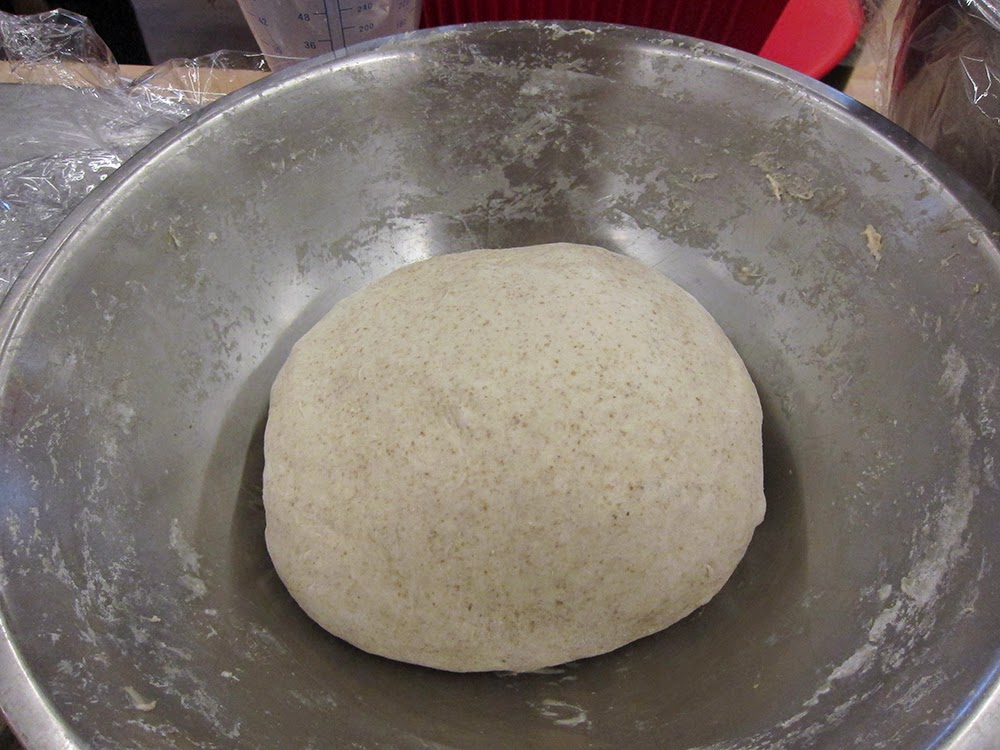
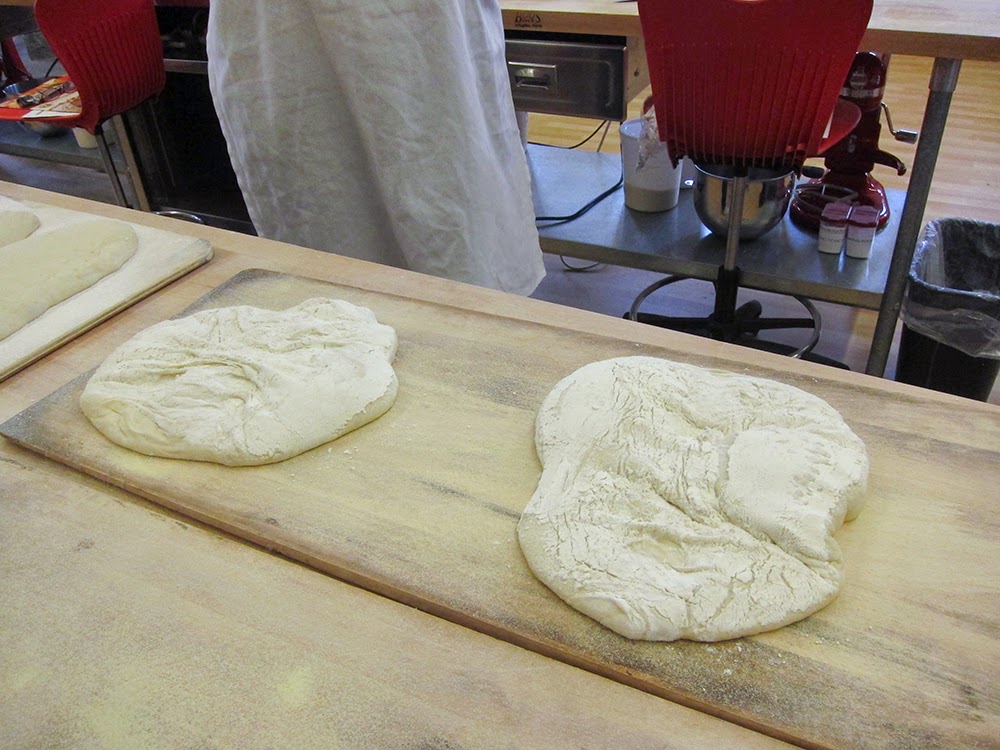
Turn the dough out onto a lightly floured work surface, do a full stretch and fold (top down, bottom up, right side over, left side over and ball it up) and let the dough rest another 30 minutes.

Rested and ready to divide

Rested and ready to divide

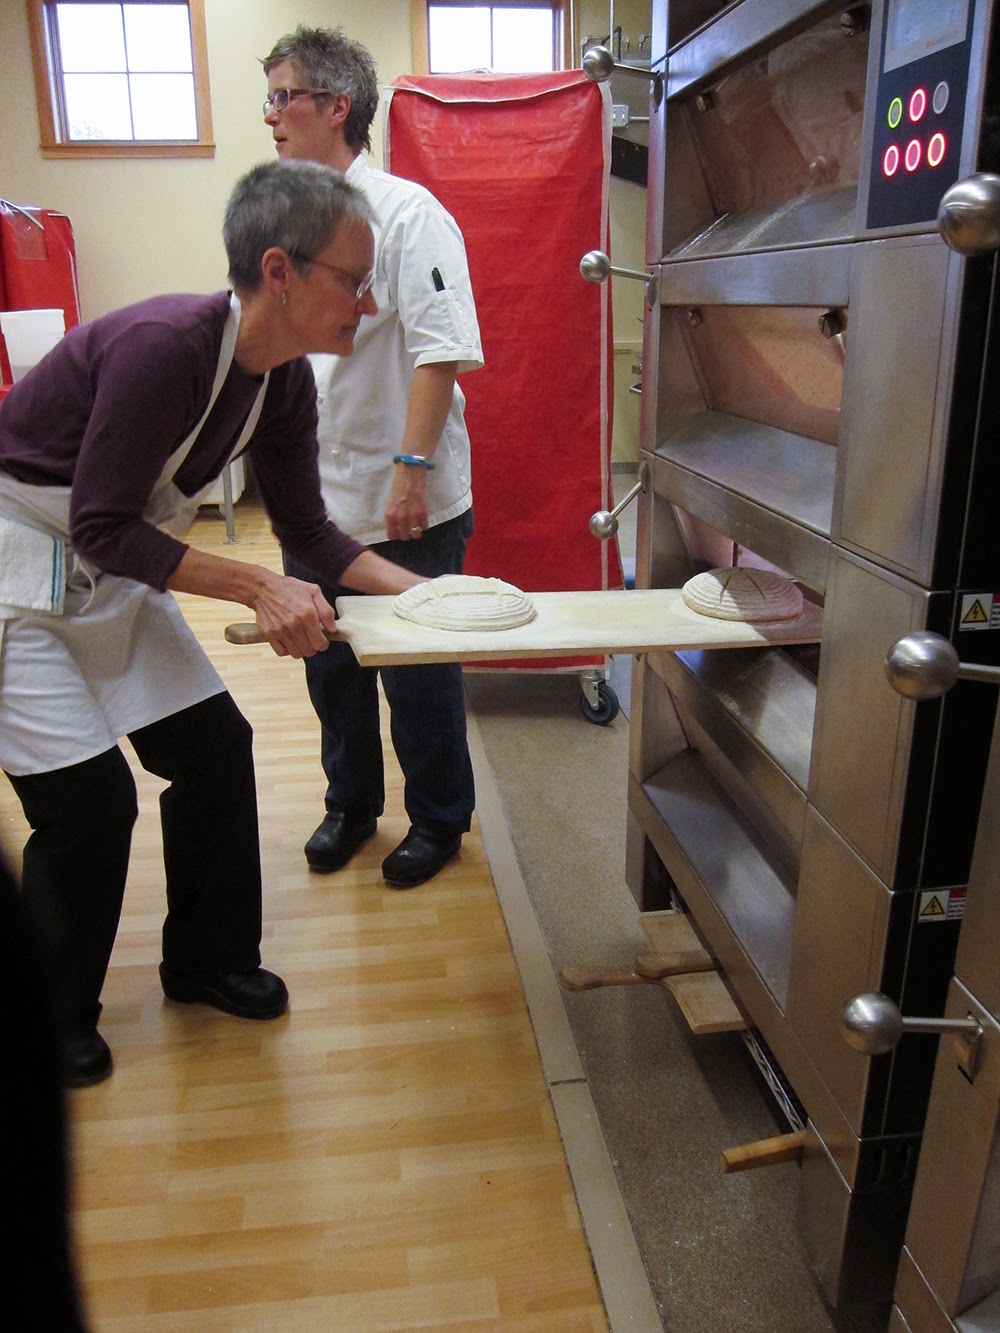
Heat your oven to 465ºF with a baking stone in place, or, if you're like me, place a half sheet pan in the oven during the pre-heat (that will serve as the hot surface on which I place my sheet pan containing my risen ficelle).

Divide the dough in four pieces, shape each one into a rough rectangle then cover and let 'em rest for about 10 minutes.

IMG_2812.JPG

Now shape each piece into a log as seen below. Please accept my apologies for the somewhat fuzzy images, but at least you can visualize the steps (I hope!). I attempted a short video of the shaping, but, not being quite up to snuff, that will have to wait for another time. It's all about learning, even the techno side!

Elongate the rectangle, fold over the top third, pressing along the edge of the dough with the heel of the palm. Turn the dough 180º.

IMG_2813.JPG

Fold over the top third toward the middle, again pressing along the edge of dough with the heel of the palm.

IMG_2814.JPG

Now fold the dough over itself to form a rough log, pinching the seam with the heel of the palm.

IMG_2815.JPG

Place your overlapping hands in the middle of the log and start rolling with gentle pressure, gradually elongating the dough as you move your hands outward toward each end. You should have a nice thin log with pointy ends.

IMG_2816.JPG

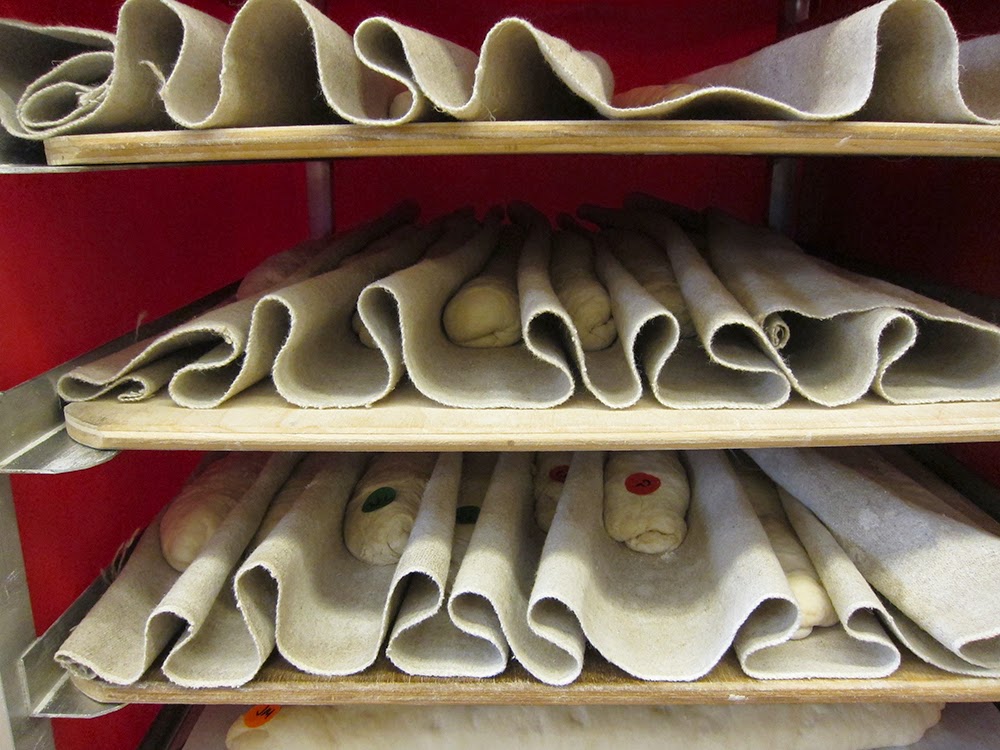
Once all four logs are shaped, arrange them on a sheet pan lined with parchment paper, cover with plastic wrap and let rest for 20 minutes.

IMG_2820.JPG

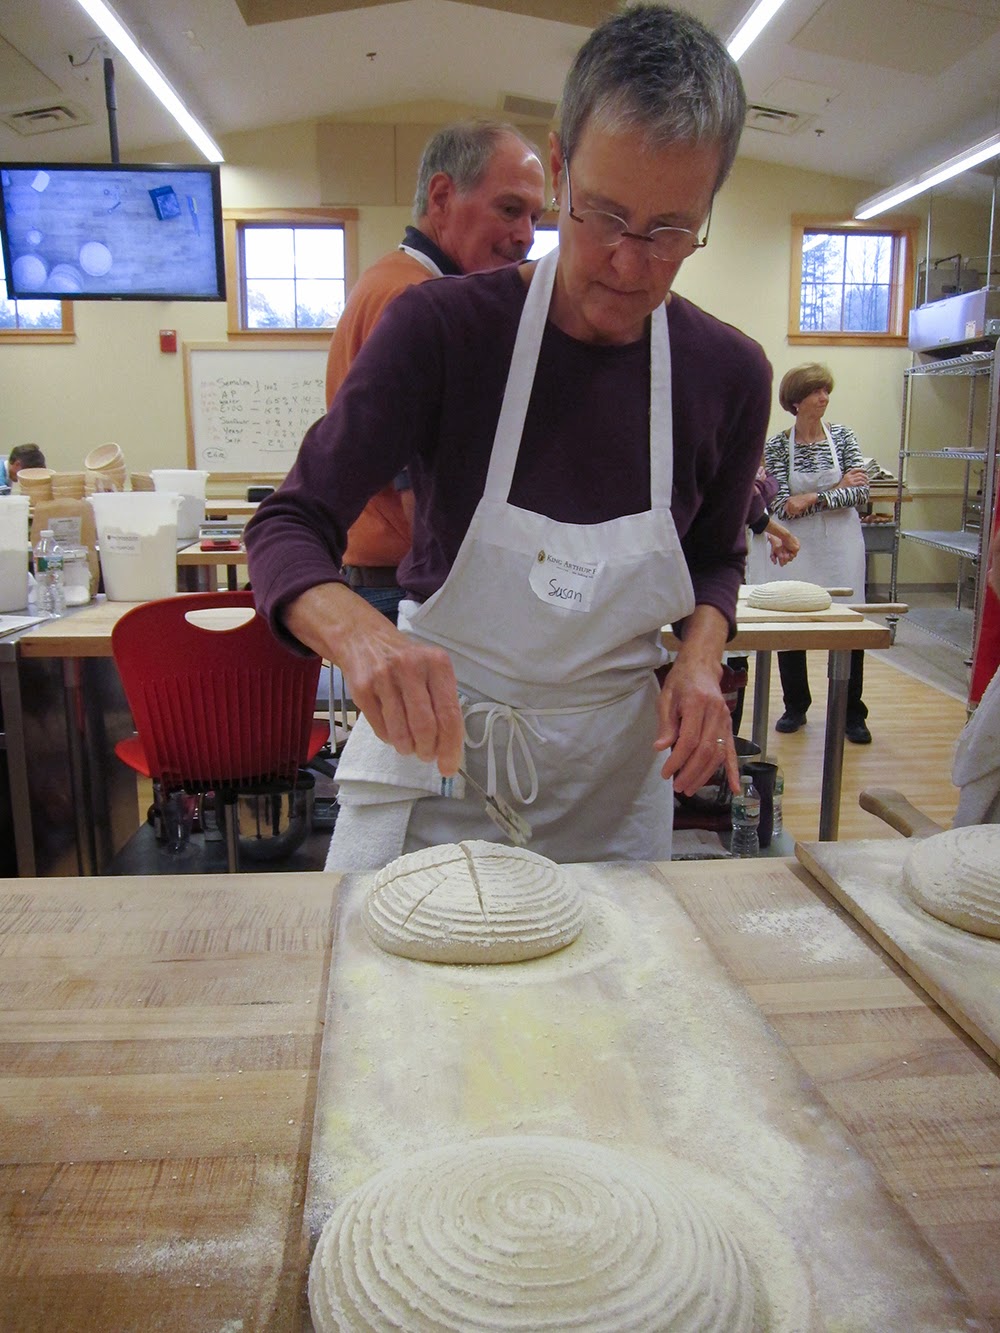
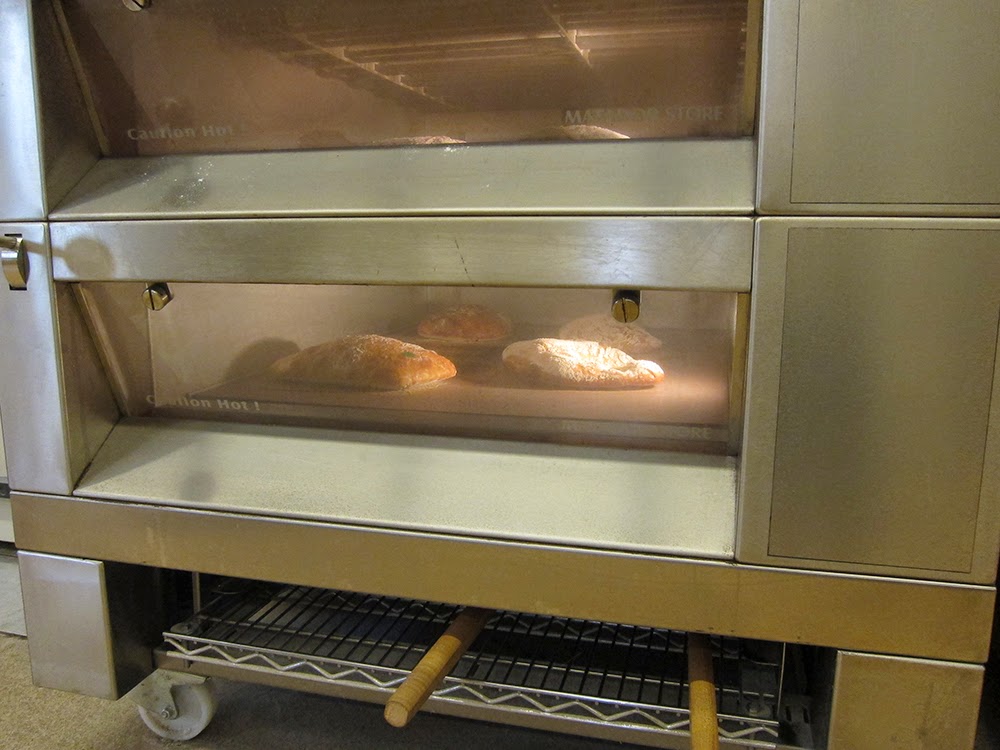
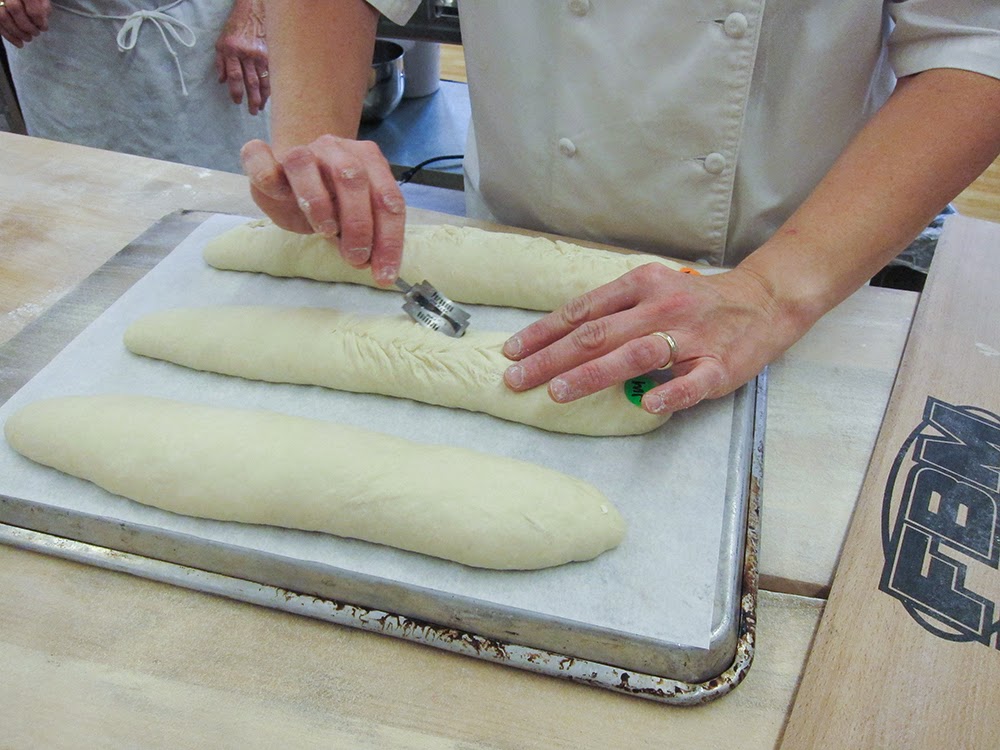
I scored these right down the center along the length of the bread then popped them into the heated oven onto my already heated sheet pan. I gave them a burst of steam by pouring hot water into the steam tray in my Kitchenaid oven.

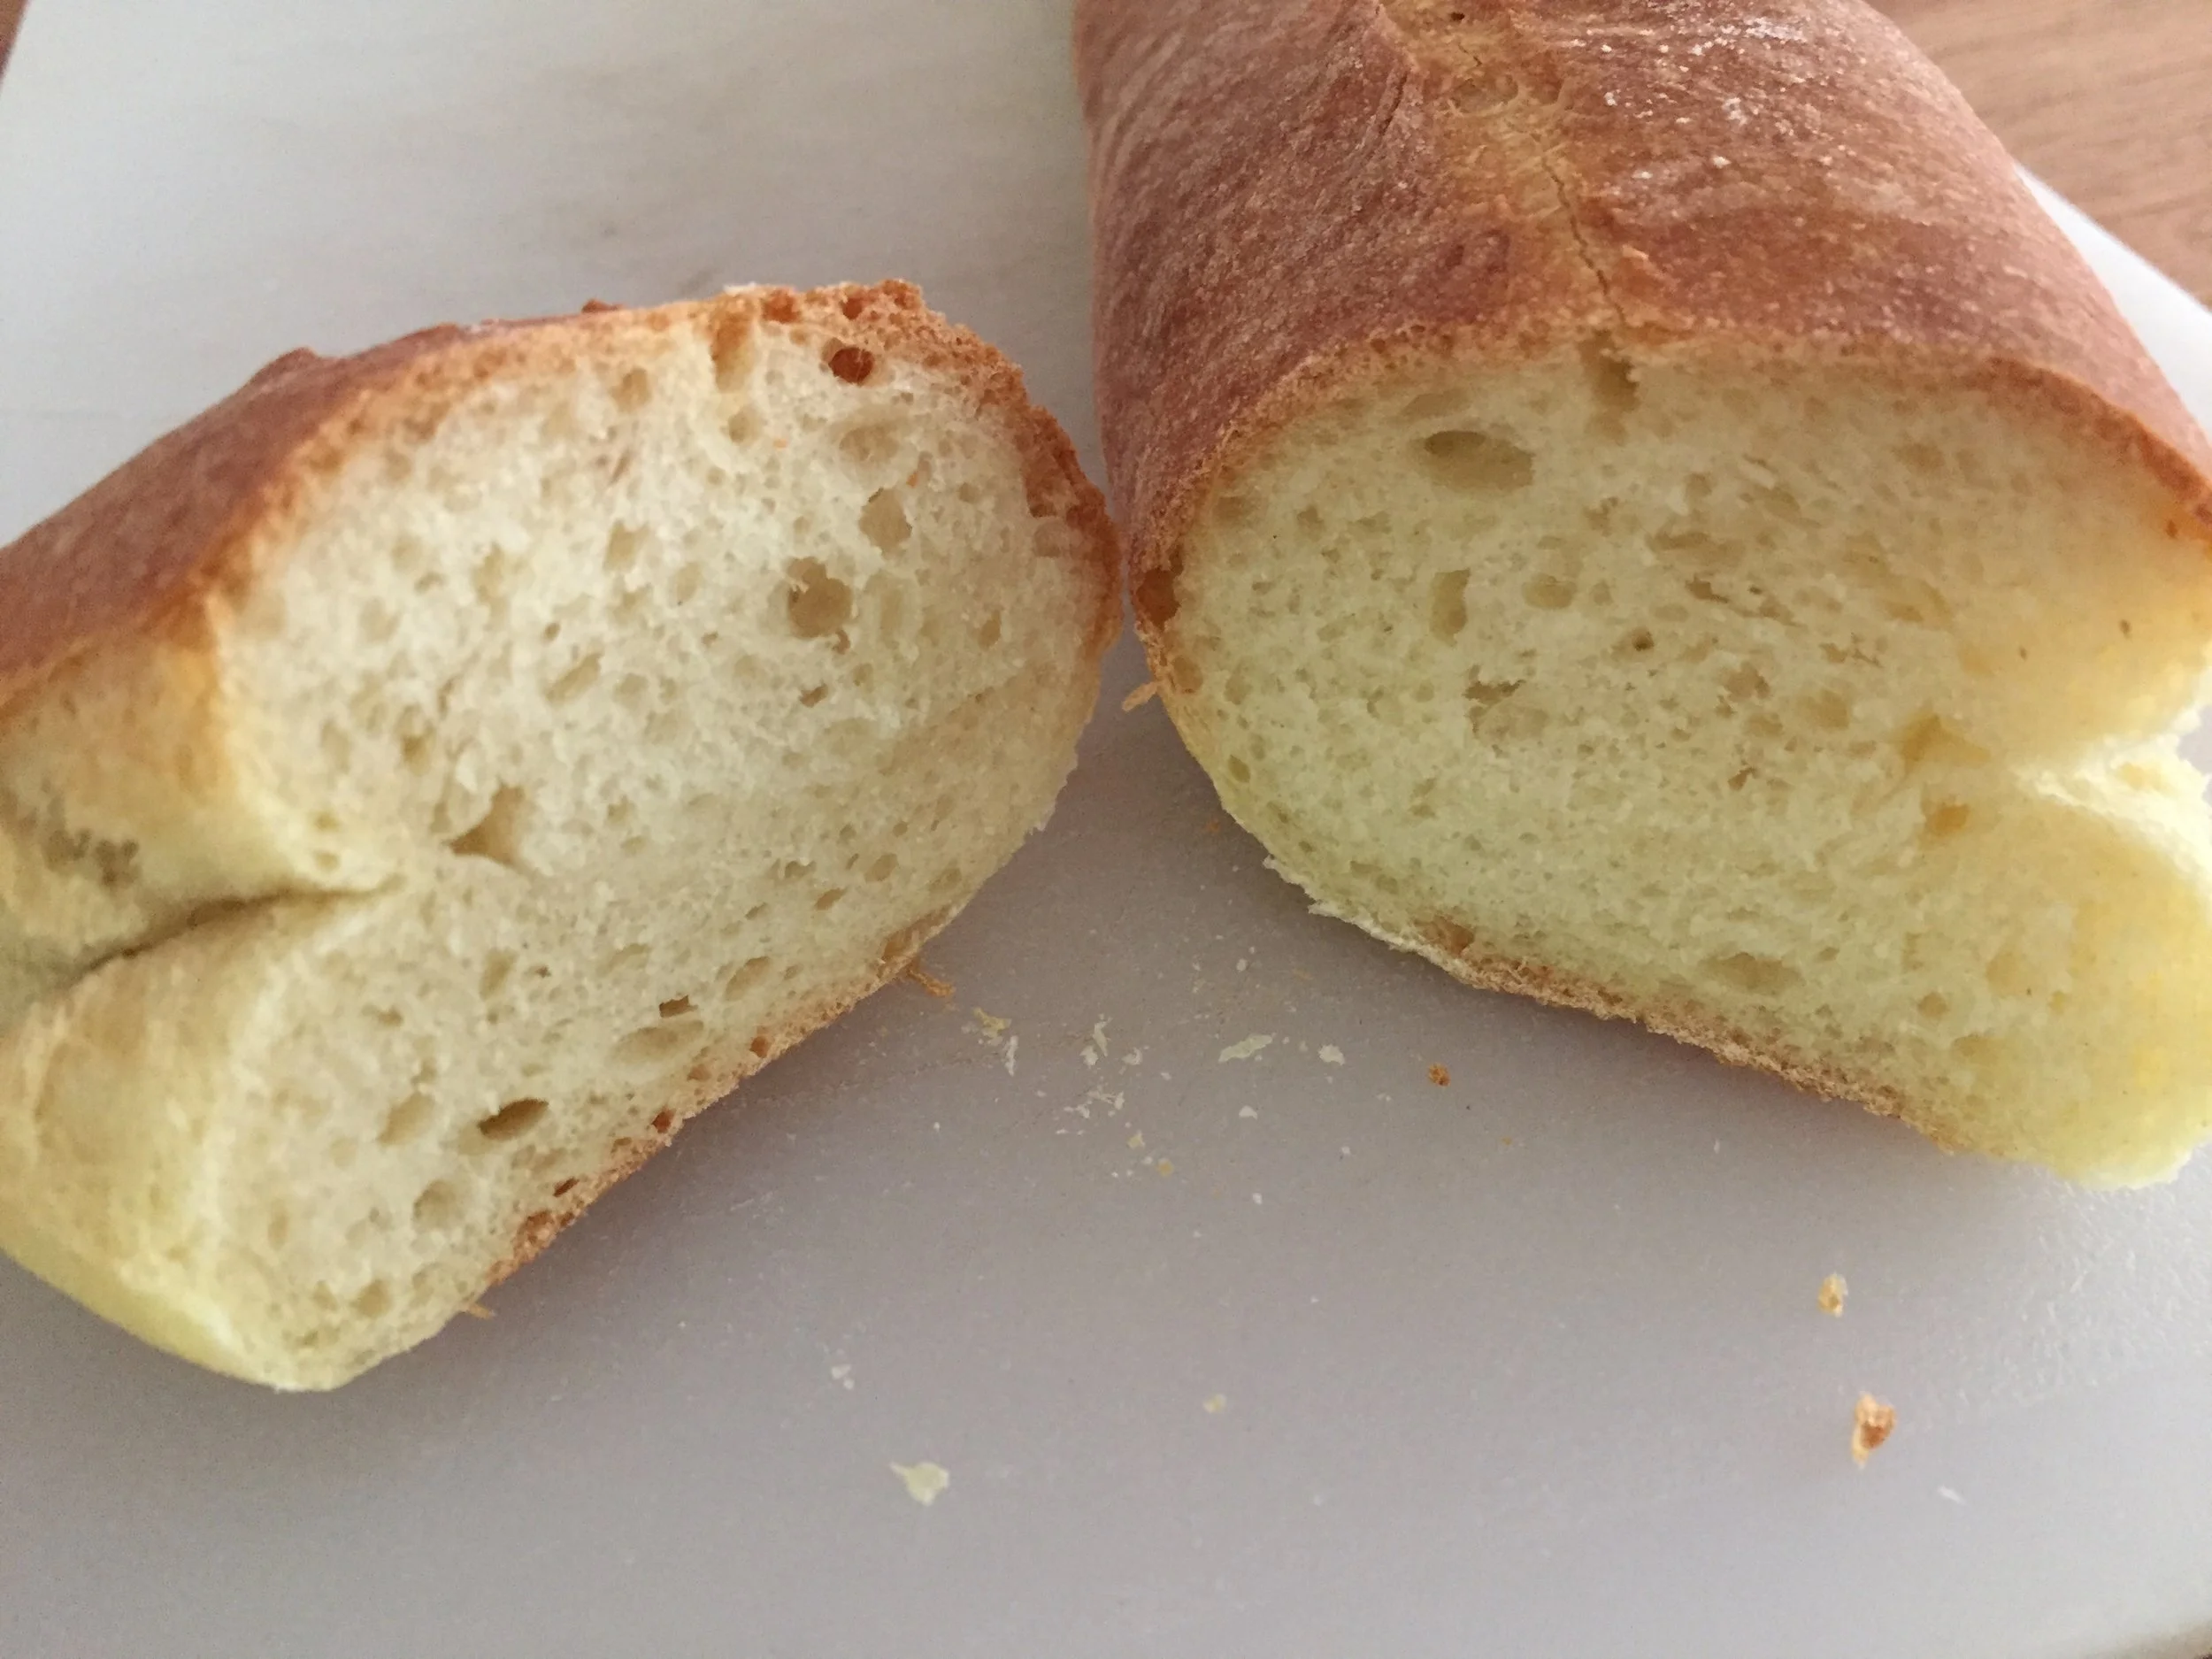
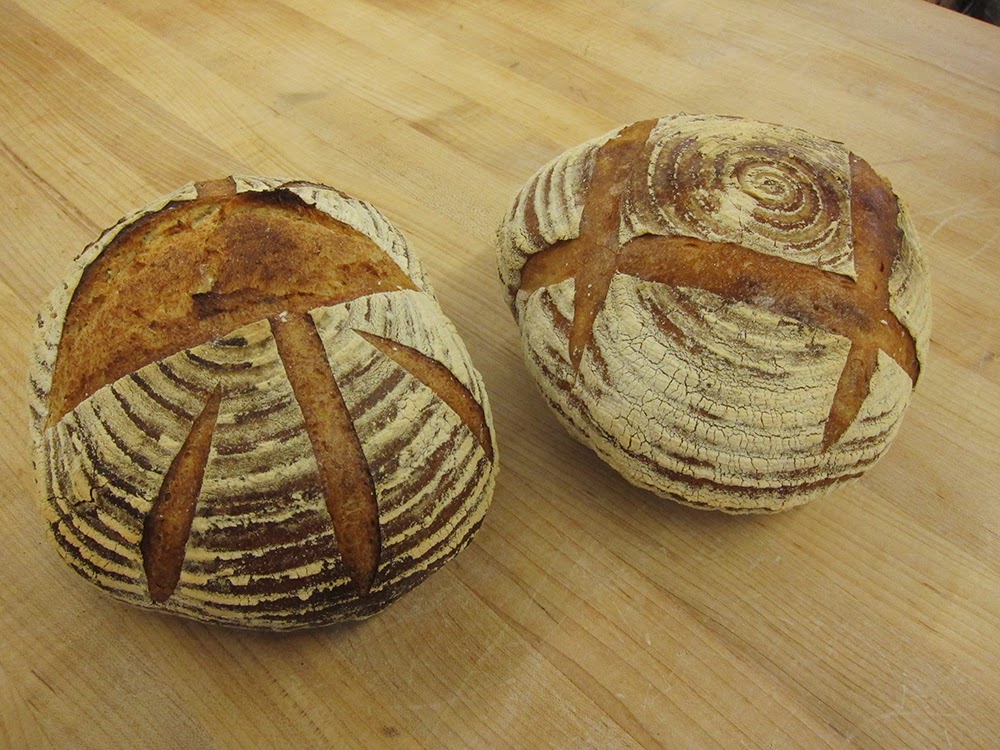
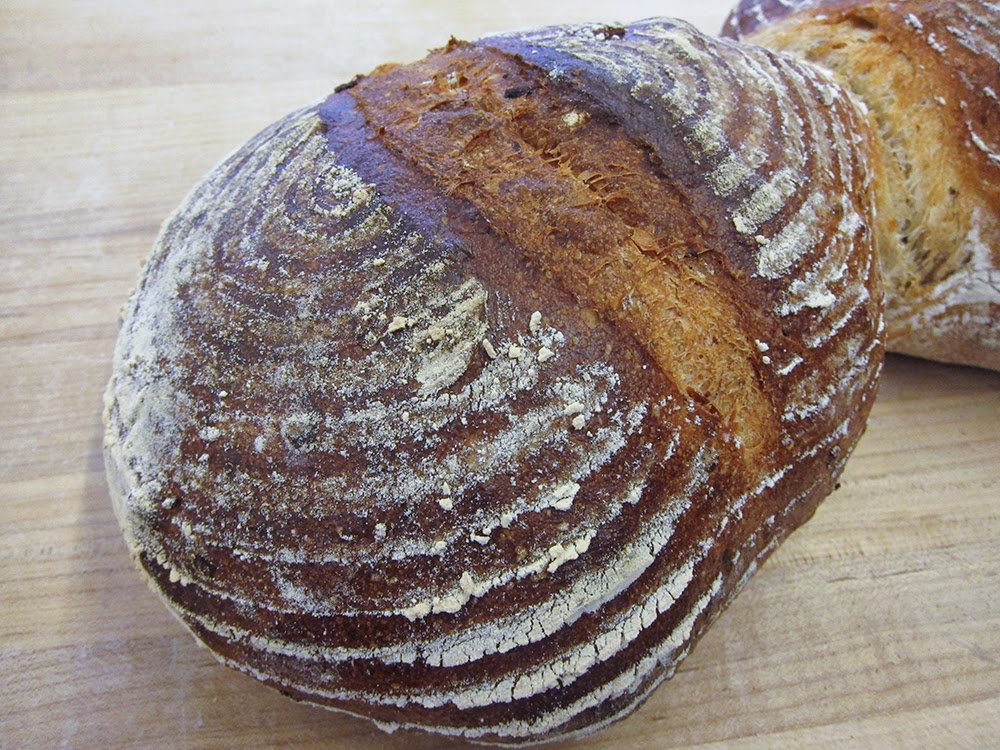
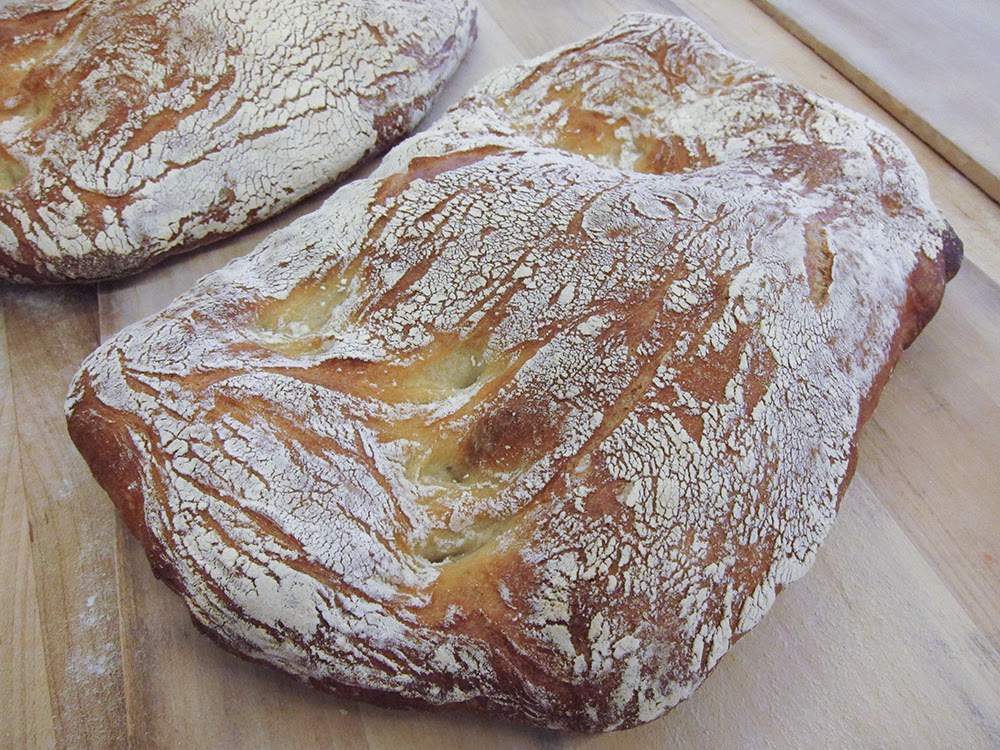
These baked about 20 minutes and developed a nice golden brown crust. Yeah.

IMG_2823.JPG

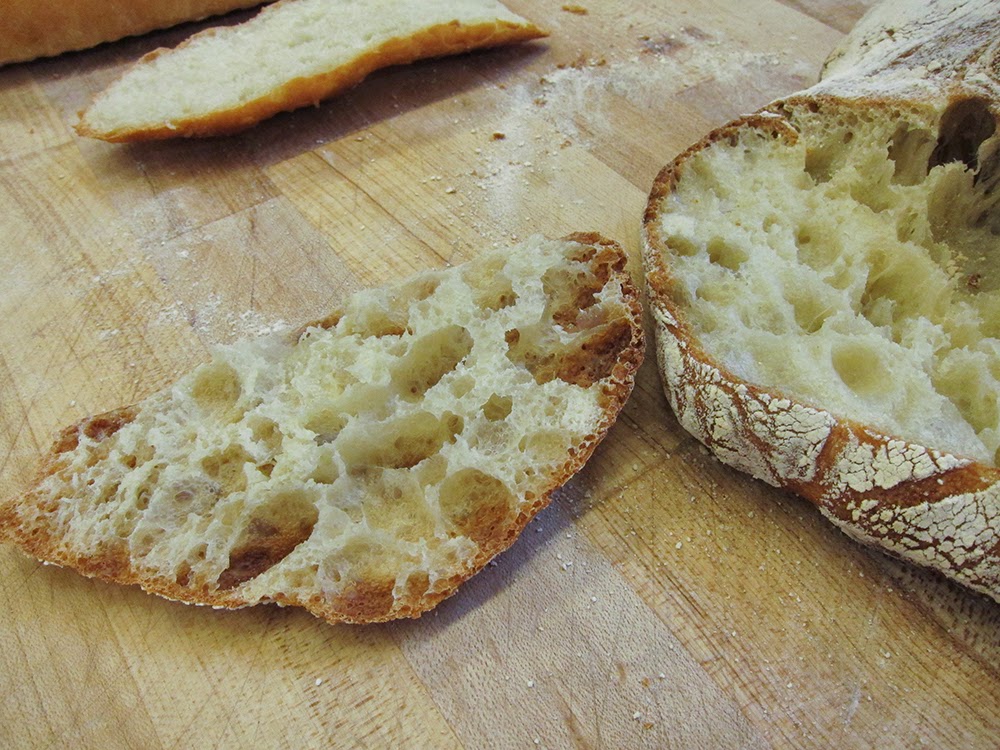
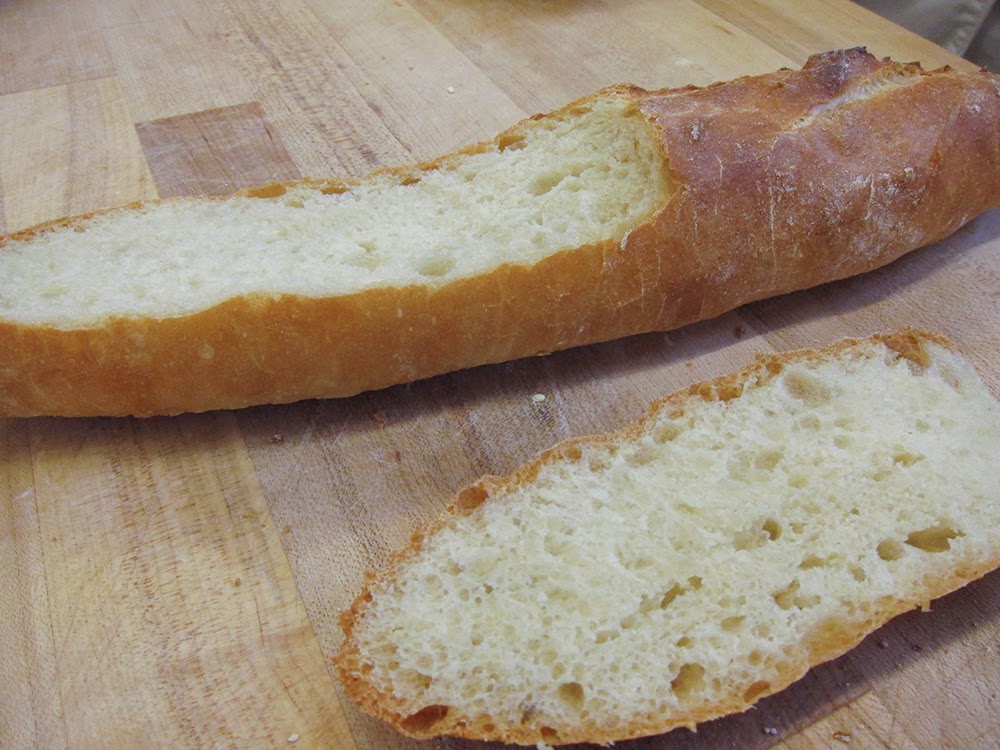
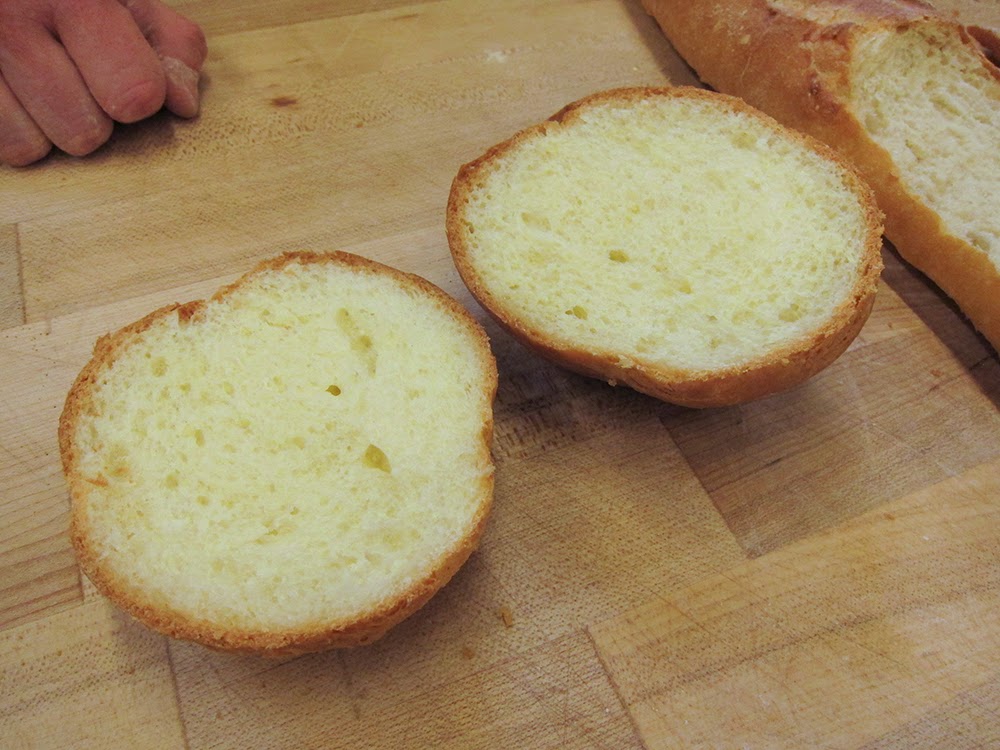
Once cooled it was time for a taste. A lovely dense crumb and creamy interior with a nice crunch to the crust. Time well spent I'd say. This one is literally all in a day's work. You can do it too, especially with the help of Weekend Bakery.com!

IMG_2824.JPG

Artisan bread class at King Arthur Flour, Day 3

Here we go again!  It's time to mix our sourdoughs, the primary focus of day 3 of artisan bread class at King Arthur Flour. Our liquid levain and stiff starter had rested at room temperature over night and were looking nicely bubbly and poofy as we then proceeded with the final dough.  We mixed both of these by hand, followed by the "slap-pull" kneading technique that we had practiced on day 2.

Notice the difference in appearance:  the "L" (liquid) version on the right appears more tan, while the "S" (stiff) version is bordering on white.

After a rest:

"L" version

"S" version

We then folded them into "dumpling" shapes with seam side up.

Above: awaiting final shaping

Jessica demonstrated how to shape the final boules (which we accomplished pretty handily) before placing them into brotforms. Part of the experiment was to place our boules in both the floured bare form (as we did for the roasted potato fendu) for baking today and the same form lined with cloth (seen below) for overnight refrigeration and baking tomorrow.

Above: an "L" loaf waiting to go into the fridge

The dough in the floured forms was given a good rise, after which we turned them out onto peels and scored them with whatever pattern we wished.

I chose a standard approach with this one . . .

and into the oven they go!

Out of the oven, looking good!

Day 3 also involved sourdough bagel making.  This was the one dough during the entire 4 day class that we did not make ourselves. Since Jessica was mixing a huge batch, and it required the commercial spiral mixer (a VERY cool piece of equipment by the way) for kneading, she took over the helm to accomplish that very thing.

Whoa baby!

My apologies for not having a pictorial history of the process, but, suffice it to say, we all had a chance to shape, boil and garnish the bagels. Half of them were baked today and the rest would be refrigerated and baked tomorrow.

The results:

Upon tasting, the chewiness and texture were OK, but I couldn't help but think back to those med school days while living in Detroit.  My roommate Jane and I purchased the best bagels at the Detroit Bagel Company perhaps?  I'm no longer sure of the name, but they were oh so good - still warm from the oven and the perfect road food as we drove to our familial homes on our weekend breaks!

Now, on a completely different note, I don't want to forget the more scientific side of this whole process, and I'll try not to bore you with the details.

Yesterday Jessica talked about determining the proper water temperature for dough, starting with a desired dough temperature (DDT) and also taking into consideration other factors such as flour and air temps and the temperature that friction adds in the mixing (i.e. by hand or in a mixer). Pretty fascinating for the science-geeky types.

We also received information about bakers percentages based on the amount of flour one is using, from figuring out how much hydration you might need in a particular dough, as well as the common percentages for salt and yeast.

Today she regaled us with all things sourdough - starters, feedings, room temp or refrigerator, expanding for baking - you name it, it was there! Up until now this topic has held a good deal of mystery for me, but, at least after this class, I've gained a novice's understanding of the process. Will I pursue the sourdough track? Now that's an entirely different matter.

As the day was coming to a close we accomplished one of the coolest projects of this 4 day class - as a group, we created our own bread recipe! Using what we had learned about bakers percentages and working with a list of ingredient options, we developed a semolina-olive oil-sunflower seed bread recipe. And we'll make it tomorrow!

As if we hadn't already accomplished enough, we quickly put together our 2 rye starters for day 4 using rye cultures that had been fed each day by our instructors.

More coming - stay tuned for day 4!

Artisan bread class at King Arthur Flour, Day 2

On the second day of class we dove right in, working with the preferments from the day before - all bubbly and ready to go!

The potato bread dough was made using the pâte fermentée and contains chunks of roasted Yukon Golds and russets which had been prepared on Day 1.  This dough was mixed in the KitchenAid . . . .

and subsequently kneaded by hand with what I refer to as the "slap and pull" method of kneading. You have to see it and feel it to really know what it's all about:  the dough is lifted with two hands, given a quarter turn then slapped down on the table, pulled and folded on itself. The process is continued until the dough starts to firm up and hold its shape.  I find the transformation from a sticky, messy blob to a tighter, smoother ball so amazing.

We made a fendu (from the verb fendre, to crack) loaf in which a rolling pin is pushed firmly down across the center of the dough ball, then the ball is turned over into a floured brotform.

After rising, the dough is turned out of the form onto a peel and slid into the hot deck oven. 

Et voila! Ready to slide into the oven.

Out of the oven - oh so brown and lovely!

The ciabatta (made with biga) and baguette (made with poolish) doughs were mixed by hand and subsequently kneaded with the same "slap and pull" technique.  Once again, an amazing transformation occurred!

The ciabatta was rather gently formed into very rough roundish rectangle (or what-have-you) sort of shapes and placed on well floured boards for proofing.

After rising, they're transferred onto the peel, flipping them over so the flour side is up.

In the oven:

And out:

Baguette time! Once the baguette dough was mixed, slapped-pulled and rested, Jessica demonstrated the shaping technique.  We lined up our baguettes on linen couches which allows them to proof without touching and sticking together.

Once risen, the loaves were transferred onto a peel (or in Jessica's case onto the back of a sheet pan)  and scored before baking.

Not bad for a novice!

We aren't finished yet - whew, what a day!! We also shaped the brioche dough we had prepared on day one, creating the classic Nanterre (which, as some of you may recall, I mentioned in my brioche mousseline post).  Here individual boules are lined up in a buttered loaf pan, allowed to rise, egg washed and then baked to golden brown perfection.  We even had enough dough to shape a few burger buns.

Above: before the rise . . . . and below, after.

Brioche is great for savory canapes, french toast, bread pudding or bostock, that delightful imbibed, almond-cream-covered, twice-baked treat (just to name a few).

We're getting there - hang on!

Before we mixed our final baguette dough in the morning, Jessica had divided us up into three groups.  One used all purpose flour, one French flour, and one European flour.  What you see in the picture below are the a-p flour version in the foreground, followed by French then European. You can see that the a-p version achieved the most browning. 

My memory is fuzzy, but I think most of us preferred the flavor and texture of the French flour version. However, there was a lot going on, so I could be strolling down the wrong memory lane.

Jessica sliced into everything so we could appreciate the different textures. We have ciabatta . . . .

then baguette . . . .

then brioche . . . . .

and lastly roasted potato fendu

The differences in crumb and texture are easy to appreciate. We sampled and remarked favorably on all of the tasty options before us - what a treat!

Before we packed it up for the day, we quickly mixed our sourdough starters for the morrow - one liquid levain and one stiff starter - with which we would be creating two different sourdough breads. 

So as we finished up a jam-packed day of bread making and baking, we realized we still had TWO days to go!!  Stay tuned for Day 3.