Focaccia

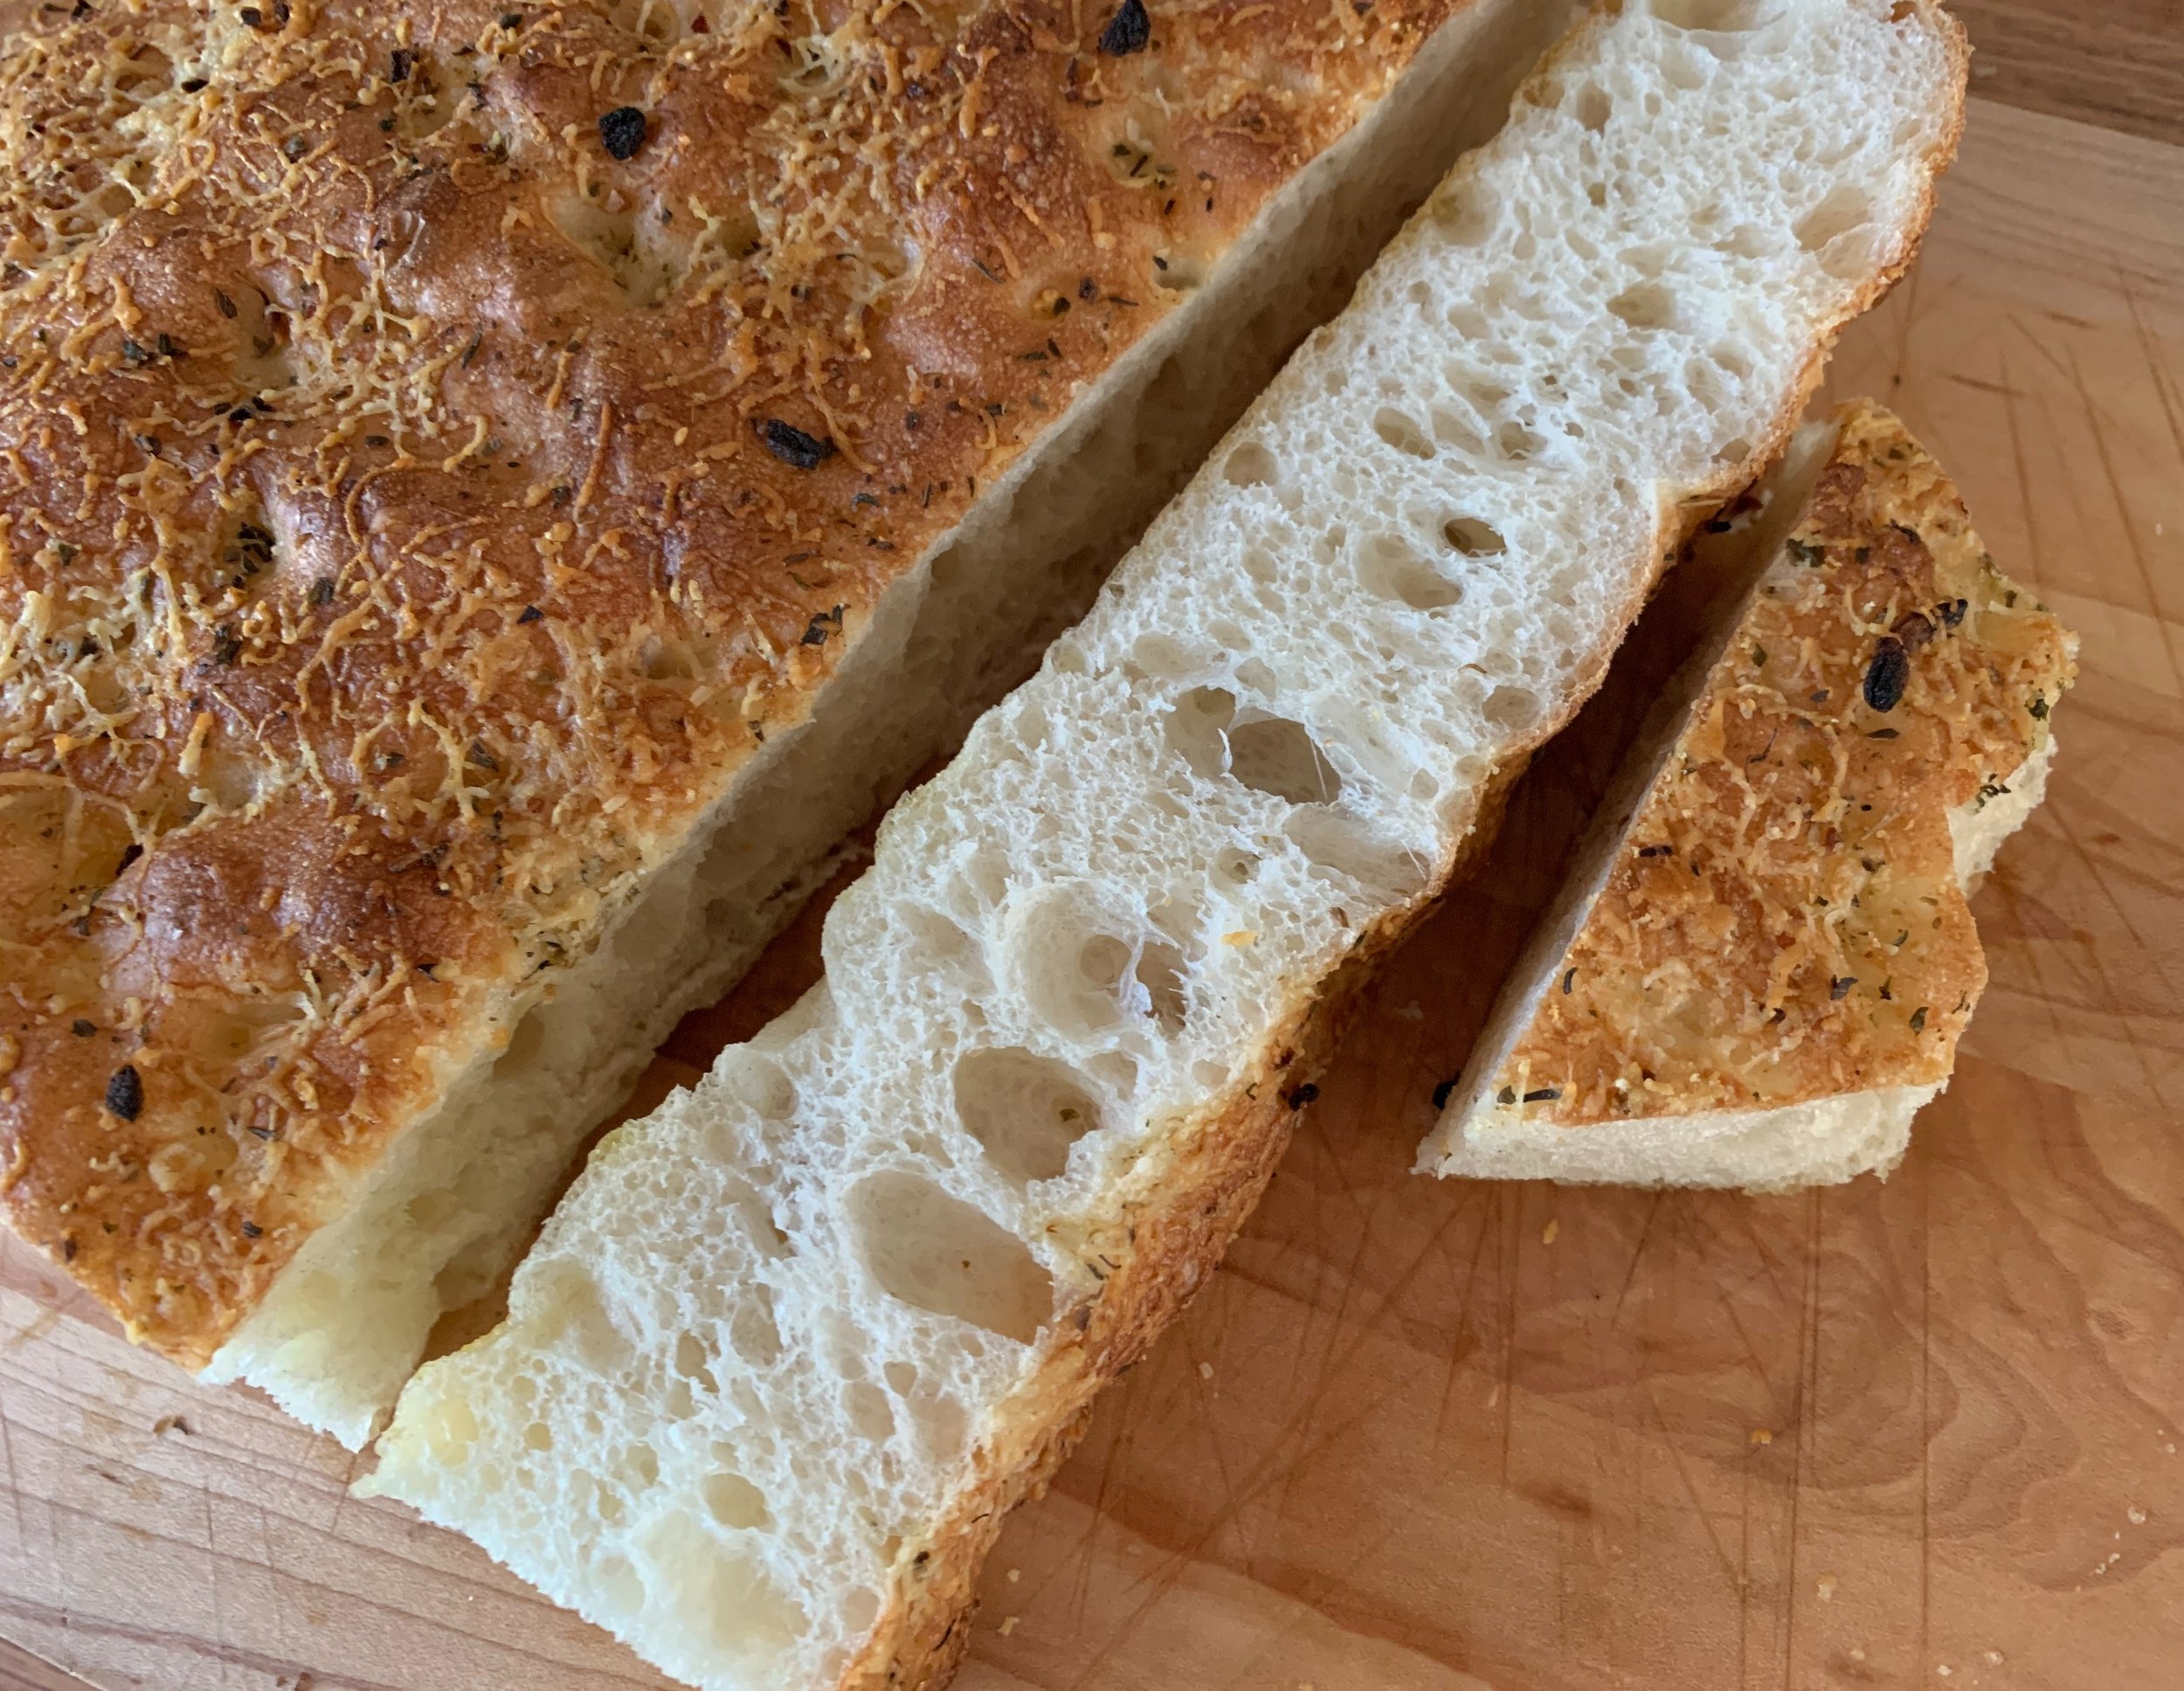
This one is a dandy folks! What a wonderful, luscious and tasty bread.

Let me go back a number of years and tell you about my discovery of Claudia Fleming’s book “The Last Course”, a wonderful and delicious ode to pastry and desserts. Back in 2007 to early 2010 I was the pastry chef at Gracie’s in Providence RI. Being a newbie in the pastry/restaurant world, I was always looking for inspiration for desserts. As it turns out, the Providence Public Library was just a couple of blocks away from Gracie’s, and I would occasionally wander over there after my day’s work to peruse the baking book stacks. Thrilled by the discovery of this particular book, I would often turn to Claudia’s recipes and glean ideas from her creations.

Imagine my delight when learning of Claudia’s second book “Delectable” published in 2022 and dedicated to her late husband Gerry Hayden who, as I understand it, was a very talented chef. For many years the two of them operated the North Fork Table and Inn on Long Island (now under new ownership), and Claudia baked focaccia for the restaurant every day. That kind of experience and expertise is invaluable.

One of the things I love about acquiring new baking books is reading the introduction and gaining an understanding of the author’s philosophy and approach - and, let’s not forget, the recipes aren’t bad either!

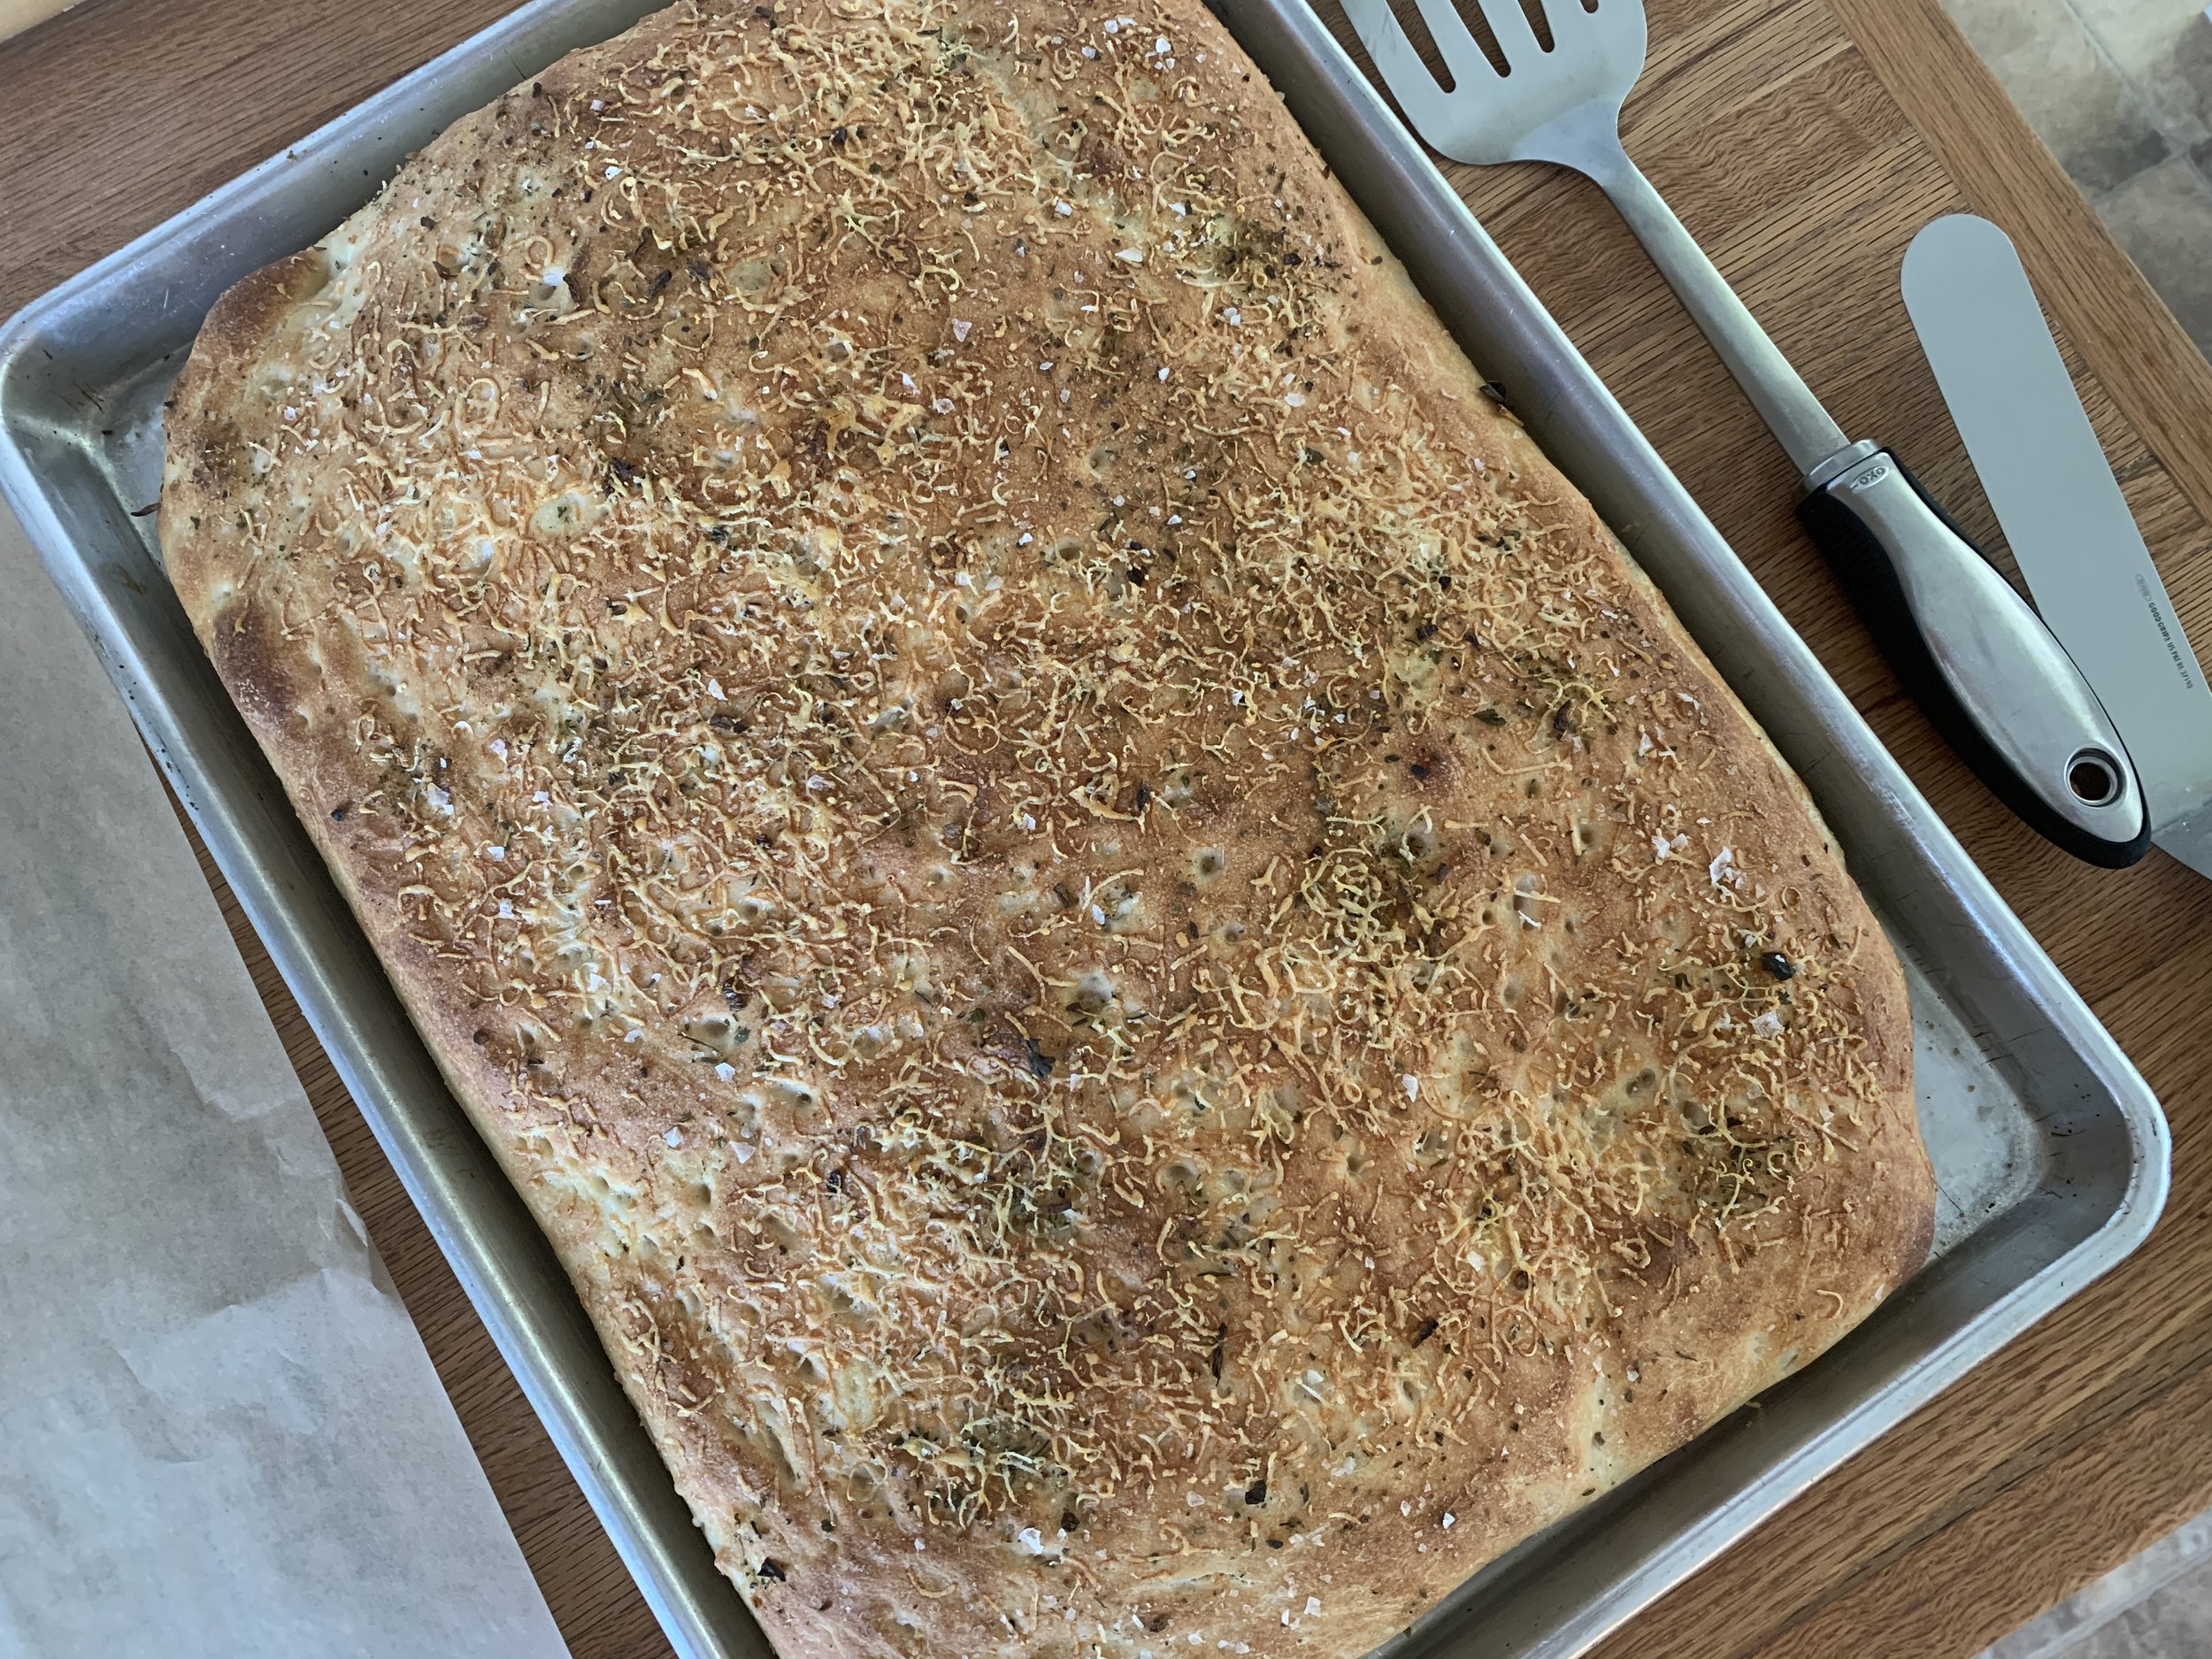
I’ve made this recipe a couple of times so far and you can be certain that it will remain a staple in my bread baking repertoire from here on out. I topped mine with a pizza seasoning herb mix we keep on hand along with grated parmesan cheese, but you can create your own version.

I’ve adapted the recipe with some tweaks in ingredient portions based on %hydration (76% here) and the weight of a cup of bread flour that I use. If you’re a recipe reader/comparer as I am, you soon realize the variables that can appear in measures vs. weights, particularly for flour. Some may indicate a cup of flour is 5 oz (140 g), some 4.5 oz (128 g) and some 4.25 oz (121 g). I’ve tested out what a cup of flour weighs for me - typically 127 to 130 g - so that’s my benchmark. I take weights over measures any day.

You need only the very basic ingredients for the dough (bread flour, water, dry yeast and salt), plus olive oil for the pan. Dissolve ~6 g / 2 teaspoons active dry yeast in 483 g / 2 cups room temperature water in the bowl of a stand mixer and let sit about 10 minutes until creamy. This step activates the yeast, however you can skip it if using instant yeast which can be mixed directly with the flour, water and salt.

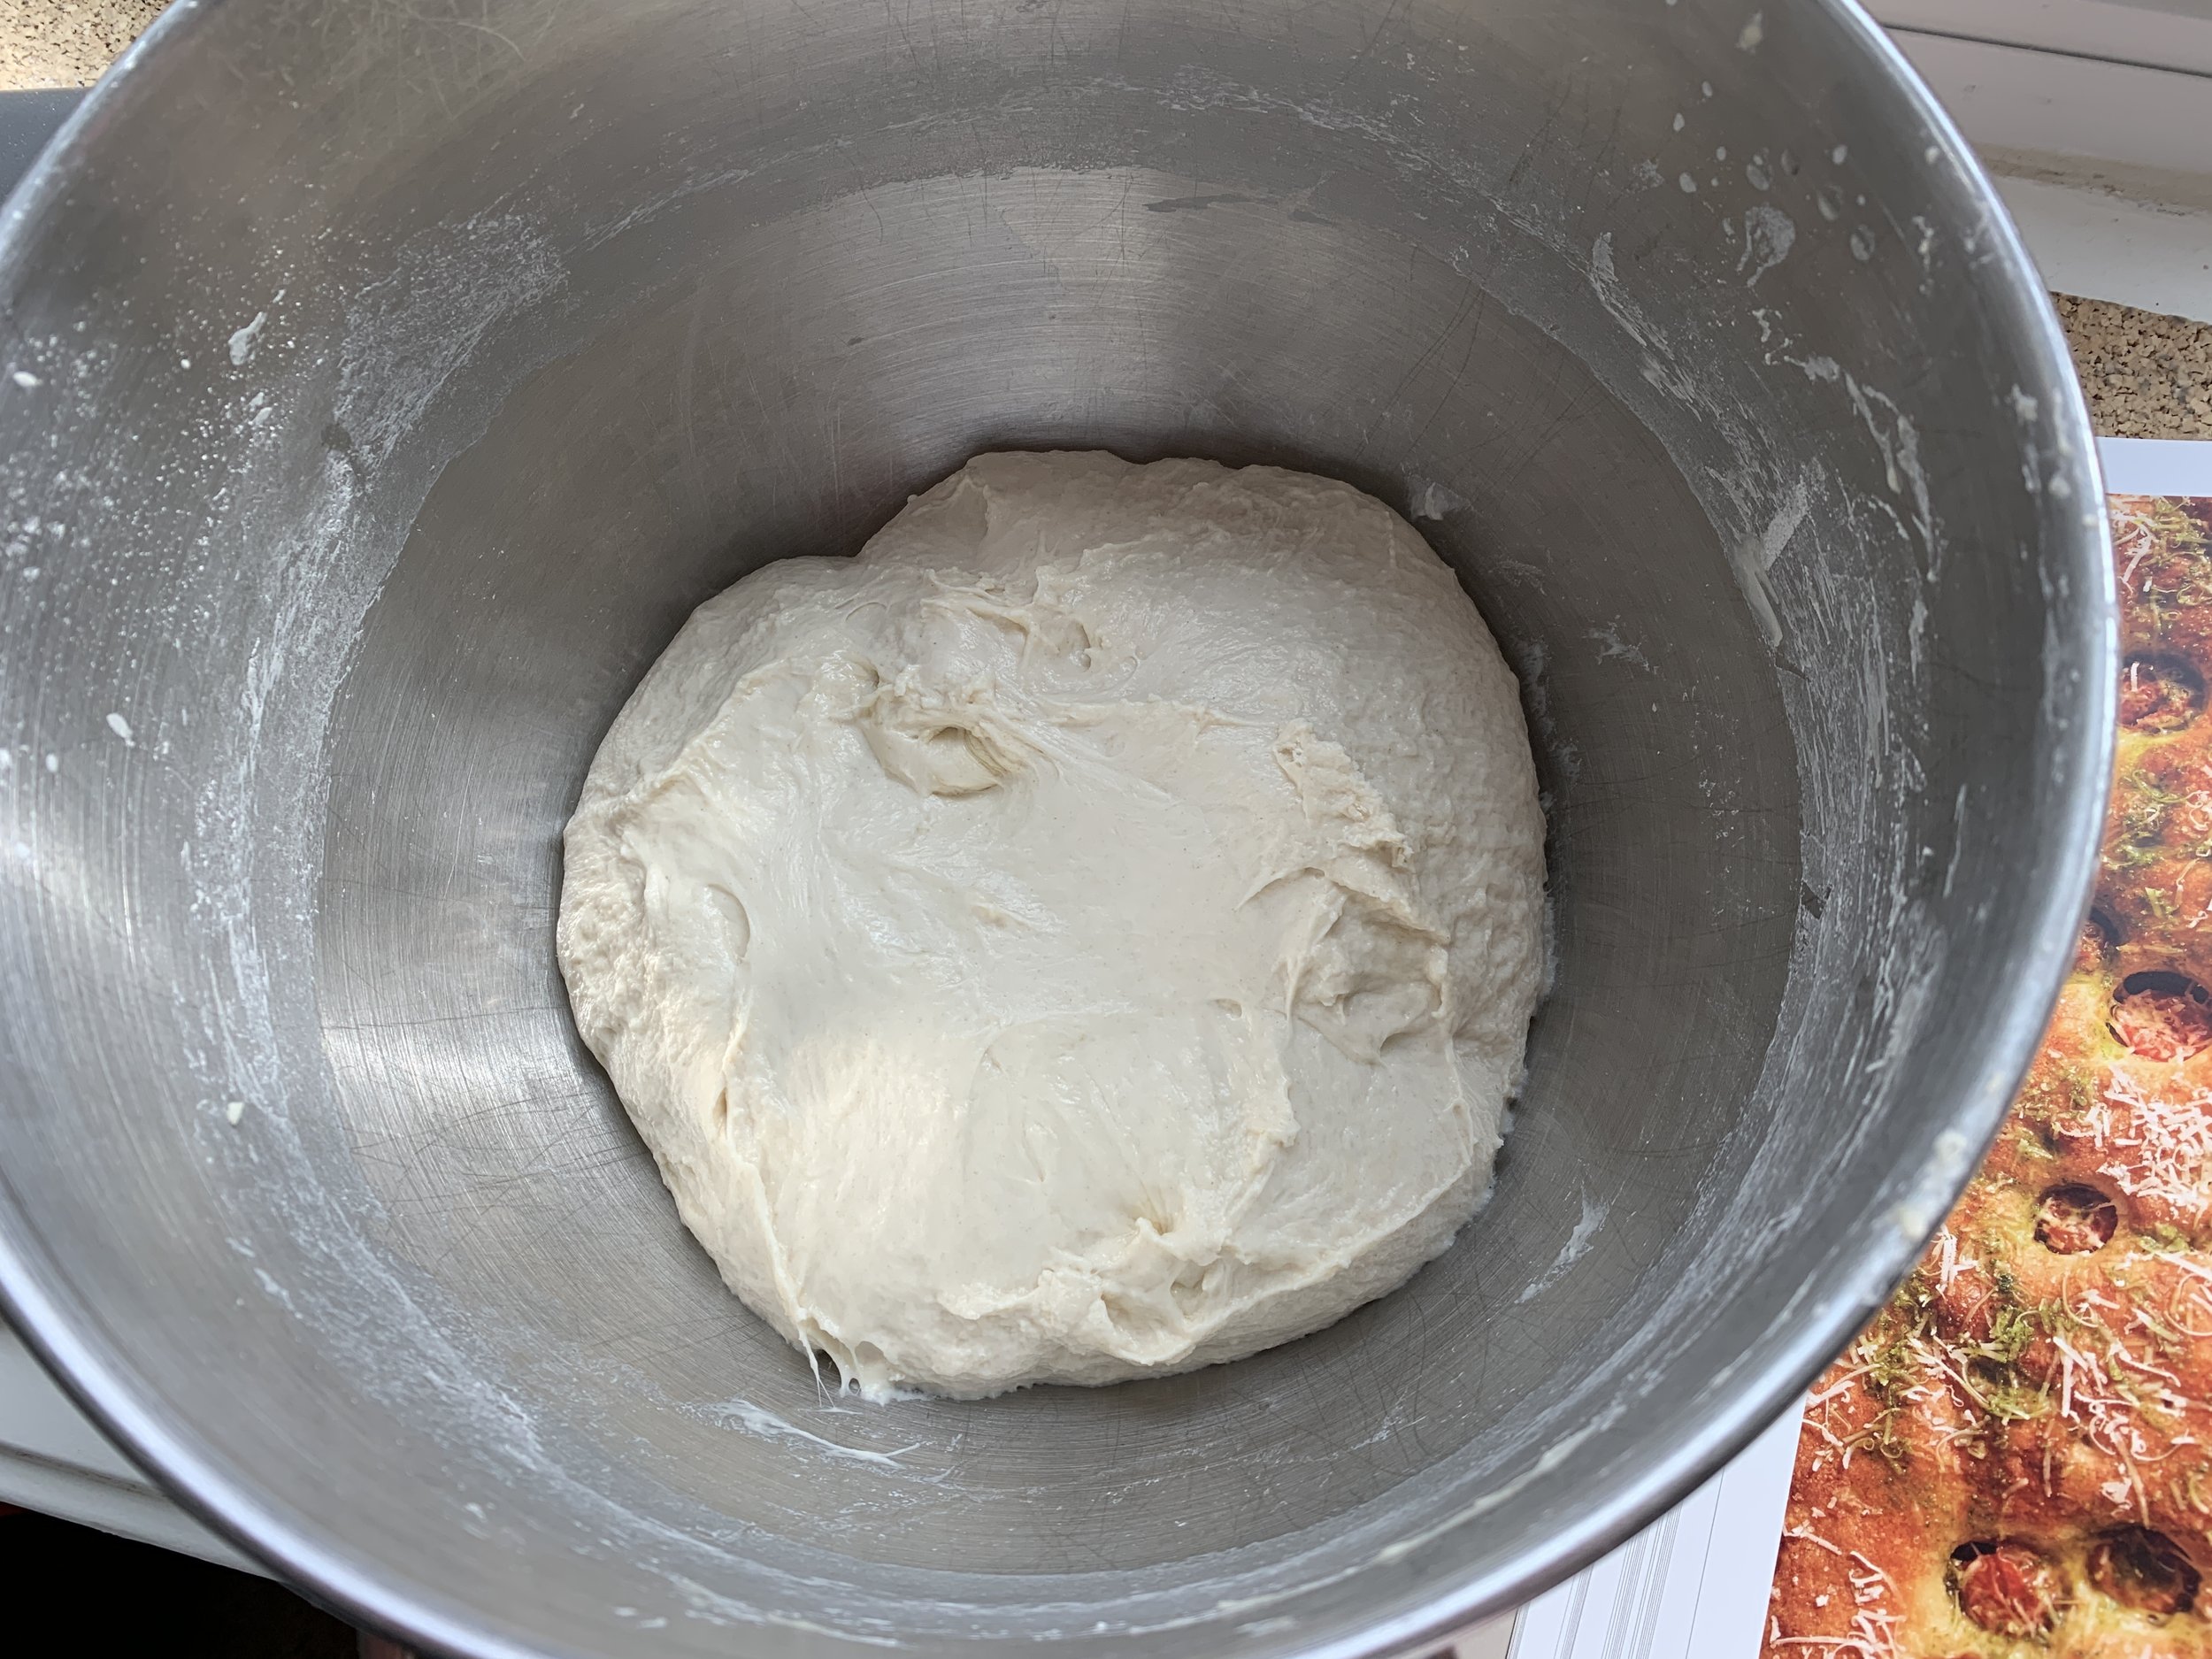
Add 635 g / 5 cups bread flour and 10 g kosher salt to the yeast/water mixture and mix first with the paddle until combined. Rest the dough for 30 minutes to hydrate. Here’s my dough after that rest.

After initial hydration

Now switch to the dough hook and knead on med-high speed for 20 minutes until smooth. My 8 quart Kitchenaid commercial mixer (with which I can also use my 6 qt bowl!) does a great job with it’s workhorse of a dough hook and powerful motor. It’s a beautiful thing.

8 qt mixer with attachments/6 qt bowl

After the 20 minute knead

Place the dough in a lightly olive-oiled bowl and do a folding of the dough to develop the structure by stretching and pulling up one edge of dough into the middle, then the opposite edge, then the other two edges one at a time. This forms a tighter ball of dough. Flip the dough over to coat with oil, cover with plastic wrap and let rise at warm room temperature for 1 to 2 hours until doubled. You can also do an overnight fridge rise if it better suits your schedule.

The first time I made this, I did a 4 hour fridge rise (must have had something unexpected come up?) which I followed by an additional hour at room temperature. It worked. For my second batch I followed the room temperature approach, completing the project over the course of several hours.

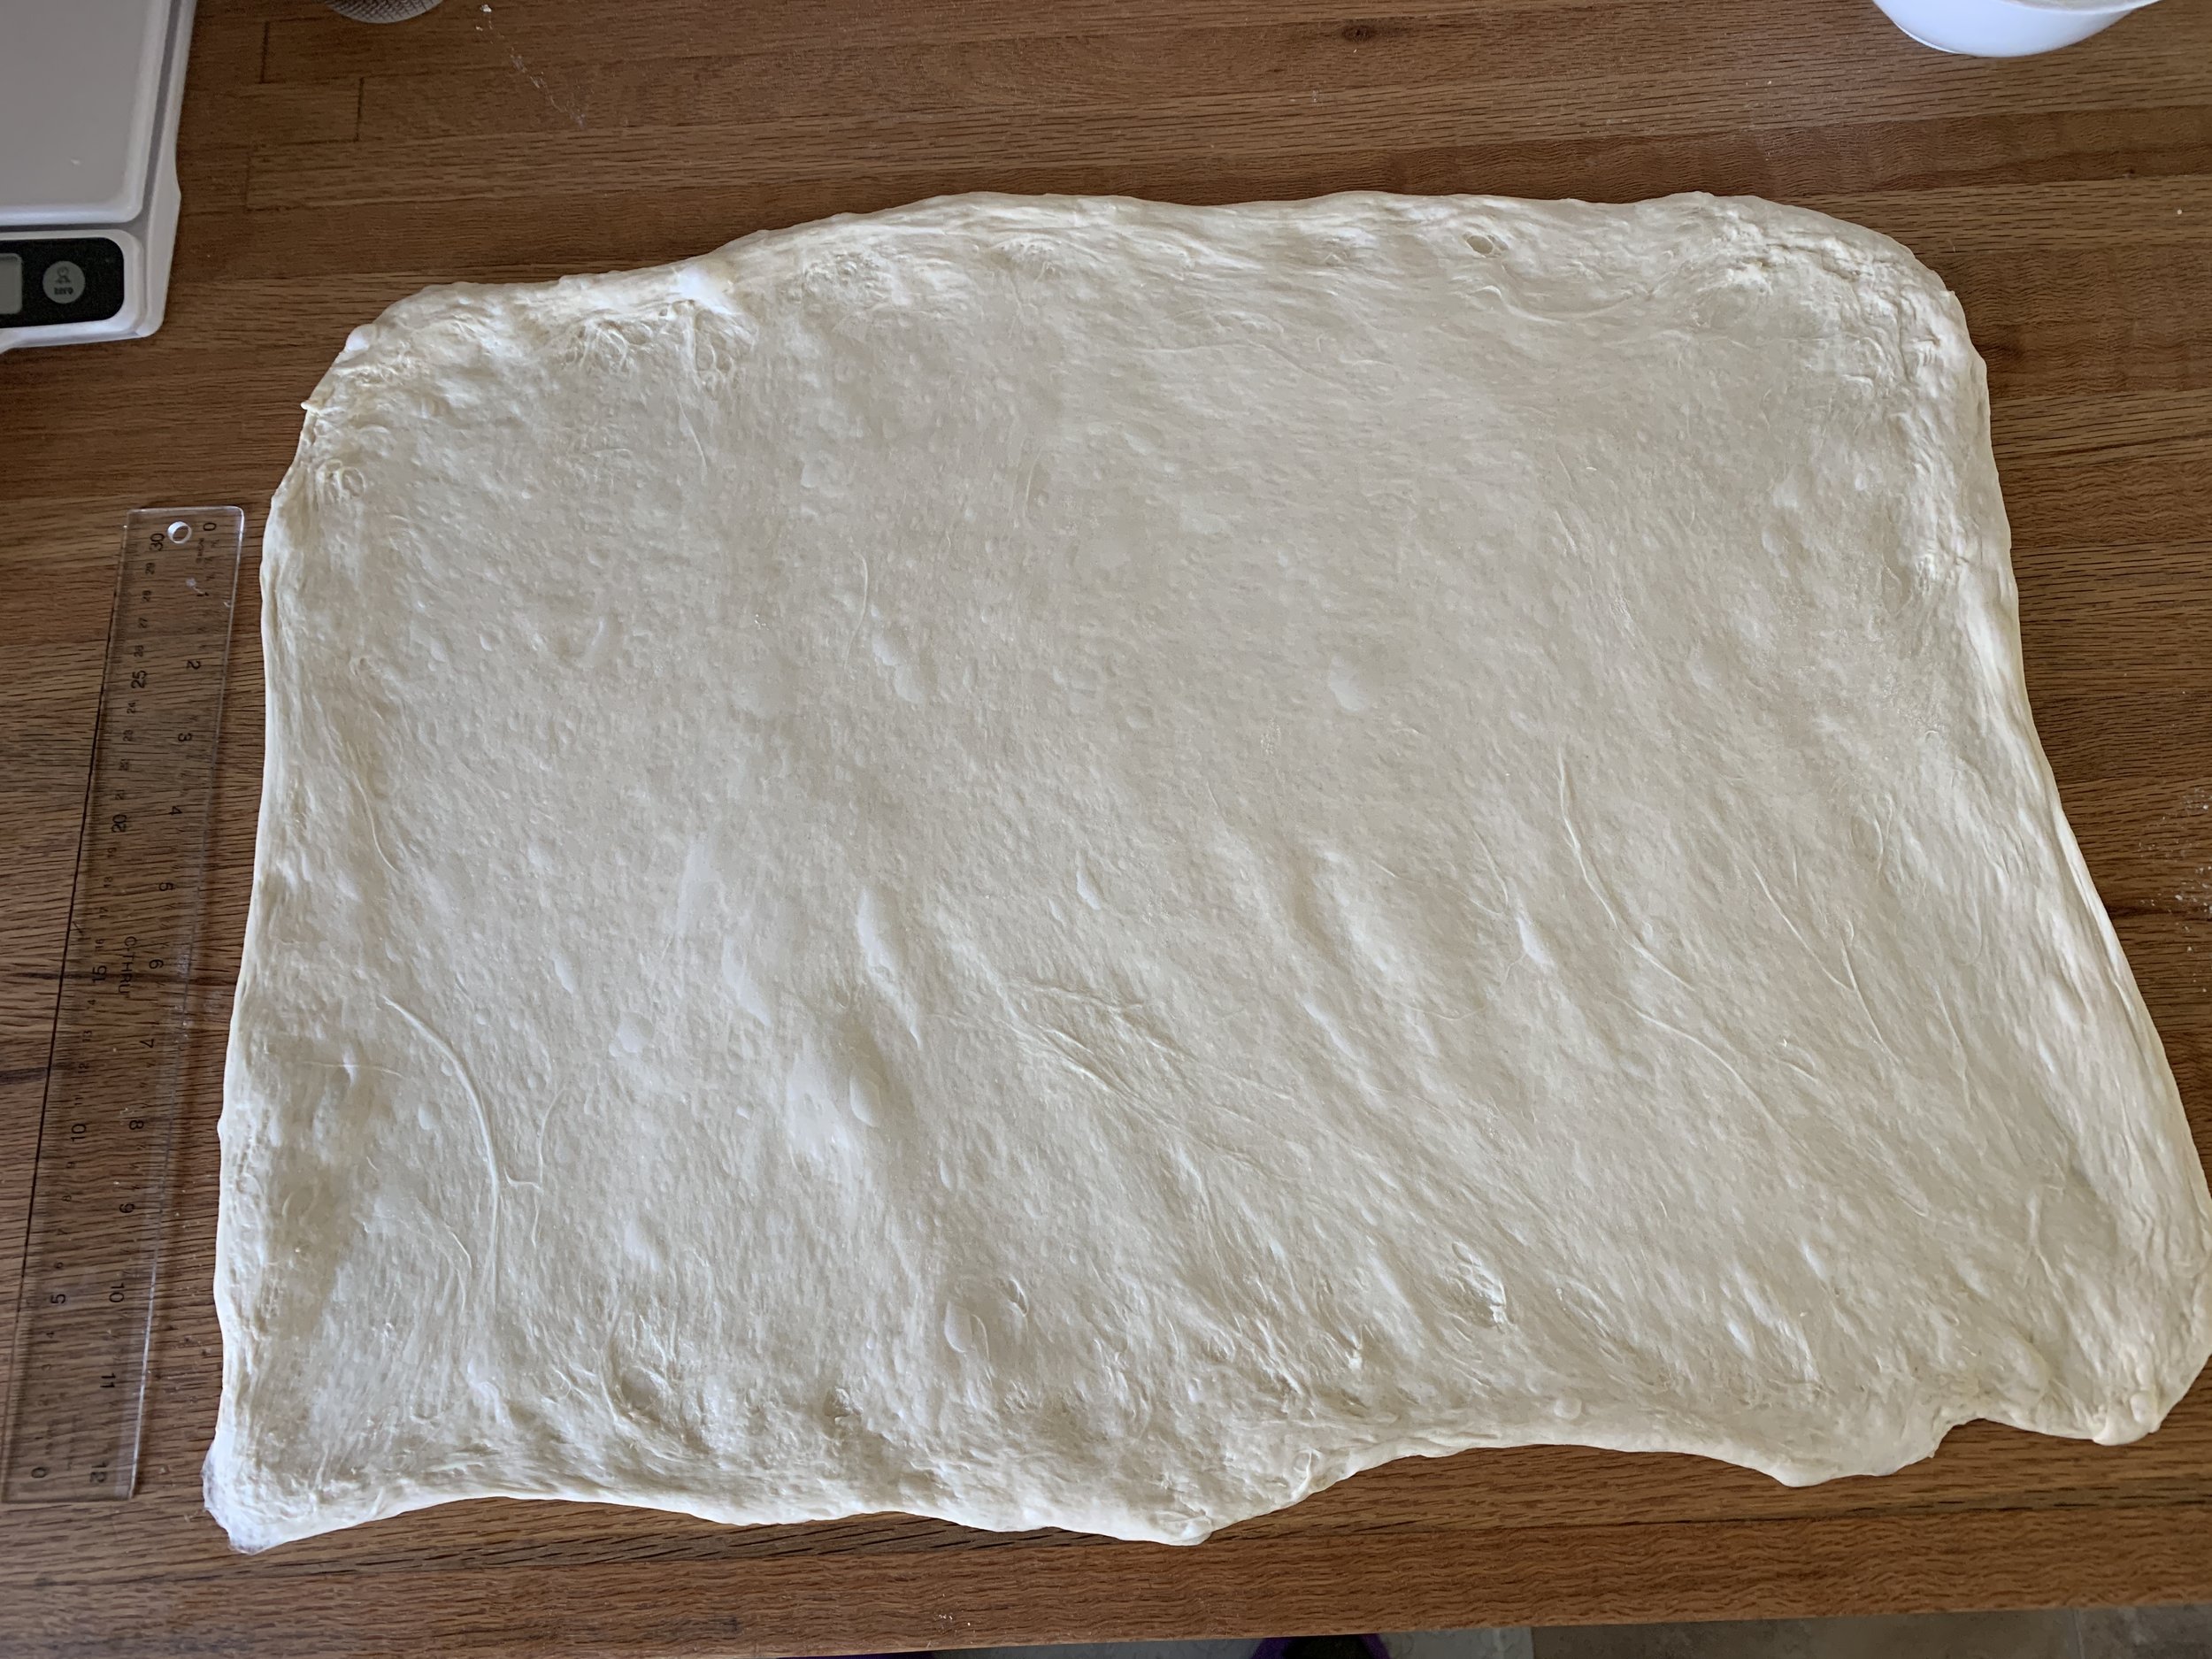
Turn the dough onto a lightly floured work surface, pat it into a square of sorts and stretch it out to about 16”x20”(ish).

Now fold it in thirds length wise (à la the letter or 3-fold we use for laminated dough).

Now fold in the short sides in thirds (another letter fold). Press out air pockets.

Dough package before panning

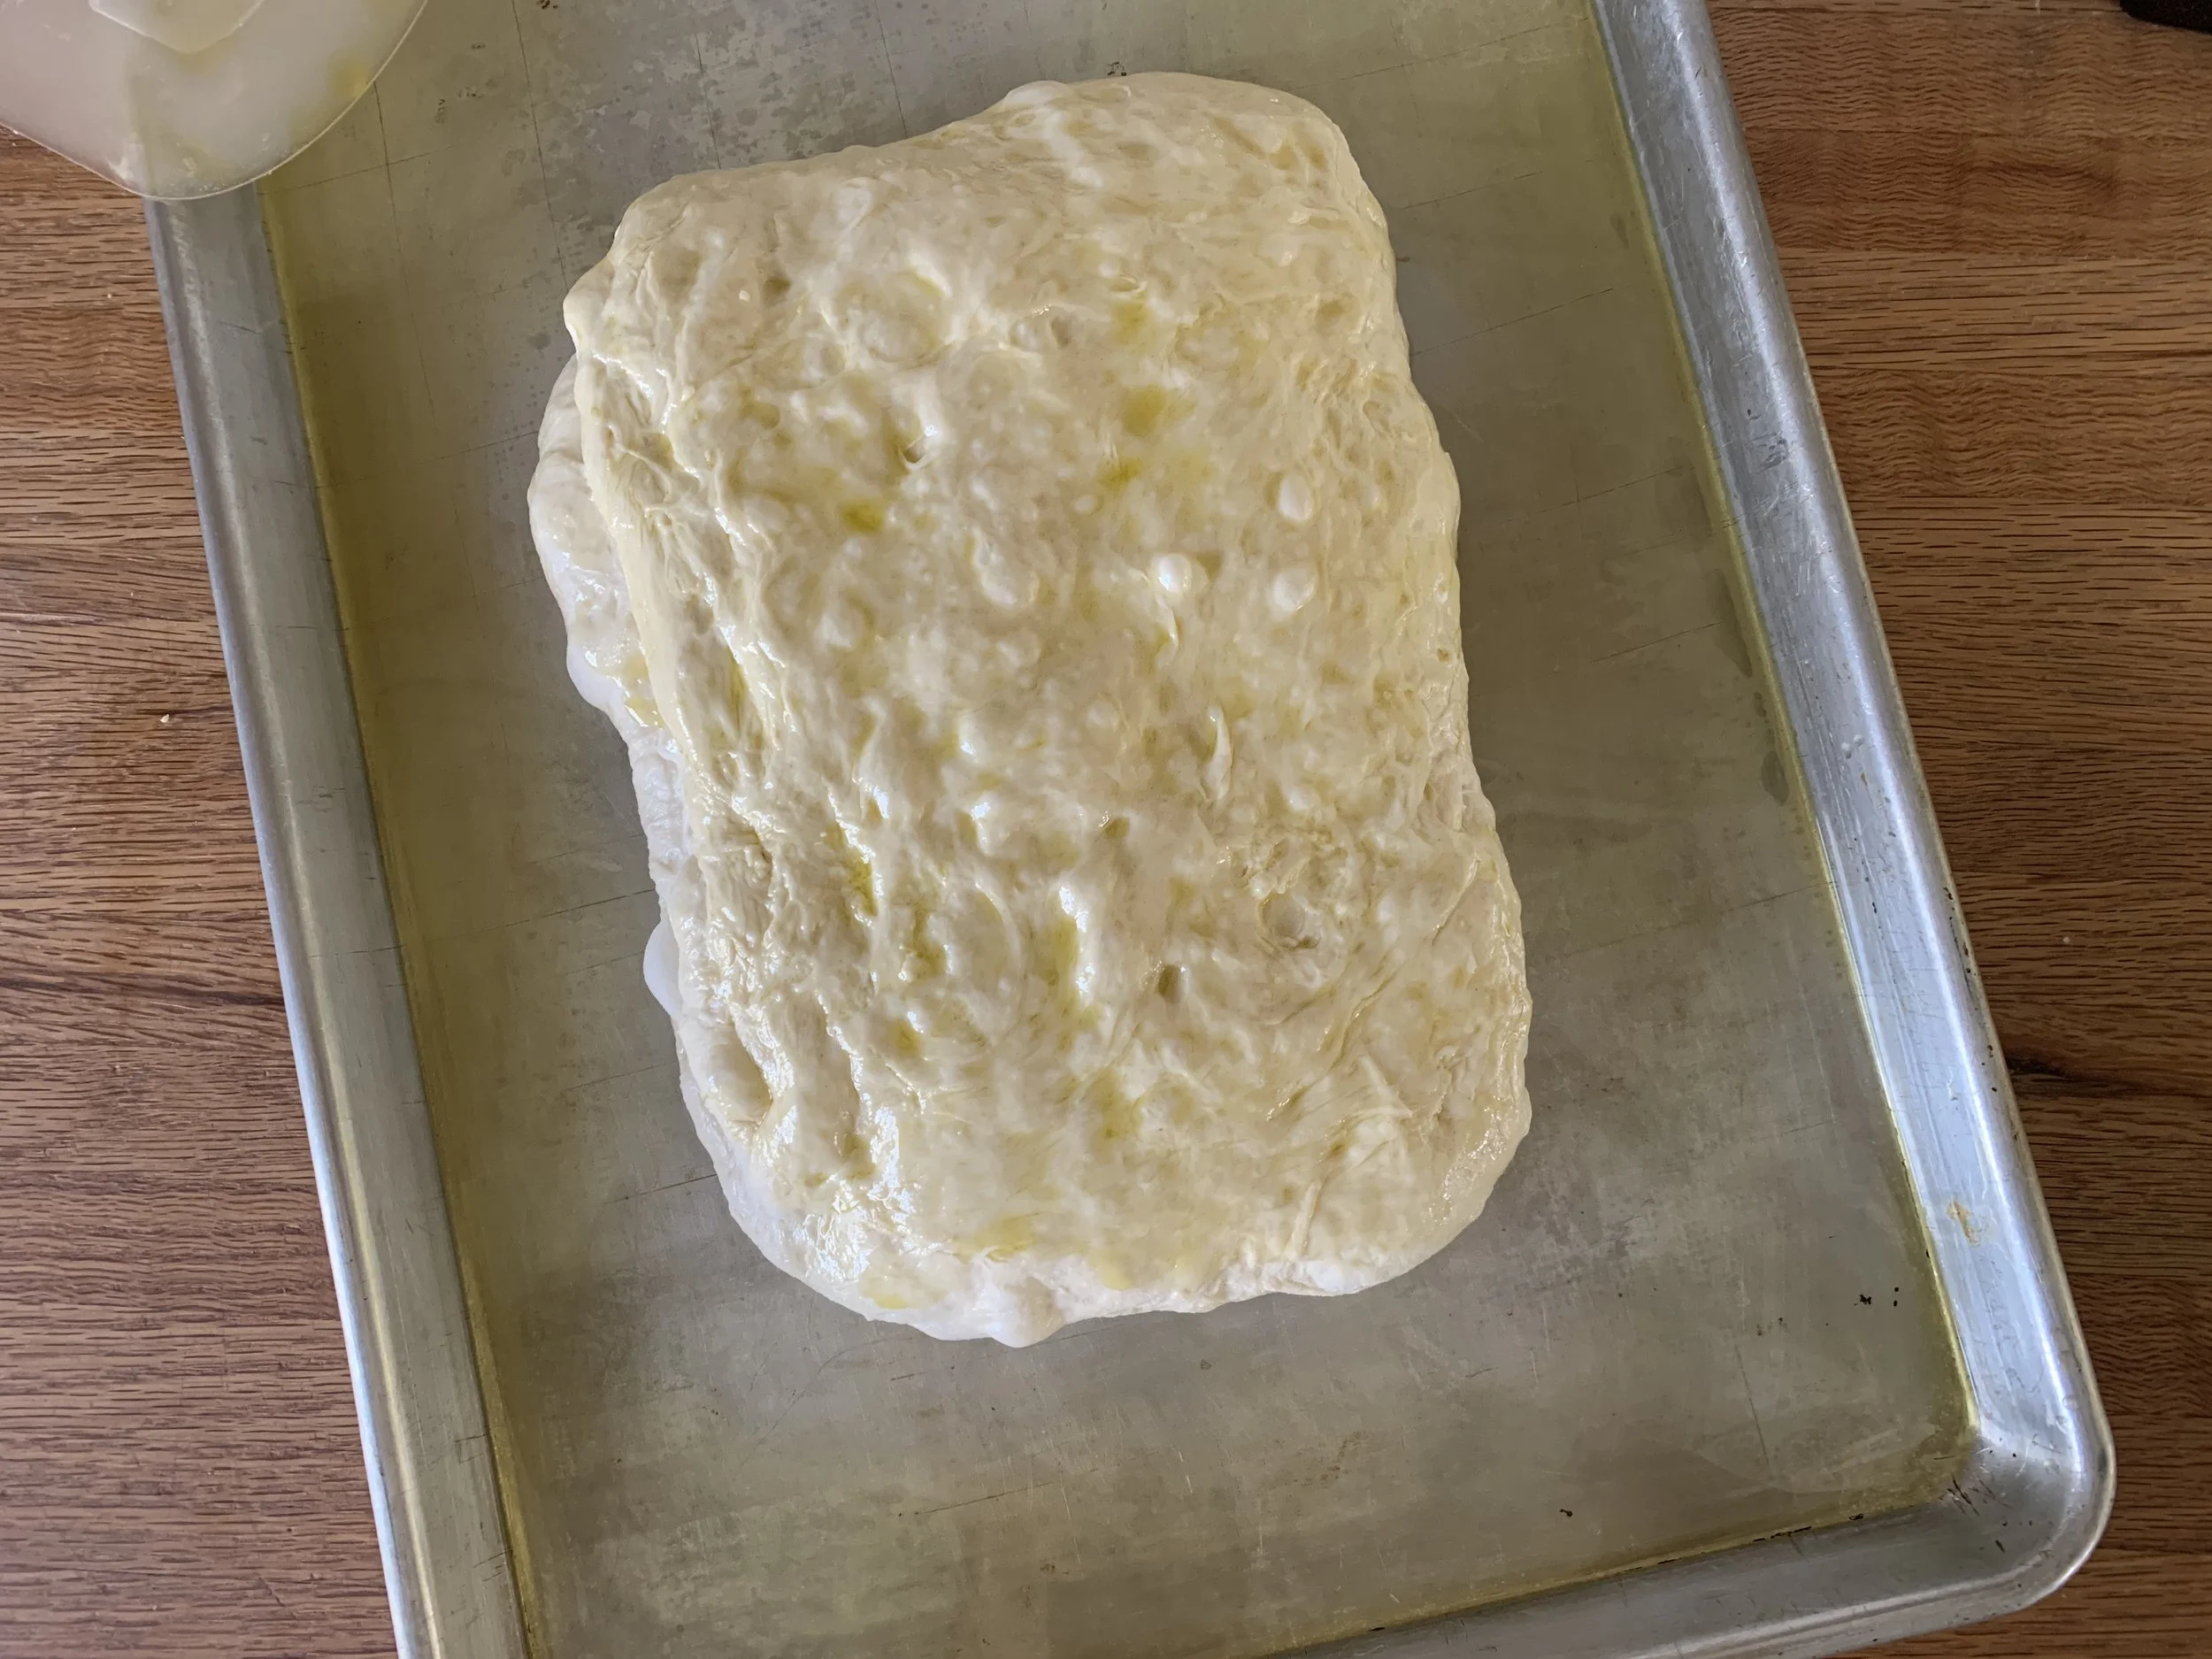
Pour 6 tablespoons extra virgin olive oil onto a half sheet pan, put the dough on the pan and turn to coat with oil. Let rest 10 minutes.

Stretch the dough to fit the pan as best you can. I did this in two steps, letting the dough rest 10-15 minutes in between. Dimple it all over, cover with plastic wrap and let it rise about 30-40 minutes. It will become more puffy.

Before the rise

Heat the oven to 500F. When ready, top with herbs and grated cheese (or your chosen topping(s).

Bake 8 minutes, rotate the pan and bake an additional 7 minutes until beautifully browned.

Mmmm, mmmm!

I slid the whole thing onto a cooling grid and gave it just a few minutes before Steve’s and my tastebuds just had to be put to work. Oh boy. Just the right chew and lightness of texture.

After our initial pre-dinner taste test, we enjoyed more with our evening pasta dish and then divided the remainder to wrap and freeze. It thaws and warms up beautifully in the oven and is great to split for sandwiches or open-faced baked with grated fontina and tomatoes on top or whatever your little heart may desire.

AbsoLUTEly delightful! Thanks Claudia.

A tasty trio for spring

A beautiful day at Fredrick Meijer Gardens here in Grand Rapids Michigan.  Spring is here. Delightful.


And now on to the baking portion of the program.


While I was preparing some sweet treats for a recent L'Alliance Francaise de Grand Rapids event, I was reminded of those days working as the pastry chef at Gracie's in Providence RI where I often created dessert trios for special events or private dinners.  I loved that. Three 2-bite experiences of different textures, creams, crunchies, fruits, nuts or what-have-you. No need to over do it - just some delicious little somethings to go with that after dinner coffee, tea or digestif - yes indeed.


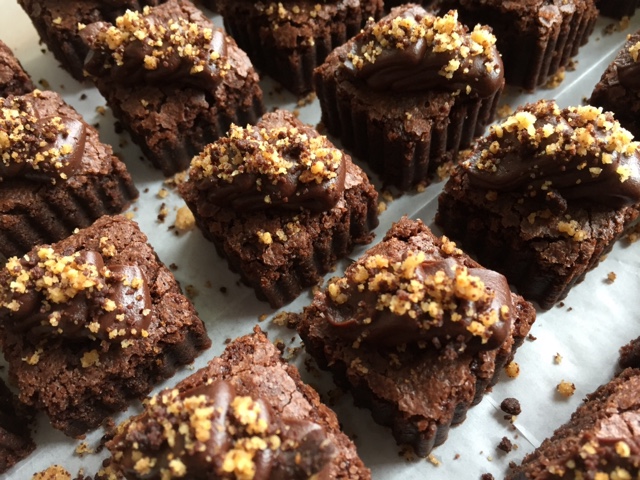
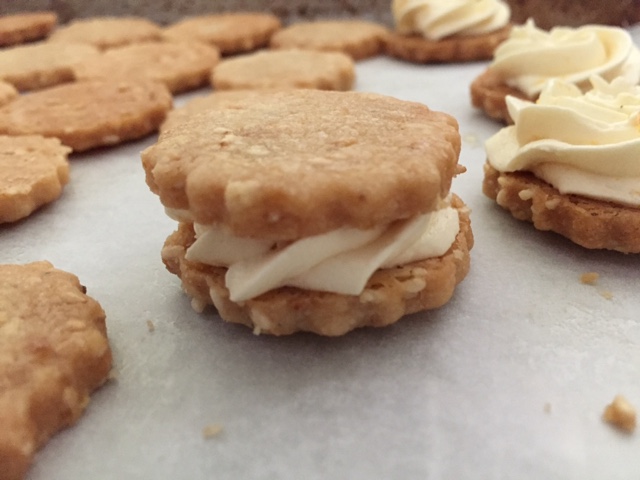
For this menu I choose a petite apricot almond Breton cake topped with apricot caramel mascarpone cream and fresh raspberry, a delectable fudgy brownie with chocolate-graham-walnut crumble sprinkled over a ganache ribbon and my own sesame-cardamom shortbread cookie sandwiched with an orange honey buttercream. 


In this case it's not about a specific recipe or technique but simply the imagination of putting different flavors and textures together.  The more one bakes, the more one opens the mind to new ideas.

Interestingly, that's what I've found since teaching at Sur La Table here in Grand Rapids.  The recipes are chosen by the corporation and tested in the SLT test kitchen before being put on a nationwide schedule that's offered to the public.

Lots of croissant and French macaron classes to be sure, but every month or two some new topics pop up like crepes, soufflés and British baking, all of which prompt me to review and refresh my own knowledge and expertise.  It's all about learning! Plus I love figuring out what the problems might be when something doesn't turn out as expected. Keep trying!

So I've been doing things that haven't been in my typical scope of baking - Swiss meringue buttercream being one of them. Many of the macaron fillings for SLT classes are made using that technique with the flavors and fillings changing seasonally.  I had previously not been a big fan of buttercreams, yet having now made a number of Swiss meringue versions I find them quite appealing.  

There are many cake makers out there who do this in their sleep and many online resources presenting the process and all the delicious flavor variations that exist.

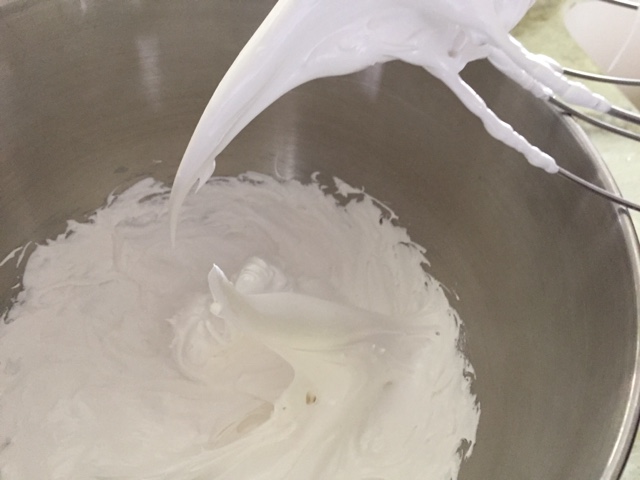
But just to review, a Swiss meringue is made by whisking egg whites and sugar over a bain marie to a temperature or 145º - 155ºF, then transferring it to a stand mixer and whipping to a nice glossy, stiff-peaked meringue.  Voila!


The meringue should be cool before adding the butter a few pieces at a time. The result should be a smooth, creamy buttercream.

I my case I blended orange zest and honey into the buttercream, and it was oh so wonderful with the lightly honey glazed sesame cardamom shortbread. Yum yum yum.


Of course, let's not forget that there's a lot of butter involved so my "everything in moderation" approach still applies, but somehow the meringue and butter combo is quite lovely as a filling for a cookie sandwich or a swirl on the top of a petite cake.


As for the petite Breton cakes, I used a standard Breton dough recipe from Christophe Felder, placed pieces of dough into round flexi-molds, topped 'em with almond cream, a dollop of apricot jam and a sprinkling of brown sugar streusel.  

After the bake, once cooled, I gave them a swirl of caramel mascarpone cream to which I had added some home made apricot purée, and topped 'em with a fresh raspberry.


The brownie bites were the recipe I've been making for Steve for some years, based on one from Fine Cooking magazine by Abigail Johnson way back when.  I gave them a ganache ribbon topping and sprinkled my chocolate-graham crumb- walnut crumble mixture on top. Yup.


All were delicious, delightful and appreciated by L'Alliance Française guests.

The moral of the story?  Use your imagination and keep creating your own flavorful treats! That's what it's all about.

Happy spring!


Petite Pavlova


For last weekend's Mother's Day a friend asked if I would make a Pavlova with fresh berries for her Sunday dinner celebration with family.  As I was in the mode, I decided to make some small versions for my own use.  Et pourquoi pas?!

Pavlova, reportedly named after the Russian ballerina Anna Pavlova who danced in the late 19th and early 20th centuries, is a baked meringue that is typically filled with whipped cream and topped with fresh fruit of choice.


The French also use the word vacherin (NOT the cheese) for a similar meringue based dessert, often filled with ice cream and topped with fresh fruit.  Ice cream?  Whipped cream?  Either one works, so you decide!

A general meringue formula uses approximately 2 parts sugar to 1 part egg white, often with a pinch of salt or cream of tartar added to help the mixture hold its shape once whipped.

My base recipe for an 8-9 inch Pavlova calls for 4 large egg whites, a pinch of salt and a cup of superfine sugar whipped to glossy peaks.  Since I was making an 8 inch-er plus a bunch of small ones I made 1.5 times the recipe.  Plenty for my needs.

There are three methods of making meringue.

The French method, which I use here, involves whipping sugar and room temperature egg whites to glossy, stiff peaks, piping out shapes and drying them in a low oven to achieve a crispy exterior with a somewhat chewy interior.

love those peaks!

The Swiss method involves heating the sugar and whites over a barely simmering bain marie and then whipping them until cooled, glossy and peaked.  This version is more stable and can be piped and shaped.

Side note:  I used the Swiss method when I made "Baked Rhode Island" (a Kenyon's white cornmeal cake/coffee ice cream version of "Baked Alaska") at Gracie's in Providence many years ago.  I piped a lot of those little babies!  Reminds me of a hedgehog or sea urchin!

Gracie's "Baked Rhode Island"

And last but not least is the Italian method.  This calls for boiling a sugar syrup to the soft ball stage (240-245ºF), cooling it slightly, then pouring it over stiffly beaten whites while continuing to whisk until completely cool and glossy.  This is the most stable of the three and can be used alone or as a base for buttercream for cake icing or folded into mousses and creams to lighten them.  Some French macaron recipes call for Italian meringue as well.

Let's get on with the petite Pavlovas!

Once my French meringue was nicely whipped I blended in a mixture of 1.5 teaspoons each of cornstarch, water and vanilla extract.  This served to add a bit of flavor from the vanilla as well as enhance the crispy tenderness of the meringue.

For piping I used a simple trick that I had learned back in 2007 during my stage at Pâtisserie Pascal Pinaud in Paris - use a round cutter or tart ring dipped in confectioner's sugar to provide a size guide for your desired shapes.  Pretty nifty!


Psst!  I prefer to bake meringues (macarons included) on Silpats - they pop off very easily once baked.

I piped simple circles with a star tip while my oven was heating to 300ºF . . . .


. . . popped them into the oven, turned the temp down to 250ºF and left them in to bake (i.e. dry) for 1.25 hours.  Then I turned the oven off and let it cool down before removing the meringues.


all dried out

 Invariably there will be some cracks in the finished product, but that's par for the course.  Don't worry.


These will keep for several days in a covered container in a cool, non-humid environment OR can be frozen for several weeks.  Just pop a few out as you need them!

I chose to fill my petite Pavlovas with a whipped ricotta cream (one cup ricotta whipped with 1/2 cup heavy cream) to which I added seeds scraped from a vanilla bean and my homemade caramel sauce.  What's not to like!

see those vanilla bean specks?


I must confess that I'm not a big meringue fan (sorry you macaron lovers), but I found this combination quite pleasing.  The meringue was crisp with a hint of chew inside and the ricotta creamy and luscious with vanilla and caramel.  Yum.  And, of course, you simply CAN NOT go wrong with fresh fruit.

And to top it off, as a test I put several of these (uncovered no less) in my fridge for a day.  Boy oh boy, were Steve and I pleased!  The flavor was superb, the exterior of the meringue still crisp, the interior had softened to near gooey-ness and even the fruit was none the worse for wear after a day sitting next to leftovers.

Yes indeed.

And wouldn't you know I still have several meringues in my freezer and some freshly churned lemon ice cream waiting to go?

Now what do you think of that?!