Chocolate madeleines and more than you'll ever want to know about making them
/
A good madeleine can be hard to find. It's best to eat them fresh from the oven since they have a tendency to be on the dry side once they cool. In the past I've taken to brushing the classic version of madeleines with lemon syrup while still warm, which goes a long way to holding in moisture and prolonging their shelf life.
I've tried a variety of madeleine recipes over the years, most of which have somewhat similar ratios of flour, sugar, butter and eggs, often with some honey and lemon zest added in.
This chocolate version is from Clotilde Dusoulier's "Chocolate and Zucchini" blog, and is her chocolate version of the "perfect madeleine" from Fabrice Le Bourdat's shop Blé Sucré in Paris. The base recipe has a larger quantity of butter than many I've reviewed, and Clotilde's chocolate version adds melted bittersweet chocolate and cocoa powder to Le Bourdat's base.
Madeleine batter should be made ahead and allowed to sit in the fridge for several hours and up to a couple of days. Think planning ahead!
Here's the process.
Melt 150 g good quality chocolate (I used 56%) over a bain marie. Remove from the heat but keep the chocolate bowl over the warm water to hold it until it's added to the batter.
Melt 350 g unsalted butter (stove top or microwave - you decide). NOTE - the butter is the final ingredient to be blended in and should be hot when added to the batter. It's all about planning.
In the bowl of a stand mixer beat 6 large eggs with 260 g sugar until thick and pale yellow, 4-5 minutes. Blend in 120 ml milk (I used whole) and the warm, melted chocolate.
In a separate bowl combine 375 g all purpose flour, 3 tablespoons unsweetened cocoa powder, 1 tablespoon baking powder and 1/2 teaspoon sea salt. Fold these dry ingredients into the batter.
Finally blend in the hot melted butter until incorporated.
Cover and refrigerate up to 2-3 days.
On baking day heat the oven to 450ºF with half sheet pans placed separately on two different racks (I have three oven racks but prefer to use only two at a time - it's just easier).
Placing cold batter into cold molds and then onto heated sheet pans in a hot oven are some of the reasons that madeleines develop that classic hump.
Mold preparation is key. I prefer using the standard silver tin molds rather than the darker finish brown non-stick molds (which, by the way, still have to be buttered and can cause the petite cakes to brown too quickly - trust me, I know.)
I apply a decent coating of butter on each well and give them a dusting of flour - you can never be too careful in terms of making sure your madeleines don't stick!
As you can see below, I opted to bake some minis as well as the standard size.
Once my molds are ready I pop them into the fridge until I'm ready to fill them.
The chilled batter is quite thick. You can pipe it or simply scoop it into the molds. Filling the wells with just the right amount of batter carries a bit of a learning curve and comes with experience but a general rule is to full 1/2-3/4 full. I wasn't sure how these babies would rise so I chose about 1/2 full.
Place the molds into the hot oven directly onto the heated sheet pans. Immediately turn the oven temp down to 360º F and bake for 12-14 minutes for standard size and about 6-7 minutes for the minis. If you're doing multiple batches, turn the oven back up to 450ºF before baking your next batch.
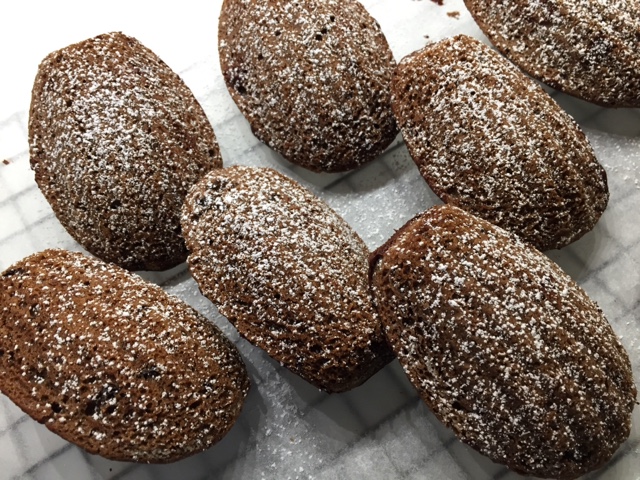
Nice humps!
Once pulled from the oven turn them out onto parchment paper - they should fall out freely if your molds have been well prepared. You can tap the corner of the overturned mold onto the nearby surface as needed if they're being a bit stubborn. It works.
One thing I noticed about the minis is a blurring of the shell pattern - most likely due to the butter and flour coating of the mold that melded into the batter and didn't allow the pattern to remain distinct. No biggie.
I reacted to my first taste of a mini with the feeling that the chocolate flavor wasn't as forward as I would have liked. However, the texture was sooooo light and ethereal - I've never had a madeleine like it! As I continued to sample a few more, they grew on me. Steve too.
I wanted to punch up the chocolate experience and decided to make a glaze by melting 130 g bittersweet chocolate with 3 tablespoons butter and 1 tablespoon corn syrup (gives it a bit of sheen) over a bain marie and then adding in 1/4 teaspoon vanilla extract.
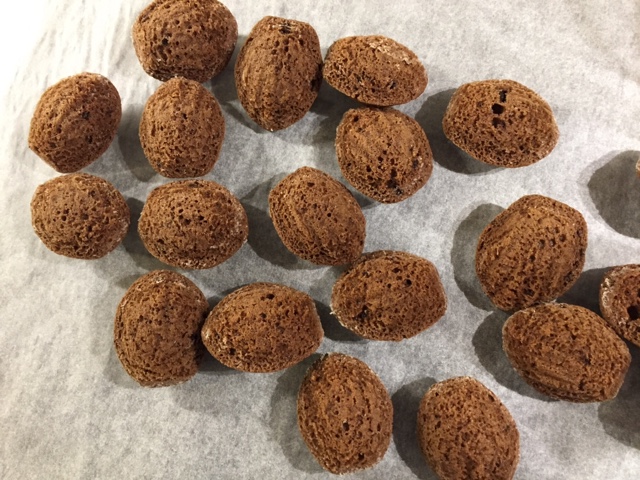
I dipped the "hump side" of some of the madeleines in the warm chocolate, and, after a few minutes of setting, created a ridge like pattern with my zig-zag cake decorating tool. They look kind of like walnuts, don't you think?
The added layer of chocolate was just the right touch. Mmmmm good.
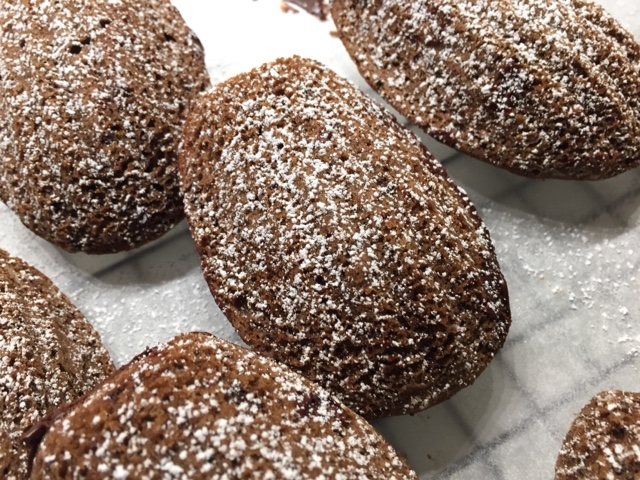
Once the chocolate had cooled and set, I turned them over to give them the quintessential dusting of powdered sugar.
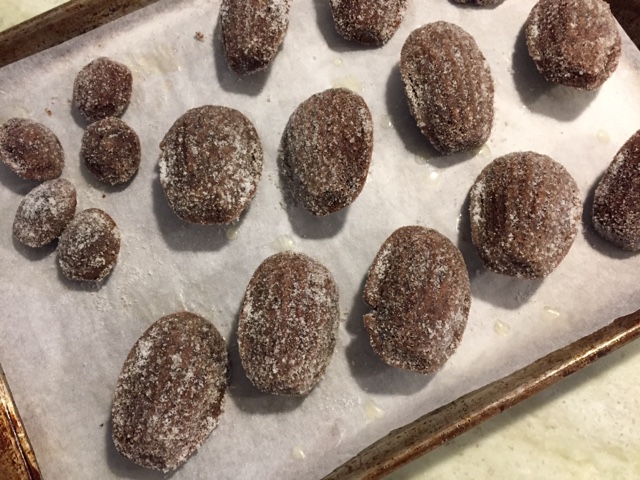
With another bunch of the finished cakes, at Steve's suggestion, I did what I used to do with the little coriander buttermilk cakes I used to make in Rhode Island. I re-warmed the madeleines briefly in the oven then dipped them in melted butter and rolled them in coriander sugar.
I thought the sugar a bit too much so brushed some of it off. Delicious indeed.
Both versions remained moist in a covered container over a couple of days, plus I froze some of each as well. Once thawed they still tasted great. The texture is fantastic!
What a treat.
Thanks Clotilde!


