Baking bread in Paris
/
Baking in Paris is always a treat, and this trip included a four day bread class for me at Le Cordon Bleu's new facility on Quai André Citroën. When I did the pastry diploma program in 2006, the school was located on rue Léon Delhomme not far from the line 12 Vaugirard metro stop.
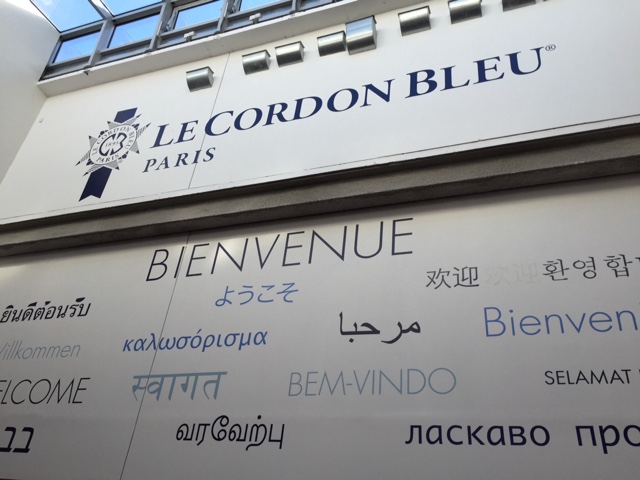
A couple of years ago LCB moved to their new location, still in the 15th arr., and it's, in a word, impressive. Back in the fall of 2016 during our last trip to Paris, I visited the school and had a short tour of the place. This time I got a much closer look, at least of the kitchen we were using.

Boulangerie kitchen
Our instructor for this four day extravaganza of bread production was Vincent Somoza, a knowledgeable and amiable teacher. Each day we arrived, the big white board on the wall contained all of the necessary info about the breads that were to be worked on that day like kneading times (pétrissage), first rise (pointage), dough weights for division, second rise (apprêt) and so on. You get the idea.

Our group of 14 was international, with bread enthusiasts, bakers and chefs hailing from Russia, Saudi Arabia, Kuwait, Lebanon, Japan, Taiwan, Paris and, last but not least, the USA (I being the sole American aside from our traductrice Grace, second from left below).

There is simply too much information to try and share here, so I'll simply give a short pictorial of some of les pains we produced. Chef Vincent stashed the extra loaves in the freezer each day so they could be pulled out for the above grand finale photo on day 4.
To top it off, we could take home everything we made every day (usually at least two of everything)! Wow. Many of us chose to leave some behind for the staff, since it was more than most could handle, either to eat or to store for the short term.

Kougelhof
For day 1, three of our bread doughs had been made for us the day before, one for kougelhof, the classic Alsatian brioche-like treat, and two for our country style bread/pain de campagne sur pâte fermentée and whole wheat bread/pain complet.
It's typical to make brioche type dough the day before, wrap it and give it a rest in the fridge overnight before shaping it the next morning. Since it's a buttery/eggy dough, the rest allows the butter to firm up and makes working with the dough easier. Our job was to divide our allotted 600 g of kougelhof dough into two 300 g pieces, ball them up, push a hole through the center and place them in well-buttered molds with almonds placed in the bottom. After a 1.5 hour rise and an hour bake, they were finished!

Once cooled and un-molded, these beauties were given a dunk in clarified butter followed by simple syrup. To finish, a dusting of powdered sugar et voilà.

The country style and whole wheat breads were made with fermented dough/pâte fermentée which had been made ahead for the class. This is a starter made with flour, water, salt and commercial type yeast, meant to enhance the flavor of the bread. (NOTE: French boulangers typically use fresh cake yeast, as we did for this class).
Boulangeries usually have leftover dough scraps and will simply save those for the next day's incorporation into their final dough. In addition, the final dough is given a long, cool rise in the fridge overnight which allows for even more flavor development in the end.
For our fourth bread that day, we all mixed a straight (no pre-ferment, no long cool rise) baguette dough by hand and proceeded to knead it with the aggressive slap-and-fold technique. Lots of noise going on in that session! Once kneaded this dough received a much deserved 20 minute rest before we divided it in two and shaped our baguettes for a one hour proof and final 20 minute bake.
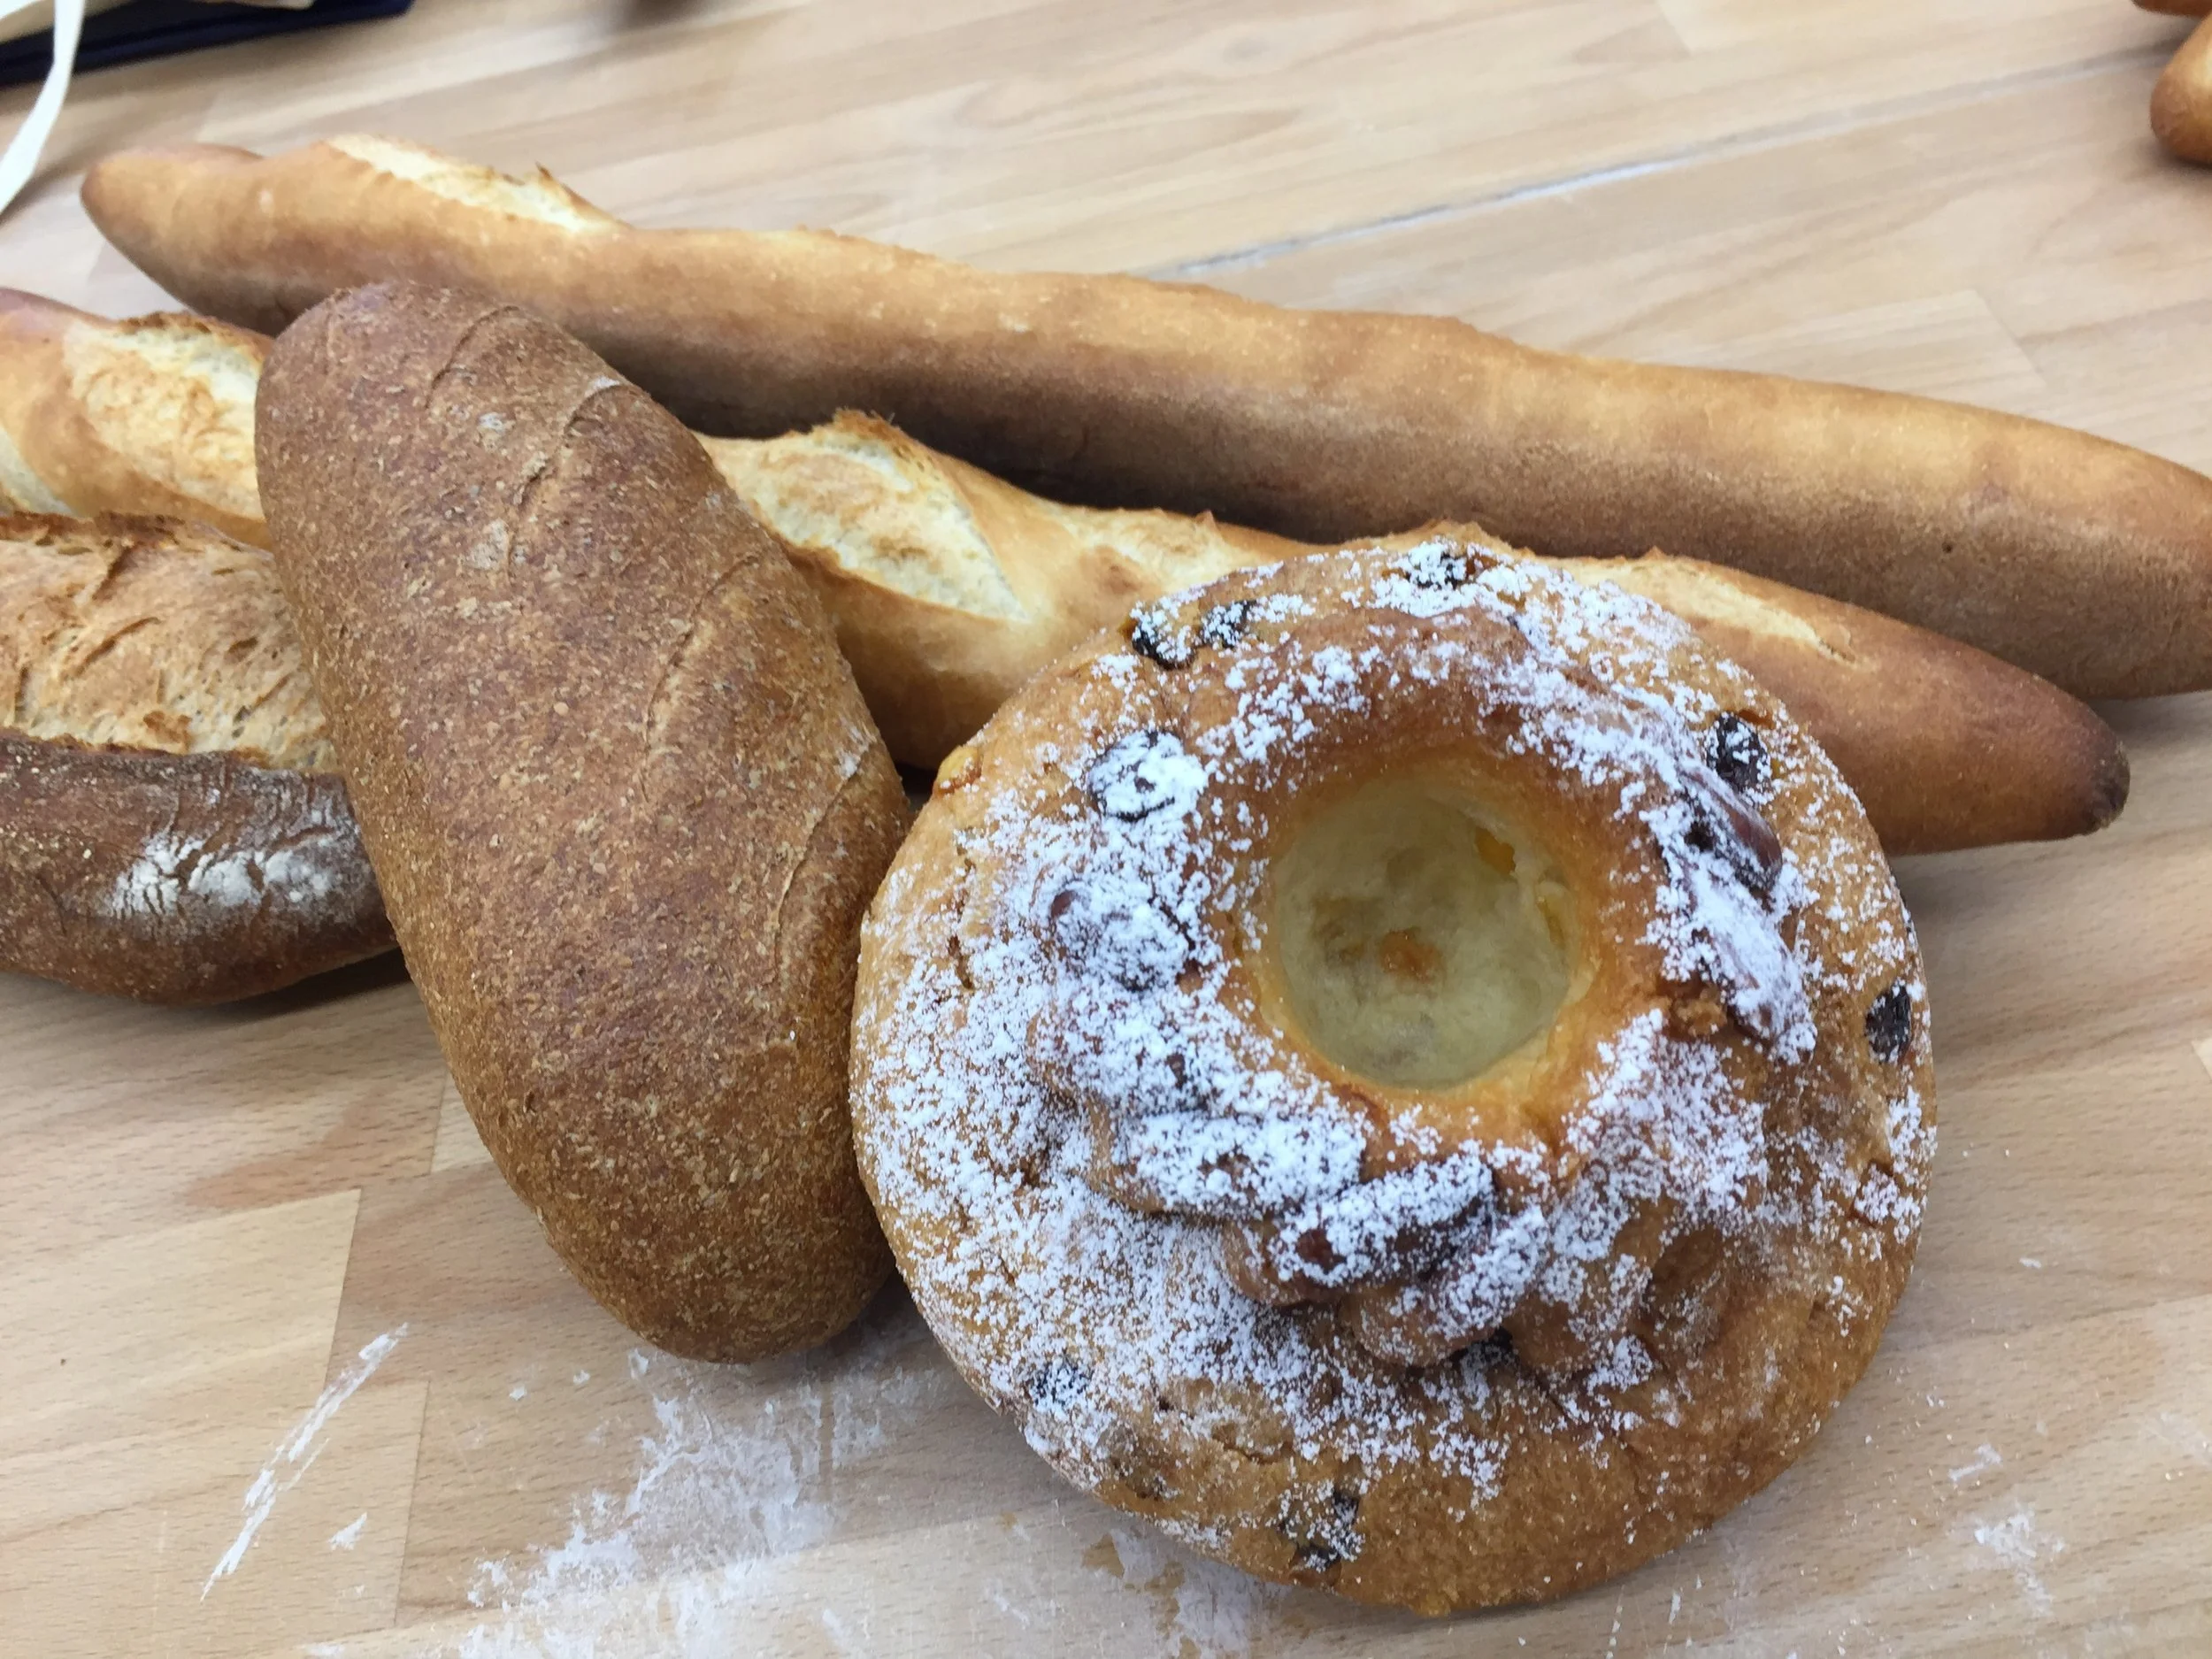
Day one breads: country style, whole wheat, kougelhof, baguette
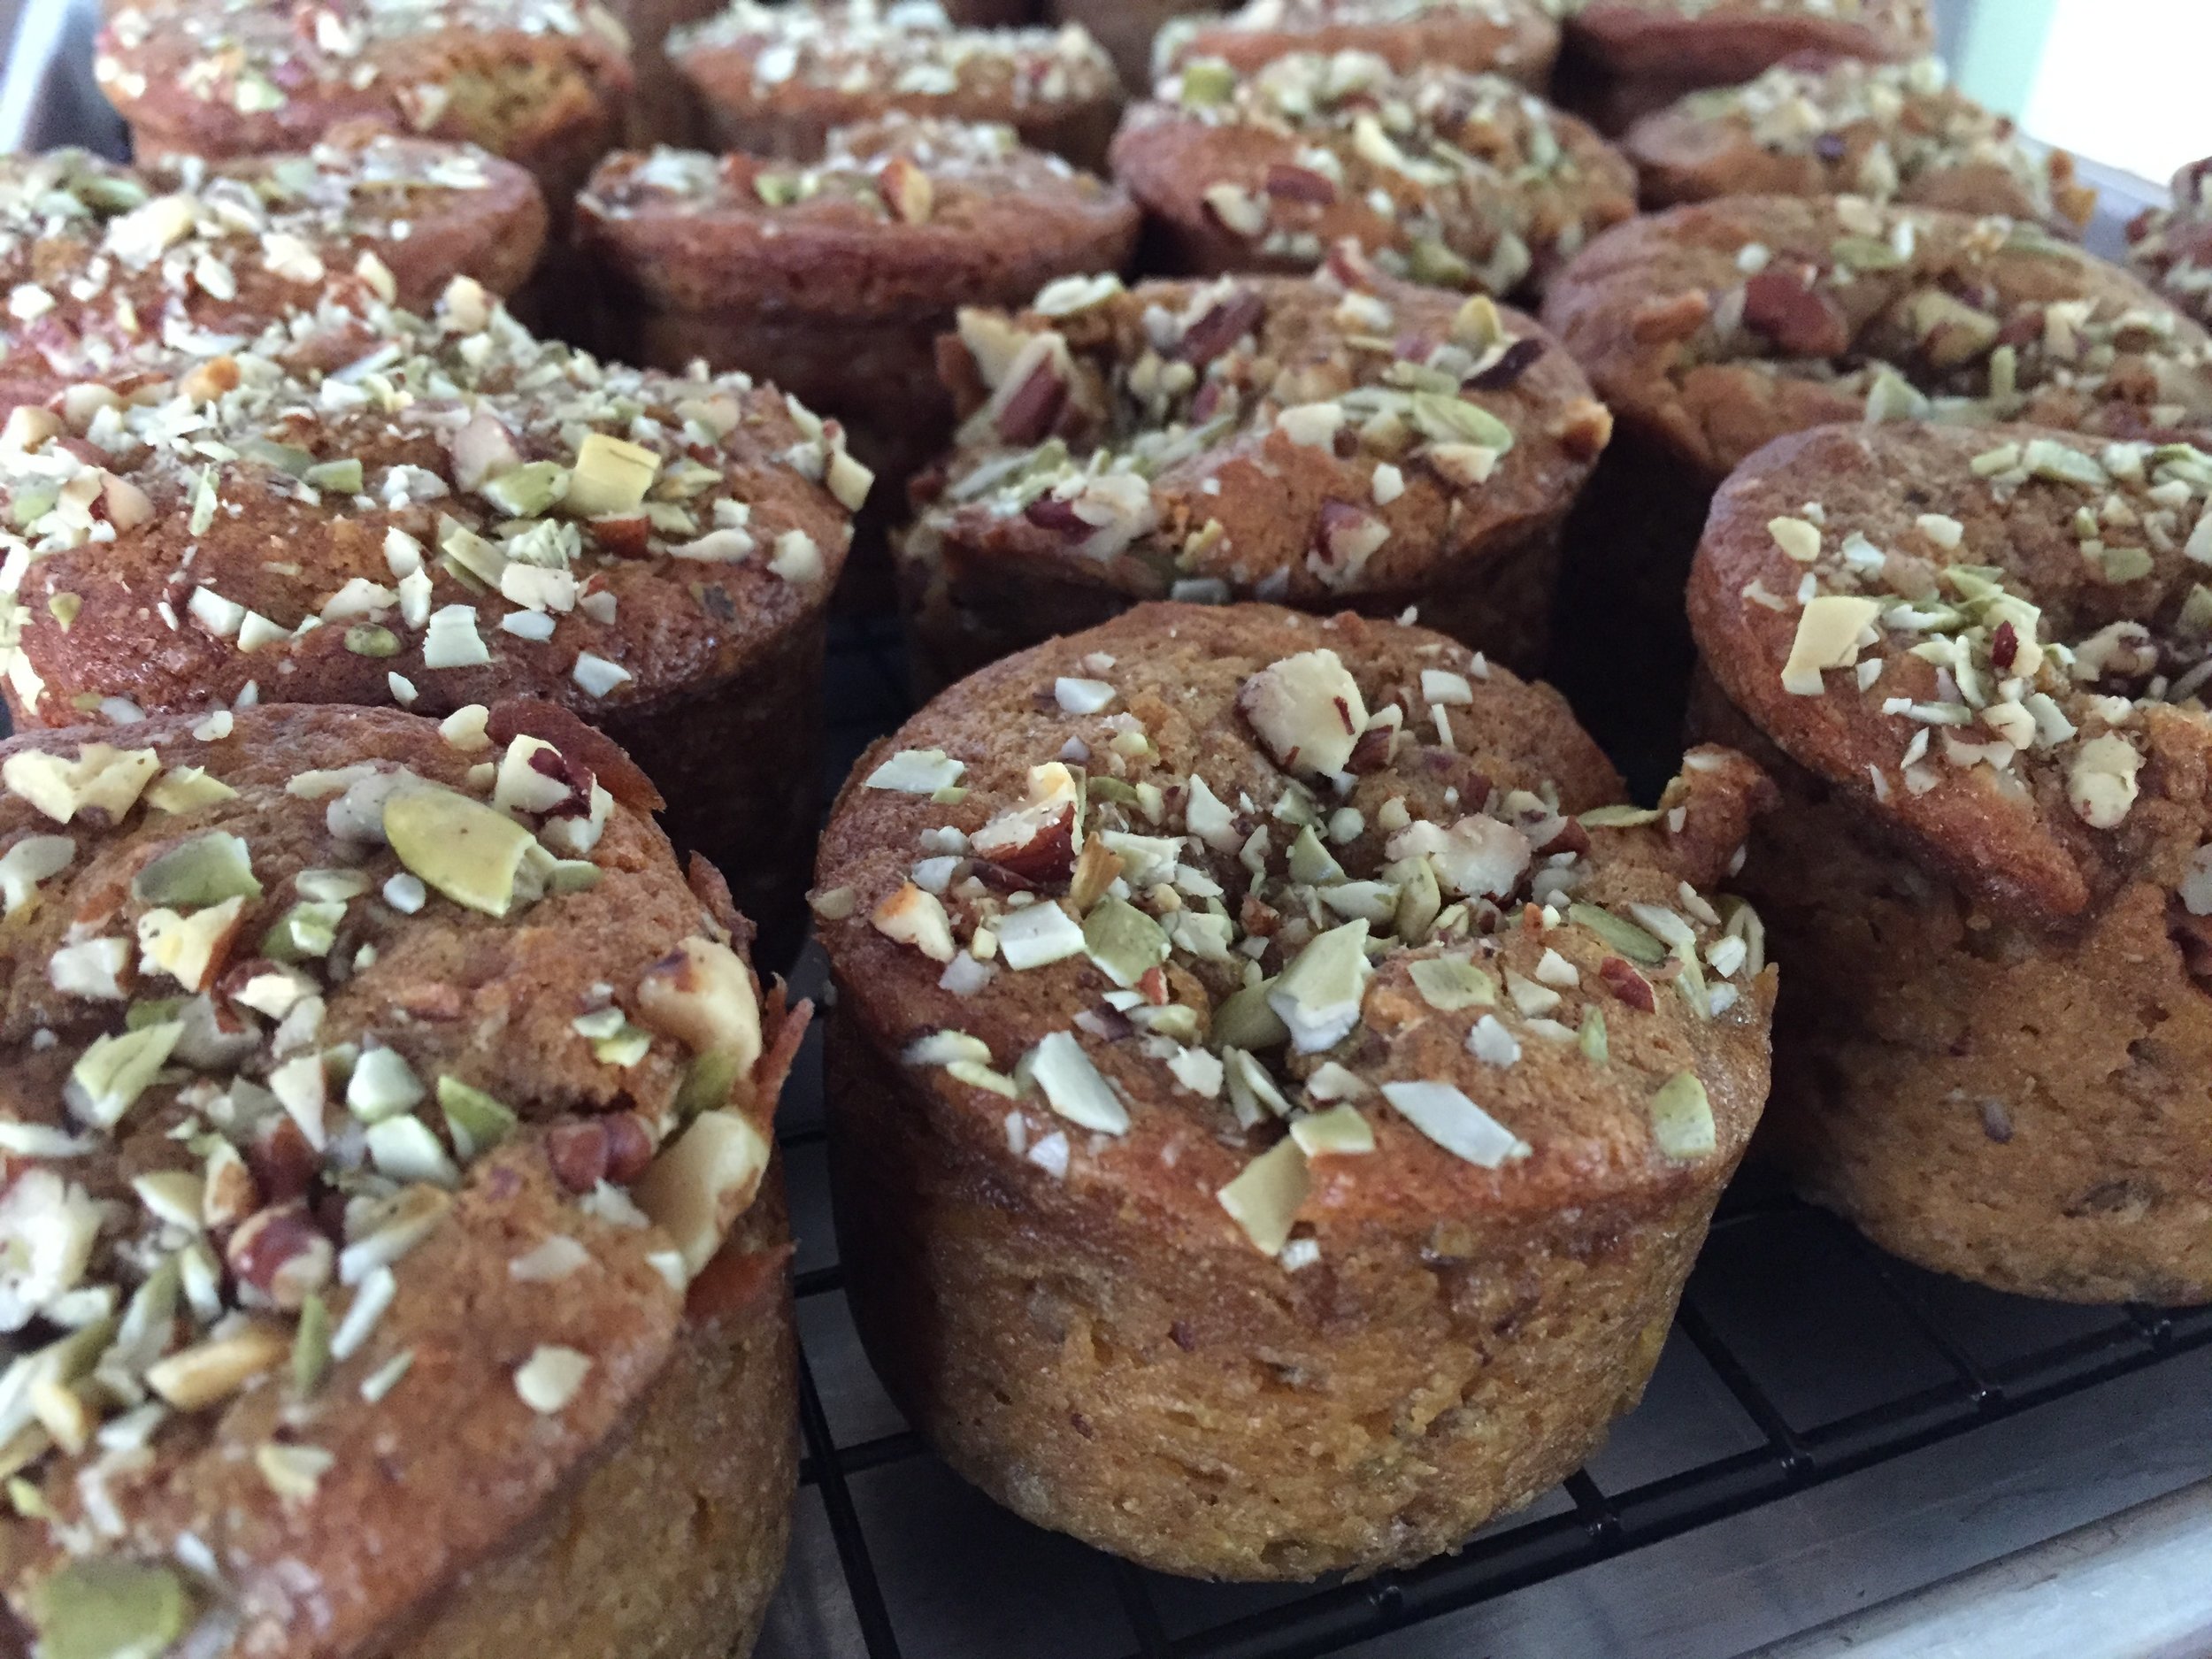
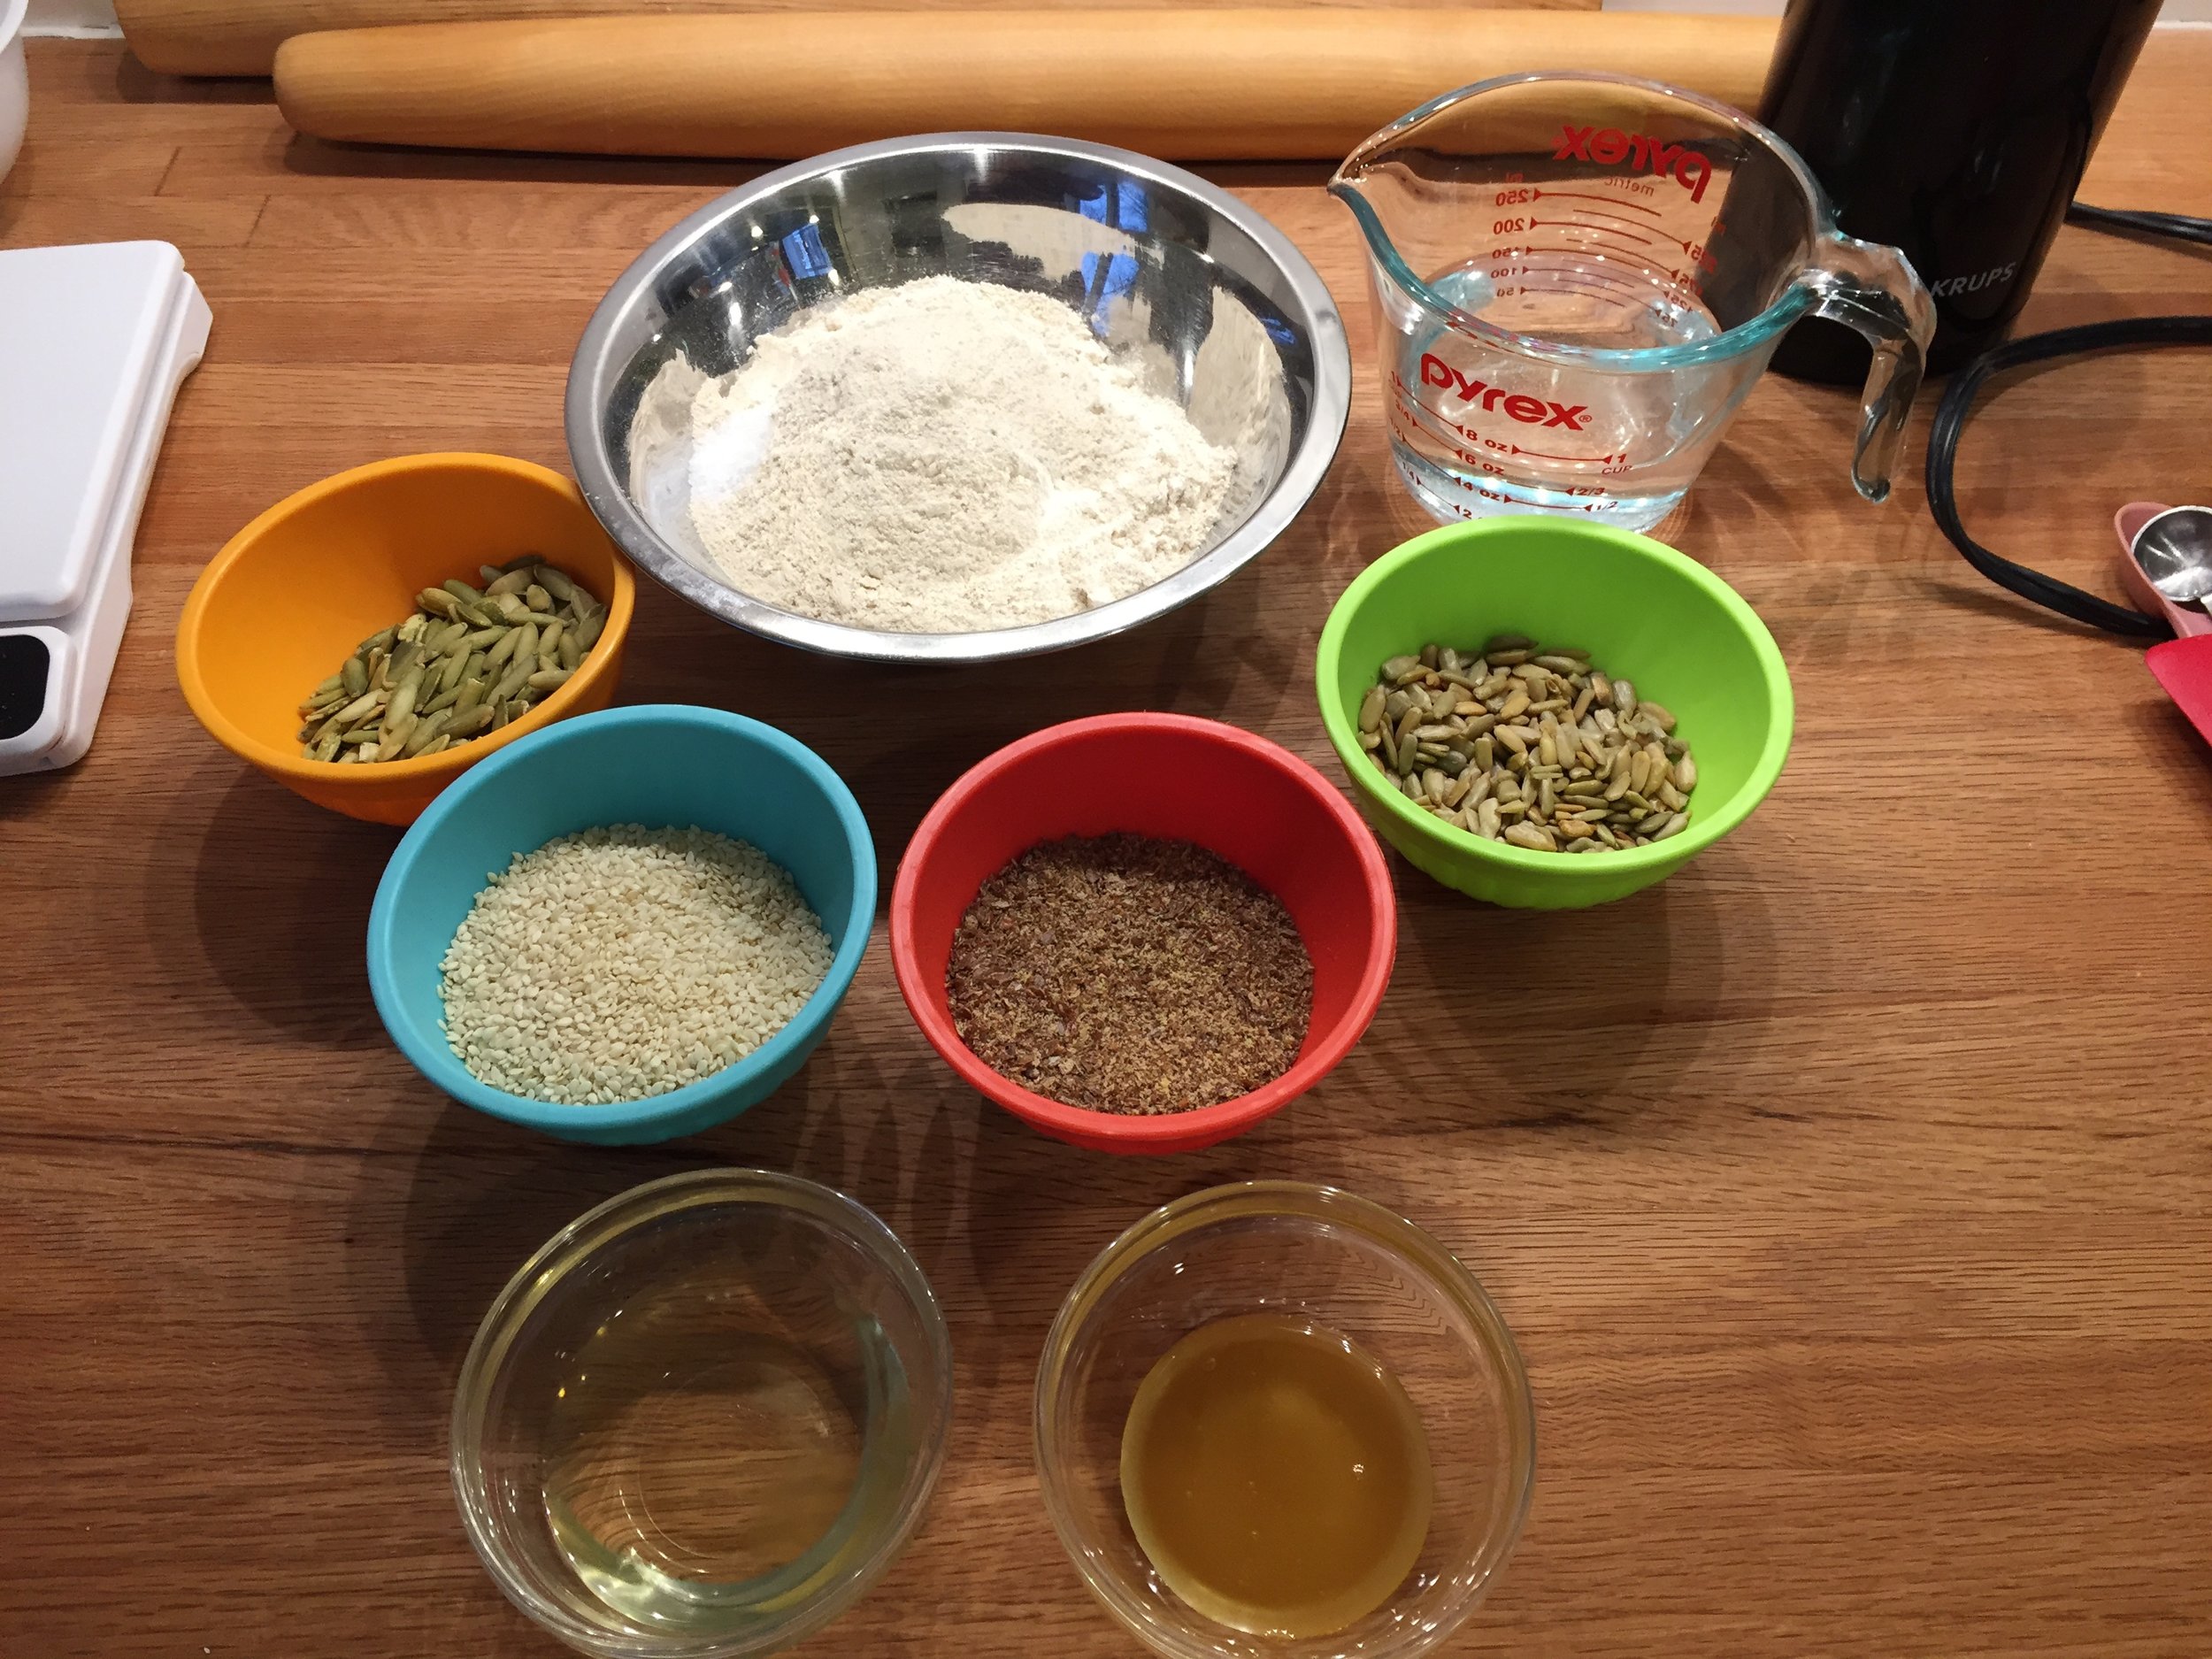
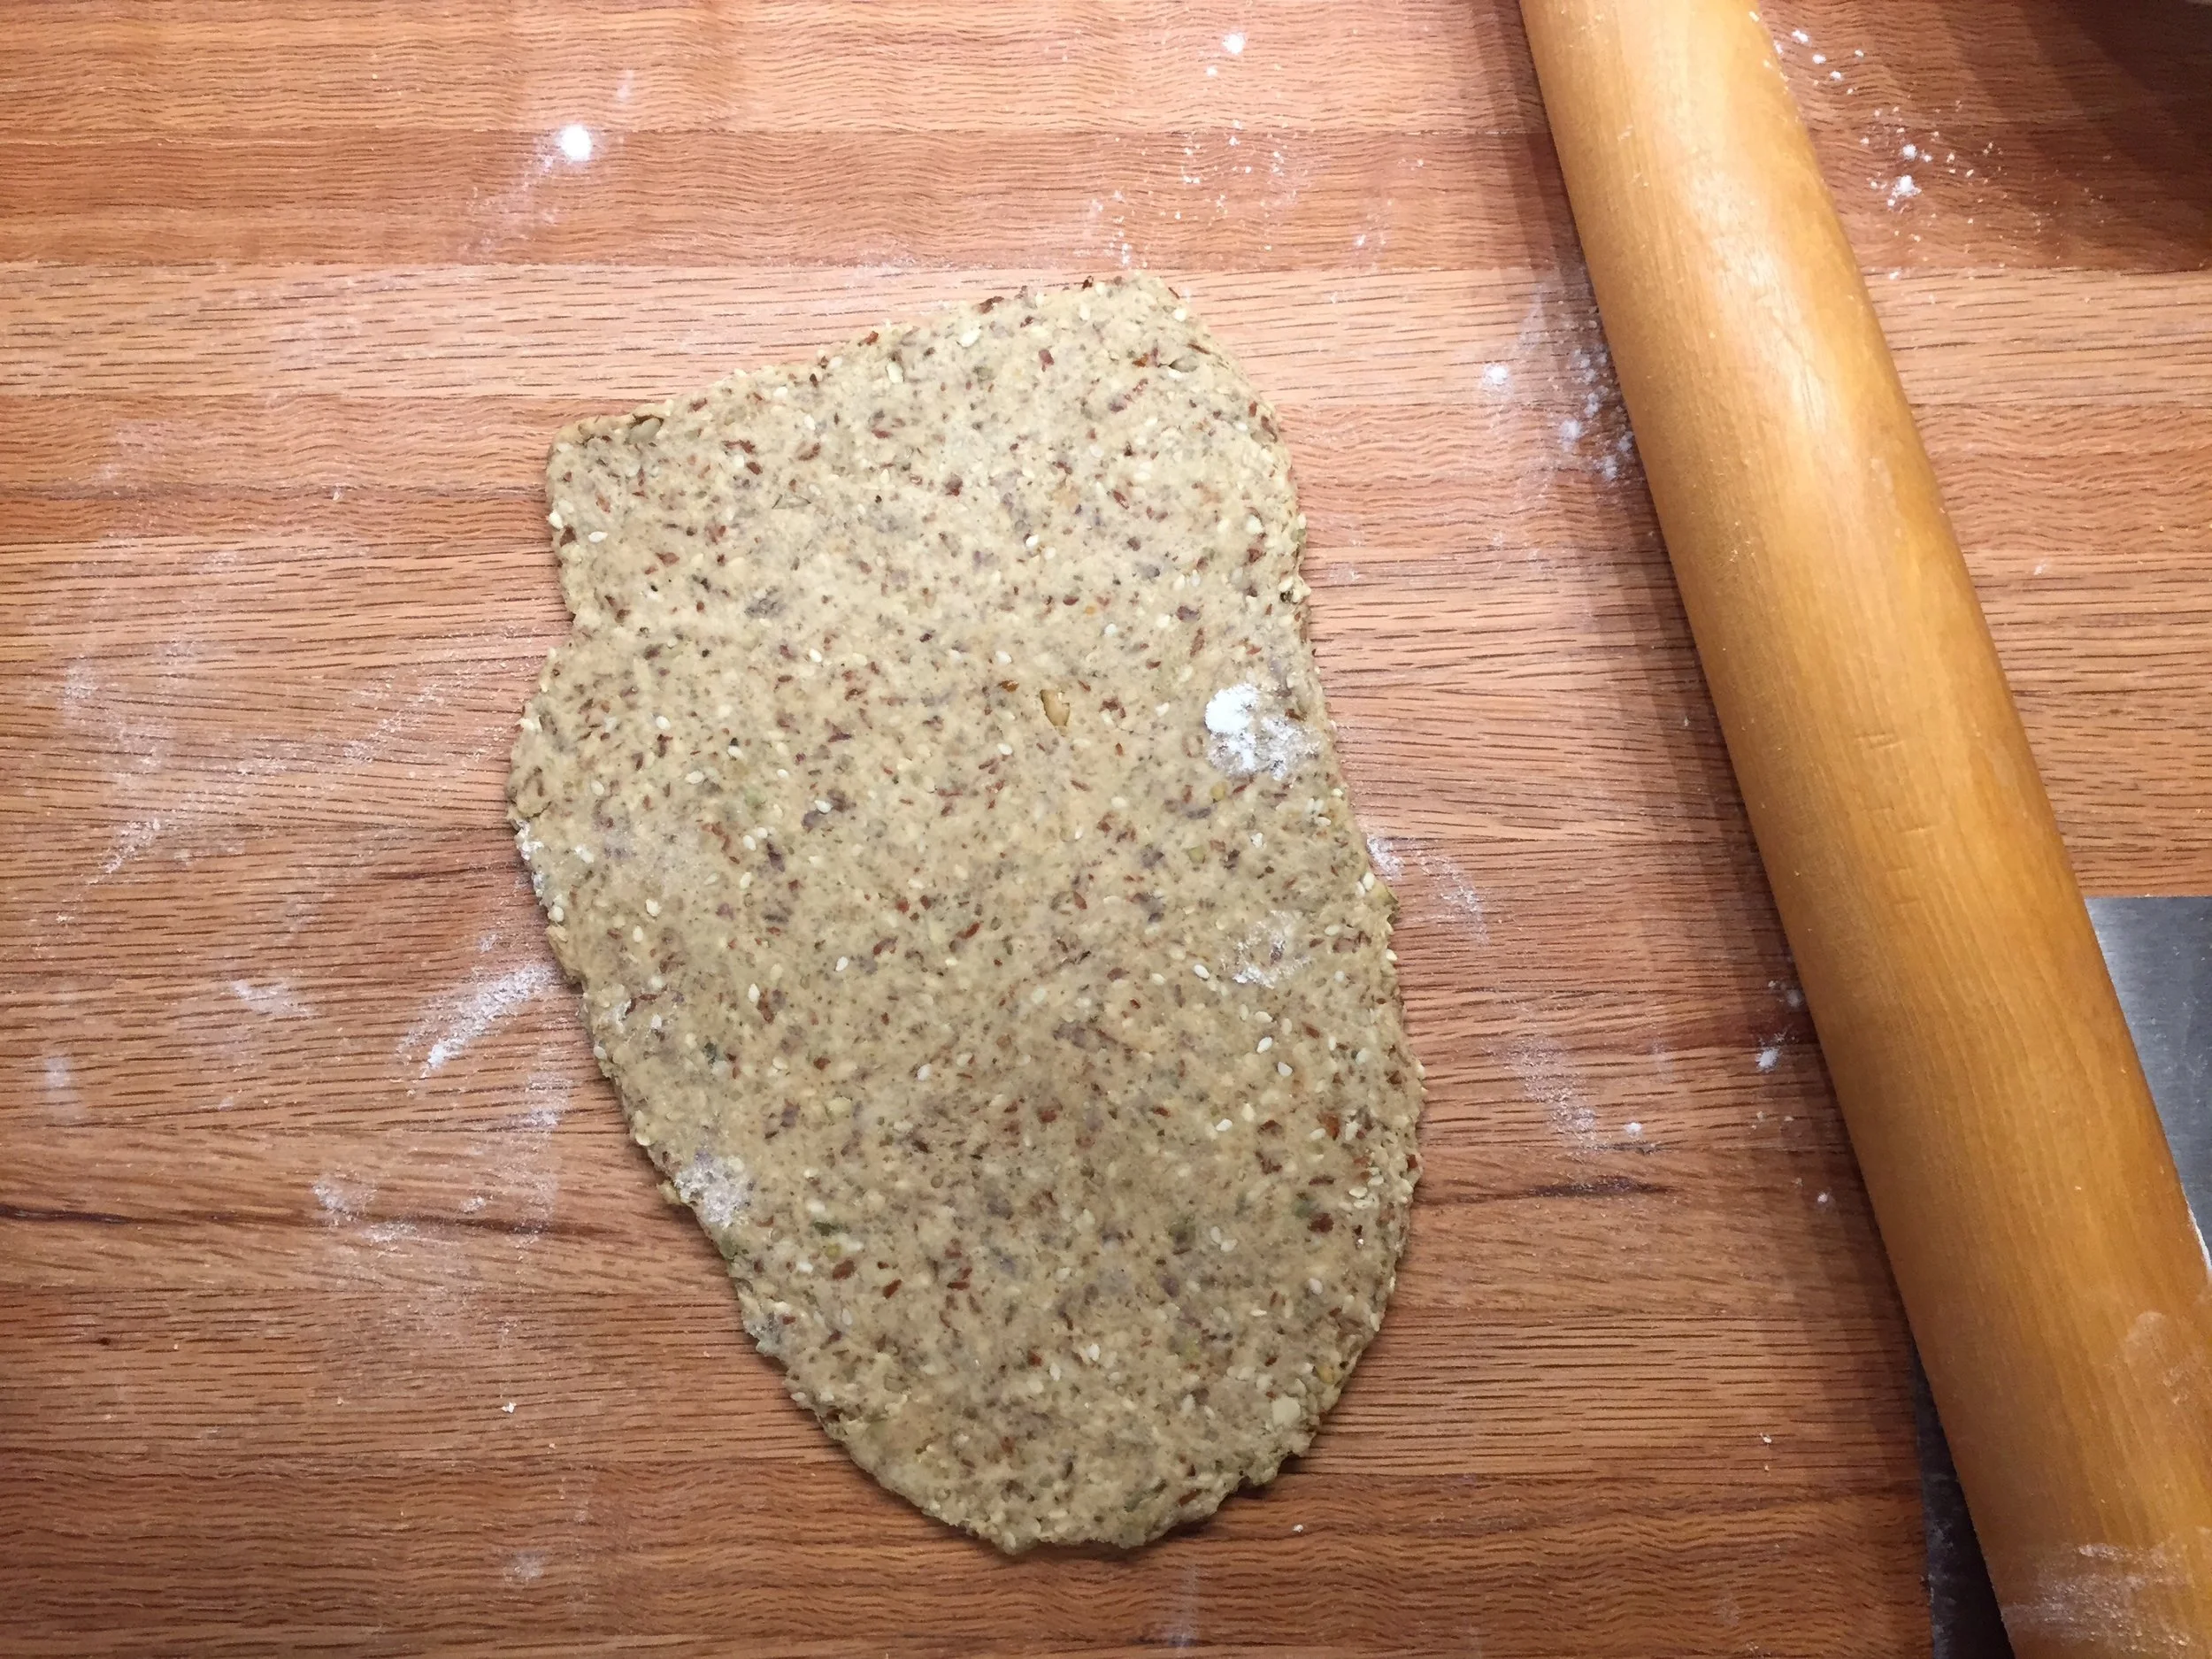
A couple of other preparations were begun for breads to be made over the next several days. Chef Vincent began the multi-day process of making a liquid levain (natural starter) that would go into several different breads, as well as a poolish (commercial yeast based starter) for baguette tradition destined for baking on day 3. He also started another poolish which involved soaking seeds and grains for pain nutritionnel aux graines for day 2. Lots going on!
The tone was set: dough preparation for each or subsequent days, dividing and shaping various doughs, feeding of the levain and, of course, proofing and baking lots of bread. We all worked on our boule et batârd shaping techniques and the different ways to score our loaves (so many designs, so little time!)

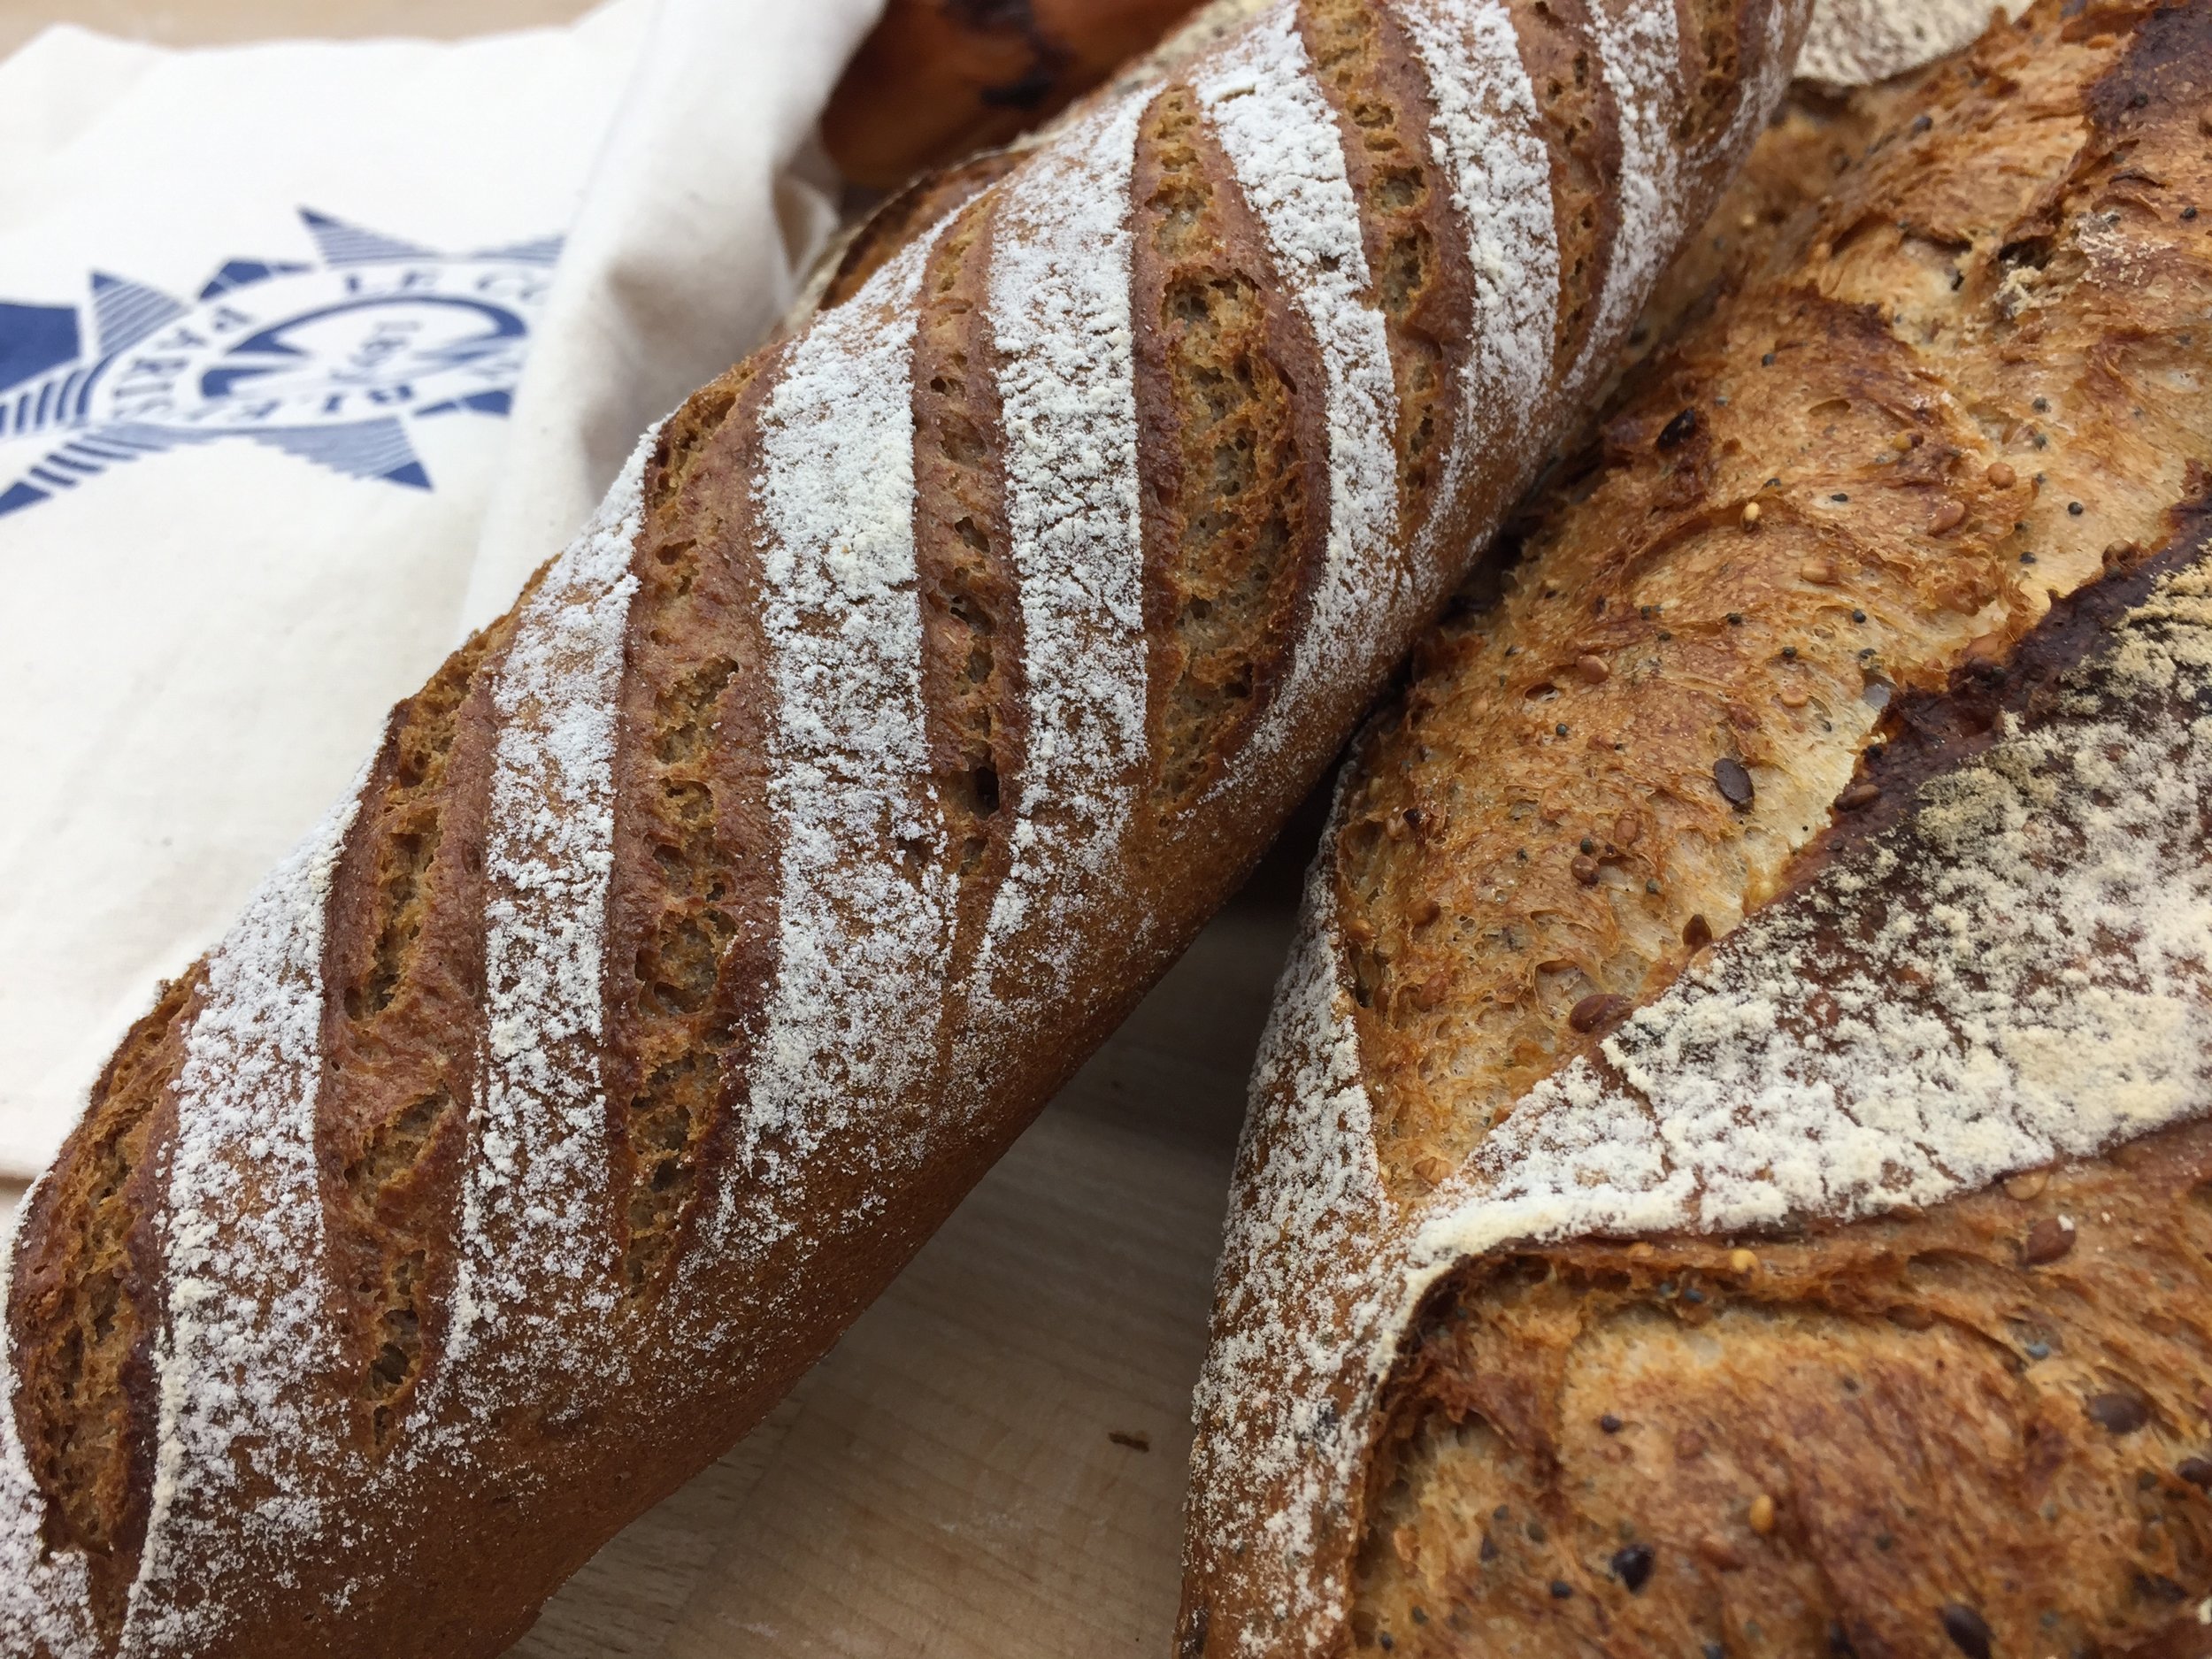
Day 2 breads: Rye, grain, milk bread baguette and more!
At the end of each day we also had a tasting of our breads, accompanied by fresh French beurre et confiture. As the French say miam, miam!

Day 2 tasting
As were proceeded through each day, my primary disappointment was the fact that we weren't given the opportunity to actually scale or small batch mixer knead any of the dough. No "normal size" stand mixers that might be shared among two or three people were available. Being able to perform the entire process, assessing the dough more directly at each stage, would certainly have given us a greater learning experience.
Even so, the kitchen was perfectly outfitted with state of the art steam ovens, multi-shelved fridge/freezers, proofing cabinets, lots of speed racks for product placement before and after baking, two large mixers, one a flat bottom meant specifically for bread dough and one a standard large rounded bowl, multi-function planetary mixer. Everything a boulangerie might need.

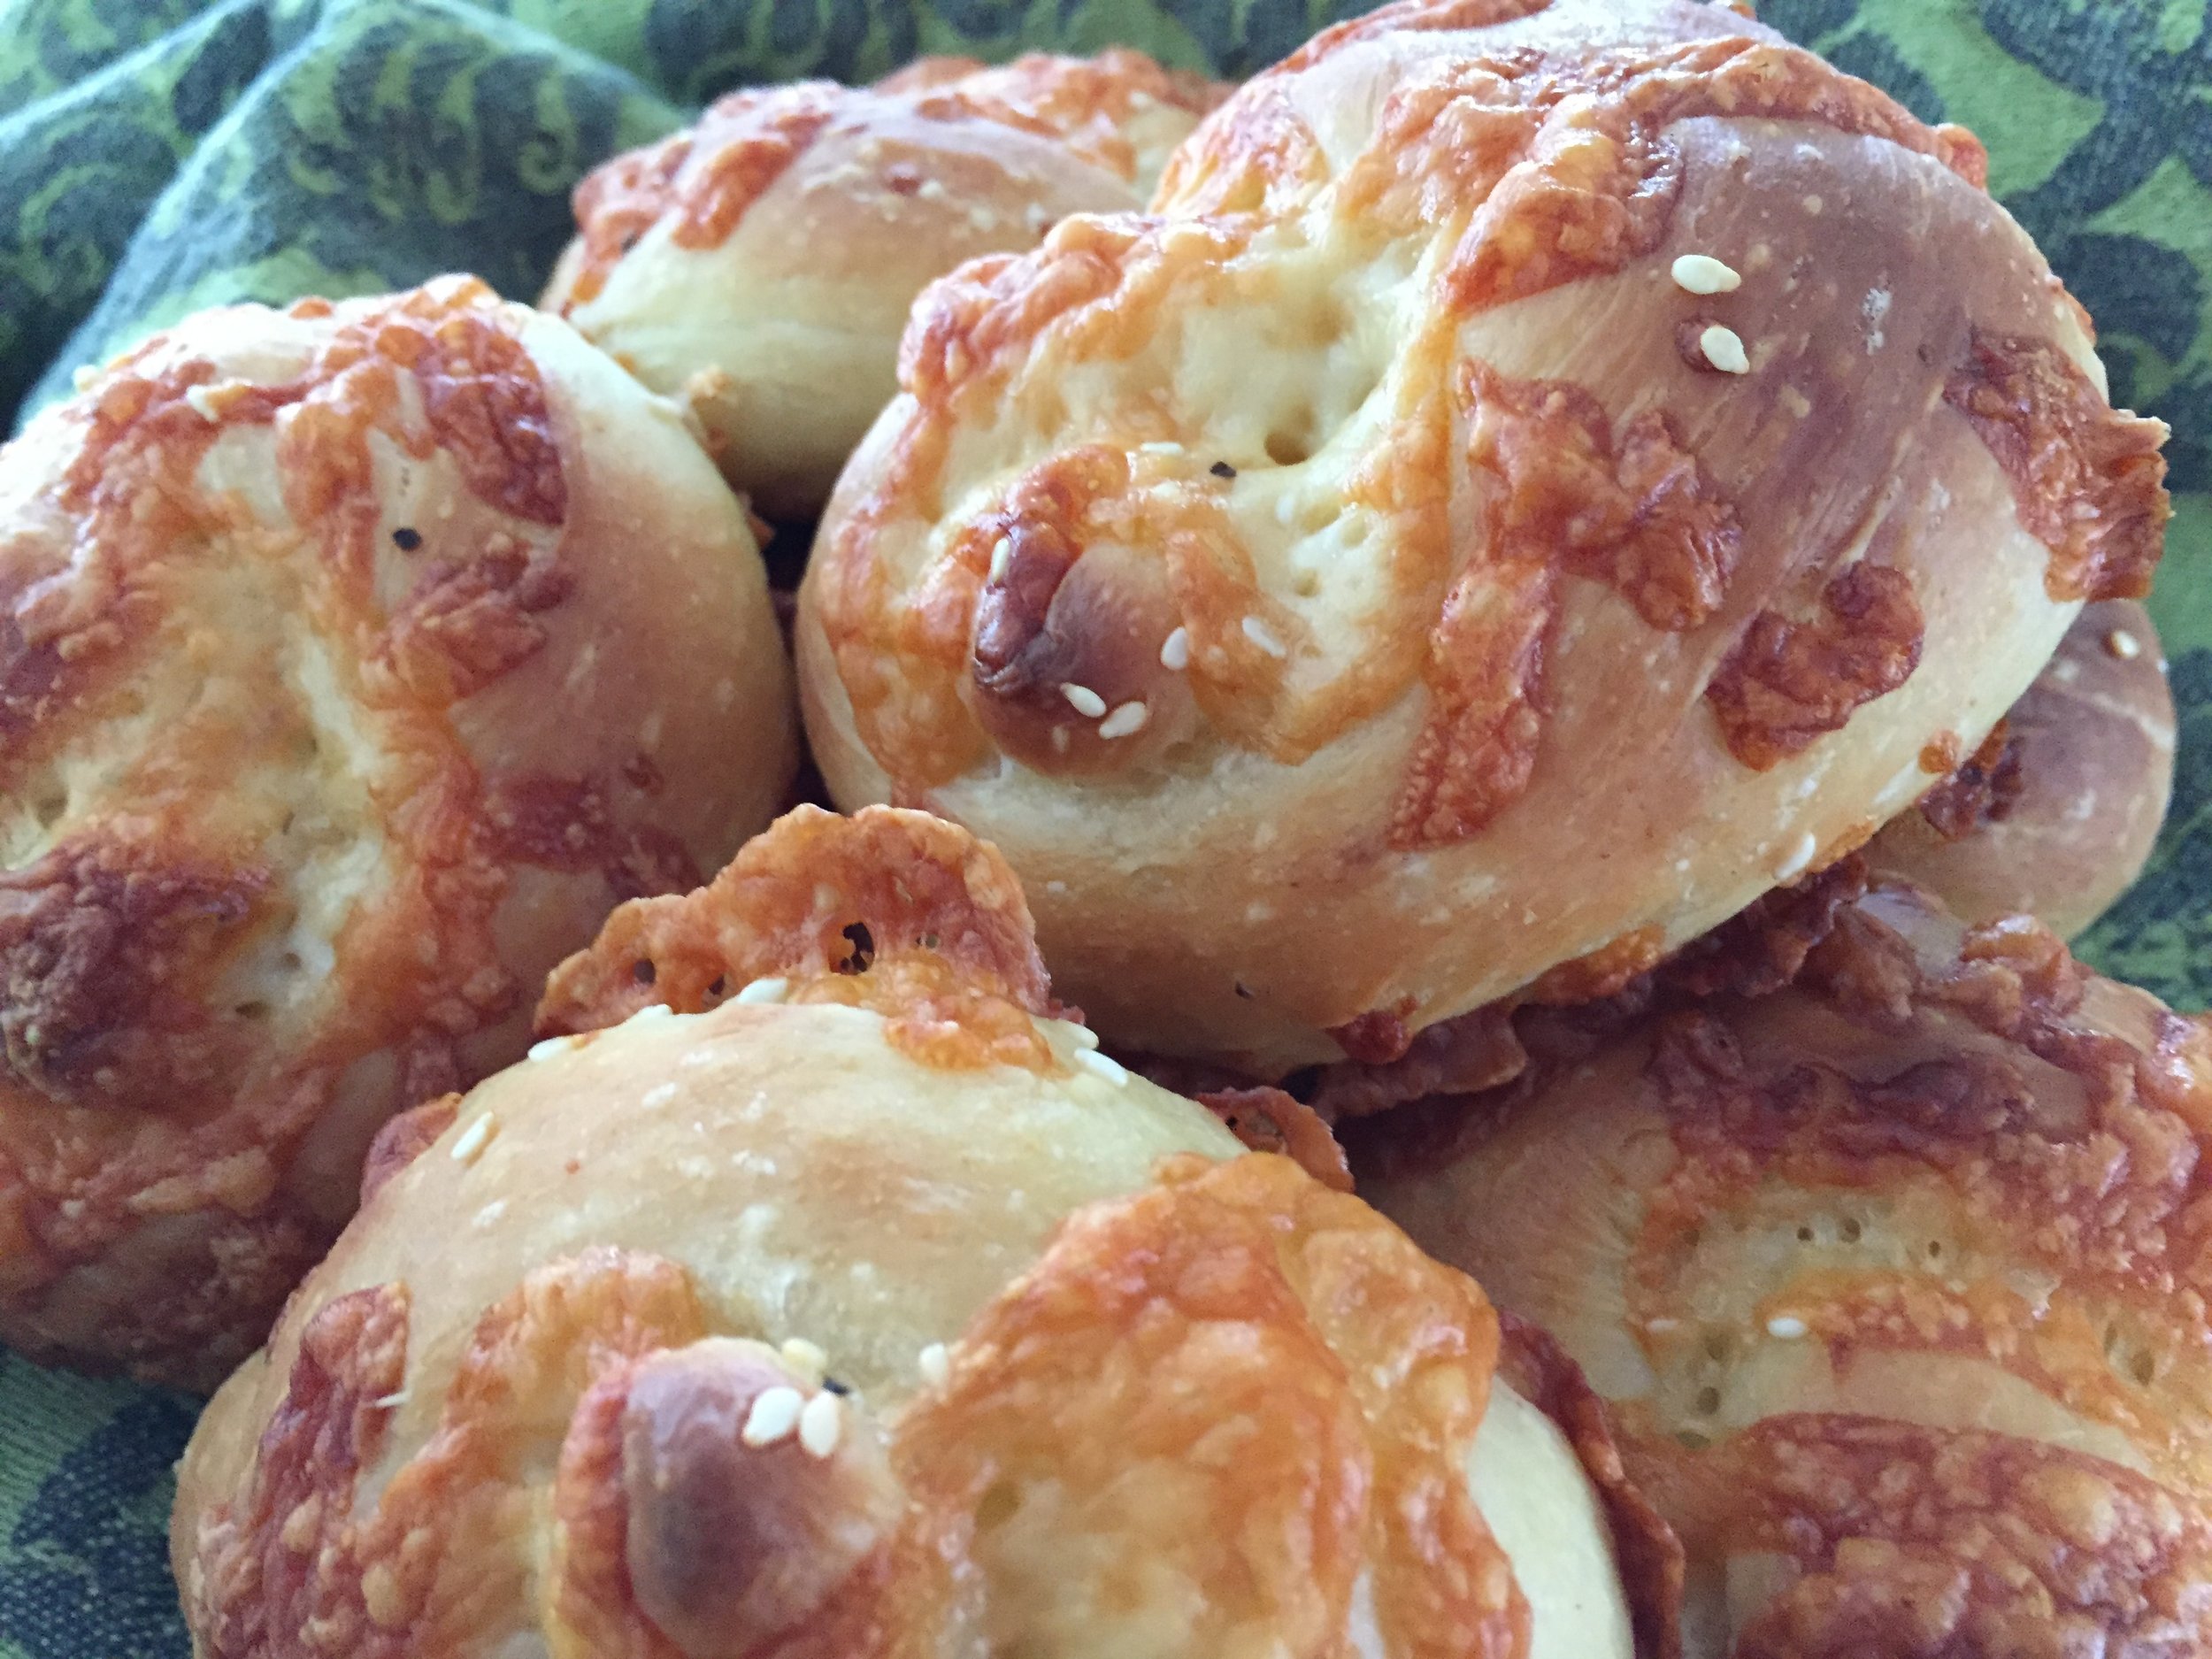
day 3 cheese bread
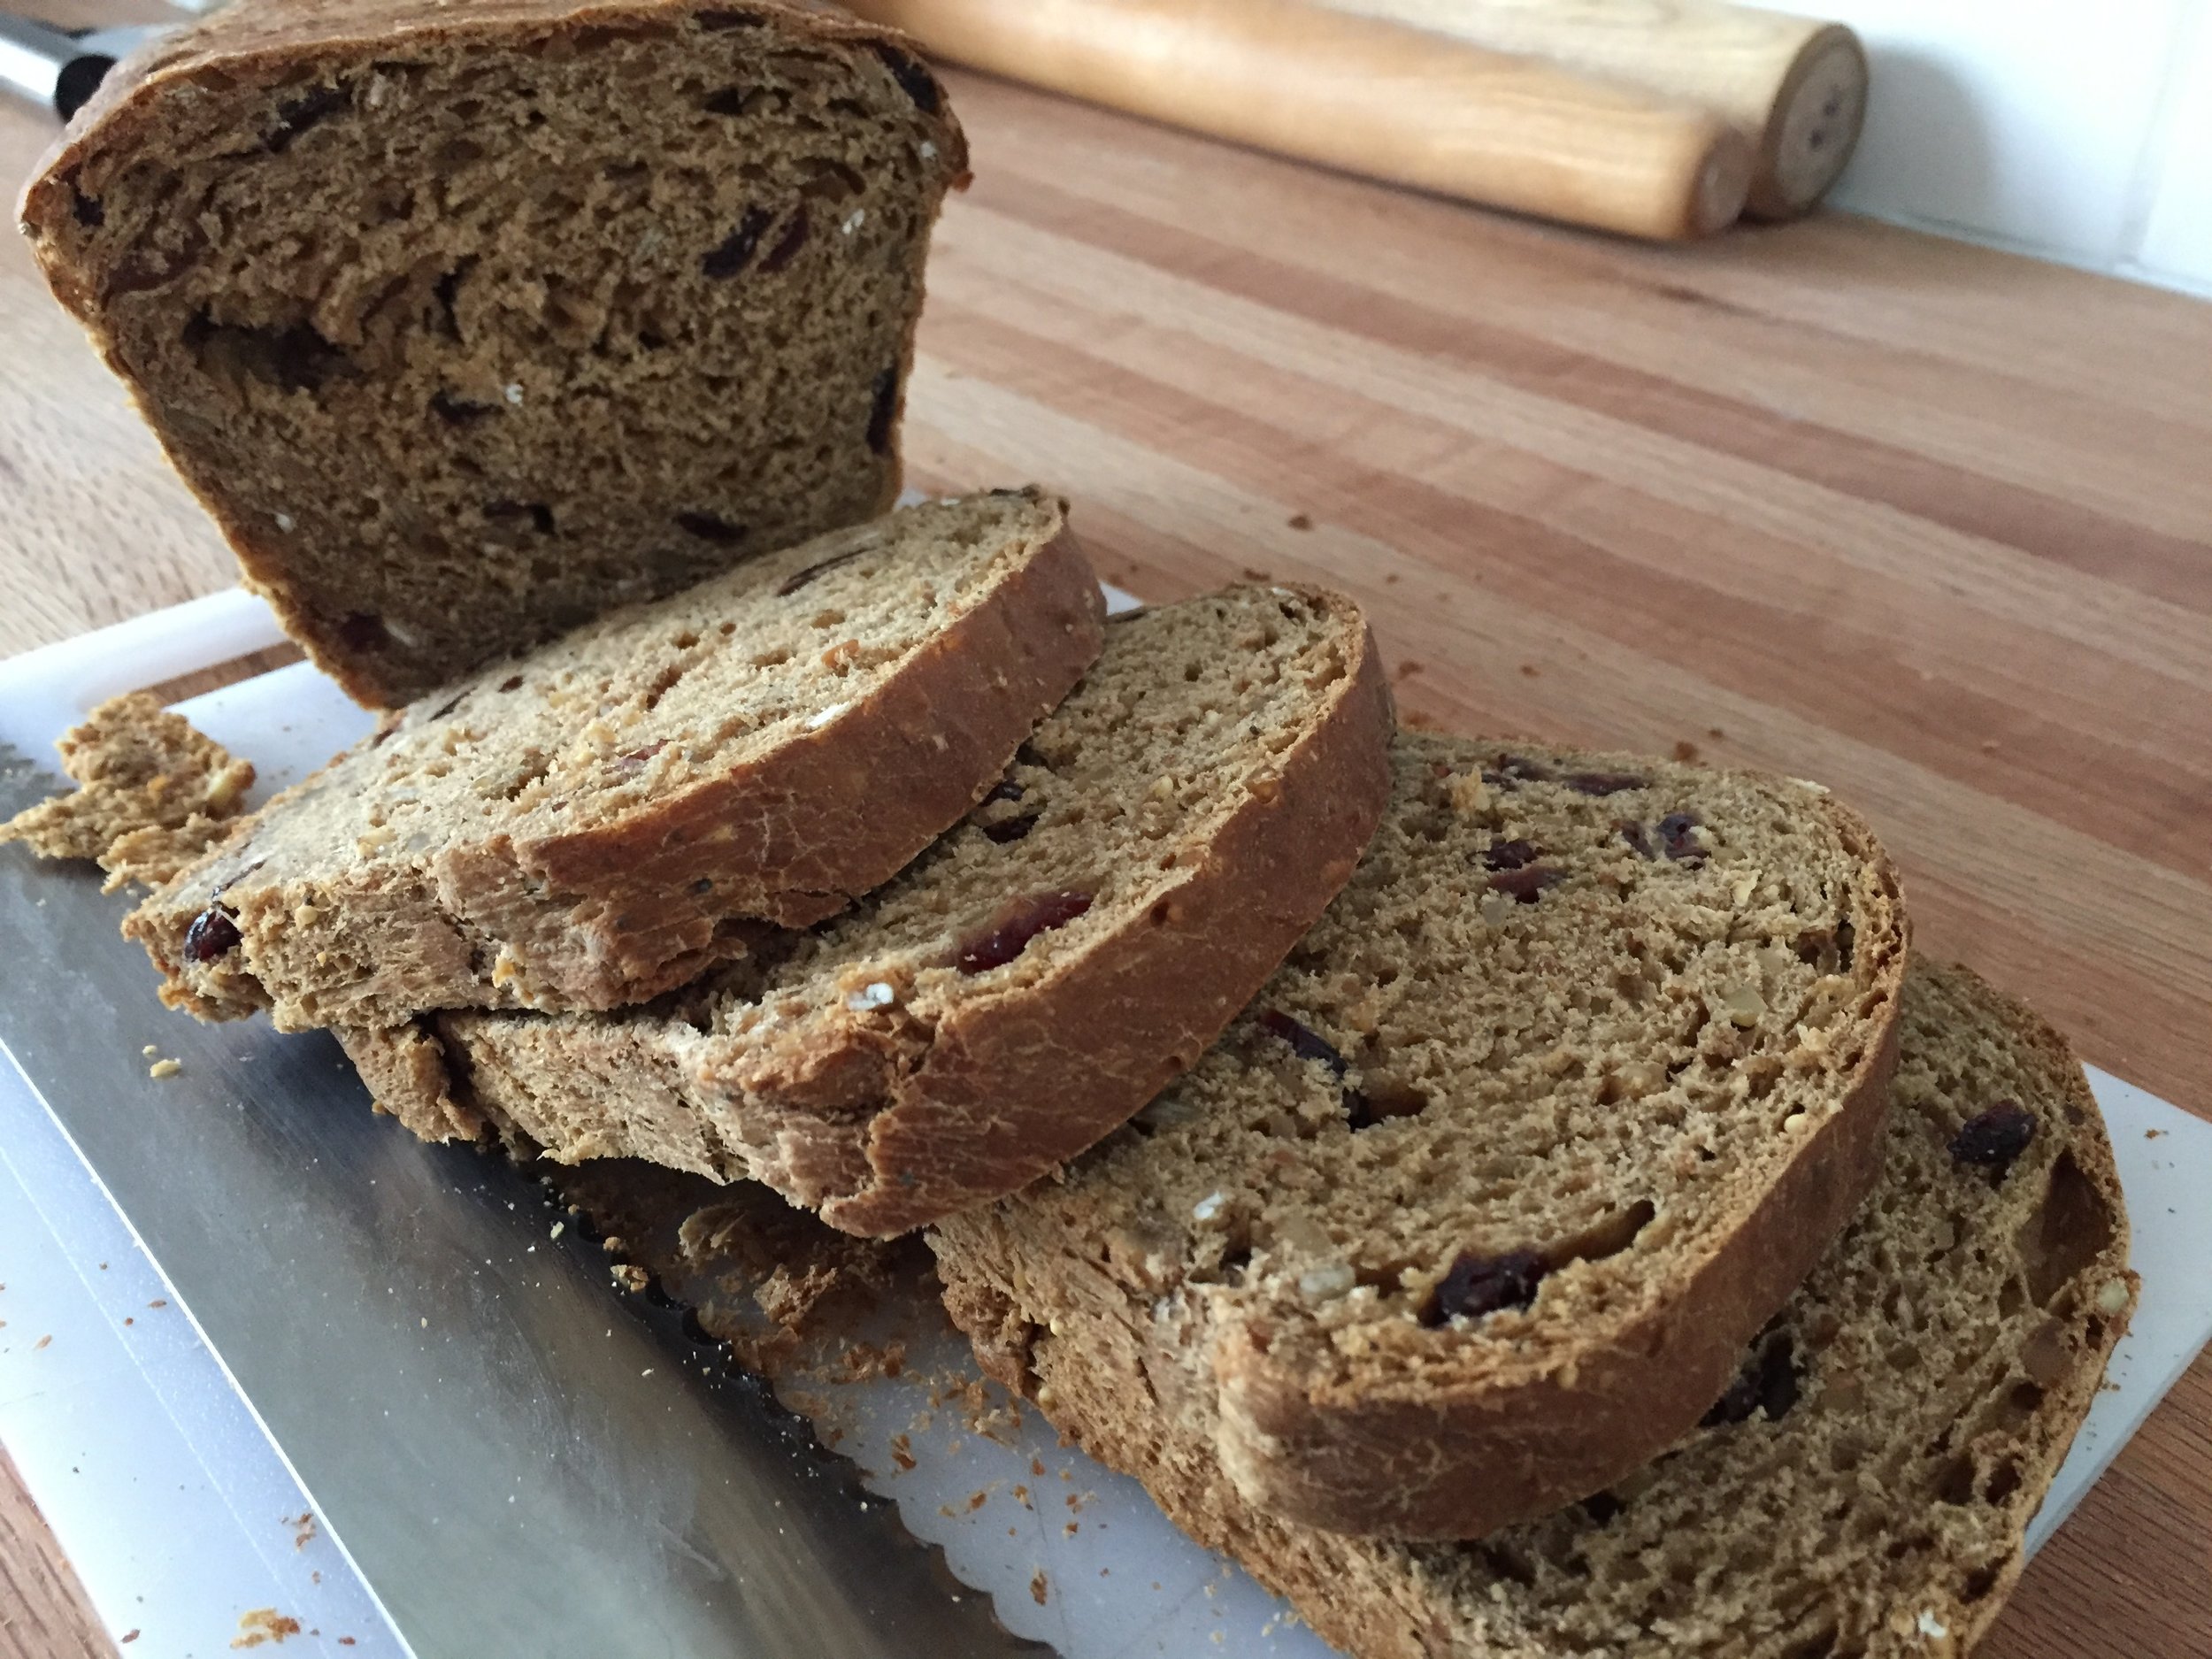
Day 3 brought us cheese bread, brioche Nanterre, baguette tradition and walnut-raisin milk bread, in addition to a round pain de mie style brioche log that was to become bostock (don't worry, I'll explain).

brioche for bostock

day 3 breads: walnut raisin, cheese, baguette tradition
Another day 3 project was to make the détrempe for our croissant et pain au chocolat for the final day. Chef kneaded a LARGE batch in the mixer, after which it was divided into portions, wrapped and refrigerated for the next day.

détrempe, like stepping stones, for day 4
On our final day we were all given our portion of détrempe along with le beurre for the beurrage. We proceeded through the steps, giving our dough 2 double turns, a rest in the freezer, then the final rolling and cutting of the triangles and rectangles. The dough felt wonderful, was easy to work with and the laminations superb. After a 2.5 hour proof, into the oven they went.

croissant

pain au chocolat
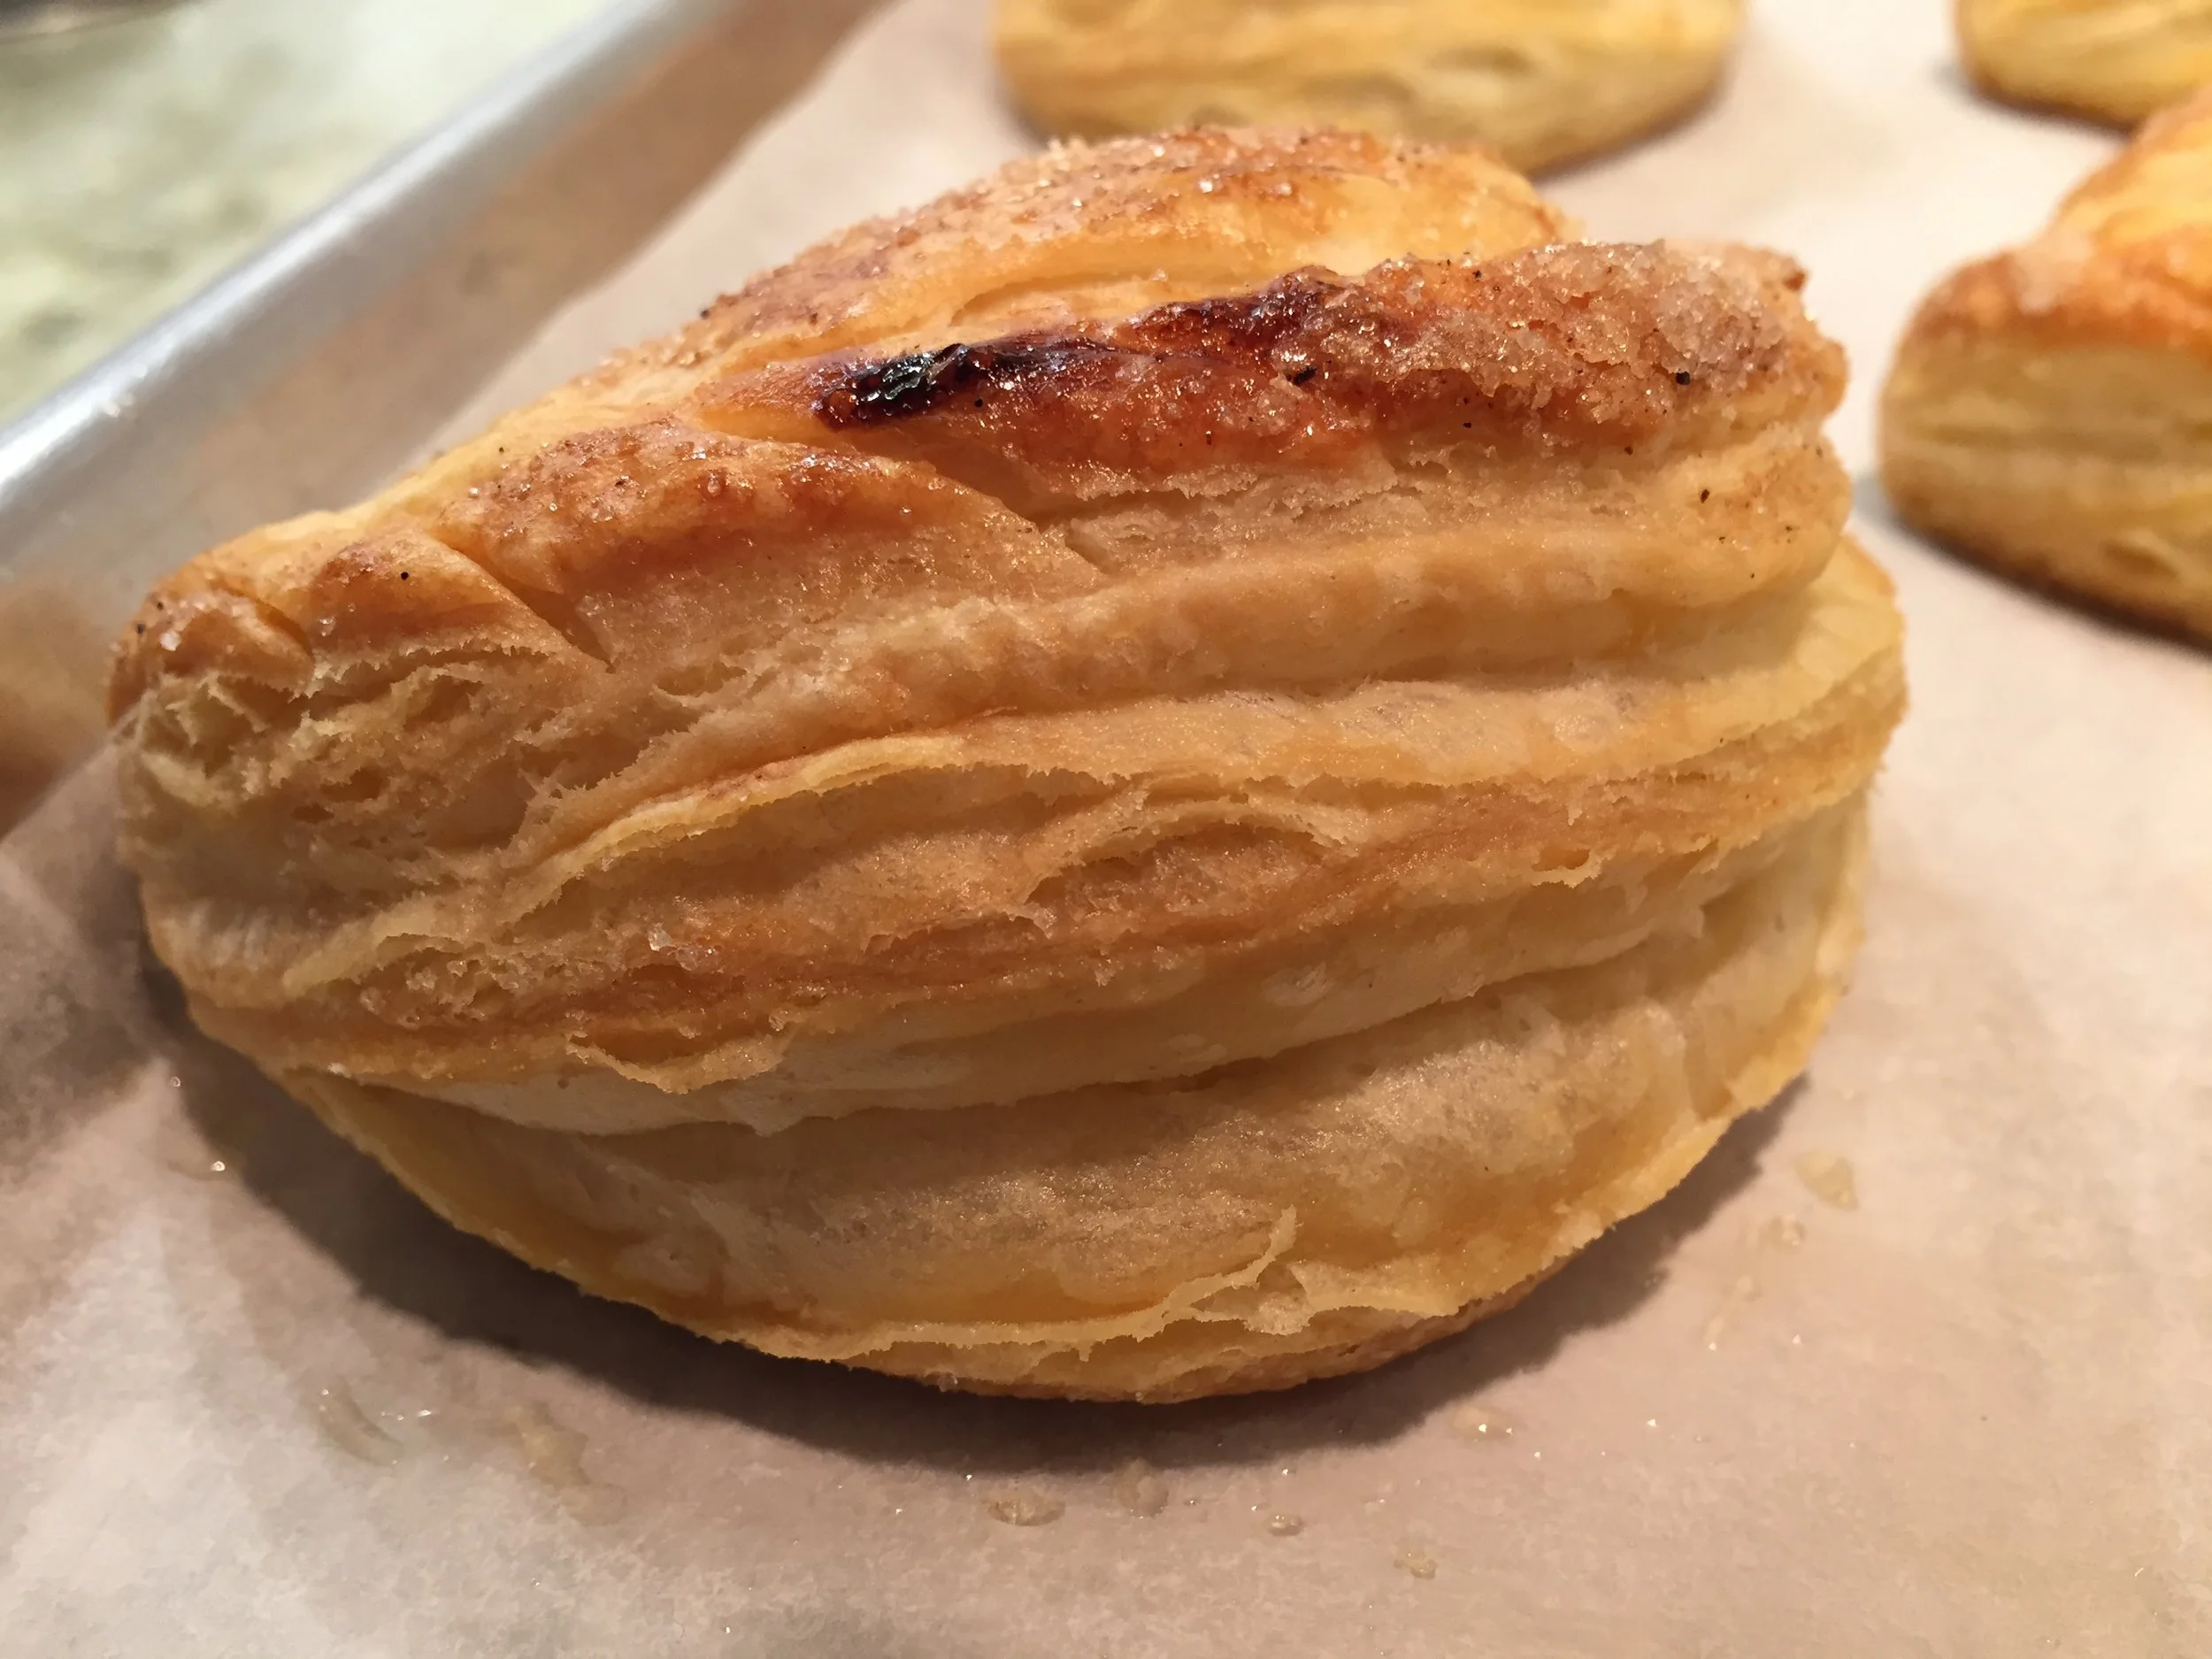
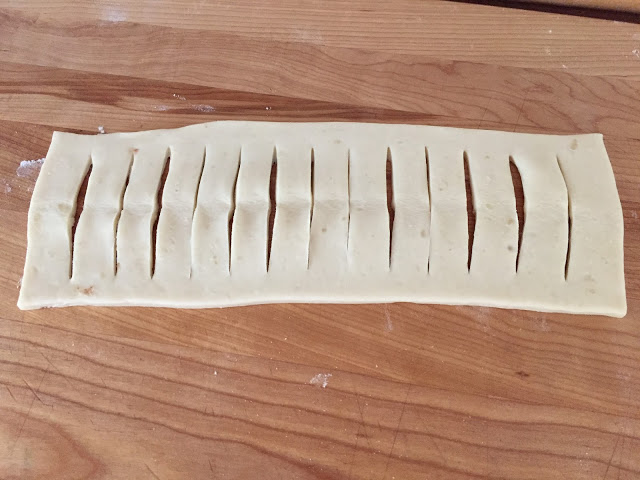
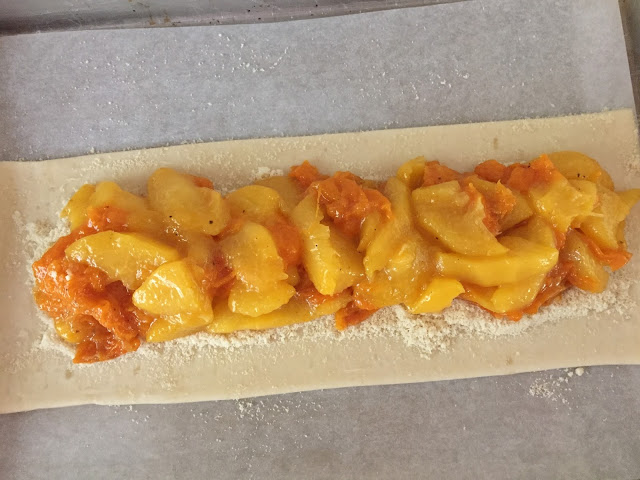
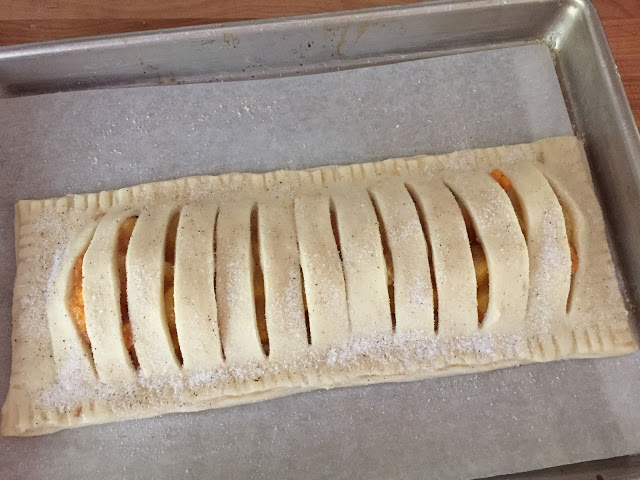
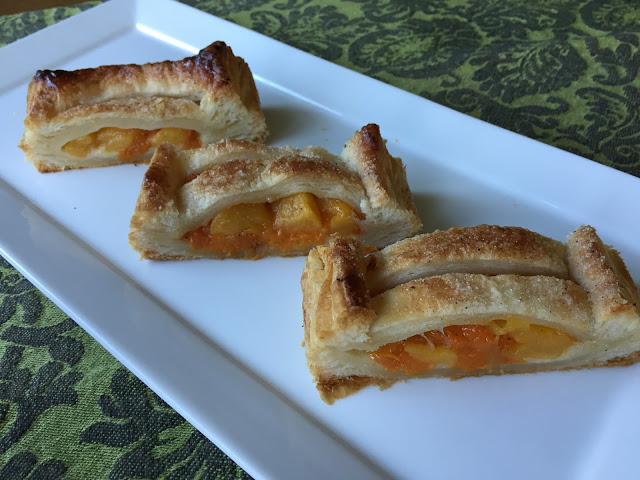
We assembled our bostock by slicing our logs into ~1.5" rounds, dunking them in orange syrup then topping with almond cream, dipping in sliced almonds and baking until the almond cream became nicely browned. Very much like my favorite croissant aux amandes but with brioche dough instead. A great way to use up leftover brioche!

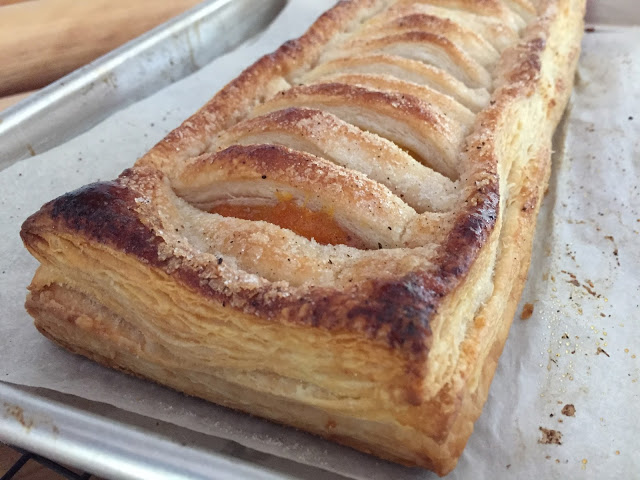
bostock out of the oven
On our last day we also made an interesting striped bread using a "milk" dough similar to previous days. Squid ink (messy!!) was mixed into half of the dough, then the light and dark doughs twisted together to give a zebra stripe look.

pain de mie zébré
The zebra bread is usually used as a base for some type of seafood sandwich or appetizer, since the squid ink gives a hint of a taste of the sea. We were told it wasn't really meant for flavor but for creating the stripe effect. Hmmm - what other colors might one create? I'll have to think about that one.
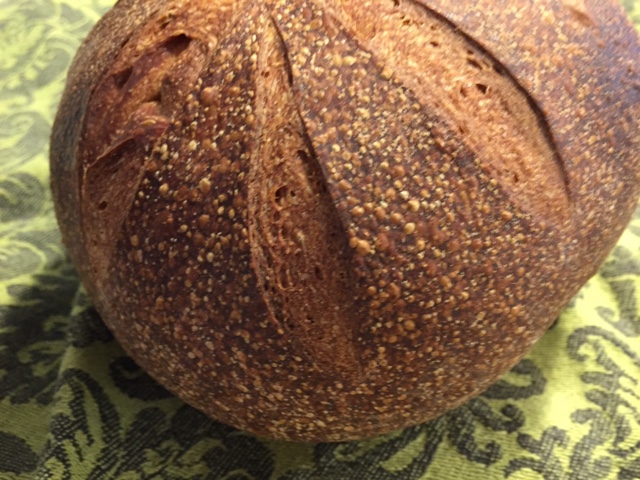
Day 4 also brought pain de campagne sur levain naturel, a rustic bread made with a stiff levain that the prep team had started even before our first class. The dough was kneaded, and we divided and shaped the dough on day 3 so it could develop in the fridge overnight for baking on day 4. What a process! But delicious and well worth it. It's all about planning after all.

pain de campagne sur levain naturel

day 4: bostock, pain de mie zébré, croissant, pain au chocolat, pain de campagne
My favorite breads from the class were the rustic pain de campagne, the multigrain bread and the cheese bread - chunks of gruyère, oh my! Of course, good croissants are a given, and I continue to find it fascinating that everyone, no matter their country, is infatuated with that particular viennoiserie! The oohs and aahs that abound as these gems bake and are then devoured span all borders.
Next time around, if we're so lucky to return to Paris some day, I'll search out a class that offers more comprehensive hands-on experience. Particularly with bread dough, that's truly important. It was a great review for me in regards to the steps/timing involved in bread baking, using natural starters and, bien sür, the many delicious things one can create from flour, water, salt and yeast. Oh yeah!
All in all, a grand time, wonderful textures and aromas, lots of cool stuff, many interesting people from all over, plus I was able to practice my French! Not bad at all.